
Miniature Garage Loft Furnishings – Phase 2
Continued from: Miniature Garage Loft Furnishings – Phase 1
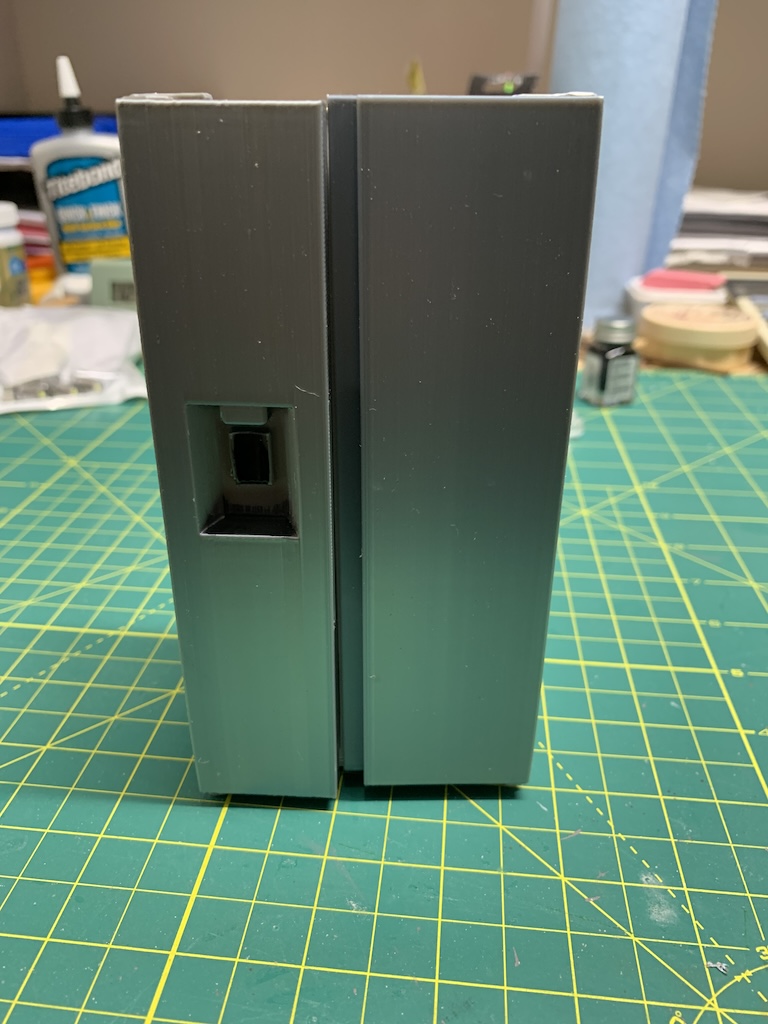 Not long after taking the photo above, the bottom left door hinge broke off again. Despite regluing it multiple times and even trying alternative approaches, I had to admit failure to my sister. She was very kind though reminding me that she had broken a hinge off on her first attempt and was happy to reprint whatever I needed. Just to let her know.
Since all the pieces snapped in place tightly without glue, I was able to disassemble everything except the freezer interior (which had unintentionally gotten some of the Super Glue on it bonding it permanently to the fridge exterior). I told my sister I would need for her to reprint just the fridge exterior box and the freezer door. She was not sure when she could get to reprinting what I needed but I said no hurry as I could just glue the freezer door to the fridge box and then use it to build my cabinets.
With the fridge taken care of at least for now, I was ready to put together the stove.
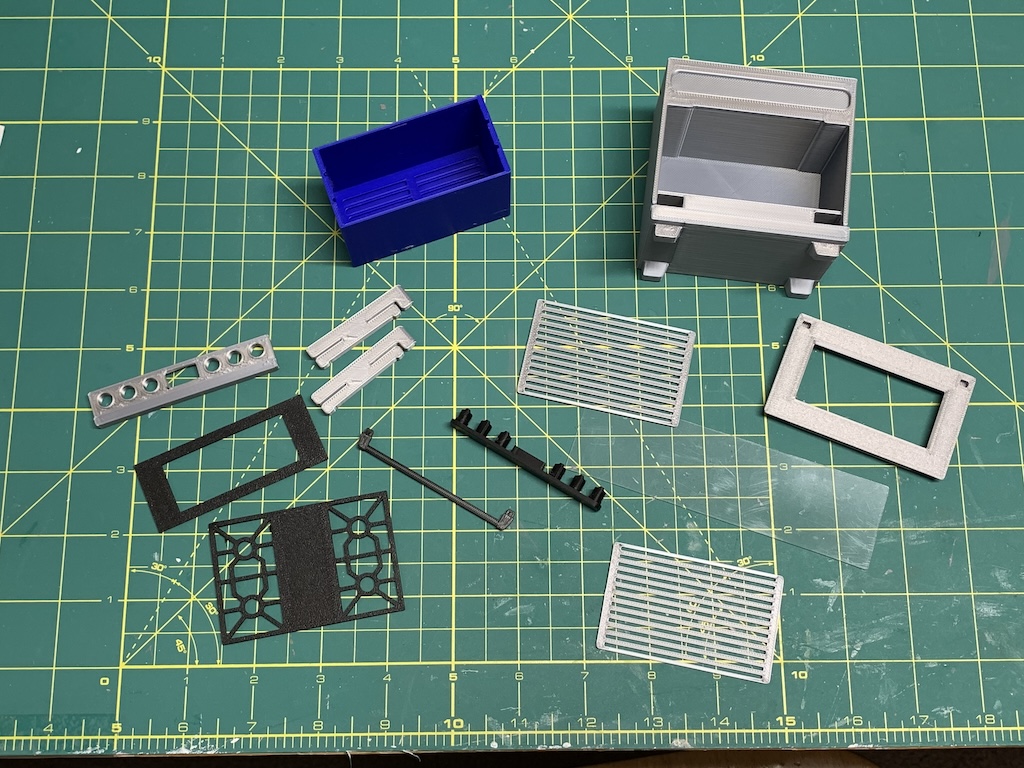
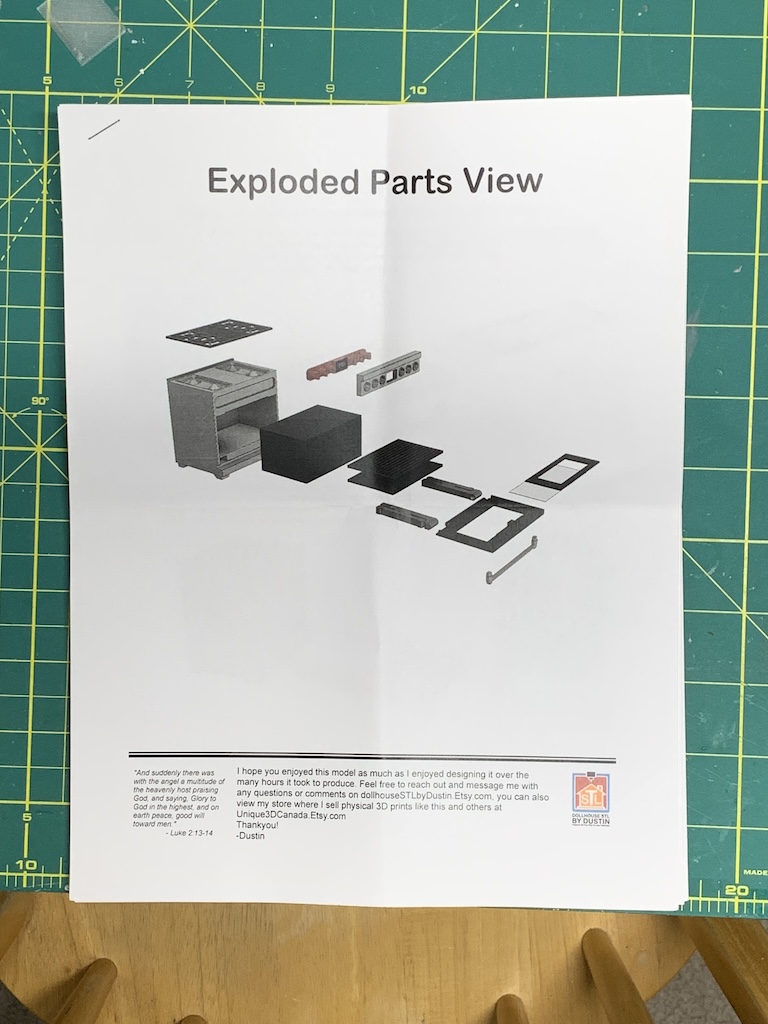
I could easily see that the stove was going to be a much simpler build and to make it even simpler, it included a set of very detailed instructions with many helpful hints.
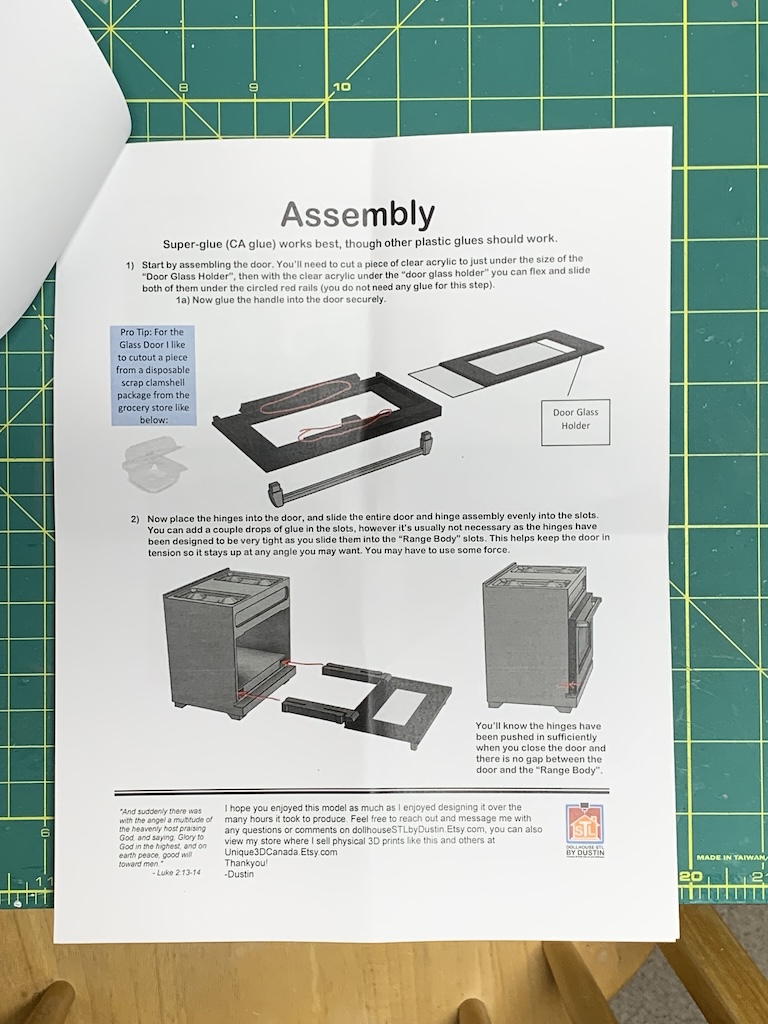
The first step was to assemble the door and then slide it along with its two hinges into the bottom of the stove. The instructions noted that a good bit of force might be needed to slide the hinges in and sure enough it did. But I never worried about breaking them as they were made quite sturdy. And as indicated in the notes, the hinges held the door tightly so that it could be opened and left at any angle desired.
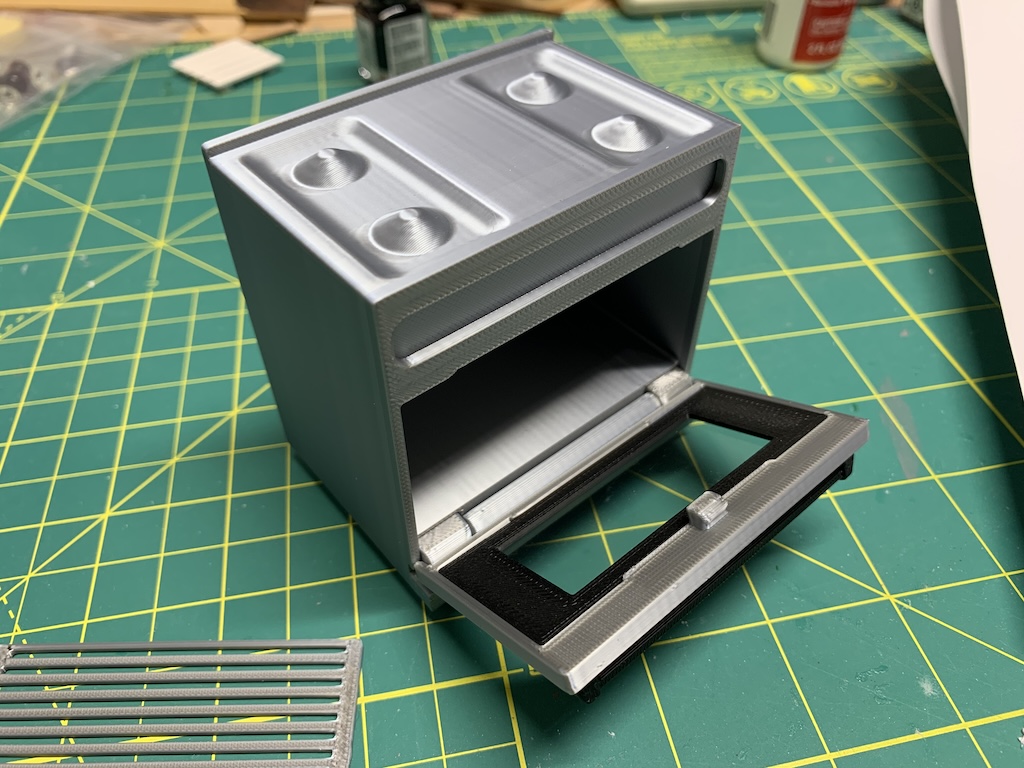
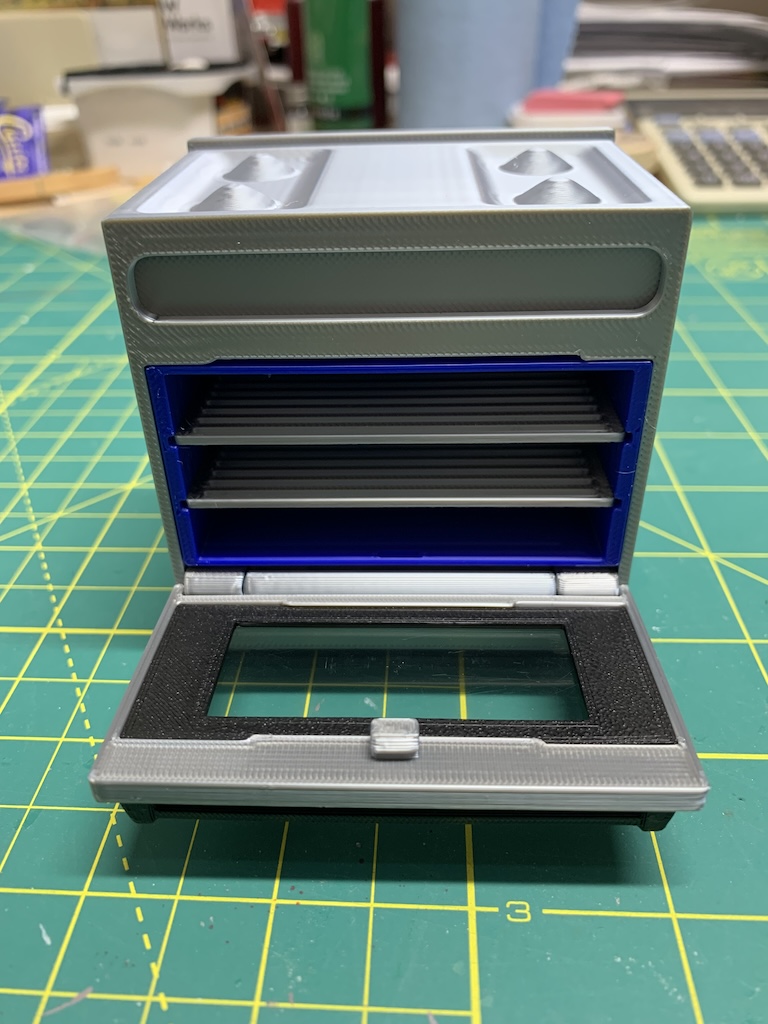
The blue stove interior was next glued in, and the two racks slid in nicely. The instructions even included a special note that it might be necessary to sand down the door latch (small grey block at top inside of door) and indicated how to sand it. Sure, enough I did need to sand it a bit and then the door easily snapped securely in place.
The last steps were to glue on the controls and the cook top. I painted the center of the control knobs red as my sister had done on her stove. And the instructions also included the clock display in several font sizes to accommodate different printers along with helpful hints of how to attach it.
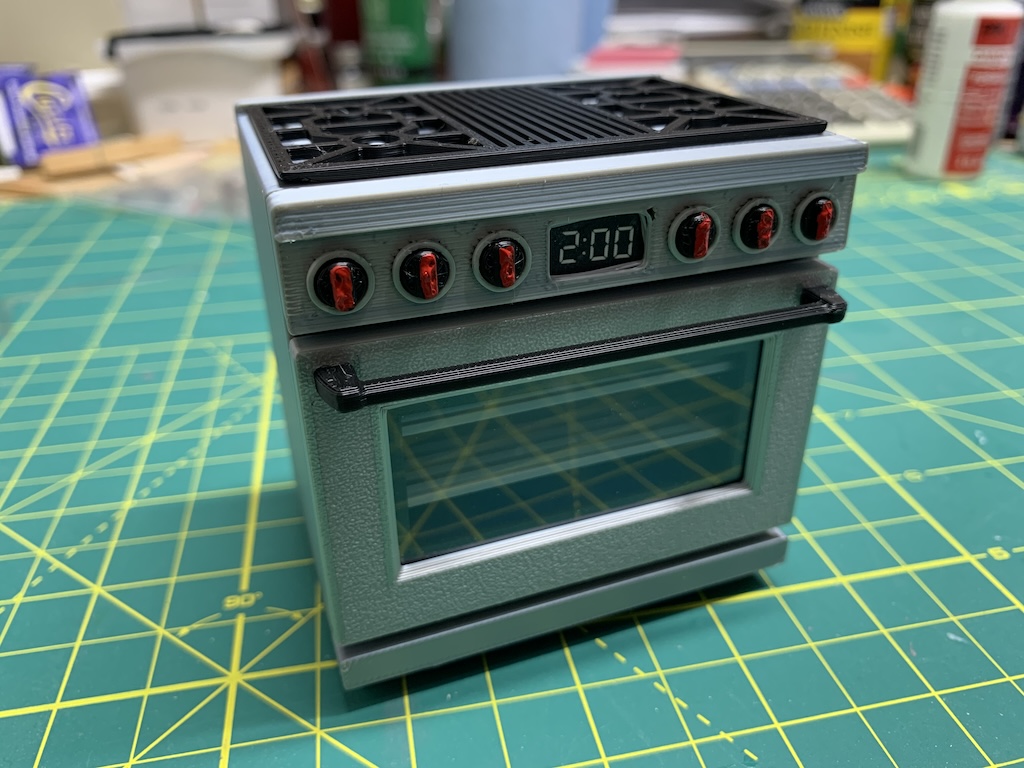
I was most pleased with the finished stove and its ease of assembly! Thanks again to the creator and my sister for printing it for me. With the stove now complete and a useable fridge, I could begin in earnest to build my kitchen cabinets.

With the actual refrigerator and stove, I could place them on my previously drawn-out floor plan but immediately saw I had a problem.
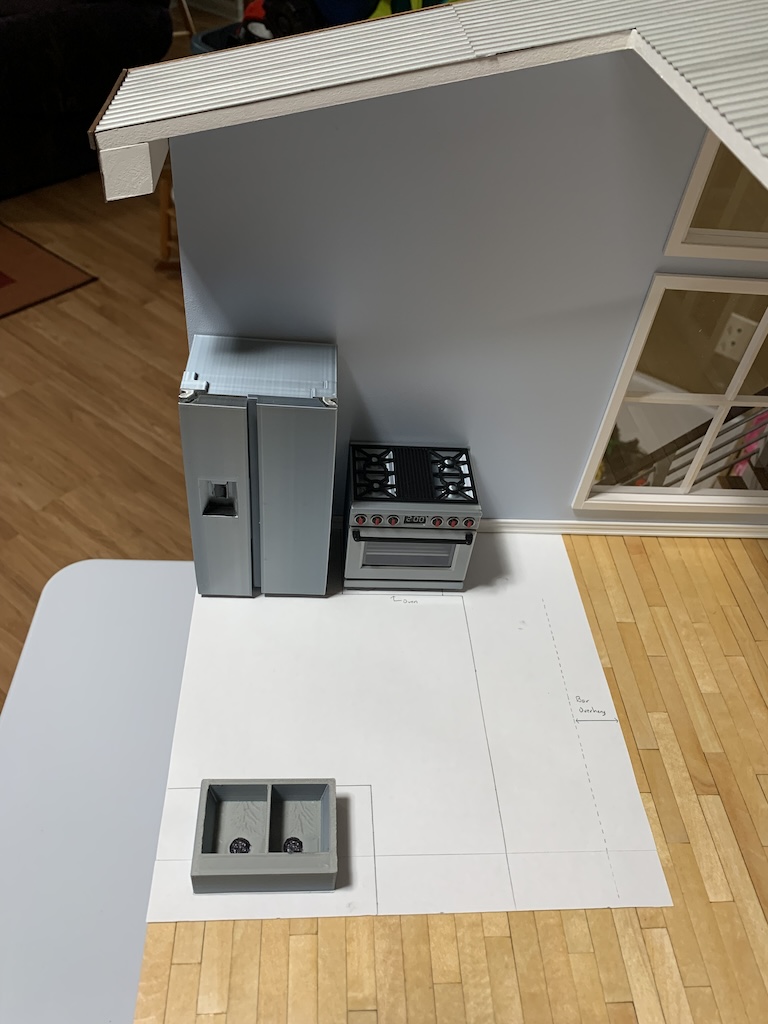
When I originally drew up these plans, I assumed the eventual appliances would be similar in size to the ones I had put in my Craftsman style kitchen. When my sister showed me the ones that she could 3-D, I loved them. But I did not realize they would be bigger.
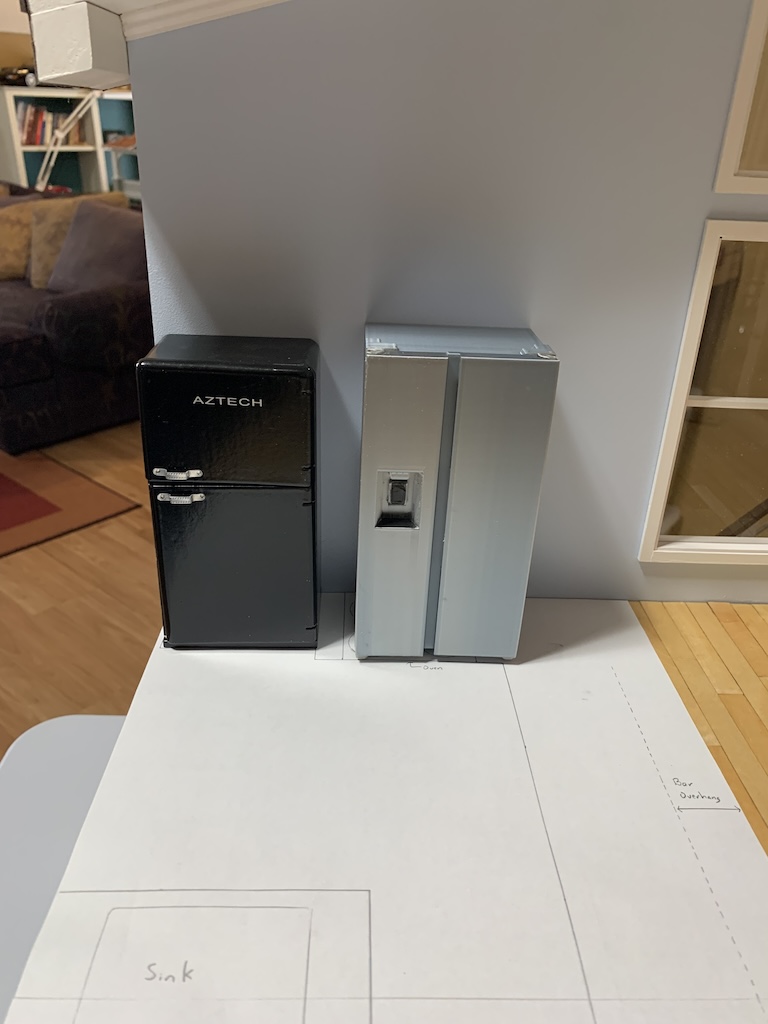
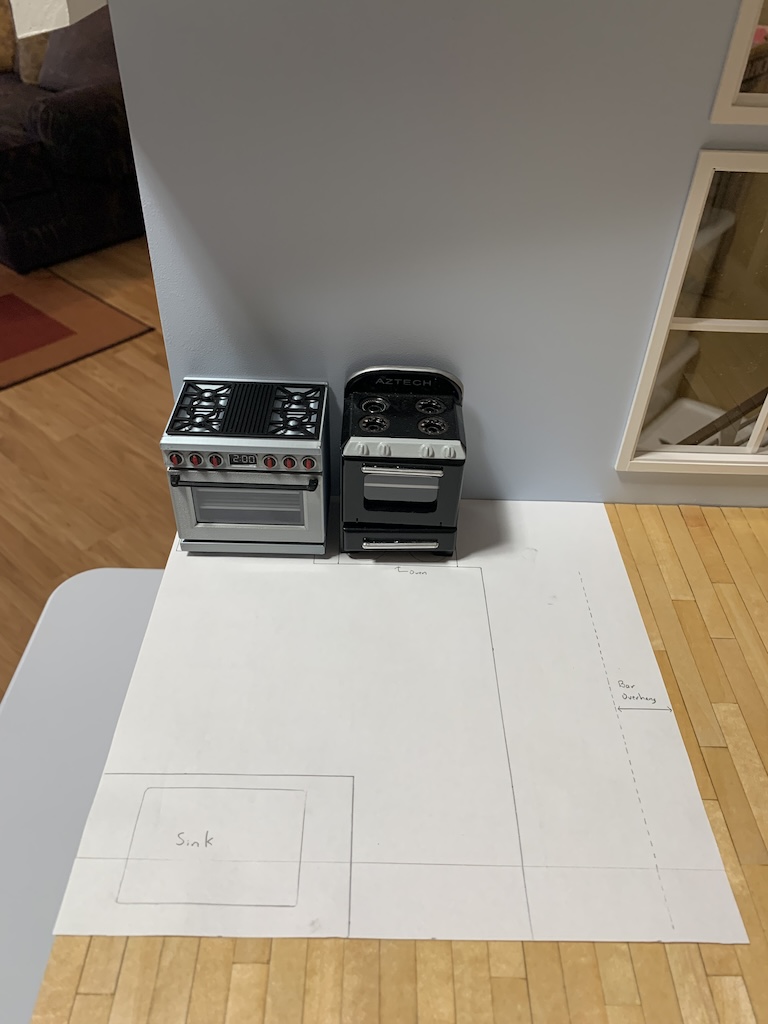 I tried several different kitchen configurations. I considered not having the stove and fridge on the same wall, but it seemed odd to have one not on the wall. Looking back at my full-scale kitchen I was going to model, I even considered having a similar open look-through to the front of the loft with either the stove or fridge at the right side away from the wall (where the post is in the full-scale kitchen).

But this would enclose part of the kitchen when what I really wanted was an open floor plan. After pondering it for most of an afternoon, I finally came up with a possible solution that kept the stove and fridge on the wall. And thinking a 3-D rendering would help me decide, I drew up how it would fit on the wall with above counter cabinets as well.
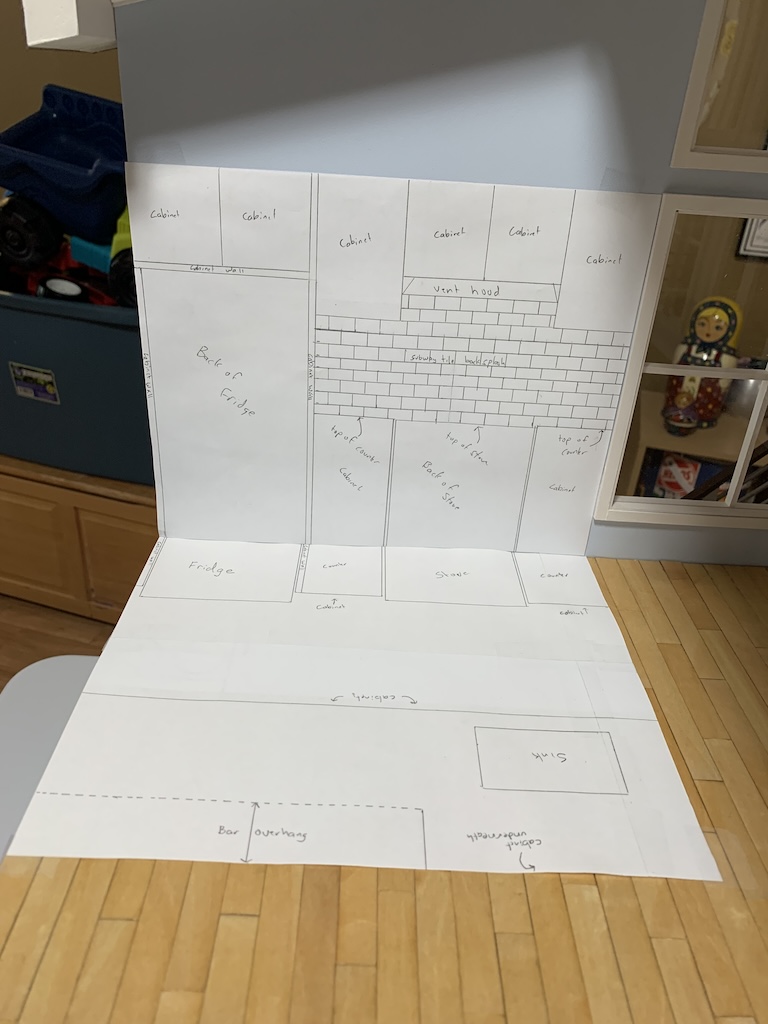
Now I was ready to really begin building cabinets.
I really liked the smooth white finish of the full-scale kitchen I was modeling but I knew I could never achieve that nice a finish on basswood even with numerous sanding steps and multiple coats of white paint. So off to the hobby shop I went. There I found sheets of glossy white polystyrene as well as thin strips along with all the basswood I would need.
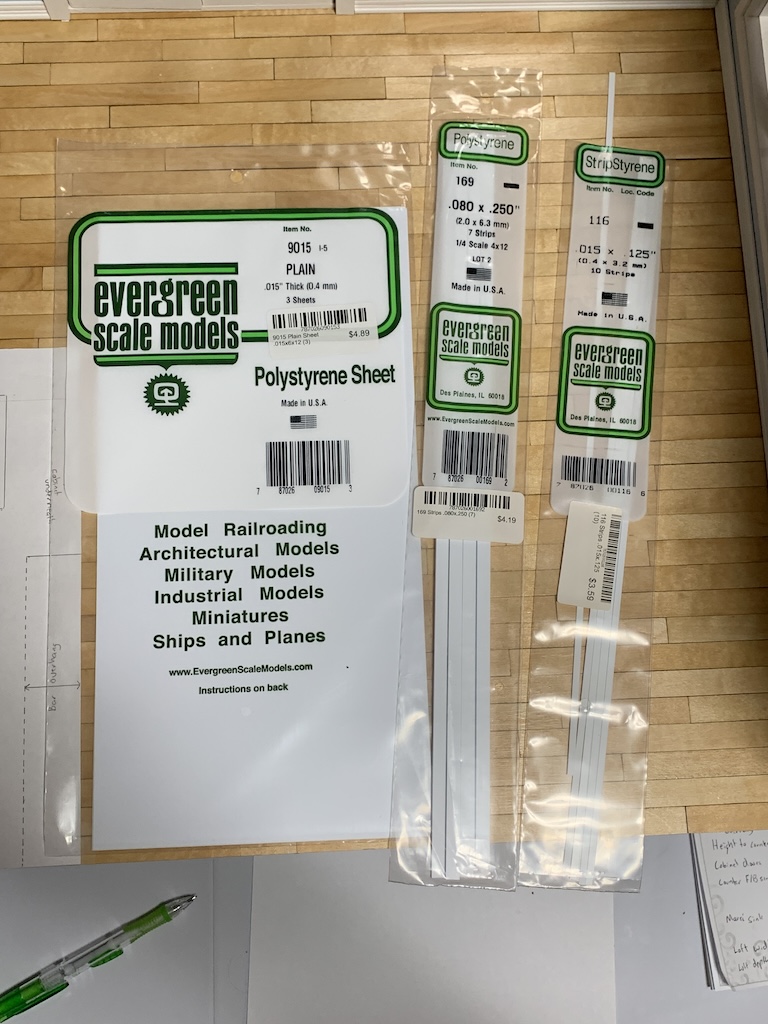
I decided to start with the cabinets on the wall and using 1/8” basswood, I first made an enclosure for the refrigerator.
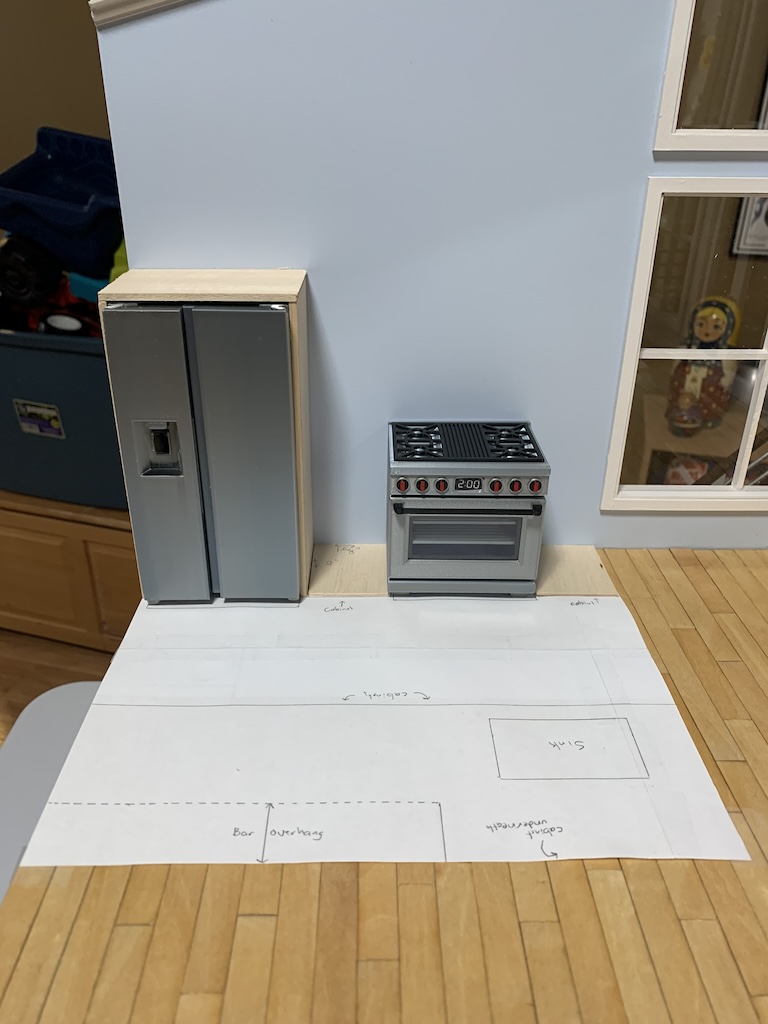
I then added the cabinet above that enclosure using 1/16” basswood.
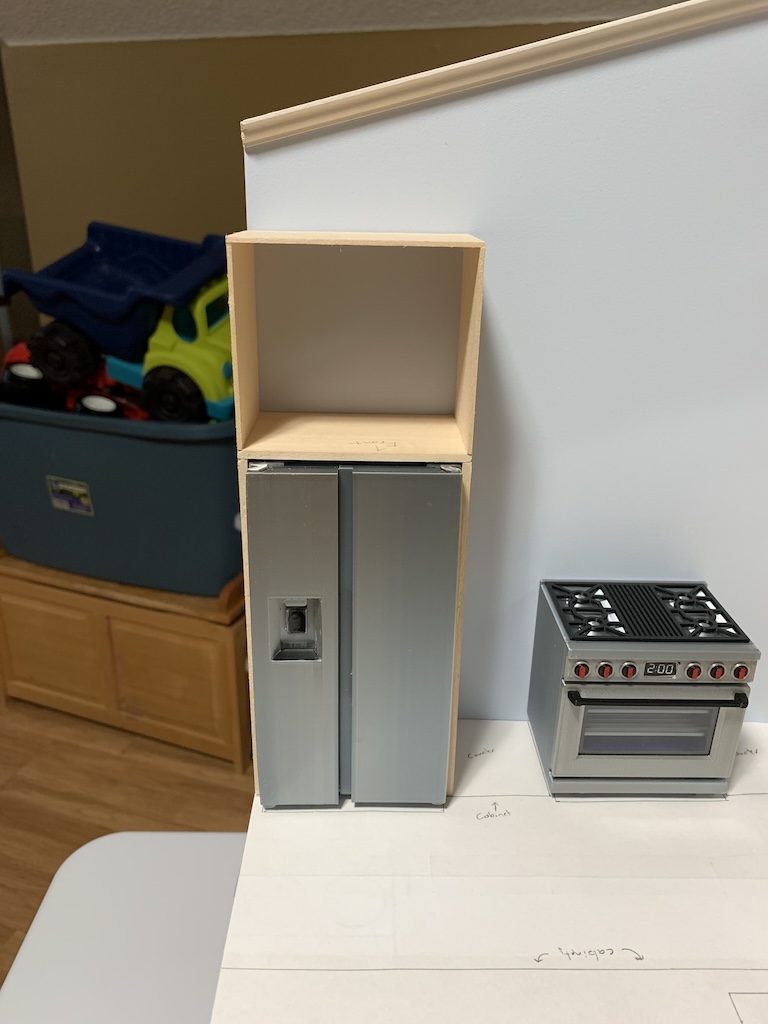
Similar to the cabinets I built for my Craftsman style kitchen, I did not plan on making the cabinet drawers and doors functional but rather fixed. My reasoning before as with this garage loft was that I would not be playing with it, so look was all that was important. And as I learned when I made cabinets for my sister’s doll house kitchen, making them functional added a lot of frustration. To accommodate the doors, I just needed to add basswood to which the doors could be glued.
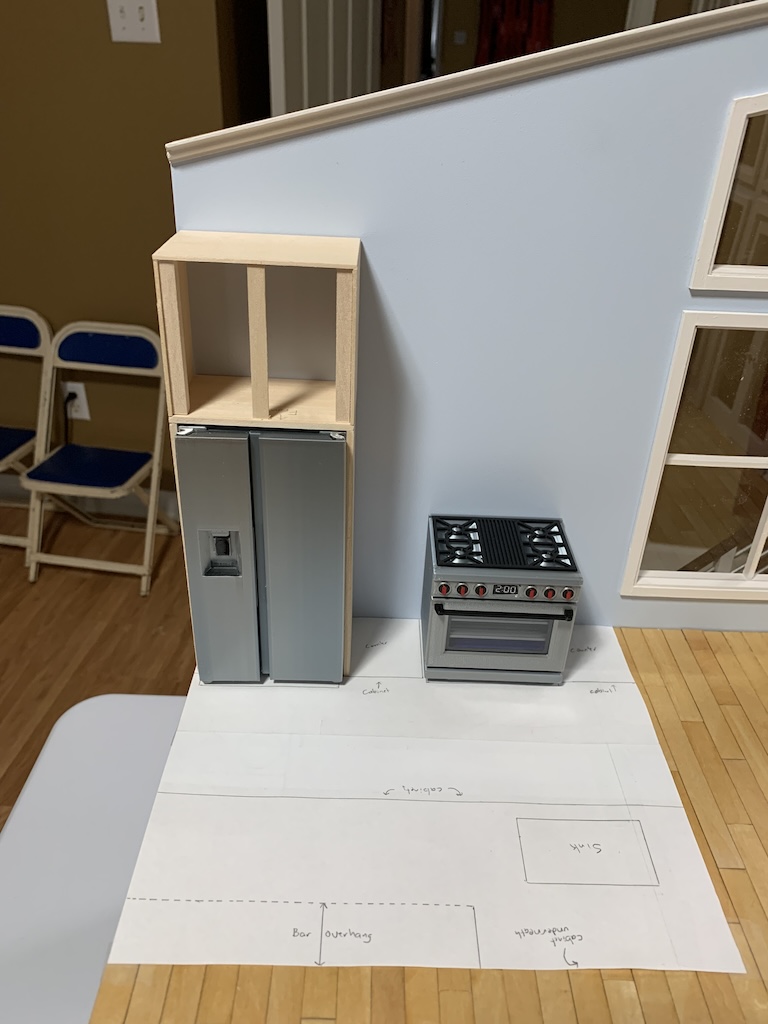
Now I was ready for what I anticipated being a challenging activity—attaching the polystyrene sheets and thin strips to the cabinetry. I first built a couple of practice doors to see whether it looked better to have the wide side overlap the thin front strip or have the thin front strip overlap the wide side. When I compared the two, it seemed to me that there was less of a visible gap when the thin strip overlapped the side.
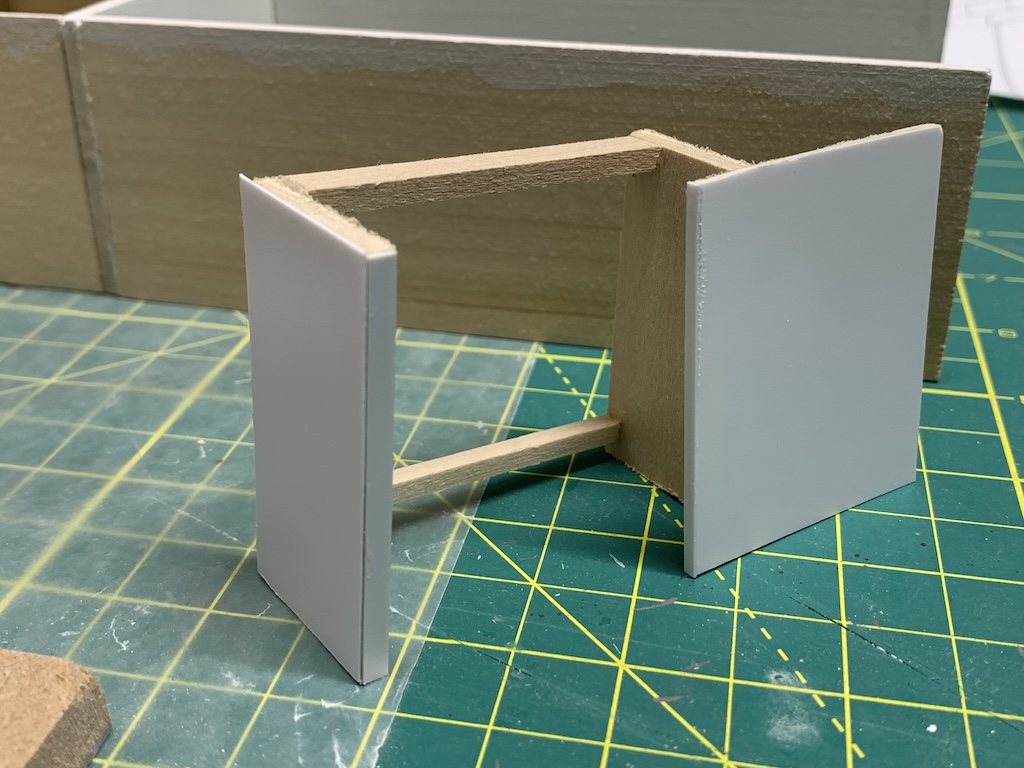
So that meant I would first attach a wide sheet of polystyrene to the side of the cabinet, trim it to the correct size, and then attach the thin front strips.
To be continued…
Categories


I am loving this miniature furniture series! So clever and beautiful! Good work, Mare and Dave!!!
Thanks but it was really Mare that found them online and printed them for me.
Looking at the unassembled pieces of your stove – and also for your fridge last week – with all the snapping and gluing required for assembly, I was reminded of the days of old when you bought plastic car models to build. And your use of all that basswood points back to your prior passion with wooden airplanes as well. Seems the building and furnishing of these doll houses in your retirement is the culmination of your lifelong love of these creative hobbies! Well done!
Thanks Bro! Yes you hit the nail on the head as I have always loved building models and these are allowing me to continue that fun!
(And one funny note: in two of your pictures – when you added the 3-D drawing design and then placed the fridge and stove in their places – gazing through the window is a little girl Russian nesting doll, who is looking longingly inside, as if she would love to live there! Me too! 😄)
Wow I had not noticed that but yes it would be fun to live in this scale world.
It is amazing what 3D printing has done for the miniature world. Your work is most impressive. Will there be food in the refrigerator when it can open?
Thanks Betty! Yes indeed with 3D printing! I had not thought of stocking the fridge so that’s a great suggestion! Hope y’all are having a fabulous time in Pentwater.
It’s been wonderful, David! Hope you have a great week!
You too! Look forward to reading about your time there.