
LEGO Shopping Street
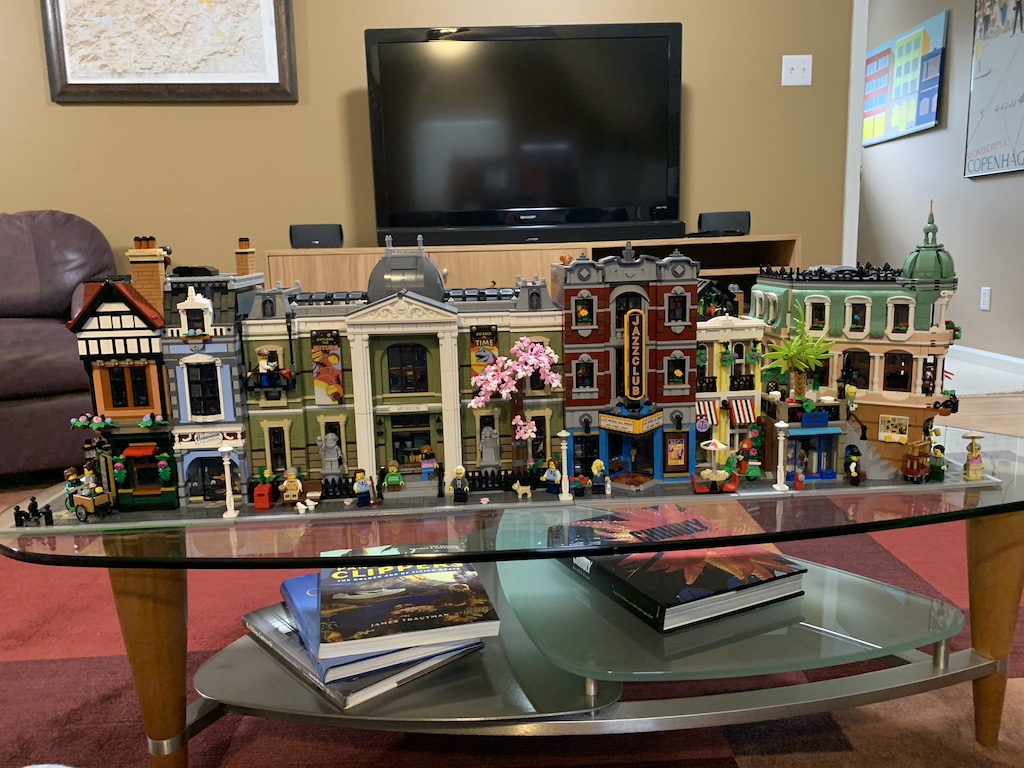
It has been over a year since I finished the LEGO Tudor Corner and added it to my block of Modular Buildings. The LEGO company releases a new one each January, and I had been looking forward to the 2026 release, the 21st of this series. But once again, just like with the Tudor building last year, when I saw what it was, I hesitated before buying it.
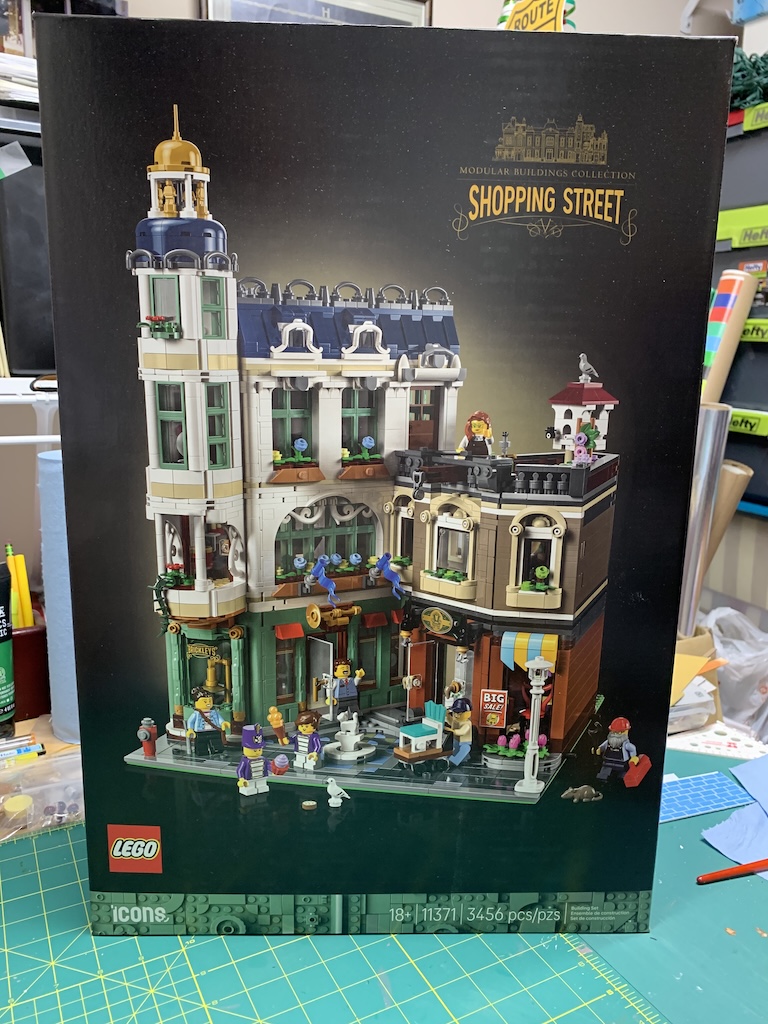
Admittedly, after 20 different buildings, I can see how the creators may be running out of new ideas. I debated my purchase for most of January but then before the end of the month, I decided to take the plunge. My rational was I missed putting together the buildings. But I did make one slight change, that only a perfectionist would probably do.

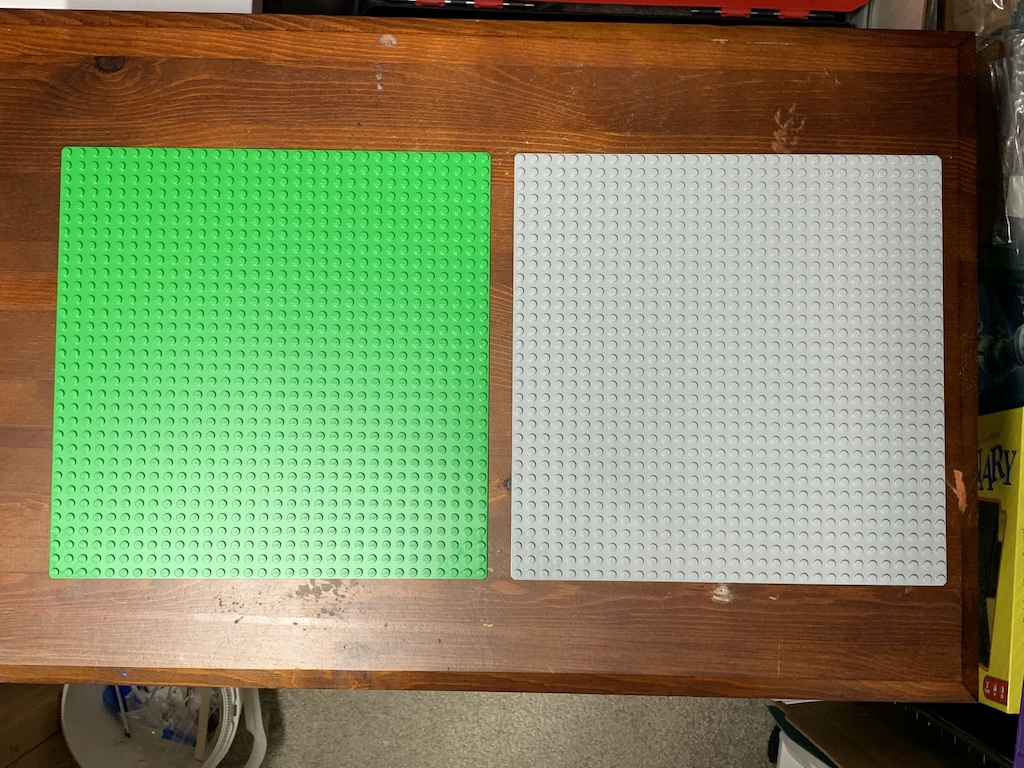
One of the things I disliked about the Tudor Corner and honestly did not understand why it had been packaged this way was the base plate was bright green (visible at the very bottom). The previous buildings I had done all came with a light, grey-colored base plate. To me, the green stuck out like a sore thumb.
Since the Shopping Street also came with a green base plate, I additionally purchased a light grey base plate to use instead.
In April, once I finally had the time to begin building, I opened the box and found 24 numbered bags inside.
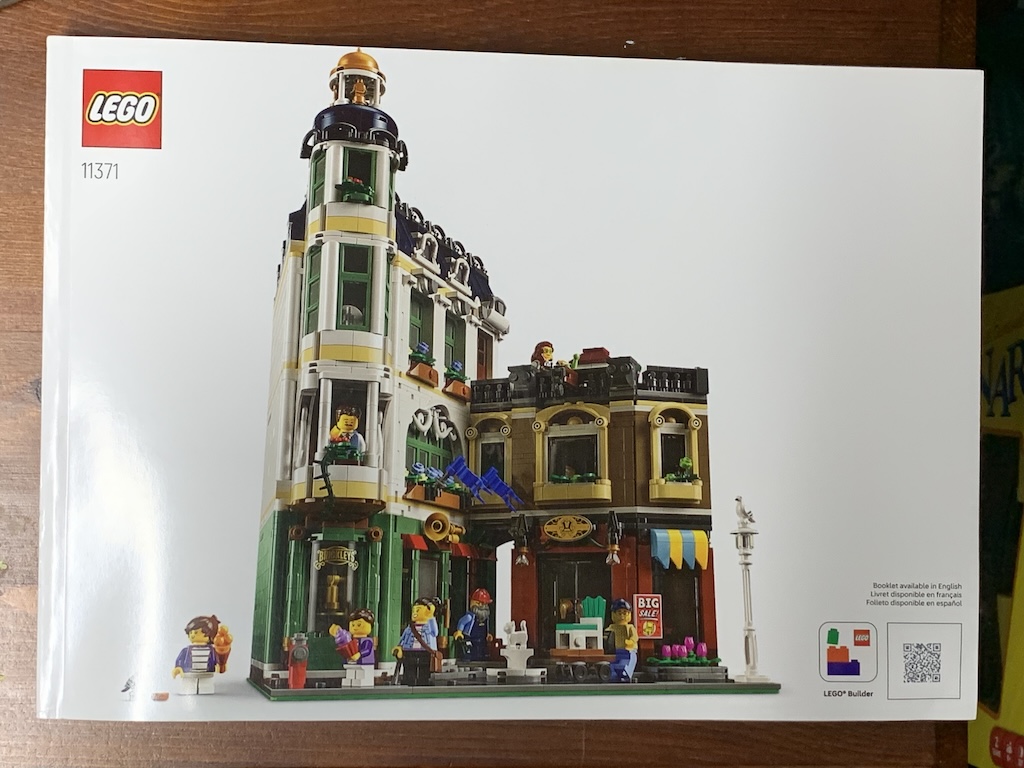
Opening the over 400-page instruction manual, I was eager to begin my fun! I chose to follow the manual rather than using the LEGO app even though the app has some interesting animation. The manual includes little blurbs that point out hidden features that the app does not include.
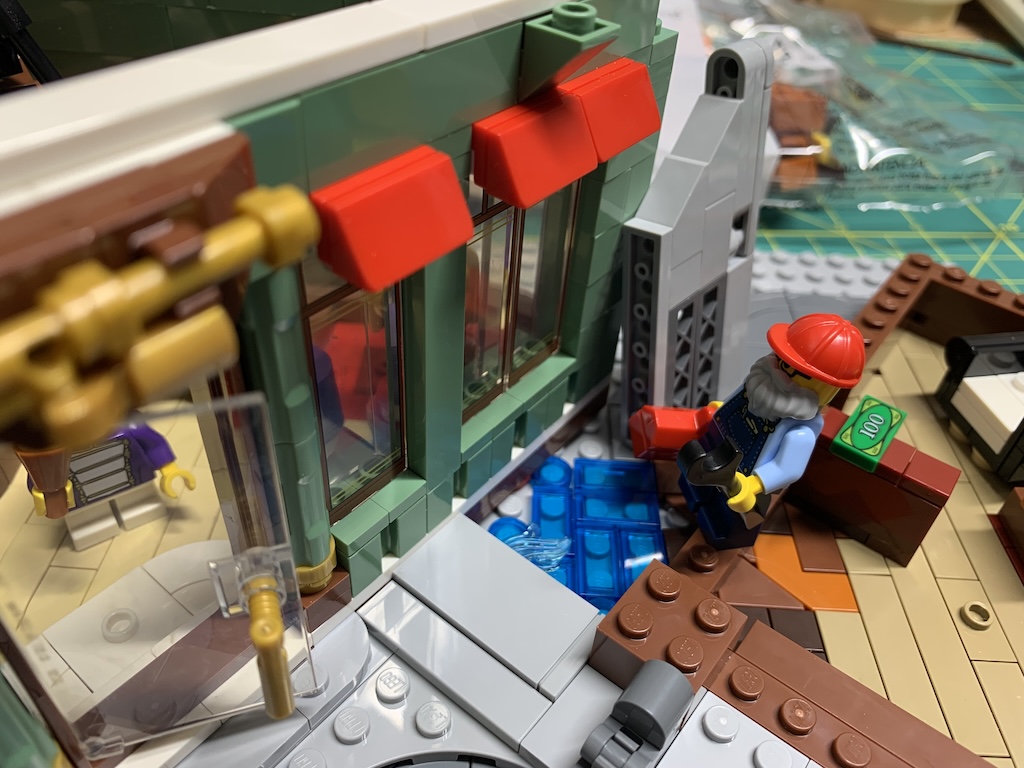
With 24 bags total, I decided to do no more than two a day to spread out my building enjoyment over multiple days. After finishing off the first two bags, I had the sidewalk and ground floors of the two buildings complete. And if you are wondering what those blue tiles are in the middle, the manual explains that is water leaking out which will need to be addressed later.
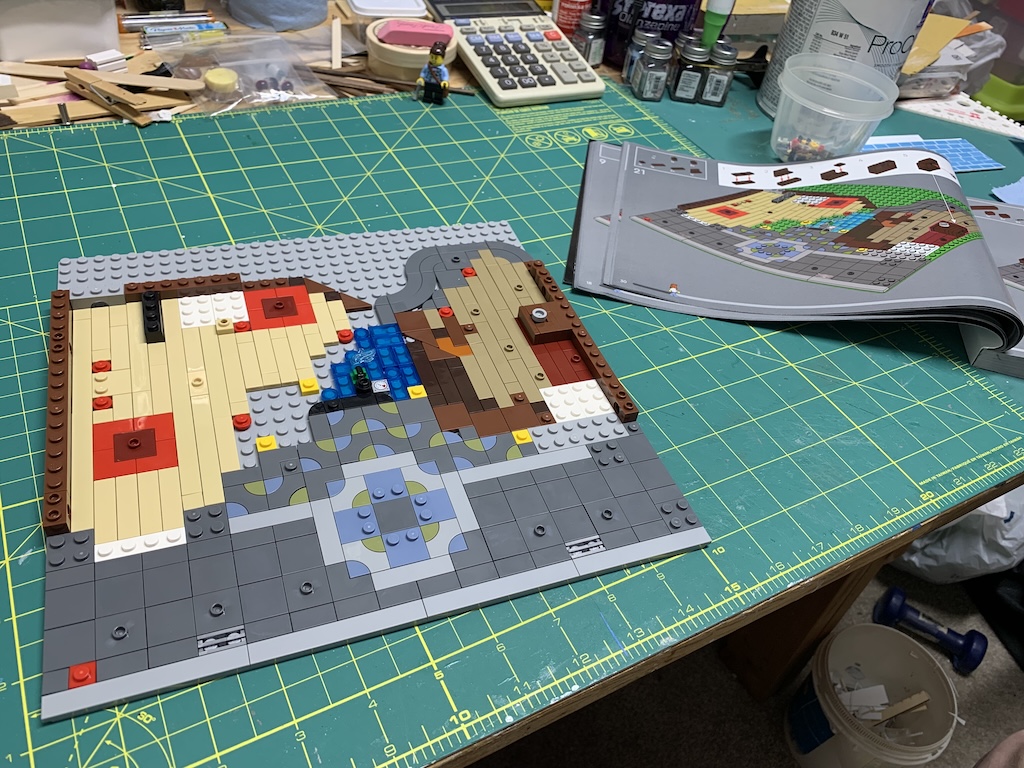
As I started on the next two bags, the first thing I did was build that interesting staircase that spiraled up to the second floor. But I had no idea what that brass-colored thing was hanging on the wall. But once I made the white tuba, I realized I was building a musical instrument store.
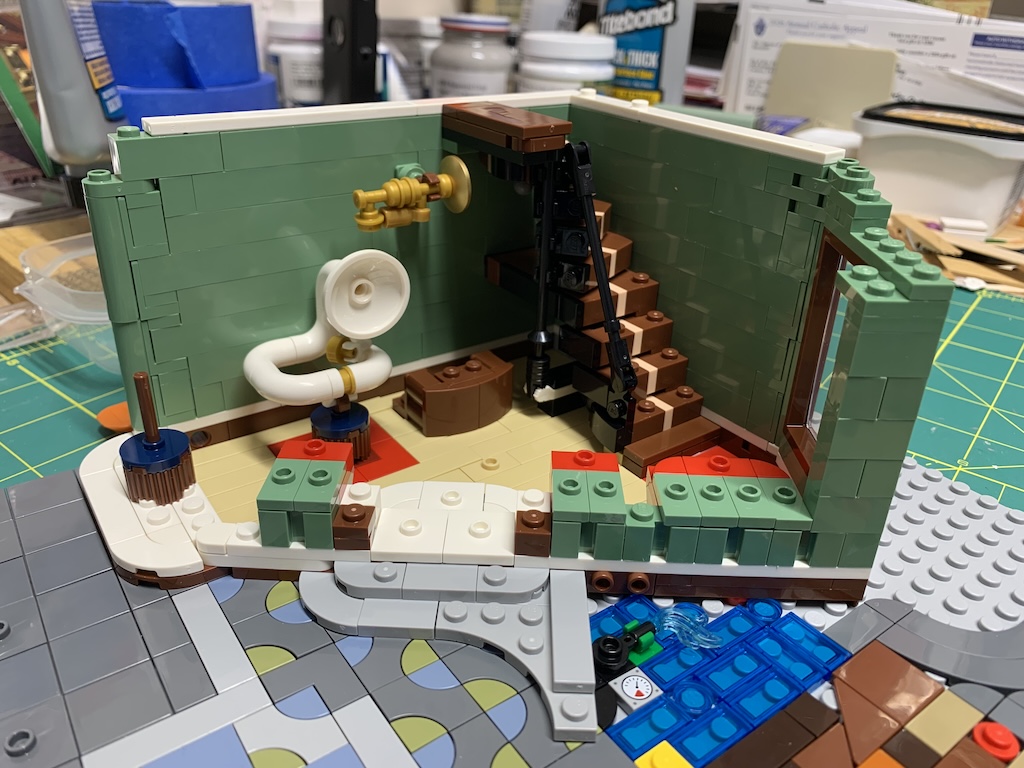
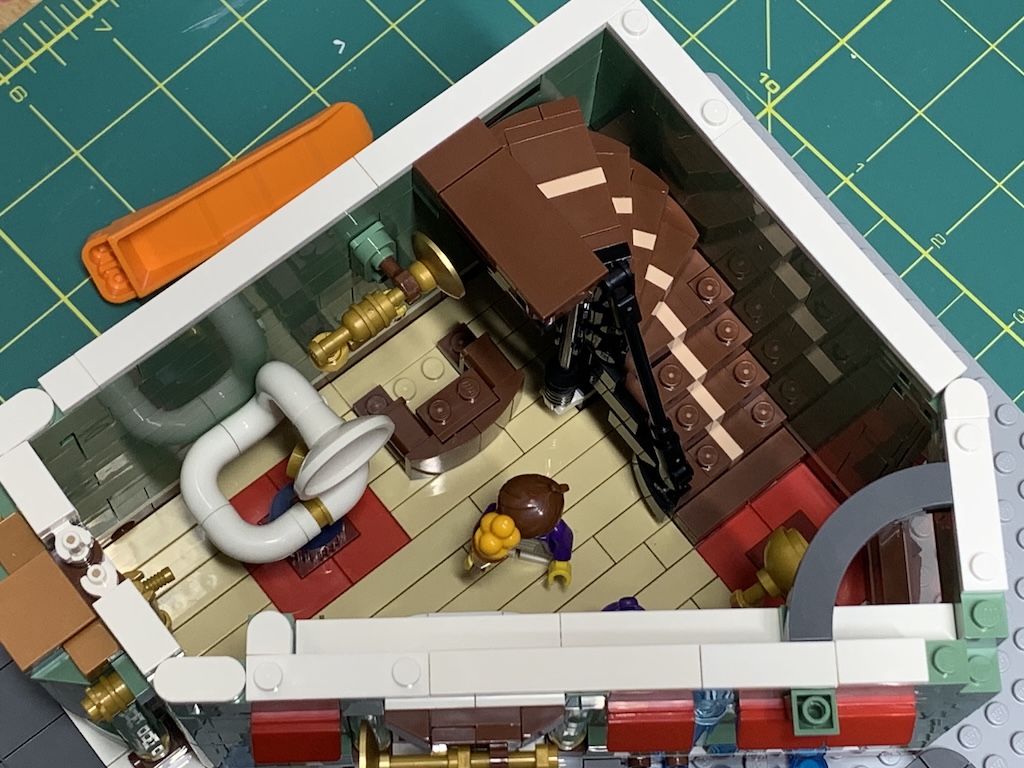
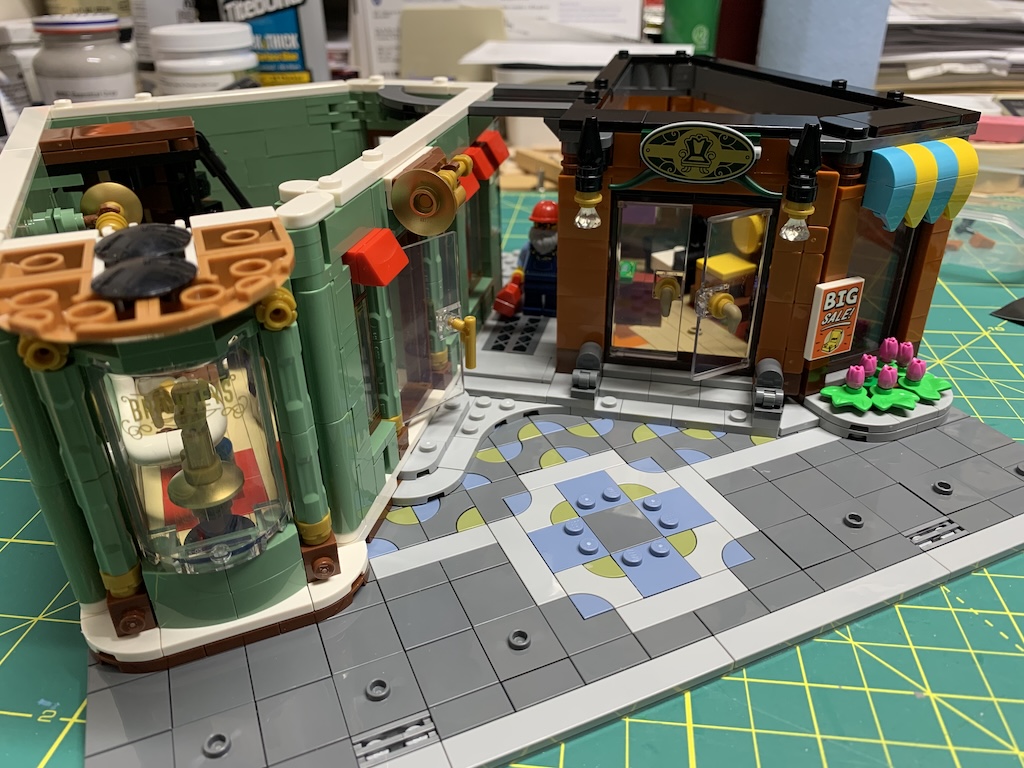
And as I finished off bag #5, I had the completed store.
In bag #6 as I began to work on the adjacent building, I found that the plumber had shown up to fix that pesky water leak, now hidden under the sidewalk but still visible through the grate…
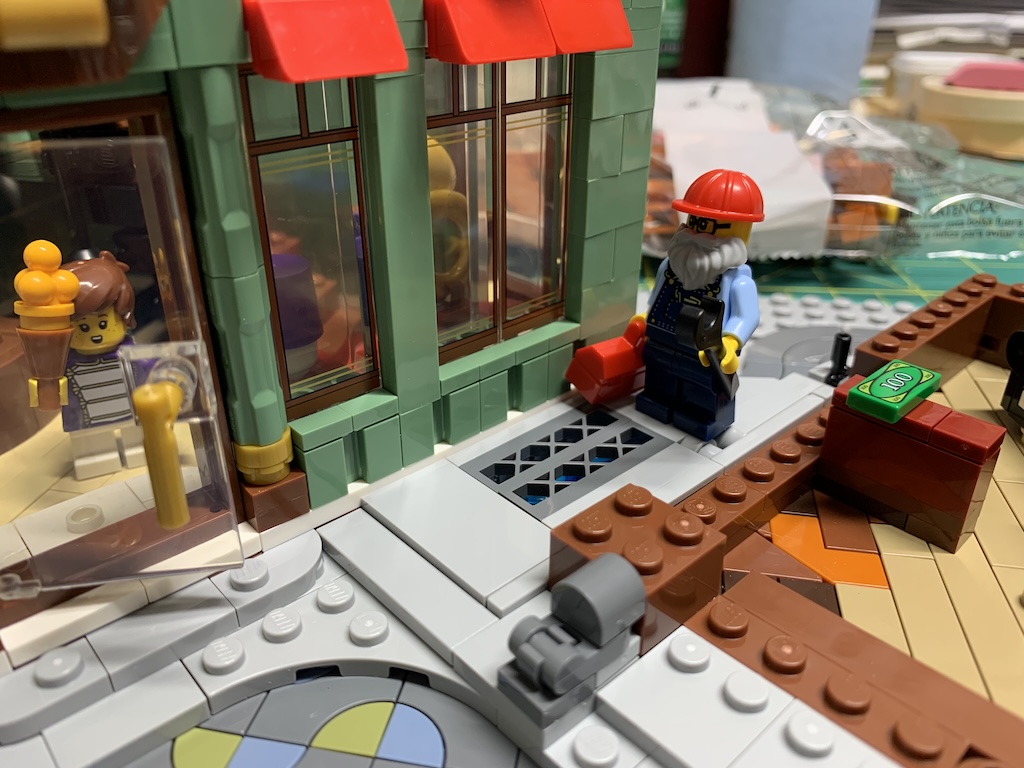
… which can be easily lifted up out of the way for the repair.
Then, before finishing bag #7, it was clear that the shop next door to the musical instrument store was a custom-made furniture store with very unique chairs inside for sale.
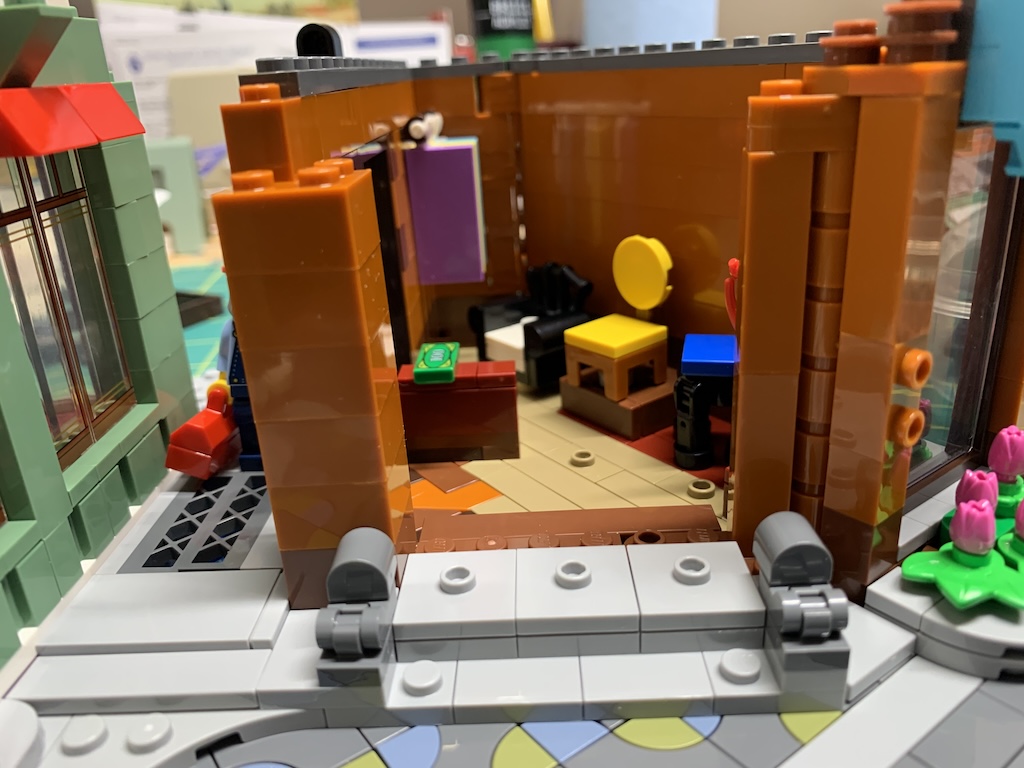
Reaching the 1/3 mark of my building fun with bag #8, I now had the two first floor stores complete.
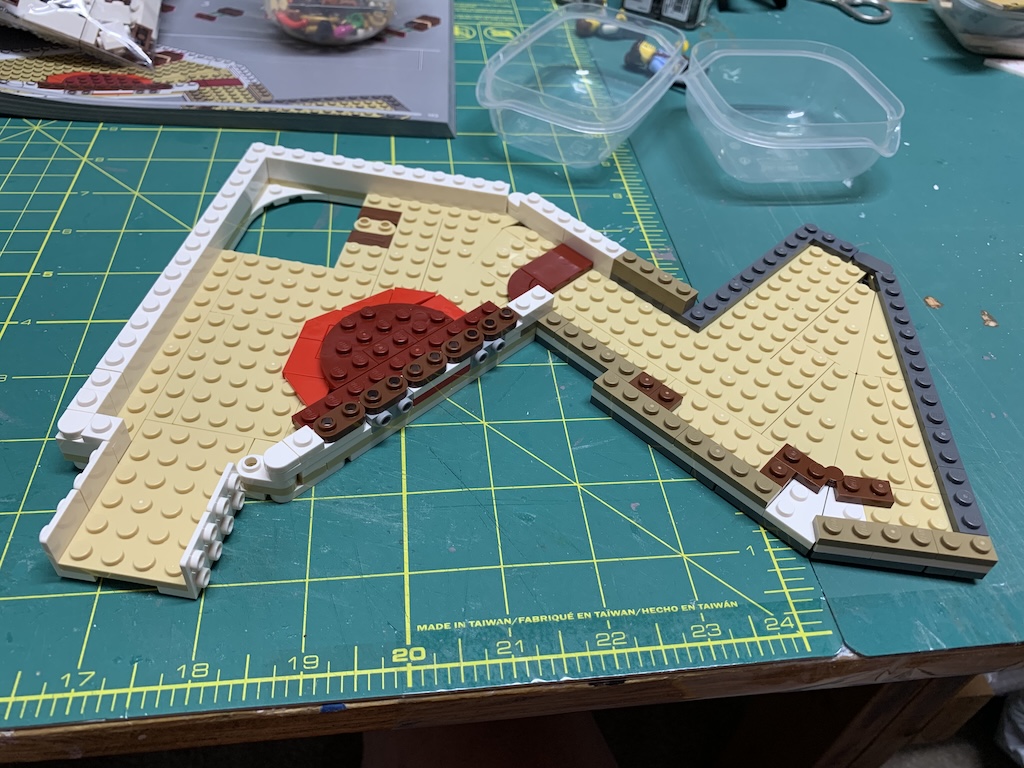
After finishing the next two bags, I had the floor complete for the second-floor rooms.
Once I had completed bag #11, I was again puzzled by what was on display as it was not explained in the instruction manual.
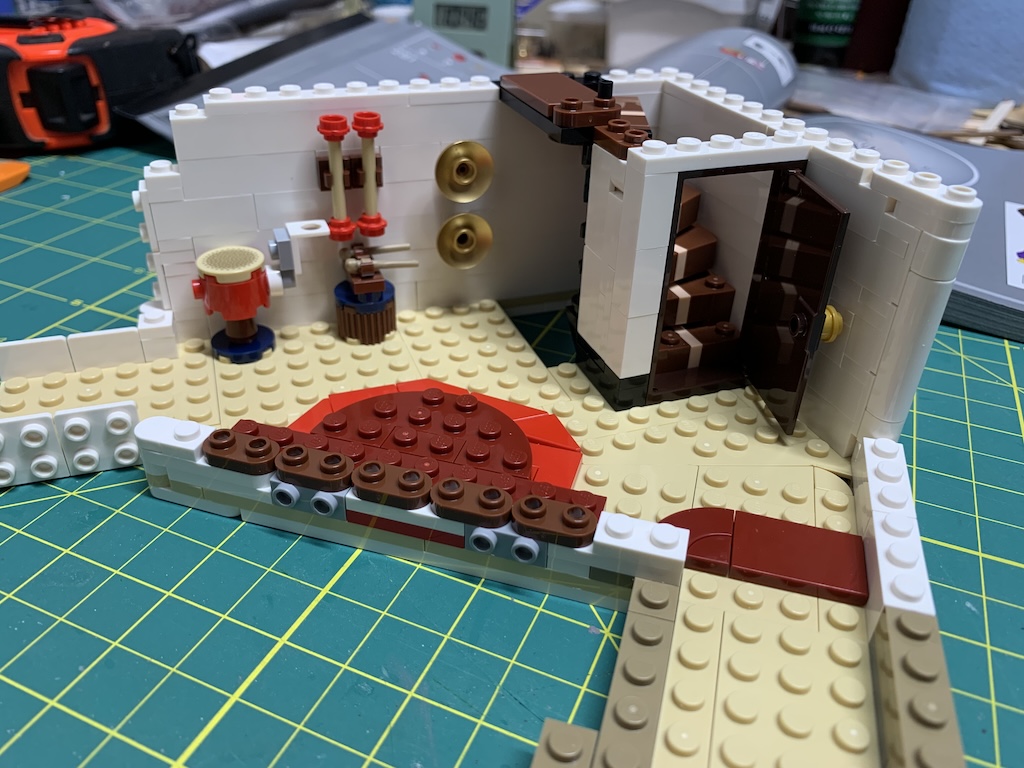
So, after reaching the halfway point with bag #12, I went to the LEGO website. There I learned the second floor was also part of the musical instrument store. That now made sense with the rods on the walls being twirling batons, the brass circles on the wall obviously being cymbals, and that’s a marching band drum on the floor with drum sticks nearby.
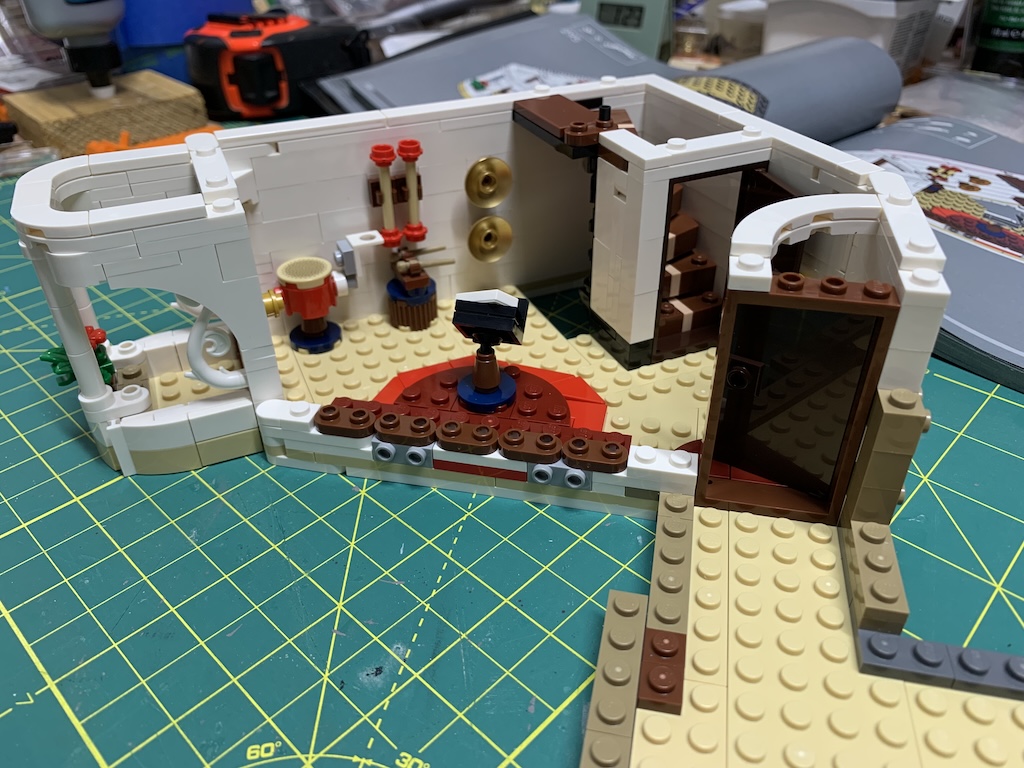
Continuing with bags #13 and #14, I learned that above the furniture store was the carpenter’s workshop where she makes her custom chairs for sale downstairs in her showroom. There is a chair on the workbench to the right with the next piece of wood to be cut in the vice attached to the worktable. What is not explained is that odd-looking wheeled contraption on the back corner (we are encouraged to guess, be my guest).
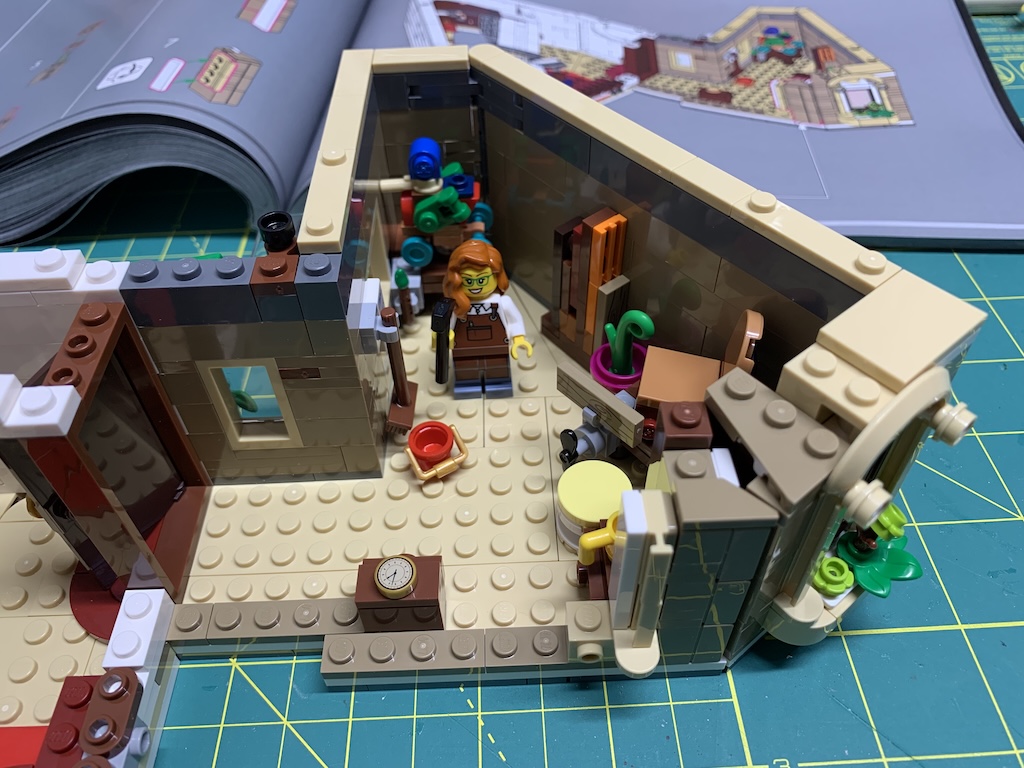
Once I had finished bag#15, the second floor was completed…
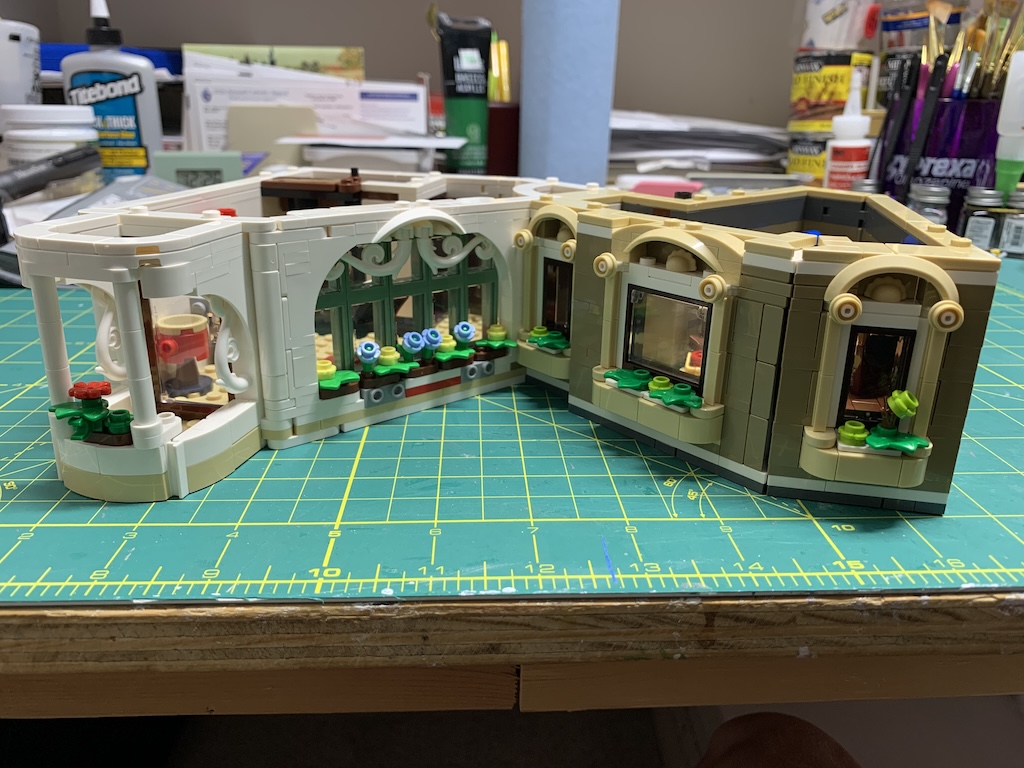
… and ready to be dropped on top of the first floor.
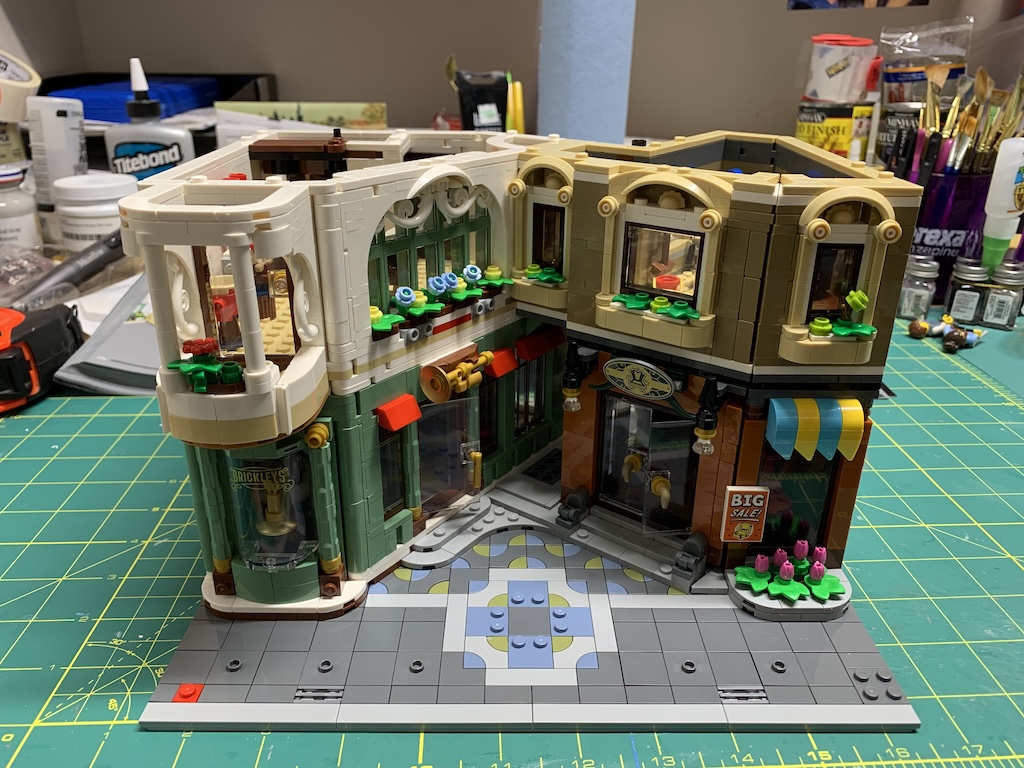
Completing the next several bags, I had finished the third floor which was a small bedroom above the musical instrument store.
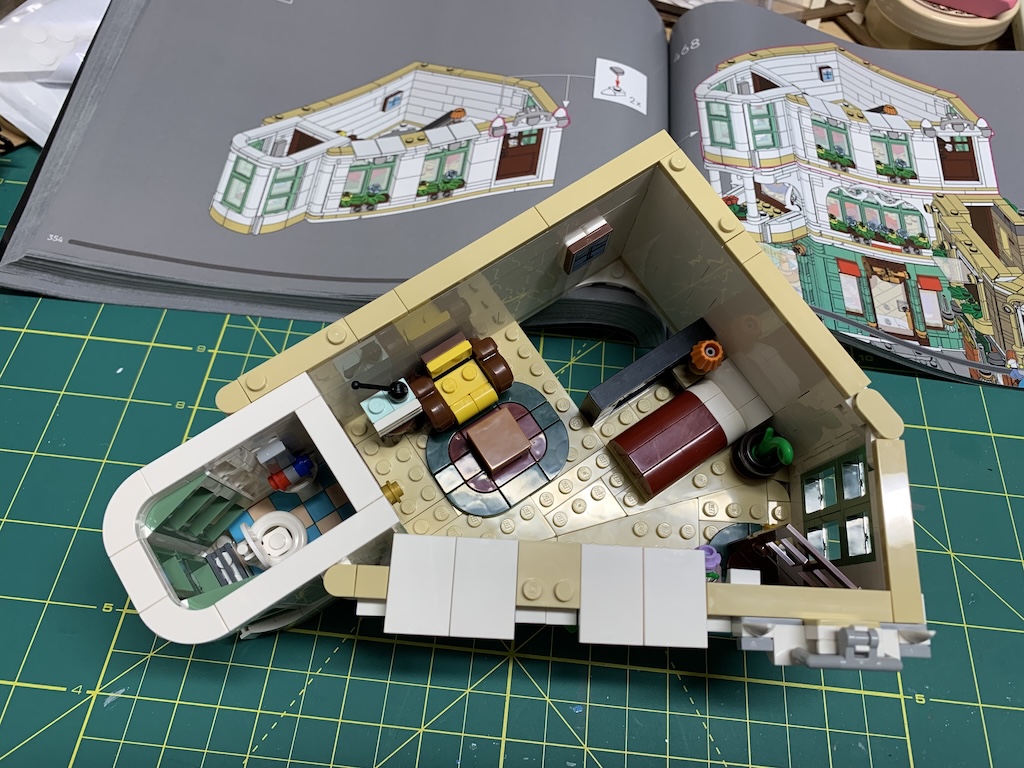
What seemed rather odd to me though was the placement of the one-half bathroom.
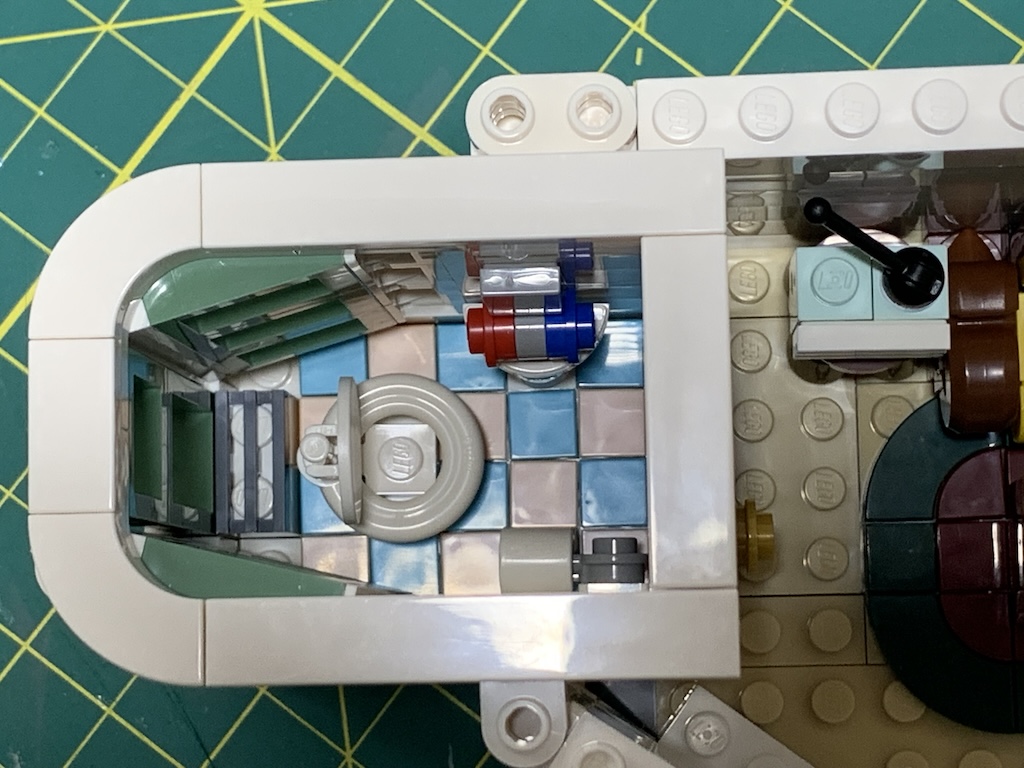
It is in a three-sided glass-walled alcove.
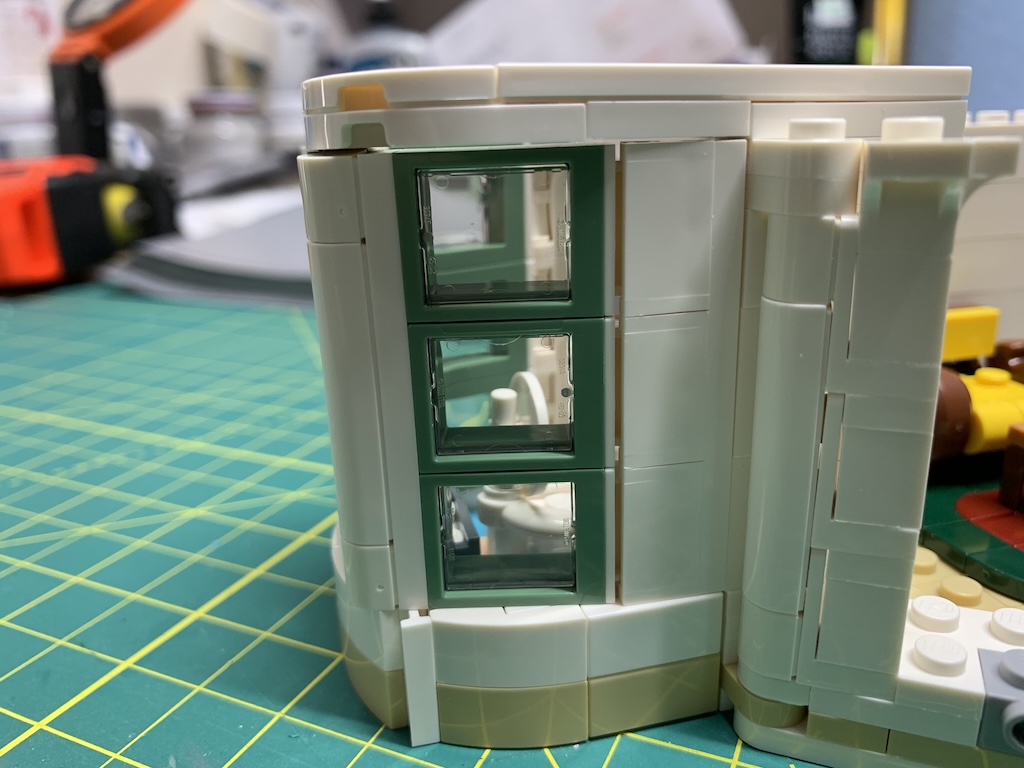
I suspect that decision prompted some very lively discussion during the planning committee meeting at LEGO headquarters for who would want to sit on the “throne” for all the world to see.
With the third floor complete, it could now be added to the main structure.
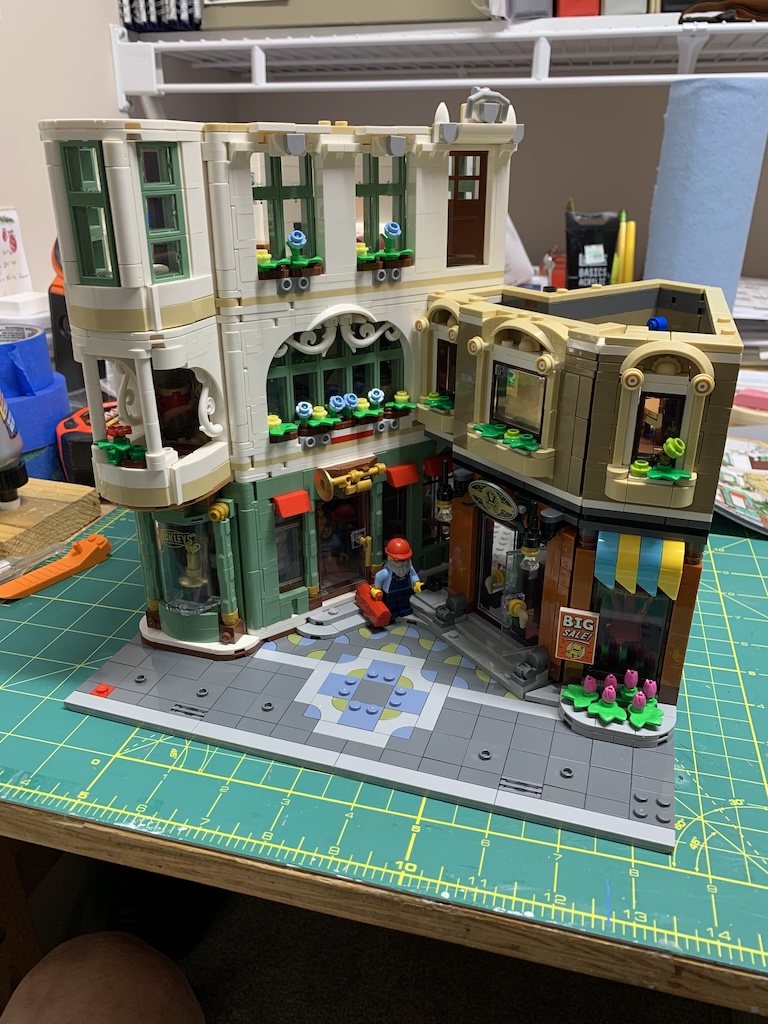
The next two bags completed the third-floor roof…
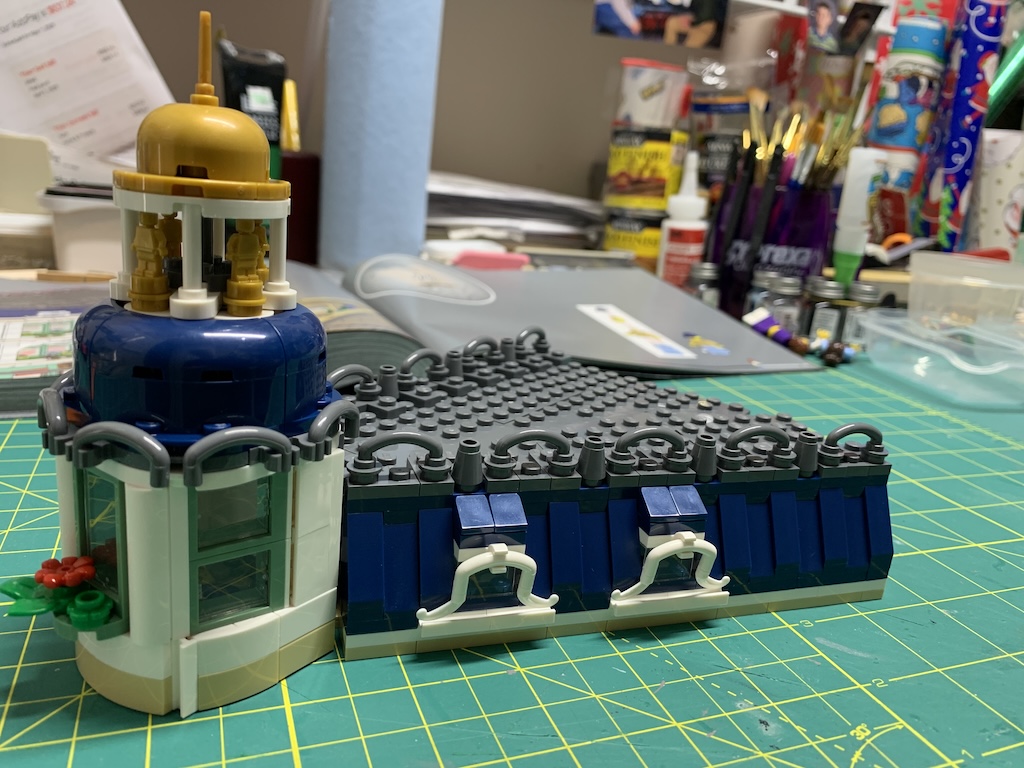
… which was a fairly complex two-sided Mansford structure with skylights.
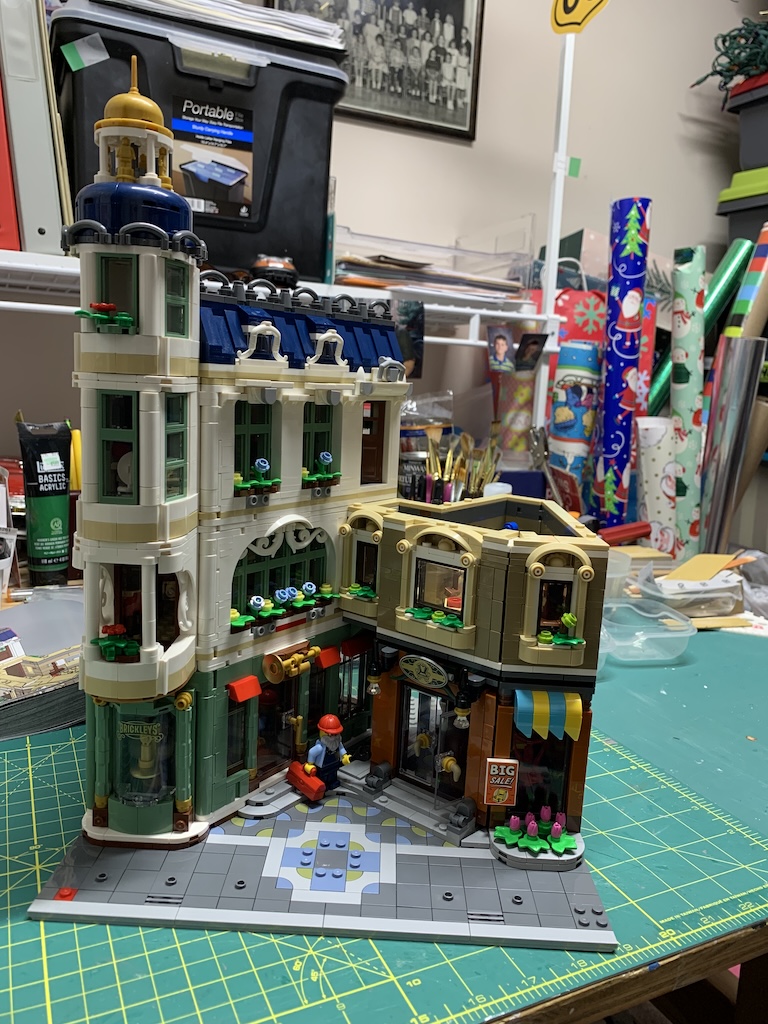
The last two bags finished the roof for the workshop…
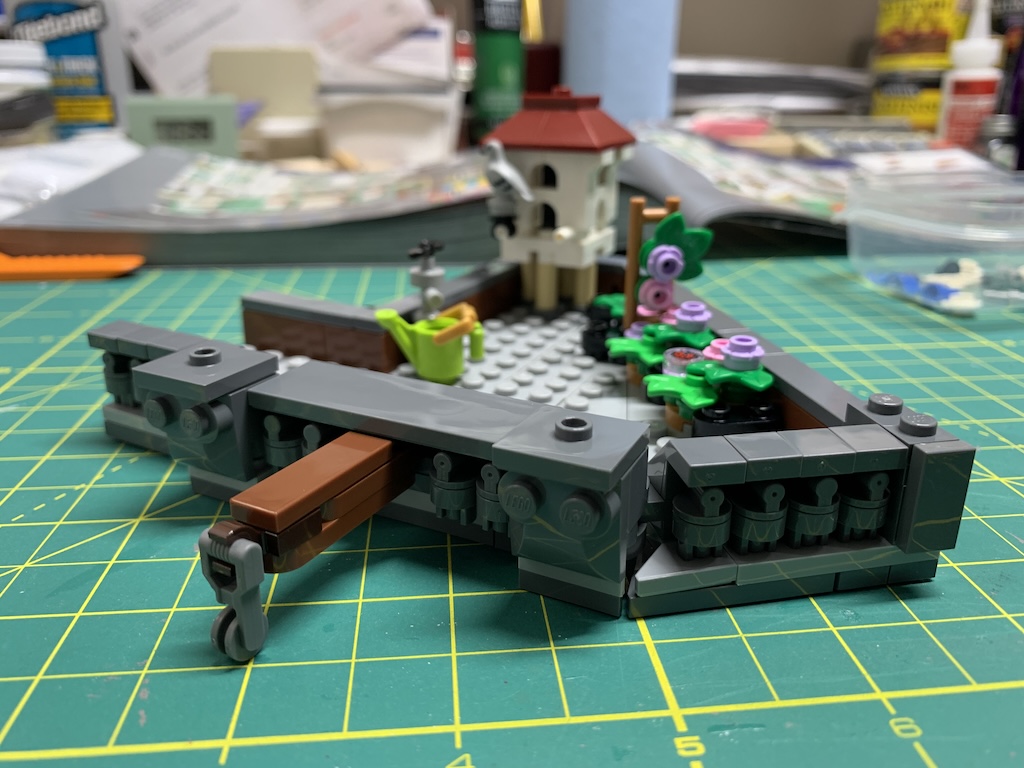
… and added a few other features to complete the shopping street.
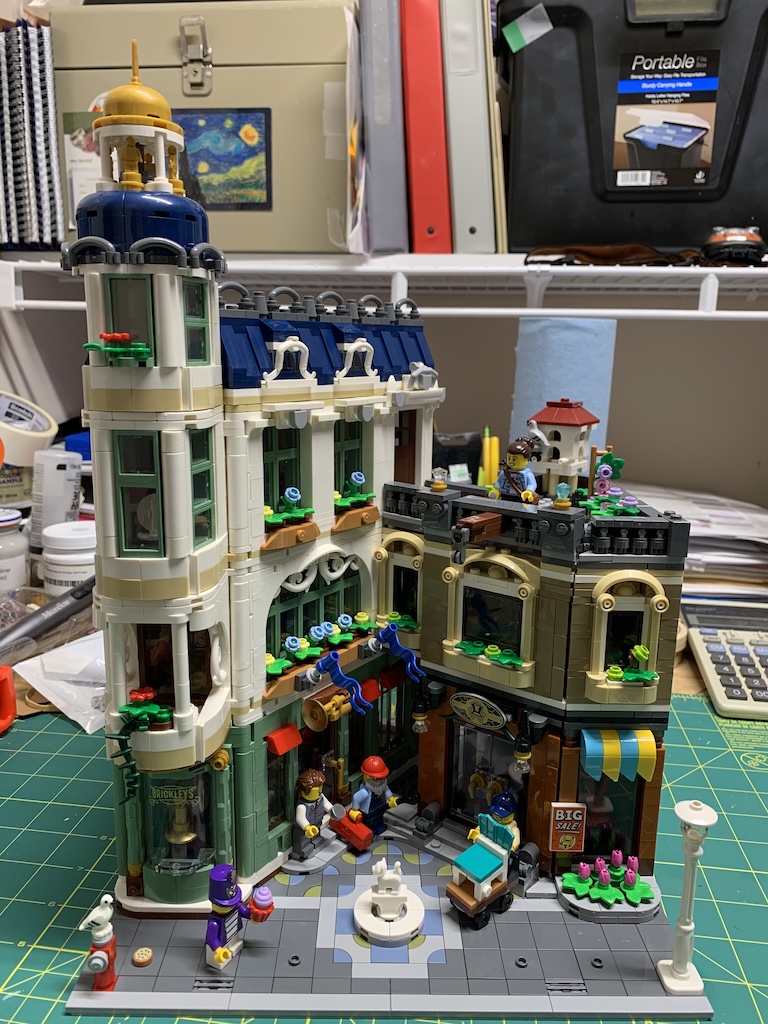
Despite my hesitations to purchase this kit originally, I had a lot of fun putting it together. And before I had even finished this one, I began to explore what my next kit should be, smitten once again with the LEGO building bug. I know I have said this before, but I continue to be amazed at the excellent manufacturing process that LEGO uses during the assembly of these kits to ensure each bag included in the box has exactly all the necessary pieces with a few extras of the smaller and easily lost pieces thrown in on occasion. Not a single one of the 3,456 pieces was missing!
The only downside of this shopping street is it is too tall to fit on my bookcase where I display my other four buildings.
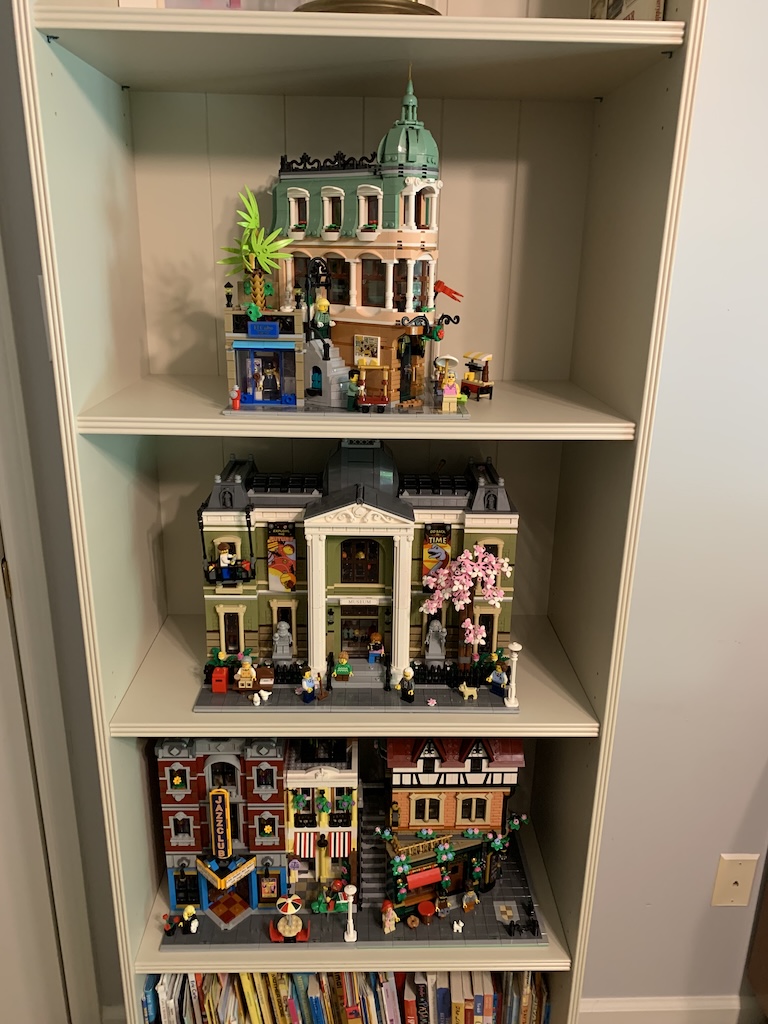
The shelves are 13.25 inches apart, but this building is 14.5 inches tall. Which means I will have to find another location to display this newest kit. If only I had a place where I could line up all five together like on an actual city block. Now that’s an interesting idea to explore further.
After careful thought, turned out clearing off our kids’ high school graduation photos from the top of a built-in bookcase in our playroom proved just the right location for my city block.
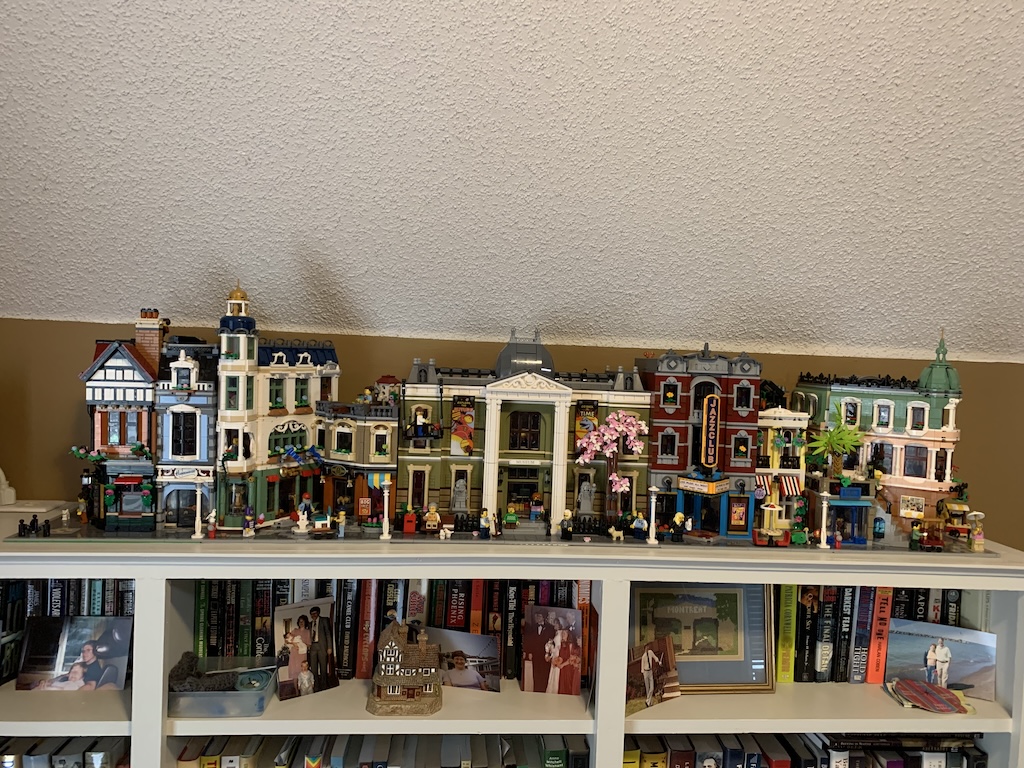
And I think they certainly look more impressive all displayed together!
Categories


Loved this one Dave! Makes me want to tackle my much smaller Lego set!