
Miniature Garage Loft Furnishings – Phase 9
Continued from: Miniature Garage Loft Furnishings – Phase 8
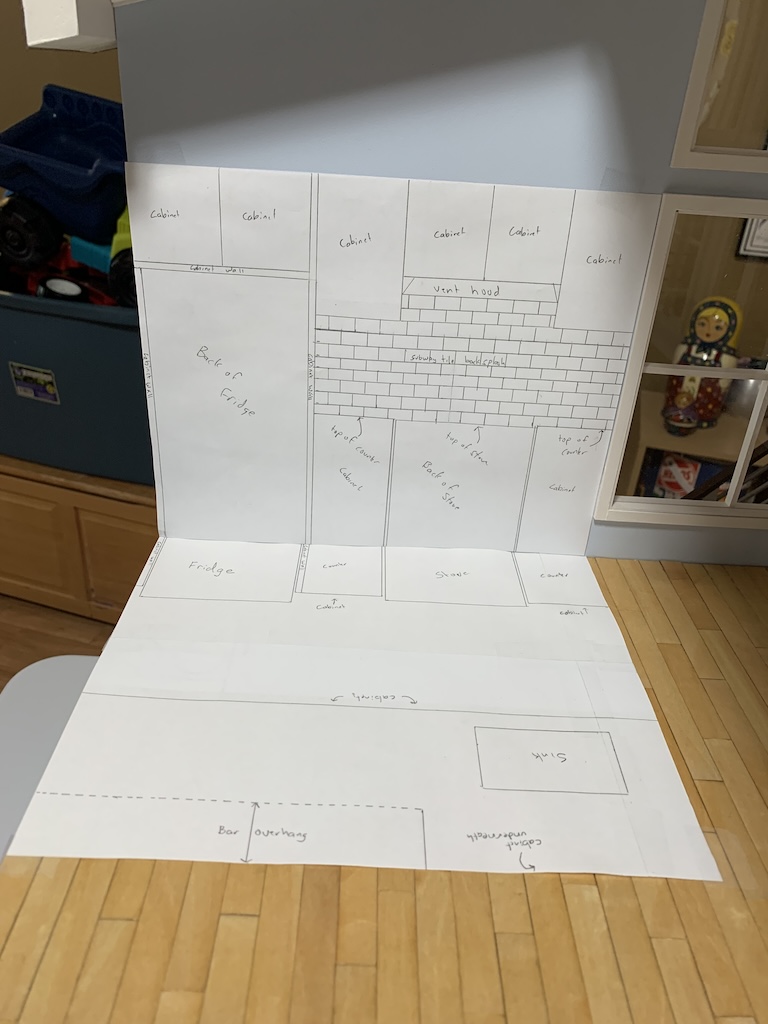
To help me figure out what size subway tiles I should use, I looked online at a tile store and found their tiles came in 34 different sizes. Wow I had no idea! When I drew up my elevation plan, I assumed subway tiles were 3” X 6” and so drew them in my 1/12 scale as 1/4″ X 1/2″ rectangles.
But then I wondered if there was a standard size. Searching for that I was pleased to learn that indeed, a 3” X 6” size tile is the standard based on those installed in the New York City subways in the early 1900s. How lucky is that?
With the size settled, now came the question of material and color. I had previously purchased some polystyrene strips of the correct 1/4″ width that I figured I could cut into individual 1/2” long tiles but the strips only came in white. And I didn’t want a white backsplash as it would be barely noticeable with the white wall cabinets above. So, I would need to paint the strips some color prior to cutting them.
When I mentioned this idea to my sister, she suggested instead that I find some thinner acrylic in a translucent color. She offered to cut individual tiles for me if I went that route. I decided to try my idea first saving her suggestion as an alternative in case my idea did not work.
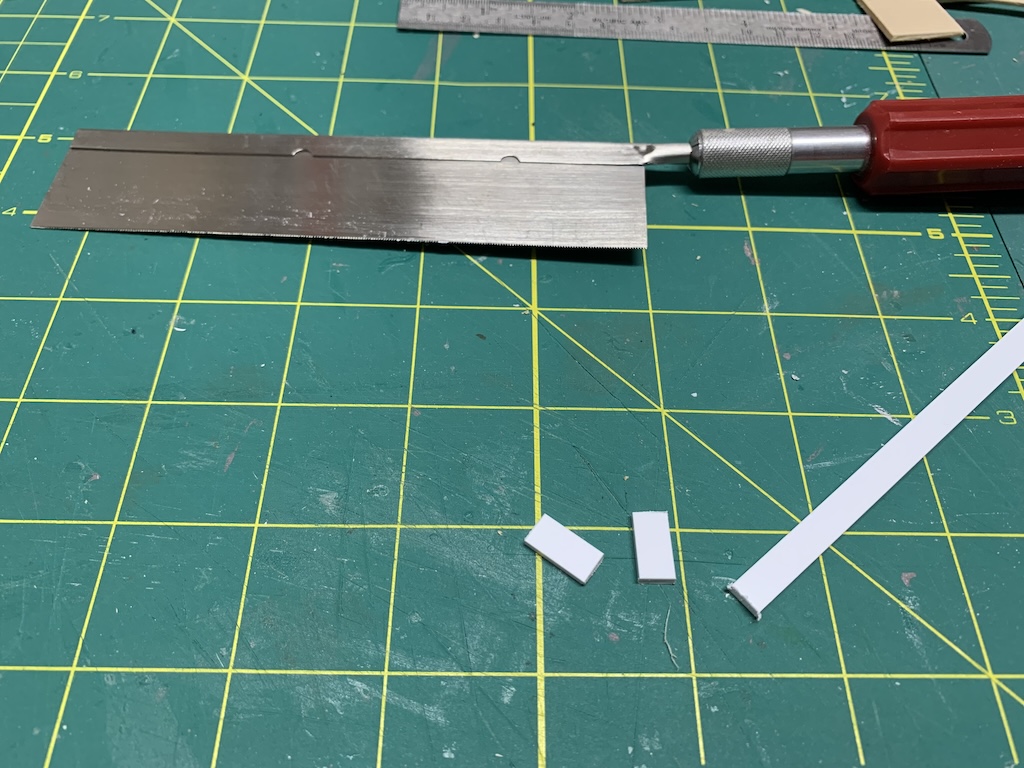
But when I went to cut some practice tiles, I discovered that the 0.08” thickness I had bought could not be cut with an X-ACTO knife but rather had to be cut with my miniature pull saw. Looking at my drawing, I added up that I was going to have to cut over 100 tiles. That was going to be a lot of work.
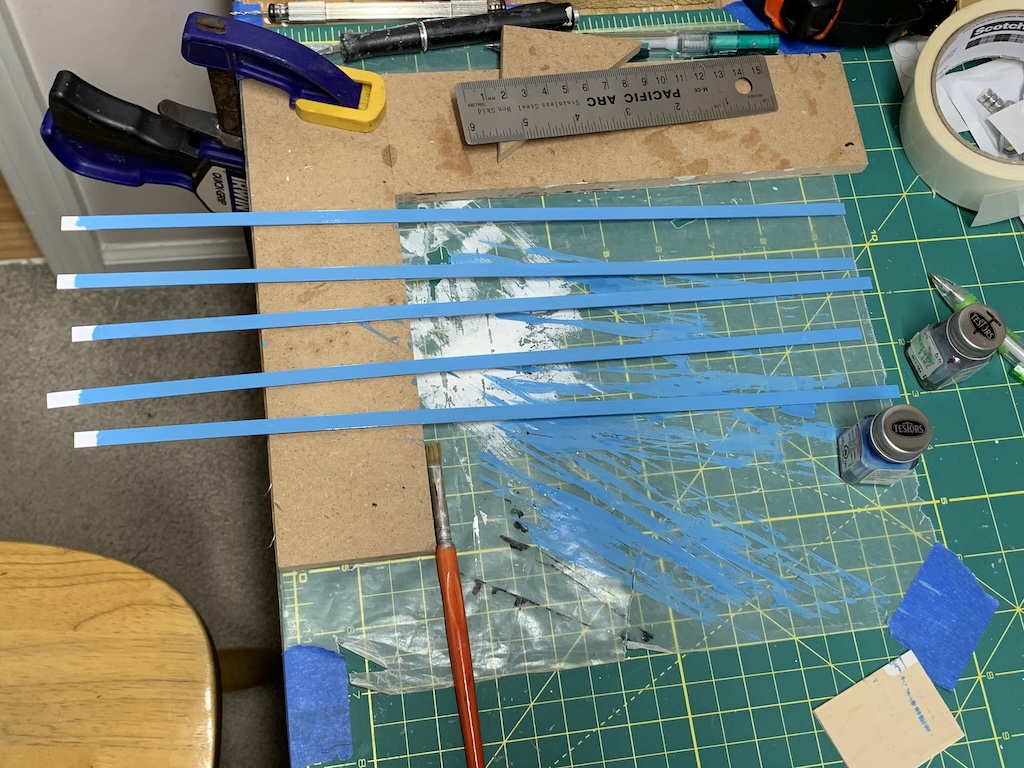
So, off again to what has become my favorite hobby story (an independent one). There I found the needed 1/4” wide strips in a thinner 0.04” thickness. I also found some 0.04” wide strips that could be used as grout between the individual tiles. And I picked out a bottle of sky-blue paint.
Once I had two coats of paint on the 1/4″ wide strips, I was ready to make some tiles.
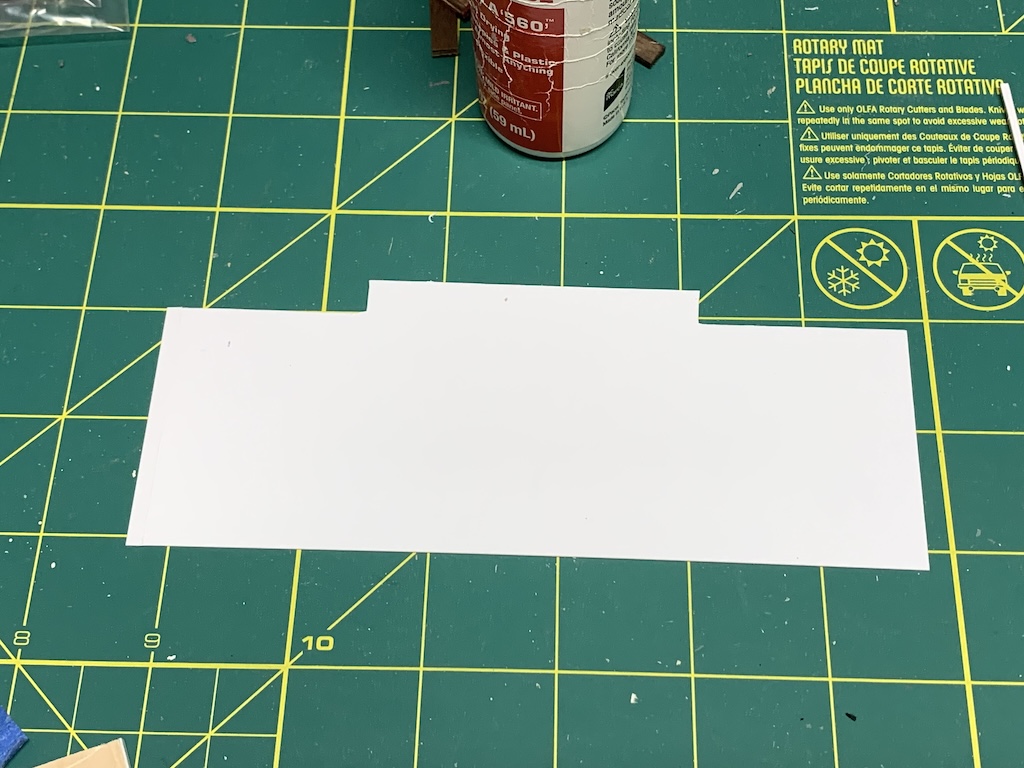
Rather than gluing tiles directly to the loft wall, I created a template of the space for the backsplash that I could then build my backsplash on my flat work surface.
And rather than cutting over 100 tiles and then finding out my idea did not work, I decided to just cut enough to make a couple of rows of tiles to see how it looked.
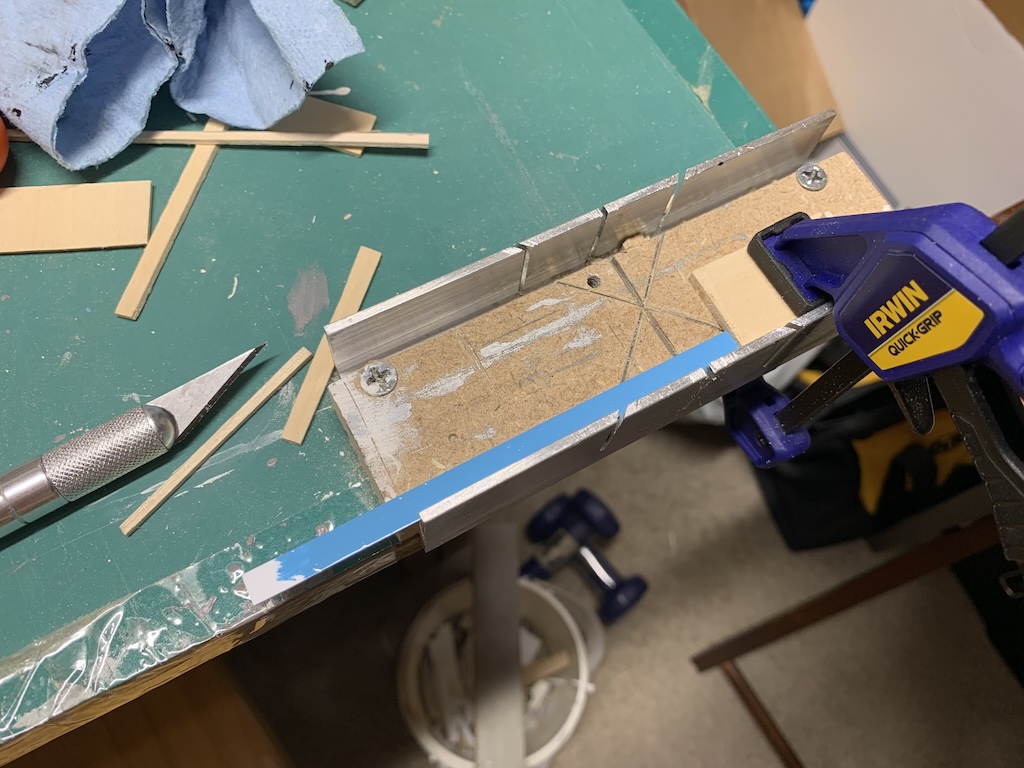
To ensure that my tiles were consistently 1/2″ long, I clamped a piece of basswood to my miter box that would give me a 1/2″ cut. I ran my X-ACTO knife over the strip two or three times and with it scored, I could snap each tile off. Once I had 24 tiles, about one fourth of what I would need, I could glue on some “grout.”
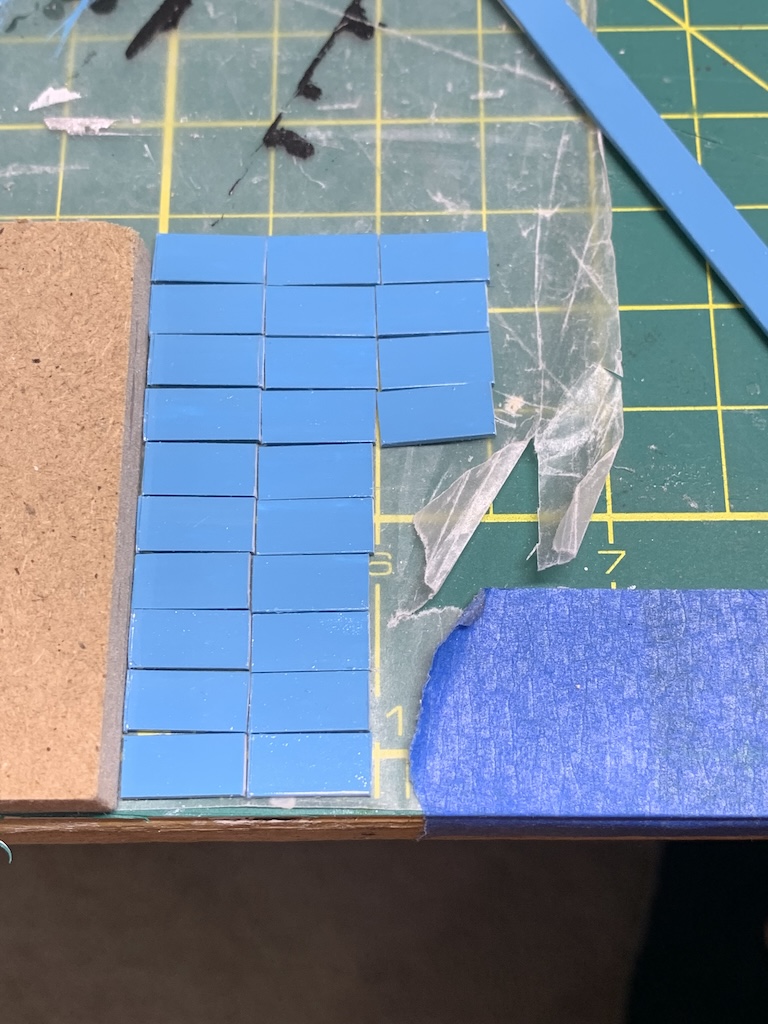
Since each row of tiles would need to be offset by 1/2 tile, I first glued a dozen tiles to my “grout” for the vertical grout line.
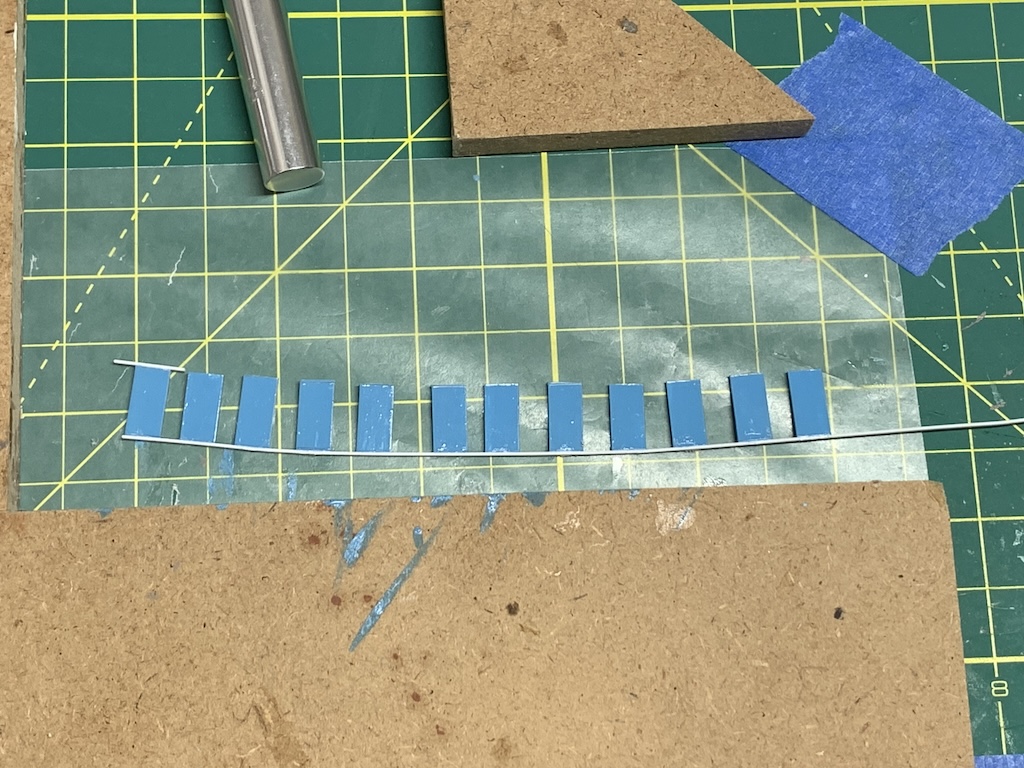
Unfortunately, applying the plastic model glue to a tile only 0.04” thick, some of it got onto my painted tiles and marred the glossy finish. Just like what would happen when I used to build car models with the same glue. I HATE THIS GLUE!
So, when it came time to glue a row of tiles to the horizontal grout, I used my canopy glue which is advertised not to “fog” the finish of glued together plastic parts. The only downside is that it takes hours to fully dry rather than just the minutes required for the plastic glue. But as my young nephew exclaimed one time in a similar situation; “That’s the price my has to pay.”
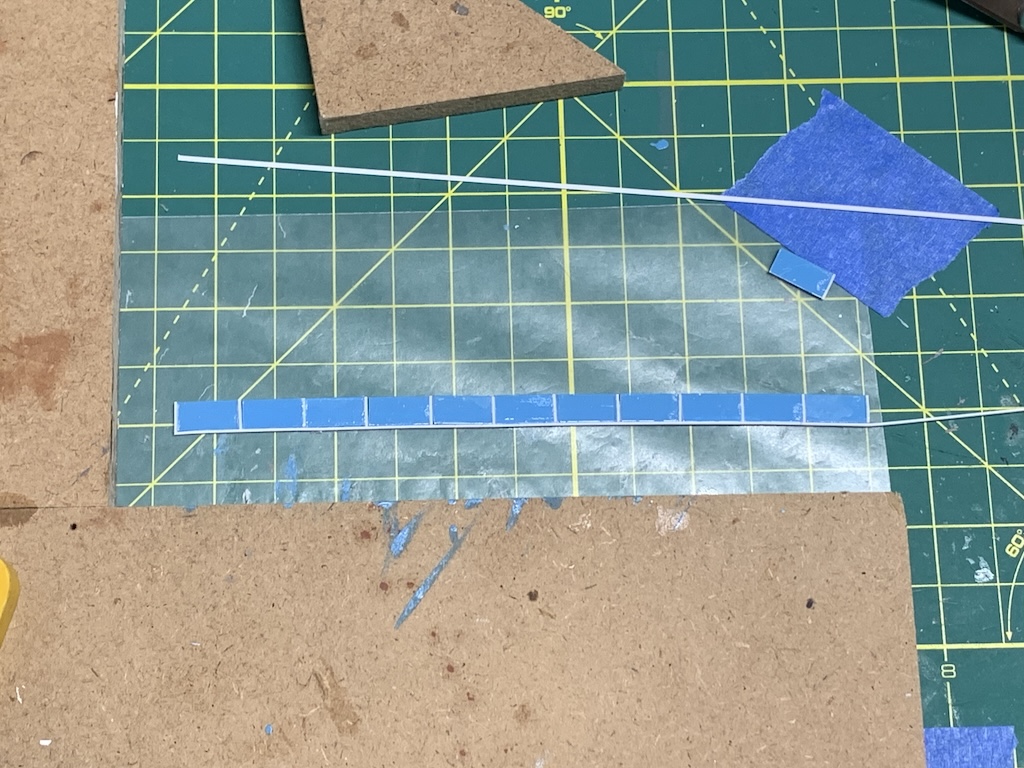
Given that this row was less than perfect, I considered chucking it and marking it up to practice but then I realized I could use it as the top row just below the cabinet as someone would literally have to be 1/12-scale and then bend down to even see the top row much less notice the foggy imperfections.
Since this glue takes much longer to dry, I cut another dozen tiles and then glued all 24 to their vertical grout. Once that glue dried, I cut them into individual tiles and first glued one row to the horizontal grout and then the row above it, offsetting the tiles on the second row by 1/2 of a tile on the left. With two rows finished, I was now ready to glue them to my backsplash template. And before I did, I realized I could glue the backs of the tiles to the template sparingly using the faster drying plastic glue as I was not gluing any tiles at the vulnerable edges. Placing the template in the loft, I thought it looked pretty good.
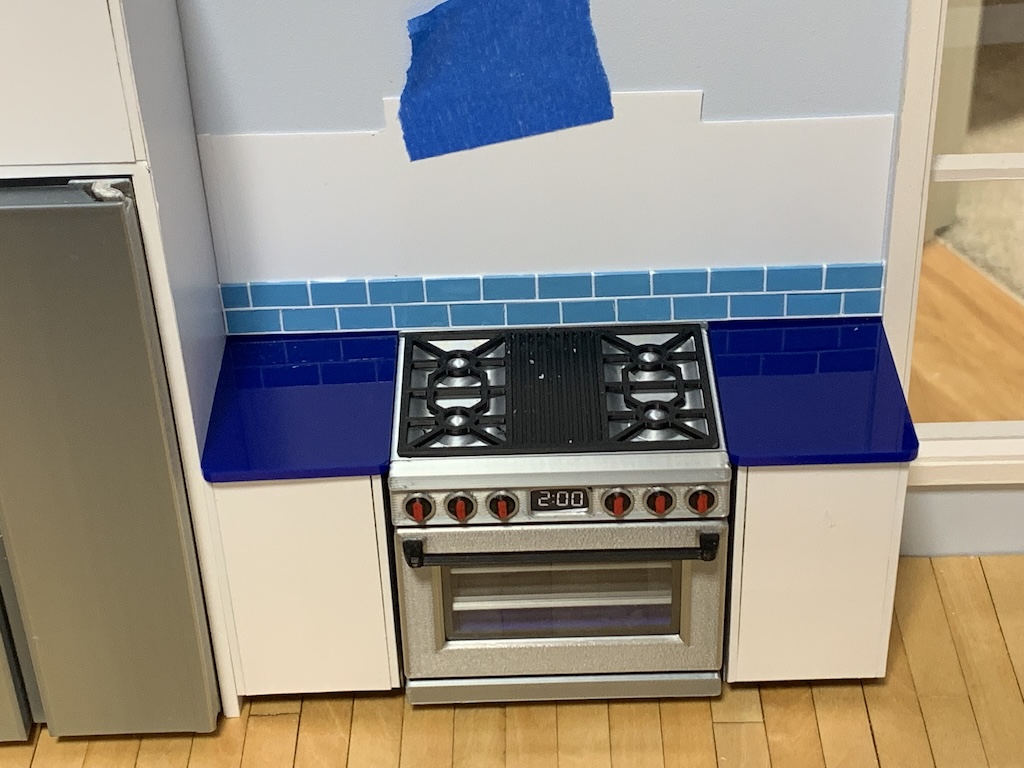
Satisfied with the look of my experimental approach, I decided to continue my technique.
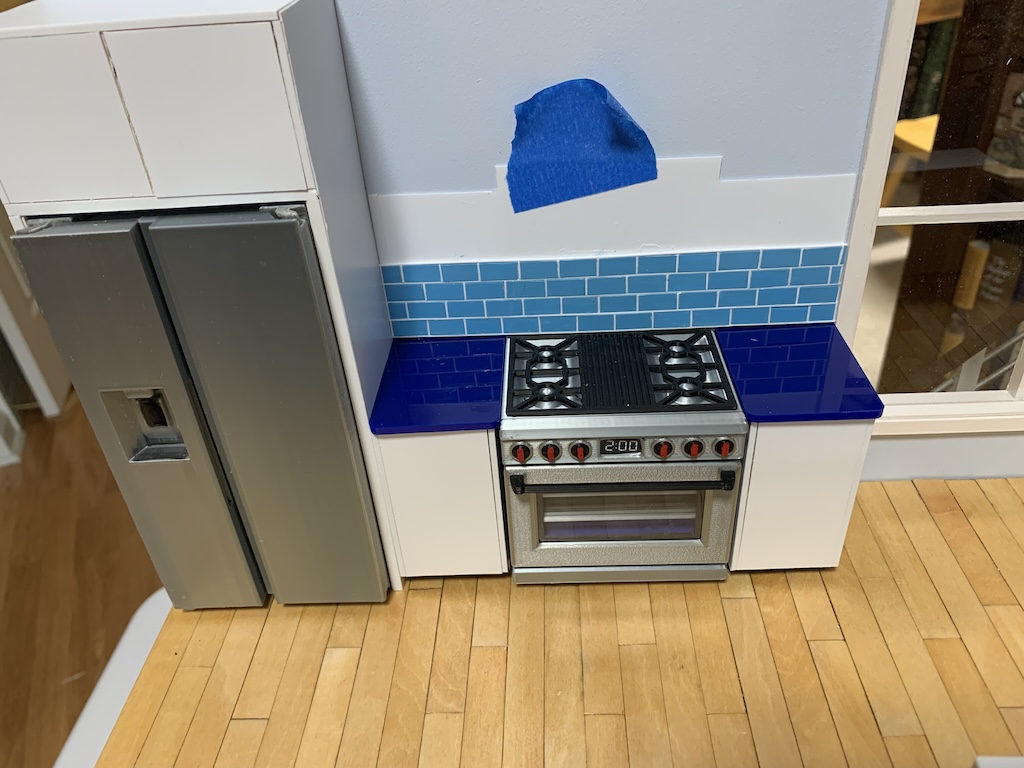
But once I had completed four rows, I could see that my QC on the tile lengths had not been as exacting as it should have been. One problem that I discovered was the small clamp holding my piece of basswood in the miter box had slipped allowing tiles to be cut slightly longer than the desired 1/2″ length. So, I replaced it with a bigger, stronger clamp. The other thing I discovered was that slight variations in how I held my X-ACTO knife against the miter box could also lead to slight differences in tile length.
Ideally, if all tiles were exactly 1/2″ in length, the vertical grout joints between two tiles should have lined up every other row and in the photo of the four tile rows above, the vertical grout lines do line up on the left side of the backsplash, where I began each row, but as your eyes move to the right, you can see the grout lines no longer do line up.
While less than desirable and far from perfect, I still thought it looked cute and so decided to forge ahead with three more rows just to see how noticeable it would be with the wall cabinet in place.
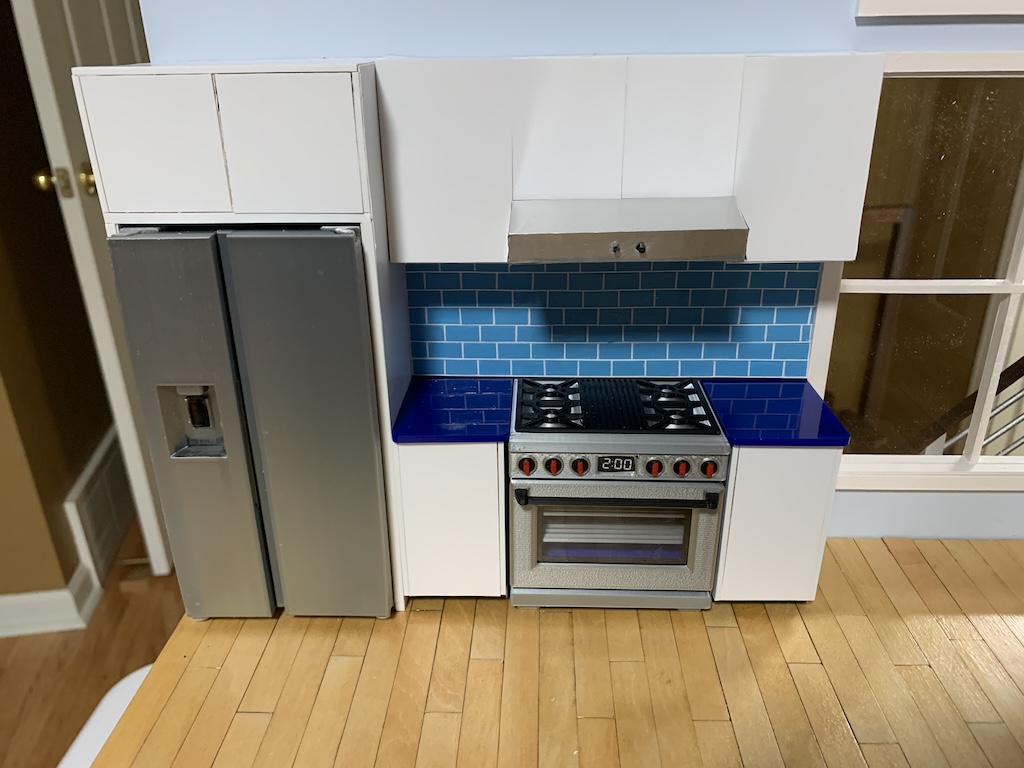
Decision time
I was afraid that if I used this backsplash, every time I looked at it, I would be dissatisfied. Since I had learned a lot of what to do and what not to do and if I was ever vigilant in ensuring that each tile was as close to 1/2″ in length as possible, I felt I could do better. Besides, I still had plenty of material left although I would need to paint some more polystyrene strips.
In my second attempt, I would make the following changes. First for the bottom row of tiles, rather than gluing the horizontal grout strip to the tiles, I decided to glue the grout strips directly to the backsplash template. Second, rather than gluing the vertical grout strips to the tiles, I would glue them in with the tile at the same time. And third, even as much as I hate it, I would only use the smelly plastic glue.
After painting additional tile strips, more carefully cutting enough for the first two rows of tiles and cutting a new backsplash template after tracing the first one onto a new piece of polystyrene, I was ready to see if I could make a better-looking backsplash.
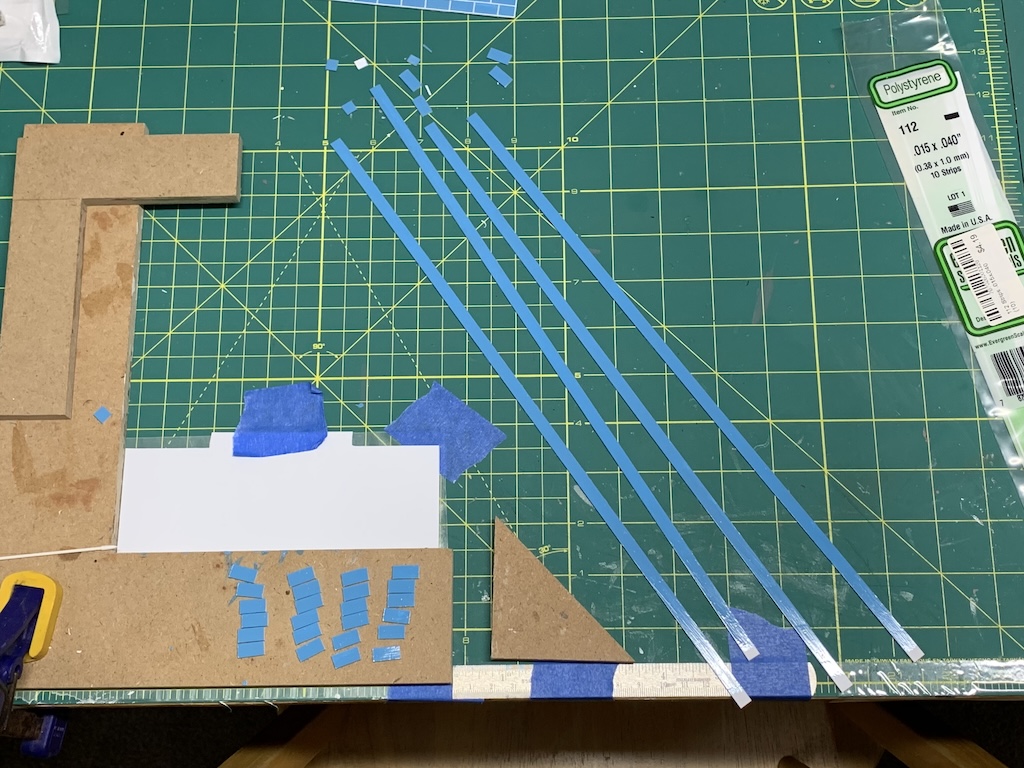
After I had glued four rows of tiles to the new template, I could easily see I was doing a better job as the vertical grout lines in every other row did line up.
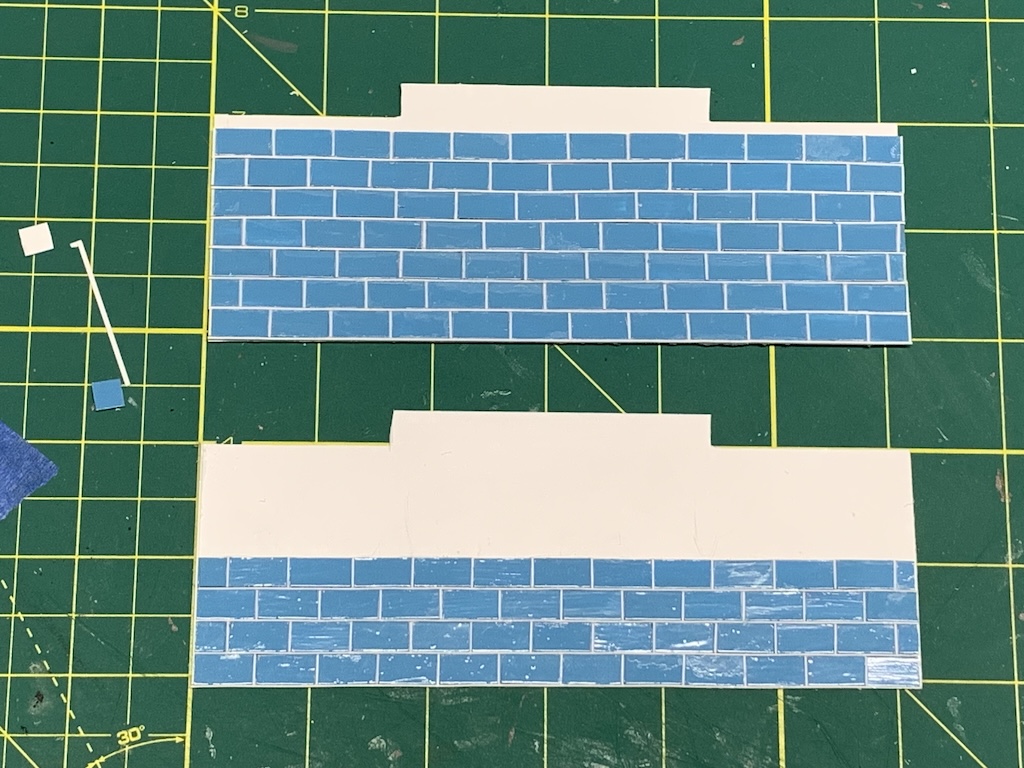
Encouraged I continued adding the next three rows with the same continued success. The eighth row was a bit more challenging as I had to trim the tiles to fit beneath the wall cabinets. For the tiles beneath the vent hood, I similarly had to trim many of them. Once I glued on and trimmed the last tile in the 10th row, I was very pleased with the finished backsplash.
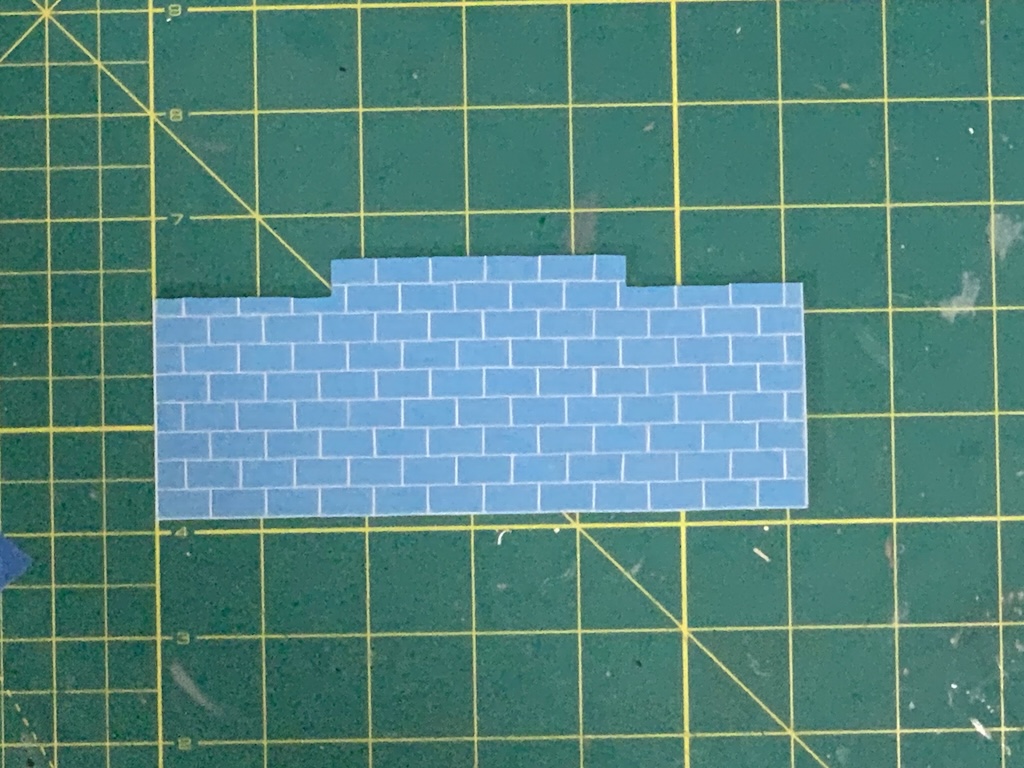
When I inserted the backsplash above the countertops and put the wall cabinets in place, I was even more pleased with this backsplash.
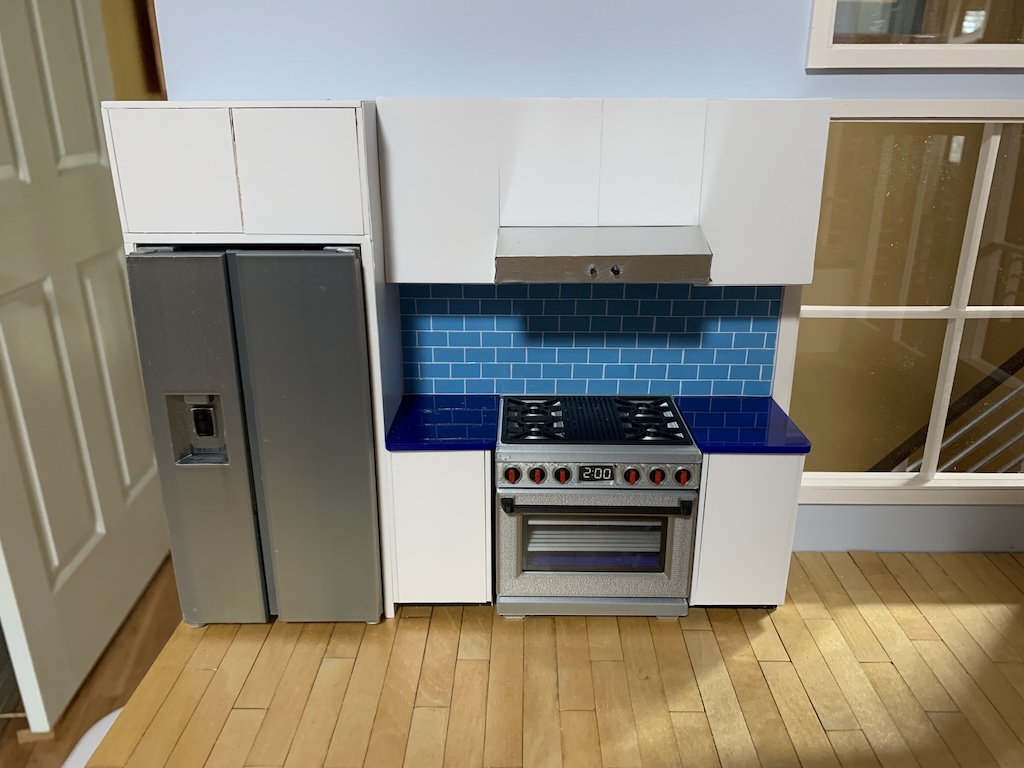
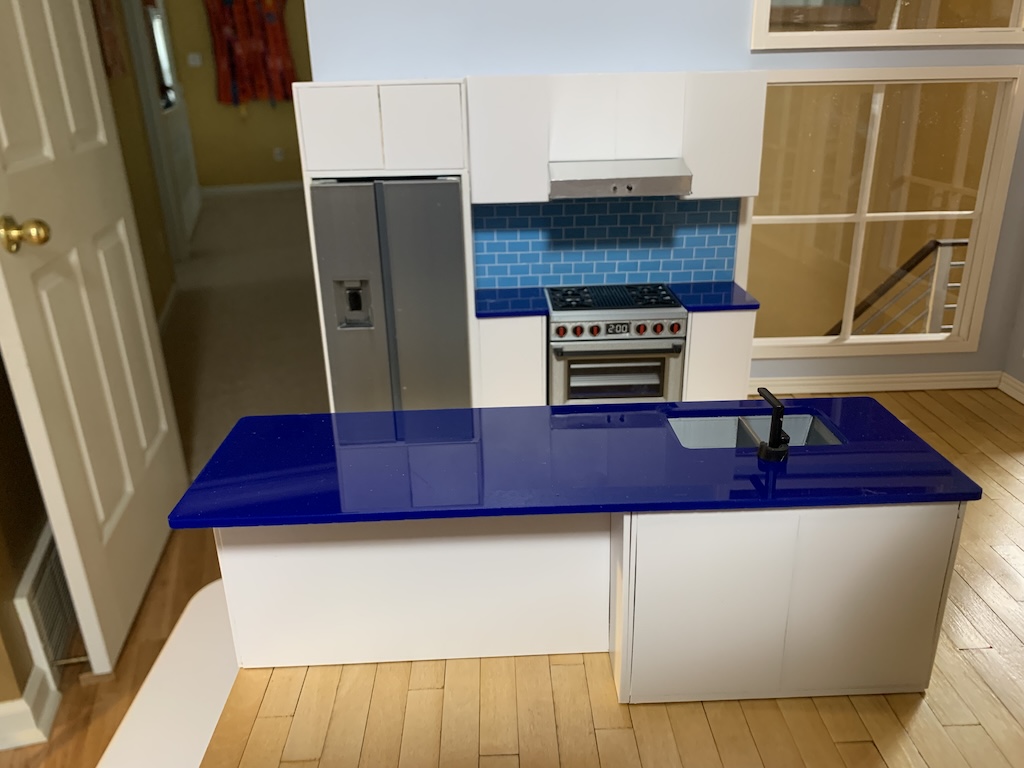
Finally, moving the free-standing cabinet into place, I had a finished kitchen.
To be continued after an extended break…
Categories


