
Miniature Garage Loft Furnishings – Phase 8
Continued from: Miniature Garage Loft Furnishings – Phase 7
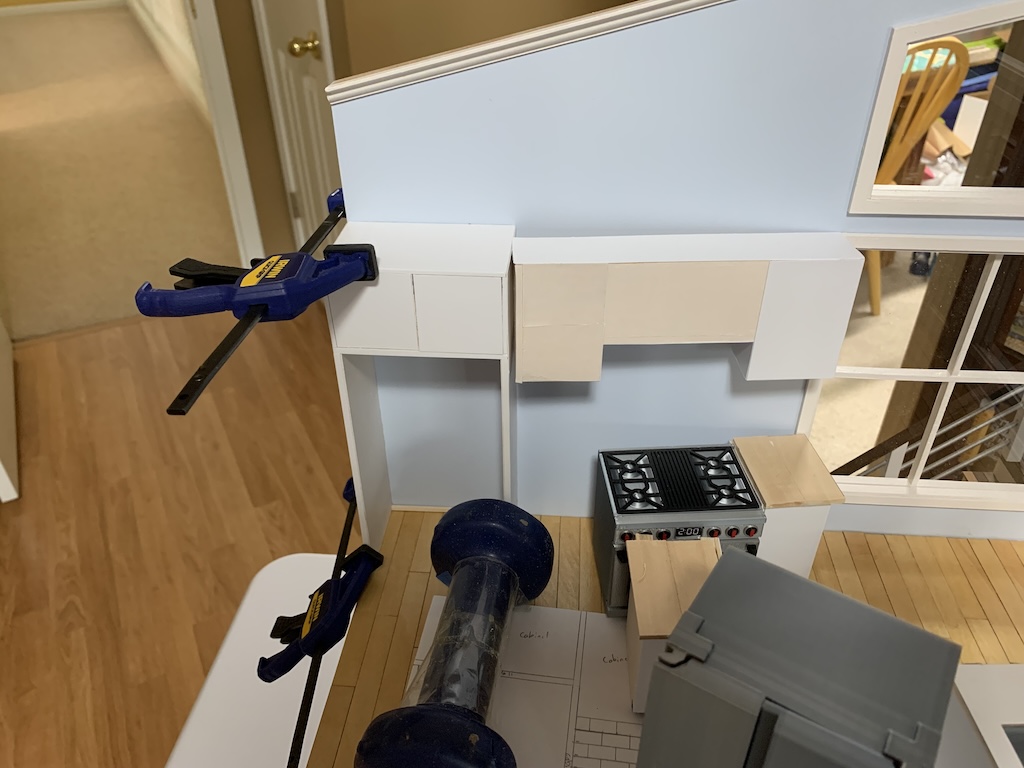
Basically, I had two options to fix this problem of the wall cabinet not fitting between the fridge cabinet and the window frame. Either sanding the entire left side of the wall cabinet that would fit flush against the fridge cabinet or cutting a notch in the right side of the wall cabinet to fit within the window frame. Certainly, seemed like the second option was the easier of the two.
Carefully, slowly, and progressively I carved away the back side of the wall cabinet. It took a while as I would trim a little and see if it fit and when it wouldn’t carve a bit more. My goal was to cut away just enough to fit within the window frame but not so much as to leave a visible gap between the side of the cabinet and the window frame. Although not necessarily an elegant solution…
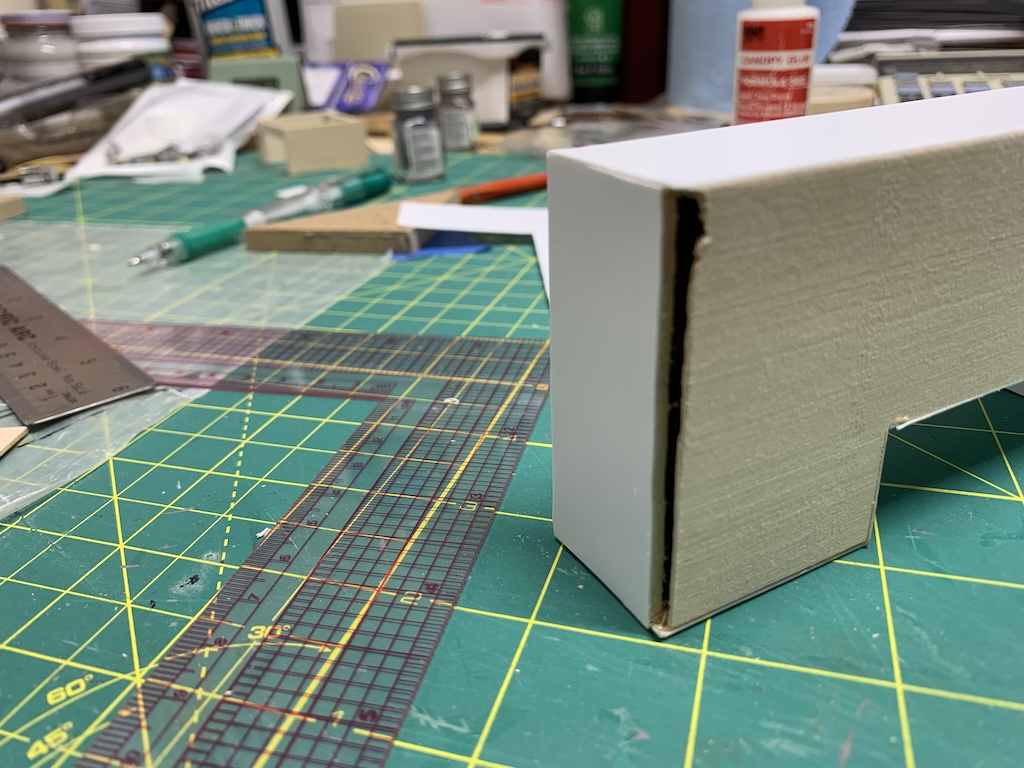
…I succeeded in my goal.
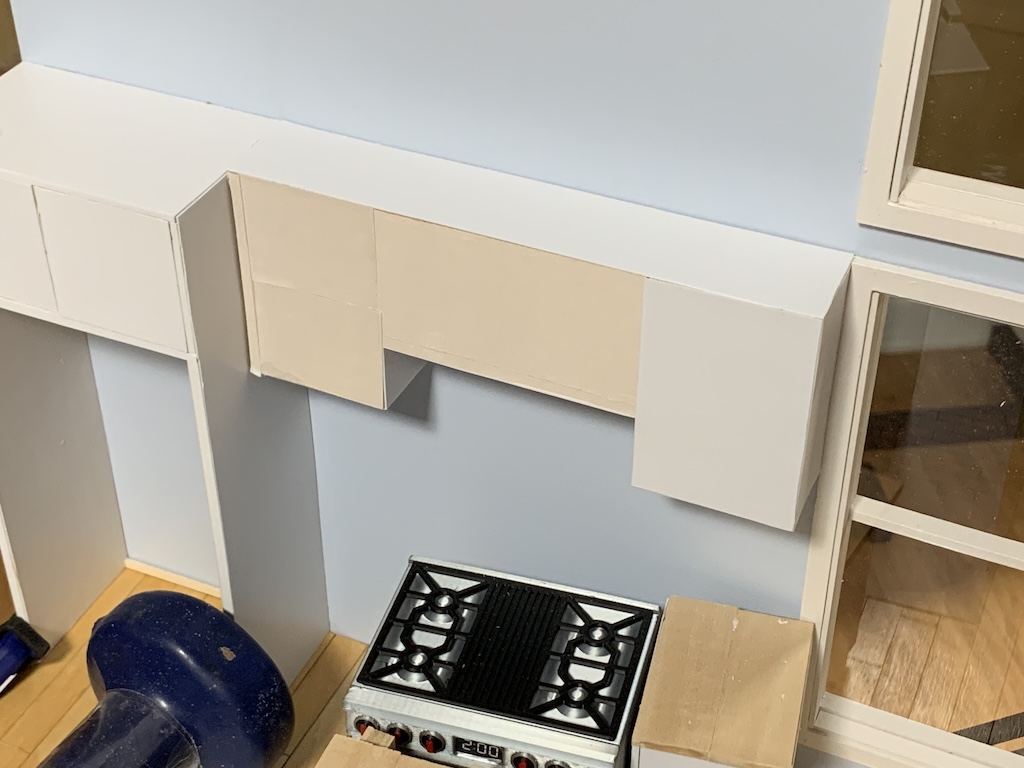
Now I could add the other three doors to this cabinet.
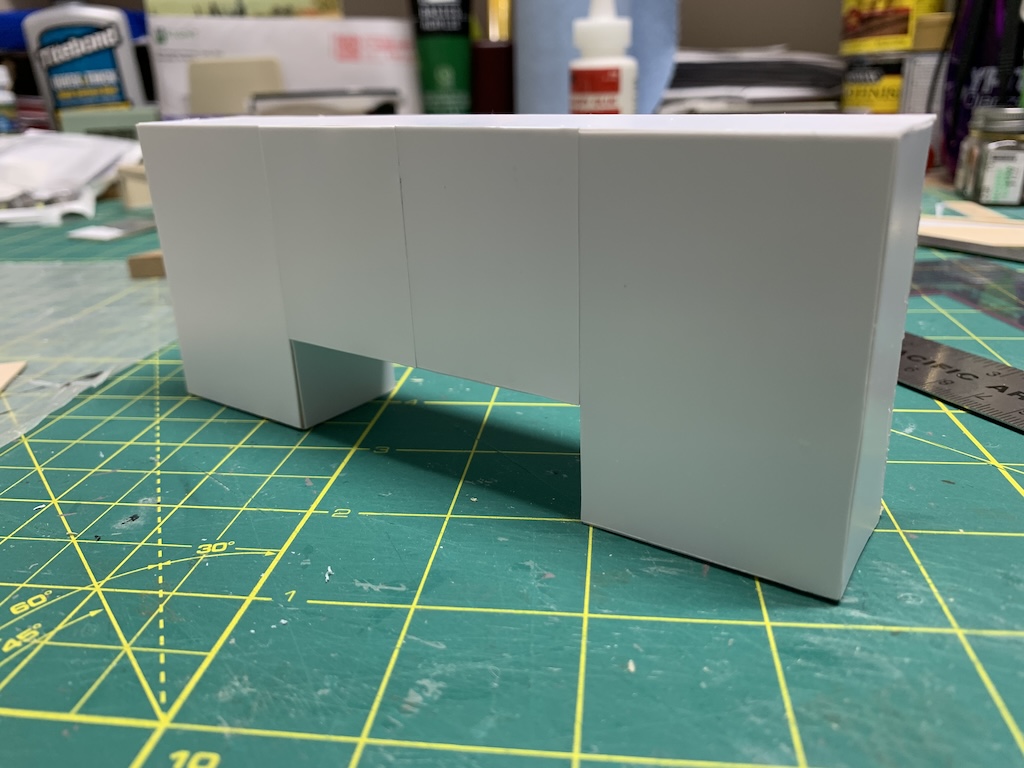
Before gluing this cabinet in place, I decided to add the vent hood as it would be easier to build outside of the loft and attach to the wall cabinet.
I had intentionally made the center cabinets shorter to accommodate an under-cabinet vent hood beneath the two doors. I had a general idea of what I wanted but I did not know how deep I should make it (i.e., how far over the stovetop it should extend). I decided to look online to get proper vent hood dimensions.
I measured the width I had below the two-door cabinet and found it to be 2 and 13/16” which in full-scale would be equivalent to a 33.75” wide vent hood. Looking online, I found standard widths of 30”, 36” and 42” so mine would be closer to a 36” wide vent hood but many of them did not list the depth. Finally, I found a couple that looked right which were six inches tall and 21 inches deep. That would mean in my 1/12-scale, it would be 0.5” tall and 1.75” deep.
I first cut two pieces of 1/16” basswood 0.5” wide and 1.75” long for the sides. I wanted to have a slanted top, so I cut about a 15° angle into the two sides. Next, I cut a back for the vent hood and glued them all together.
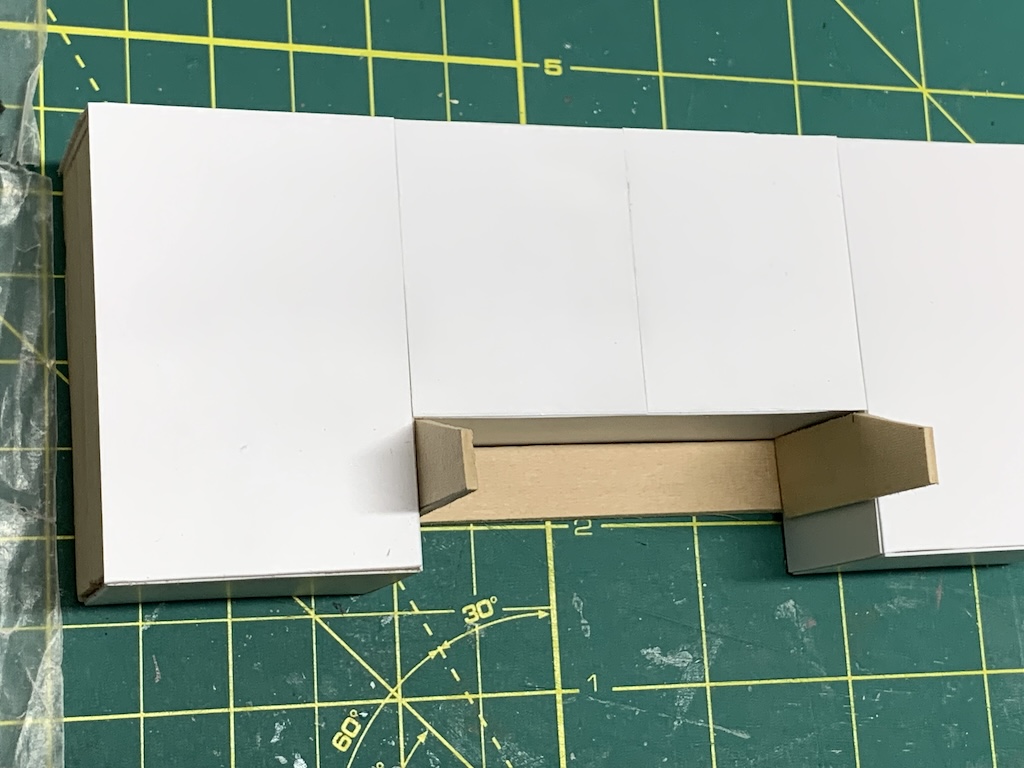
I then cut a front and top and glued those in place.
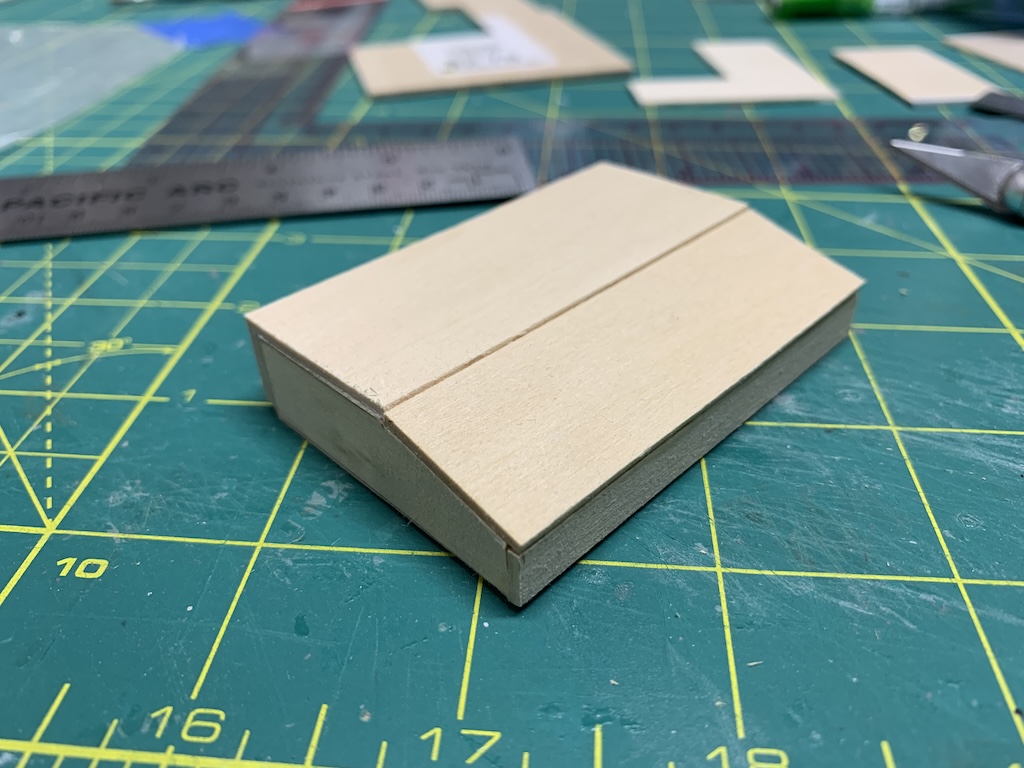
Once all the glue was dry, I was ready to attach the polystyrene…
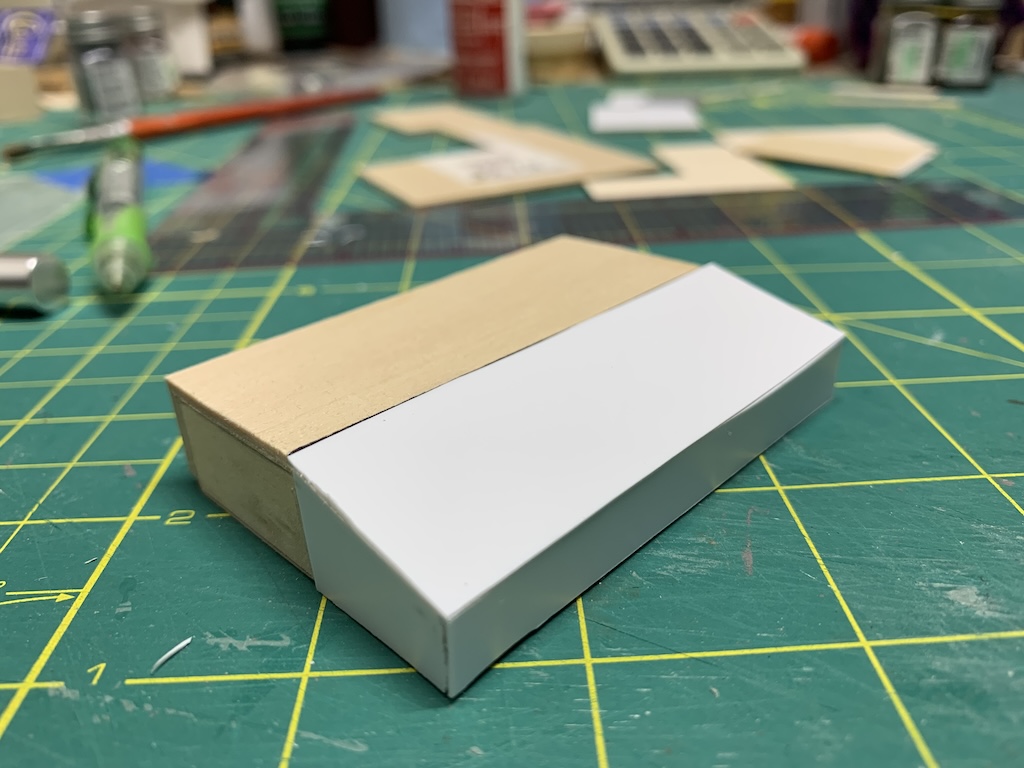
… and then paint it silver.
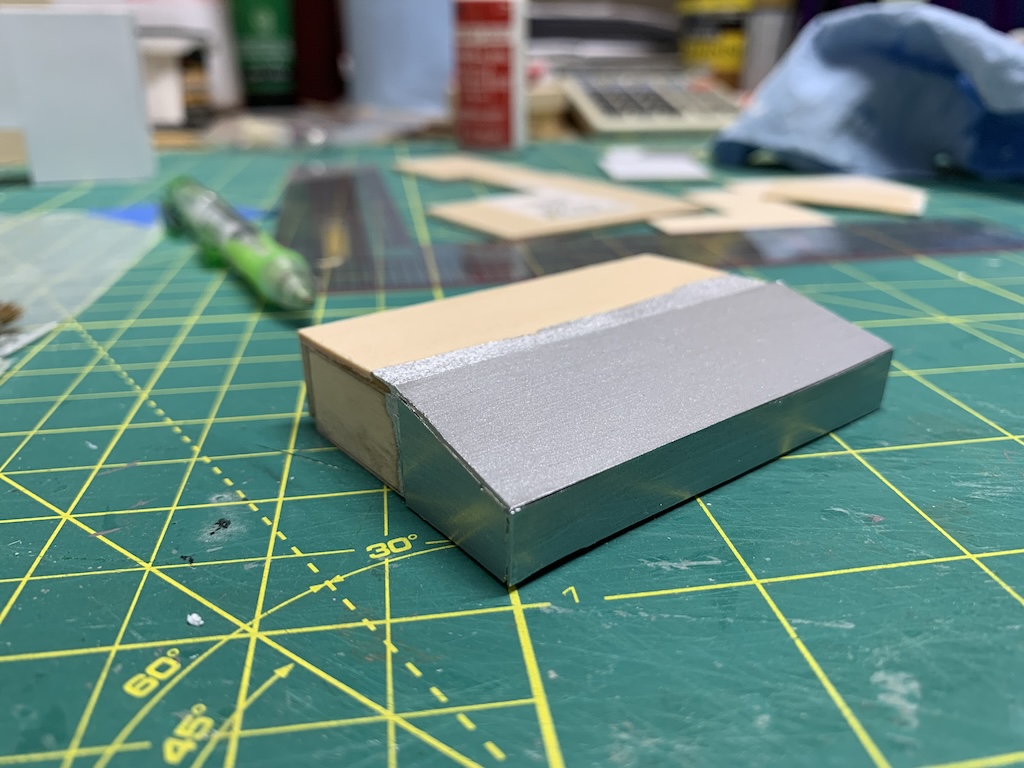
After the paint dried on the polystyrene, I sadly thought it had a wood grain look to it, which was no doubt due to the paint brush strokes. Spray paint would have given a much smoother finish, but I really didn’t want to buy a can of paint for such a small job. But then I remembered I might still have some self-adhesive 0.002-inch aluminum that I had left over from making the cutwater for my Chris-Craft boat.
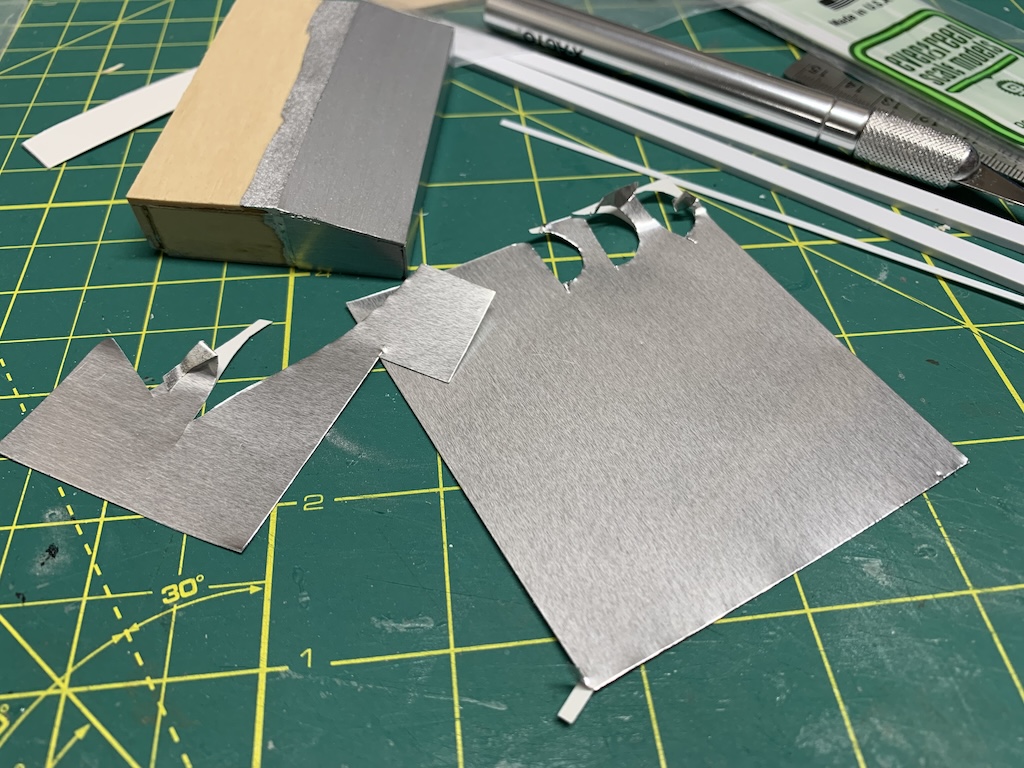
I did and this was really metal! Rather than removing the painted polystyrene, I decided to just attach the aluminum directly to it since the adhesive on the back of the aluminum would likely stick better to plastic than to wood. I attached small pieces to the vent hood and then trimmed the excess away with my X-ACTO knife.
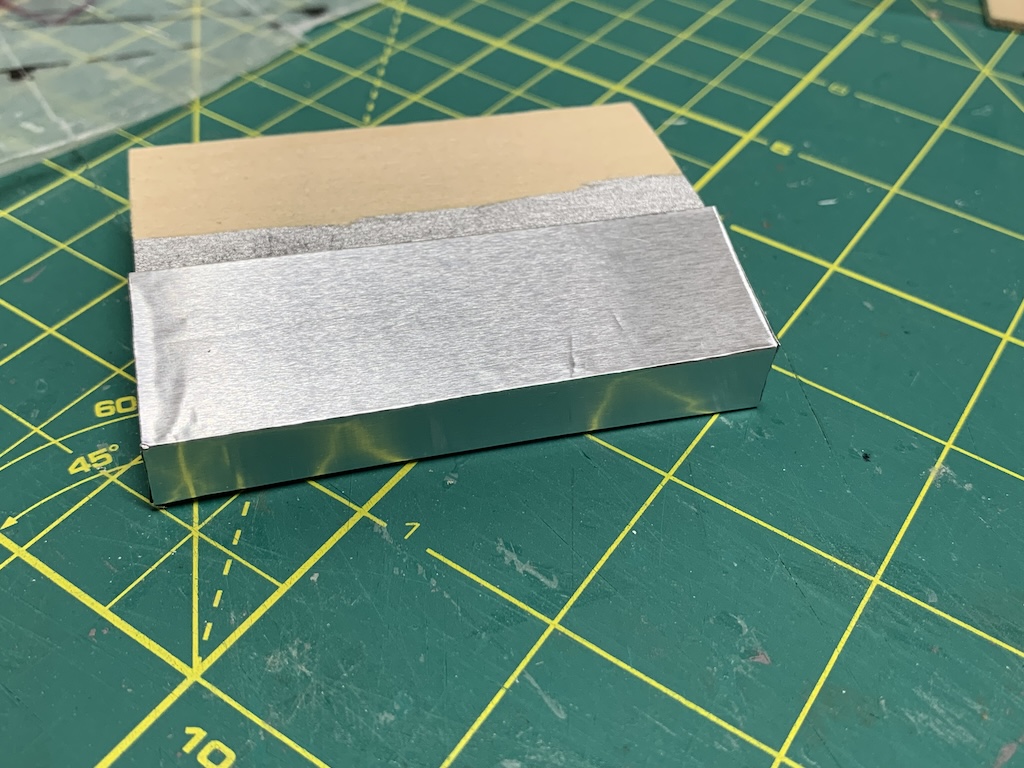
I thought this looked much better and even had a glossier finish.
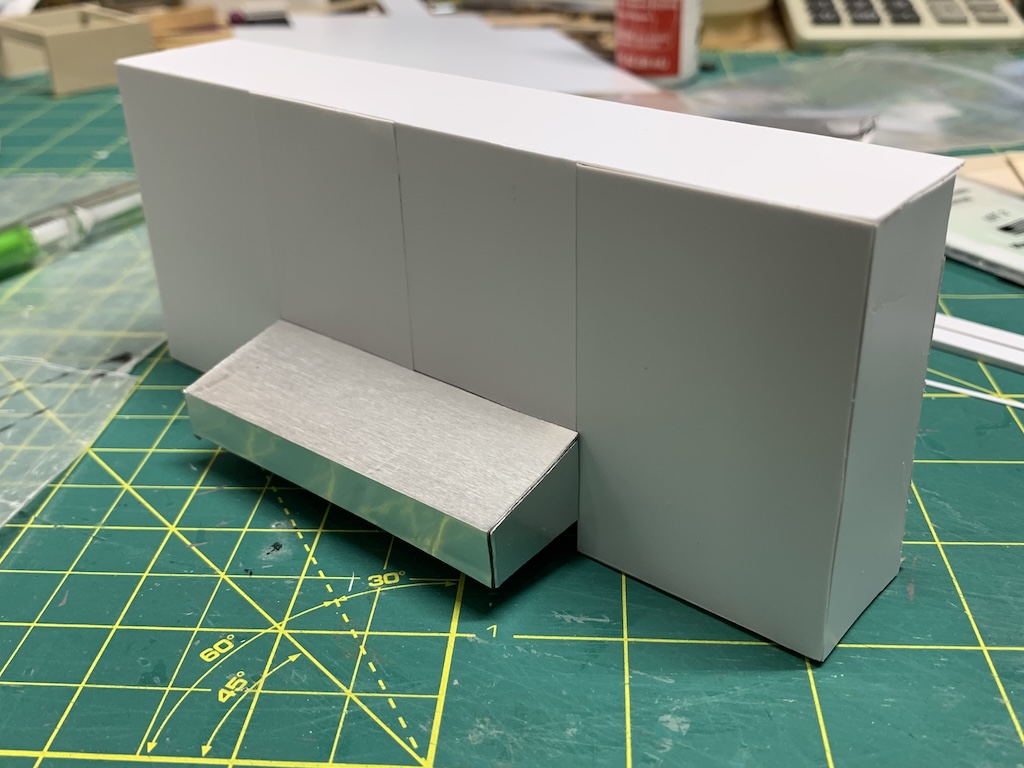
I reinserted the vent hood into the cabinet (thankfully I had not glued it to the cabinet as it fit very snugly between the two side doors) and then put the cabinet back in the loft.
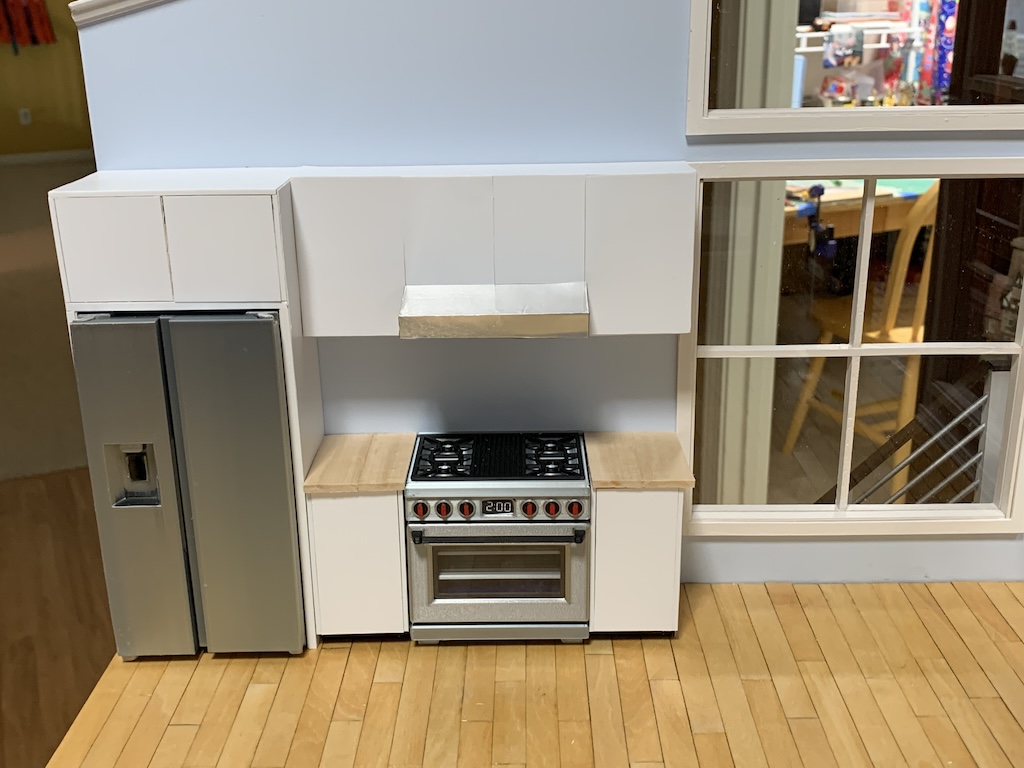
While it might not seem like much of a change in the photos, when one takes a close-up look, it is a vast improvement!
The next day, the countertops my sister cut for me arrived in the mail.
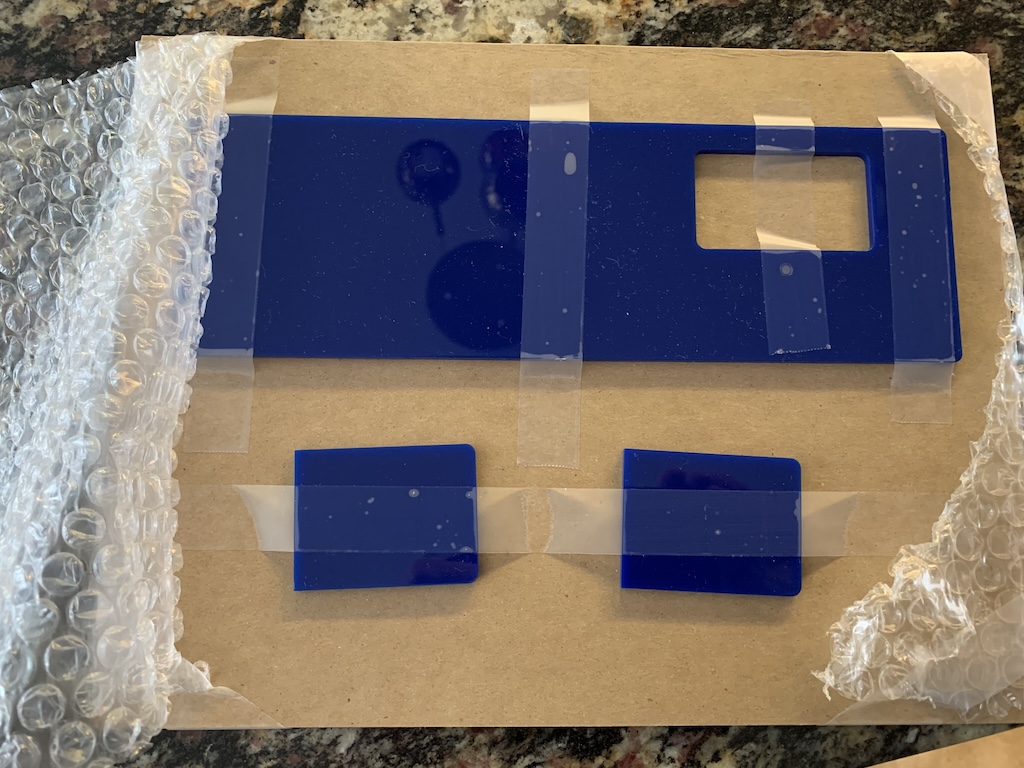
My sister had packaged them very nicely so that any rough handling in the mail would not damage them (note she rounded all the corners including sink cutout).
I first glued the left-side floor cabinet to the tall fridge cabinet. Then I glued the countertop to it. I then glued the right-side floor cabinet to the loft wall between the stove and window frame, spaced evenly. Finally, I glued its countertop on.
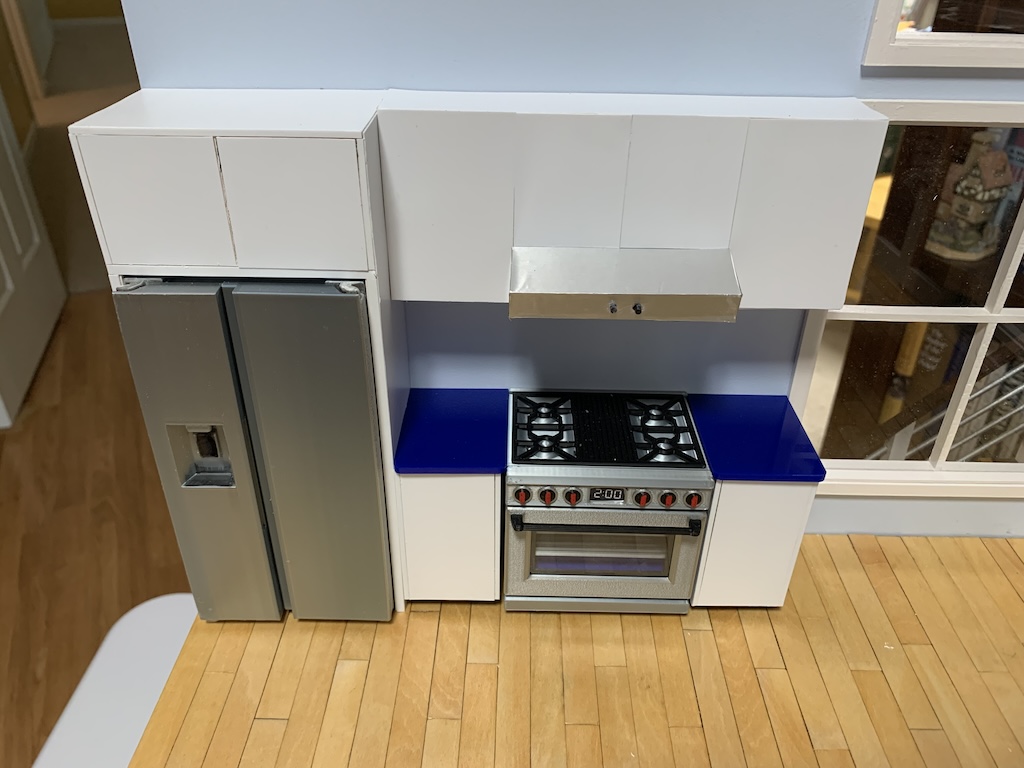
I thought it looked really nice and if you notice a couple of black nobs on the vent hood, it was my wife that made that great suggestion.
For the free-standing cabinet island, I first glued the sink to the underside of the countertop aligning it with the cutout. Next, I glued the faucet which I had purchased online into its hole in the countertop. Lastly, I glued the countertop to the island cabinet.
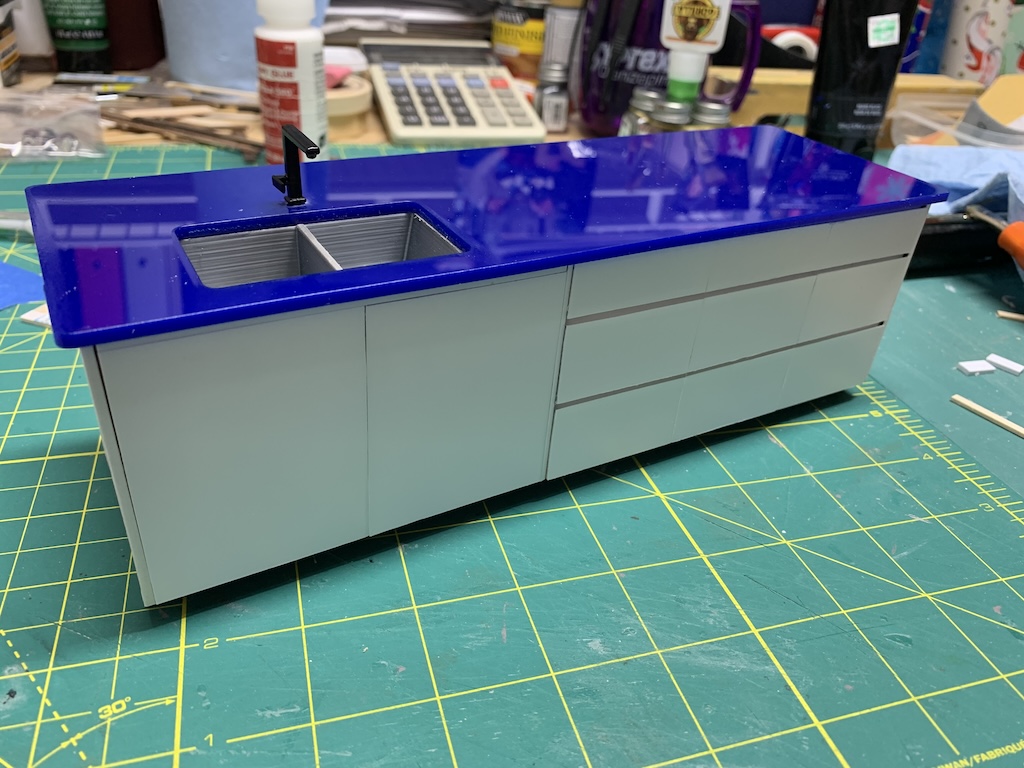
And now in its place in the kitchen.
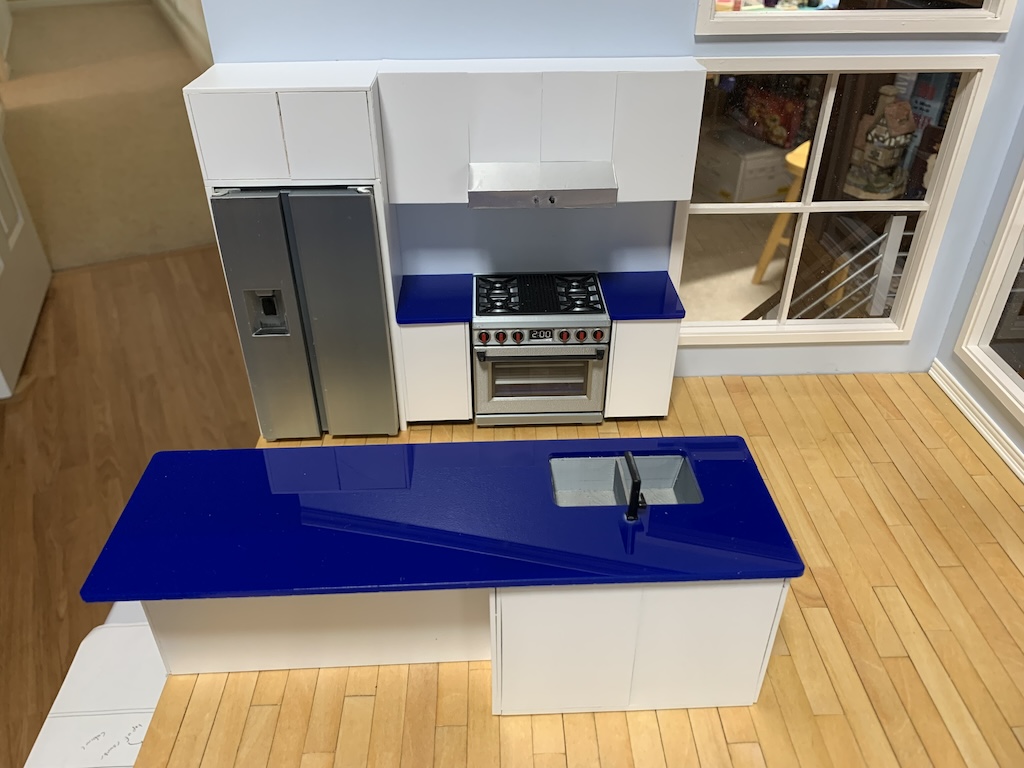
My sister had the great idea suggesting using this acrylic material for countertops and then skillfully cutting them for me!
The last step to finish my kitchen cabinetry was to add a backsplash above the stove and countertops. I love the look of subway tiles and so quickly settled on this for the miniature loft kitchen. But what size should the tiles be?
To be continued…
Categories


