Miniature Garage Loft Furnishings – Phase 7
Continued from: Miniature Garage Loft Furnishings – Phase 6
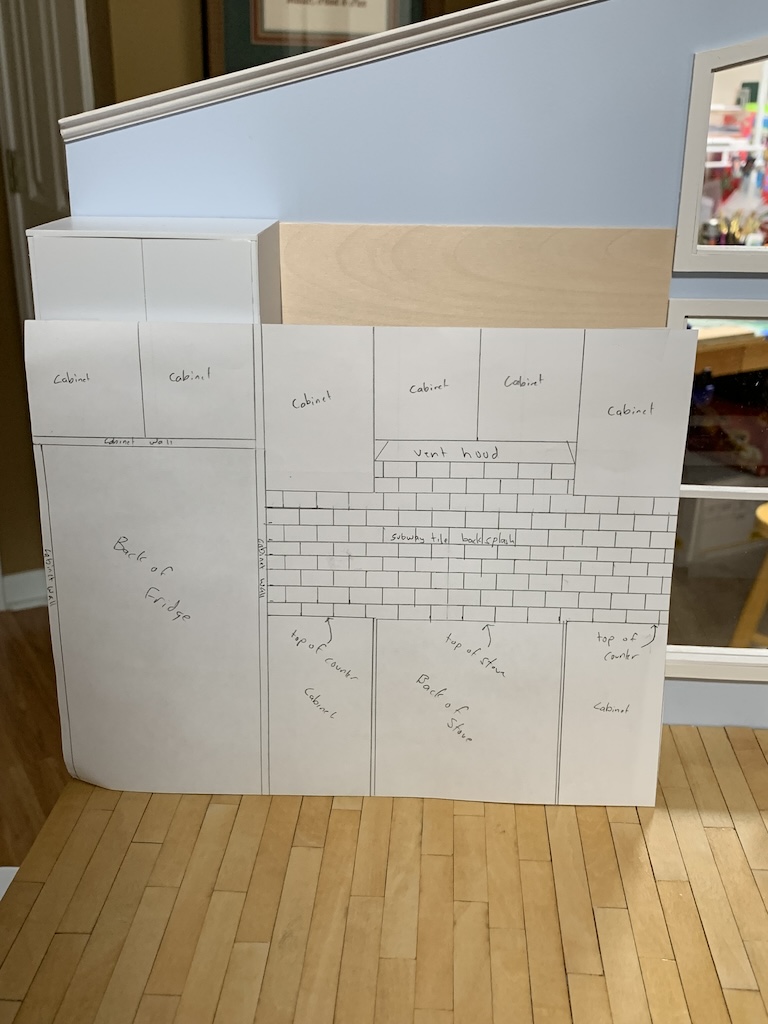
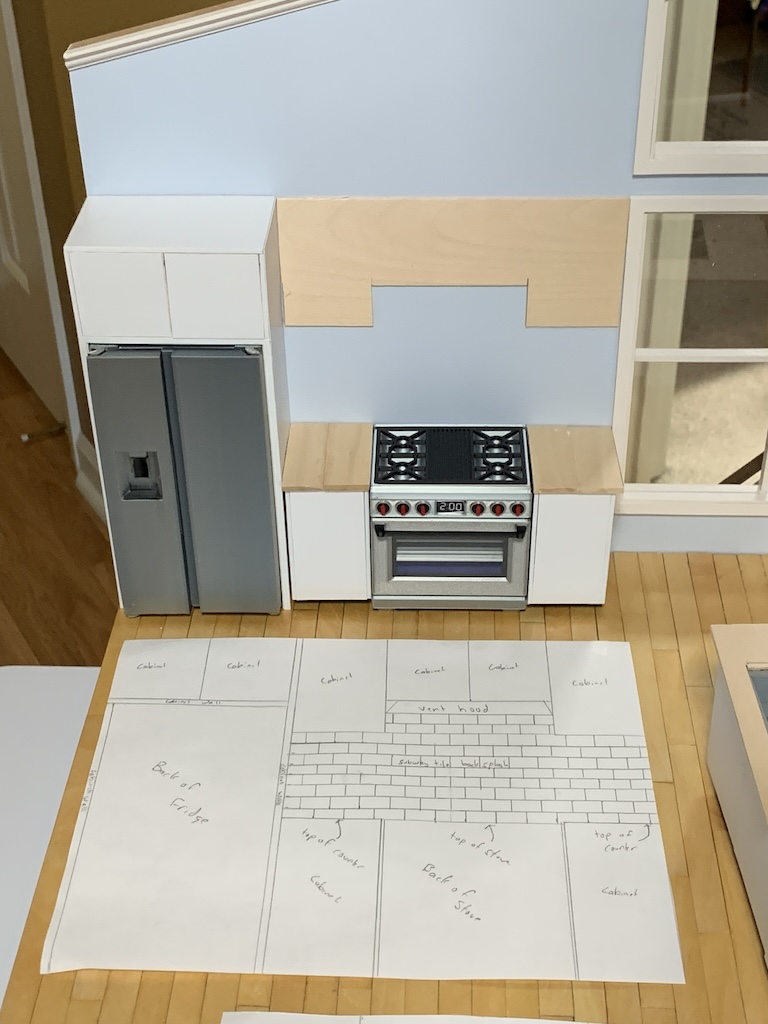
Now what was I going to do with my fridge cabinet being too tall?
The look I was trying to achieve with my drawing is similar to cabinets in our own kitchen where there is a shorter cabinet above our double ovens and then a full-length cabinet next to it.
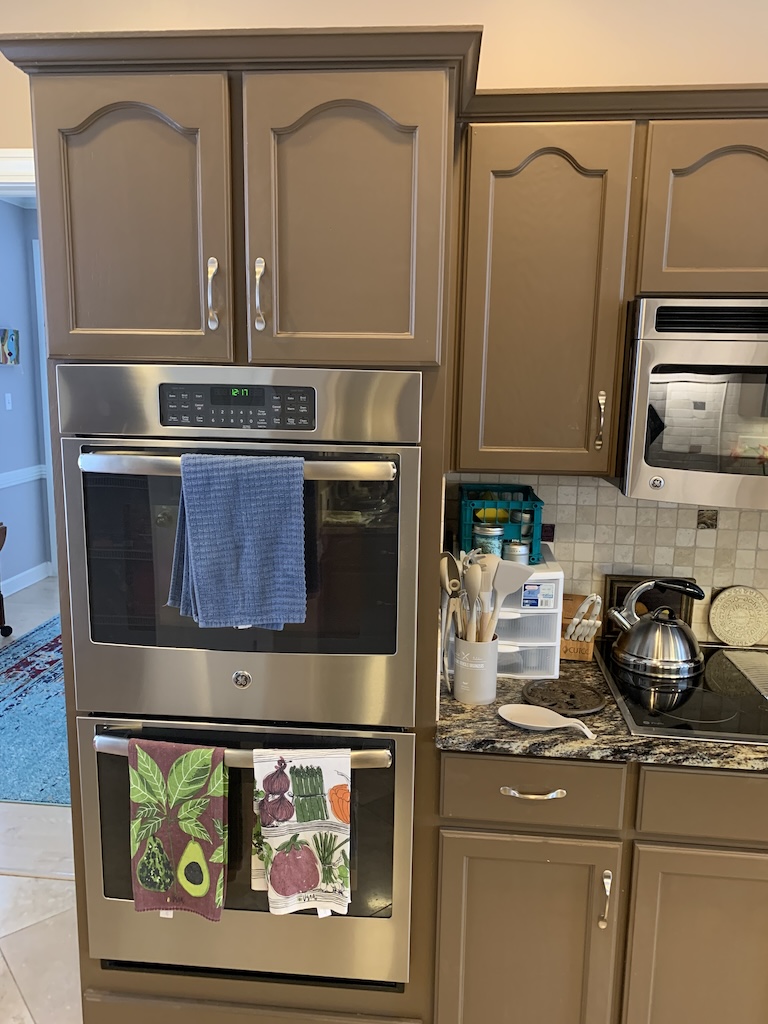
I figured I had three options to resolve this issue.
First, I could do nothing and just live with it. However, with such a large space for backsplash, it would look odd and not model any real life kitchen. A slight modification of this option is I could make the two one-door cabinets longer by that 1.25”. But then they would be really tall cabinets with their tops almost nine feet off the floor in full-scale.
A second option is I could build a whole new fridge cabinet to the correct height.
And my third option is I could shorten the cabinet to the correct height. I have used a technique before where carefully warming the dried glue with a hairdryer, you can pull wooden pieces apart without breaking. I figured this was at least worth a try. And in case I destroyed the fridge cabinet in the process, well I could always fall back on option 2.
Removing the top turned out to be fairly simple. I next started on the left side door which required more effort with the hairdryer as they were glued to that 1/4” square interior brace but with extra time, I was able to get it off. But when I tried the other door, it must have had more glue as the 1/16” basswood broke right where it was glued to the 1/4″ square brace. But I knew I could glue it back together as the wood was on the inside of the cabinet.
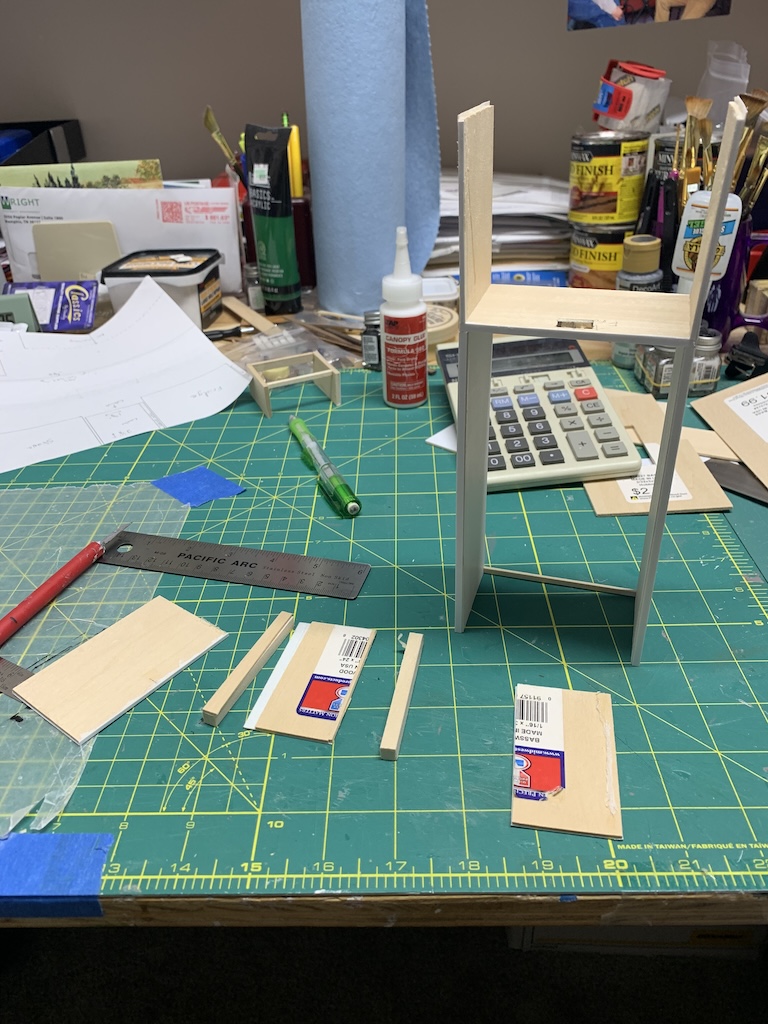
I next determined the height the cabinet should be and cut a piece of basswood to that size. Using it as a template, I drew a line on the inside of the two vertical cabinet sides. Then using a 6” ruler with cork backing as a straight edge, I slowly and repeatedly cut along the line with a sharp X-ACTO knife. I was able to remove the excess basswood without cutting through the polystyrene peeling it back carefully from the basswood.
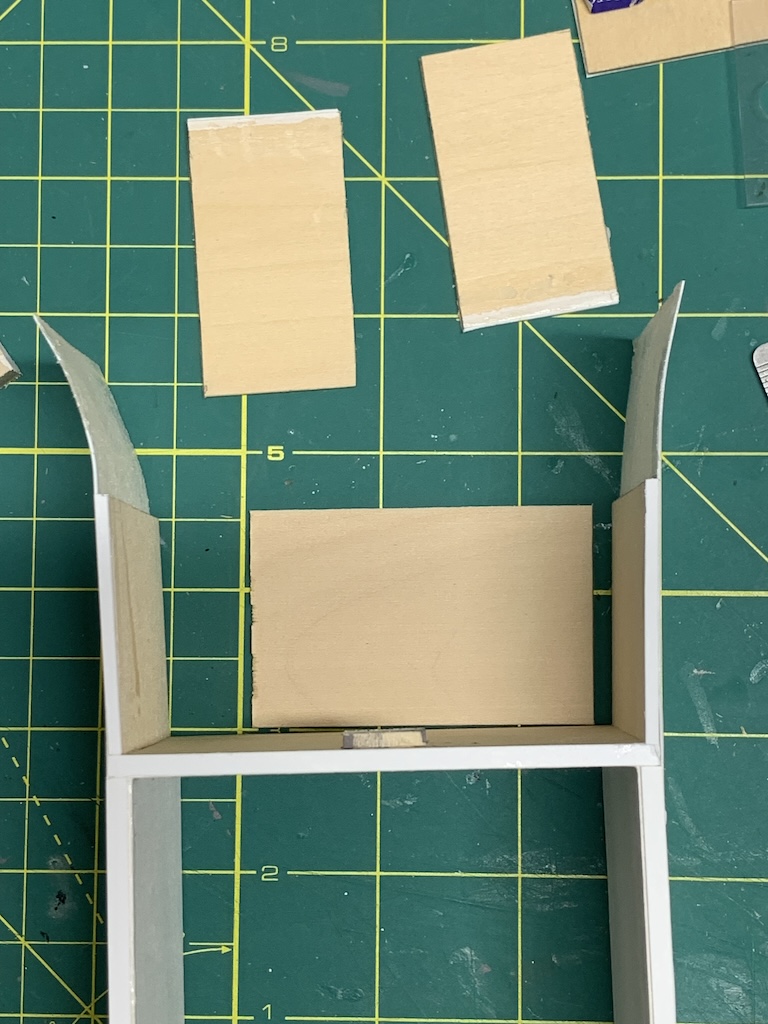
I then glued the top back in place on the shortened cabinet sides and clamped everything together.
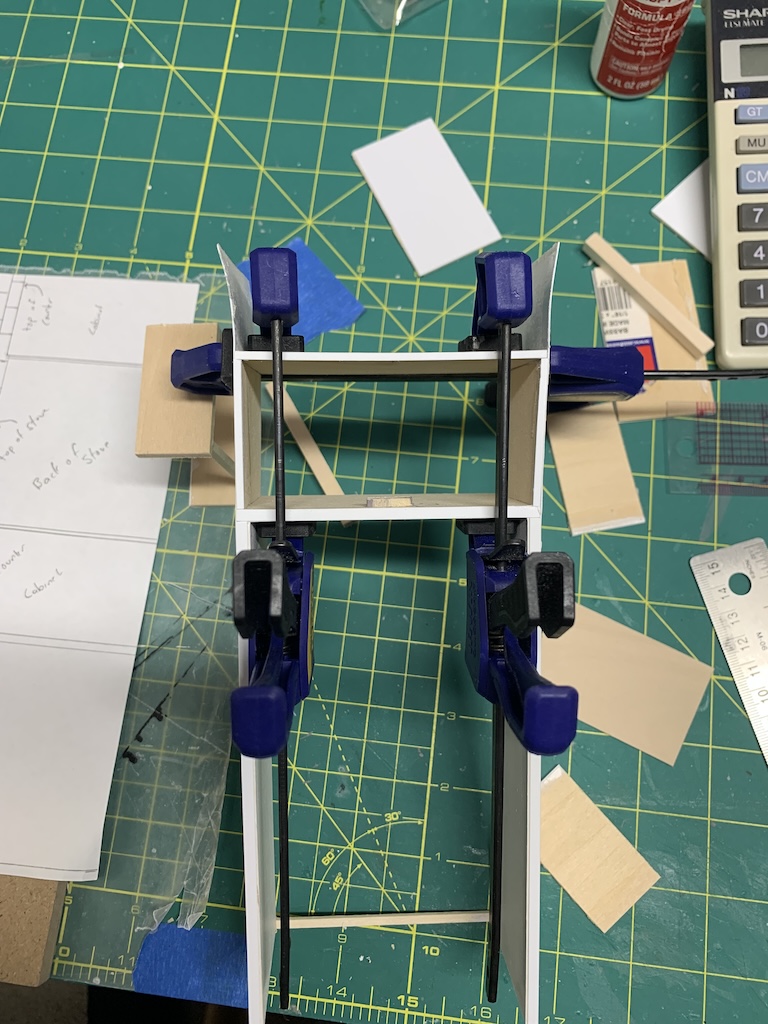
Once the glue was dry, I then trimmed the excess polystyrene along the top of the cabinet top.
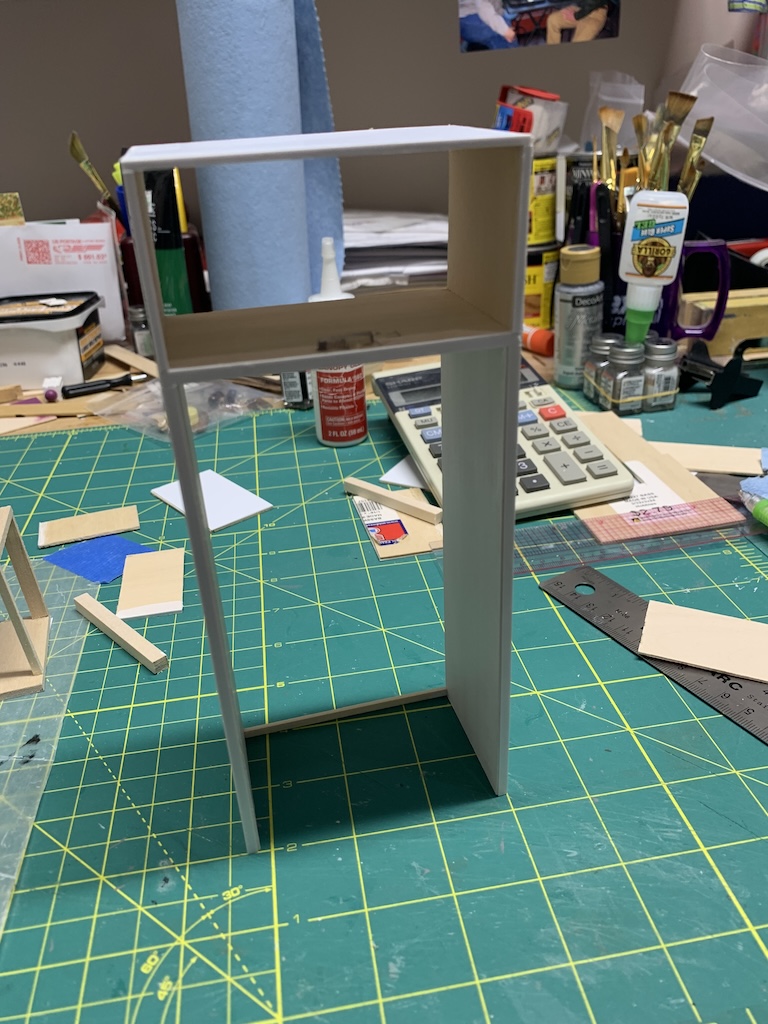
Using the same template, I then cut down the two doors, this time also cutting through the polystyrene and then glued them back in place.
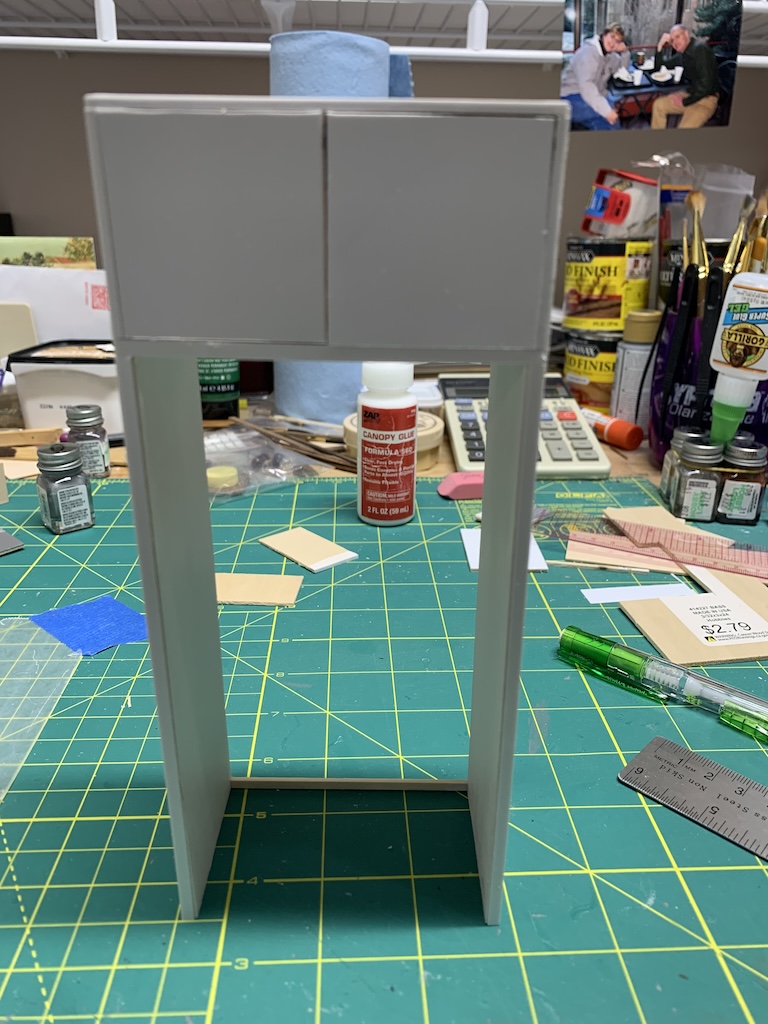
Now that this fridge cabinet was of the correct height, I could return to building the wall cabinets.
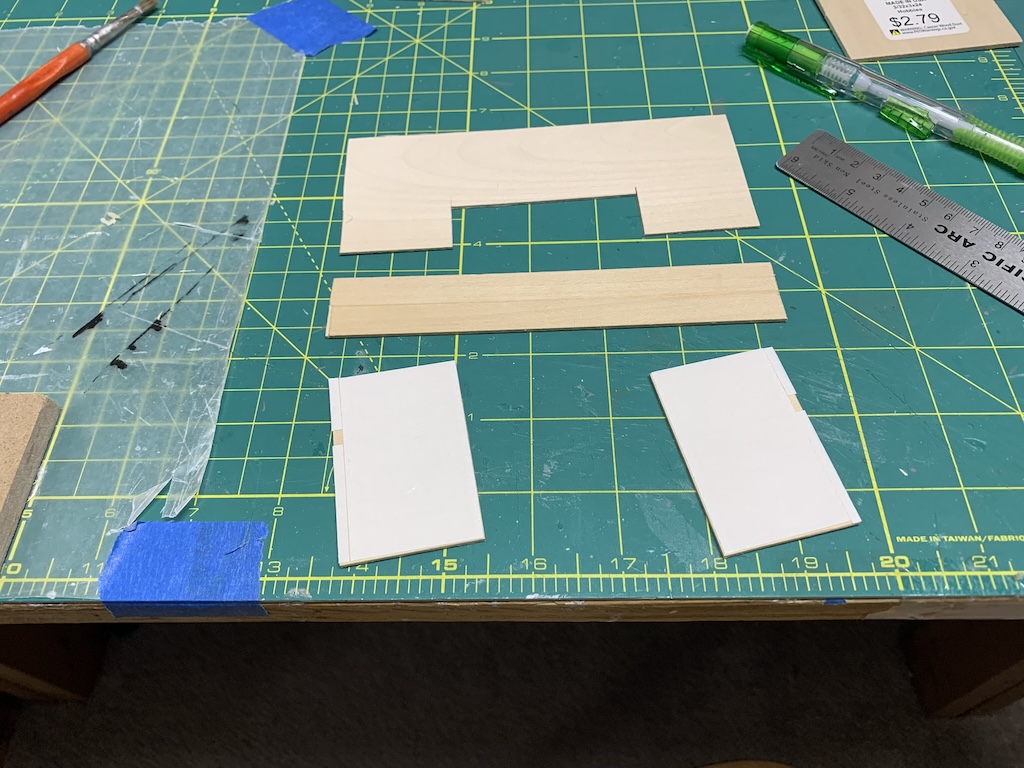
I first cut the two single doors that will hang on the wall above the two floor cabinets since these will define the left and right dimensions of the wall cabinets. Unlike the floor cabinets that are two inches deep, these wall cabinets will be one inch deep. Since I did not have 1” wide 1/16” basswood, I chose to glue two 1/2″ wide strips for the top of the cabinet.
I next made the exterior sides of these two single door cabinets using the same technique of piecing together two 1/2″ strips of 1/16” basswood. I then glued all three together with the back support using my square (L) to ensure they were all properly square. I then put the subassembly in place to ensure it fit in the space.
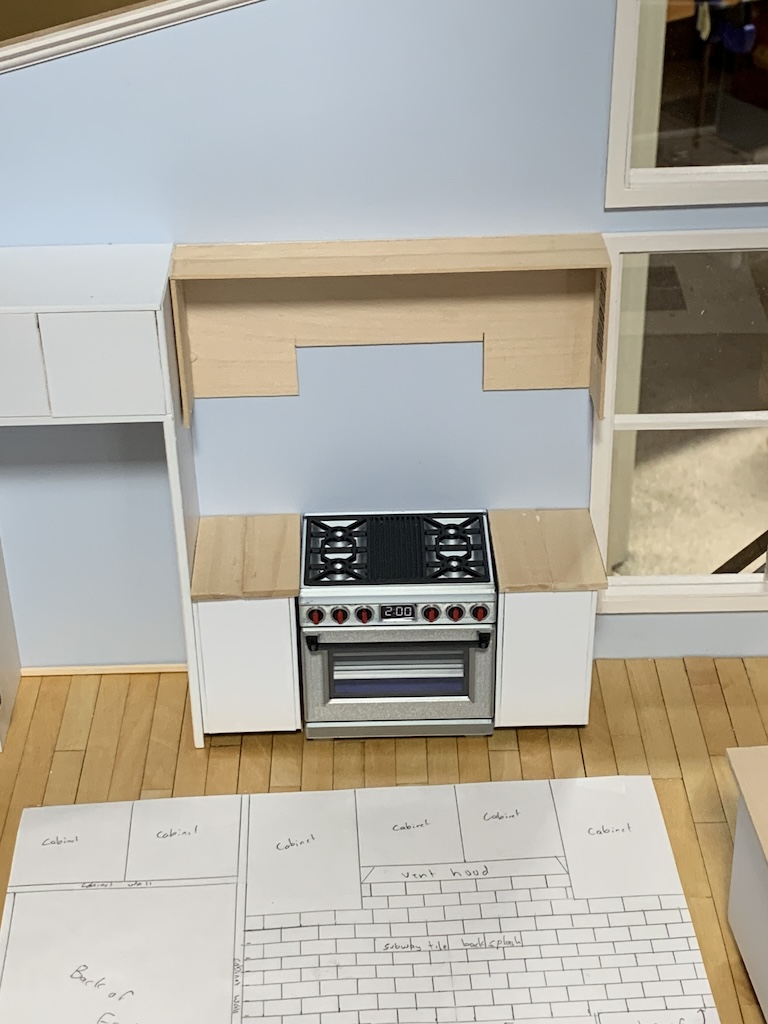
It took just a small amount of sanding to get a snug fit.
I next built the boxes that would become the cabinets.
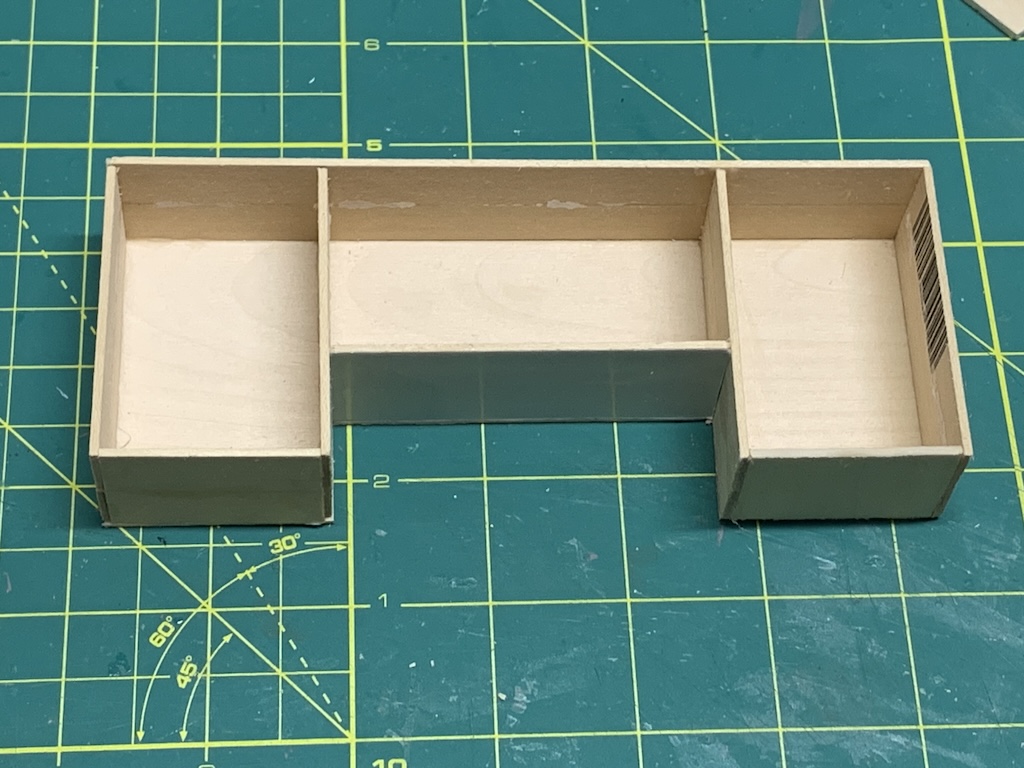
With those complete, I could now glue on the cabinet fronts. As before the middle two-door cabinet I cut from a single piece of basswood. The sheet of polystyrene that will be the middle doors, I will cut as two pieces to define the two doors.
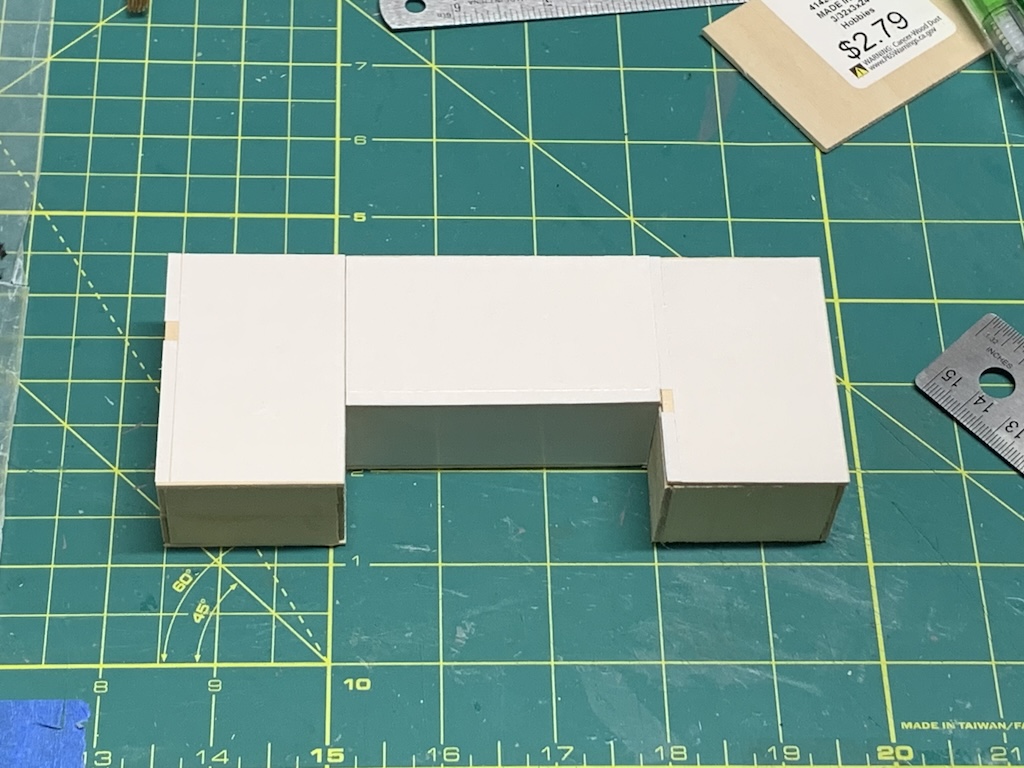
Now I needed to attach the sheet polystyrene to the top, bottom, and sides of the cabinets.
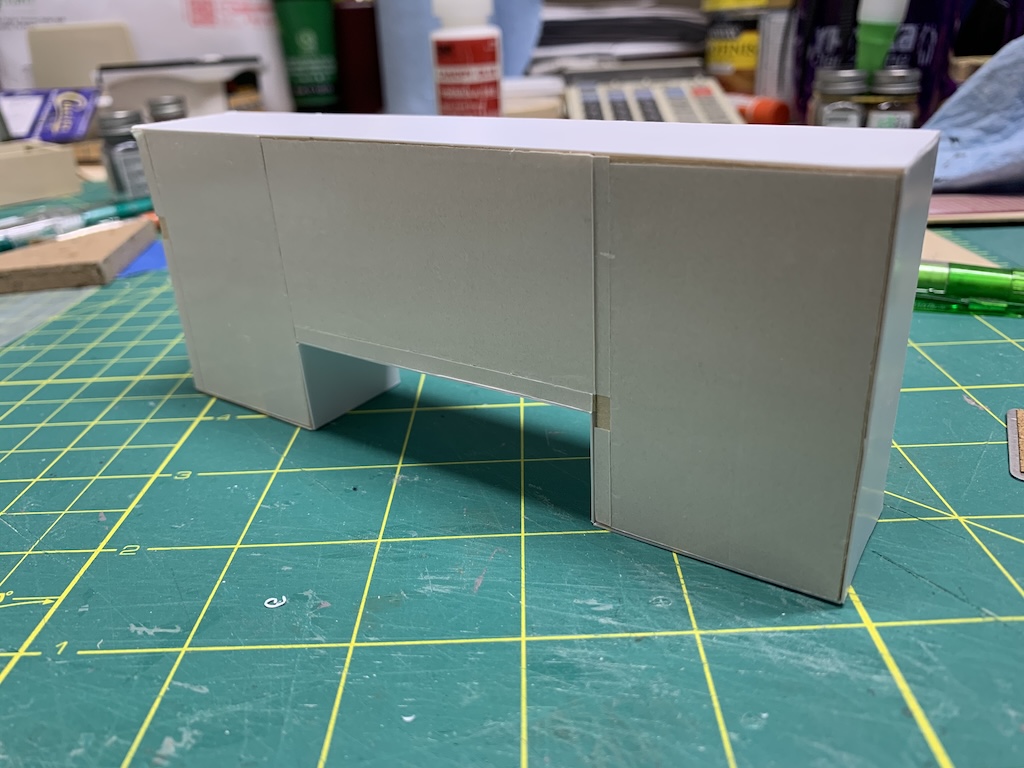
To ensure that the wall cabinet left door lined up with the fridge cabinet, I went ahead and permanently glued the fridge cabinet to the loft wall. Previously I had just clamped the fridge cabinet to the loft wall while working on building the wall cabinet. After the glue dried but before removing the clamps and weights that held the fridge cabinet in place, I tried to insert the wall cabinet and found it would not fit.
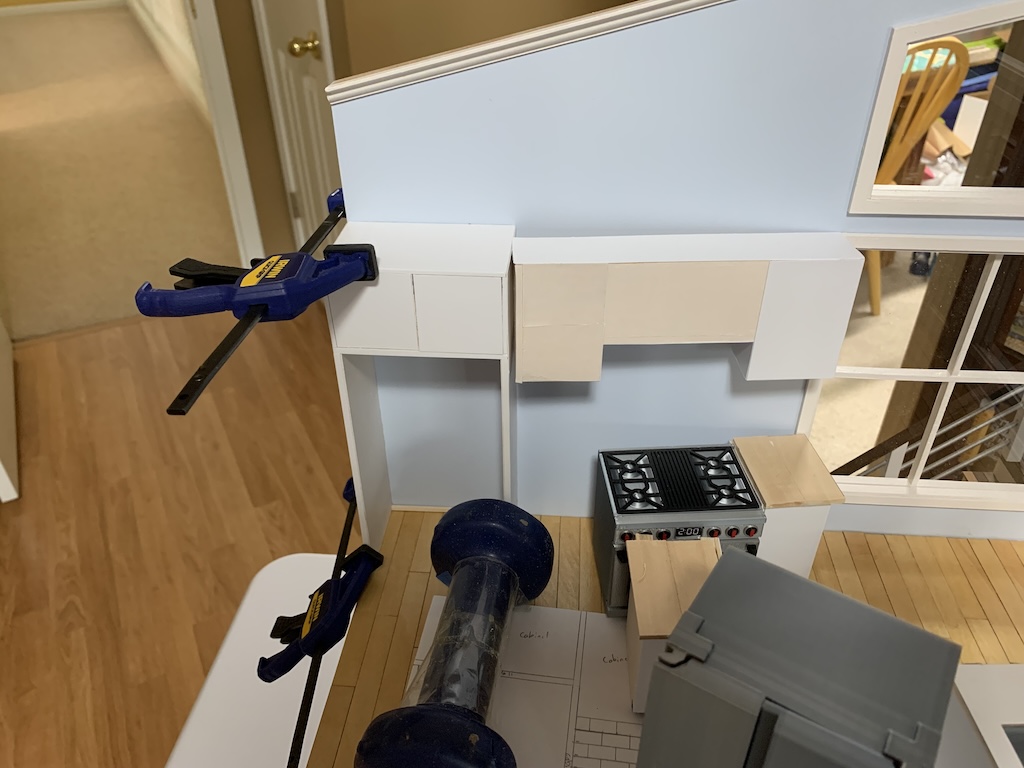
Apparently, what happened while building the wall cabinet and inserting it repeatedly where it would go between the fridge cabinet and the window frame, my clamps had slipped slightly allowing the fridge cabinet to slide away from the window frame.
In hindsight, I probably should have glued the fridge cabinet in place before starting on the wall cabinet. But then again, I would have glued a too tall cabinet to the wall as it was with the back wall cabinet template in place that I discovered I had made the fridge cabinet too tall. You just never know what challenges one is going to face designing and building a miniature kitchen from scratch.
So, I again I was faced with another one of those frustrating questions—what am I going to do now?
To be continued…
Categories

 onecreativescientist