Miniature Garage Loft Furnishings – Phase 1
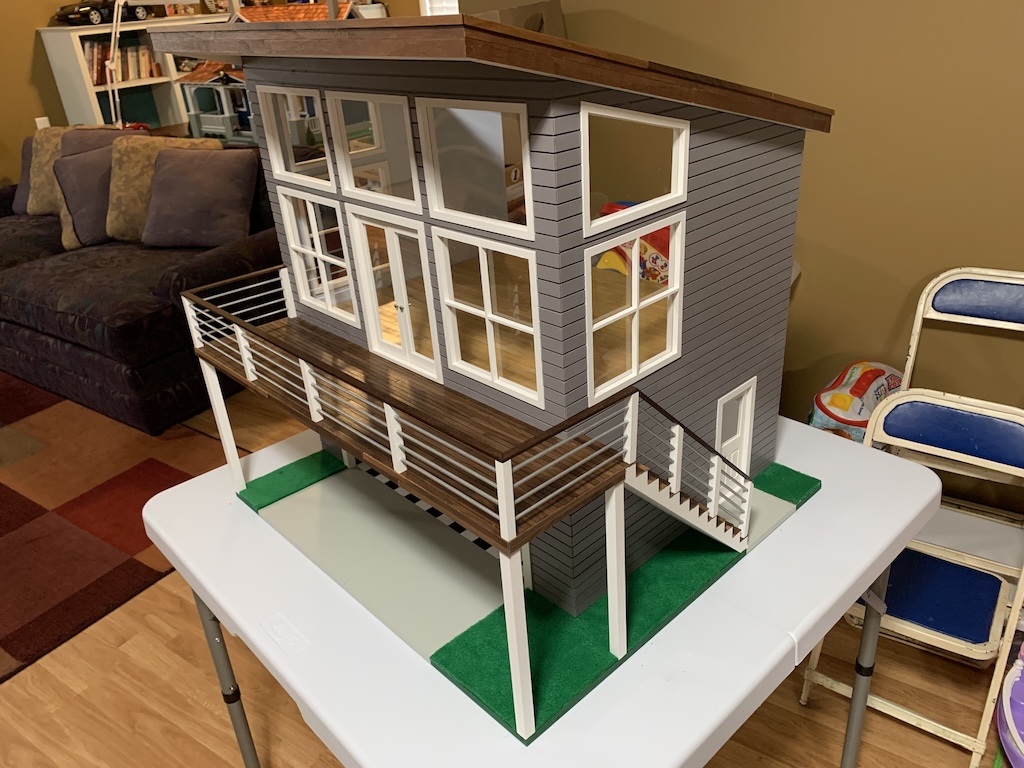
In my last series of dollhouse posts, I ended with images of this finished garage loft. I mentioned in that last post that the next step was to design and build the kitchen before adding any furniture. And to keep with the modern design, I wanted to create a modern kitchen as well, all of which I planned to do with my sister’s help.
To begin the process, I decided to try to draw up some floor plans that would be the guide for fitting out the kitchen. Considering I only had one large room to work with, what I envisioned was a smallish kitchen with a bar overhang for informal breakfast seating. To add some additional counter space for food preparation, I decided to add a free-standing cabinet with countertop.
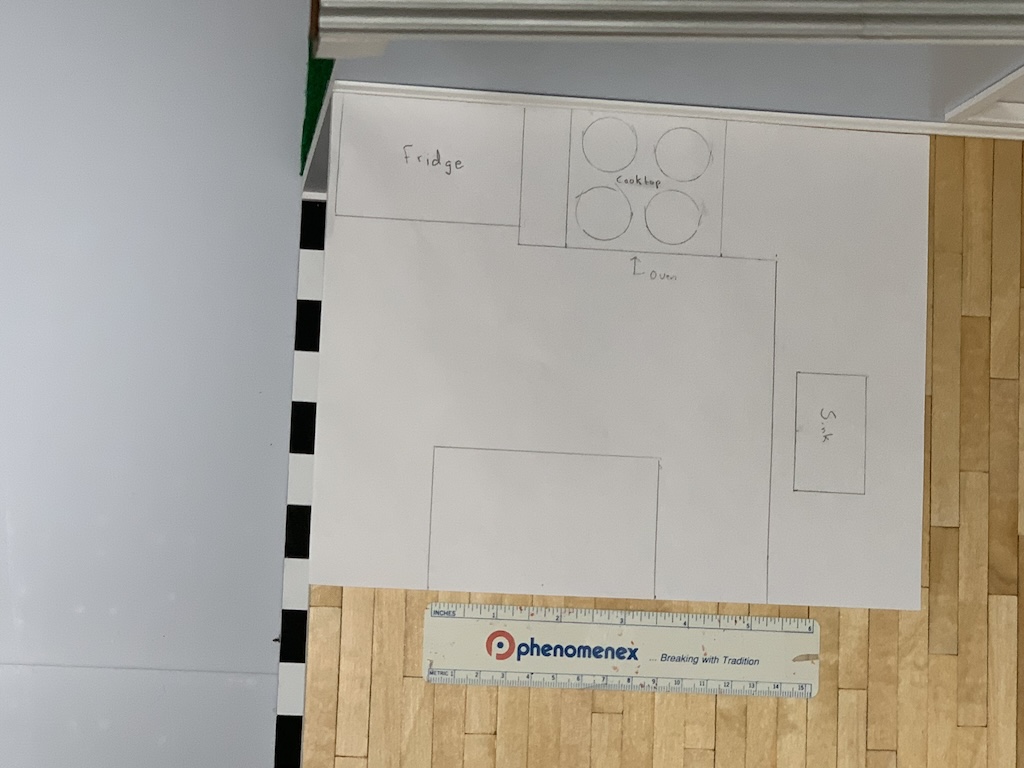
After creating this first plan, I thought it did not really provide enough countertop space, and the sink seemed to encroach on the bar top. Thinking that someone might not want to eat their breakfast with a sink just inches away, I decided to move the sink to the free-standing cabinet. I also decided to take some actual measurements of our kitchen to ensure spacing was consistent with real life.

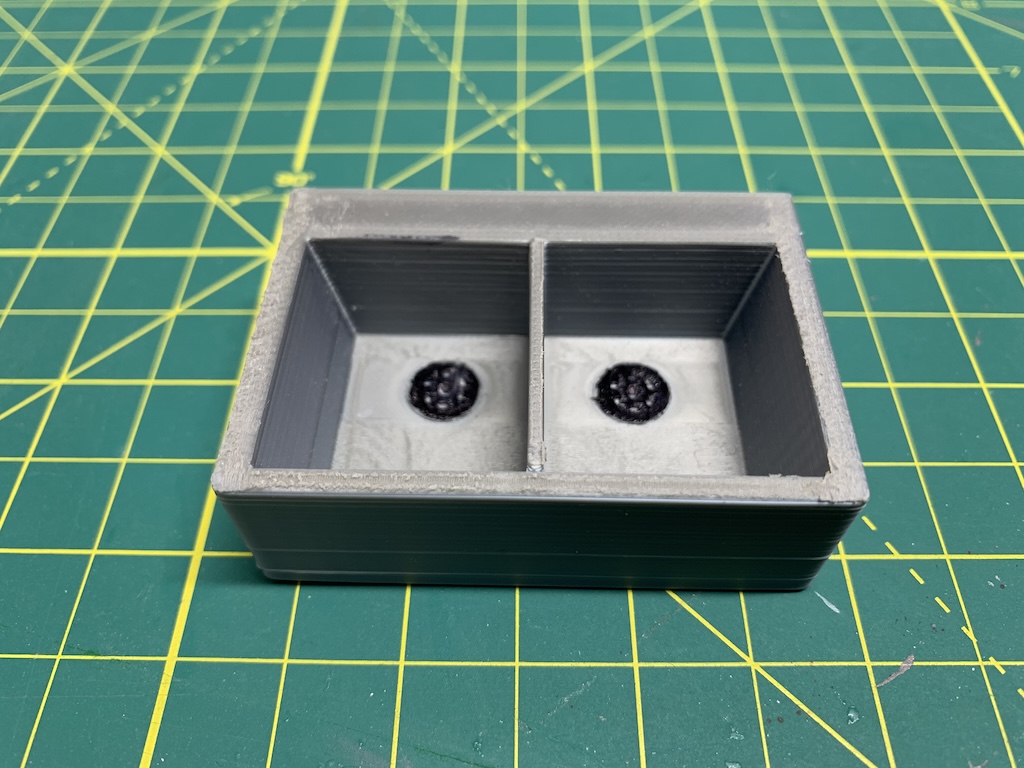
In my second drawing, I enlarged the sink as my sister had 3-D printed a double sink for me.
I then searched for some full-scale modern kitchen layouts.
After looking through numerous photos online, I settled on this ultra-modern looking one to serve as my inspiration.

When I shared all of these images with my sister, she asked what kind of stove and refrigerator I wanted. Modern of course, I replied with a cooktop and built-in oven beneath. She then showed me a stove she had just 3-D printed and it looked to me like a high-end Viking appliance. I immediately decided that would work instead. She then showed me a side-by-side refrigerator she had also 3-D printed and I thought it would be perfect as well. We then agreed on a stainless-steel finish for both appliances, and she said she would print them for me. She then asked when I could drive over to get them but unfortunately, I could not for the entire month of January. I asked if she could mail the pieces to me instead and she agreed.
When I received the package in the mail, I was excited to open the box to see its contents. I envisioned this being fun just like assembling one of my many car models. But before I took anything out of the box, I contacted my sister.

My sister had previously mentioned to me that once I got the package, some explanations would be required. So, I contacted her to learn what I needed to know. While on our FaceTime call, I opened the Ziplock bag and laid out all of the individual parts for the refrigerator.

She explained that some “clean-up” work would be required—breaking off the supports (explained below) along with some sanding—but once done, most of the pieces would simply snap together with just a few pieces needing to be glued.
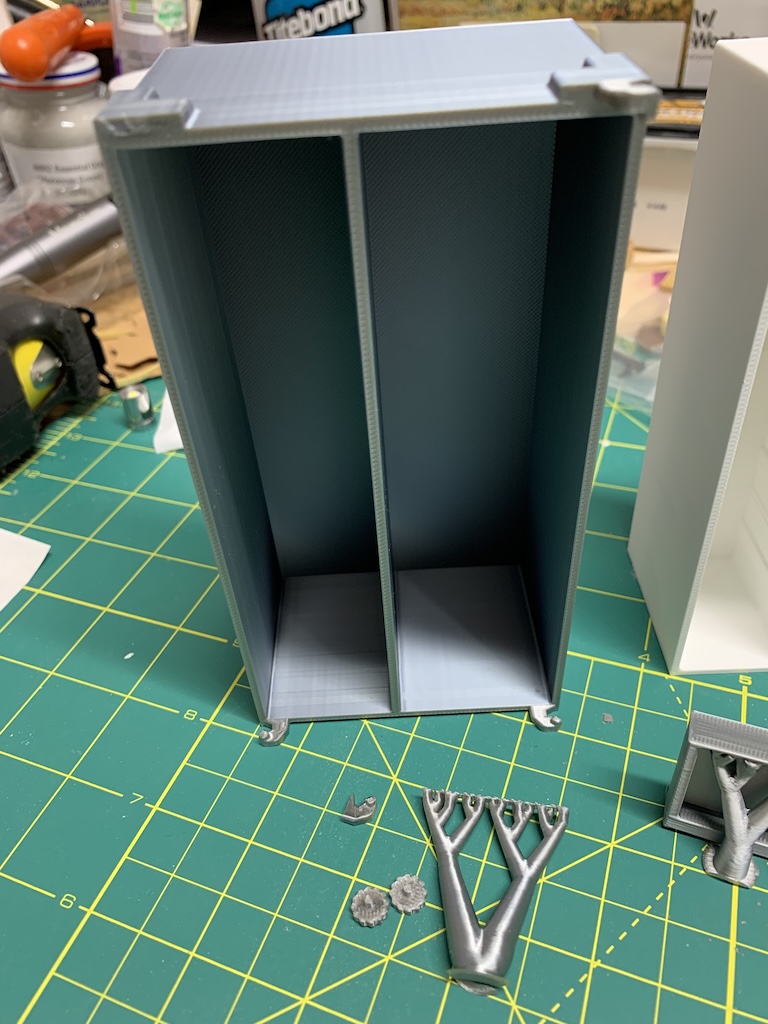
Looking more closely at the refrigerator box, I noticed that the top left hinge had broken off (that’s it in front of the box). She commented that the mailed package must have had some rough handling in transit. When she was assembling her own refrigerator, she had broken a hinge off and had to reprint the whole box. She said she could reprint one for me, but I said let me try gluing it on first.
In the photo above the piece that looks like a car exhaust header is a support, a scaffold-like structure that prints next to the part to support a part overhang (the two circular pieces next to it are the adjustable front feet for leveling the refrigerator—a pretty authentic model!). In the photo above of all the pieces, you can see the supports attached to the inside lip of one of the doors (the overhang in this part). During transit, all of the supports broke off the other door confirming the mailed box had been handled quite roughly.
Once I had done all the clean-up work and glued the top hinge back on, I then snapped in the white fridge interiors.

I next glued the semi-clear fronts to the four bins (that’s an ice tray between them).

I then inserted all the shelves and bins.

Then came the step I was dreading, attaching the doors. Starting with the left-side freezer door, I slotted the door onto the previously glued on top hinge and tried to carefully press the door onto the bottom hinge. Snap, the bottom hinge broke off. However, with much effort, I was able to glue the bottom hinge back on with Super Glue and get the door in place.
Before attempting to attach the right-side door, I sanded the door at the top and bottom where the door would contact the hinge. In addition, I sanded the pin on both the top and bottom hinges that fit into the circular slot on the door. This I hoped would provide less resistance and less change of hinge breakage when snapping the door onto the hinges. Success!
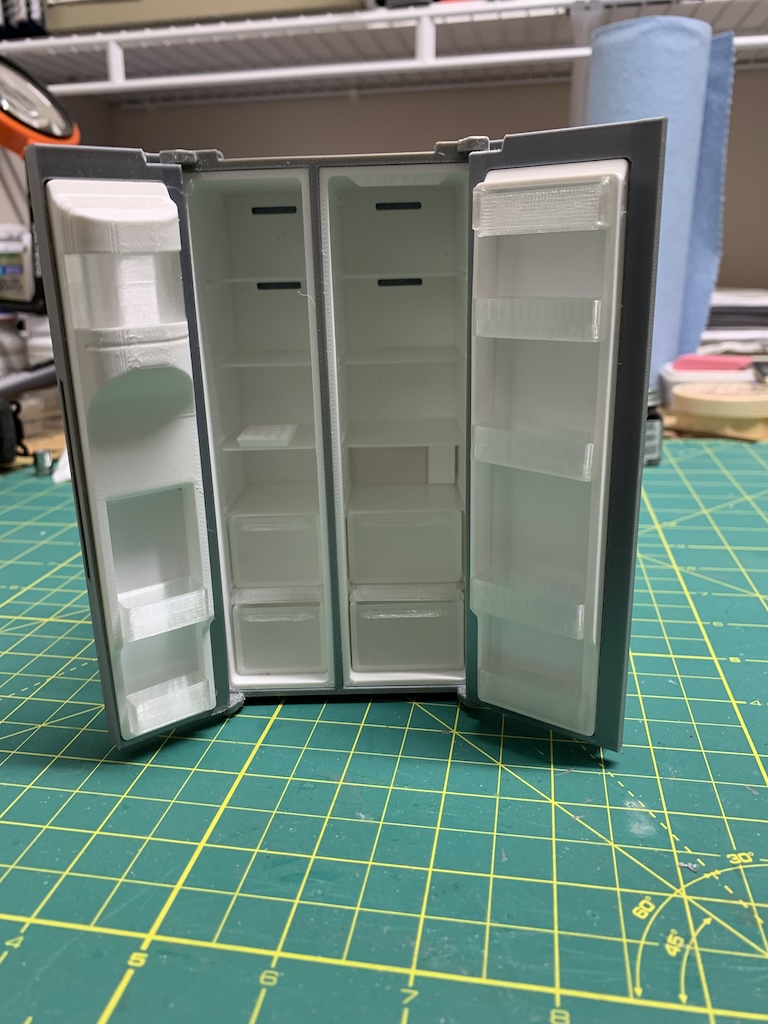
I now had a truly authentic looking miniature Fridge! On the top left in the freezer section is the icemaker. All four bins slide in and out easily. And the top right is an enclosed tray with a door that flips up and where in our own refrigerator we keep the butter.
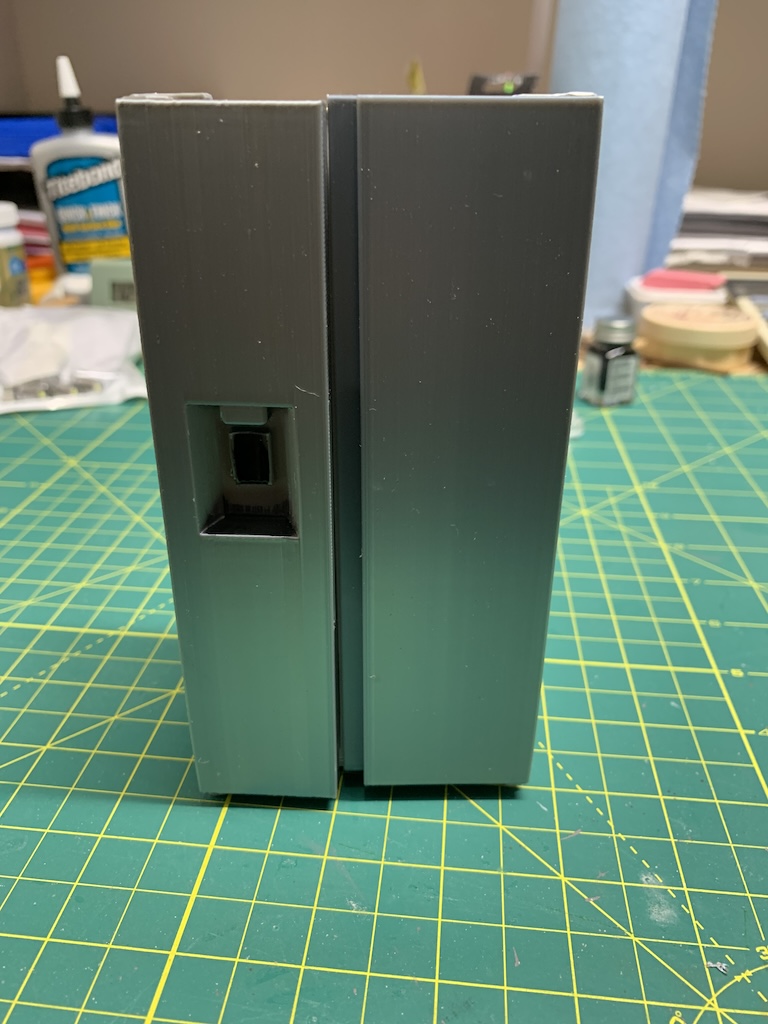
I do not know who created this miniature, but I must say he/she did quite an excellent job. The pieces fit very snuggly together and except for the vulnerable hinges, I had a lot of fun putting it together. Thanks, must also go to my sister for printing out what will be a great addition in my kitchen.
But before moving onto the stove, I had a problem…
To be continued…
Categories


I am blown away at the details on this fridge! Great blog!
Thanks but i couldn’t have done it without Mare.
Absolutely amazing! Even down to the butter dish and the ice cube tray! From the designer to the printer to the builder, each step was a study in excellence. I look forward to the next post.
Thanks Betty but I must credit my sister for finding the fridge online and doing the printing.