
Sopwith Camel – More Challenges??
Continued from: Sopwith Camel – Unforeseen Challenges
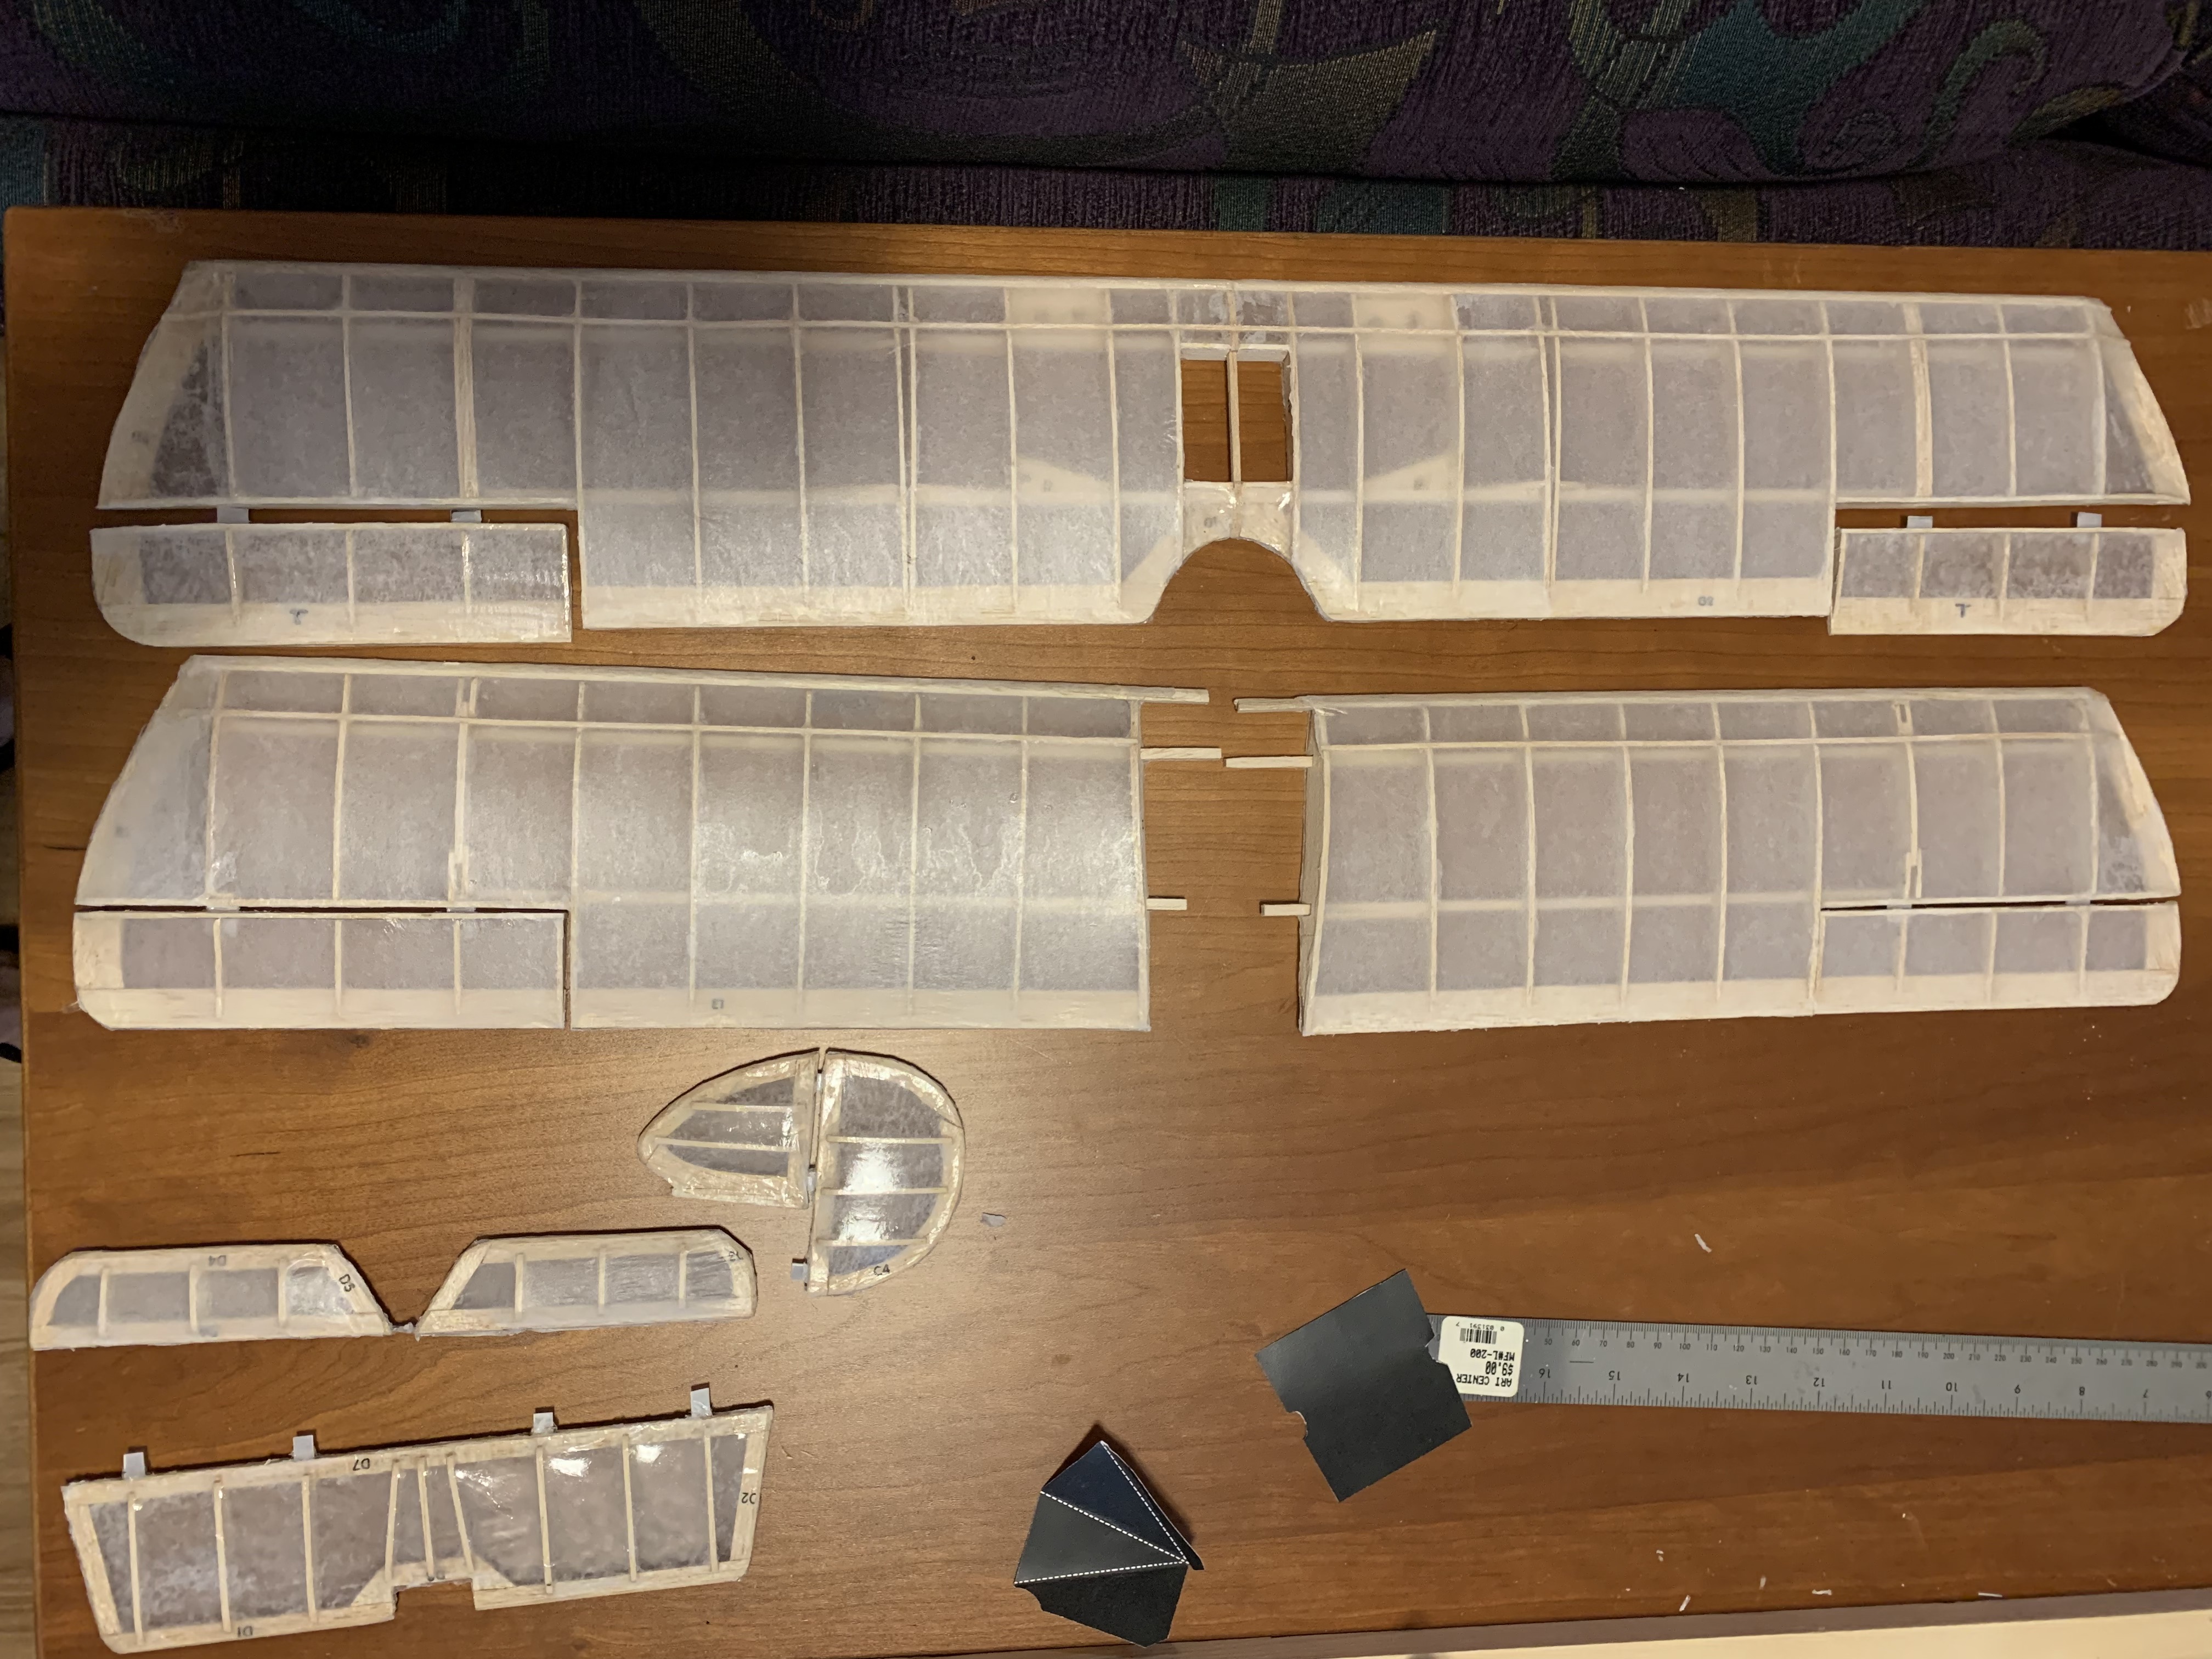
In our last update, I had decided to paint the individual model pieces first rather than assemble them prior to painting as called for in the instructions. The instructions included several types of fuel-proof paint that could be used but since I was building a static model, I did not need that kind of paint. What I did know was that I could not use water-based paints as they would cause my taut tissue to re-wrinkle with no guarantee that the tissue would shrink back tight. So, for this, I needed to return to my local hobby shop.
There, I discovered row upon row of various types and brands of paints. I did not recall having this many options the last time I built an airplane model, decades ago. Several paints I picked up I had to really scrutinize the small print to see if they used water clean-up, a dead giveaway that they were water-based. When I came across a brand that stated, “EXTREMELY FLAMMABLE” (all in caps), I knew I had found what I needed because even a non-chemist knows, water doesn’t burn.
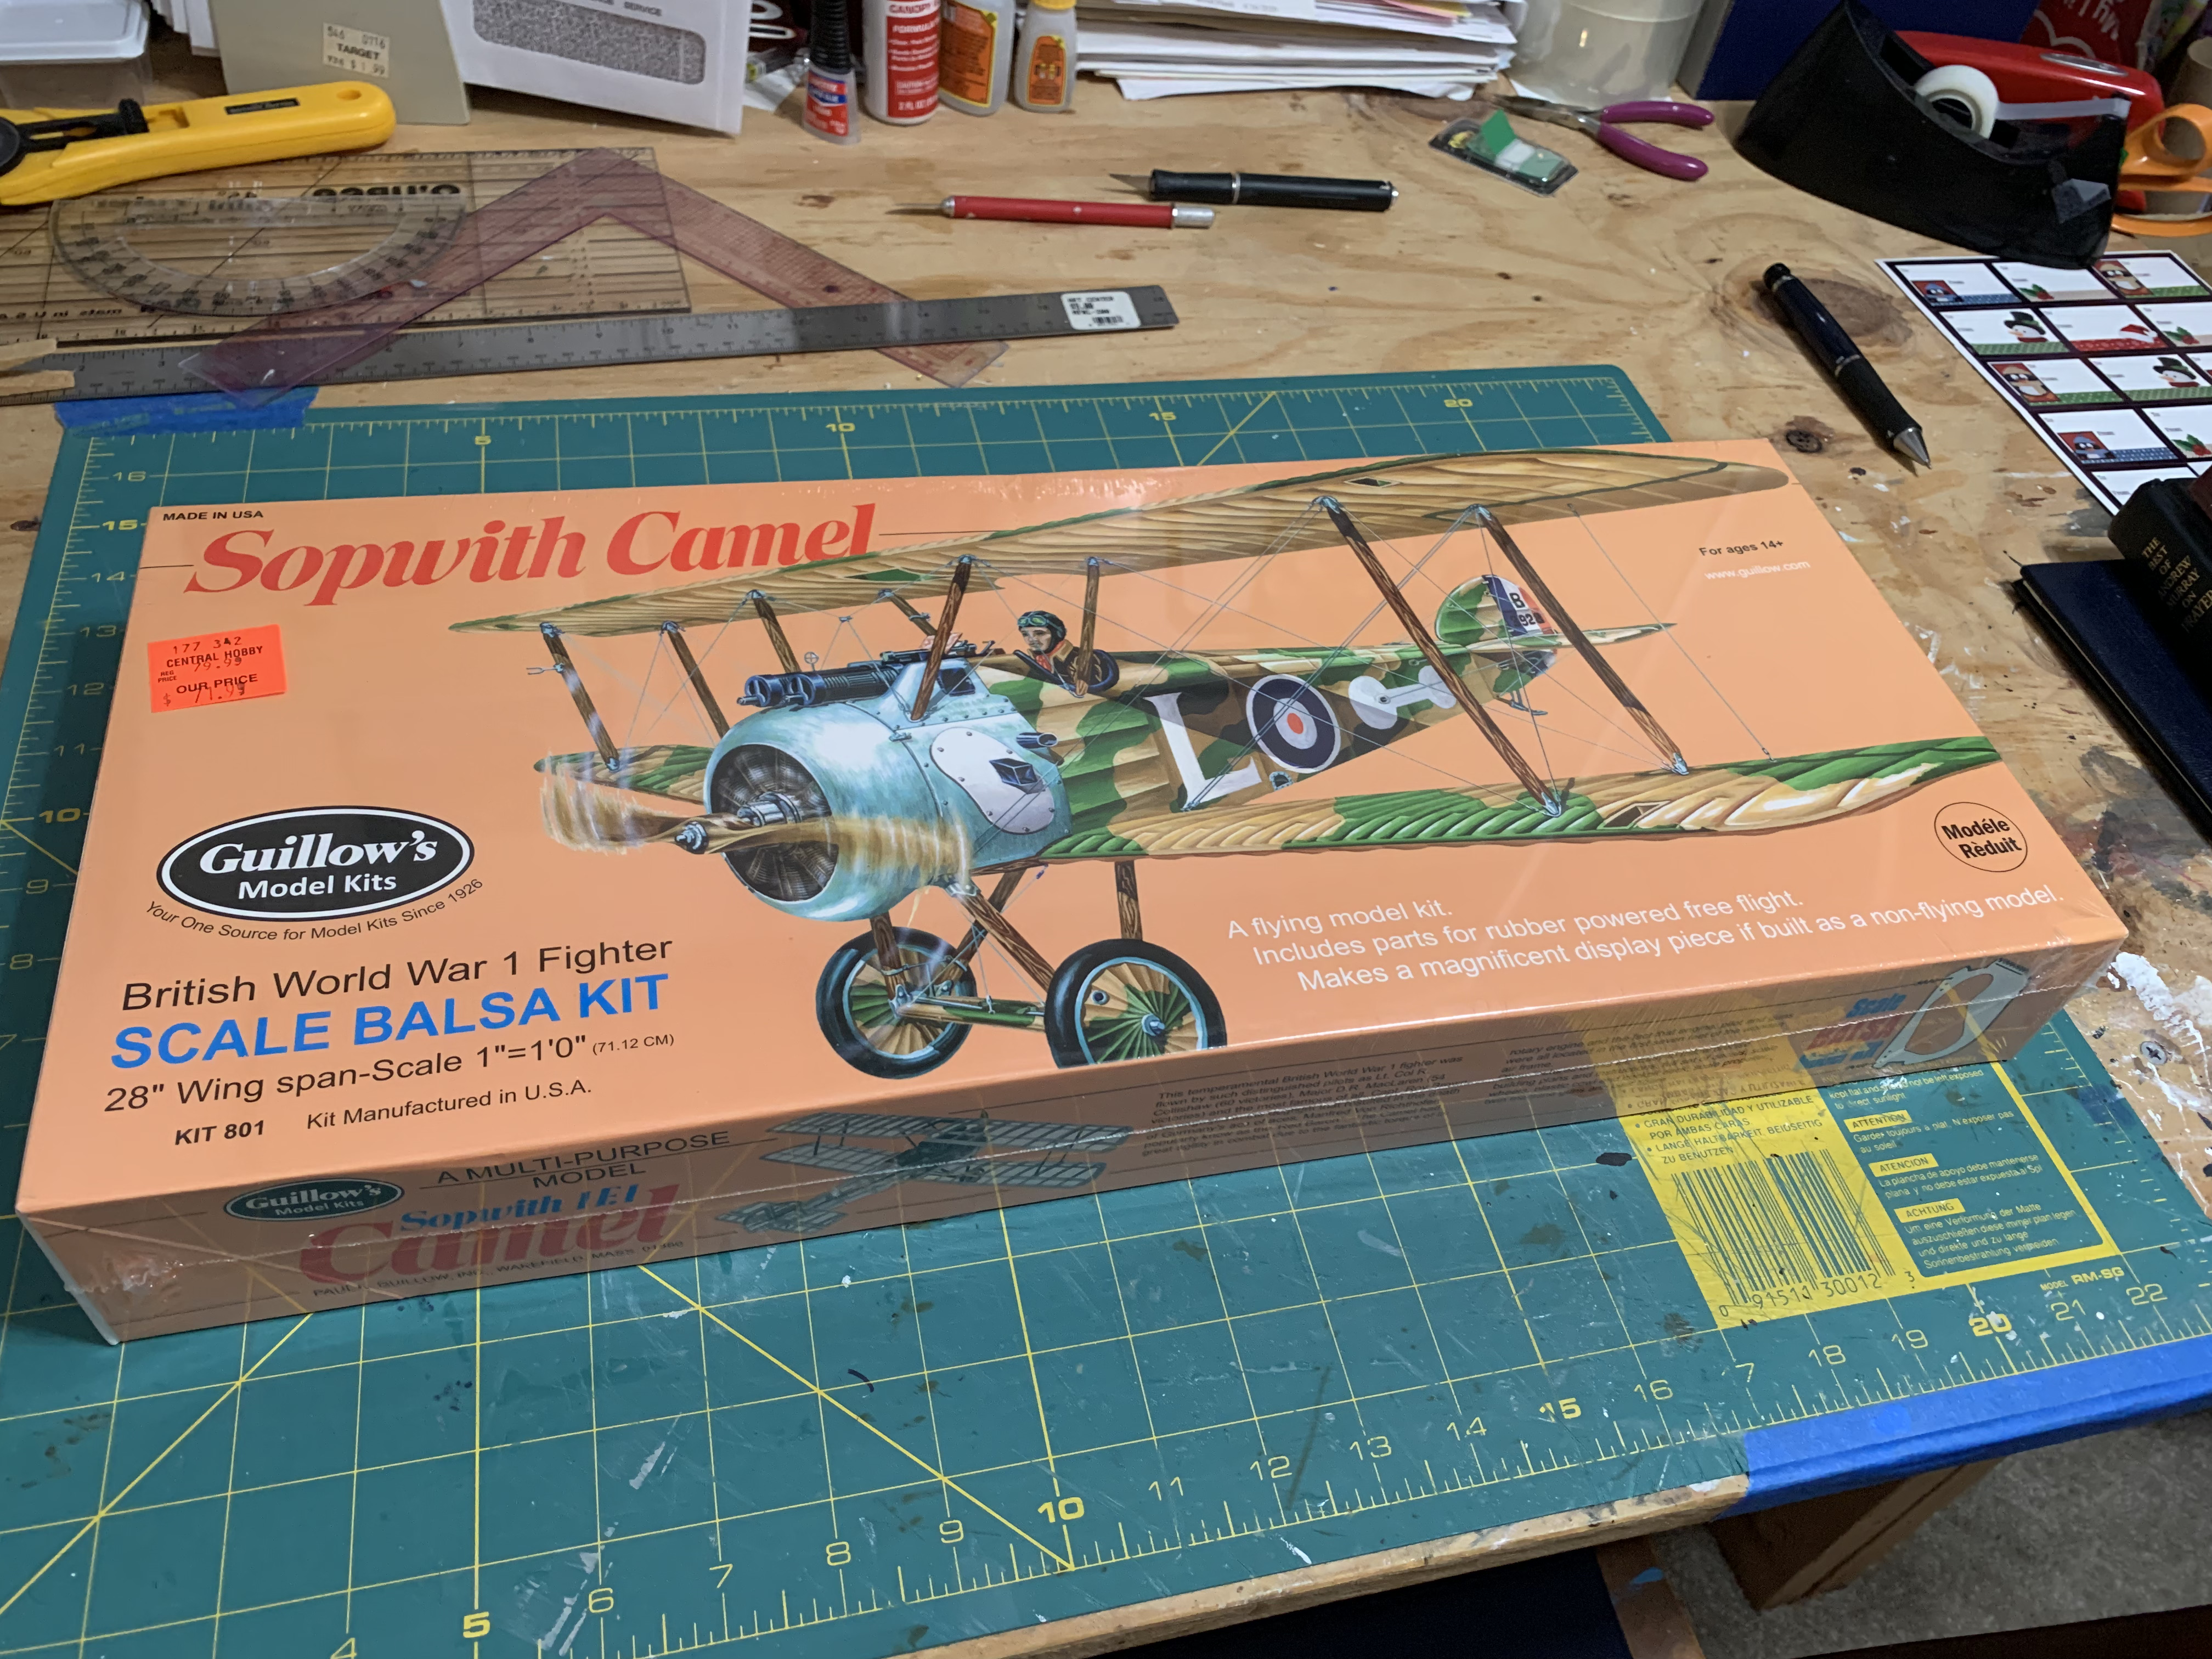
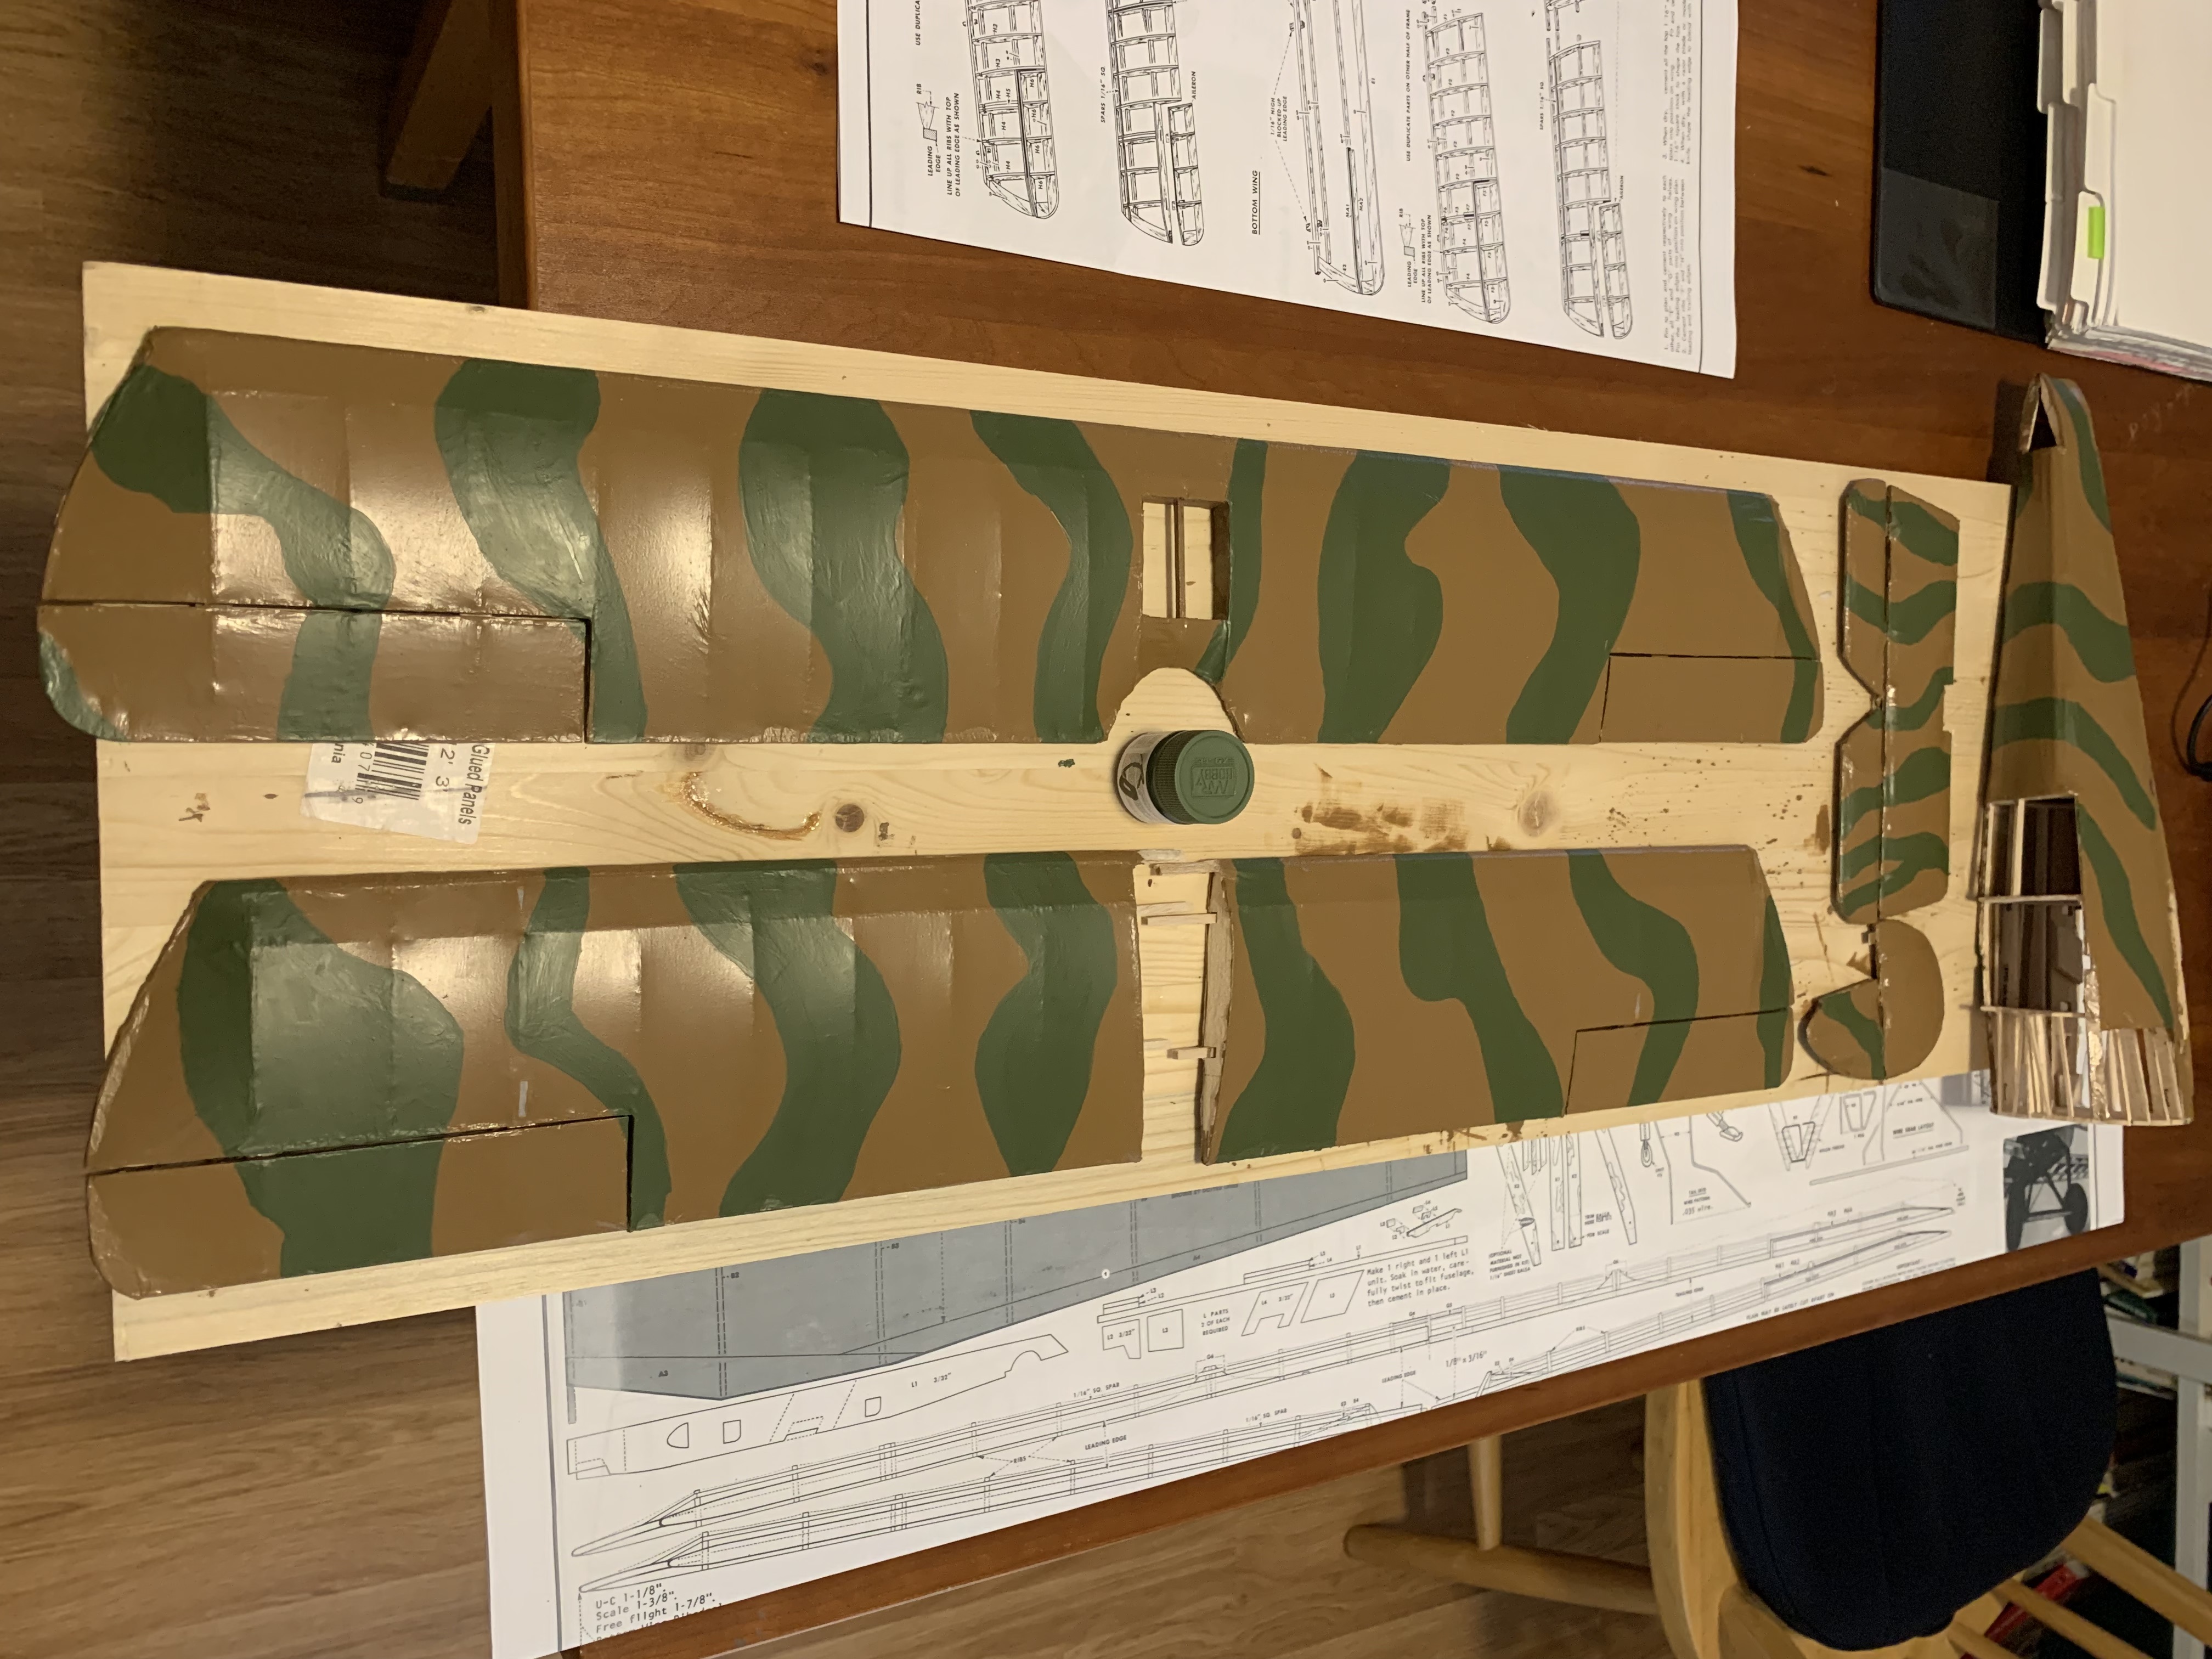
Recall from the model box, the airplane is finished in a camouflaged paint scheme. Using the box as my guide, I tried to pick out a brown and a green paint color that fairly matched the box. When I found what I wanted, I decided to buy two bottles of the brown as this was the predominant color and these were very small bottles.

Just to be on the safe side, I decided to start with the small tail pieces in case disaster struck, as I had enough tissue left to recover them. The instructions indicated that I should start with the lighter color first and then paint with the darker color. The brown was the lighter of the two colors, so I started with this. I knew I would free-hand the green camouflage random pattern, so I needed to paint the entire model brown.
I decided to work in my play closet where I have excellent lighting and just ignore the “HARMFUL IF INHALED” warning. You would think a chemist would know better than that. I thought the small amount of paint I was applying would not be too smelly. I was very, very wrong.
I painted just one side of the tail pieces and immediately knew I would have to move my paint shop outdoors before I asphyxiated myself. But the good news was the painting went smoothly, and it covered very well, although the paint seemed a bit thick. In fact, it almost looked like a single coat might be enough but then I noticed I could see through in several places so decided two coats it would be (I would soon find out why one coat covered so well).
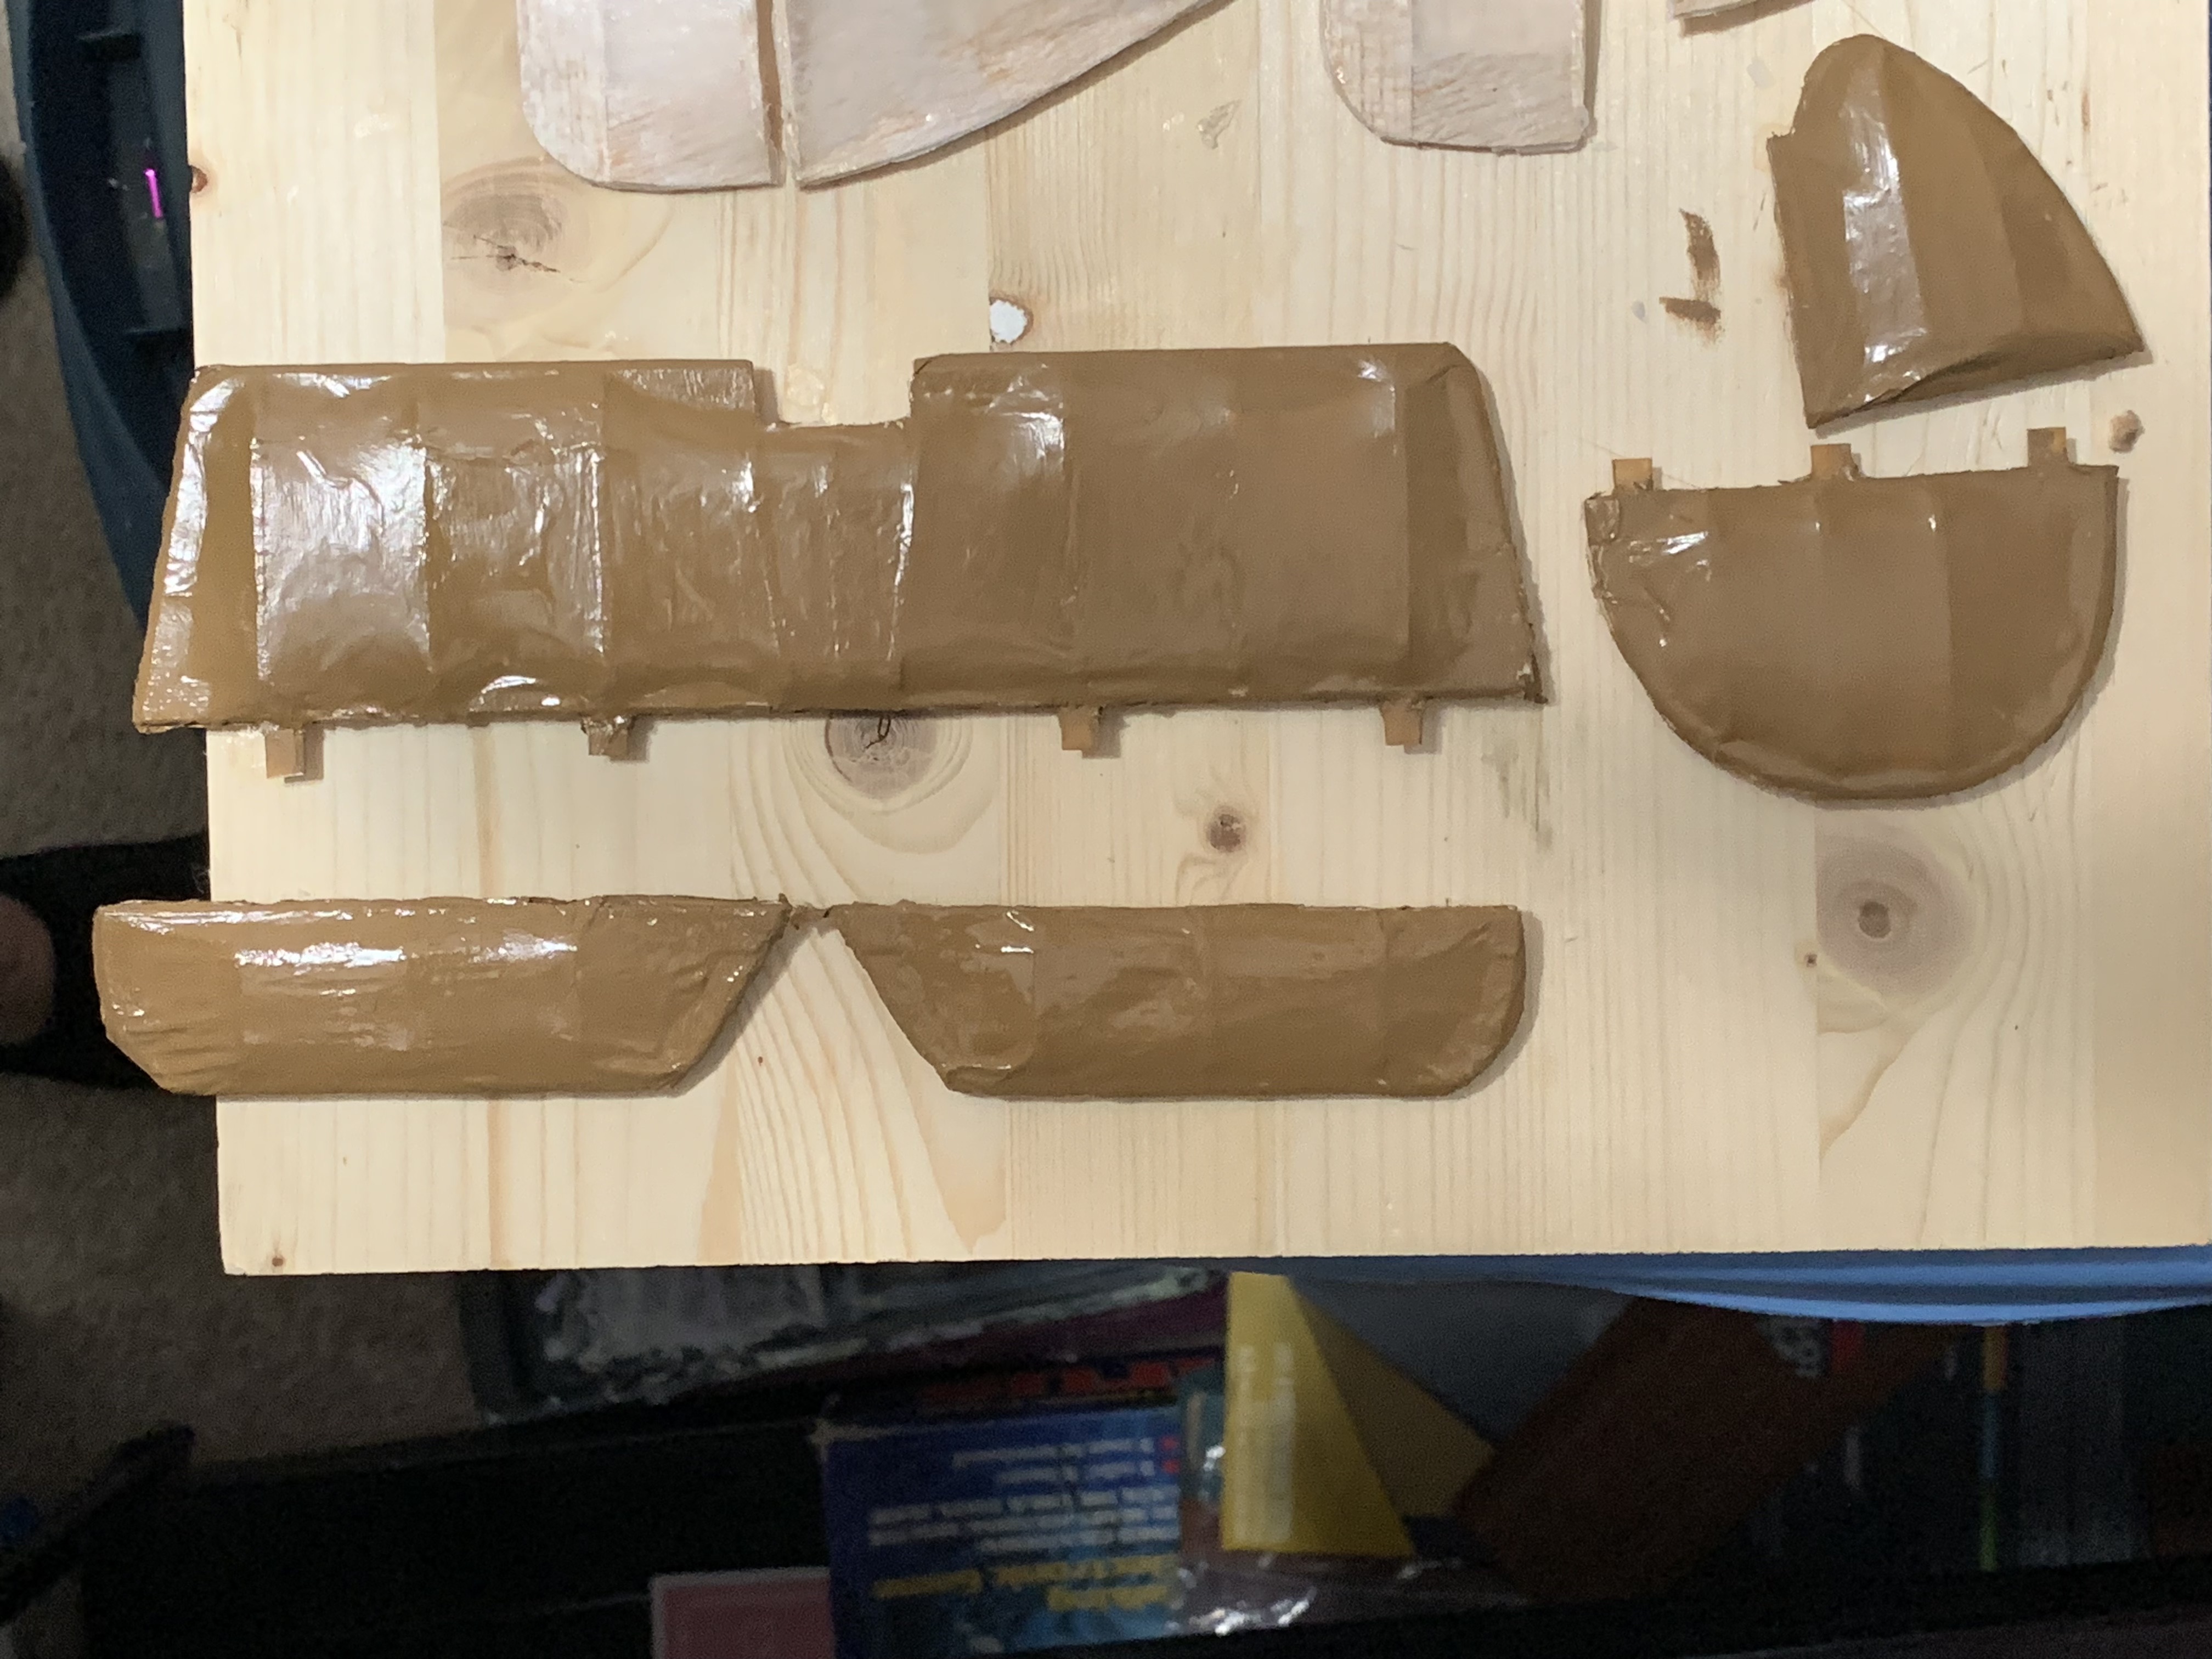
After relocating outdoors, I continued painting the first side of other parts and quickly discovered I had woefully underestimated how much paint I would need. In the photo below, this is as far as I got before using up the entire first bottle. I proceeded with the second bottle to at least get the first coat on the top sides of the parts.
I was very pleased with the finish and no wrinkling whatsoever occurred. But when I went to clean my brush with paint thinner, I was in for another surprise. When I dipped my brush into the thinner, the paint clumped up on the brush. None of the paint came off in the thinner. I decided to leave the brush in the thinner to see if I could salvage it with some other kind of solvent.
Back to the hobby shop I went to buy more paint. I knew that two bottles of brown would not even put a single coat on the surfaces that needed painting, so I bought three more. And to be on the safe side, I bought one more bottle of green paint. I then looked for a little bottle of thinner in with the paint but found none.

I then tried to read the label to see if it included brush cleaning instructions. If it looks blurry to you that’s how it looked to me too through these 60+ year-old eyes. In this photo, you can see how small the font is. Clearly this label was not designed for poor sighted senior citizens in mind. Straining, I could just read that the paint should be diluted with “Mr. Thinner” (blown up below with my phone camera so you can read).
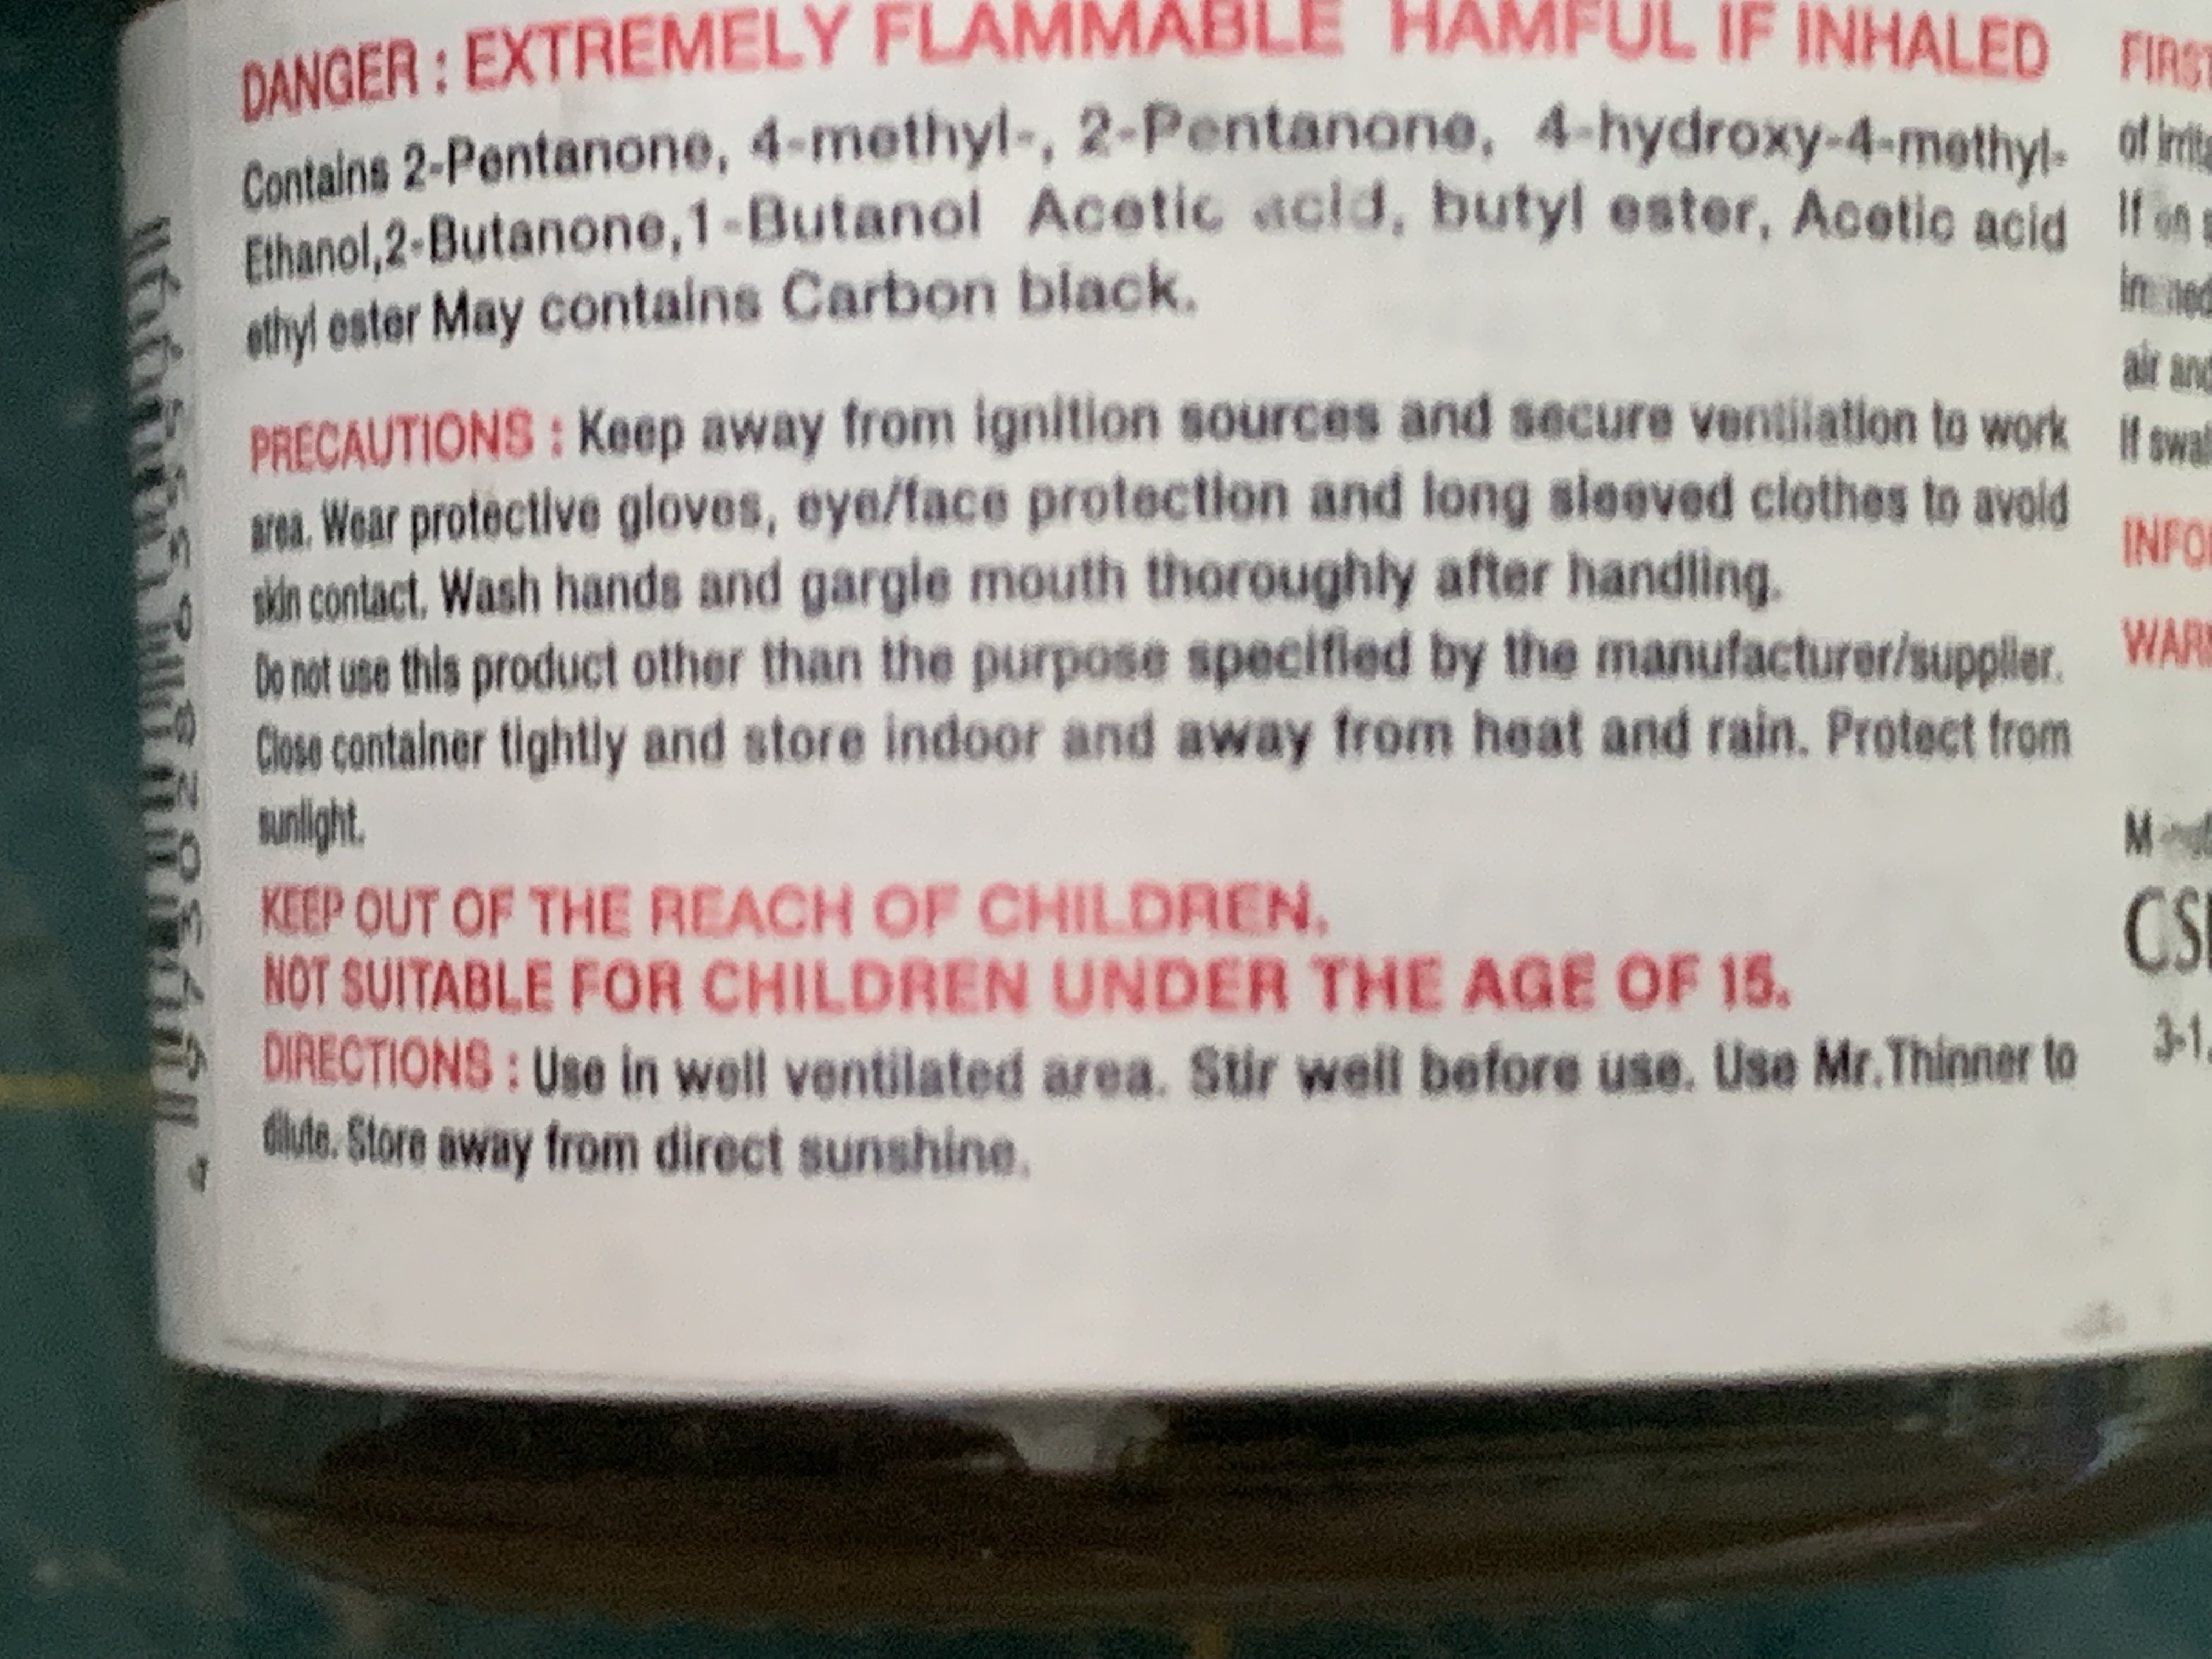
Had I managed to read that before purchasing the first bottles, I would have simply thought that was their attempt to charge me a high price for a small bottle of paint thinner that I could get in a quart size at a hardware store for just a few dollars.
I searched the other displays for this thinner and then found it with other thinners. I was surprised to see that the smallest size bottle I could buy was 50 mL (about 1 and 2/3 fl. Oz.), but they also carried much larger sizes. This seemed odd as the plastic model paints packaged in small square bottles that I had used growing up always offered a thinner bottle of the exact same size. I made my way to the check out and before purchasing, confirmed with the clerk that this was what I needed to clean my brush. It was as he said nothing else would work (which I had determined experientially).
When I got home, I was pleased to see that this thinner immediately cleaned up my brush and it didn’t take much to thoroughly remove the paint. Still puzzled by the size of the thinner bottles, I decided to search the manufacturers website. For the second time since starting this model, it was eye opening.
First, I learned that the little bottles only contained 10 mL (about 1/3 fl. Oz.) and in bold font on the website, it indicated that this paint should be diluted 1:1 for hand brushing and 1:2 for air brushing. Even without these ratios printed on the tiny label, that explained the wording that the paint should be diluted. But my familiarity with that statement on paints typically meant if the paint had thickened with age or exposure to air, it could be thinned with a common solvent. Now I knew why the paint had covered so well, it was concentrated straight from the bottle.
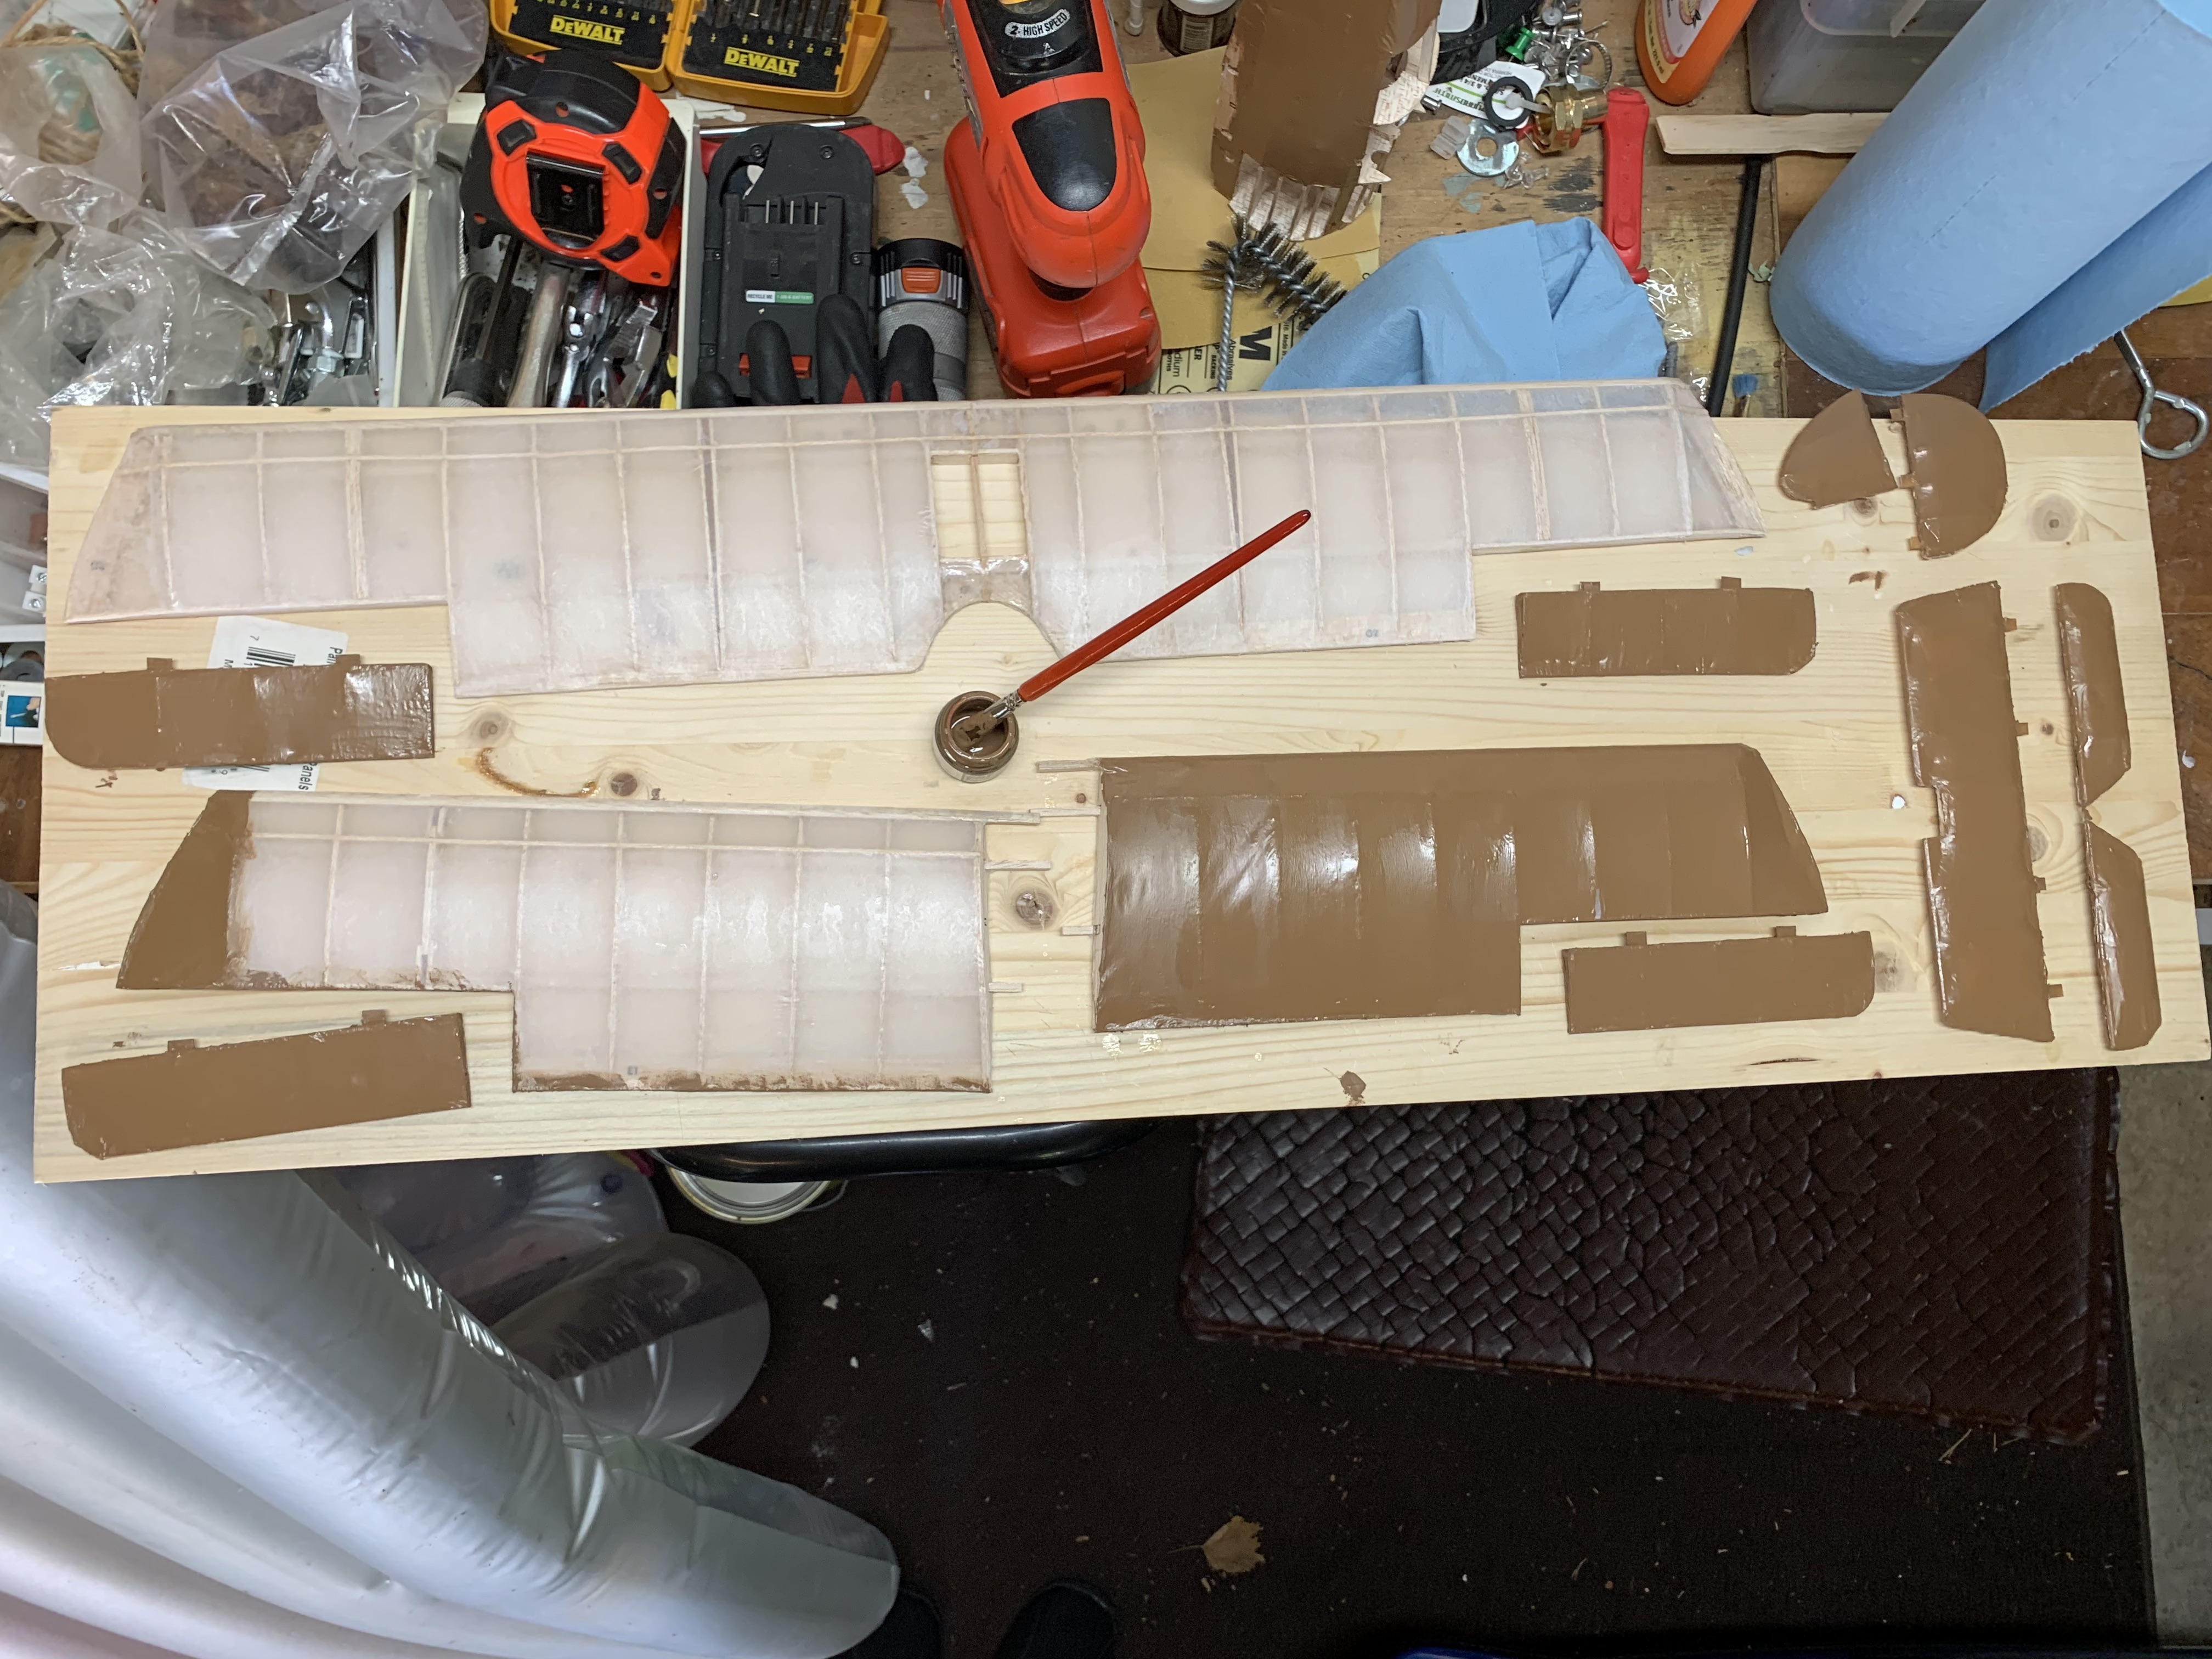
To keep a consistent finish, I decided to paint the underside of the wings with straight paint and then dilute 1:1 for the second coat of brown.

Two coats looked very nice so now I was ready for my camouflage green. I diluted the green a little less than 1:1 as I was painting over the brown paint. Using the box photo again as a sort of guide, I painted my random pattern. Turns out it took three coats to fully hide the brown color underneath and for not being an artist, I thought it turned out fairly nicely.
With all surfaces painted, I was now ready to move on to the assembly step—at least that is what I thought…
To be continued…
Categories

That is some truly tiny print! I could never have made that out. Seems like they could have made the thinning instructions bigger too! But it looks really really great!
Thanks! Yea I agree. One more installment and you’ll see the finished plane.