
A Miniature Garage Loft – Phase 5
Continued from: A Miniature Garage Loft – Phase 4
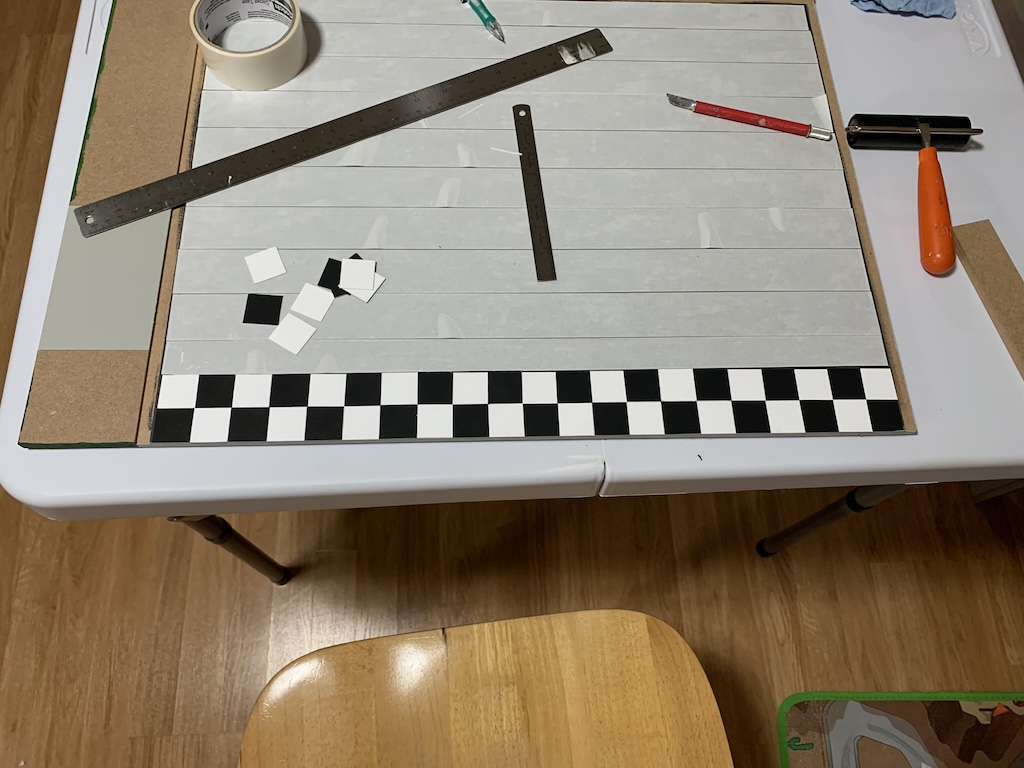
Once I laid down two rows of 21 squares, I discovered I had two problems. First, I had not carefully ensured the first strip of tiles were perfectly aligned with the back side of the base all the way across. This meant my tiles were sort of going downhill left to right. But an even bigger problem was not all the corners of the squares lined up with each other. I remeasured a few squares and discovered that while they were 1-inch wide in one direction, the perpendicular sides were slightly less than 1-inch wide. That explained why my corners did not line up. I then remeasured that piece of 1-inch basswood (seen previously in the photo where I was cutting) and found that unfortunately like full size boards, the nominal size and the actual size of the wood were not the same with the actual size being slightly less due to planing and shrinkage.
With a good bit of frustration and a few choice words, I had to peel the first two rows off the base and reapply carpet tape. I then went back to cutting squares only using my ruler for drawing and cutting along the 1-inch-wide lines. And to ensure the accuracy of my cuts, I measured each one individually to ensure it was in fact 1-inch square. Those cut slightly too wide, I trimmed down with a tiny cut and those slightly less than 1-inch, I threw in the waste can. Once I had enough to make three rows of 21 squares each, I laid them down and found they fit together much better.
I then proceeded to cut tiles to continue making rows of 21 squares. Occasionally, I would undercut one square and have to pitch it. Once I had 21 cut squares, I would stack them to see how uniformly cut they were. Often, one or two would be slightly too long and have to be carefully cut further.
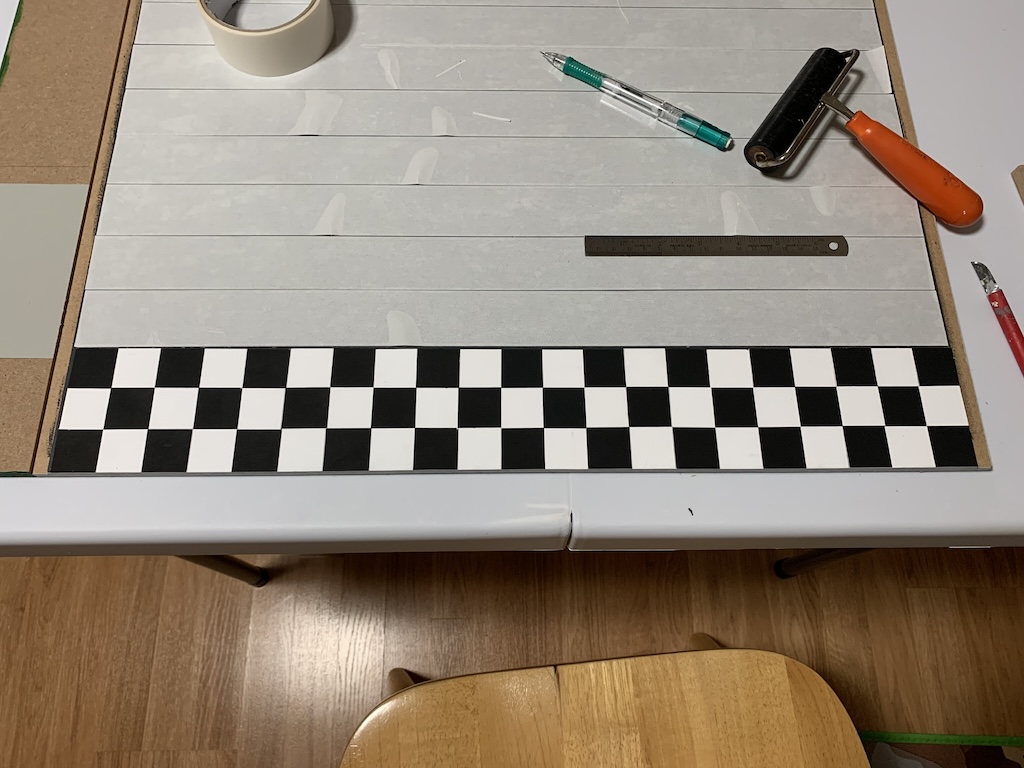
After I had cut 63 squares, I would lay them down on the carpet tape. I unfortunately quickly found it was a bear to remove a misplaced or misaligned square as it would come all apart when I went to pull it off, leaving slim strips of paper on the tape. And when that happened, I would have to cut some extra squares.
I continued to progress across the floor laying down three rows at a time and once I had laid down 15 rows, I just had one full row and one-half square row left to complete.
I breathed a big sigh of relief once I had finished.
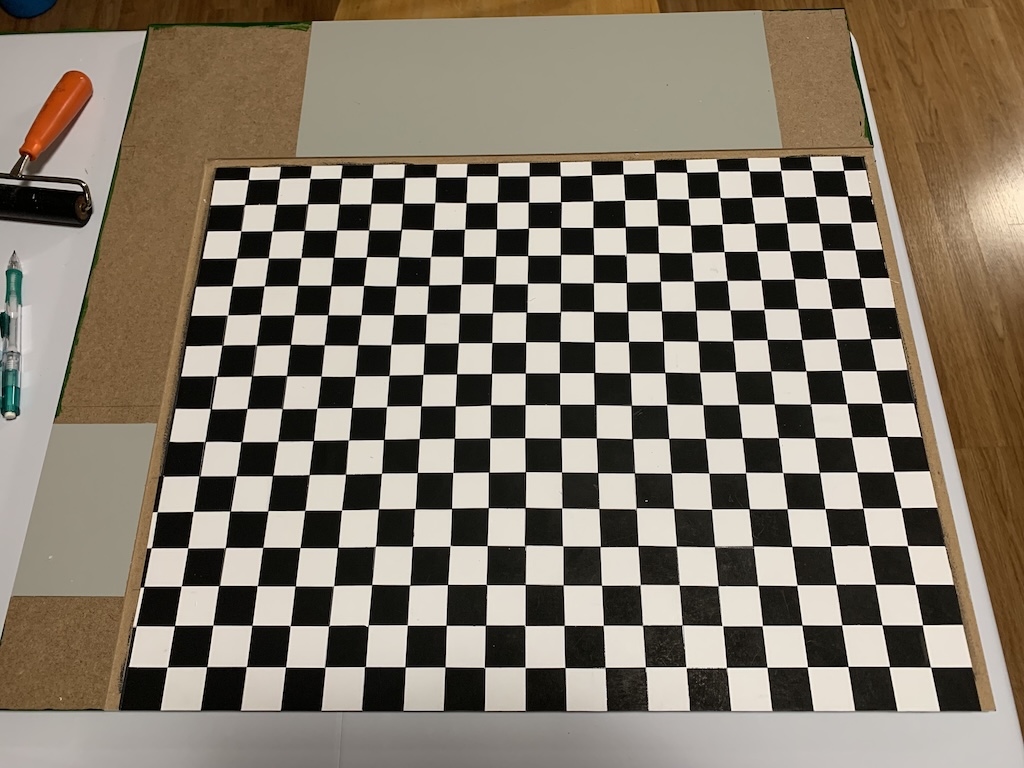
As I looked closely at the finished floor, I could see a number of imperfections. Despite my best efforts, some of the corners did not line up precisely. And on the right side, the last square got progressively narrower as I worked from the back to the front. But when I stood back and took a broader look, I was pleased and satisfied with how it looked.
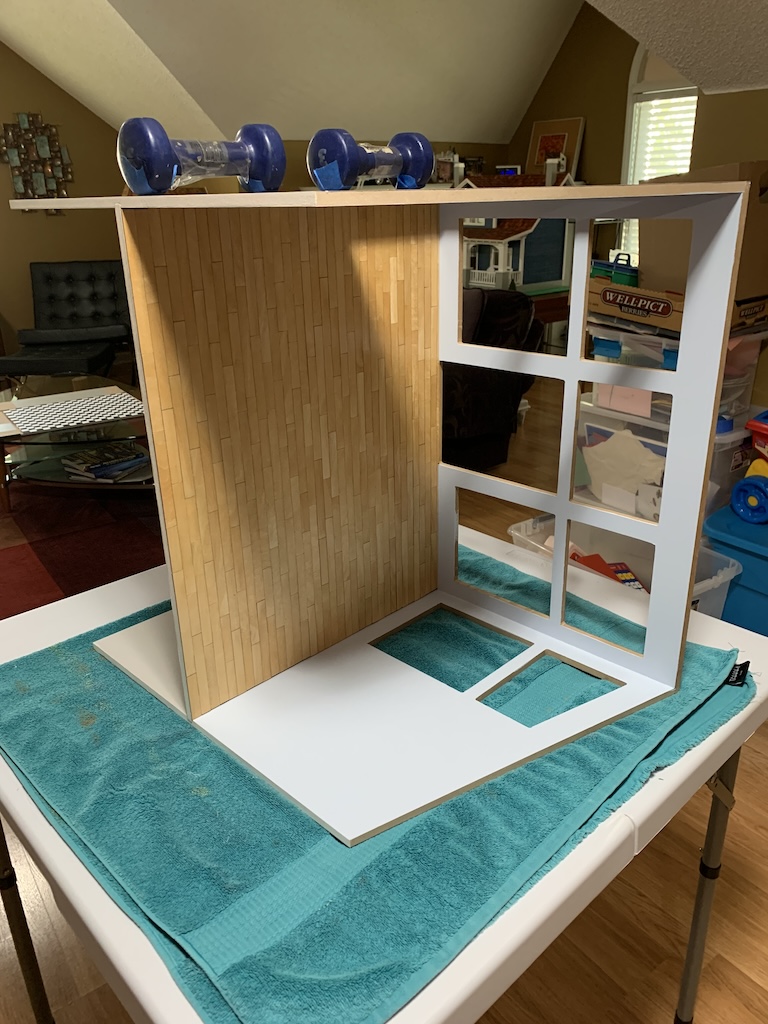
Now with the loft and garage floors finished, I could begin in earnest to assemble the garage loft.
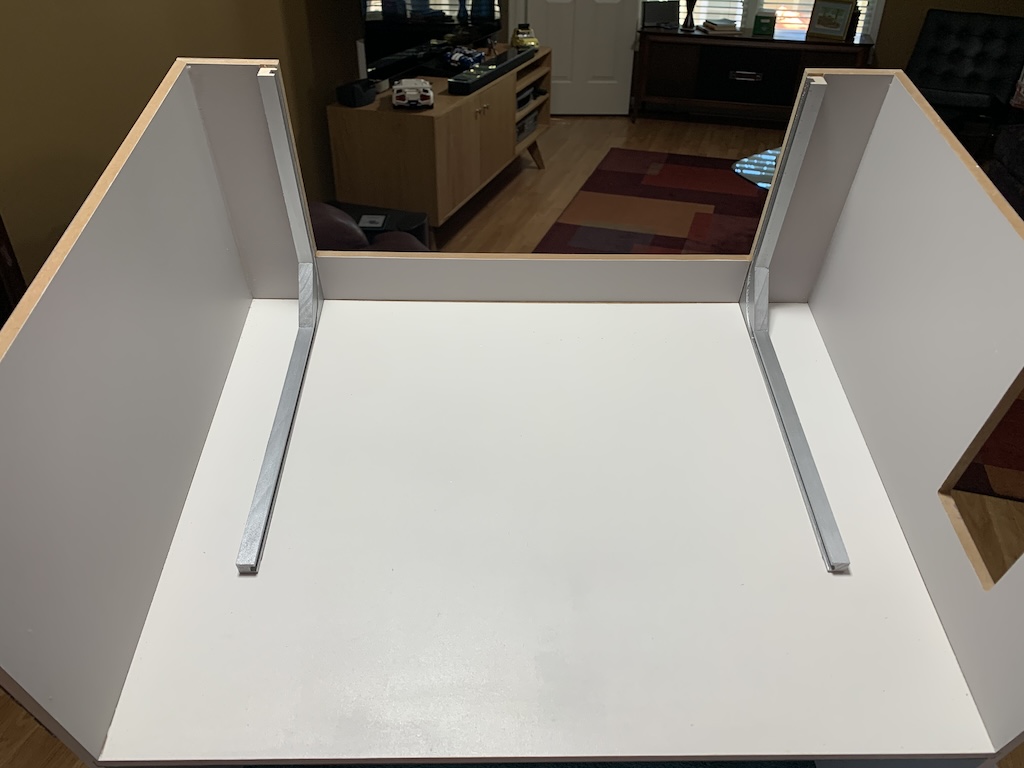
I first glued the three walls together…
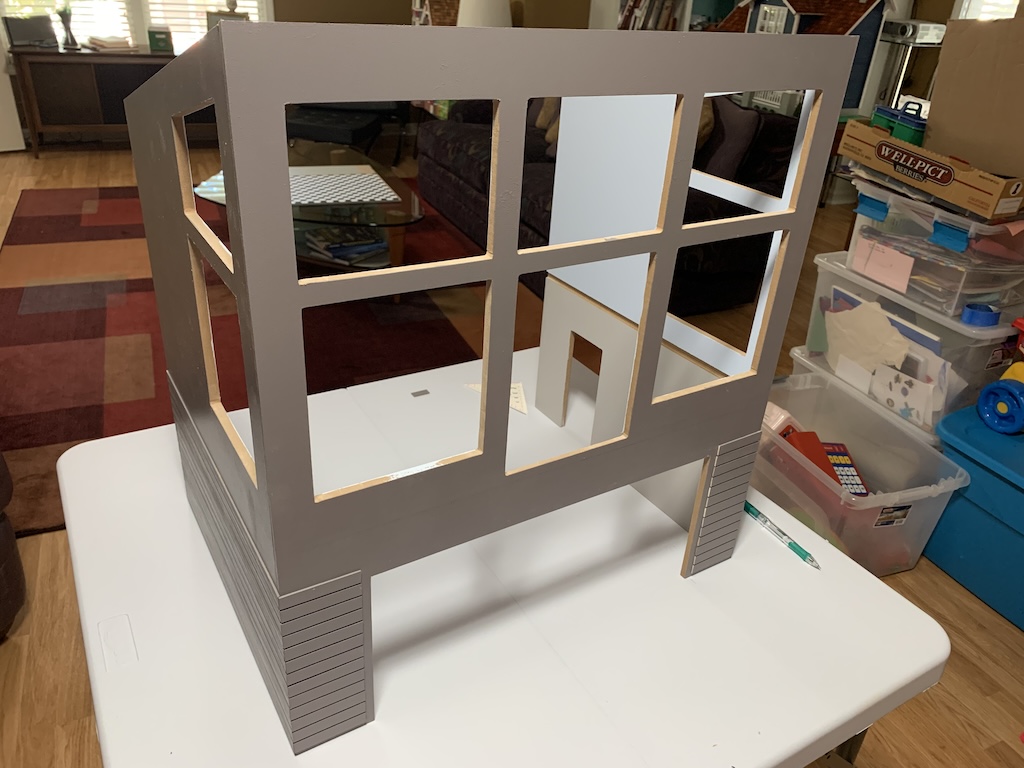
… and then glued in the floor, using weights to make sure the floor was securely glued into the slots in the walls.
Once completely dry, I could now install the previously assembled garage door tracks.
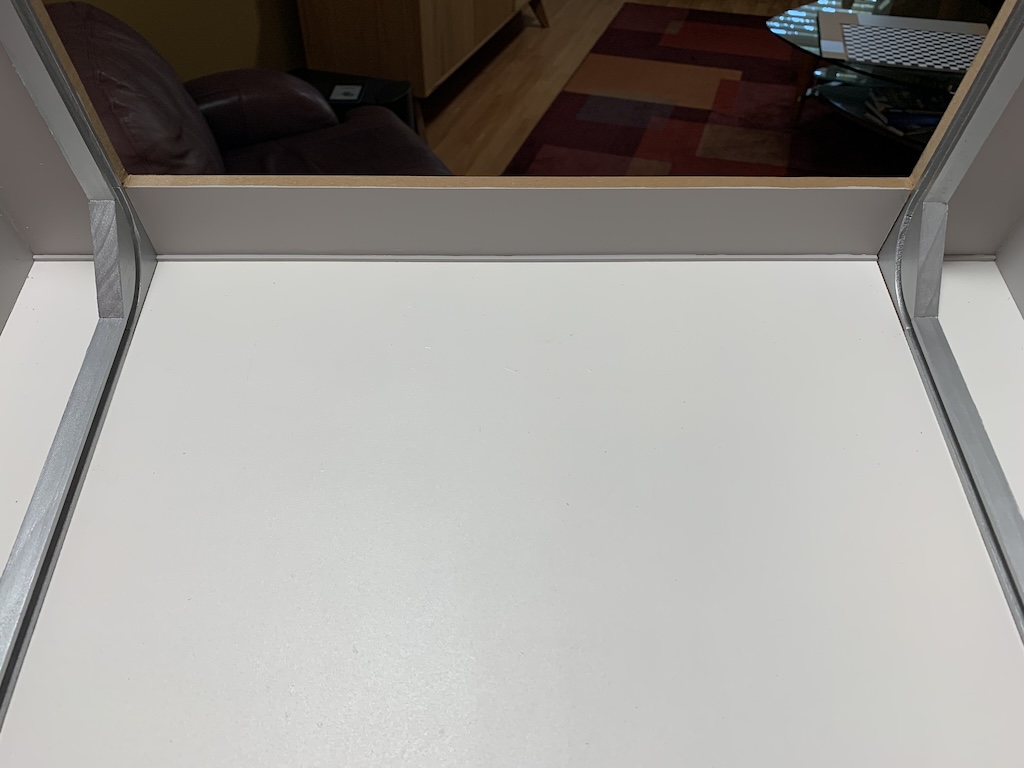
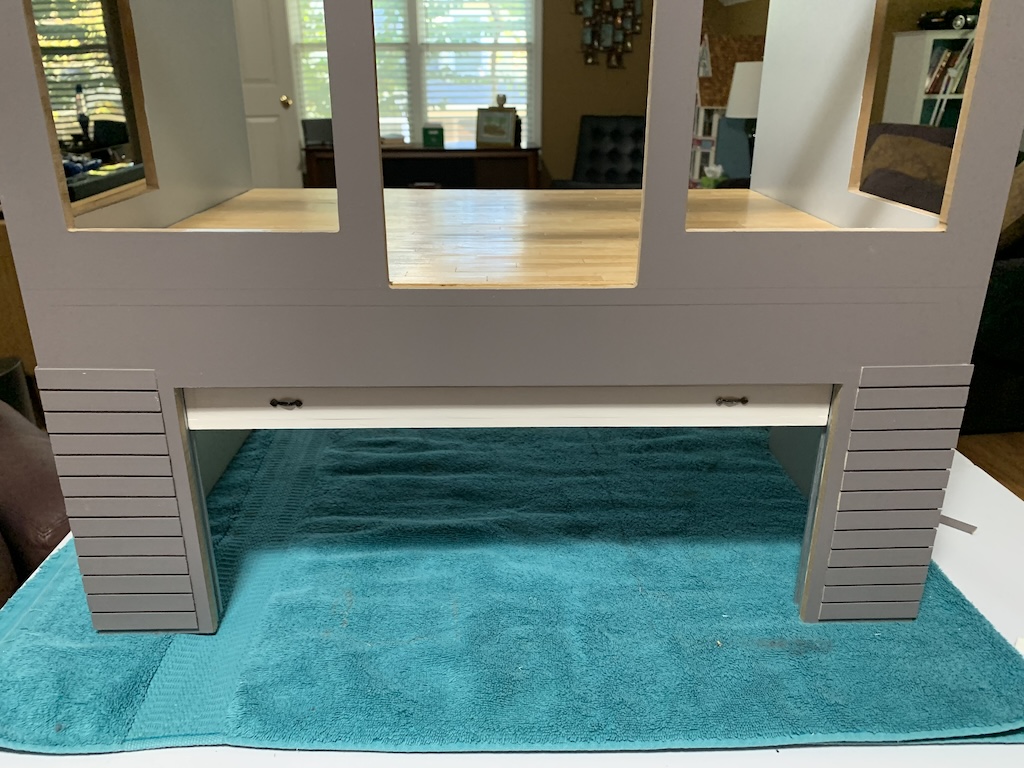
If you look closely, you can see there is an unpainted gap between the ceiling and the front garage wall. In all the times I had taped the garage loft together, I had always focused on how the loft floor mated with the three walls (which it did very tightly). I had never looked on the underside to see how the garage ceiling mated with the walls. Theoretically, the only way for someone to see that gap would be if they stuck their head between the garage floor and the garage ceiling, not an easy contortionist move. But I knew it was there.
I found that the 3/32” square basswood I had purchased just covered the gap. I painted a piece grey to match the garage walls and glued it in. Ah much better!
With the garage tracks glued in, I could now test fit the garage door. It went down fairly easily loading it from the bottom (where the garage floor would be) but when I went to open it, it got stuck at the curved section of the track. Per the instructions, I had sanded the track grooves to make sure the wheels rolled easily so I knew that was not the issue. But until I had glued the tracks in place, I could never tell how well the door fit between the two tracks.
I took two actions to remedy this. I first lightly tapped the nails holding the wheels in place on the side of the door to be sure they were not causing the snag. I then sanded down both sides of the garage door between the wheels thinking the width of the door was the problem.
When I again inserted the door from the bottom, I managed to get it about halfway rolled up into the upper track. This meant I was on the right track (pun intended). Rather than sanding more, I applied a bit of pressure on the door to see if it would continue to roll up. It did but broke two of the wooden wheels at the same time. Big mistake!
I considered fabricating two new wheels from the correct size dowel rod but then I thought. You know I doubt I would roll the garage door up and down all that much. Why not just always leave it open? That way, someone could see the cool checkered garage floor and all the really awesome things my sister had 3-D printed to place inside the garage (more on that later).
So that’s what I did.
To be continued…
Categories

David, the floor looks fabulous. Every detail is just done so well. Even filling in where there was a minuscule paint gap. I am somewhat surprised that you can live with the garage door always being up, but you make a good point that it allows viewing so many great things inside. I look forward to the next installment! Have a great week!
Thanks, Betty. At first I was a bit disappointed that the door would not go up and down but it really is better having it up all the time as will be revealed in a future post. Hope you have a great week as well!