
Doll House for My Sister – 3rd Phase
Continued from: Doll House for My Sister – 2nd Phase

With the first-floor walls in place, I could now add the baseboards to the large green room…
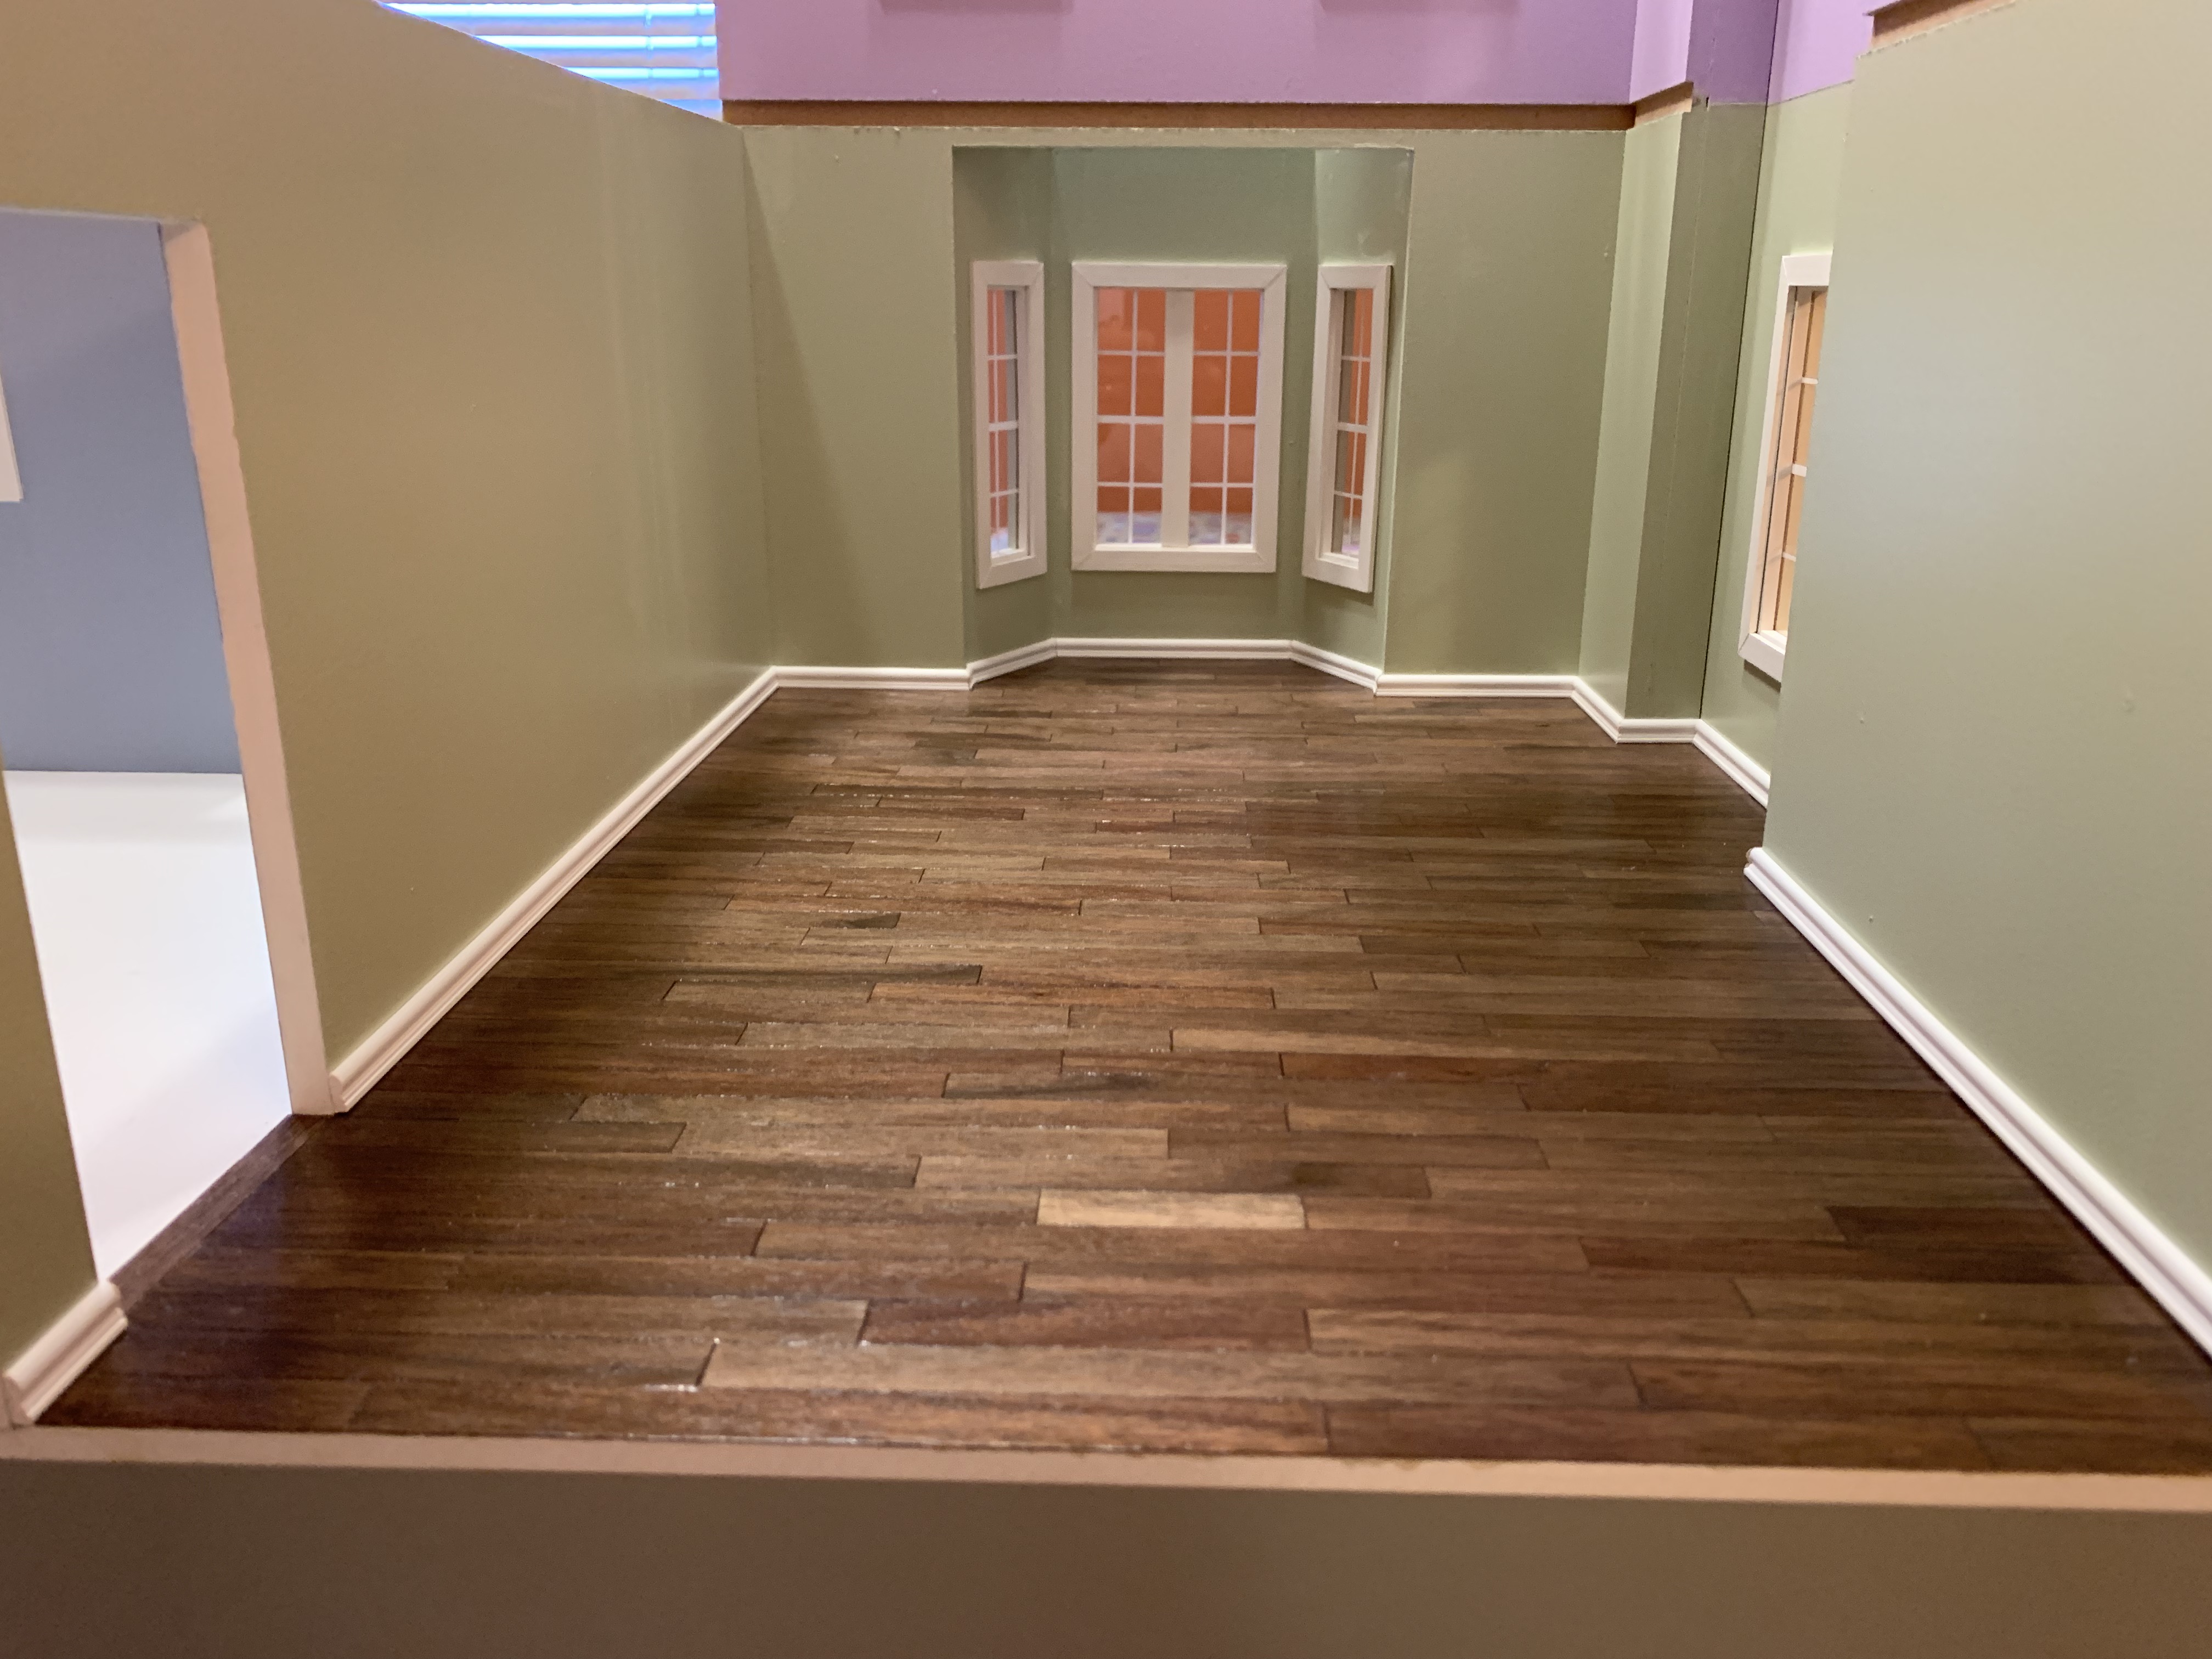
…and the faux tile floor to the kitchen.

My sister planned to build all of her cabinets and appliances and so asked me not to add baseboards to the kitchen until they were finished and could be mounted flush to the walls.
My sister had also decided to upgrade the two doors from those included with the kit…
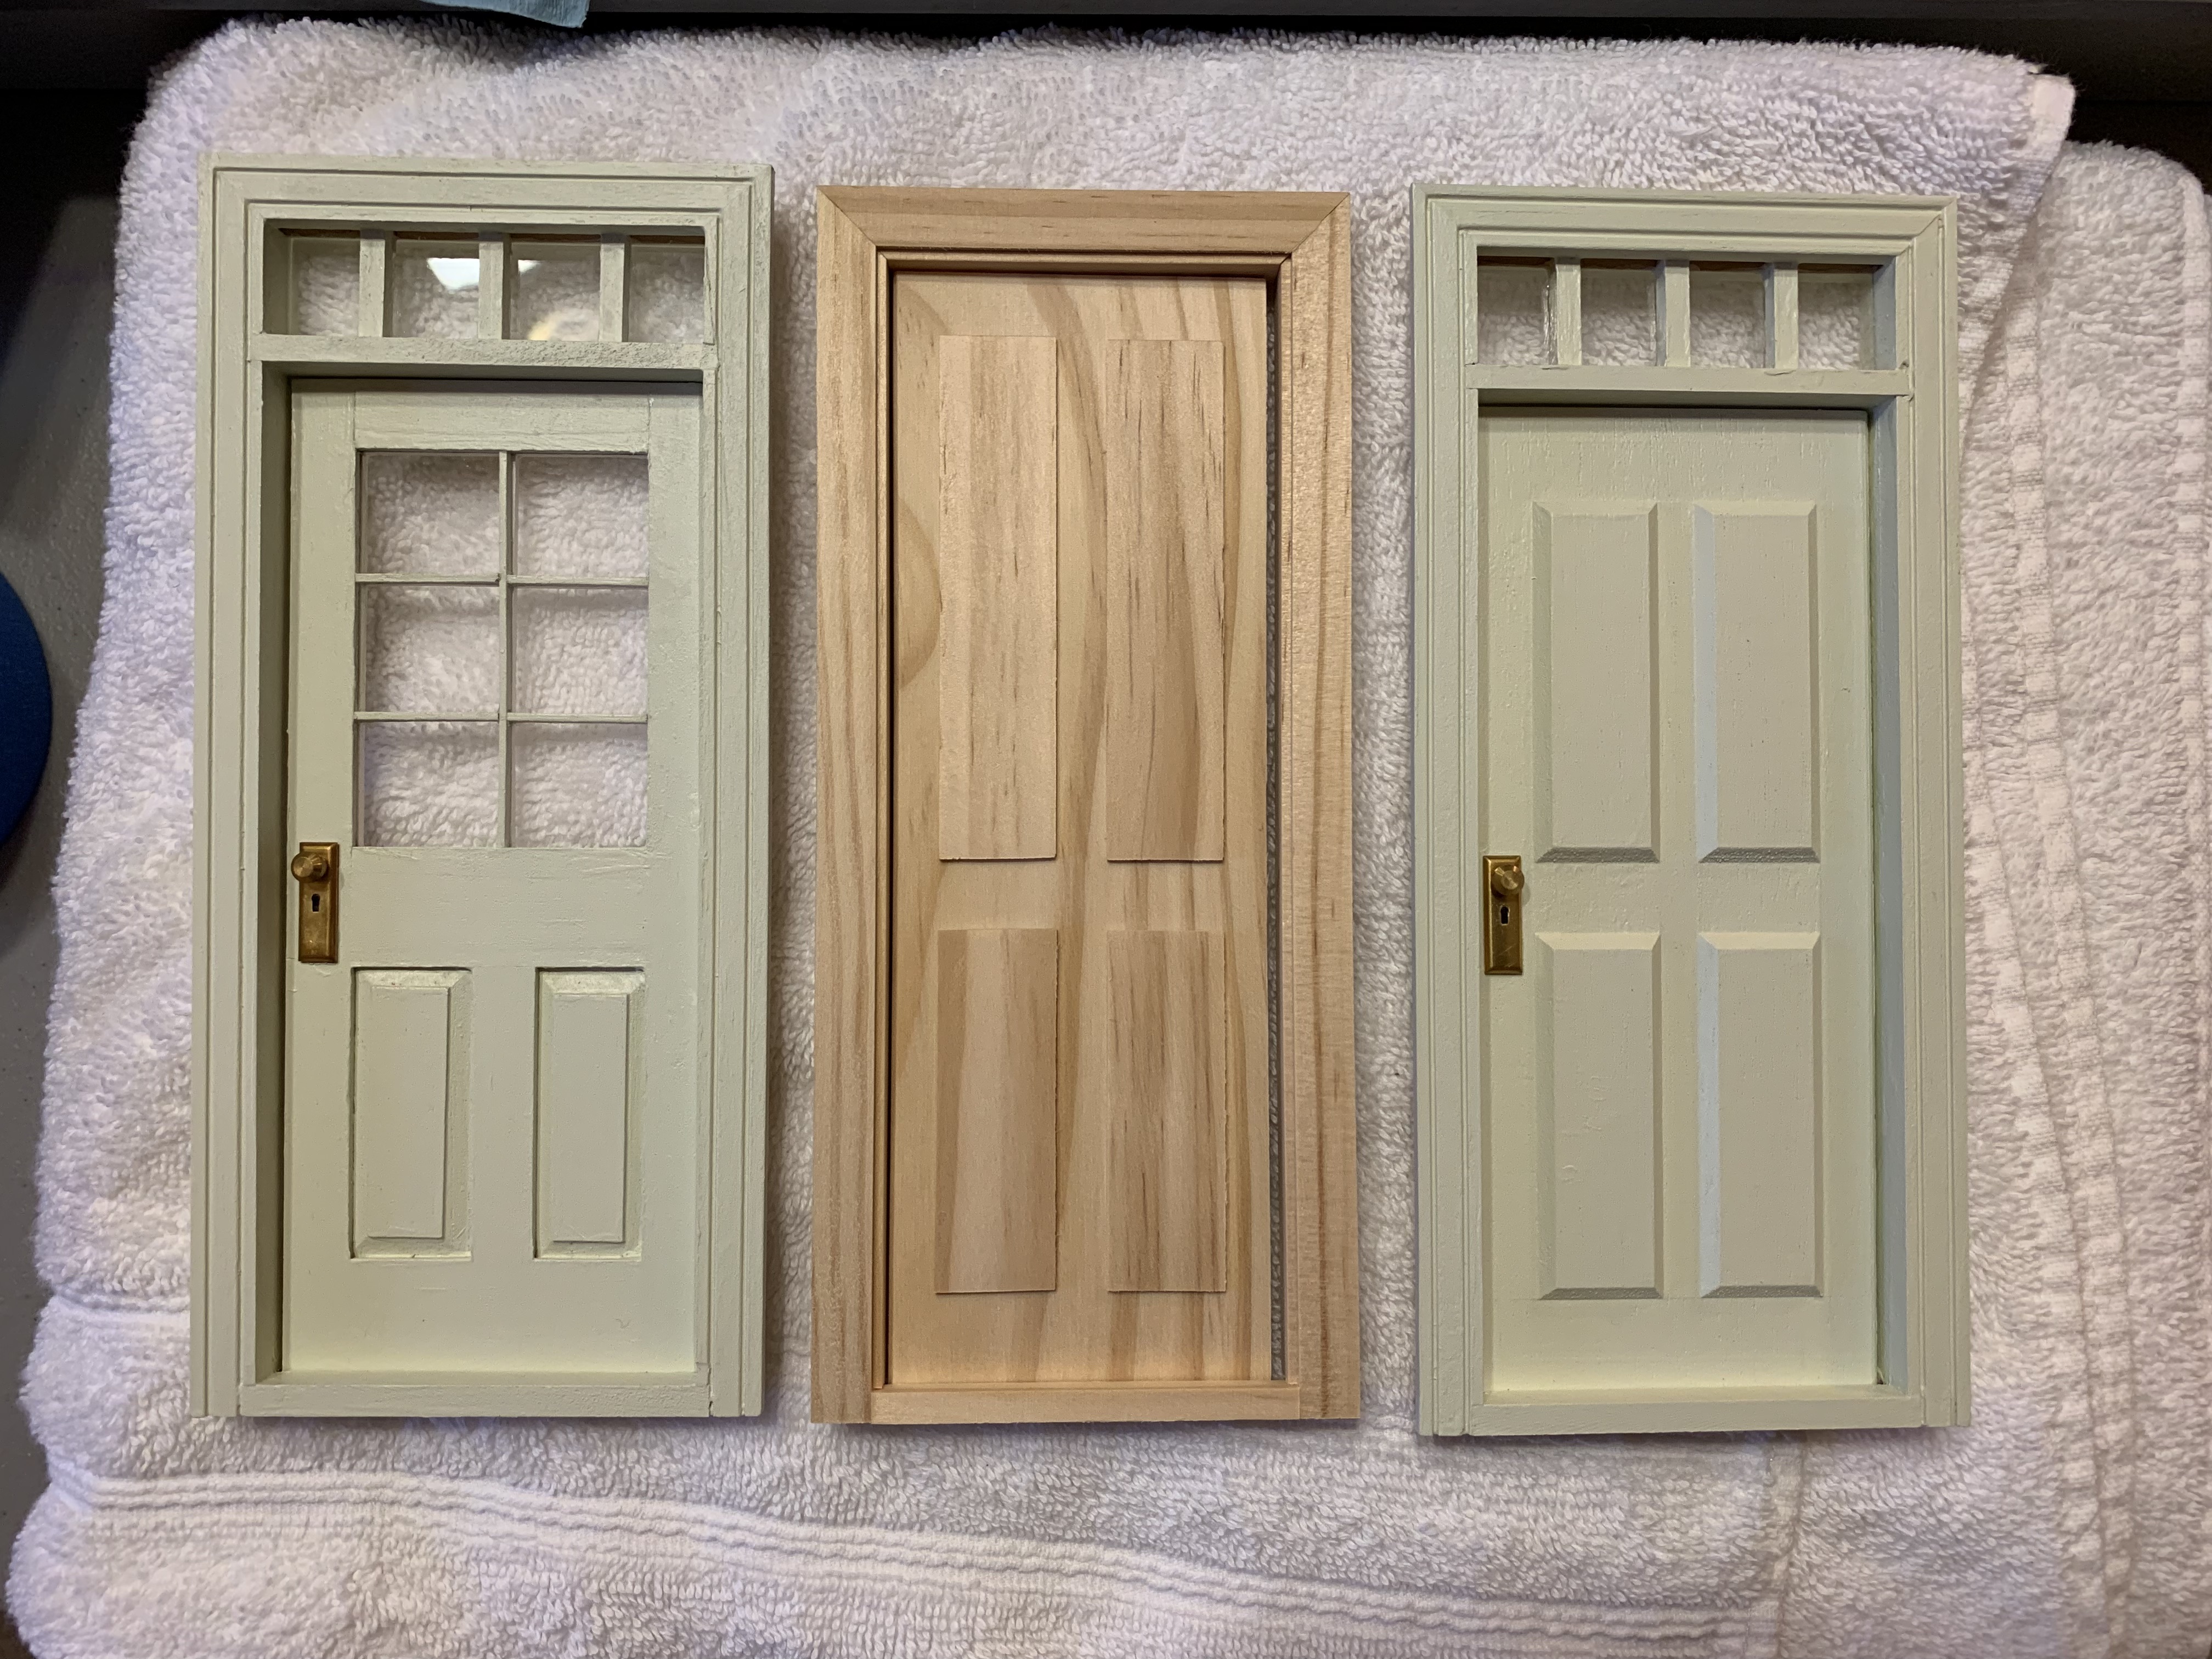
…and so, I could add the front door at this point as well.
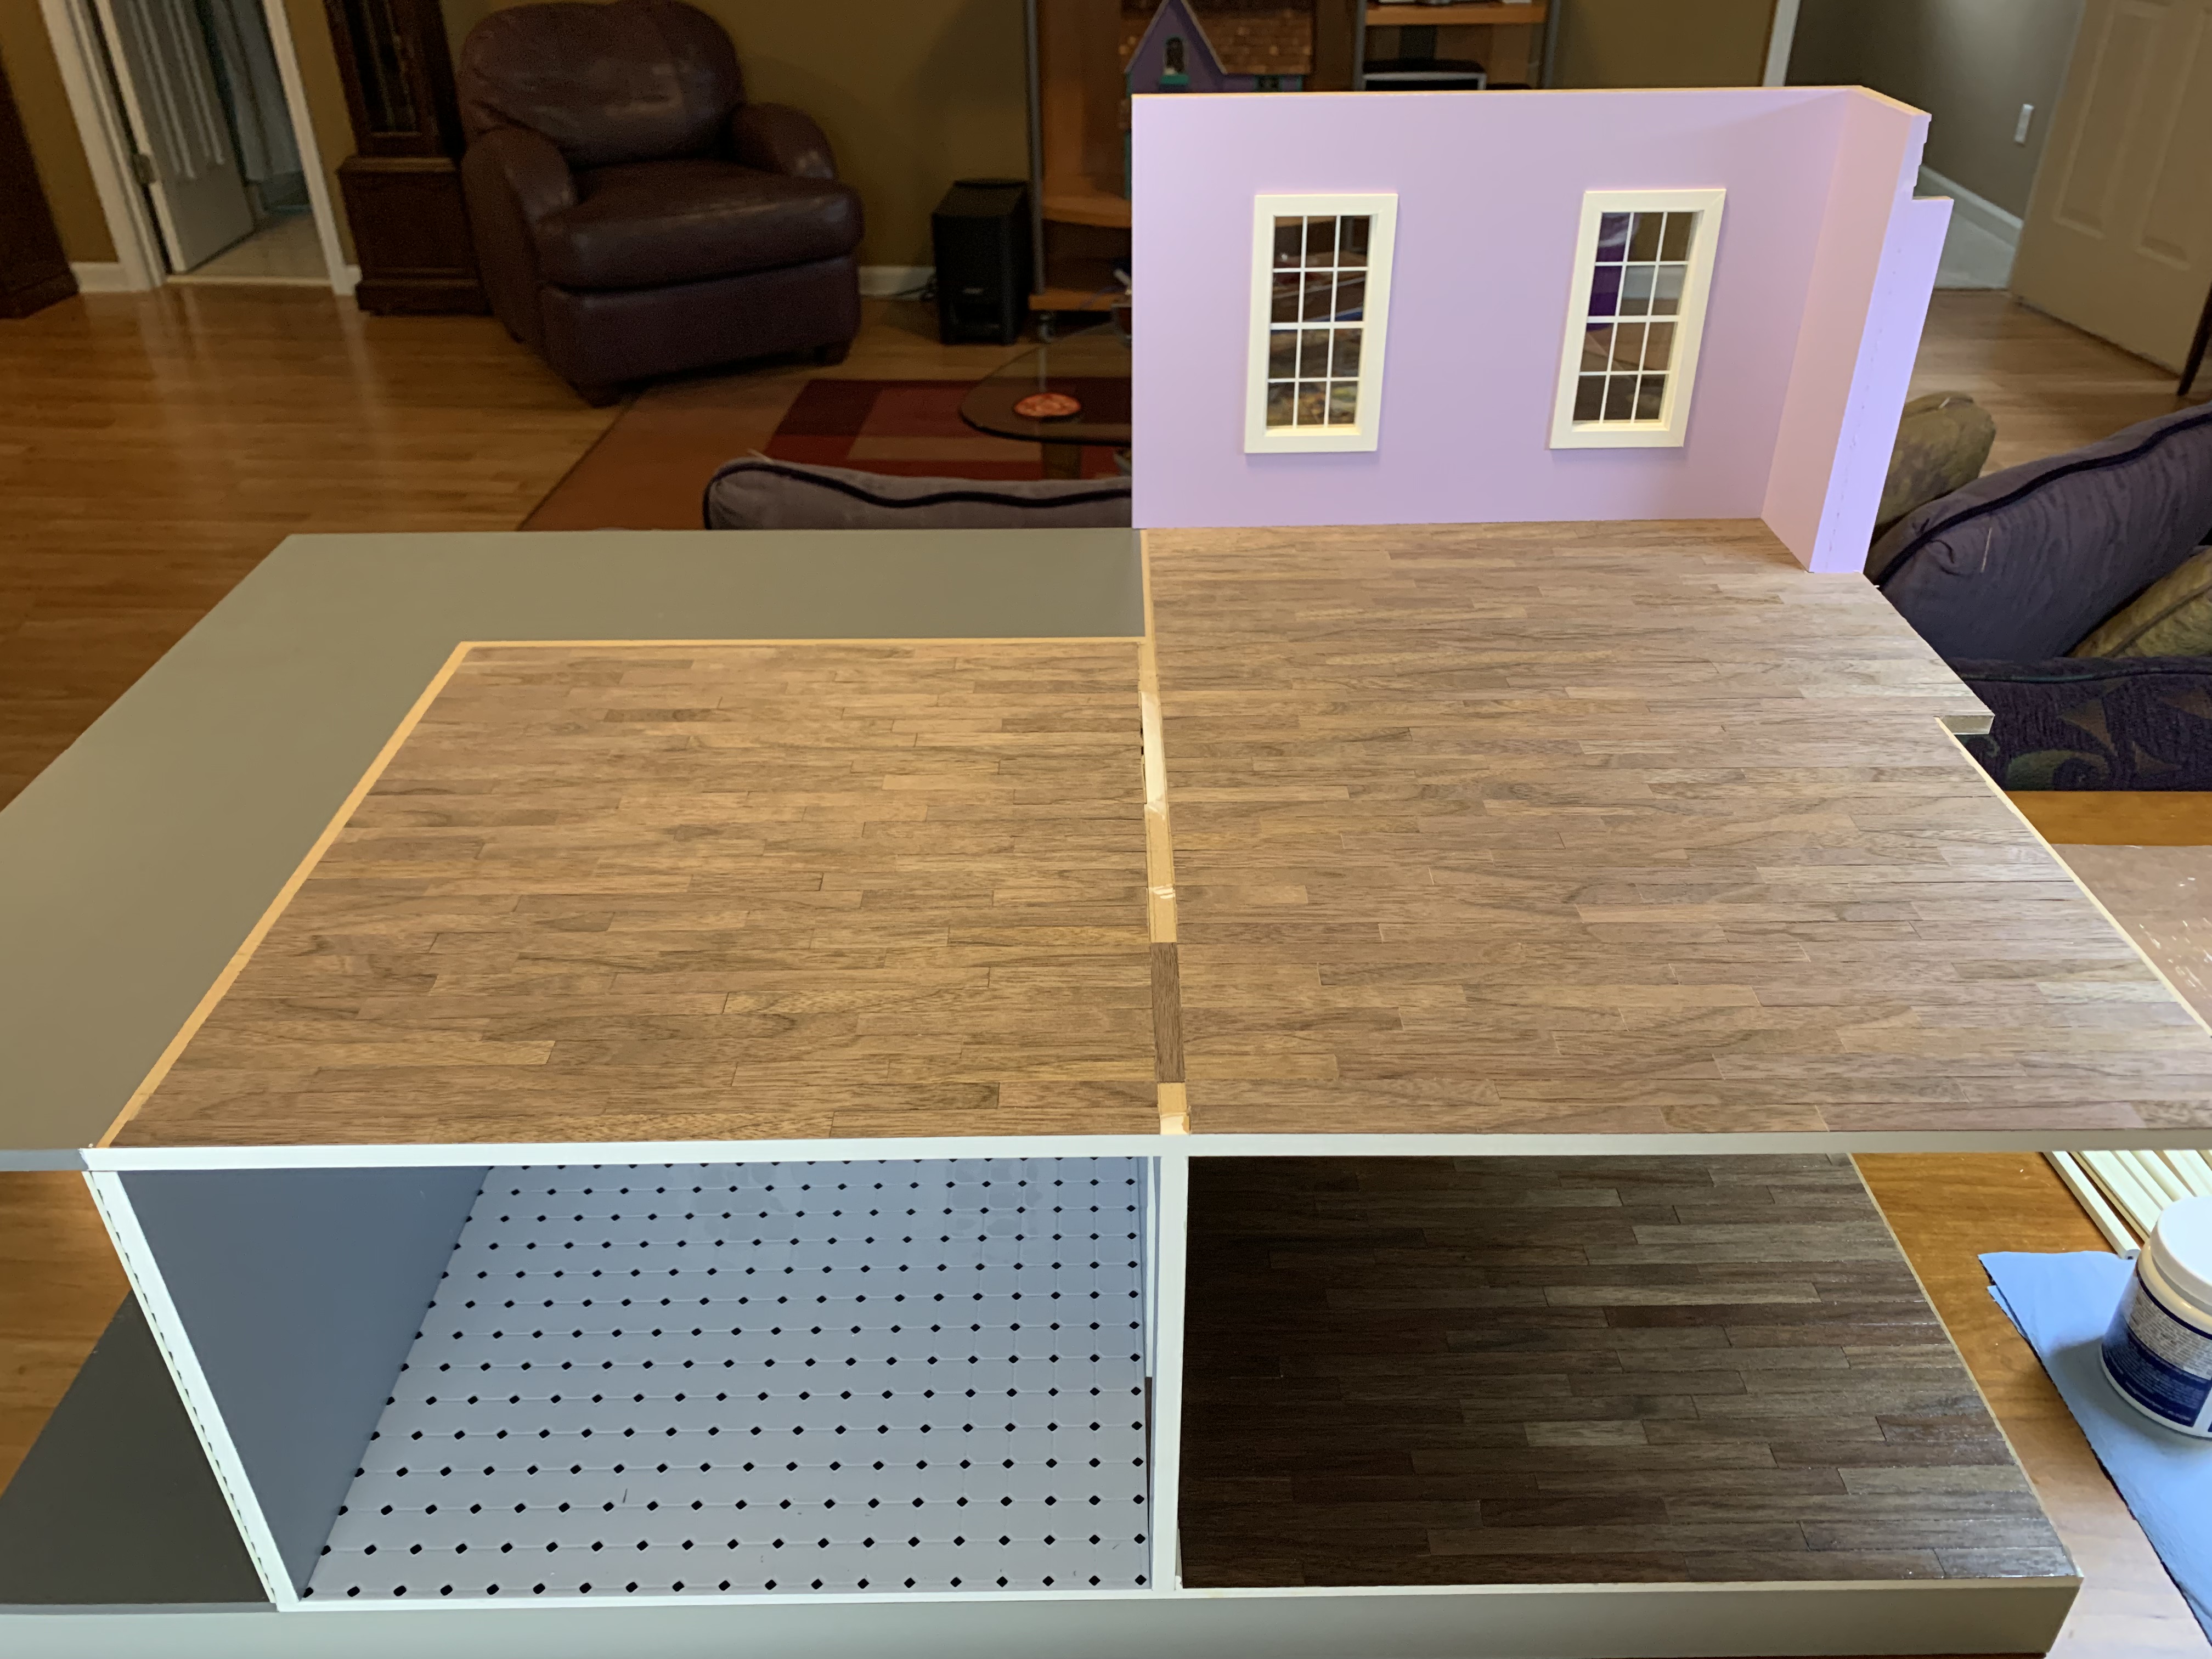
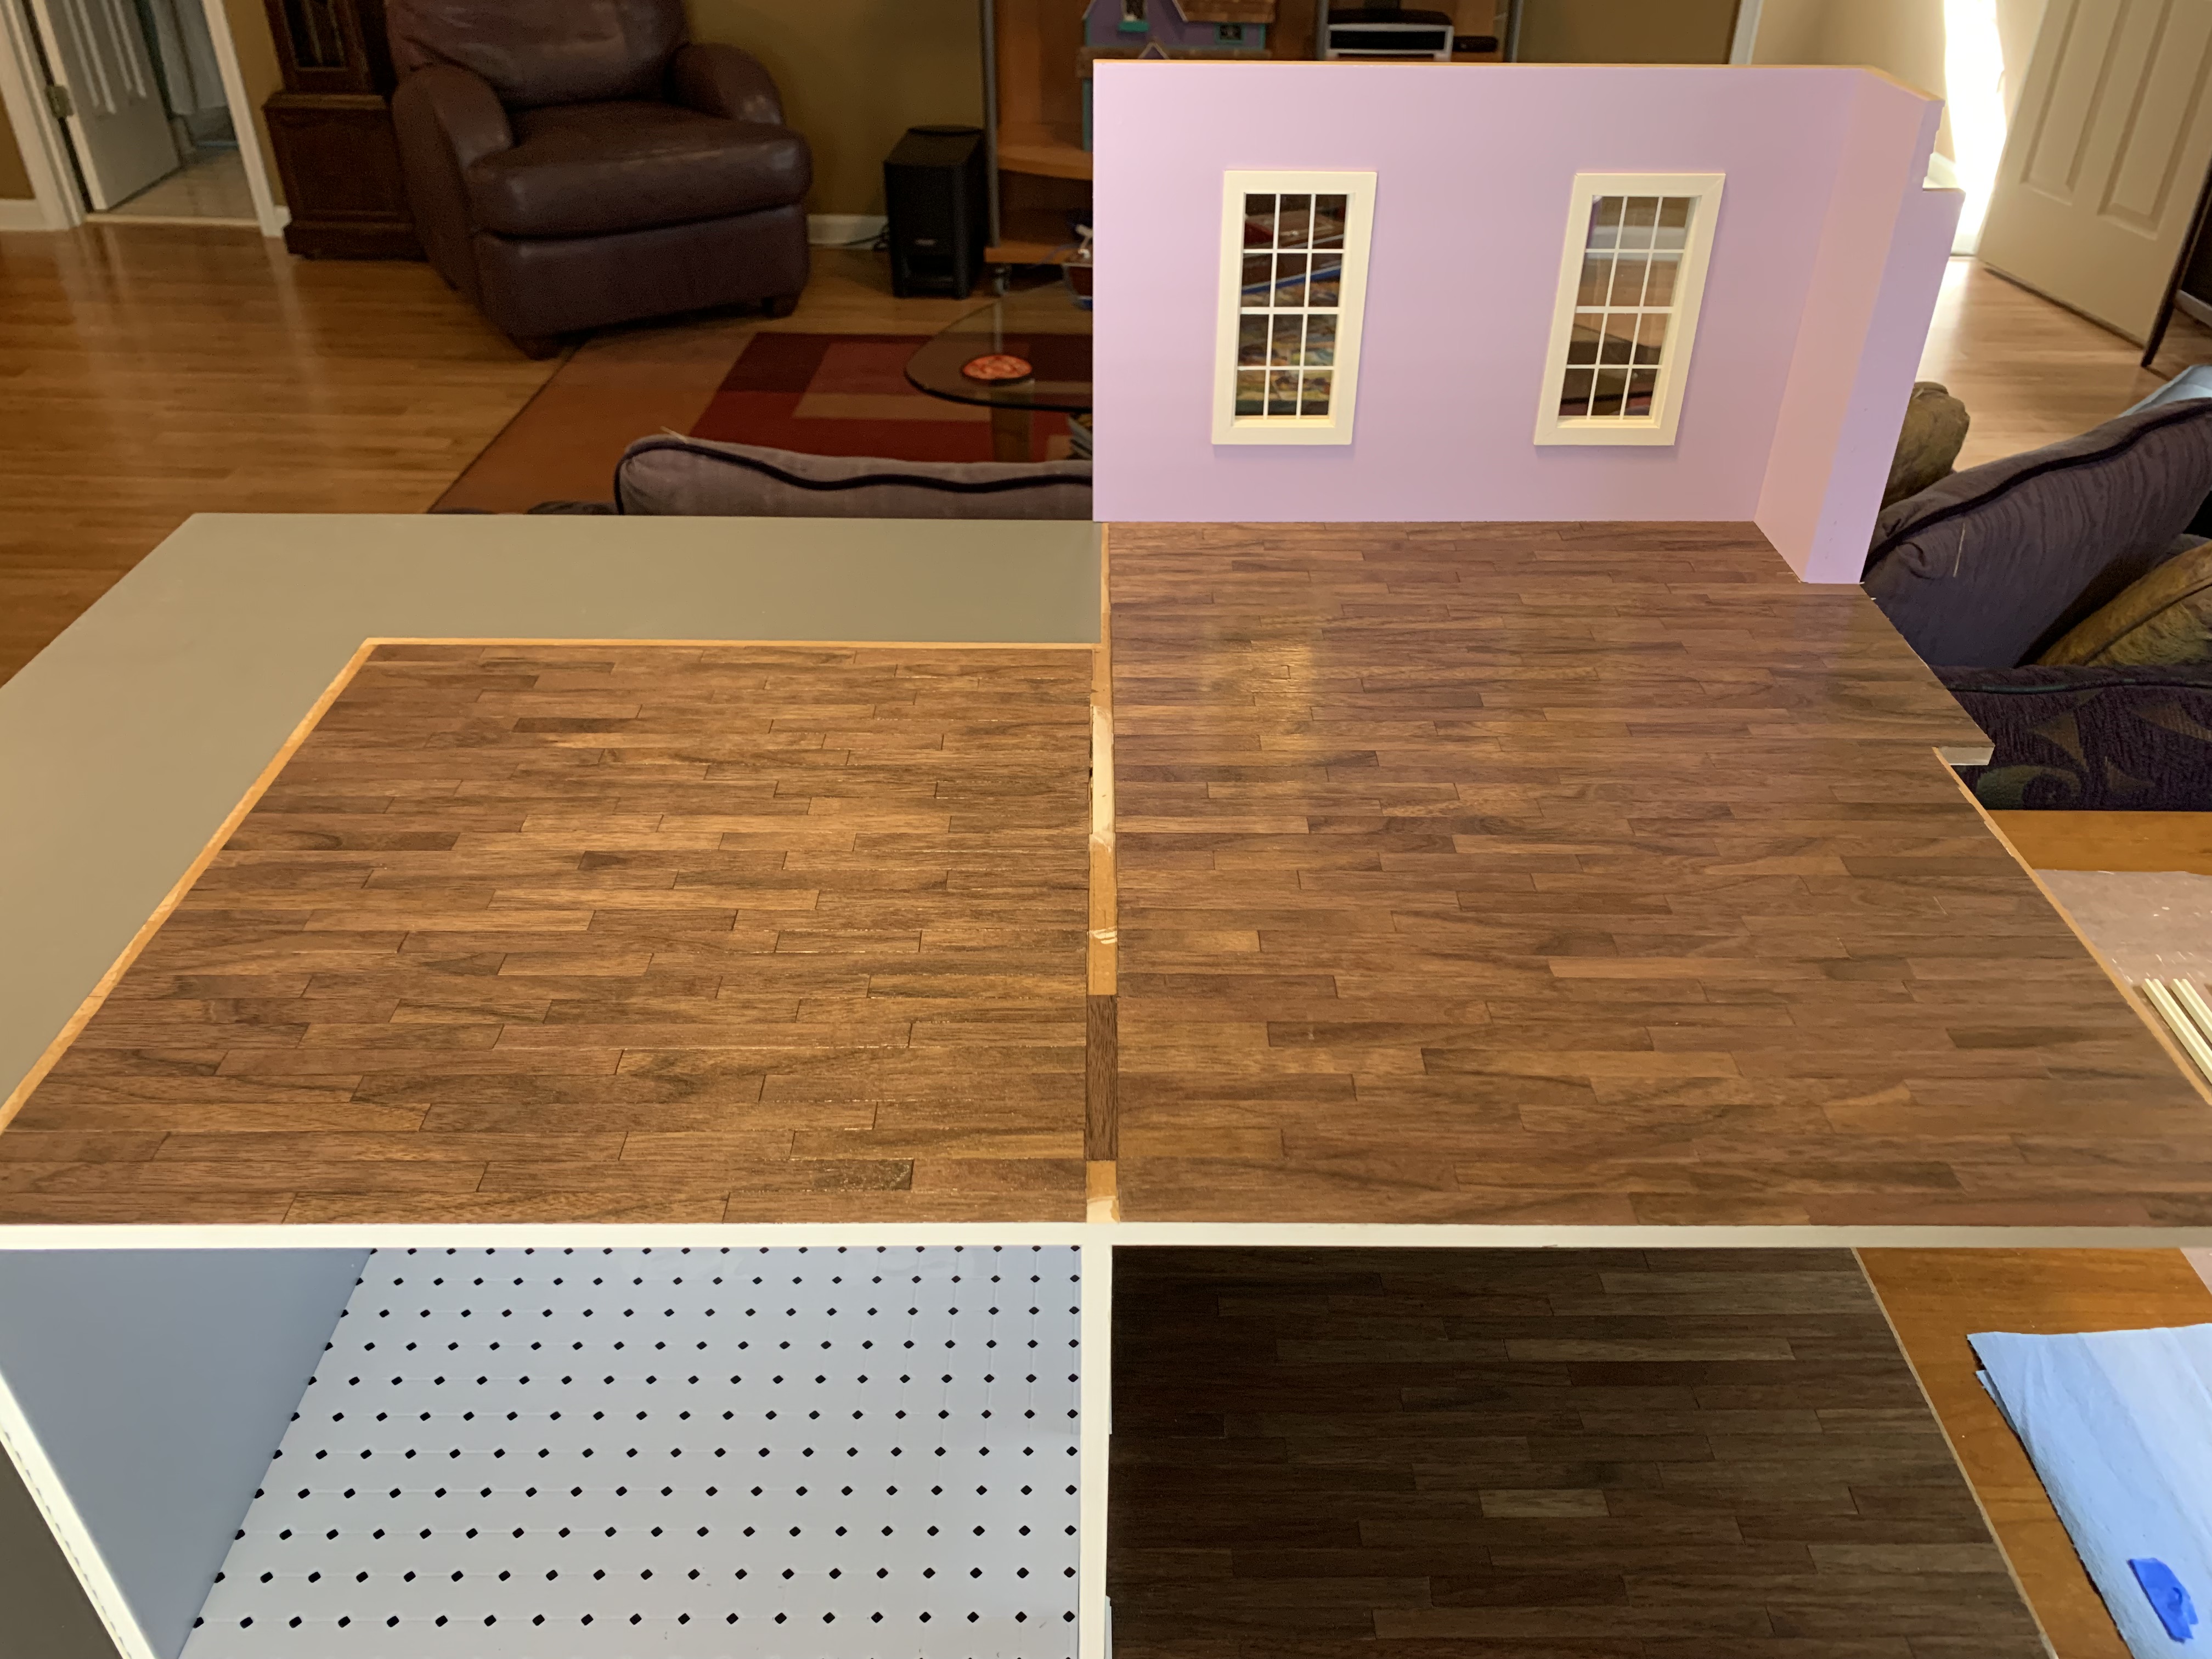
When I temporarily placed the 2nd floor floor/1st floor ceiling in place, I noticed I had an issue.
The blue kitchen wall below was supposed to line up at the top with the cutout for the stairs. It turned out to be 3/32” off. I angst over this for a day trying to figure out how best to resolve it when I realized I could just move the stair opening over by cutting into the left side by 3/32” (note pencil line on left side of stair opening) and then filling in the right-side gap with a piece of trim that just so happened to be 3/32” thick.
The day I was going to fix this, I texted my sister a picture of the mistake and interestingly she relied back that she was considering not including staircases to allow more space for furniture (the stairs as seen in the photo below of the first house we built together, while elegant looking do actually take up a large amount of space in this small bedroom and the kitchen below).

The kit included wall dividers that we had not planned to use but were just the right thickness. I cut a square from one, glued it in place and then used spackling to hide my poor cuts (MDF is a hard material to cut through).

Once I painted it with the white ceiling paint, I could barely tell where the patch was.

With the patch in place, I proceeded to lay down the walnut strips in the two second-floor rooms.
I followed the same approach with the only difference being this time I did not pre-cut the strips but rather cut them row by row as I figured out the appropriate length to use. And to avoid wasting the ½ inch extra from the 11.5” veneer strip lengths, I cut lengths that included additions of ¼, ½, or ¾ inches. With both rooms floored, I could now remove the second-floor and sand and add polyurethane as before.
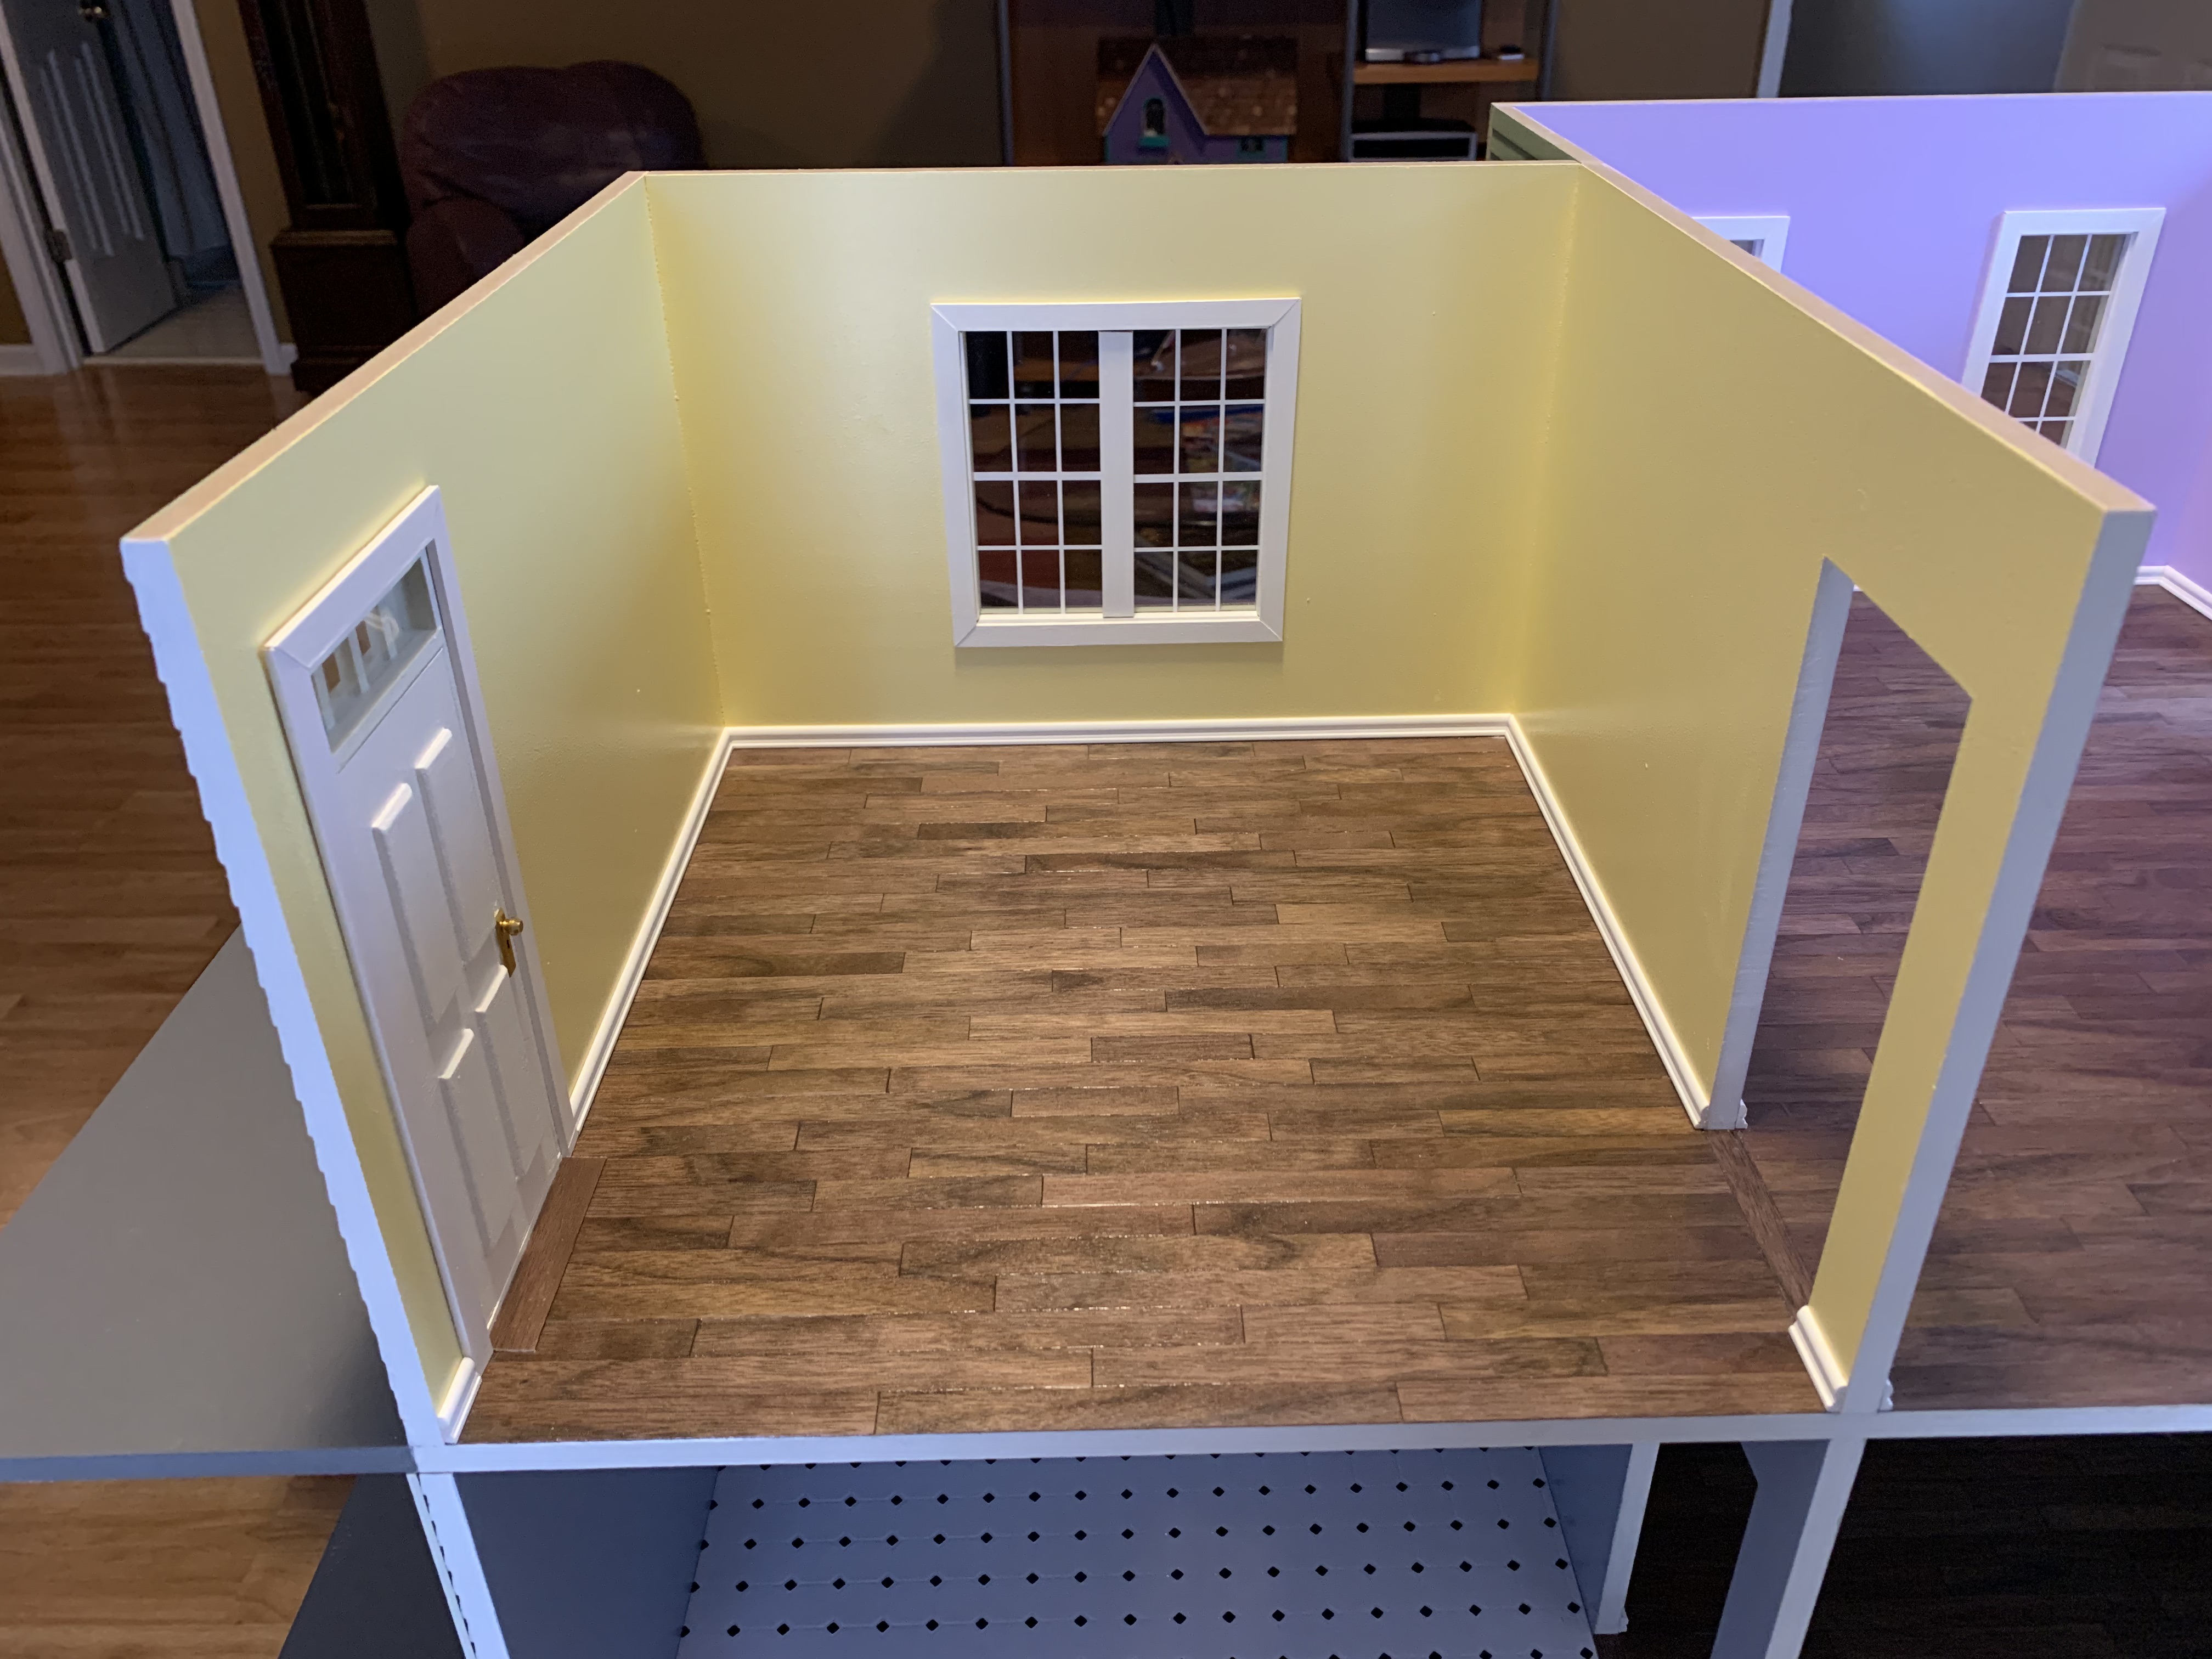
With a nice finish to the flooring complete and the floor glued in place, I could then begin to add all of the second-floor walls.
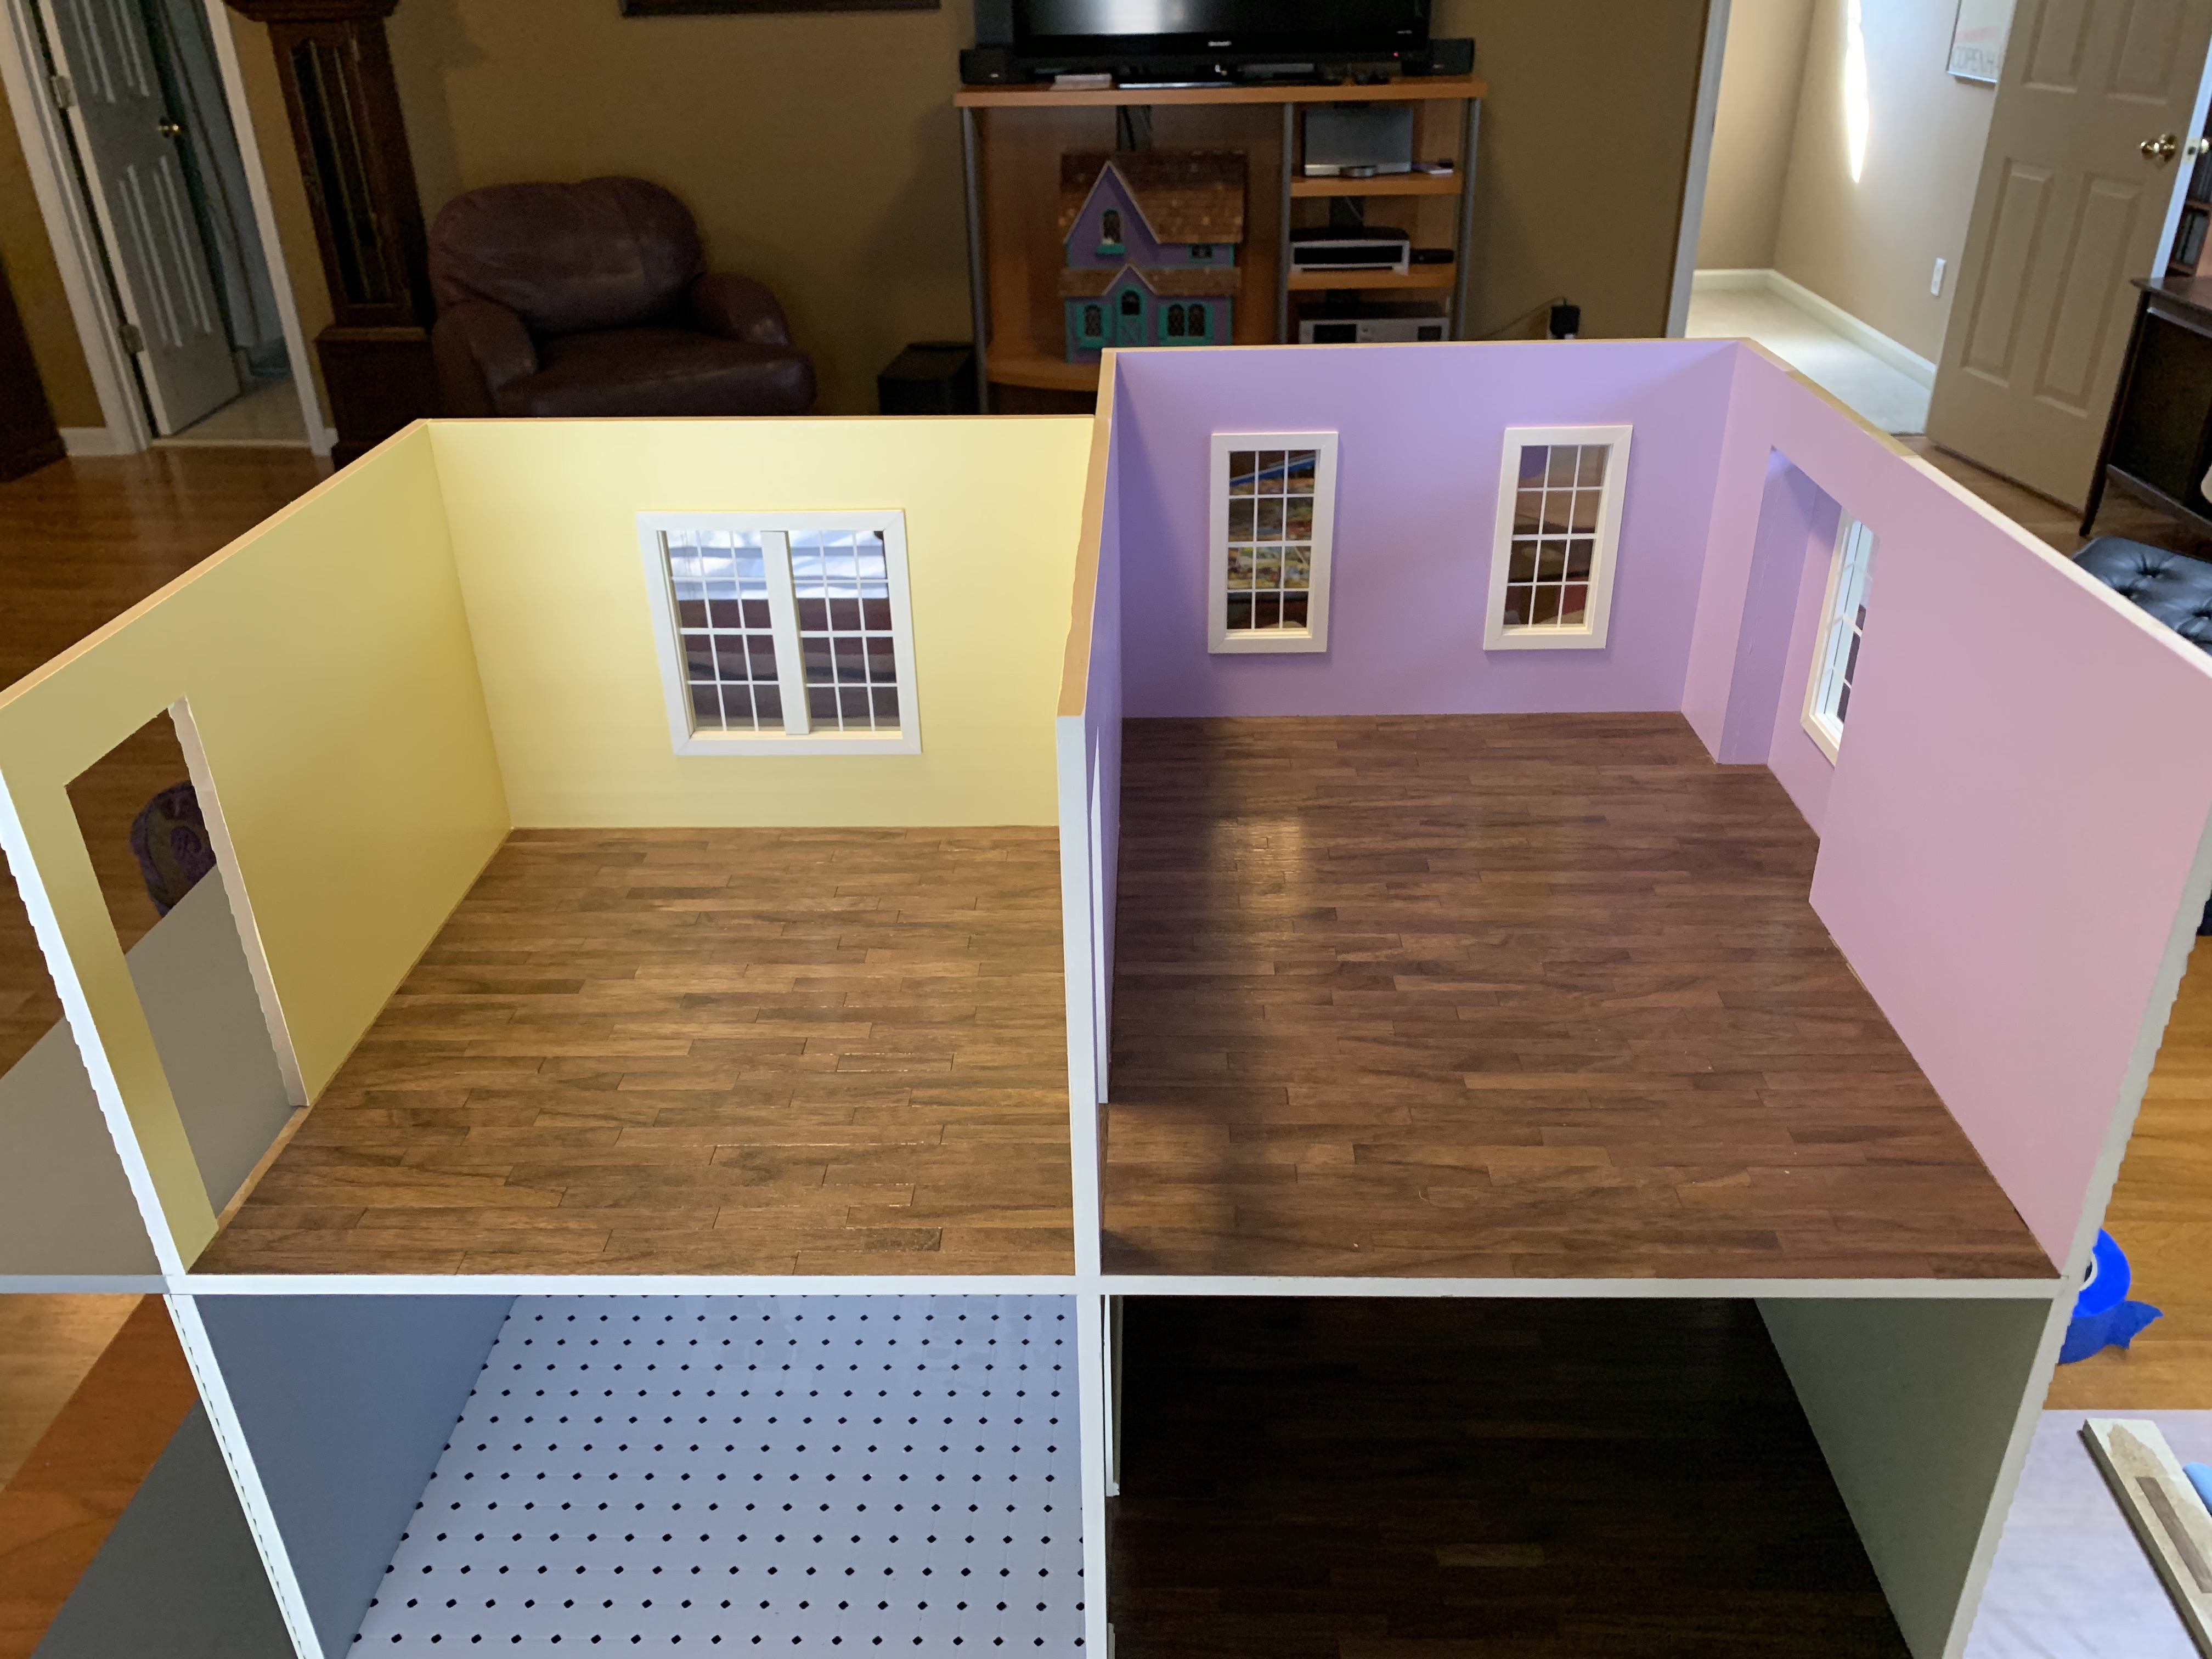
Once the walls had dried, I could then add the baseboards and the door leading out to the second-floor porch.

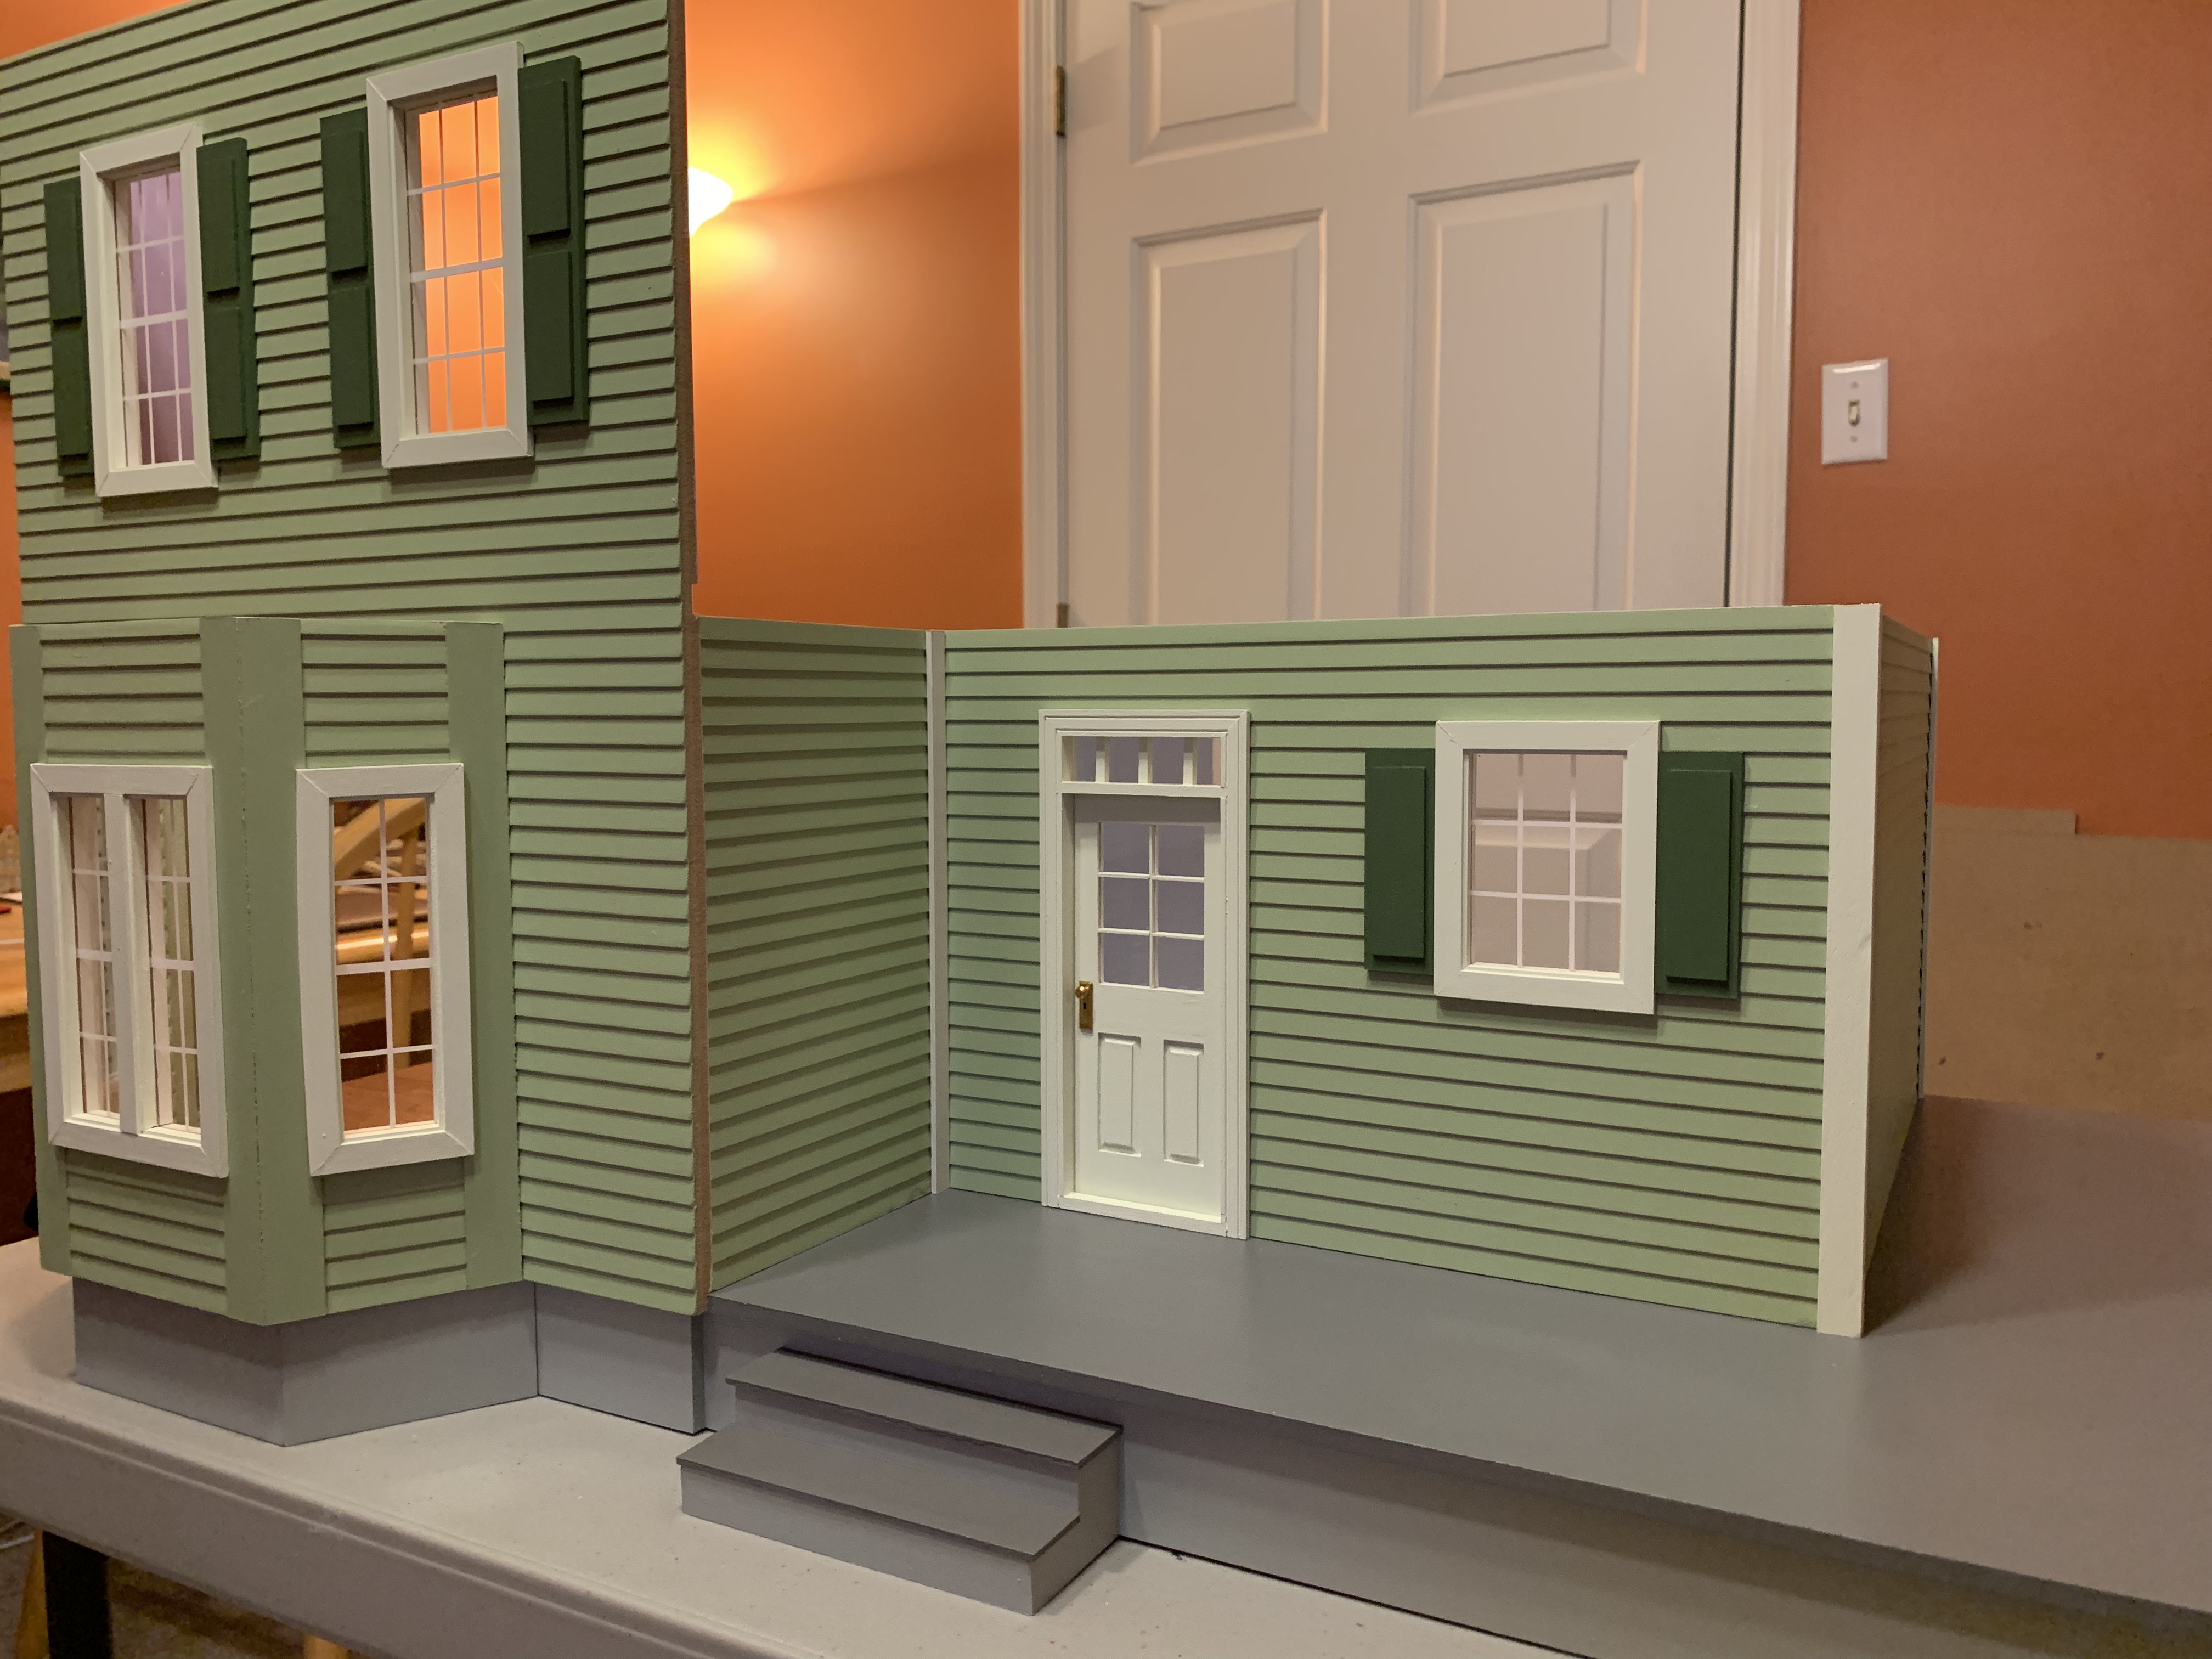
Meanwhile, I had been working on painting the porch posts and railings. The only problem I encountered was one of the four tall porch posts was severely warped. But thankfully, the kit manufacturer gladly mailed me a replacement at no charge.
For the balusters (dowel rods), I used the same technique as before spreading a thin layer of paint on one sponge and then rolling the dowels, five at a time over the paint with a second sponge.

Once I had the posts, railings and balusters all painted, I could then assemble the nine individual railings using the templates in the instructions.

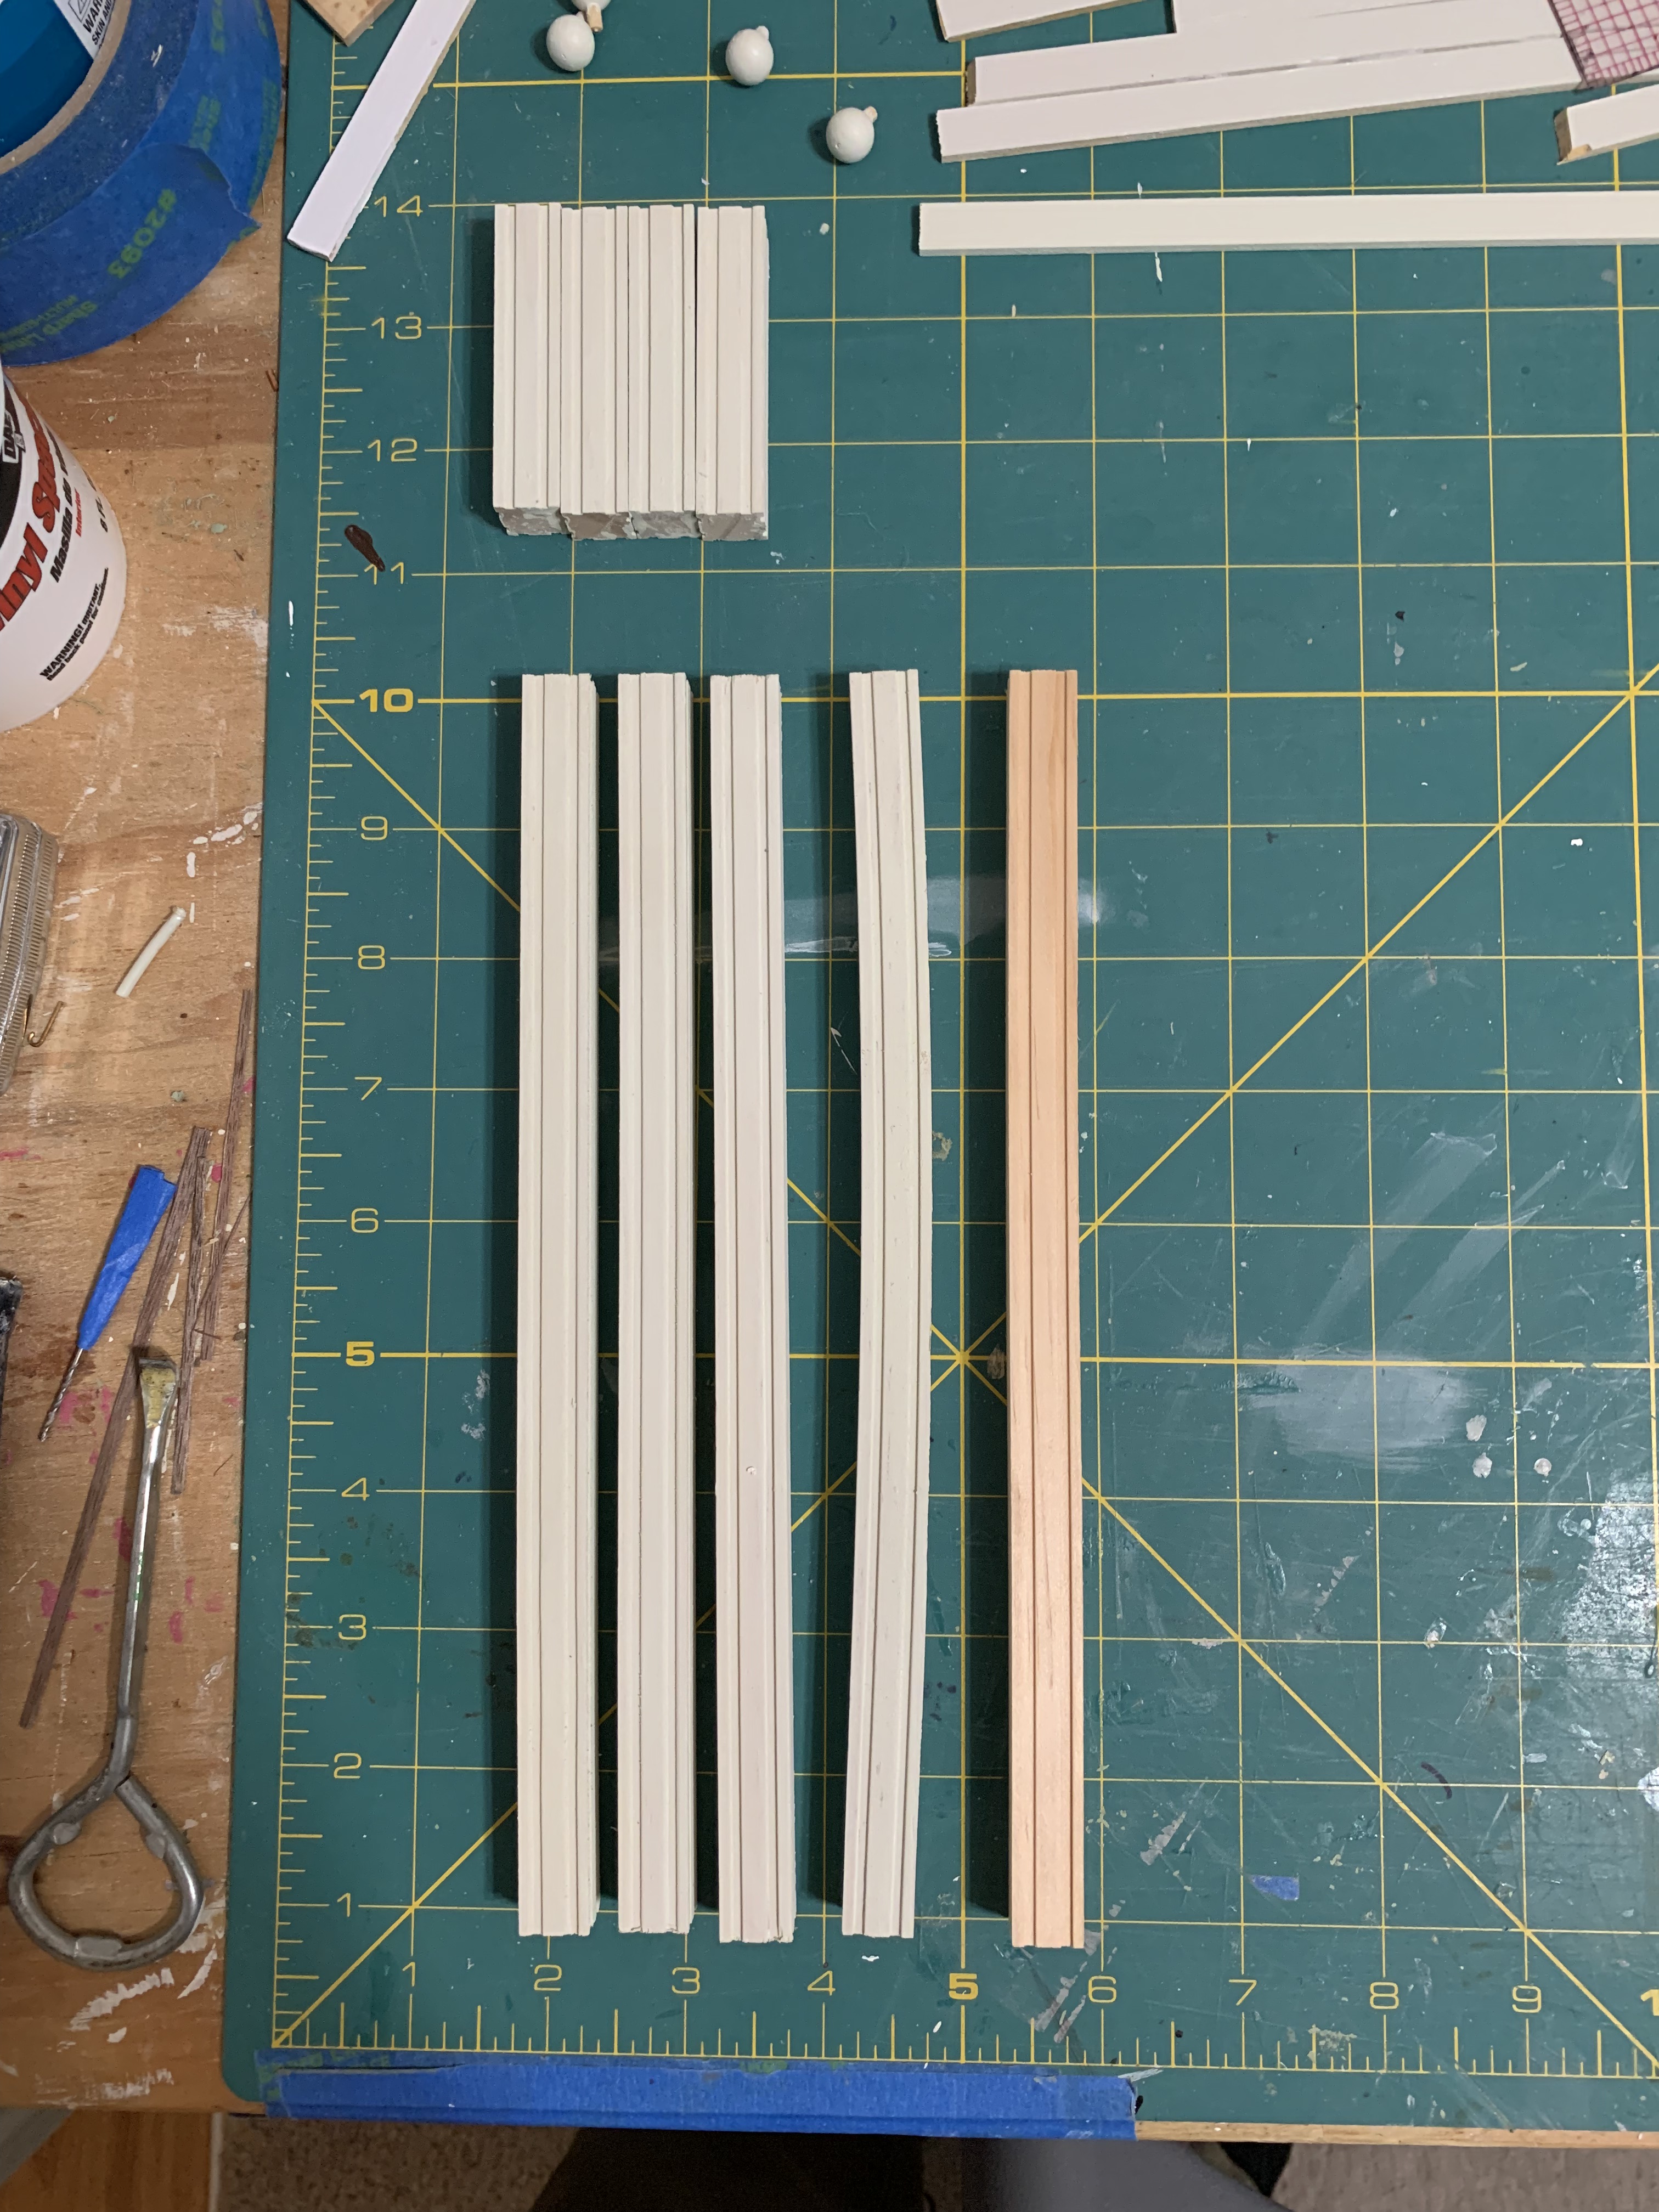
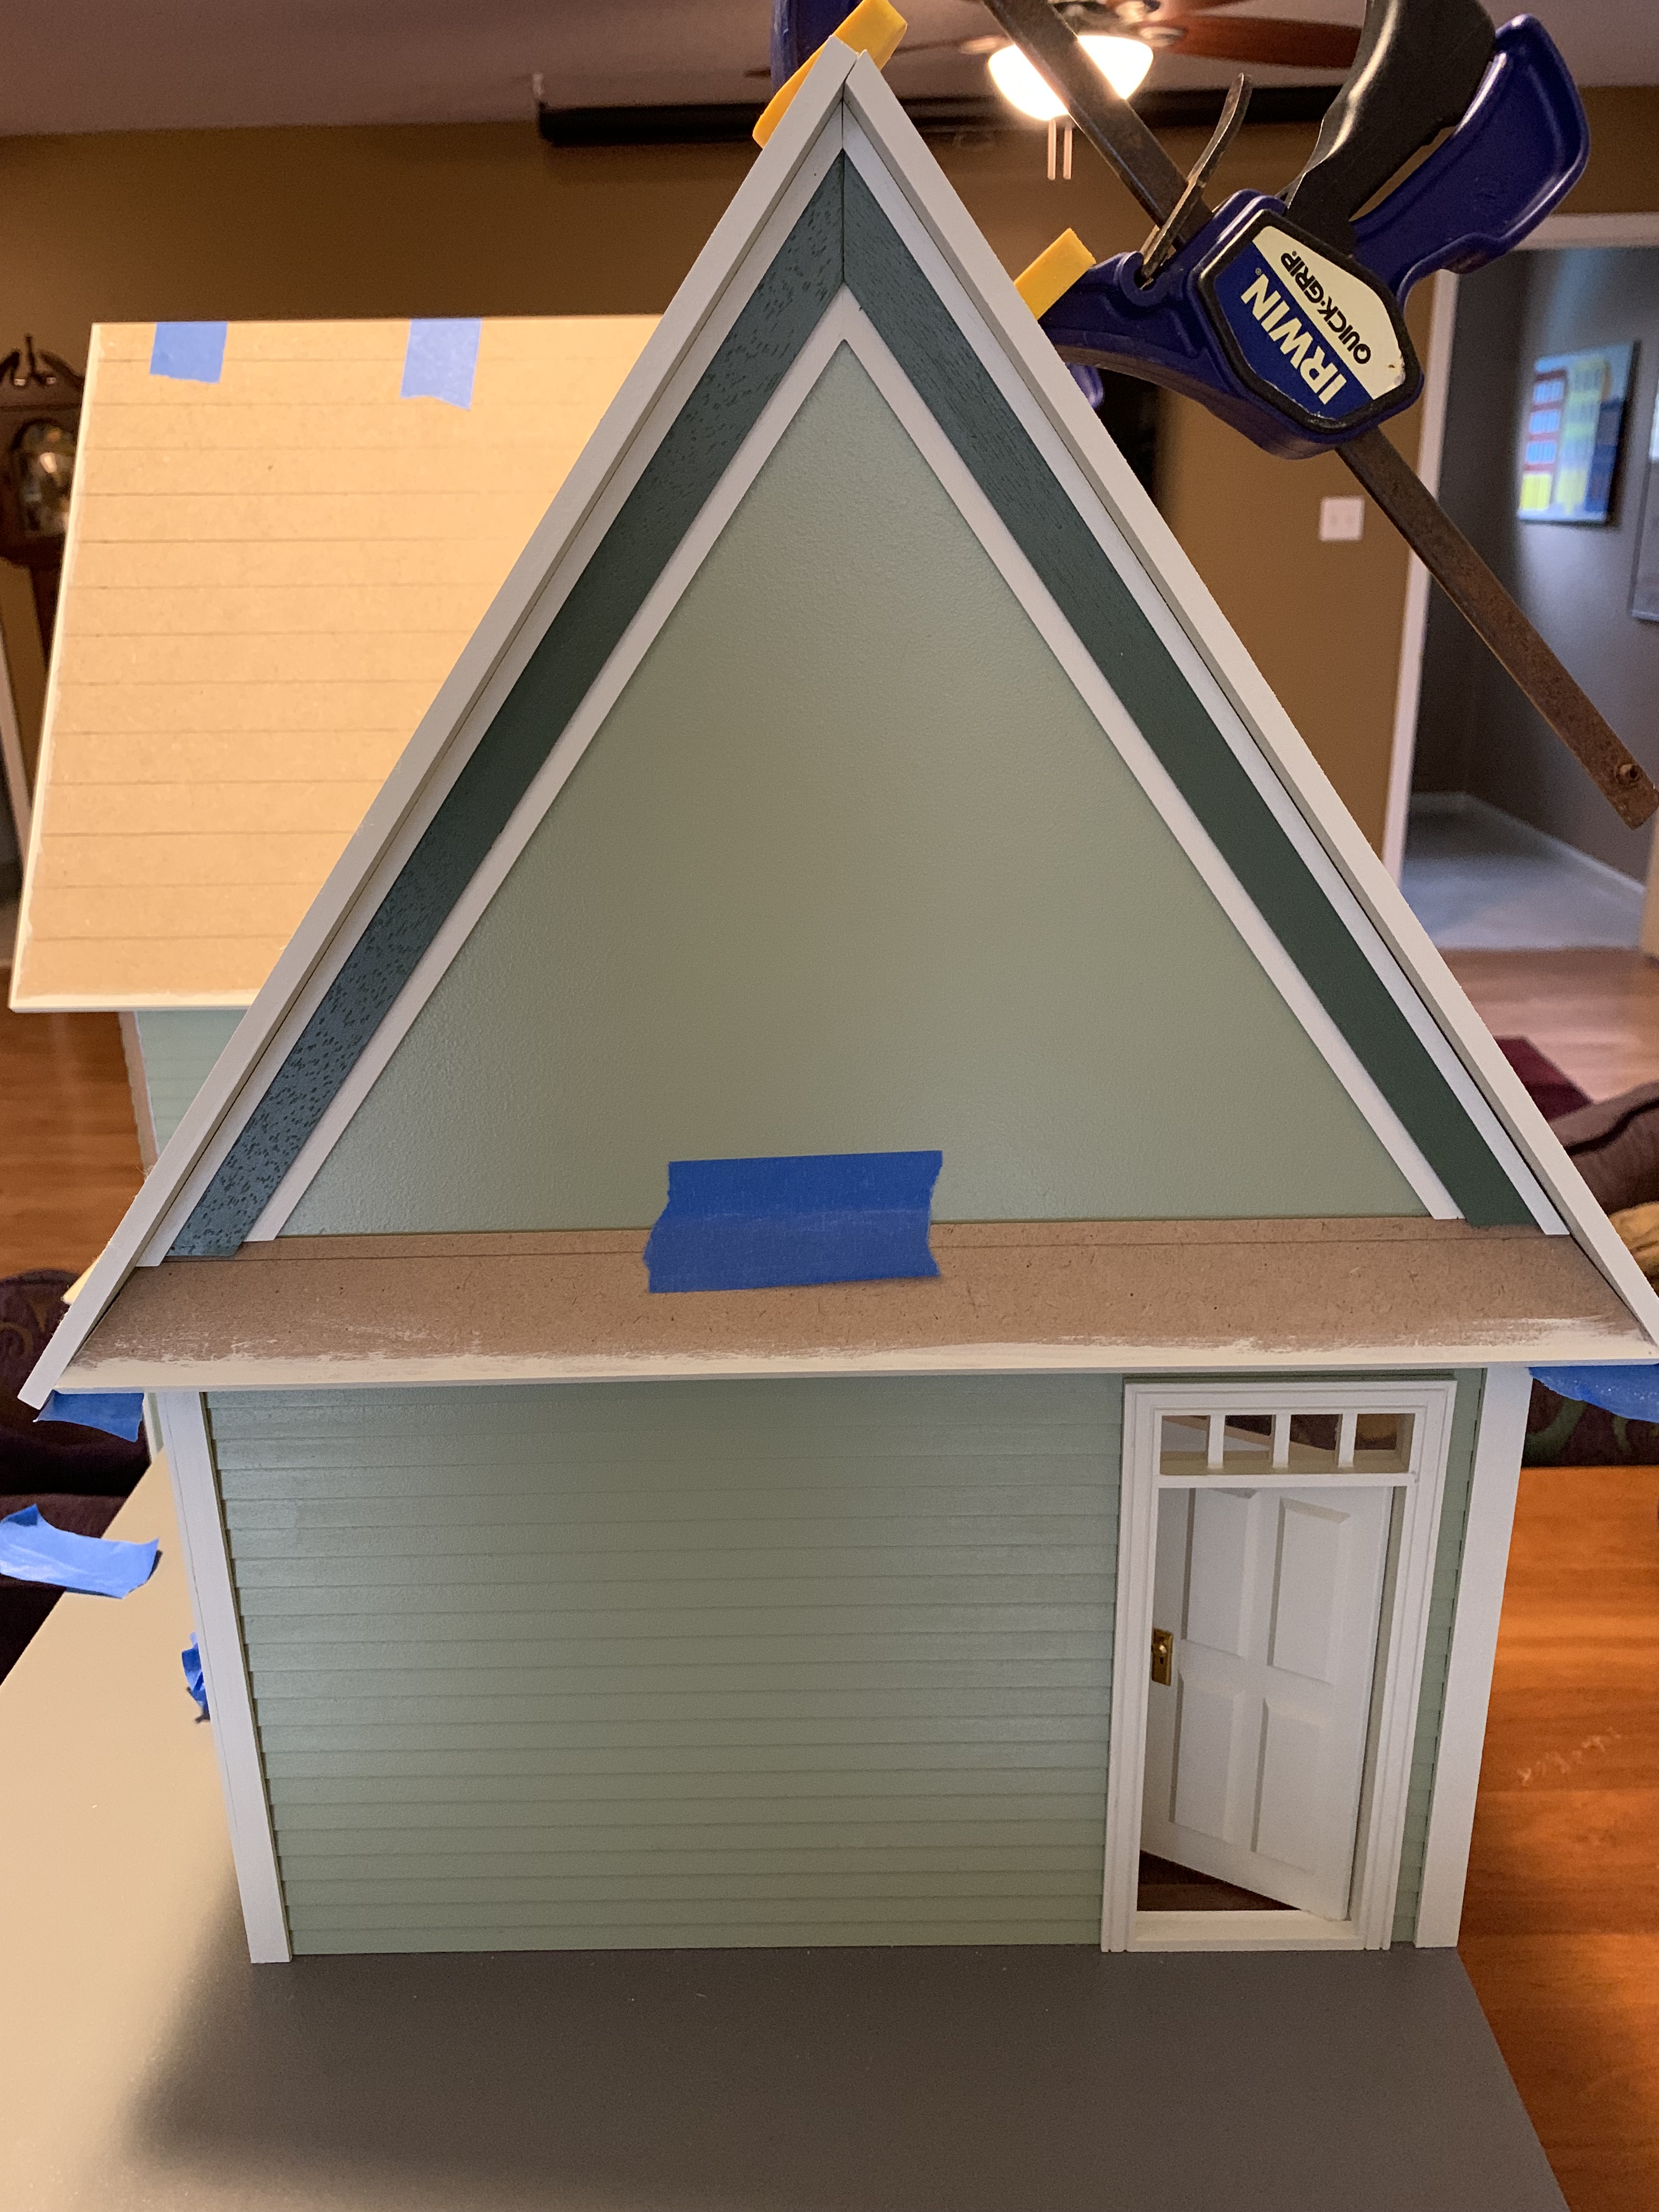
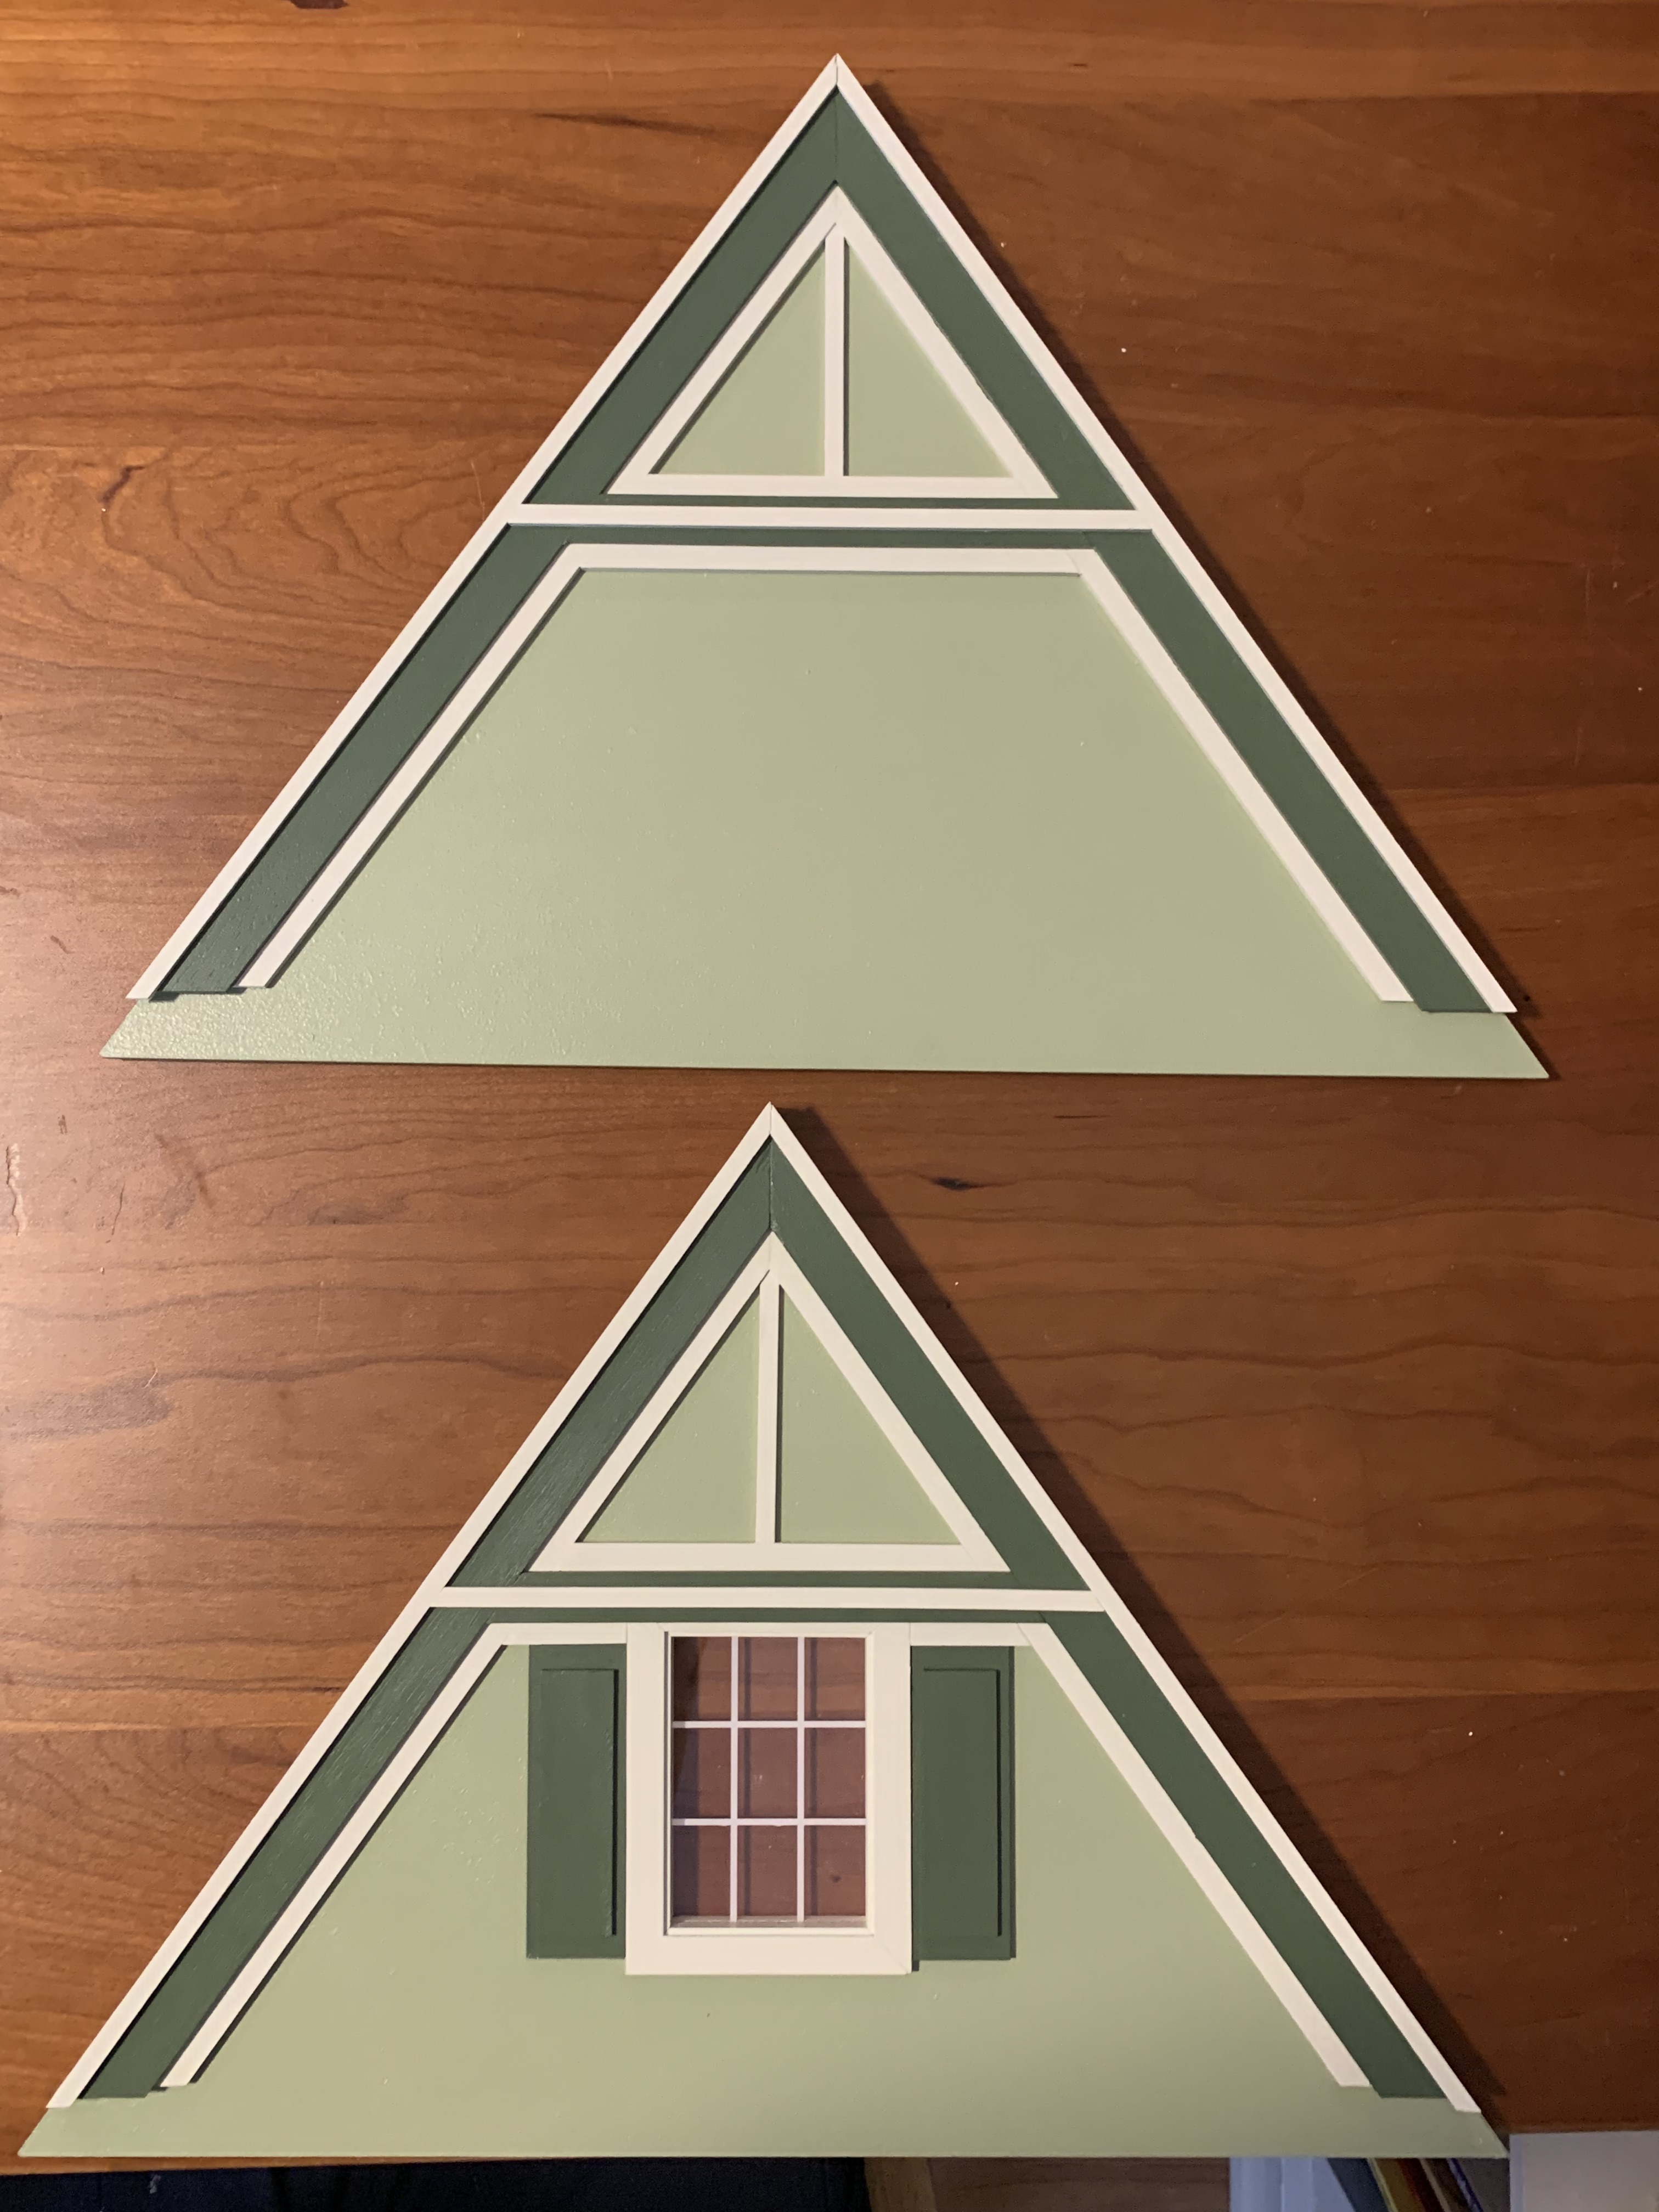
And as with the previous house, I wanted to add the 3-layer trim to the two attic ends and the gable end before installing them on the house since it was easier to measure and cut when these were flat on my work surface. I recalled this had been one of the most difficult steps on that house to get the left and right trim pieces to line up properly without a gap between the two. Using the same technique as before, I made my first two cuts and discovered I had the same problem with an unsightly gap at the apex.
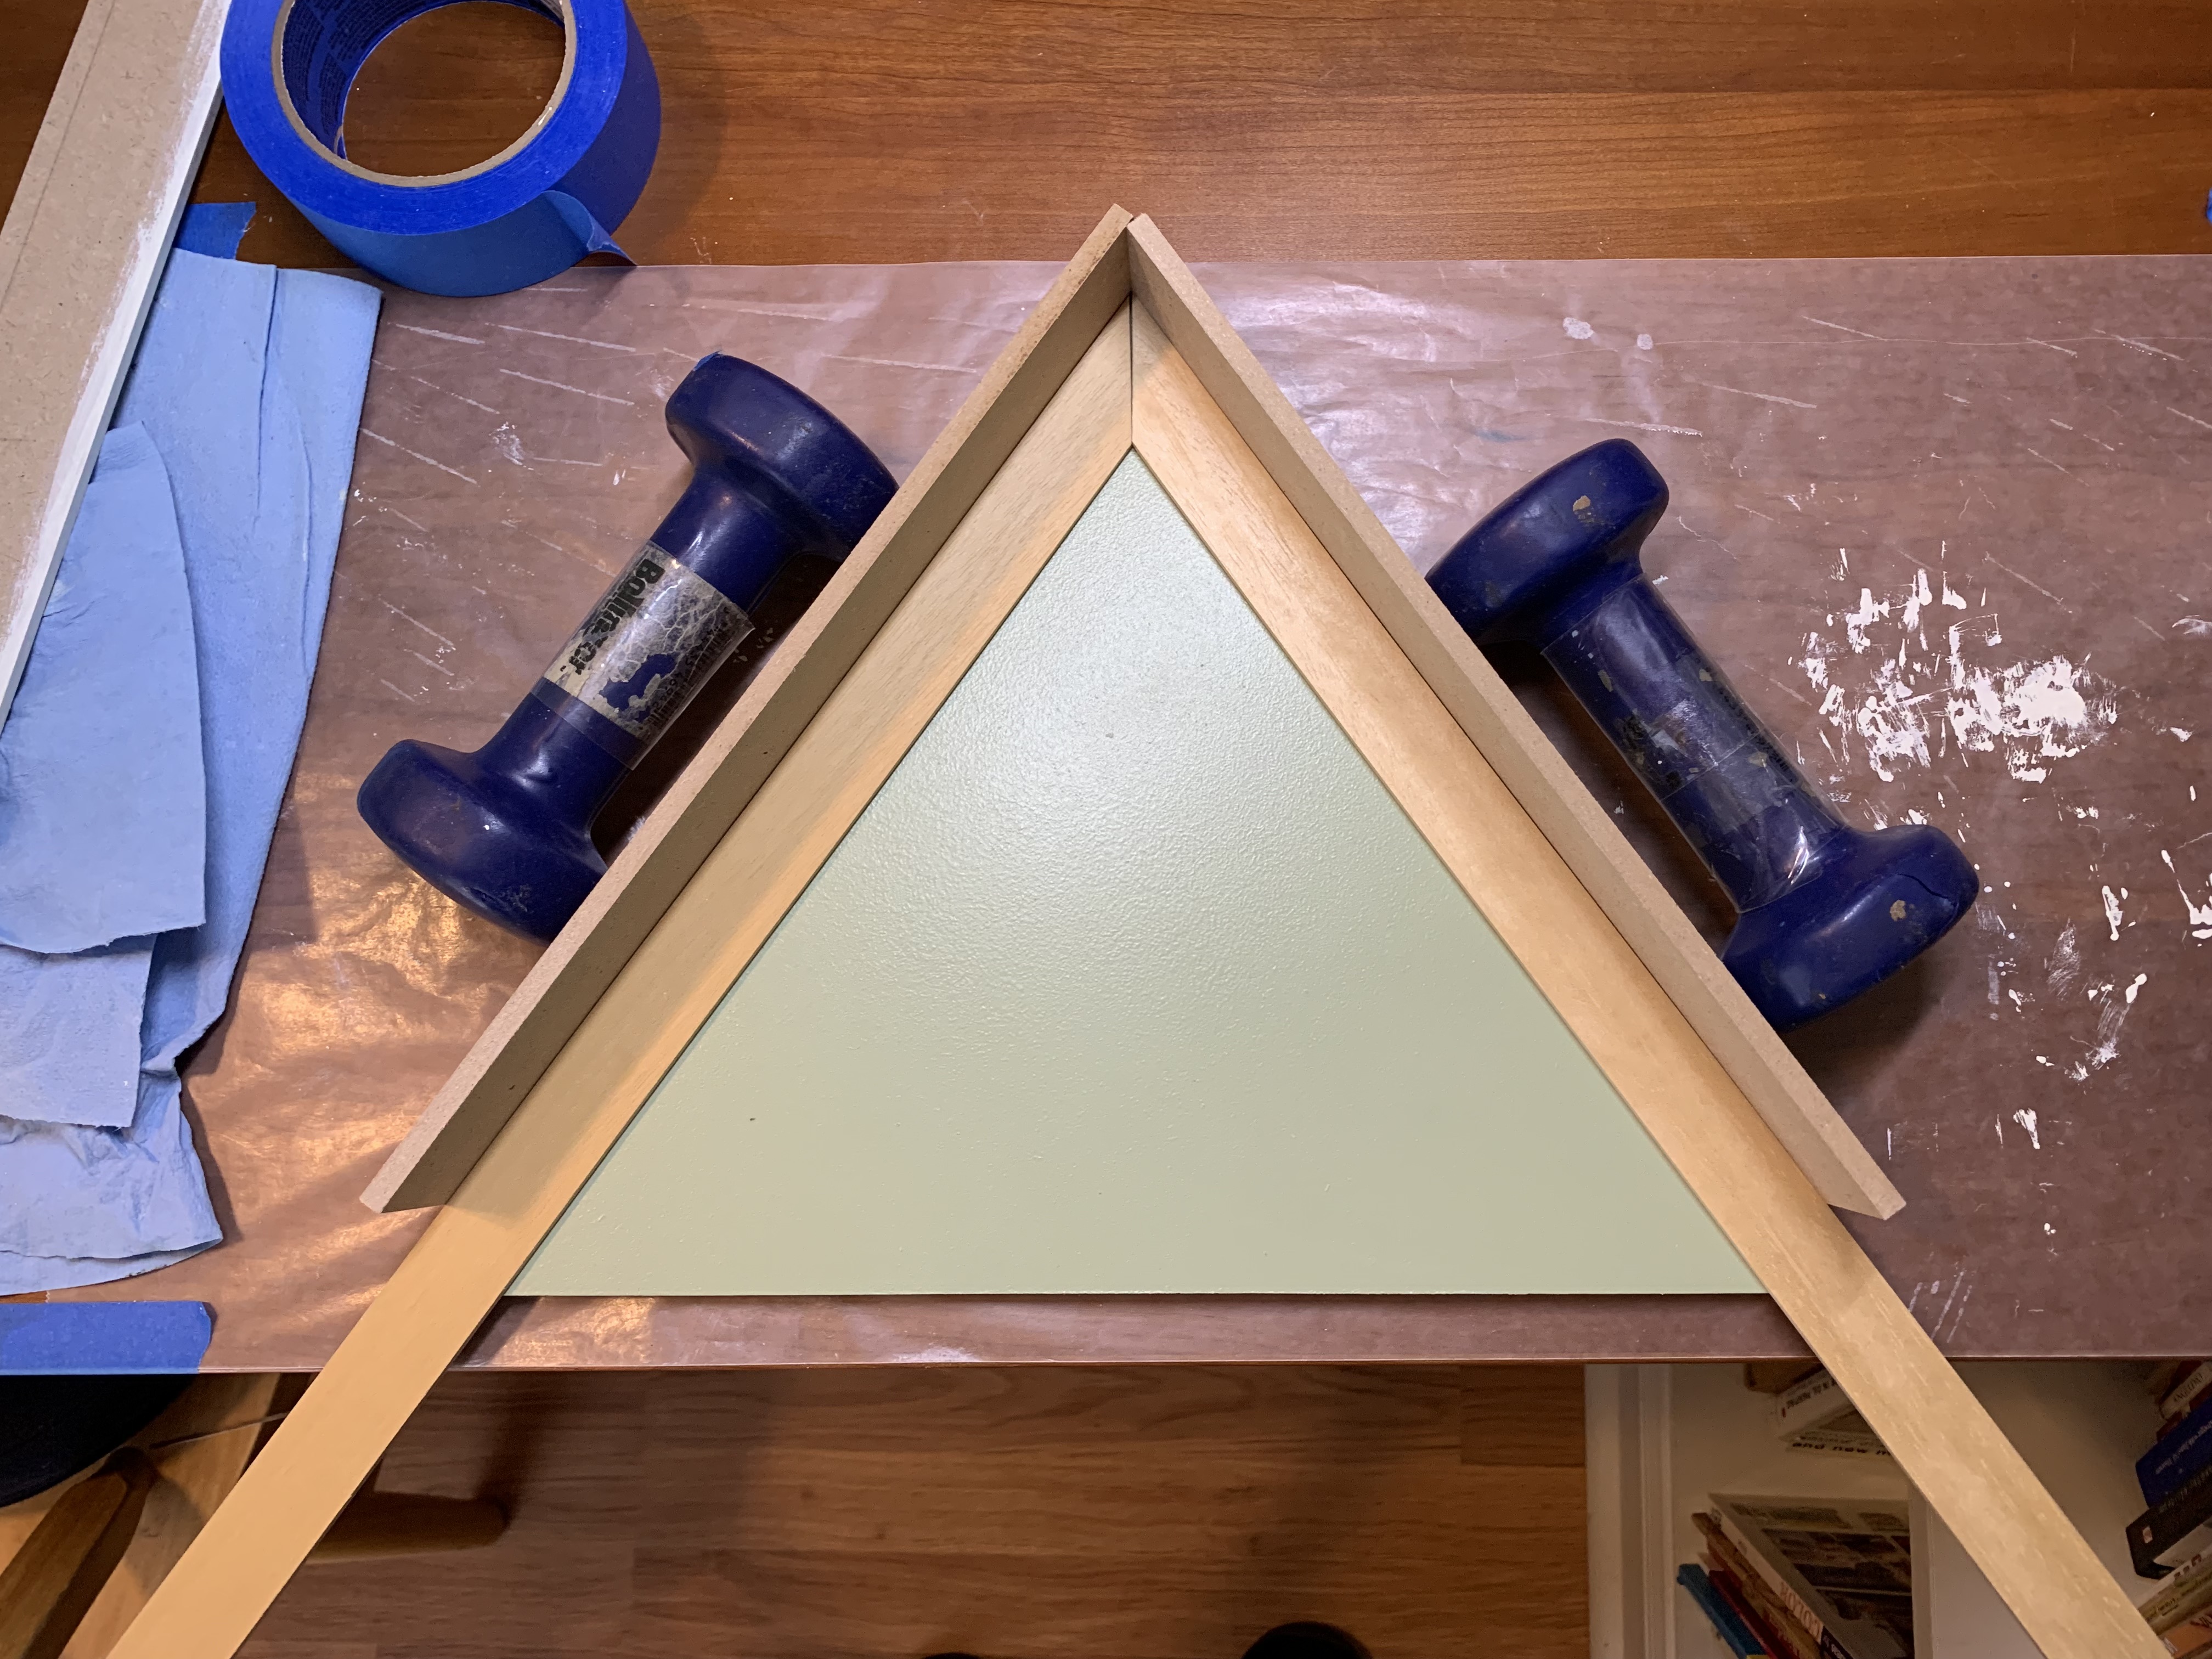
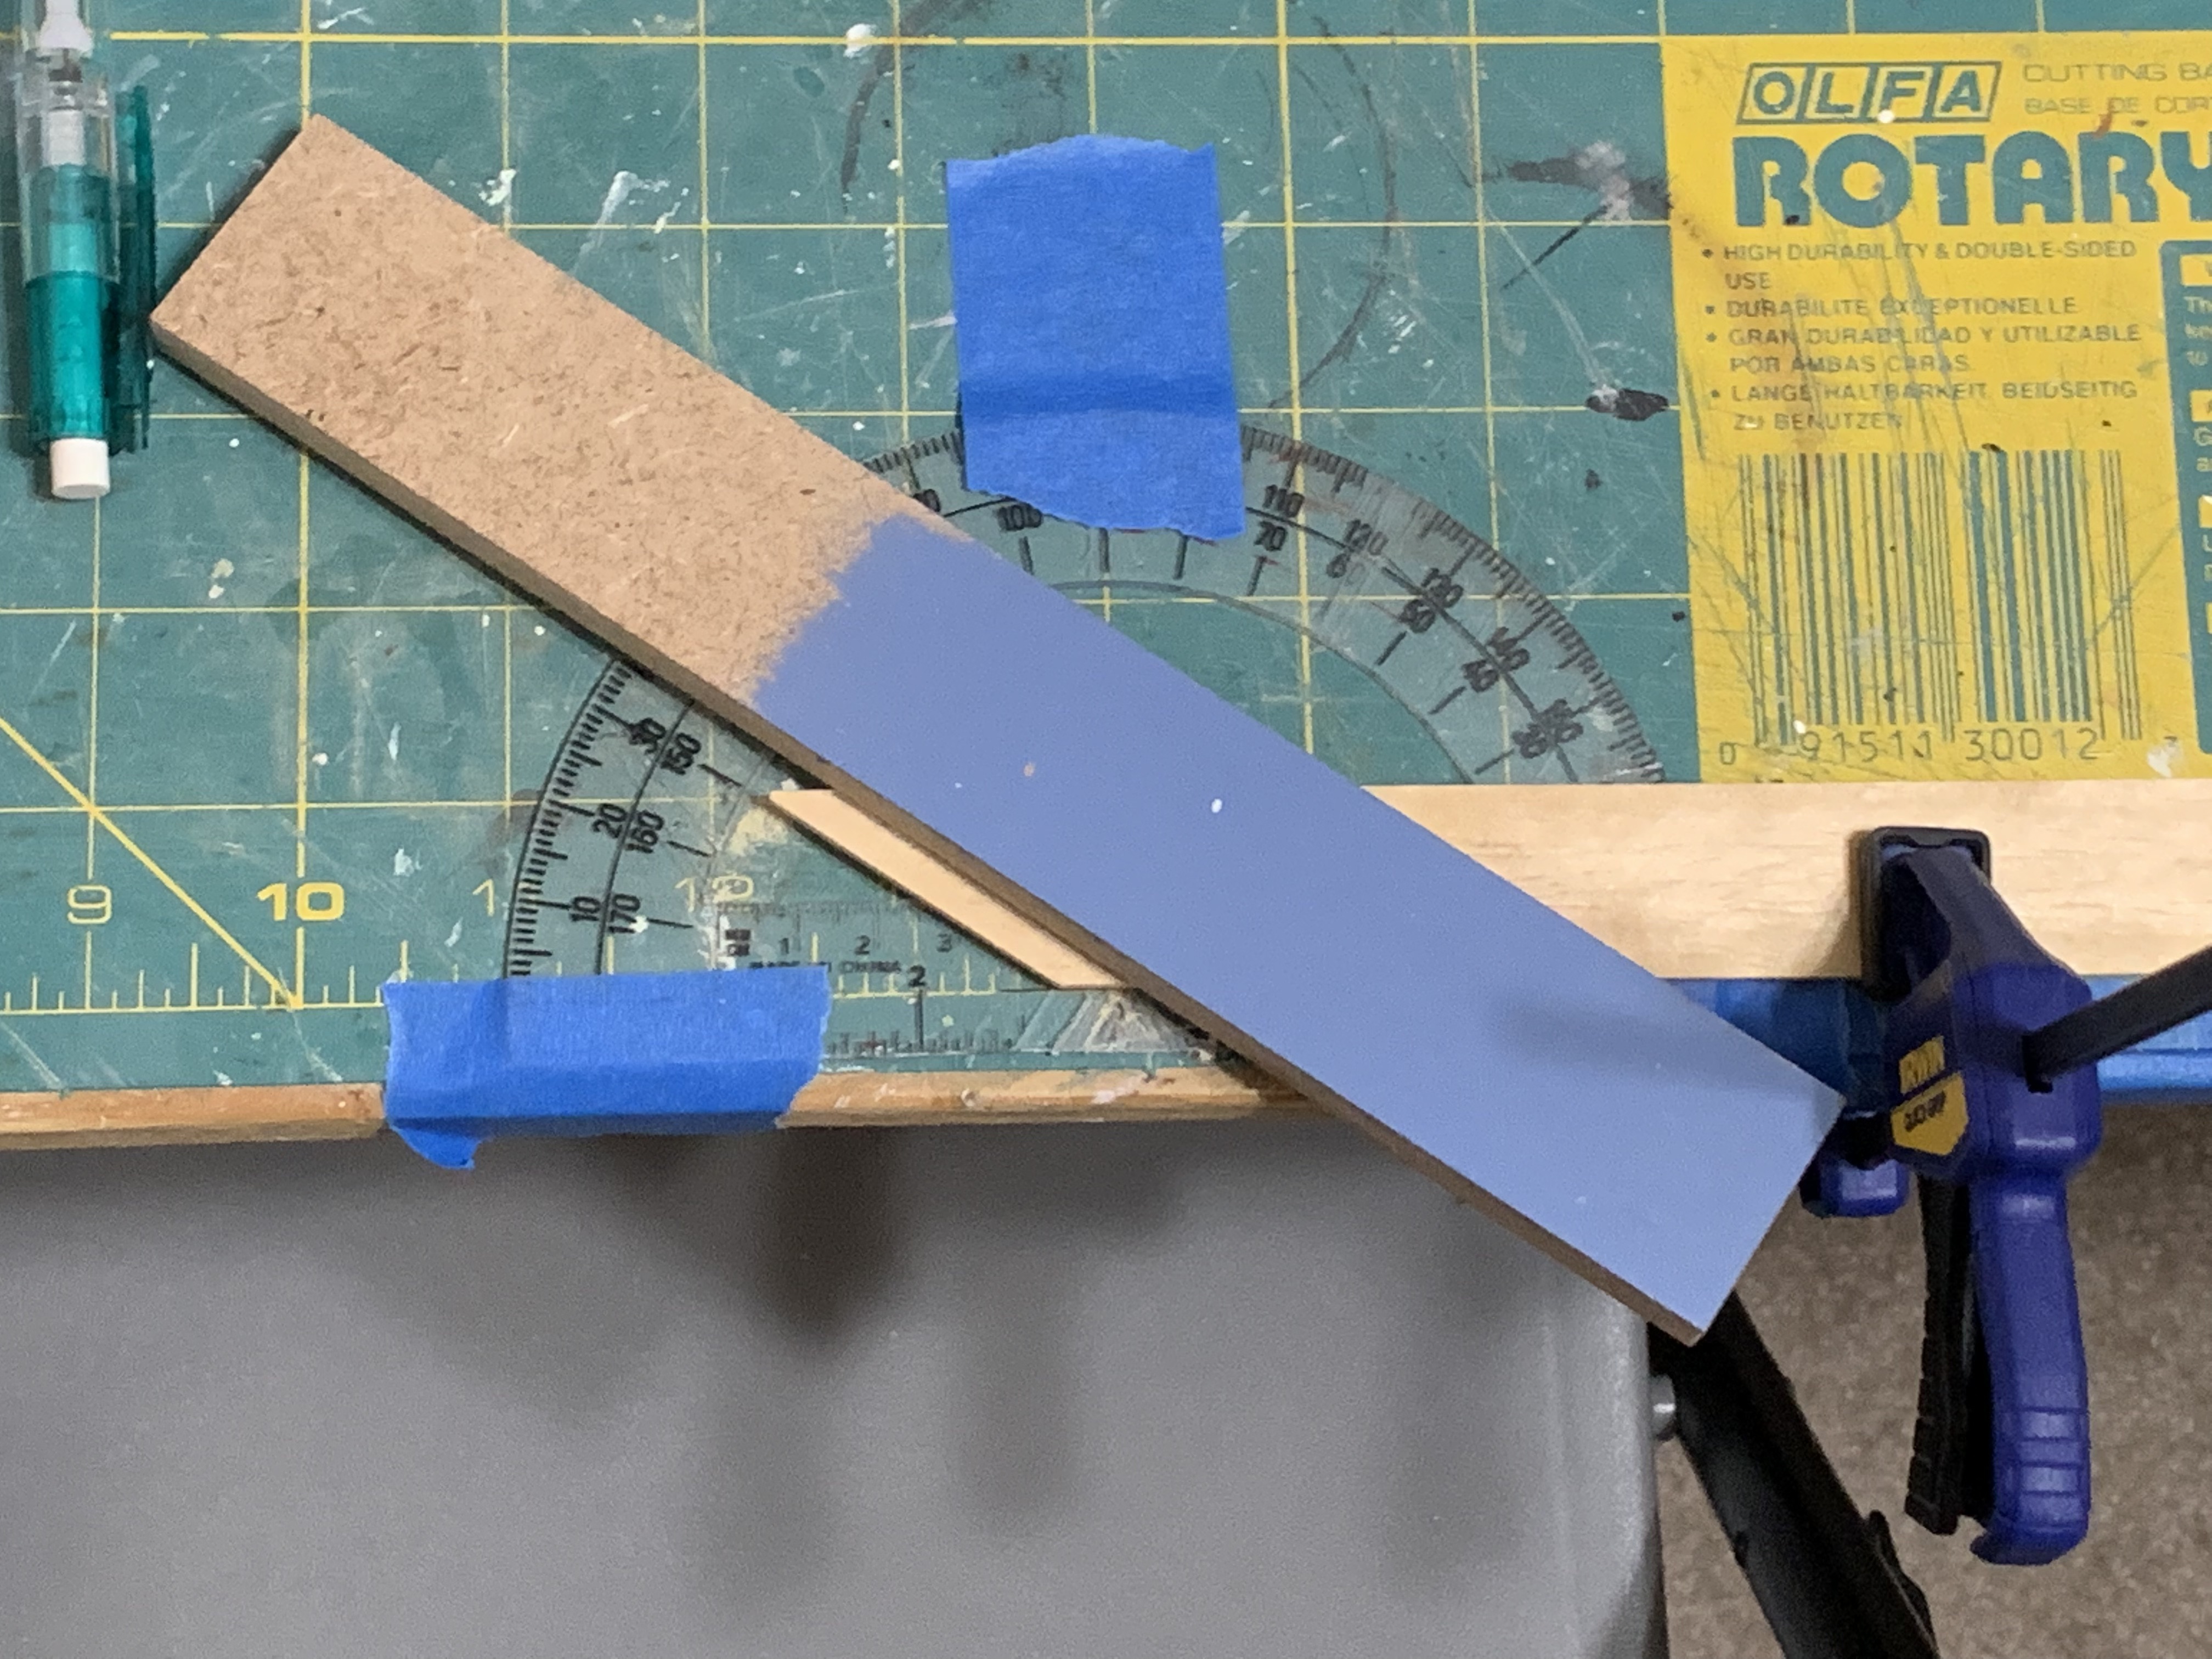
When I cut the next two smaller trim pieces that would be on top of the first two, I found I still had the same gap issue. On the last doll house, I had empirically determined that the roof apex angle was 70 degrees which meant each piece needed a 35-degree cut. The gap at the top made me think the angle was too shallow. So, I decided to try using a 36-degree cut (which would sum up to 72 degrees) and rather than using the saw blade to cut along my protractor to get that angle, I used a straight edge to accurately draw a line on the trim piece and then cut it clamped down on my work bench.
That seemed to be the issue with the gaps as my next cuts for the second and third trim pieces came out nearly perfect.

The last step for these six trim pieces was to figure out how long they needed to be cut so that they would be flush with the false eave at the bottom of the attic or gable end. To determine this, I needed to temporarily set all three on the third floor with the front and back roof panels in place. That would then allow the false eave to sit at the correct angle with the front and back roof panels so that I could then accurately measure the proper length of all six trim pieces.
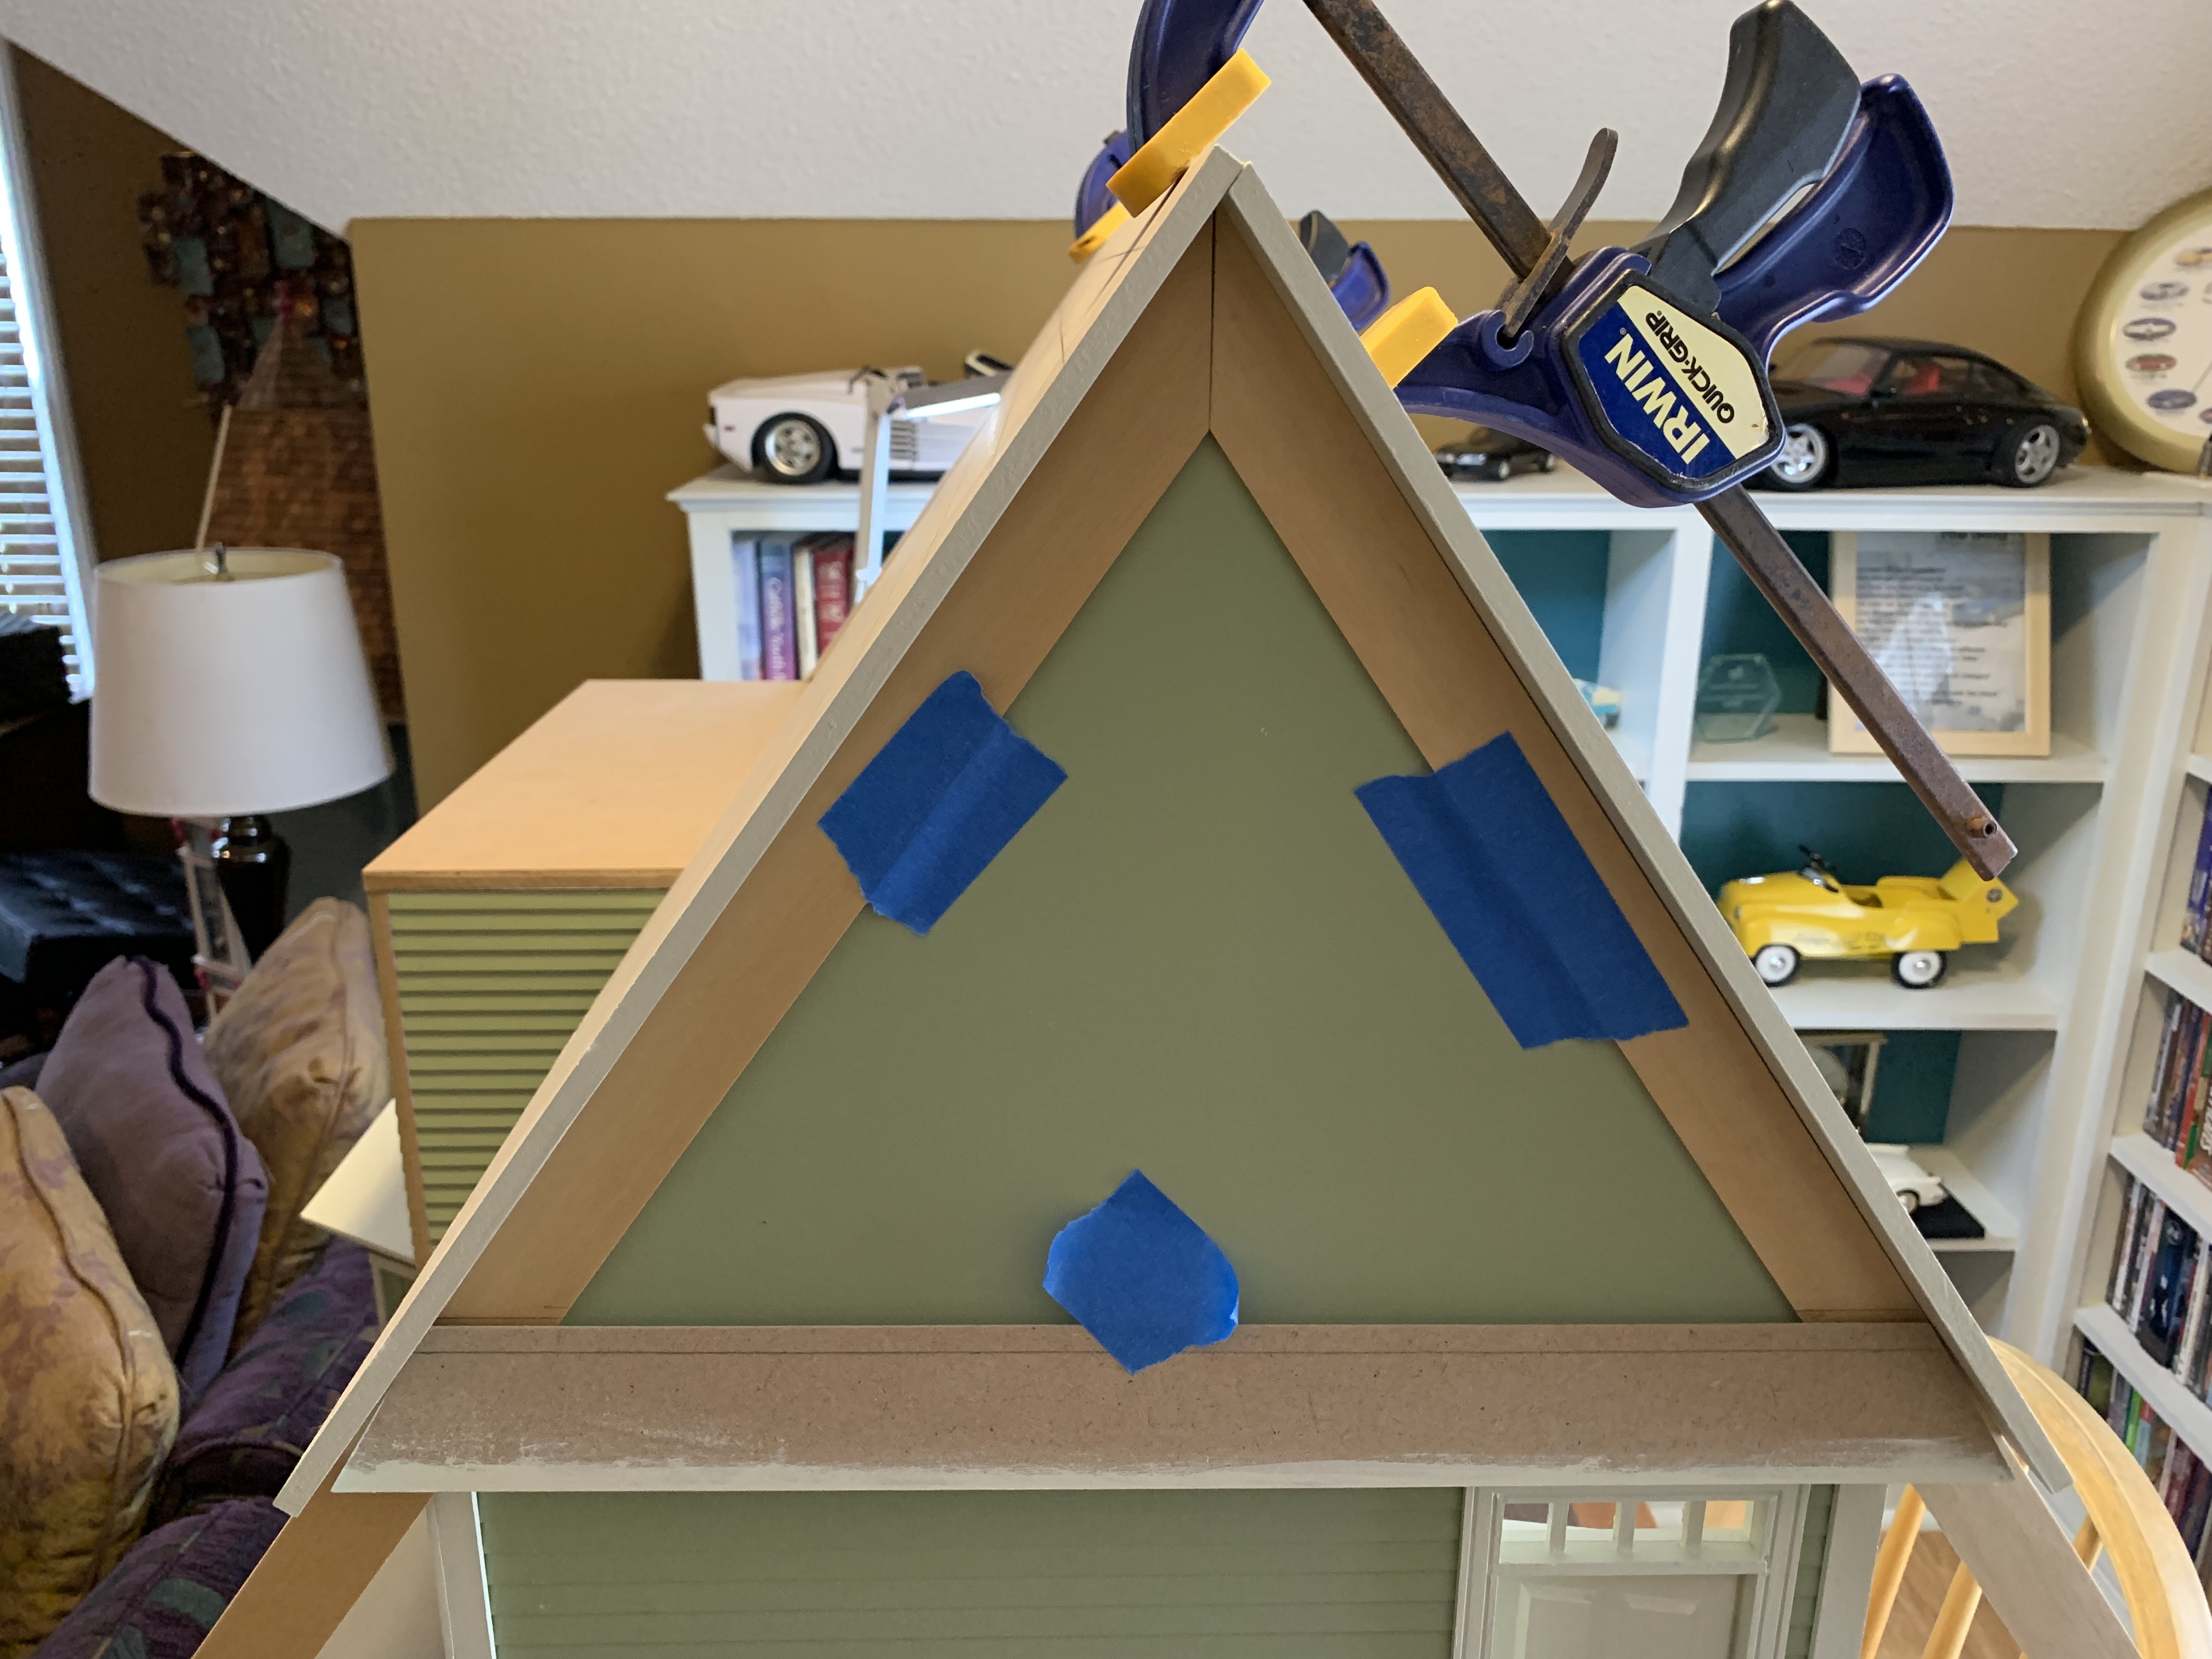
I then repeated this process for the other attic end as well as the gable wall (front of house). With all 18 pieces cut, I then had to paint each piece either the off-white color or the dark green color. With all the roof pieces in place, I could then glue the trim pieces to the left attic, right attic, or gable wall.
Finishing the exterior of these third-floor walls required a similar approach for the horizontal trim pieces, although this could completely be done on the flat work surface since they fit within the previously glued roof line trim pieces.
To be continued…
Categories

David, this dollhouse is absolutely beautiful. I am sure it will be stunning when it is done. Interesting that your sister opted to not have a staircase. I look forward to your next installment!
Thanks, Betty. It is actually finished so you won’t have to wait too long for the last post.
It looks so nice! I love the colors and those transom windows on the doors! Stairs do take up an annoying amount of space! I think all the time about how much space they take up in my actual house, ha!
Thanks sweetie and you’re right they do. You won’t have to wait too long to see the finished doll house.