
Doll House for My Sister – 4th Phase
Continued from: Doll House for My Sister – 3rd Phase

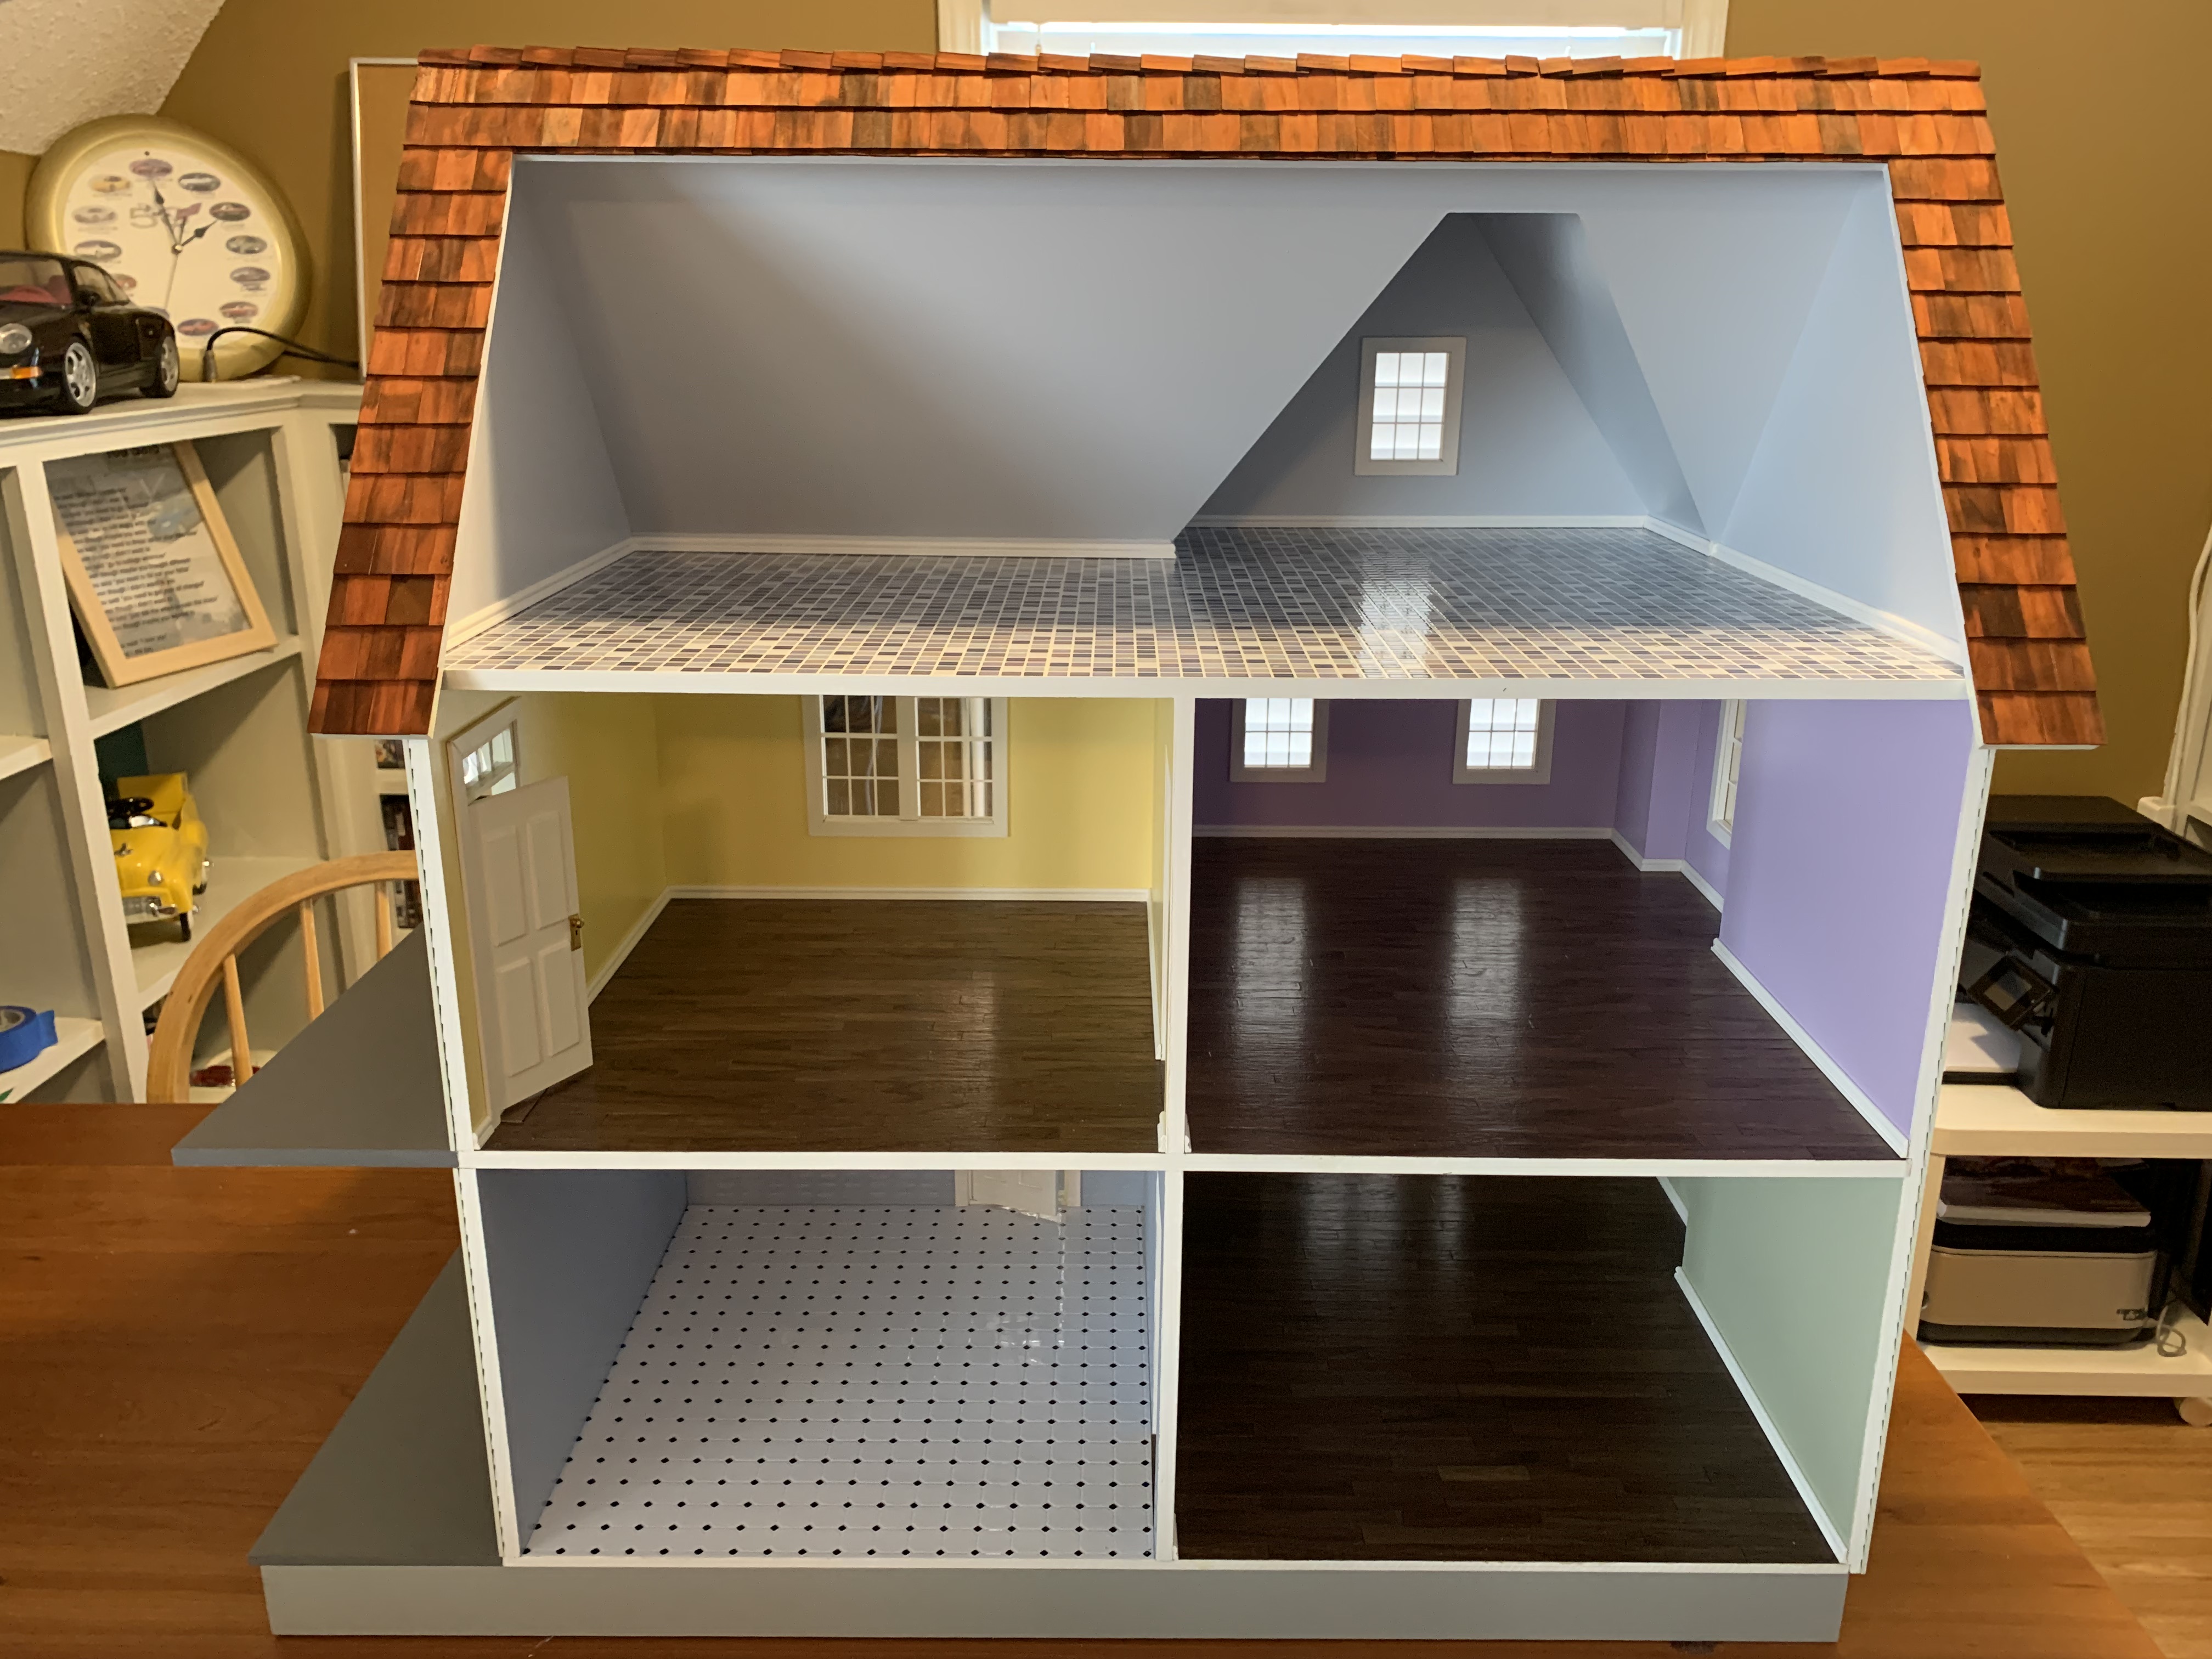
To get this doll house to the exact same level of partial completeness as we did for the one we built for my sister’s grandchildren (since they wanted to finish out the 3rd floor themselves), I next would have installed the railings, dyed the shingles, and started the shingling process. But those steps could actually wait as for this house, my sister wanted me to finish the third floor. This house, unlike the previous one, would be complete and “move-in-ready” prior to it making its trek across the state to my sister’s home in Northwest Arkansas.
Throughout the construction process, my sister and I had talked about several different options for the third floor of her house. With her decision to eliminate the stairs in the house, additional options were opened up for the third floor. When I asked her if she was ready to finalize the plans, my sister decided to not use the third-floor wall since without the staircase, it was not needed to anchor the staircase. This would thus create one large art studio on the third floor.
And to not detract from any future colorful creative projects that might take place in this miniature space, my sister chose to paint the walls a neutral white. This choice actually worked out well as the ceiling on the third floor, being the underside of the roof, reaches all the way to the floor. If she had chosen a non-white wall color, I would have had to figure out where to paint a “pseudo-wall” line to demarcate the transition from wall to ceiling.
With these design features finalized, the only decision left was what to put down for the floor.
My sister first thought of individual vinyl floor tiles and sent me a link to ones she had found. When I pulled up the website, I quickly realized that with the 28 square inches each bag of fifty would cover, we would need 18 bags at $8 each to cover the almost 500 square inches of the third floor. This would exceed the cost of the dollhouse kit.
She then found some real stone flagstone, but a bag covered only 25 square inches and cost a dollar more per bag than the vinyl tiles.
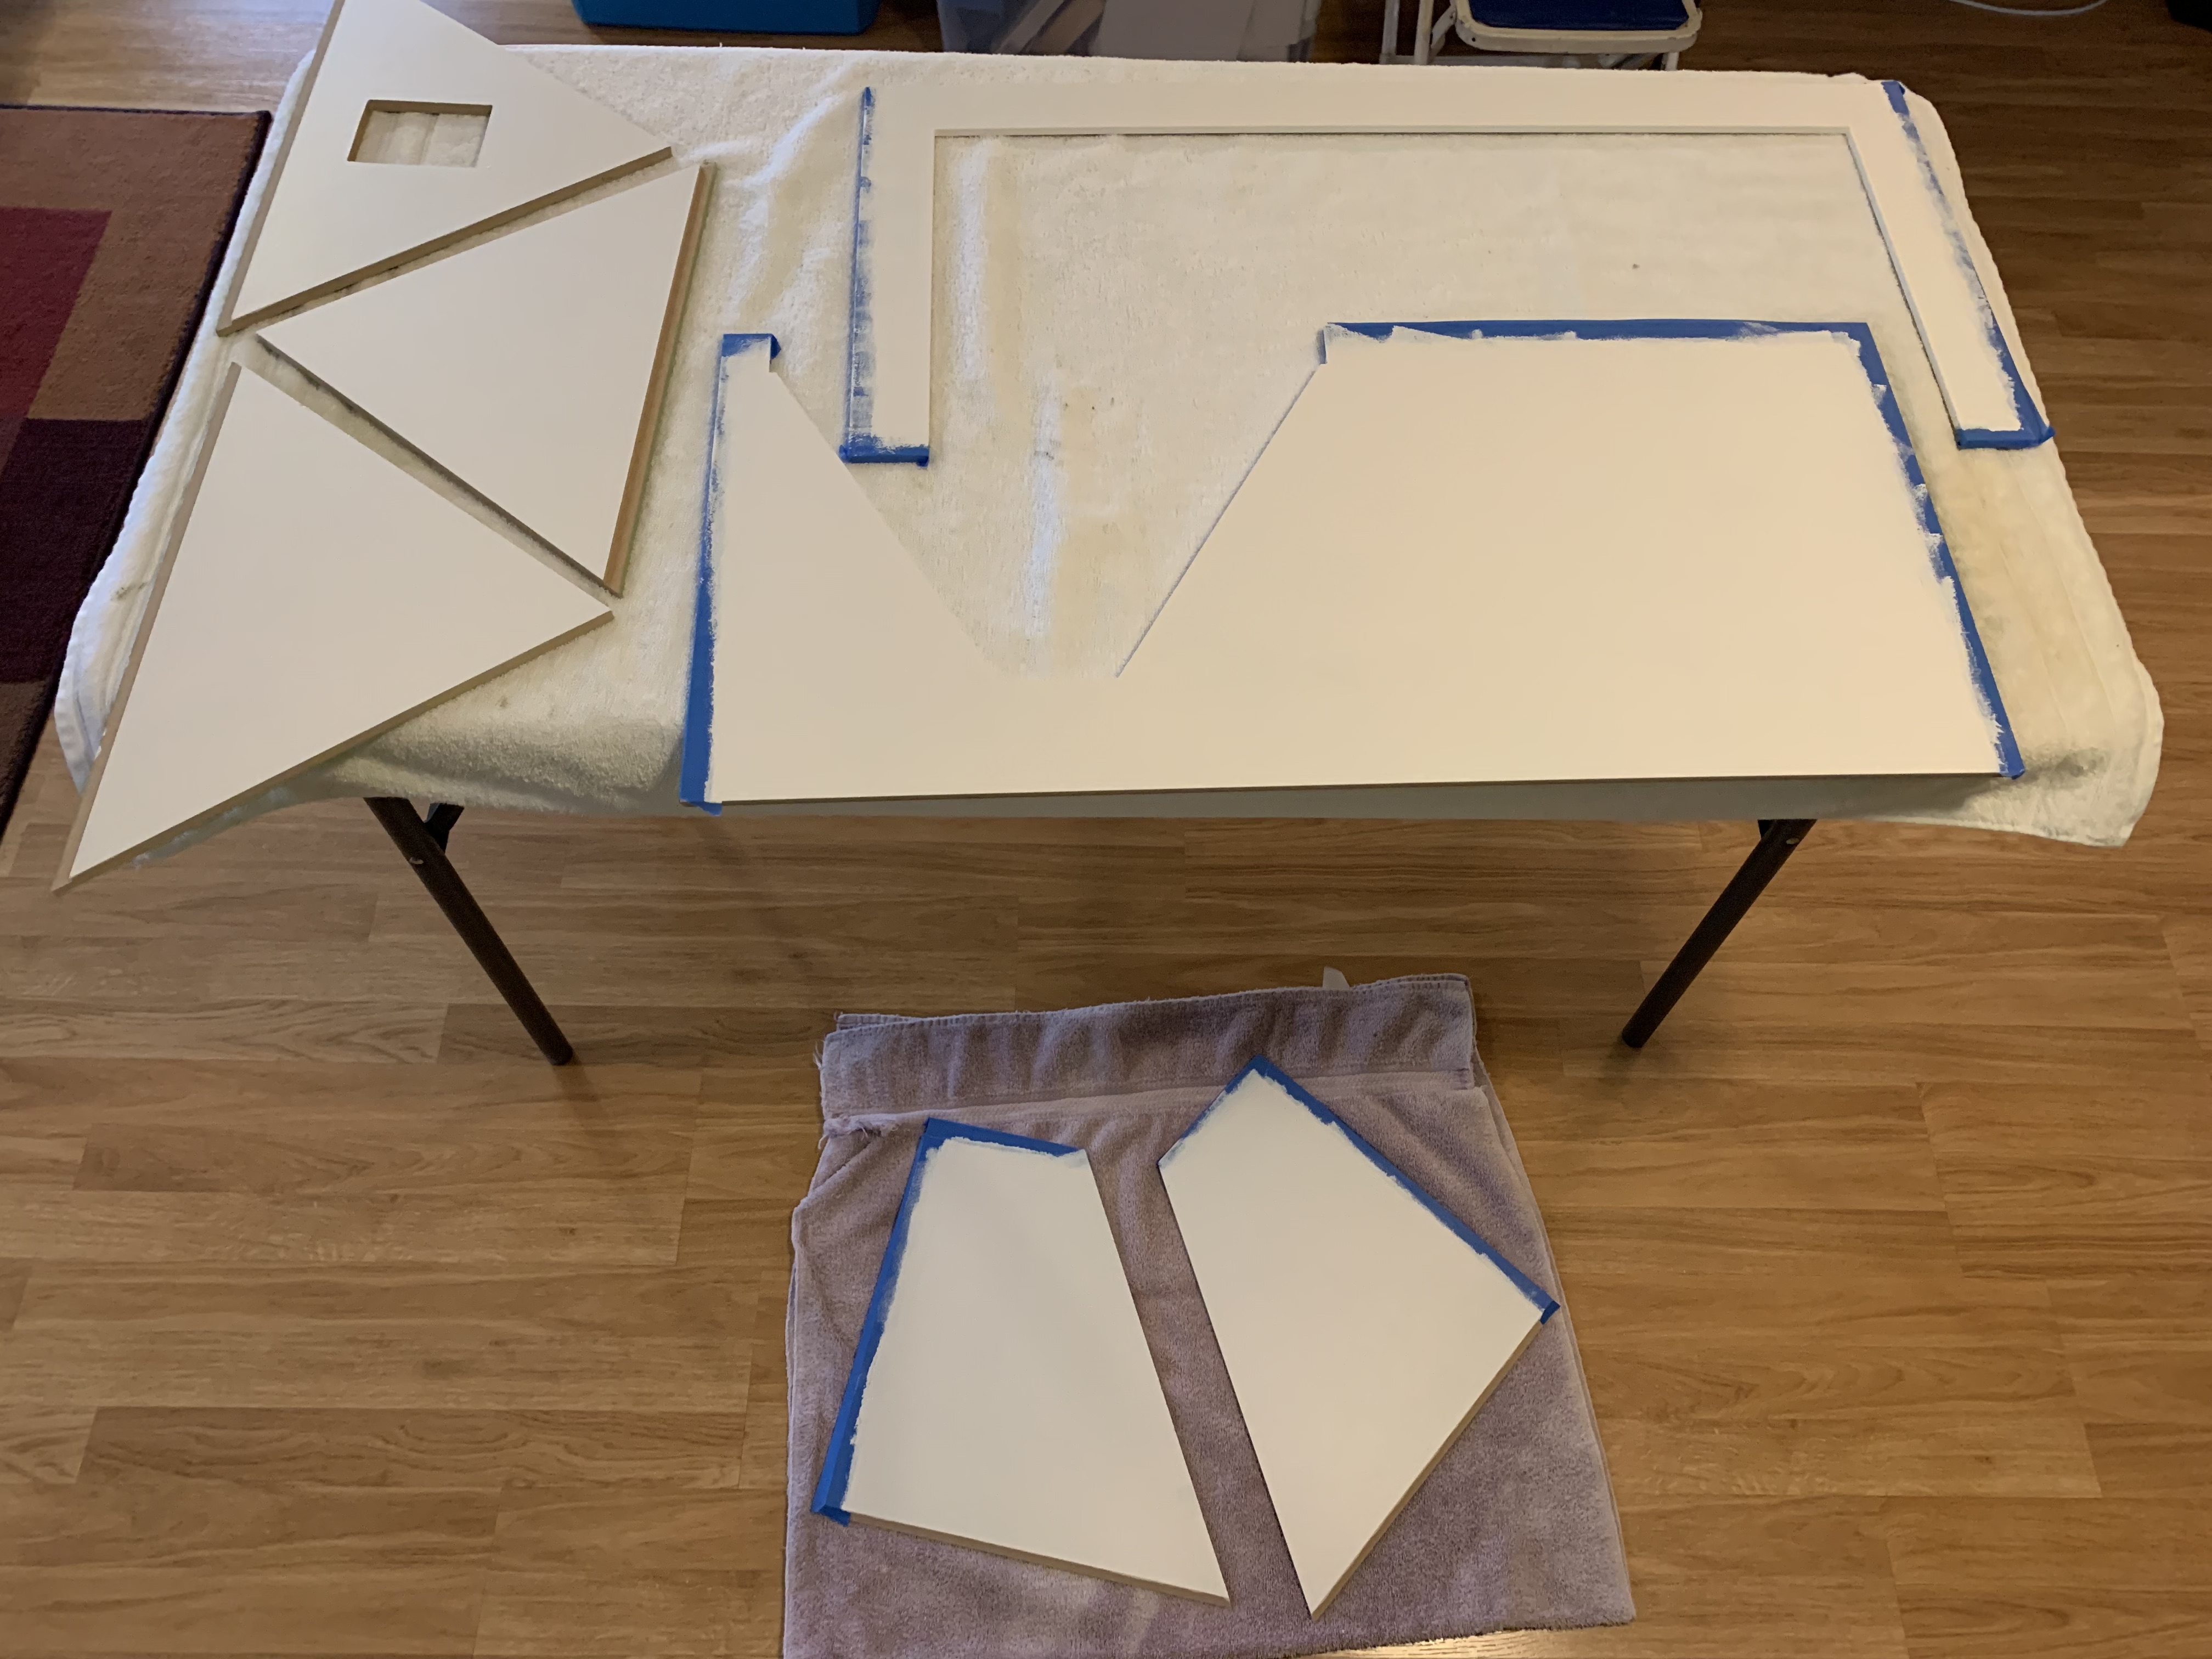
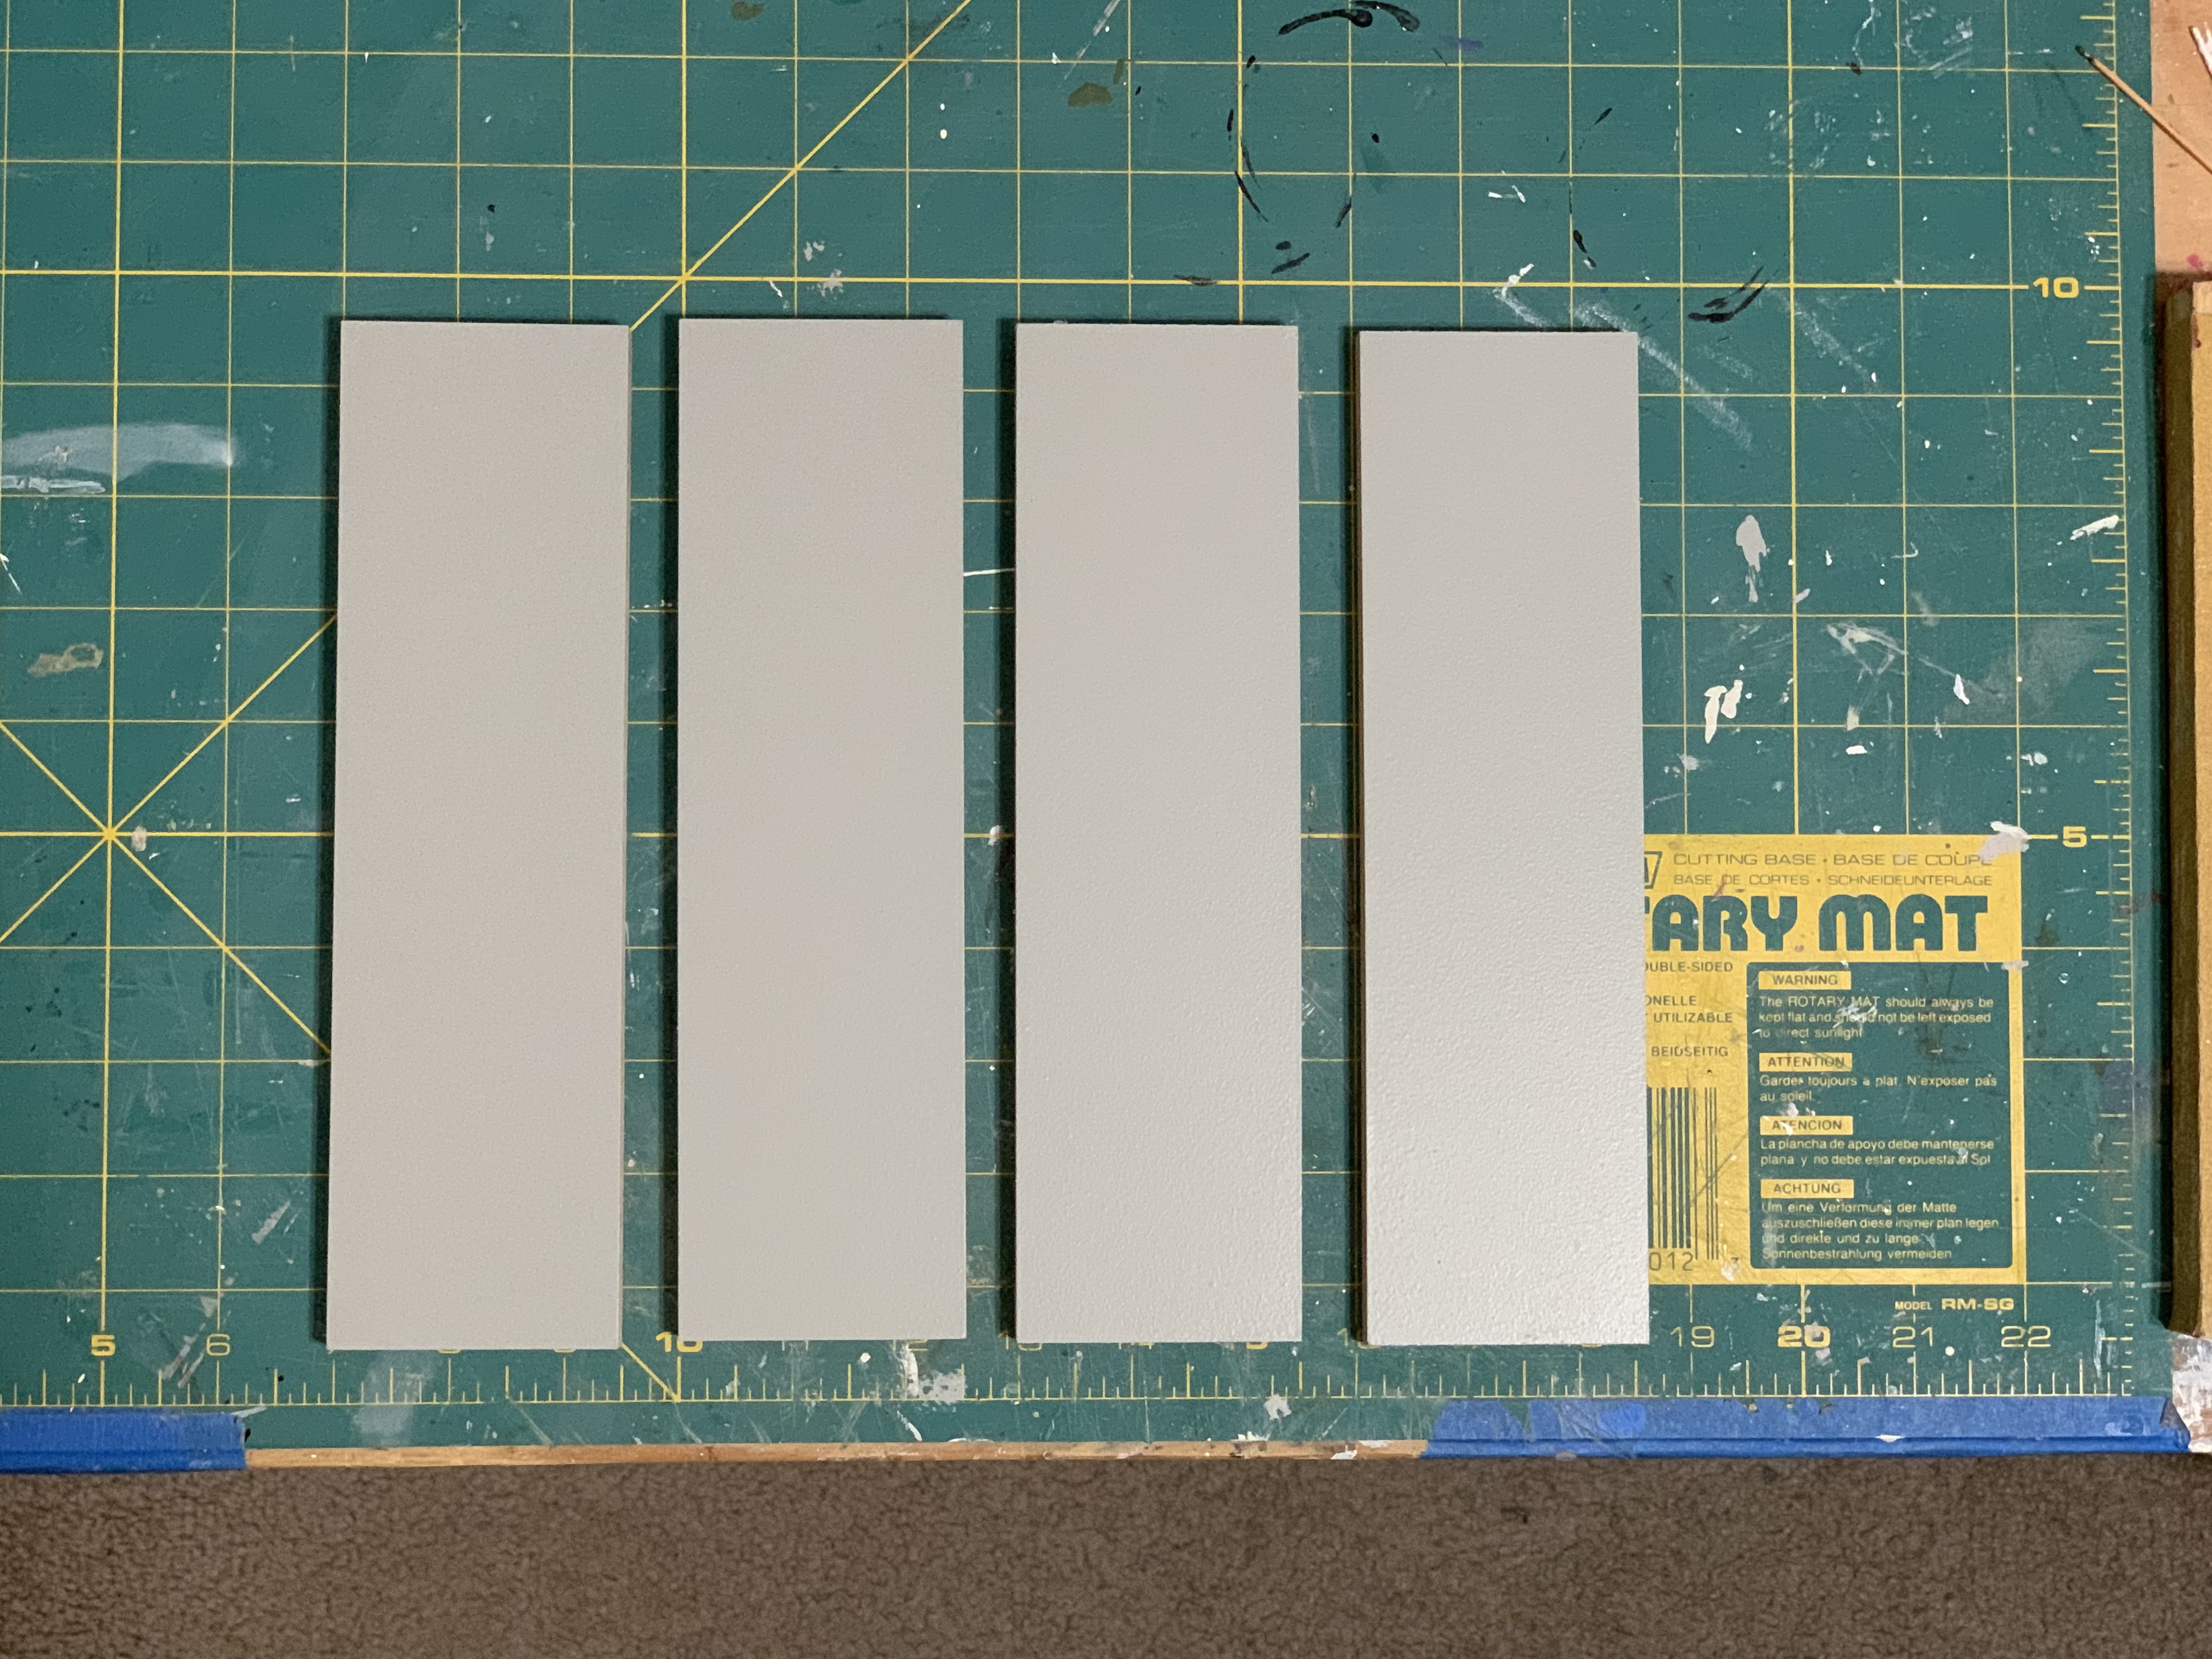
We then both had the same idea—why not mimic acid washed concrete for the third floor? This we could do ourselves with the possibility of only needing to purchase some paint or stain to achieve the effect. To give my sister several “test floors” to experiment with, I painted four pieces of MDF with the cement-colored paint I had used for the foundation.
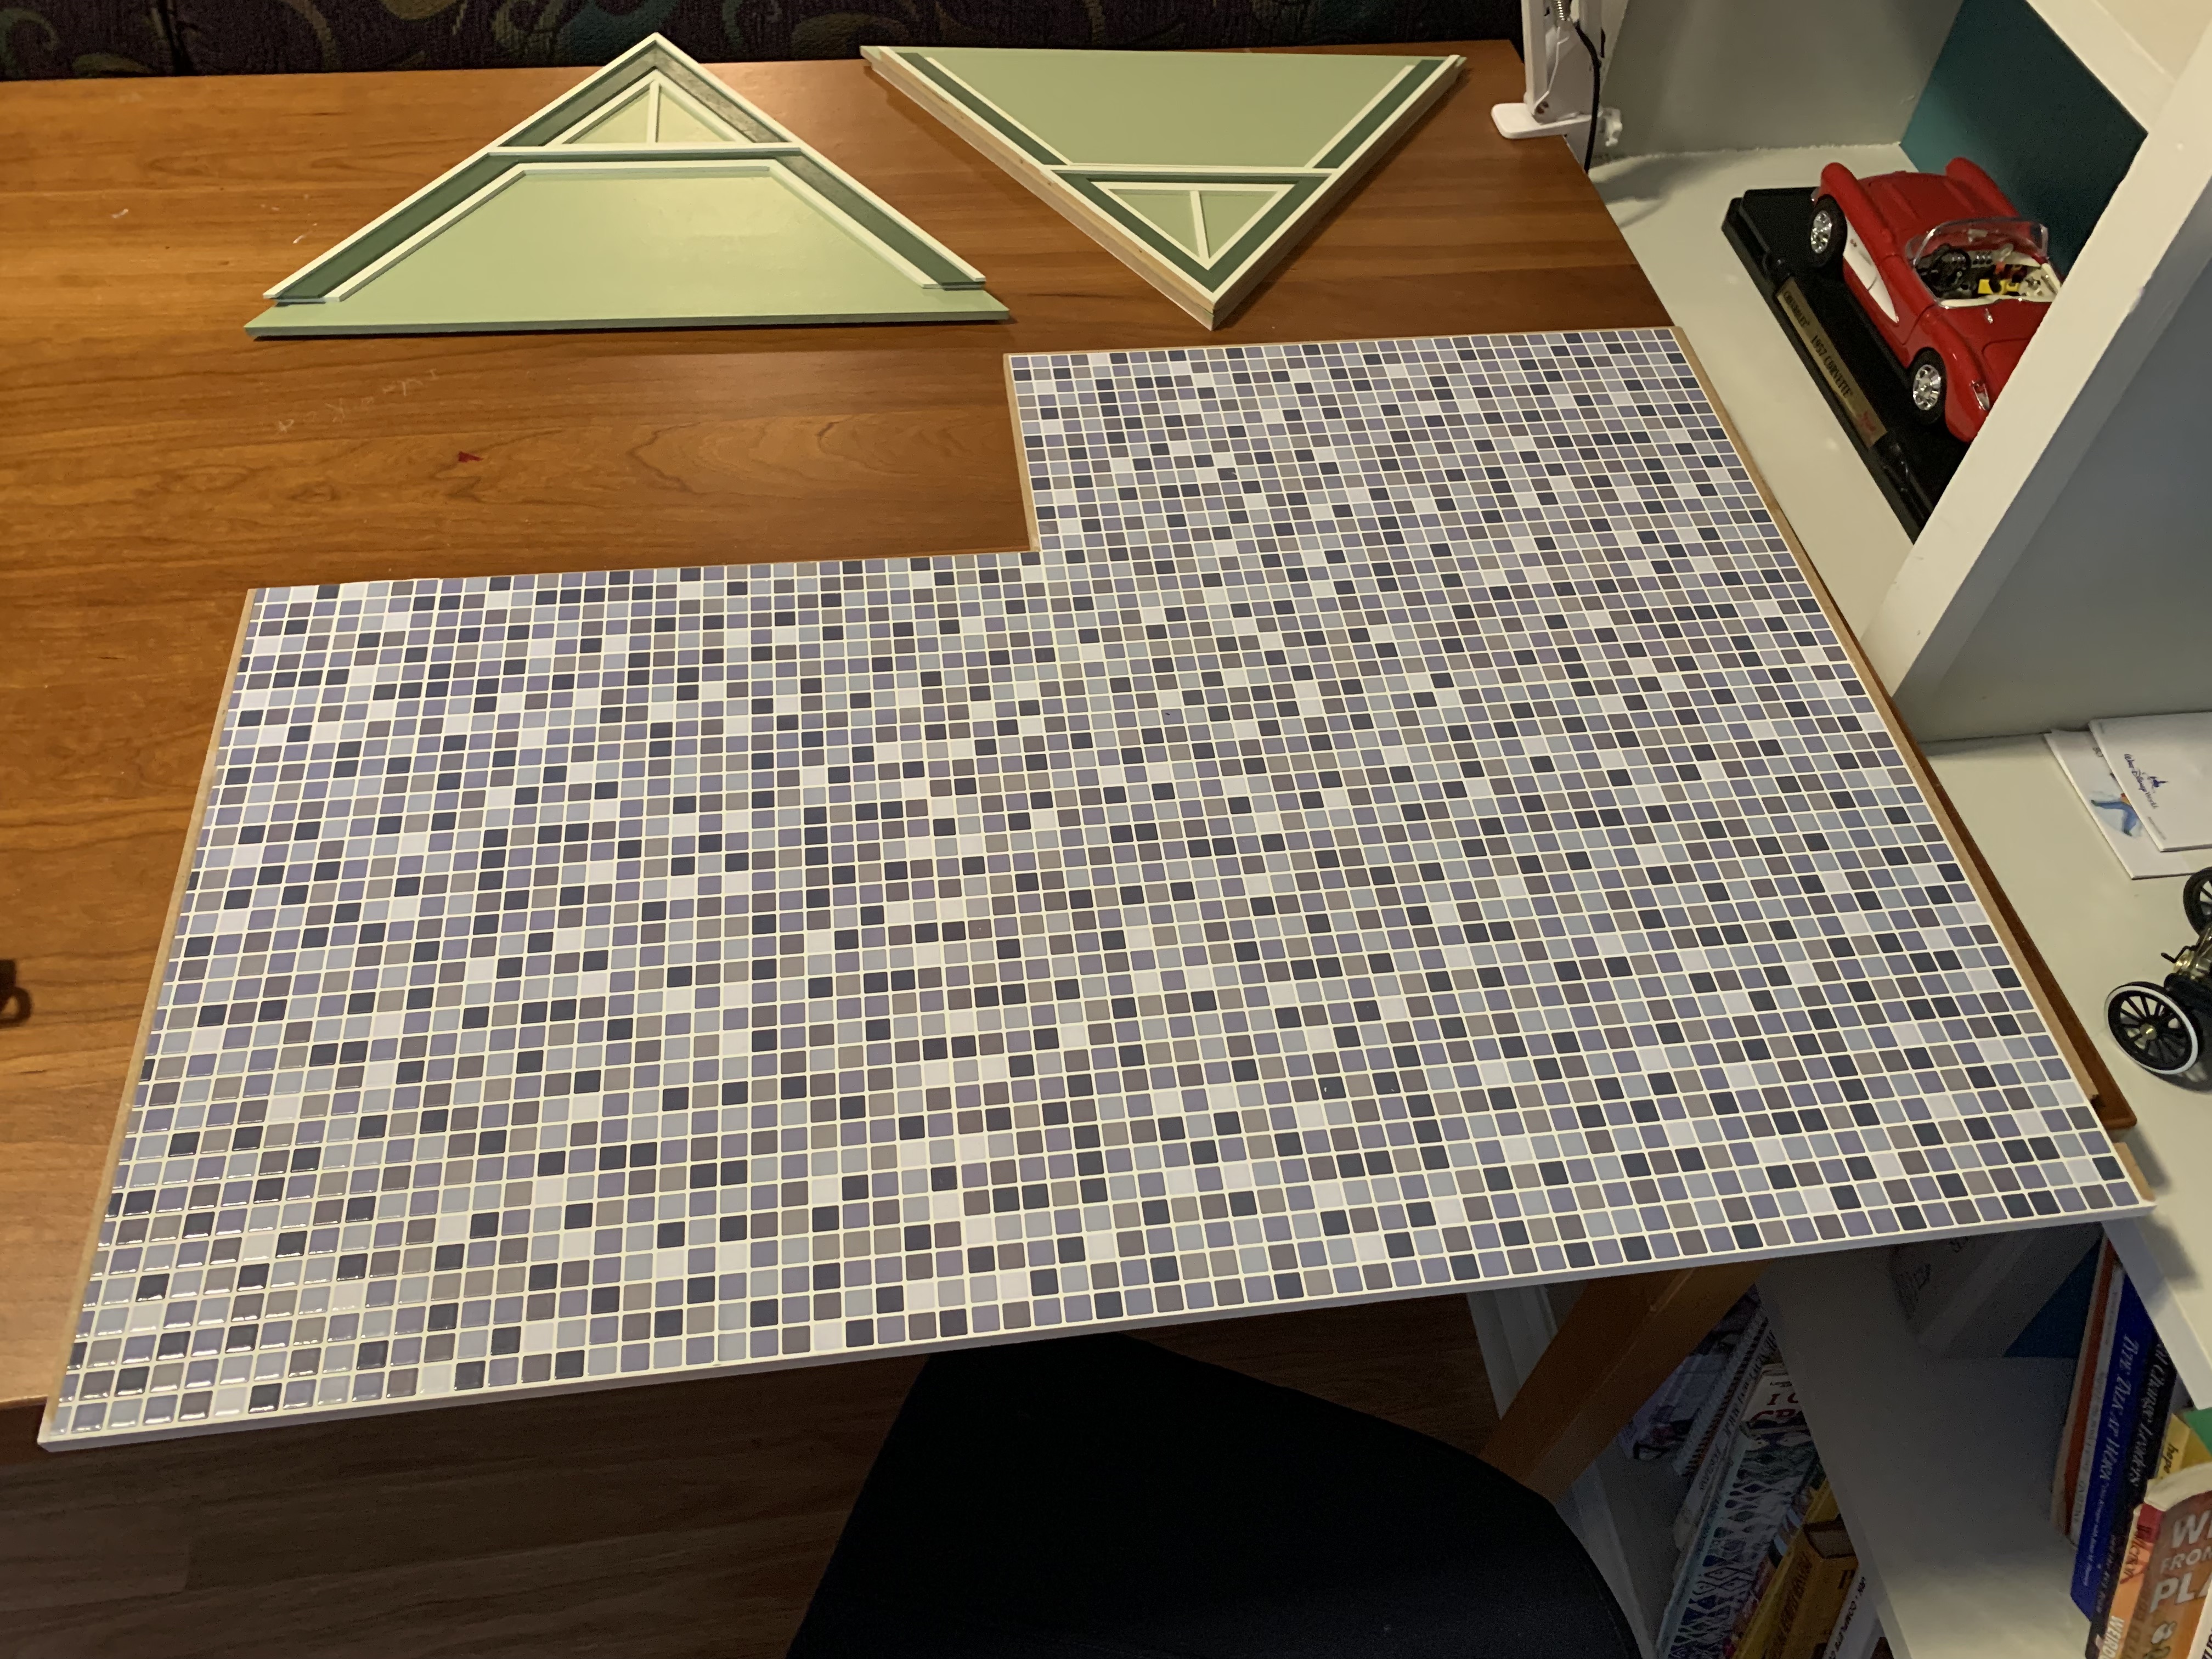
It just so happened that my sisters were driving back through town from North Carolina and stopped to spend the night with us. We decided to go look at our local hobby store where I have purchased most of the doll houses and doll house furniture. There my sister found a sheet of self-adhesive tile.

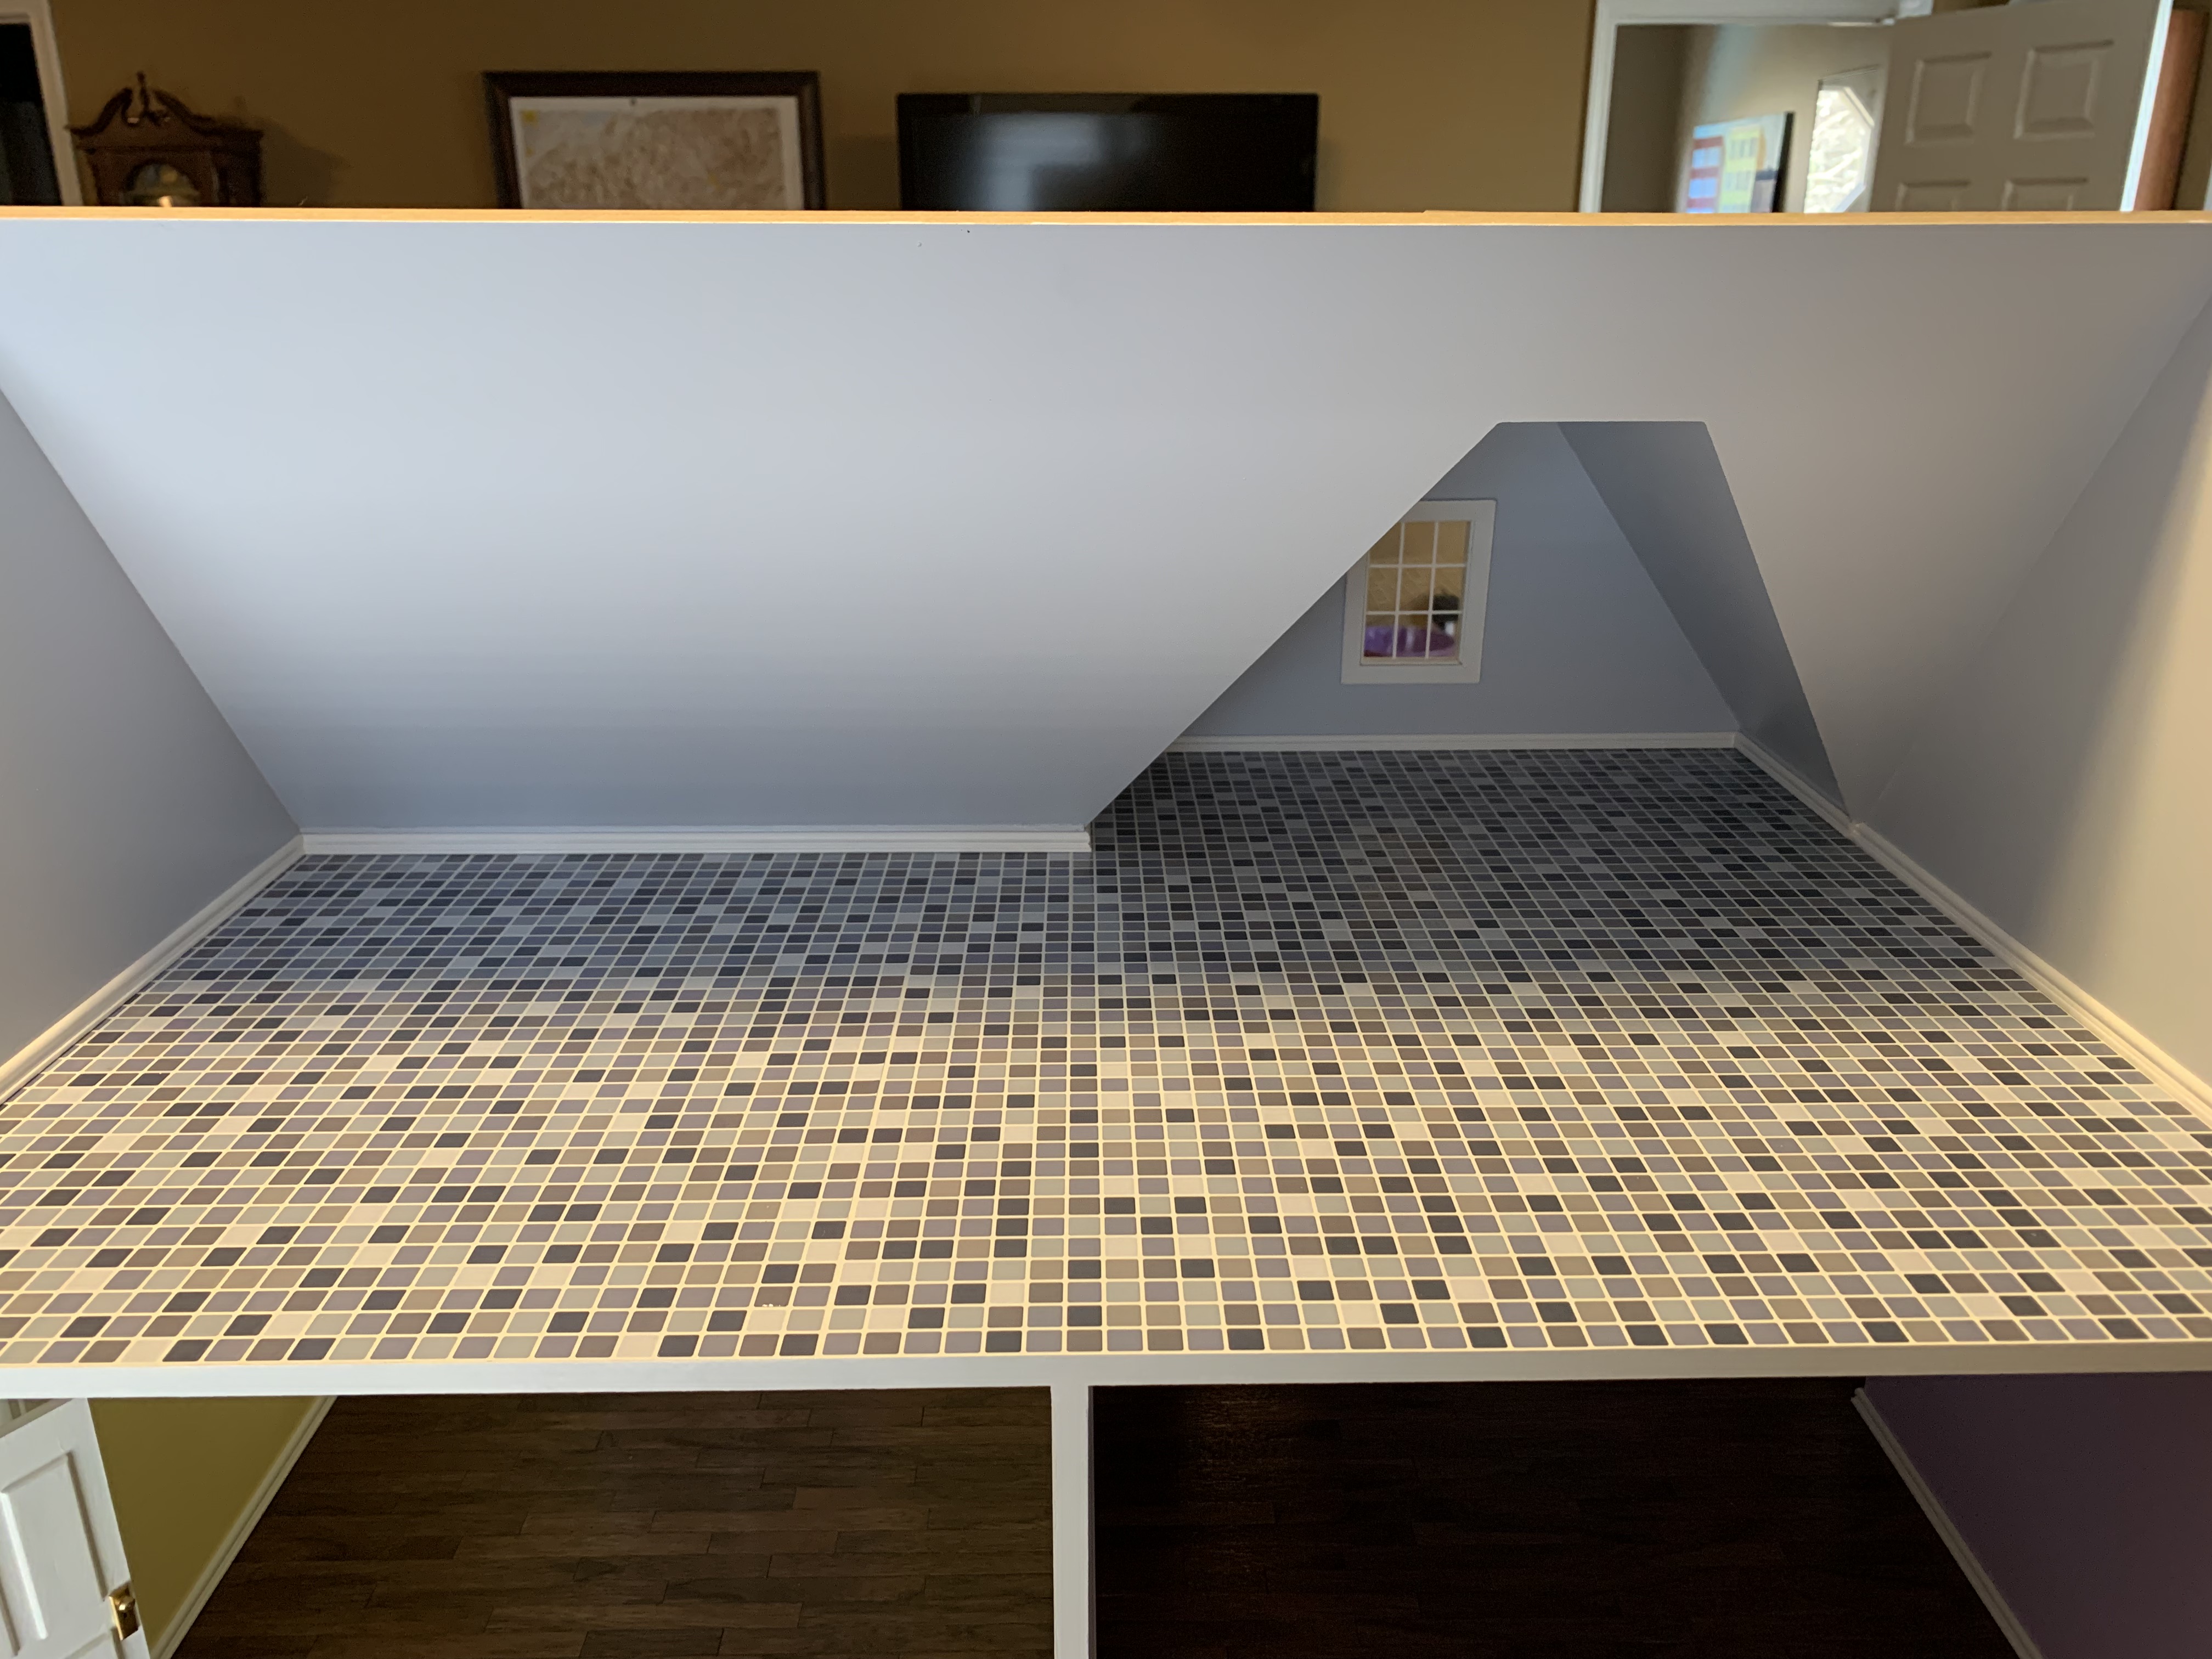
She thought this would be perfect and when I did the math, I calculated we would only need three sheets. At $5 a sheet, this seemed like an easy and cost-effective solution. Once home, I proceeded to lay the flooring down, piece-by-piece. The adhesive thankfully was forgiving as some pieces I pulled back up and laid back down several times to get it properly lined up with the adjoining piece. Rolling it down with my brayer roller made it nice and smooth.
With the floor finished, my sister reconsidered white walls and asked if it was too late to change the wall color. I said no to which she then selected a light blue paint that matched the lightest colored tile and was light enough to serve as the ceiling color as well. I knew rerolling the walls and ceilings with the new paint would be easy except for one small item.
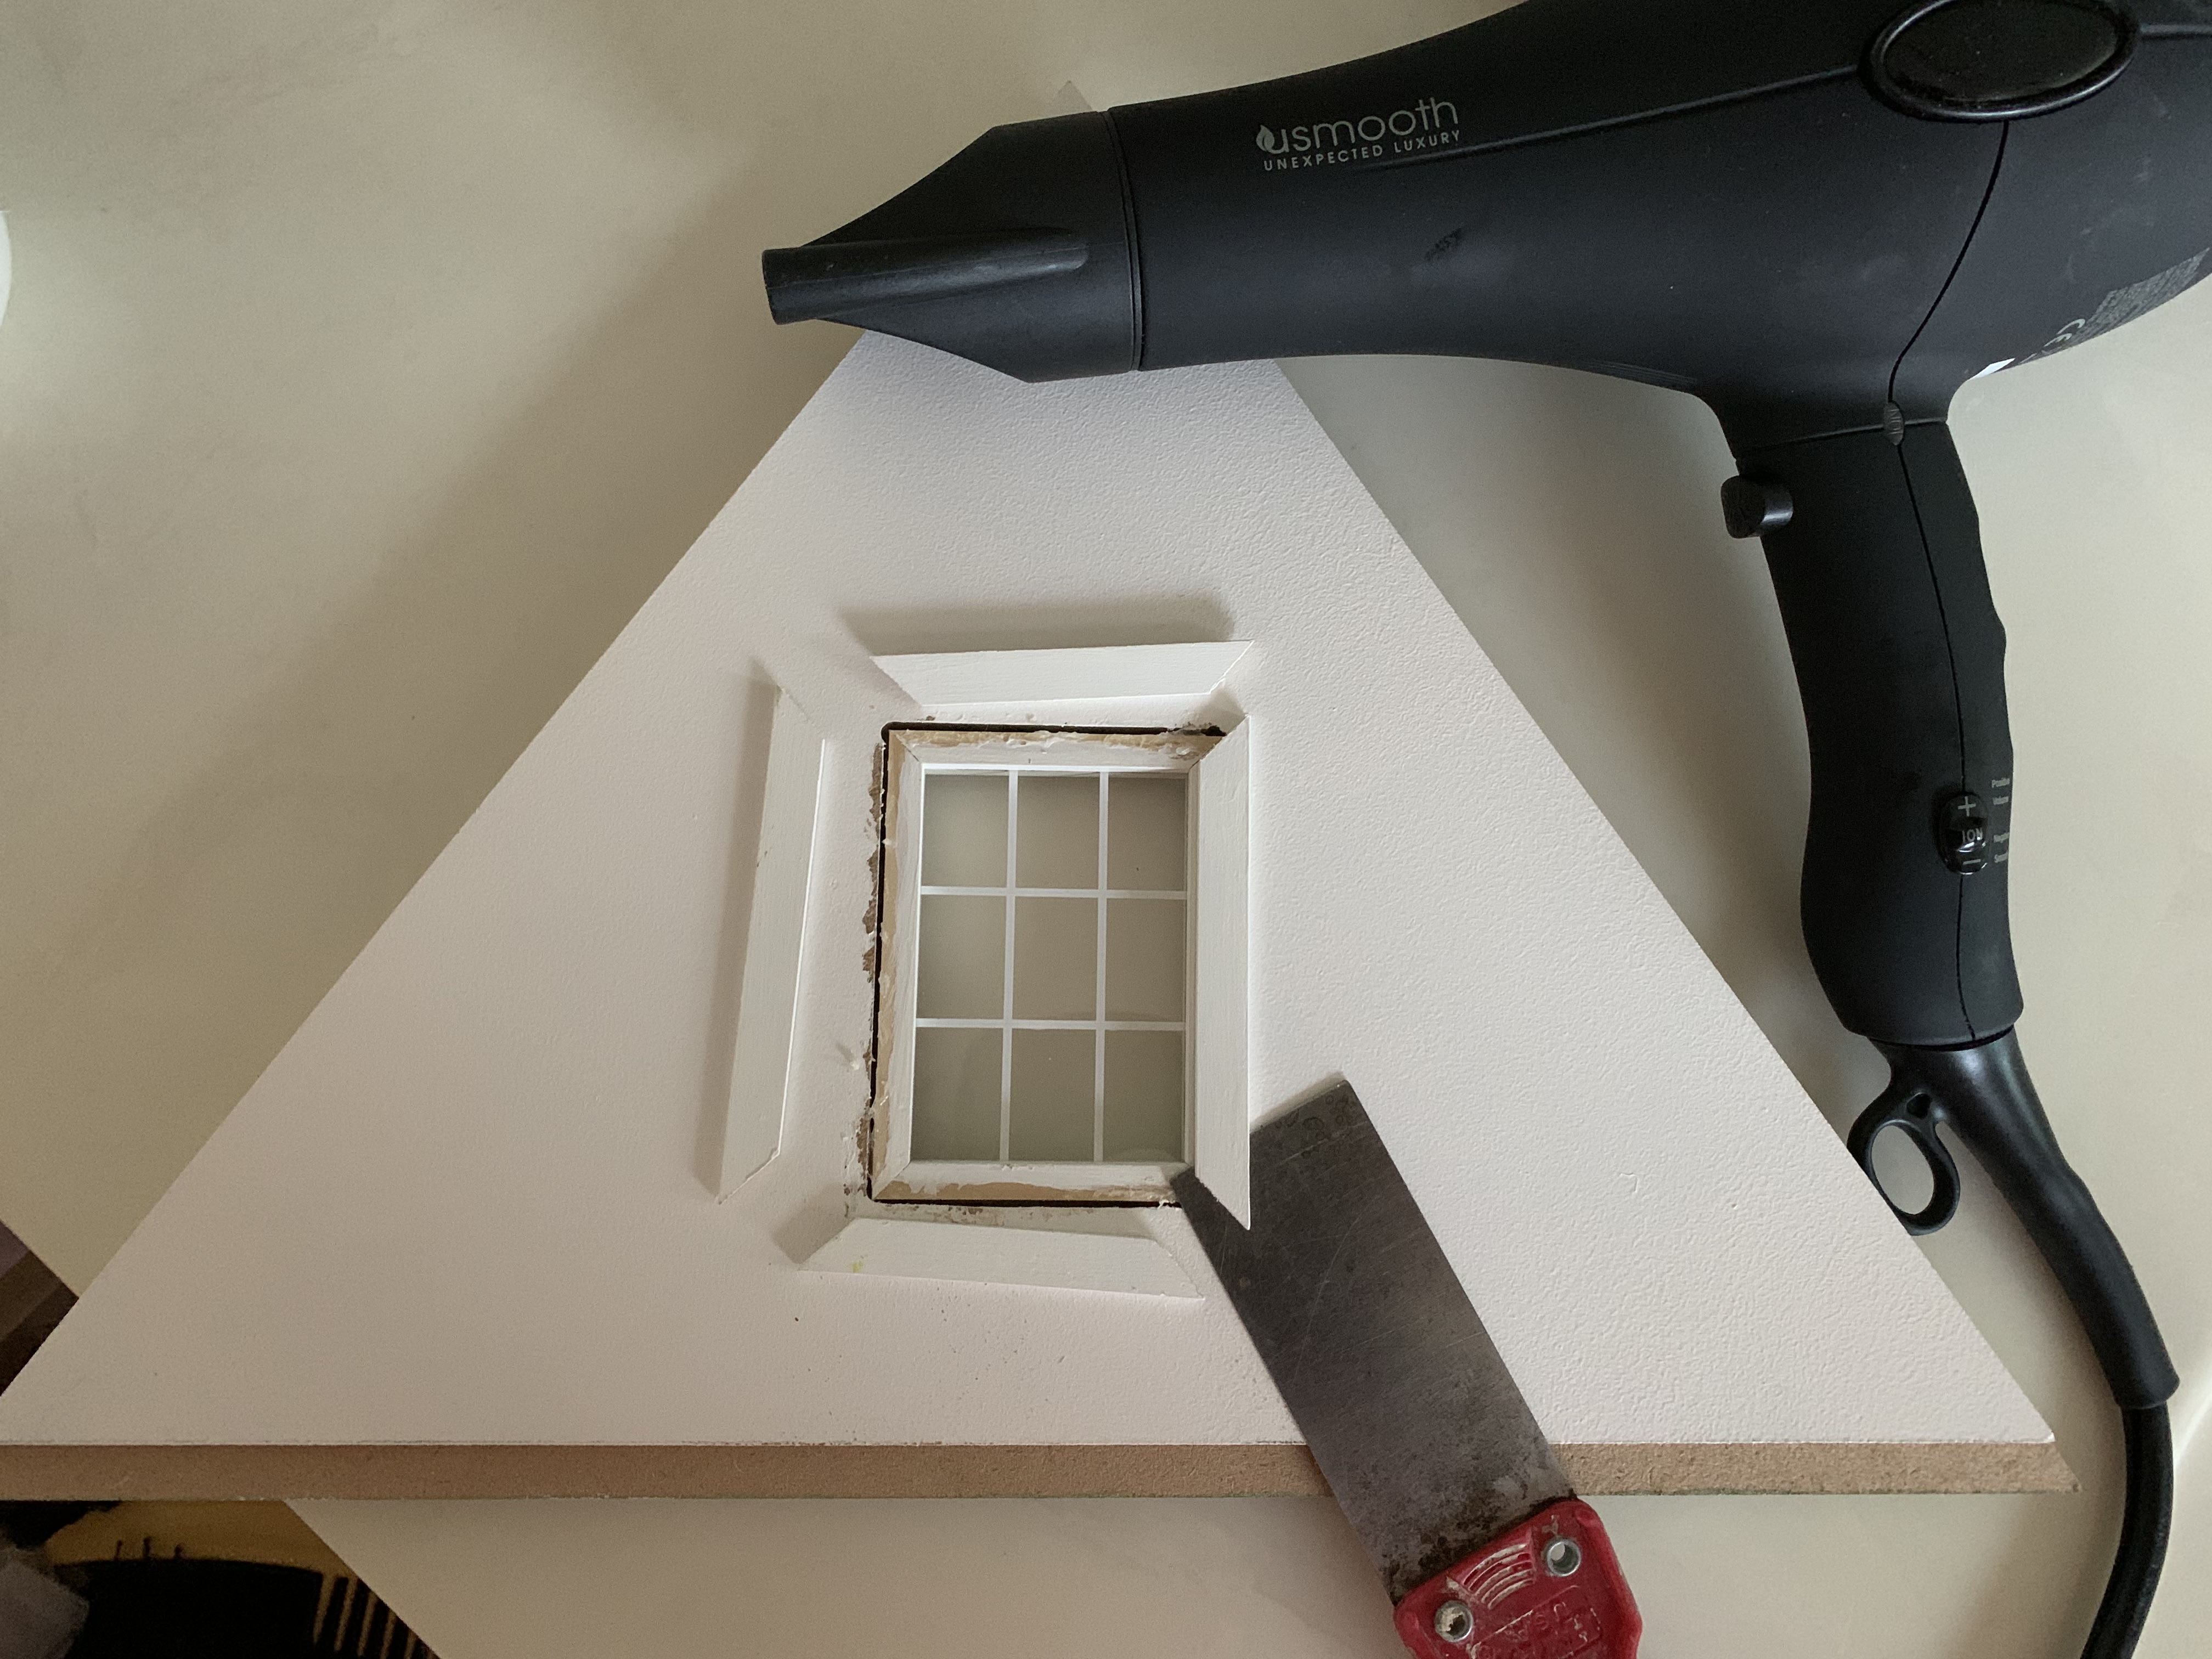
Thinking the walls were fully painted in their final color, I had already glued the interior window frame onto the gable wall. I figured I would have to mask off the window frame to prevent blue wall paint from getting on it. But then I remembered a video I had seen made by the kit manufacturer that showed how to separate previously glued pieces. With just a little heat from a hairdryer to soften the glue, I could then peel off the frame from the gable wall using a sharp putty knife without damaging or breaking them.
With the third-floor walls and ceilings repainted and the interior window frame glued back…

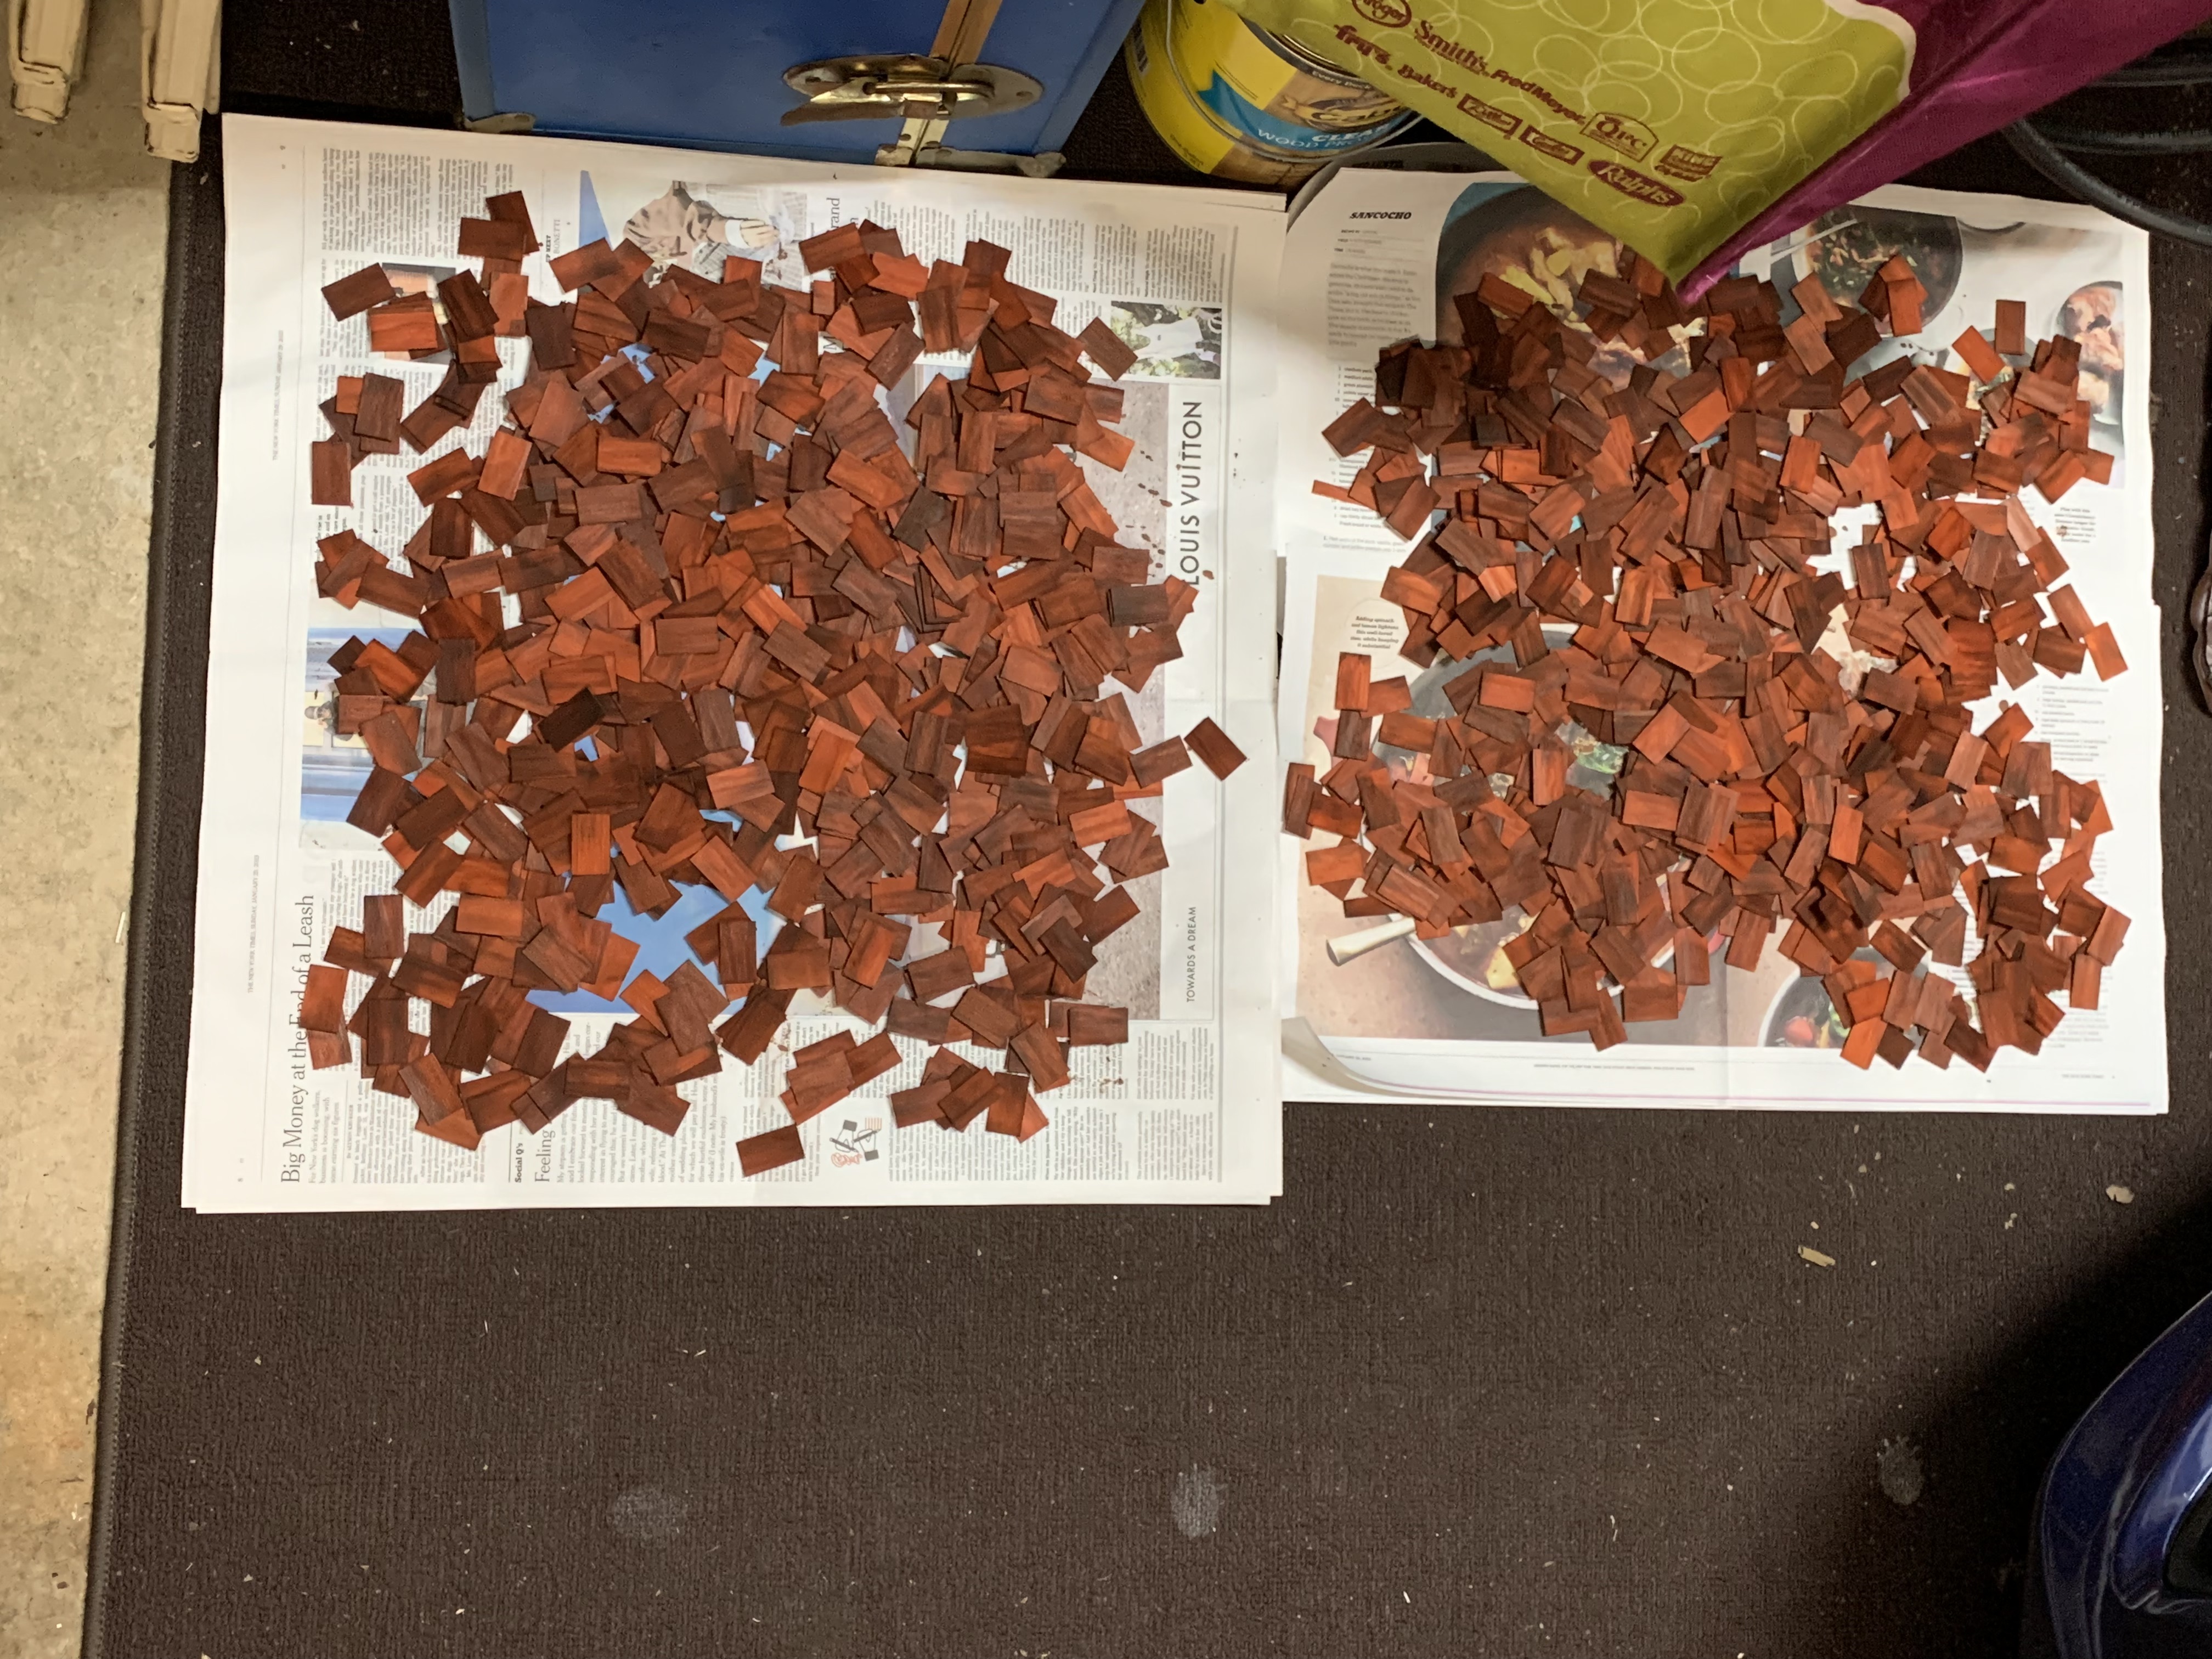
…I was ready to glue the third floor down (a step I did not complete on the last doll house) and proceeded to dye the shingles which I did with the same reddish-brown dye.
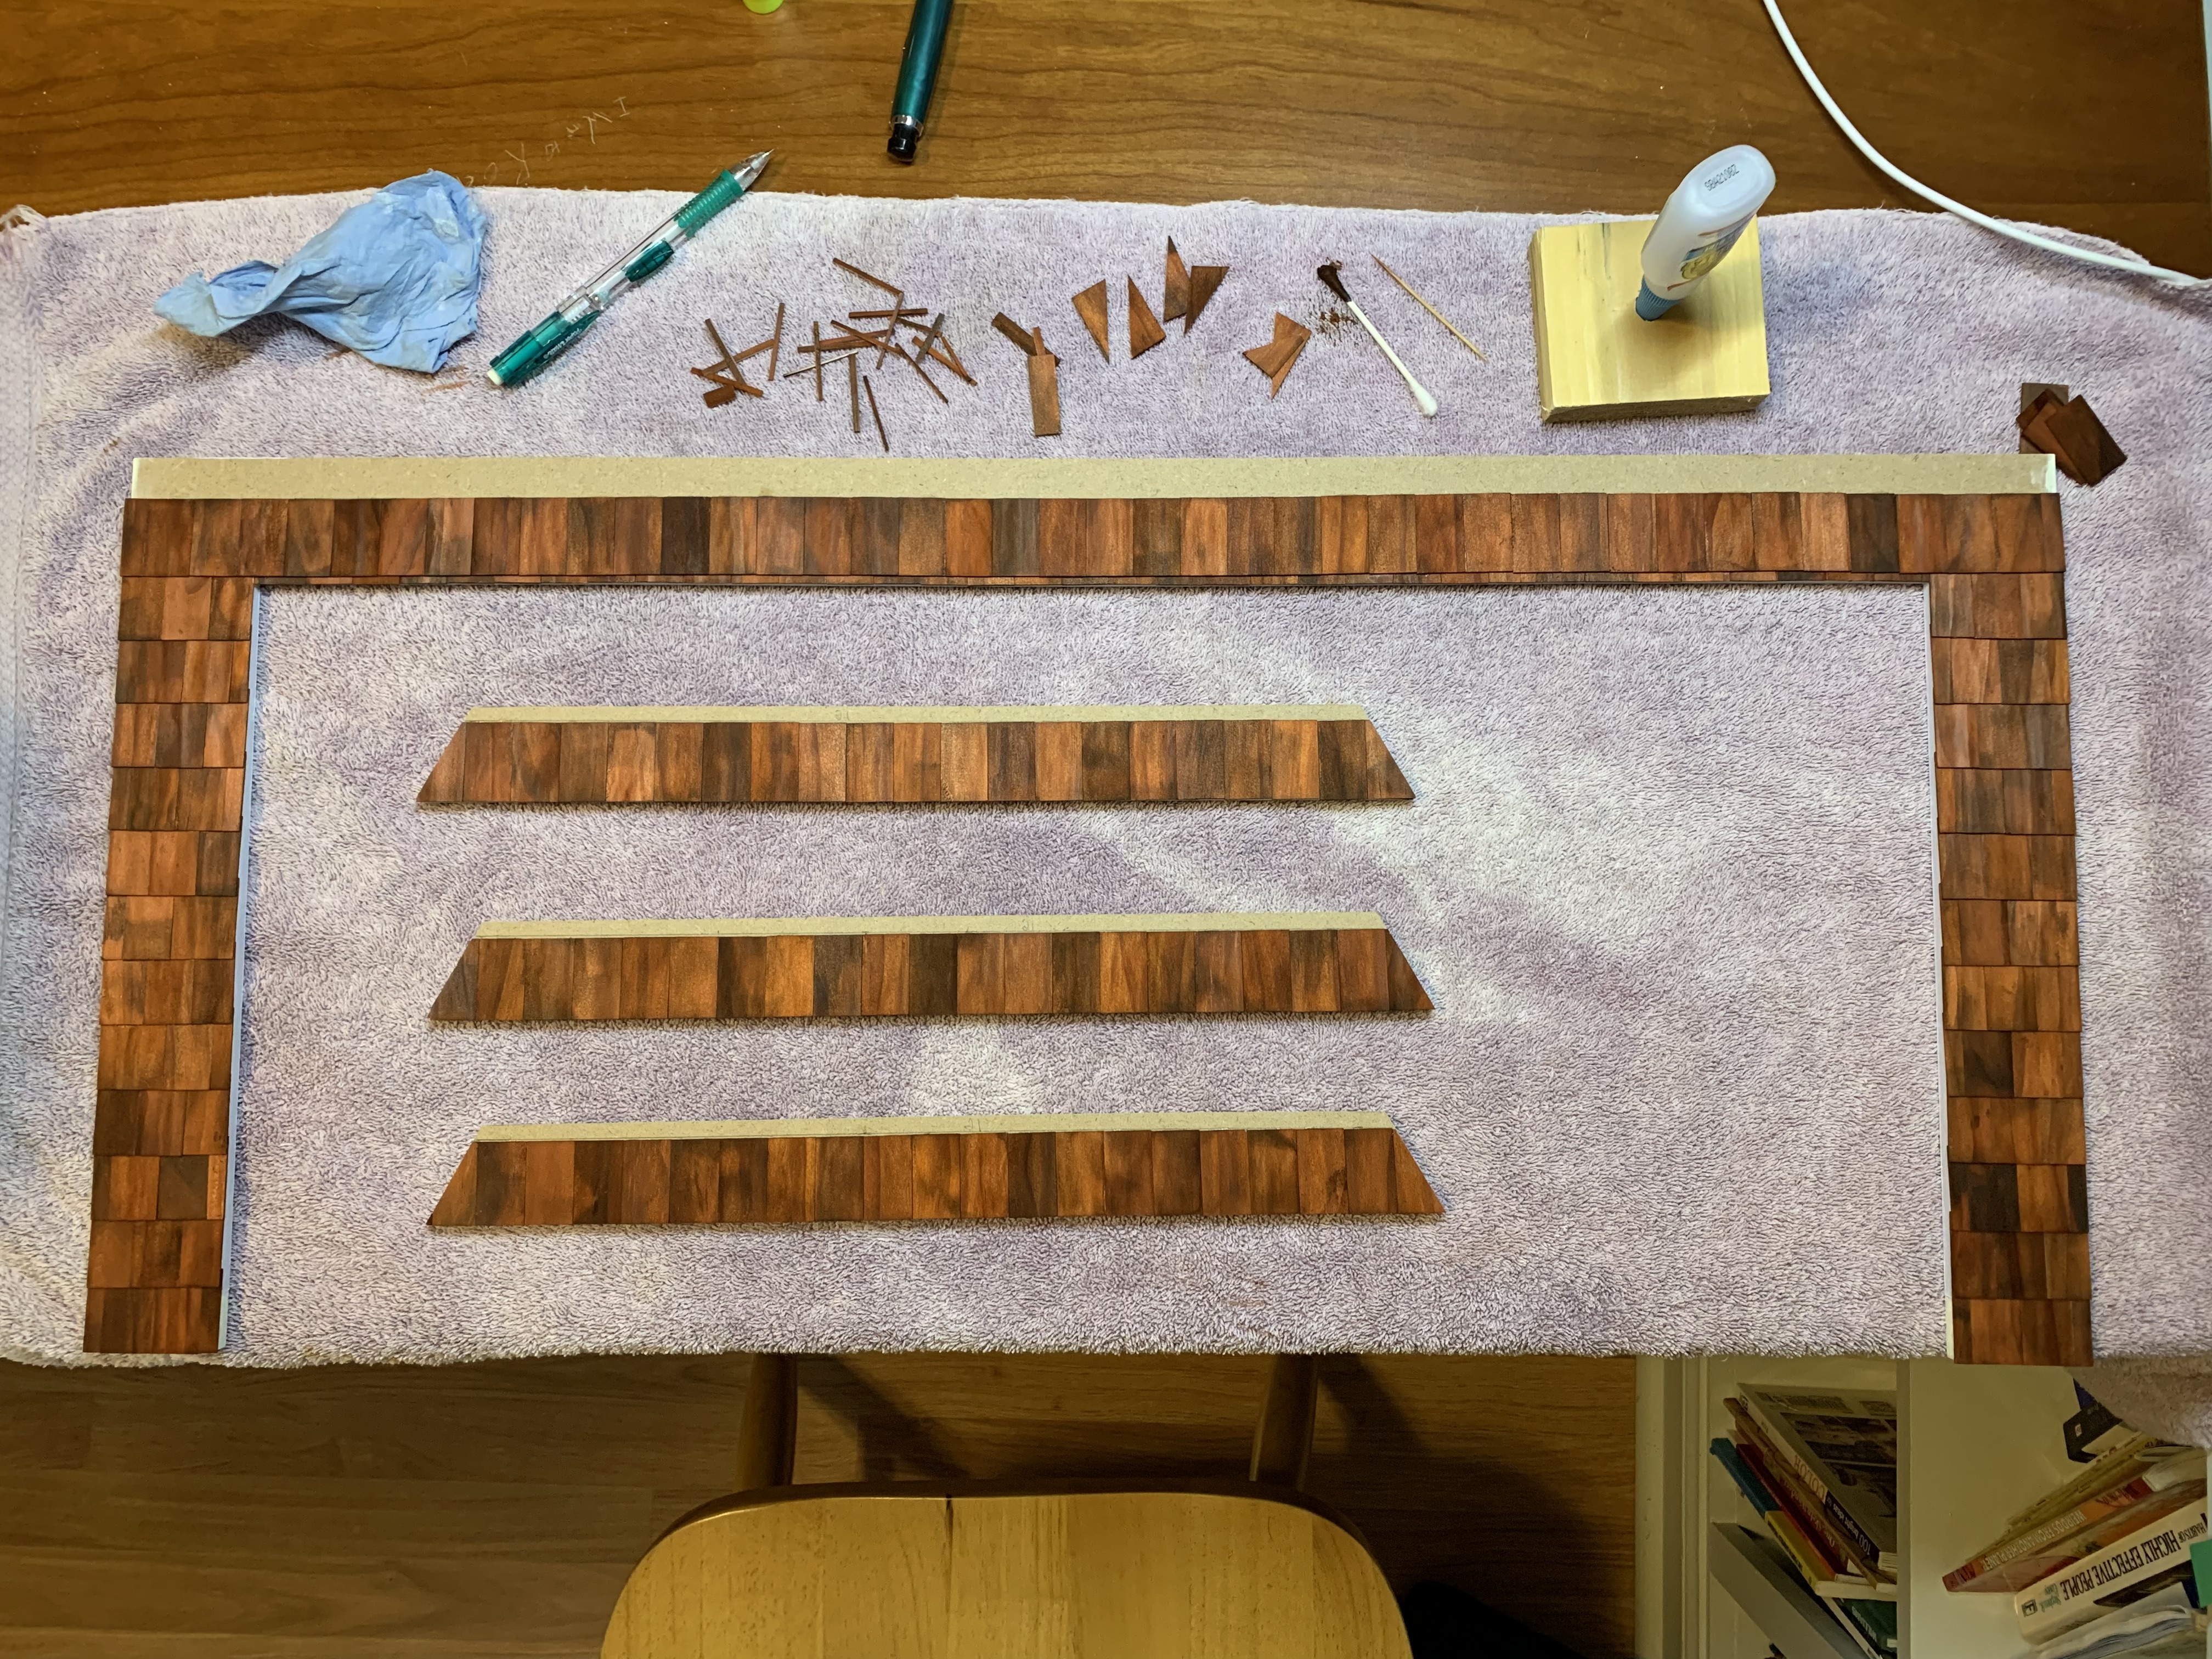
And as before, I chose to glue the shingles to the rear-side roof…

…and the false eaves on my flat work surface thus making the process a breeze as I was not having to fight gravity while the glue dried.
At this point, I began in earnest to perform steps that I had not completed on the last doll house. I first glued the third-floor walls to the floor and then glued the front and gable roof sections to these walls. On the last doll house, I had previously taped the roof in place several times to get a preview of what the finished house would look like but for the first time on this doll house, everything was glued in place.

I next put down baseboards on the third floor, after first gluing in place some triangular balsa strips along the pitched underside of the roof so that I would have a 90-degree angle with the floor upon which to glue the baseboards.
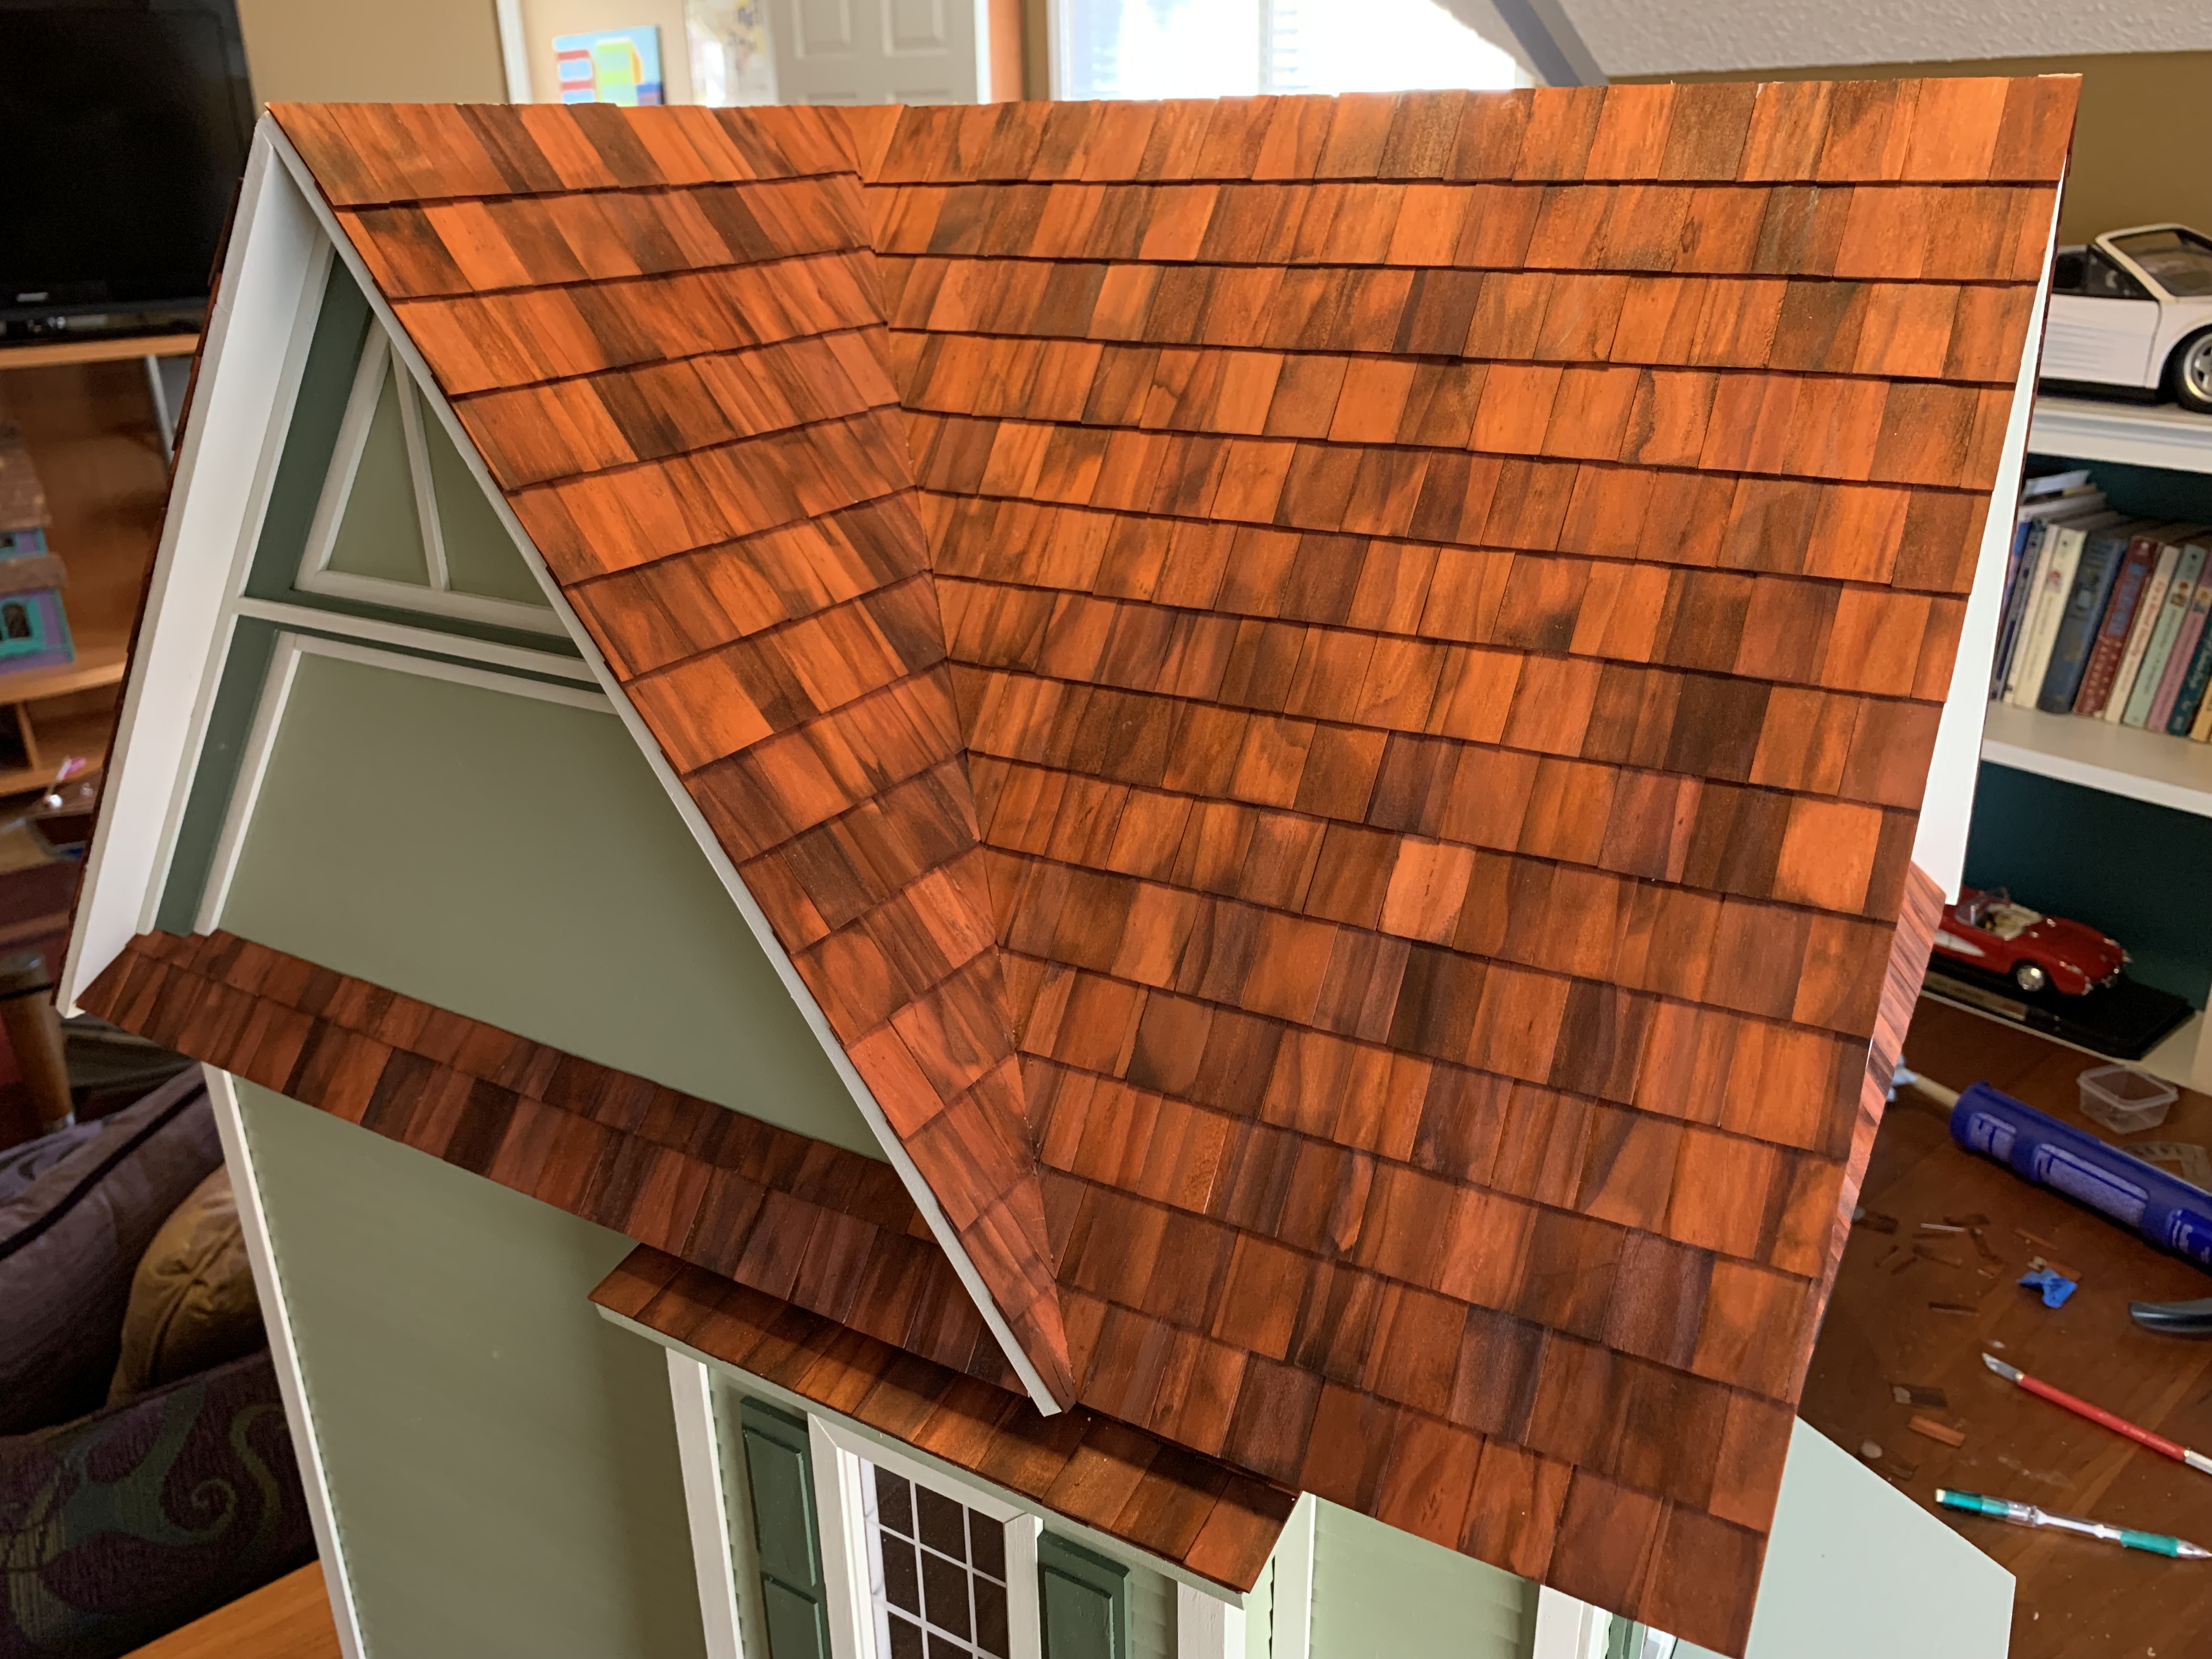
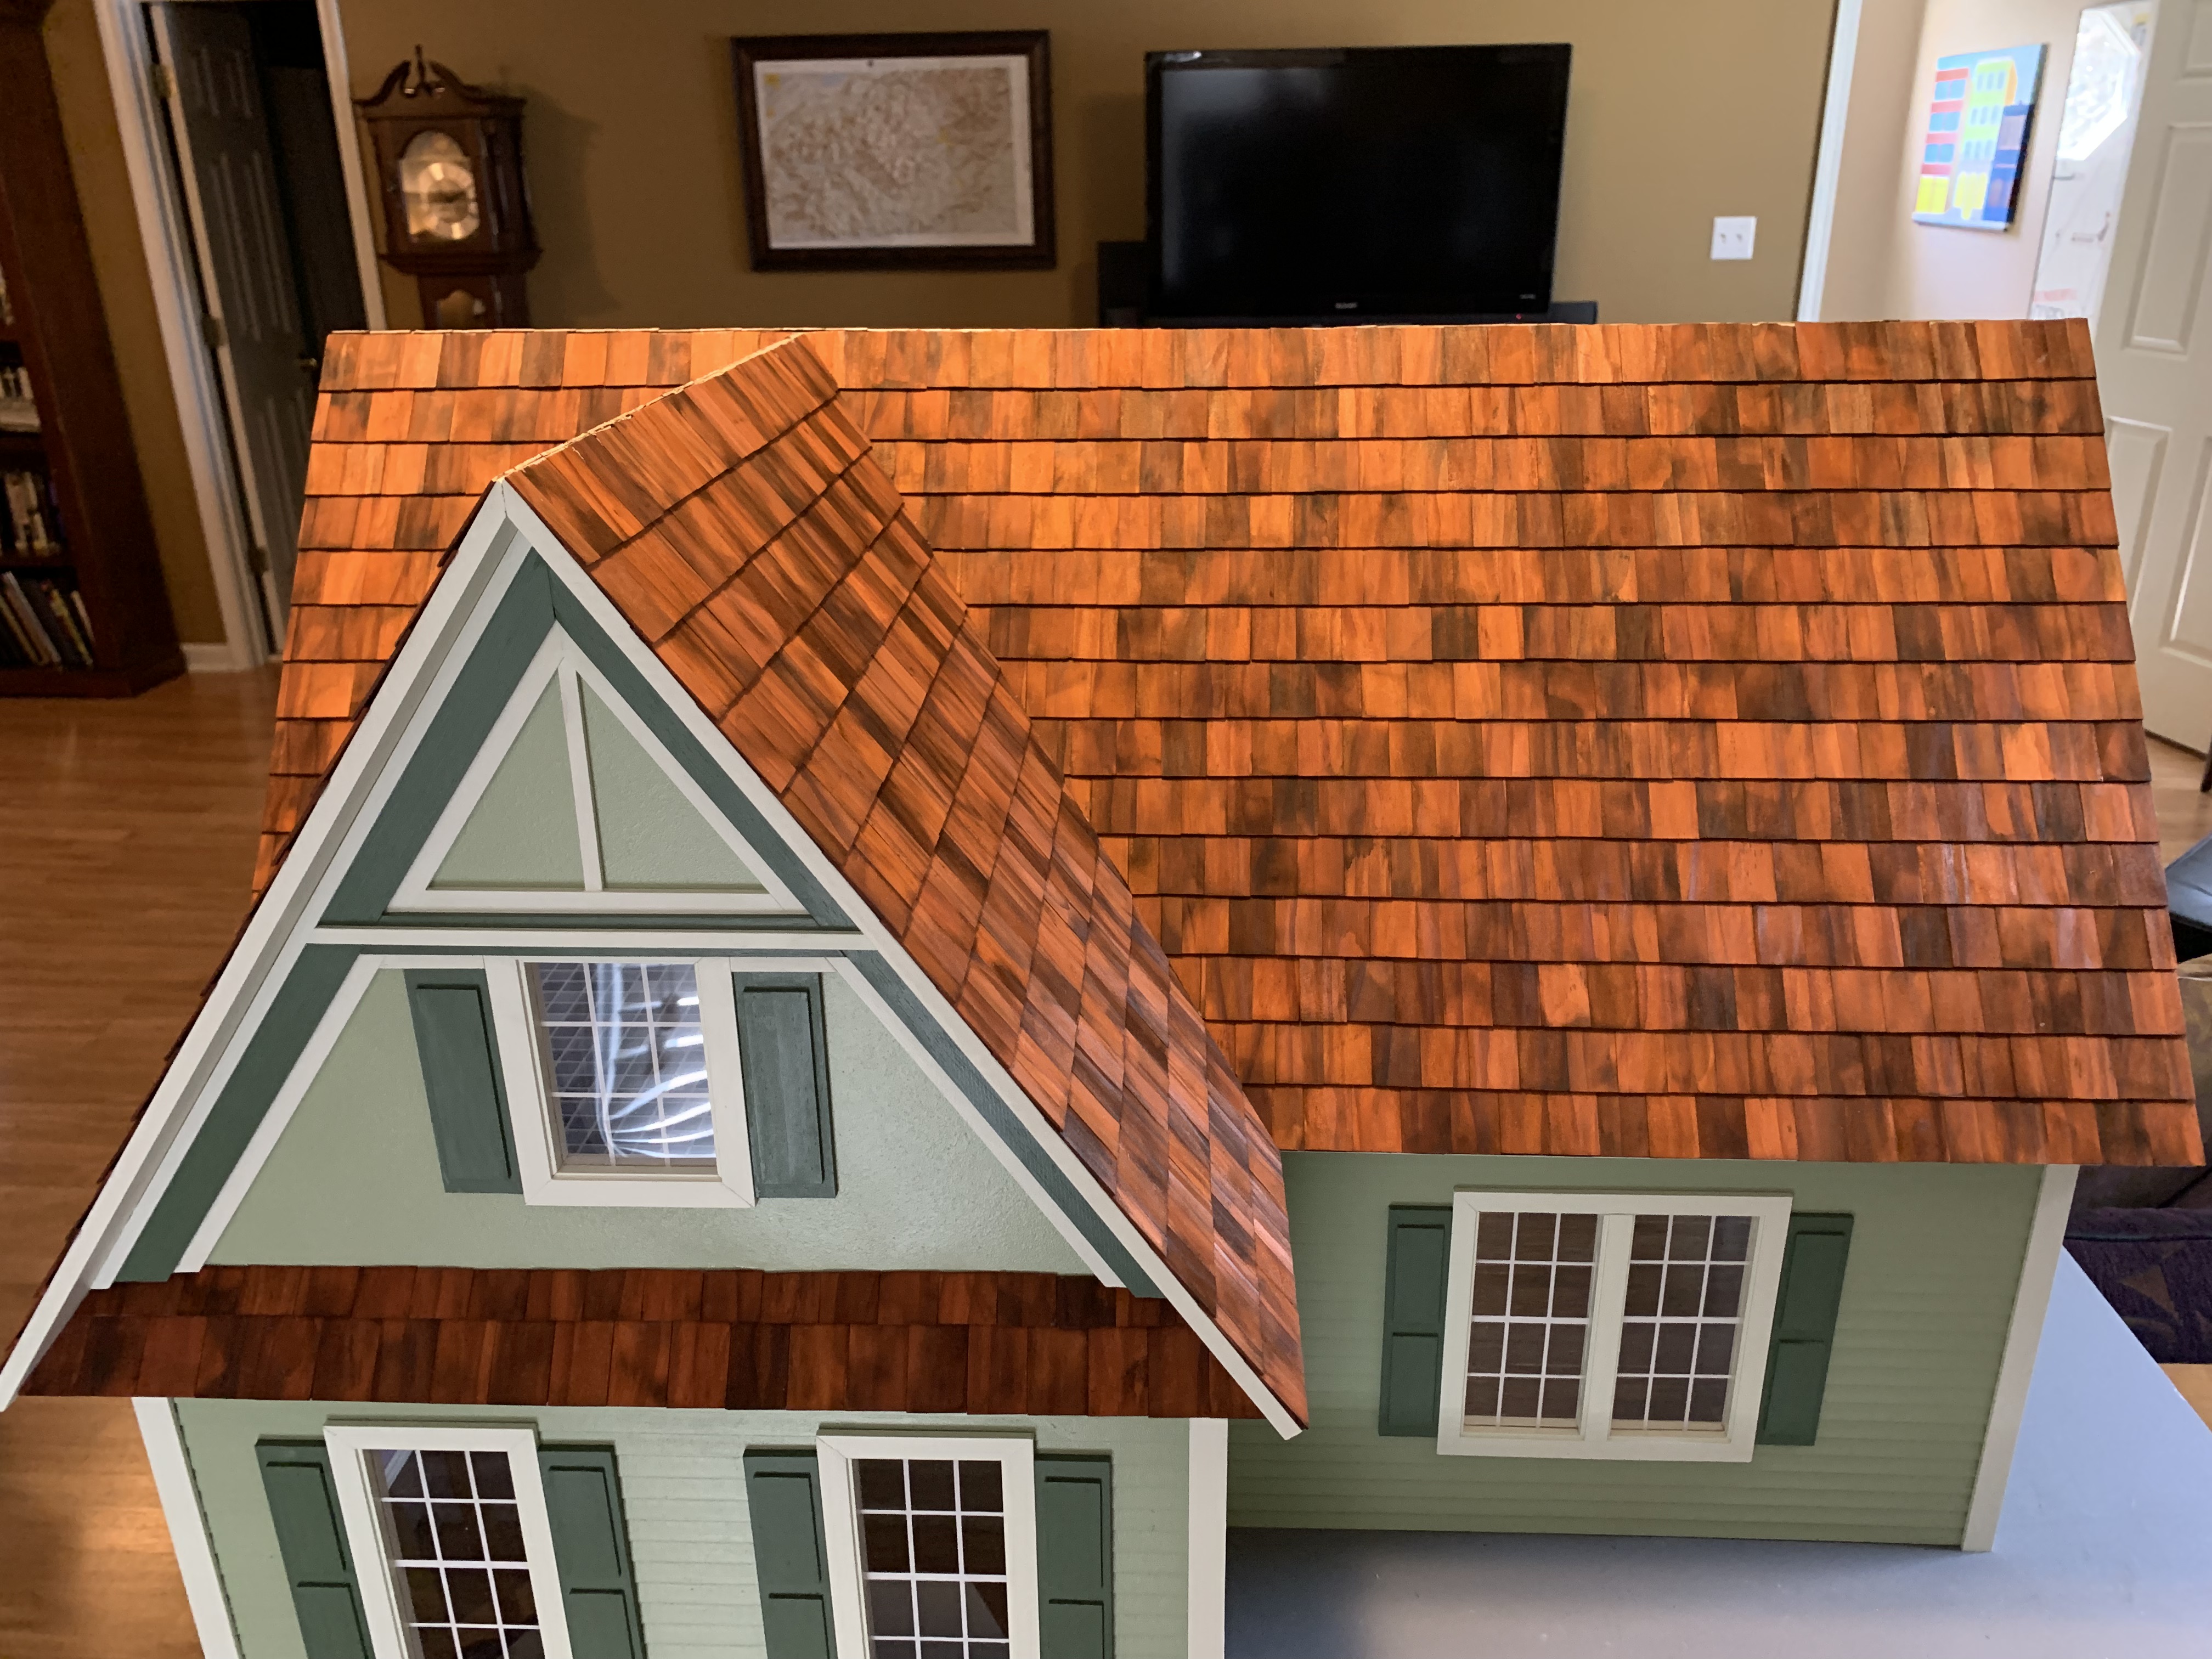
With the third floor interior complete, I began in earnest to shingle. One difference between this doll house and the ones I had previously built was that the gable front created a valley where the roof sections met. According to the instructions, here it was necessary to cut and glue triangular pairs of shingles, the left and rights side each with a different angle.

With those in place, I could then shingle both sides of the roof, working from the roof edges back towards the valleys.
I then repeated the process for the right side of the front roof.
The last shingling step was to add a “Boston Lap” to the apex of the roof. The instructions indicated that a pair of shingles should be placed longitudinally on either side of the peak to form an inverted “V.” However, a whole shingle would not maintain the same 1 inch “reveal” of the other shingles…
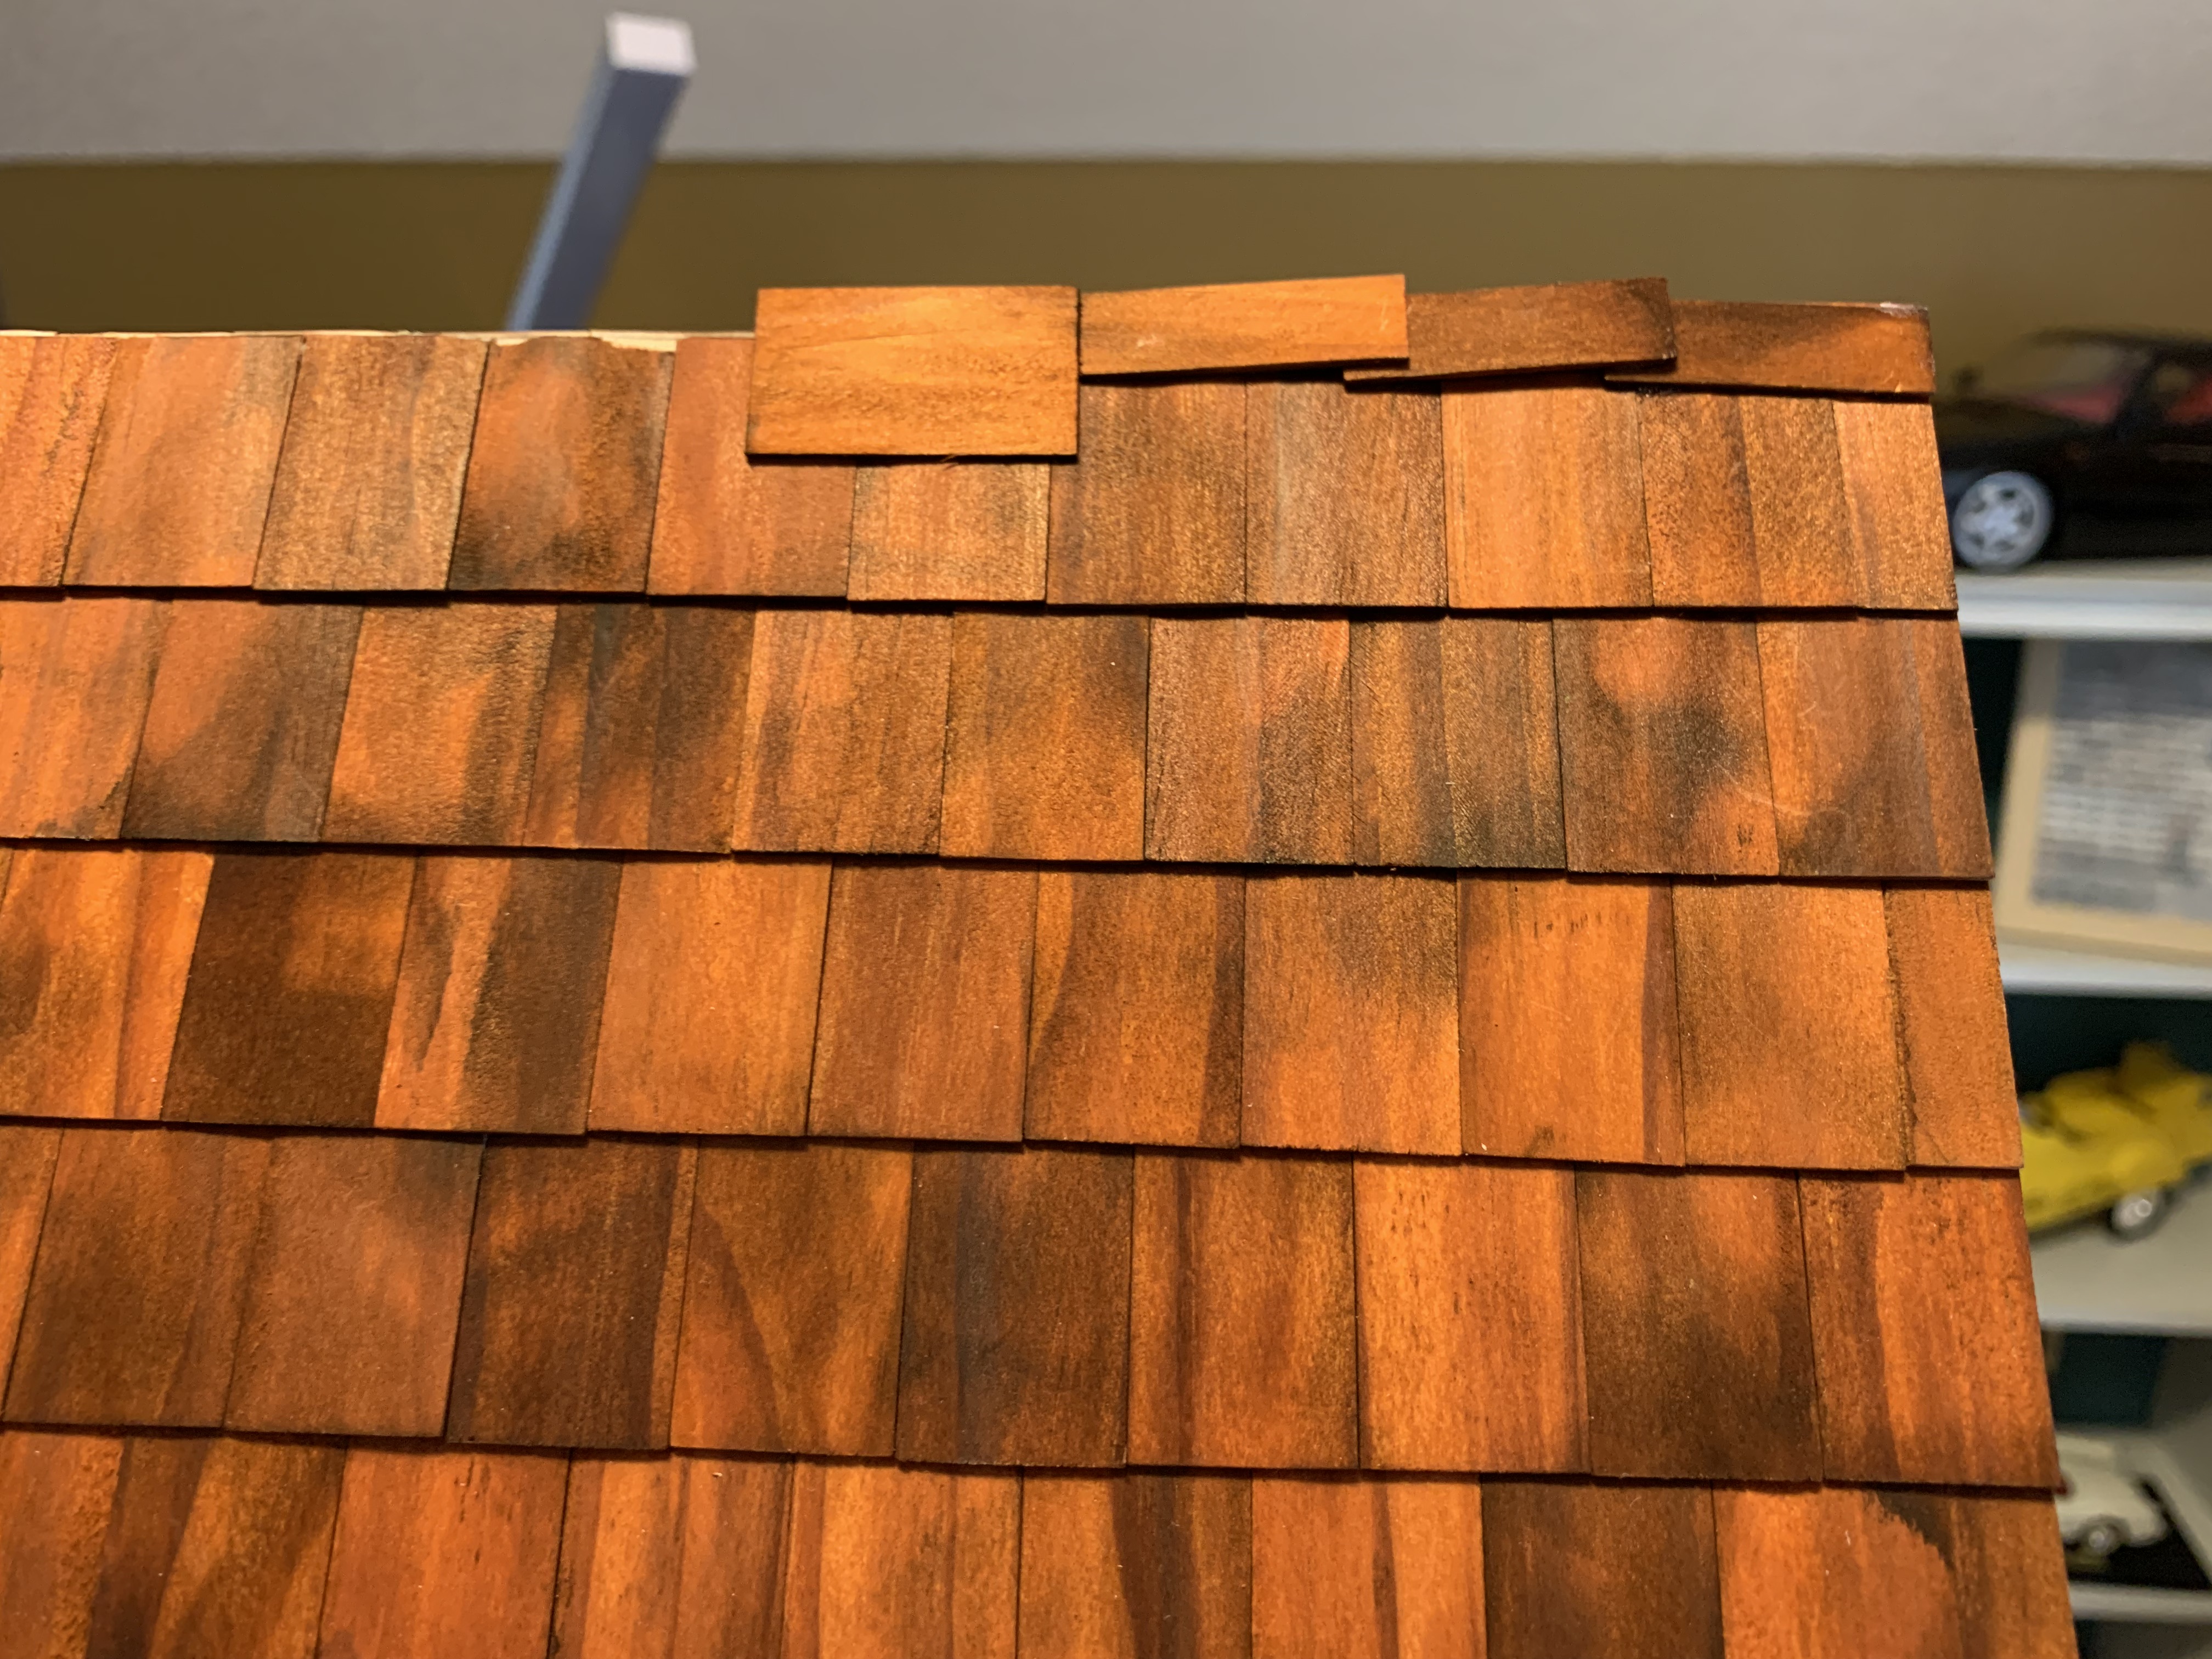
… so instead, I cut shingles in half to keep the same “reveal” …
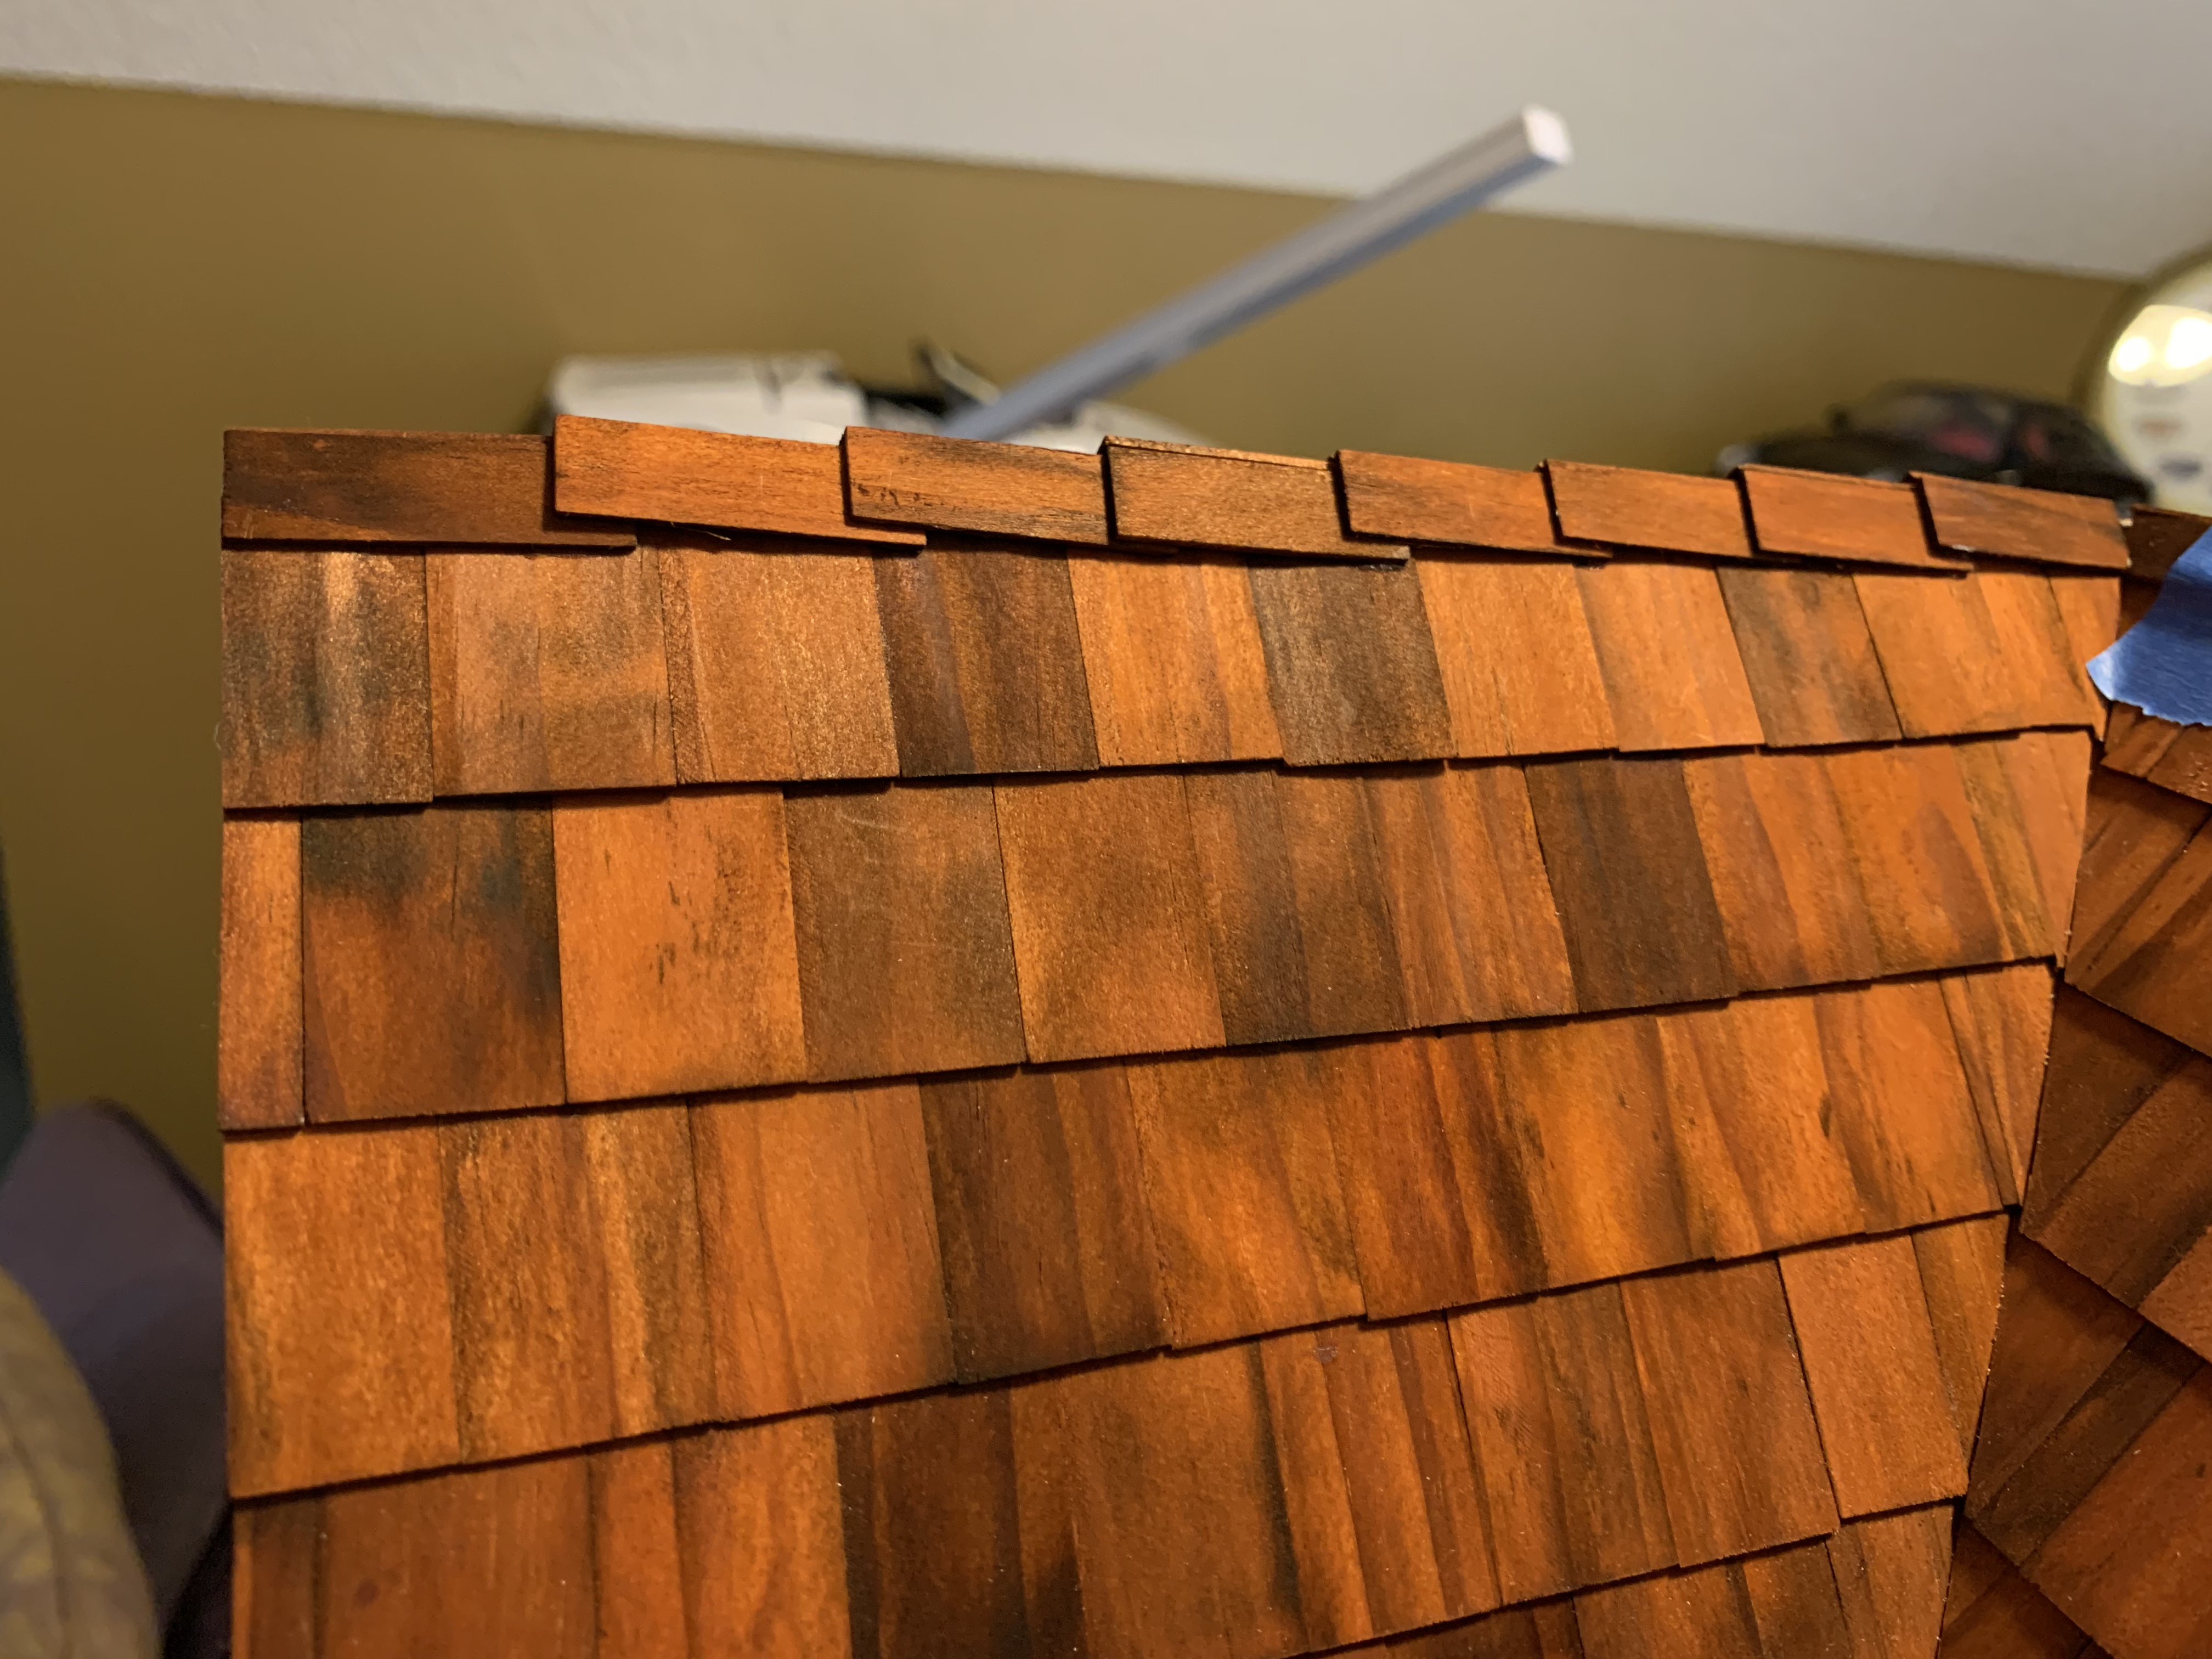
…finishing the entire roof in this fashion.
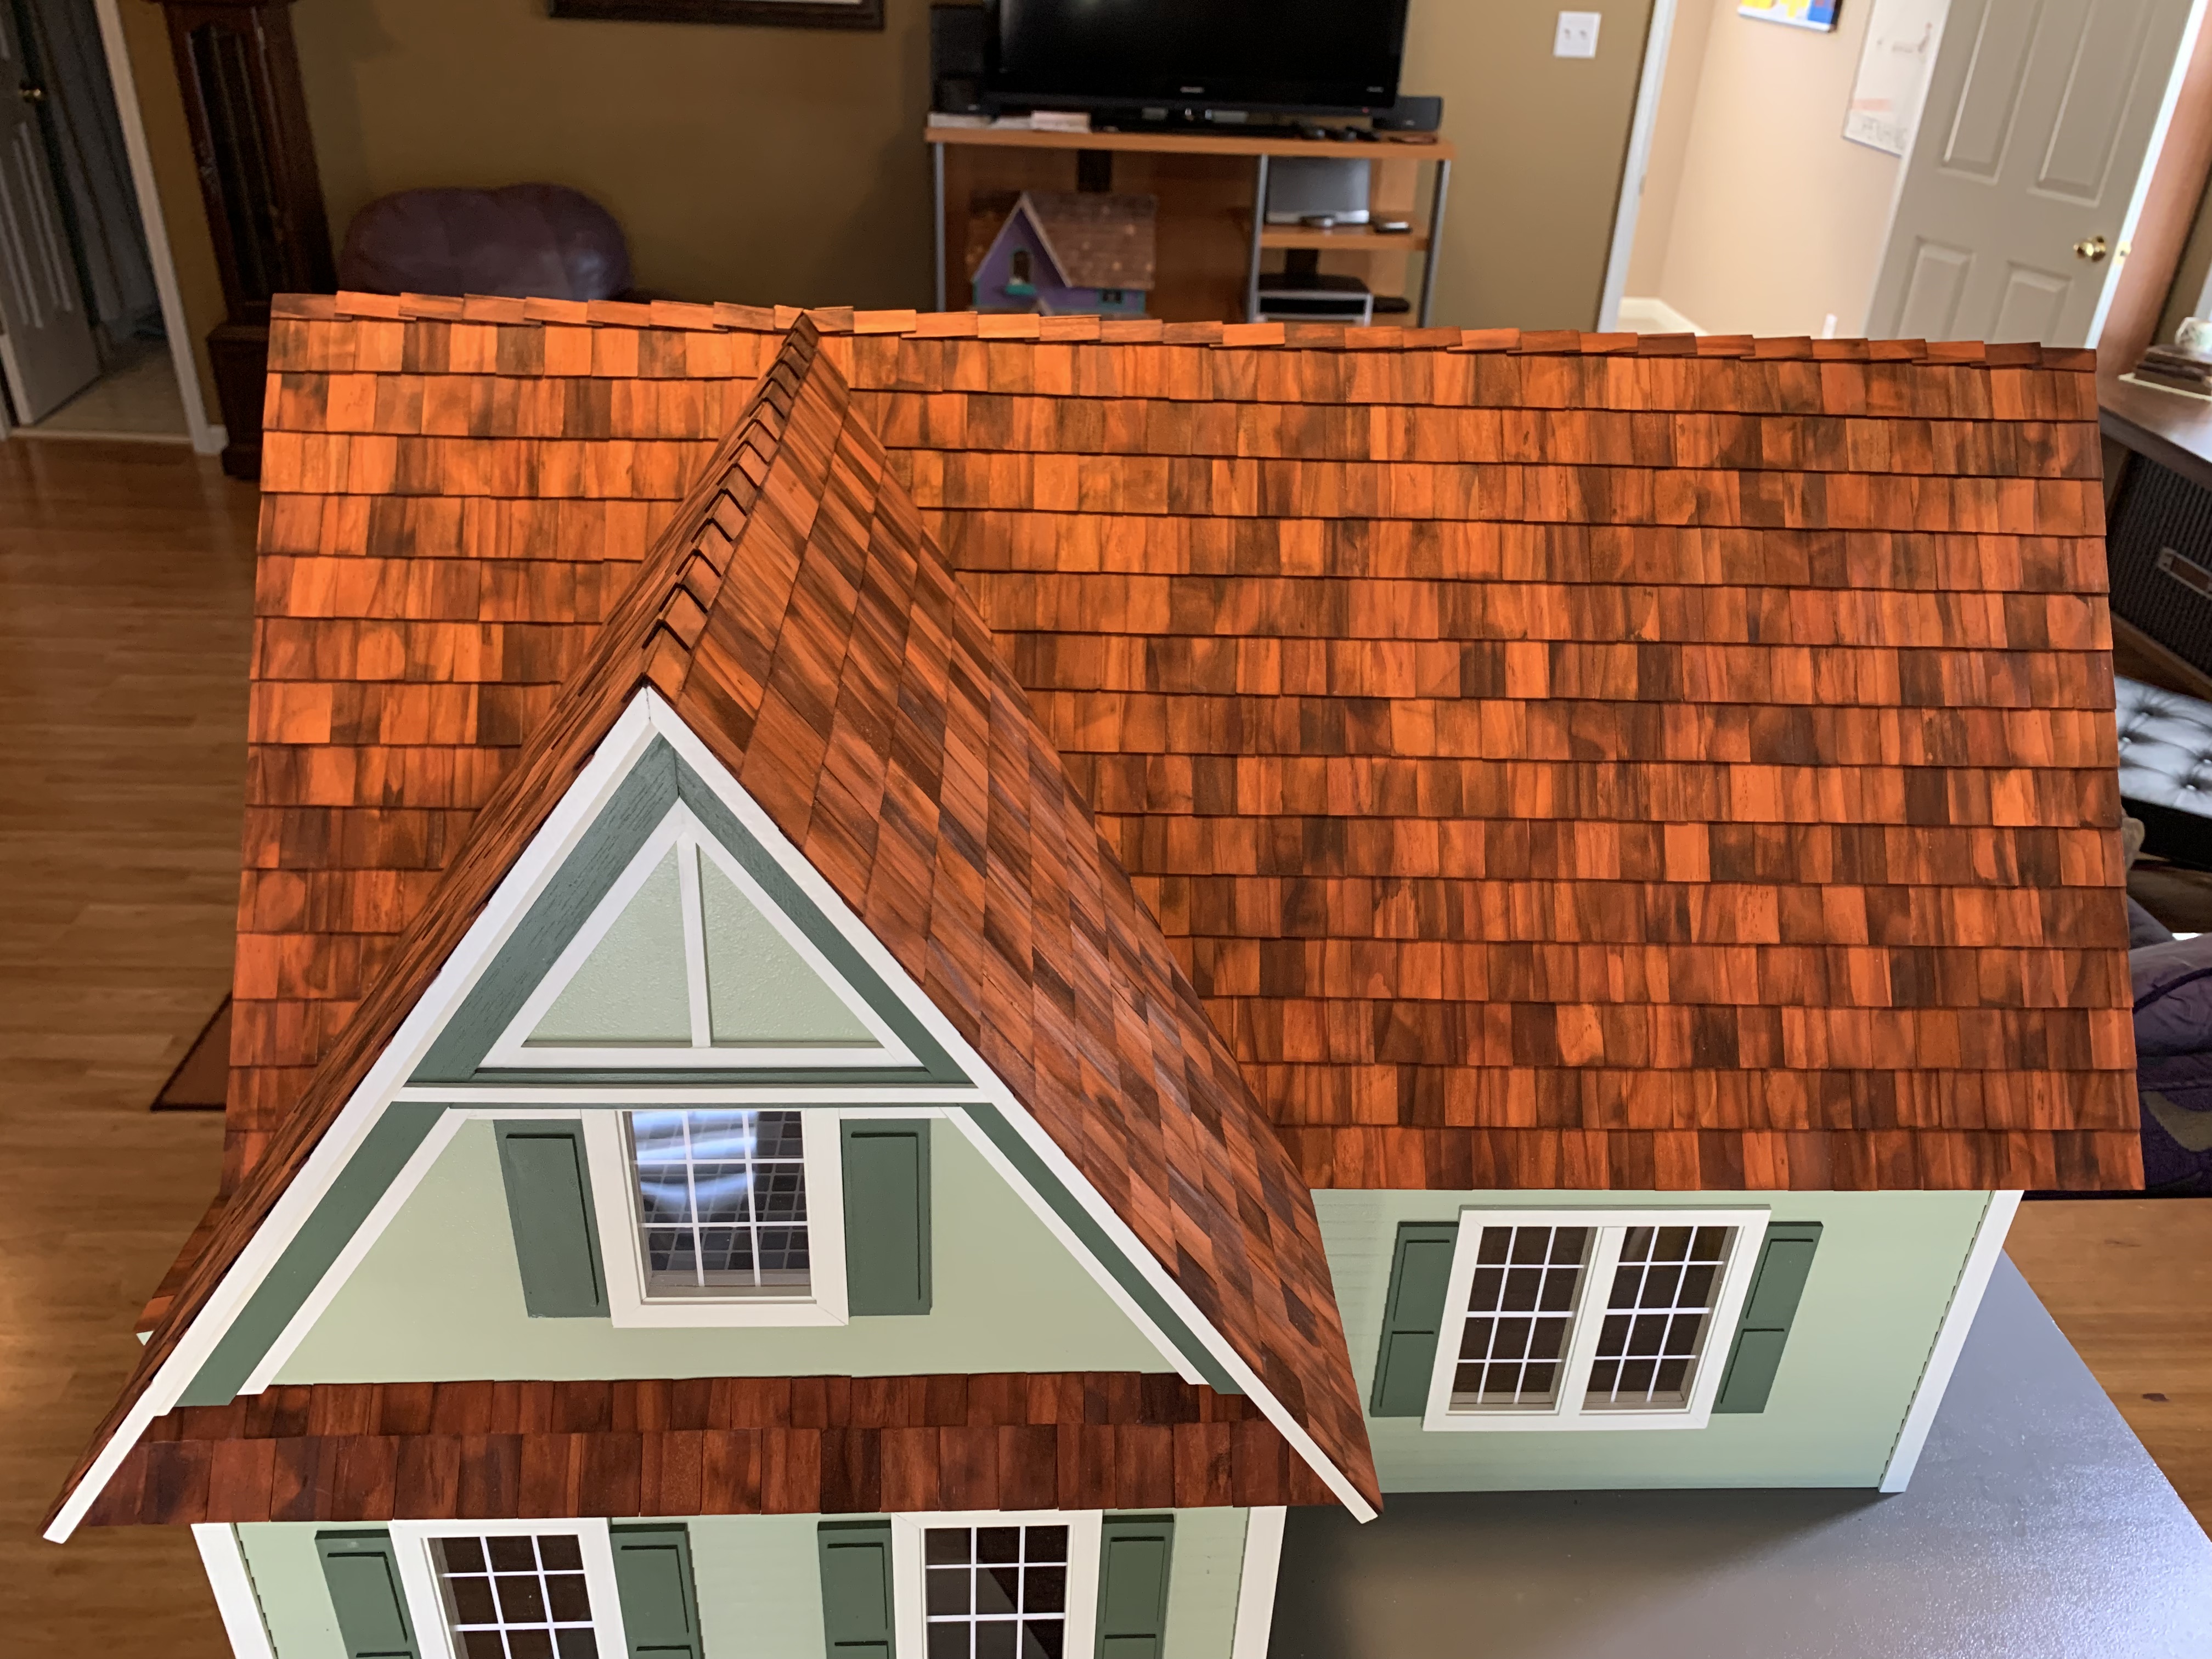
The last construction step was then to add the previously painted and assembled porch railings and then add the “3-layered” trim to the tops of the first-floor porch.

This doll house was now ready to make its journey over to my sister’s house in Northwest Arkansas for its homecoming and great reveal to my sister!


Categories

David, this dollhouse is absolutely beautiful! You did an amazing job! I am sure your sister will enjoy it so very much!
Thanks, Betty. She already has. It’s delivery is in a future post.
Hope you have a nice holiday!
You, too!