
Doll House for My Sister – 2nd Phase
Continued from: Doll House for My Sister – 1st Phase
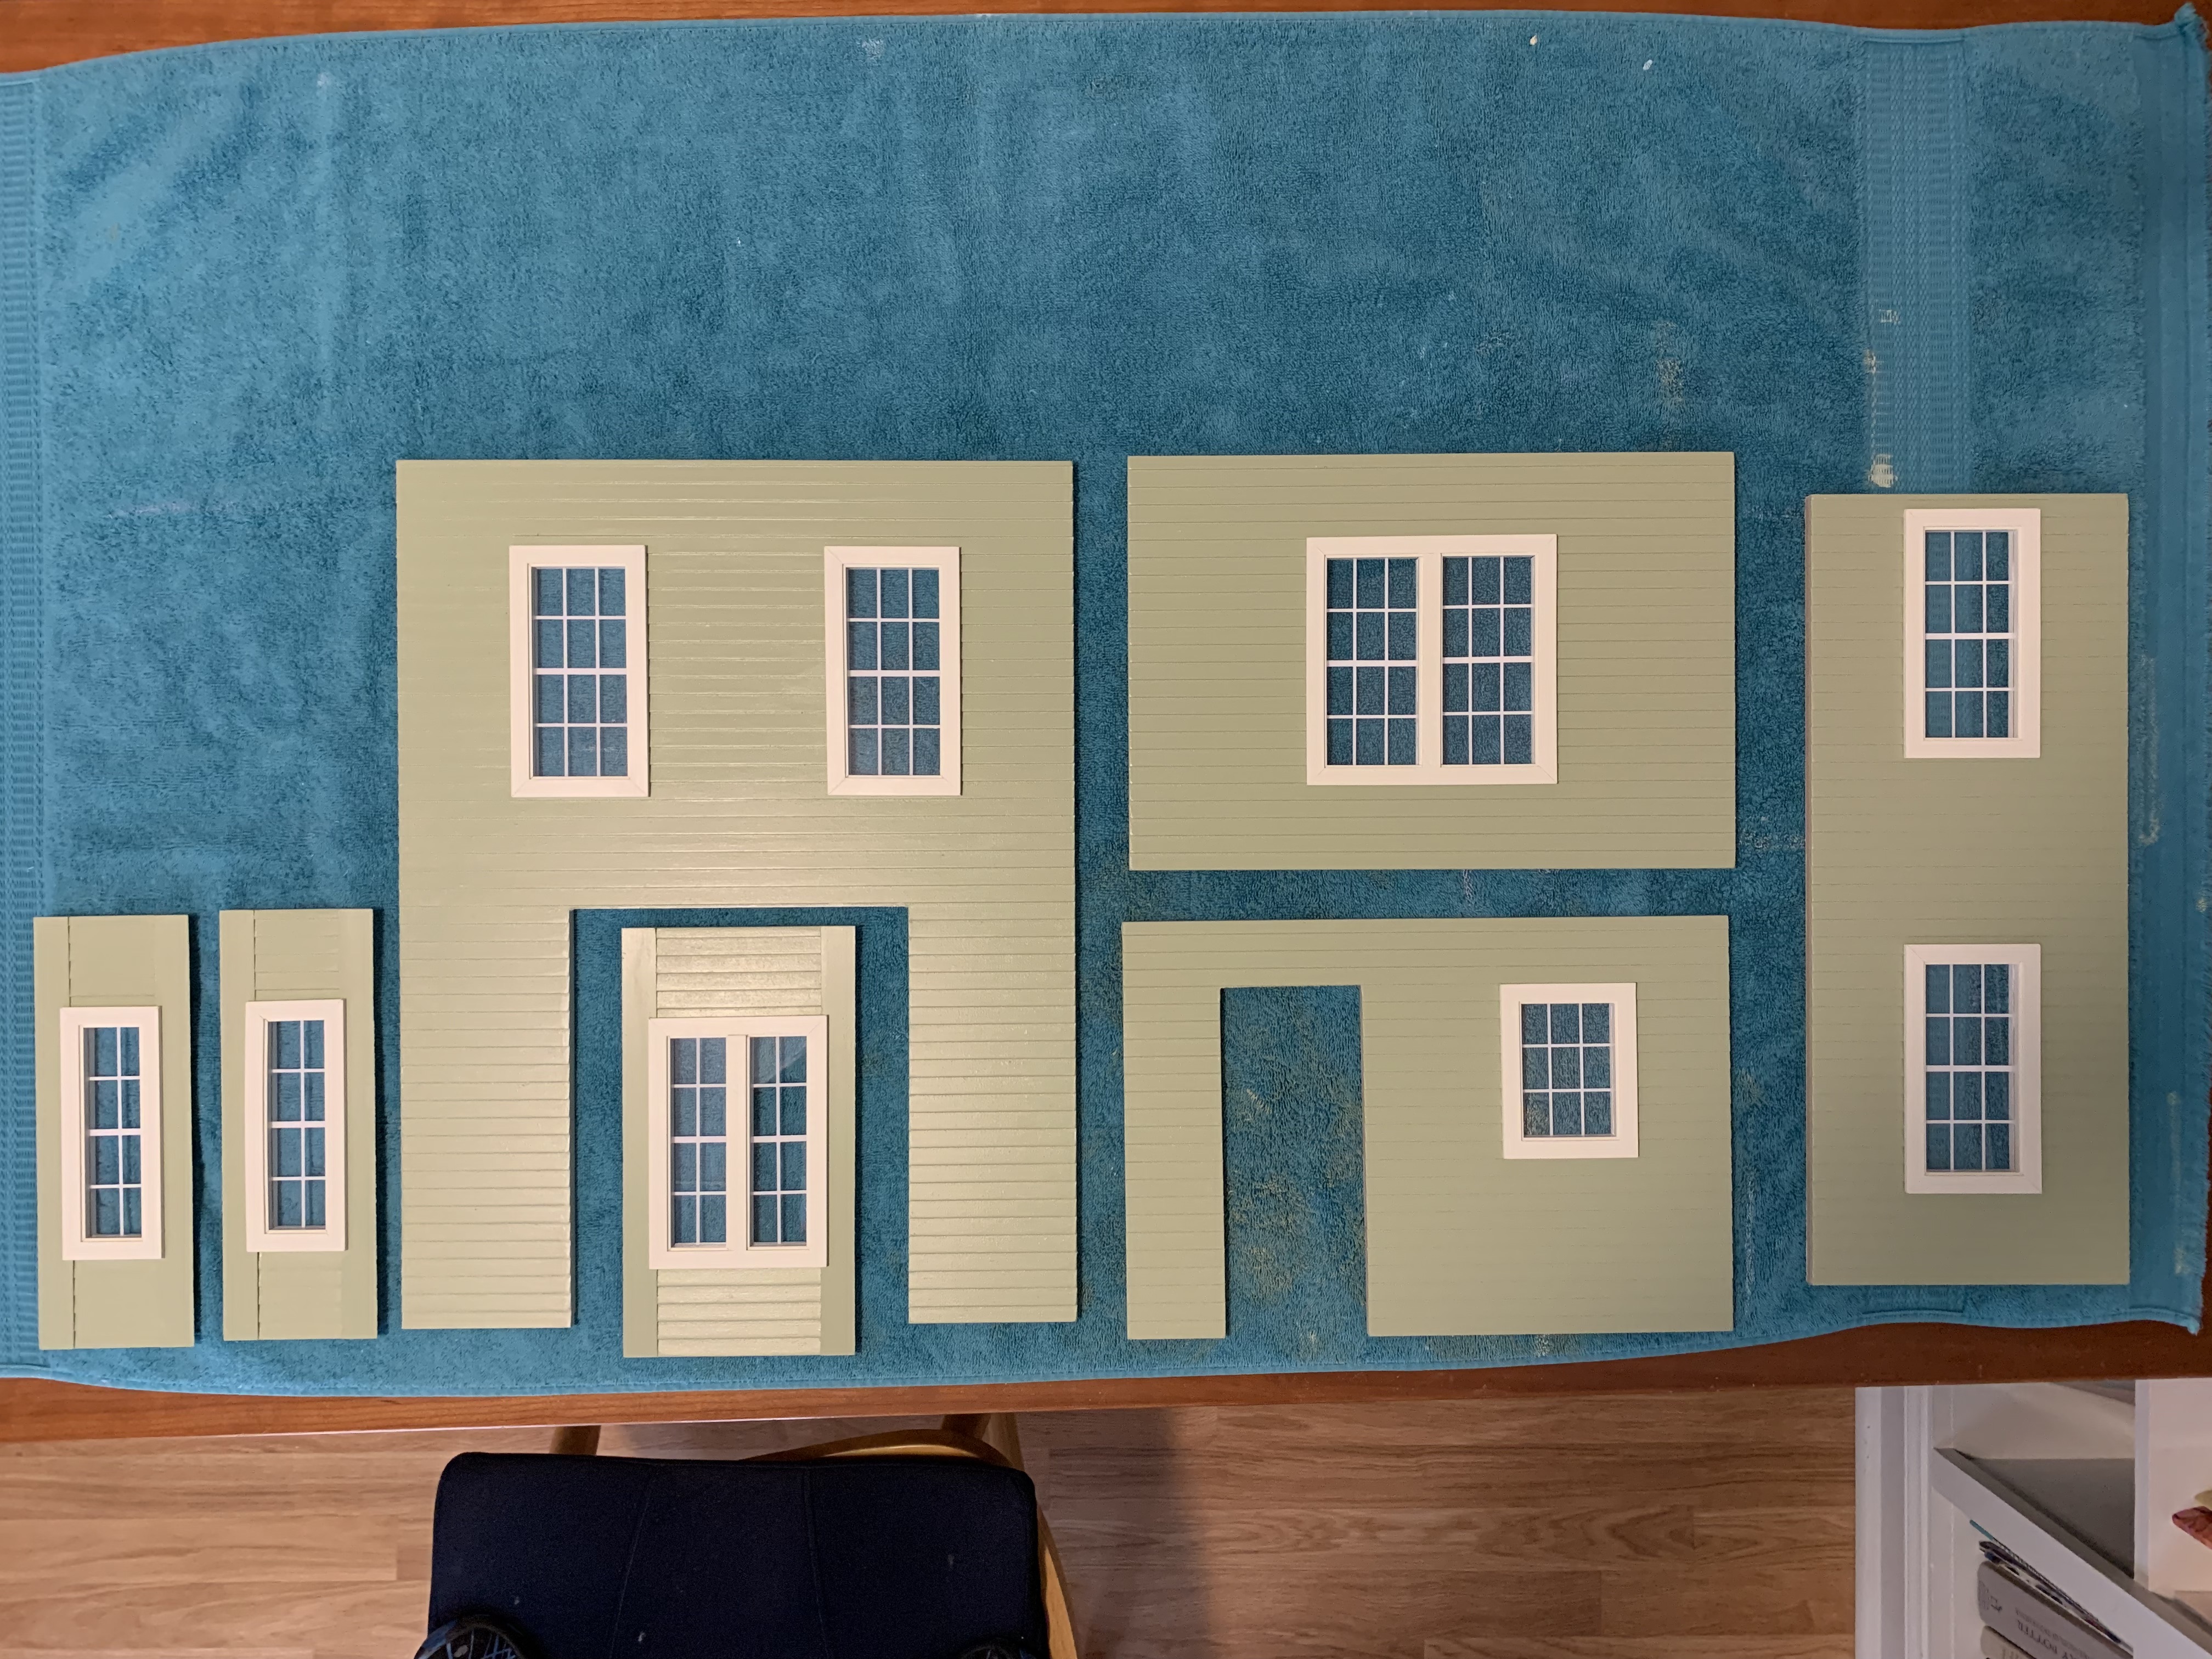
But before I started on the flooring, I realized it would be easier to attach the shutters while the walls are still flat on my work surface. For this step, the first activity was to paint the individual shutter parts.
As I did on the last house, I then assembled them using the little jig that I had made to ensure the shutter panels were centered correctly on the shutter cores. After gluing the pieces together, I could then glue them to the exterior walls next to the windows. With this last step complete, the walls were really ready to be raised—but not before the floors were done.
My sister and I talked about several different options for the flooring. You may recall from the doll house she and I built for her grandchildren that for the first floor, I was able to use some leftover mahogany strips from the Chris-Craft boat I had built…
…and for the second floor, using her Cricut, my sister cut out one-inch squares of cherry veneer that created a parquet-like pattern for the flooring.
Given how nicely the mahogany flooring had come out, we decided to use that again. My sister found some of the same 1/16” thickness online and ordered it. But when it came in, it was not the same rich red colored wood I previously had.
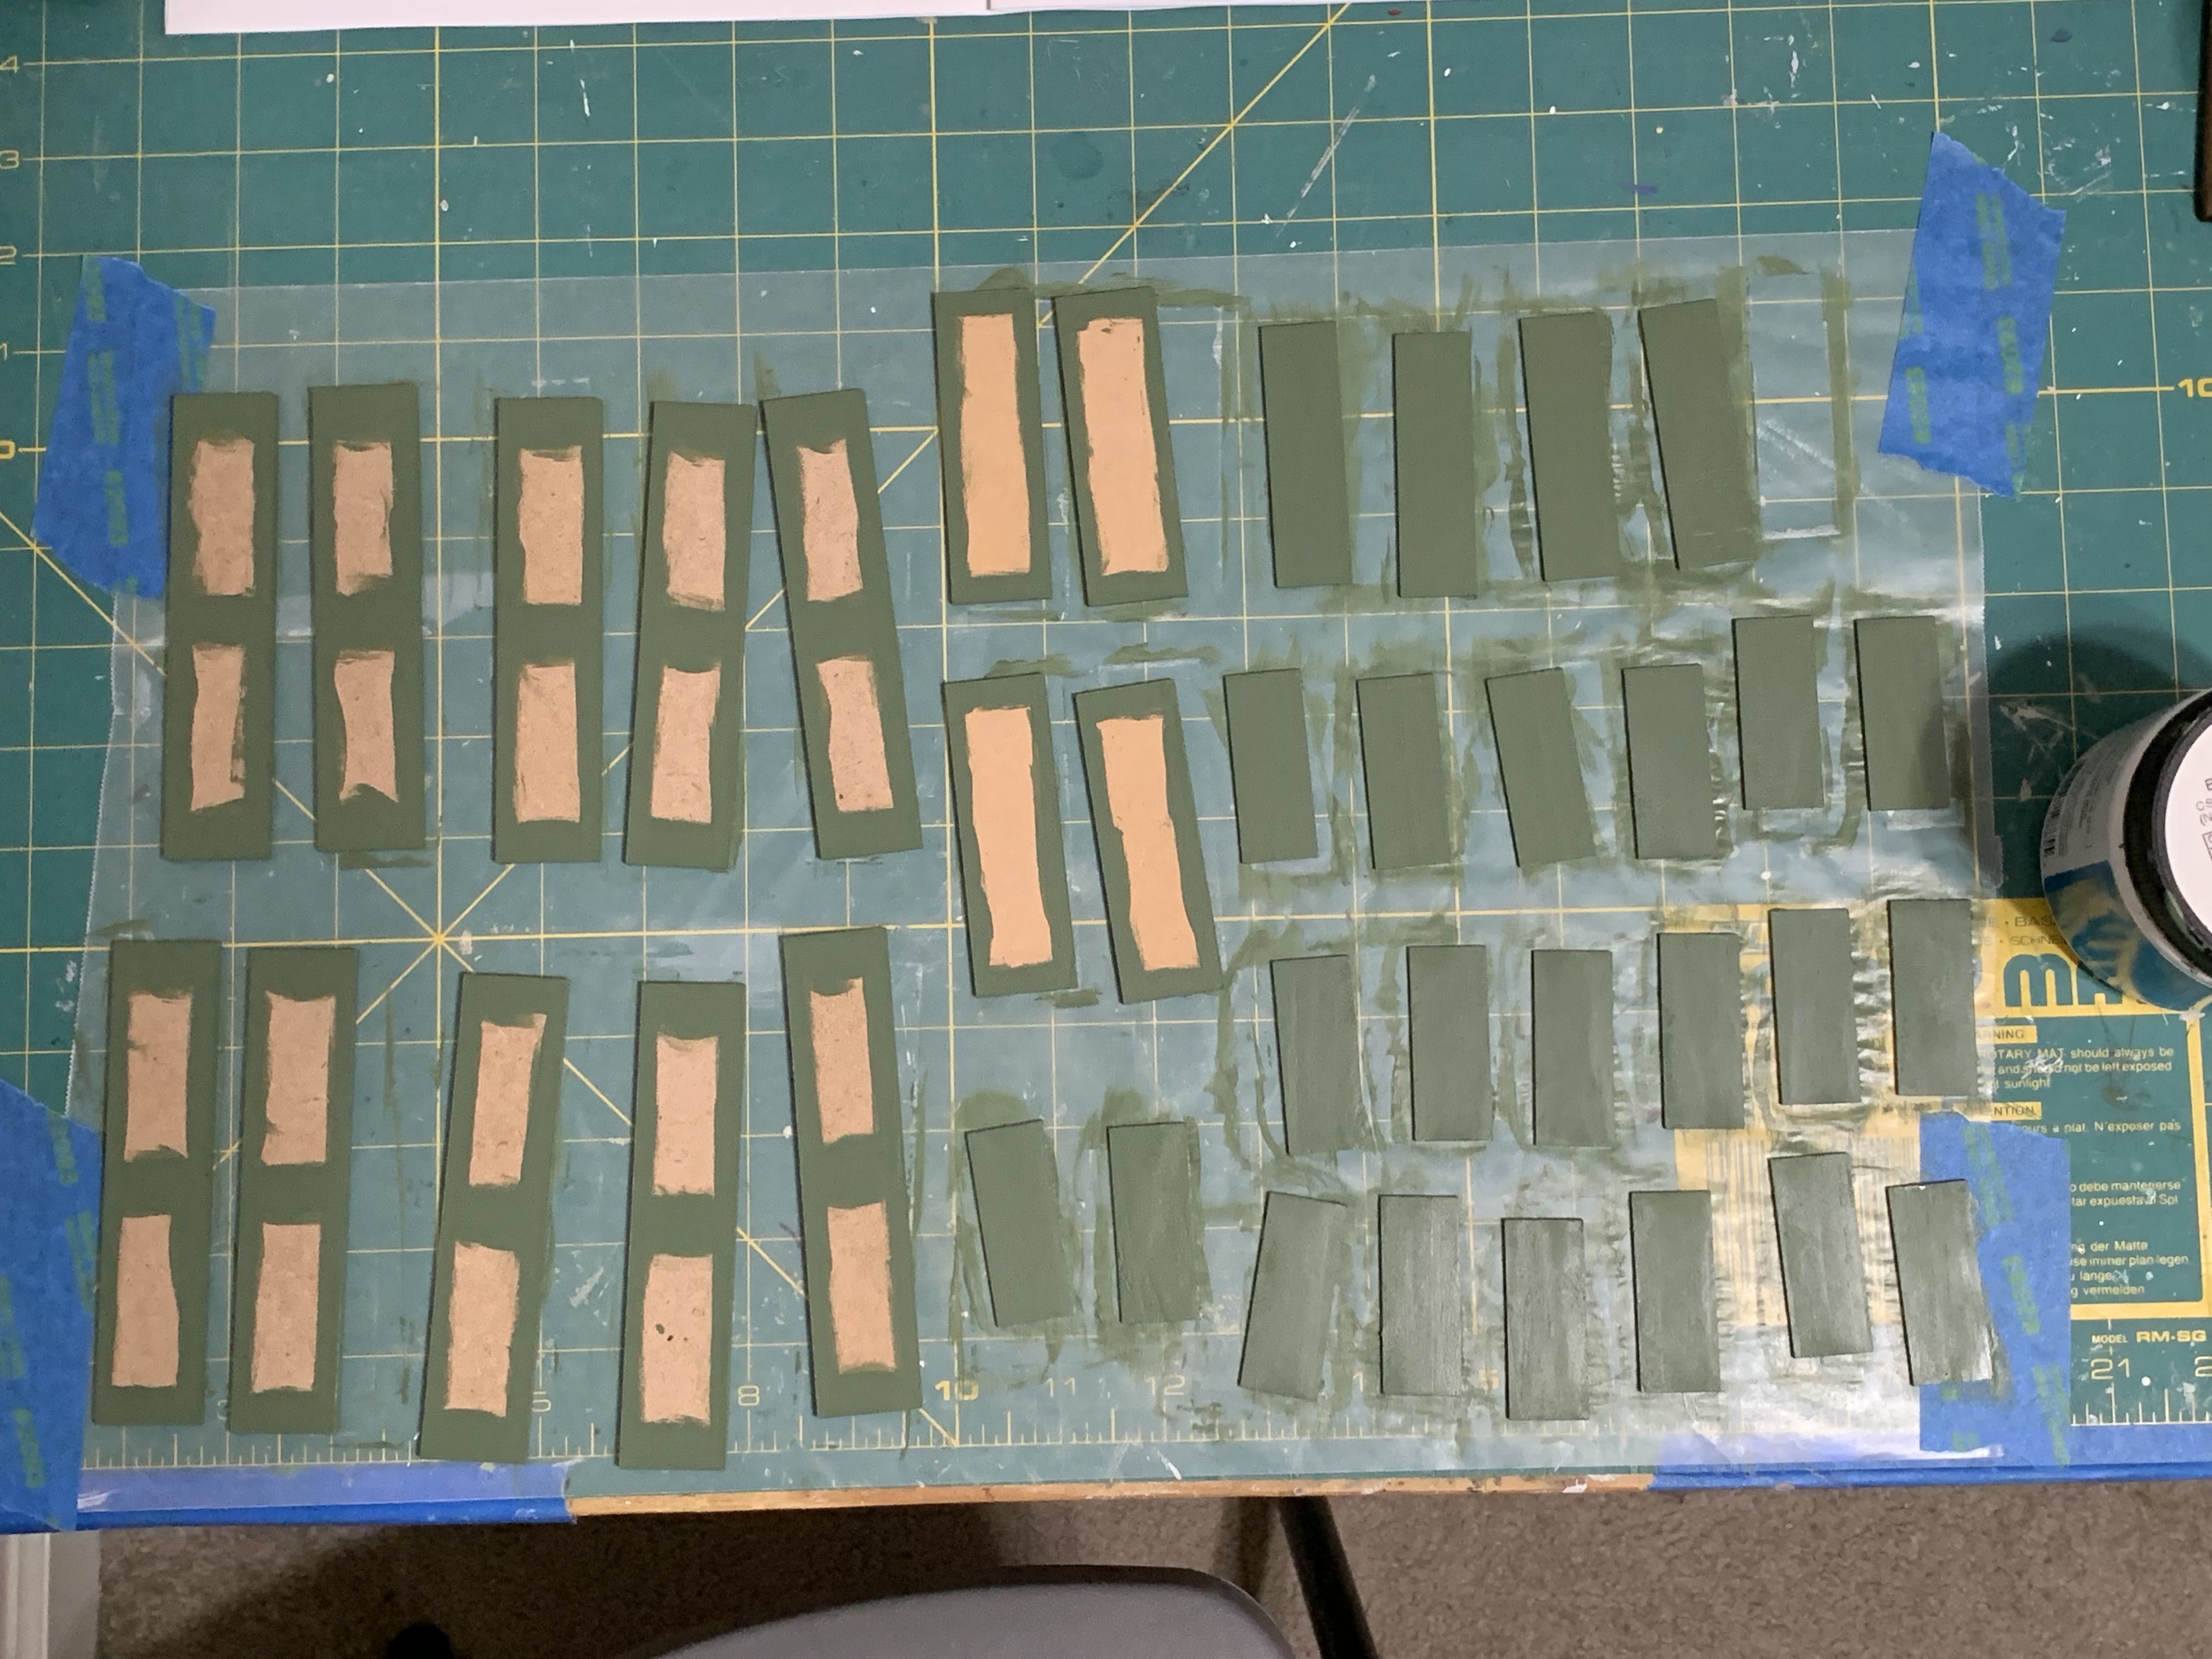
I told my sister if she could cut me a few strips, I would try staining them to see if we could achieve the same look. Not knowing if the veneer was too thick to cut on her Cricut, I suggested she could try cutting a few on her band saw. She did and put some in the mail to me.
I found a small piece of MDF that I could glue a few strips to but found that the cuts were not uniform (some pieces were wider at one end than the other). She had told me she had trouble keeping her fence from moving slightly while cutting which caused this issue. Knowing we would still have to resolve this issue, I proceeded to stain and polyurethane the strips so we could see both stained and unstained finishes.
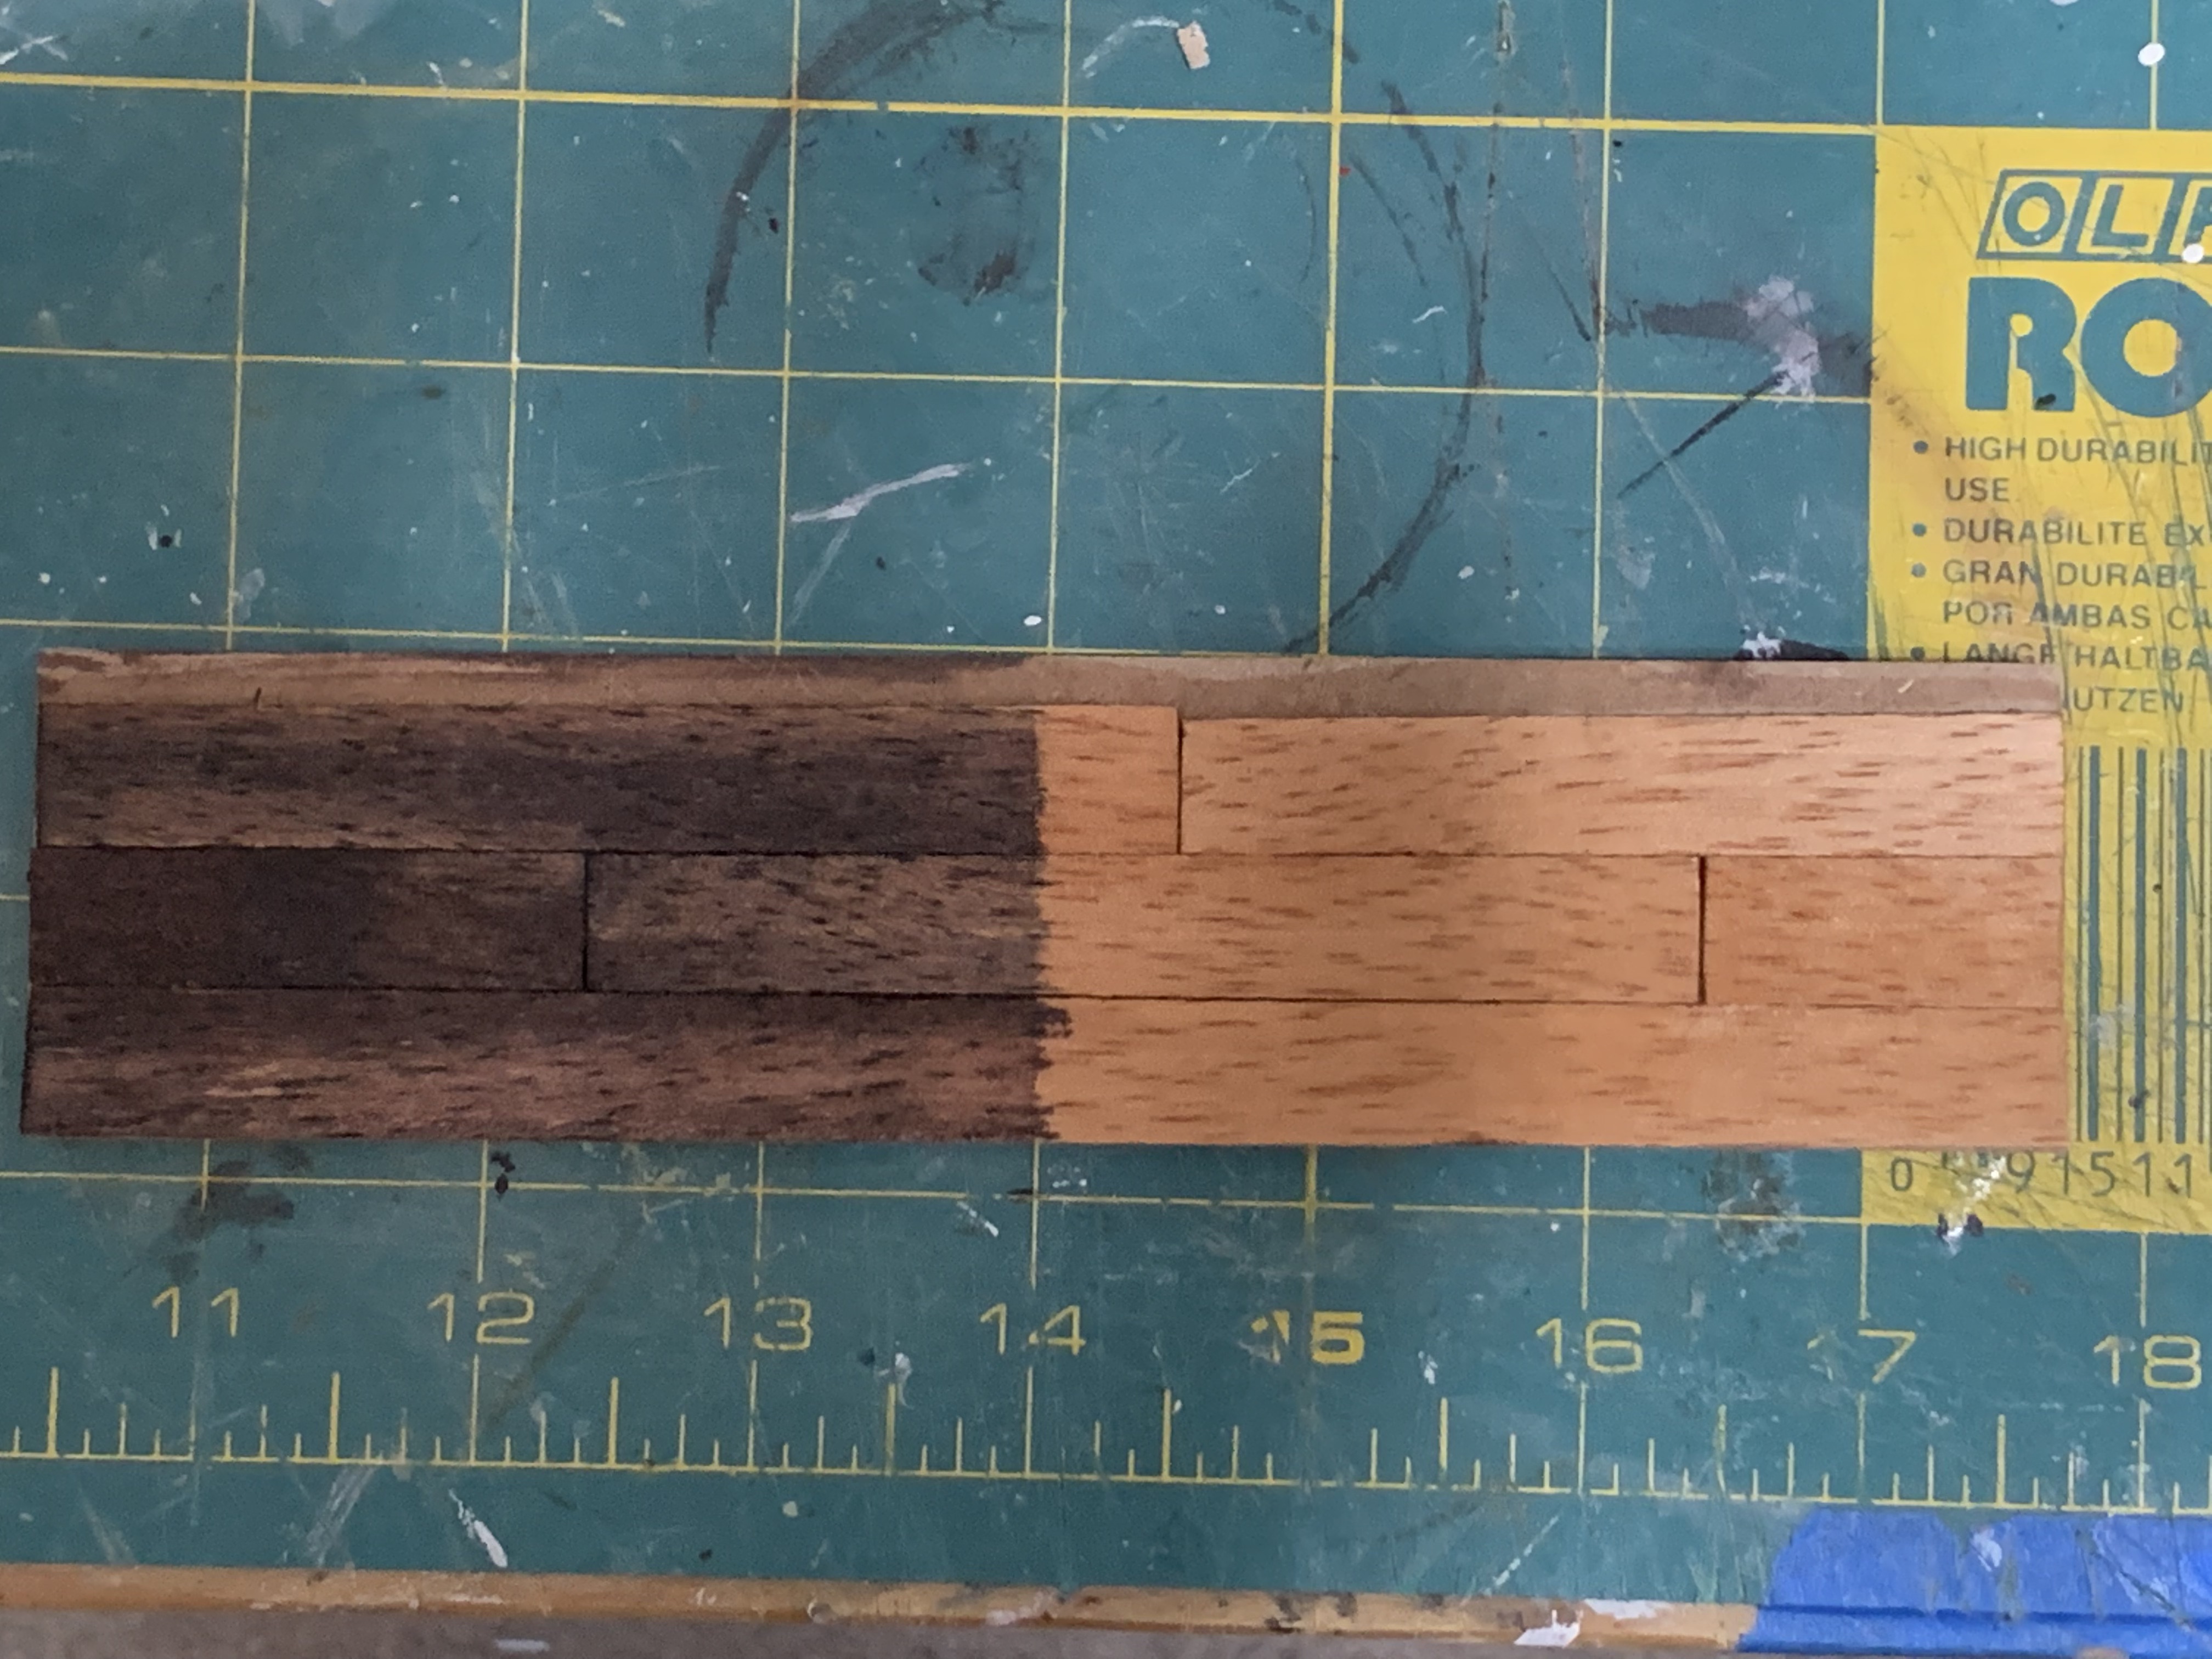
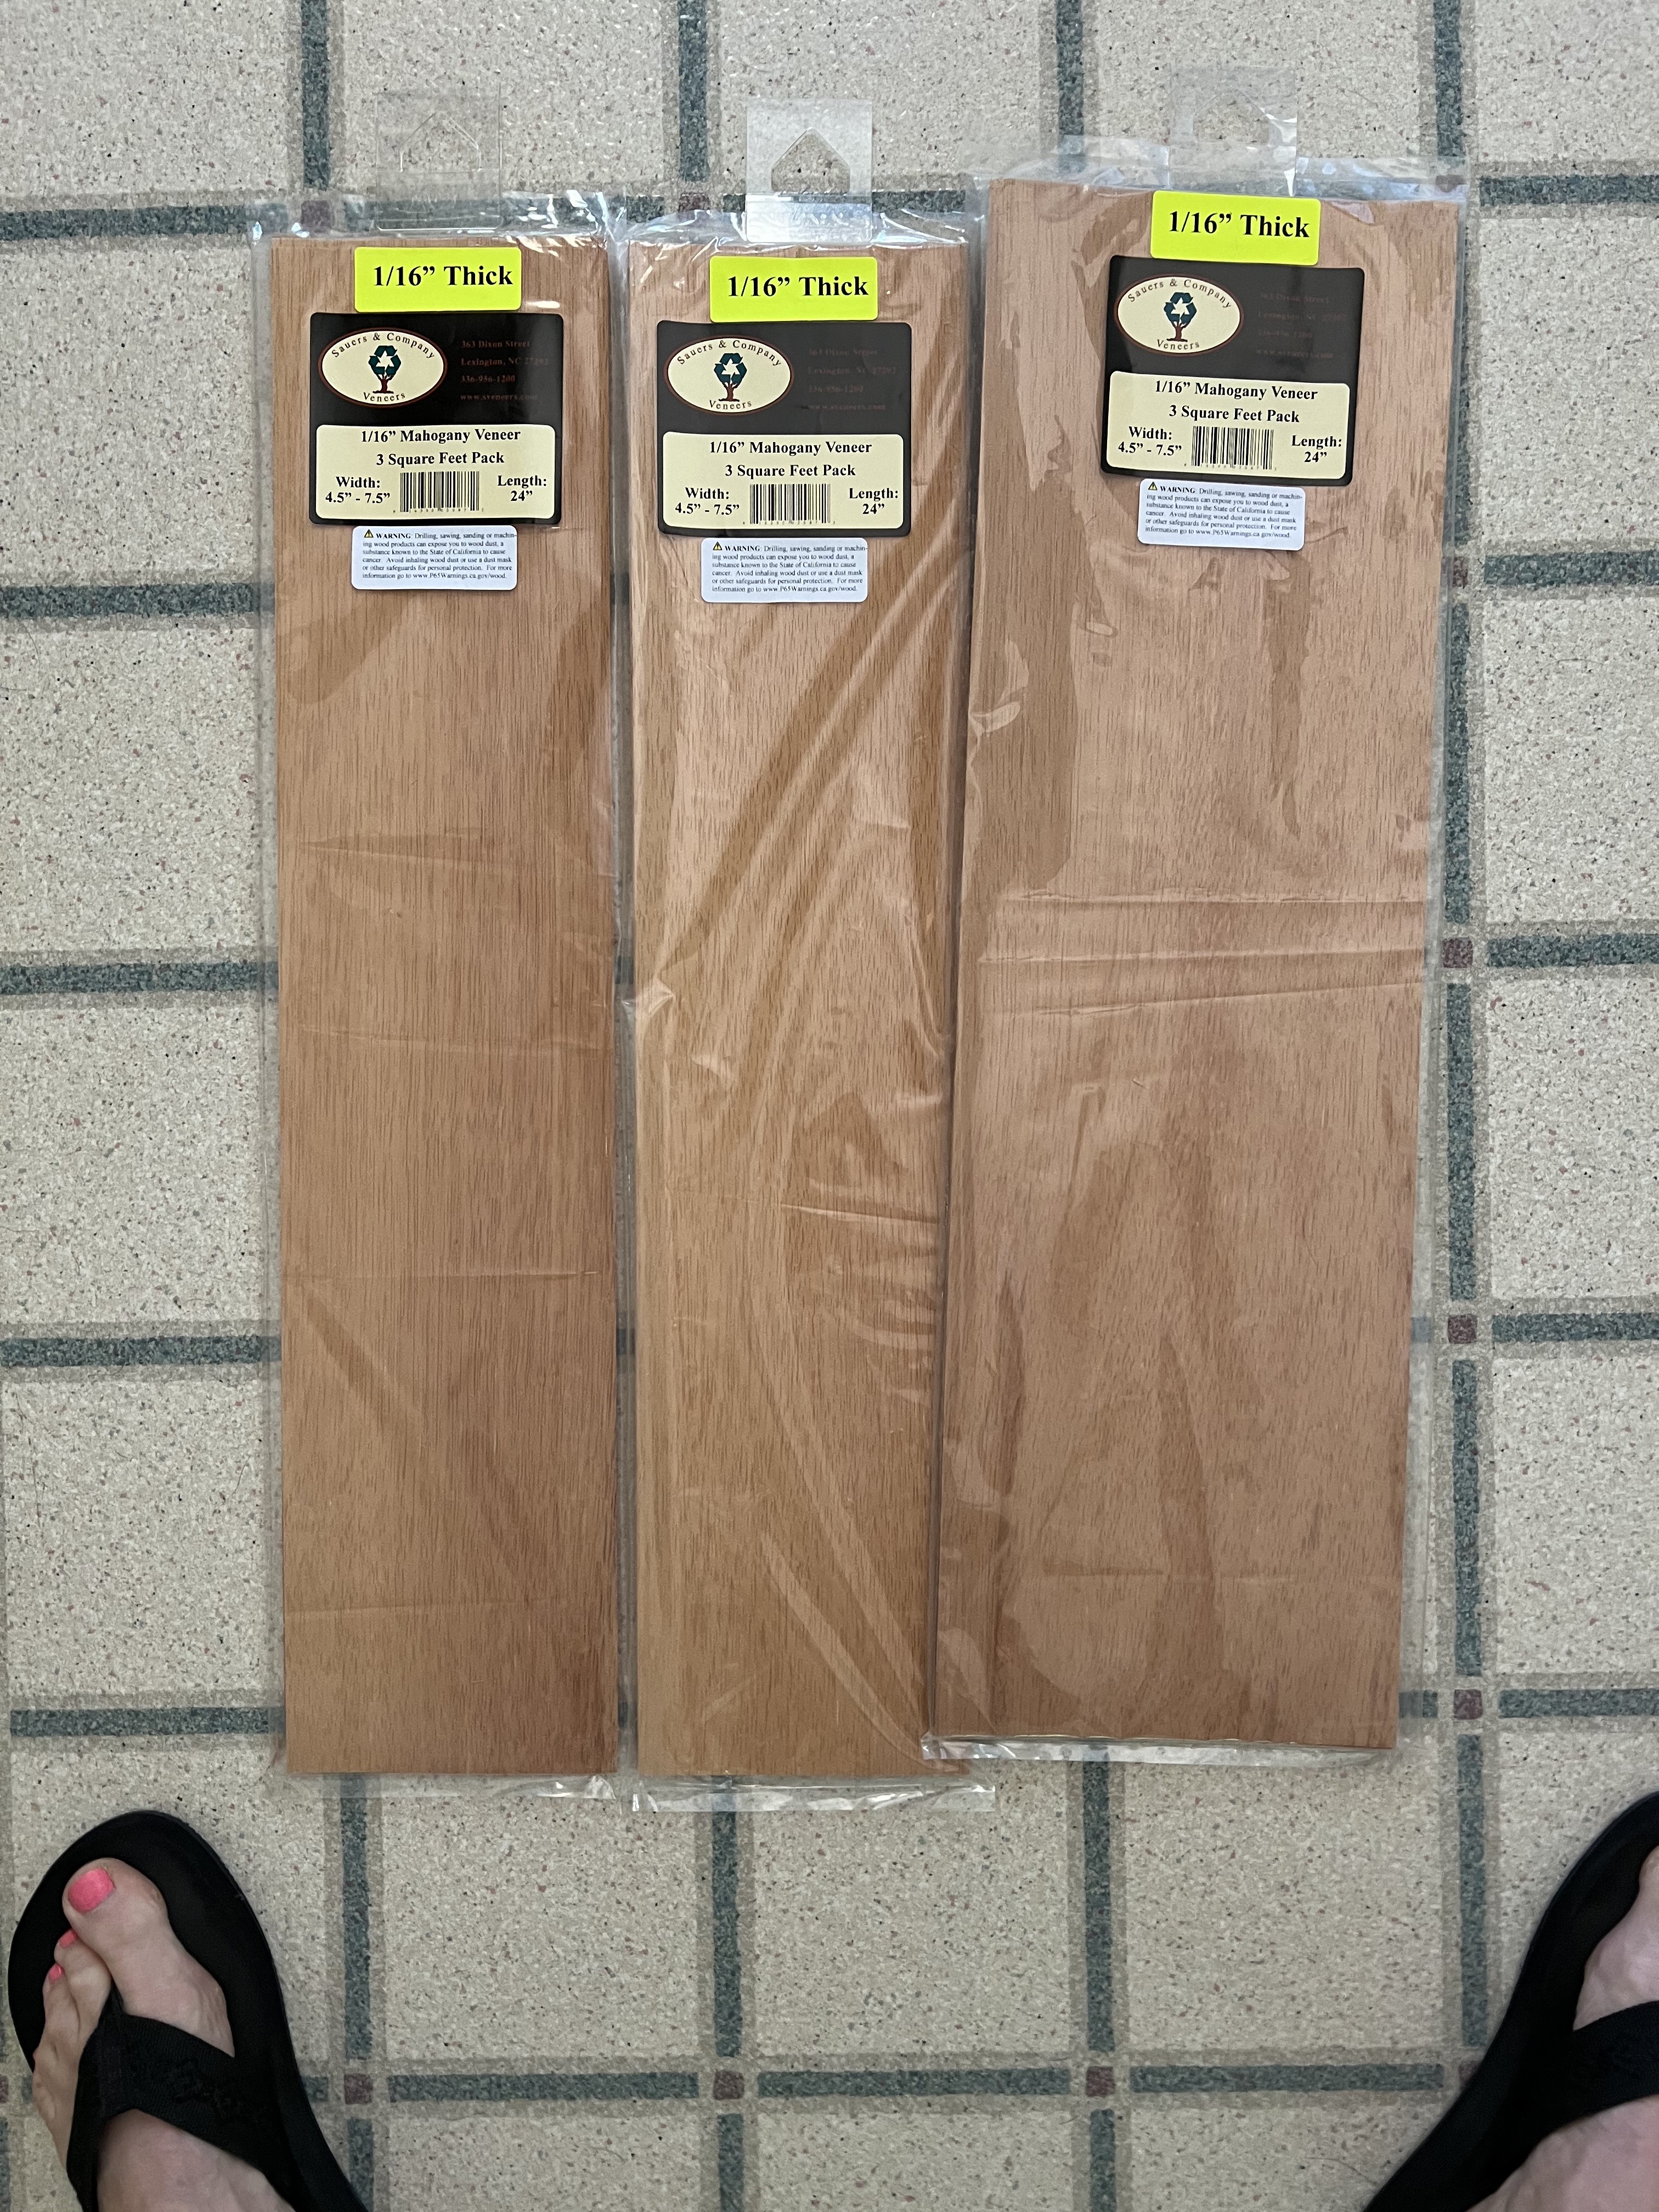
We both agreed the unstained section looked the best, so my sister agreed to cut more but this time using her Cricut. But when she went to cut it, she found the wood was too warped to cut in her Cricut. Knowing the only other alternative was to hand cut the strips with an X-ACTO knife, something neither of us wanted to do, my sister suggested we use some 1/48” walnut veneer that she had previously purchased. This she could easily cut with her Cricut which she did and mailed to me.

Since these strips were the same thickness as those that I had used for making the second-floor parquet floor in the last doll house, I knew I could put them down using the same technique.
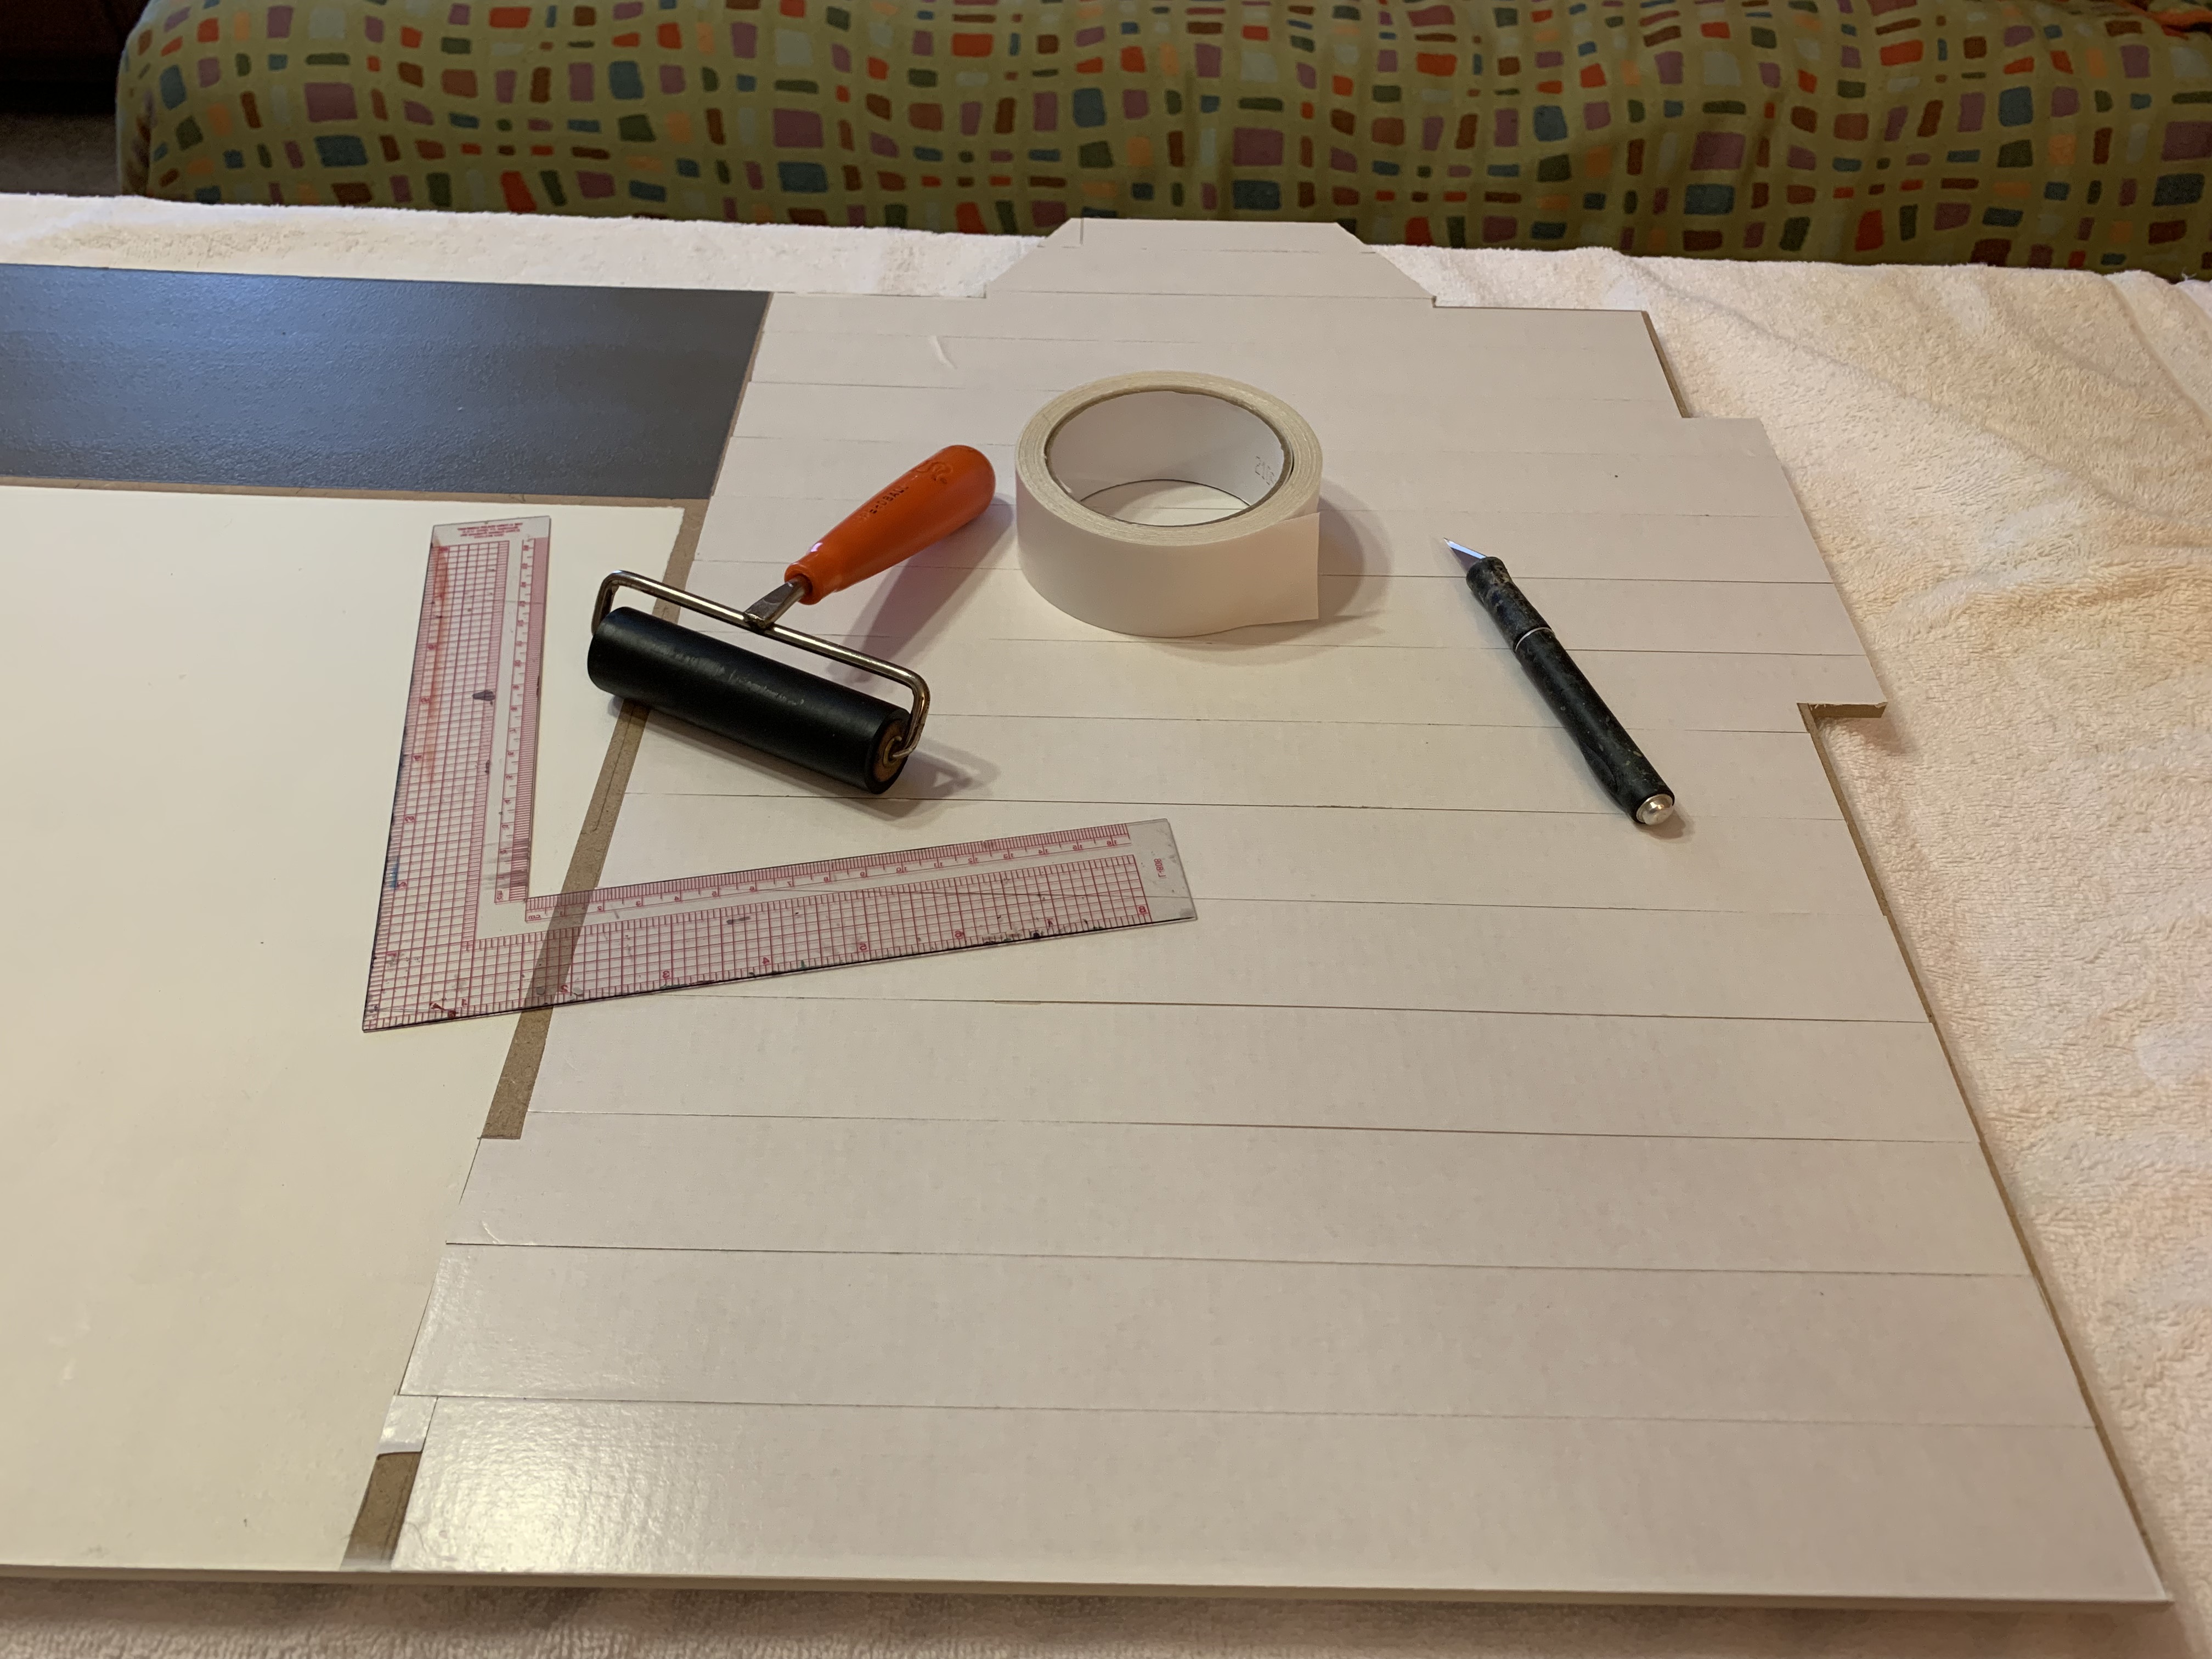
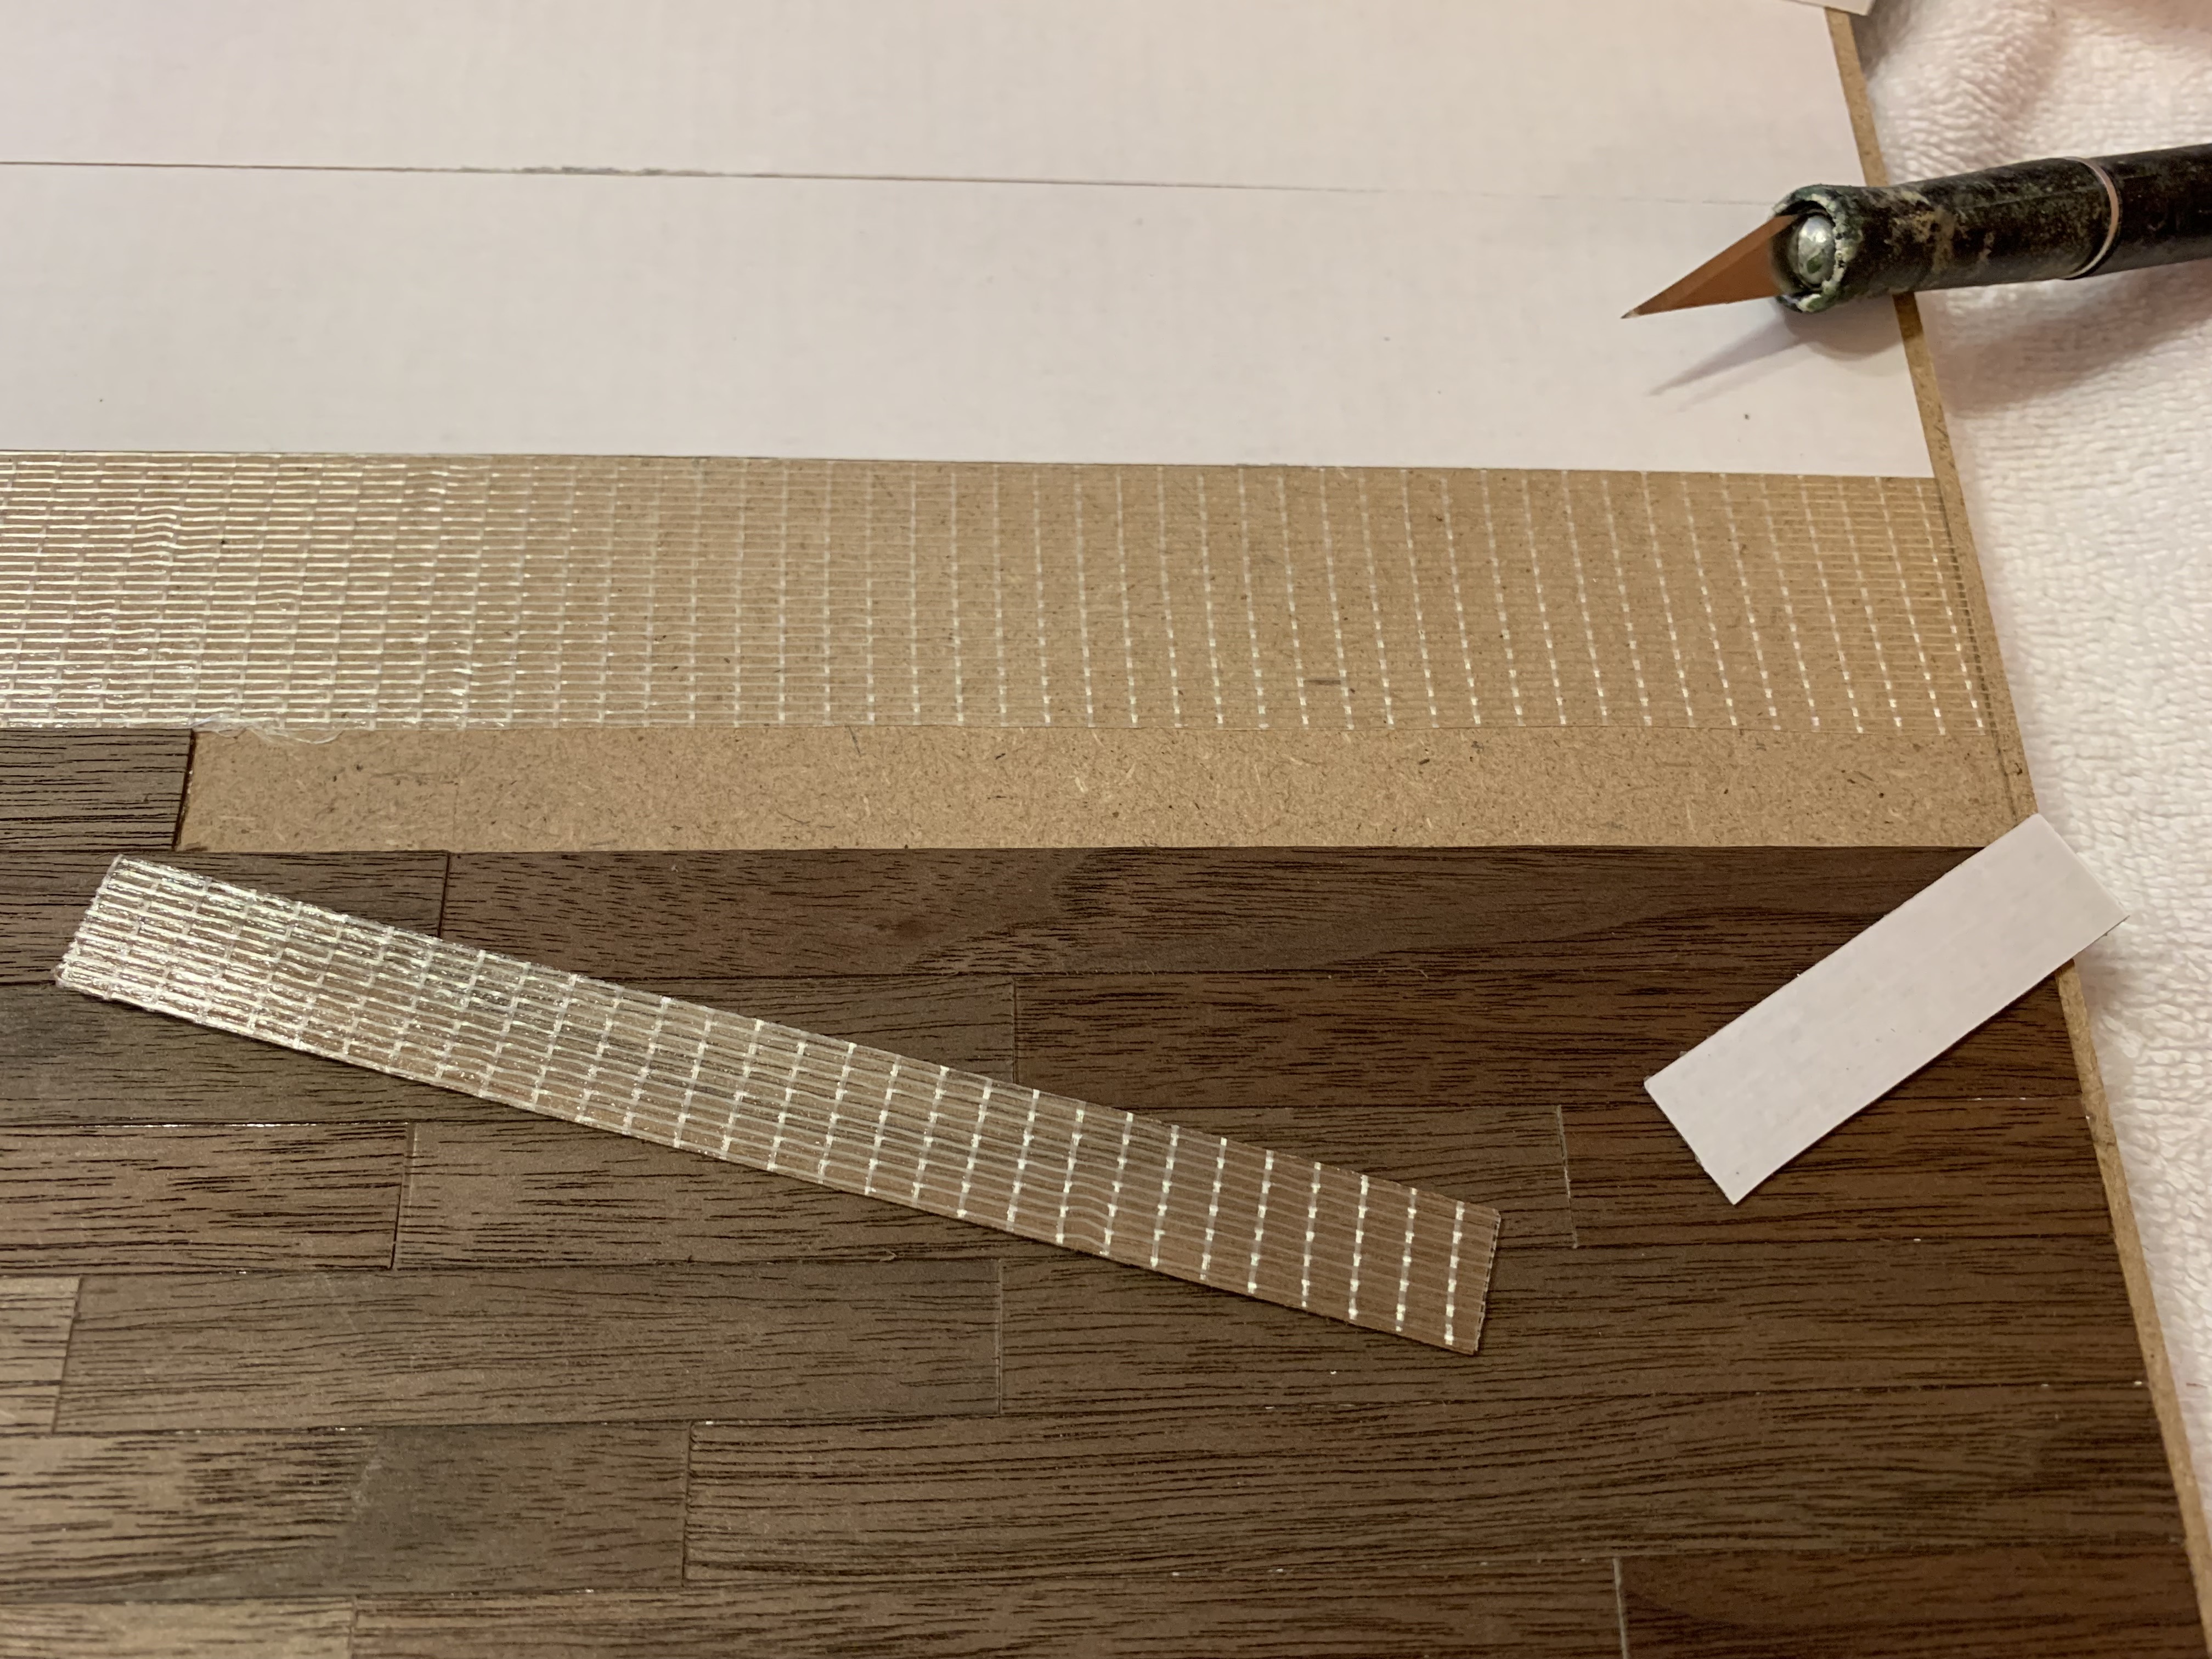
The first step was then to lay down strips of carpet tape.
Next, I needed to cut the strips into various lengths. The width of the first-floor room is 14 inches and the strips of walnut my sister cut were 11.5 inches. Therefore, to minimize the amount of waste per strip and to give me a variety of lengths so that joints between boards would not line up, I cut the strips using my micro saw and miter box into lengths of 2, 3, 4, 5, and 6” sections which would give me several different combinations of cuts to add up to the needed 14 inches.

Then, removing one section of the tape backing at a time, I began to lay down the strips, using different grains and lengths in a random pattern. After each row, I ran over it with a brayer roller to ensure the veneer strips were securely attached to the tape (I had also used this when laying down the carpet tape). In case you are not familiar with a brayer roller, it is typically used in print making.
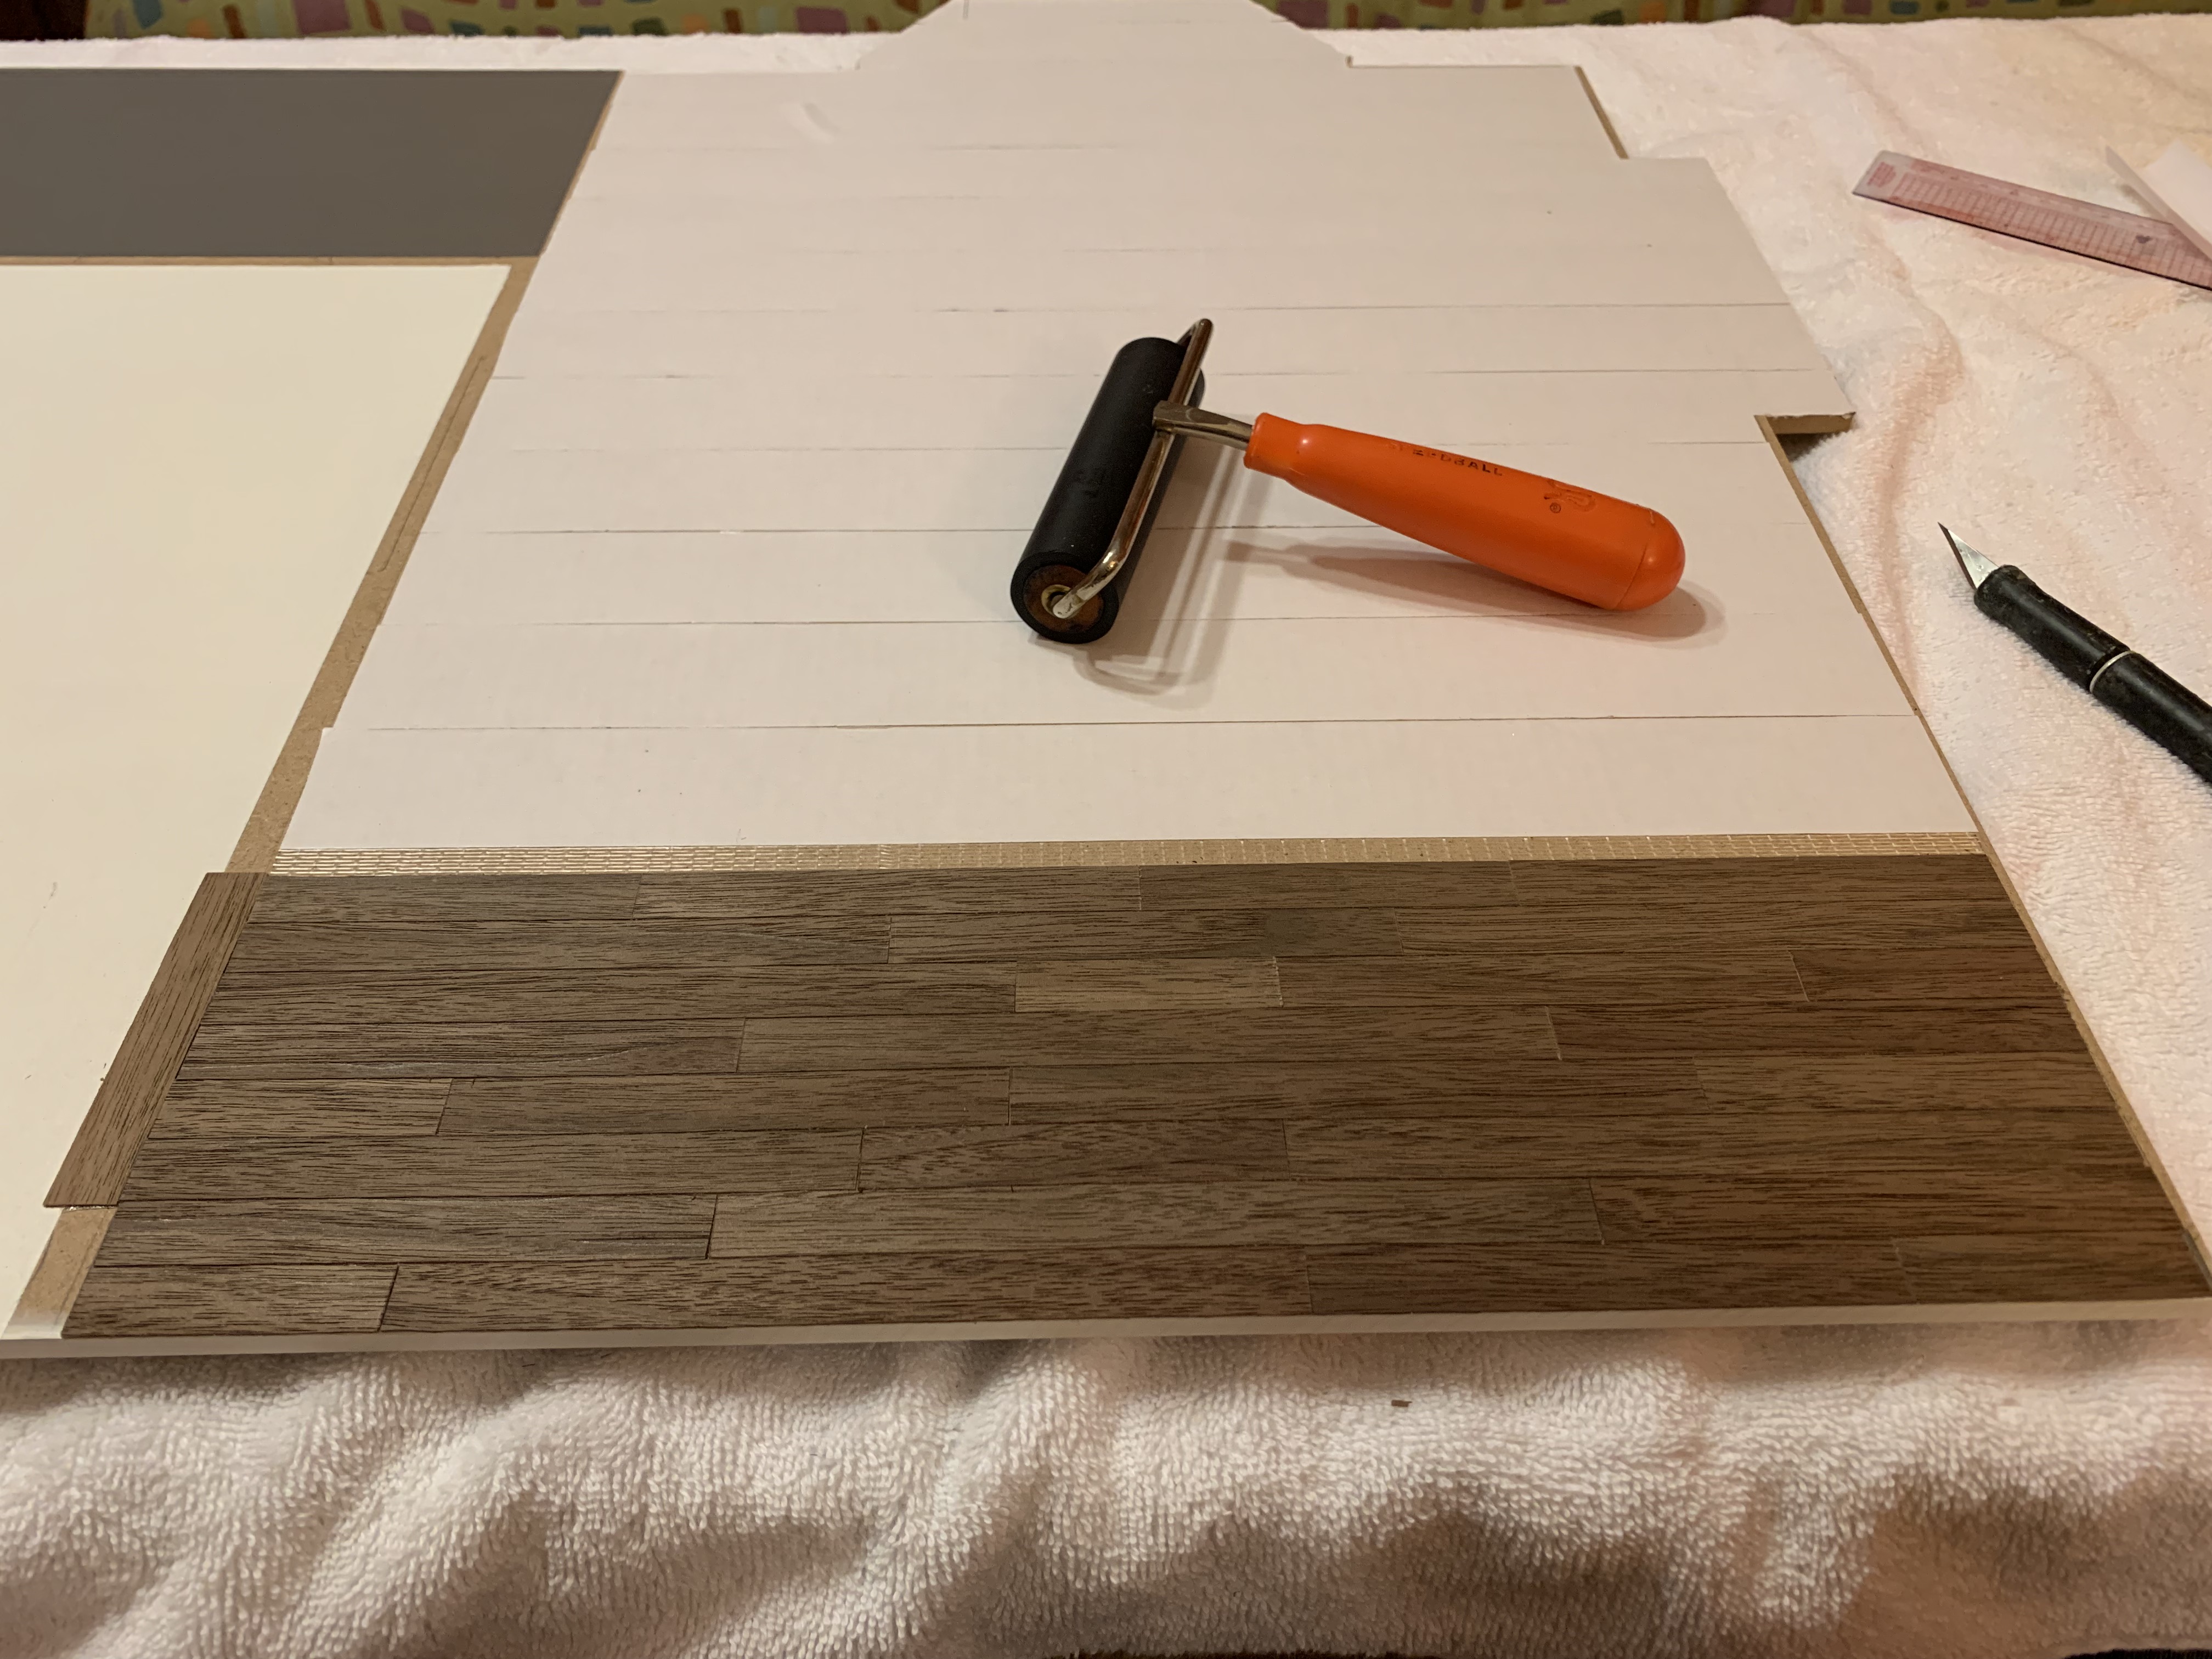
And as before on the previous doll house, whenever I made a mistake laying down the strip of veneer, I would cut out the errant wood strip with the tape and then apply carpet tape to the back of the new veneer strip and put it in place.
I continued to lay down the flooring until I ran out of the strips my sister had sent me.
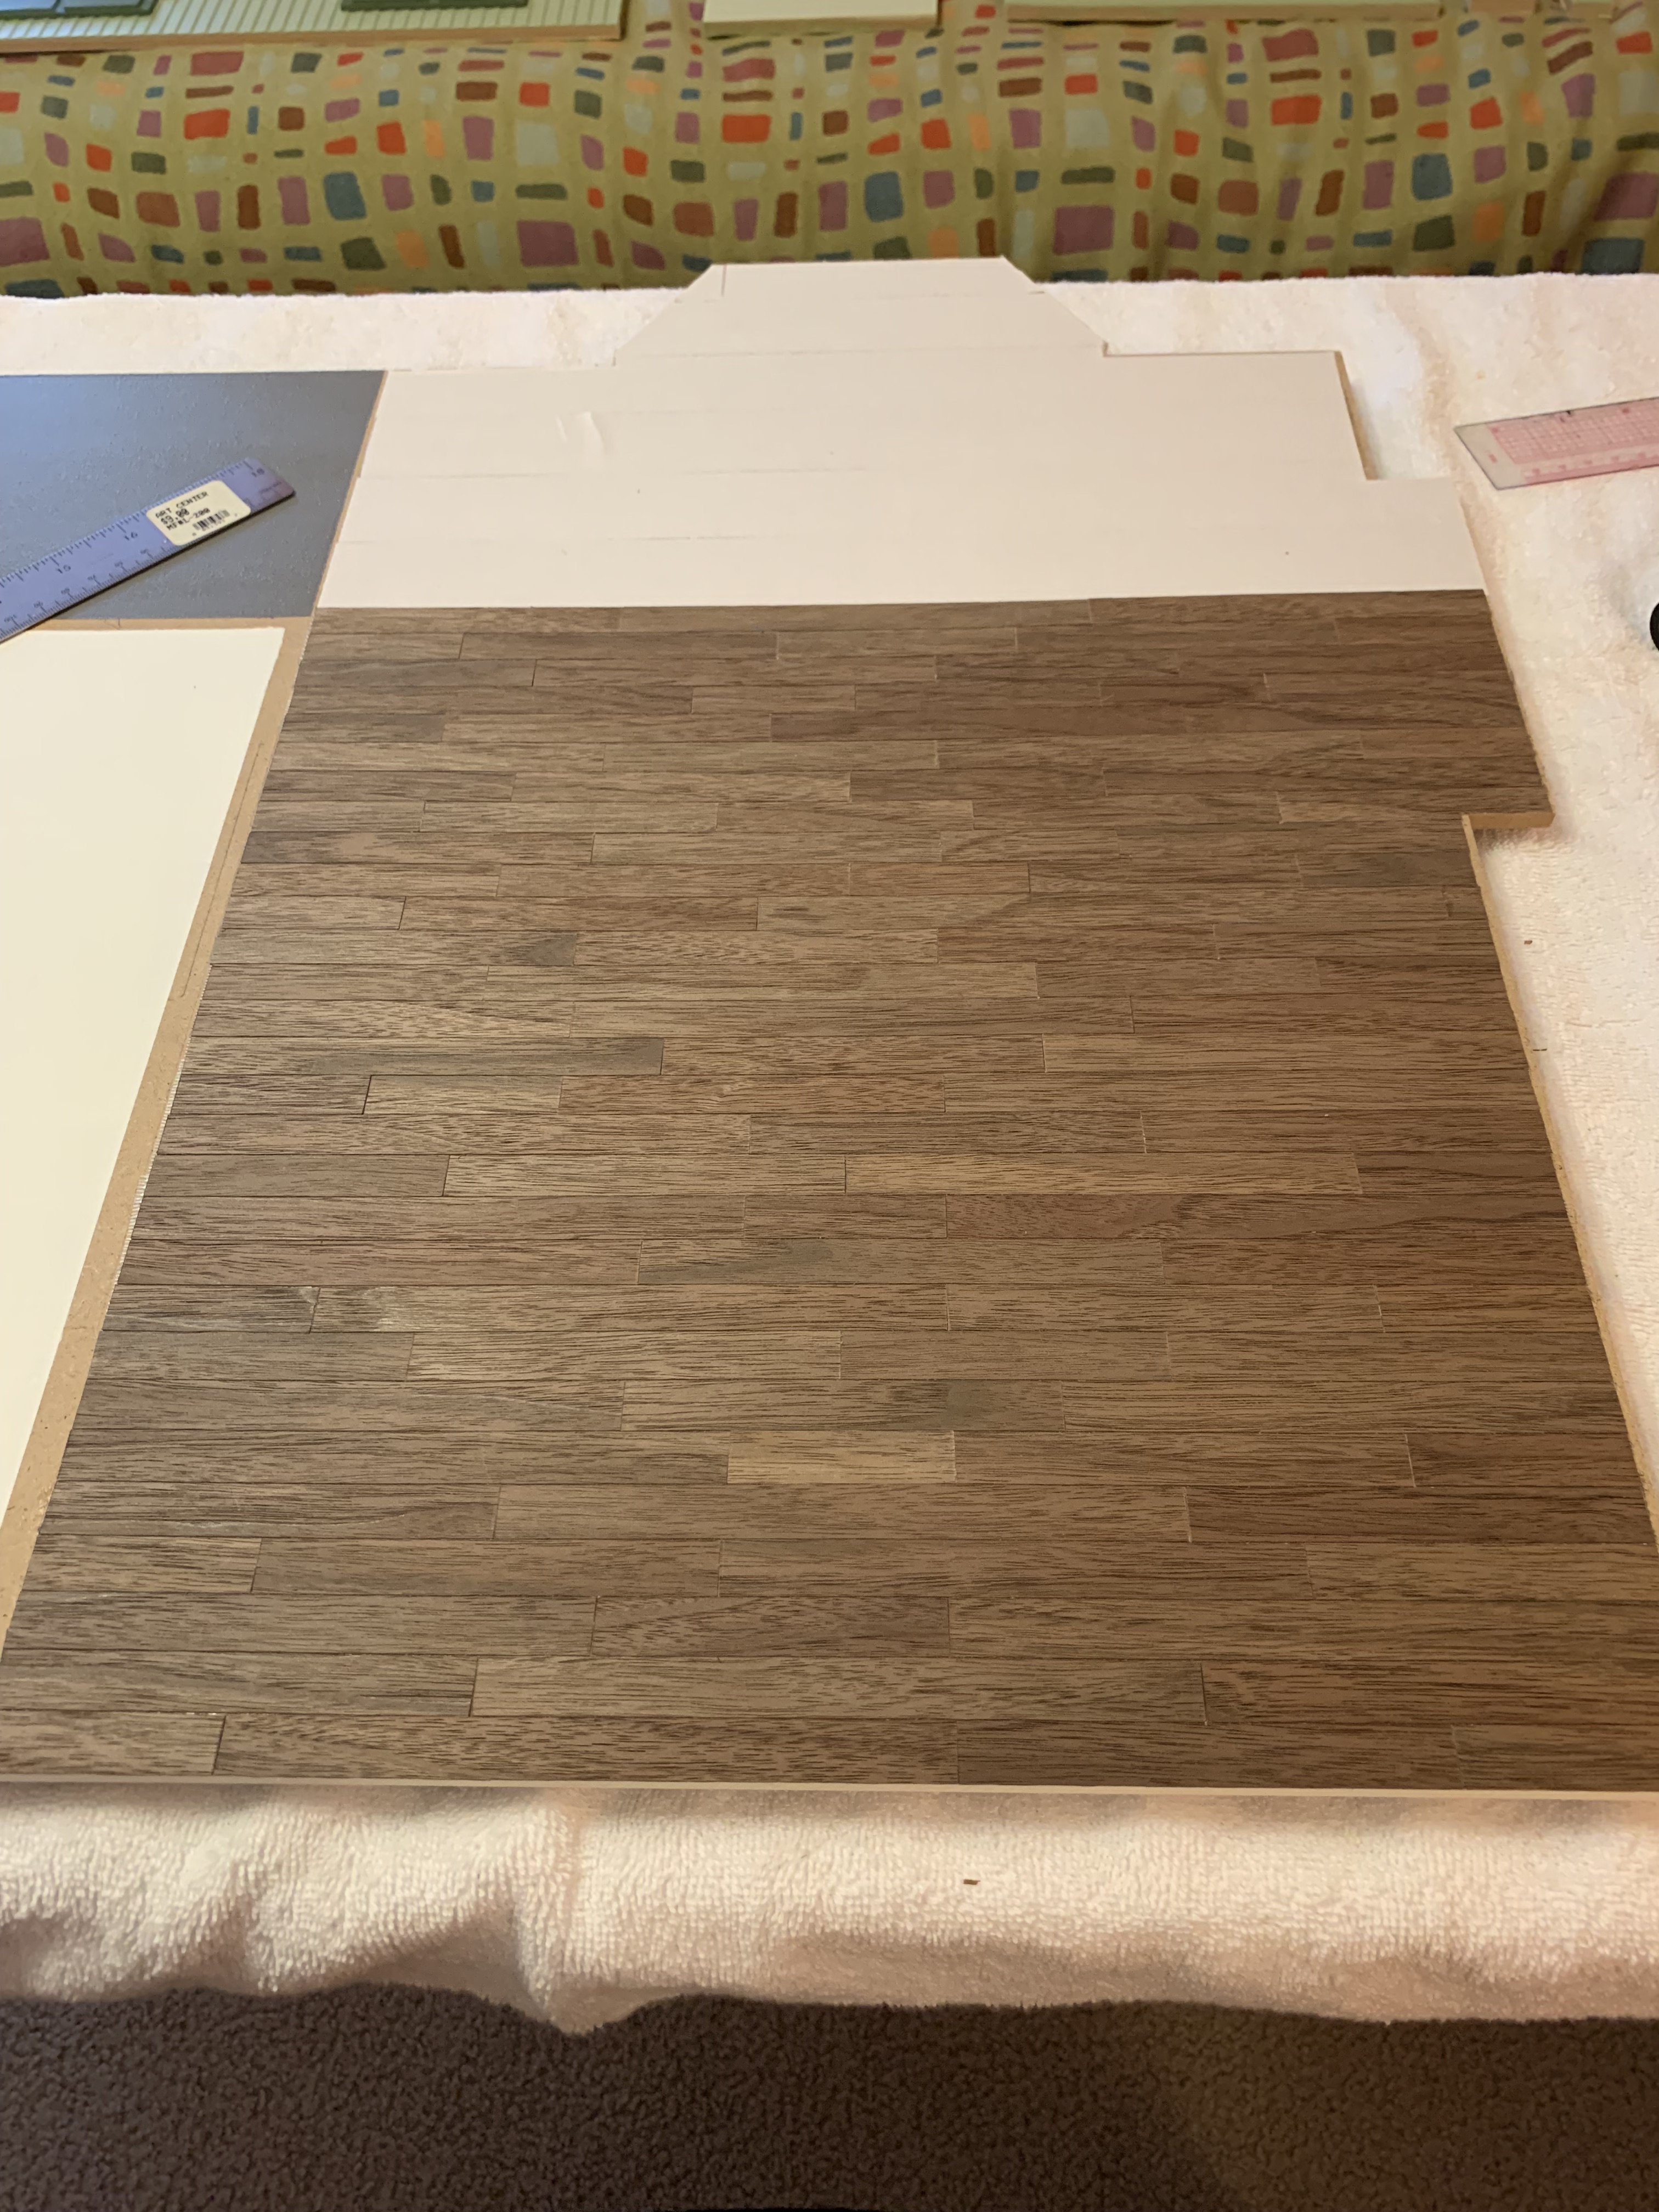
To be on the safe side, we ordered three more packs of the walnut veneer (two 12” X 12” sheets per pack) and then after her west coast Christmas visit, she cut five more sheets of strips. It just so happened my sisters were driving over for a visit the second week of January and so she could bring the strips to me rather than mailing them. After our visit, I began to lay them down and soon had the floor finished.
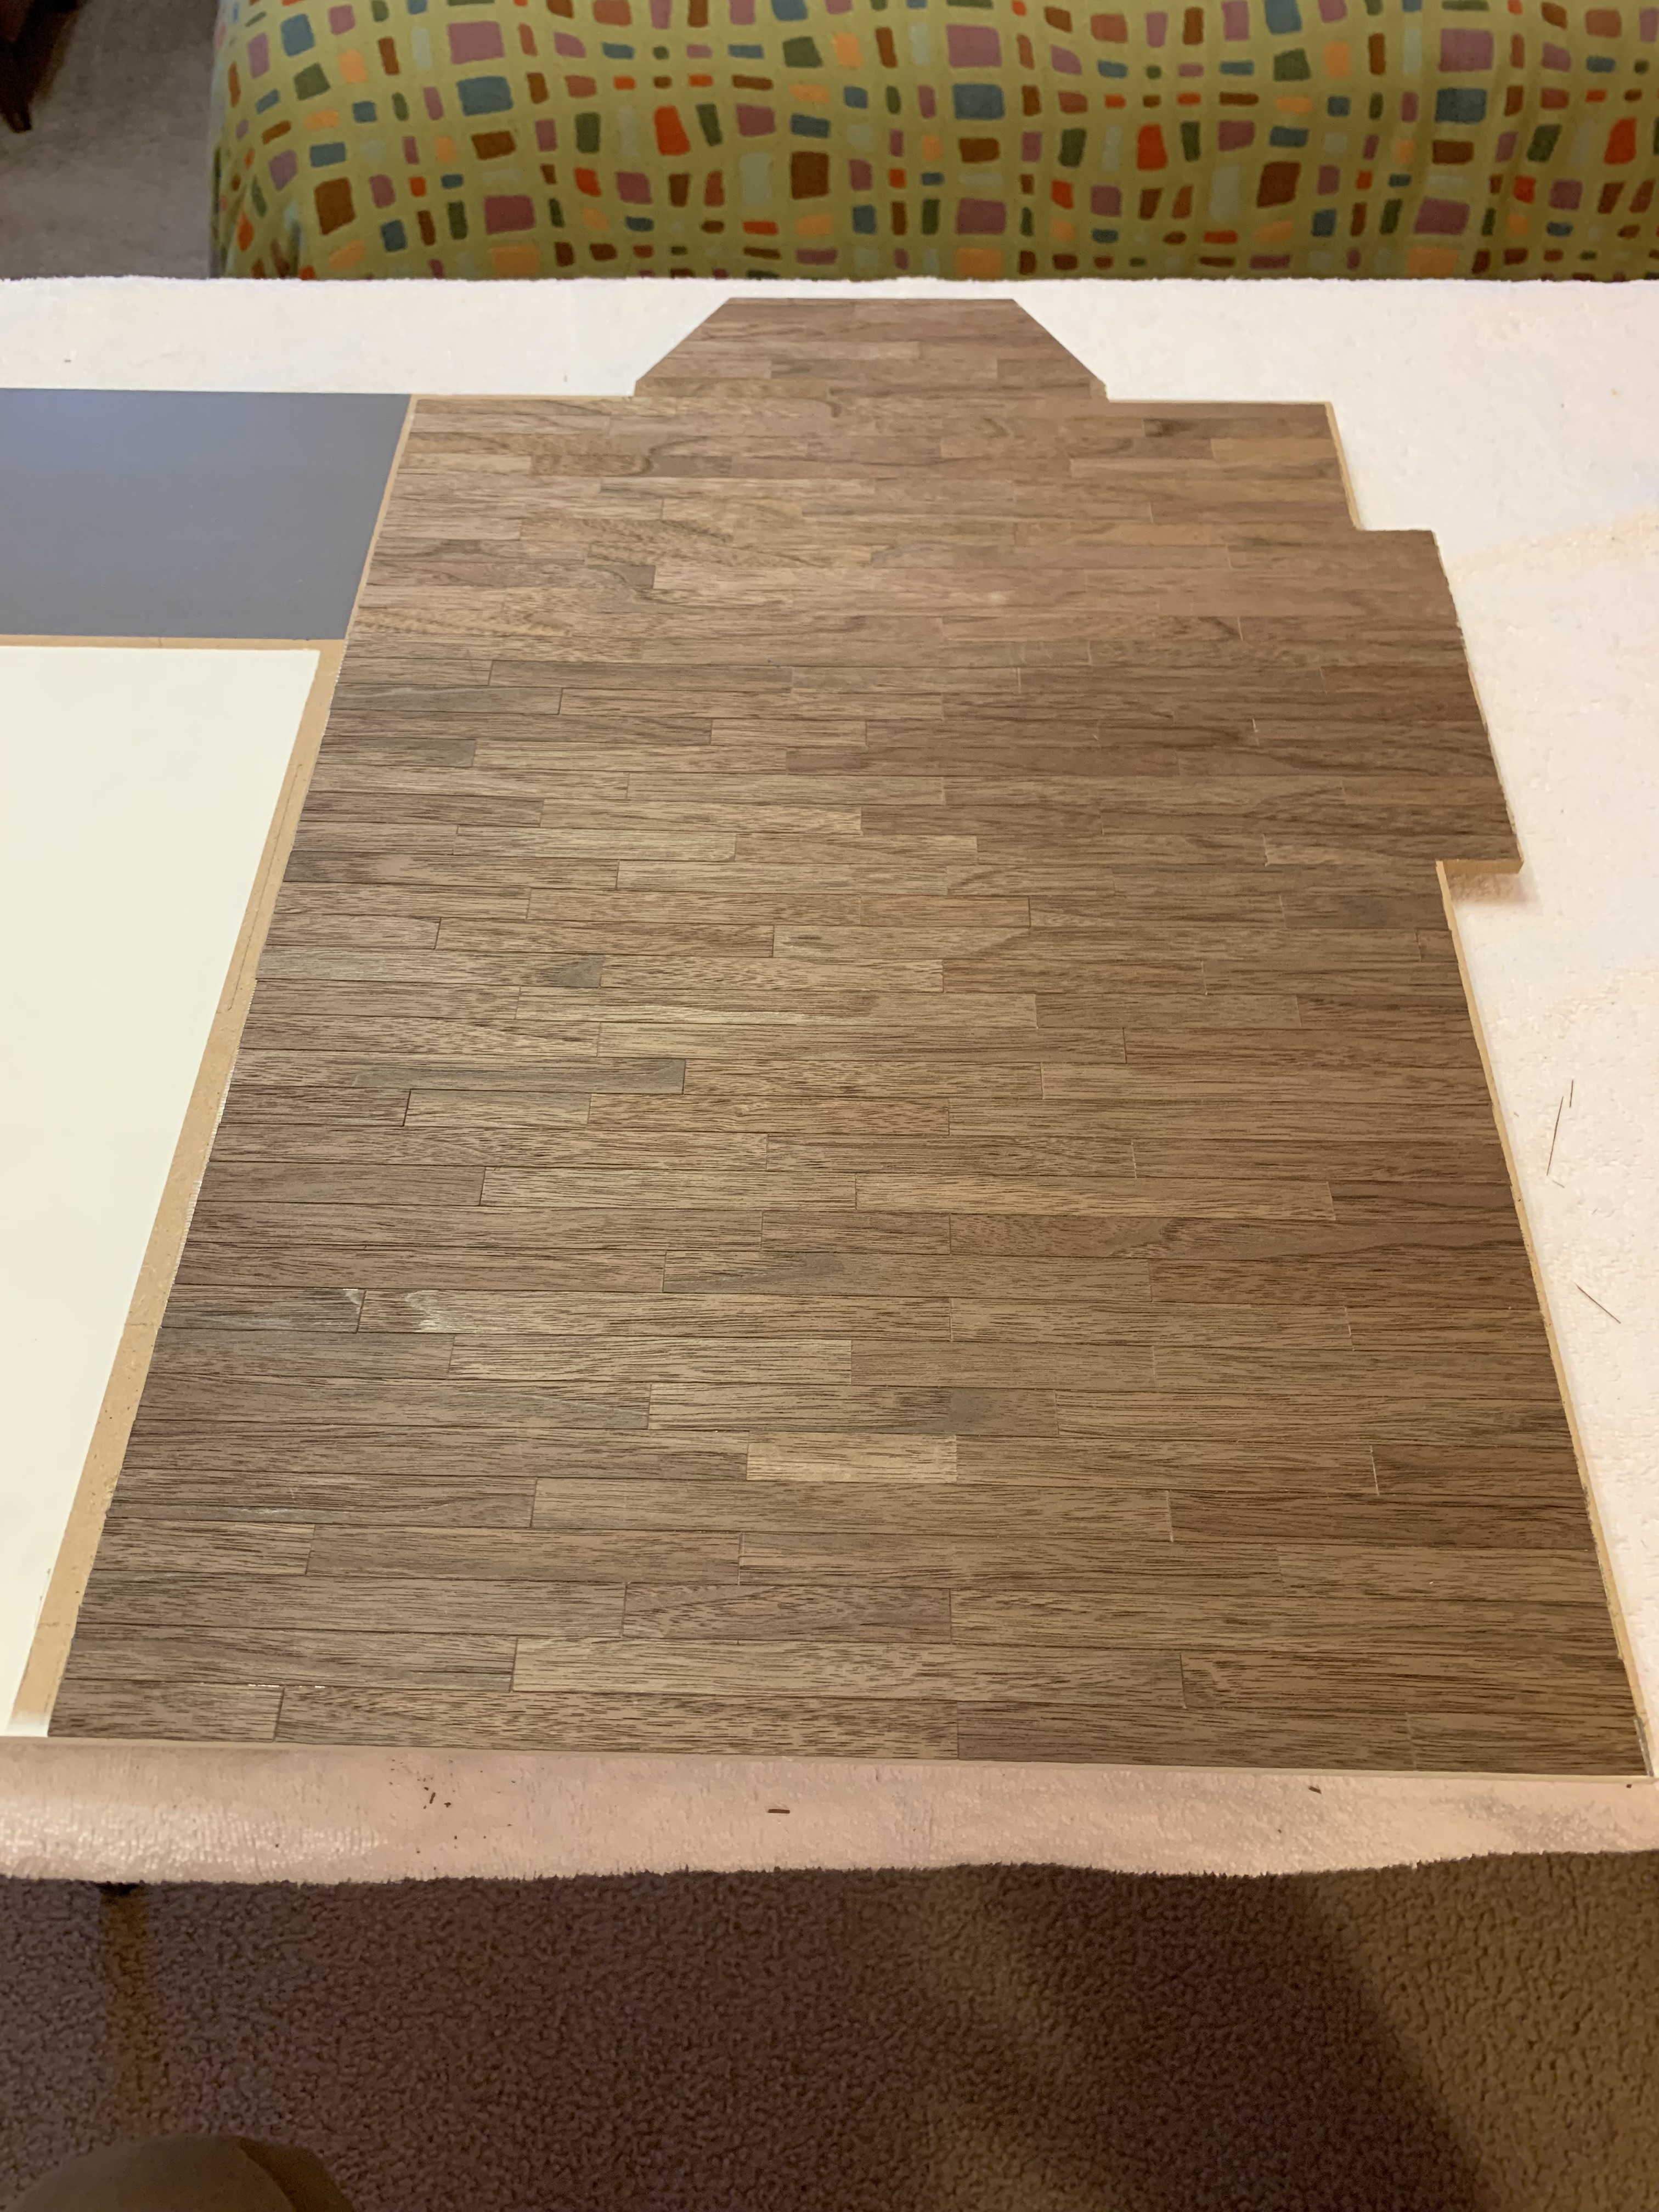
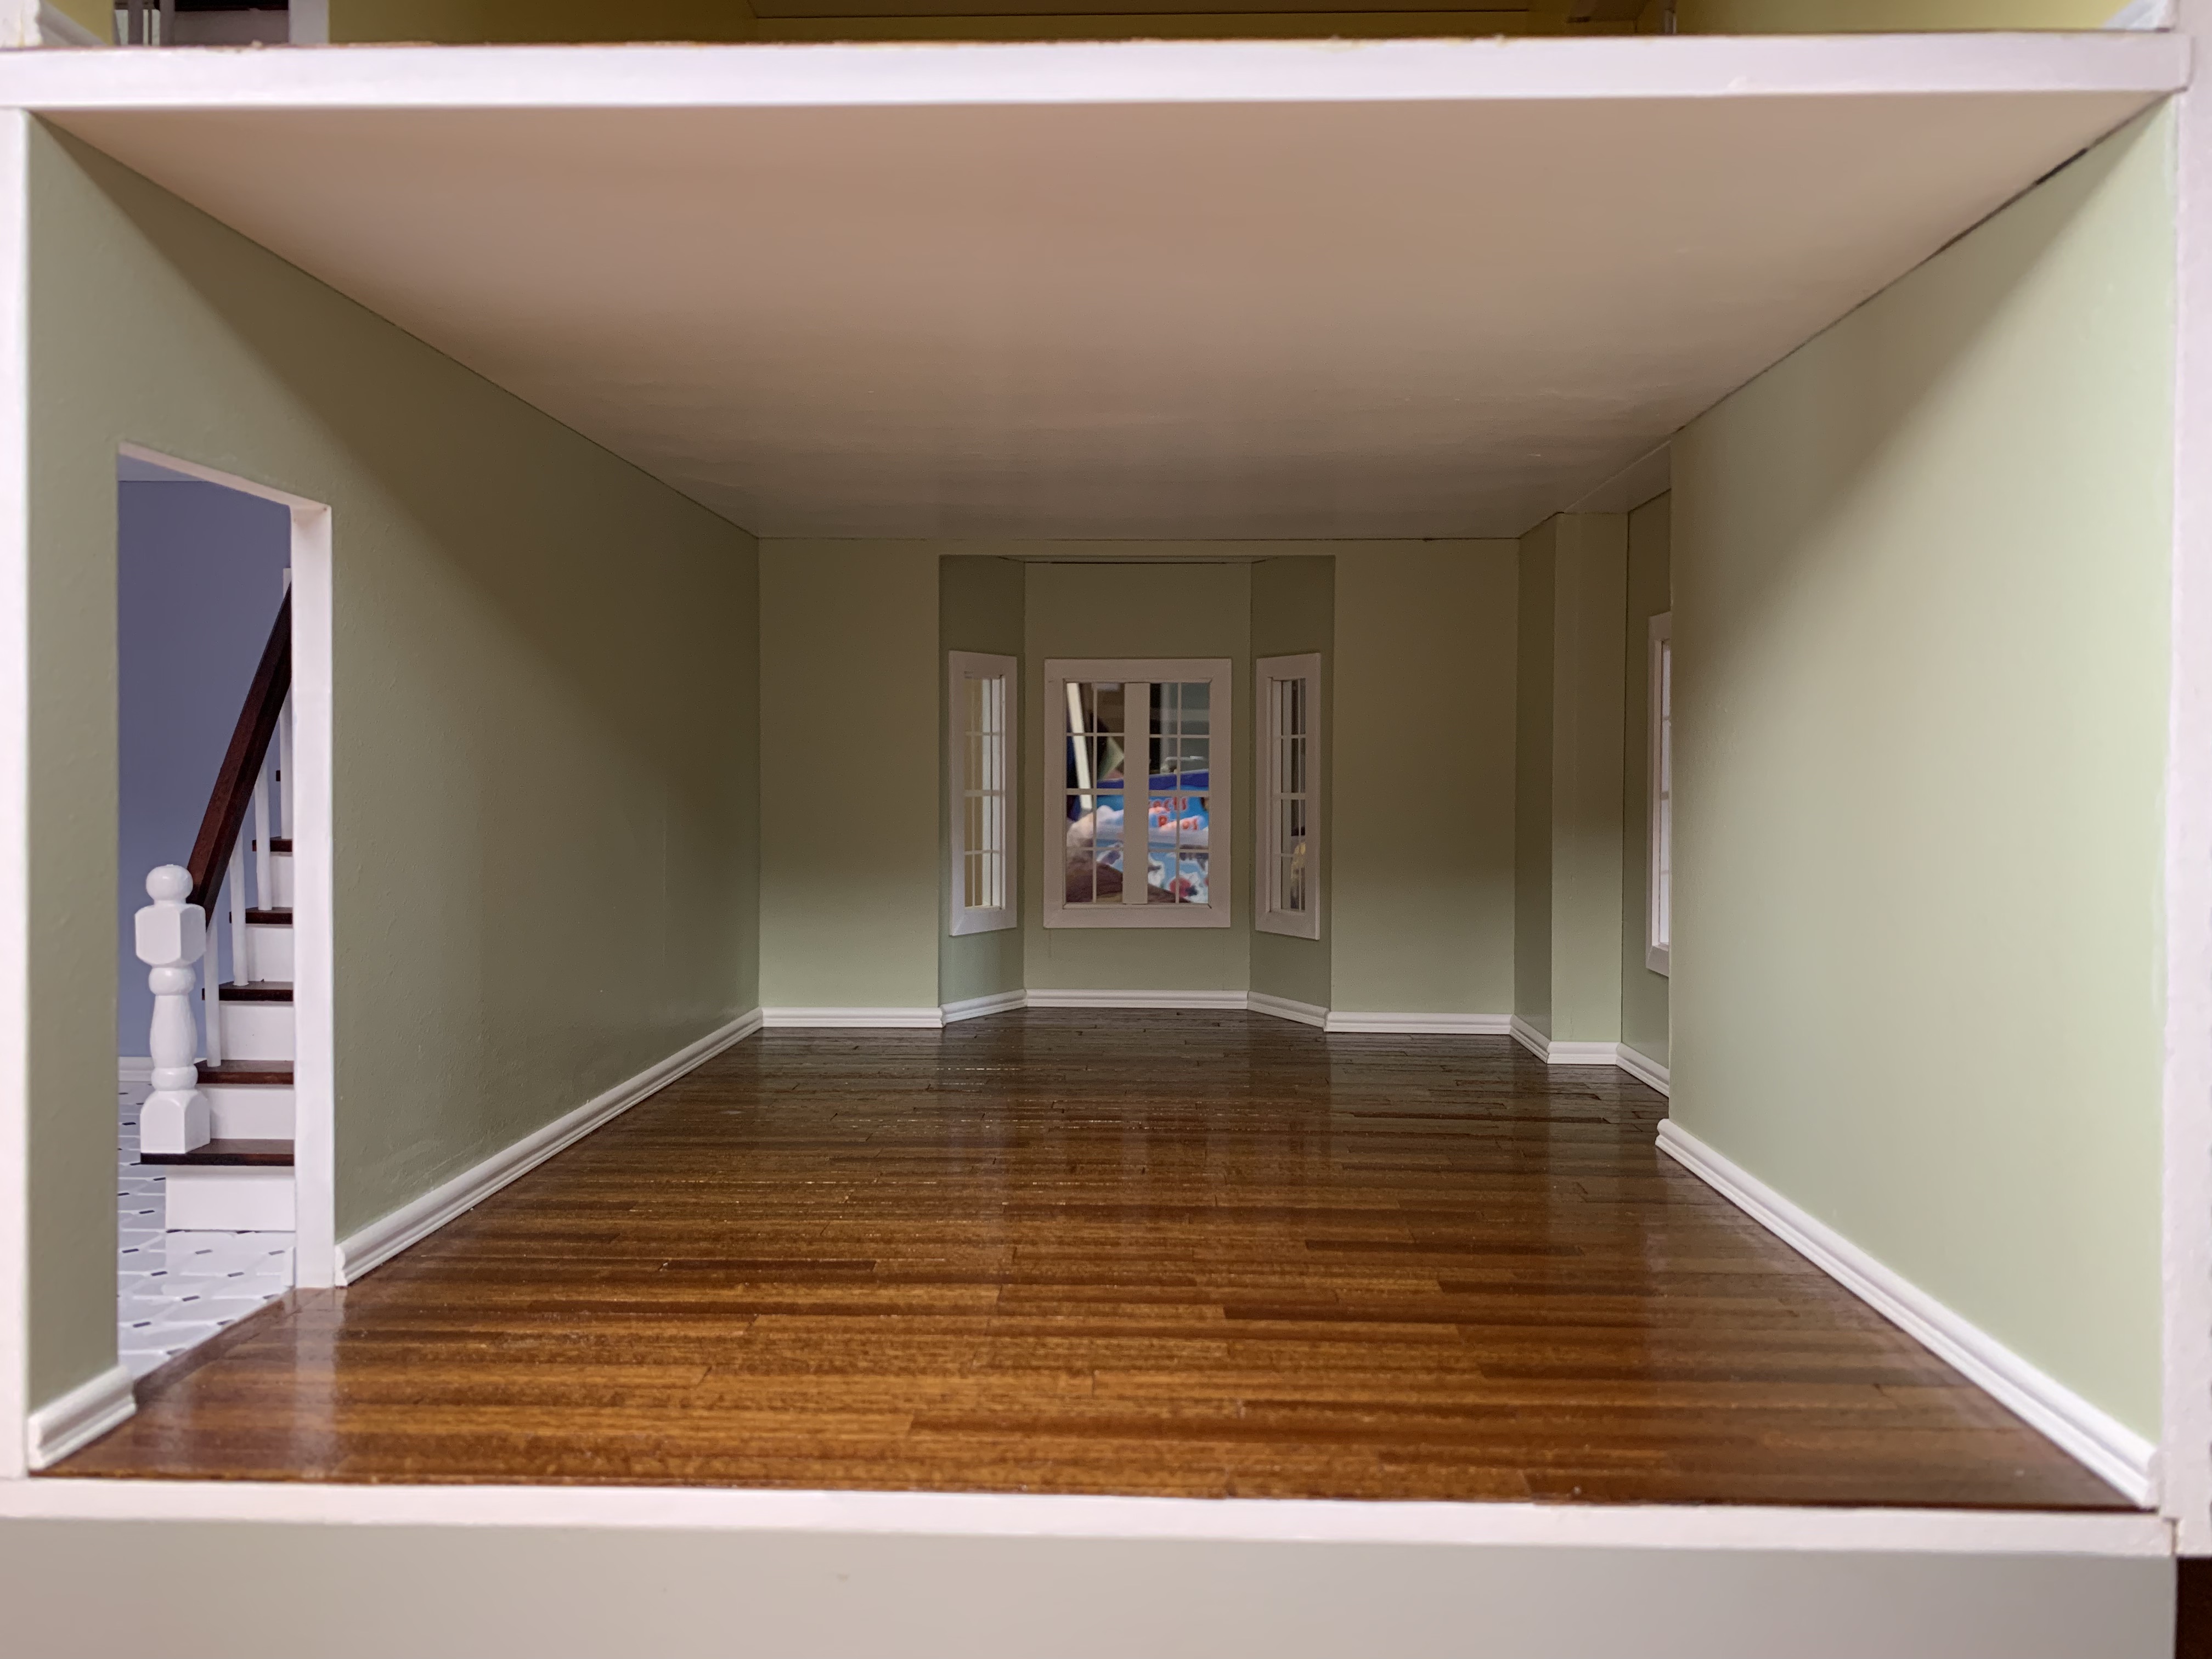
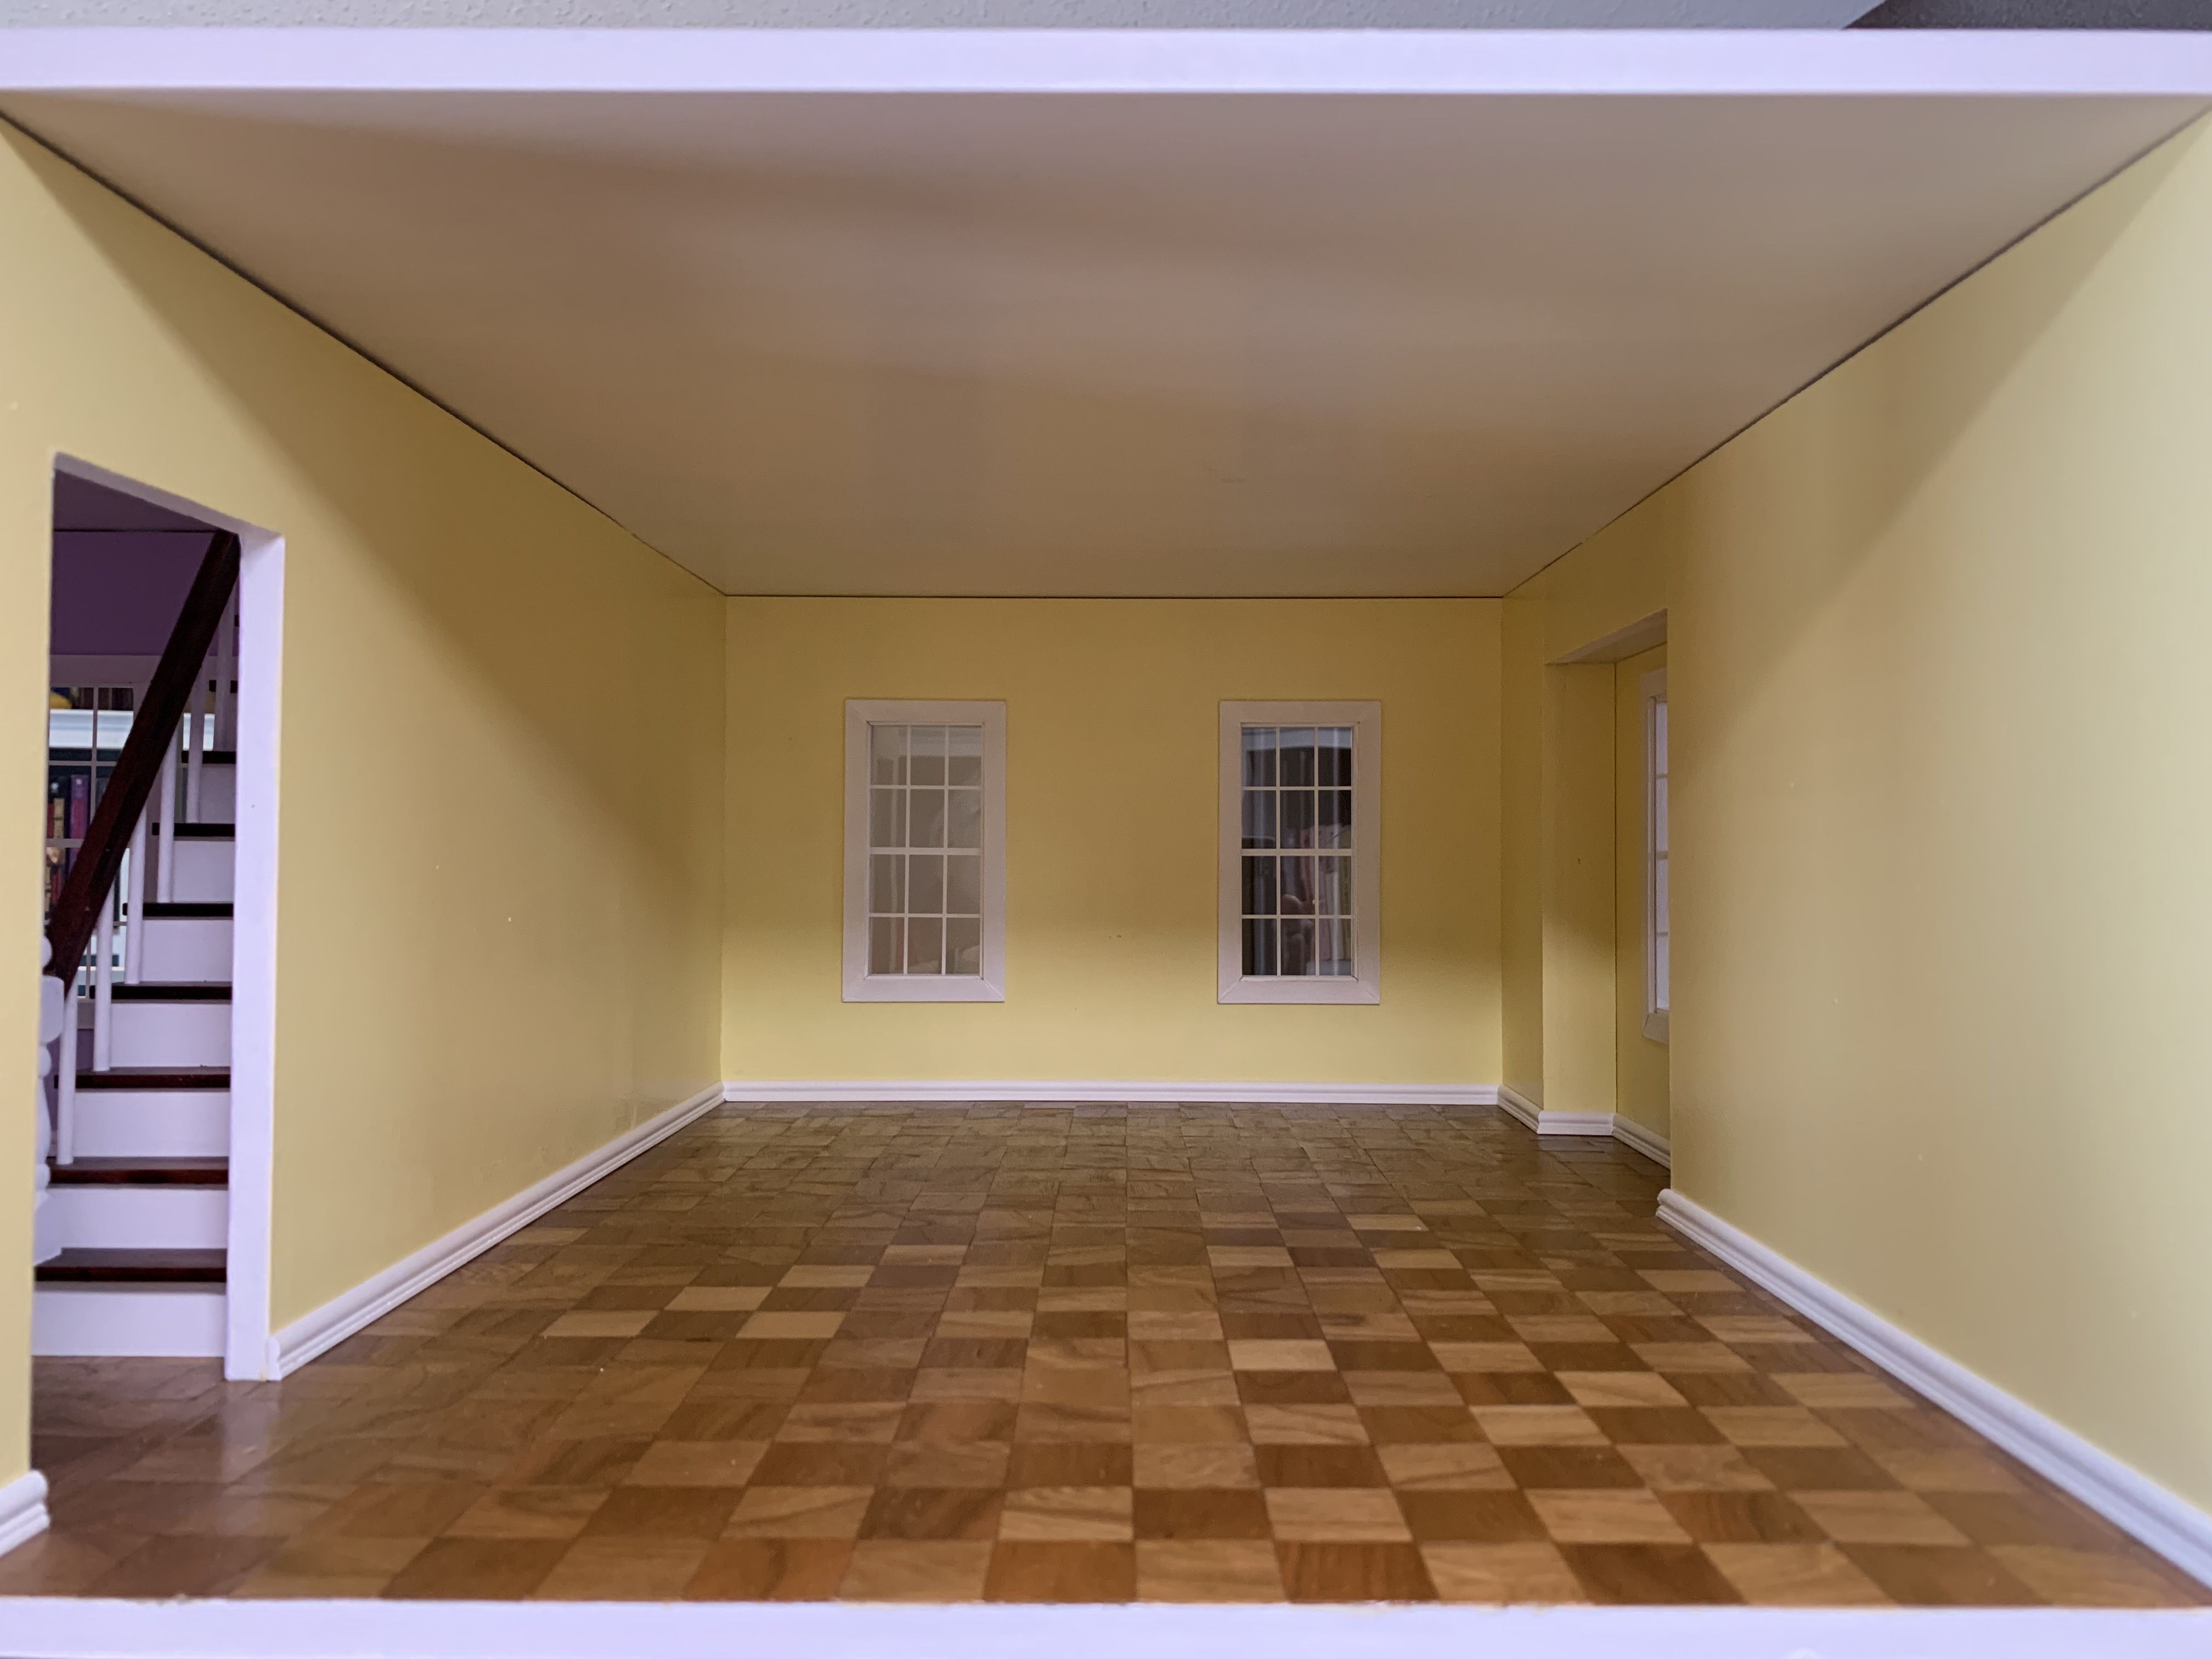
Looking at the completed floor, I could discern a slightly lighter color to the new strips, but I didn’t think it would be noticeable once I applied three coats of polyurethane.

I was wrong. Even with three coats of polyurethane, it still seemed lighter. Only time would tell once the walls were up with the ceiling overhead if the difference would be significant. I sent a picture of the finished floor to my sister, but she still thought it looked great.
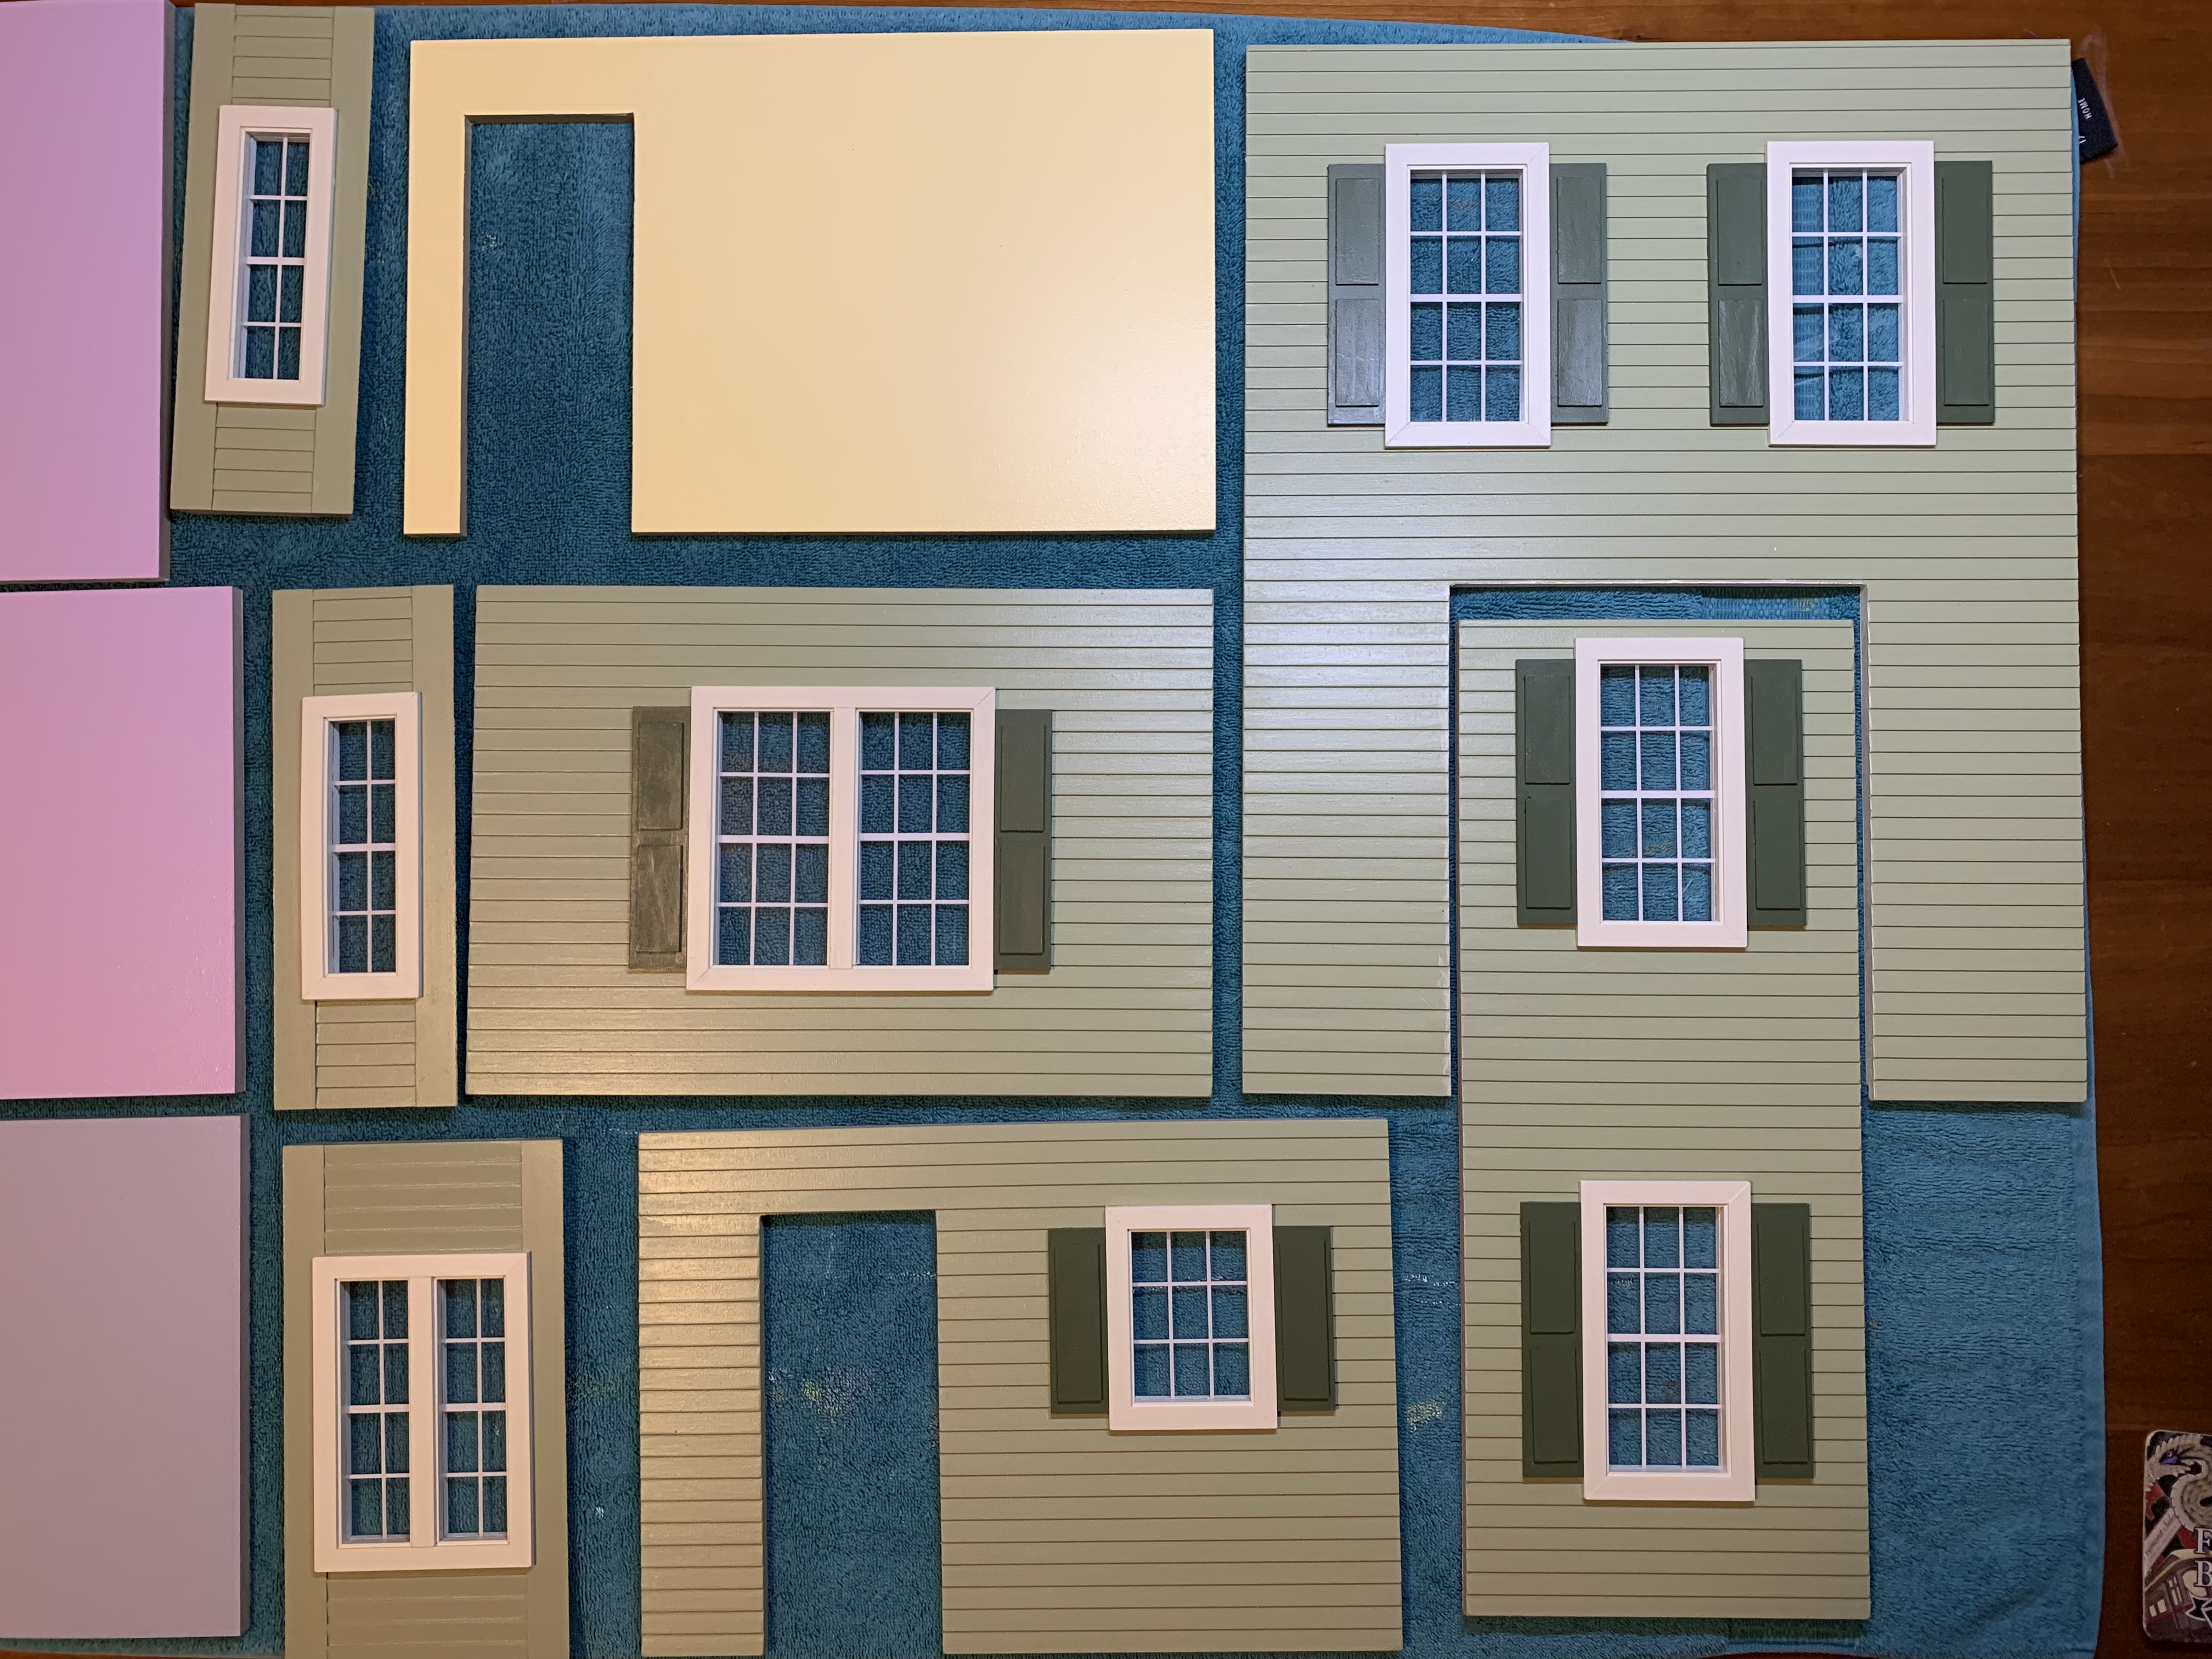
With the floor now finished, I could pick back up on the assembly of the doll house. I glued the first floor to the foundation, added the caster wheels beneath, and then started gluing the walls in place. Per the instructions, I started with the front and side…

…and then attached the remaining first-floor walls.

To be continued…
Categories

David, this dollhouse is a work of art – thanks to your creativity, patience, and preciseness. The floor looks fabulous. I’m afraid my own dollhouse looks amateurish compared to yours, so I guess I better not compare. Your work does inspire me though. I have not heard of a brayer roller before, but I wonder if a small rolling pin would do the job, too. I have a small rolling pin which is silicone. I had thought of donating it, but perhaps will keep it now just in case I ever redo a dollhouse floor. I look forward to the next installment.
Thanks, Betty. I think your rolling pin would work as well. And I’m glad my work has inspired you. Have a great day!