
A Miniature Garage Loft – Phase 7
Continued from: A Miniature Garage Loft – Phase 6
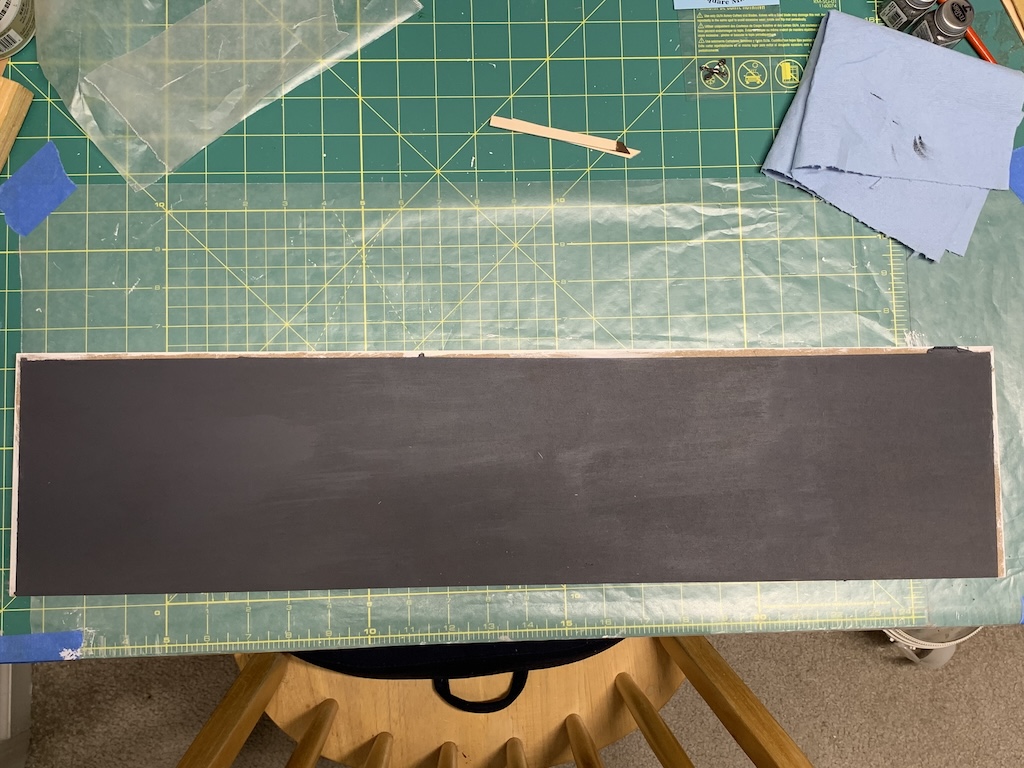
Once the walnut strips arrived, I was ready to begin laying them on the deck.
Deck boards often come in 8-foot lengths so I knew I could use 8 inches for my longest boards. I cut other shorter lengths as well to accommodate the fact that my deck was 25 inches long and because I did not want joints between adjacent boards lining up. With a number of lengths cut, I next put down my usual carpet tape prior to laying down the planks.
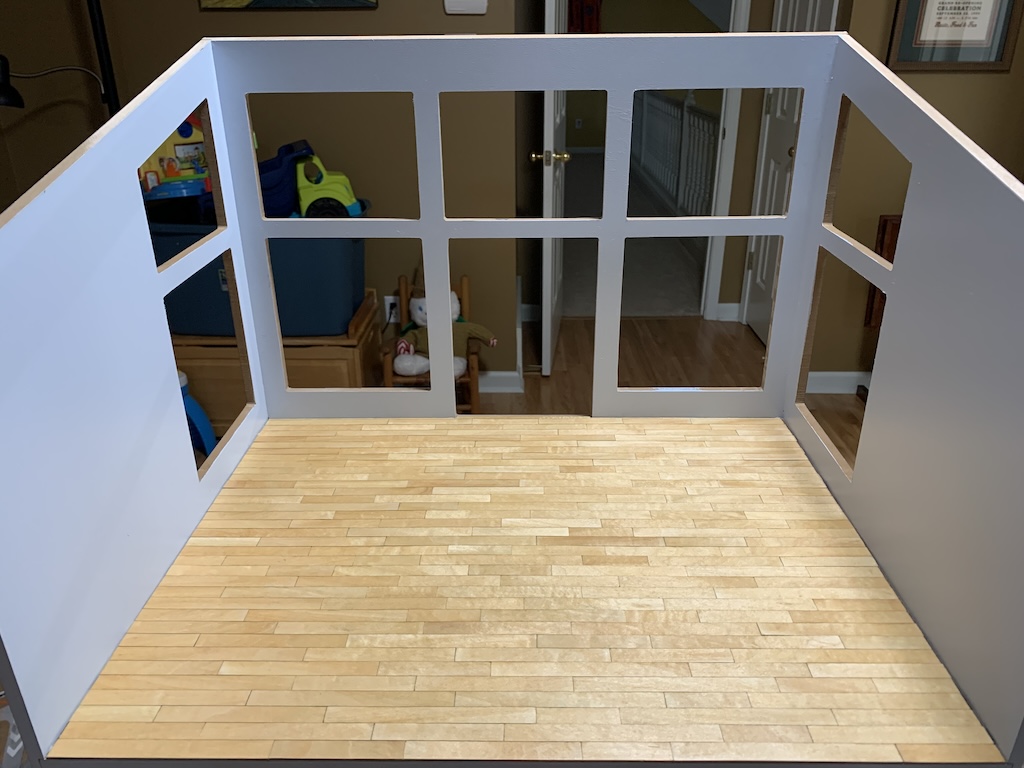
Whereas I did not want gaps between birch planks on the interior floor, I did want gaps between the walnut deck planks. With any wooden decks, there is always a gap between boards to allow for water drainage, airflow, and natural expansion and contraction due to temperature changes. While my garage loft would never be exposed to the elements, I still wanted a realistic look.
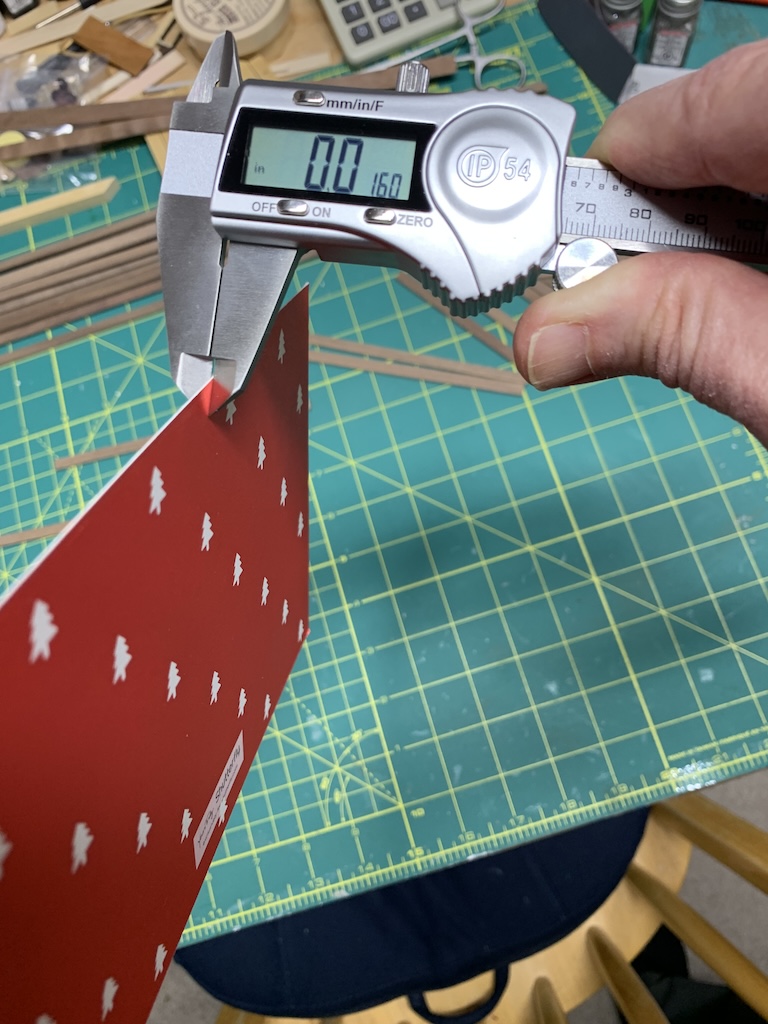
Checking online, I found that typically the gap between deck boards is between 1/8 and 1/4 inches with 3/16 inches being used for dry wood. I chose to model the 3/16-inch gap which in my 1/12-scale would be 3/192 of an inch. Obviously, there is no ruler that divides an inch into 192 equal parts, so I converted it to 0.015625 in decimal format (3 ÷ 192). With the aid of my calipers, I gauged the thickness of several different materials. A piece of 20 bond paper was too thin and a piece of mahogany veneer I had was too thick. I then found that a Christmas card was 0.0160 inches. As the saying goes, that’s close enough for government work, so I was satisfied.
After laying down four complete rows of planks using the Christmas card as a gap spacer, I was pleased with the looks.
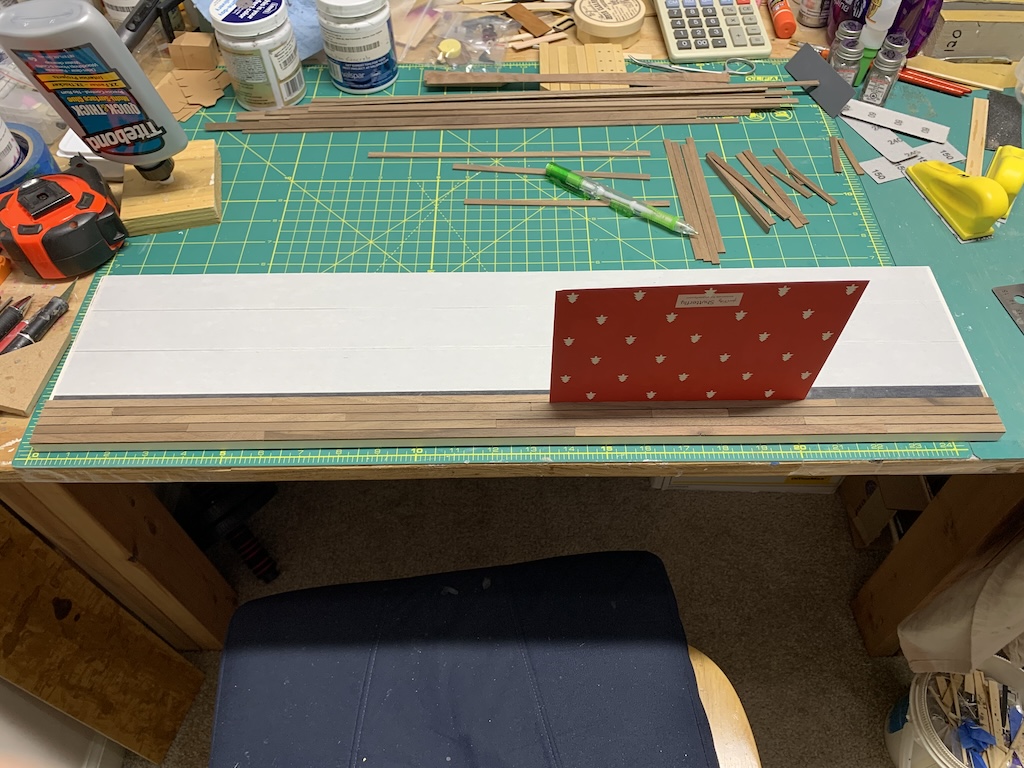
I continued working across the deck and once I had put down 22 rows, I was done.
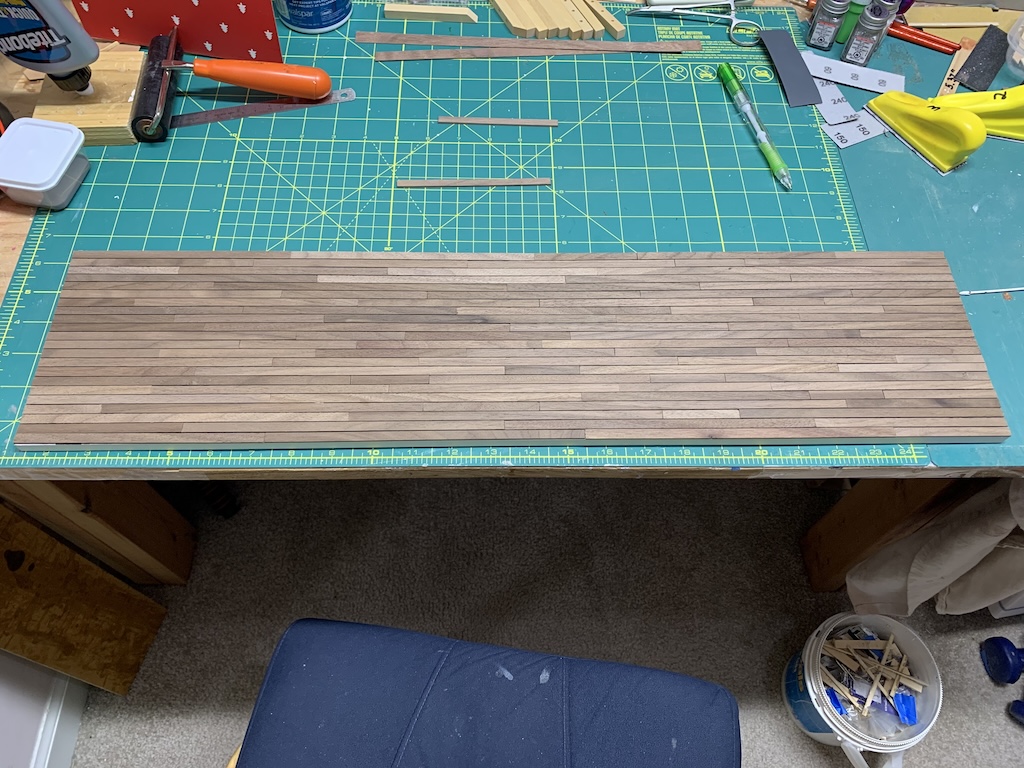
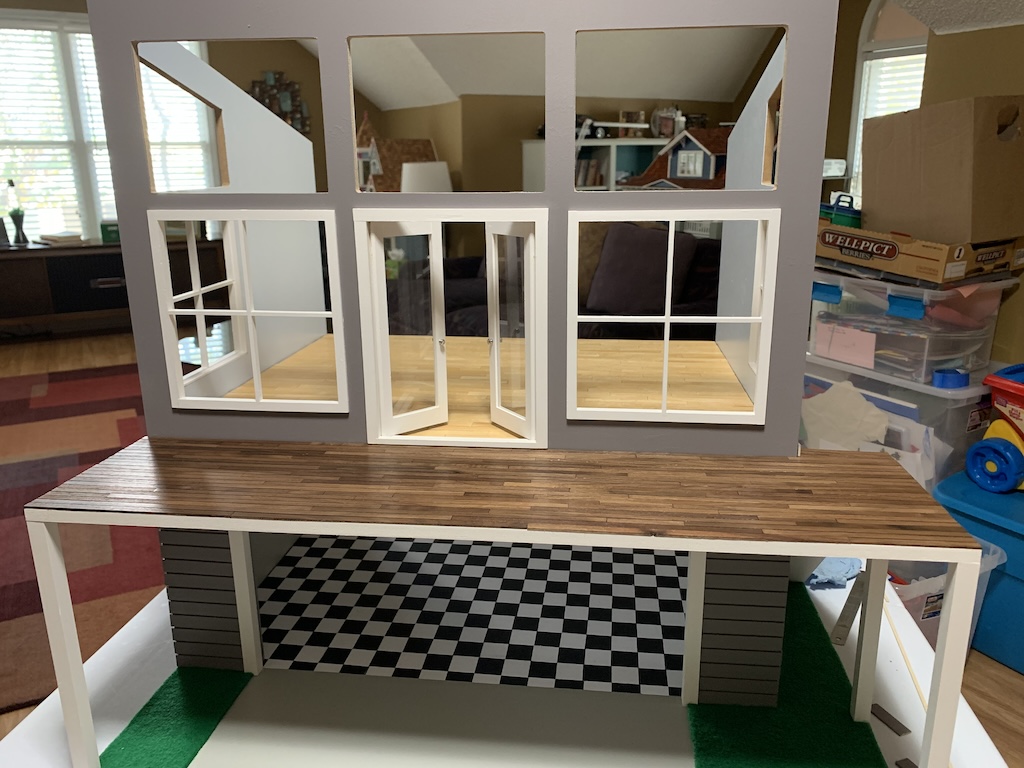
I next followed my now standard 3-grit sanding process and with a nice smooth surface I was ready to apply polyurethane. Since this was technically an exterior wood surface, I decided to use a satin polyurethane rather than a gloss one to leave a little less shiny surface. Two coats were all it took. Now I was ready to glue the deck to the front of the loft.
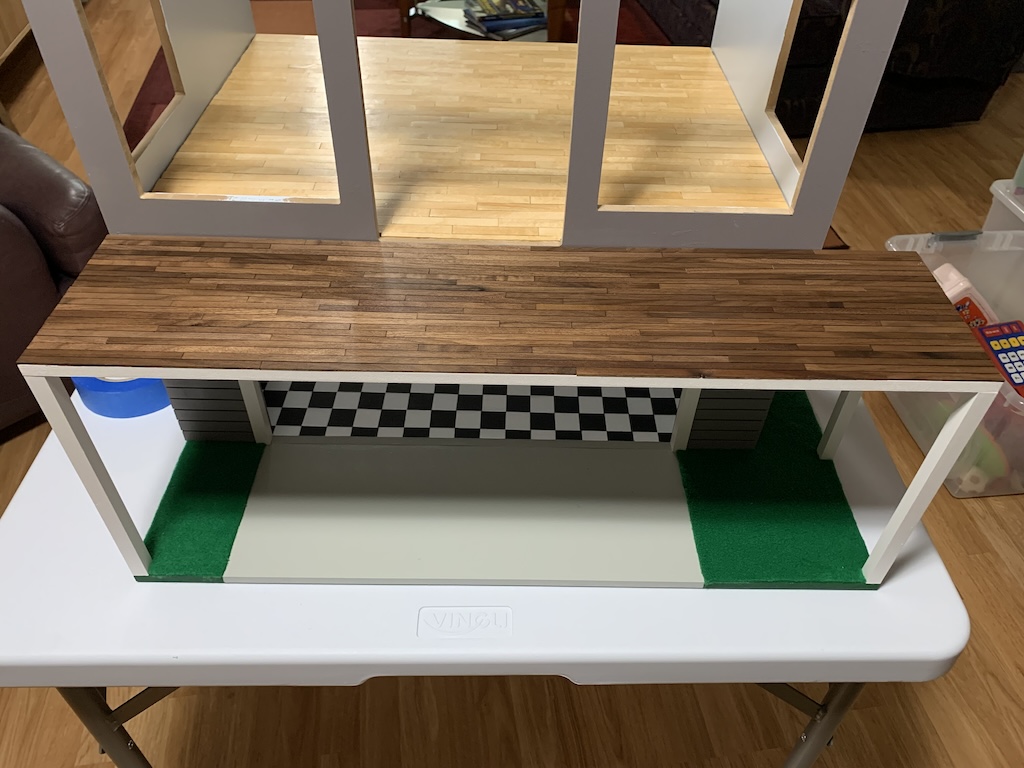
In the photo above, you will also note that I added my “artificial grass” as I figured it would be easier to attach this without the deck above and I’m sure you have already guessed what I attached it with—carpet tape!
For the stairs, I needed to take a different approach as I would not be able to sand the stair treads in place without damaging the stair risers and I could not apply polyurethane without getting it also on the stair risers. So, what I did was to sand and then apply polyurethane to just the strips of walnut before attaching them to the stairs. I then cut them into 3-inch lengths matching the width of the stairs. After putting down carpet tape where the treads would go, I was ready to add the previously finished treads.
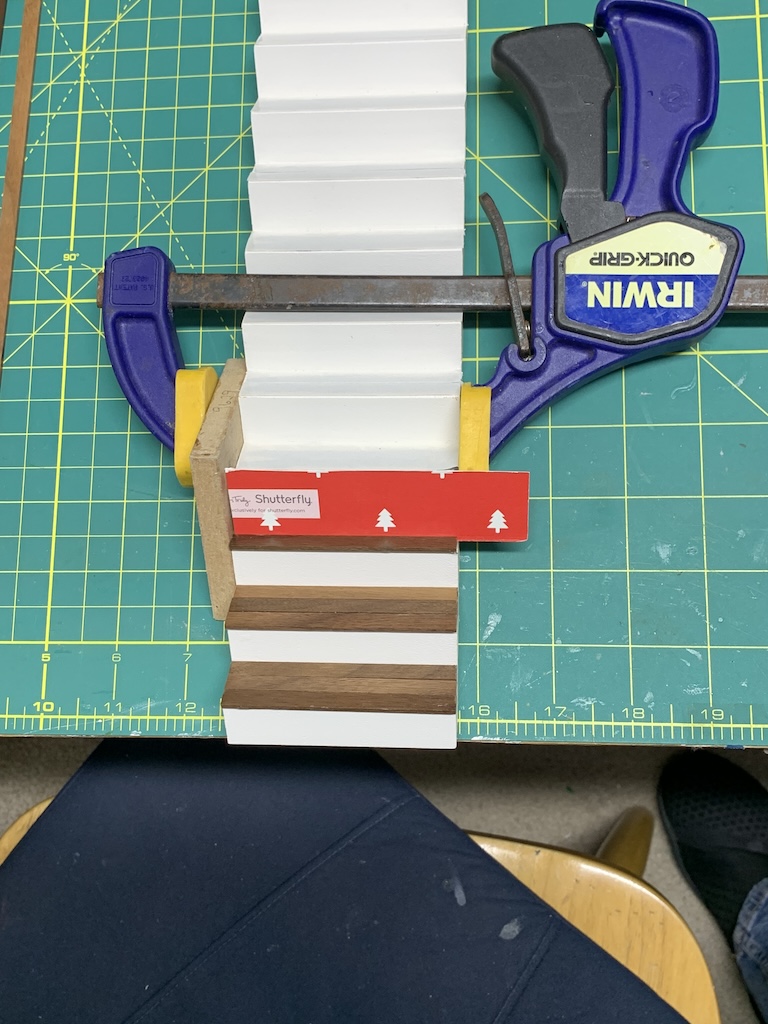
I came up with what I thought was an ingenious way to ensure the treads were installed exactly the same for each step. I clamped an MDF triangle to the outside edge of the stairs to allow the tread to be flush with the exposed stairs edge. I then cut a piece of the Christmas card as a gap gauge since trying to use the full card proved too cumbersome and placed the three treads on each step working from the bottom to the top of the stairs.
Once finished, I then glued the stairs in place.
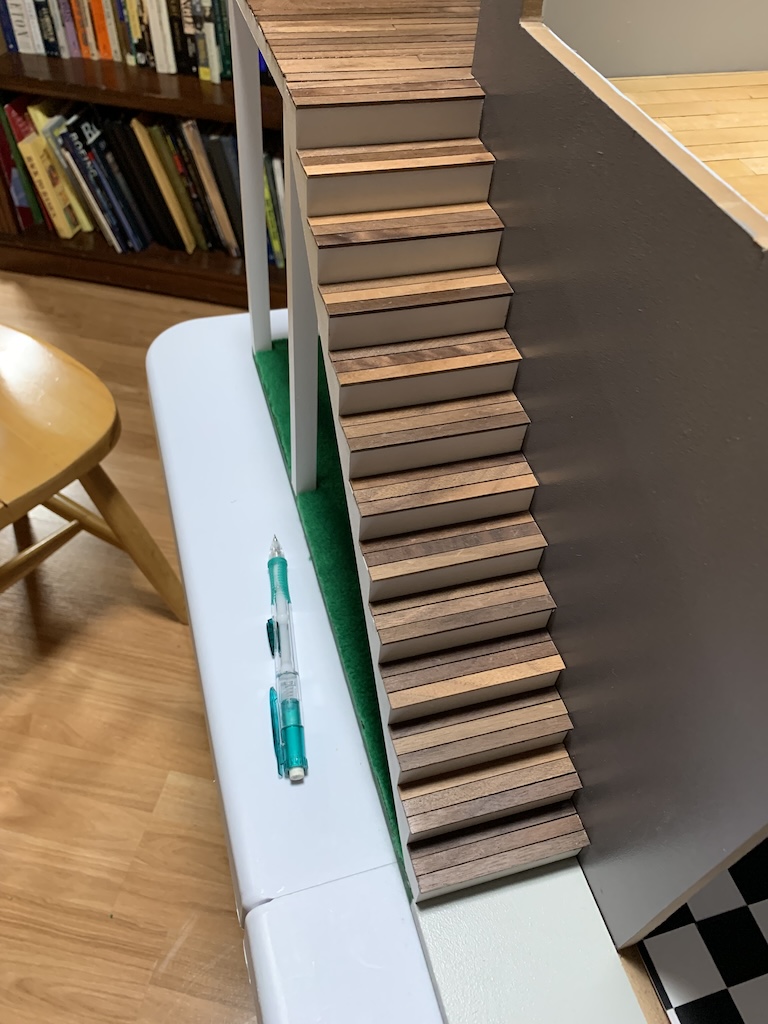
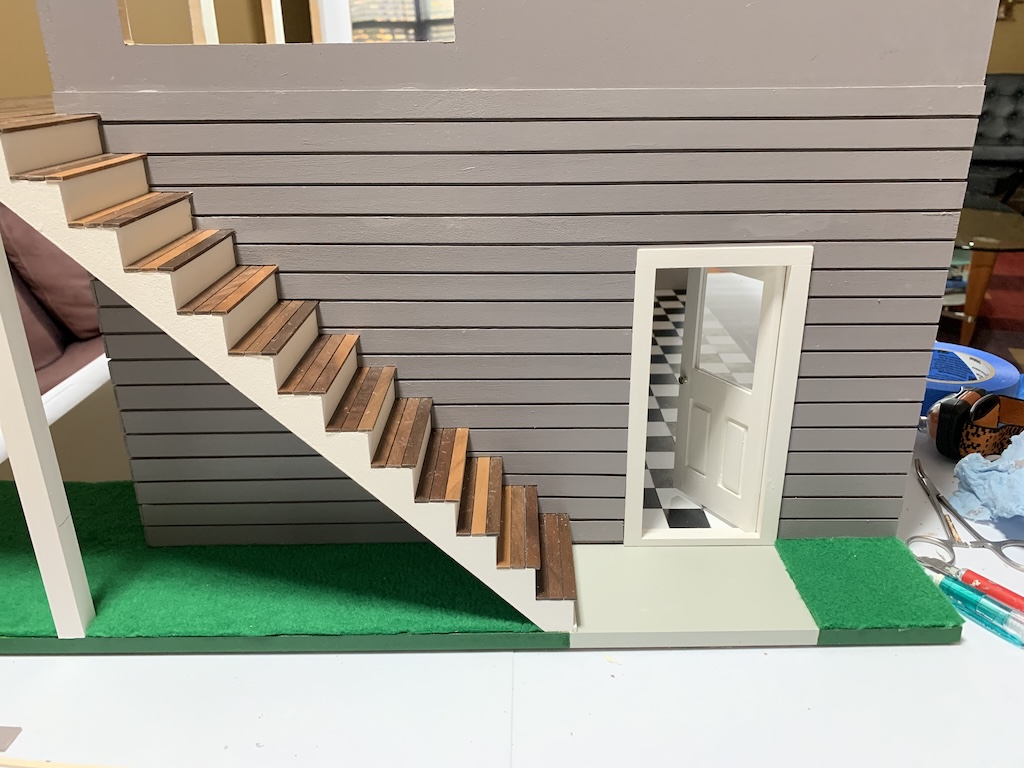
With the stairs installed, I could now begin to add the right-side architectural slats. Thankfully, the angle I needed to cut the slats to fit flush to the back of the stairs was exactly 45° which I had on my miniature miter box. Attaching 15 rows of slats took me to bottom of the deck.
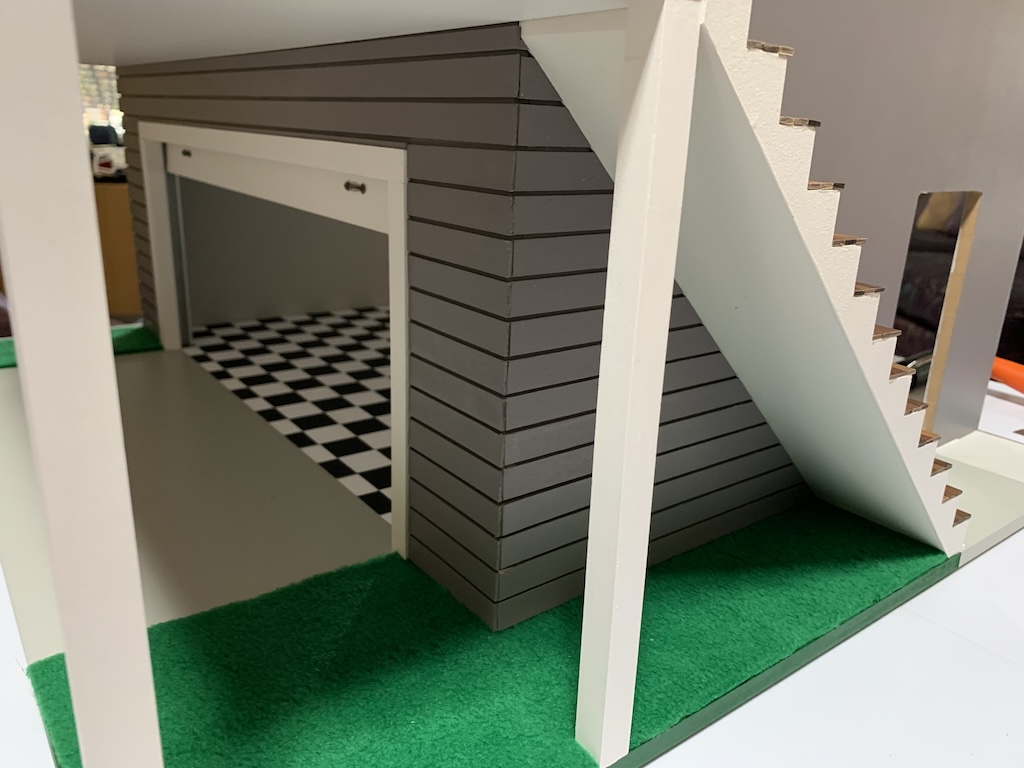
In order to glue the slats onto the right-side wall in front of the stairs, I first needed to install the door leading into the back of the garage.
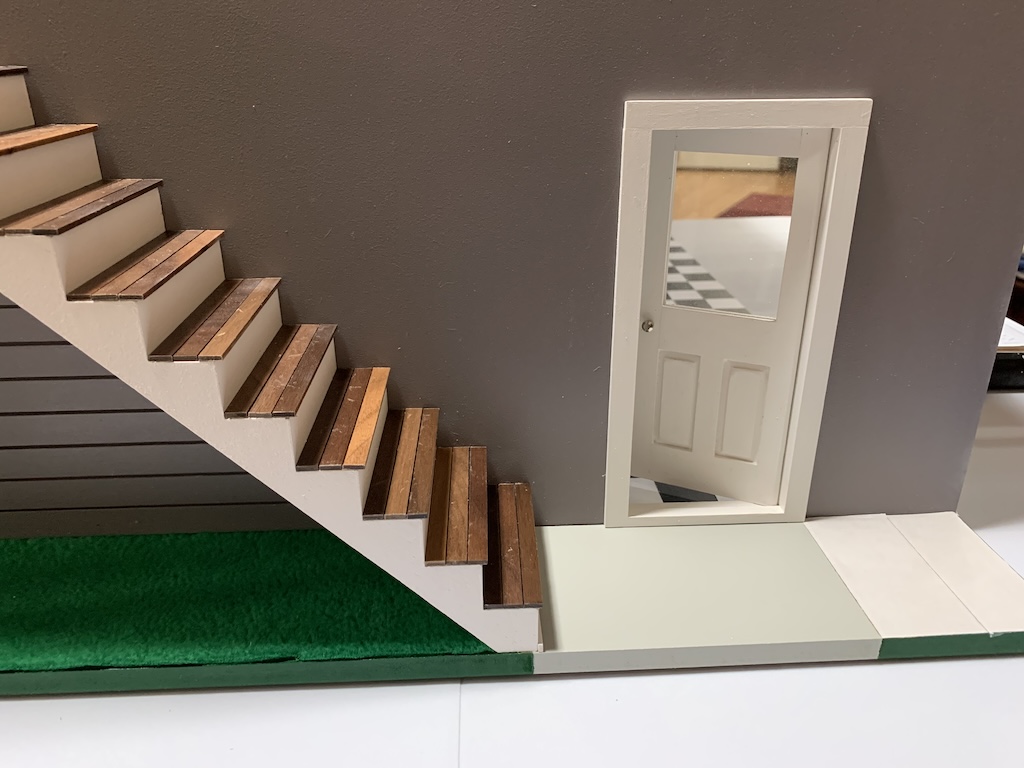
Now I could add the slats on the front side of the stairs. But whereas the cuts on the backside of the stairs were an easy 45°angle, the cuts on the front side of the stairs were significantly more challenging. These I had to cut notches to accommodate the stair riser and the overhang of the walnut decking on the stair treads. Thankfully, I only had to recut a few.
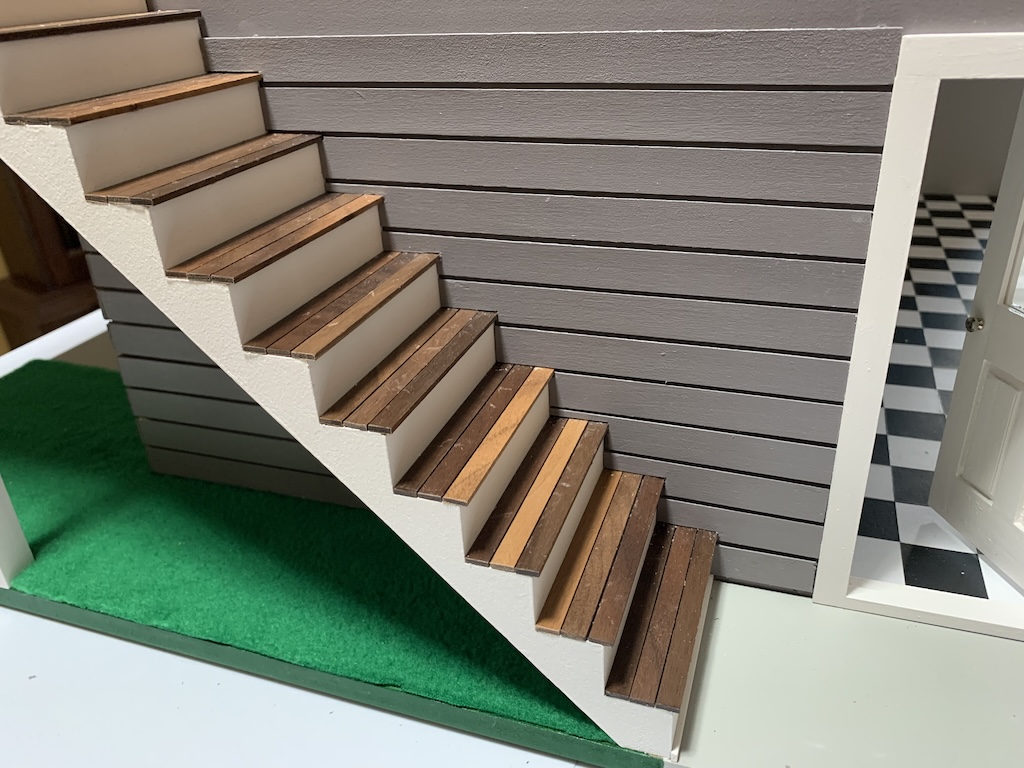
Adding a small 1/16-inch strip above the door allowed me to add the slats on the right side of the door.
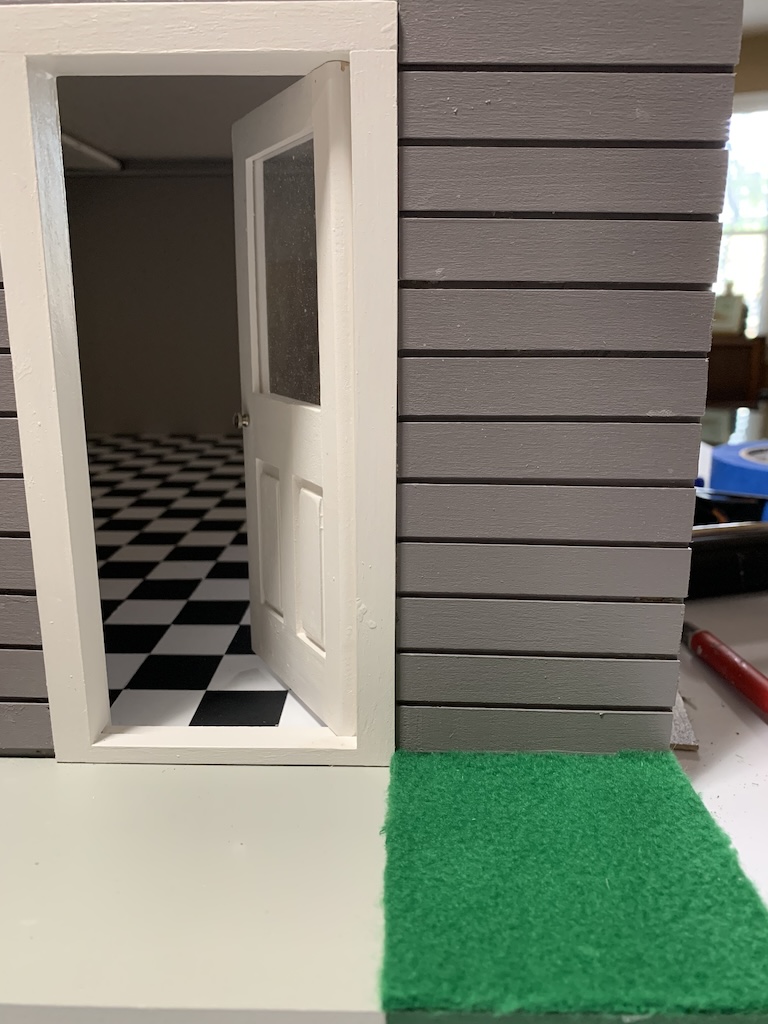
With the door framed with slats on both sides, I progressed up the right-side wall until I reached the deck, happy to be through custom cutting the slats to fit around the stairs.
Before progressing further up the walls on all three sides, I first needed to glue in the first row of windows and the front door to the loft between which slats would fit.
After adding the first two rows of slats beneath the windows, I then needed to cut numerous small pieces to fit between the window frames on the front and sides of the loft and between the window frames on the front of the loft and the door frame. Each column of cuts required a dozen pieces to reach the top of the windows. With six columns to cut, that was 72 individual cuts.
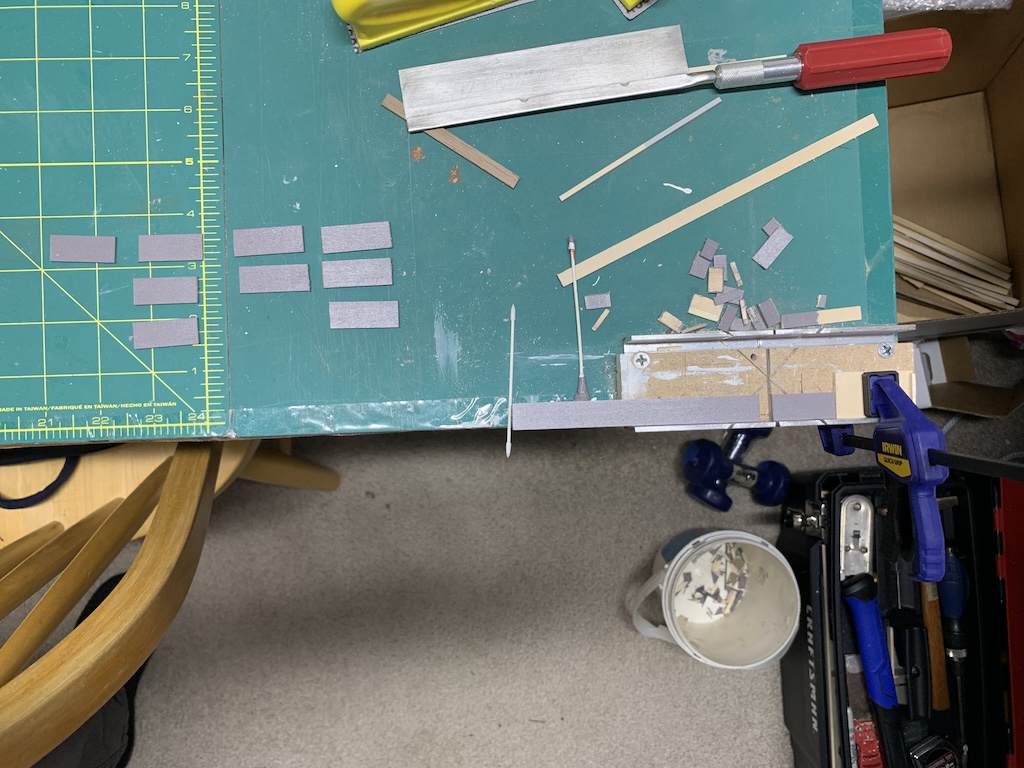
Fortunately, once I determined the correct length of slat for each of the six columns, I figured out I could clamp a piece of wood onto my miniature miter box to match that length and then cut the other eleven pieces. This made their addition go much faster once all twelve pieces were cut. Once I had completed the six columns, I was ready to add the top row of window frames between which I would again have to cut columns of short slats.
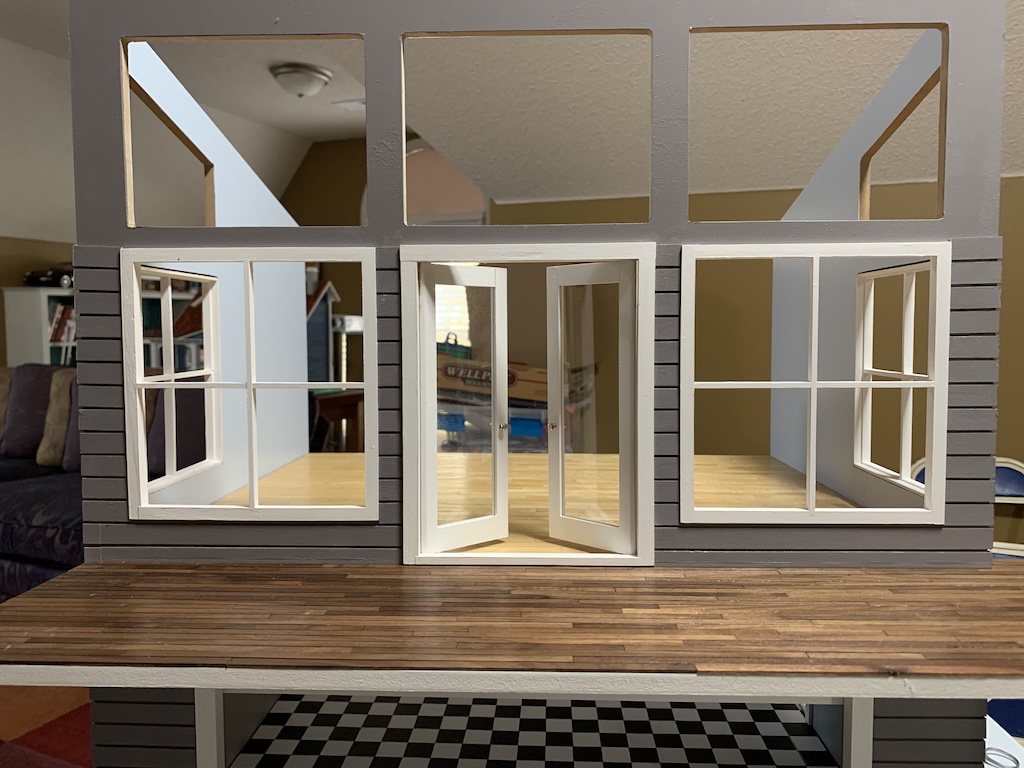
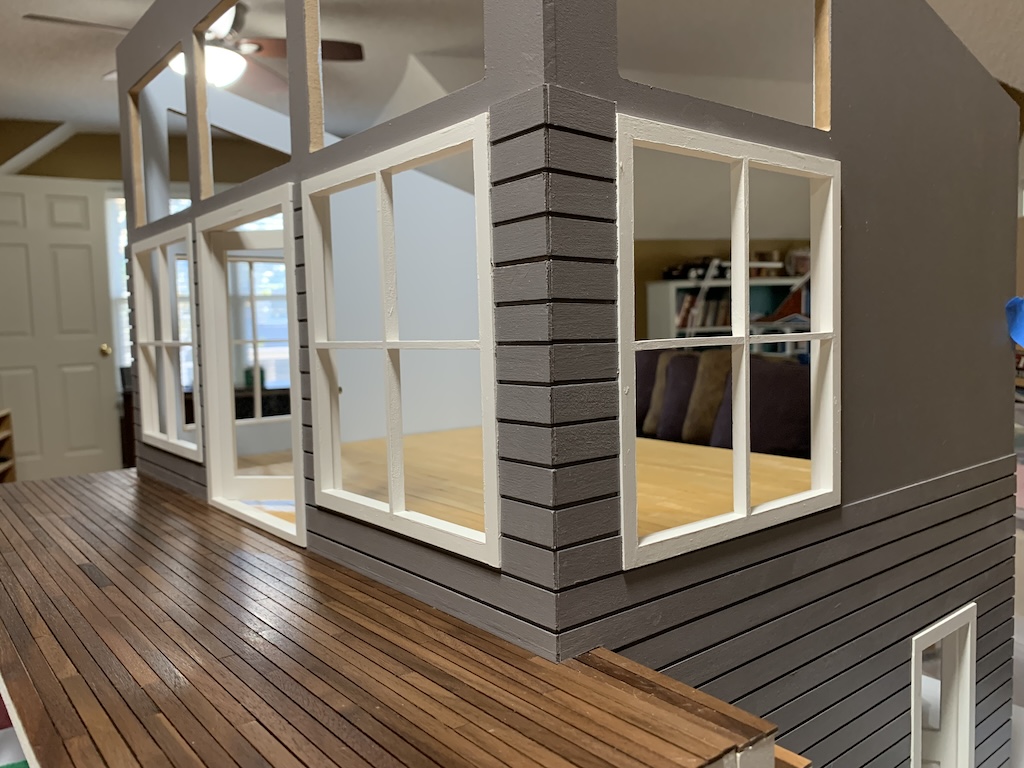 But once I added the top row of windows and the two columns of slats between the three front windows, I had to stop because I had run out of painted 1/2-inch slats—meaning I had to paint more.
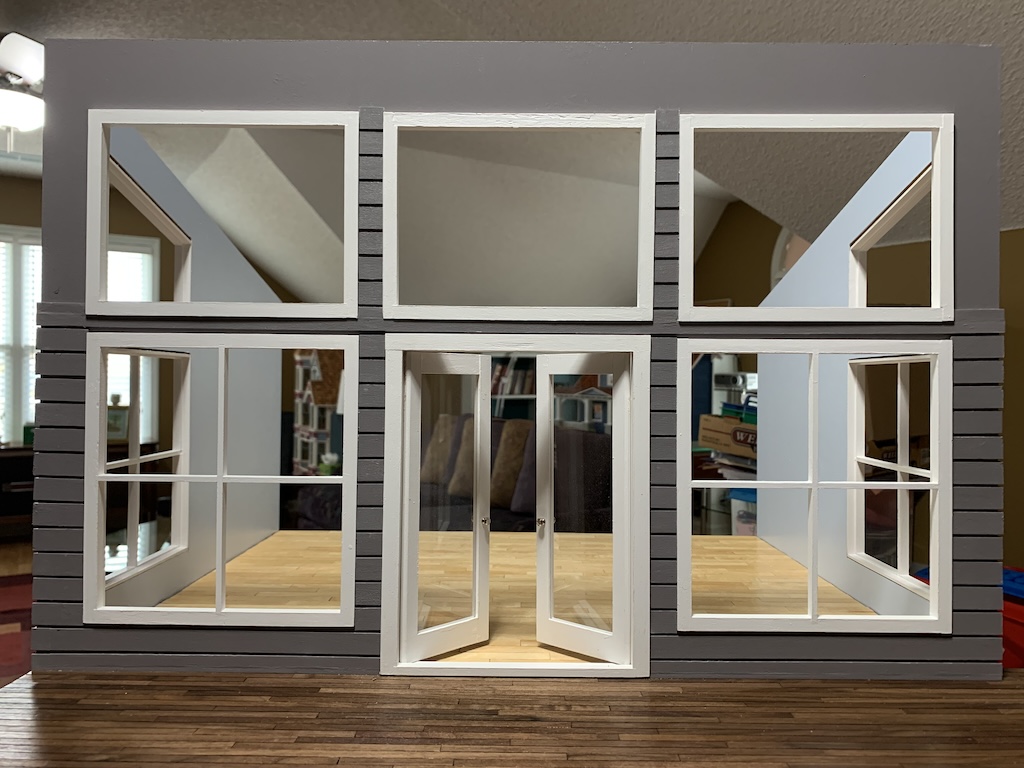
To be continued…
Categories


Absolutely gorgeous! Your work is impeccable. Your comment about “close enough for government work” made me laugh. I look forward to the next post!
Thanks Betty! I appreciate your praise!