
A Miniature Garage Loft – Phase 6
Continued from: A Miniature Garage Loft – Phase 5
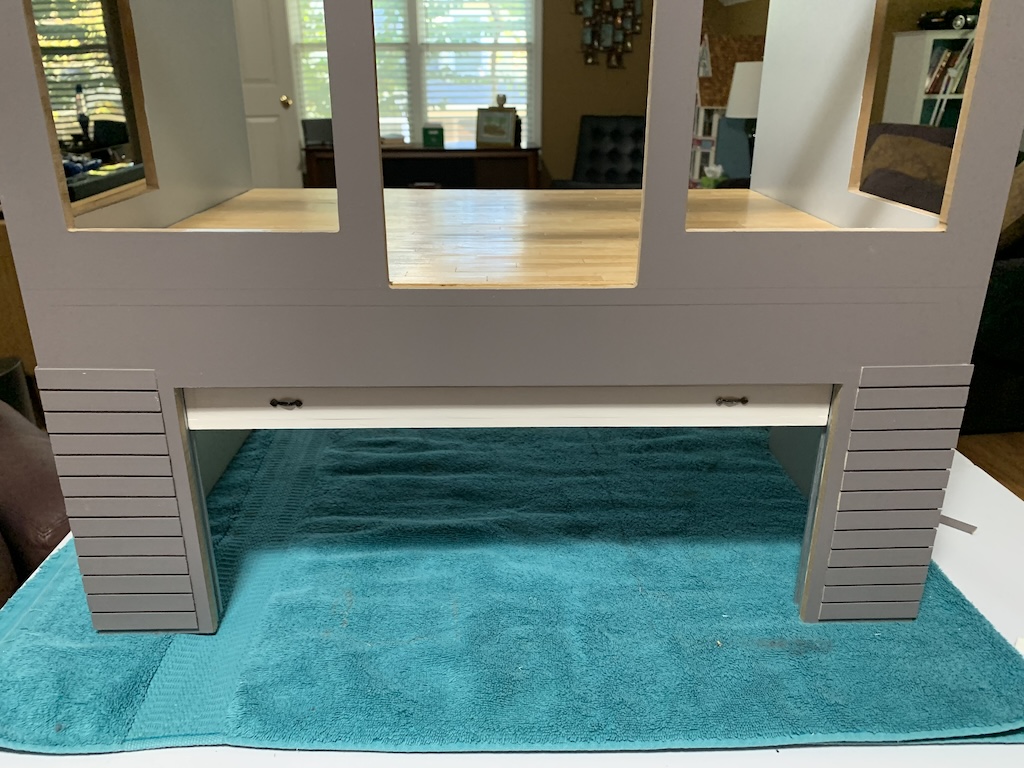
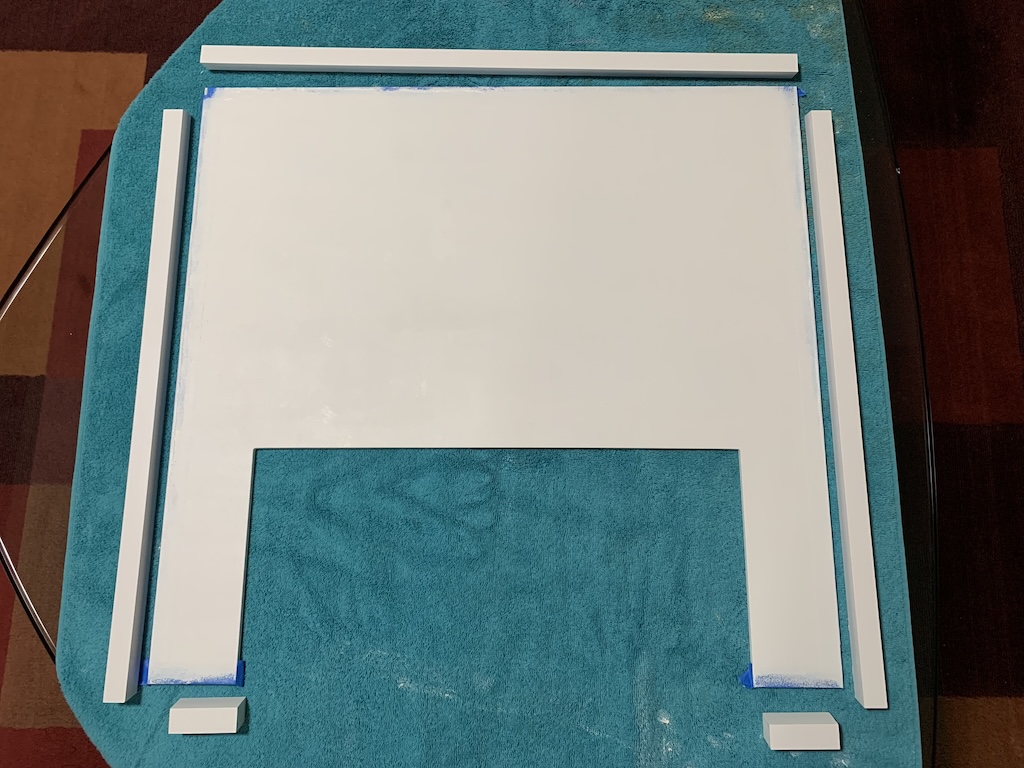
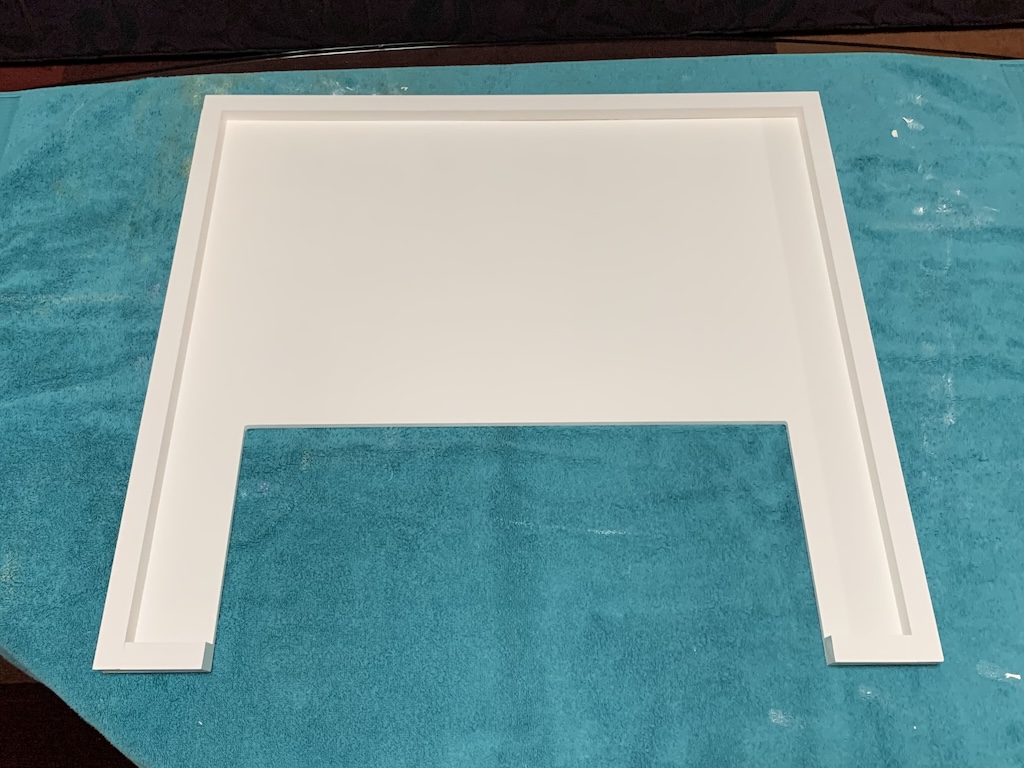
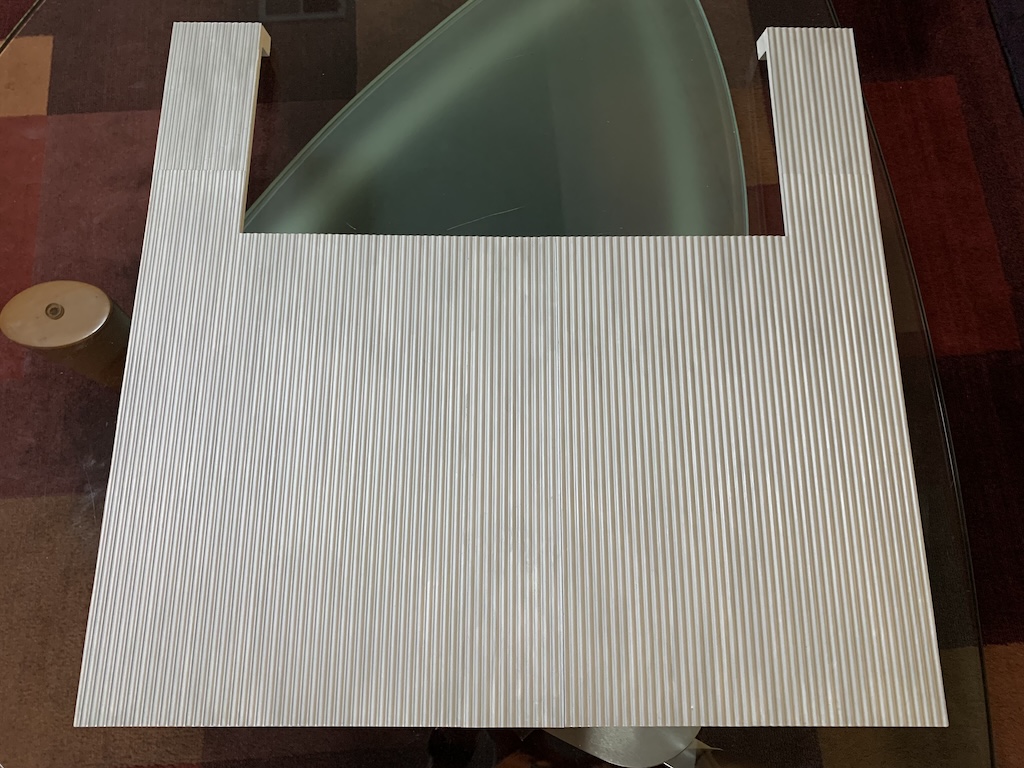
With the garage door in place, I could now pick up in the instructions with the next steps. First was to glue the three walls into the grooves on the base, add a trim strip to hide the groove between the driveway and the garage floor, and then glue in place the top and side garage door trim pieces. With these steps completed, I could now finally glue that piece of 1/32” basswood over the top garage trim to mate with the 1/2 slat on the left and right sides of the garage door.

This then allowed me to return to adding slats to the left side and front of the garage.
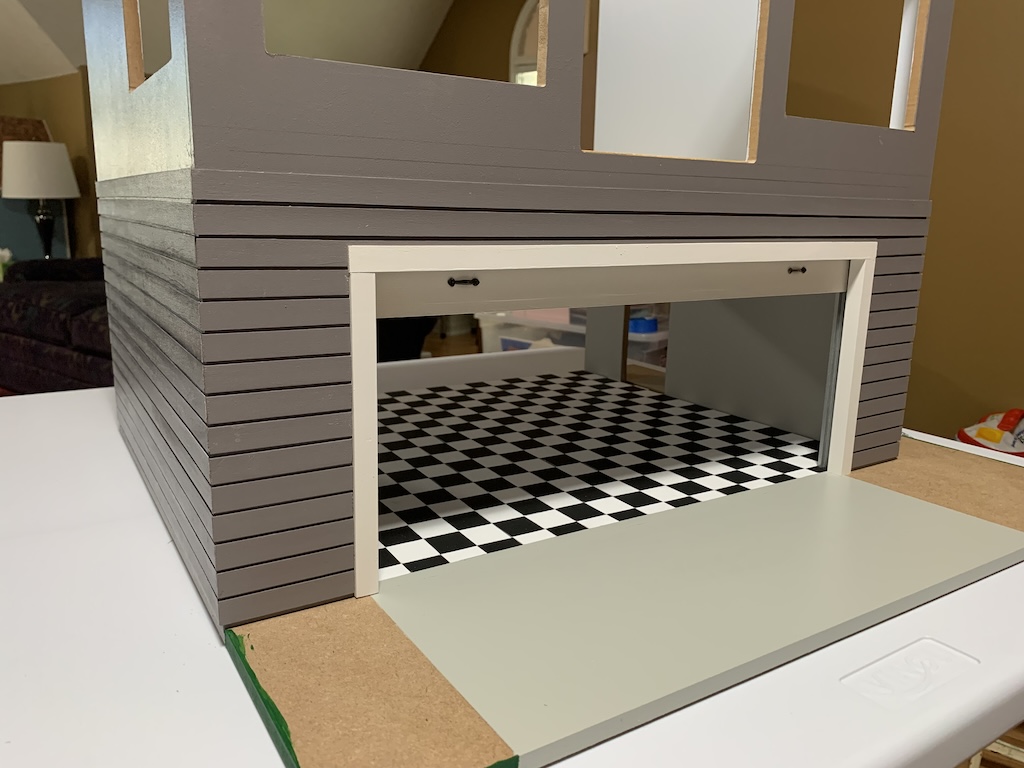
But before I could progress further up the walls from this point as well as begin to add slats to the right side of the garage, three things had to happen. First, I would need to add the exterior window frames and doors. Second, I would need to assemble the roof as it hung down onto the walls. And third—the main reason for stopping at this point—is I would need to add the balcony and stairs (I have penciled in the location of the balcony just above that top slat over the garage door). These all had to be in place as I would have to cut the slats to fit around these trim pieces.
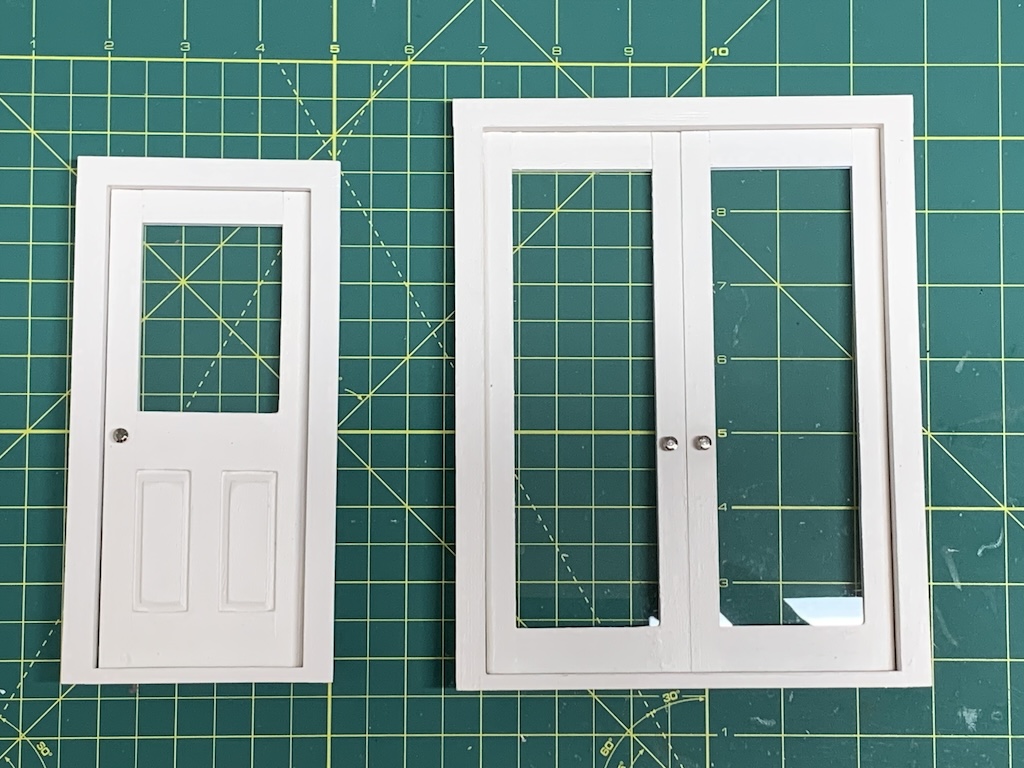
In this kit, the windows came preassembled so all that was necessary was to sand them using the standard approach and then paint them white.

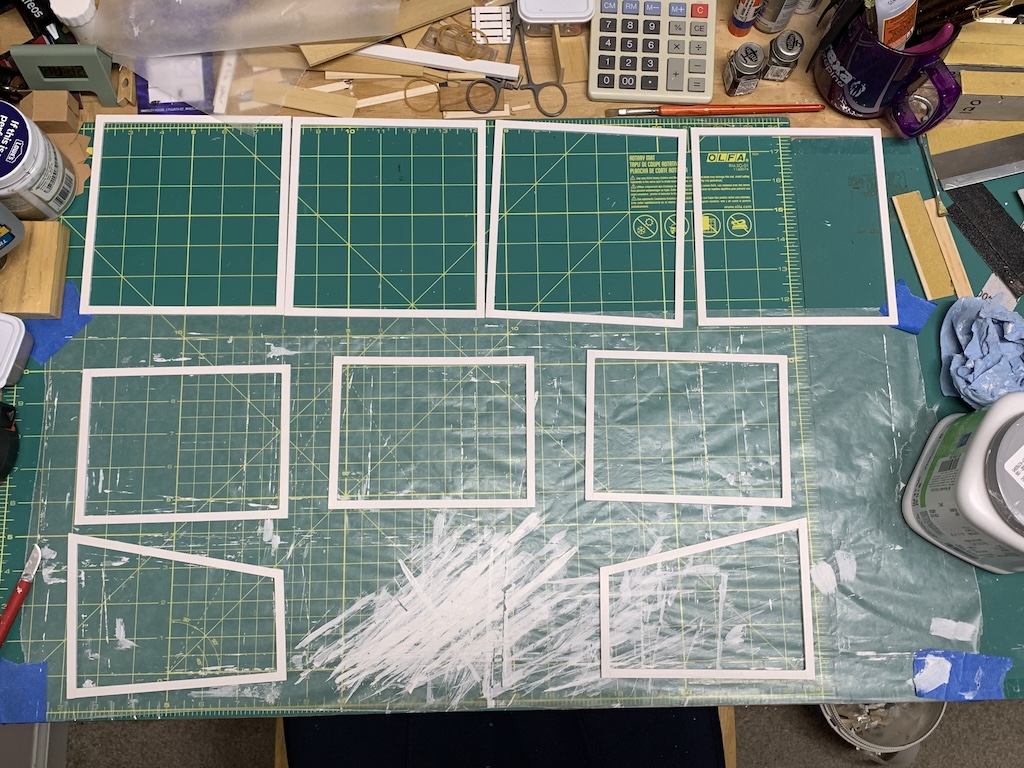
In contrast, the 36 interior trim pieces came separate.
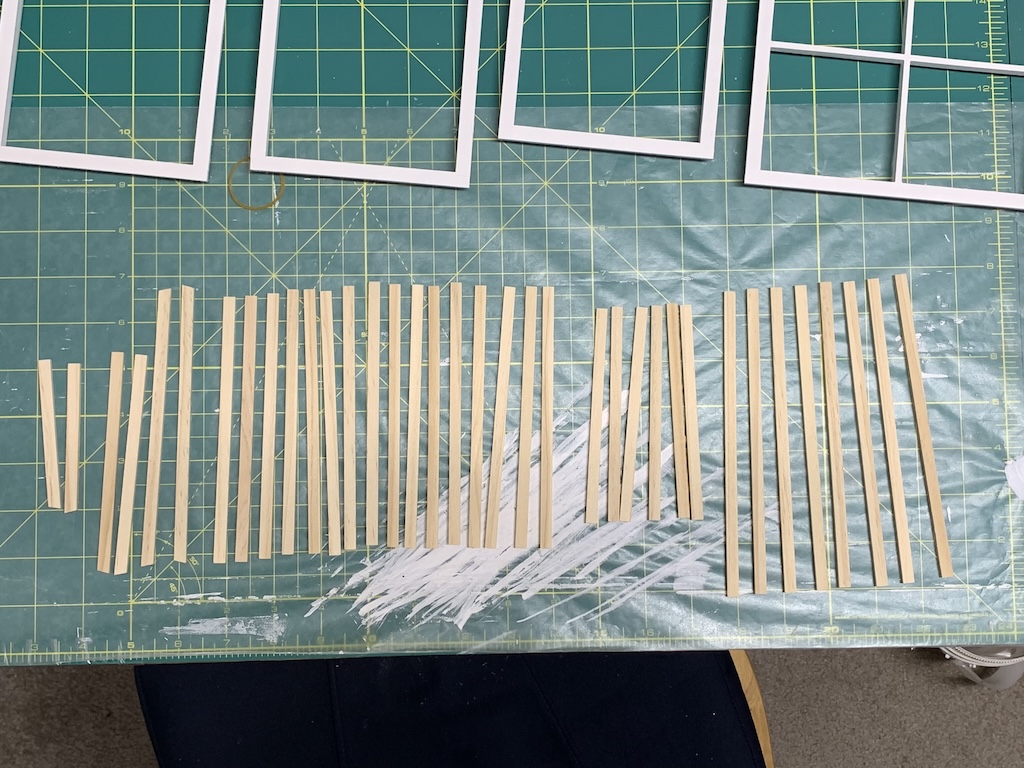
The first step was, by trial-and-error, to figure out which of the six different size trim pieces was needed to match the three different size windows. I then glued them together. Once I had sanded them, I next painted them.
The doors came pre-assembled although the clear plastic “glass” was removable. The doors needed to be sanded and then painted. I bought modern looking doorknobs online which completed the doors.
Being a modern structure, the roof for this garage loft was vastly different from those on the other doll houses I had built.
It was simply a slanted roof with trim pieces on the underside. The bottom side of the roof served a dual purpose, both as a ceiling for the second-floor loft and as exterior eaves and soffits. Once I had brush painted the trim pieces and roll painted the bottom of the roof, I was ready to glue the trim to the underside of the roof.
Once all the pieces were glued on, I was ready to address the top side.
This kit did not come with any materials to cover the roof. For all the previous doll houses I had built, those kits included cedar shakes that I had first dyed either grey or red/brown, prior to gluing them onto the roof. After building seven doll houses, I had plenty of left over shingles that I could use to cover this garage loft roof. In discussions with my sister, she mentioned that many modern homes had metal roofs rather than shingled roofs. I looked online and found just the right material in the correct 1/12-scale.
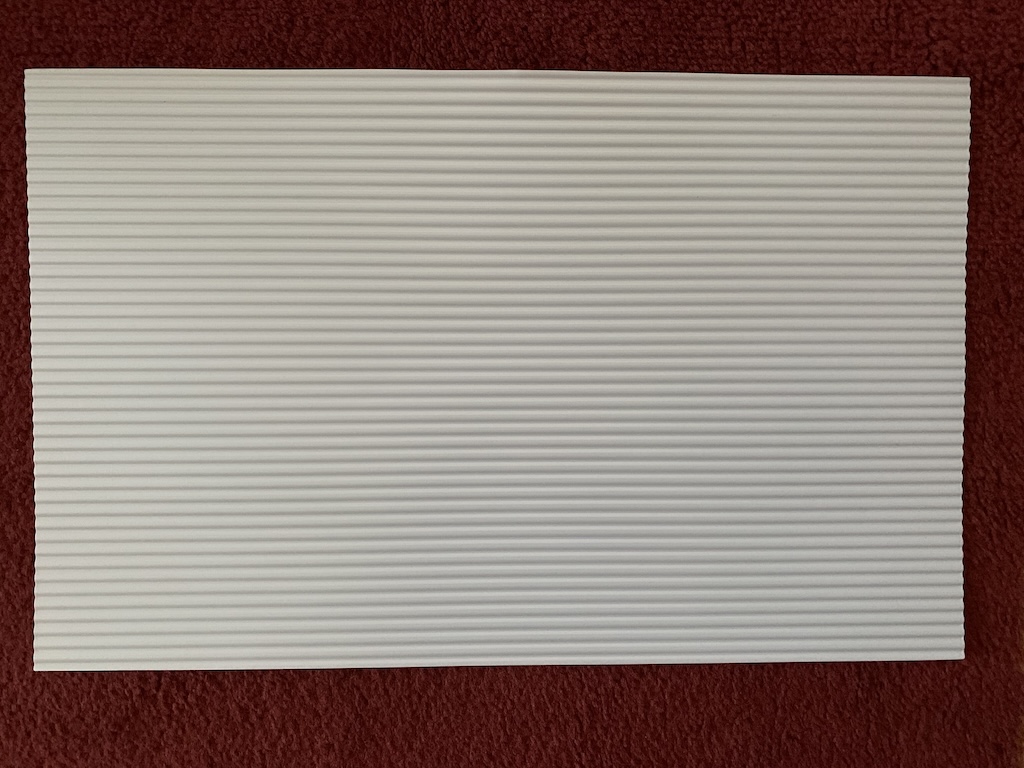
Measuring the square inches of the roof, I determined that I would need about 2.5 sheets which meant I needed to buy three sheets. Once they arrived, I painted them with two coats of flat steel paint. Since the sheets were plastic, I chose plastic model paint instead of acrylic.
It took me a while to figure out the best way to piece the individual sheets together before making any cuts, but it seemed using almost whole sheets on the left and right sides of the roof worked the best.

I then put down carpet tape (I love that stuff) and progressively attached the pieces…
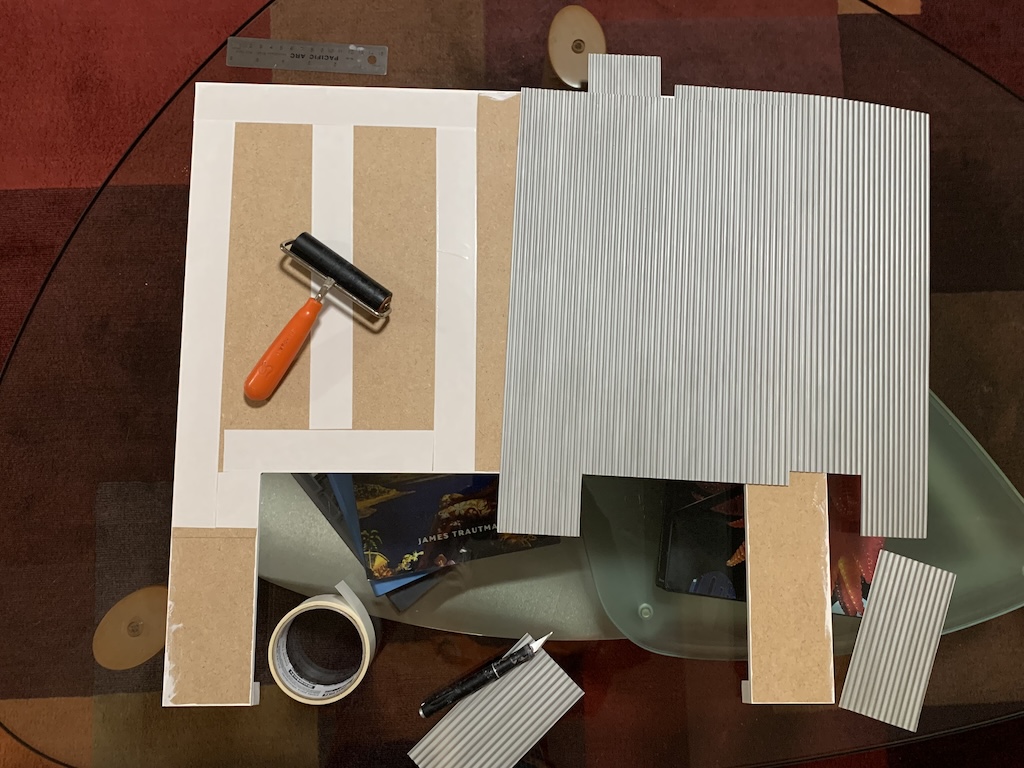
… to get a finished roof.
Once I was ready to add the porch and stairs, I needed to figure out how I wanted to treat them. In all the previous doll houses that I had assembled, I had simply painted the porch a dark shade of grey. But since this garage loft was already a fairly dark shade of grey, I thought that would be too much grey. To get some ideas for the porch/stairs, I went back online searching for images of actual garage/lofts. What I found gave me a whole new direction.
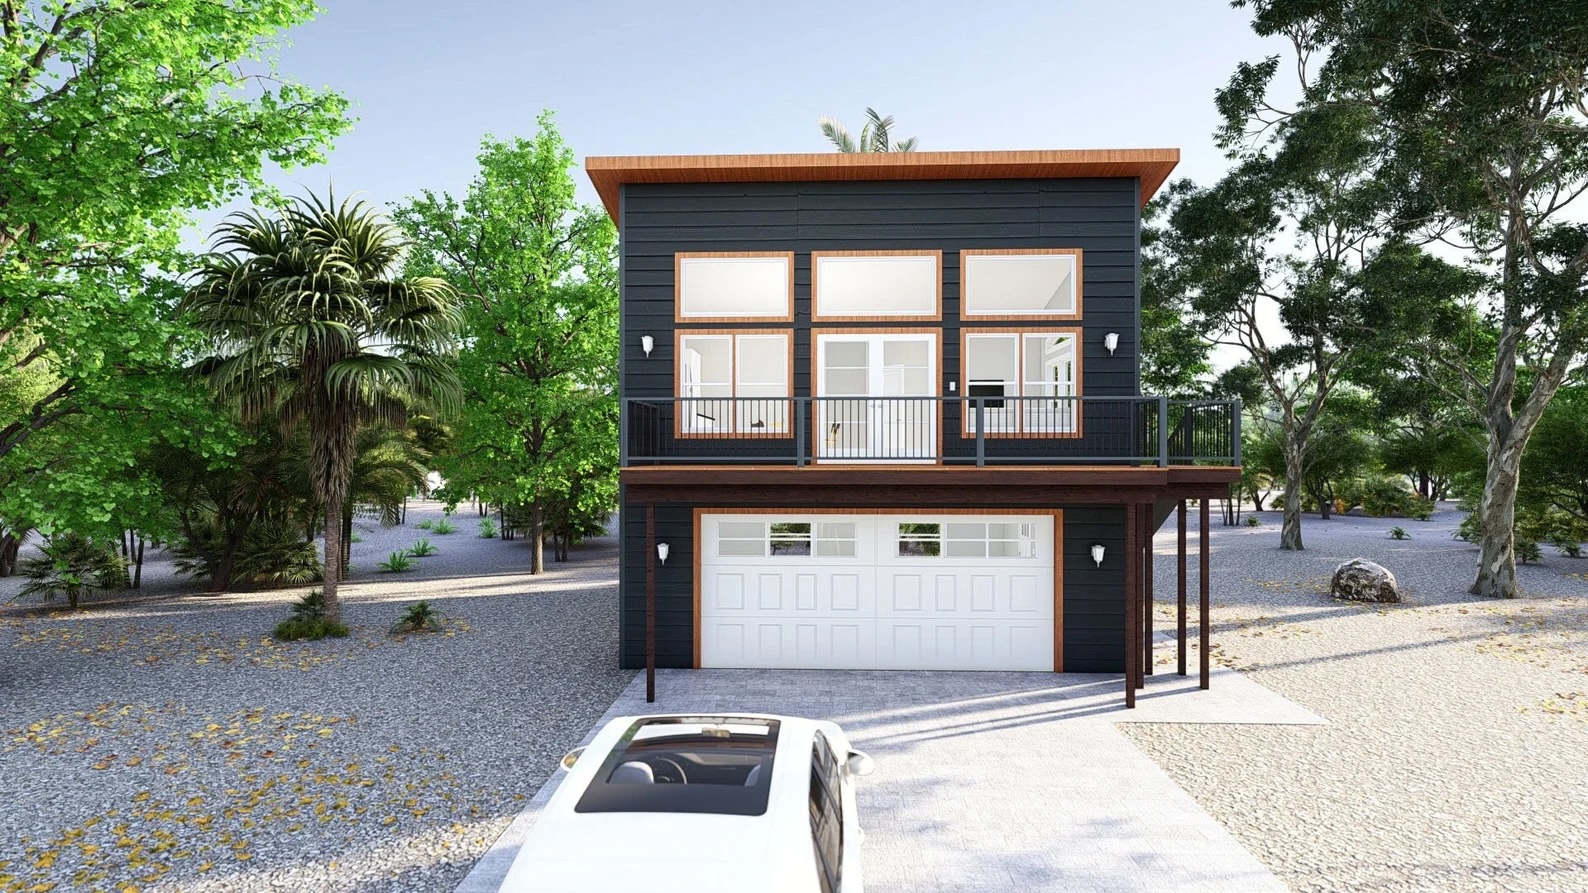
Once I found the above image of an actual garage loft, I thought it might have served as inspiration for this kit as it looked extremely similar. The painted color looked the same as what I was using, and it even included the architectural slats that I was adding. In fact, I wished I had found this image before I started the kit as I would have included more natural wood trim in my execution. So, rather than having white painted eaves and soffits on the roof, I could have included natural wood trim. But in discussions with my sister, we came up with another solution (more on that later).
The main idea this image provided was rather than painting the deck, I should use wooden strips to model an actual wooden deck. At the time, you may recall my sister was having trouble getting her Cricut cutter to cut strips of wood, so I went online and found some ¼” wide strips of walnut. Ordering those, I began to prep the deck for their installation.
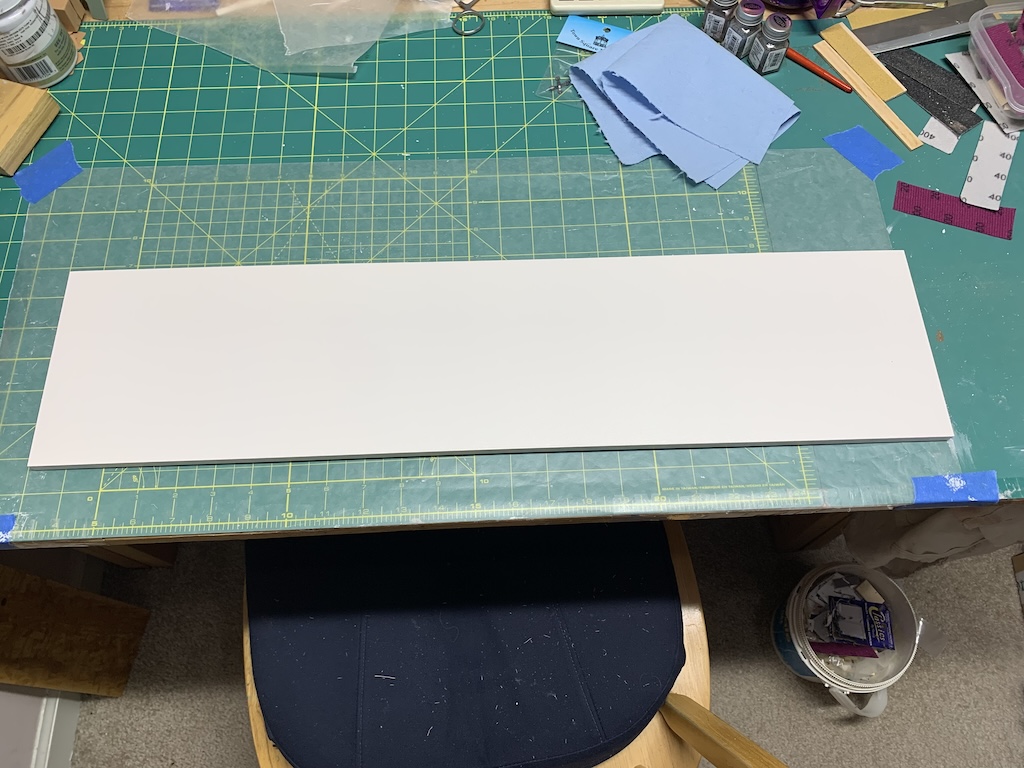
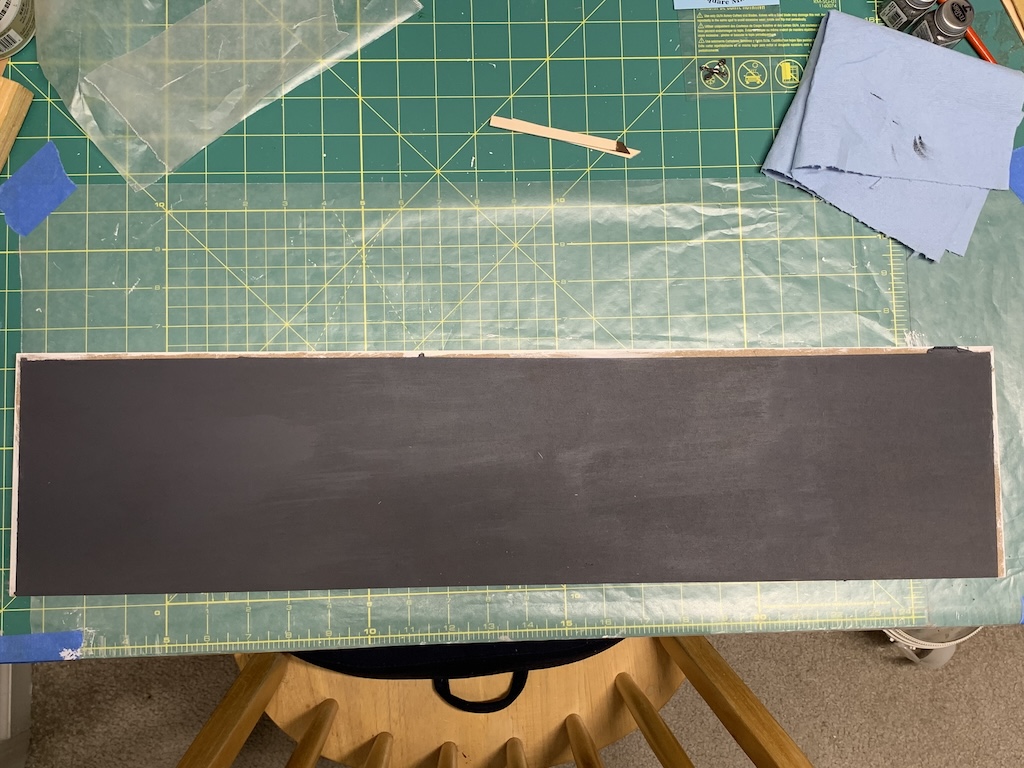
I decided to paint the bottom side of the deck white to model a porch ceiling above the garage door. For the top side of the deck, I planned to leave a small gap between the strips of walnut to resemble an actual wooden deck. And to give the illusion of open space below the strips, I painted the top side black.
In the first two doll houses that I built, the stairs that came with the kit were just a piece of medium density fiberboard (MDF) that I painted white.

In subsequent doll houses that I built, I did not use these MDF stairs but rather upgraded with separately purchased stairs that came with individual treads and railings. In this kit, the stairs were again just a single piece of wood. To model the stairs leading to my wooden deck, I decided to use the stairs that came with the kit but then install the same walnut strips for stair treads.
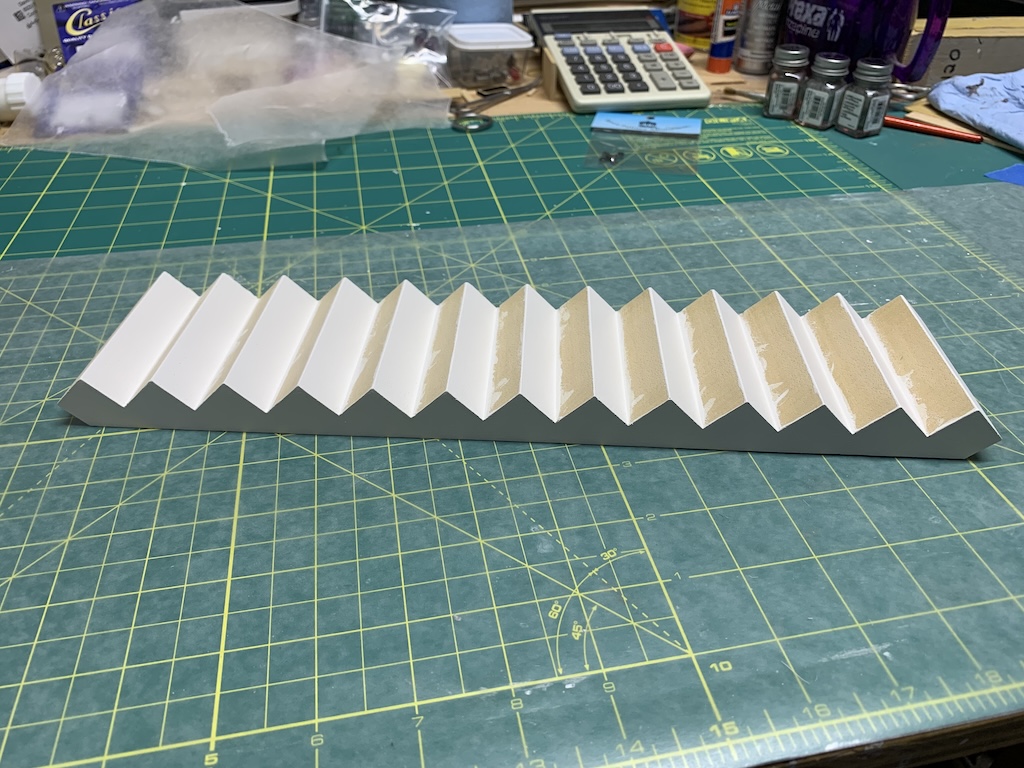
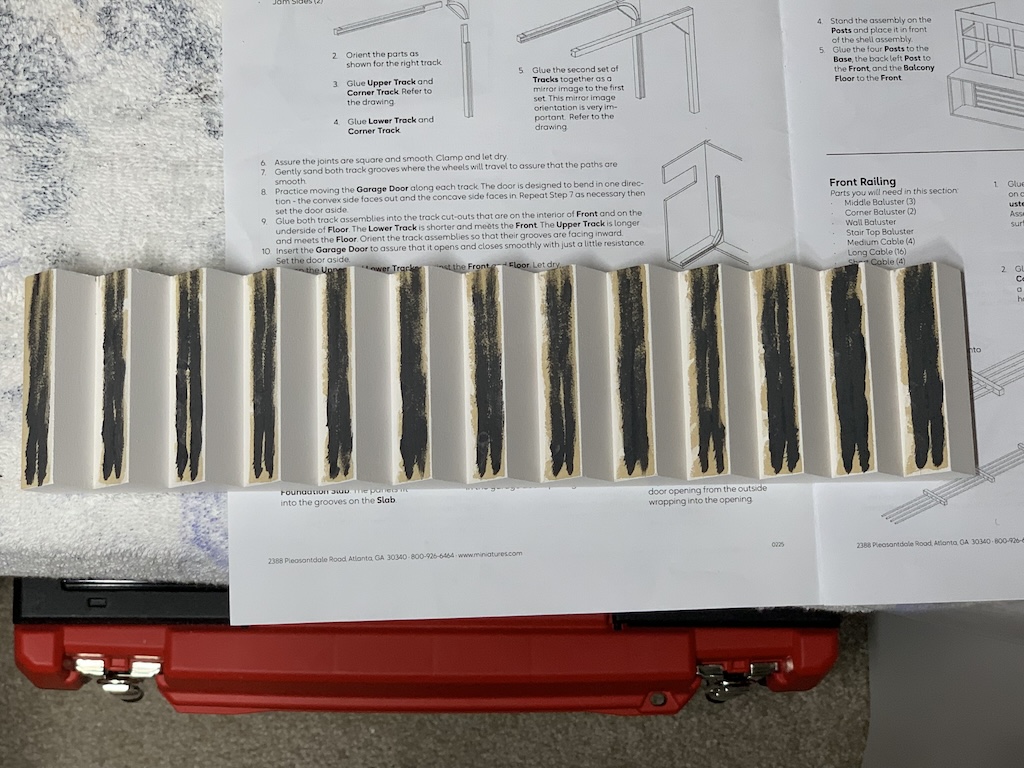
To prepare the stairs for the addition of walnut treads, I first painted the parts that would show the same white trim color. Then as with the deck, I painted each step black where the walnut strips would form the treads. Now the stairs were ready for the addition of treads.
To be continued after a short break…
Categories

Amazing work, David! And your sister is a great consultant. The metal roof was the right choice. I’m interested to hear the solution your sister came up with regarding the eaves and the natural trim. This project is really coming along. I think you need a miniature David figure to be looking out from the loft. 🙂
Thanks Betty! Yes my sister has really helped me a lot along the way. And that’s a great idea about adding a “mini me.”