
Virtual DIY Bathroom – Reconstruction (Last Boards)
Continued from Virtual DIY Bathroom – Reconstruction (First Boards)

If you read my brother’s most recent post about his DIY project, you know he had some “real fun” while installing the powder room floor. Cutting out for the toilet flange hole was almost his undoing, after having explored a multitude of different options. But he slogged through it, only to realize there were a few more hurdles to overcome. After a restless night of sleep, he hoped to finish the floor so the carpenter could return and complete his part of the work. I’ll let my brother take it from here…
– – – – – – – – – – – – – – – – – – – – – – – – – – –

When I awoke the next morning, I was feeling somewhat better about the project. My mood was improved as I sipped my first cup of coffee and looked out our kitchen window to see the beautiful fall colors in our back yard. I was relieved to have an extra day to complete the work on the floor. Still, I immediately proceeded to make a few more mistakes, as I figured out how to cut the boards and get the hole in the right place for the water supply pipe.
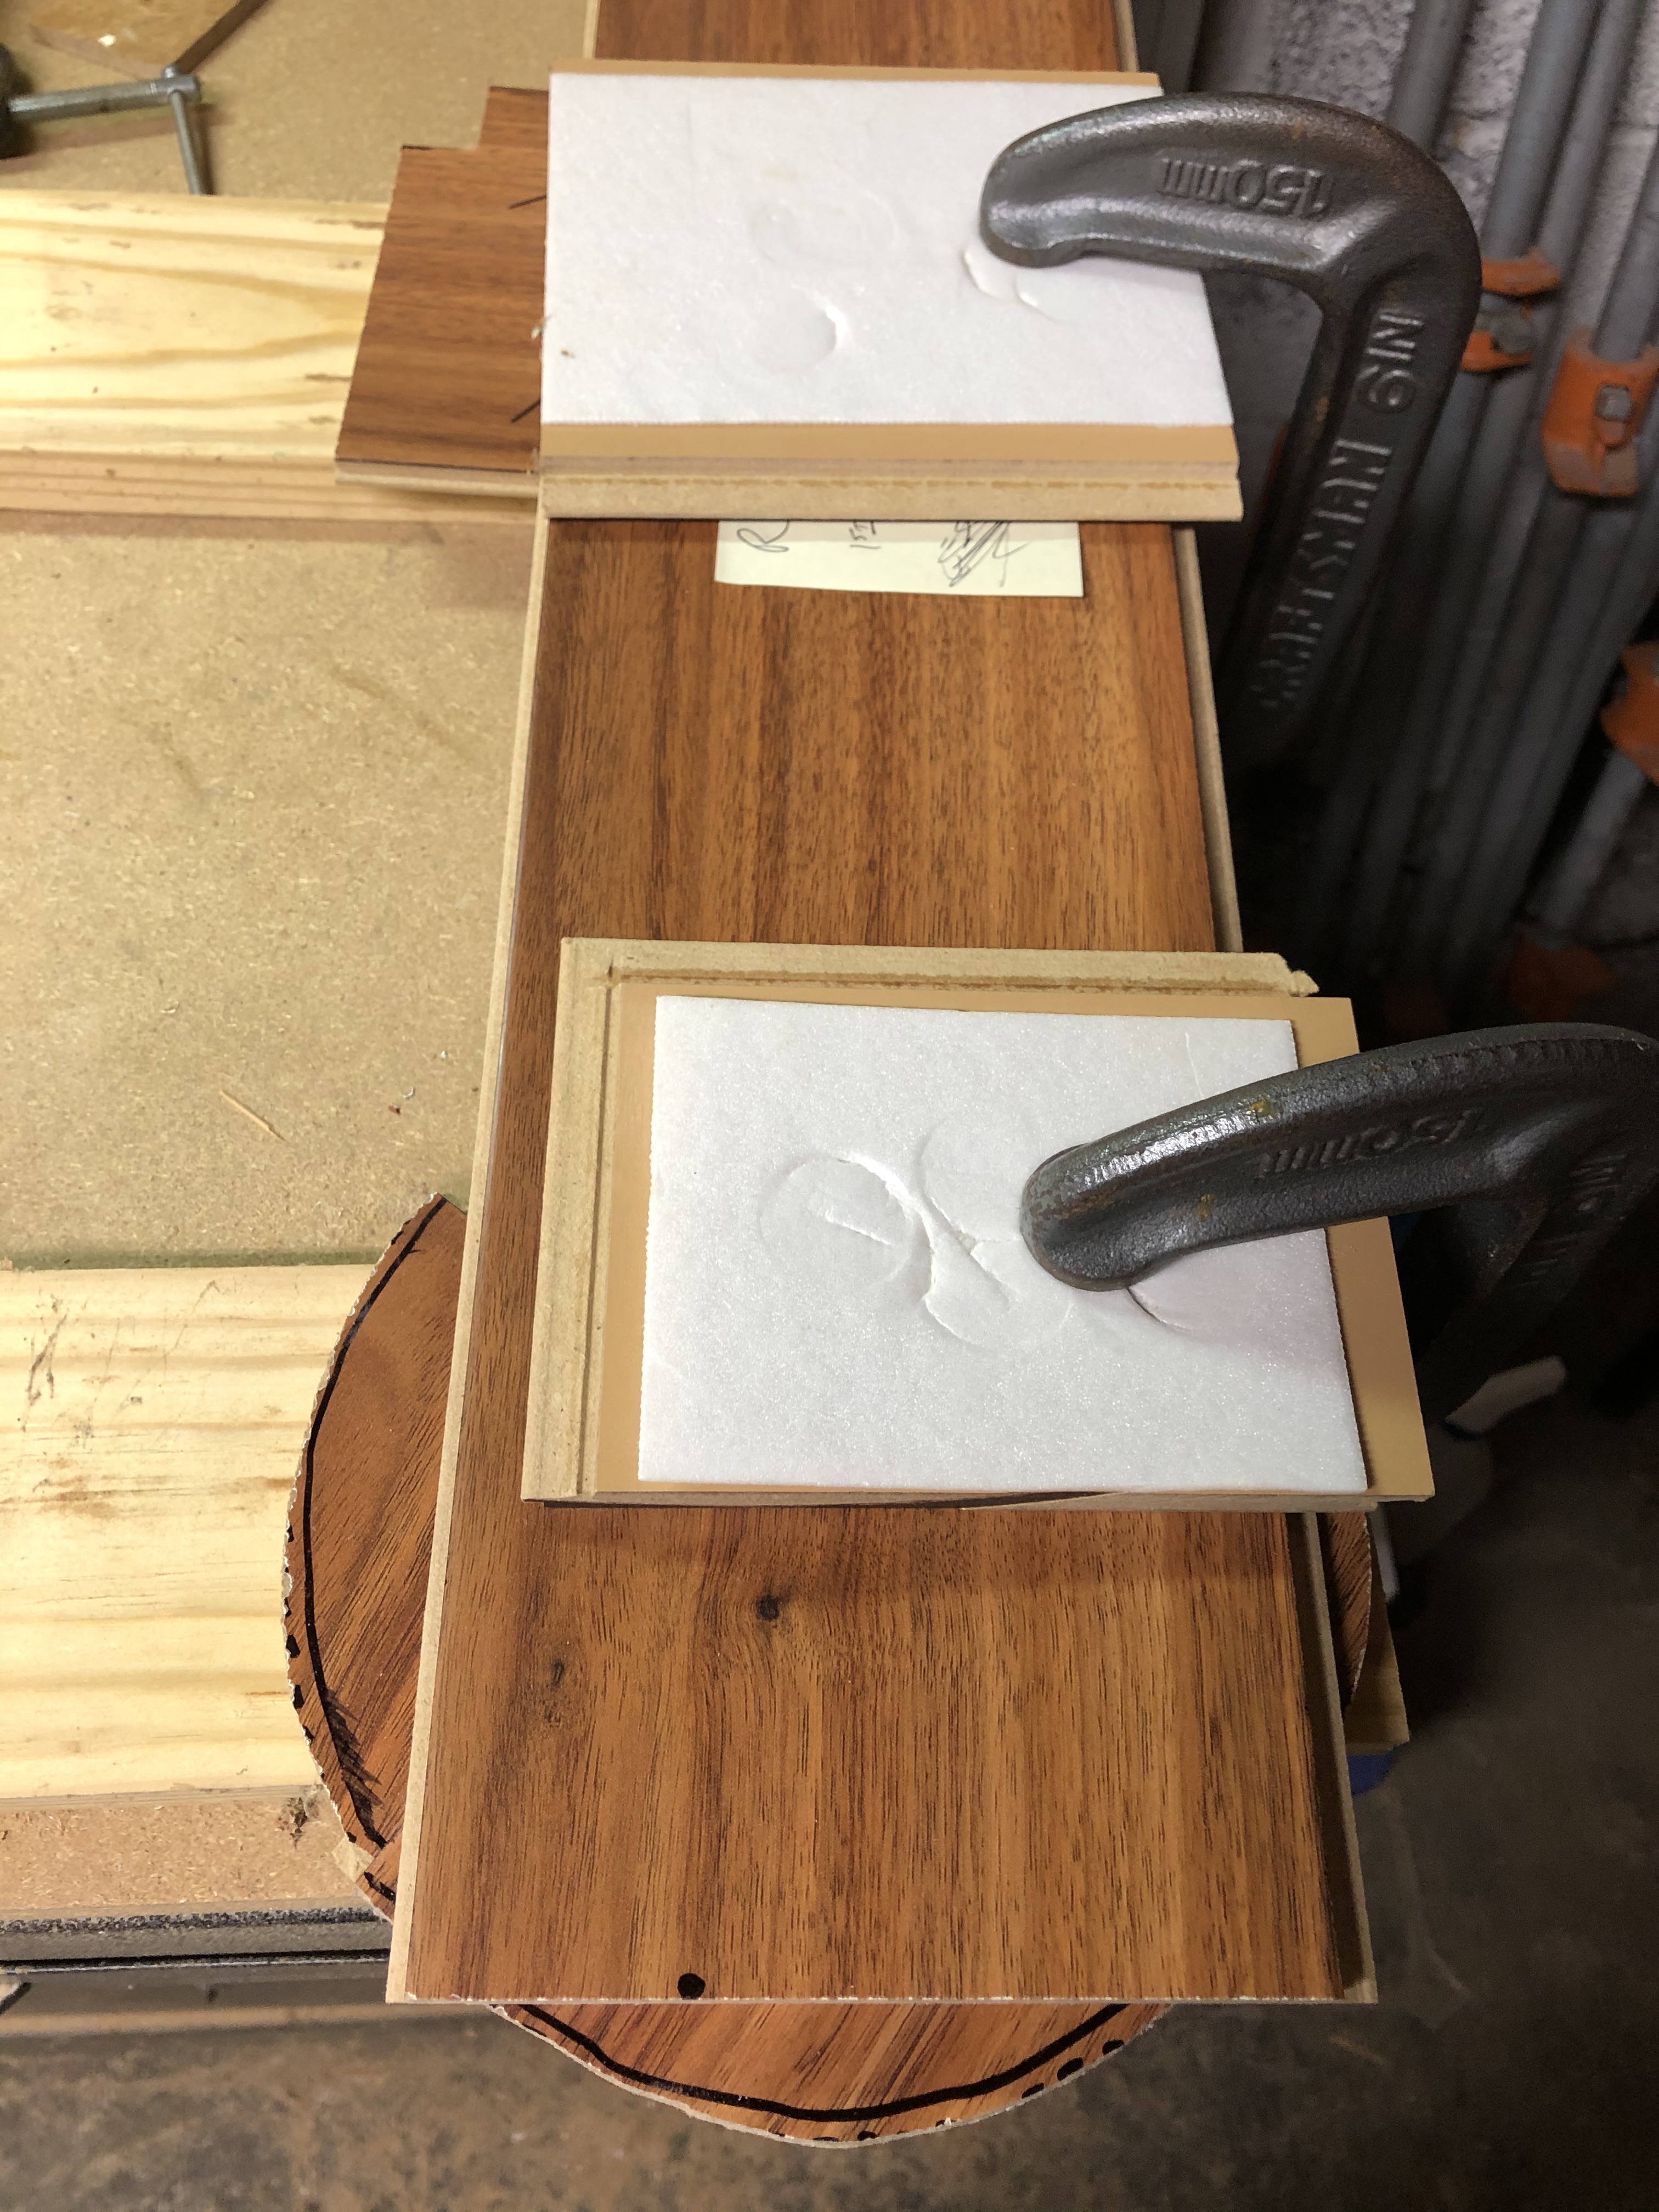
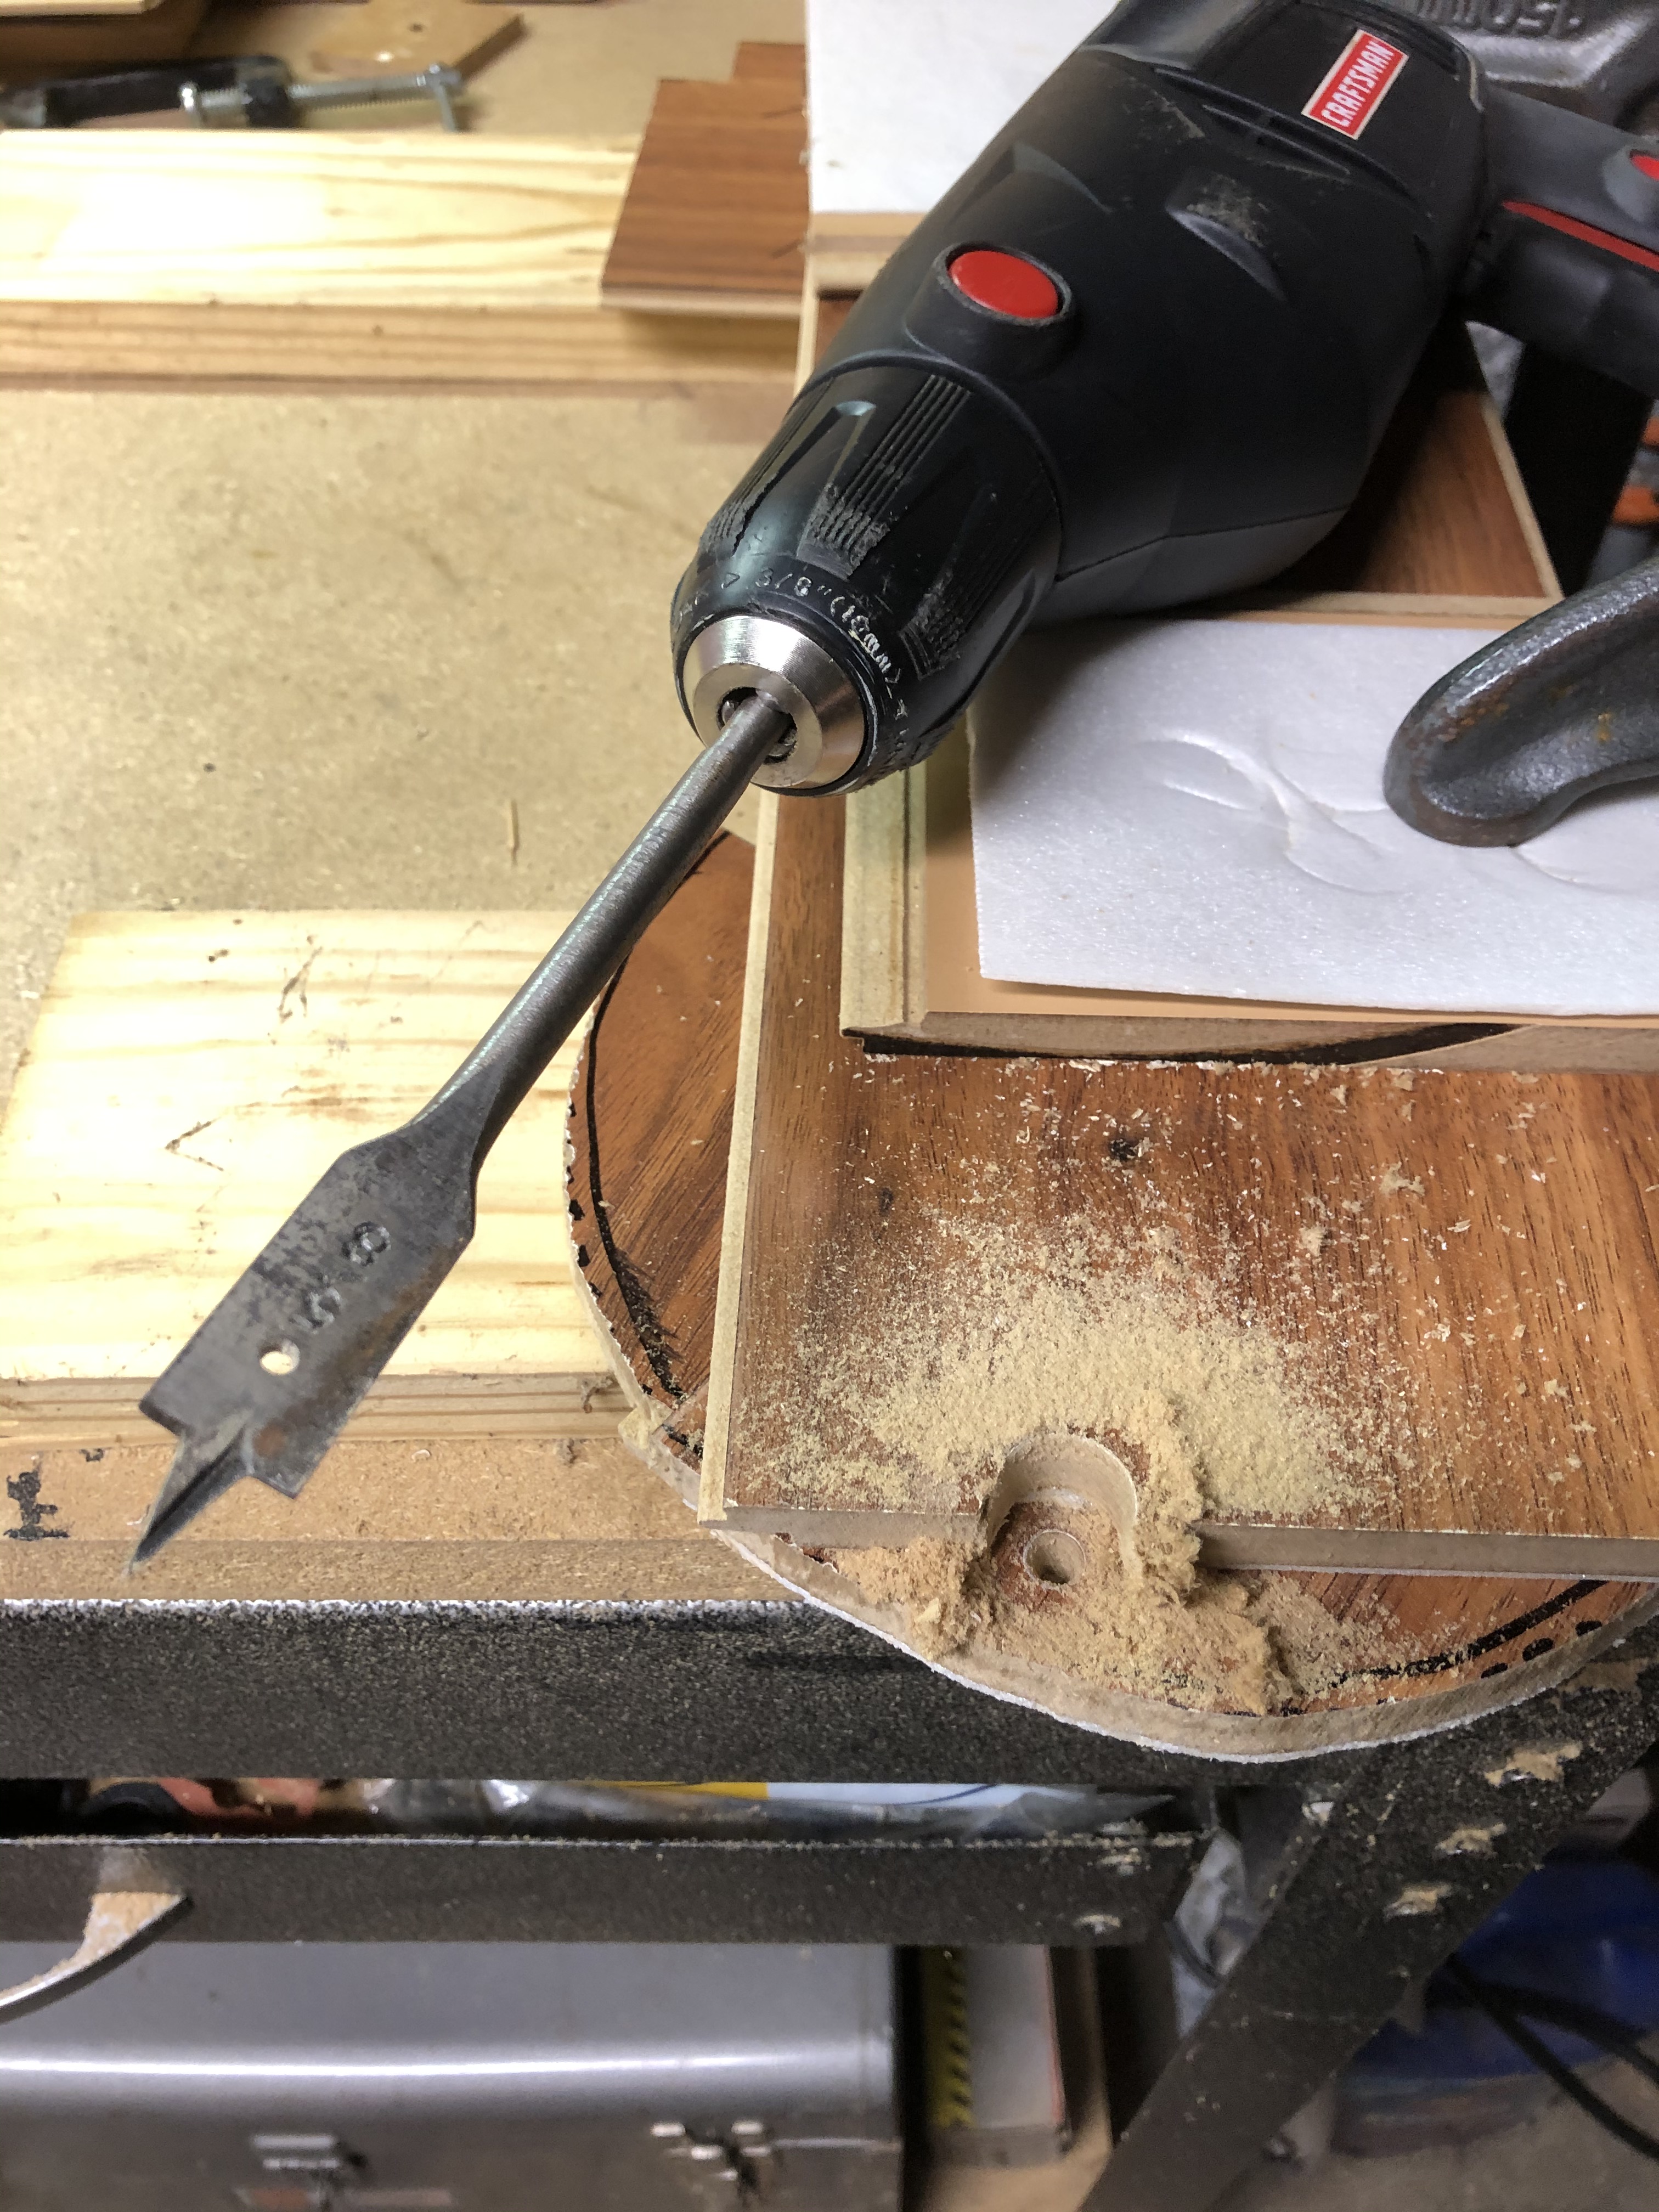
To drill the hole, I put together a “contraption” consisting of C-clamps, with the foam-backed leftovers from previously cut floorboards, to secure the plank that I intended to use while avoiding clamp marks on it. Underneath one end of the plank, I used another board (the leftover material from the toilet flange hole) to cut into with an electric drill. The plan was to make two half-circle holes at the ends of two boards and fit these together around the water supply pipe. The first text that day to my brother was:
| This is my clever set up to drill the hole for the water pipe. |
Followed quickly by:
| Oops. Forgot to double check which end needed the hole. Fixing that mistake now… |
Then, after laying the board with the first half-hole (cut in the correct end):
| That’s better. | ||
| I’m impressed! | ||
High praise, indeed, coming from my brother, who had a good deal more experience with these DIY projects. It was only at this point that I realized something perhaps obvious…as well as potentially interesting and fun.
| There may be a blog post in this. The virtual handyman project! Perfect topic for these COVID times. The story would be kind of like the traffic control tower (you) talking down an incompetent airplane pilot (me)… | ||||
| I thought it would. And you got great “in-process” photos to further explain the project. | ||||
| Right. I was thinking a blog post for you! Another chapter in your DIY projects. We could co-write it and post it on your site. | ||||
| That’s a cool idea! | ||||
| Only wish I had gotten a picture of the bathroom before we started! | ||||
| Well at least you got the demolition pix. | ||||
Later that day, with the black plastic spacers still in place around the edge of the new floor, I sent the following picture and text.

| Finished with the flooring planks. Now need to put the finishing touches around the edges. Supposedly to make it more waterproof. | ||
| That looks really great! You should be proud of yourself. | ||
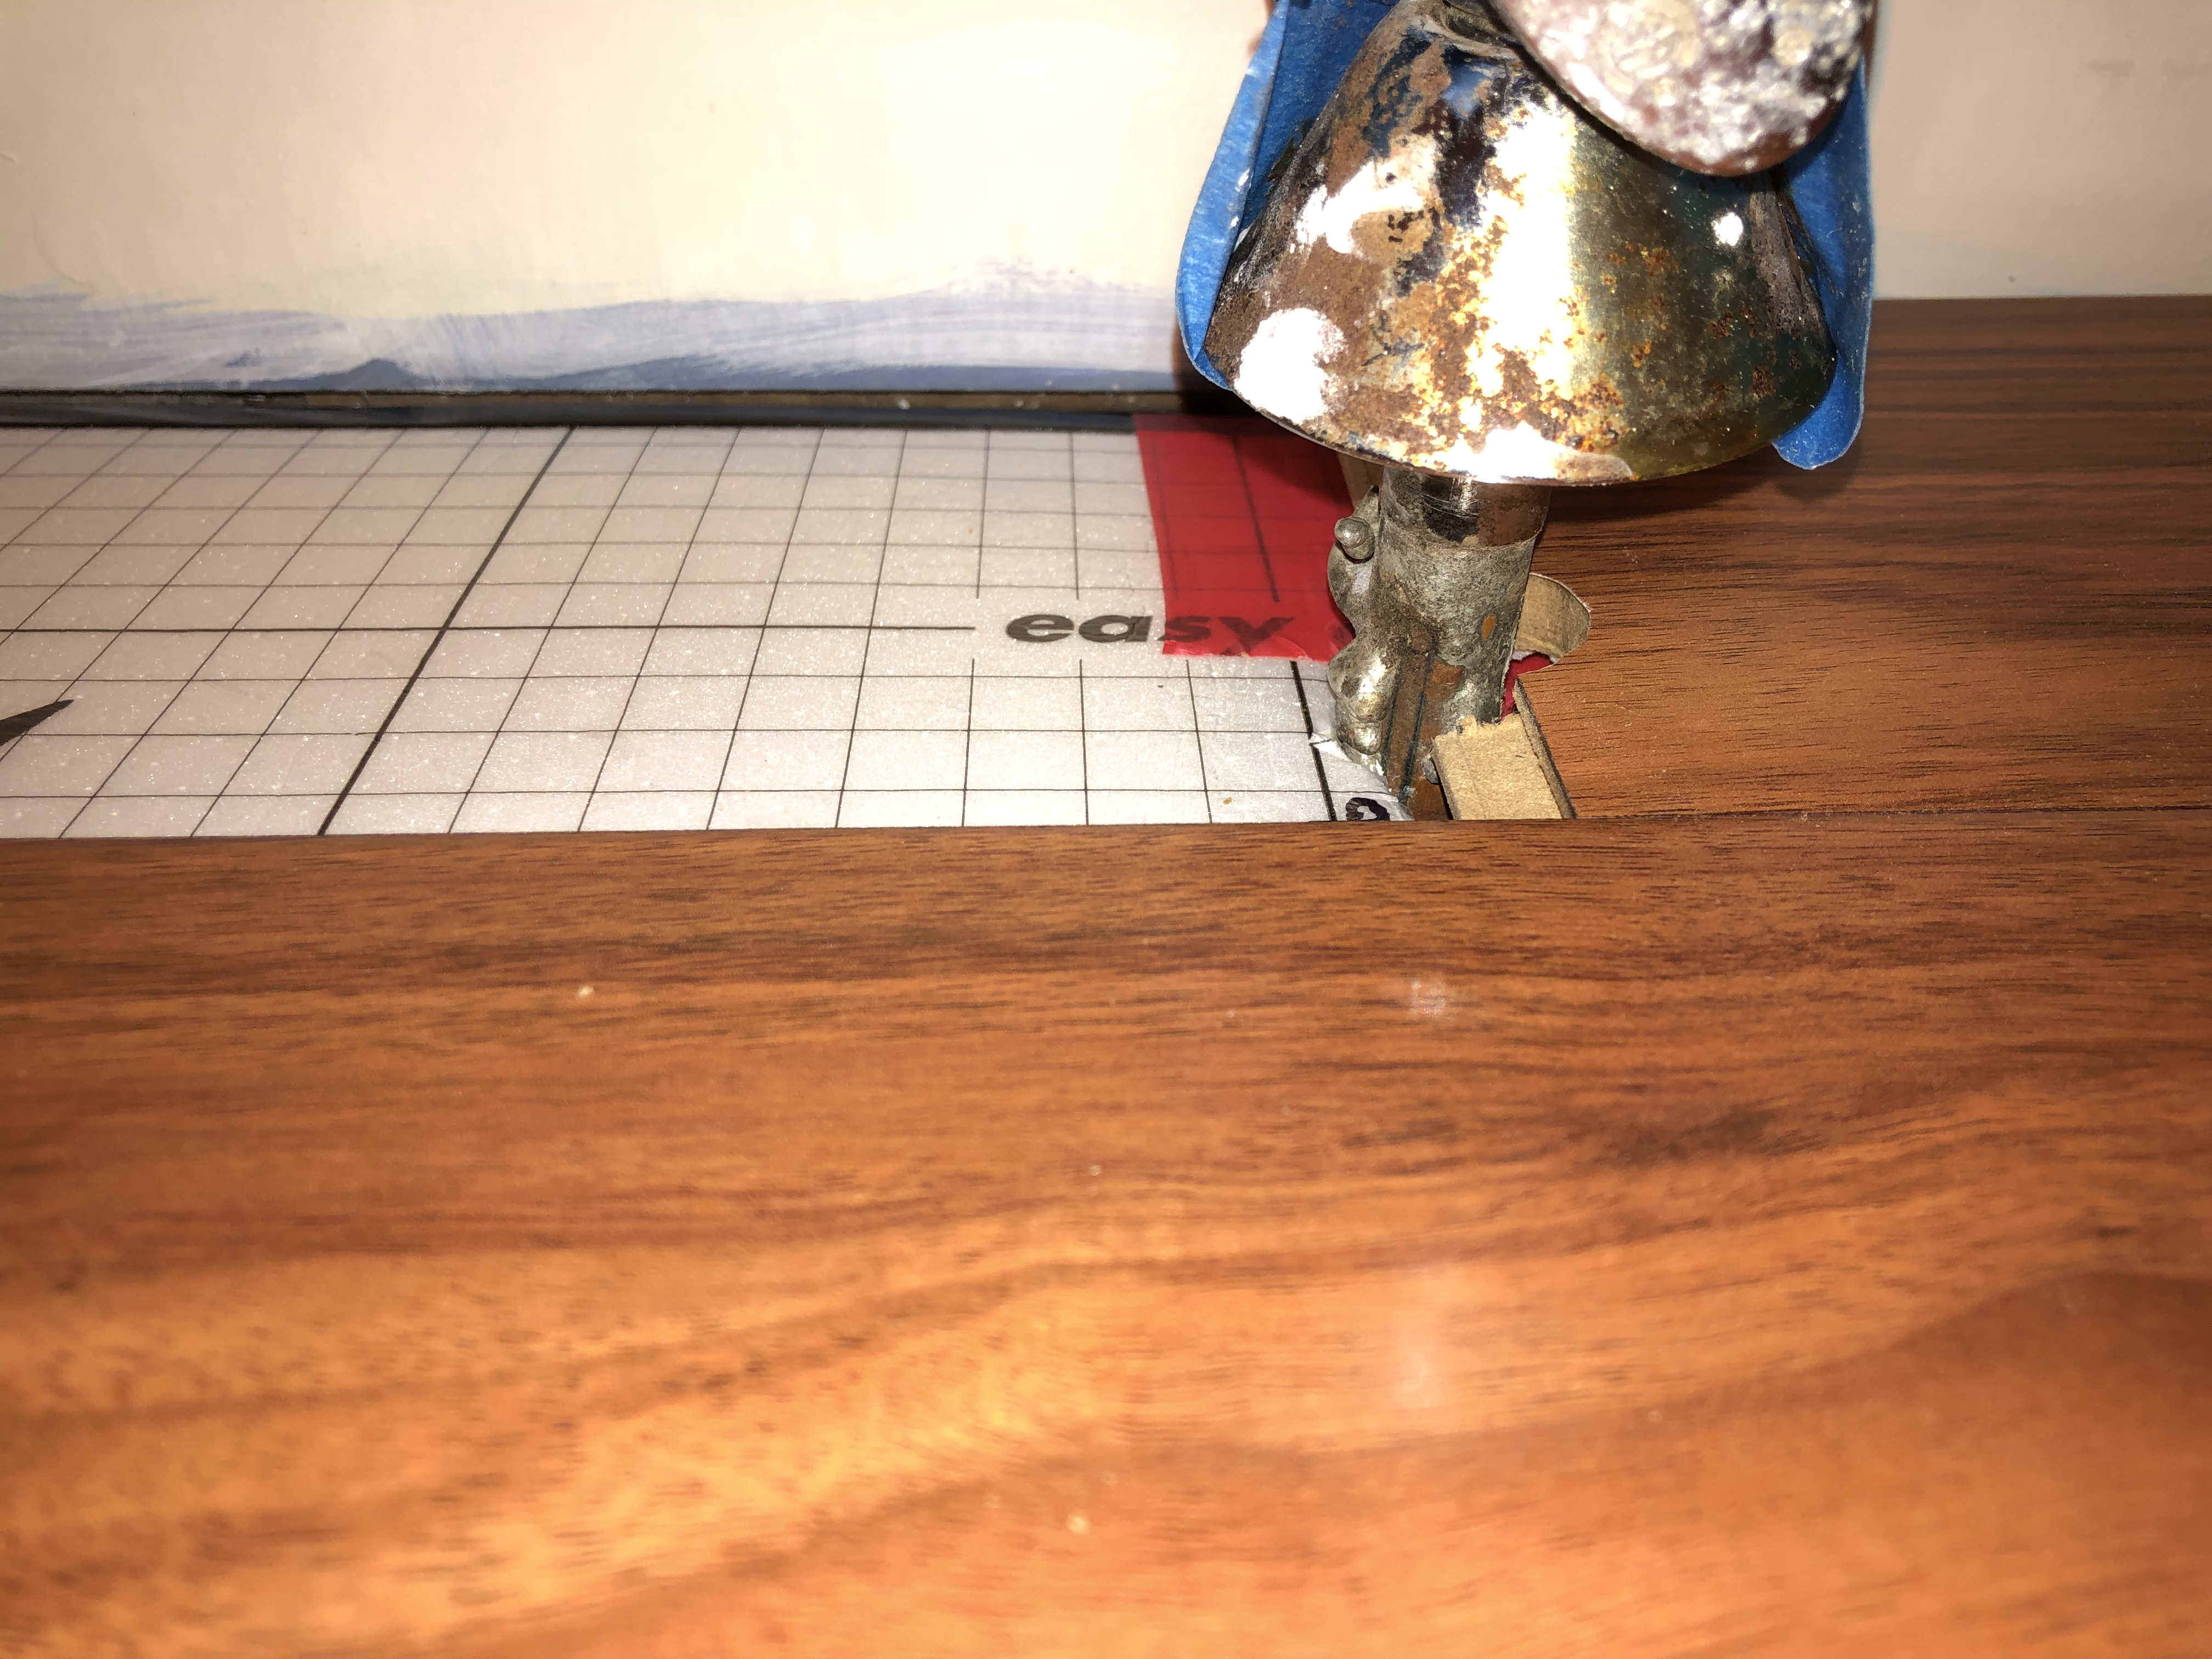
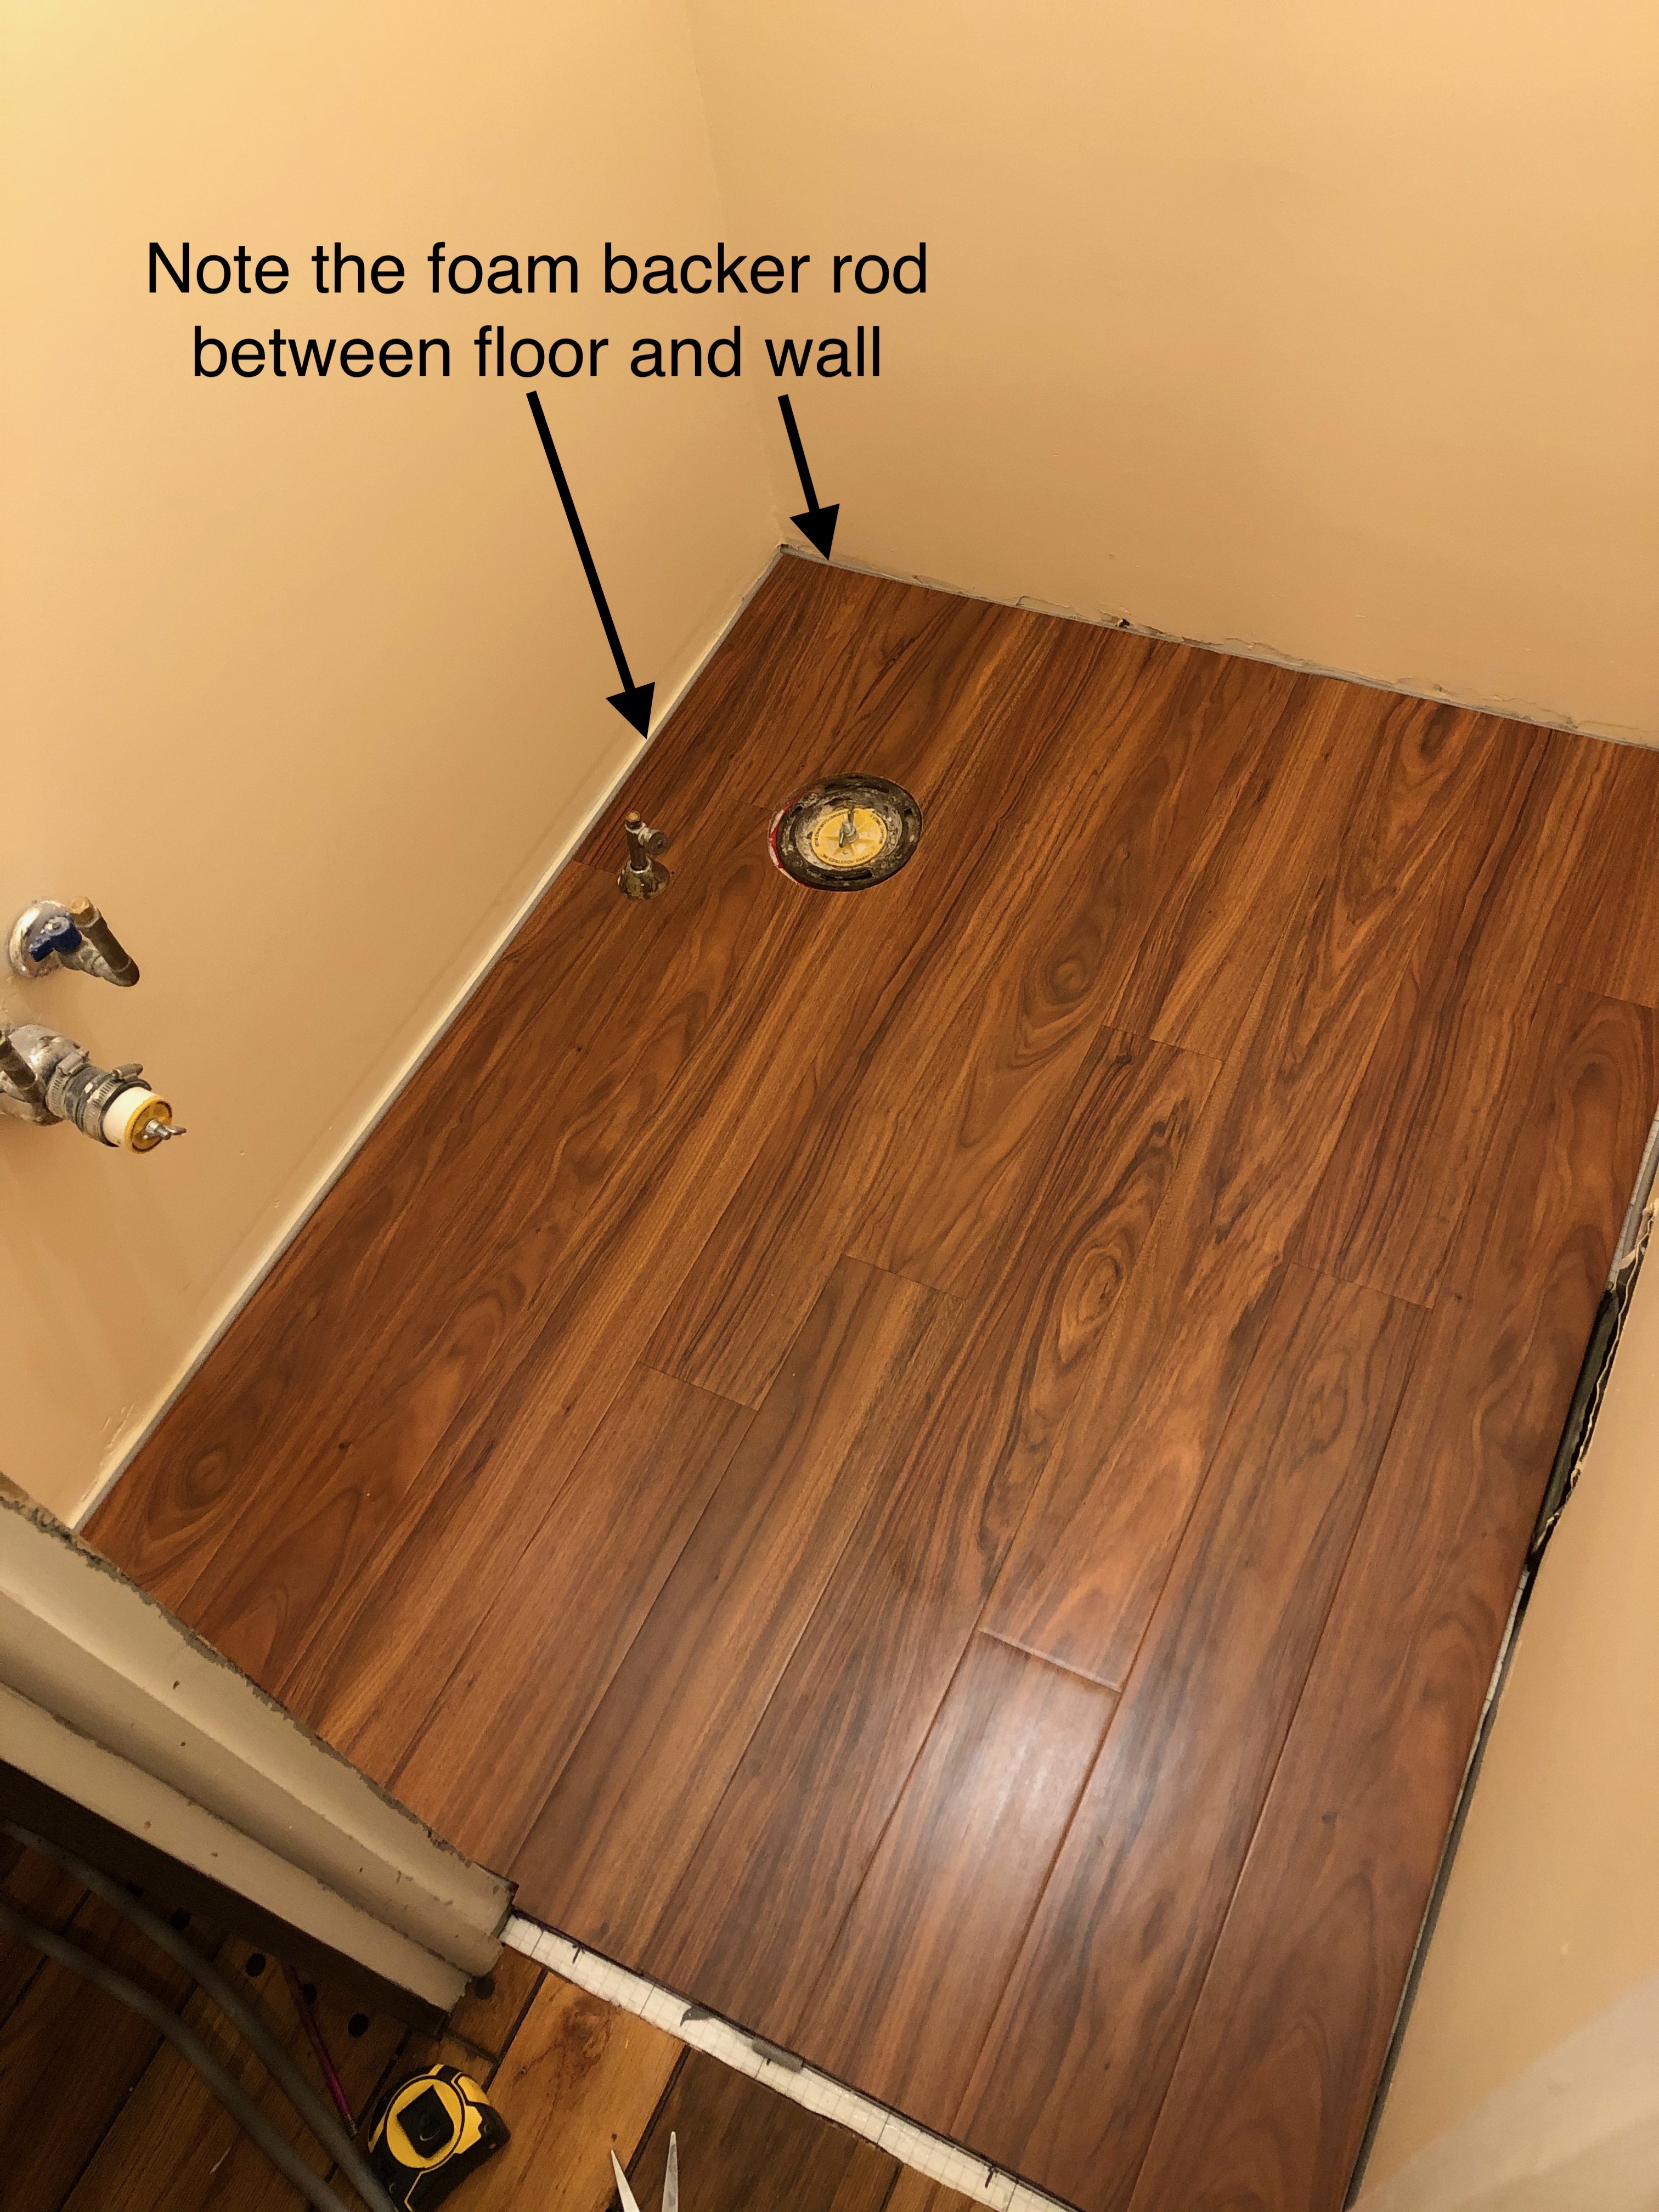
Recalling the story of the “flood in the basement caused by a leaking toilet in the powder room,” as told to us by the previous homeowners, it seemed waterproofing the floor would be a sensible precaution. The floor installation instructions from Pergo described the first step in the waterproofing process. I needed to remove all the plastic spacers and add polyethylene foam backer rod along the entire wall to fill any large gaps.
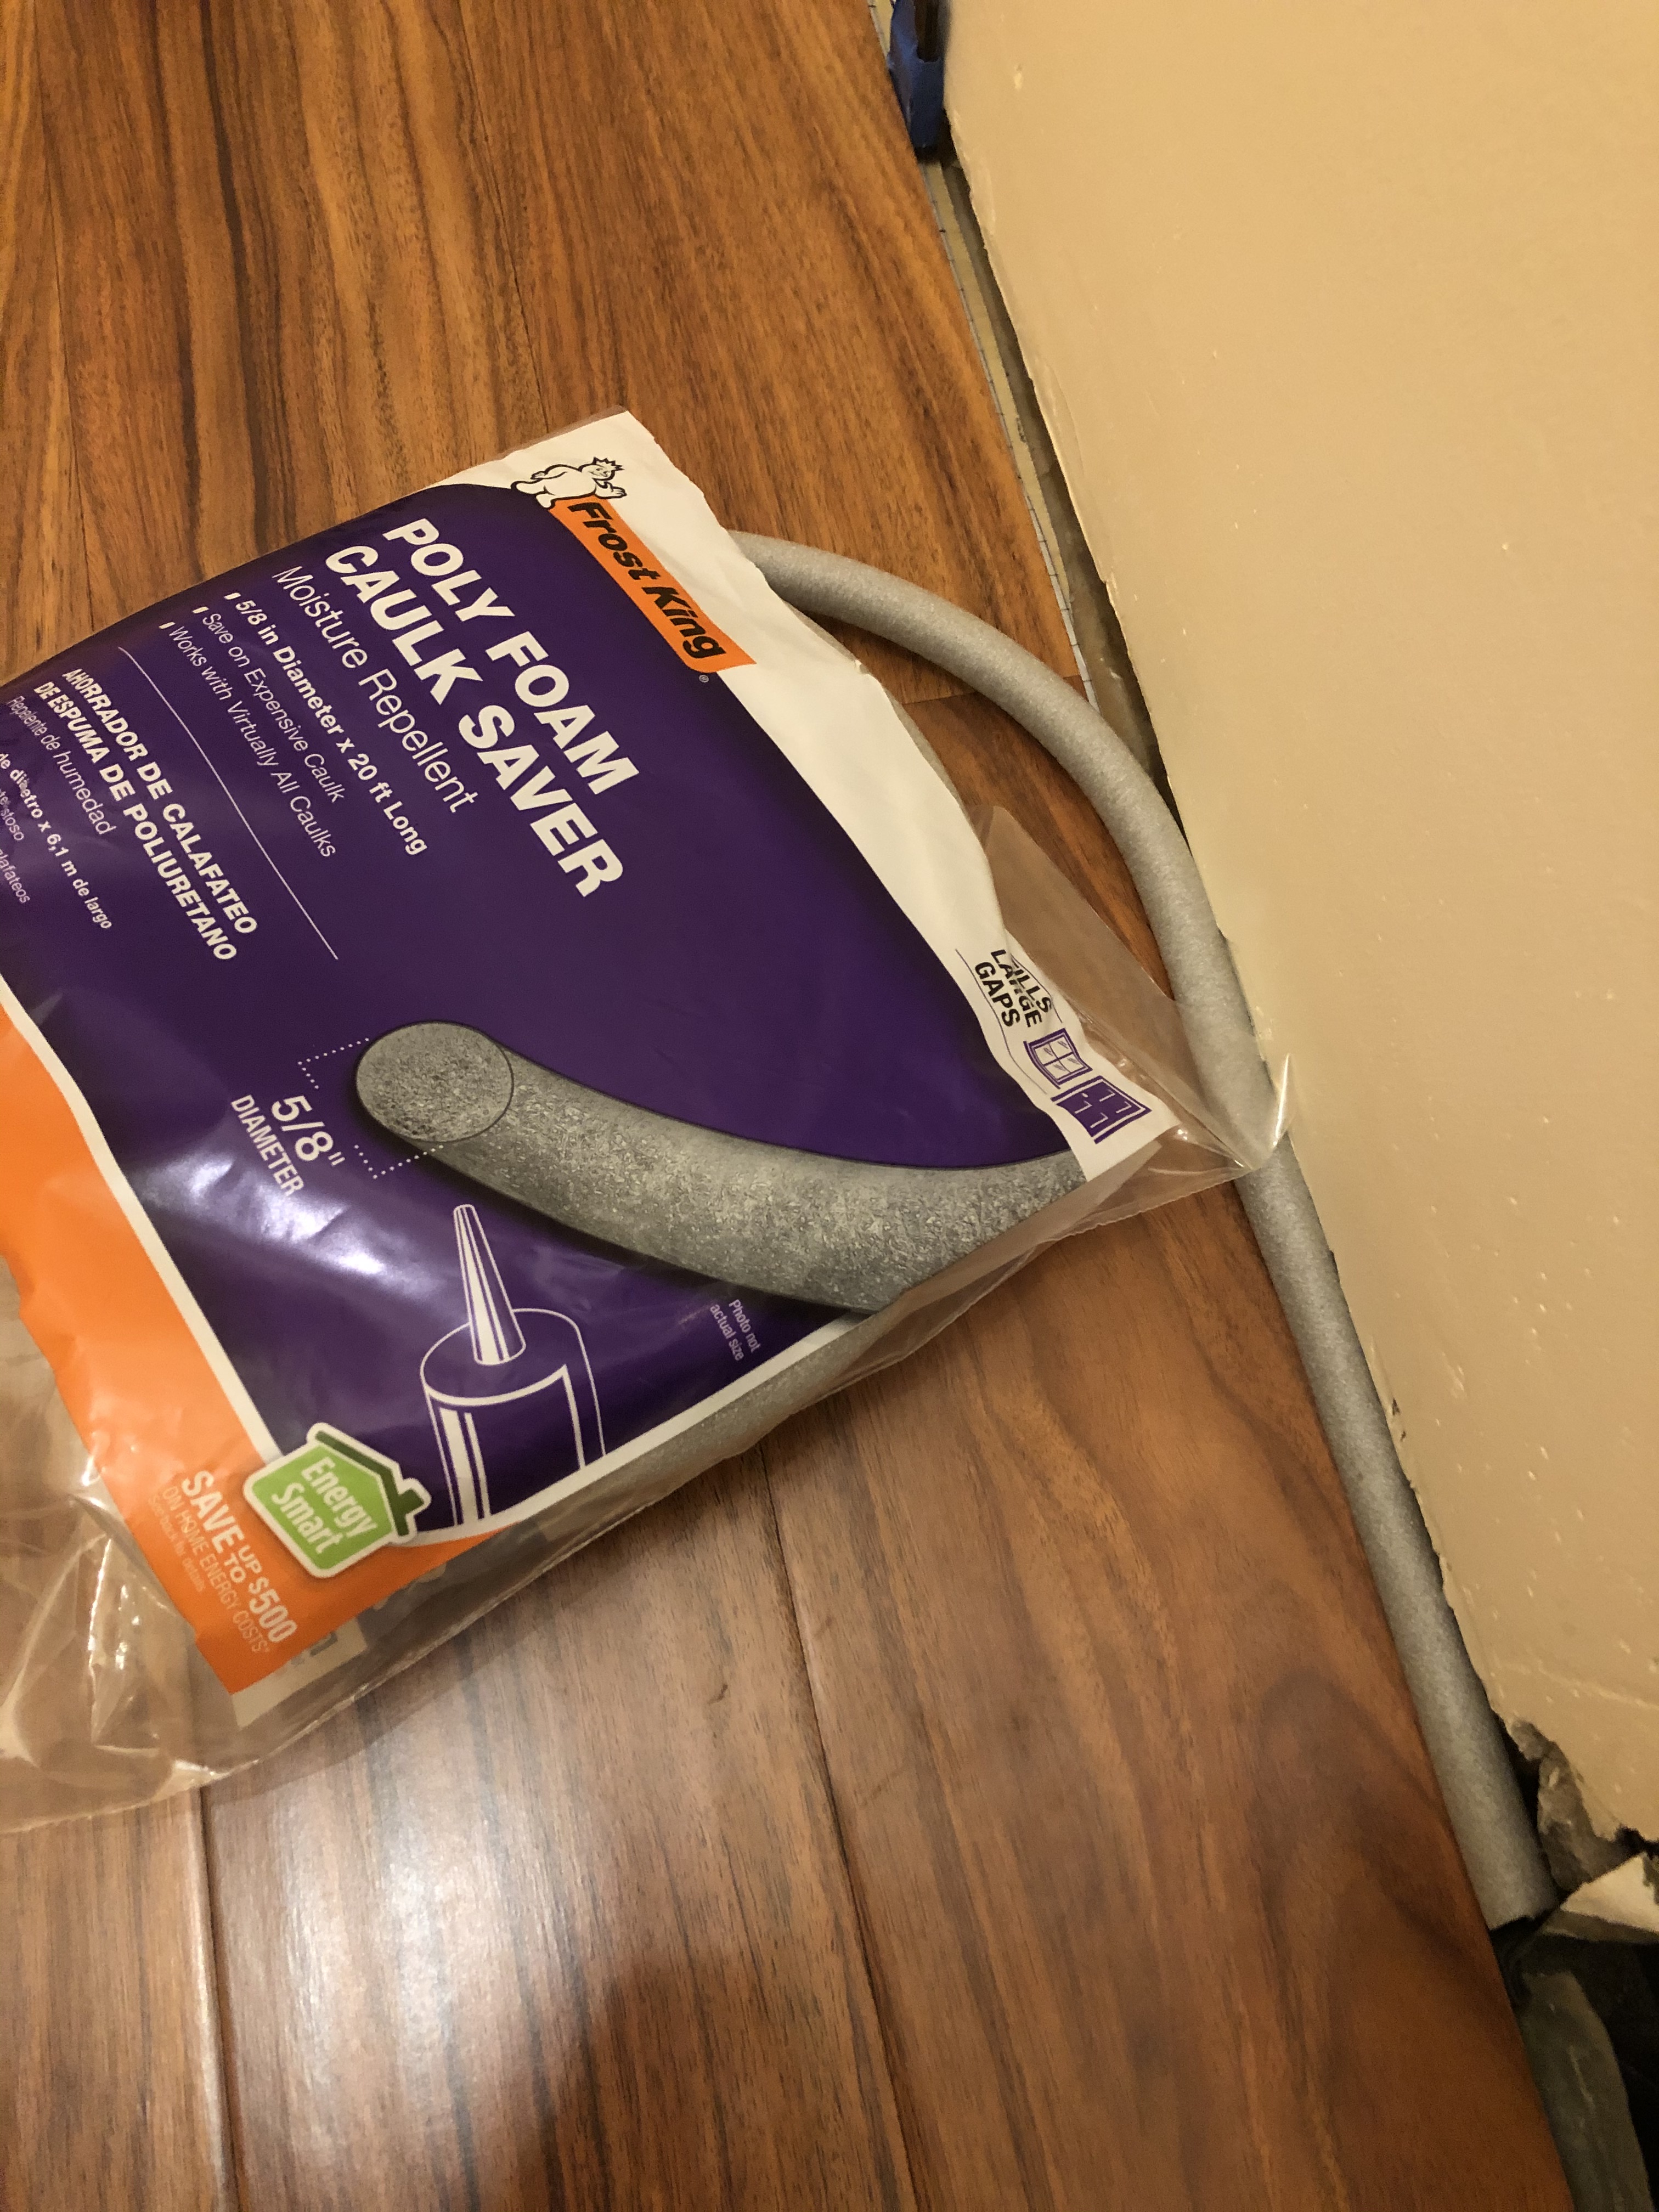
As I progressed with this work, squeezing the foam backer rod between the edge of the floor and the wall, I noticed it made the first row of planks buckle up. Try as I might, I could not get that section of the floor to lay flat again. Frustrated, I finally looked under the planks and saw that a short piece of the foam backer rod had rolled under the plank. Yikes! Trouble with one of the simplest steps! The floor looked ok once I removed the stray piece of foam.
The next step in the waterproofing was to apply permanent silicone sealant, smoothing it carefully. As I considered this, I knew that putting down an even bead of silicone might look nice, but it would be difficult for me. I had tried such a task several years ago, and admit I was not good at it. I then realized that trying to make the powder room floor waterproof would probably be futile anyway. I remembered there was already a hole cut into the floor: the one that was necessary for the toilet water supply pipe coming up from the basement below. So, I sent the following message to my brother:
| Never mind the waterproof stuff. I put in some foam backer rod around the edges. Makes it look a bit more finished. But I will NOT add a layer of silicone sealant. I know I would not be good at that. So it is finished! |
It was Wednesday, only one day past the original target for me to complete this part of the project. Toward the end of that day, I called the carpenter and left a message saying I was done with the floor. I suggested he could return when his schedule allowed. The last of his work would include cutting the wood molding and trim outside in our driveway and was therefore dependent on the weather – he could not do this in the rain. With rain expected every day for the rest of the week, including the weekend, I did not think he would return until the following Monday at the earliest.
The next day, Thursday, my wife and I felt relieved that we would have a bit of a breather before the carpenter showed up again. We started the morning with our normal routine: a bit of coffee and conversation. But then, a little after 8 AM, the phone rang and the carpenter said, “The rain is going to hold off for a while so I can finish the work today. I’ll be there within the hour.” We scrambled to get everything ready for his return. We taped back up the plastic sheets in all the doorways and moved the painted door and floor molding into the entry way to give him easy access for his work.
When the carpenter arrived, I asked him to look at the newly installed floor and let me know if it was ok. He stepped into the bathroom and inspected the flooring, then turned, smiled and said, “You done good. If I had a hat, I would tip it to you.” I replied, “Thank you. You can just tip a ‘virtual’ hat. Seems most appropriate for these COVID days.” We both got a good, and well-needed laugh from that.
But as we talked about the next steps in the project, he was dismayed that we had not yet obtained the needed air vent – there had been a delay in shipping. This impacted his ability to finish the floor molding, since he planned to cut it to the correct length to fit snugly against the vent. He then proceeded with his other work: installing the new vanity.
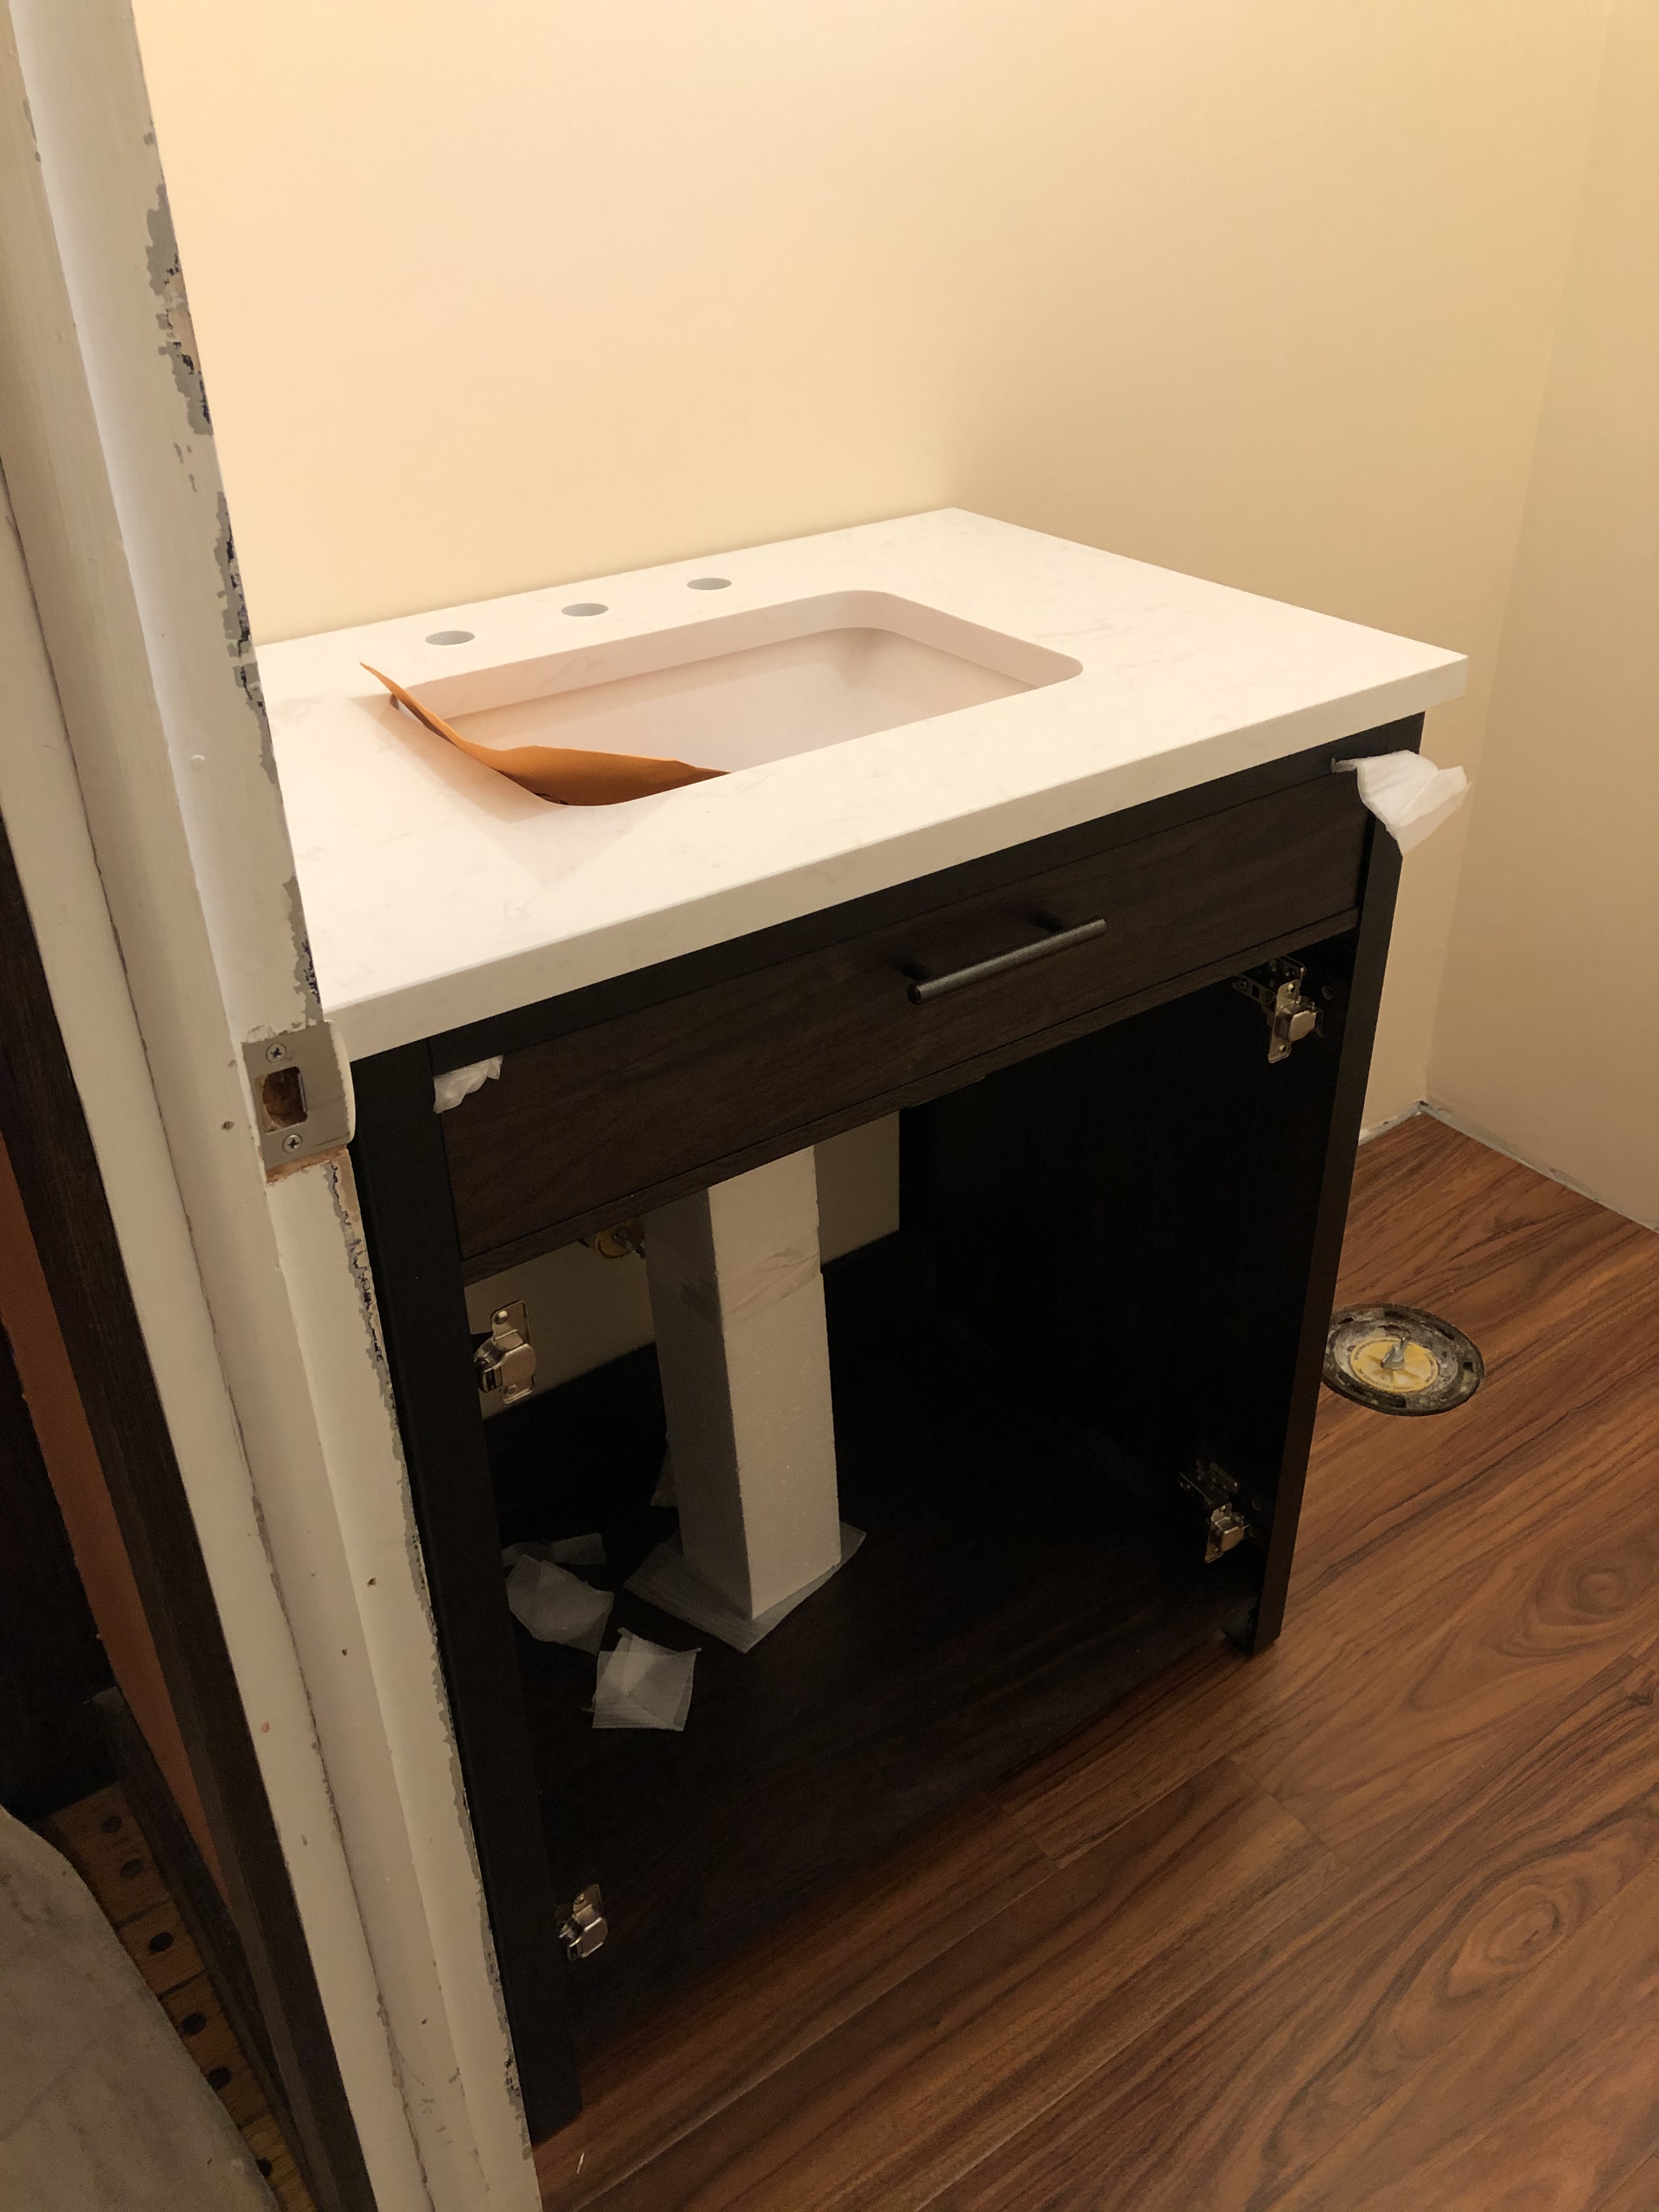
He cut the floor and window molding to length and installed these, along with the quarter-round at the floor.

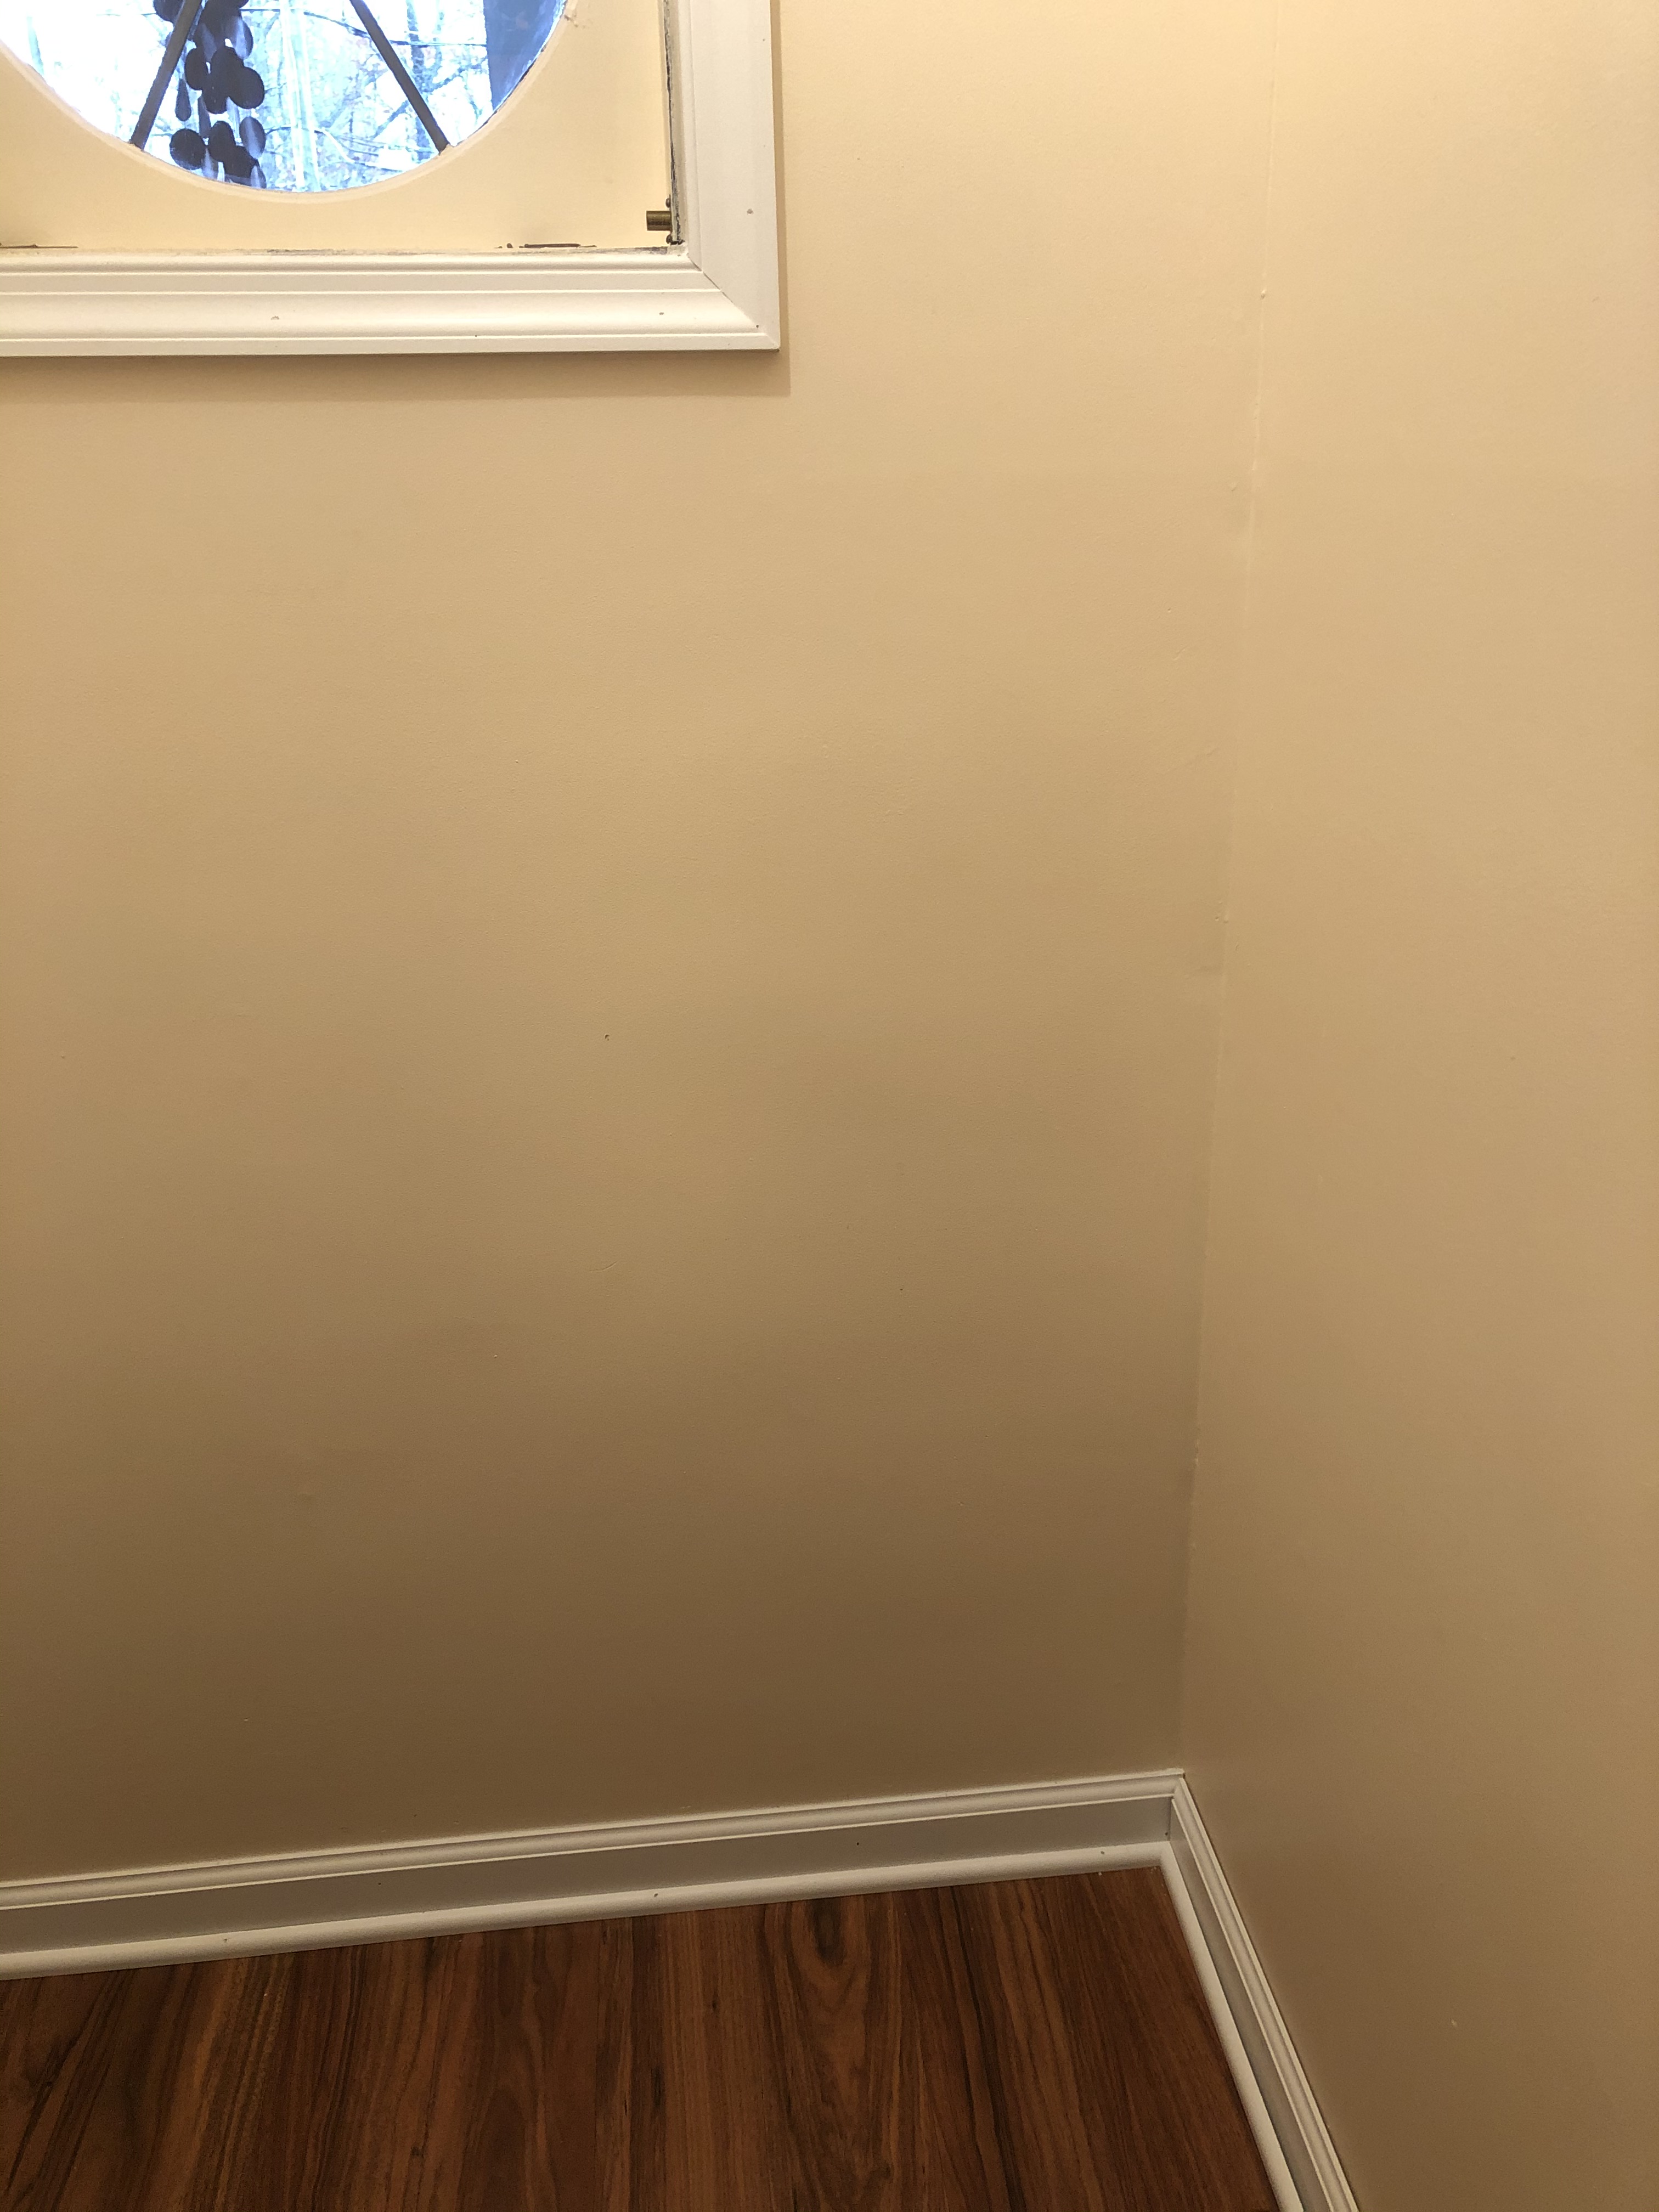
(A minor point in the photo above: the carpenter did not attach the baseboard and quarter-round trimalong the right-side wall, the one where the yet-to-be-received air vent would be placed. I will come back to this later in the story.) As he moved on to the door-frame molding, he discovered the vanity top was just a bit too deep for the available space, which forced him to cut a notch in the molding.
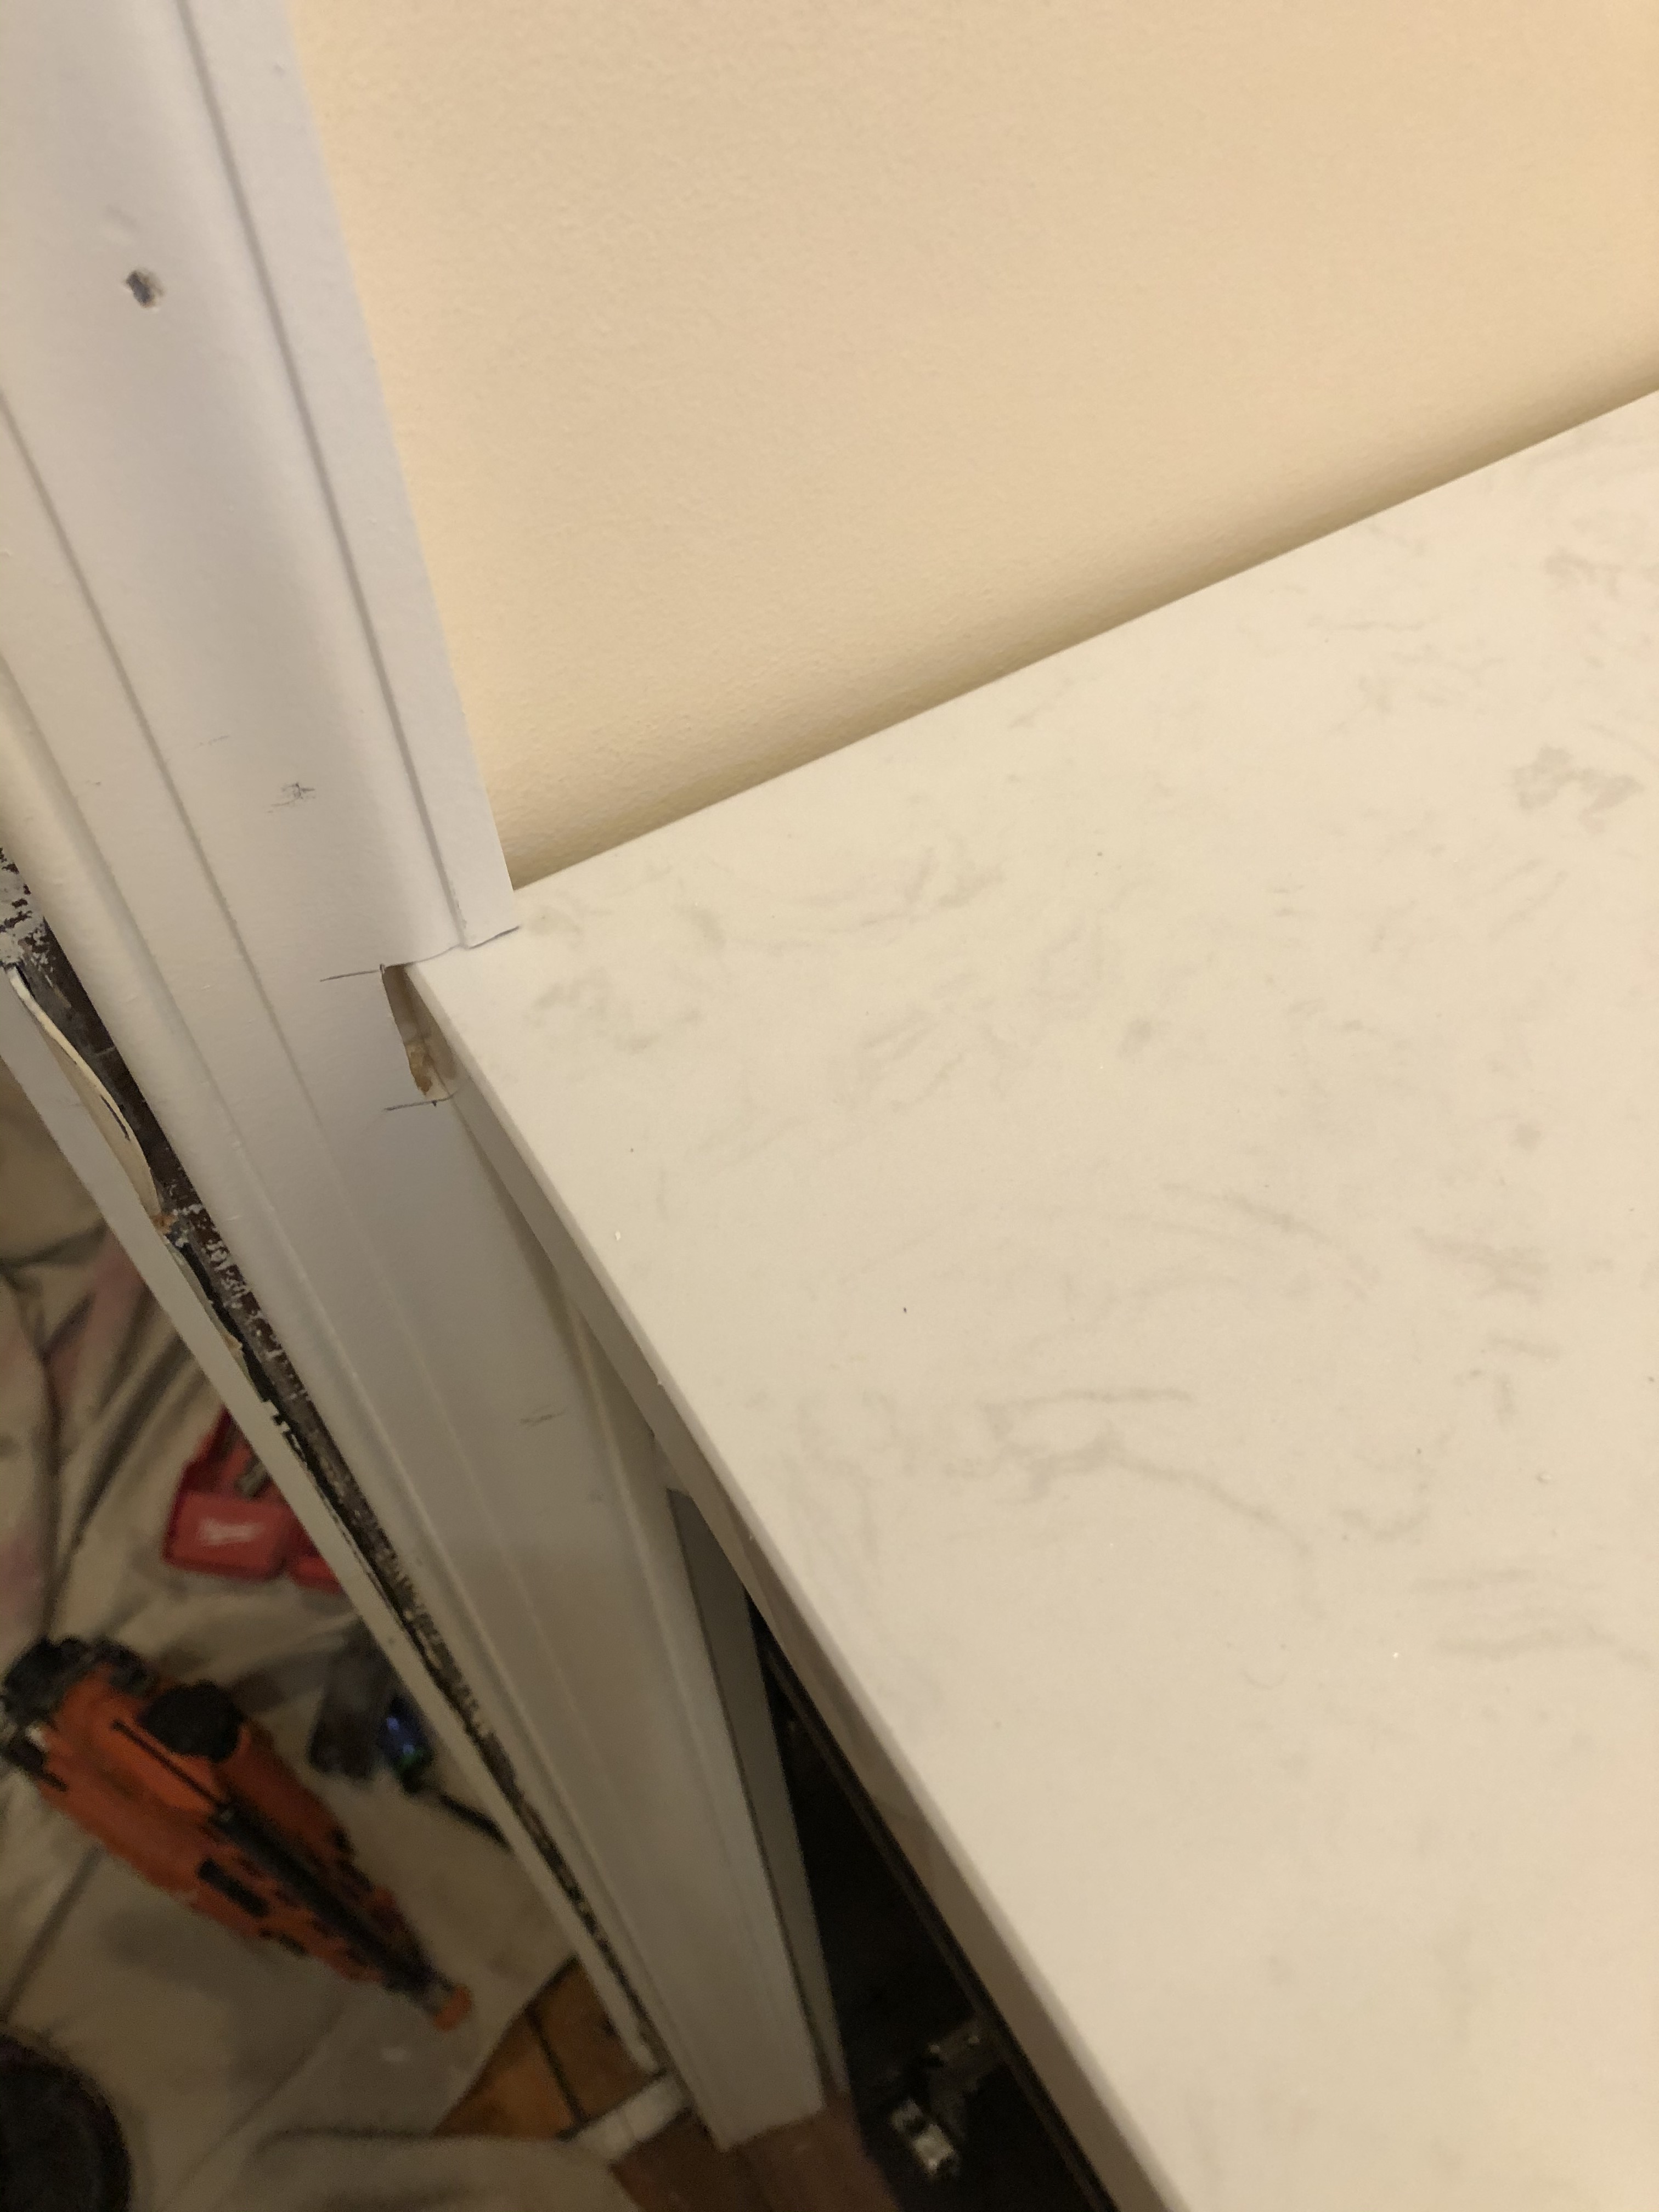
He also discovered, again not surprisingly with this house, that the corner of the wall was not square, resulting in a gap between the vanity top and the side wall – the very place that had prompted us to start our renovation project, and where we were trying to prevent any more water damage! (This problem was to be addressed in the last phase of the project.)

The carpenter then asked where the mirror was that he was supposed to hang for us. Again, we had to tell him it had not yet arrived. He remarked, “You are making this very difficult for me to finish the job for you.” For the first time, he seemed genuinely upset by the delays in the project. But after we spoke further and reassured him that he would not have to come back to finish the mirror – we could take care of that – he was his usual happy self. Oh yes, and very good at his work, as he had done a really nice job on the project.
Whereas my wife had taken two days to complete the painting, and I needed three days to put in the floor, the carpenter had done his final part of the project in just three hours. The next day, our plumber returned to reset the toilet, install the faucet, and make all the plumbing connections. There was an anxious moment when we discovered a slight leak from the sink drain to the cabinet beneath. The plumber quickly fixed this and then realized the cabinet doors were not closing properly. Fortunately, he was able to determine the cause: a small plastic sheet that the vanity manufacturer had added to protect the doors during shipping. Once removed, the doors worked just fine.
The next day, I sent the following to my brother:
| And now, a functioning bathroom again! Thanks for your guidance!! |

The date was Friday, the 13th of November. Looking back, I should have paid more attention to that inauspicious date. Perhaps then I would have been better prepared for some of the challenges yet to come. As it turned out, I had spoken way too soon about having a “functioning bathroom.”
To be continued…Sorry to leave you up in the air (again), but check back for the next installment in a few weeks…
Categories

Oh no! The floor looks nice. I am hoping we will never have to renovate a bathroom. If we do, it will be hired out. But I do admire your brother for undertaking and persevering with this project!
Thanks, yes I think it turned out nicely.
Thanks, brother, for your help with our project! Thanks also for giving me space and time to tell the story on your blog. I’m having fun re-reading what we wrote about how it all unfolded. More fun than when I was in the midst of all the challenges!
Thanks also to the readers out there who have left positive comments! Hope you all can come back in 3 weeks when we will post the last 3 episodes about the project, and you can see the final result. Cheers!
Hey Bro, I am glad we collaborated on this project and I am too enjoying reading about it. Cheers to you!
Oh no, what a cliffhanger!! I hate that you had more trouble after all that work! We are currently trying to install some boards with hooks to hang coats and repair a small broken window pane, and the number of trips to the hardware store has just been epic. This stuff is always more complicated than I expect! But kudos on a job well done!
Credit certainly goes to my brother and his perseverance.