
Virtual DIY Bathroom – Reconstruction (First Boards)
Continued from Virtual DIY Bathroom – Demolition
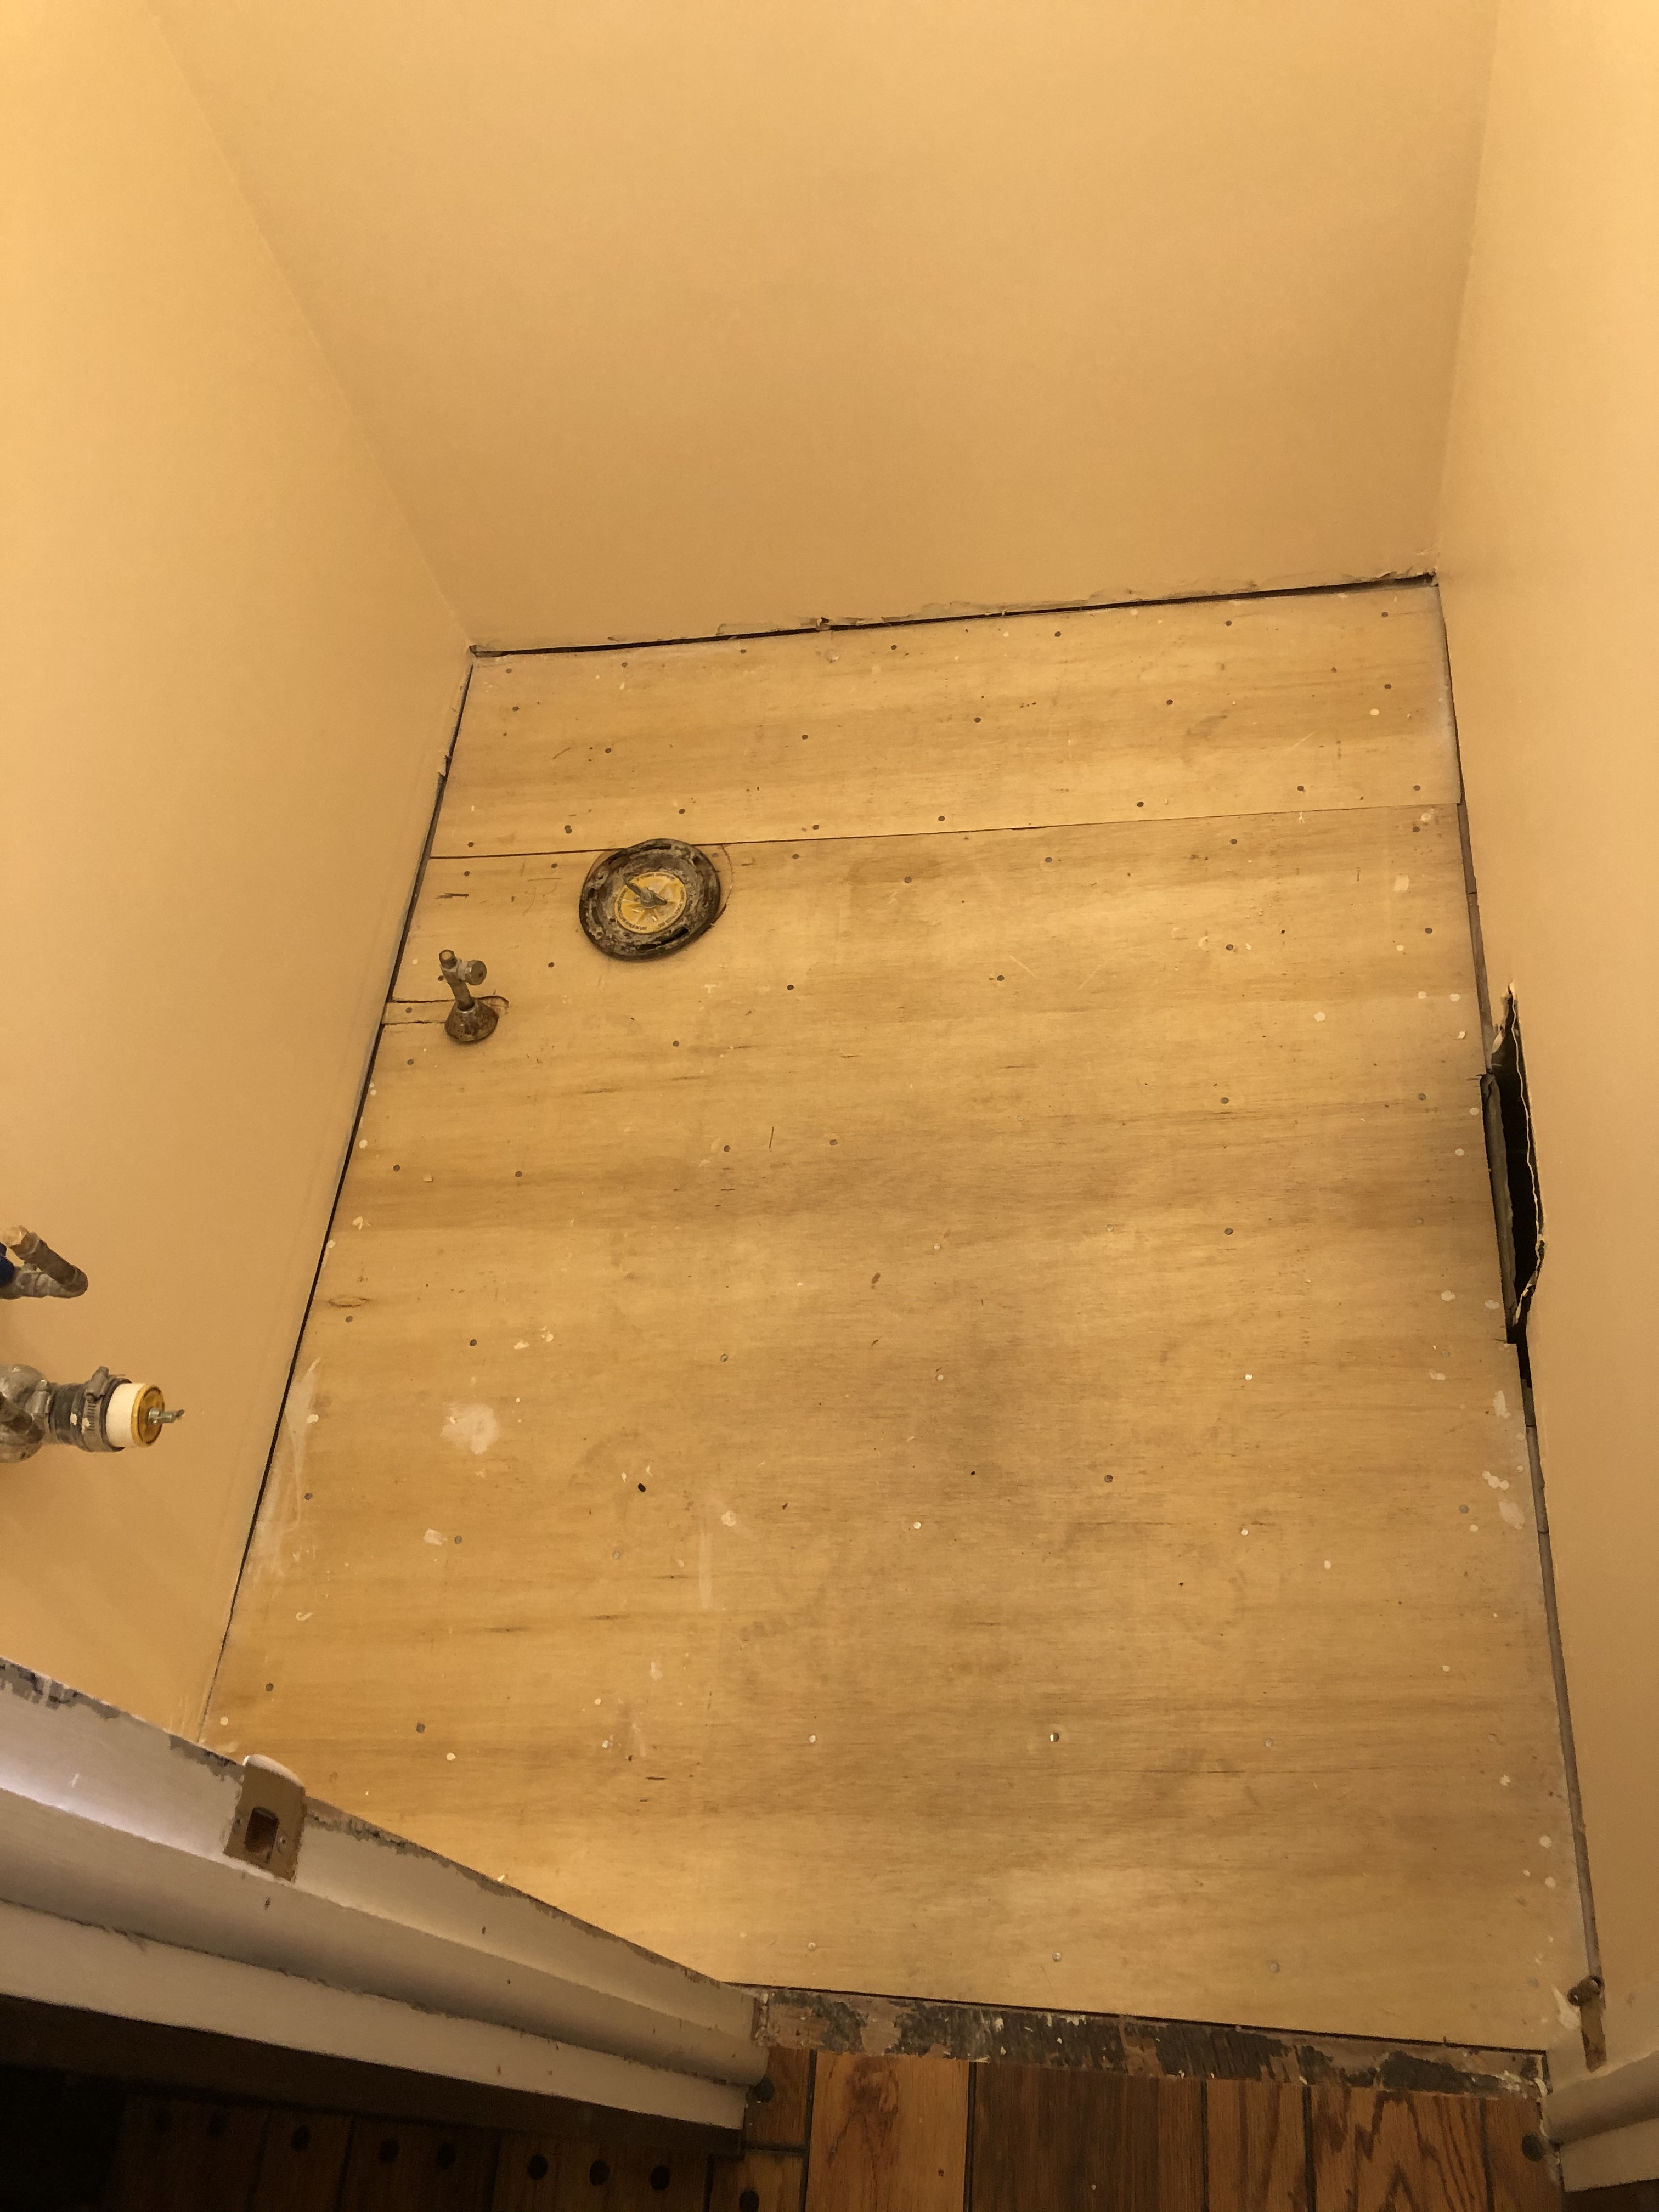
Our previous installment of this virtual DIY project left my brother with newly painted walls and bare wood beneath his feet. In a way, the subflooring was a blank canvas upon which he would “paint” a new bathroom floor. More FaceTime calls and several text messages afforded me the chance to provide further assistance on the project, again best told in my brother’s words.
– – – – – – – – – – – – – – – – – – – – – – – – – – –
All through the carpenter’s “demolition and rebuilding” phase of the project, I was nervous as I contemplated putting in the floor. Many years ago, shortly after we moved in, I had installed a tongue-and-groove cork floor in our playroom. At that time, I bought a table saw for cutting the cork planks and since then, have found many subsequent uses for the tool. This prior experience and the table saw itself turned out to be helpful in our powder room project.
Although the floor space in the bathroom was small, there were still some challenges for a relative novice like me. In particular, I was not entirely sure how I would deal with the toilet drain flange hole and water supply pipe protruding from the floor. On Sunday, the day before I planned to start the flooring phase of the project, I sent the following text to my brother:
| One quick question. Do I cut the tongue off the short sides of the planks for all planks that go first in the flooring? |
Looking back, I am not even certain what I meant by the question. But clearly, I was in need of assistance and reassurance. A lengthy phone call followed where my brother and I discussed the whole project in detail. (At least my anxiety about the flooring provided a distraction from constantly worrying about the ongoing global pandemic!)
Monday morning, I awoke with a continuing feeling of dread. To ease myself into the project, I measured the width of the flooring planks and calculated that the powder room would require almost exactly nine planks. Almost exactly! As with so many things in this house, it was not exactly nine. There would be at least a half-inch gap on each side. Rather than attempting rip cuts lengthwise in the planks, I decided to trust that the gaps would be covered by the floor molding and quarter-round. I silently thanked the carpenter for his foresight in adding the quarter-round trim to our project planning!
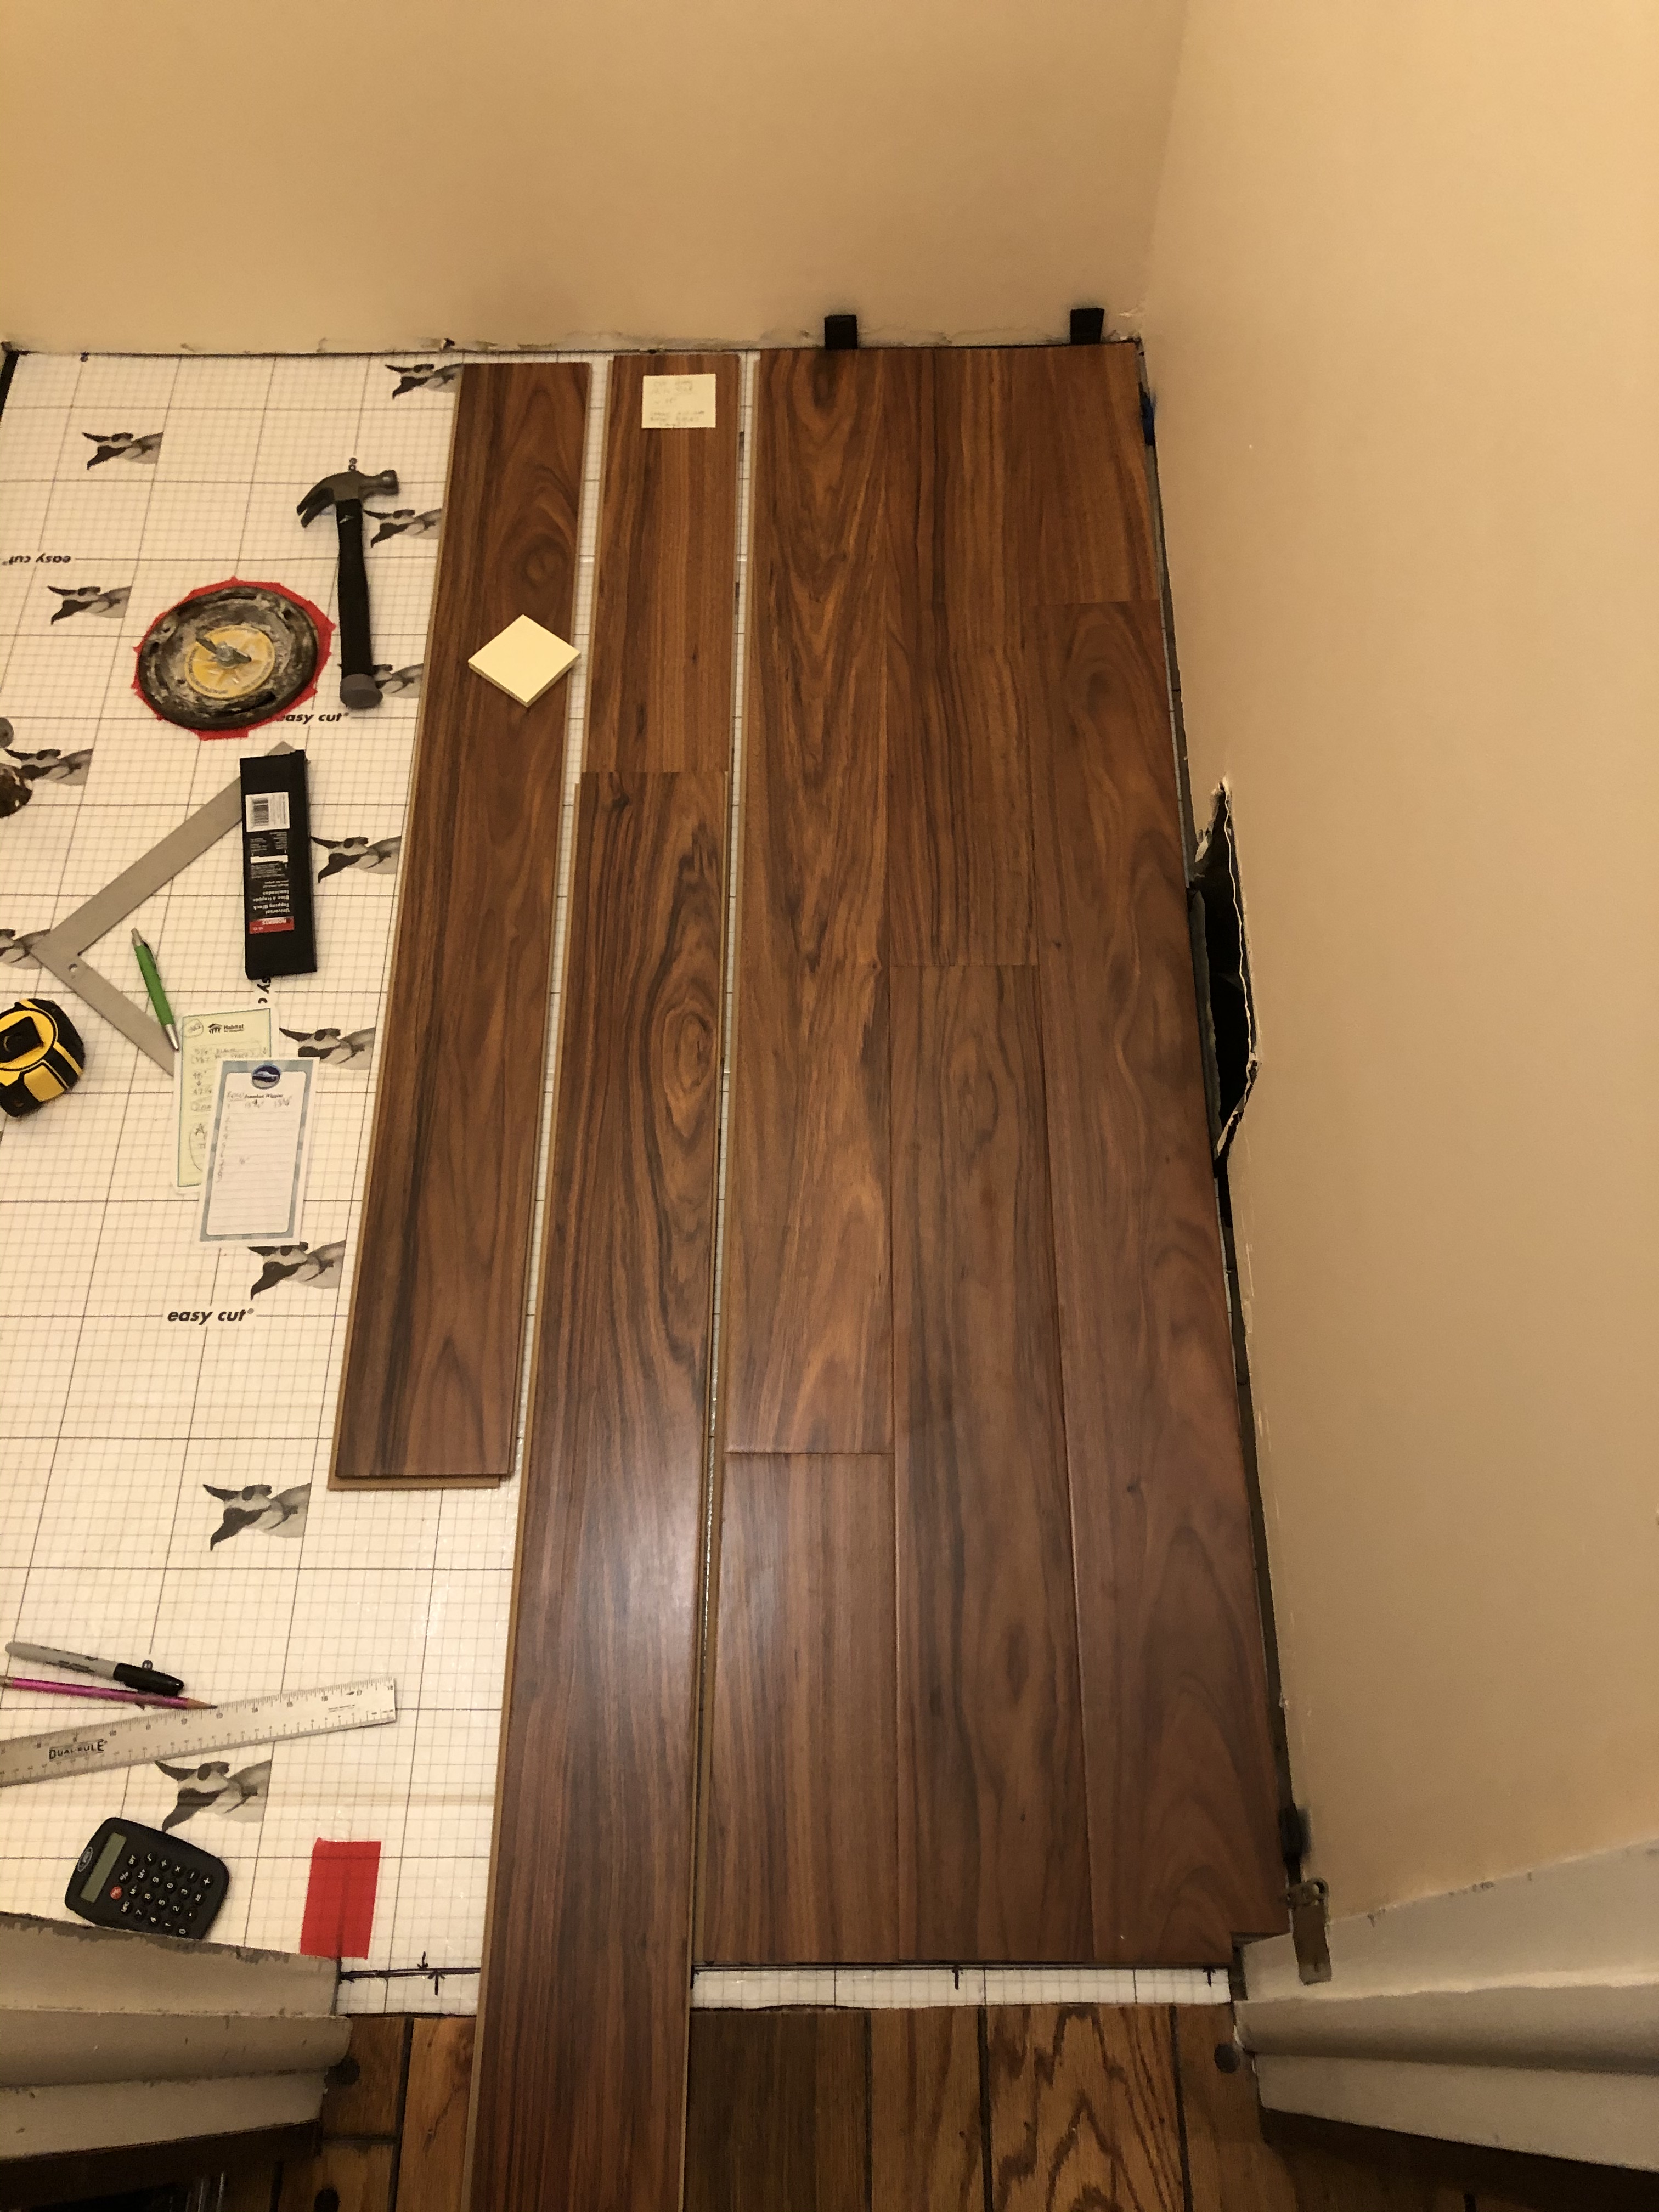
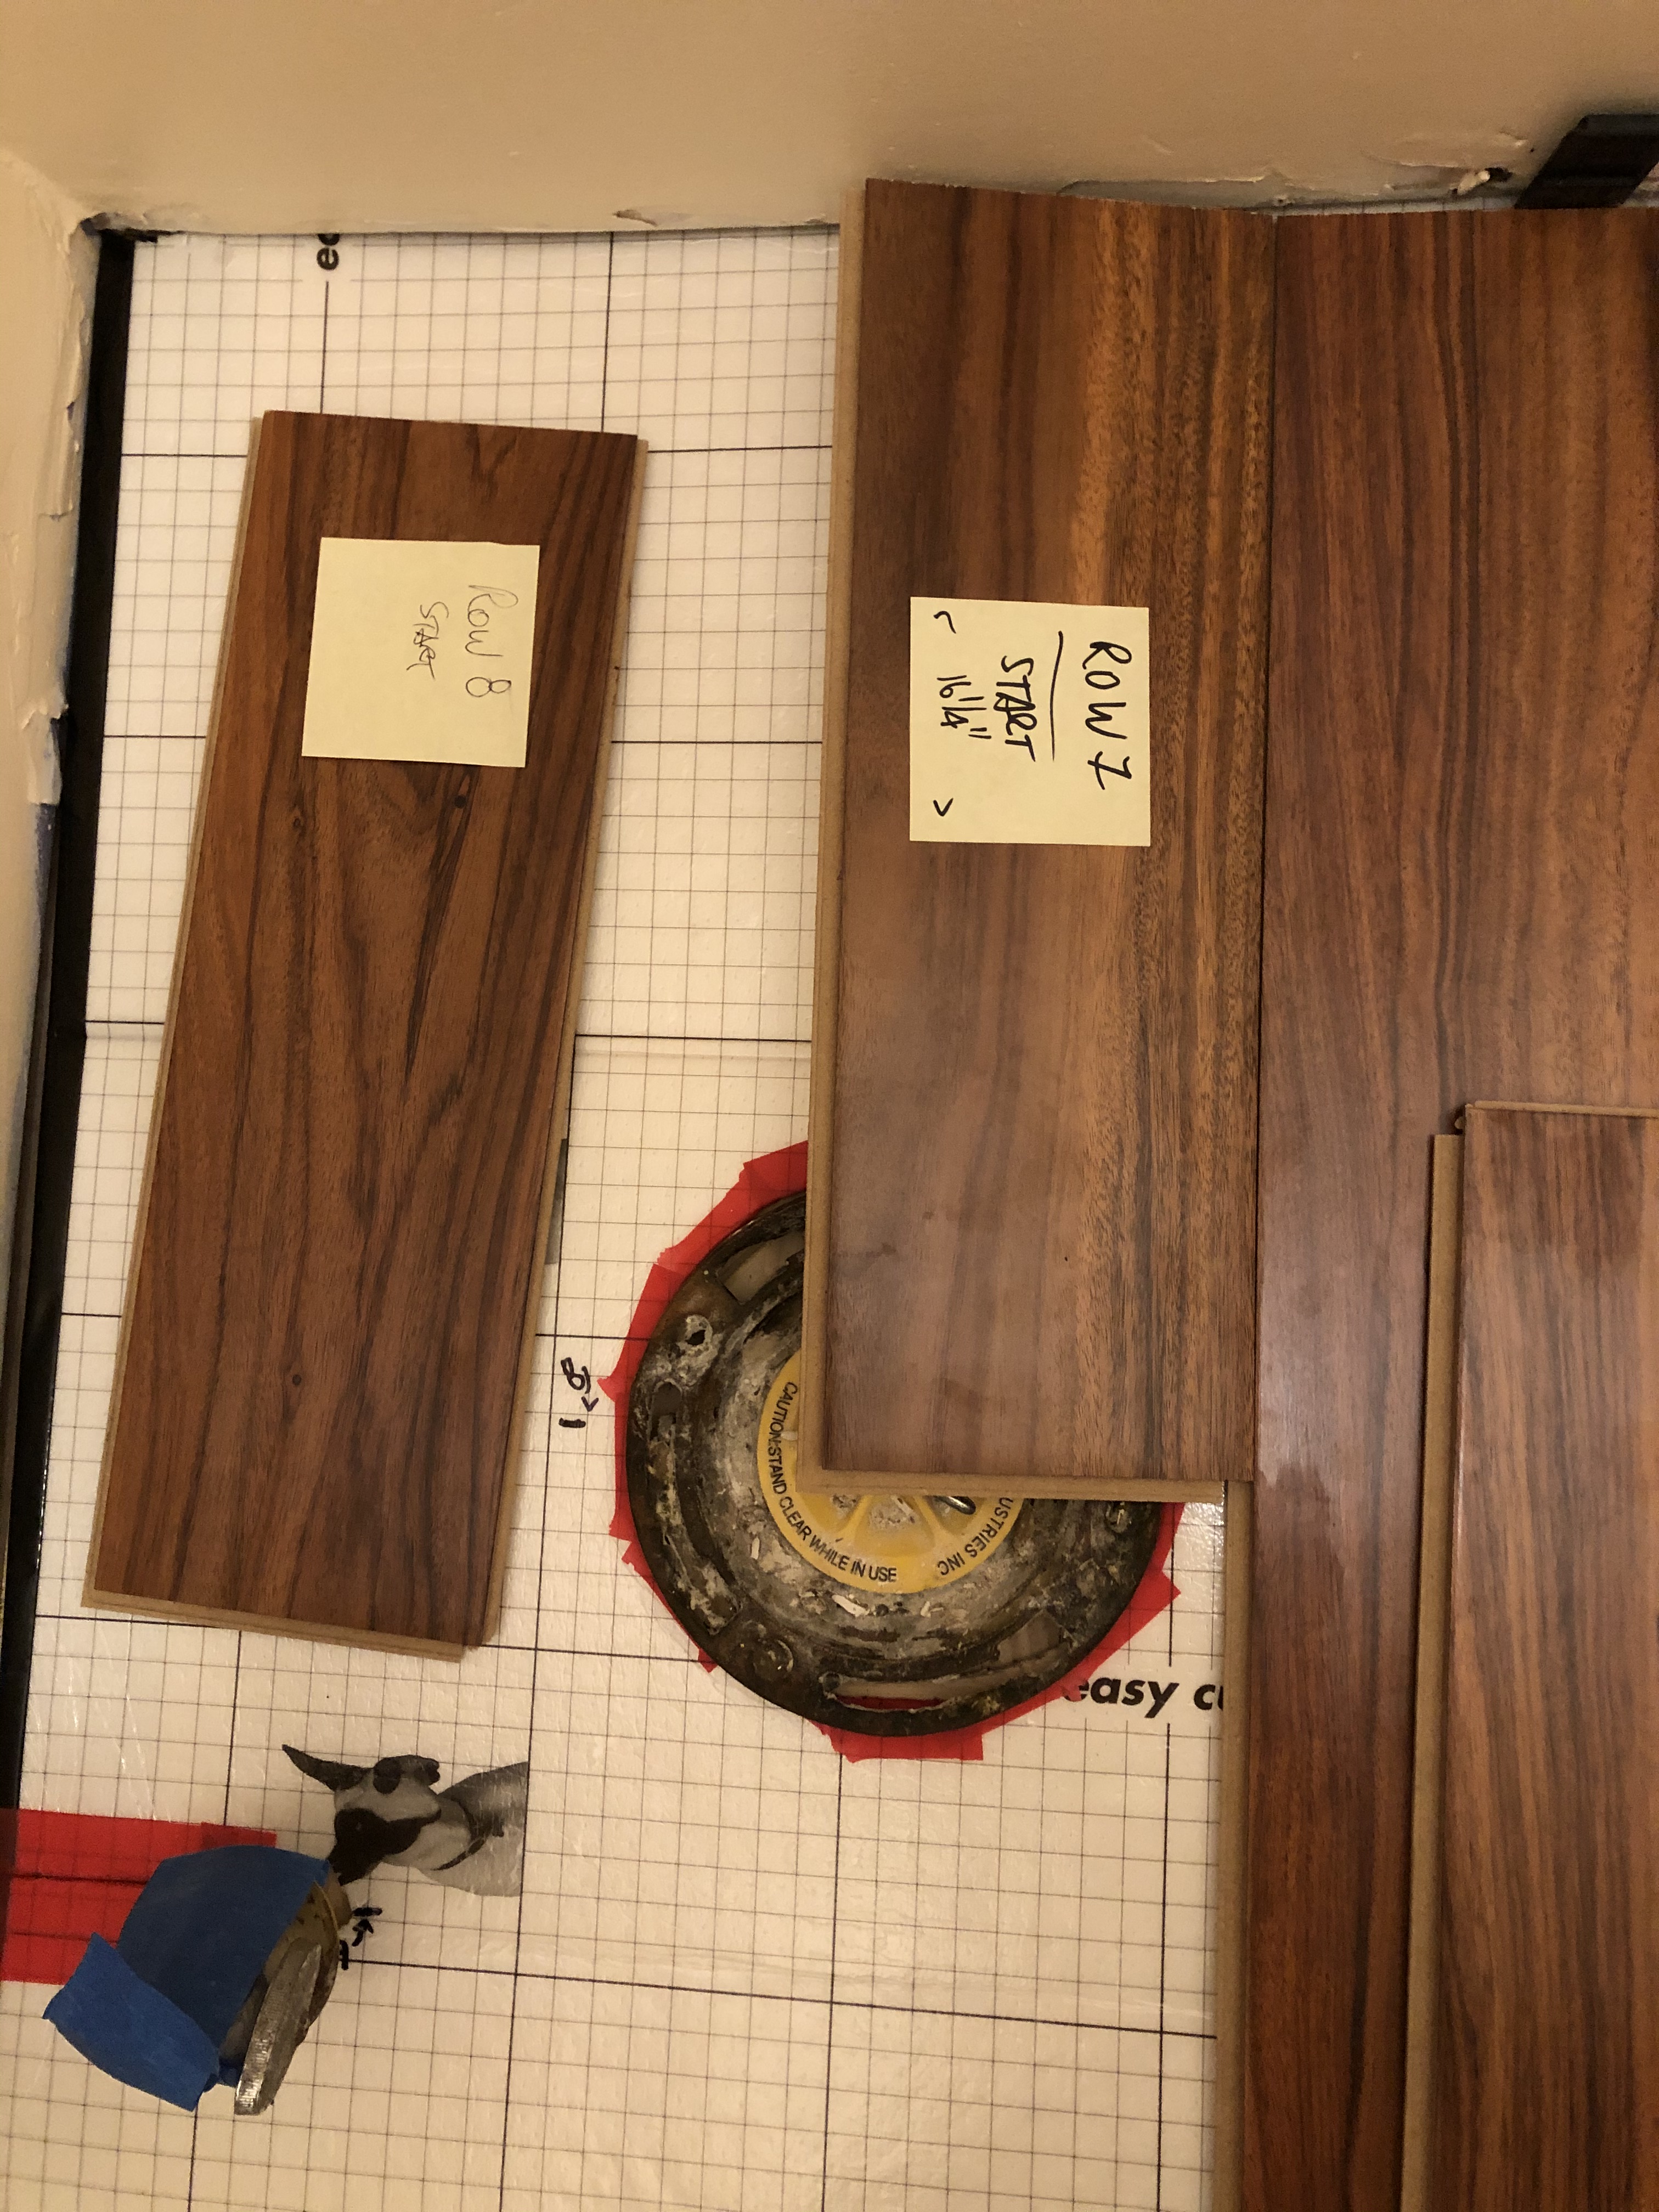
I inspected all the planks in the boxes and realized they were not all unique in their wood grain pattern. Several of the planks had the same pattern as others. This was Pergo laminate flooring, after all, rather than true hardwood. Trying to imagine how the completed floor would look, I recognized the plank patterns should be staggered and the joints offset where the planks fit together. It all seemed like a giant jigsaw puzzle, but one where I got to choose what the finished puzzle would look like. And then, I had to cut the required puzzle pieces myself.

I felt it would be helpful to lay out the planks in another room. Even with this planning, I could not quite stage the whole project, and discovered later that there were still a few surprises in store. When I sent the plank layout photo to my brother, he replied with a reassuring:
| That looks pretty random. |
Before cutting and laying the actual floorboards, I needed to put down the underlayment that would serve as a base beneath the flooring planks. This required cutting the underlayment to size, including a hole for the toilet drain, and fitting it all together. Another photo and text thread to discuss progress:
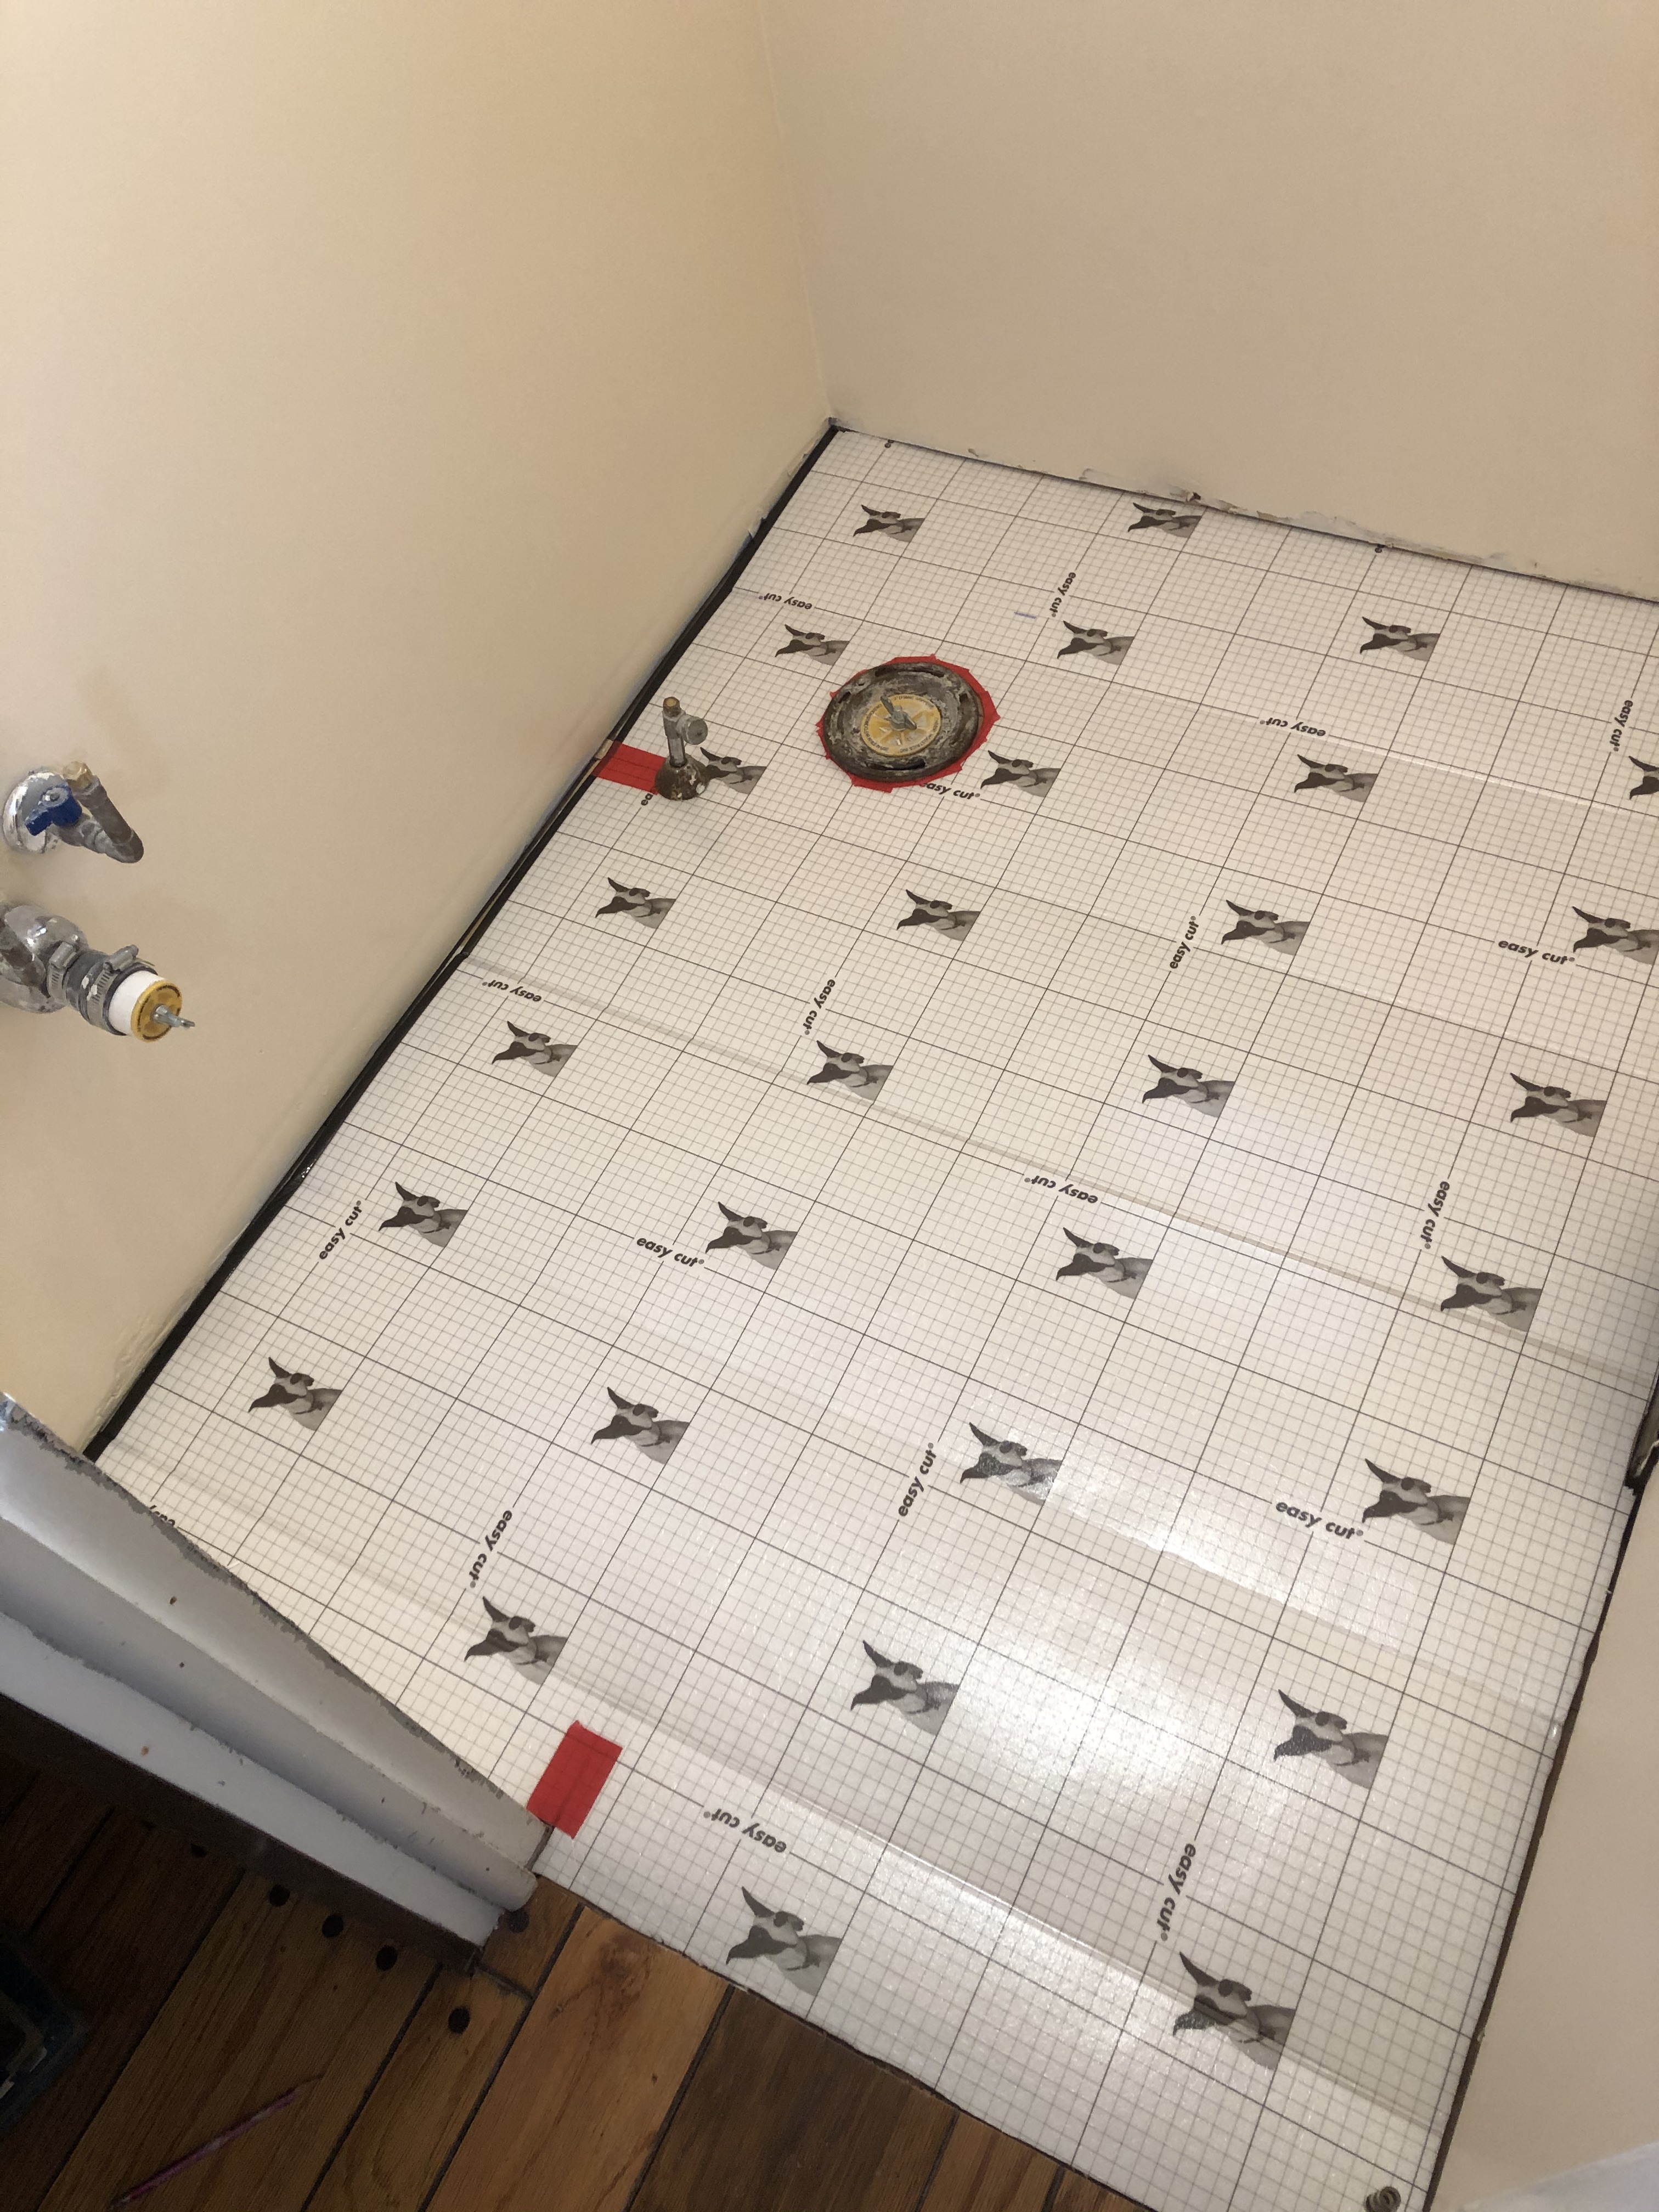
| The dog design looks interesting. I’ve always just used clear plastic, so I haven’t seen anything like that before. | |||
| The grid lines helped in cutting the underlayment. Gives a nice cushiony feel. | |||
| And it seems there is a cushion on the bottom of your laminate so the two should give a comfy feeling. | |||
Then, I was ready to start with the floor itself. There is an age-old adage that is familiar to any DIY-er: Measure twice. Cut once. I can add the following important addendum when one is working with tongue-and-groove laminate flooring: make sure you know which end of the plank to cut off. It is not possible to piece the floor together if you cut the wrong end of the board.
| First row. First cutting mistake. I cut the short piece from the wrong end. | ||
| Whoops. I’m sure I’ve done that at least once or twice. | ||
| First row now complete! | ||
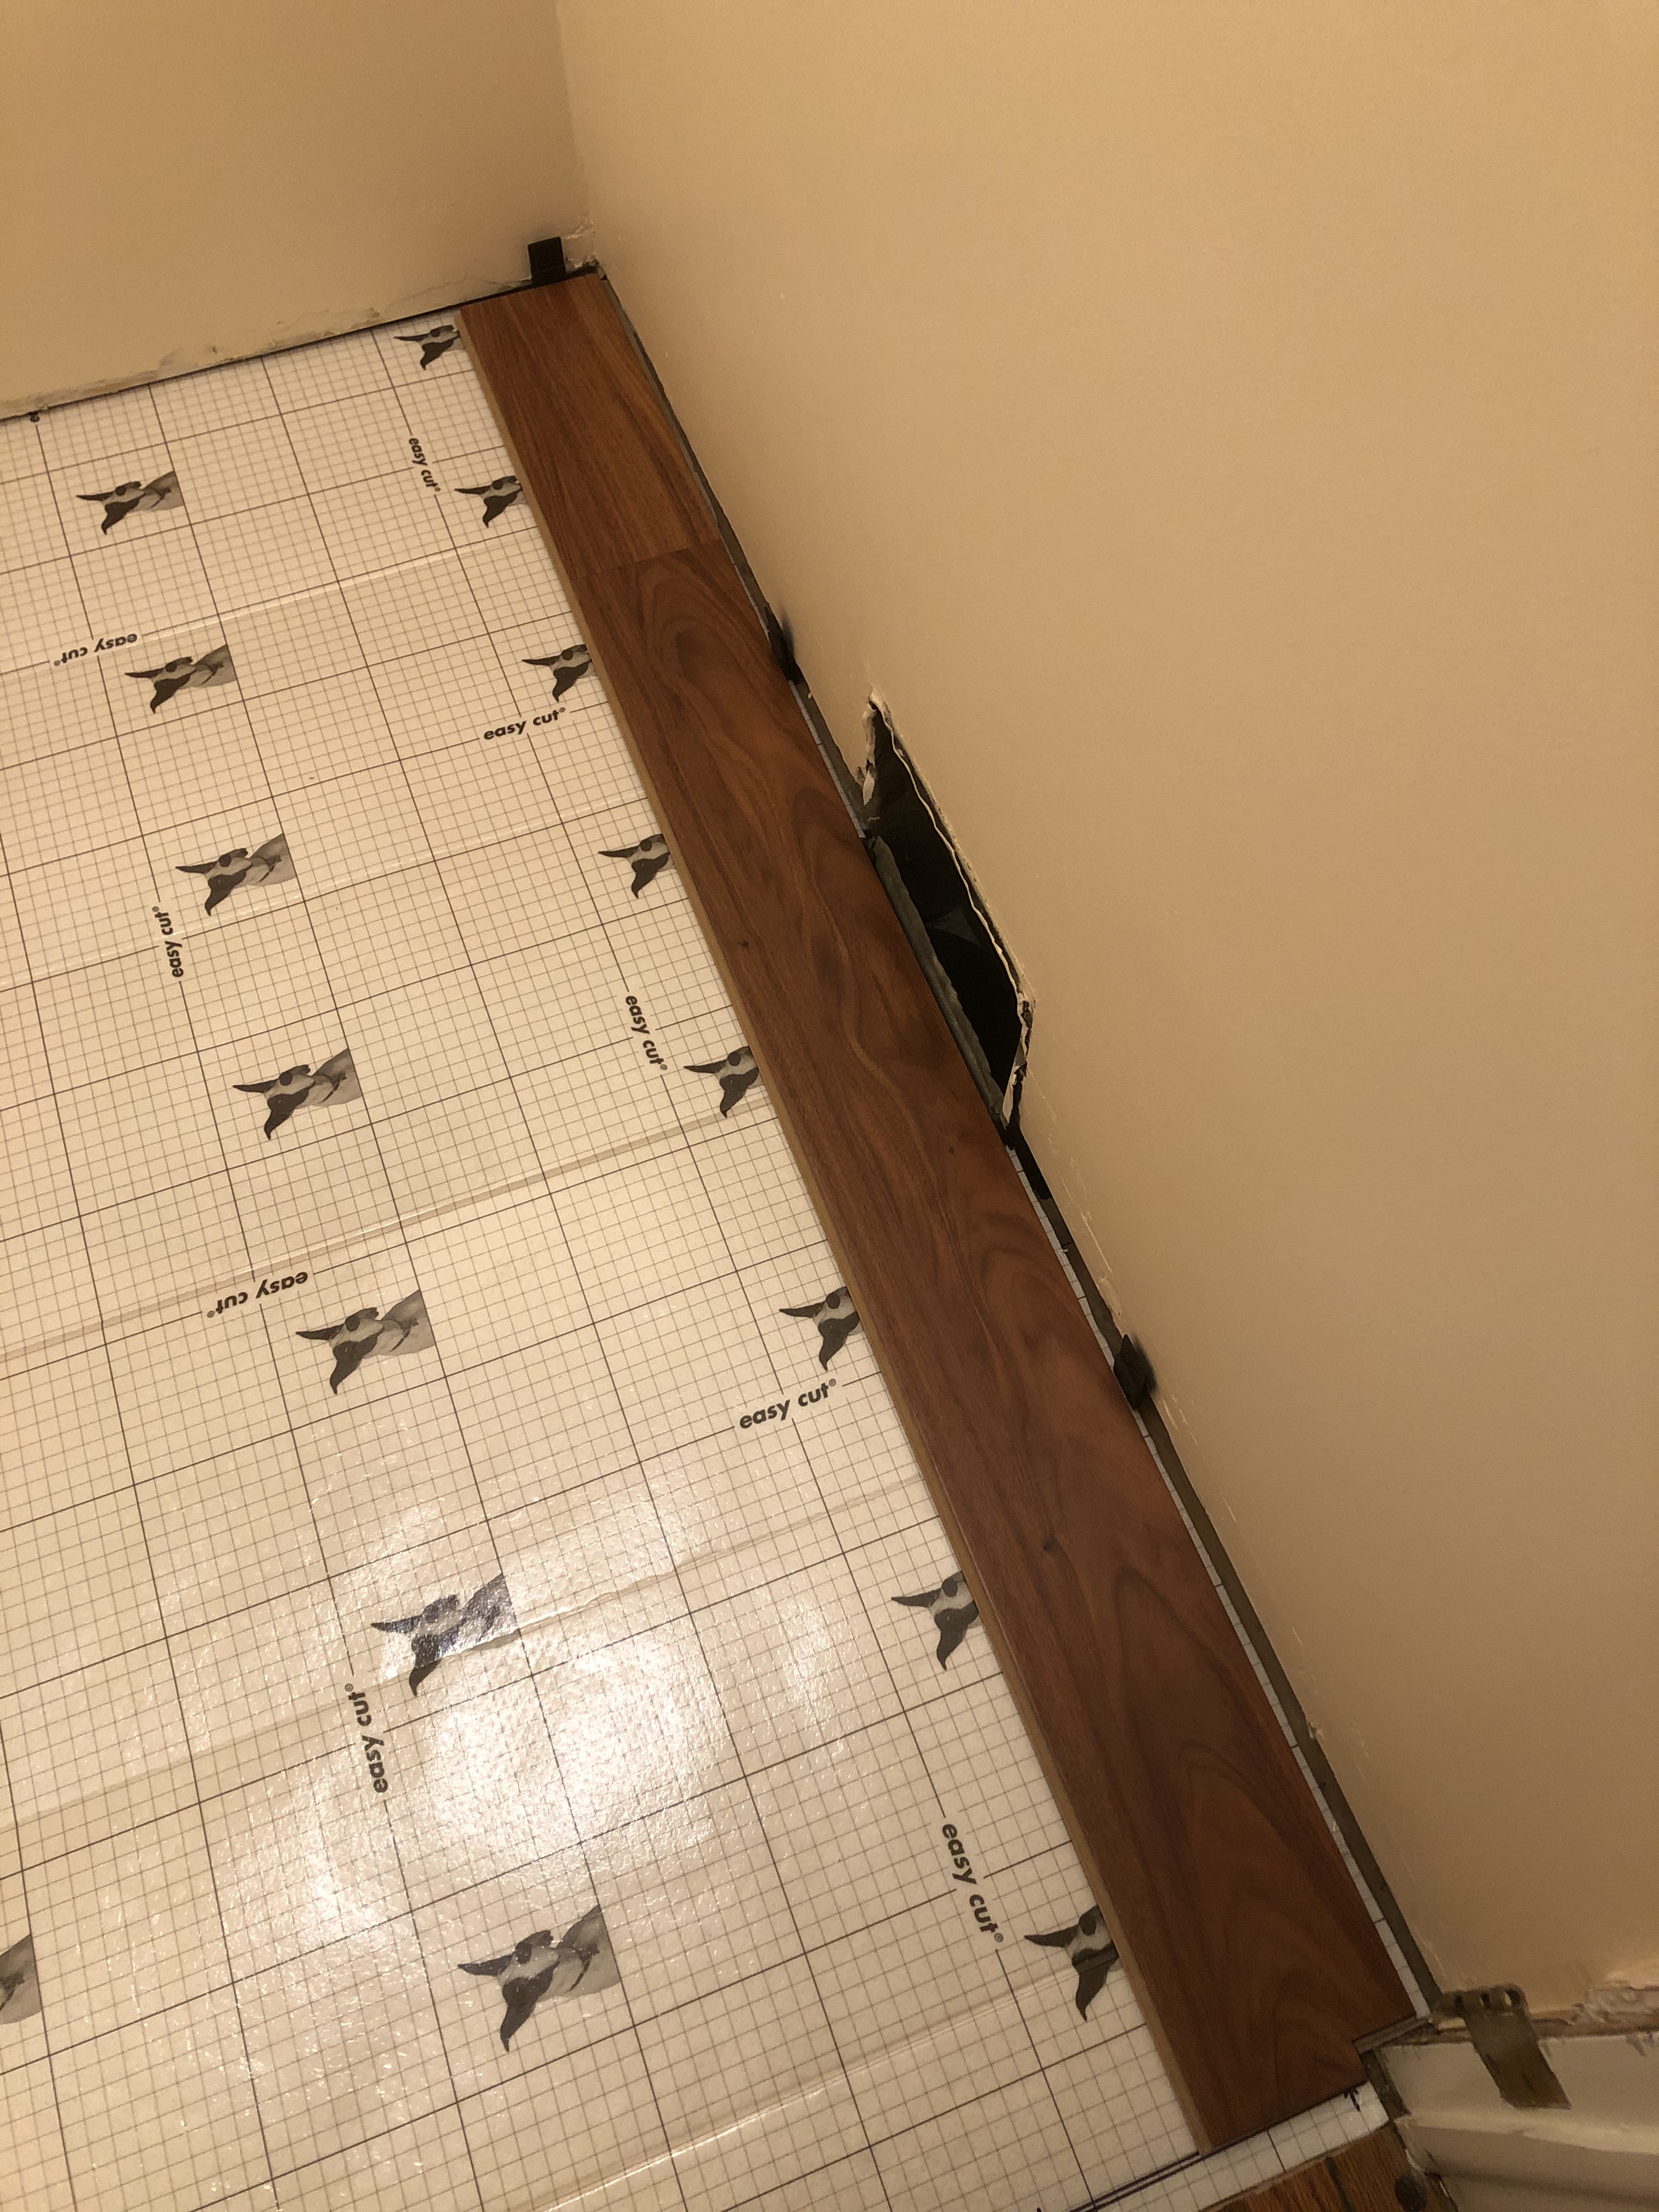
| Also, had to cut a notch for the door jamb. |

| Wondered about that. Don’t know if instructions say this but when you start on second row you should put a heavy weight on first row so it won’t move when you tap in the second row tongue-and-groove. | ||
| Yes, instructions mentioned a heavy weight. For now, I am just sitting on the first row as I tap the planks together! Things are sliding around just a little bit. Hopefully will be OK. | ||
| …Second row complete. Getting ready to start the third. | ||
| …Progress. But it is quitting time. Cheers! | ||
| You really worked late. Looks like you’re over halfway. Looking great! Cheers to you too! | ||
| Thanks. I need to have the floor finished for the carpenter to come back on Wednesday. It may be another long day tomorrow… | ||
Shortly after I started work the next day, Tuesday, I sent the following text to my brother:
| …another cutting mistake. Arrrggghhh!!! | ||
| Sorry…How’s it going? Anything I can help you with? | ||
Sadly, I felt too frustrated to even reply. I ploughed ahead with the flooring project, making very slow progress, and then sent the following:
| Finished the first six rows. A few problems on the way. Now figuring out the toilet flange problem. |
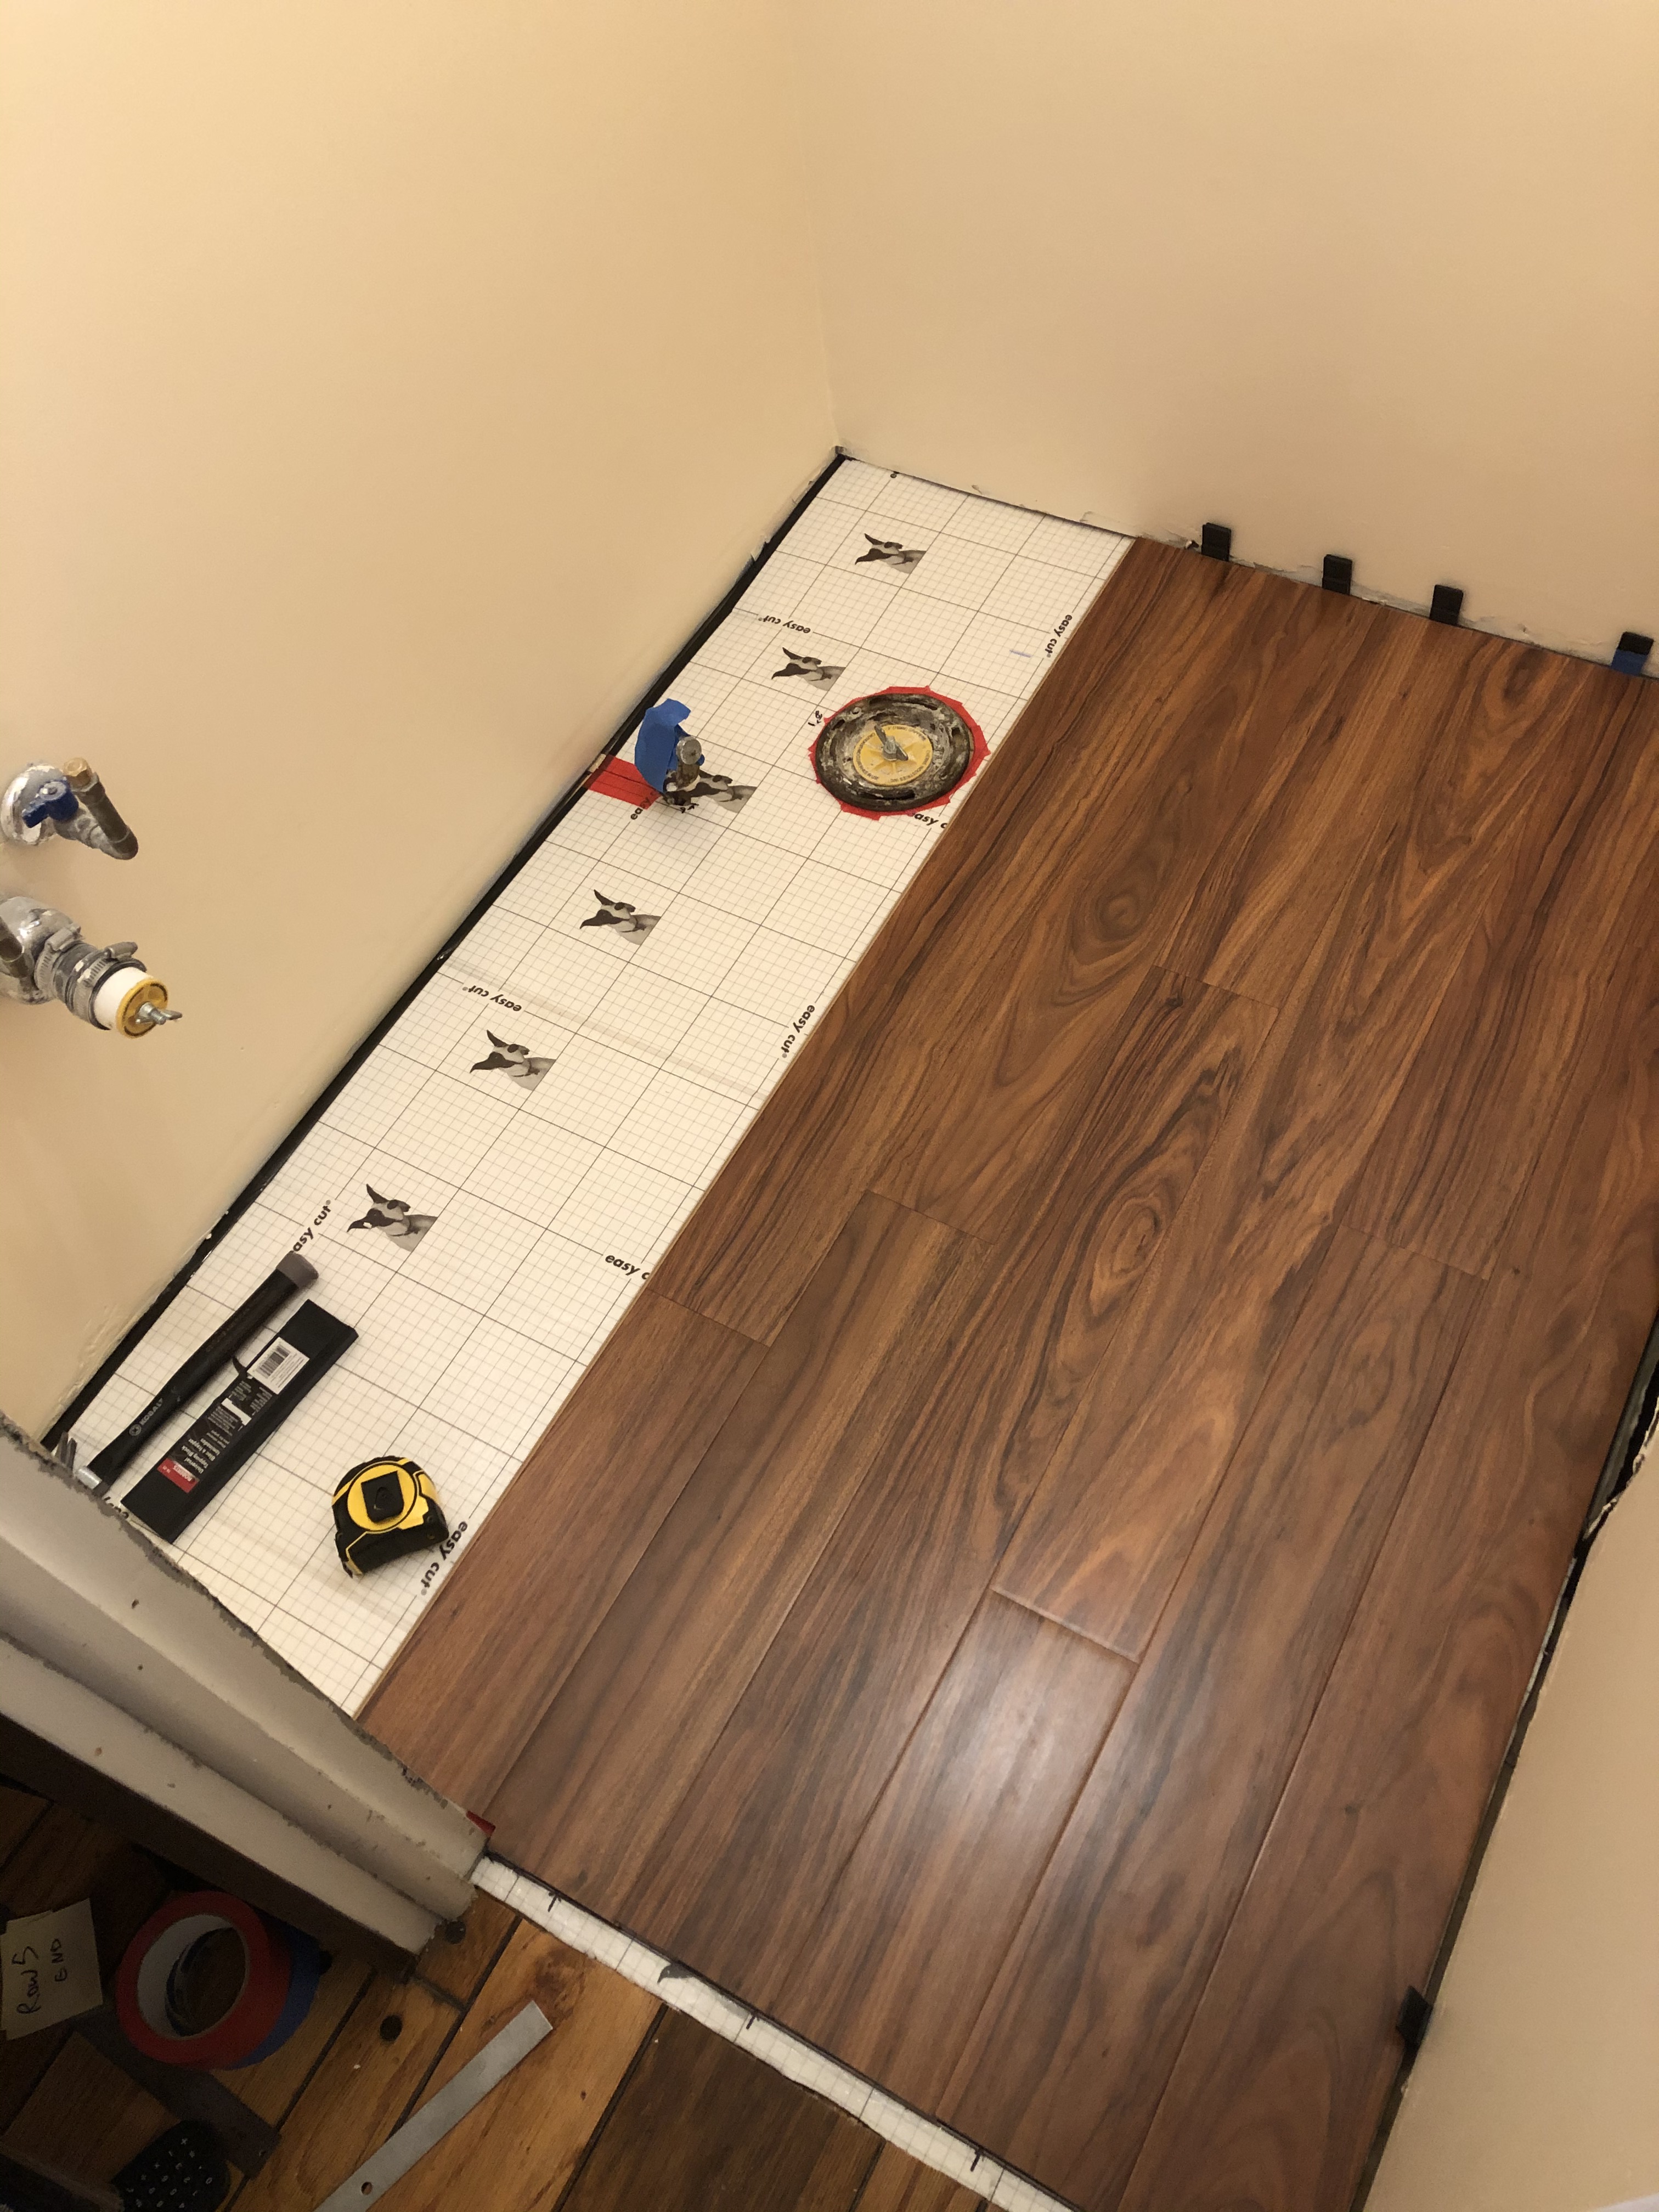
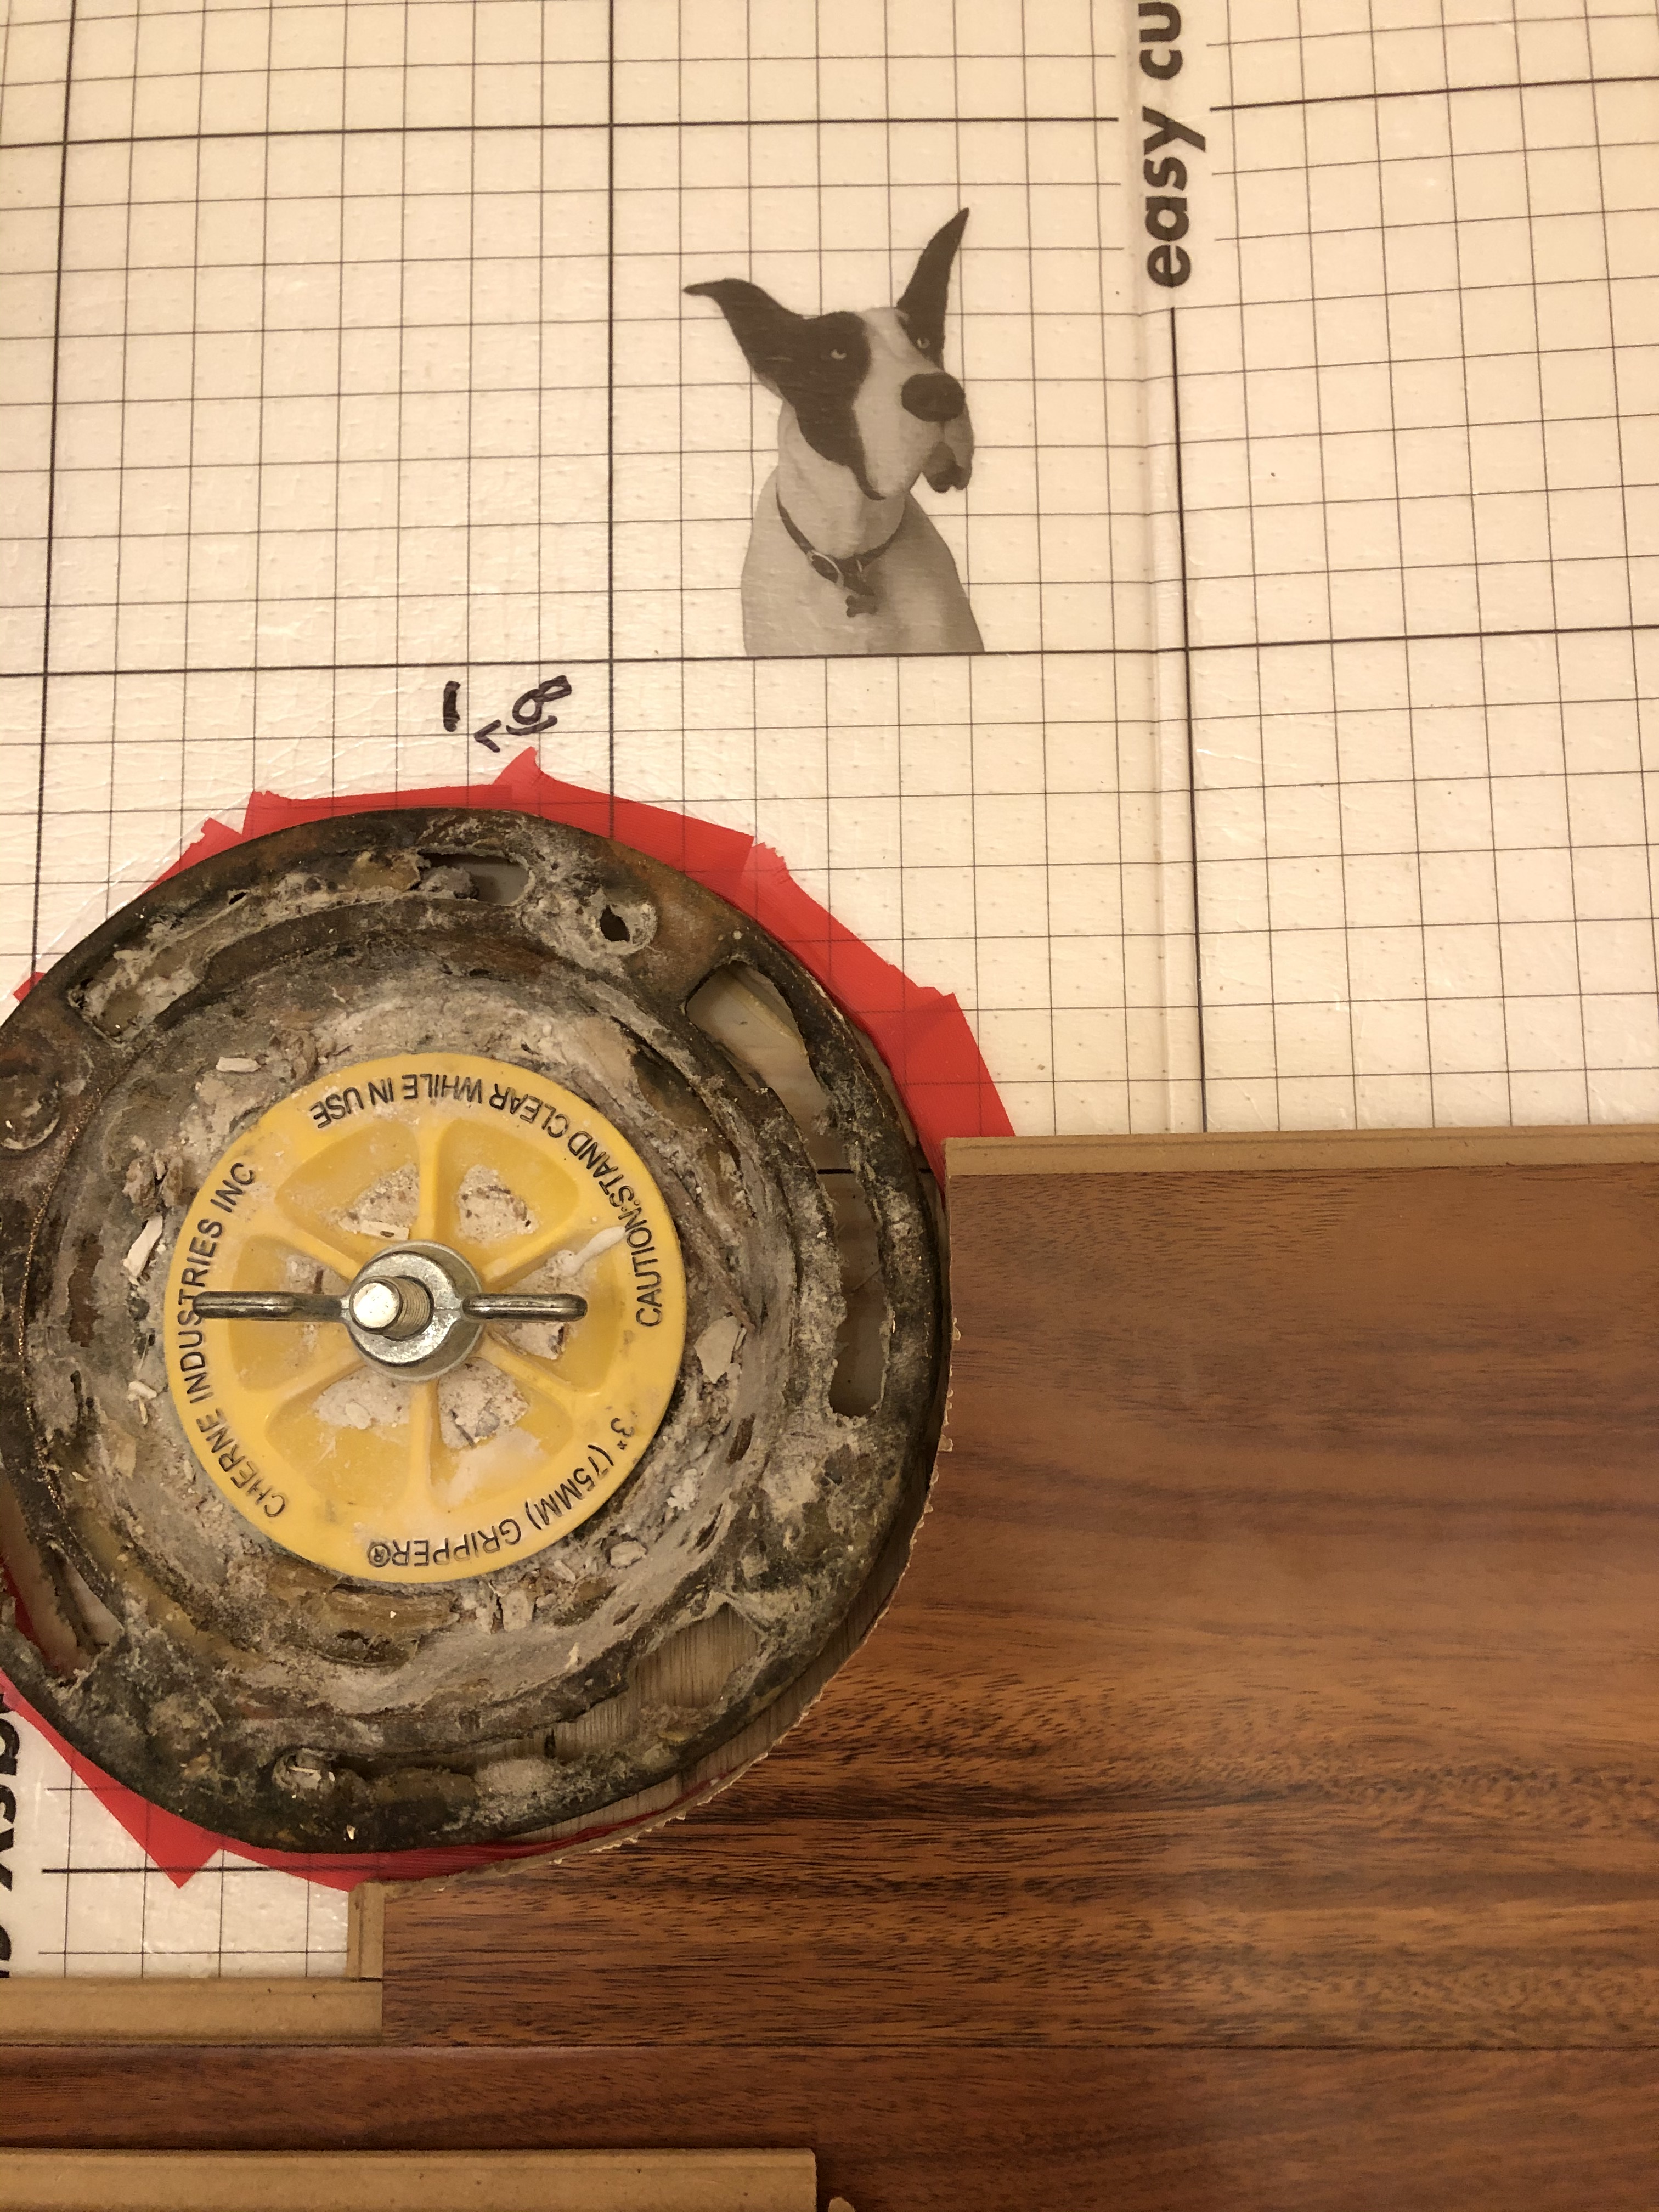
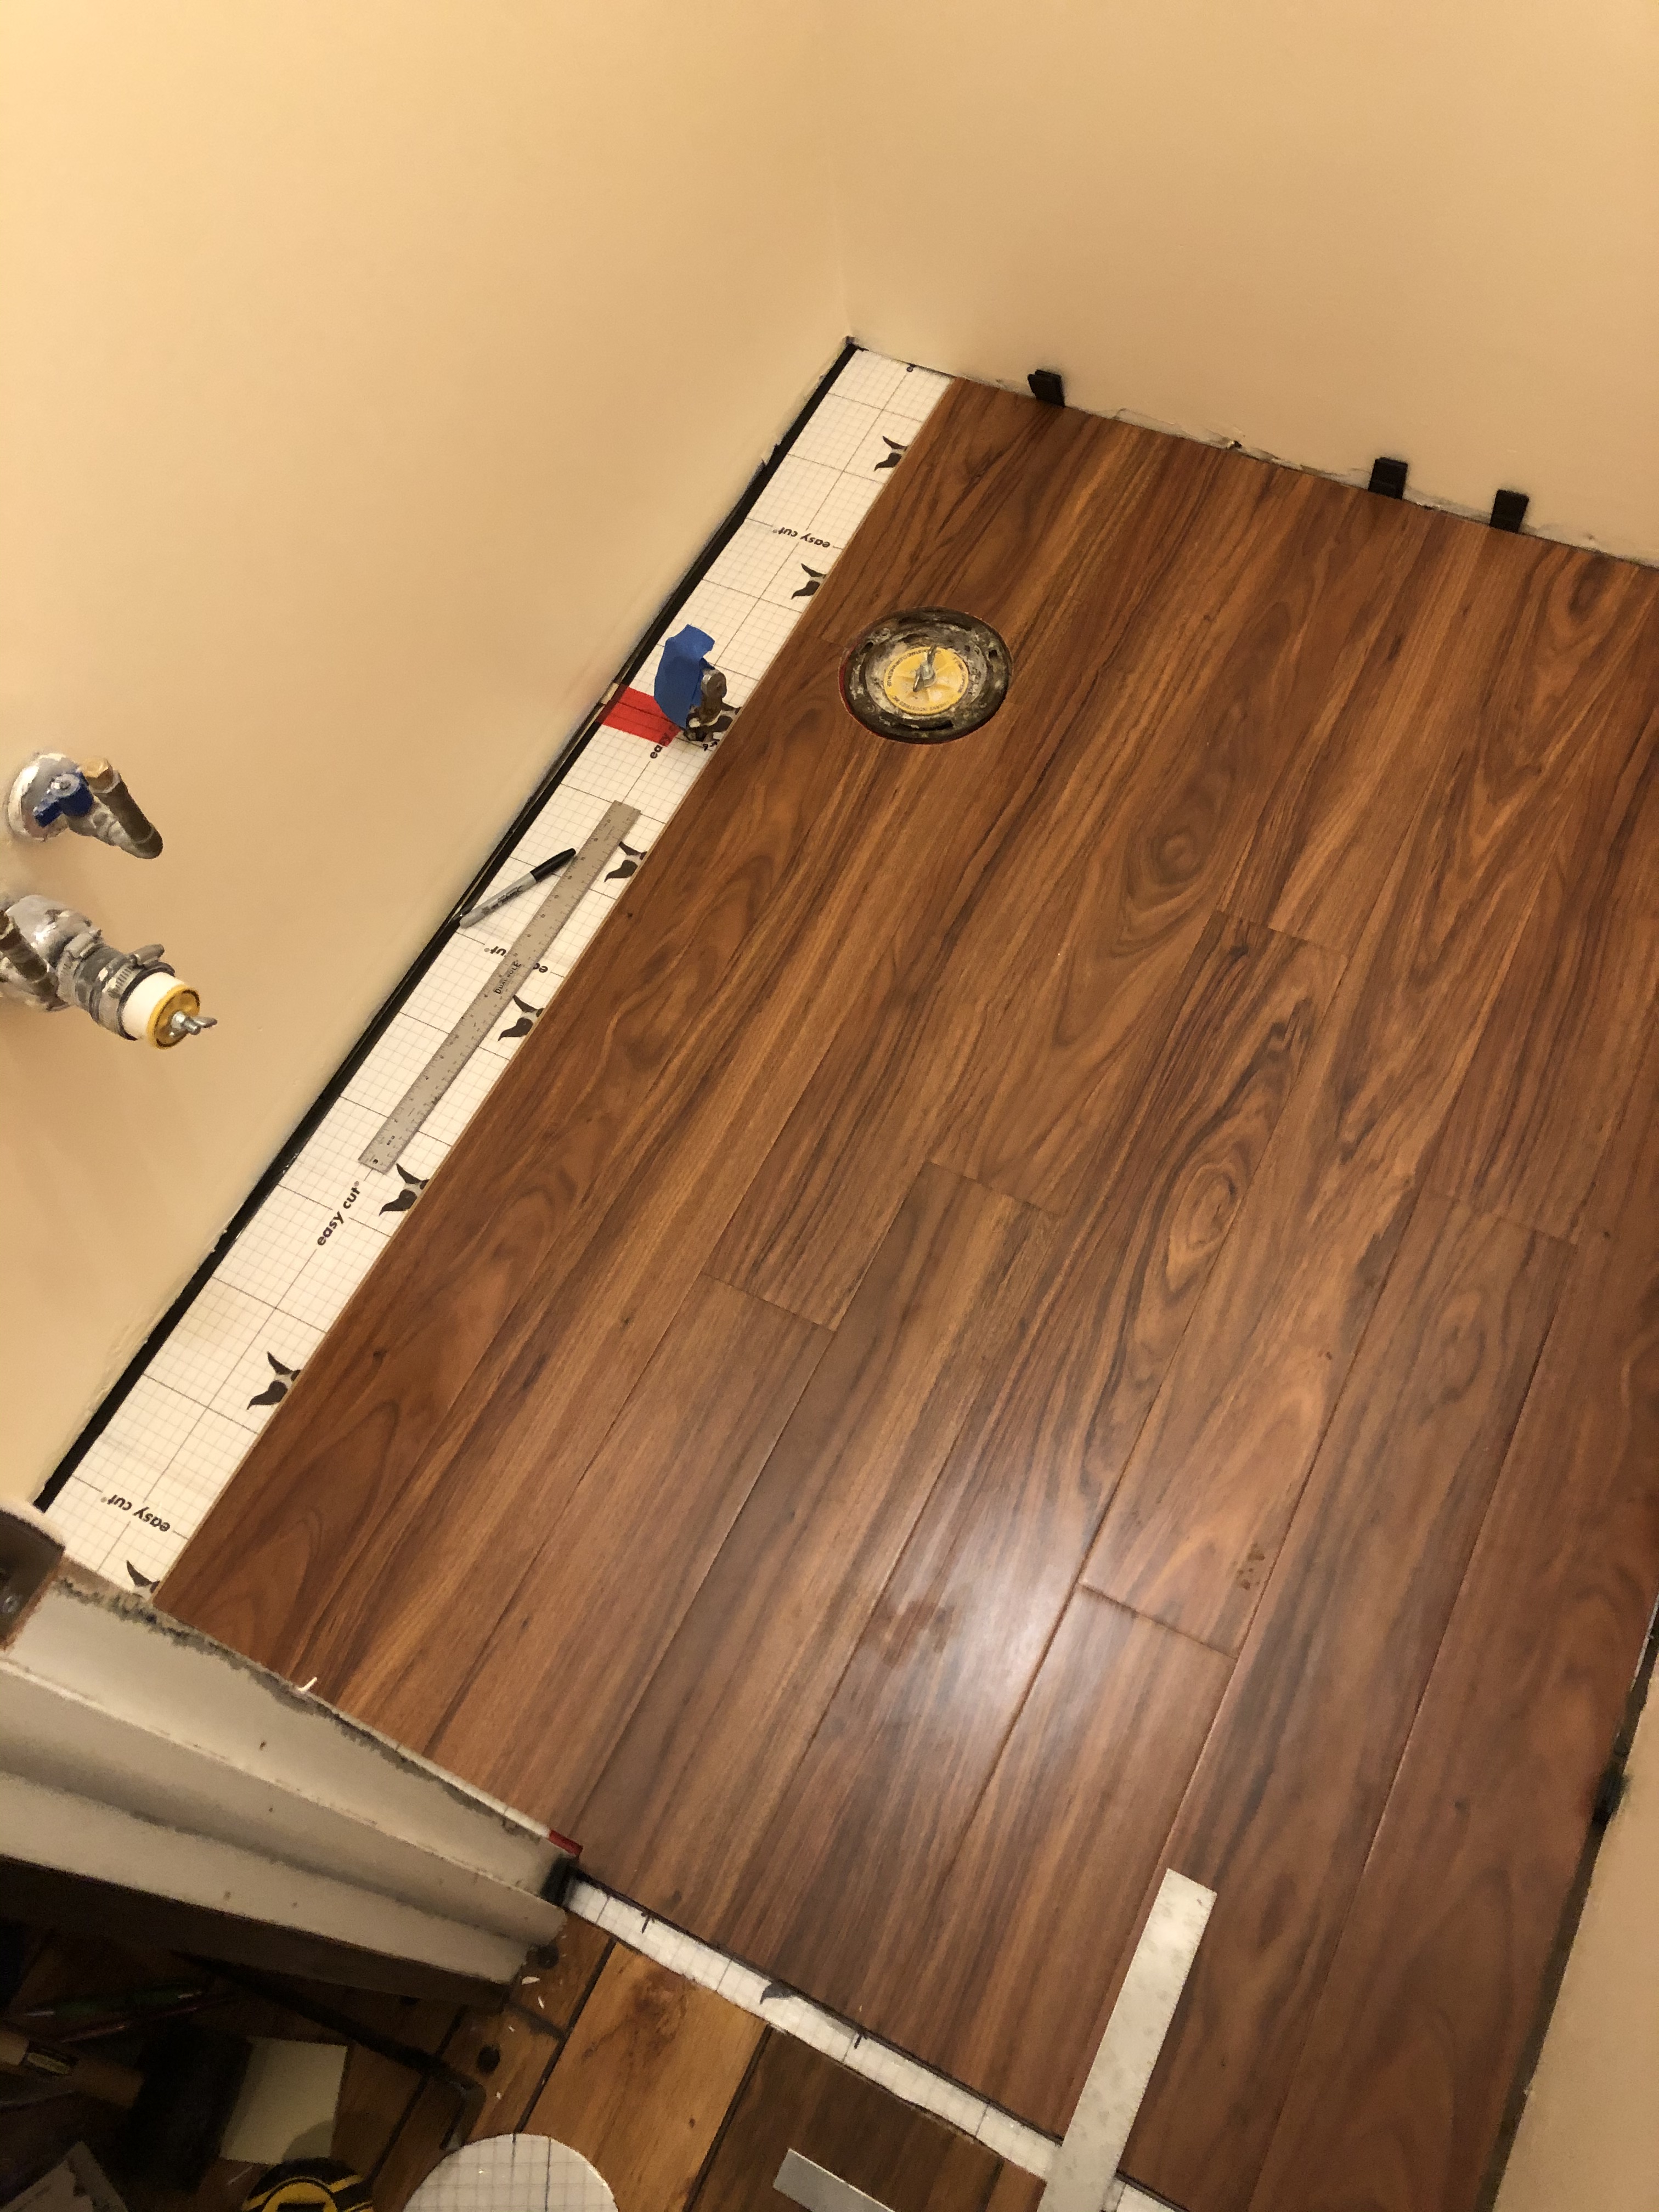
Always looming was the question of how to install the floor to accommodate the toilet flange hole. After sending that prior text, I sat for 30 minutes just looking at the hole, trying to formulate a plan. As I neared a decision on how to approach the situation, my brother sent a suggestion.
| Do you have a drill and a jigsaw? Looks like it will be in the middle of a single board. | ||
| Yes. That’s the plan. But figuring where to place the seam is challenging. | ||
| I would suggest making that piece longer, so you don’t have to cut four boards. Just two. Or did you want to do it that way? An idea. Cut a piece of newspaper to the size of the board. Then lay it down and cut out for the circle with scissors. Then lay the paper on the back of the board and draw the cutout on the board. Then you have a line to cut with the jigsaw. This is how I did unusual cuts on the tile in our bathroom. | ||
| FaceTime? | ||
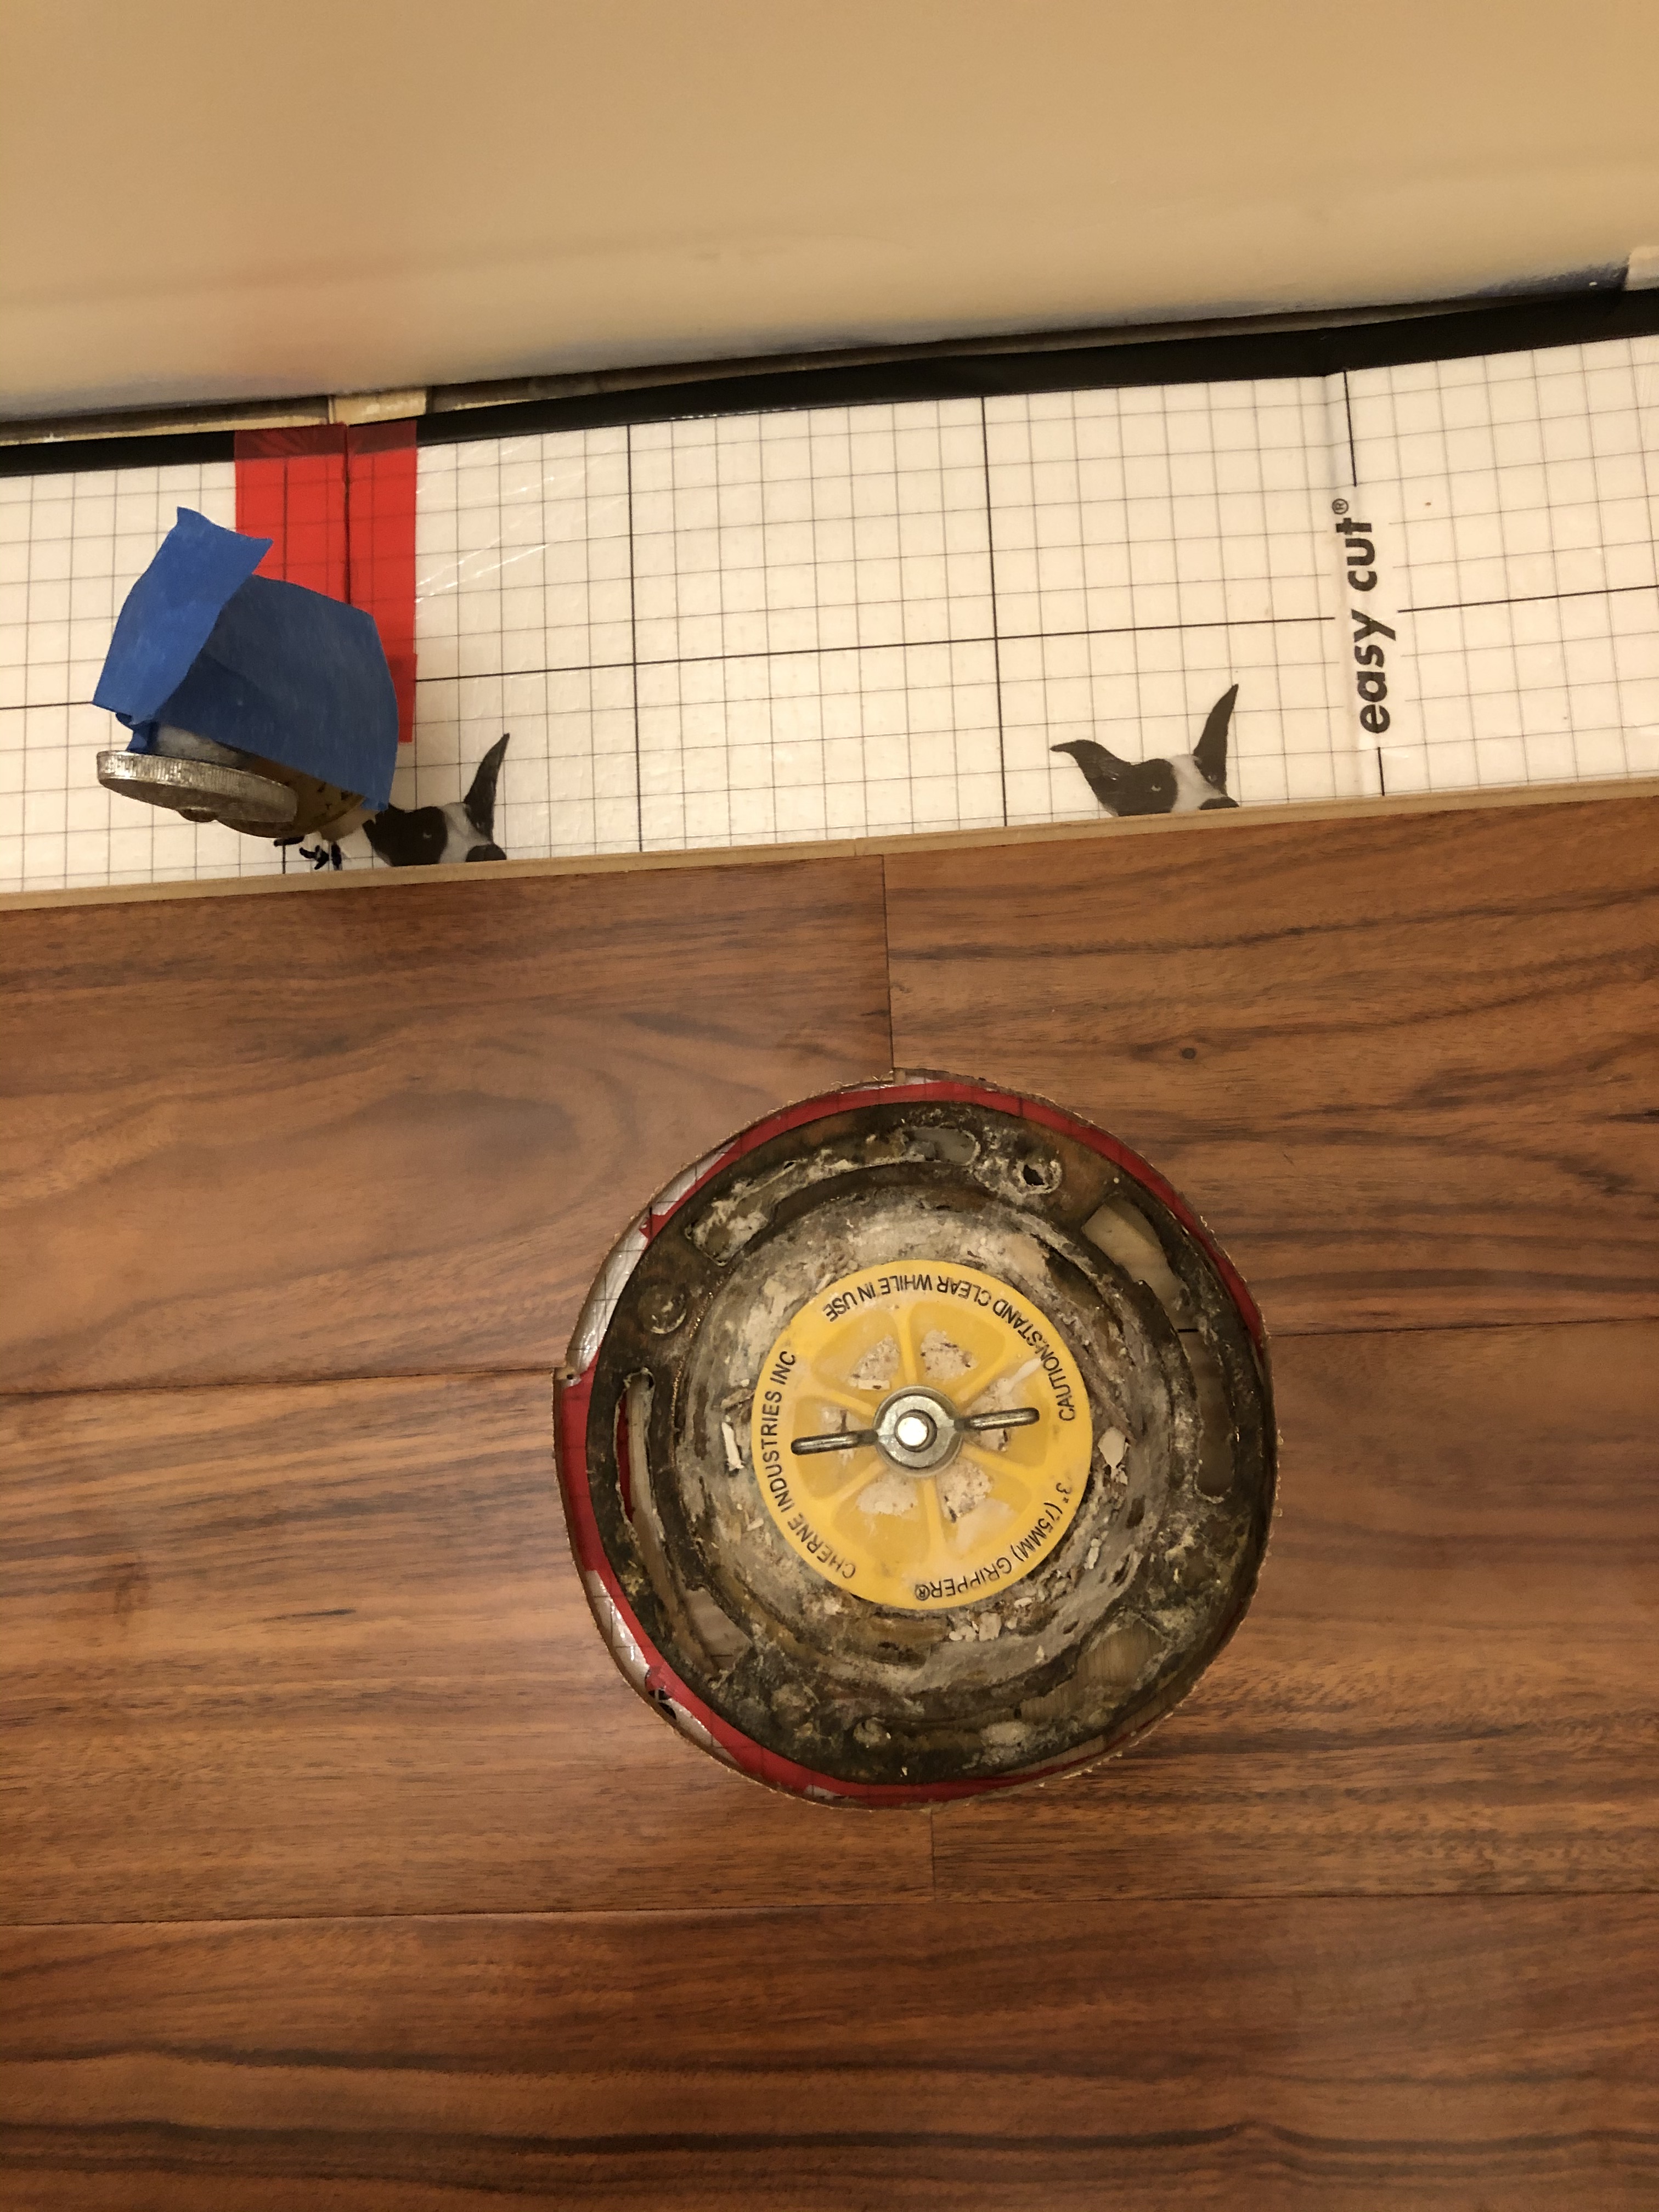
To me, the best approach was to have four boards meet at the center of the flange hole. (This possibility was a fortuitous outcome resulting from the width of the powder room, the number of rows needed, and the width of the planks, which I could cut to the appropriate lengths.) Then, using a jigsaw, I could cut a quarter circle in each of the four boards to form the necessary full circle when joined. I wondered whether the remaining tongue-and-groove of the cut boards would be long enough to form a good joint. But after discussing it with my brother, getting plenty of encouragement and good advice, we agreed I should proceed with the quarter circle plan, to make each cut simpler.
| First quarter circle. I think this may work. Fingers crossed! (Thanks again for the helpful discussion.) |
| That looks great! Very professional looking. |
I continued to make quarter circle cuts, finishing rows seven and eight of the floor, leaving only the final row, which needed to accommodate the water supply pipe.
| You’re getting to be a pro at this! | ||
| Maybe, but I do not want to make this a post-retirement career! Ha ha. | ||
| But did you have fun? | ||
| Not sure I would call it fun. It was satisfying to see it come together, though. Still working on that last row… | ||
| That still counts for pleasure. | ||
It was the end of my second day working on the floor. Unfortunately, I still had more work to do. I had expected to be finished. More importantly, I really needed to be finished because the carpenter was already scheduled to return the next day. When I finally put down my tools for the night, I had to call the carpenter and explain that my part of the project was not yet completed. I said I needed more time: one day, I thought. He was very gracious and said, “Things happen.” He then asked me to let him know when I had finished the flooring.
I went to bed that night with an unsettled feeling in my gut. “Things happen,” indeed! After all the trials and tribulations so far, how was I ever going to finish the floor in just one more day?

To be continued…
Categories

I’m loving this story! Can’t wait to hear more.
Thank goodness for Daddy! So glad you could make this a joint project via technology! It really looks great, and I would absolutely be sweating bullets if I had to lay a floor down too! There are some things my brain is just…not designed for. Bravo, Uncle Mark!
He has done a great job. I had fun helping him but I’m not sure he did. Stay tuned for more…