
Virtual DIY Bathroom – Demolition
Continued from Virtual DIY Bathroom – Preparation

It has been a while…more than two months, in fact…but today, we return to the saga of my brother’s renovation of his downstairs bathroom during the COVID pandemic. My apologies to those of you who have been sitting on the edge of your seats since Thanksgiving waiting for the next installment of this intriguing tale of DIY suspense. The delay in this case is not my brother’s (although he certainly had a few of those!) With prior posting commitments on my part, I acknowledge I am to blame. So, without further ado, I will let my brother continue his story where we left off: the detonator and demolition…
– – – – – – – – – – – – – – – – – – – – – – – – – – –
So, here we were: eight months into our powder room renovation project with very little to show for it. Blame it on COVID. Blame it on delays in obtaining the vanity and flooring materials. Or blame it on my own procrastination.
As time marched on, we were slowly gathering other supplies needed for the project. Clearly, we had to buy a new mirror, ideally something a bit smaller than the previous wall-to-wall monstrosity. My wife found one that had an interesting oval shape and unusual design that fit nicely with the “Industrial Modern” styled vanity.
Of course, there were other “essential” bathroom items to buy, including a towel rack and toilet paper holder. Again, we searched until we found a style that matched well with the vanity. Not surprisingly, Home Depot was our source for obtaining these things.

We also realized we needed a new wall/floor air vent. The old one was in rather bad shape and merely painting it would not have improved its appearance much. As we had encountered in other repair projects for our “customized” home, the vent size was not standard and we had to special order it from Amazon, with no assurance it would arrive in time for the carpenter to install it. (Spoiler alert: It did not!)
In any event, the real work was about to begin.

Ever since the initial repairs made long ago by the plumber to our leaking toilet, we had continued to use the powder room while awaiting the start of the renovation. Once we agreed on a start date, the carpenter first coordinated with the plumber to come and take out the new toilet he had installed several months prior. While at our home, the plumber also disconnected the water supply and drain from the old sink and vanity. This paved the way for the carpenter to get at the work he needed to do.
My wife and I were still concerned about COVID (recall, this was before we had any vaccines) and about having a “stranger” in the house, with all our family working/studying from inside the same house. So, on a sunny, crisp Wednesday morning in November, before the carpenter arrived for his first day of work, my wife and I hung plastic sheets in all the doorways around the powder room. Ostensibly, this was to keep dust and debris out of the rest of the house. But we also hoped the barrier would limit the spread of any potential Coronavirus. When the doorbell rang, we dutifully donned our masks (as per social distancing guidelines) hoping the carpenter would do the same. He did…at least when coming and going in the house and when we were around. But he was mostly mask-less while he toiled away in the powder room.
Before starting his work, the carpenter laid out the thick drop cloths needed to protect the floors in the entryway and hallway around his work area. After that, my memory of the carpenter’s activity is a bit hazy. I tried to stay away for the most part, listening to his thumping and whacking and sawing from the safety of my study. It was not that I was truly busy with my work. In fact, I was quite distracted by the sounds of the carpenter’s ongoing industry. But mostly, I just wanted to be sure I would not get in his way or happen to catch a glimpse of any potential disaster that might be in progress.
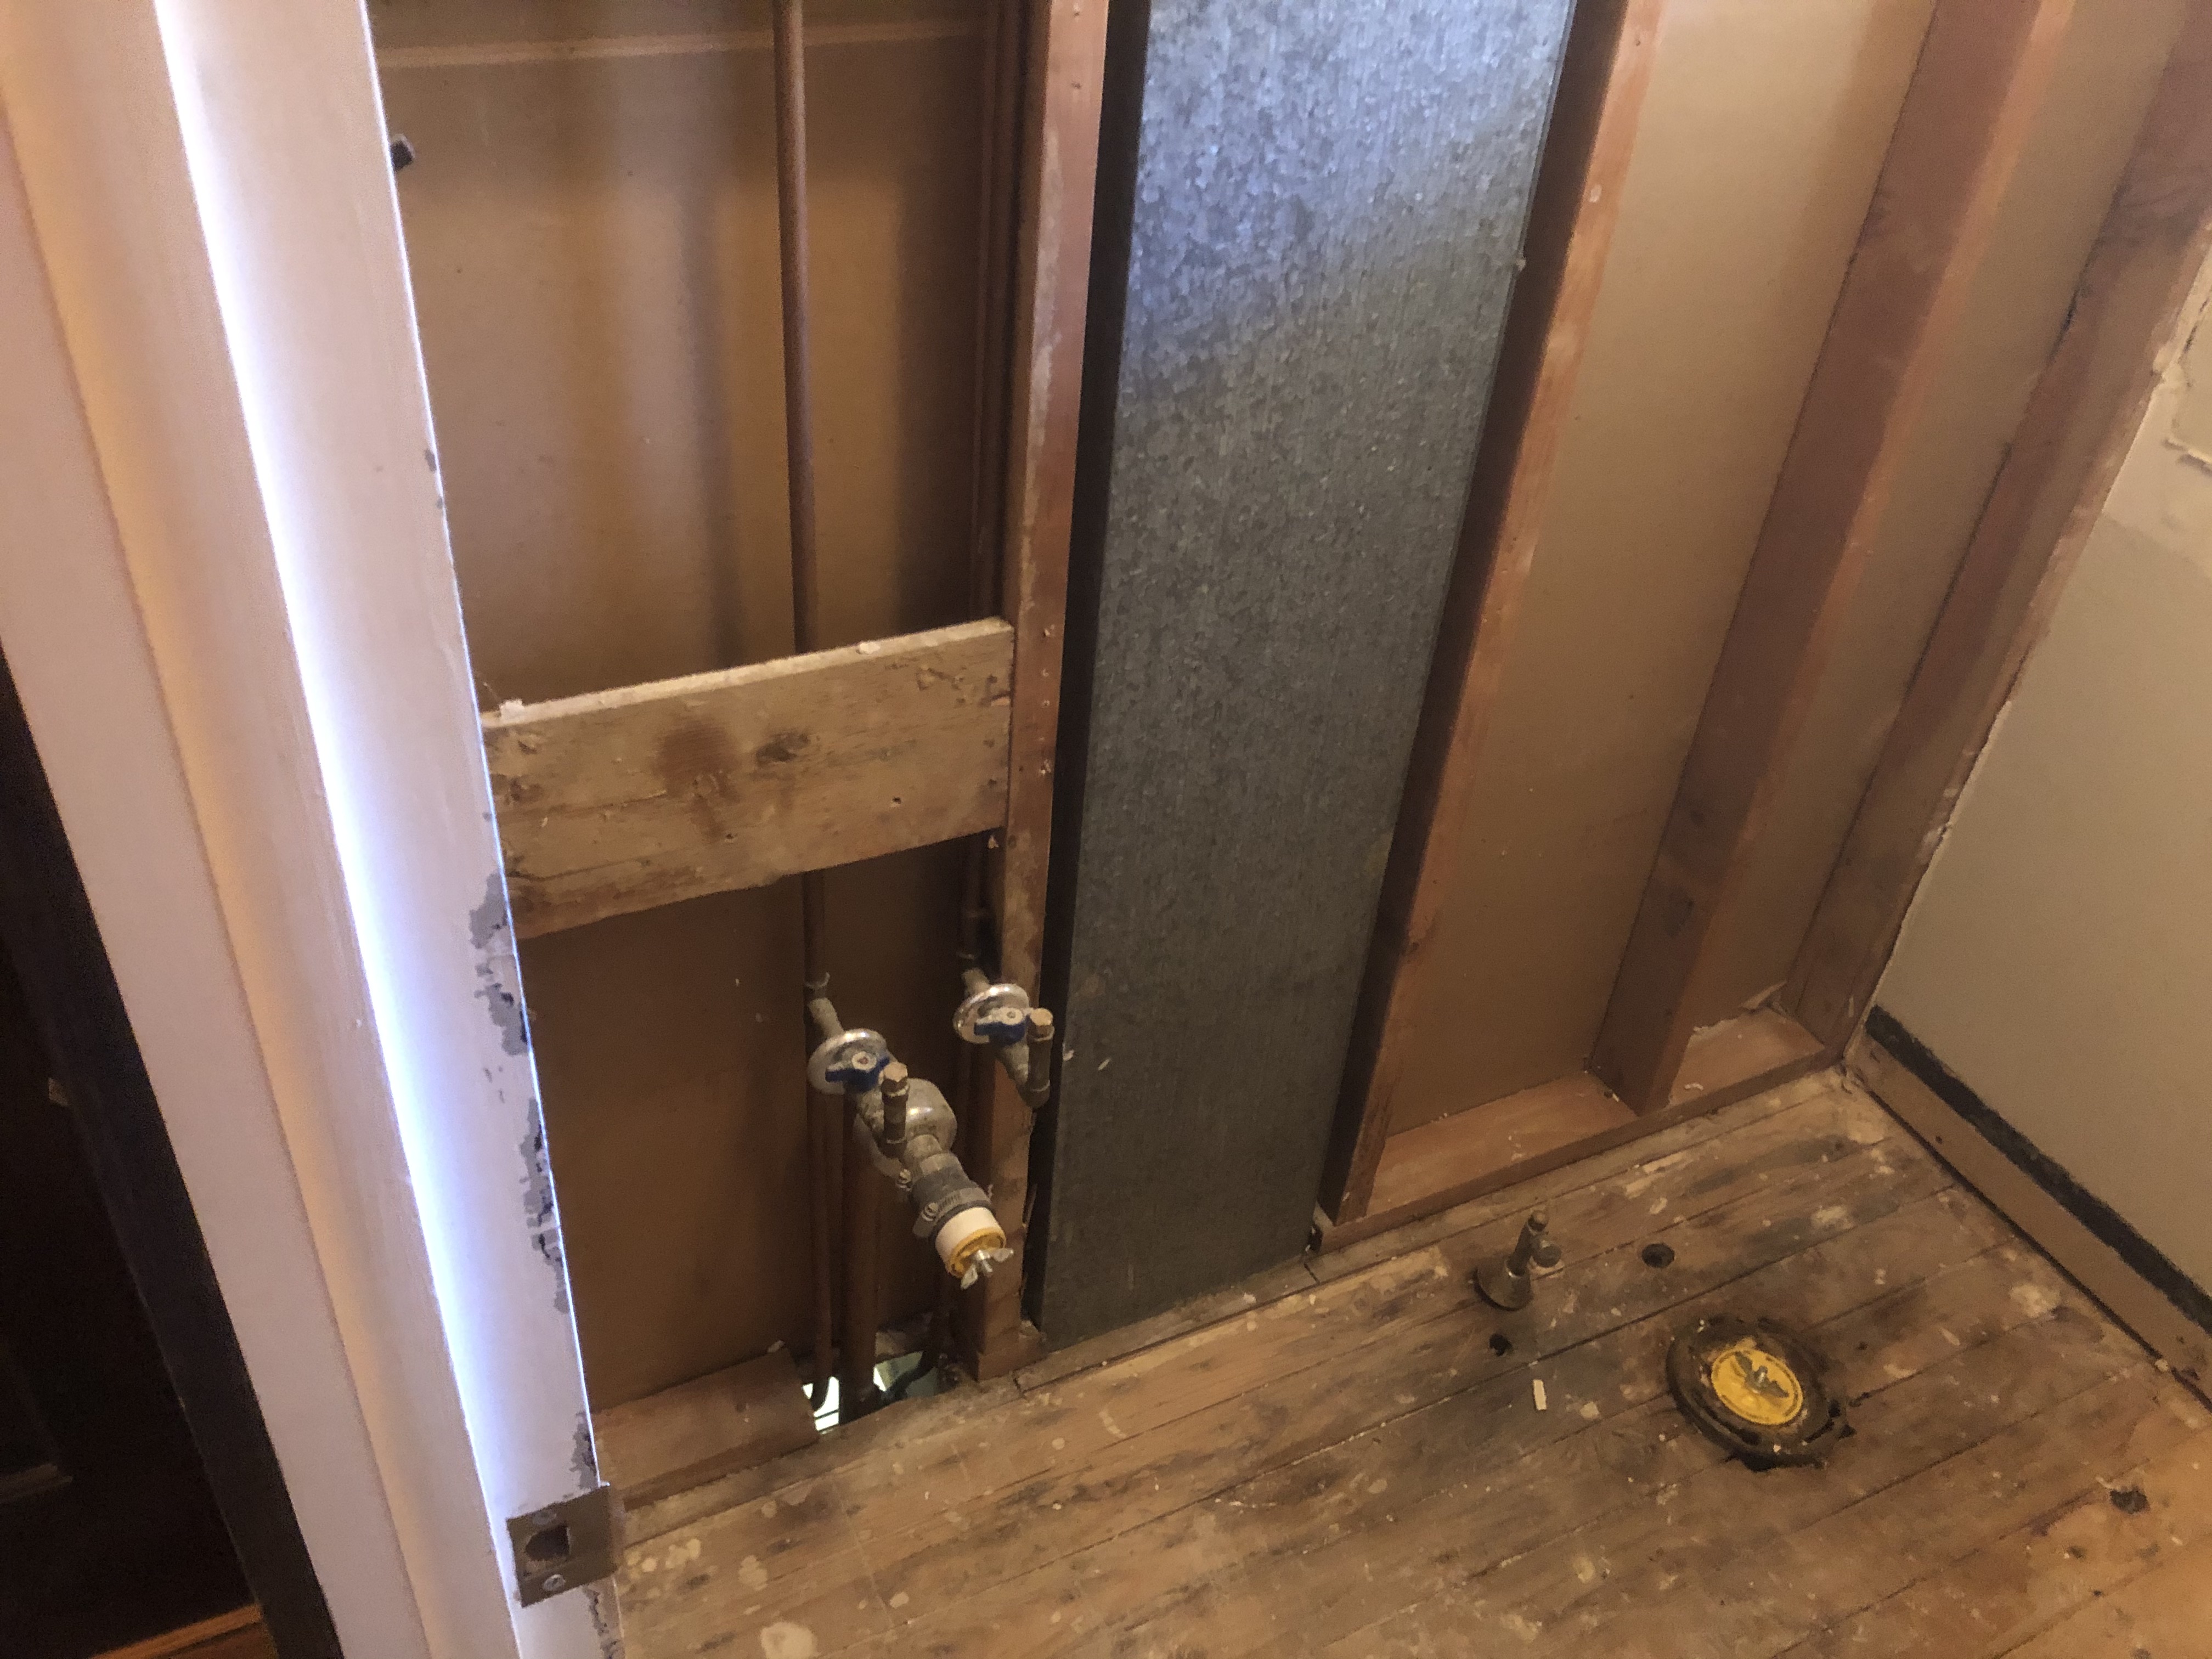
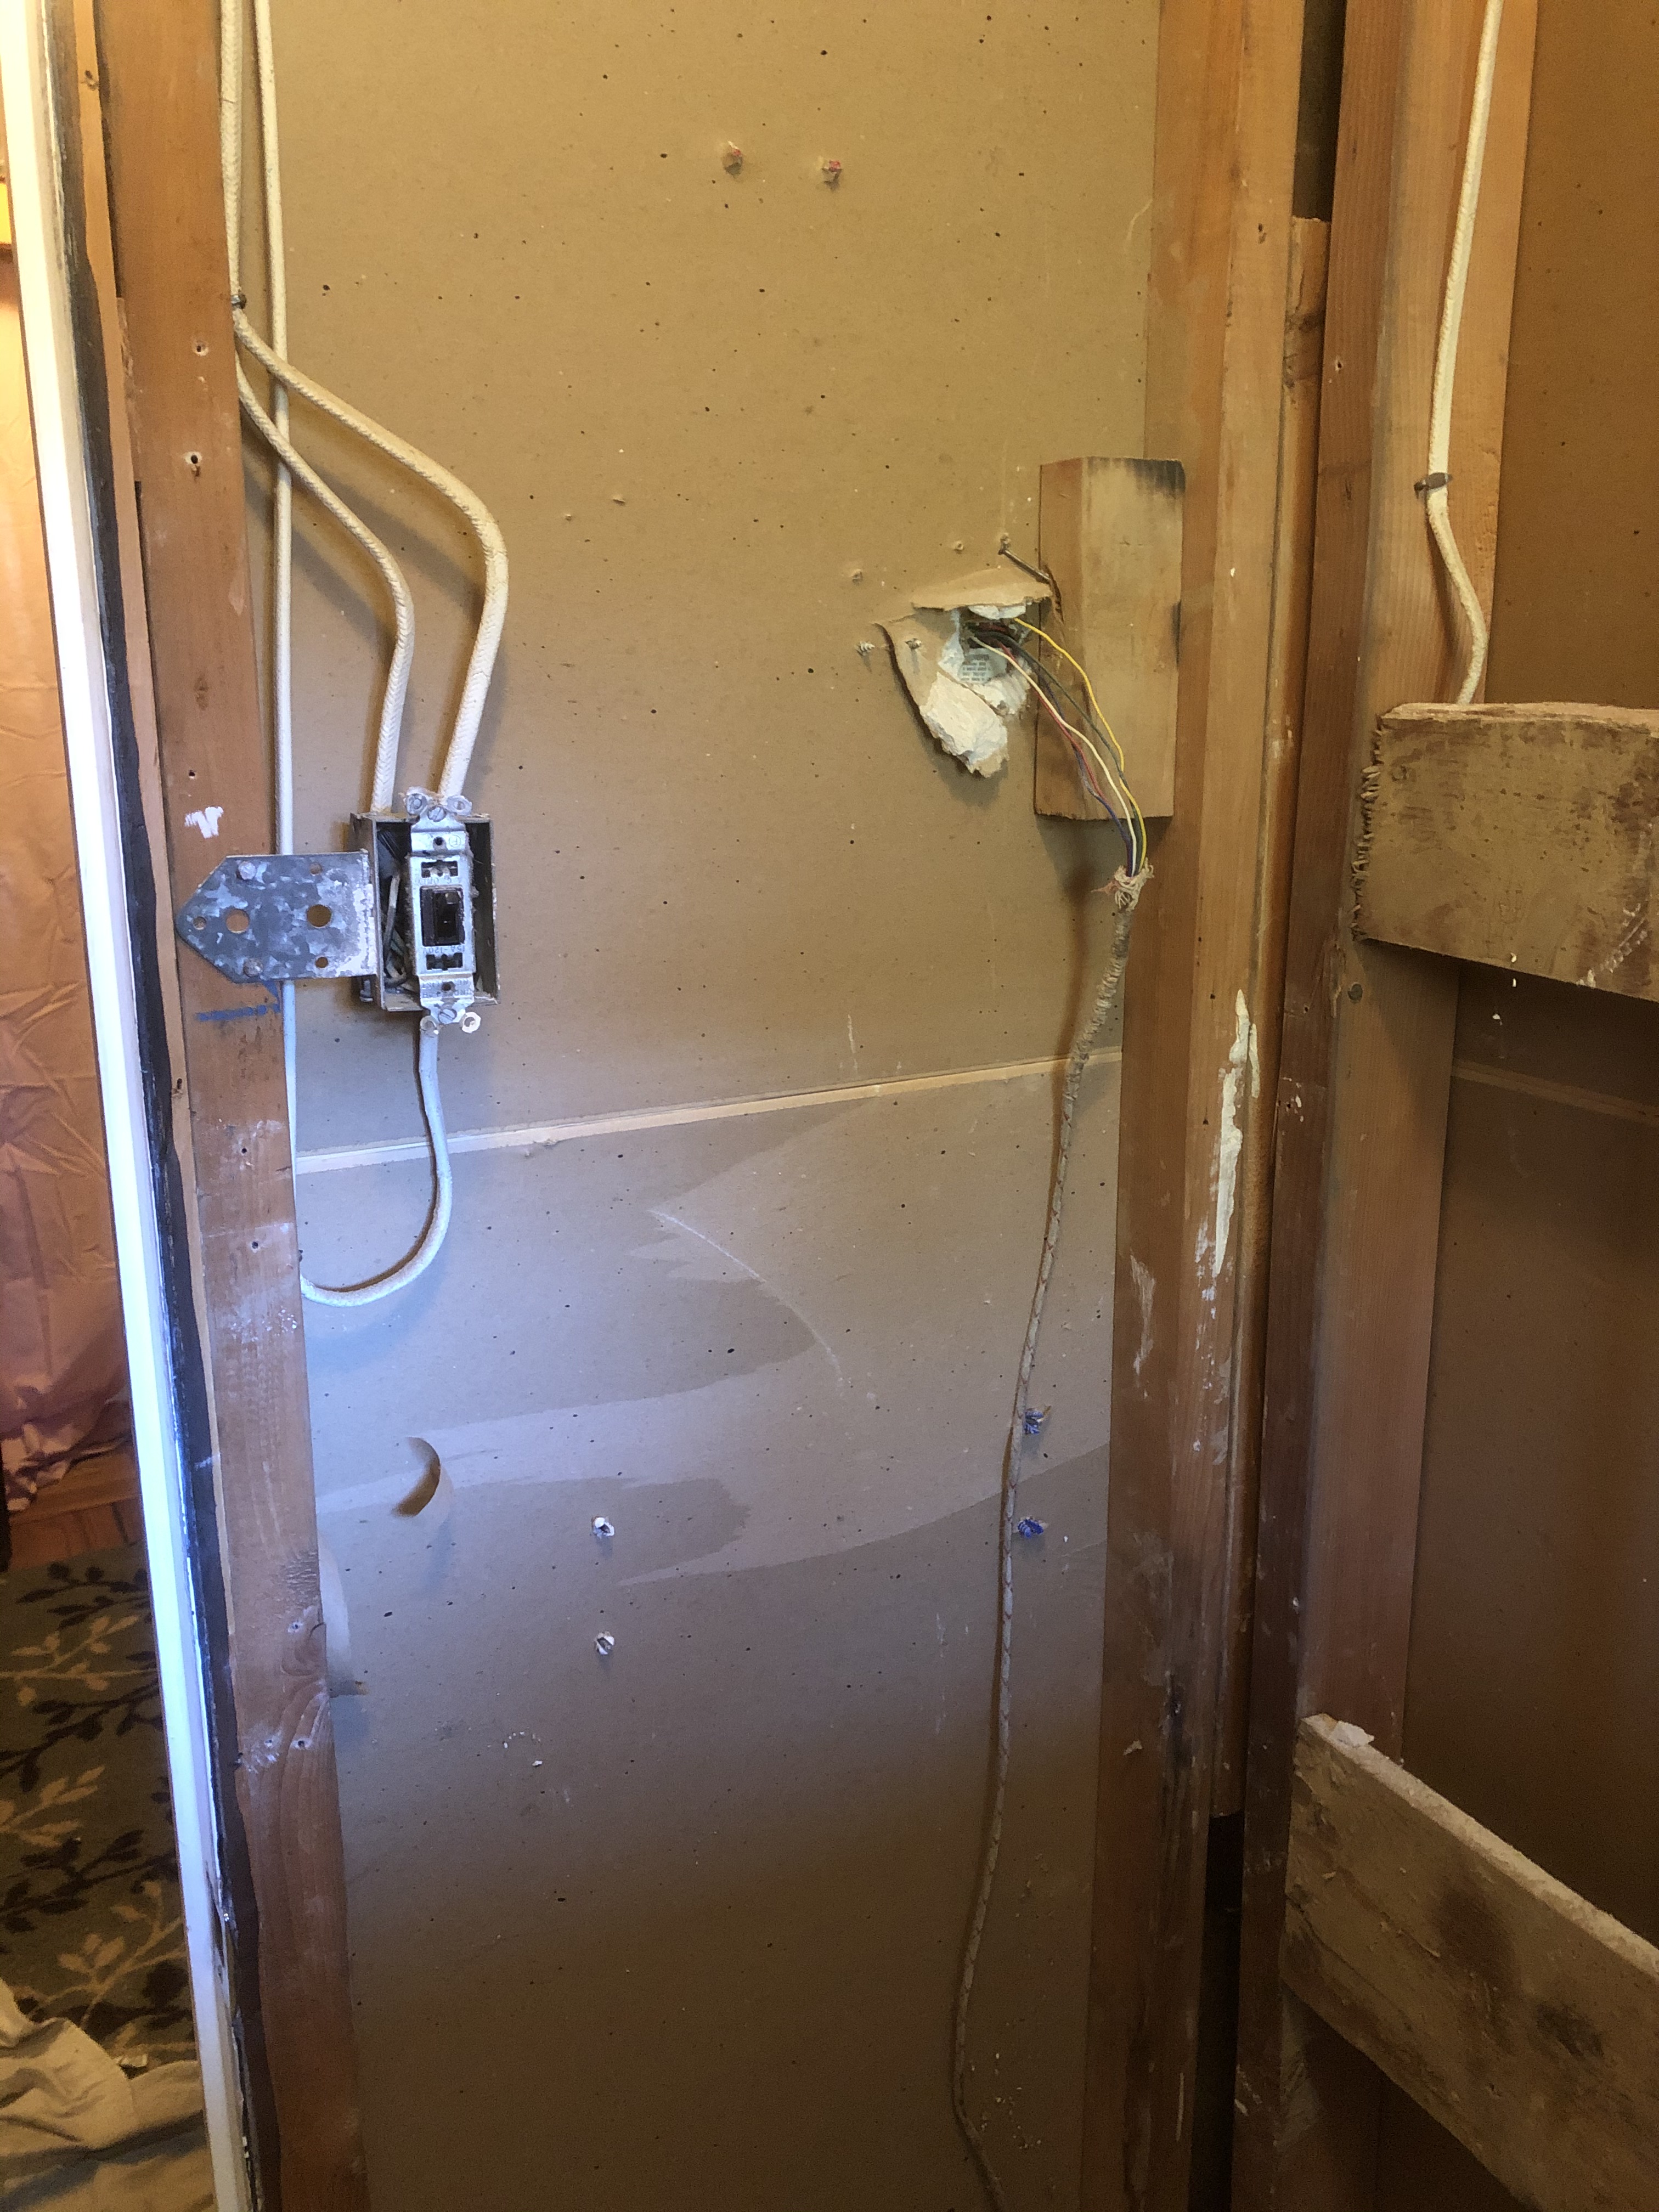
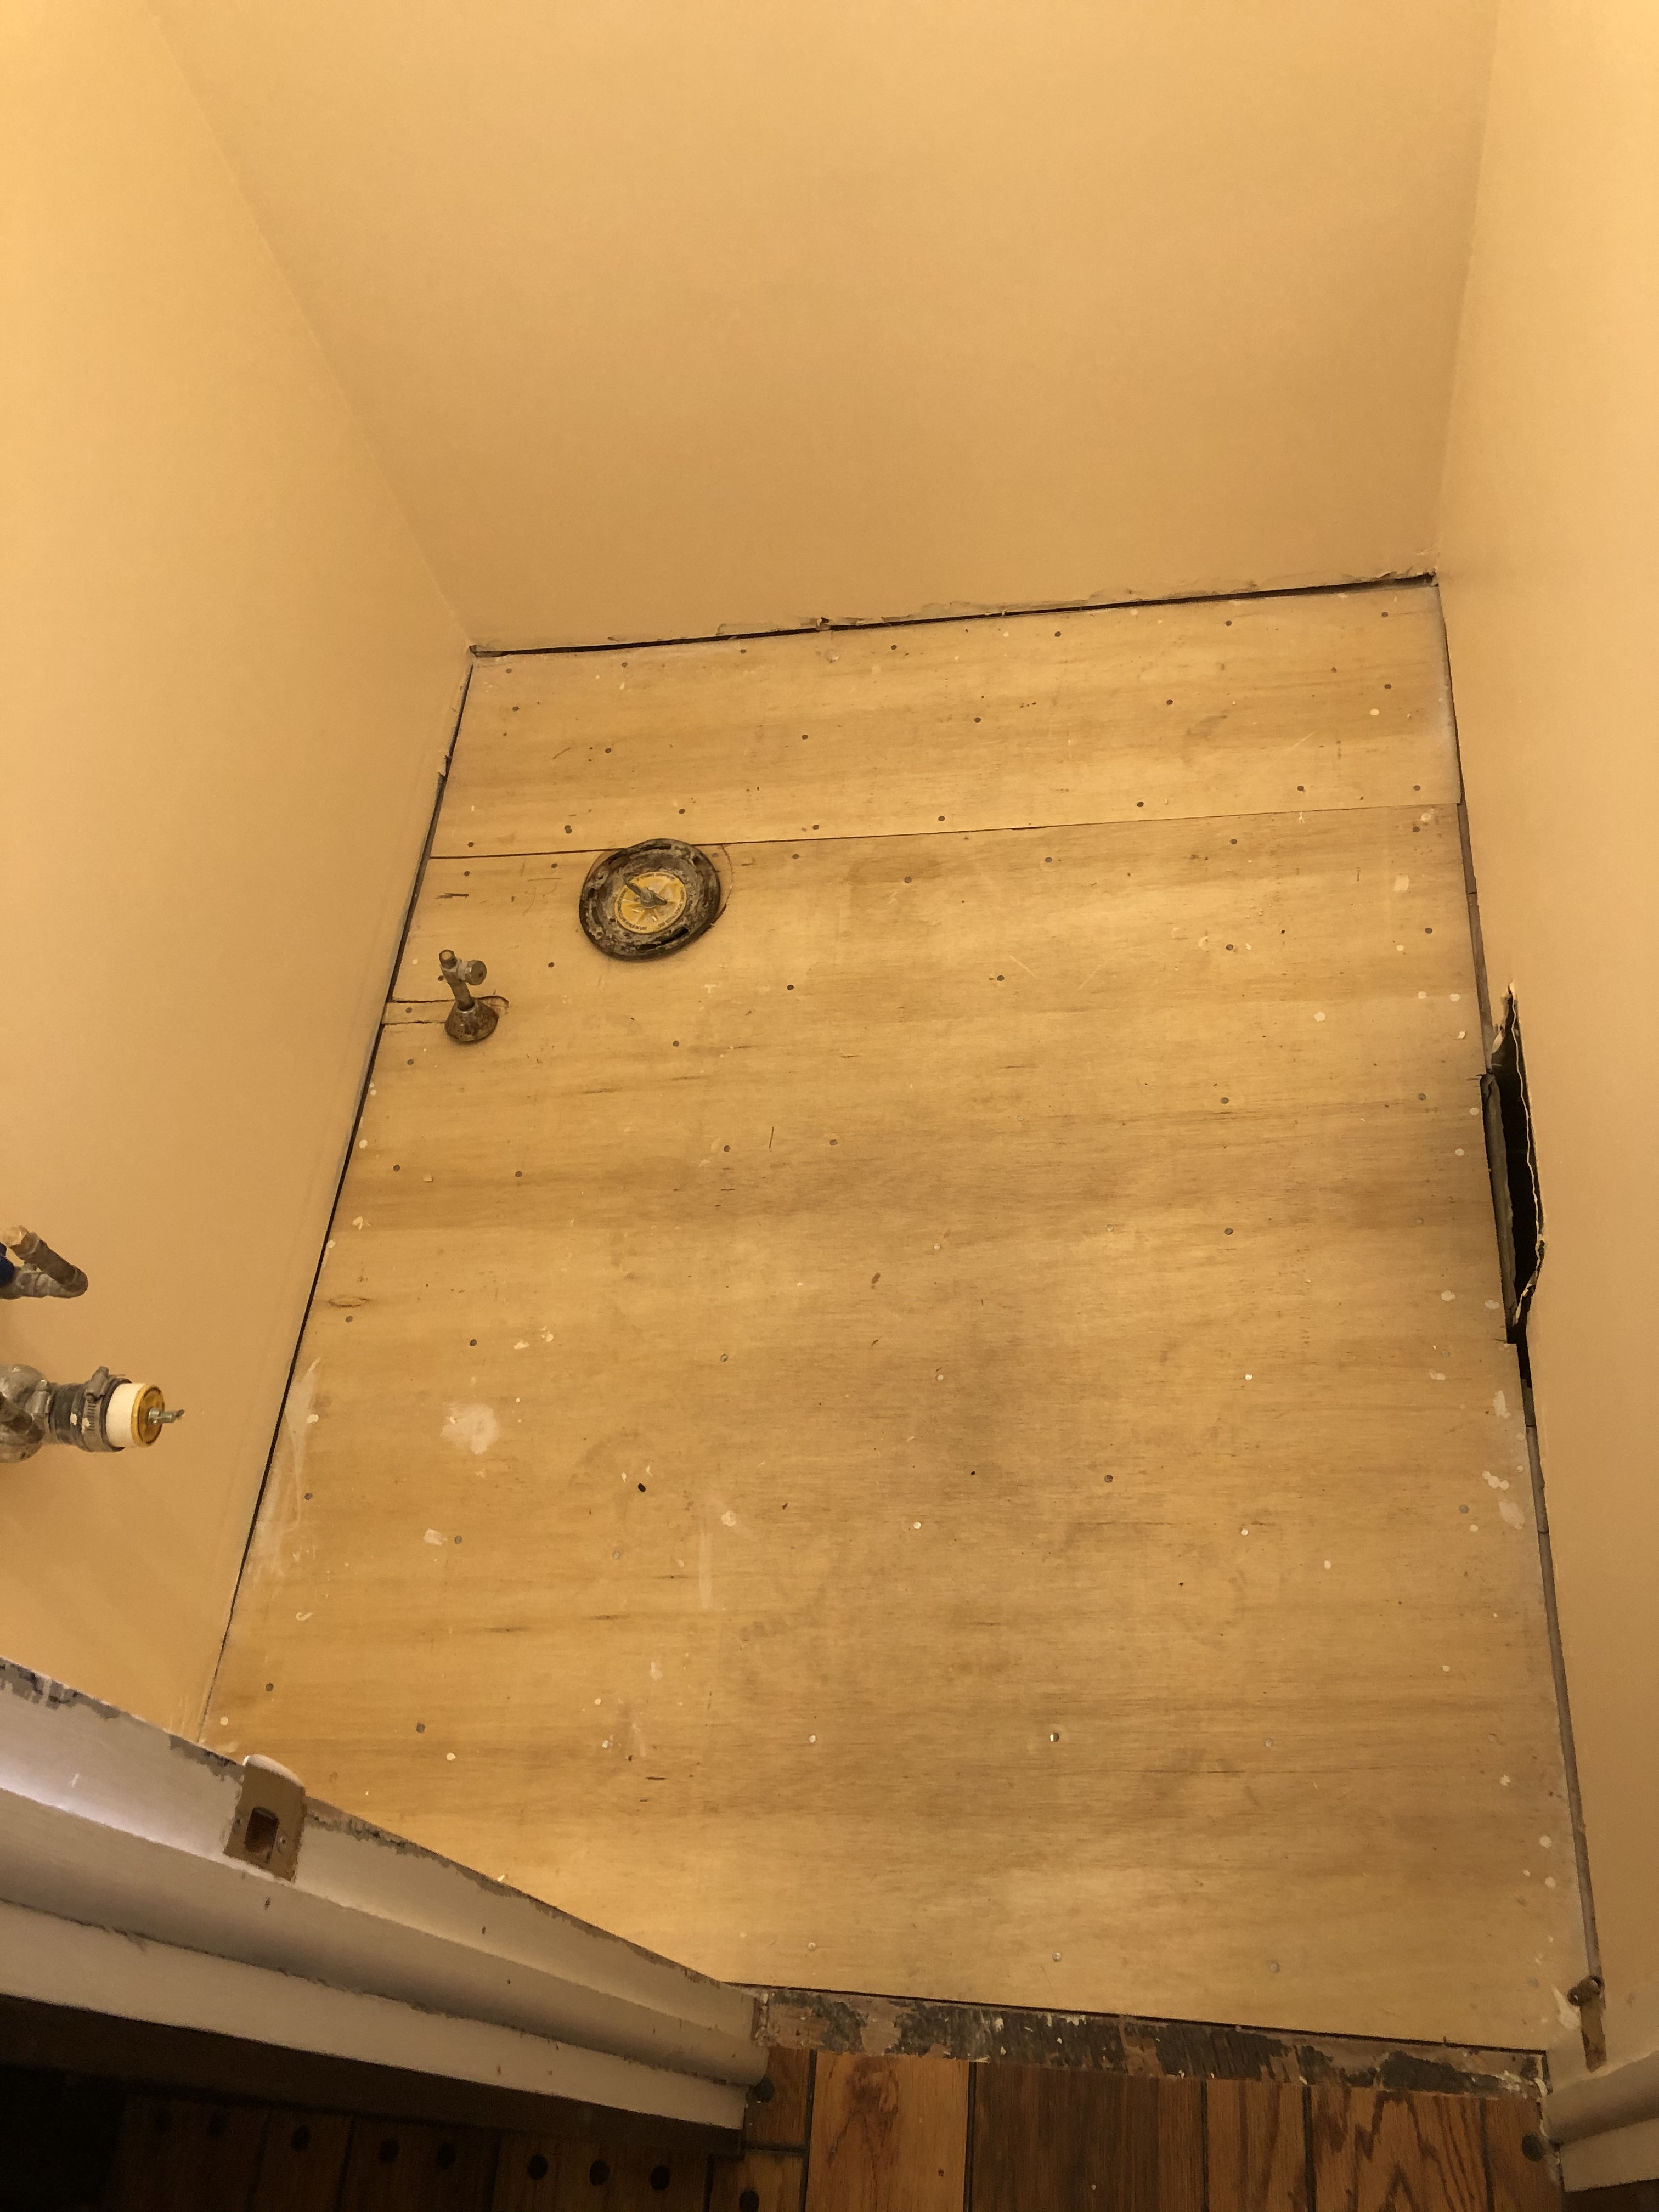
The main demolition work for the carpenter involved: ripping out the old vanity and countertop; taking down the wall-to-wall mirror (I don’t know how he did that…don’t really want to know…but we found no mirror glass shards, so he must have done it well); taking out a significant amount of drywall from the corner where we first had the problem with water damage, and extending out further to the wall on each side so he could install new drywall; taking down the old decorative molding at the window, ceiling, and floor; and ripping up the old water-rotted floor. Here’s how things looked after his demolition.
We also asked if he could install the wiring and box for a new electric outlet. Amazingly, the original powder room had only a light switch, but no outlet to power potentially useful devices, such as an electric razor or hair dryer. We had lived all this time without a wall outlet in the powder room, experiencing only occasional inconvenience, but felt this was a good opportunity to make the additional investment.
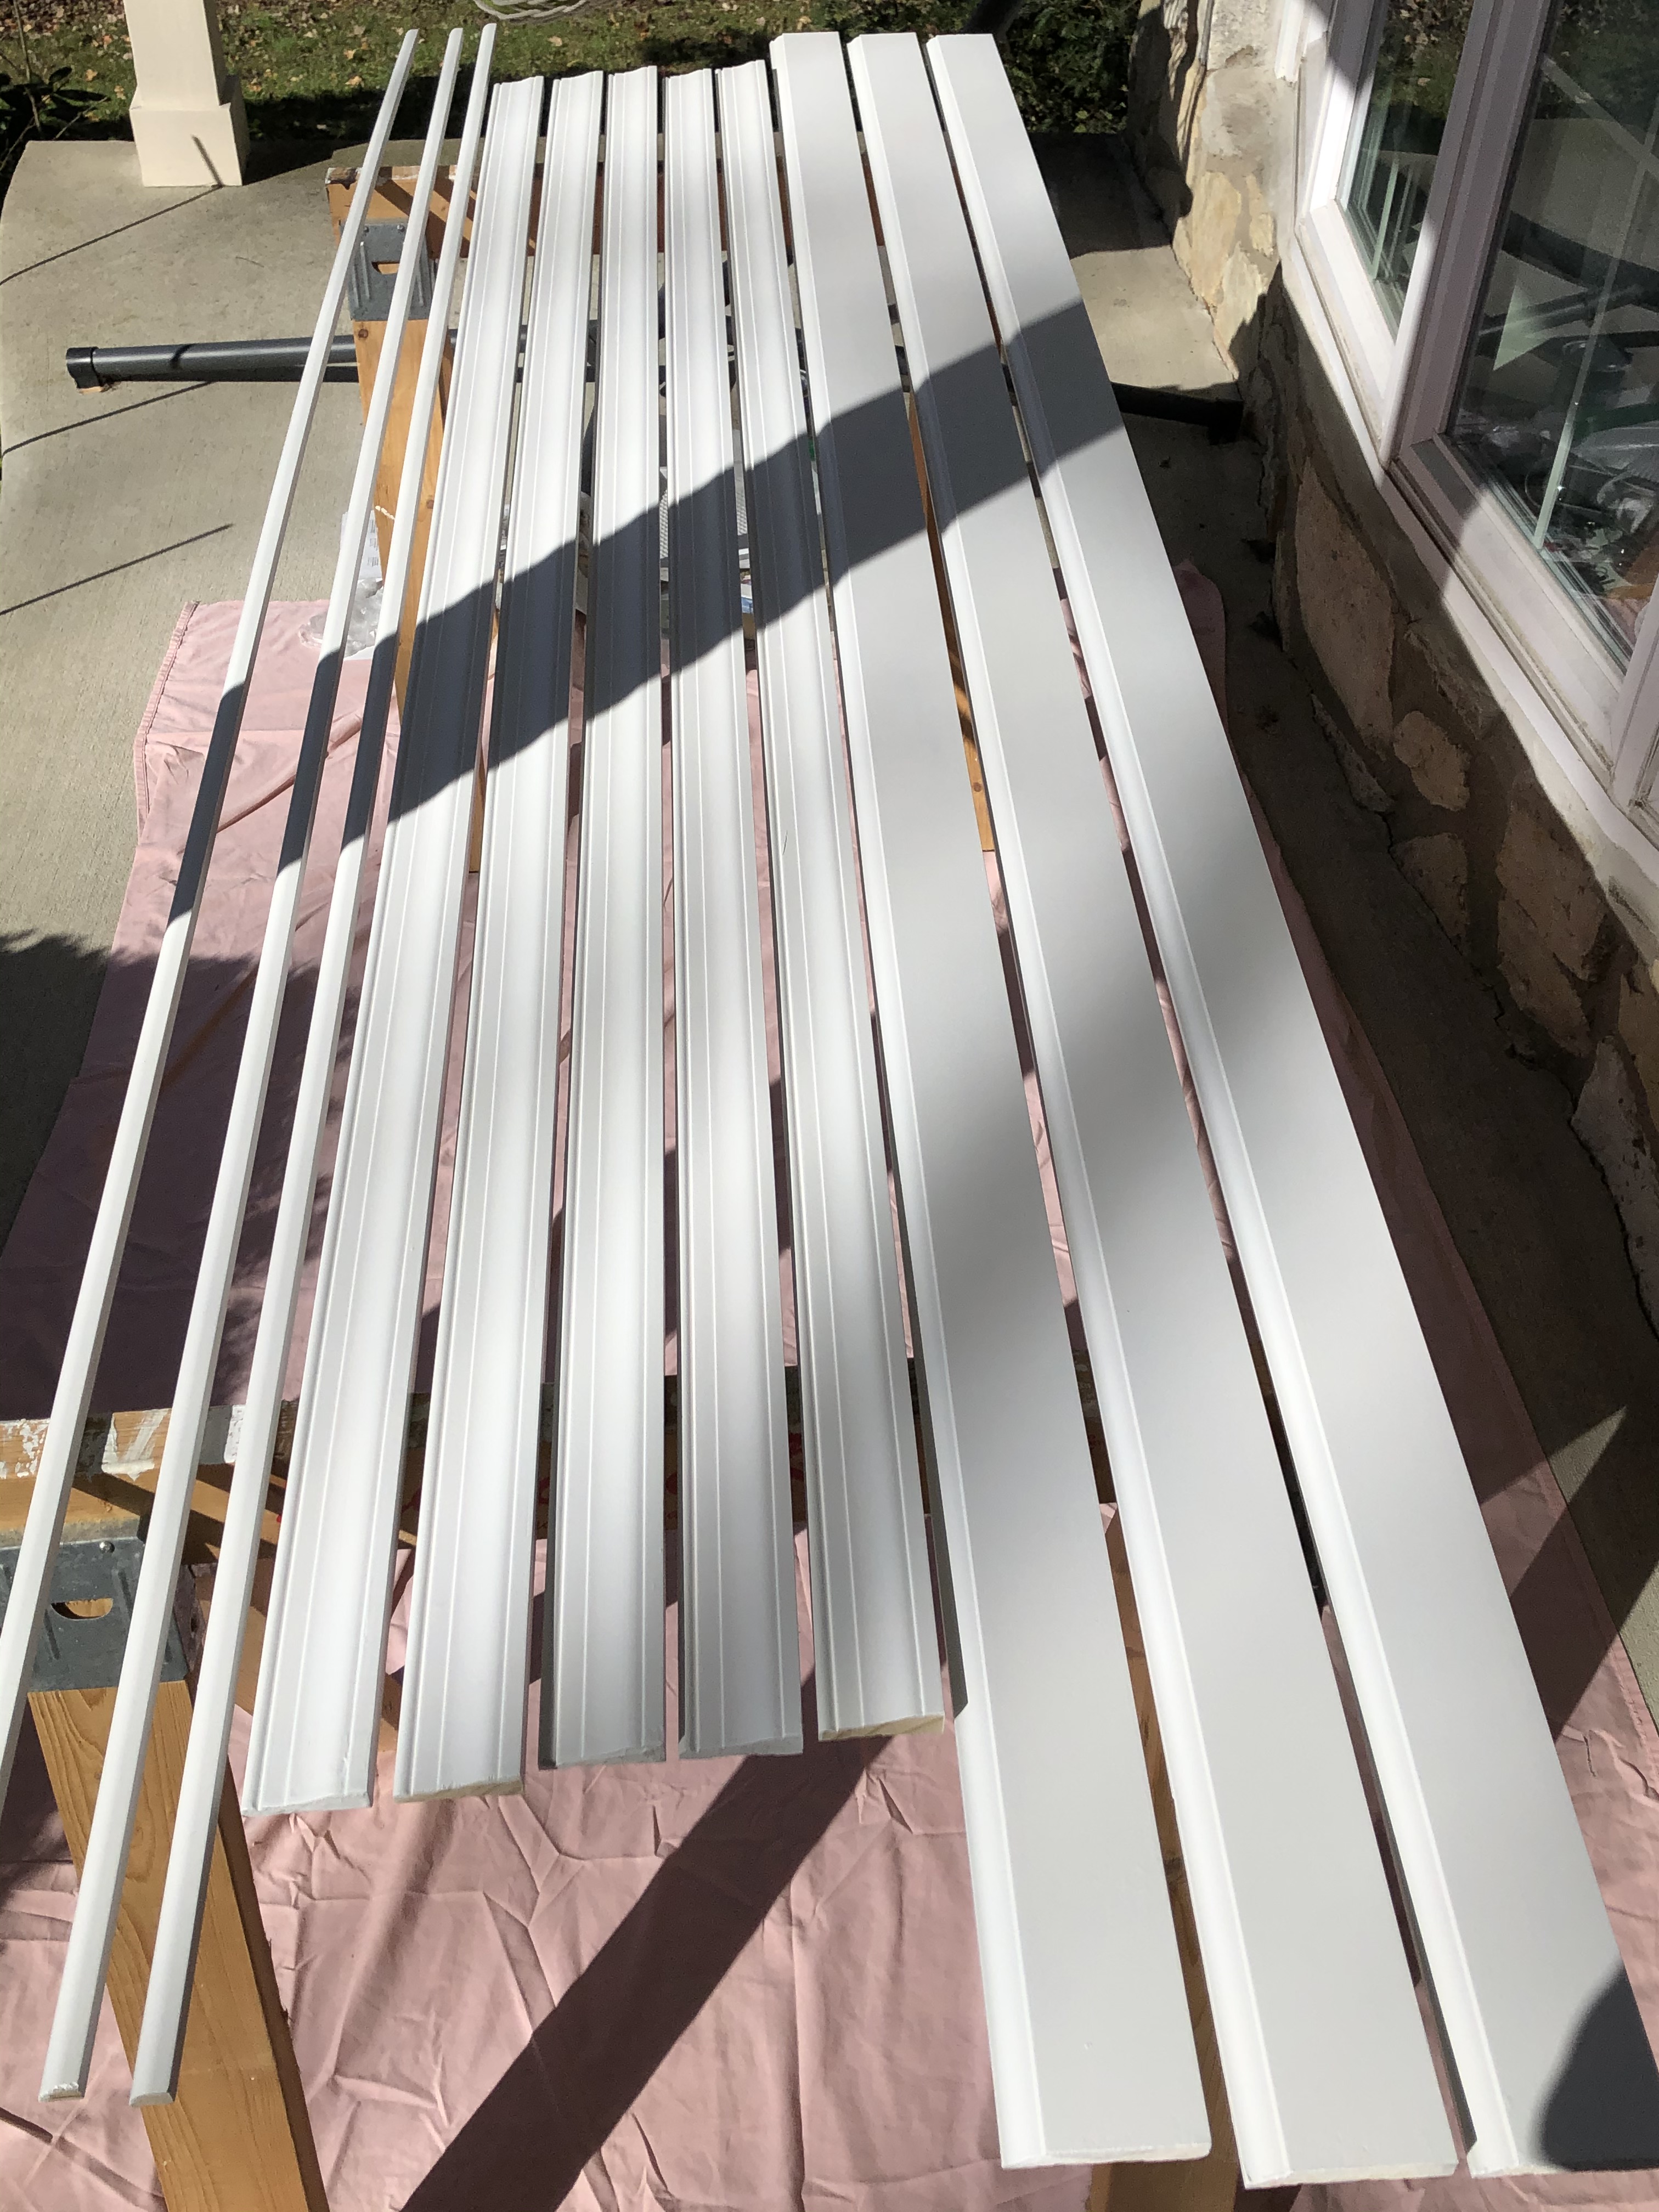
As his work progressed, the carpenter purchased new molding to be installed around the door and window frame, as well as baseboard molding for the floor. He also obtained quarter-round finishing trim “just in case” we needed to cover any gaps between the baseboard and the floor edge. As the project continued, we came to realize just how wise he was to have the quarter-round trim available!
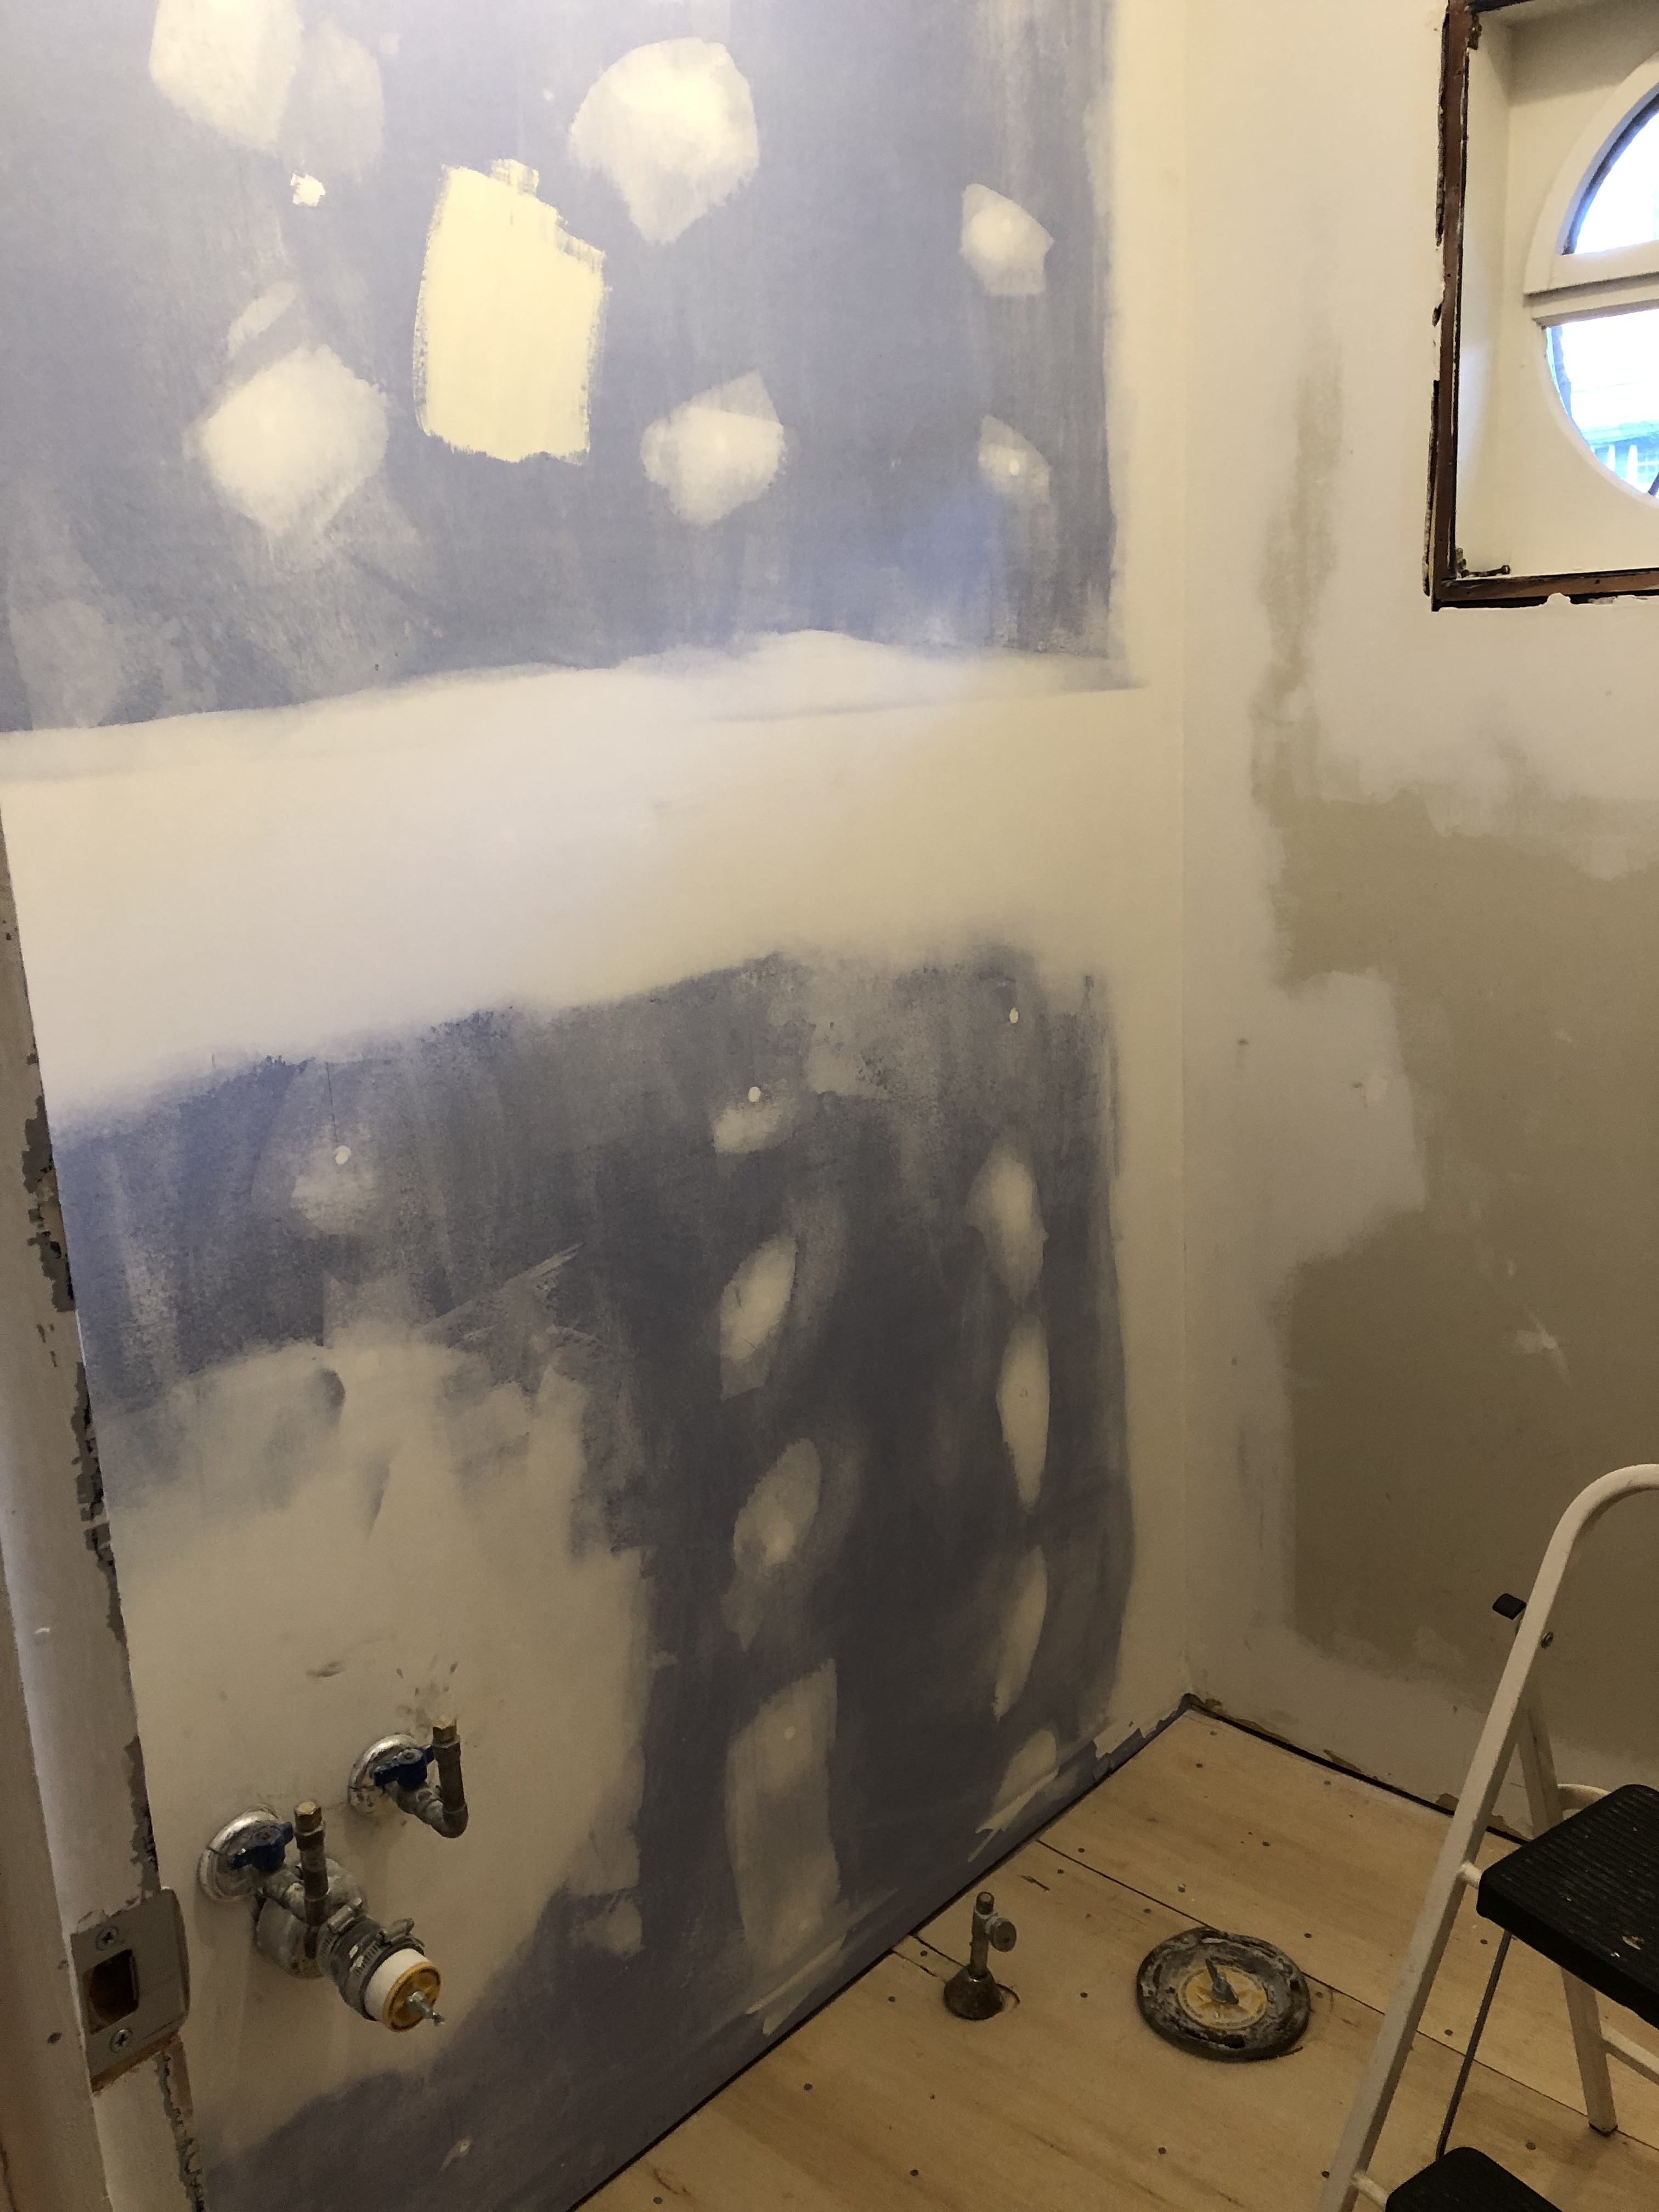
Following the completion of his demolition work, the carpenter began rebuilding the foundational elements of the powder room. This included: replacing the rotted tongue-and-groove subfloor planks; putting new drywall up; taping and mudding the seams and corners; and spackling the nail holes. On Friday, just 2½ days after starting, he had finished all the demolition and rebuilding that was necessary up to this point in the project. My wife and I now had the weekend to complete the painting, followed by a couple more days the following week for me to lay down the new finished flooring before the carpenter was scheduled to return and finish his work.
The next day, Saturday, I sent the following text and photo to my brother.
| Now it’s our turn! Here’s where we are. He ended up laying down an additional ¼-inch plywood subfloor over the tongue-and-groove. This will put the new finished floor at the same level as the previous flooring. |
The additional subfloor was important so the plumber would be able to attach the toilet to the drain flange, add the sealing wax ring, and ensure the toilet would sit at the correct level on the finished floor without wobbling or leaking. A little while later, my brother sent a question:
| Have you started your painting? |
To which I responded:
| Finished the first coat of primer. |

With a two-day time constraint before resuming her corporate job on Monday (even though she was working remotely at this point in the pandemic), my wife single-handedly tackled the painting of the powder room: two coats of primer and two coats of paint, with the necessary wait-time to allow each coat to dry. My minor contribution at this stage was painting the pre-primed molding the carpenter had previously procured for later installation.
When the weekend was over, I sent another text to my brother:
| Painting finished. Now my empty canvas is ready for the flooring… |
To be continued…
Categories

I’m loving your blog Mark!!!
Woohoo! Gosh, it feels like such a long time ago, but also so recent. We started a refi on our house in February 2020, and we signed the papers with the notary wearing surgical gloves (we had hoped to sign out on the porch. We…underestimated the number of pages involved!) Still can’t believe we were able to pull it off! Looking forward to seeing the finished project!