
Virtual DIY Bathroom – Preparation
Continued from Virtual DIY Bathroom – Introduction

When we last heard from my brother, he was wrestling with how to redo his downstairs bathroom in the middle of a global pandemic. You may recall beyond just the desire to give their powder room a much-needed refresh, there were the water-stains on the drywall beside the sink, and the all-important structural integrity issues from a leaking toilet that had to be addressed before they got worse. But getting from the initial meeting with the carpenter to the beginning of the project, was fraught with a number of issues. In fact, if it were not for…well, it really will be better if he continues to tell his story.
– – – – – – – – – – – – – – – – – – – – – – – – – – –
Despite the postponement of our powder room renovation, due to the global pandemic, my wife and I continued to make plans for the project, hoping the widely mandated COVID restrictions would eventually be lifted. Our overall goal was to have the renovation fit in well with the existing crafted woodwork in the house, while making the powder room look more “up-to-date” (meaning in-sync with our modern era). And as our carpenter insisted, we first focused on getting the right vanity for the project.
My wife searched through countless vanity options on the internet, focusing on a particular décor style called “Industrial Modern.” When I Googled to understand what that meant, I found one description as follows: “Think old industrial shop runs smack into modern design. Heavy and rustic iron work from a dark, old factory from the turn of the century meets nicely finished honey-stained wood or refinished reclaimed wood.” (Ref: https://www.pinterest.com/andreakoeppel/industrial-modern-decor/)
Eventually, she found a photo of a beautiful new vanity on the Home Depot website, with a nice marble countertop and the same dark wood as used in other rooms of our house.
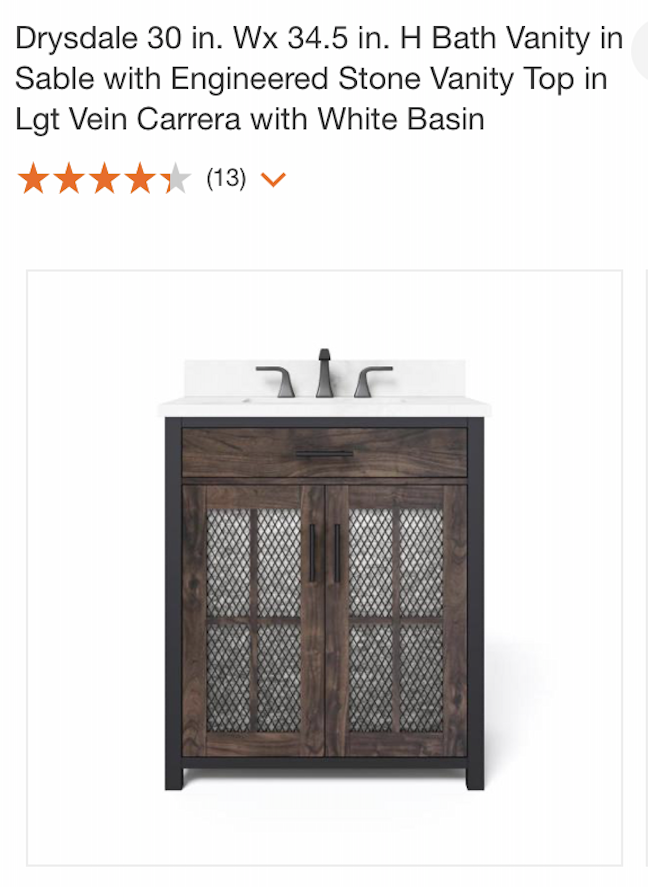
When we drove to our neighborhood Home Depot to see the vanity “in person”, we were not really surprised to find that it was not in stock. (Apparently, there were many others performing home-renovation projects in 2020!) We proceeded to place a special order for the vanity, hoping it would fit our design plan as well as we imagined. It turned out the delivery took longer than expected, which led to an additional delay in getting on the carpenter’s schedule.
We were excited when we were notified that the vanity had finally arrived. We drove back to our Home Depot and waited at the customer service desk for the box to be retrieved from the storage area. When it was brought out, the first thing we noticed was a rather large, gaping hole in the side of the box. It looked as though someone had driven a fork-lift right through the side of the box when preparing to move it.

We were somewhat relieved when we peered into the hole to find it was located over an empty space for the vanity inside. Wanting a better look, I turned on my cell phone flashlight and scanned inside the hole in the box. My wife saw immediately that there was a long silver scratch running all the way down the black steel door handle of the cabinet. We brought this to the clerk’s attention, who started the necessary steps to reorder the piece.
A few weeks later, back at Home Depot, we examined the box containing the replacement vanity and it appeared to be fine. My wife and I rolled the box on a flat-bed cart out to our SUV, only to find that it was too heavy for the two of us to lift. Despite continuing concern about the spread of COVID and the recommendation to socially distance, we were happy that several other customers passing by our car recognized our predicament and came to our assistance. Back home, my wife and I walked the box, corner by corner, until we were able to get it inside the house. We placed it in a location that was out of the way of our normal traffic pattern, as well as the soon-to-be-started (or so we hoped) powder room work.
With the vanity in hand, we turned our attention to other tasks necessary to prepare for the powder room renovation. When we initially met with the carpenter, he had made it clear that he did not do the following: 1. Painting, 2. Flooring. So, my wife and I knew going into the project that we would have to perform these tasks or coordinate with a specialist to complete them.
We were OK to do the painting ourselves to save money. After all, it was a pretty small space we were working with, and we had painted other rooms in the house. Still, we needed to decide on a paint color and purchase the materials. So…back to Home Depot for the painting supplies.
For the flooring, even though I had some prior experience with installation, I felt it might be easier to have a professional do this work. A major consideration was that the floor would have to be installed fairly quickly: after the carpenter had completed his powder room demolition, and before he and the plumber returned to finish the rest of the renovation. As it turned out, the floor selection was another near-fiasco.
We headed to a local specialty floor dealer who had been recommended by the carpenter. There, we found a style and color of laminate flooring that we thought would work well in the powder room. It was also not terribly expensive: just over $200 for the boards to cover our small space. When we asked how much it would cost for professional installation, we were shocked to learn it would be an additional $500, despite the room being only 20 square feet! We could have a much larger floor installed for the same price, which reflected the cost of just getting someone out to do the work! Although the store owner tried to steer us toward using his installer, we all ultimately agreed that the expense made no sense for our small project. To save the $500, we decided I would install the floor myself. This would be our main work contribution to the DIY project (or so we thought at the time…)
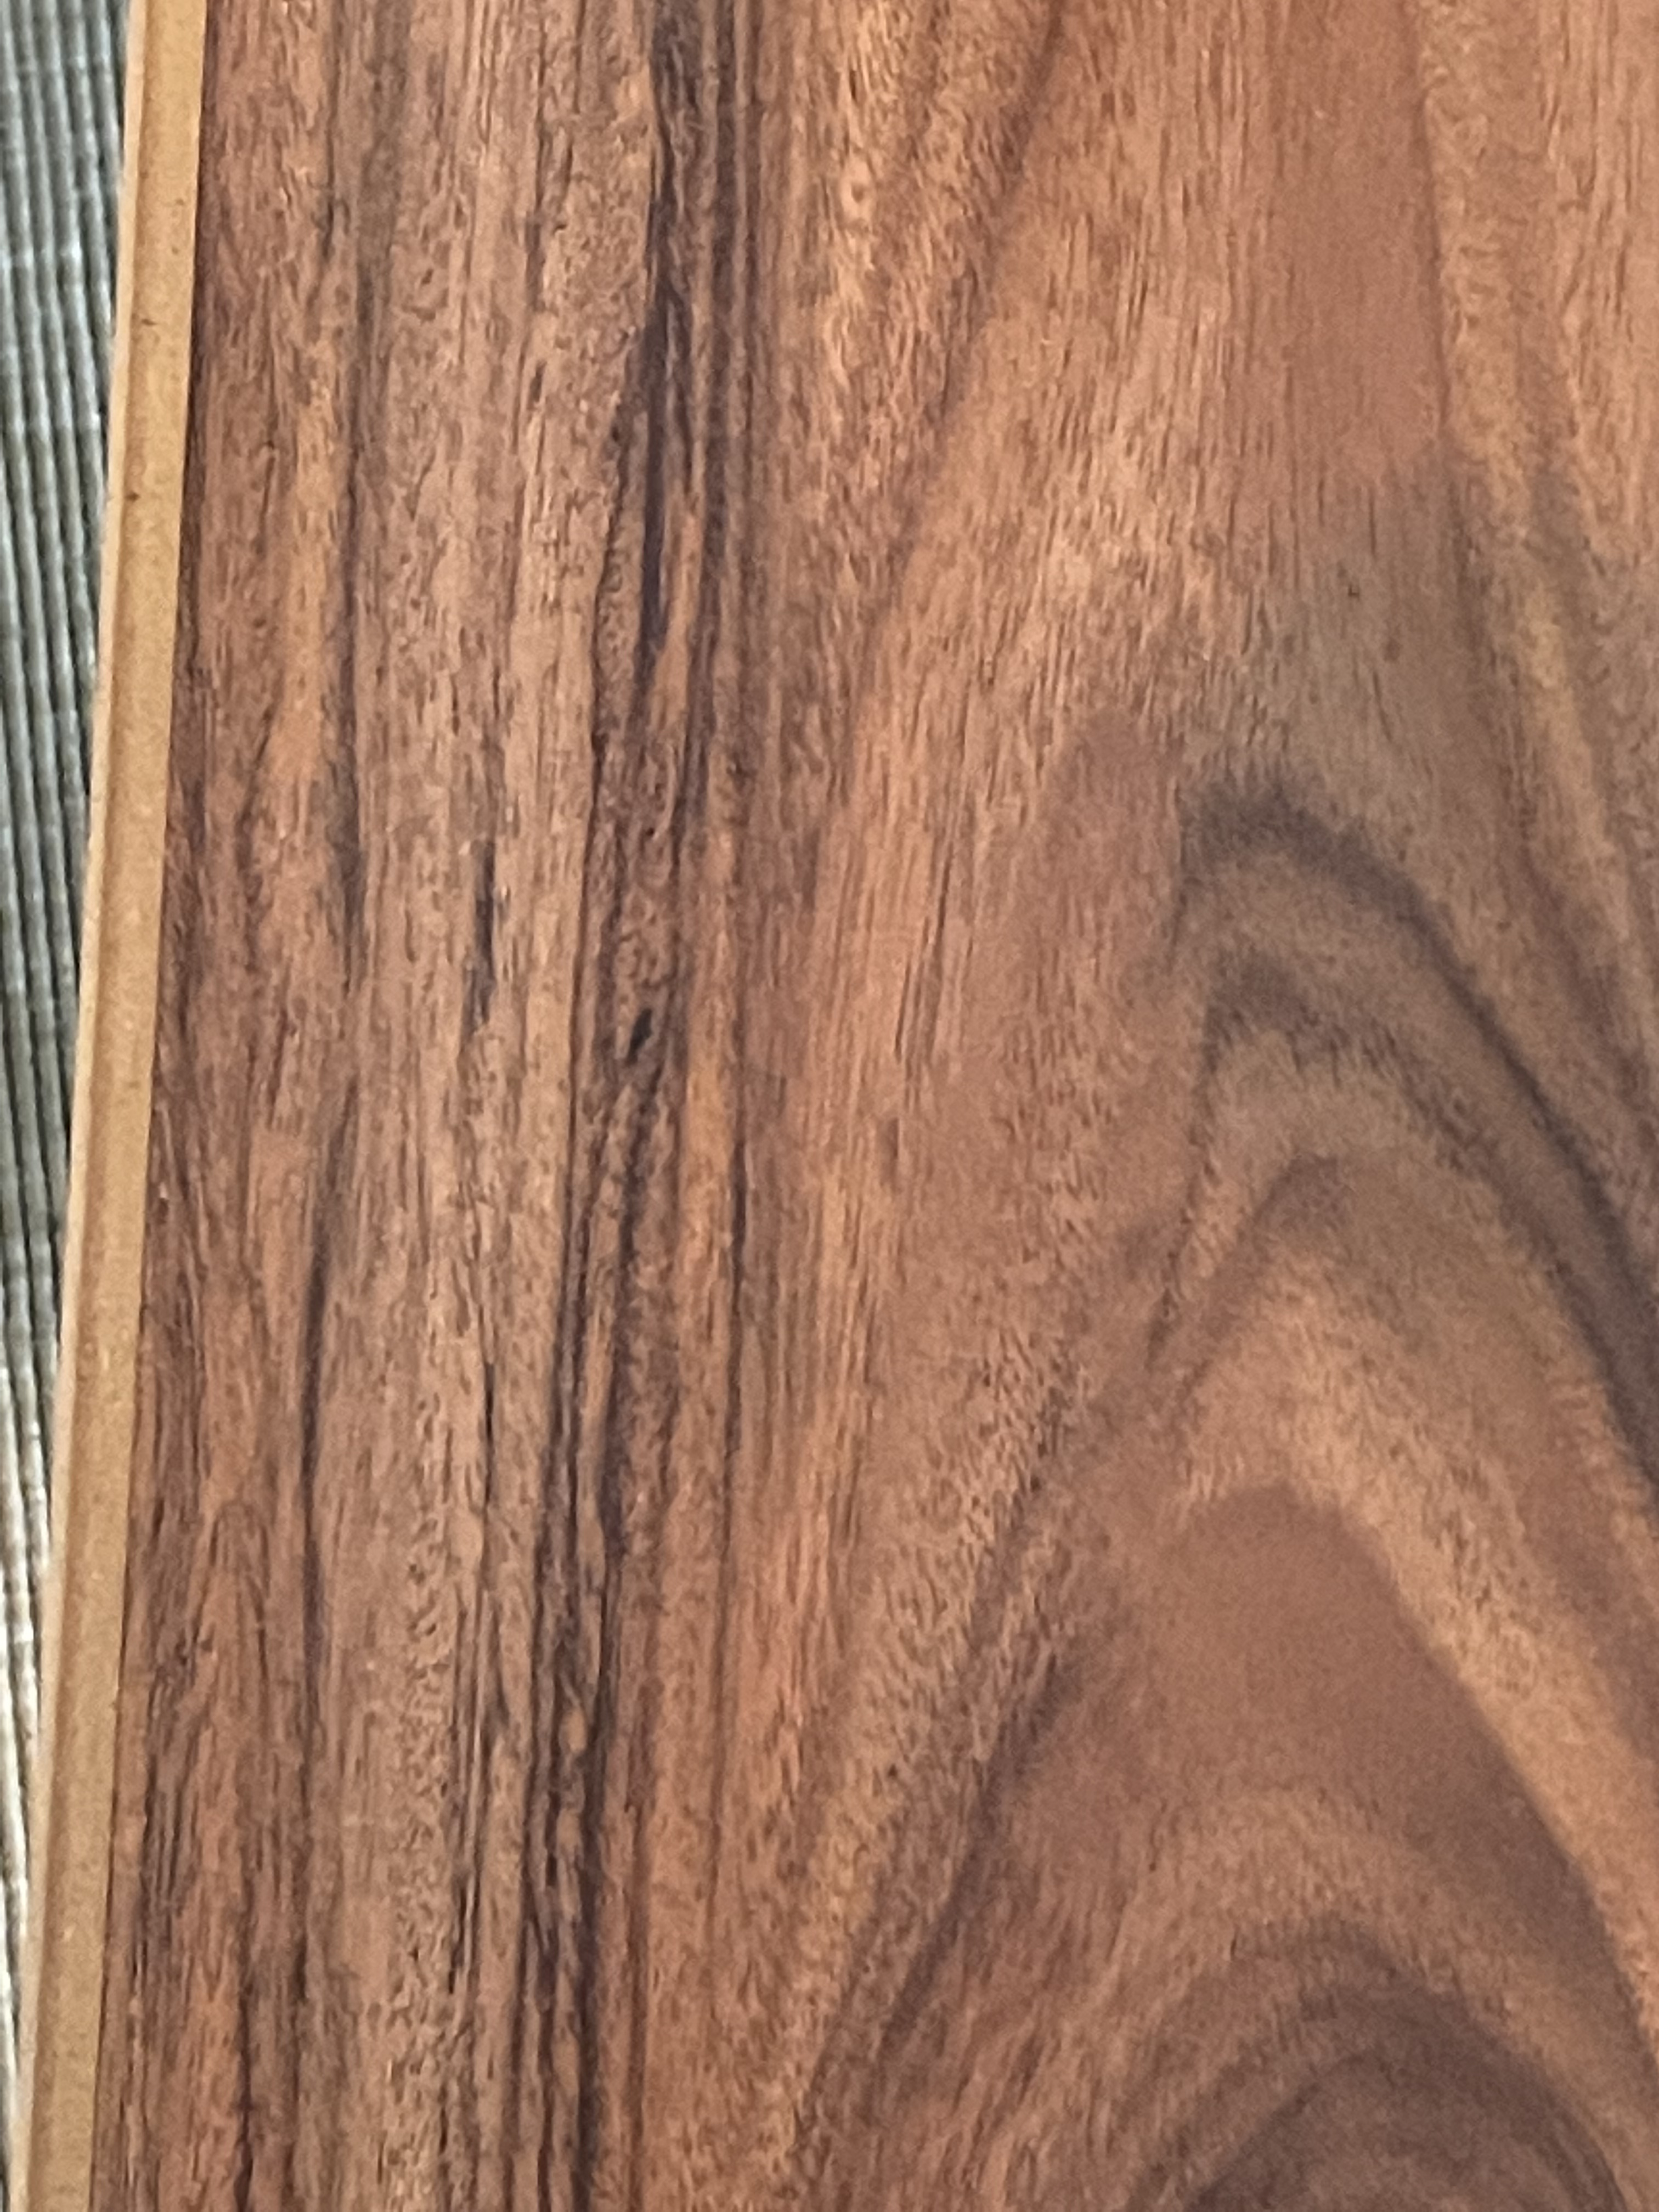
We left the store with 2 boxes of laminate flooring and a bit of misguided confidence that the installation would be straight-forward. It was just the next day, when we opened the boxes, that I needed to send the first text and photo to my brother:
| Do you have time today for a quick call to talk about flooring? | ||
| Sure. | ||
| Now? | ||
| Sure. | ||
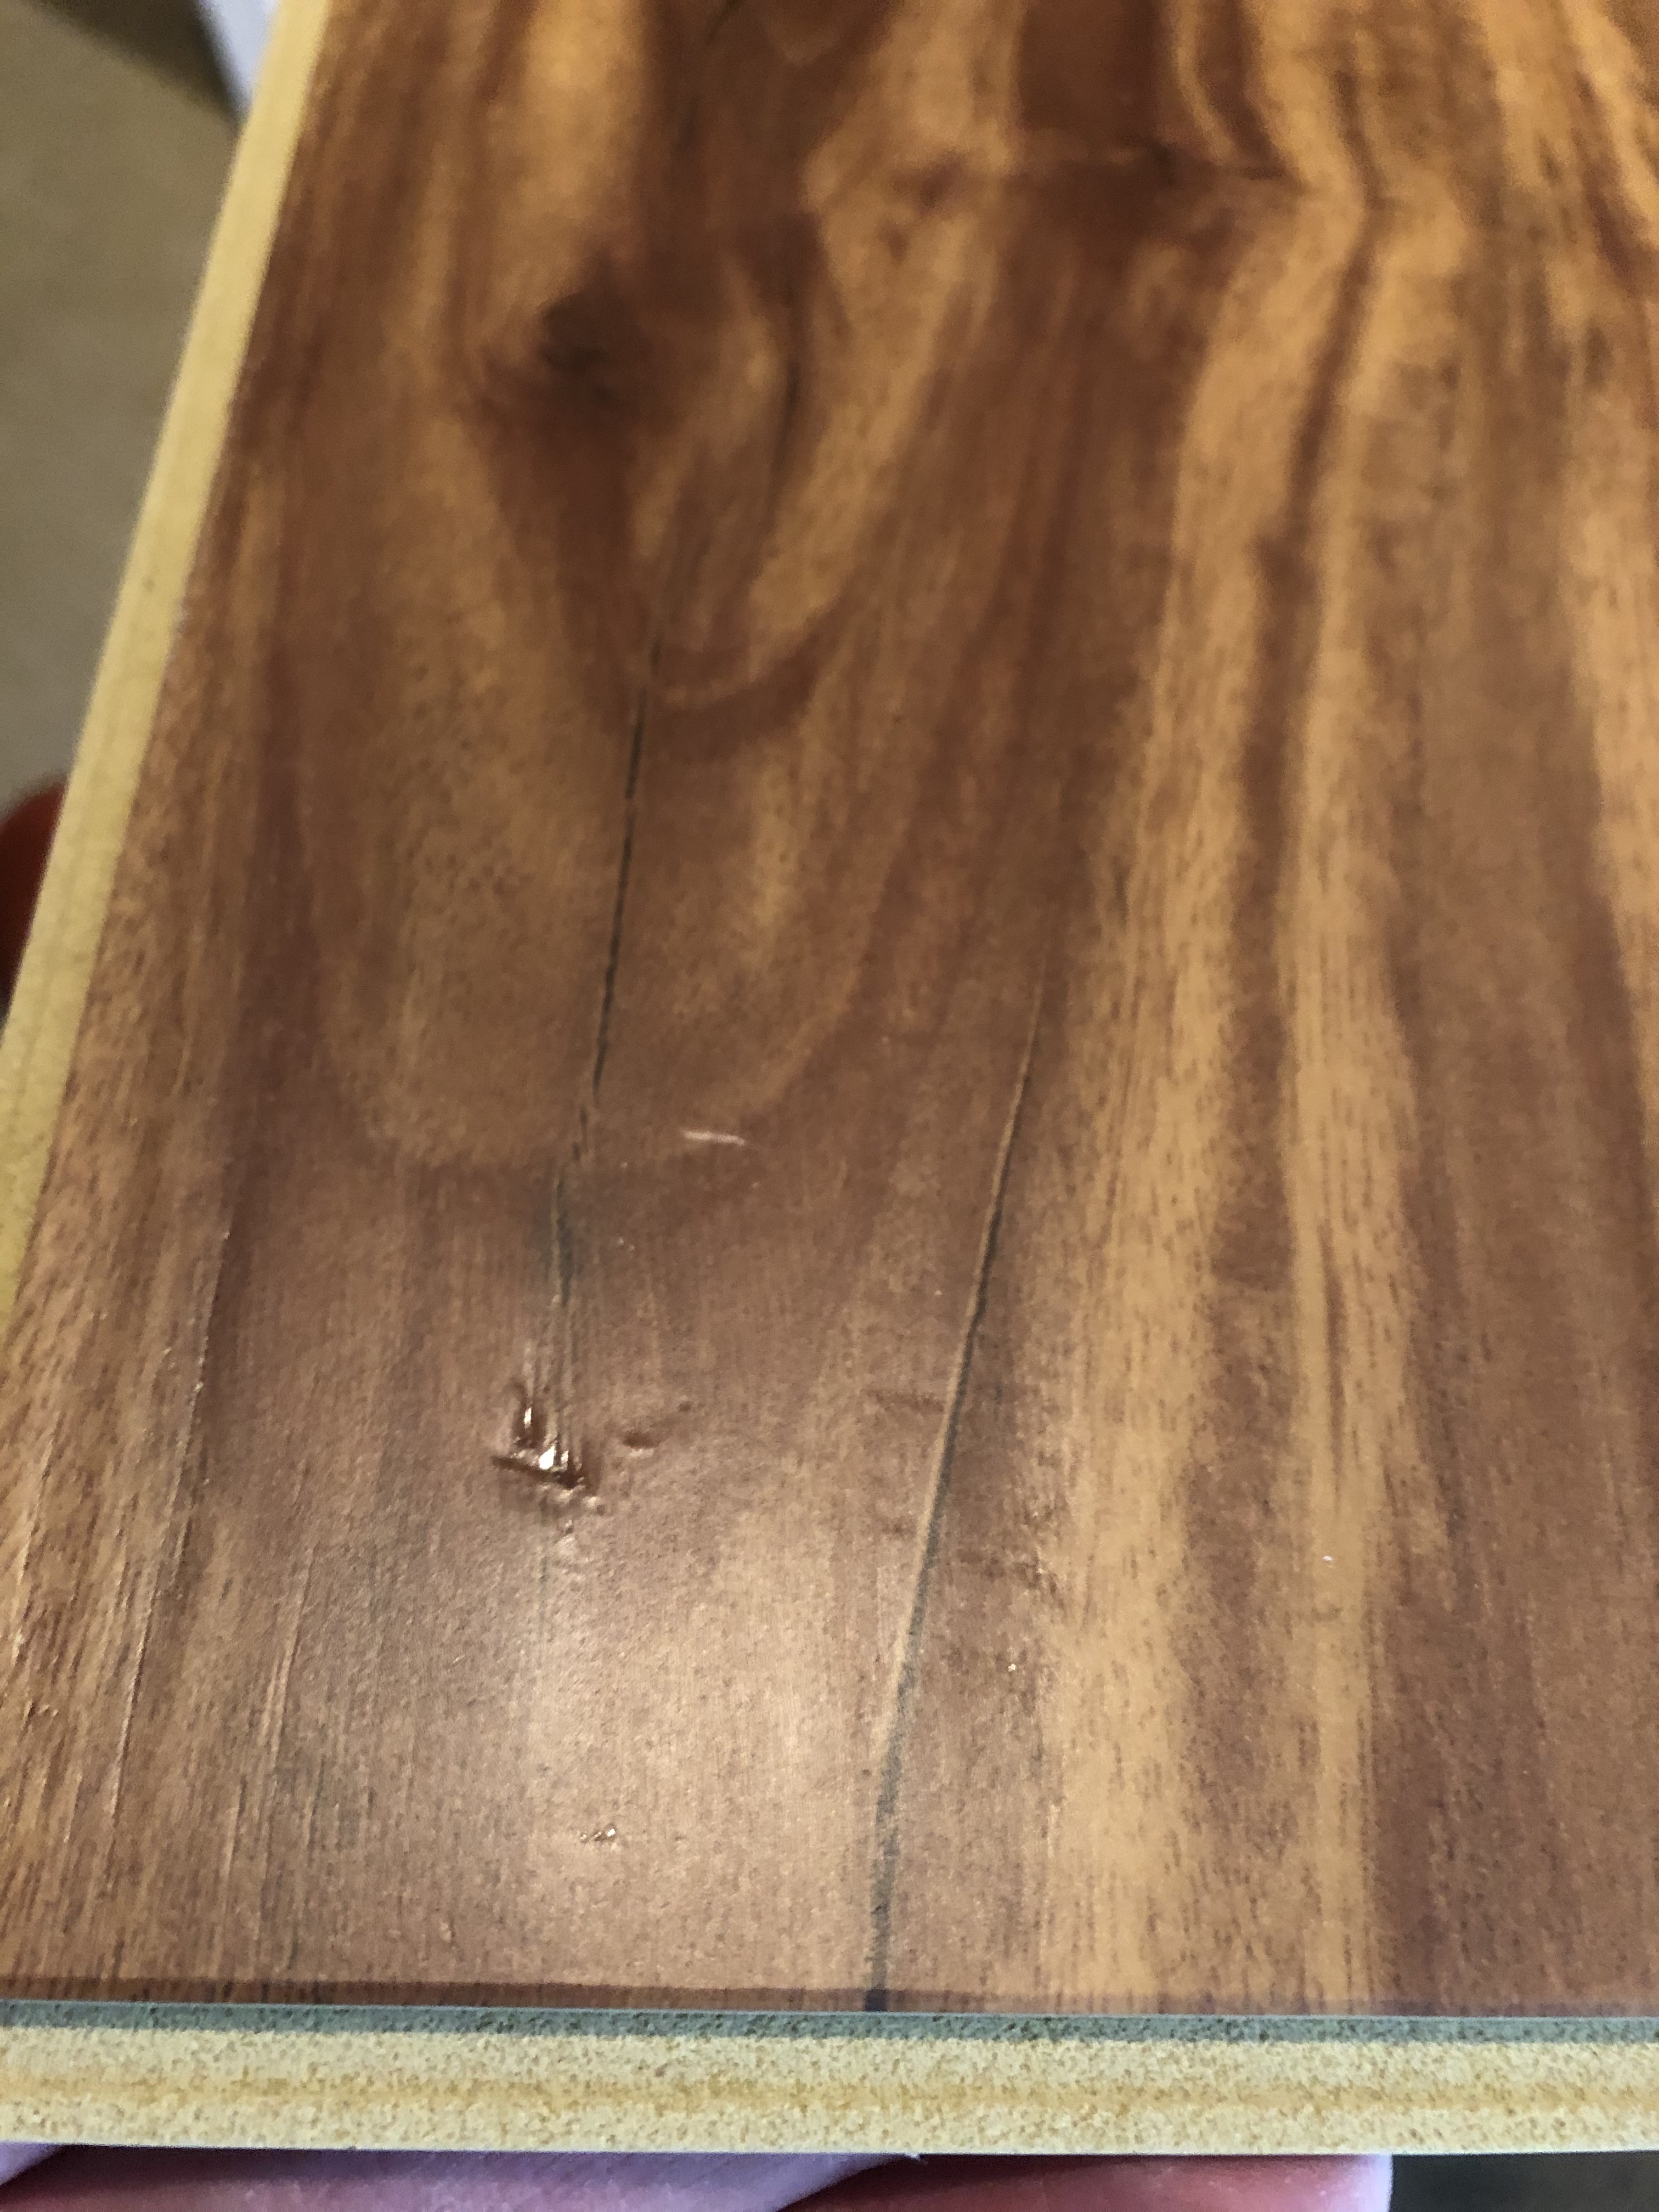
After we had discussed what looked to me like pockmarks on the floor planks (they were on nearly every one of the boards!), my brother agreed that they were, in fact, pockmarks on the floor planks and that using these boards for the flooring would look really bad. My wife even wondered aloud, “If the boards look this ‘dented’ now, what will they look like once hard-soled shoes begin tromping on the bathroom floor!?”
So…off to the local specialty floor store to inquire about this apparent imperfection in the product. The owner was quite displeased and – after much conversation – muttered something to the effect of, “I will never sell to DIY-ers again!” I was thinking, “Well, excuse me for opening the box and spotting the flaw.” That was as far as my DIY flooring effort with his materials had gone so far! He cheerfully refunded our money and we left on the best of terms. NOT. I don’t imagine I’ll recommend that store to our neighbors. Nor do I plan to go back there again. Of course, I don’t suppose I would be welcome anyway!
So…off once again to Home Depot, where we found a more suitable (and pockmark-free) Pergo flooring.
I also had to buy several extra supplies for my flooring project: underlayment, a tapping block, a pull bar, foam backing rod, and door-transition floor molding. I quickly learned what each of these materials were and why they were necessary.
With most of the preparation completed, we confidently called the carpenter to schedule his return to start the work. Things were about to get exciting in our small, quarantined universe: demolition in the powder room!

To be continued…Sorry to leave you in suspense with a cliffhanger, but look for the next installment in a future update…
Categories

I’m loving this story! Well done Mark—and Anne and Dave!
Thanks! Stay tuned for more in the future…
Oh my goodness, what an ordeal! Looking forward to more updates!
More excitement to come!