
“All Hands on Deck!”
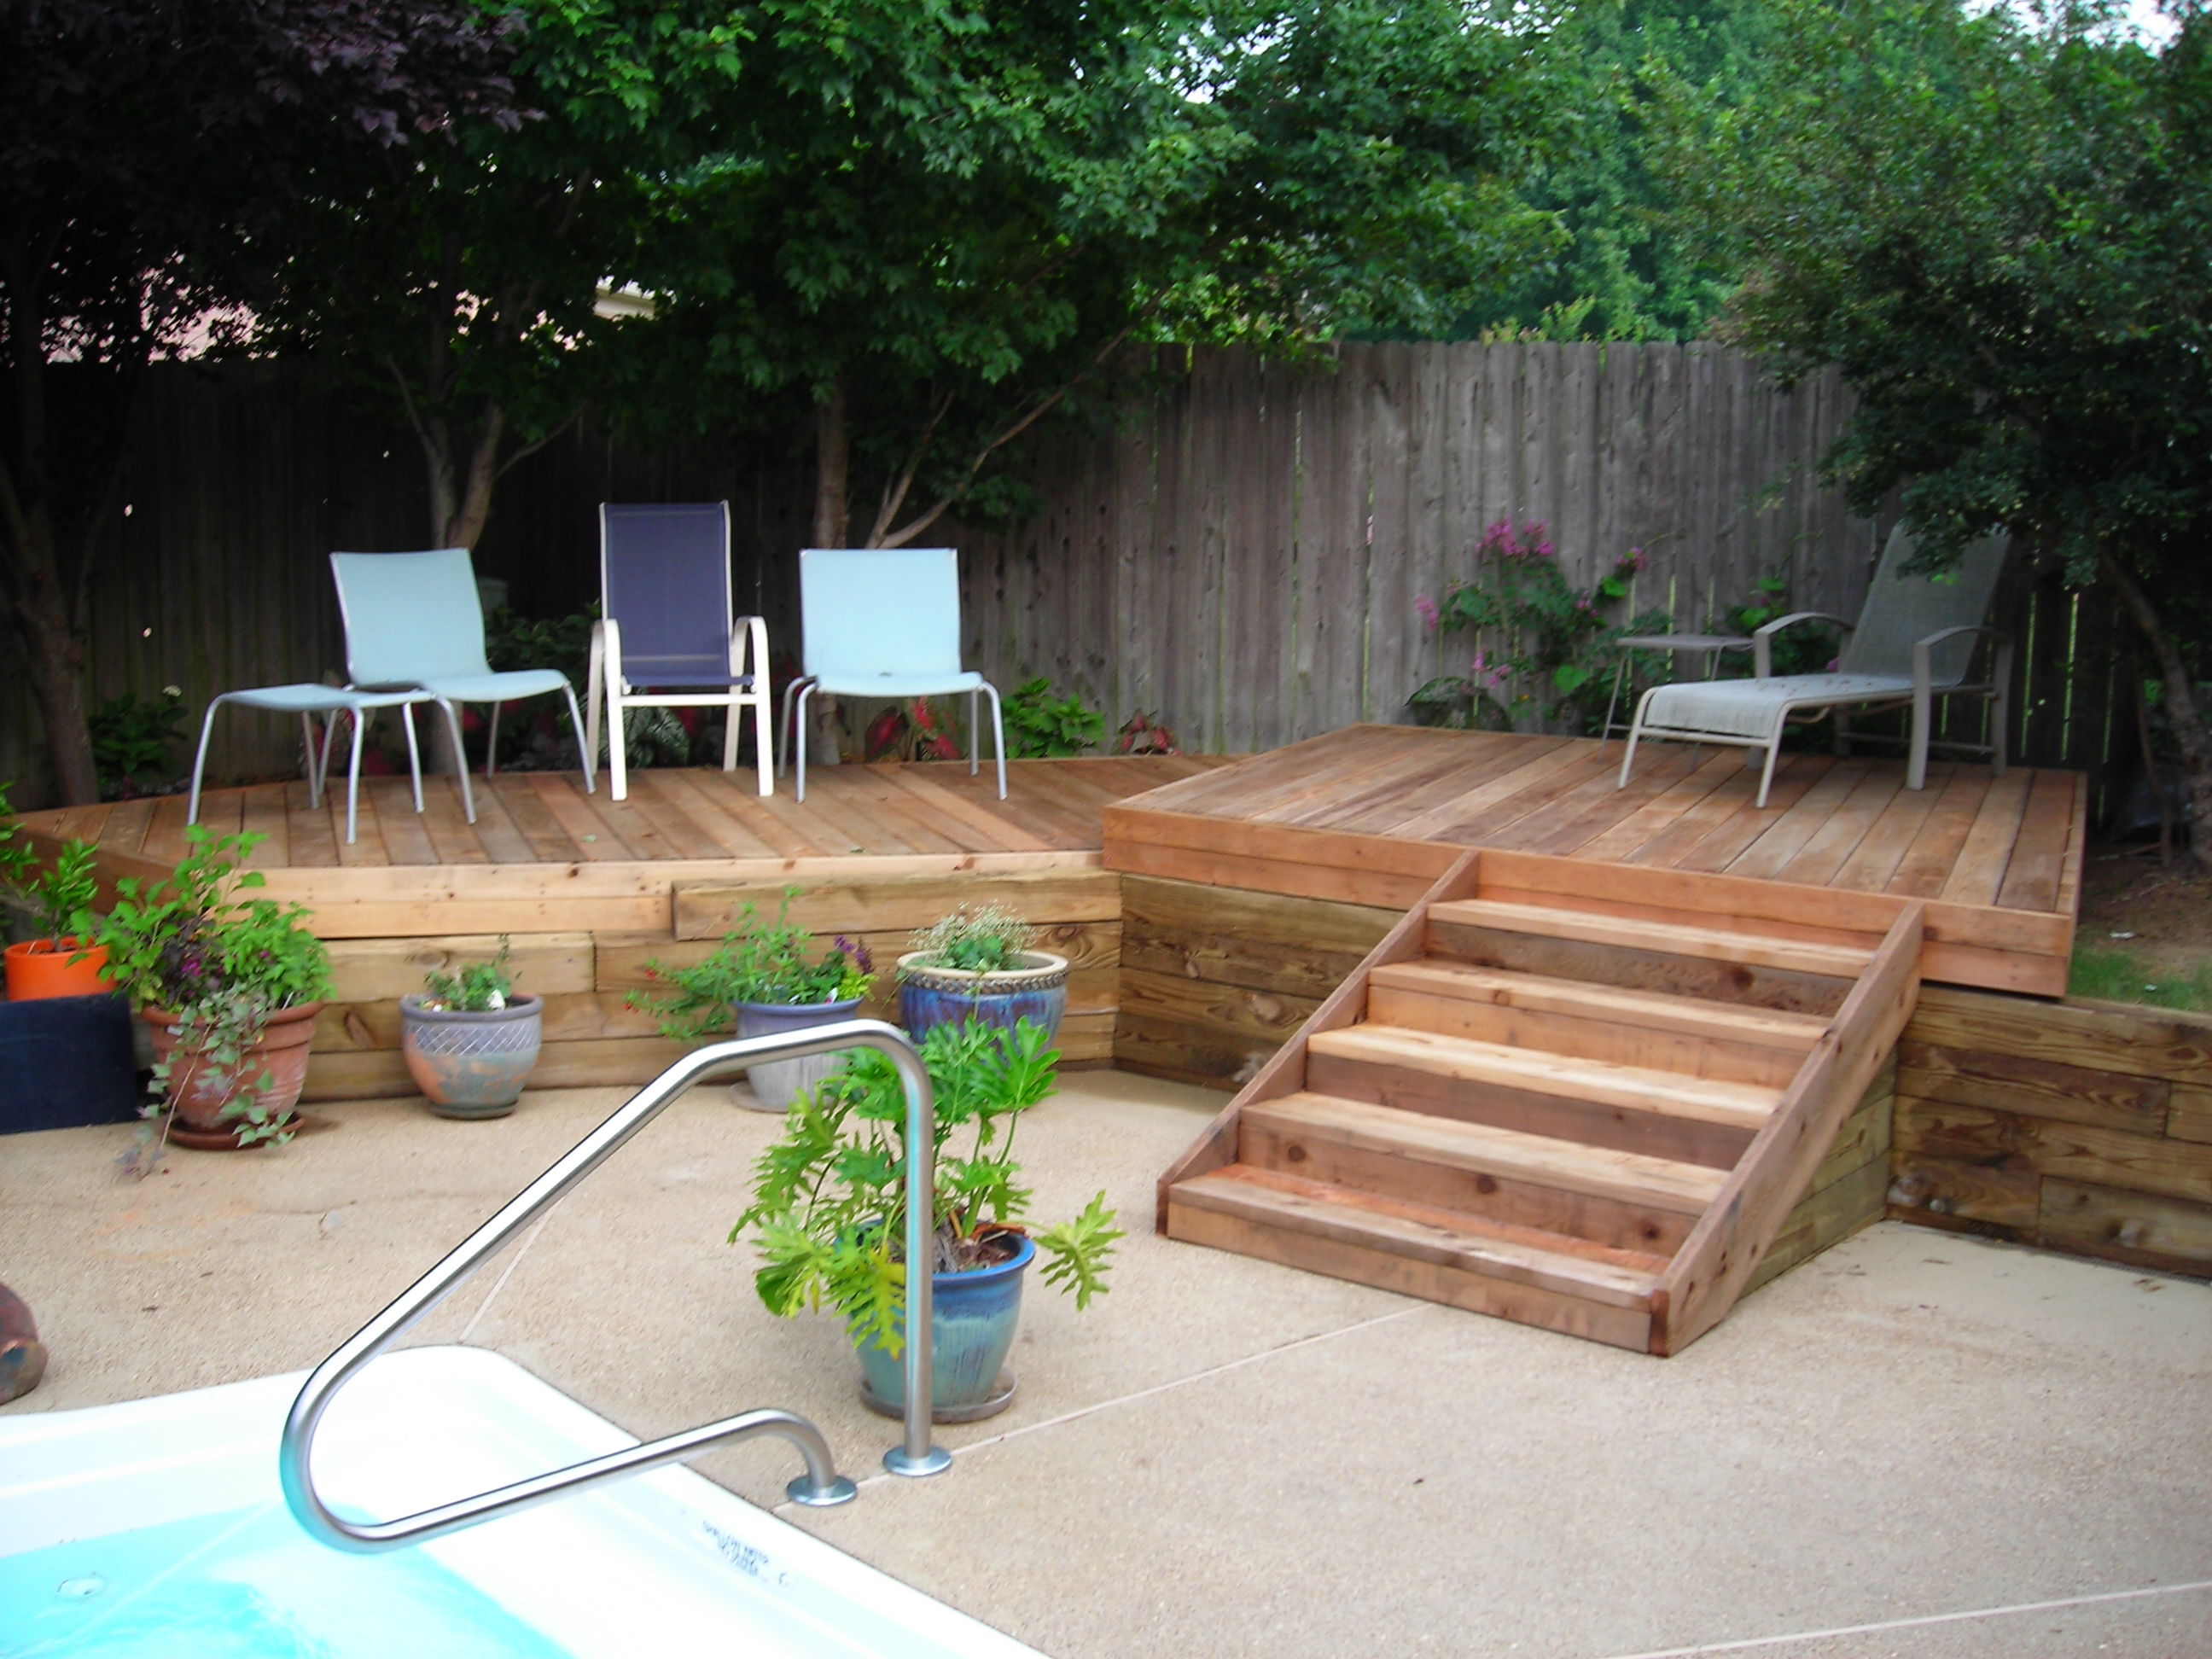
It has been several years since I first described the building of this two-level deck in our backyard. Designed by our oldest son, a landscape architect, and originally built in 2007 by my wife and I (with some help from our brother-in-law), it has needed some minor repairs and refinishing over the subsequent 13 years.

But based on these rotted boards, I knew that some serious repair work was in order to restore our deck to its previous glory. I suspected the culprit here was water draining from the large planter (moved aside in this photo) that led to the rotting of the cedar deck boards underneath. I had seen similar, though less severe damage, under the other planters on the deck.
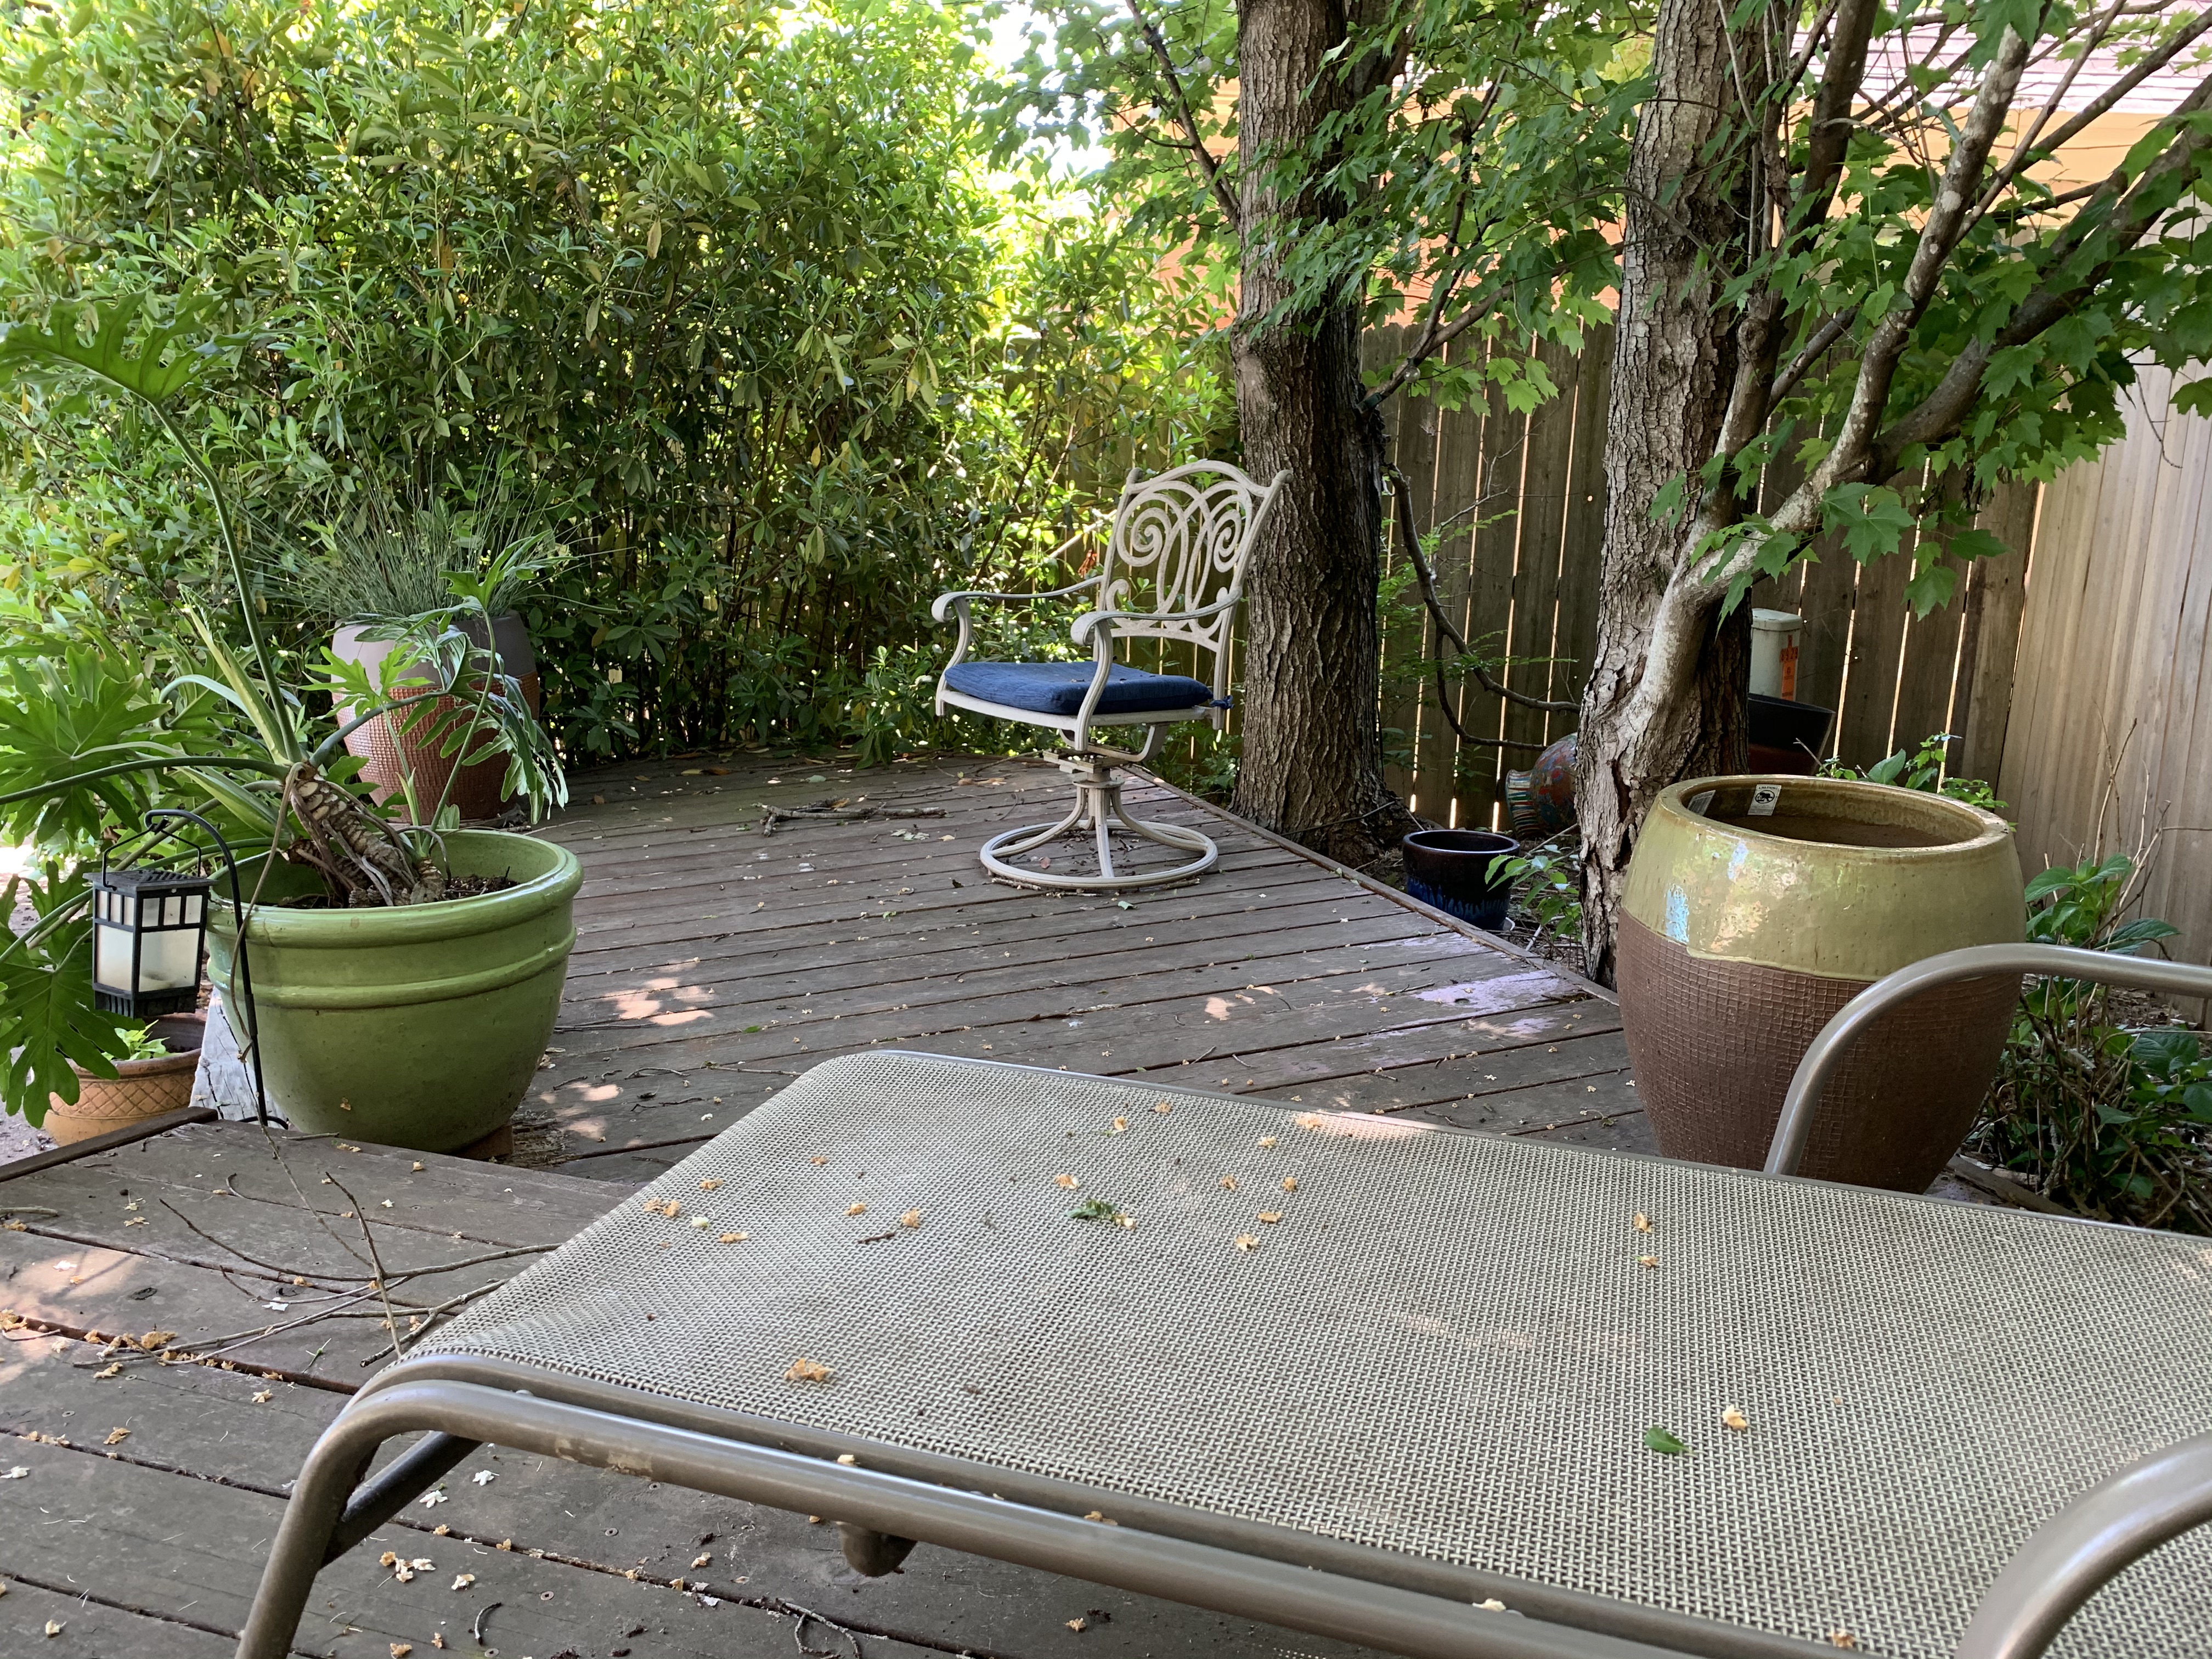
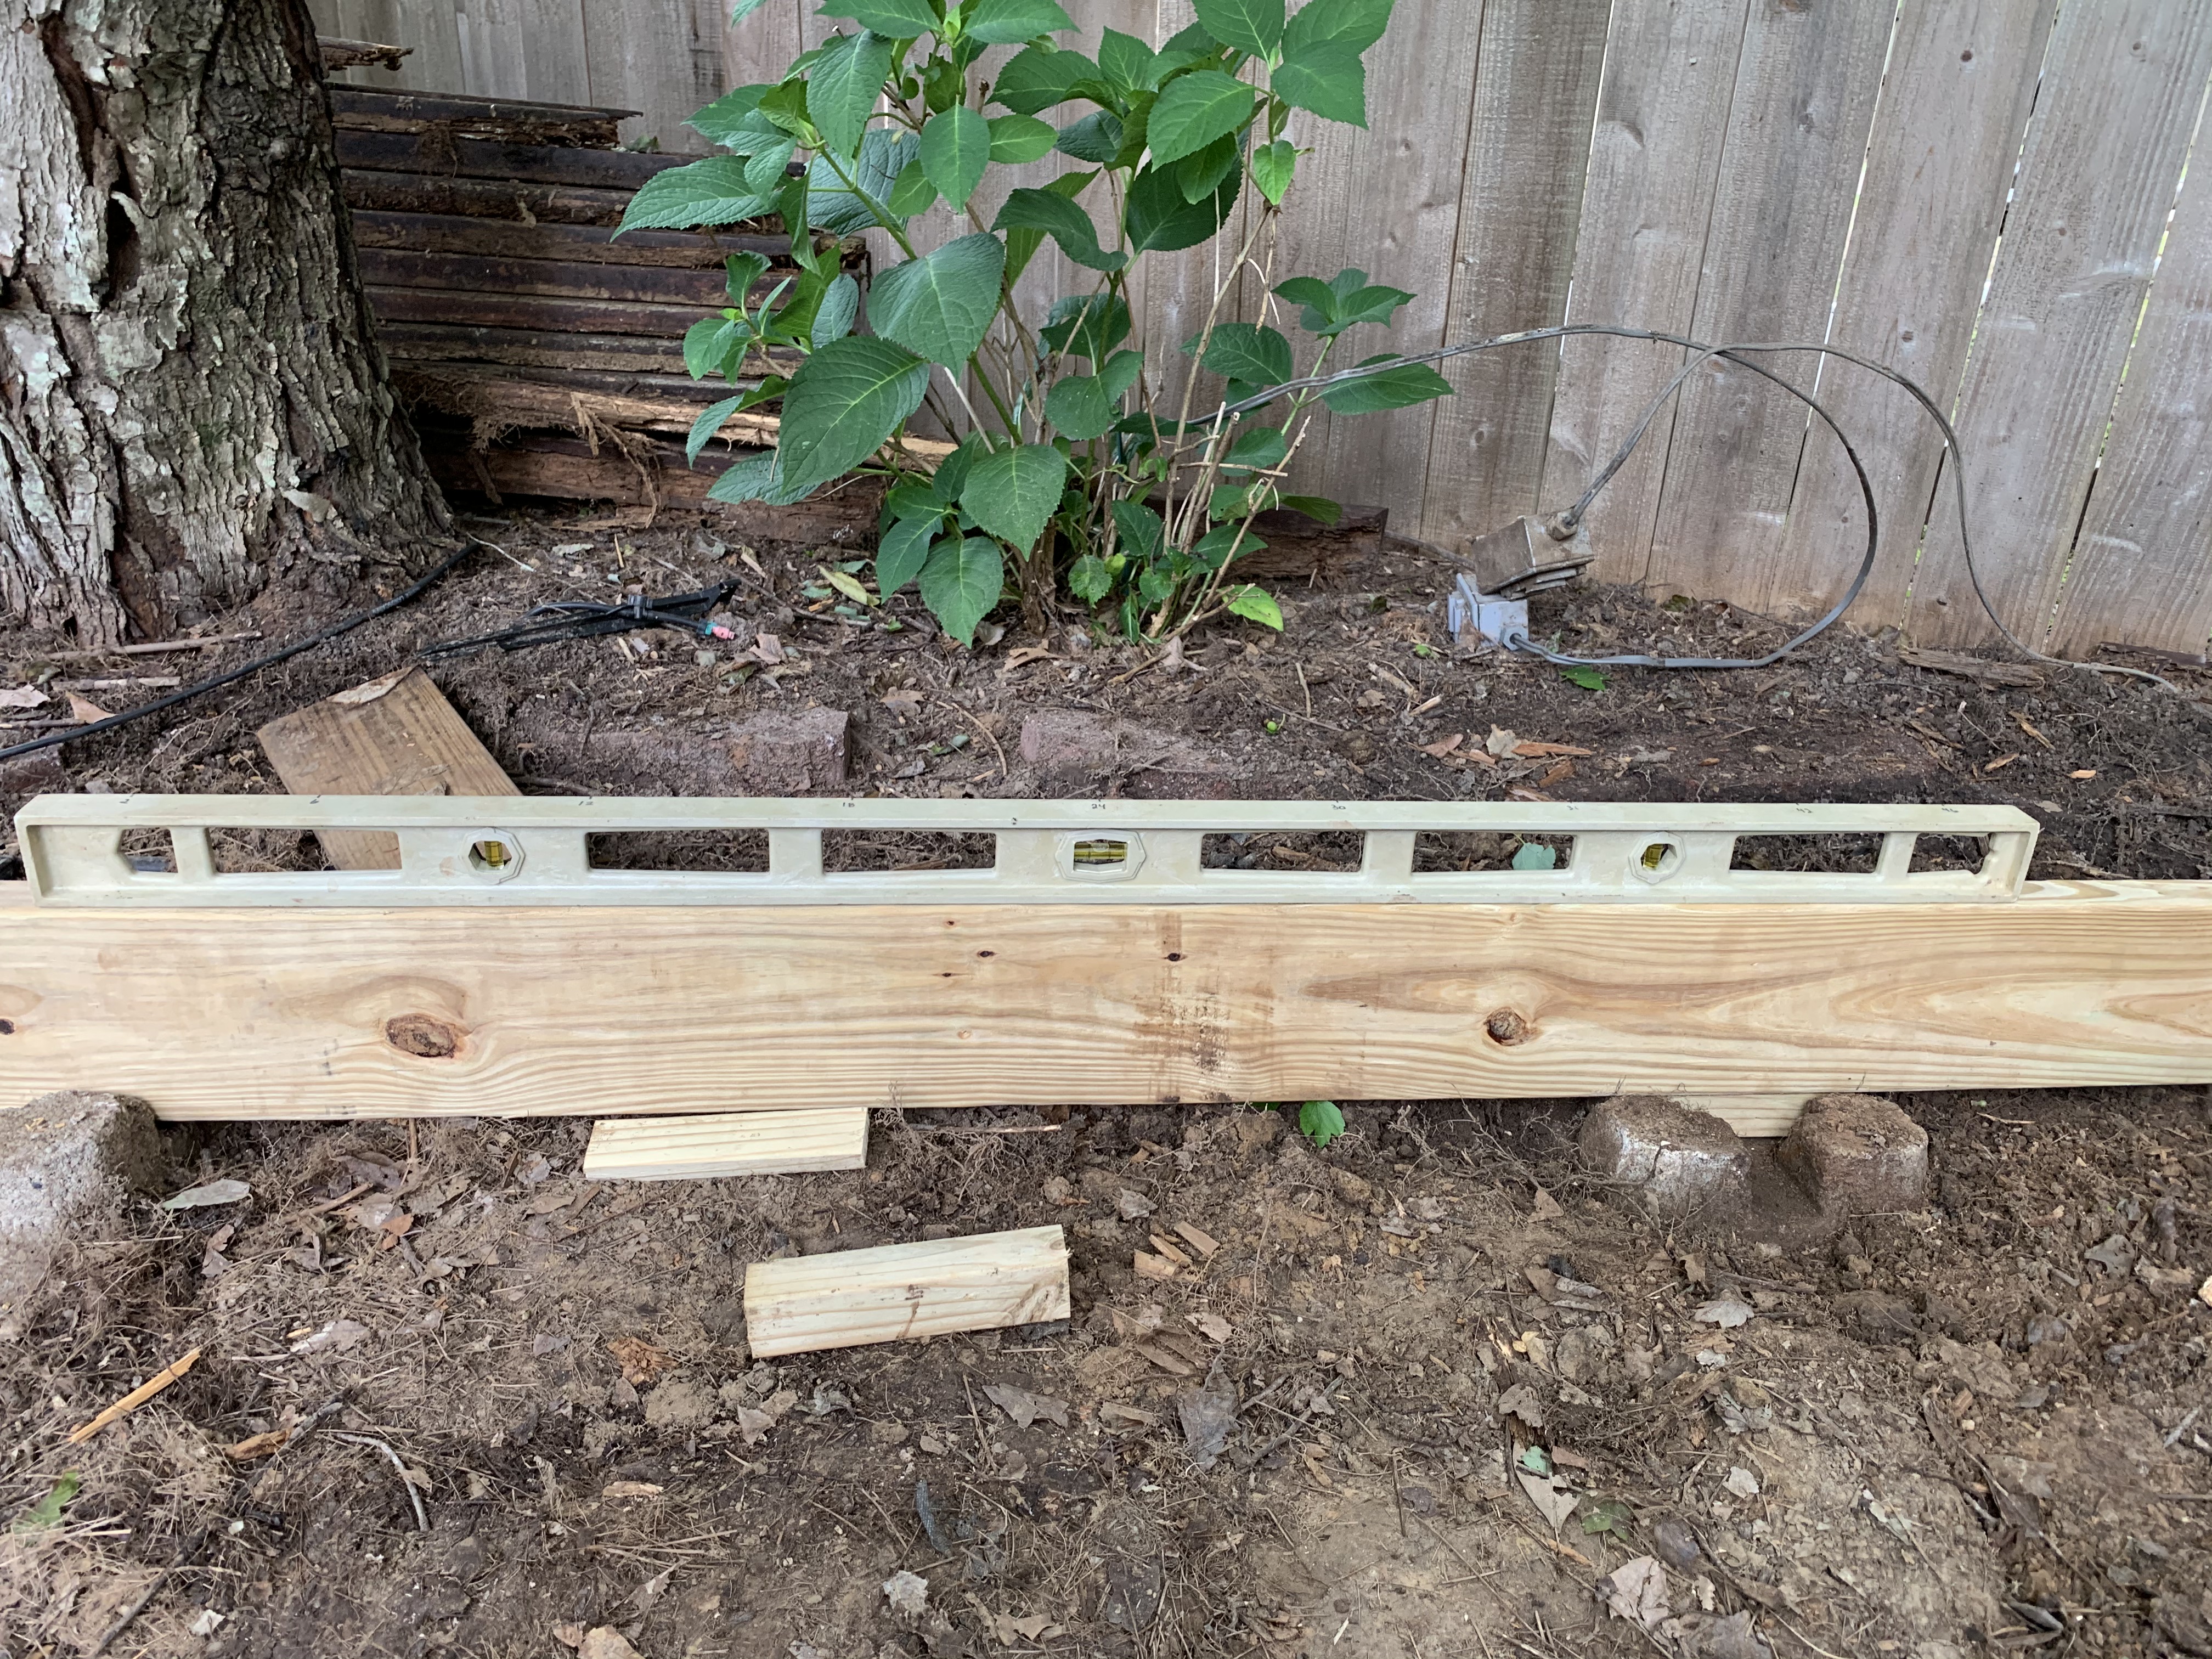
While sitting in these lounge chairs on the upper deck one spring evening enjoying an adult beverage with my wife, I looked over at the lower deck and for the first time noticed that the back of the deck was significantly elevated in relation to the front. I got up and noticed walking from the front to back that it felt a little akin to walking up the deck on a sinking ship. I got out a level and compared the upper to the lower deck.
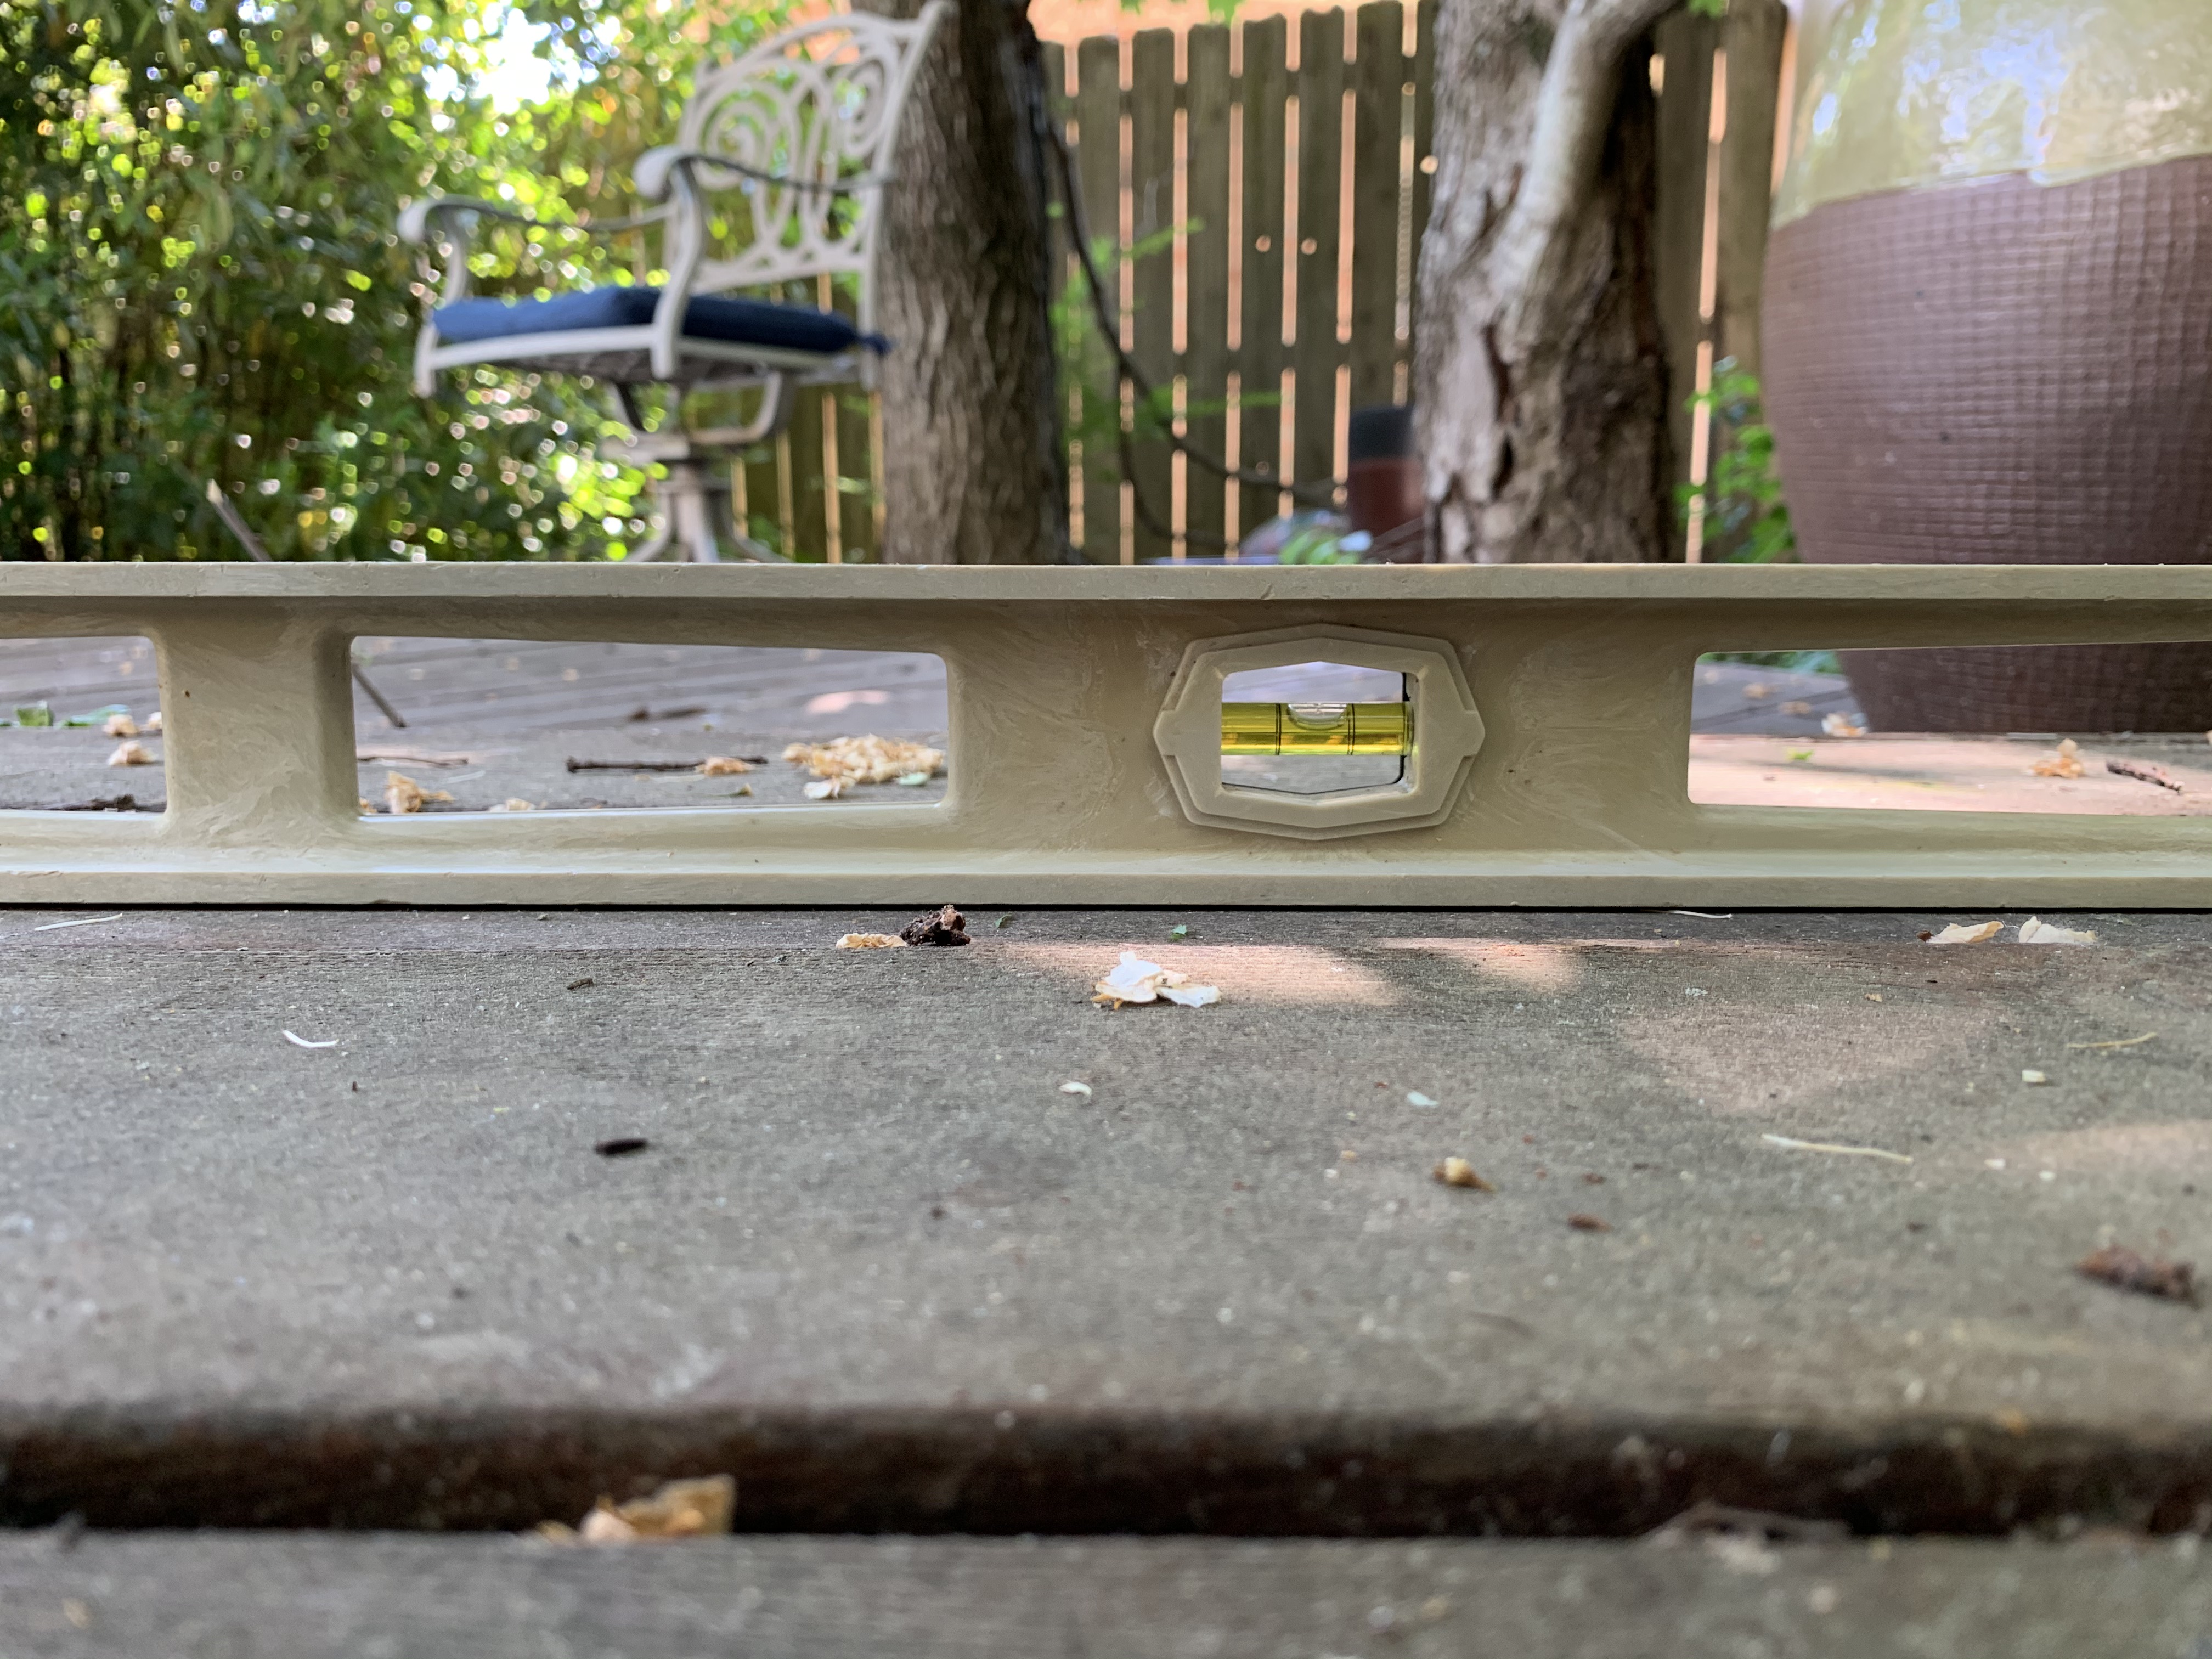

As I suspected, while the upper deck was still true plumb just like originally built, the lower deck was significantly out of kilter. Repairs could wait no longer and since I had finished my weeding/mulching earlier due to no travel this year, I had the time to focus on the deck.

As I began to remove the screws that held the deck boards in place to see what repairs were needed, I was in for a surprise. The cedar planking had significantly deteriorated, especially along the edges. Once I had removed enough boards to see the joist frame underneath, I discovered that the joists had been elevated by almost three inches from the concrete foundation blocks. This certainly explained the lack of plumb on this lower deck.

When I knelt down and looked along the back side of the deck, I could see the cause.
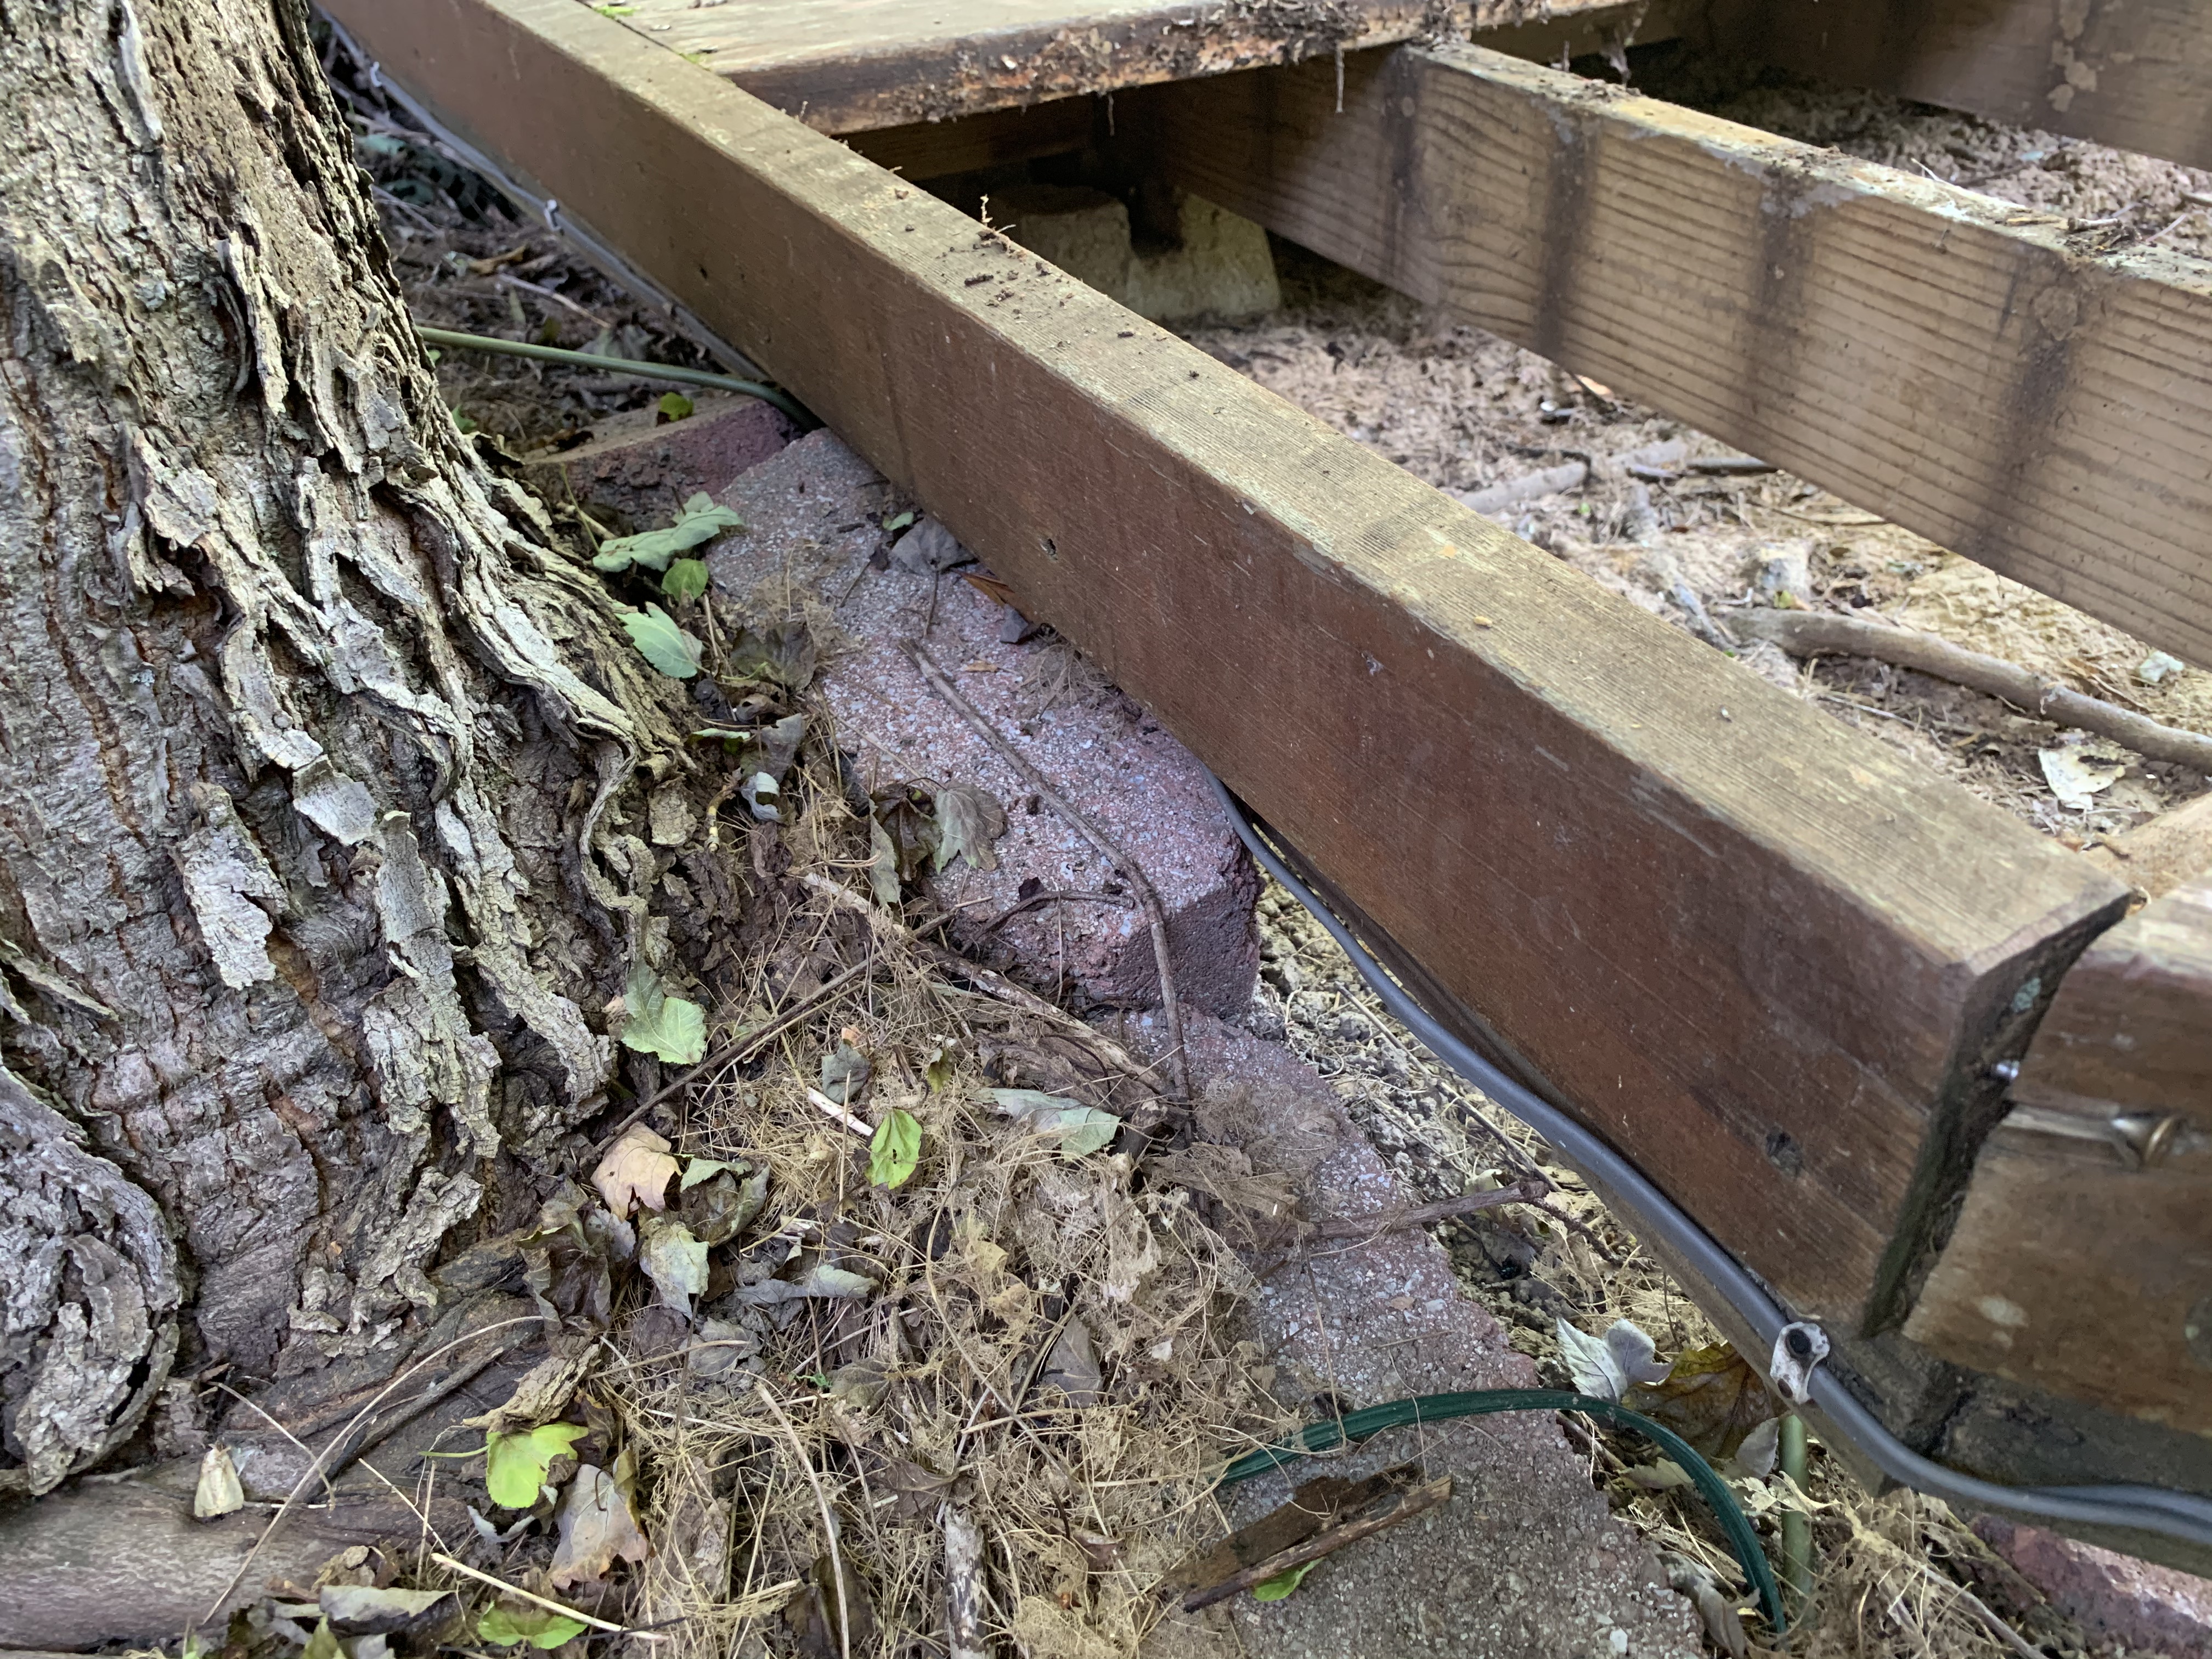
This paving stone which had been the border of a gravel chase to allow rainwater to drain around the deck rather than beneath it had been lifted up by the root growth of this tree.
I continued to remove deck boards to expose the foundation and then made an even bigger discovery.
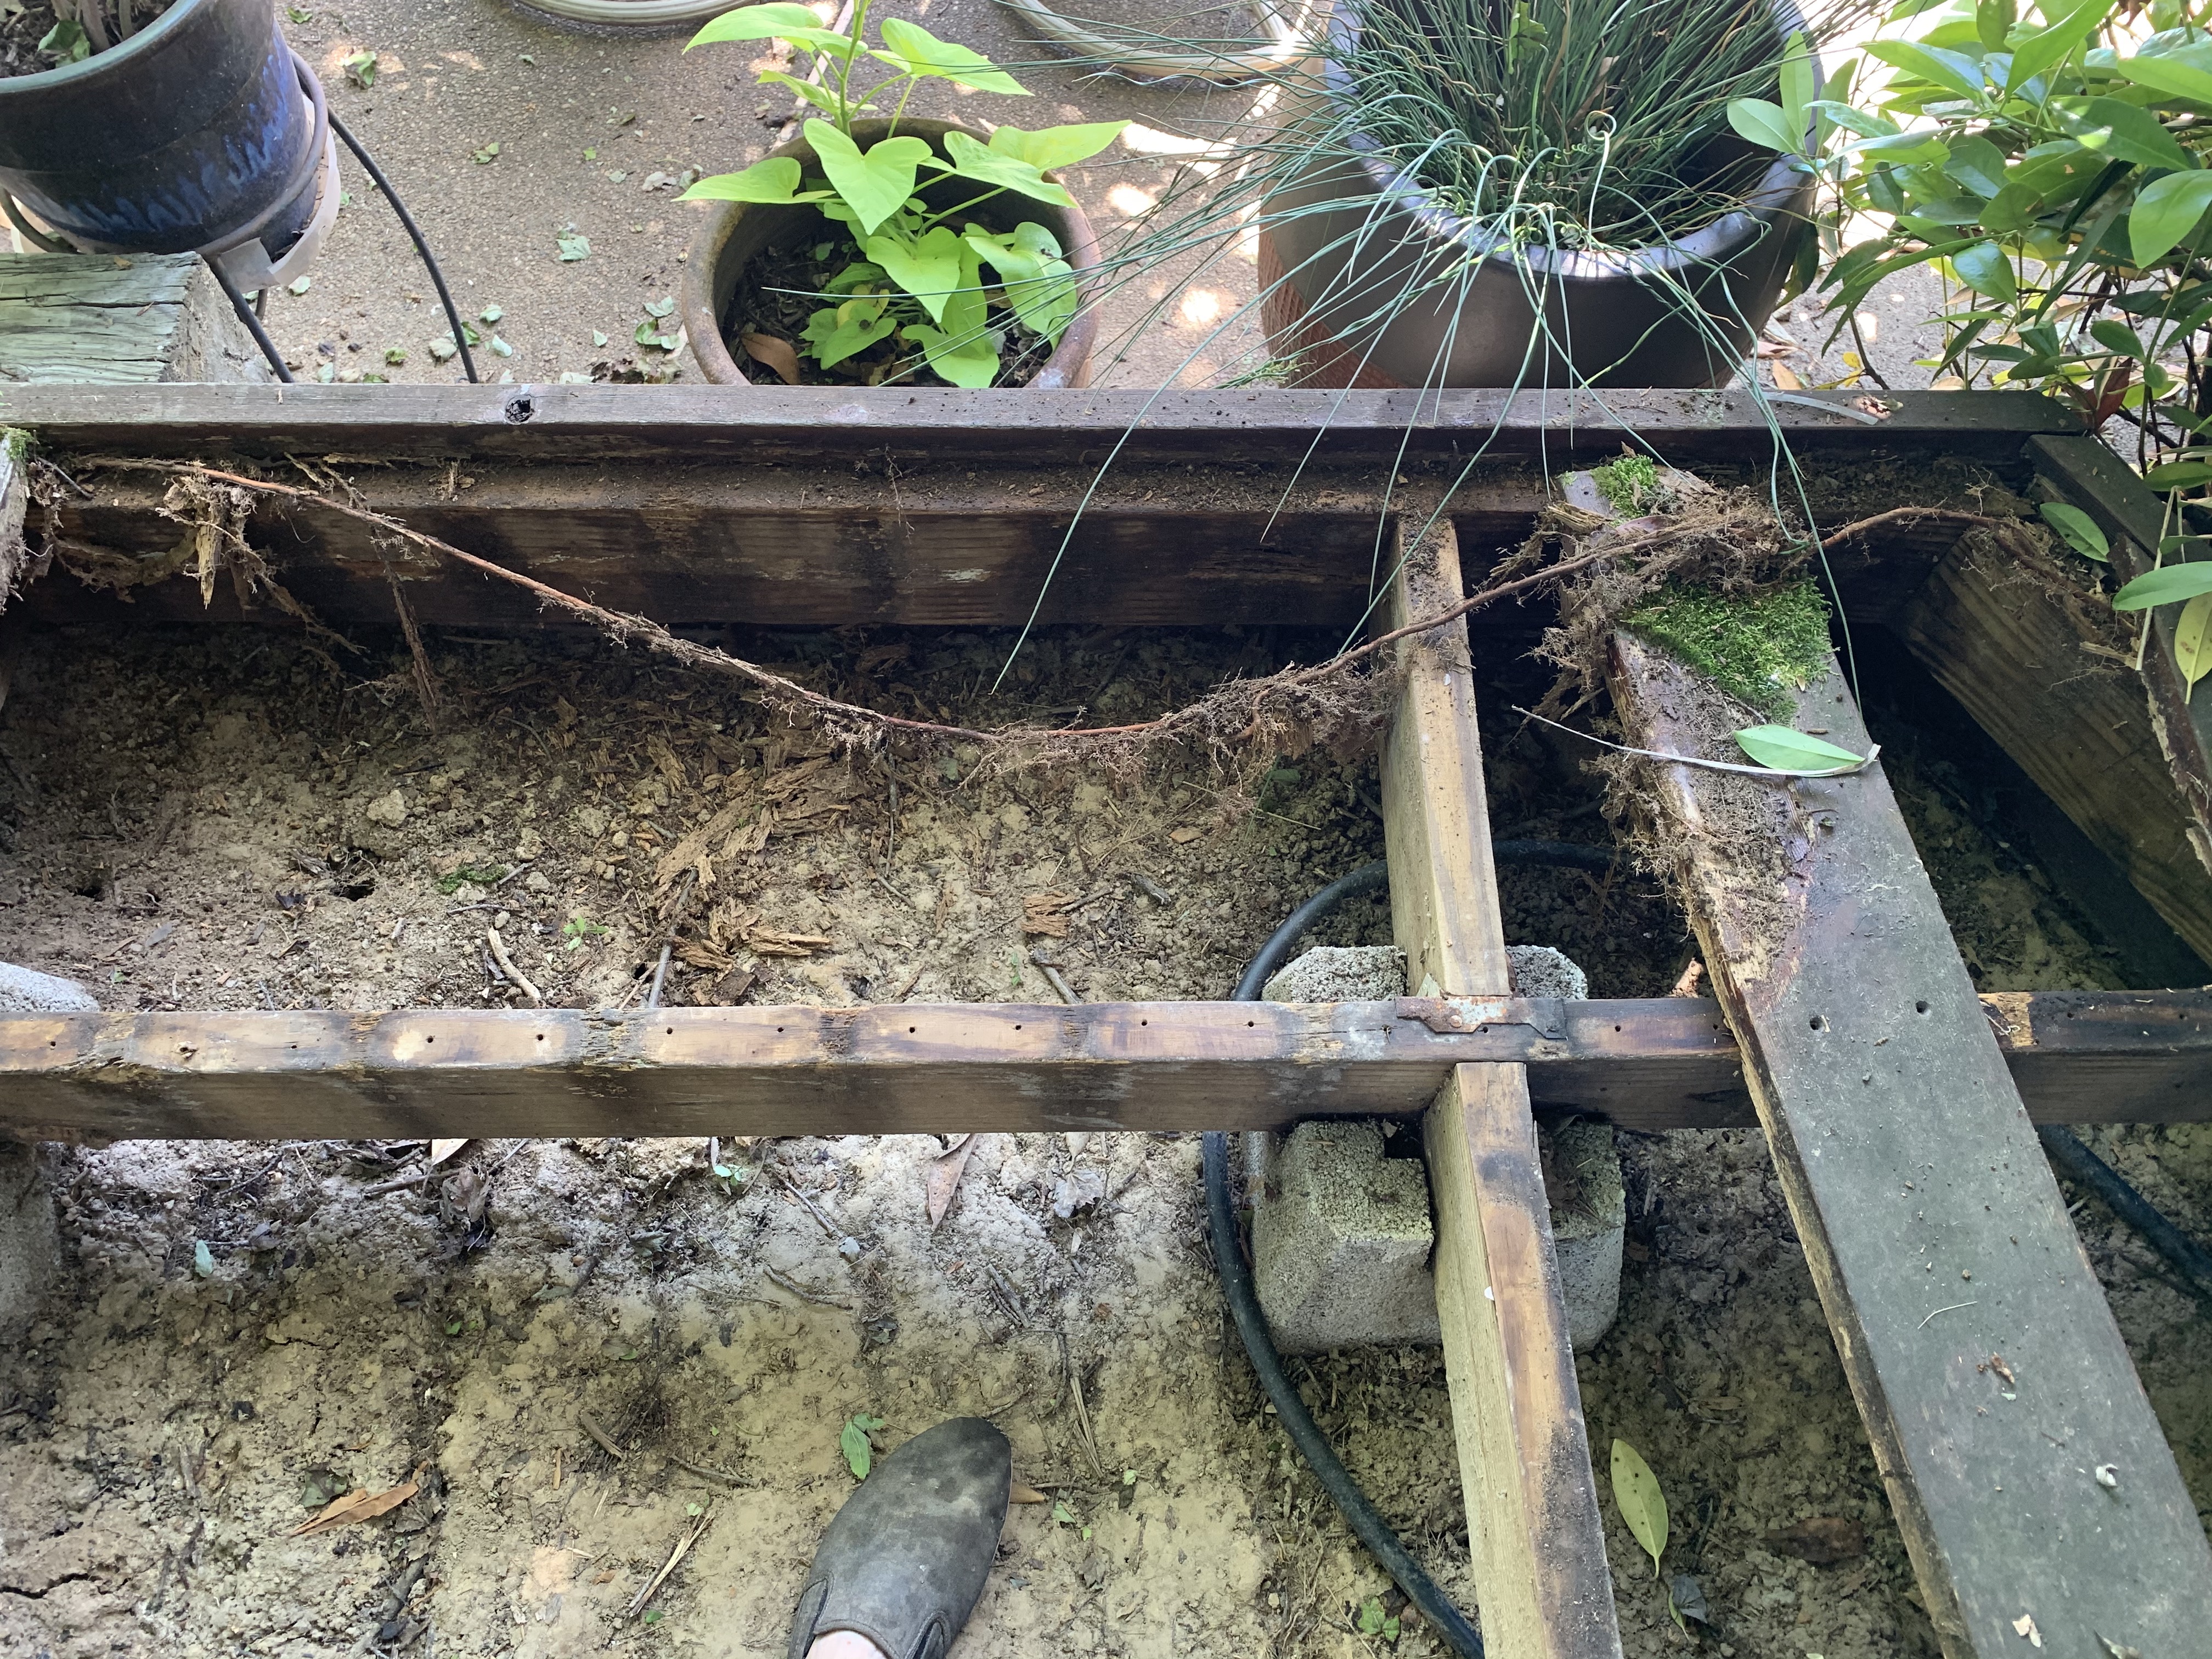
This tree root had grown all along the edge of the deck (seen here pulled back) like a hidden electrical wire. In fact, as I pulled it from its hiding place, I traced it all the way back to the backside of the deck where the boards had rotted beneath the planter. It had completely encircled the deck. This certainly explained the rotting of the boards along the edges as the root’s presence would tend to hold moisture in direct contact with the boards.
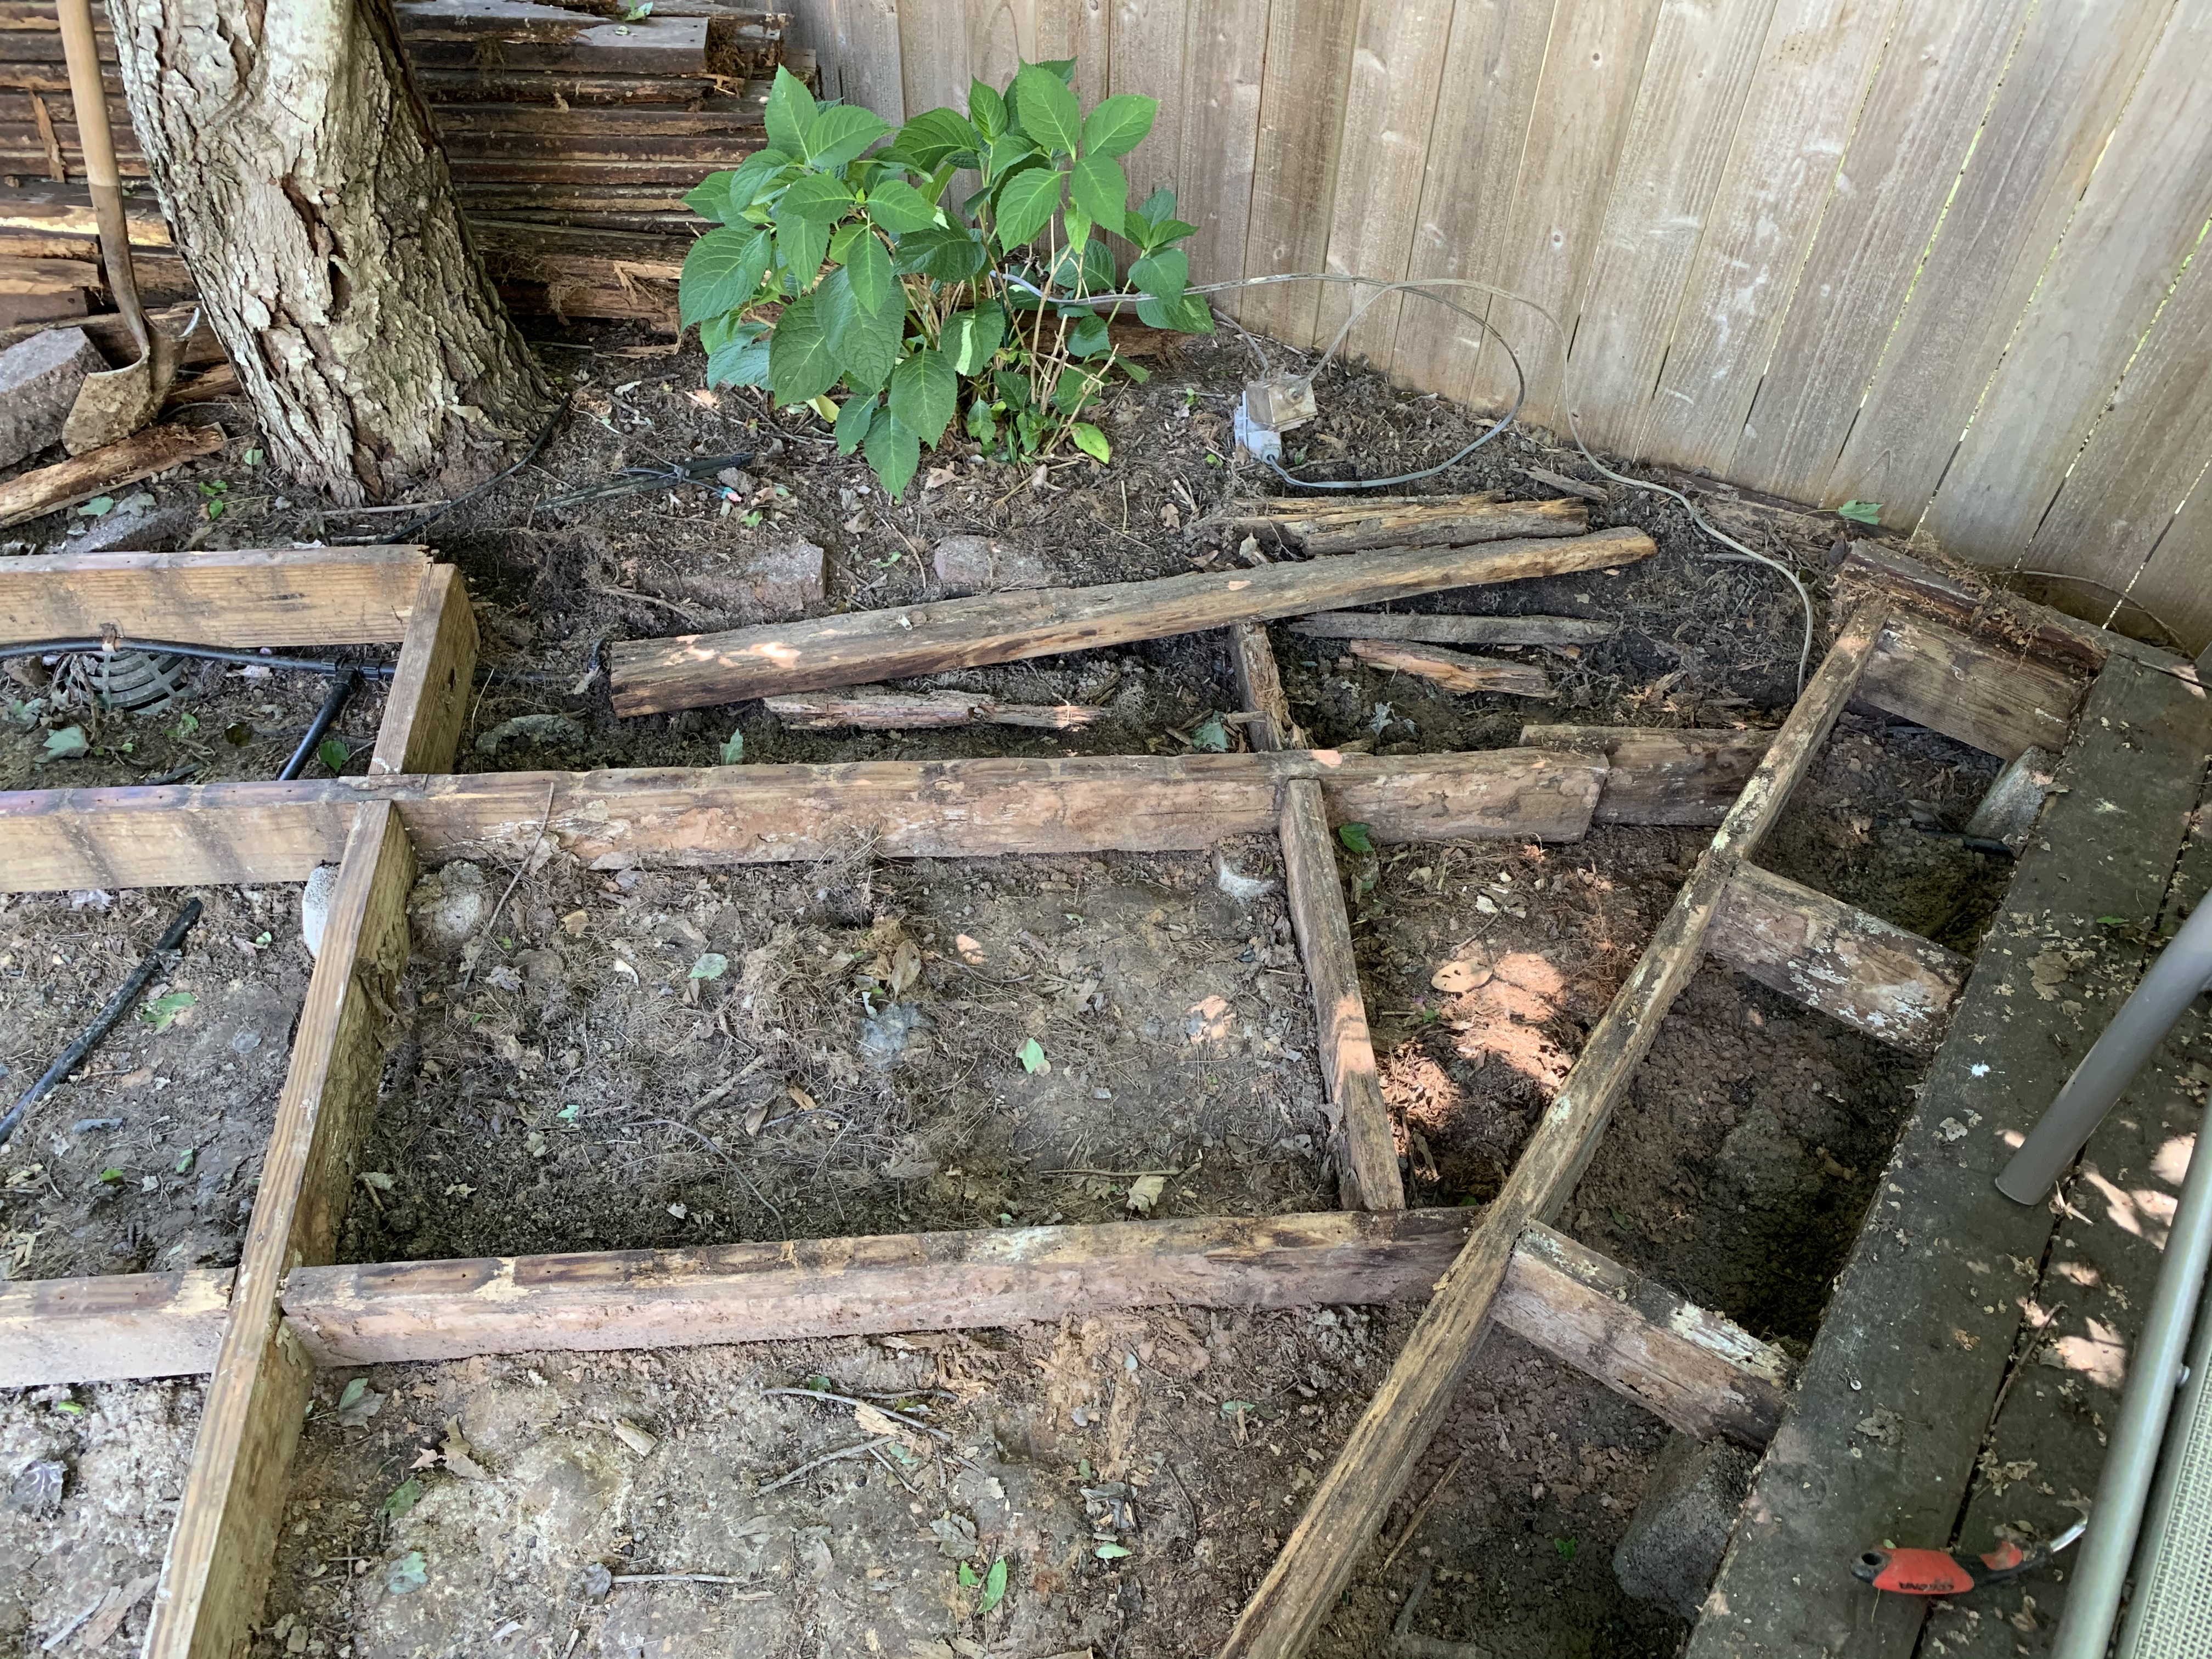
Working on the backside, I also found that some of the joists themselves, made from pressure treated wood, had also rotted since they were now in direct contact with the ground, probably washed there over time.

Knowing I would be replacing the parts of the frame that had rotted, I decided the first order of business was to get the still sound-part of the frame back level. After digging out the pavers that had raised up the deck, I found that reinstalling the frame into the slots on the concrete supports was not going to be as easy as it seemed as the blocks had been knocked out of plumb, probably from root growth underneath.
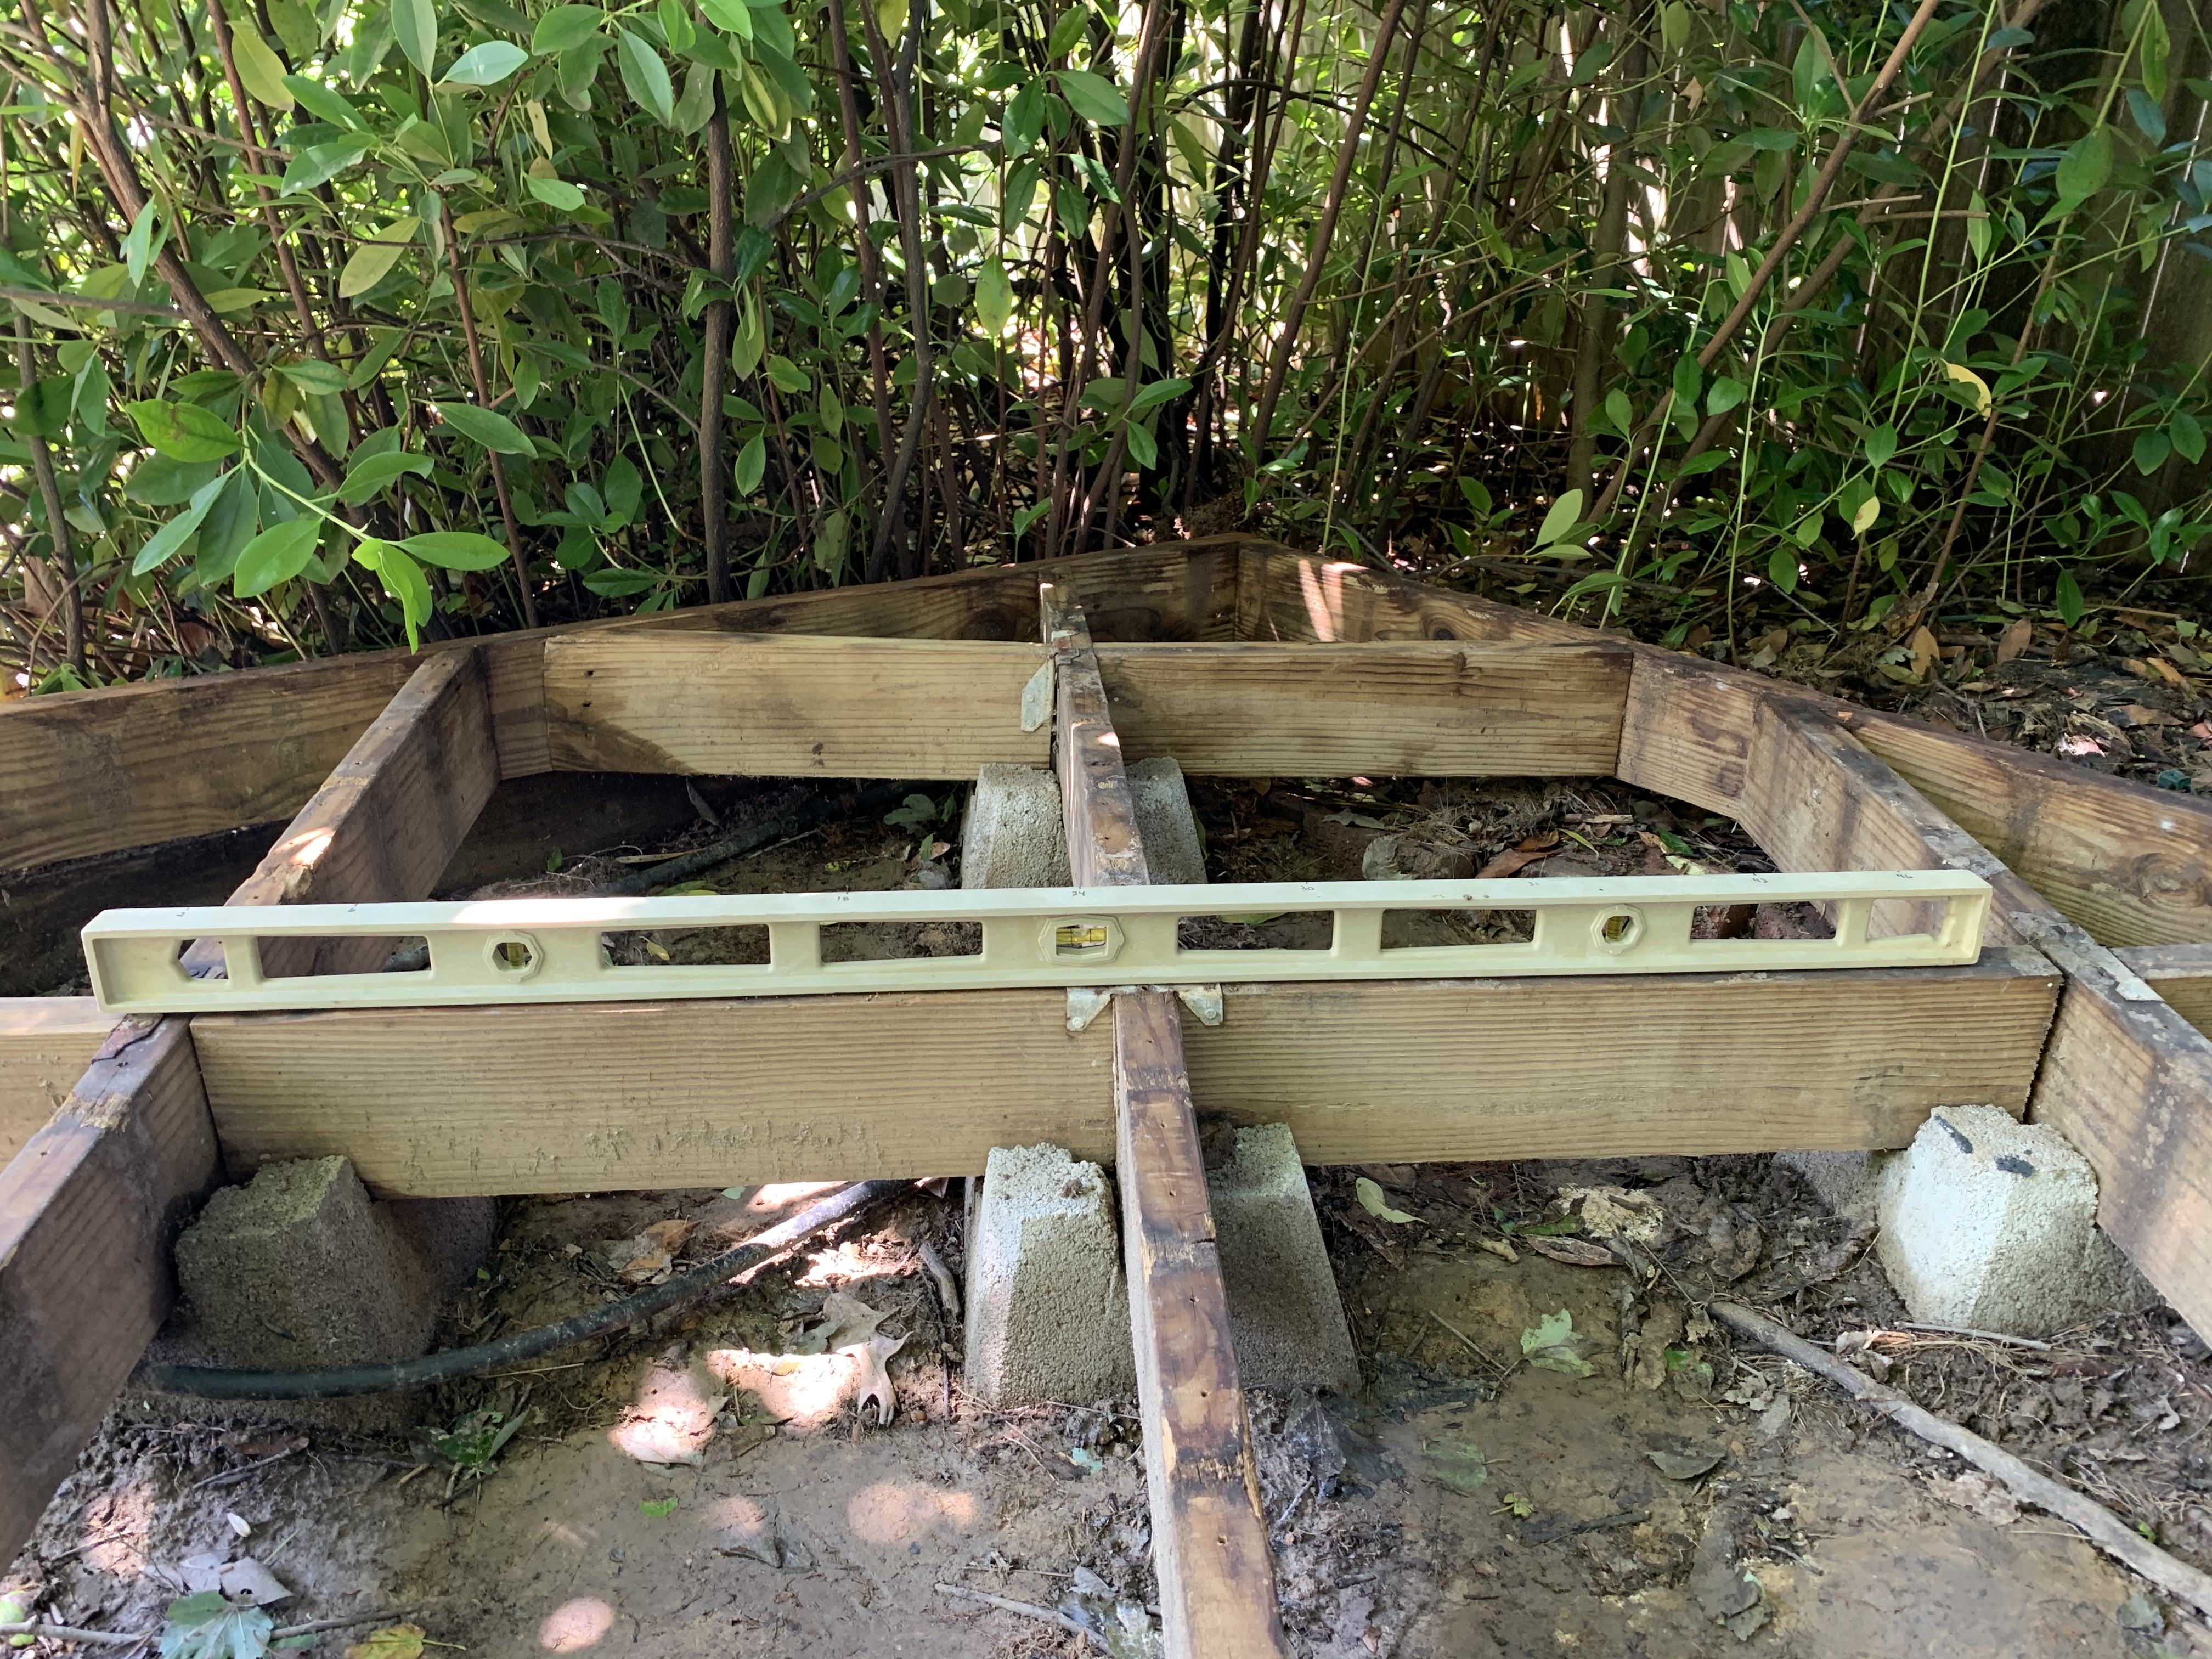
It took a lot of digging around the concrete blocks and banging the frame with a rubber mallet to once again get the joists seated into the slots on the top of the concrete blocks.

But when I laid the level on the other cross joists, I found them still to be out of plumb, no doubt also due to root growth under them as well.
Giving up on that idea, I decided to go ahead and remove the rotted portions of the frame and begin new construction from the other end where the upper and lower decks connected. As I pulled apart some of the frame attached to the upper deck, I found that more of it had rotted than I originally detected. It took a while, but I finally felt I had removed all the rotted portions.
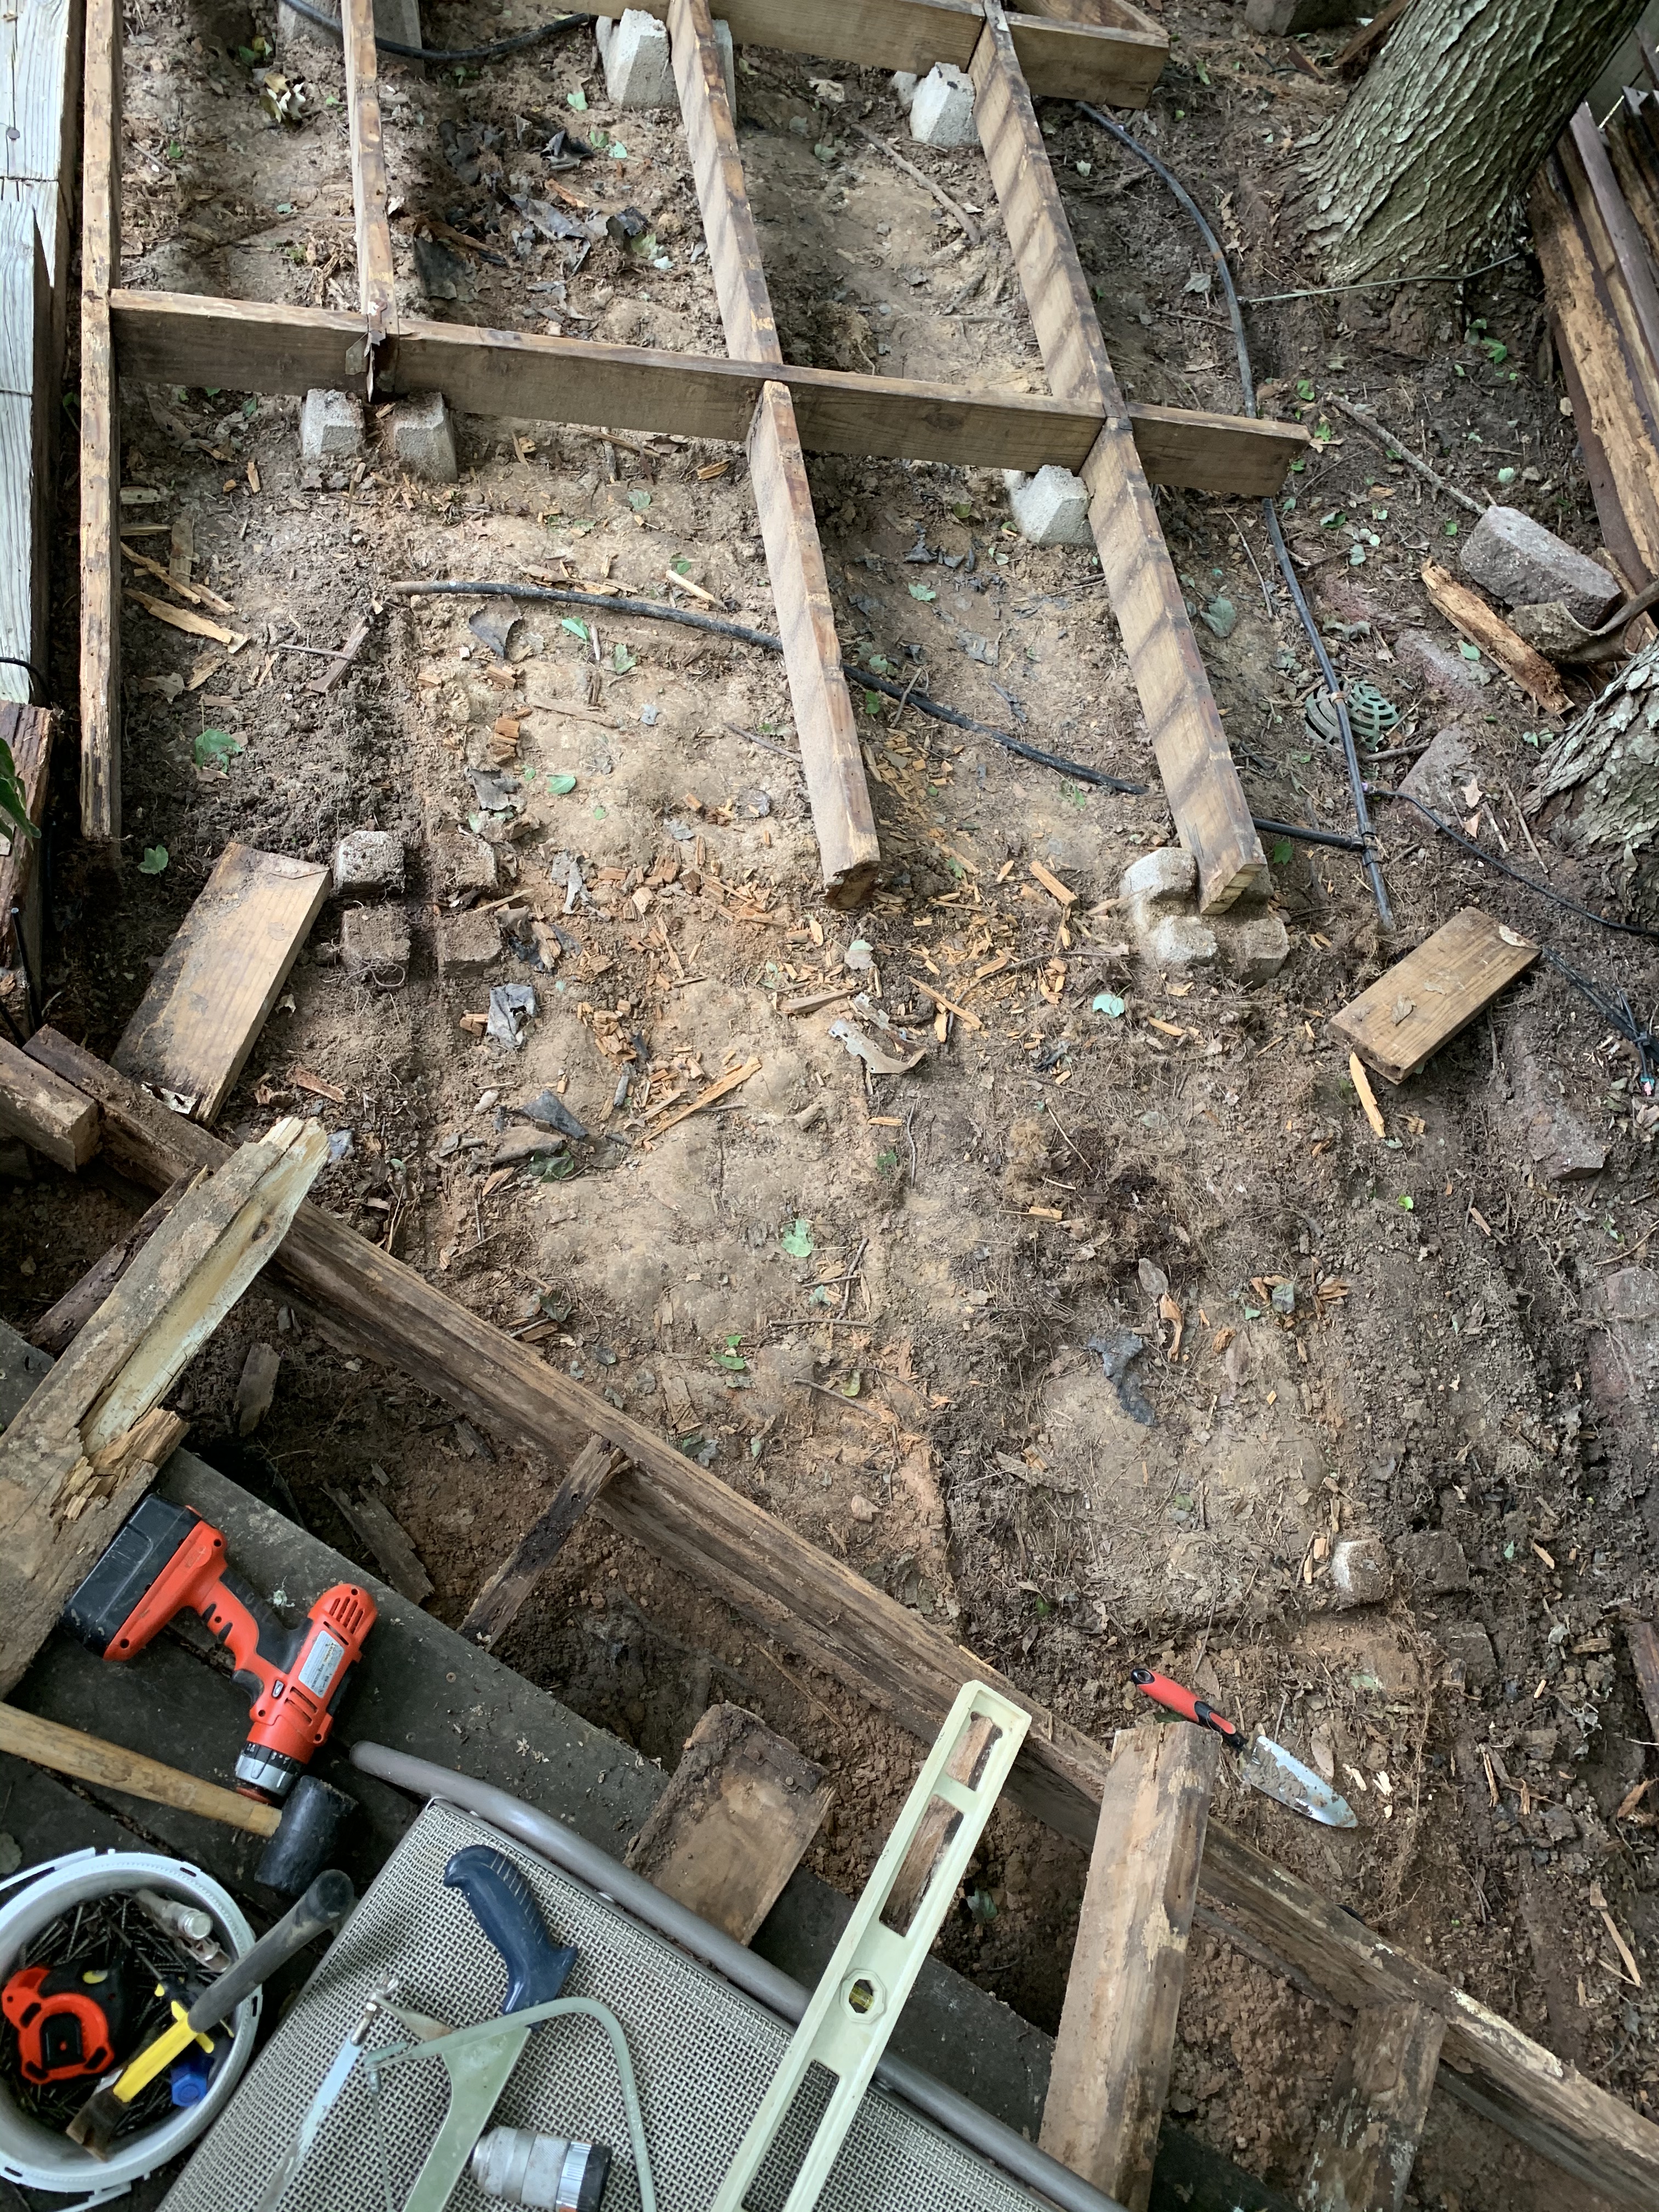
It seemed to make the most sense to start with a new joist in the back corner where the concrete block had become almost level with the ground due to soil washing under the deck over time. I briefly toyed with the idea of digging out and raising up this one support block but even shallow digs with a trowel uncovered tree roots that had grown all around the block. So, shimming would be the way to go.

I figured out that raising the 2 X 6 joist by about 1.5 inches would give it plenty of ground clearance and since this was the actual thickness of a nominal 2 X 4 (1.5” X 3.5”), cutting shims of the same size would be easy. I cut about a 6.5” length of 2 X 4 which I then cut two 1.5” thick shims from it and screwed one to the joist where it would rest on the concrete block. Adding a shim to the other concrete block gave me a perfectly level first joist.
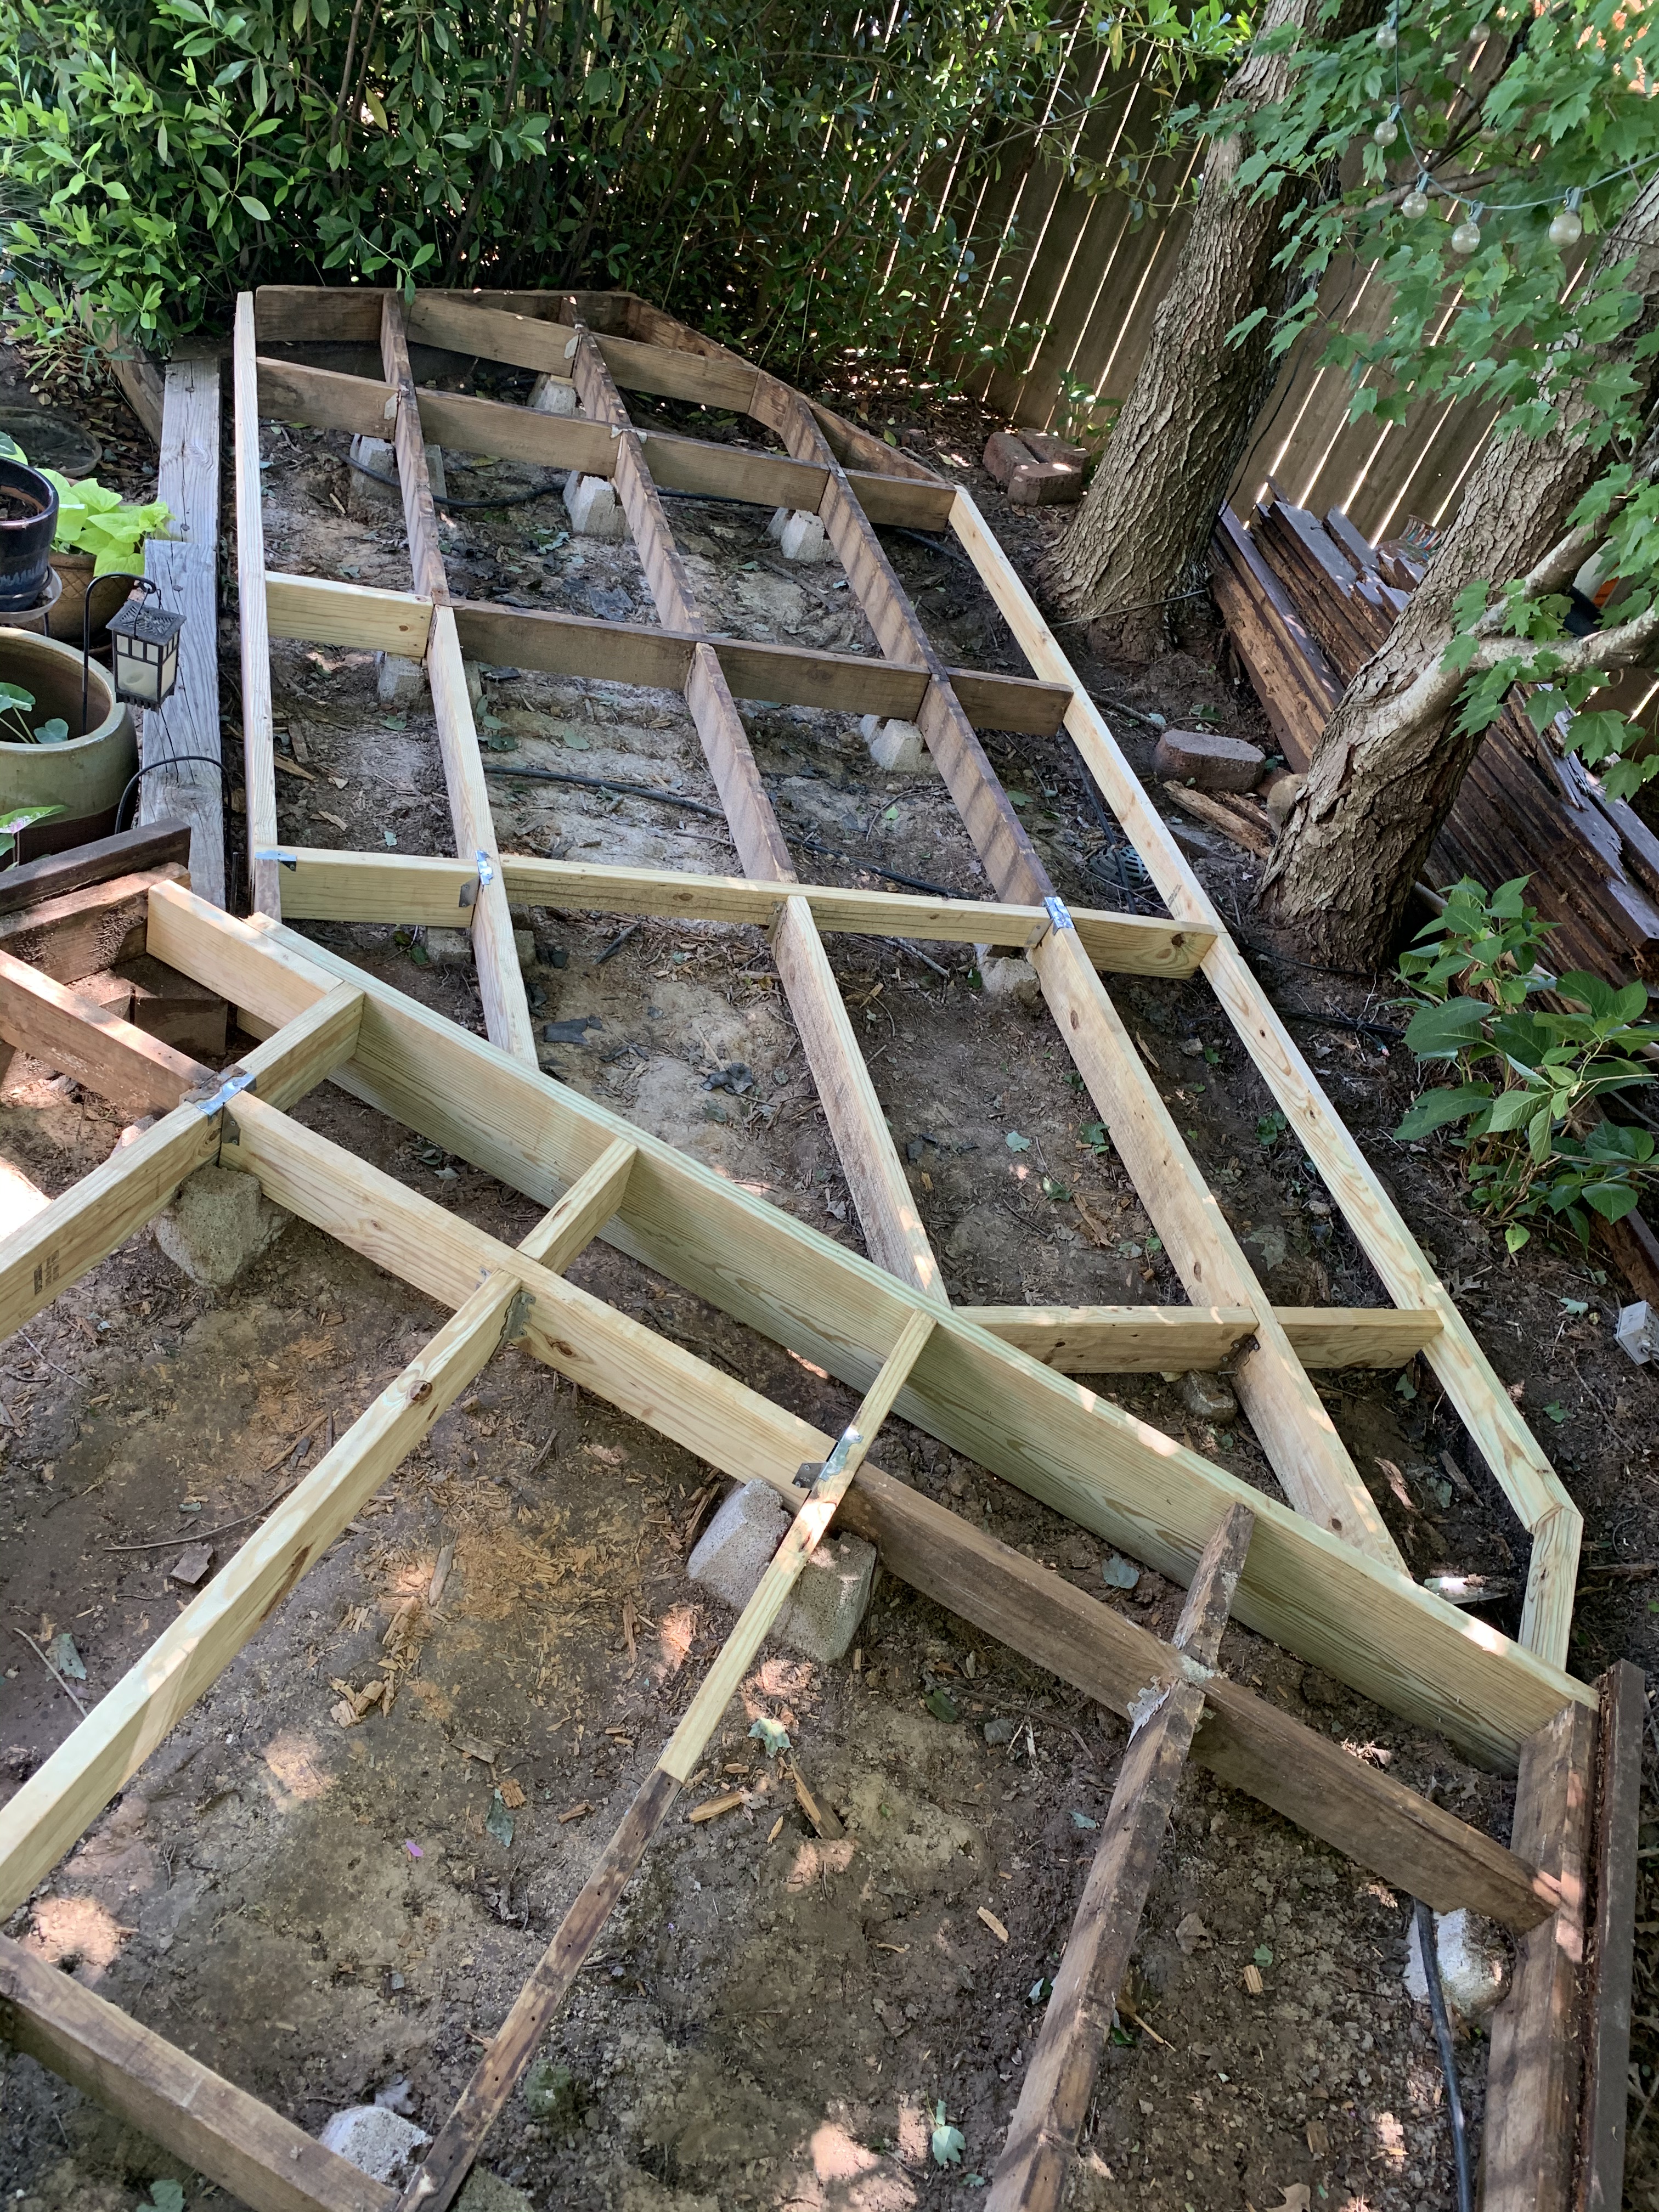
Working from that first new joist, I progressively cut additional lengths of 2 X 6 joist attaching them together mostly using the old hardware. To ensure they were level each time, I had to cut some of the shims a little thinner using a trial and error approach. Stepping back, I was pleased with the progress I had made and with the look of the new wood.

As I began to remove the planking from the upper deck, I unfortunately found even more rotted foundation joists.

After removing these deteriorated joists, it was off to the local toy store to get more 2 X 6 pressure treated boards.

Since I was having to make a second trip for boards, I decided to additionally replace some of the more suspect boards on the lower deck as well.
With all the rotted joists replaced, it was time to get everything level on the lower deck. This turned out to be easier than my first attempt as I had even more new material installed and a sturdy frame. After removing the few remaining upper deck planks, I was pleased to find no additional rot.

It was nice to realize that after nearly two weeks, I was finished replacing wood; or though I thought…
To be continued…
Categories

Wow the deck looks great!
So nice to have a place at home to enjoy during these times.
How does your son like being an LA? I have my Masters in LA but stayed in IT when I graduated.
Enjoy!
Thanks, it is nice to sit out there but it hasn’t looked that nice in several years.
He loves it. He and his wife lived in NY for several years and he worked on the Brooklyn Bridge park. He is now in SF and working for Google and their properties.
That’s very cool!
It is and its a great place to visit. Hoping to get back before too long.
What a huge job! Impressive!
Thanks, it turned out to be a bigger job than I thought.