
“More Hands on Deck!”

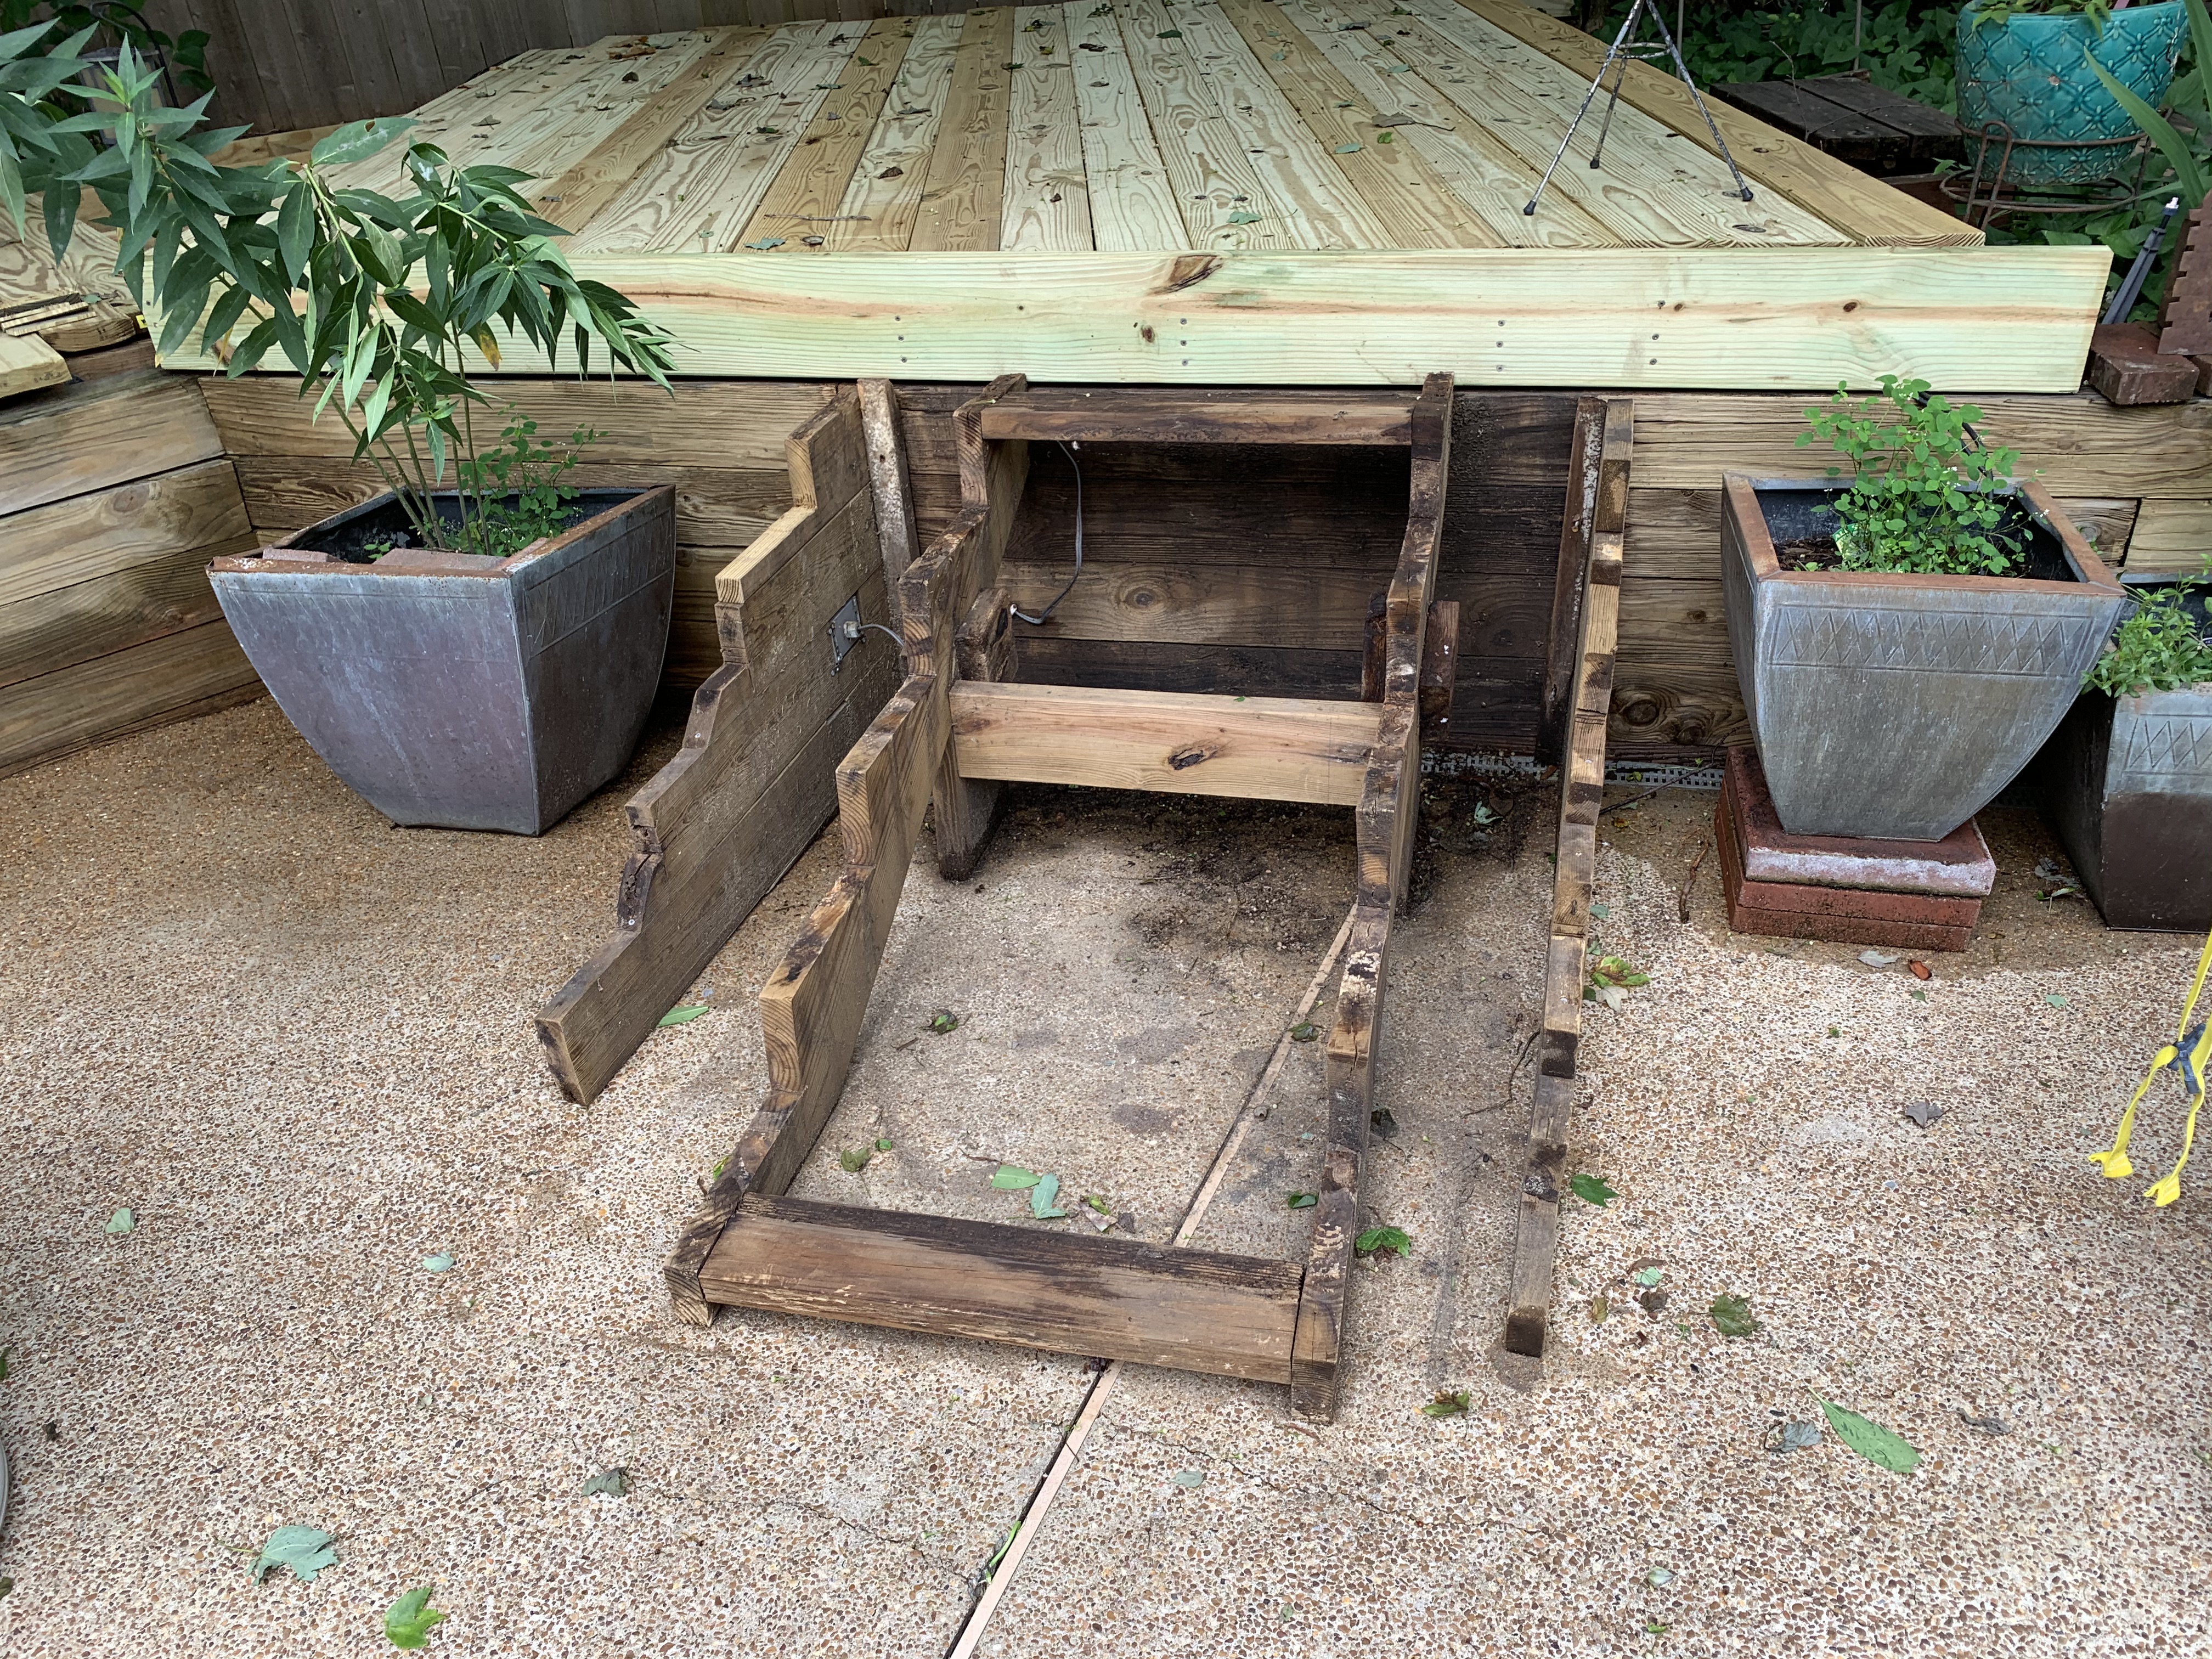
It took nearly two weeks of working off and on to get the upper and lower decks ready for new decking. One remaining task was to remove the decking from the stairs. Here I unfortunately found even more rot with this side piece (stringer) pulling away from the stairs before I removed a single screw.
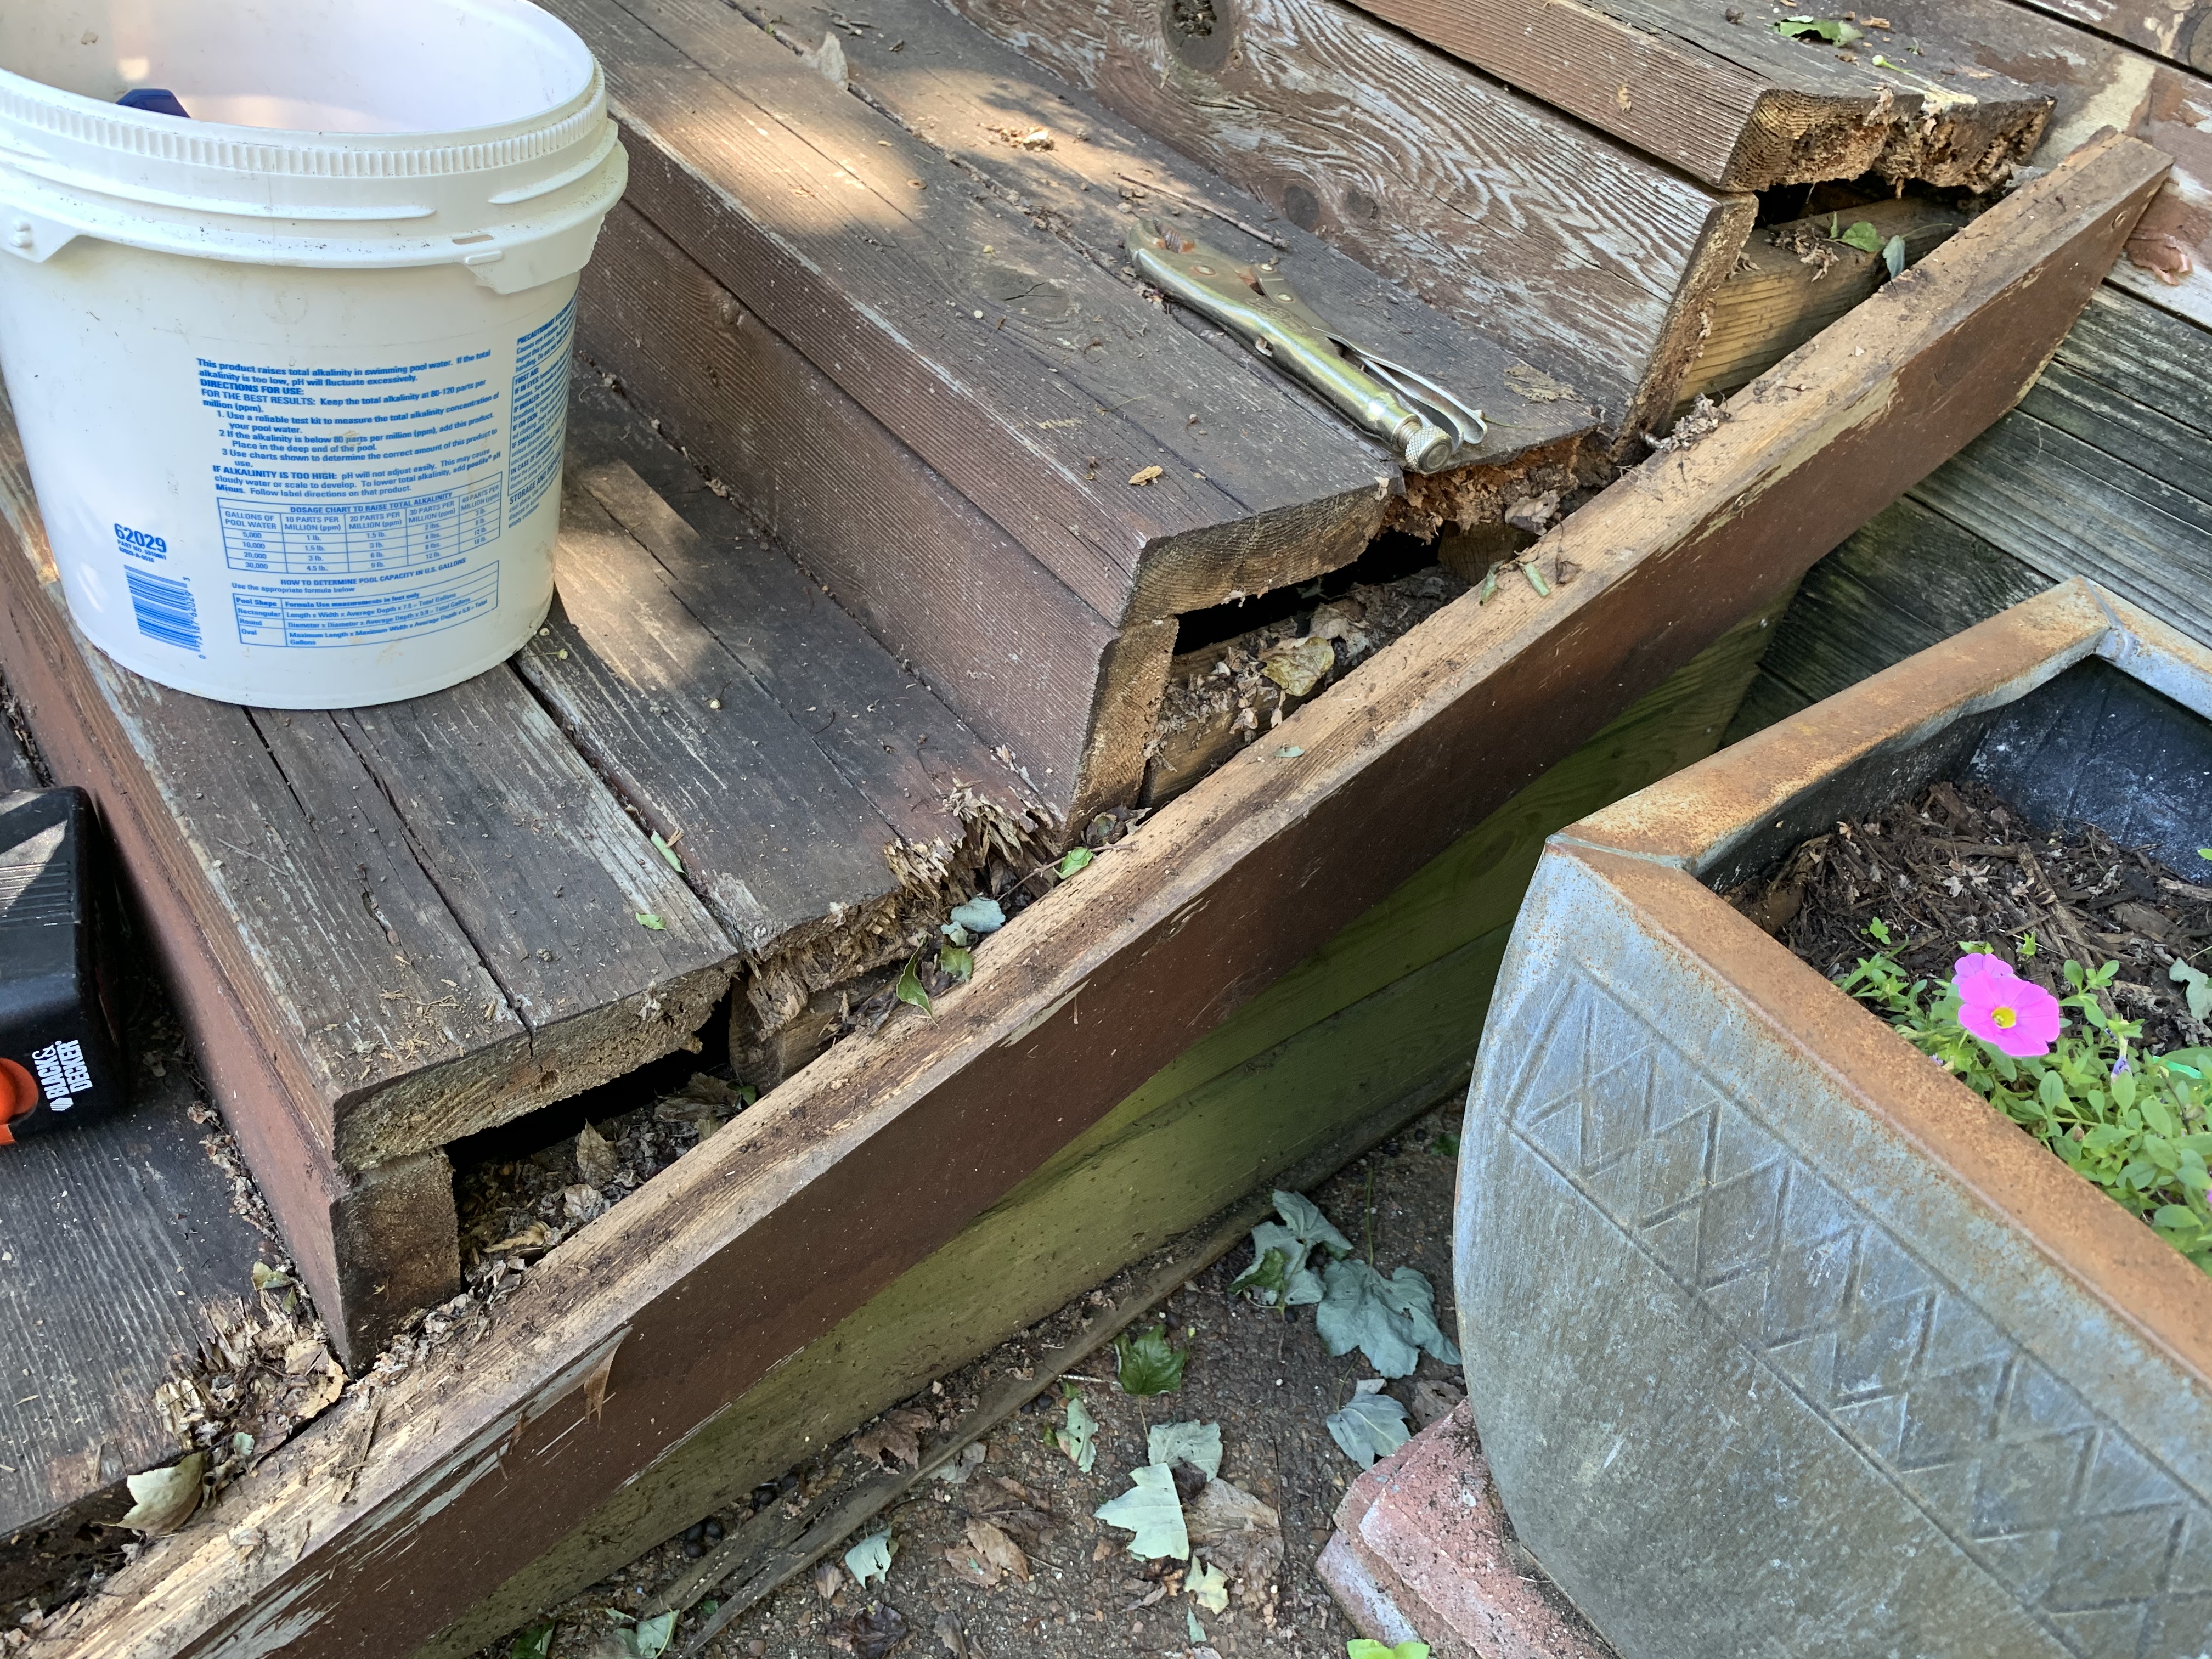
The rotting boards I found on the deck itself was not so much of a surprise as many of the boards had been in close contact with the ground. But here on the stairs, what was below was concrete.
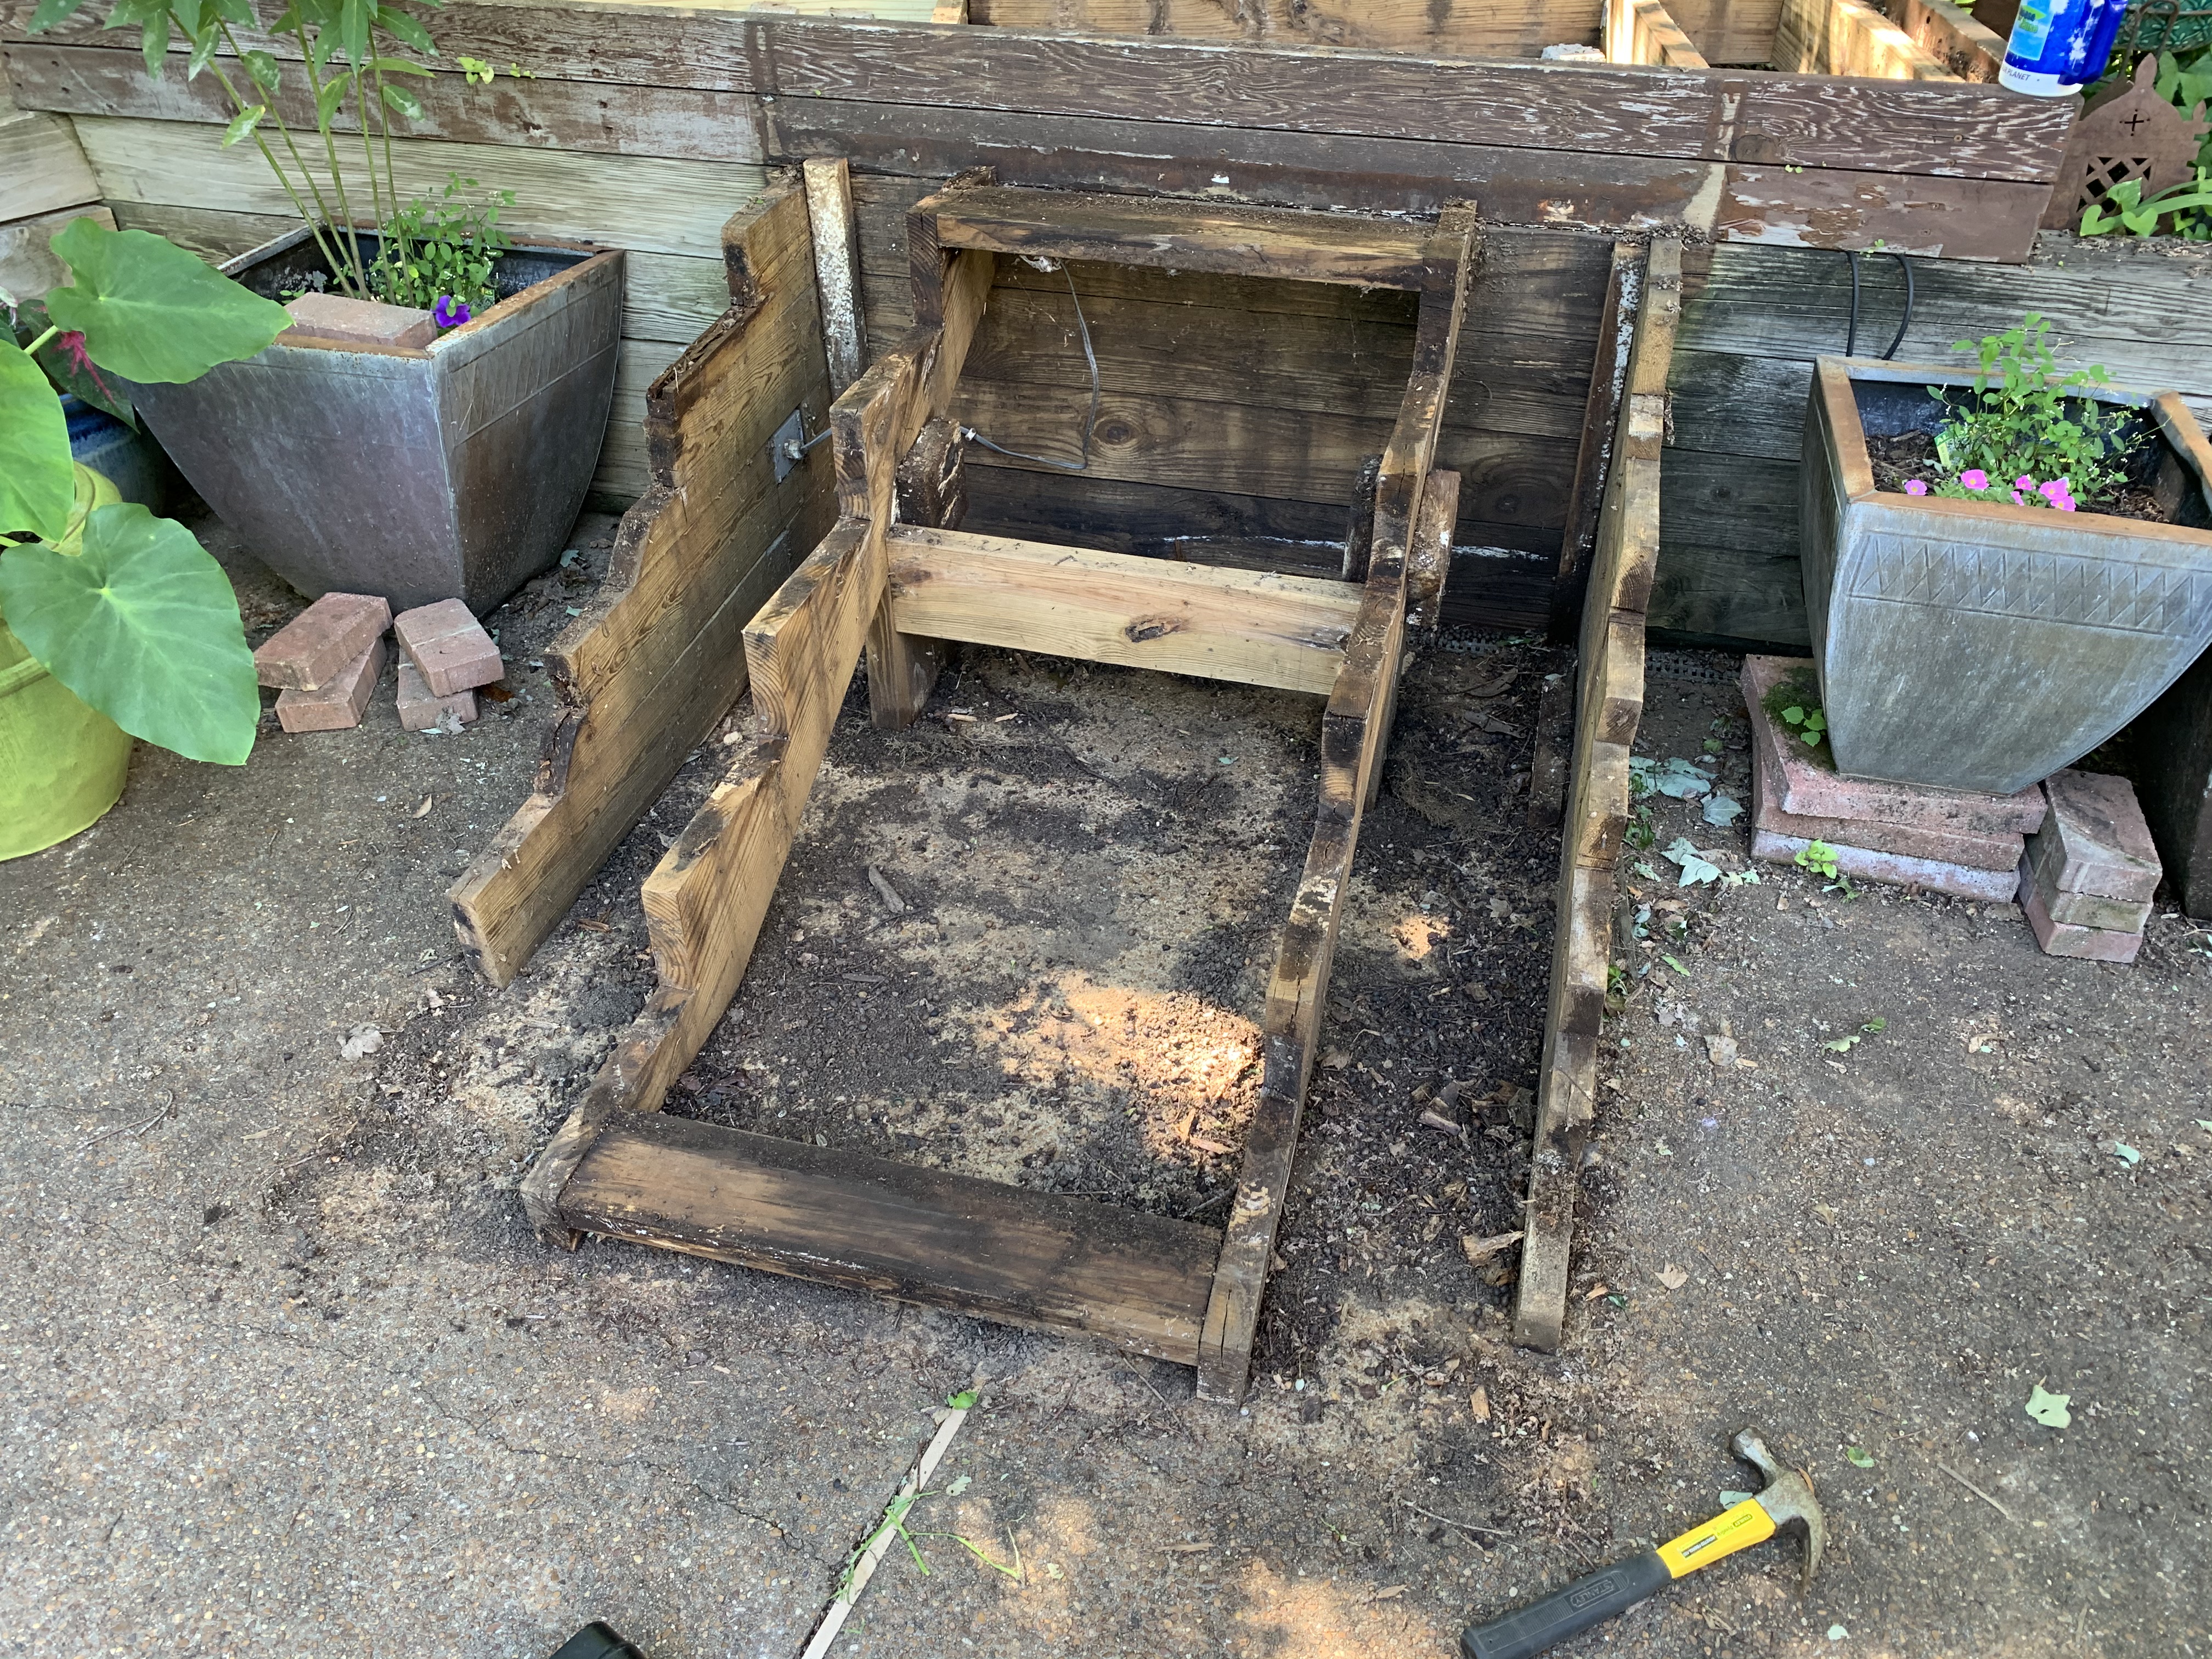
Once I had removed all the stair boards revealing the support frame underneath, I could see that some soil had washed there over the years, but it didn’t seem enough to cause the significant damage. It was at this point that I seriously began to reconsider the wisdom of rebuilding with the same western red cedar.
With all of the decking removed and the frame restored, I could now calculate how much footage in new board I would need. Keeping in mind our son’s original design that there be no joints in the boards, I needed to figure the number of 8, 10, and 12-foot length boards of four different widths, with a couple extra thrown in for good measure. When I went to the local lumber yard, I found that the original wood was no longer available locally and would have to be trucked in from Texas. I asked for a quote of that wood and of pressure-treated pine. When I got the quotes back, it was an easy decision: Western Red Cedar – $2,031, Pressure-Treated Pine – $657.

The only other item I needed to get started was the same stainless-steel screws. When I explored, I discovered the company no longer manufactured them. As I was removing the decking, I had saved the good screws (some stripped or broke while being unscrewed) with the idea of possibly reusing them. I found that by dipping them in paint thinner to soften the previous stains and then running them across a metal file cleaned them up enough for reuse.
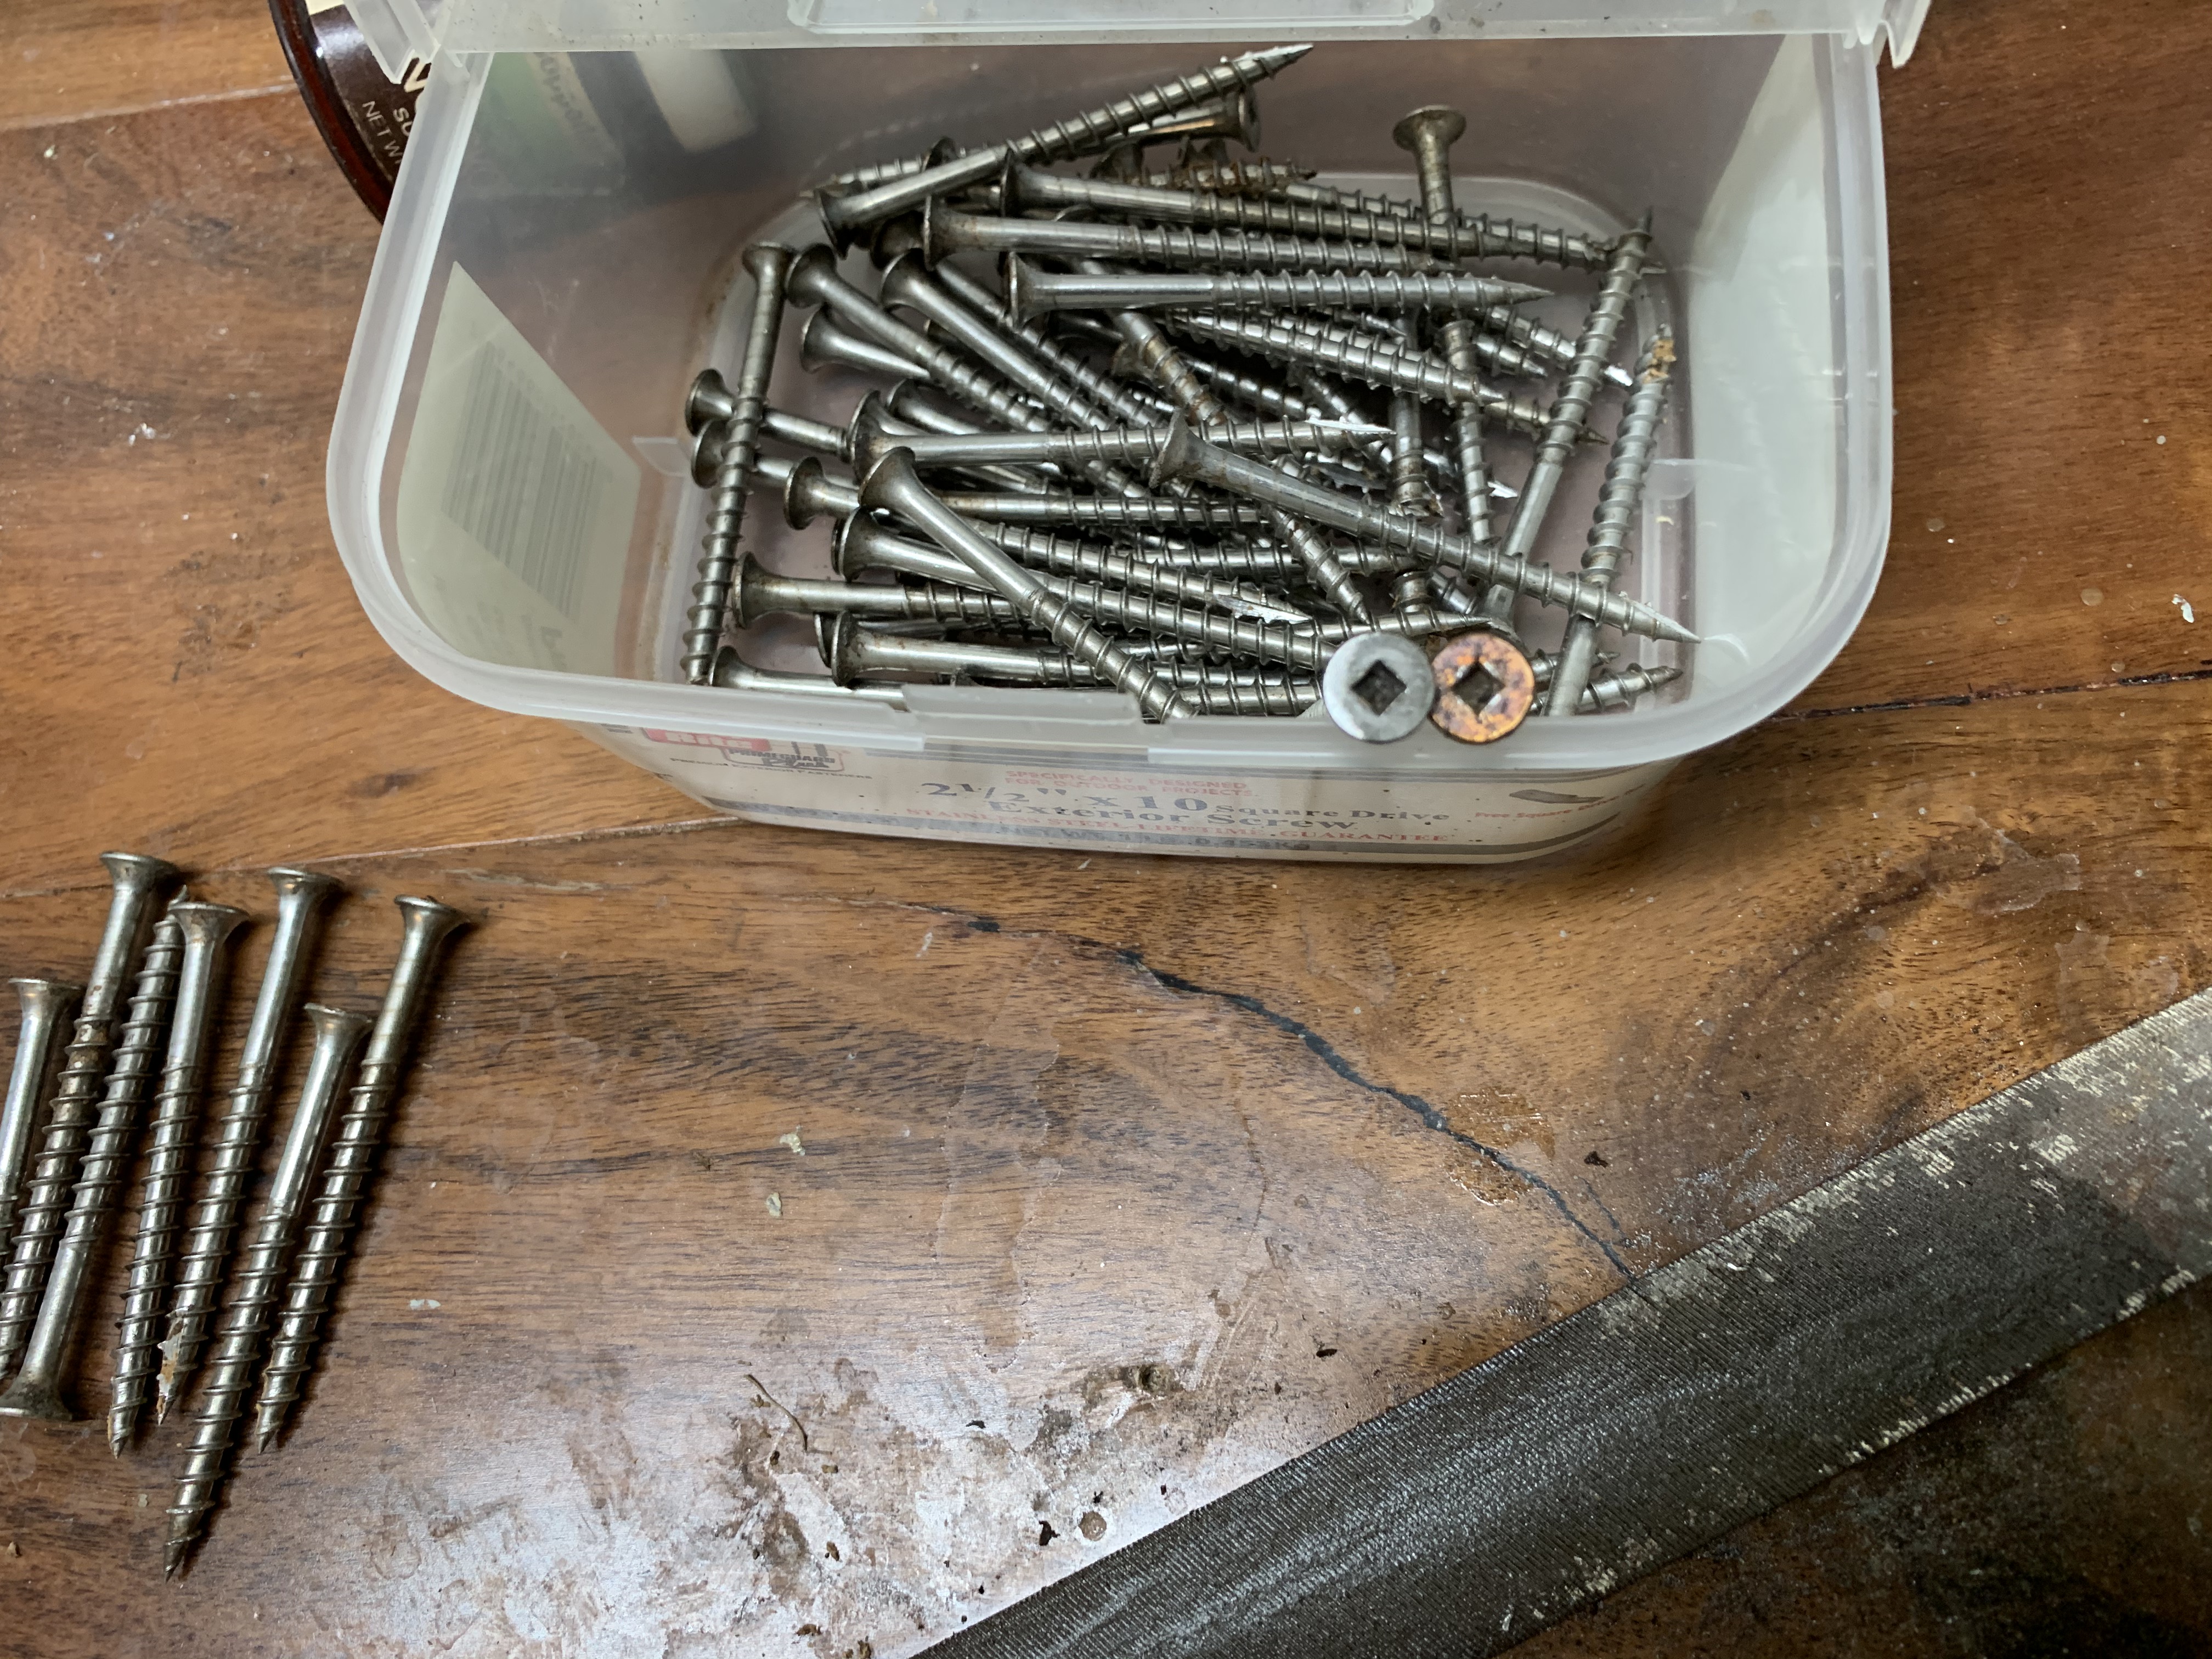
I still would need to replace the ones that were stripped or broke upon removal. I found some similar ones online at $20 for a pack of a hundred. I ordered one box hoping that would be enough (I ended up cleaning 700 old screws thus saving $140).
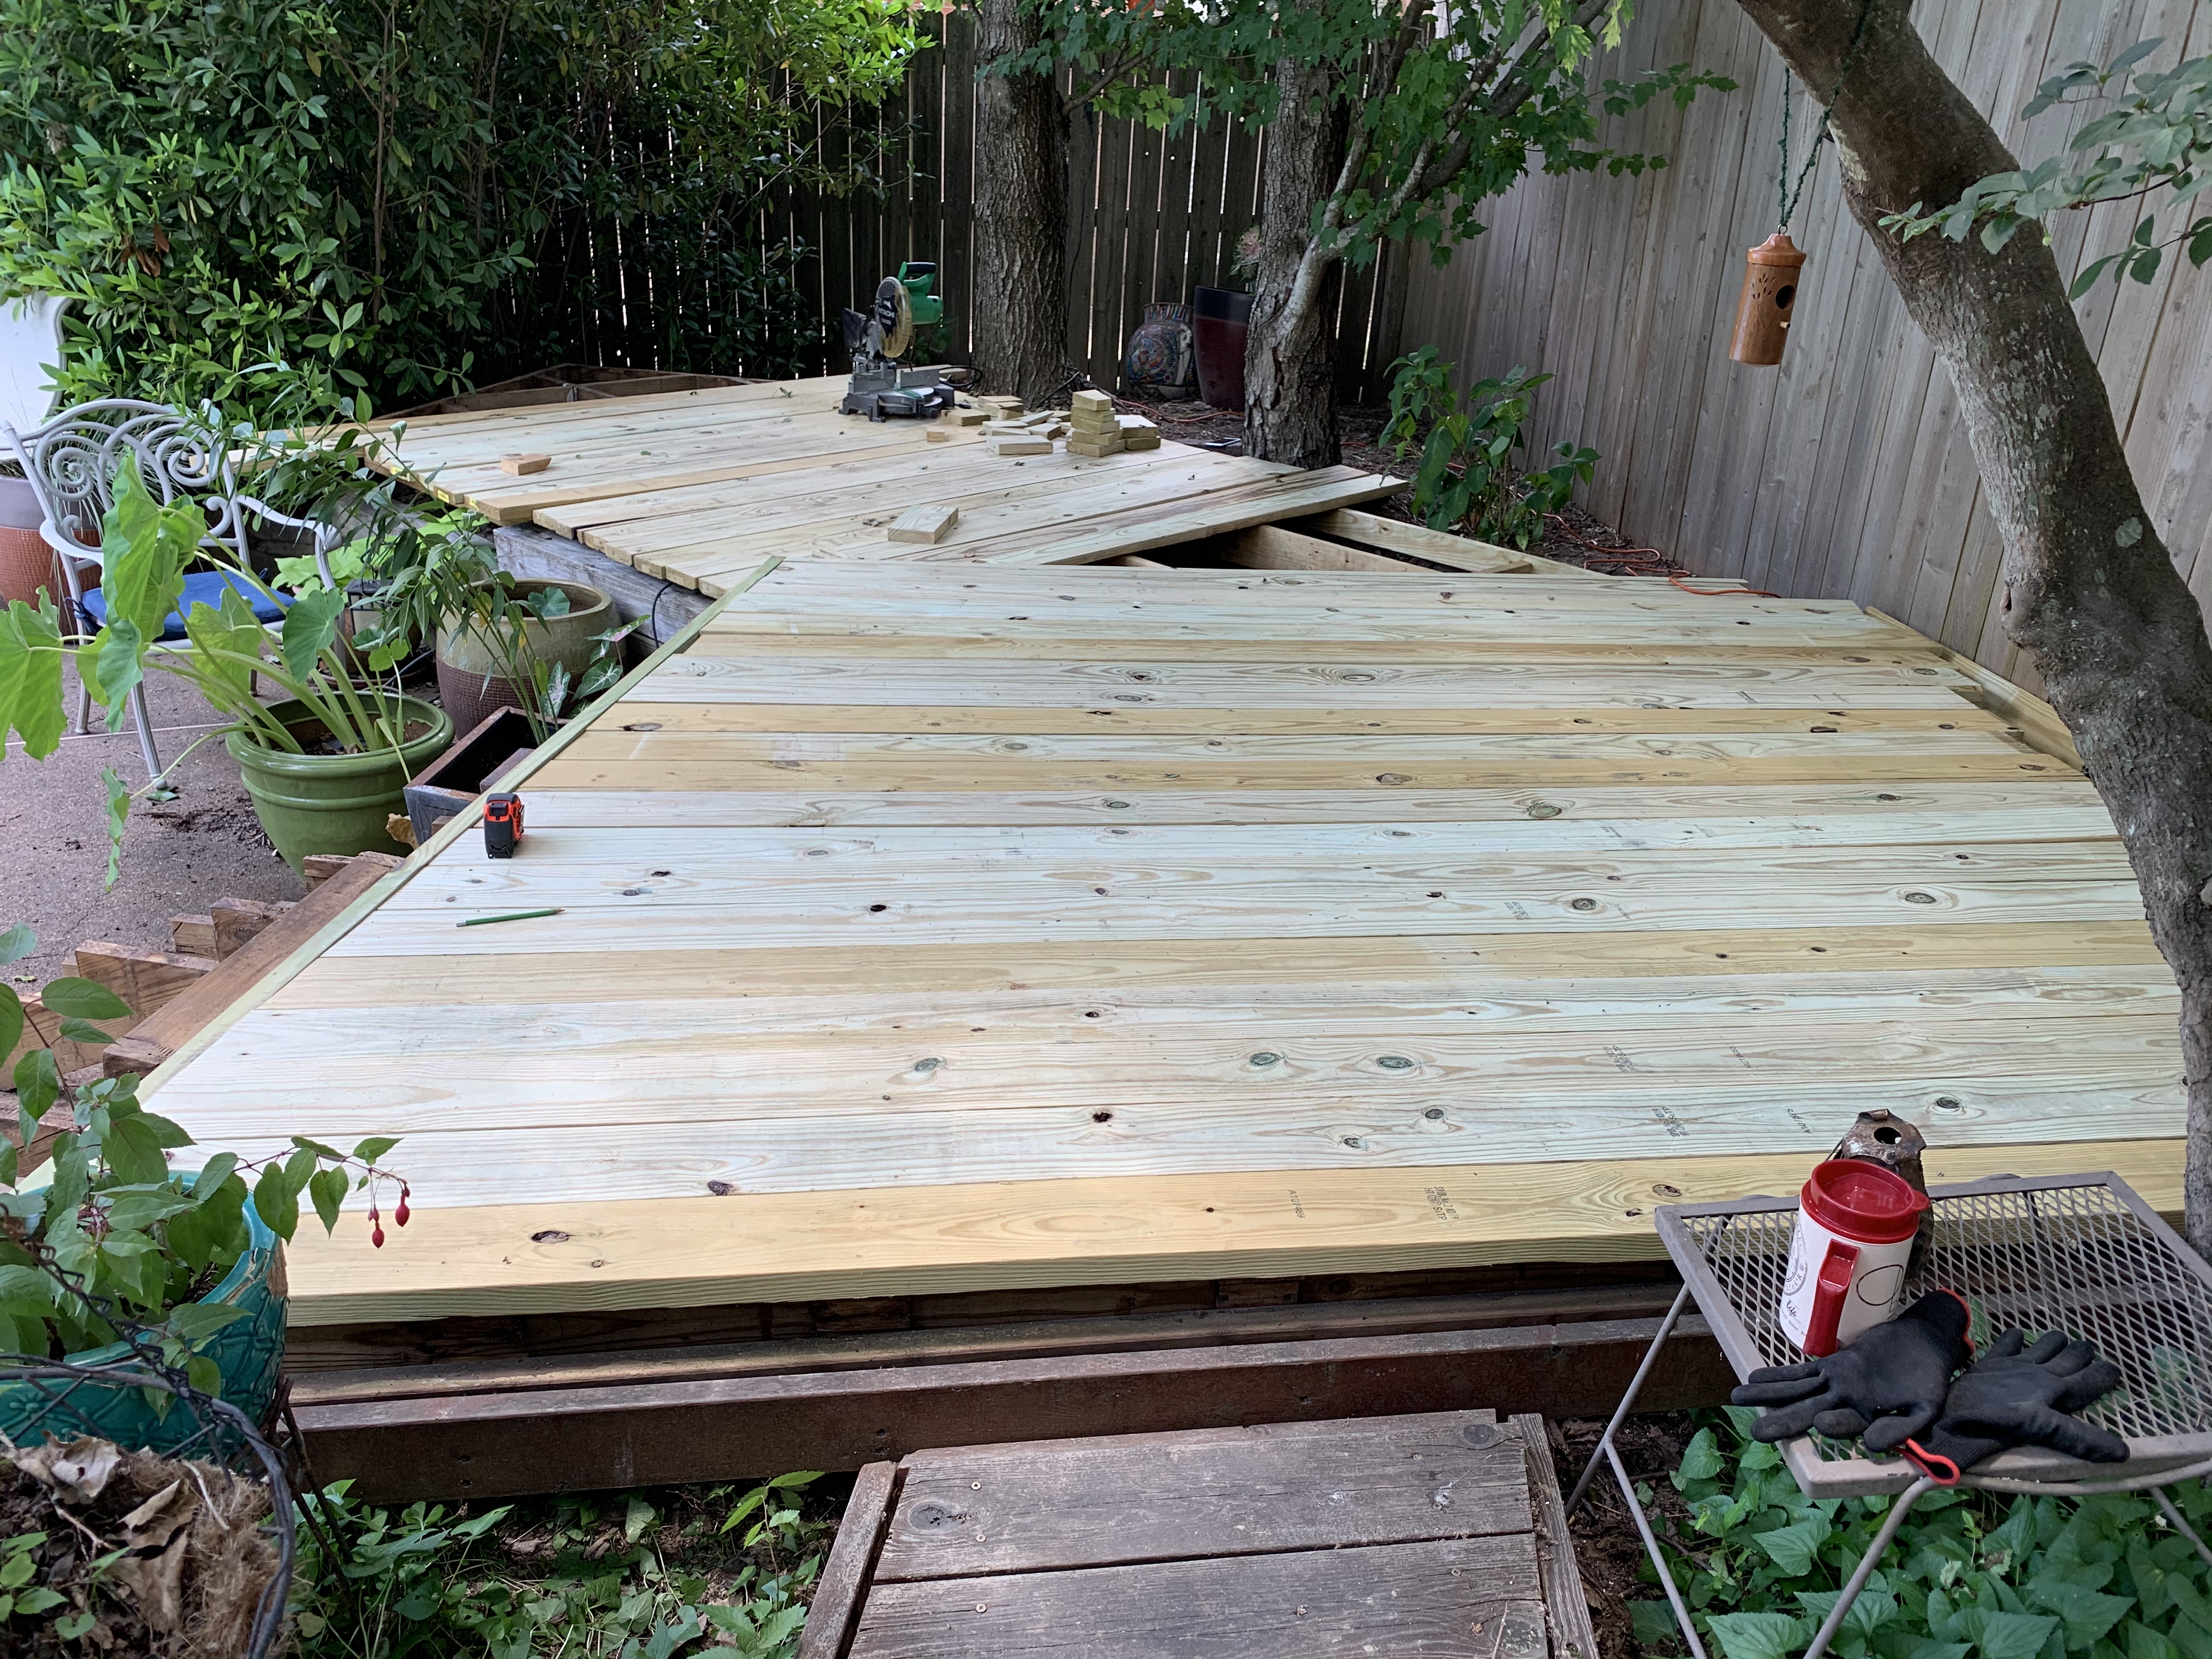
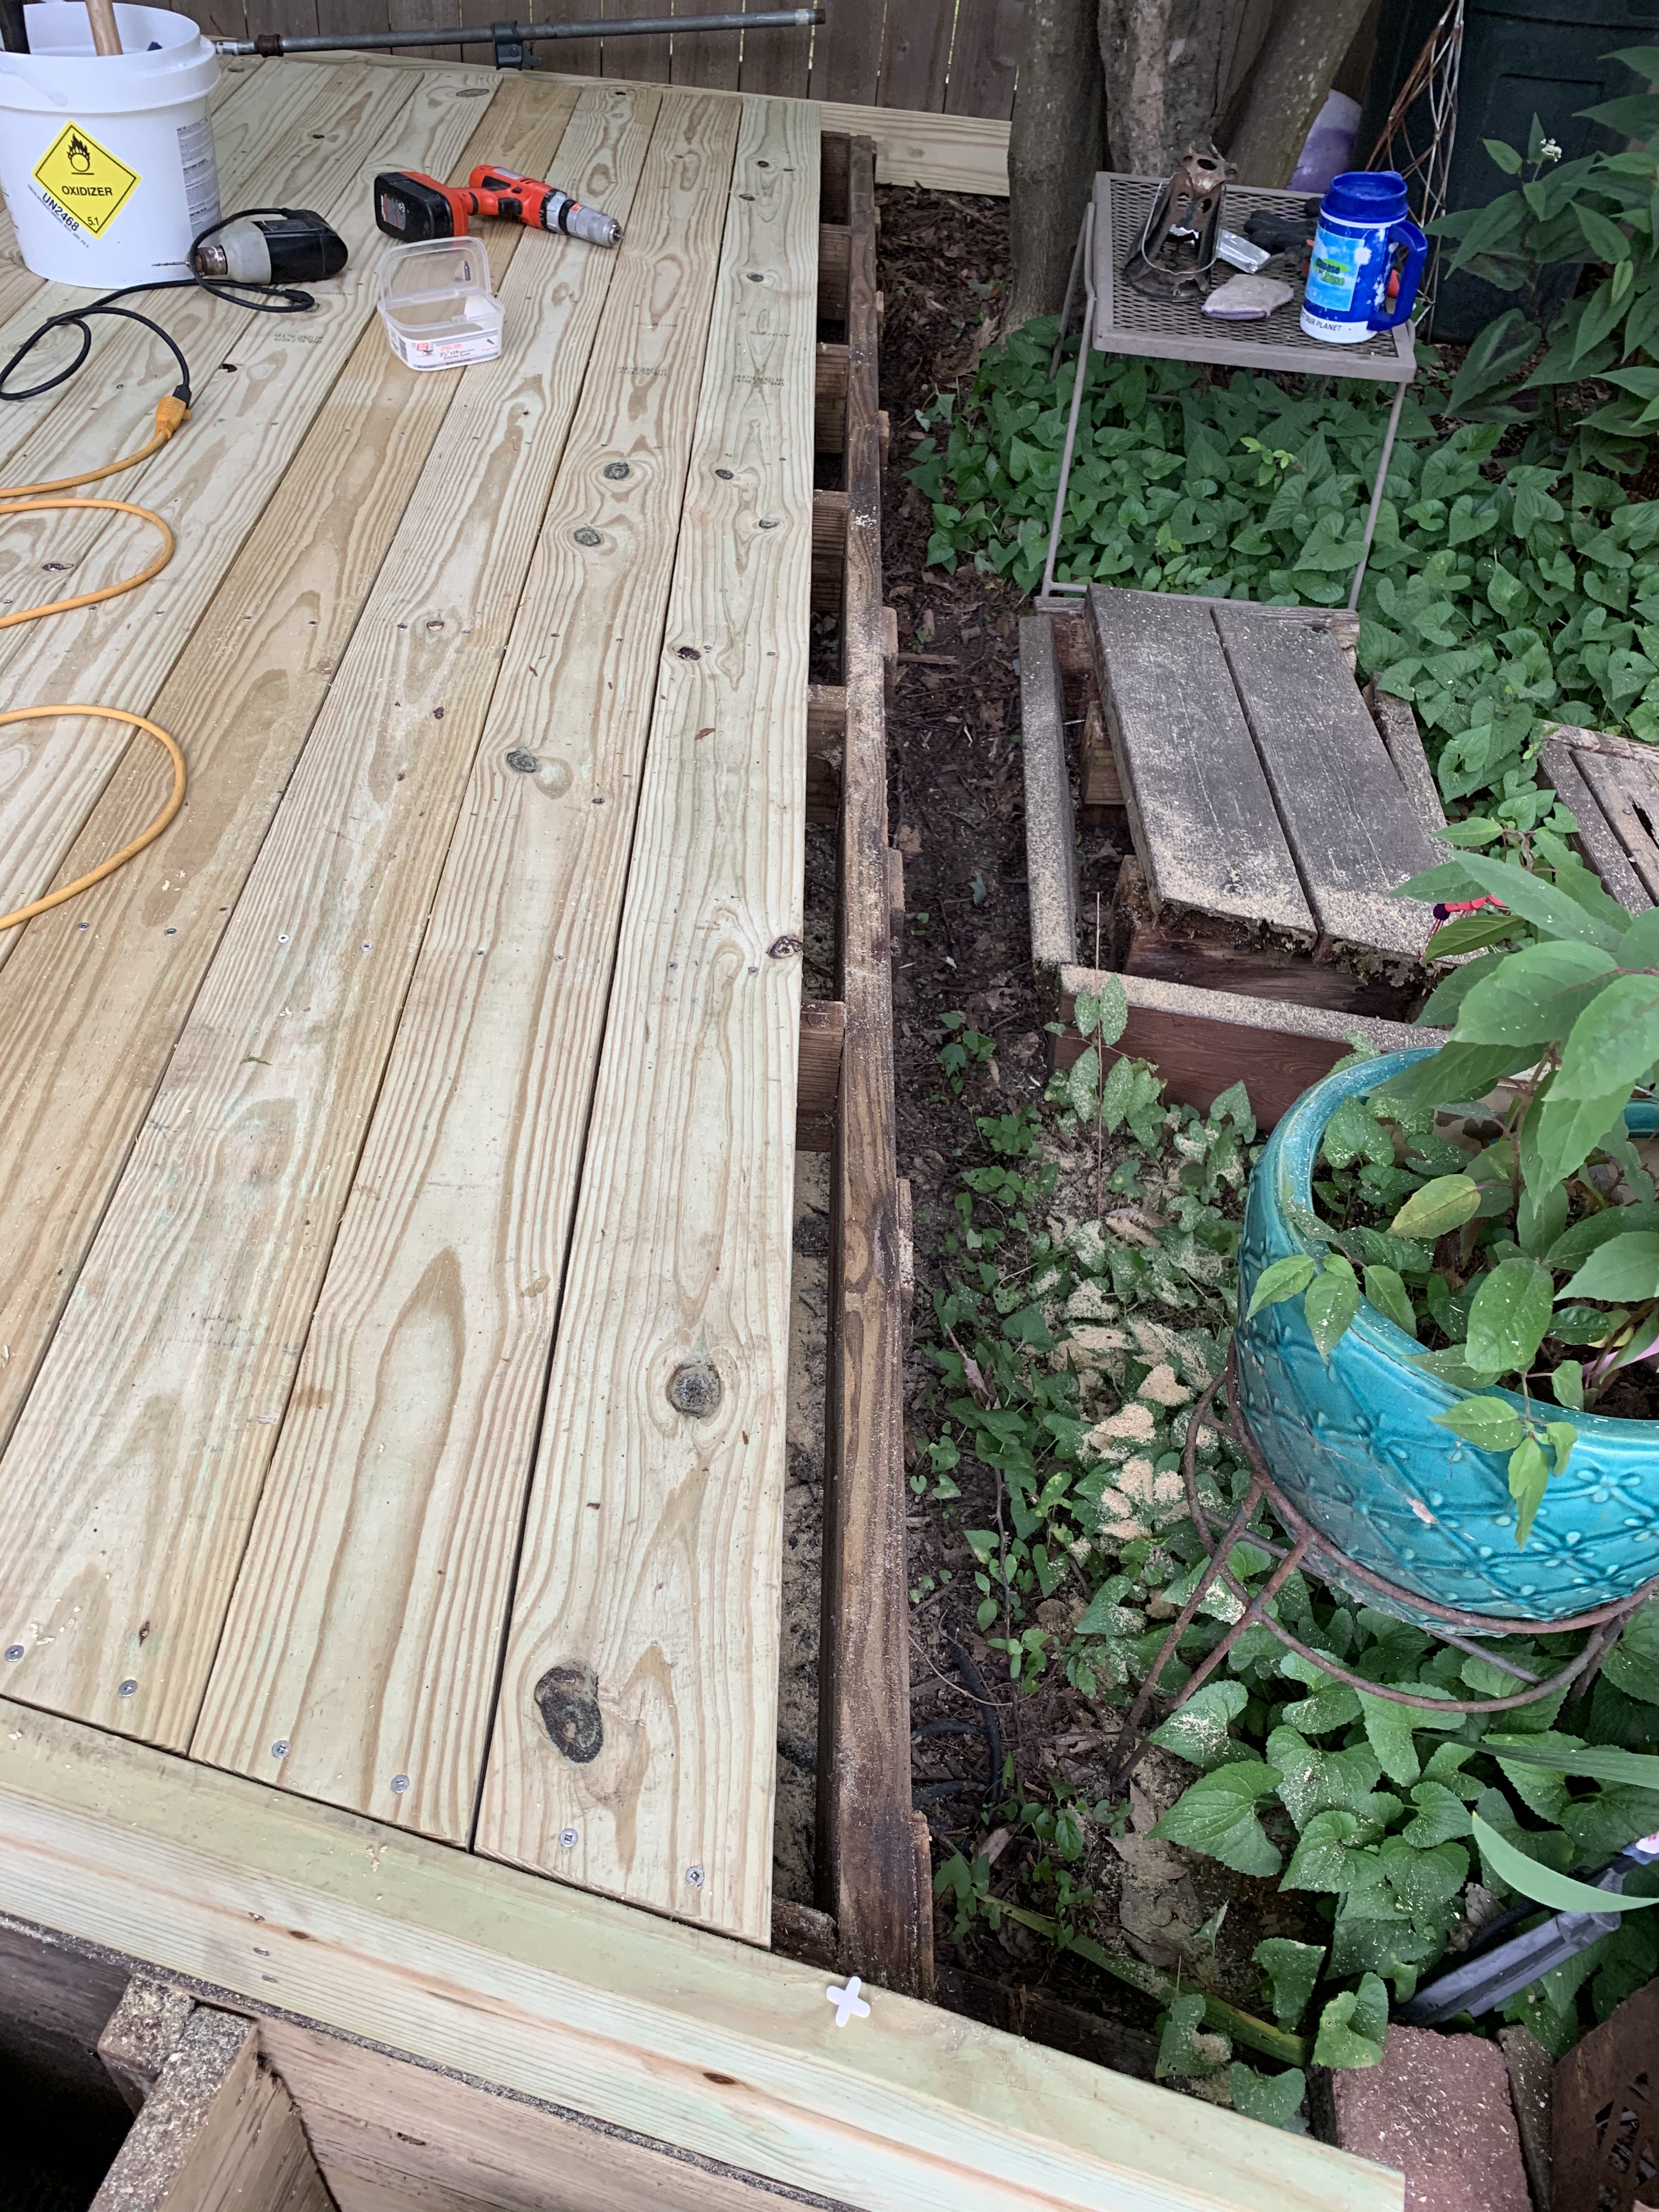
Unlike the original construction when all the joists were new wood and everything was plumb and square, I decided to use the two fascia boards in the front corner as a guide to ensure the deck boards fit level with the fascia board and to ensure a 1/8-inch gap between all boards.

Once I figured out the correct angle to cut for the front edge of the deck boards (14.5 degrees), I set up a workspace on the lower deck and cut all the boards to this angle. Using a miter saw this time rather than a table saw made these cuts much easier. I then laid the boards out in the order in which they would be screwed down.
While I waited for the new screws to arrive (I wanted to use them on the upper deck since they would be most visible there), I decided to pressure wash the pool deck and retaining wall beneath the deck to make them look nice again.
Once the screws arrived, it was fairly quick work to get the first half of the upper deck boards installed given that I had to only cut the back edge to the correct length.
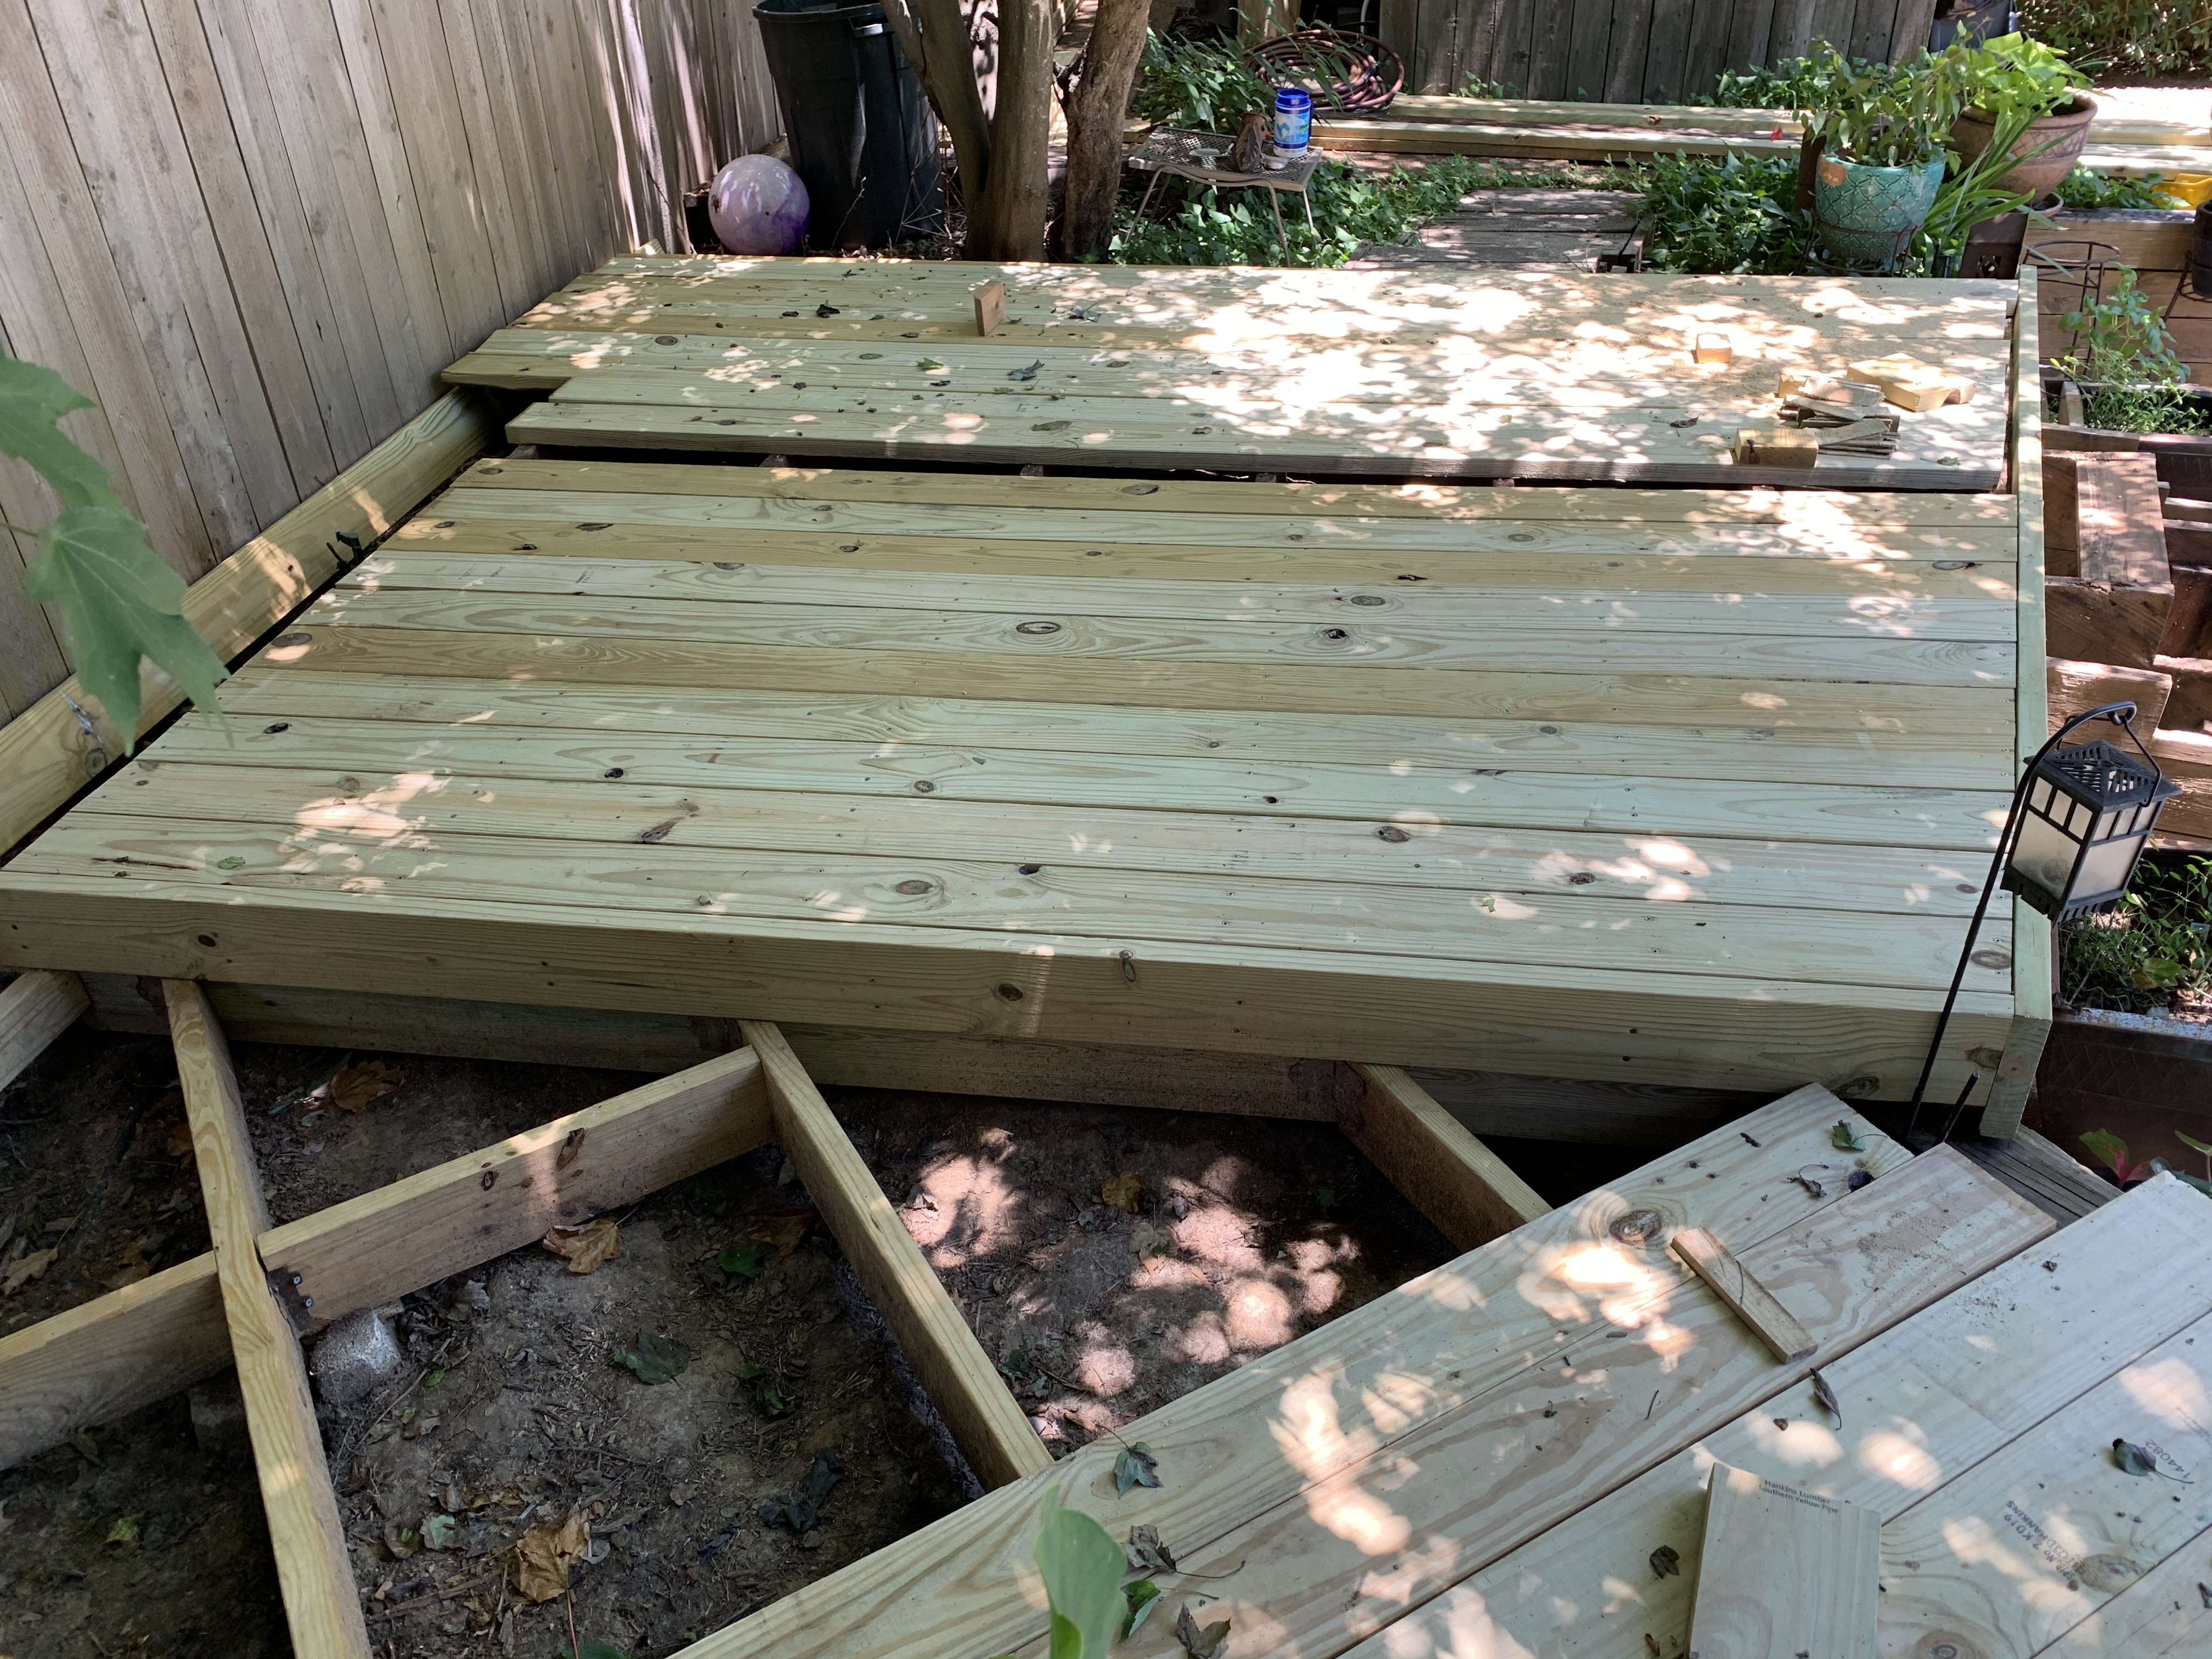
But when I started on the second half of the deck, I ran into two problems. First, the original joist framing that I had not replaced had still swollen or shrunk over the years leaving some gentle hills and valleys. This made getting all the new decking level a bit challenging. To solve this problem, I had to cut some thin shims to level up the boards.
The other problem I ran into was before I installed the last decking board, I had run out of joist. These pressure-treated boards were apparently slightly wider than the original cedar boards. I pondered this overnight and decided to attach small joist extenders. And rather than buying new metal joist hangers for these 2.5-inch extensions, I just attached them with another small block of 2 X 6.

With these in place, I was able to attach the last deck board and then the two remaining fascia boards.

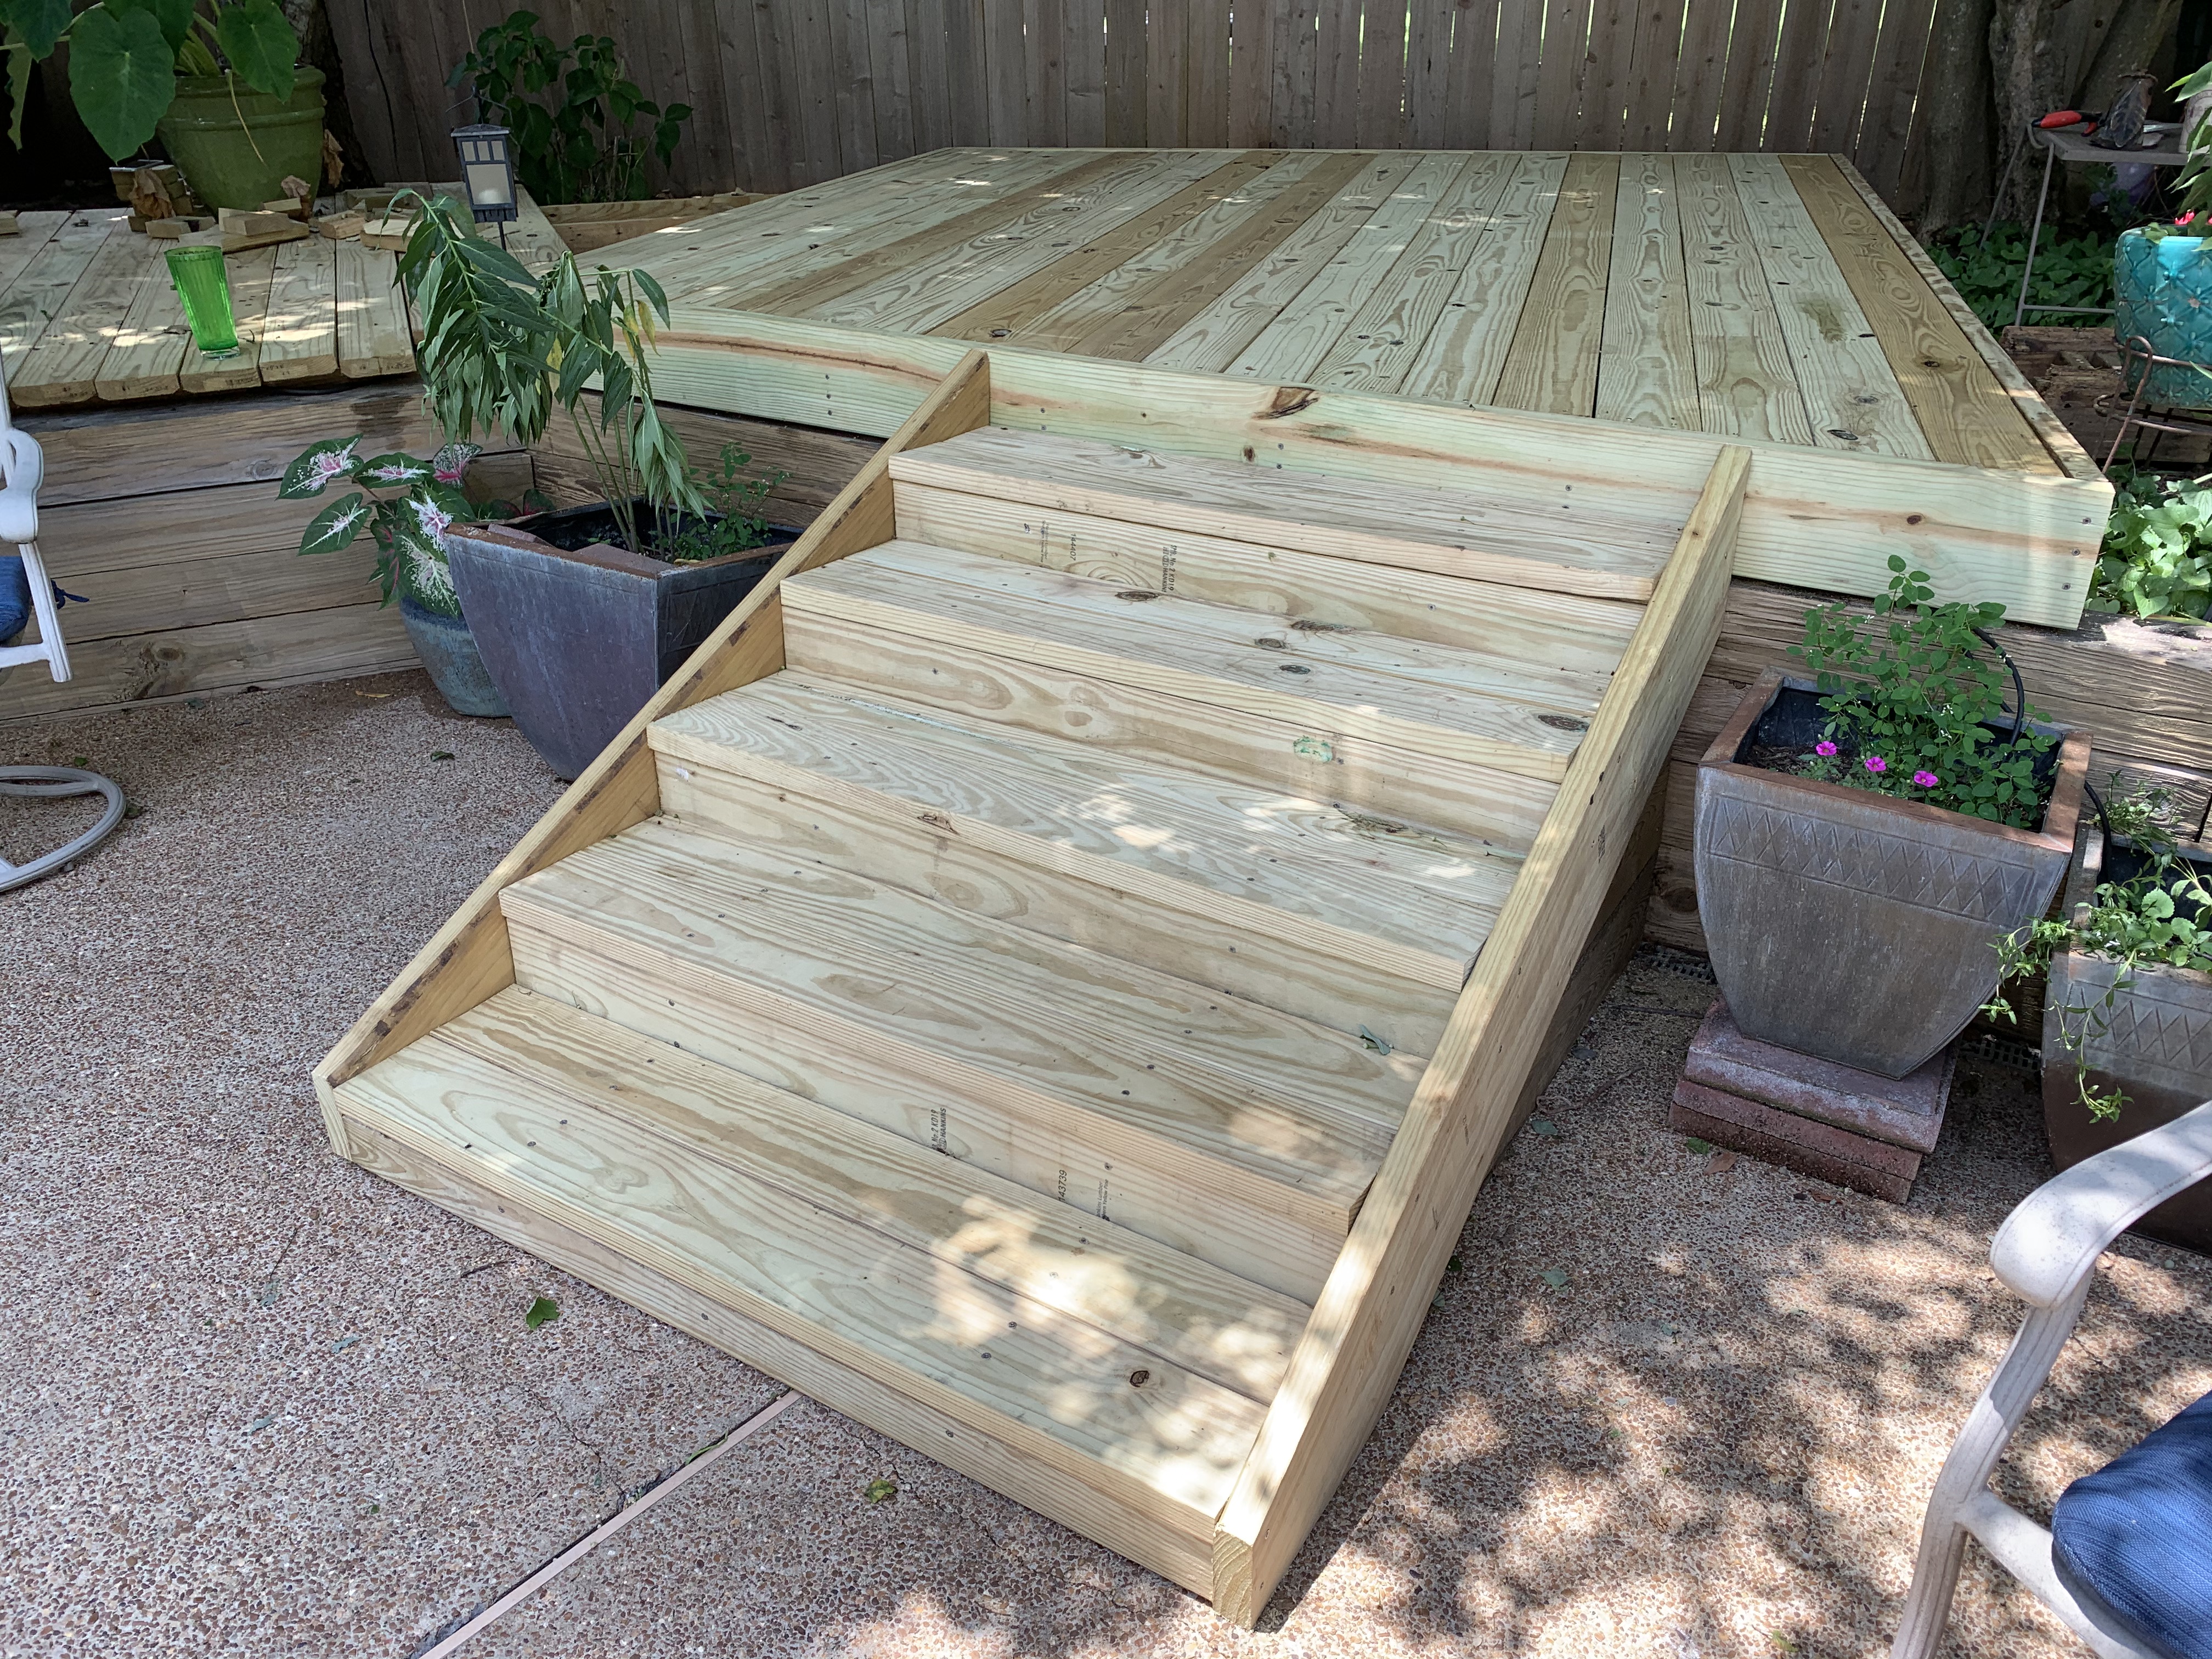
Rebuilding the stairs was fairly straightforward with two exceptions. These boards in addition to being slightly wider, were also slightly thicker. This meant I had to use small shims on each tread to get the steps level since the support stringers underneath were originally designed for the slightly thinner boards.
Also, I had kept the old side fascia pieces to use as a pattern for cutting the angles on the new ones but since the steps were now slightly taller, the old pattern no longer fit.
With a bit of trial and error though, I got the stairs looking nice again.
With the upper deck and stairs complete, I was ready to work on the last portion of the project, the lower deck, but here, I ran into more problems.
To be continued…
Categories

I continue to be tremendously impressed! You cleaned 700 screws! You are a decking hero.
Thanks! Other than the head, the screws were in great shape and I hated throwing them all away. To put it in perspective, I only cleaned a hundred at a time over the many weeks I worked on the rebuild. Each 100 took about 25 minutes so I figured it was like being paid about $50 an hour.