
“No Hands Left on Deck!”

I decided to rebuild the lower deck in the same manner that we originally built the deck, by first attaching the decking with straight cut edges on the front and back before attaching the decking on either end that required an odd angle cut on one or both edges.
As I went to lay the first board, I discovered that while I had diligently ensured the new joists were level with the old, I was limited by the 48-inch level that I had (I had not bought the new wood at the time I was rebuilding the joists so had no long boards to lay across all five joists). This meant I only knew it was level over a 48-inch span. When I laid the first 8-foot board across all five of the joists, I found that the deck board did not even touch the front or back joist. They were too low.
I pondered this dilemma for a while and ultimately decided I would just have to use more shims on the front and back joist.
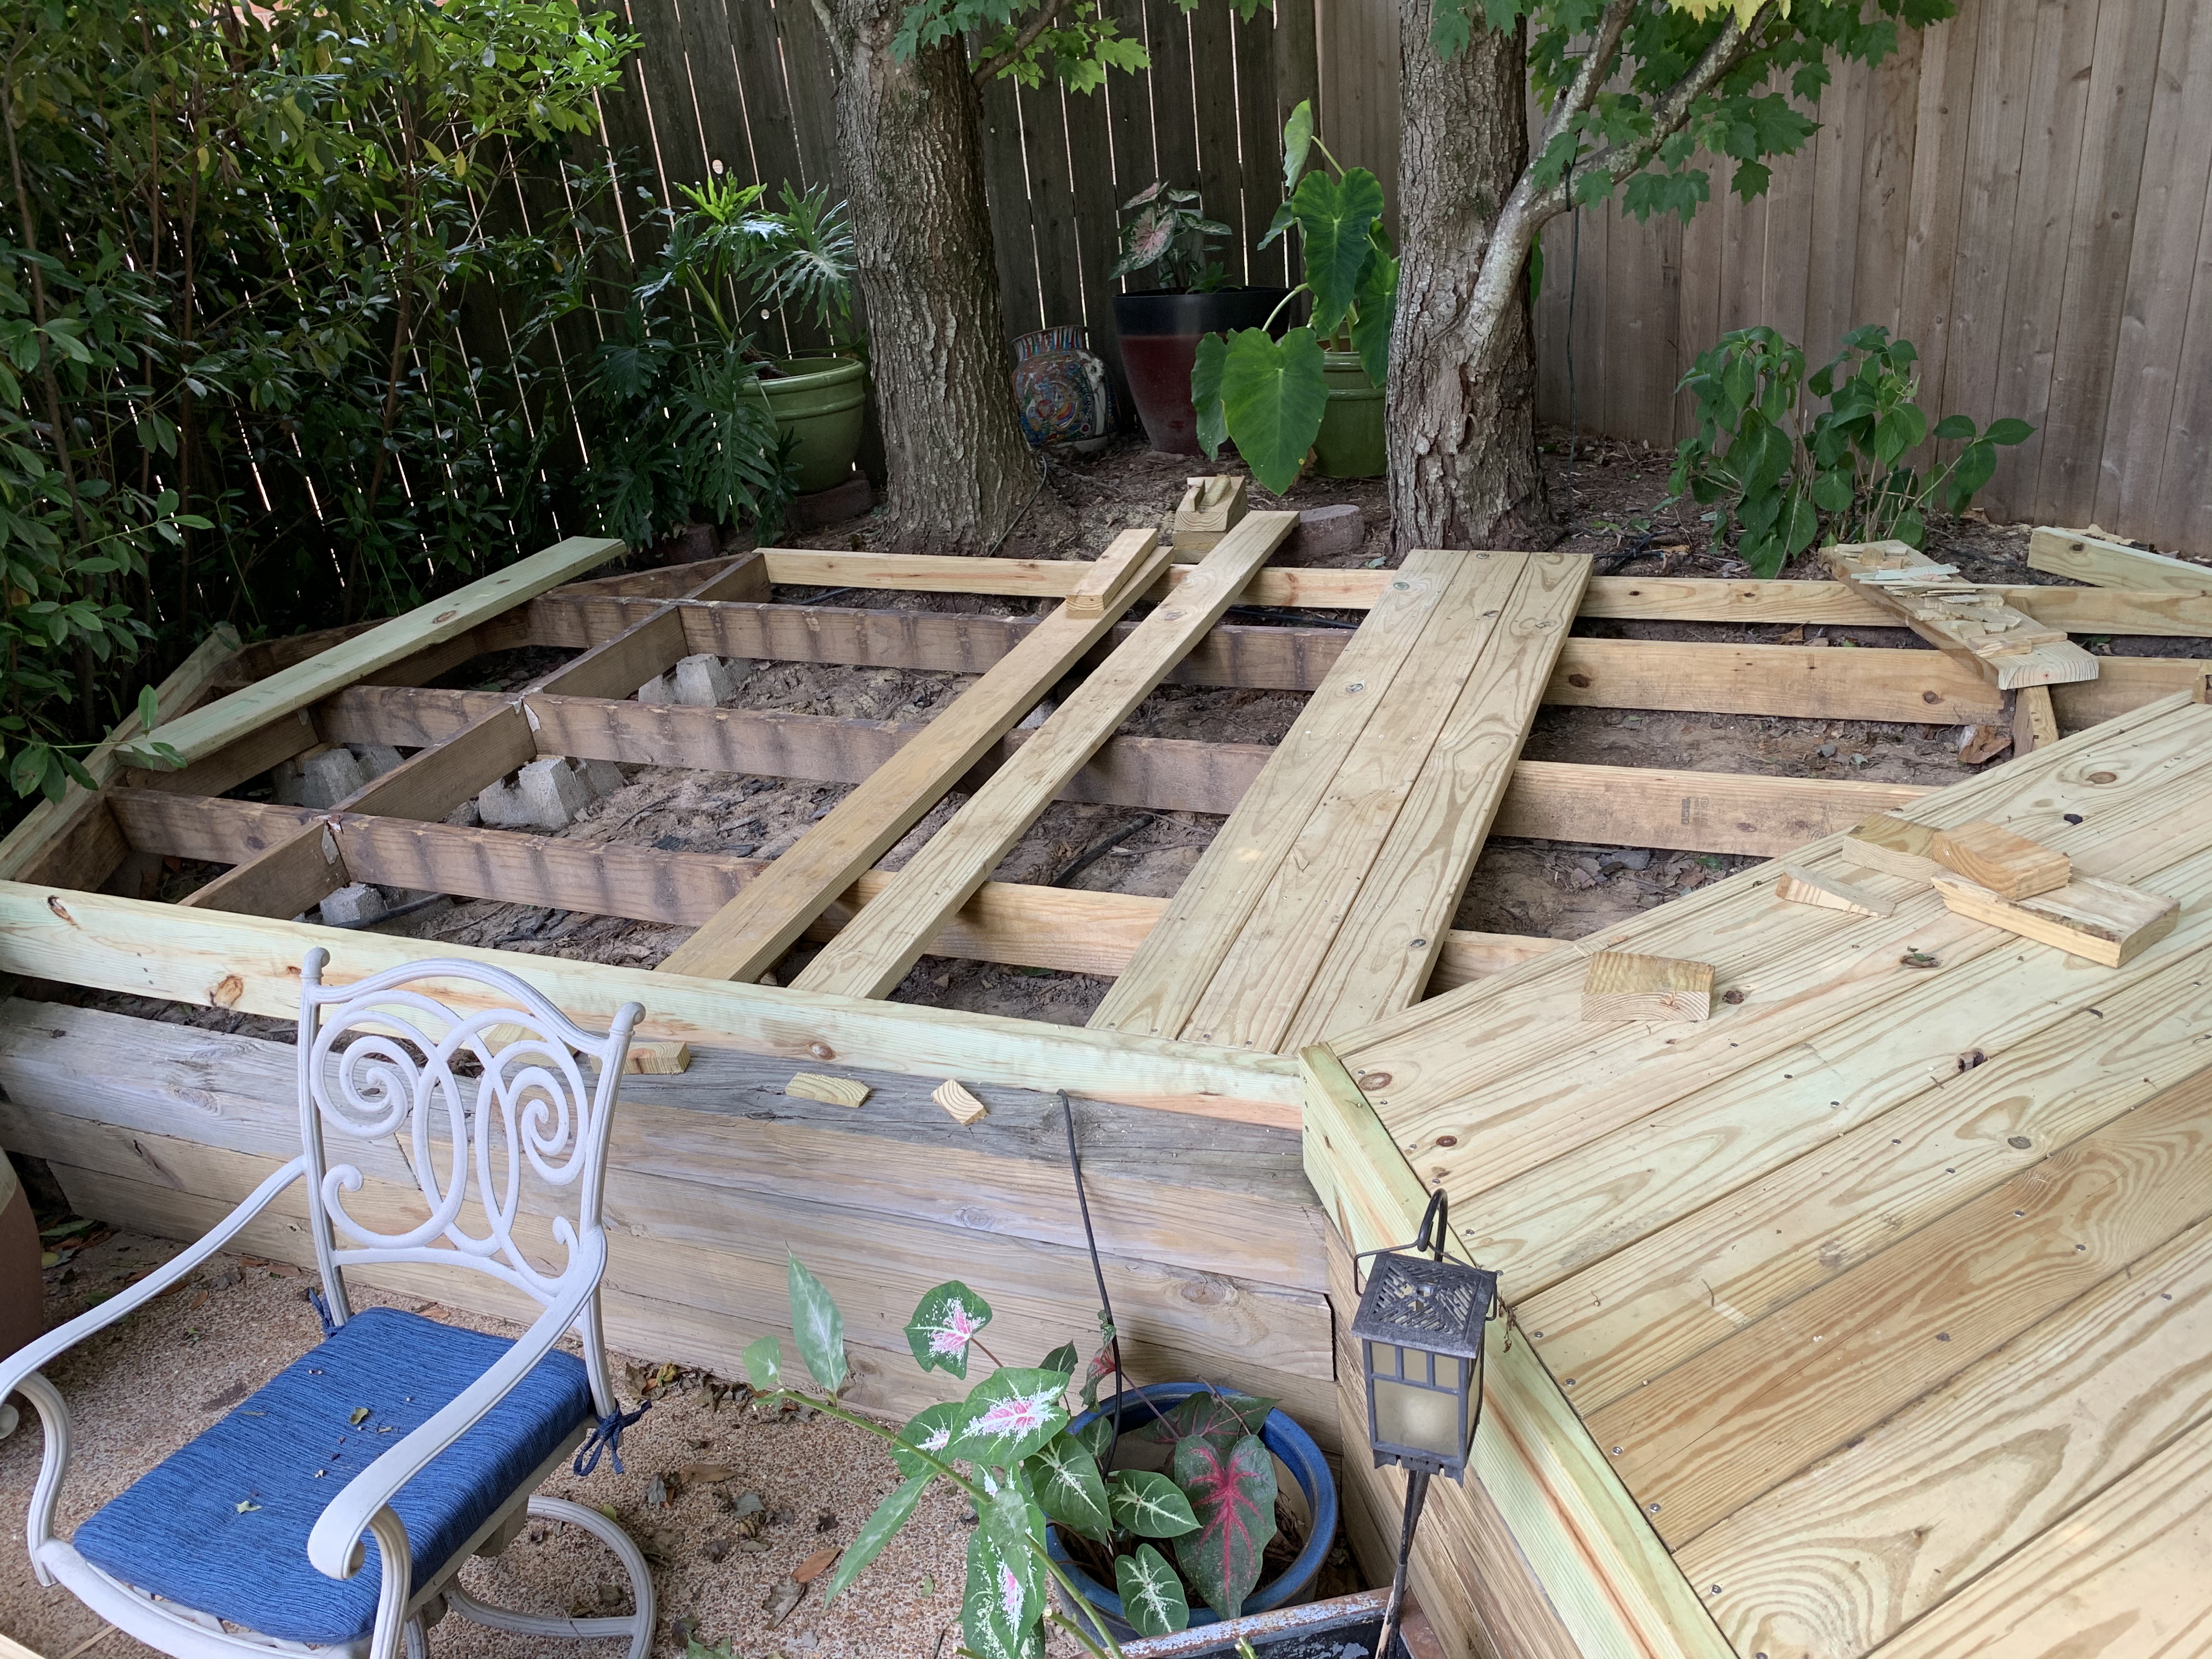
As a result, it took me half a day of trial and error just to get the front and side fascia boards attached so that when 8-foot boards were laid across the deck from one end to the other, the deck boards would be flush with the fascia boards.

After I attached these first three boards, I unfortunately discovered that I was also no longer level (front to back, although only off slightly). To remedy this, I would have had to remove the boards and figure out which additional joists would need a shim to get the boards level and then move the fascia boards up or down accordingly to maintain a flush finish. Pondering this, I was reminded of an expression my granddaughter loves to say, “that would take AGES!” At this point, I told the perfectionist in me to get over it, that no one would ever notice (who would actually bring their own level to check it out?) and so I put up the level for the rest of the project.
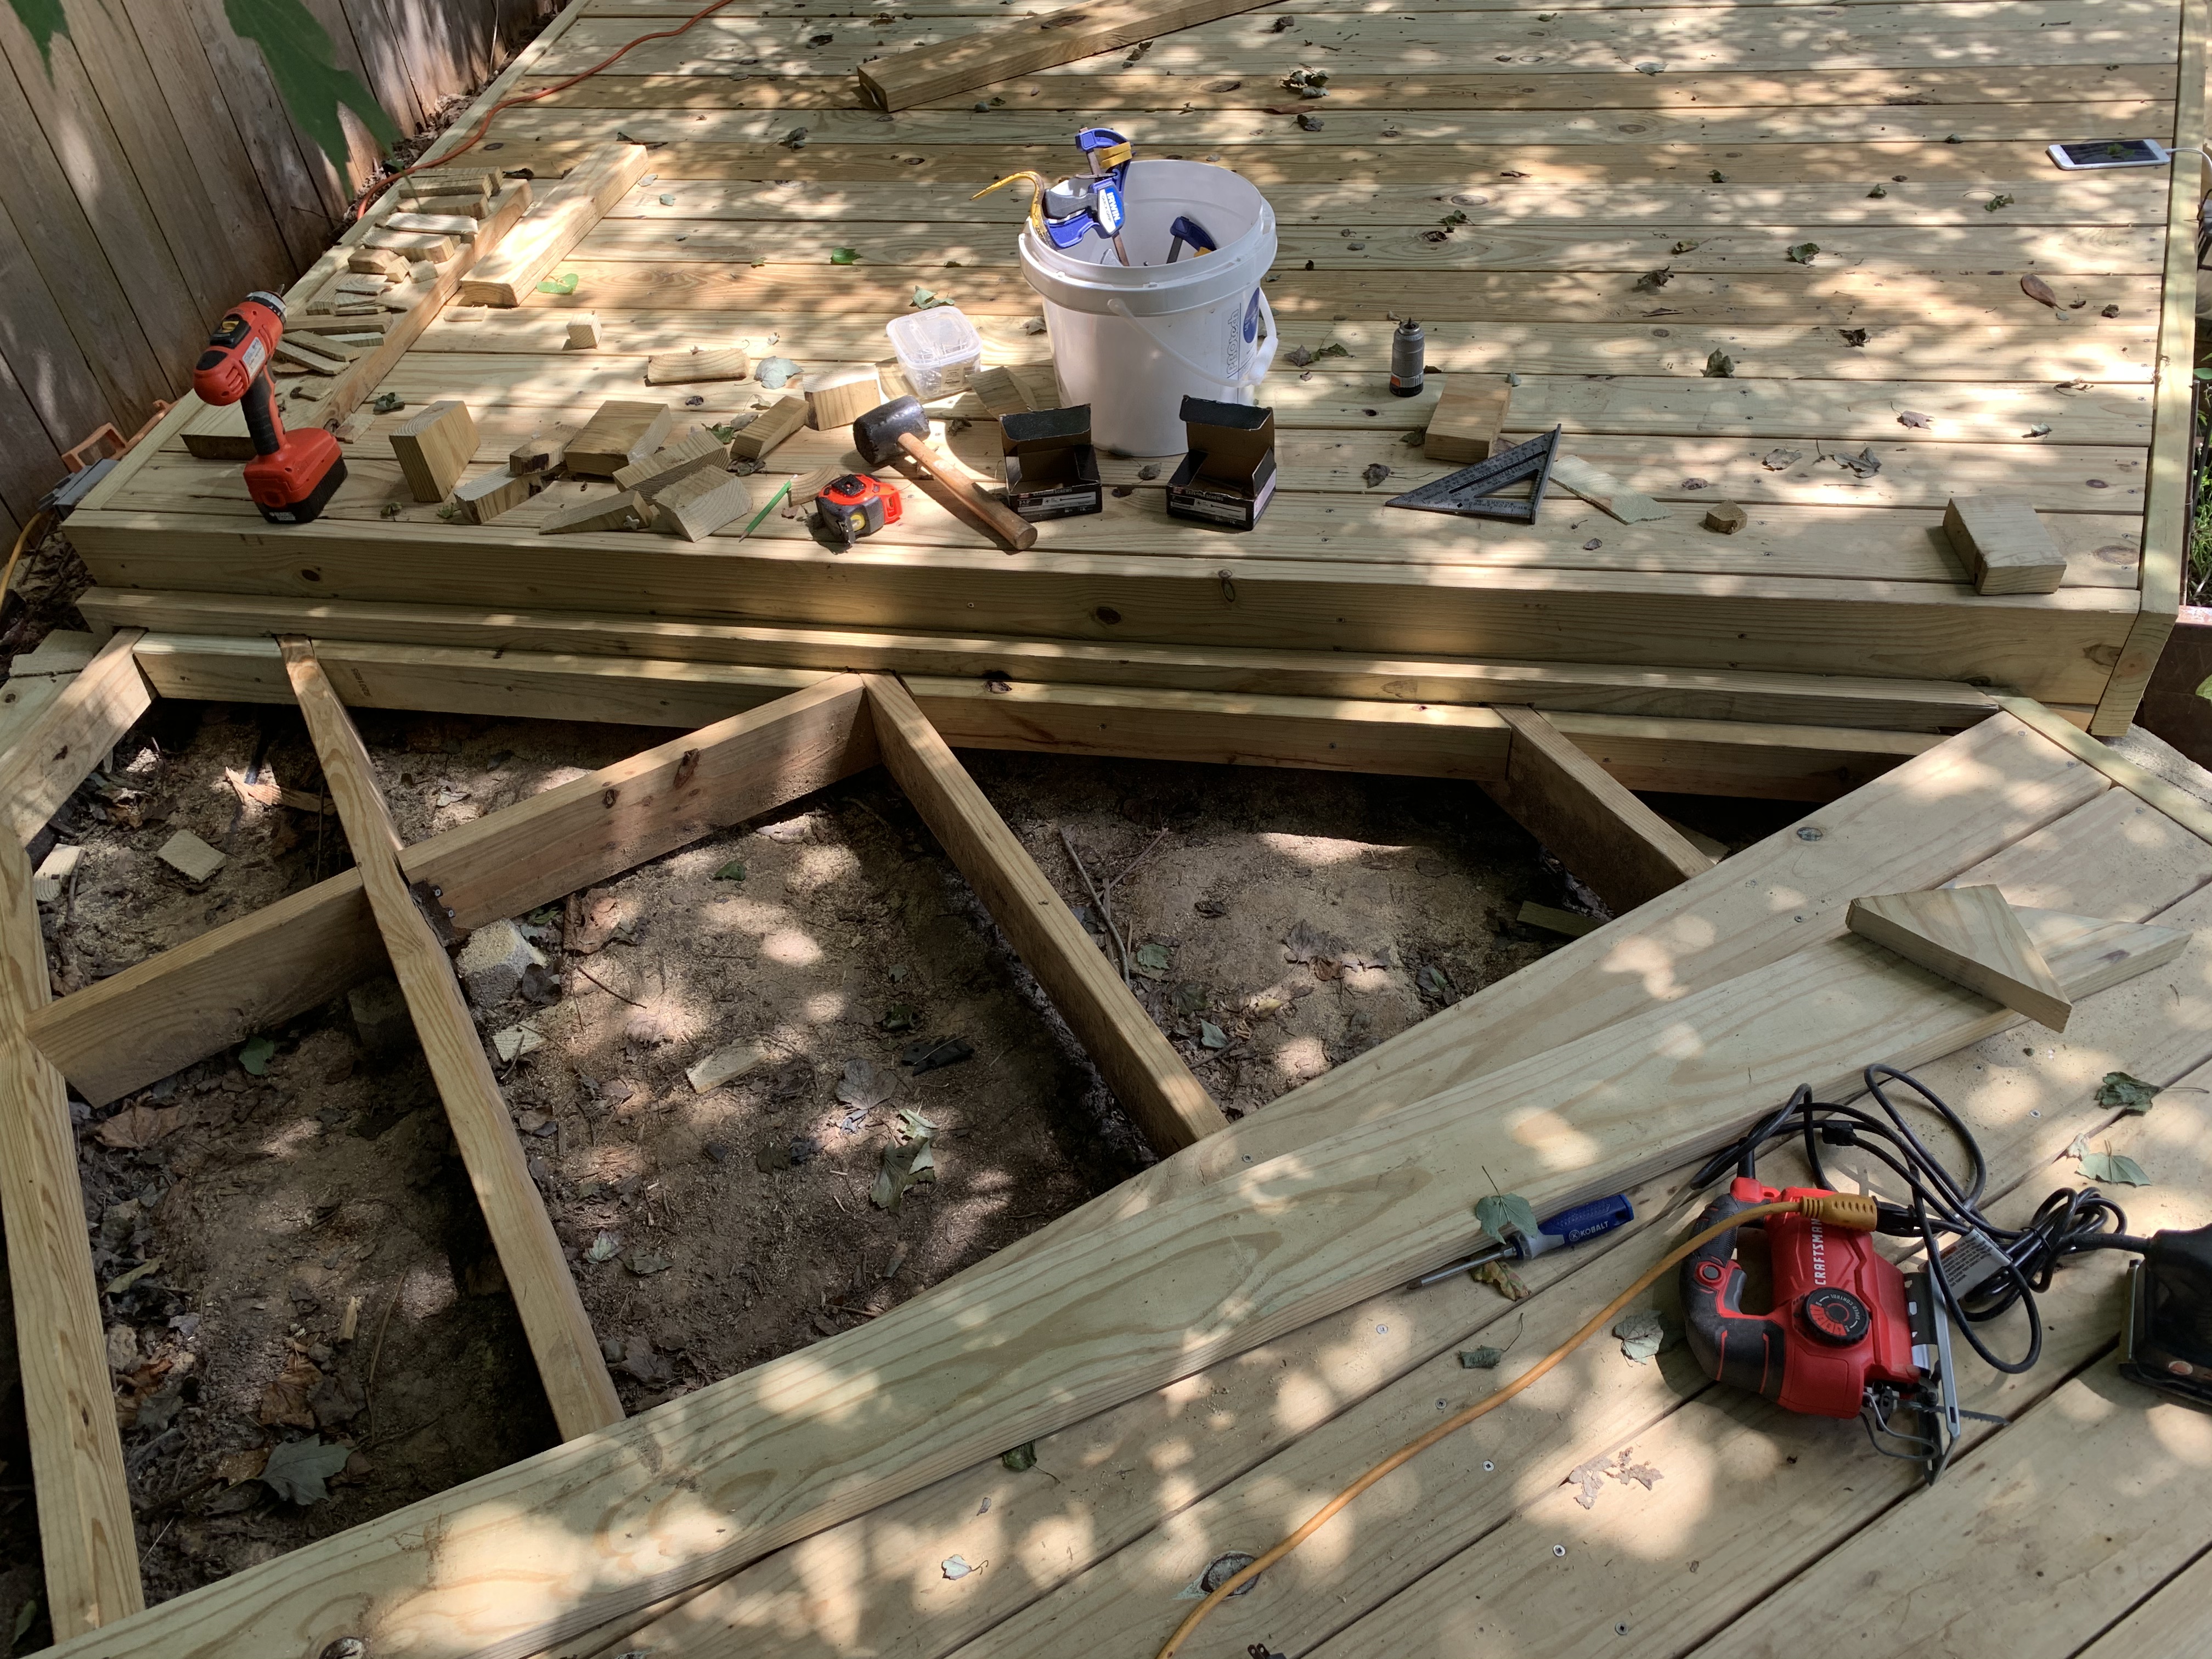
That decision made, I began to make more progress, getting down ten of the total sixteen straight-edged boards the next day. In the photo below, you can see many of the shims I cut resting on the board to the left.
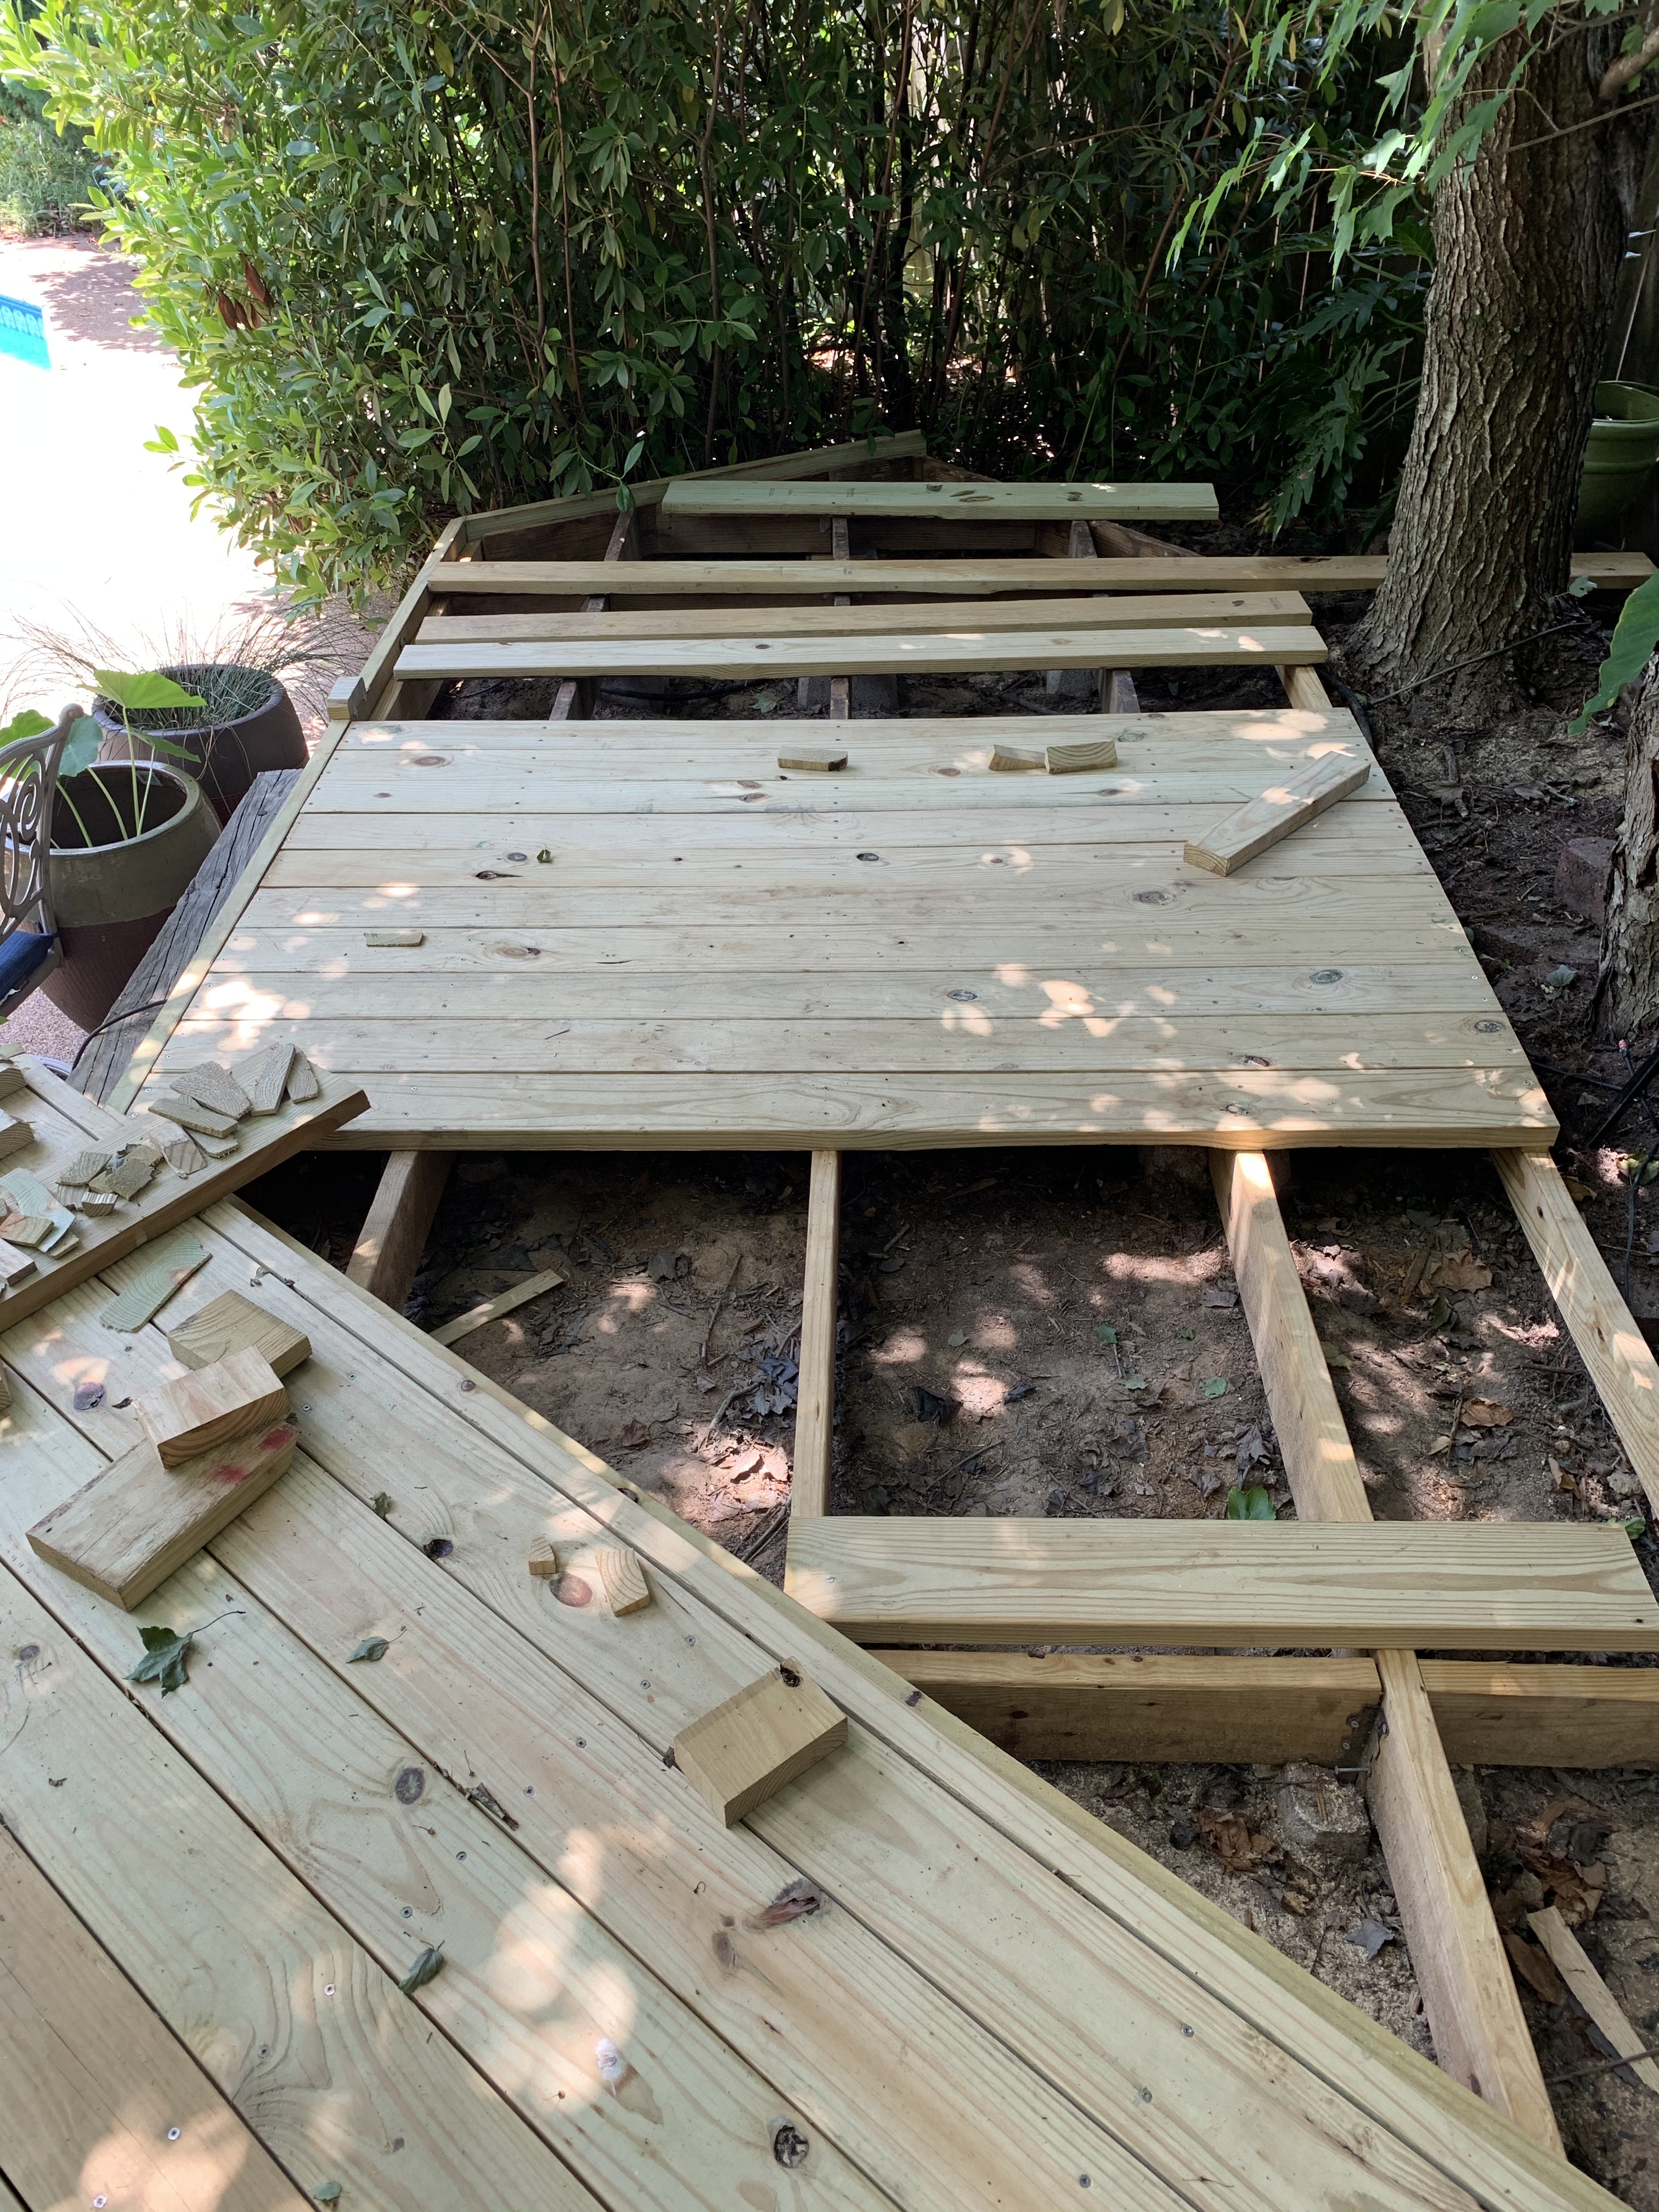
Then a day later, I had all sixteen in place.

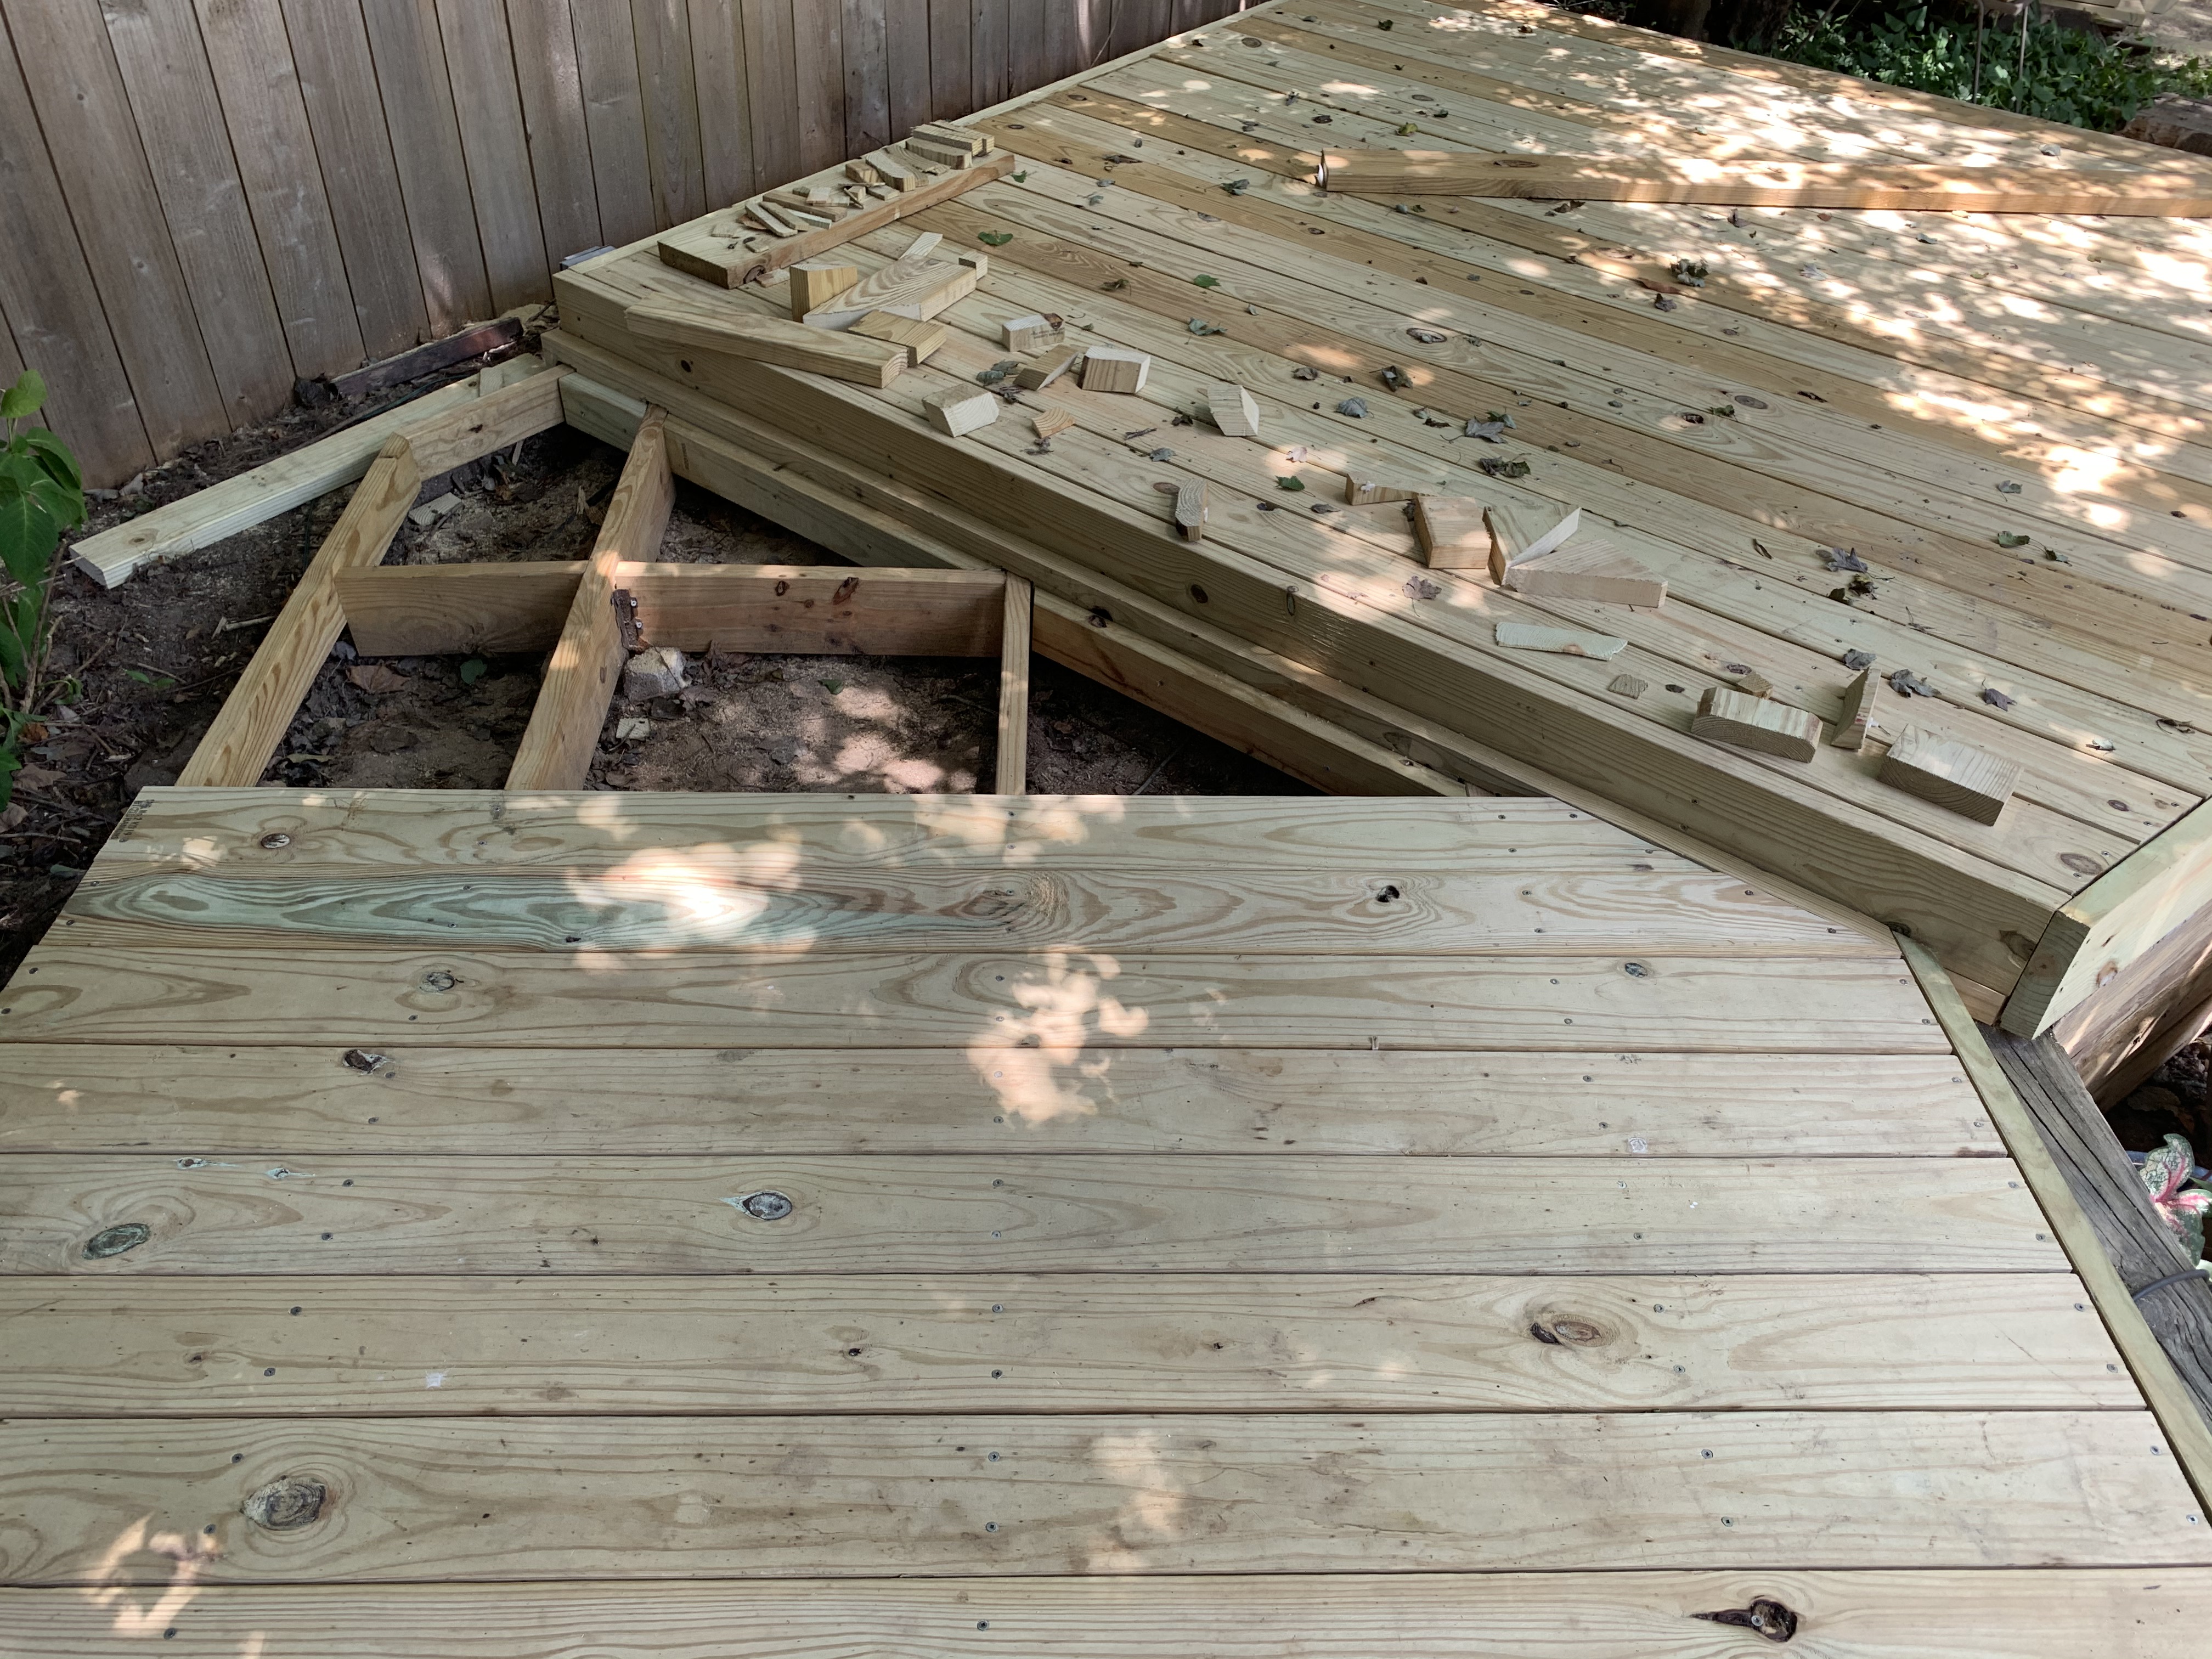
Next came cutting the boards with odd angles. I saved the old rotted boards so that I could try to figure out the right angle to adjust the miter saw to for cutting the new boards. On the far end of the lower deck, the back side needed about a 39-degree angle, but the front side needed an angle that exceeded the 50-degree limit on the miter saw.
Fortunately, I had purchased a new jigsaw to replace my inoperable one for a step I knew I would need on the other end. The old rotted boards gave me a ball-park figure for the angle to cut and with a little trial and error, my new jigsaw ripped through the boards in no time.
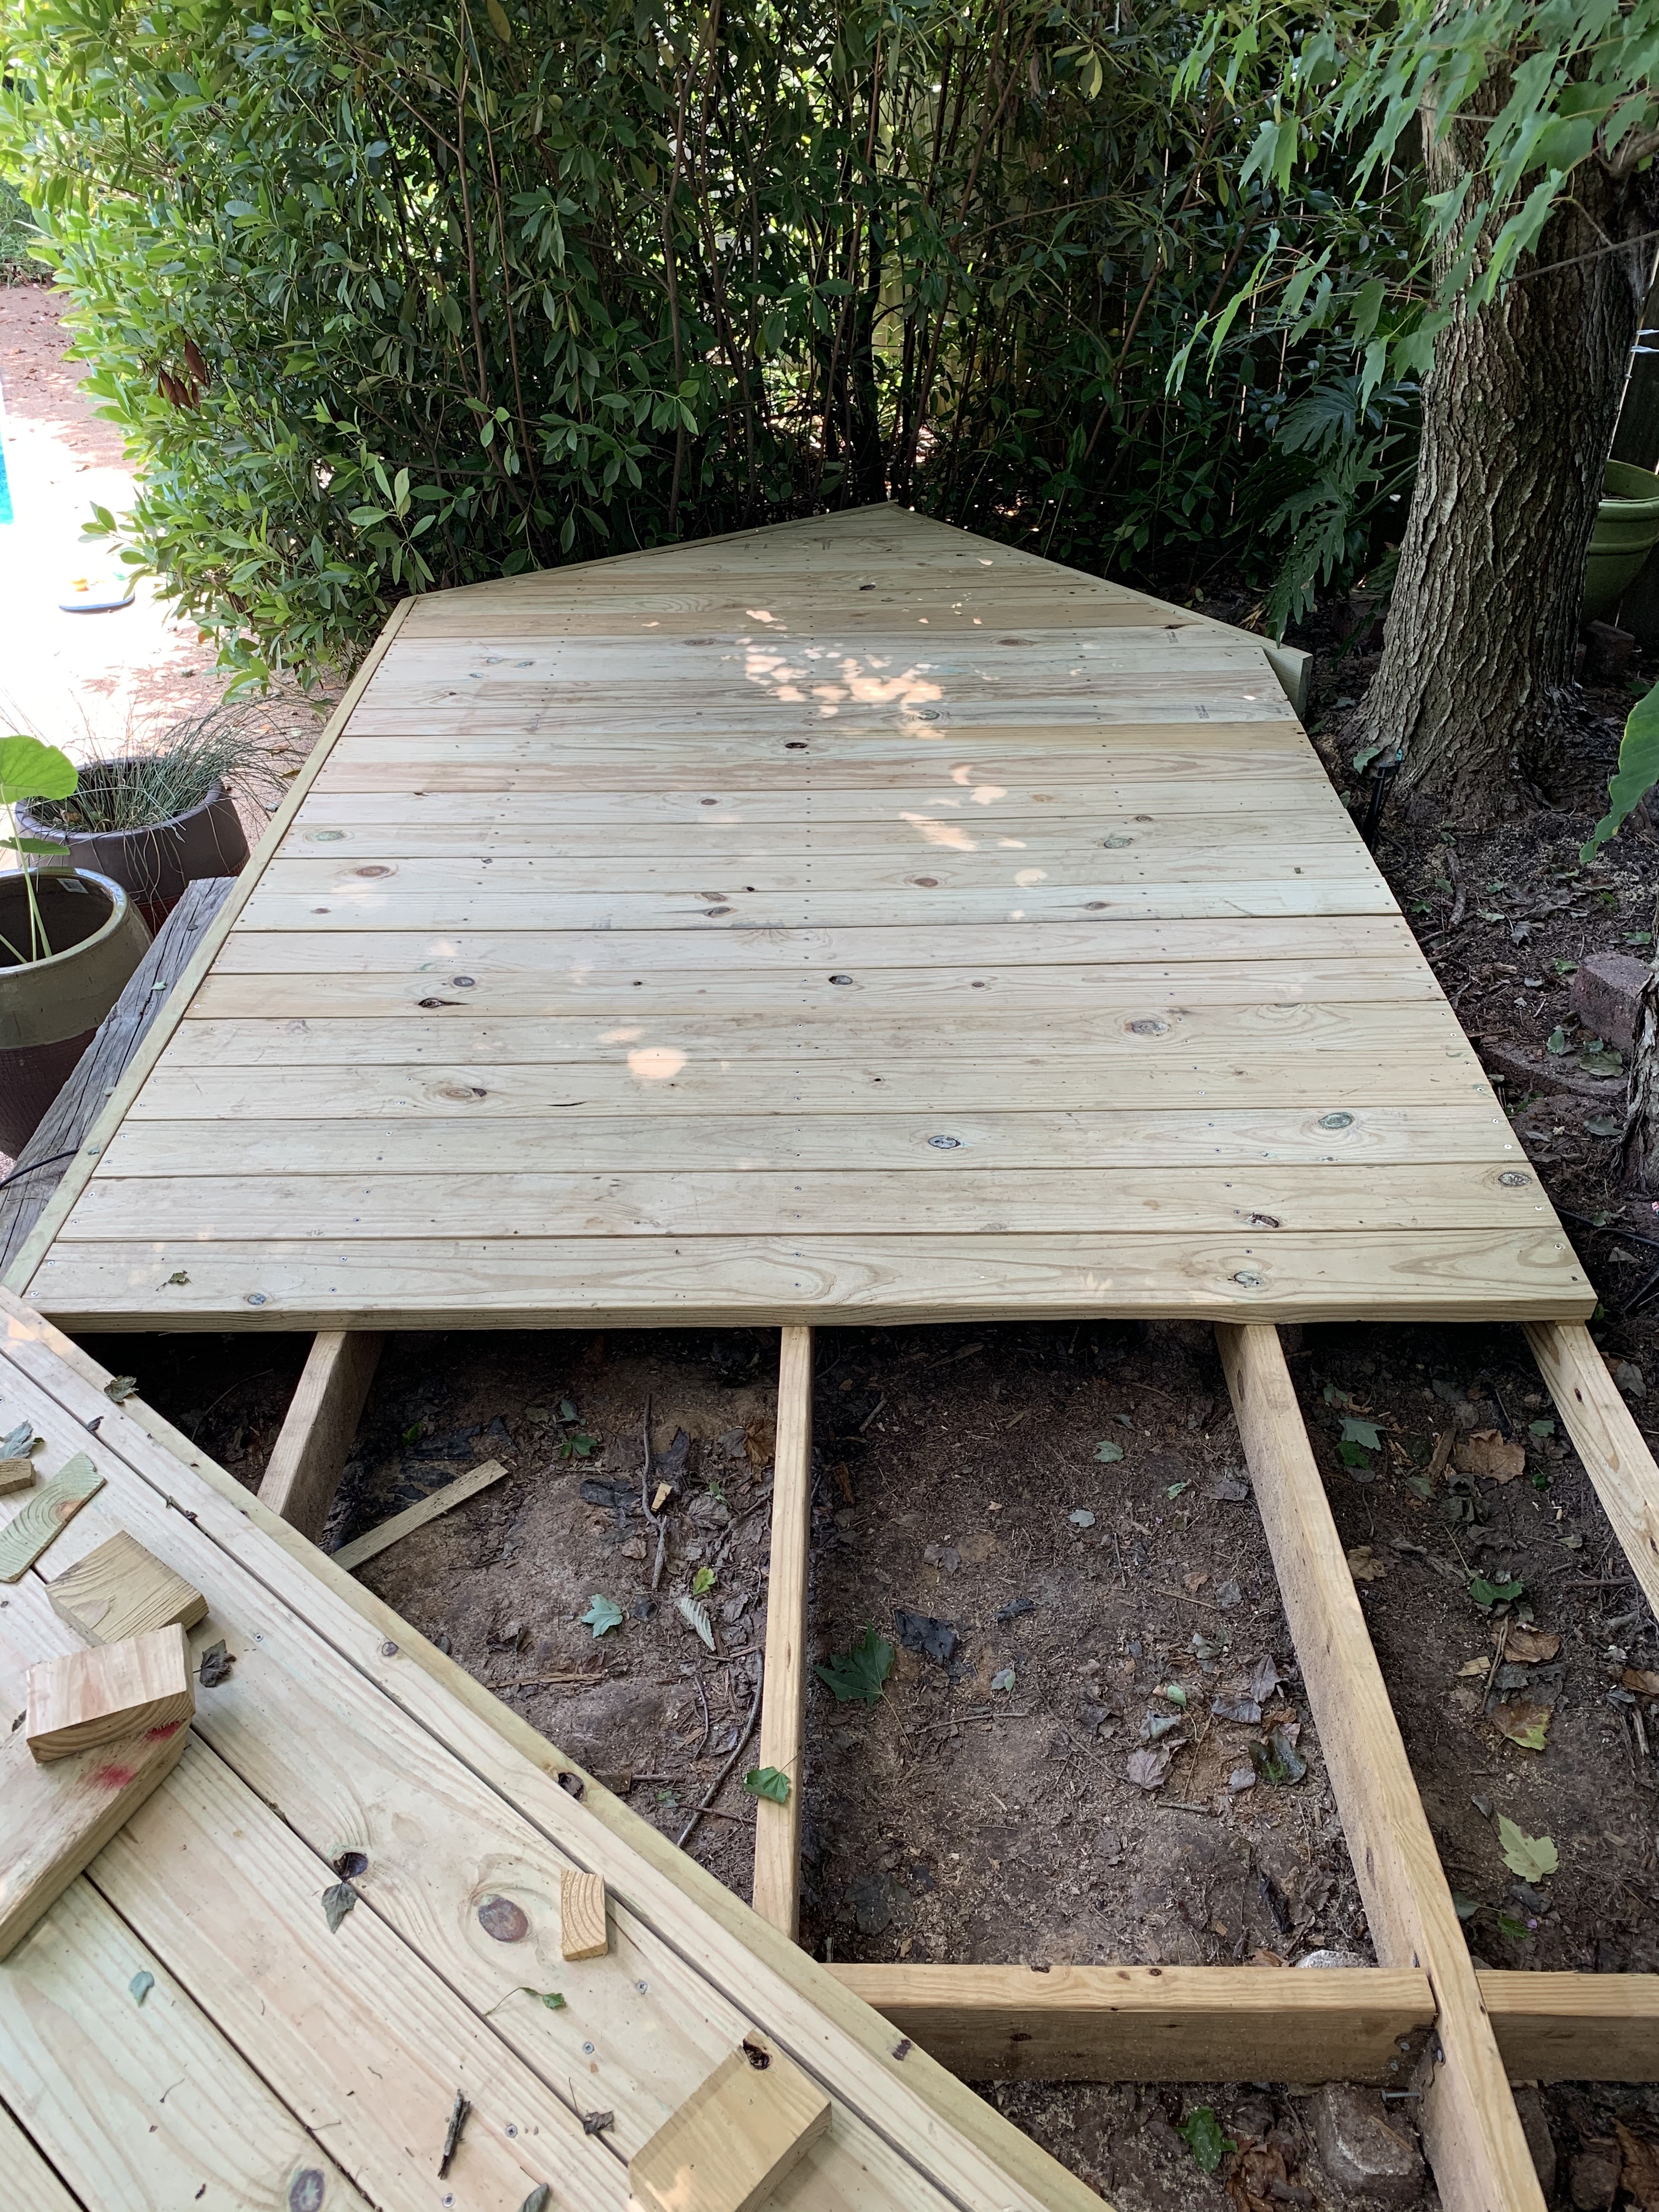
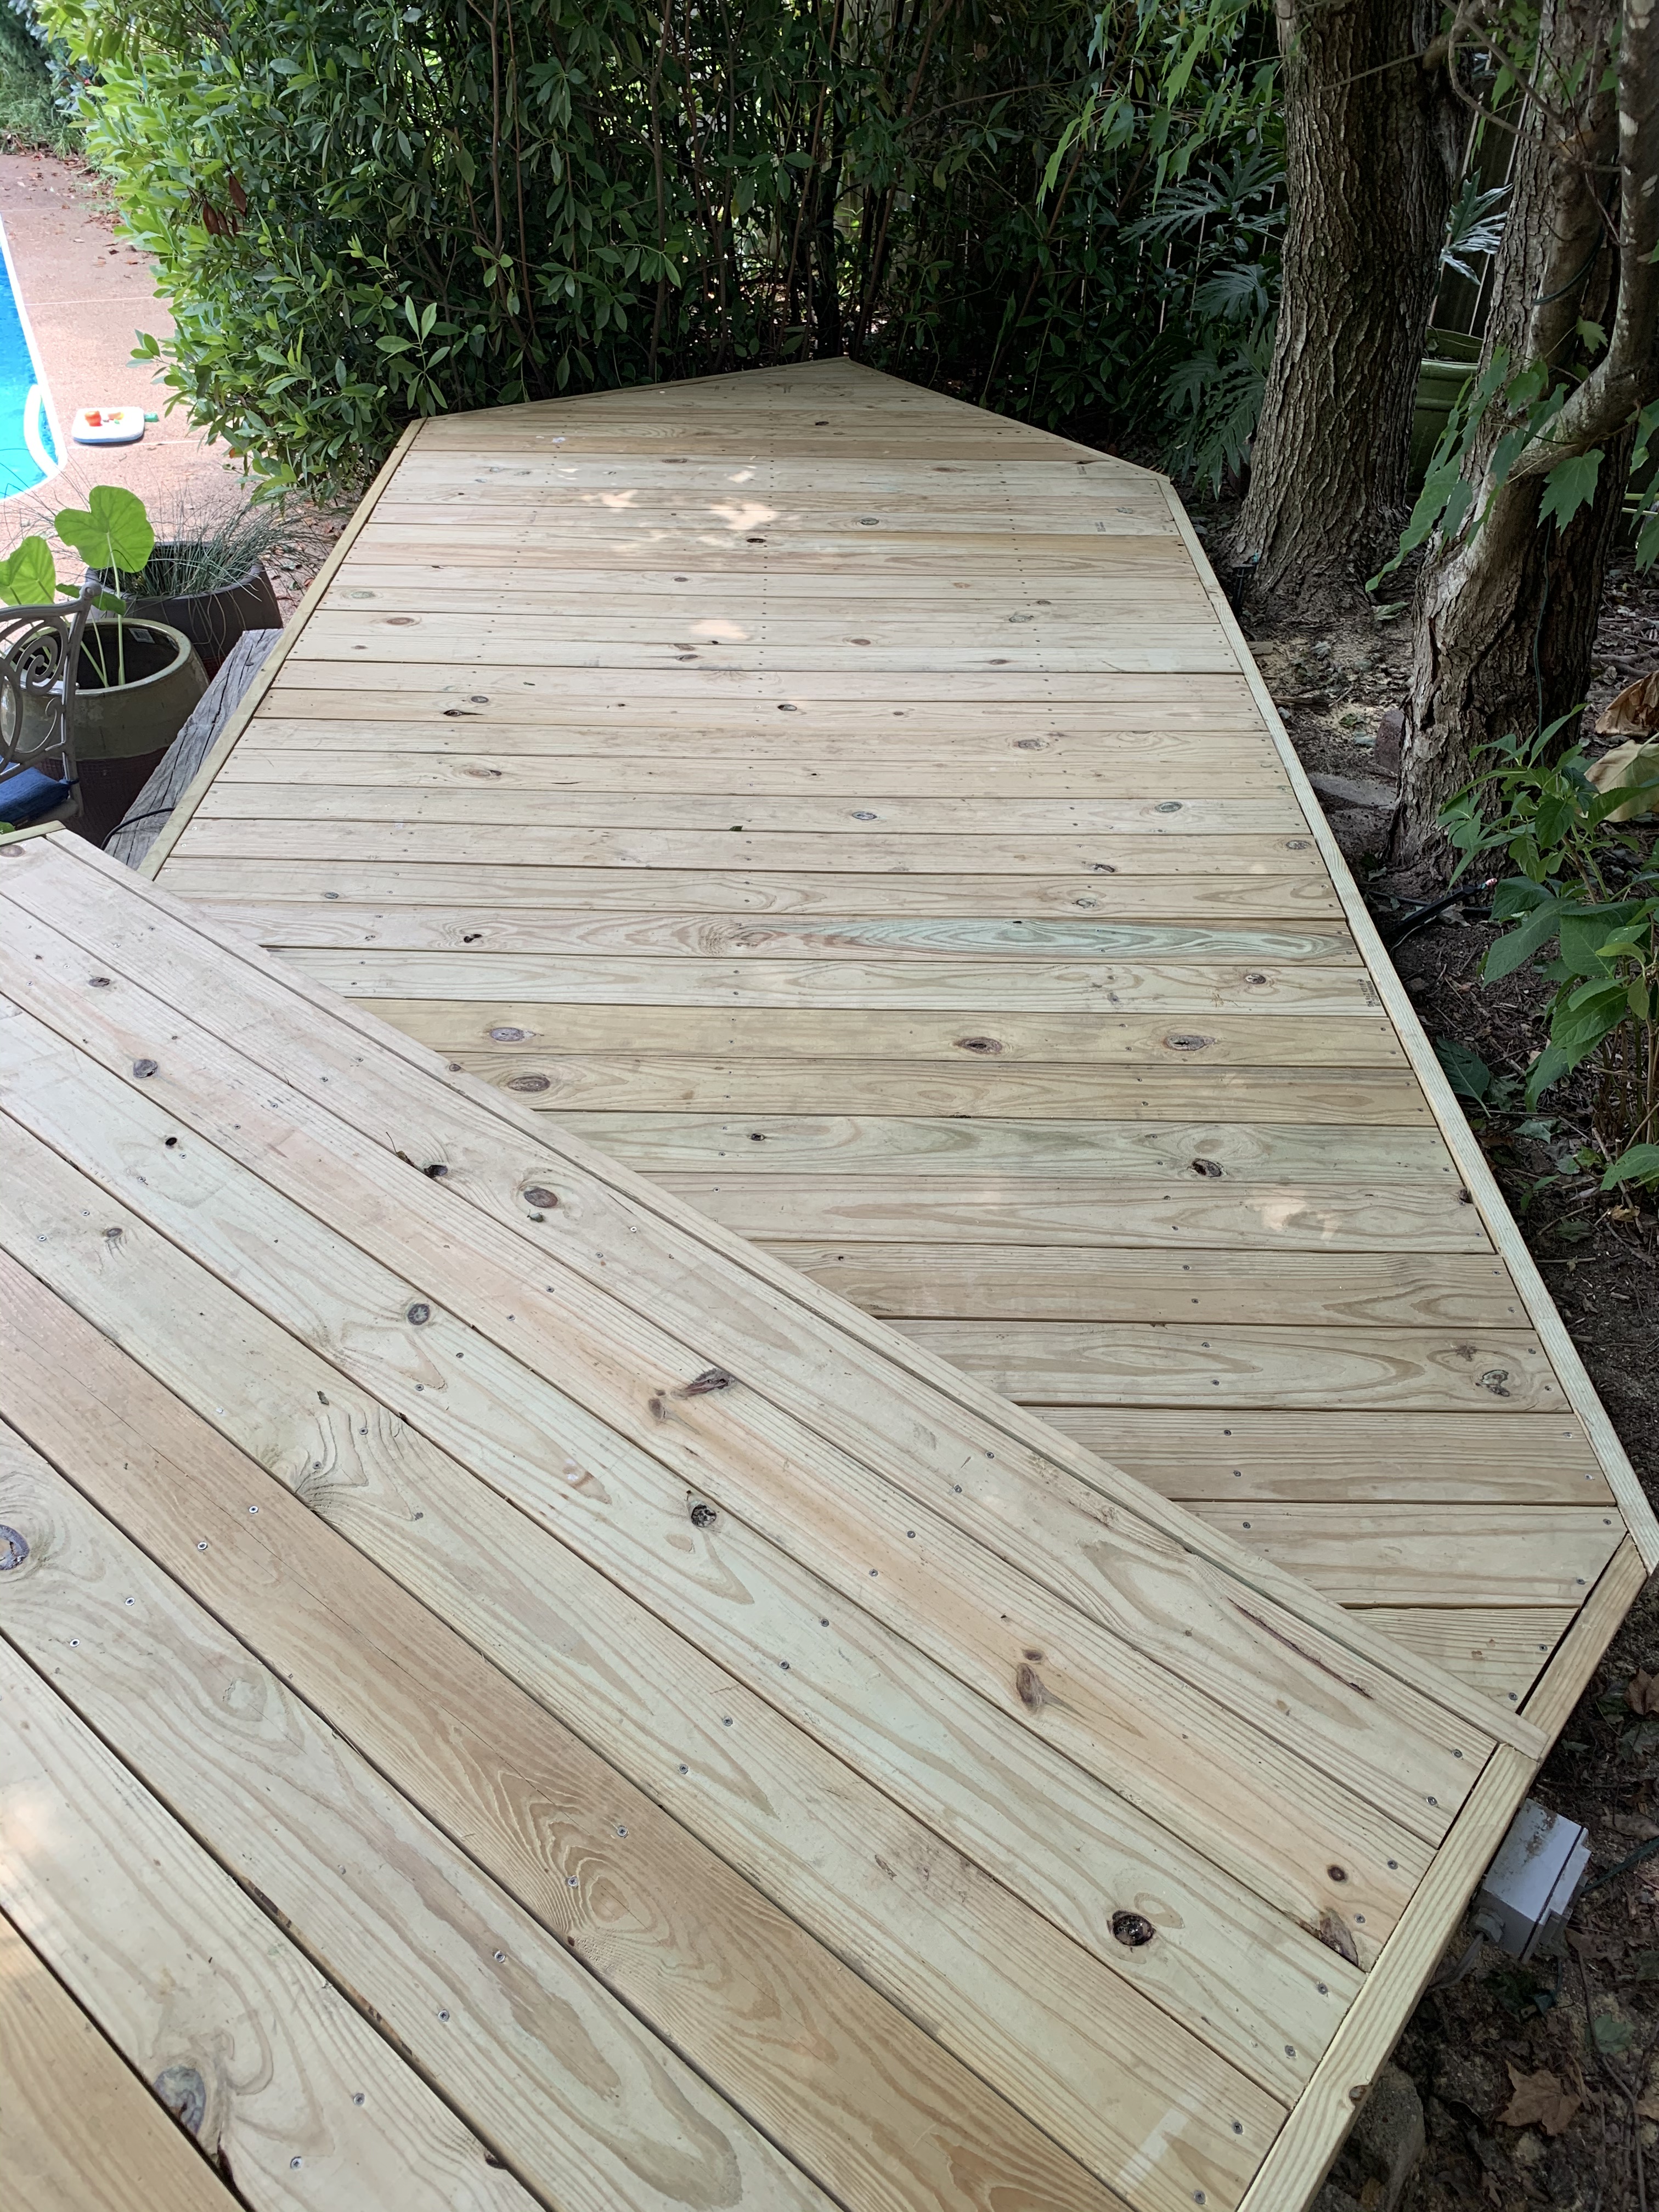
I could really sense an end in sight once I put my tools up for the day and stood here.

Recall from the upper deck, there was a fascia finish board on all four edges of the deck.

Our son’s original design also included this same feature on the lower deck. But to achieve this on the lower deck where it attached to the upper deck meant that I would need to cut deep odd angle cuts in a board to fit down onto the joists just leaving the thickness of a 2 X 6 (1.5 inches) above the joist. It was for this step that I bought a new jigsaw.
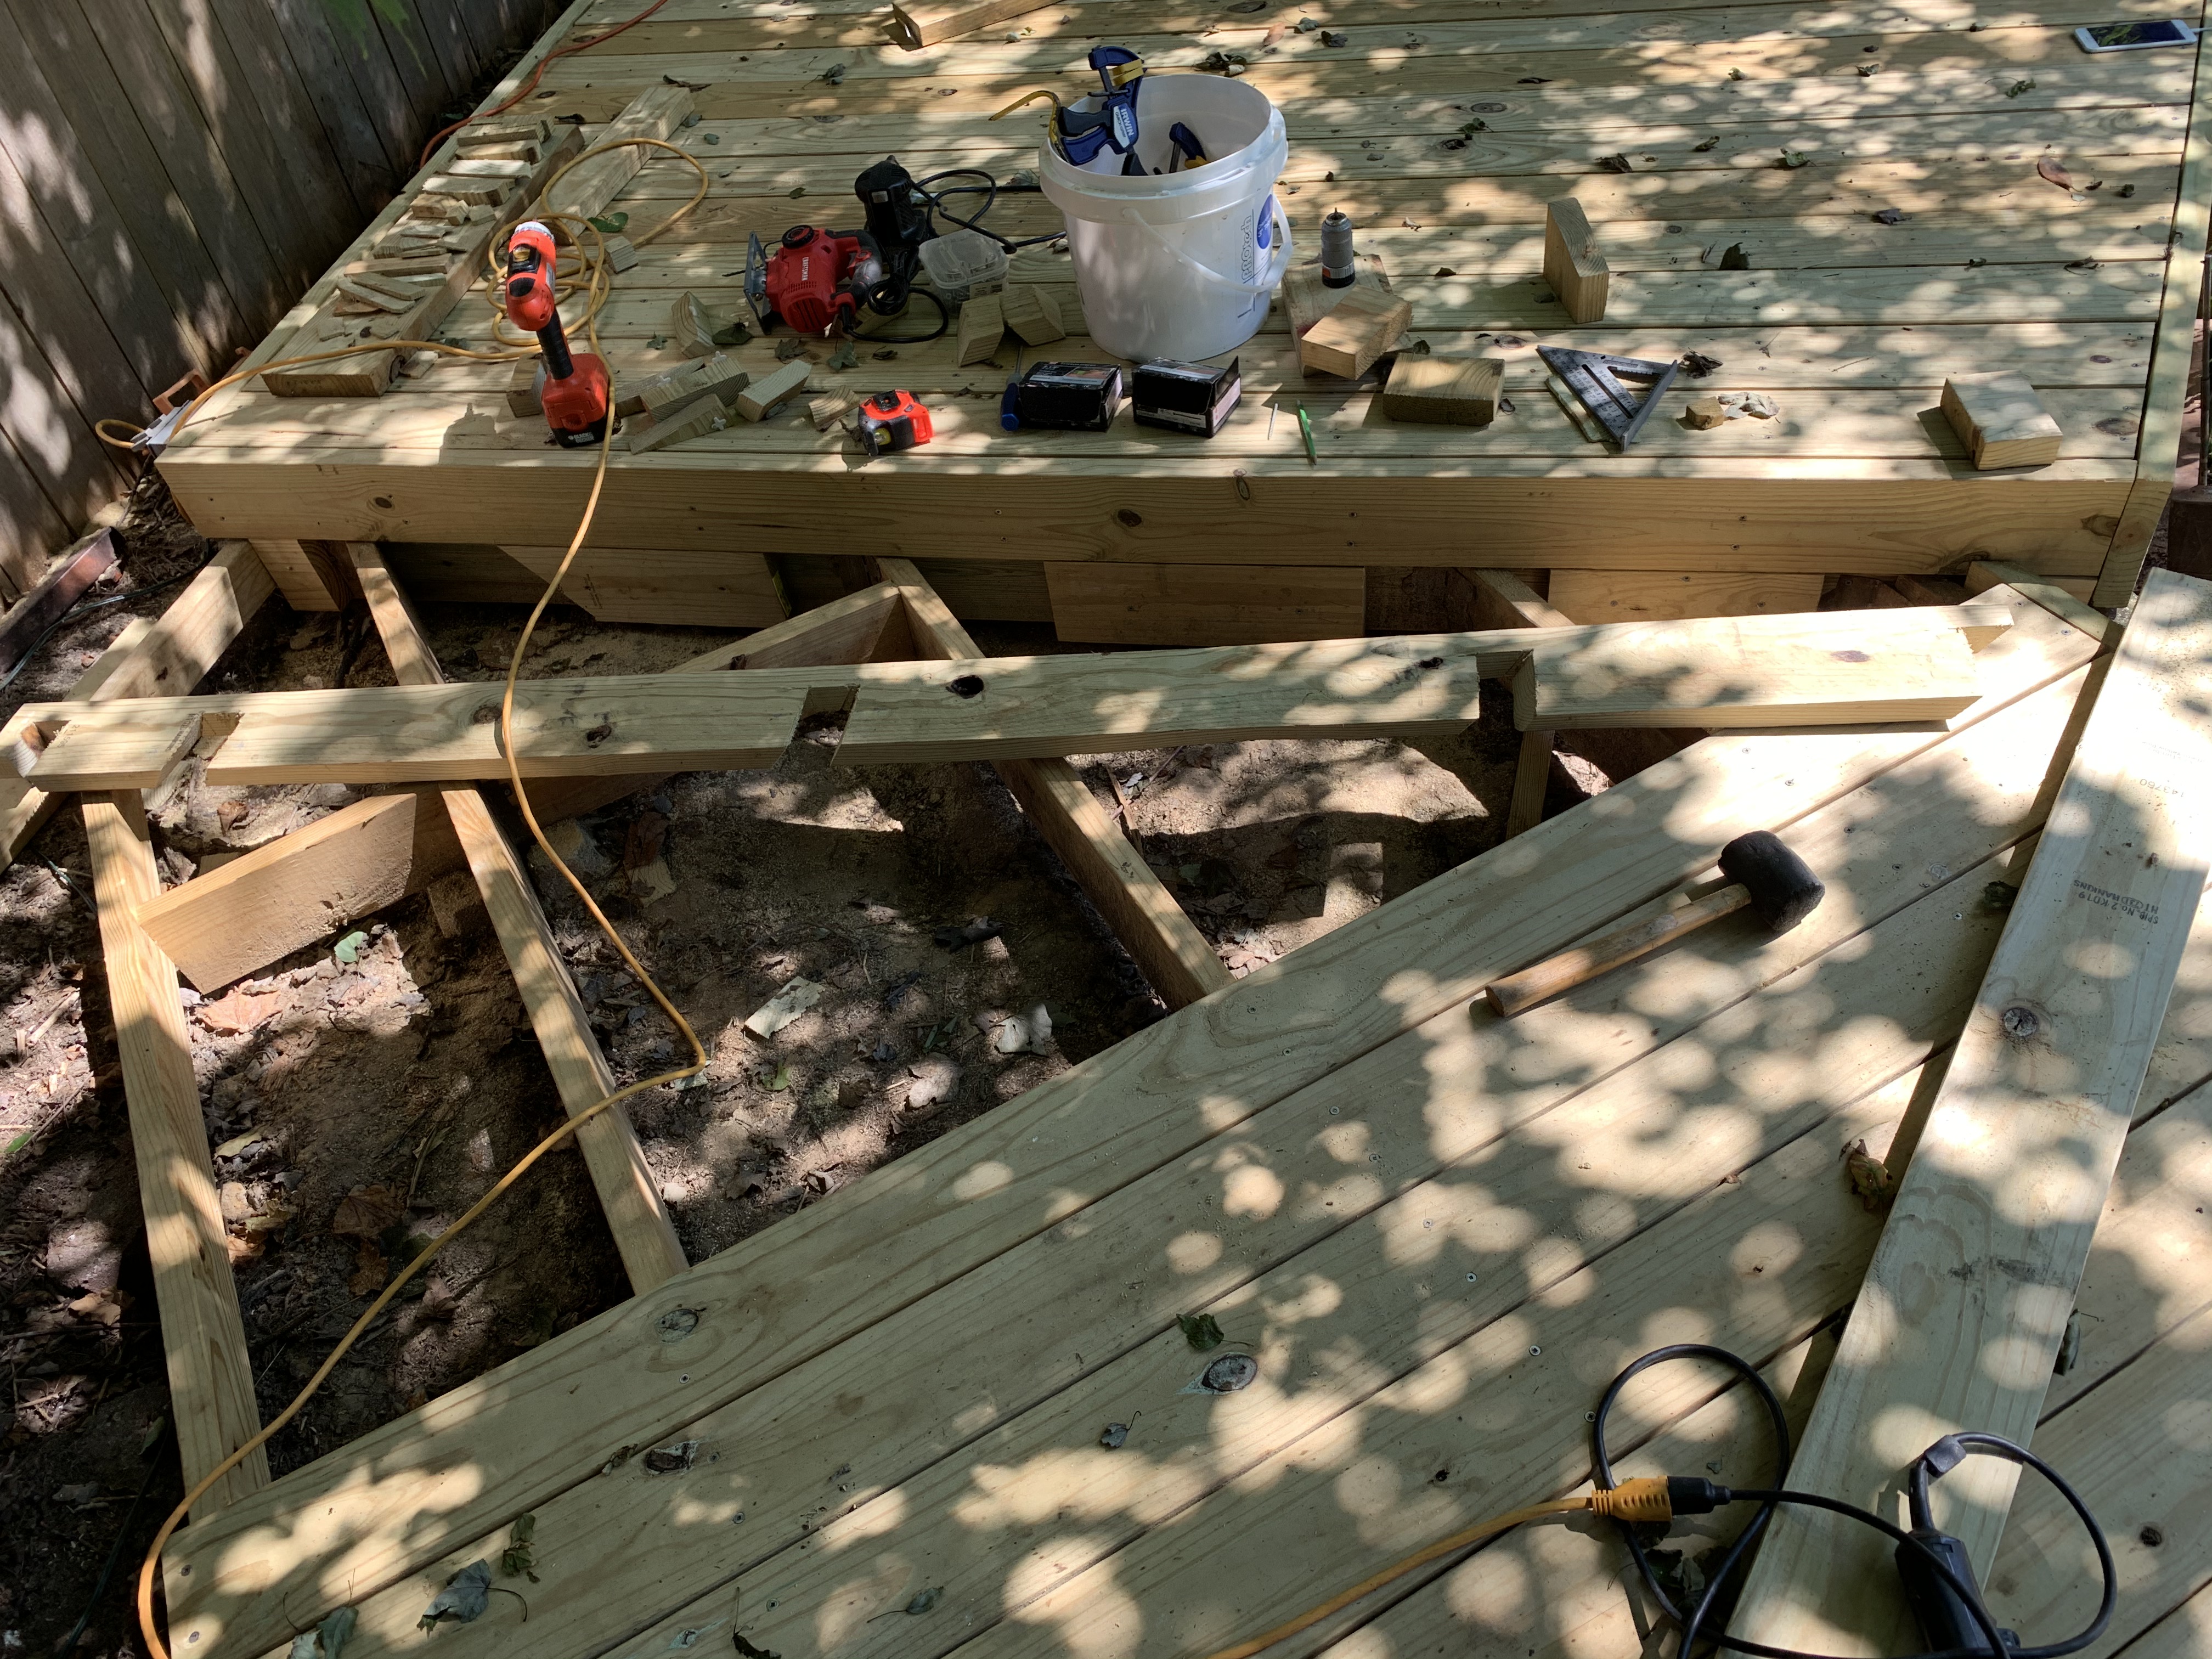
The small pieces of board below the upper deck fascia were necessary to have something to screw this lower deck fascia into.

It took a number of trial and error cuts to get the slots the right size for the five joists the fascia transected but once I got it screwed in, I thought I was ready for the decking.
But as soon as I cut the first board, again a very sharp angle, I realized I had no joist running along the just installed fascia board itself to screw the decking into. I recalled when I was tearing out the old rotted wood that I kept pulling layer after layer of wood. I realized this was a fairly complicated detail that unfortunately was not spelled out in my son’s original drawings. I hoped I would remember how it all went together—I didn’t and so had to “reinvent the wheel” on the fly.
Thankfully I had ordered a few extra boards just in case something unexpected came up and this one additional 8-foot 2 X 4 just fit the bill, which once it was cut to fit between the five joists and screwed in, gave a total of four boards all screwed together.
Naturally this one step took most of my morning and so, by the time it got too hot to work outside, I had only been able to lay down two decking boards.
But by the end of the next morning, I had just two small boards left and then the last of the backside fascia boards to install.

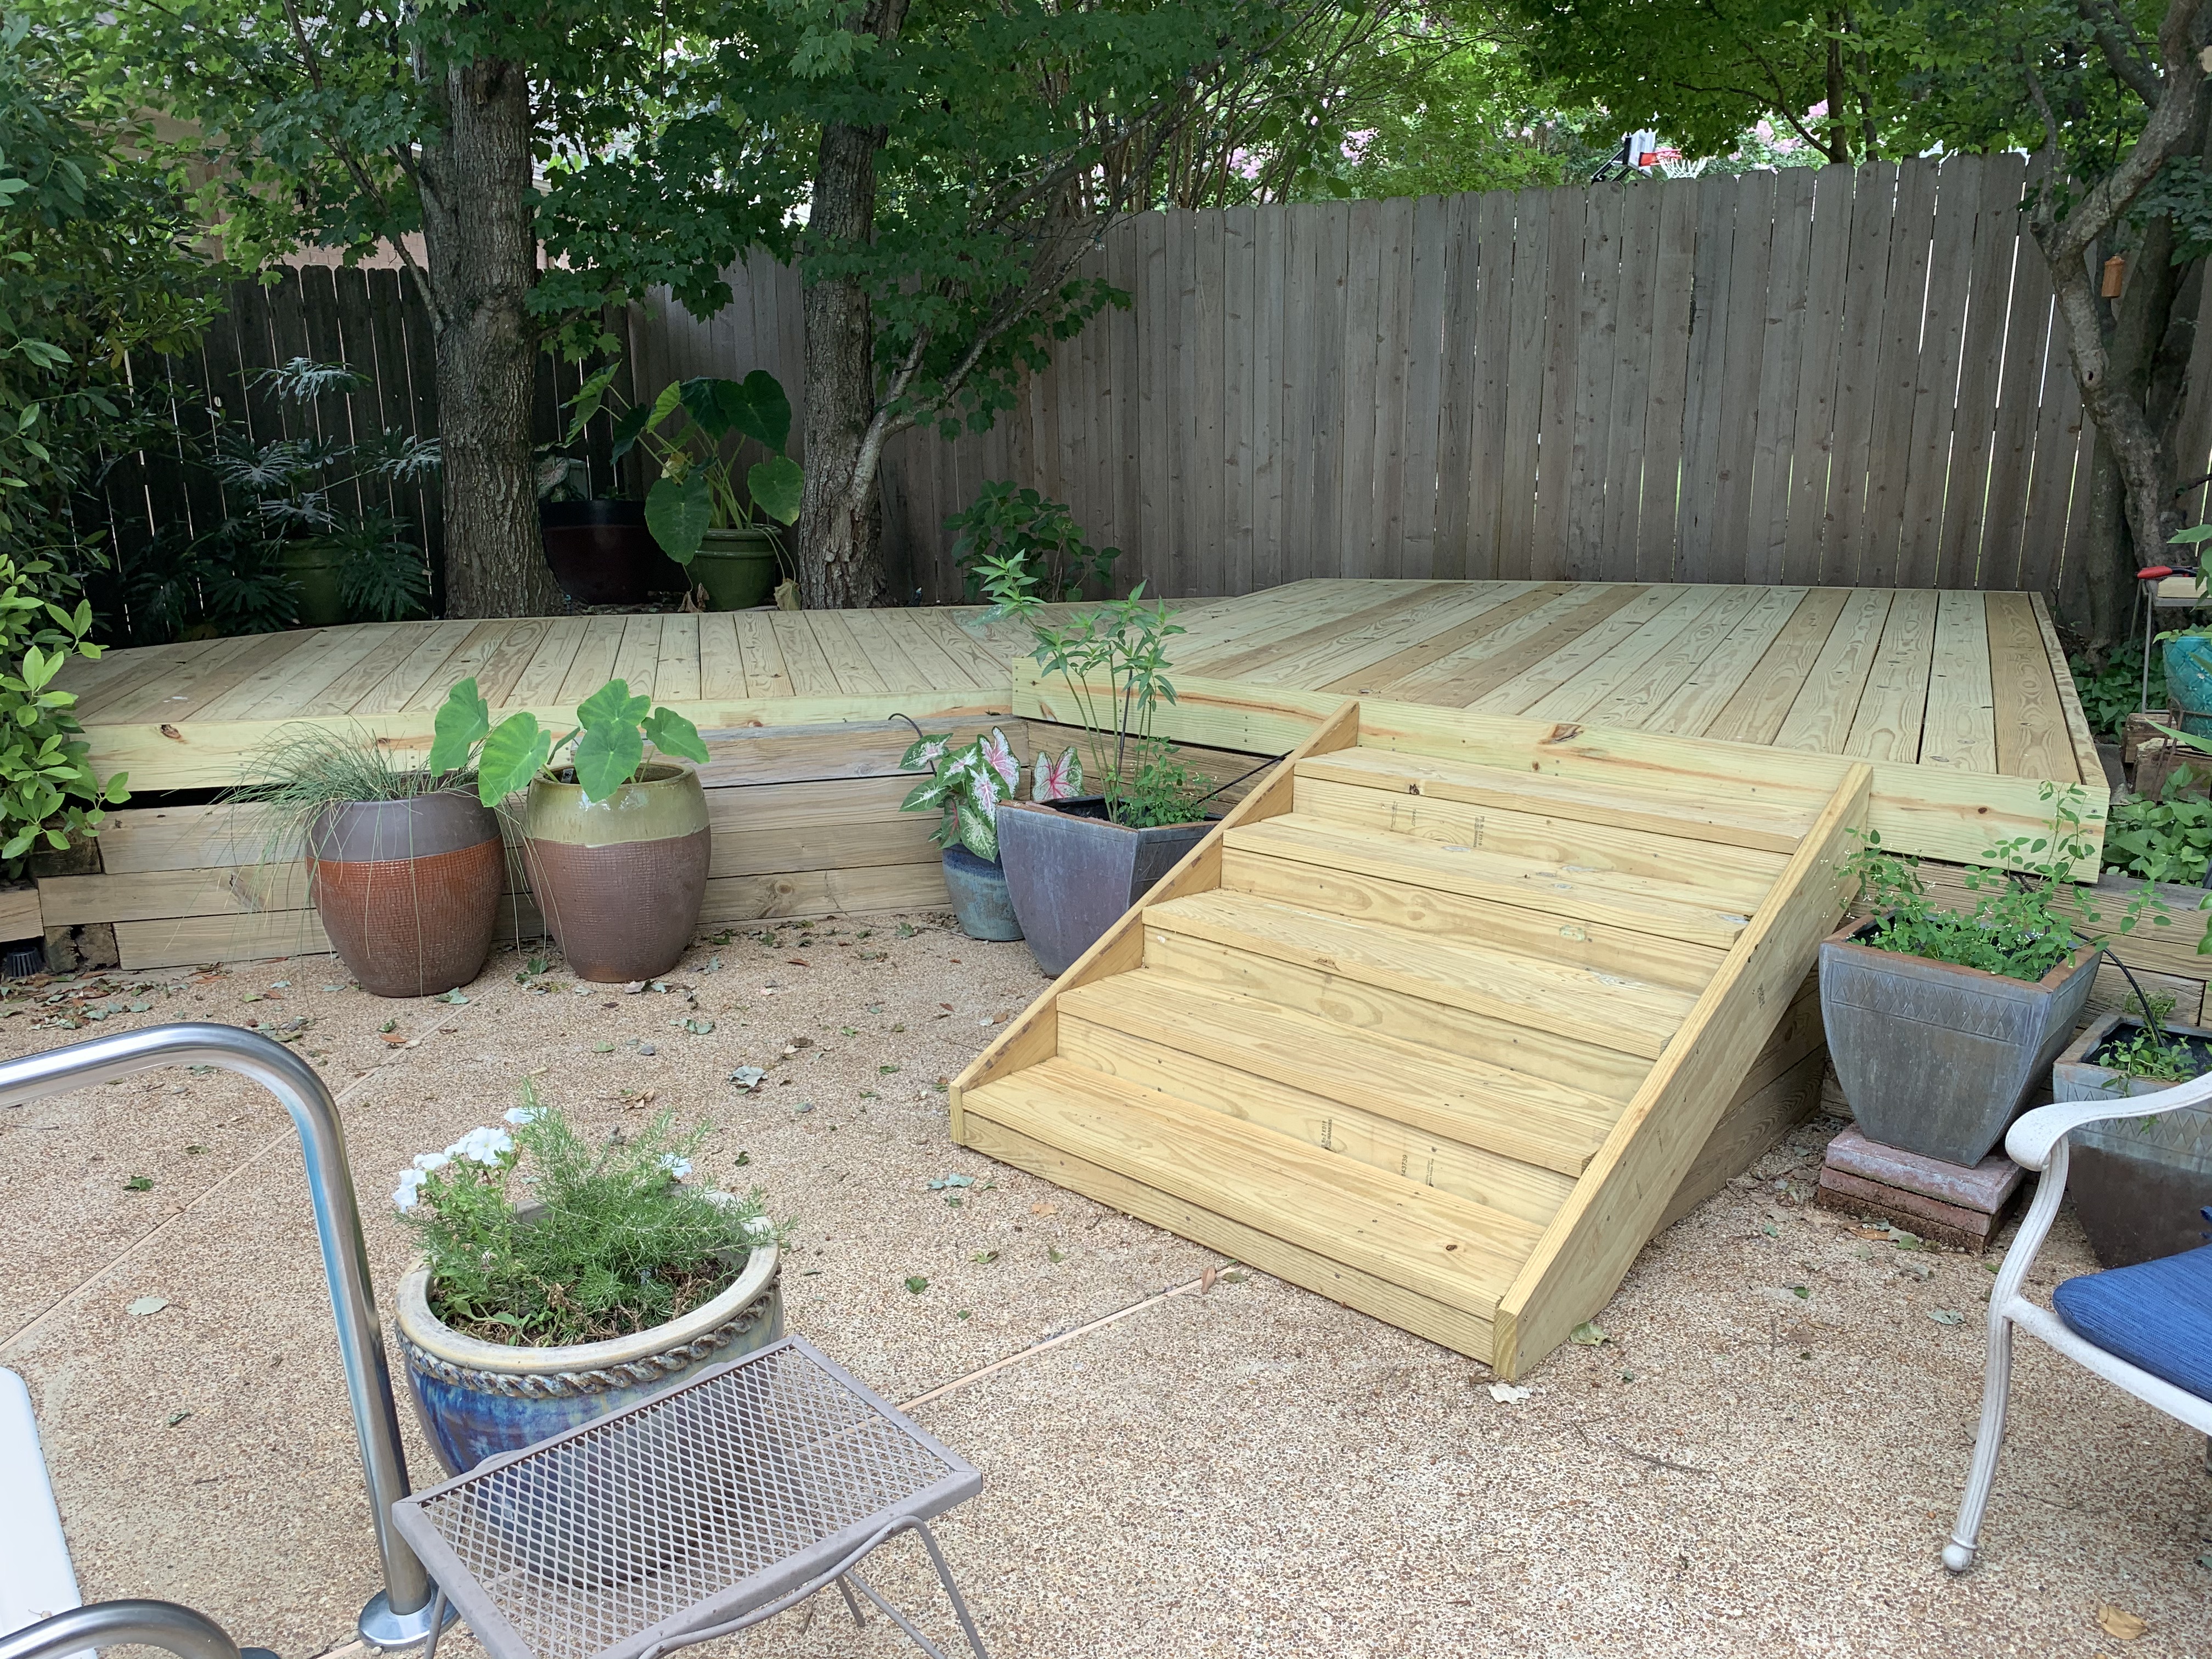
This made my last morning of construction a short one and it was with a great sense of accomplishment that I stood here to take this last photo of the finished lower deck.
In hindsight, given all the issues I had with trying to maintain a level joist frame for the deck using old and new wood, I wished I would have just ripped out all the old joists and started over with new wood. While this would have increased the cost of the project somewhat, it would have greatly reduced my frustration level and all the trial and error shimming that I had do to. New wood would also have simplified getting the deck level front to back and side to side.
I started this project on June 2nd and finished it July 16th. However, because of the heat, I only worked between three and four hours in the morning on the days I didn’t have other pressing things to do (despite being retired, I still had other activities requiring my attention). Looking back at the photos from 2007, we started building the original deck on May 12th and finished it July 7th. But based on the time stamp from those photos, we worked on it all day long just on weekends and holidays (I was still working fulltime then).
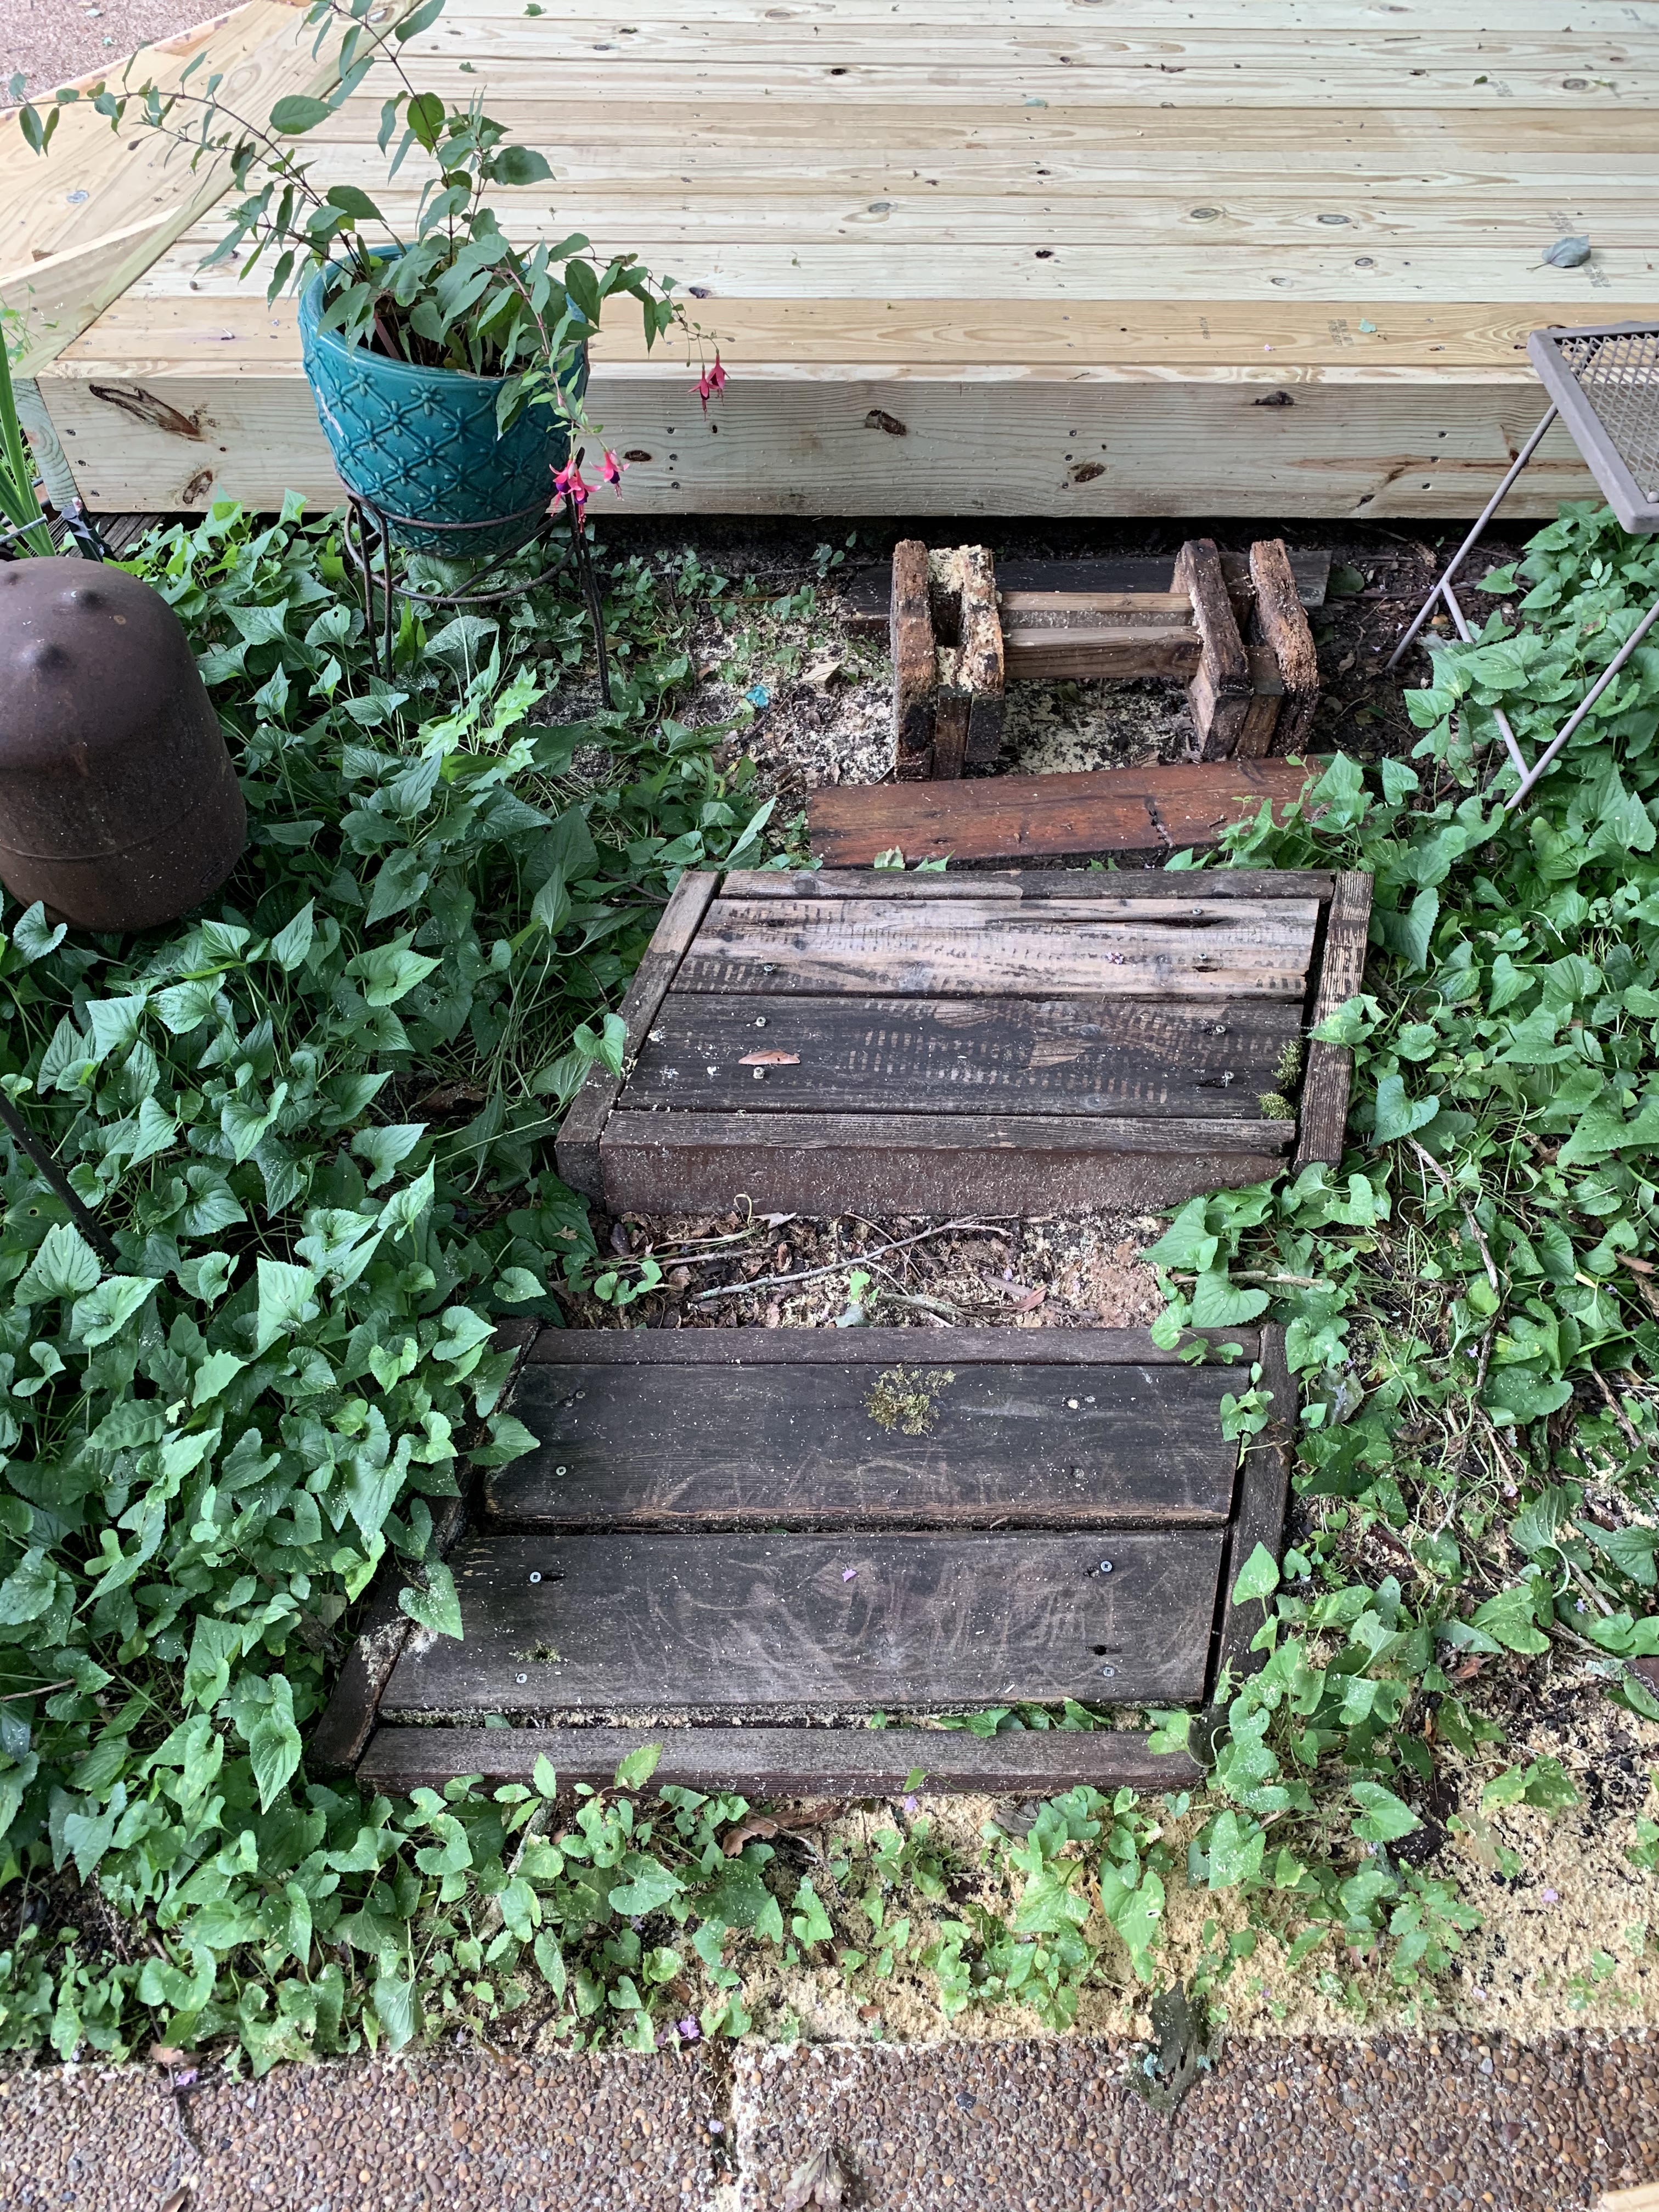
Of course, I still had to rebuild the steps to the right side of the deck but considering it was two years later before I built these…
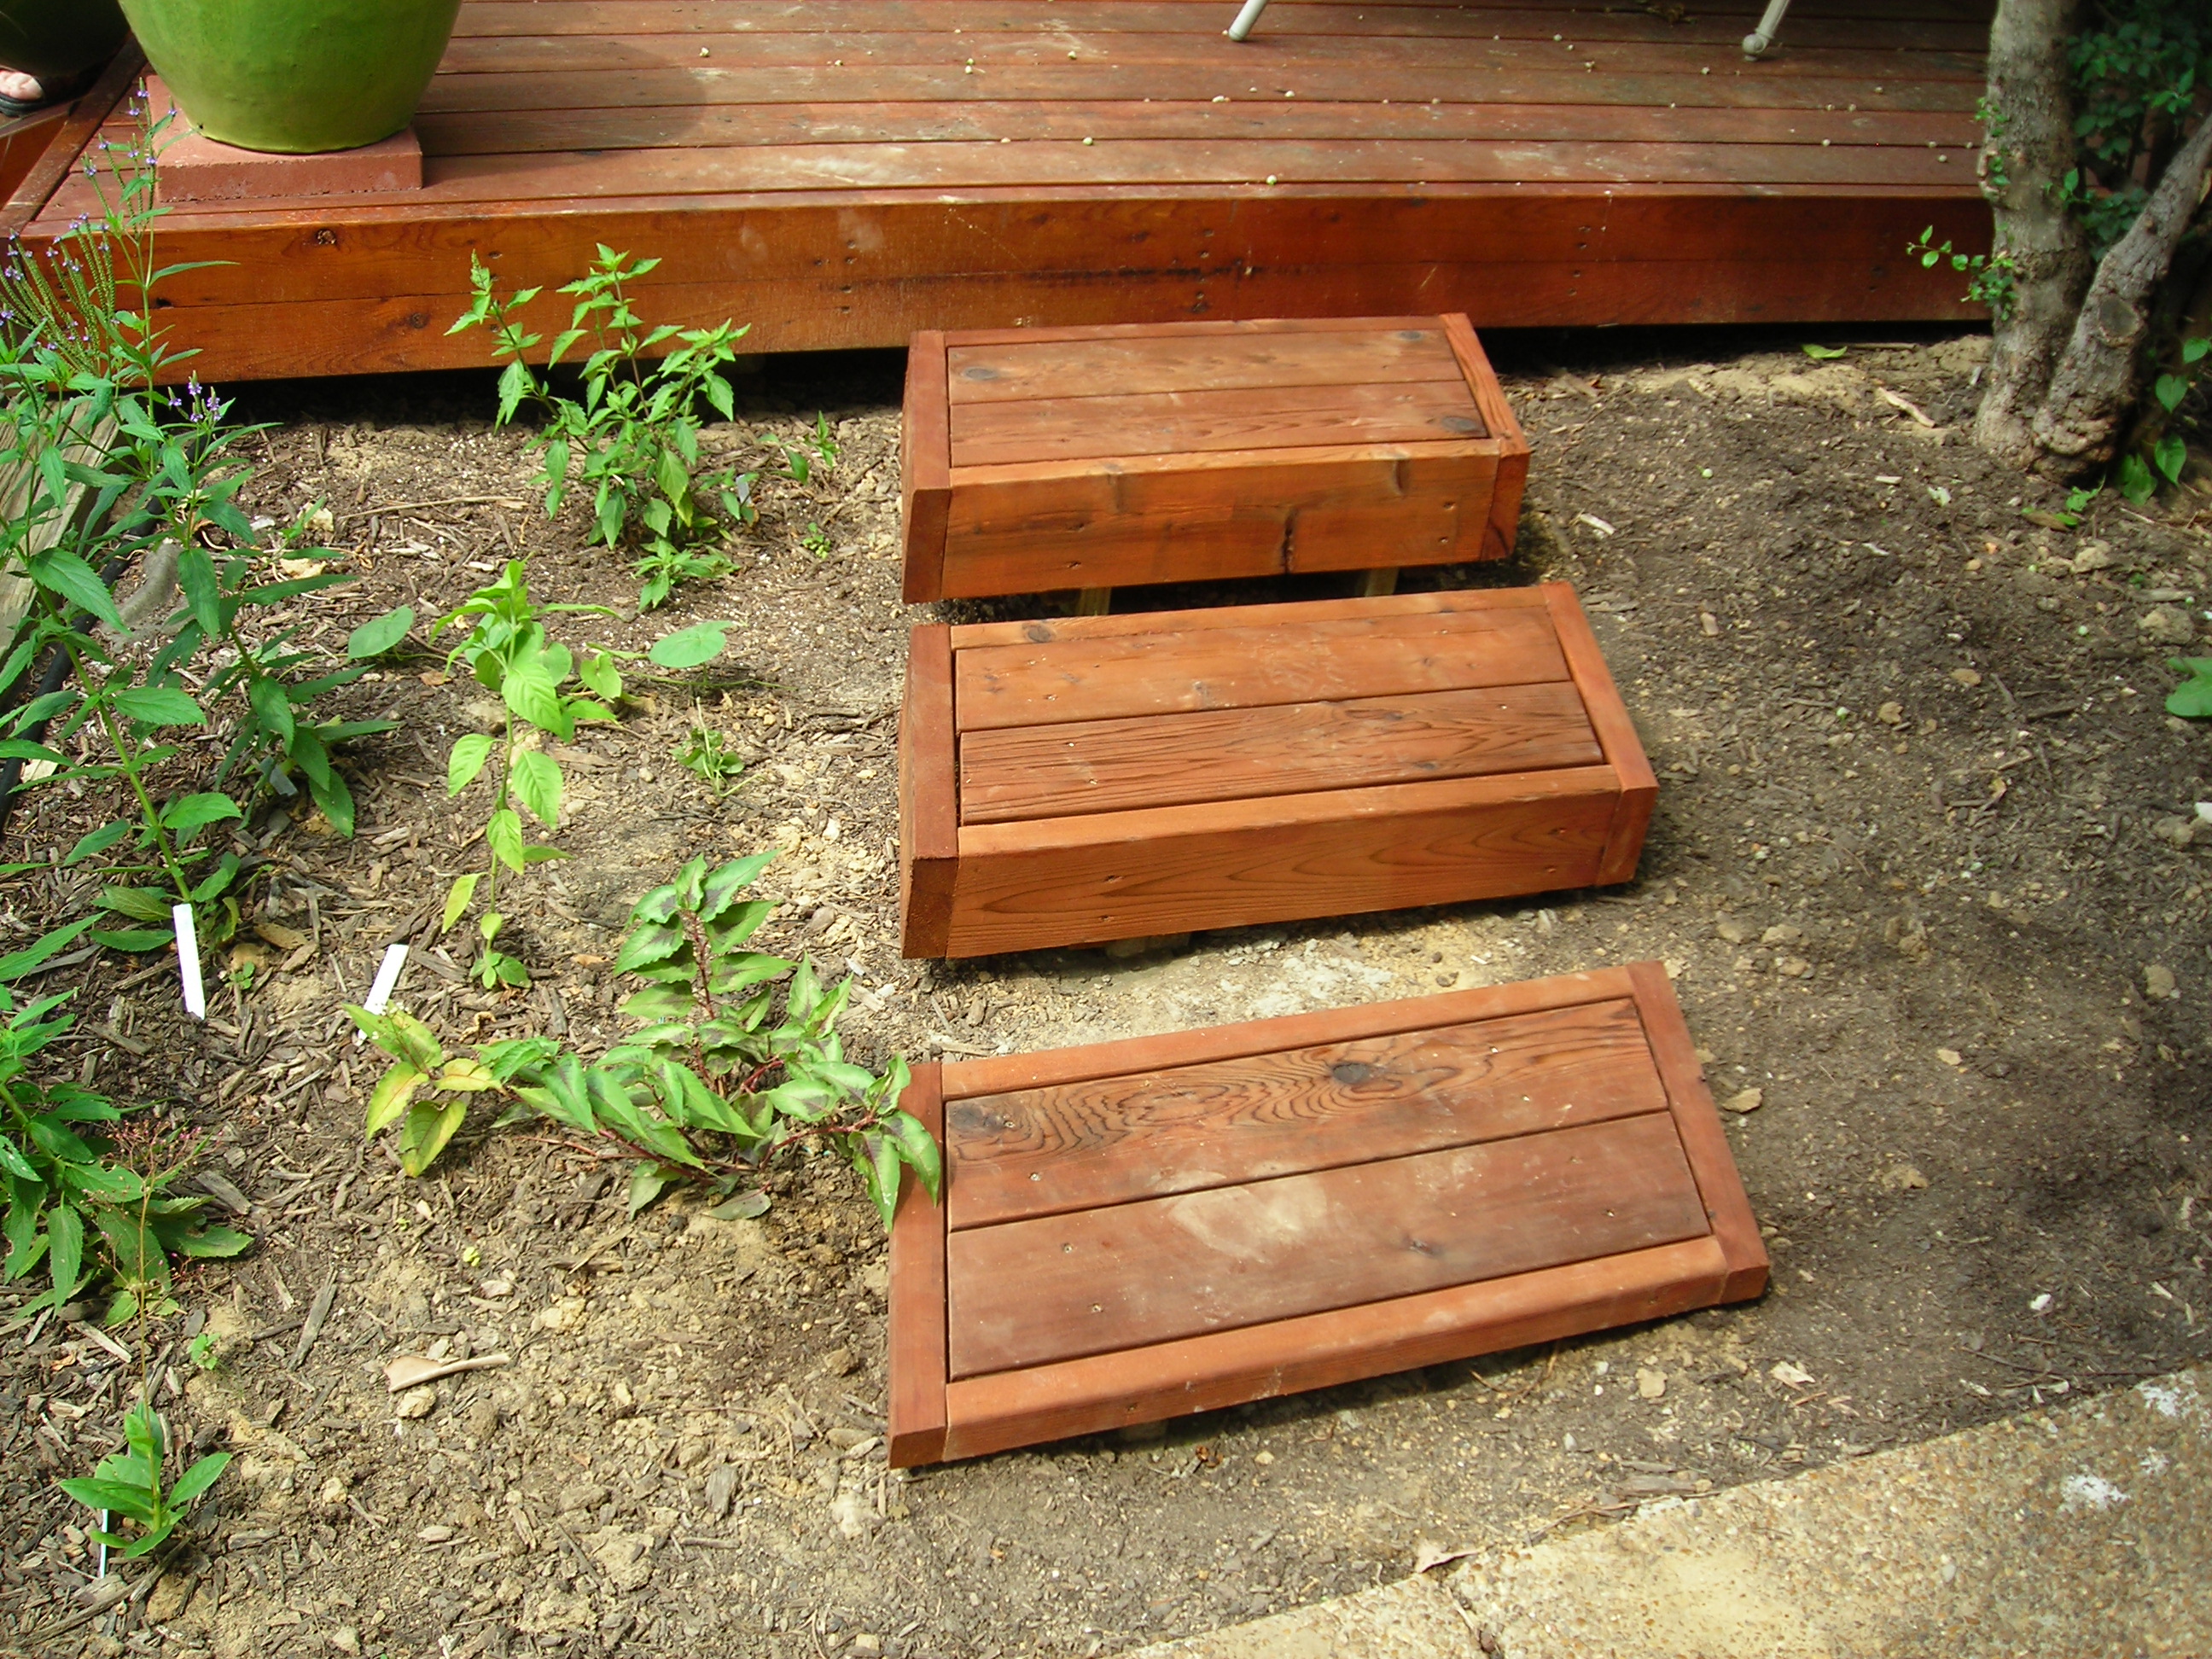
…even if I didn’t get them completed until August, I would still be way ahead of the game.
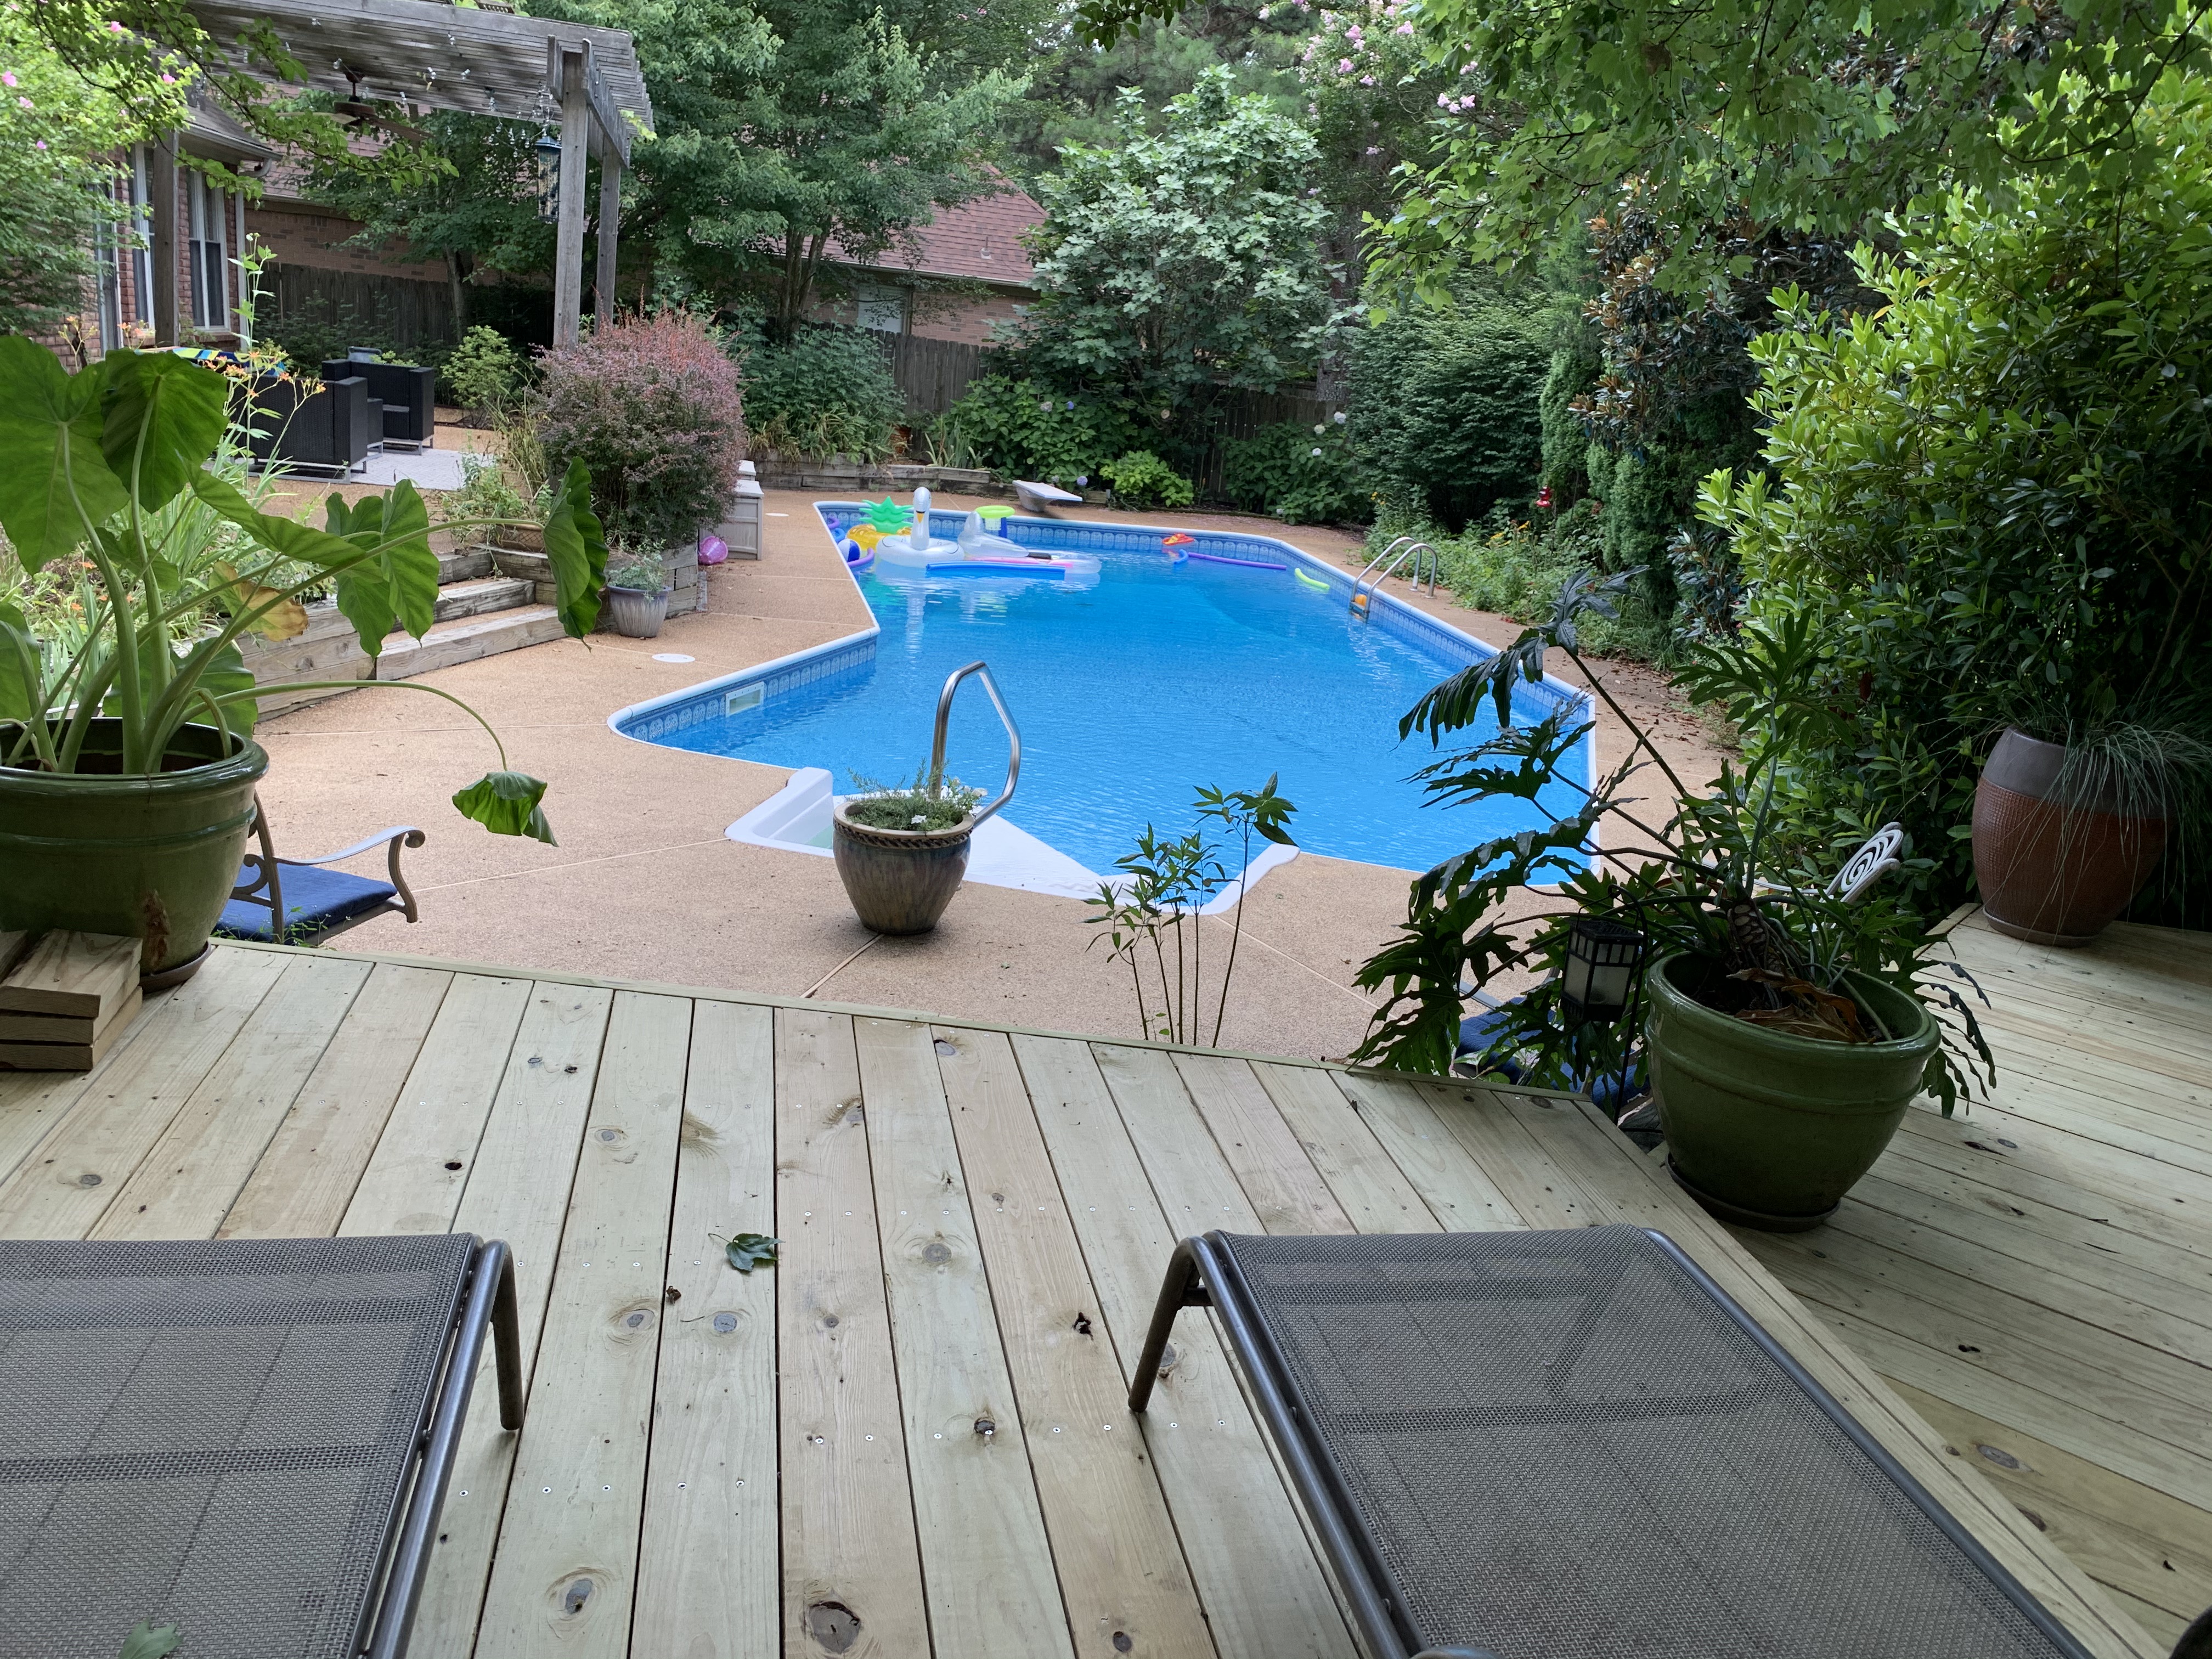
In the meantime, my wife and I could once again enjoy sipping on a cold adult beverage while overlooking this view.
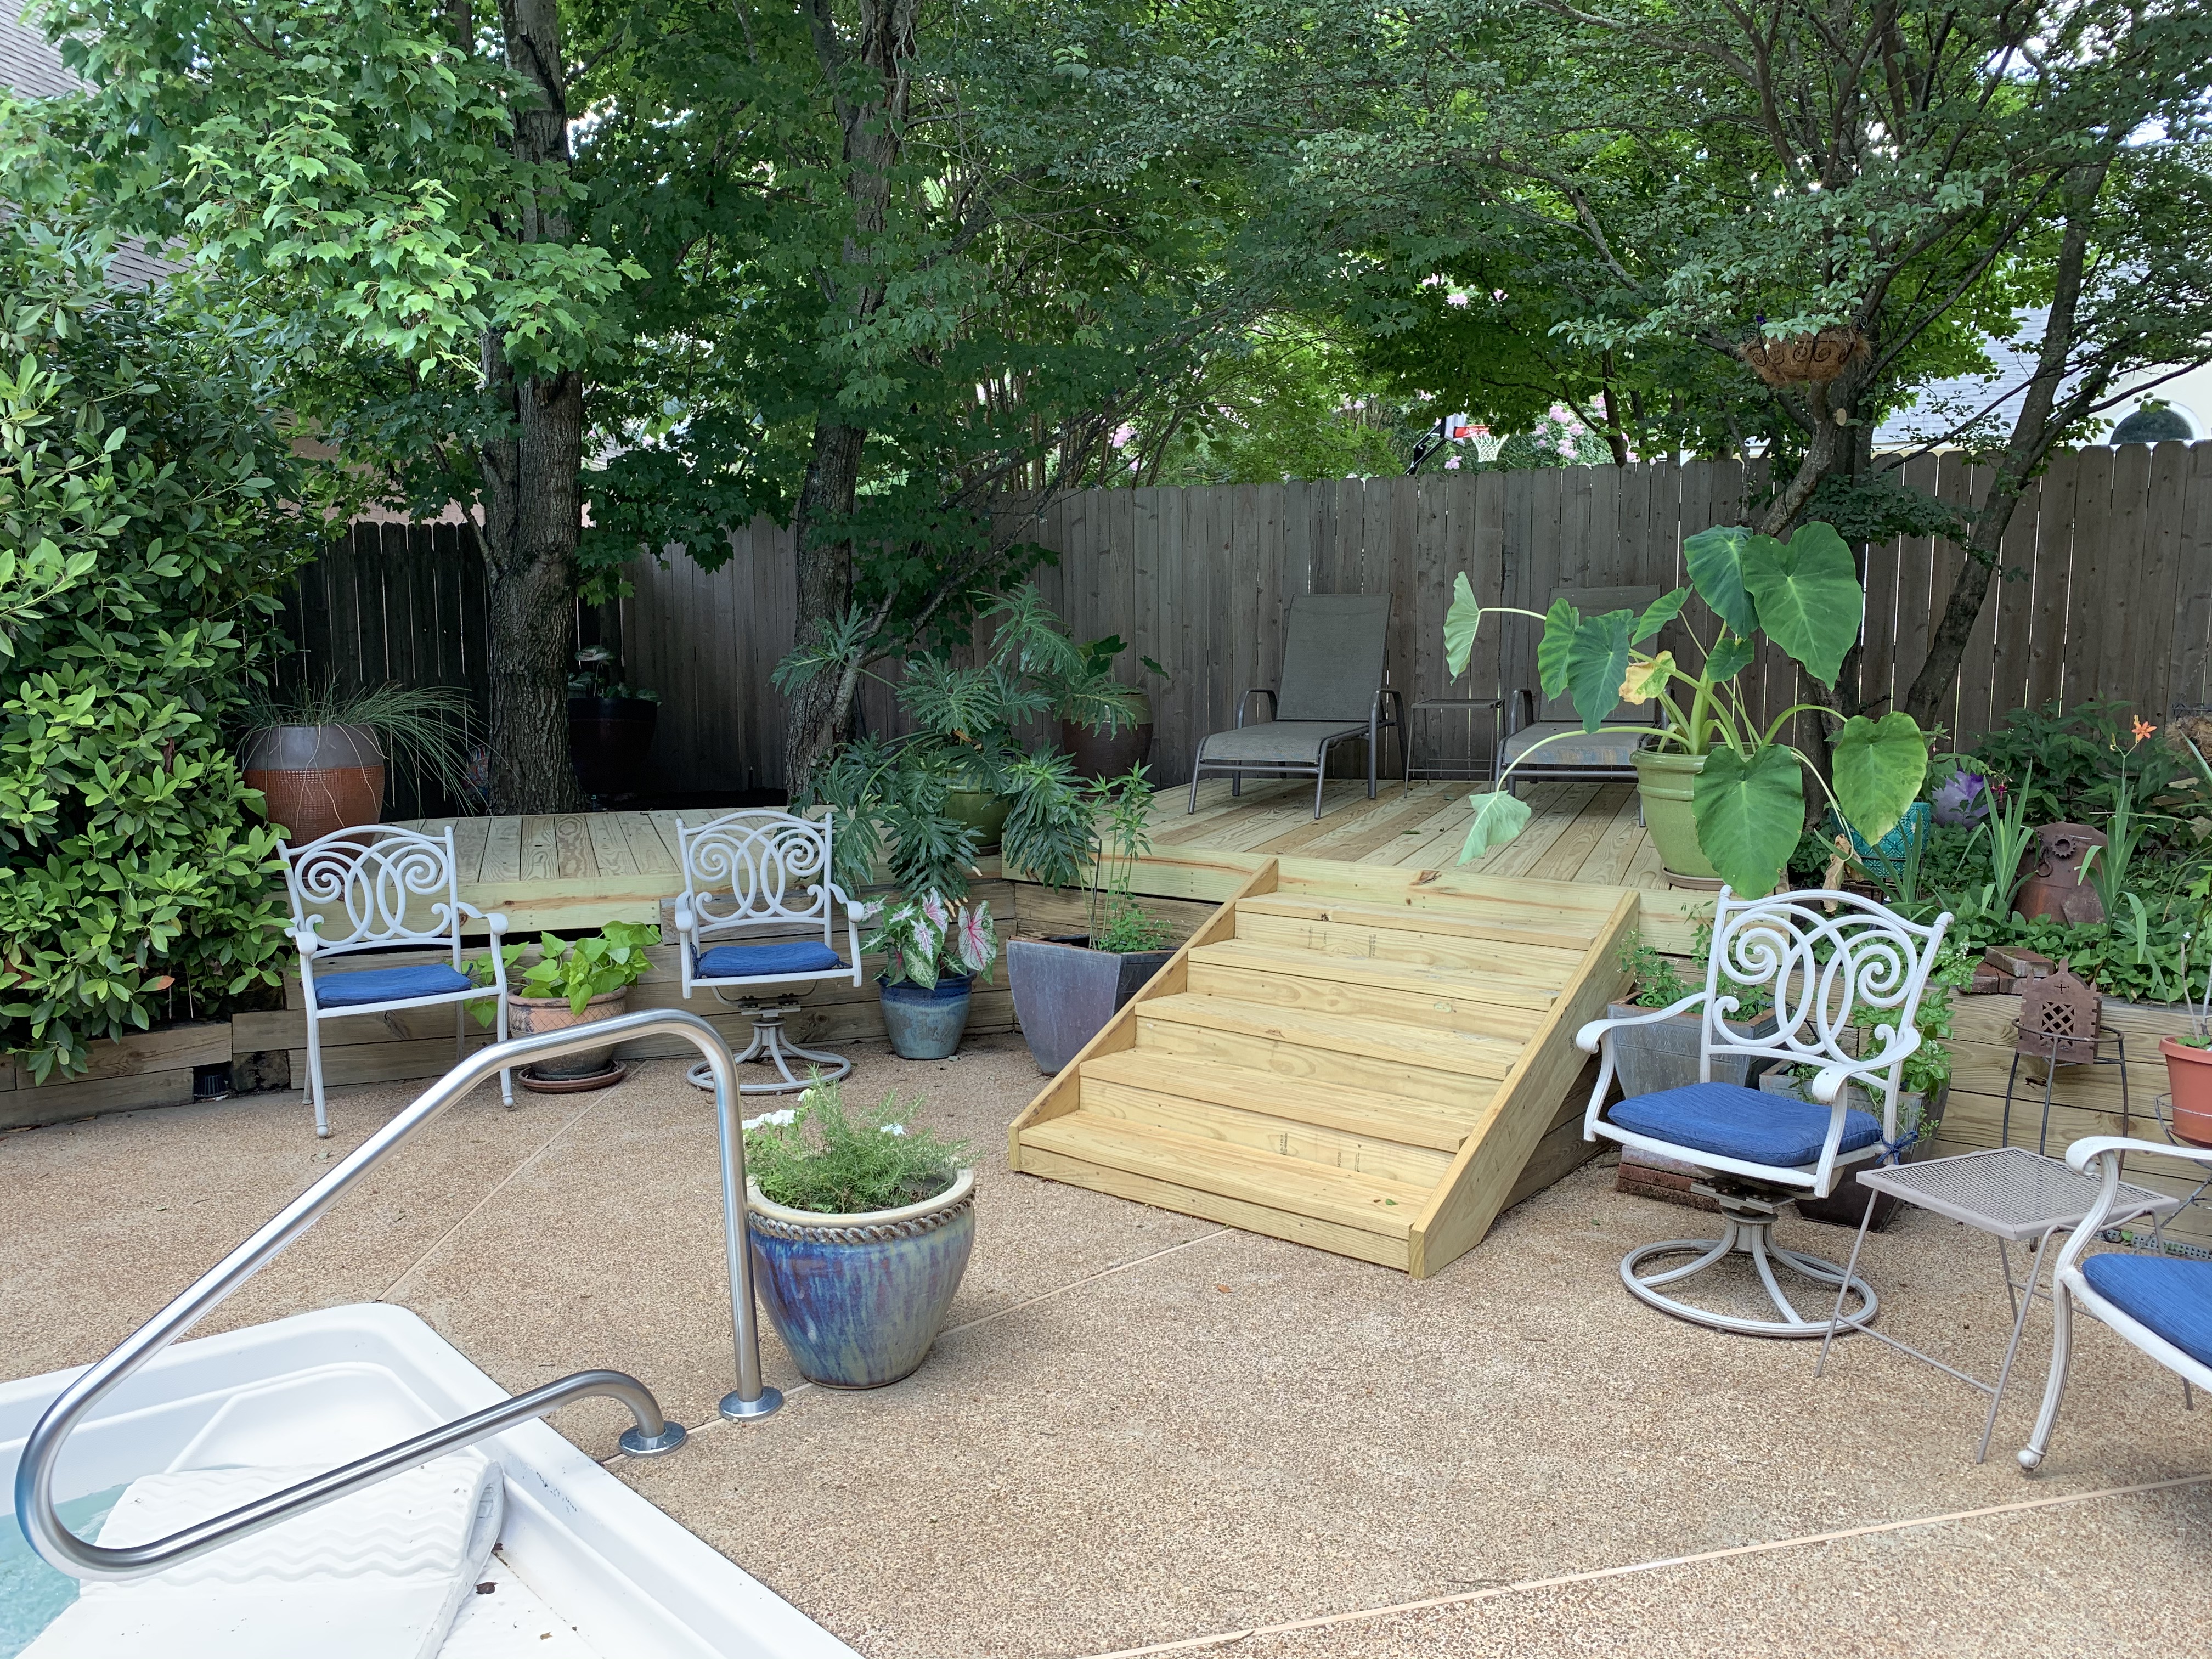
While using the pressure-treated wood didn’t retain the distinctive look of the western red cedar…

…thanks to our son’s original vision and creative design, it still is a unique, one-of-a-kind deck!
Categories

Beautiful!
Thanks but I have to credit Martin’s original design. It is nice to have it looking nice again.
Cool story. Thanks!
Thanks, glad you enjoyed reading about it. Now we just have to get together to enjoy a nice cold one while sitting on it.