
“Step Right Up”
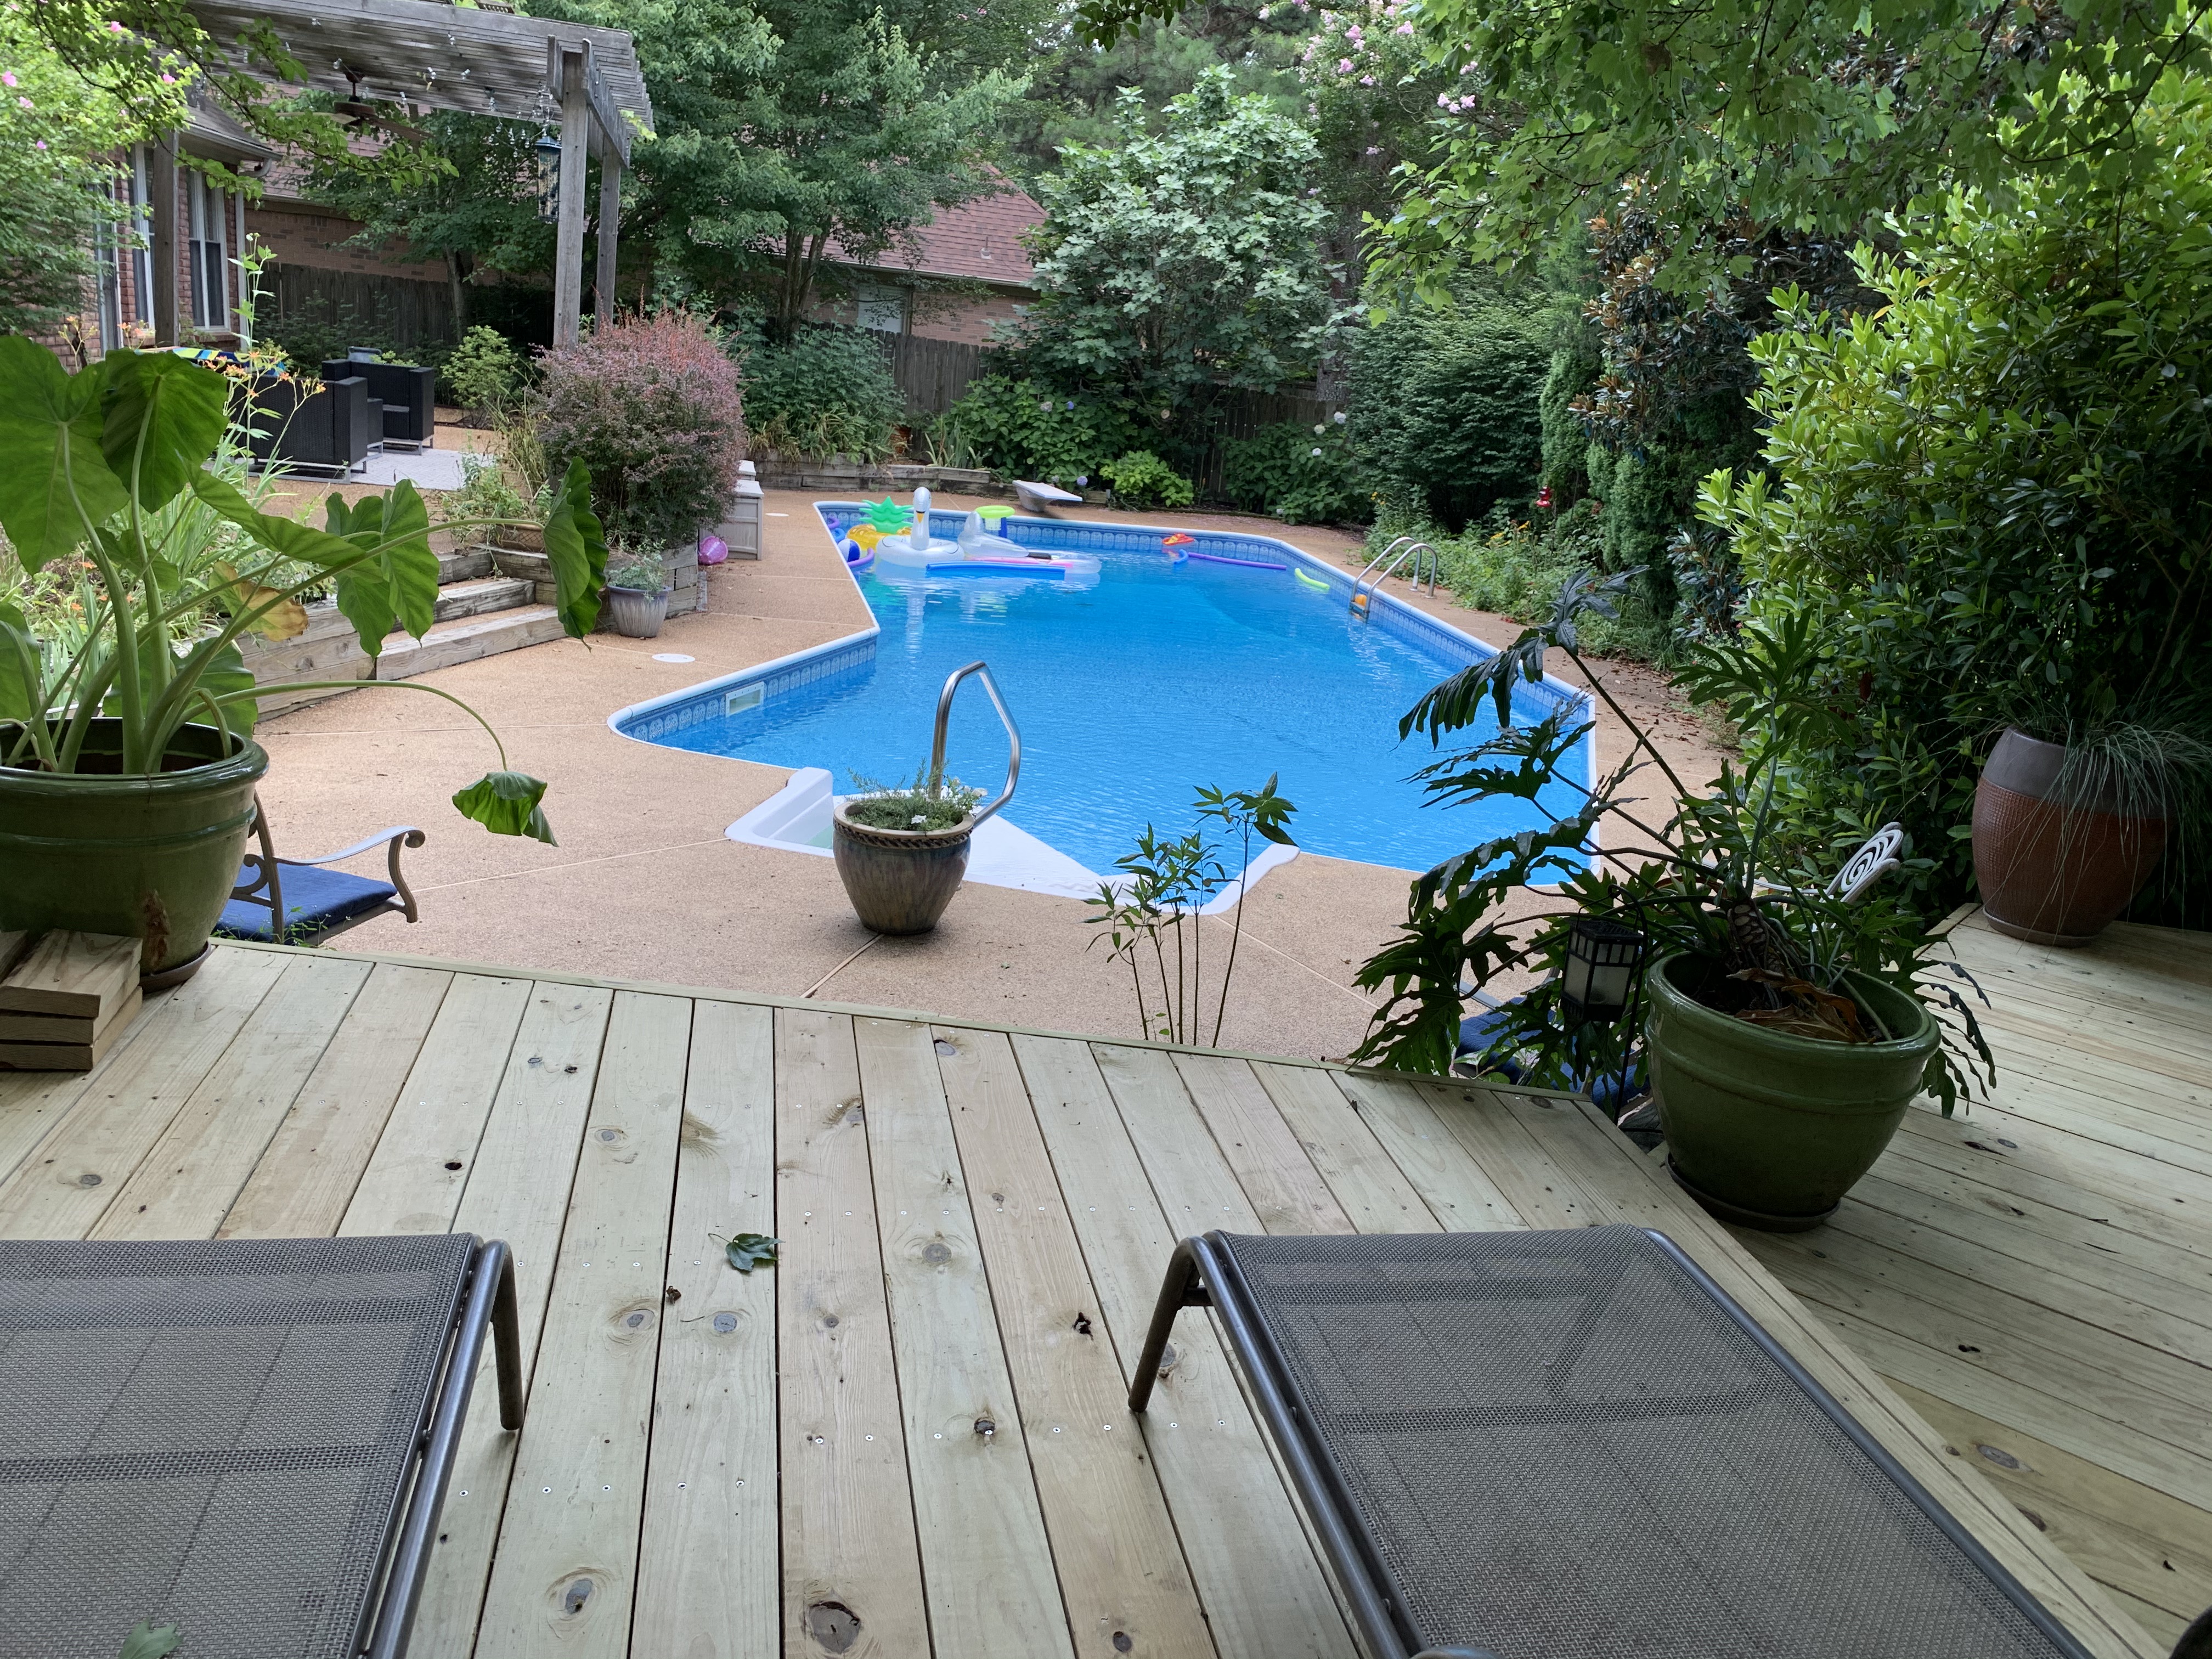
Once I rebuilt the deck overlooking our pool, I knew I would have to rebuild the steps leading from the walkway as well.
But unlike the deck where it was not until I had removed the decking that I discovered so much rotted wood, these steps visibly showed their deterioration.
As I was working on the deck, I would often roll over in my mind how I should rebuild the steps.
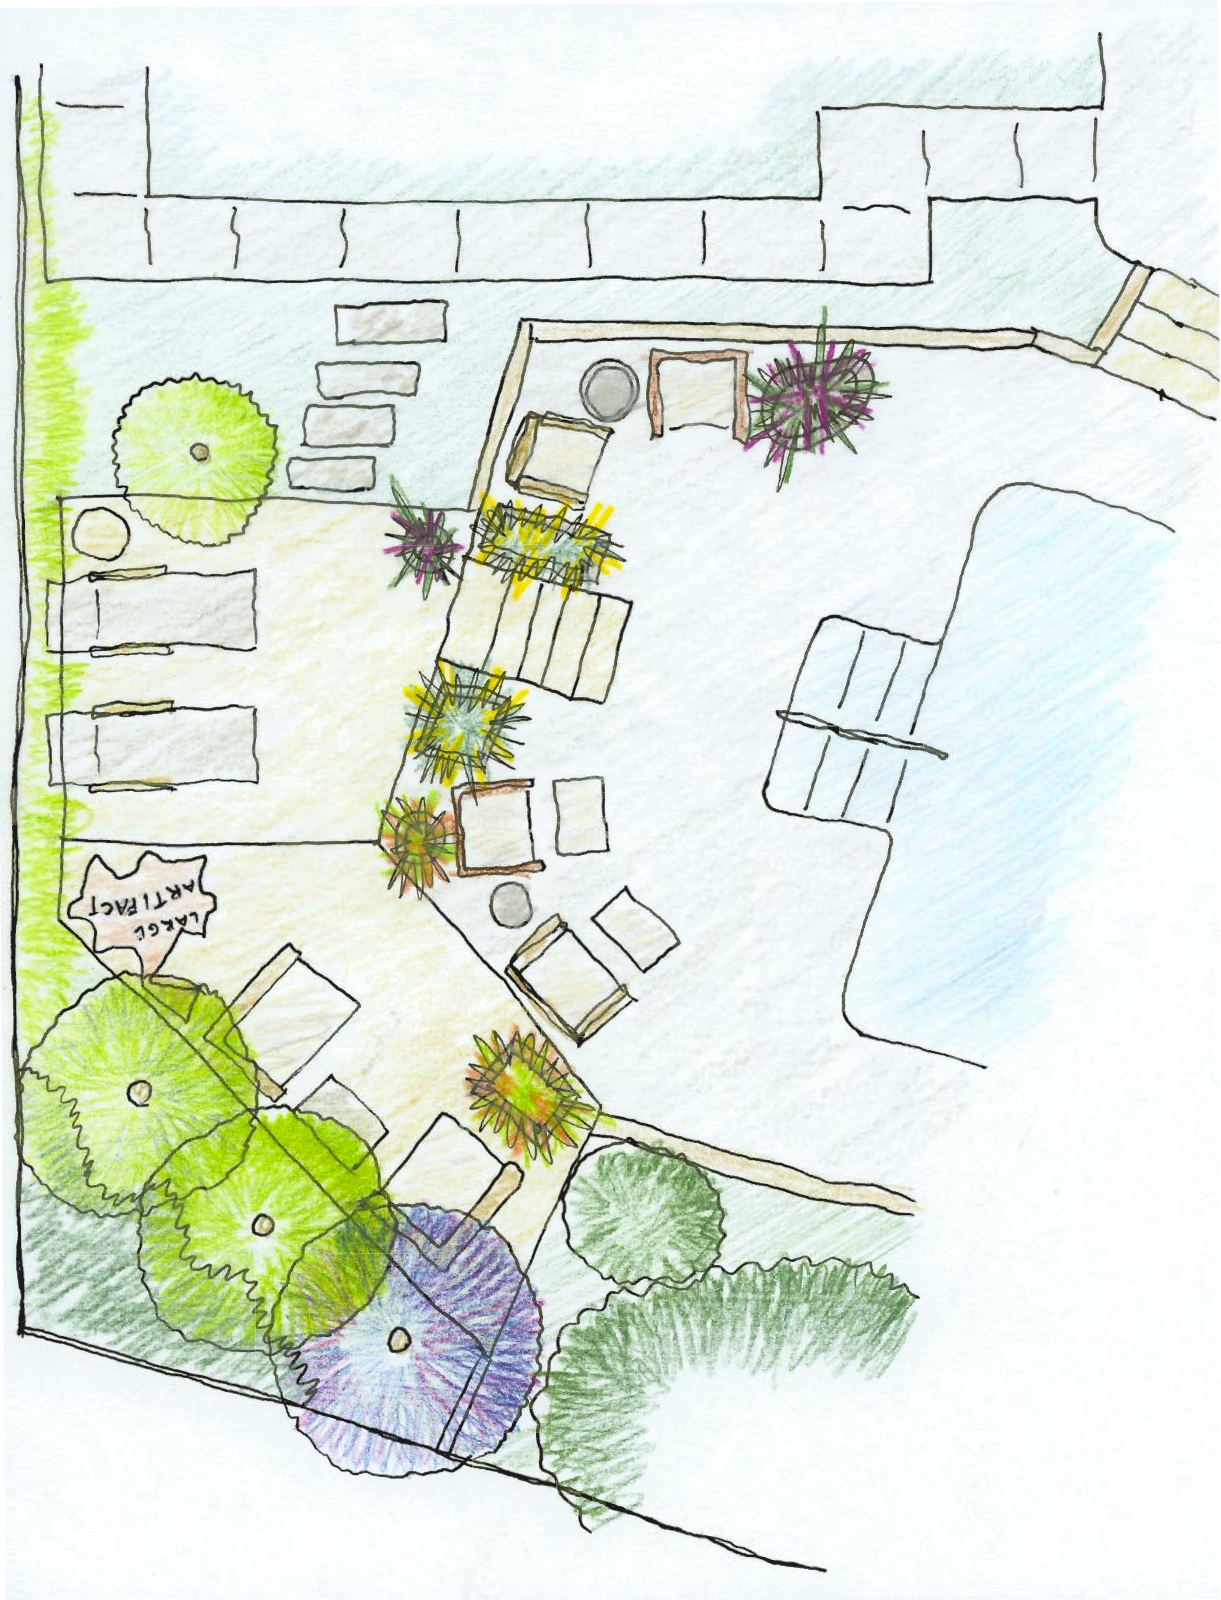
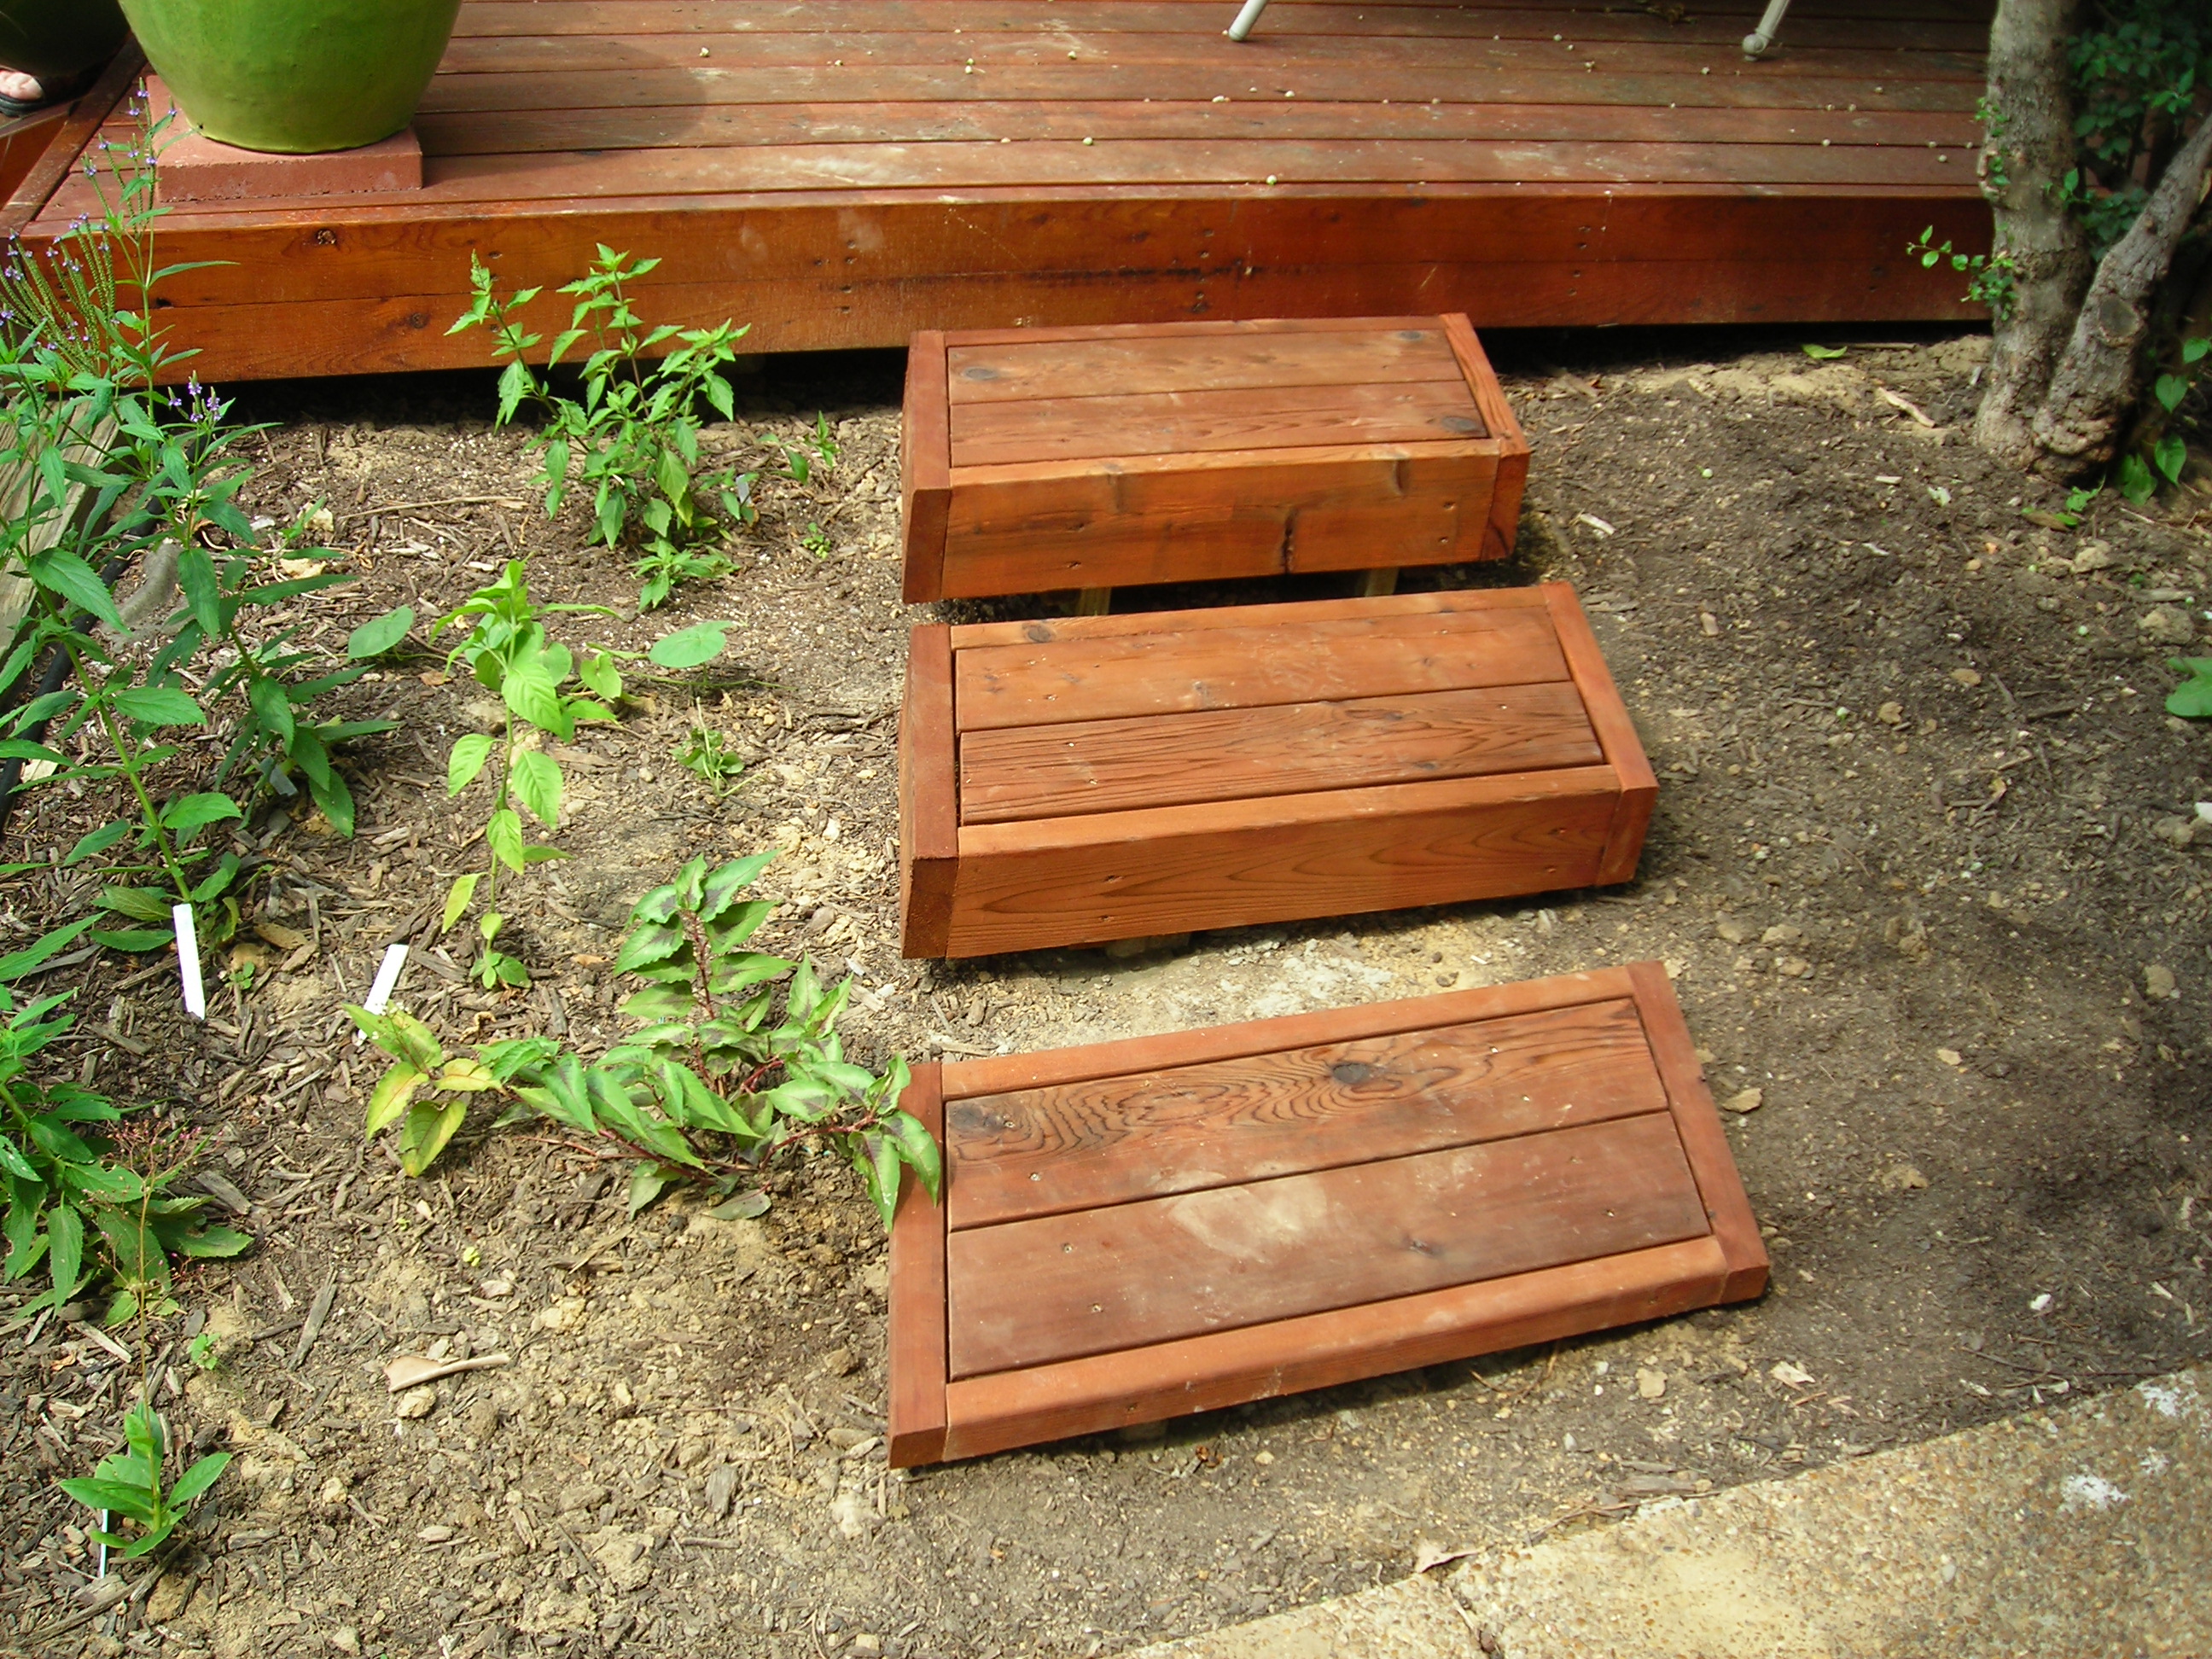
In our son’s original concept drawing of our deck, he included these steps off to the side, but not an elevation view drawing of how they should be constructed. When I added these steps, it was my idea to pour these concrete footings around pressure treated support frames…
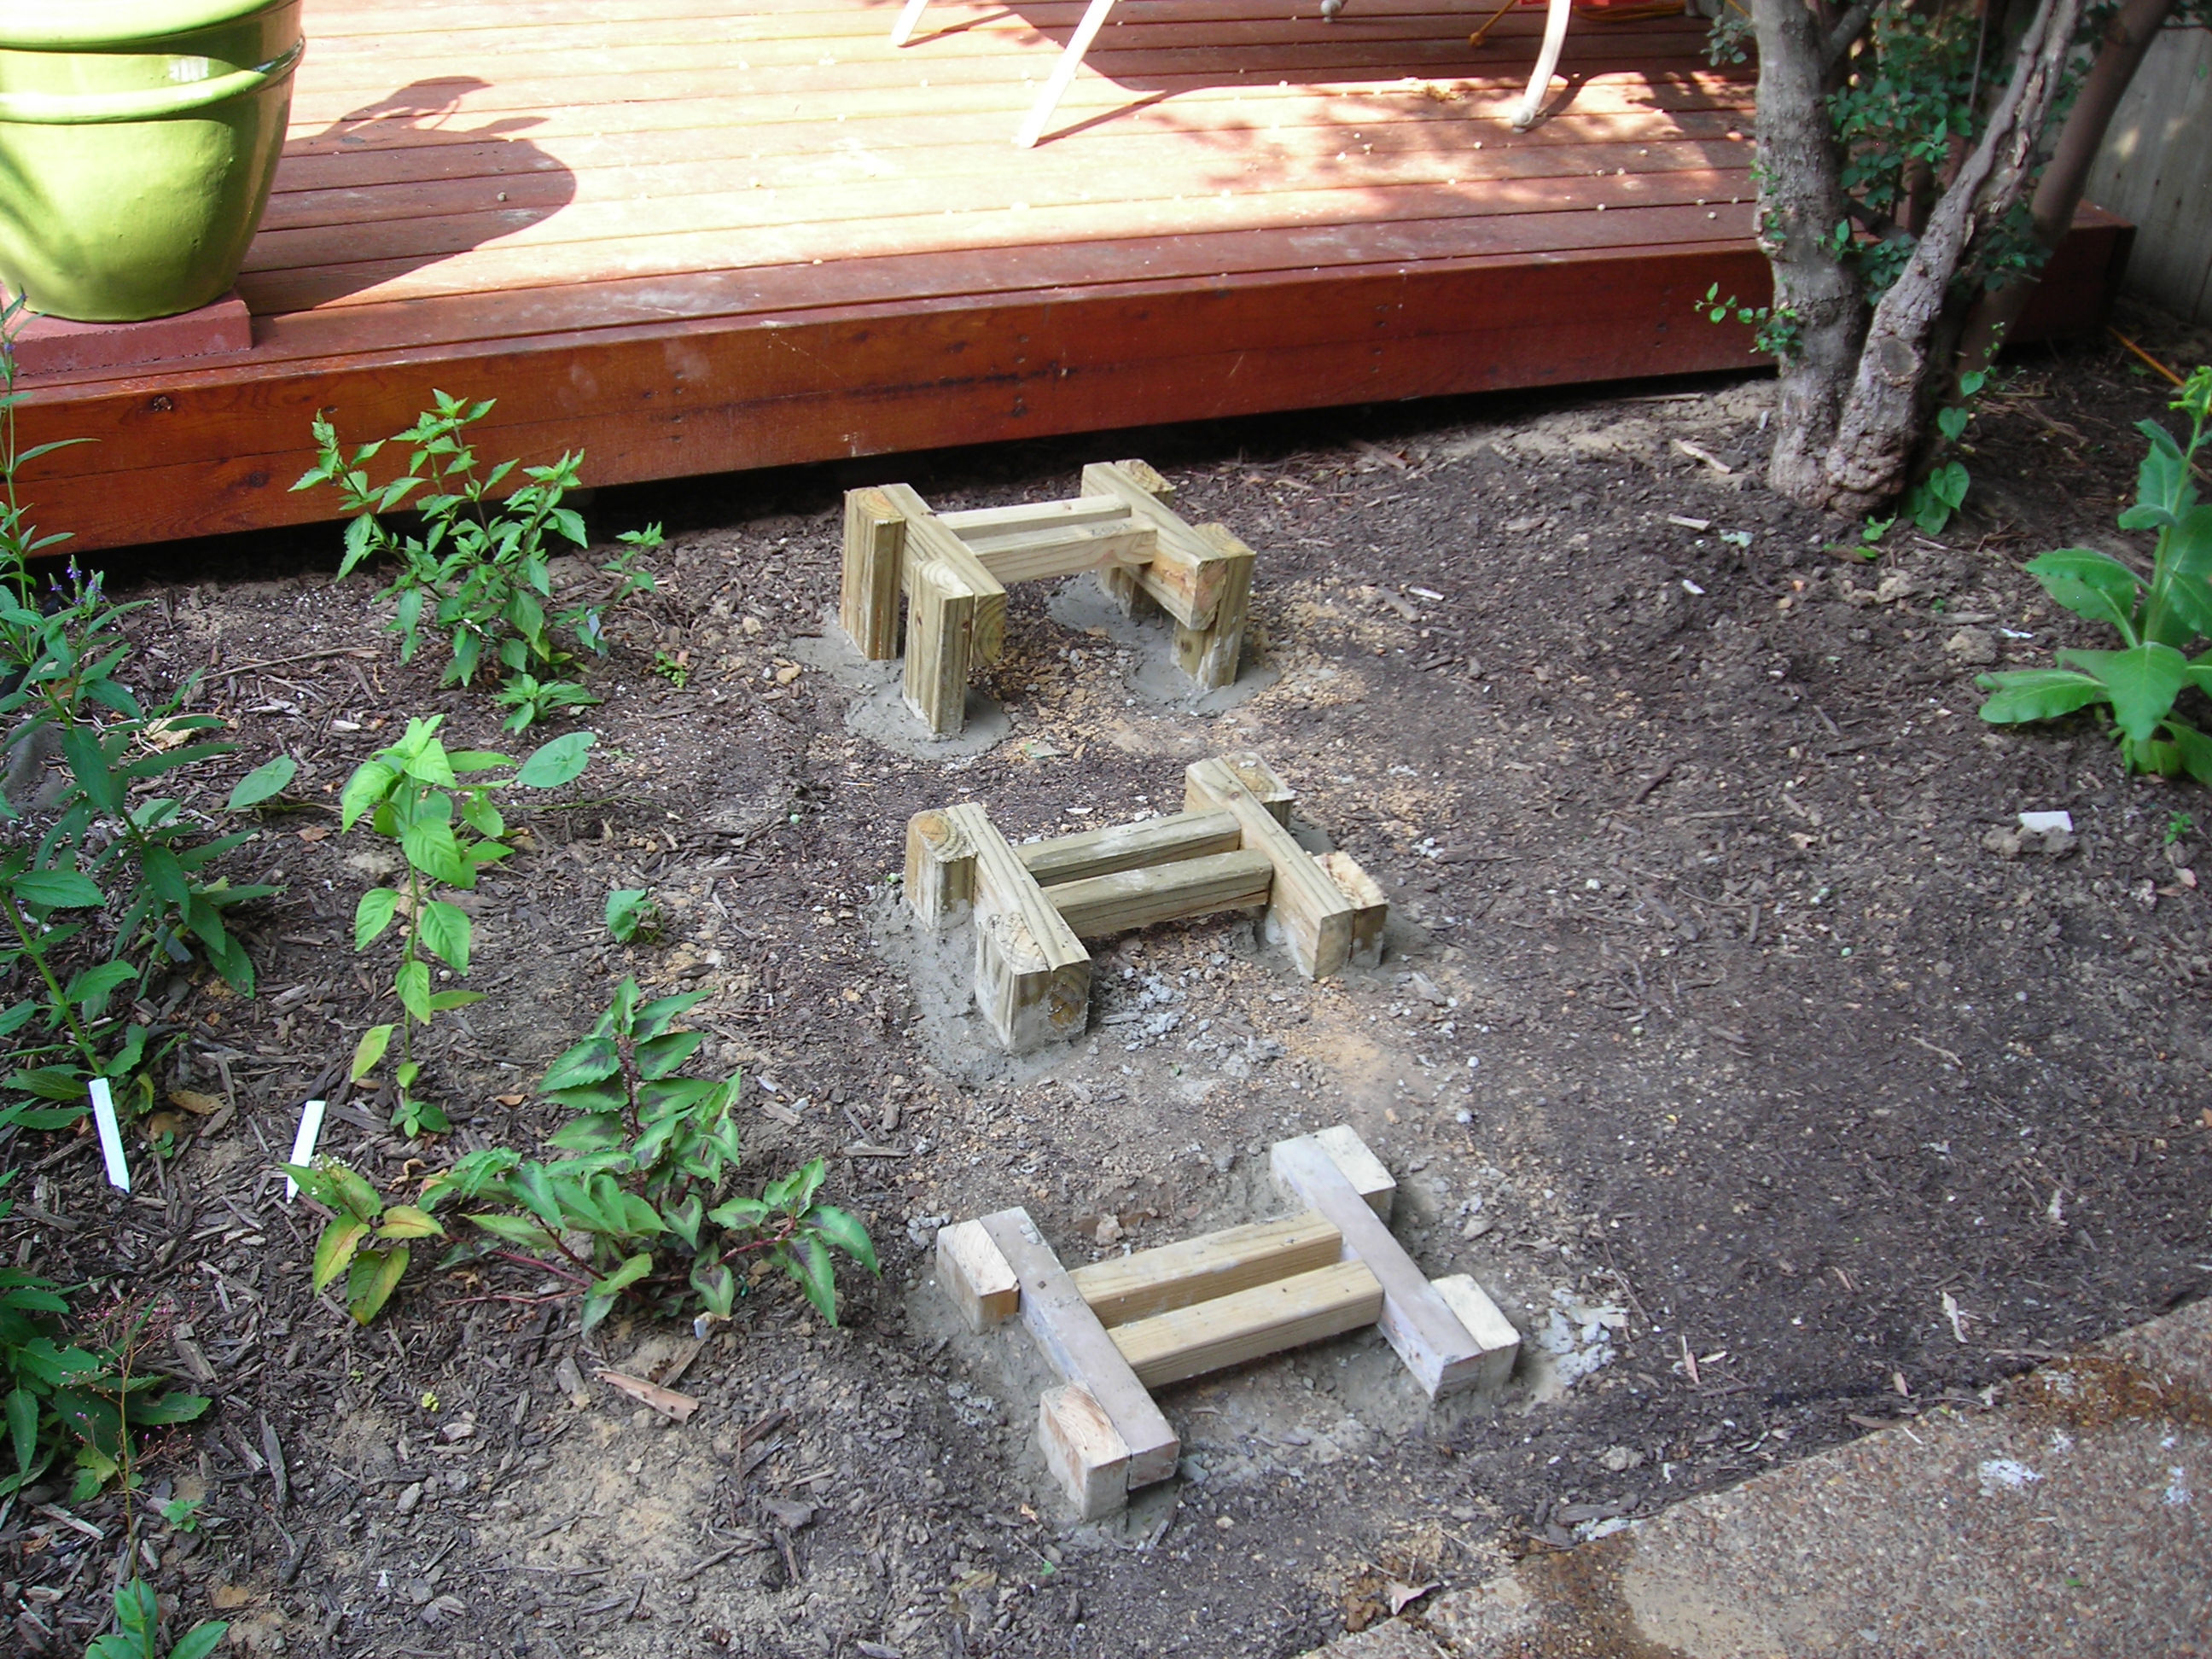
… and then mirror the fascia boards of the deck itself on the sides of the steps, progressively larger as the steps increased in elevation.
While pondering potential new step designs, I even considered radically changing this approach by building a wheelchair ramp instead thinking a future homeowner might need something like that. I mentioned this idea to my wife but with her possibly thinking the ramp might be intended for us to use in a future less healthy state, she returned an icy stare that told me to drop it.
Once I discovered so much rotted wood on the deck where the wood was near or in close contact with the ground, I knew I couldn’t rebuild the steps with the same design.
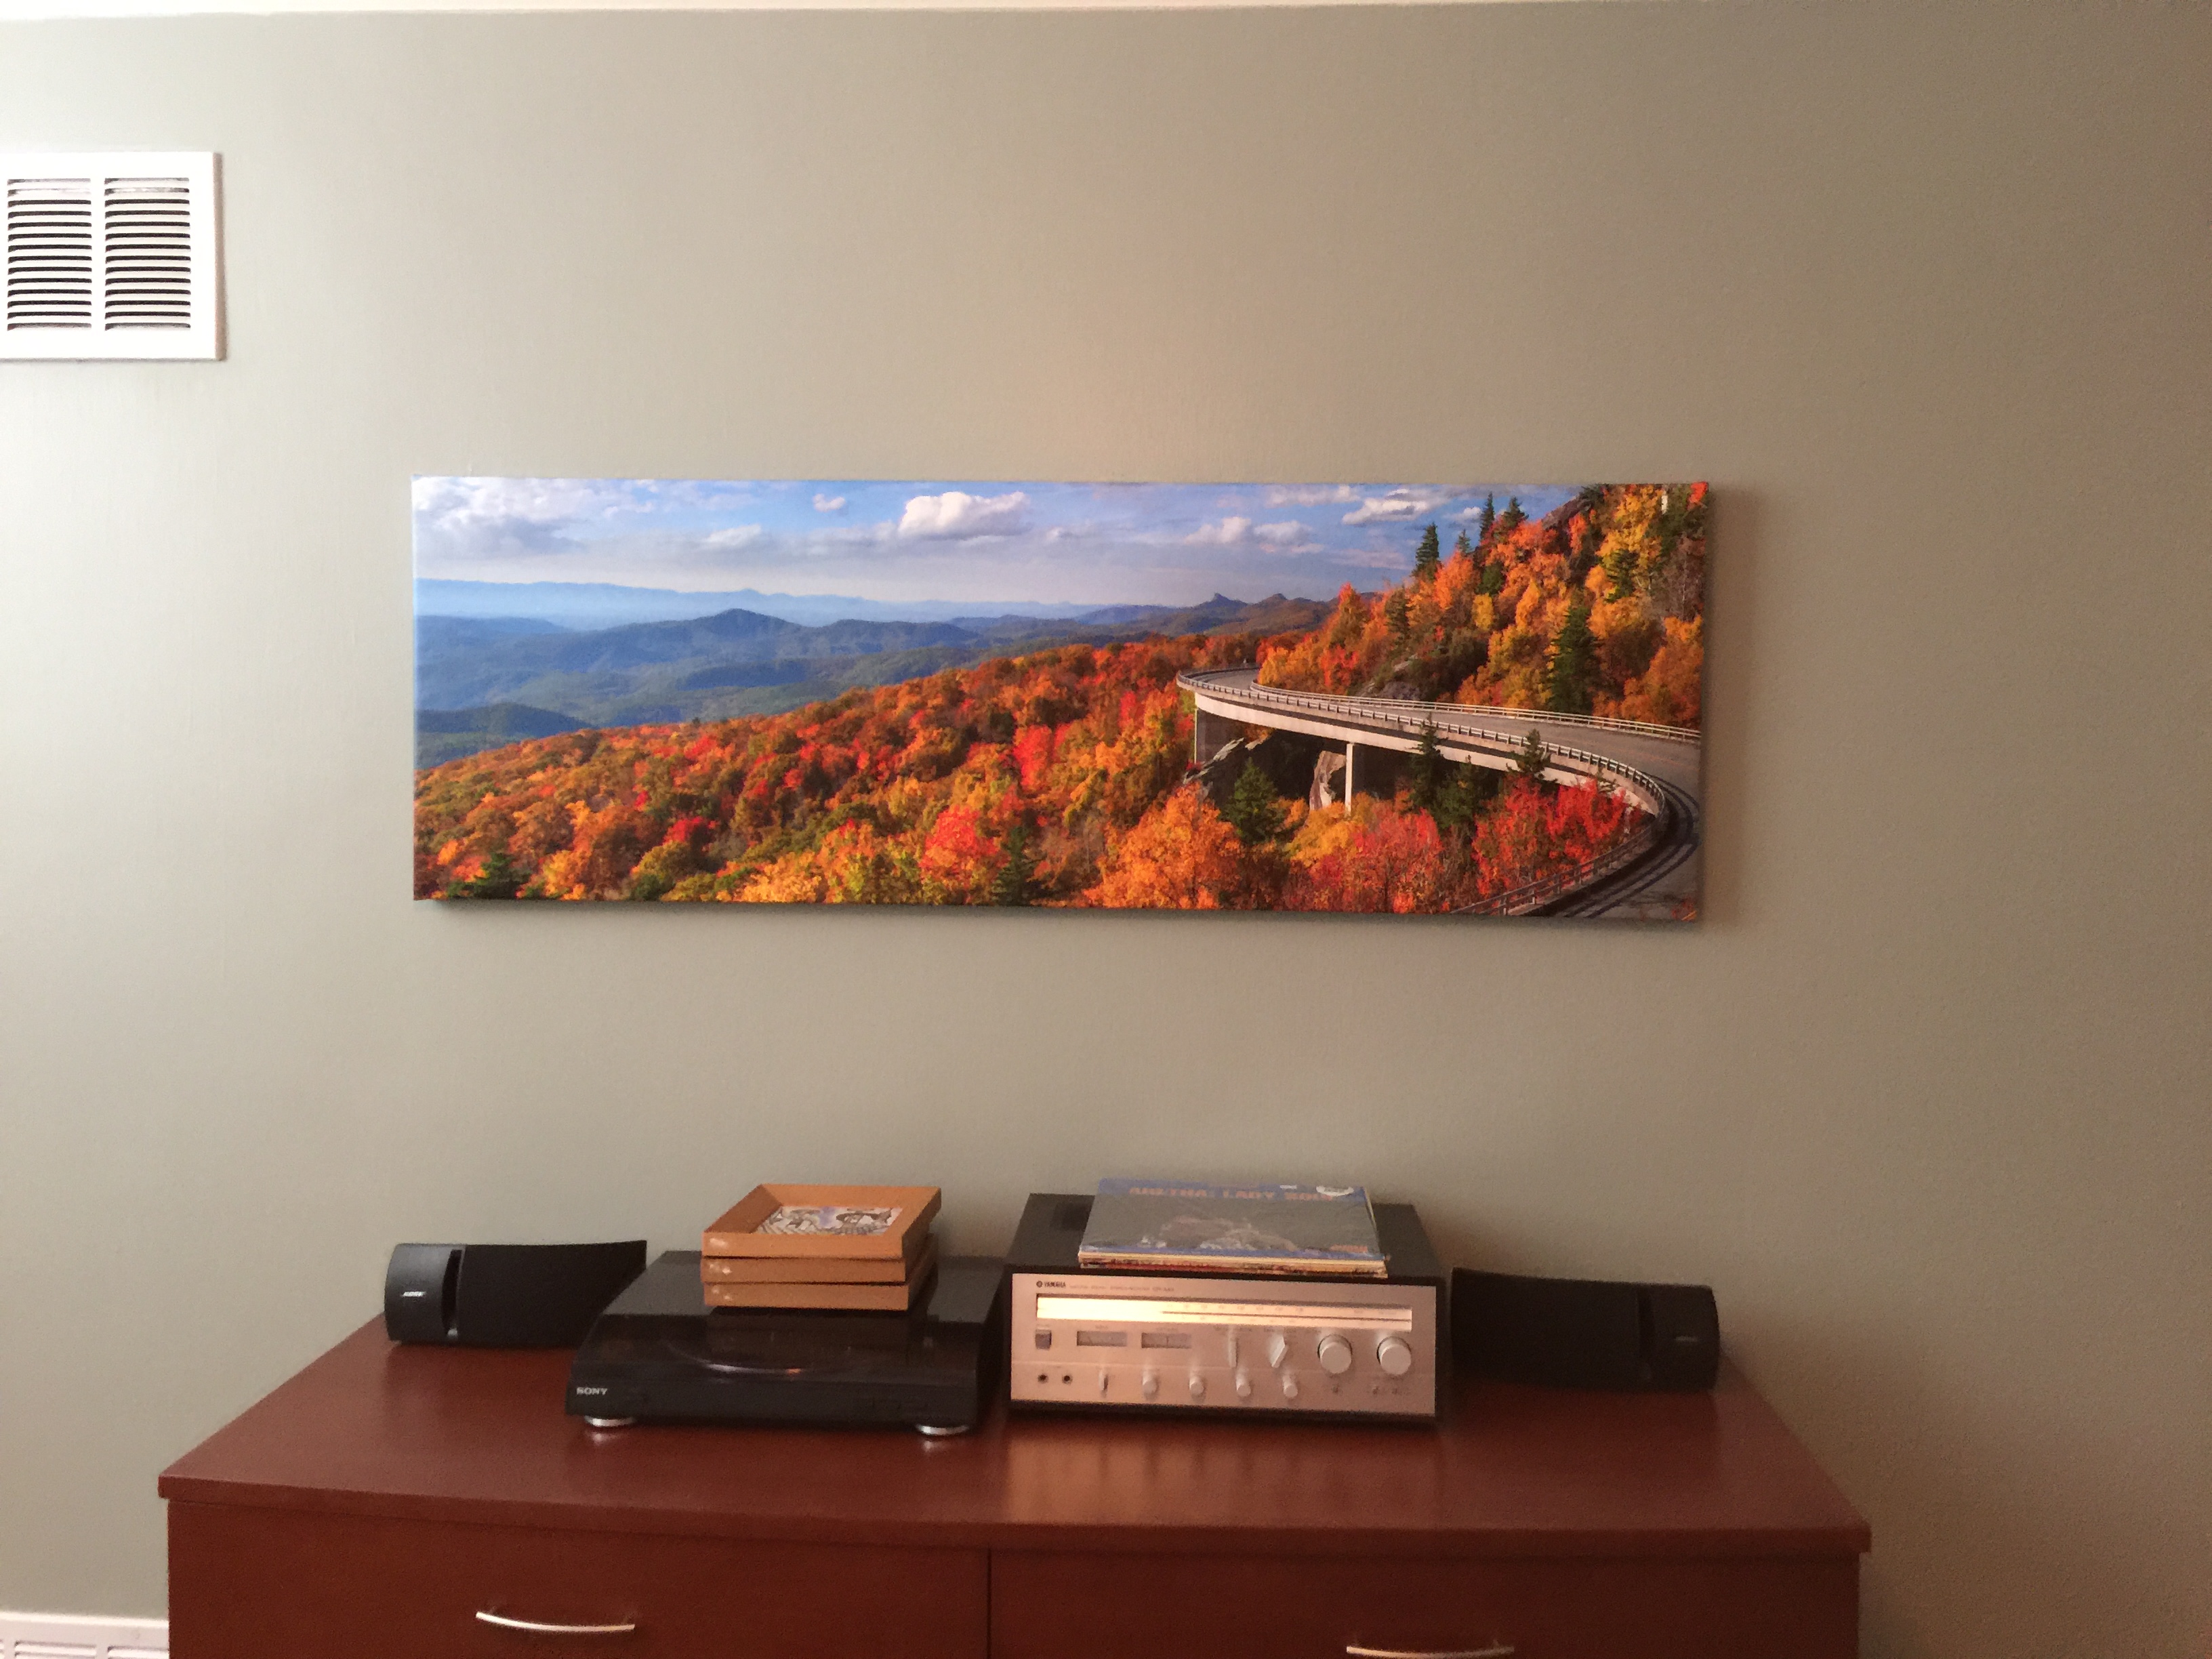
Inspired by the beautiful Linn Cove Viaduct bridge on the Blue Ridge Parkway, the idea came to me of building soaring concrete piers to which the step treads would be attached. This would keep all of the wood well above the ground and safe from rot. I even looked for some sort of metal brackets that could be buried in the concrete to which the wood steps would be attached but found none that would work.
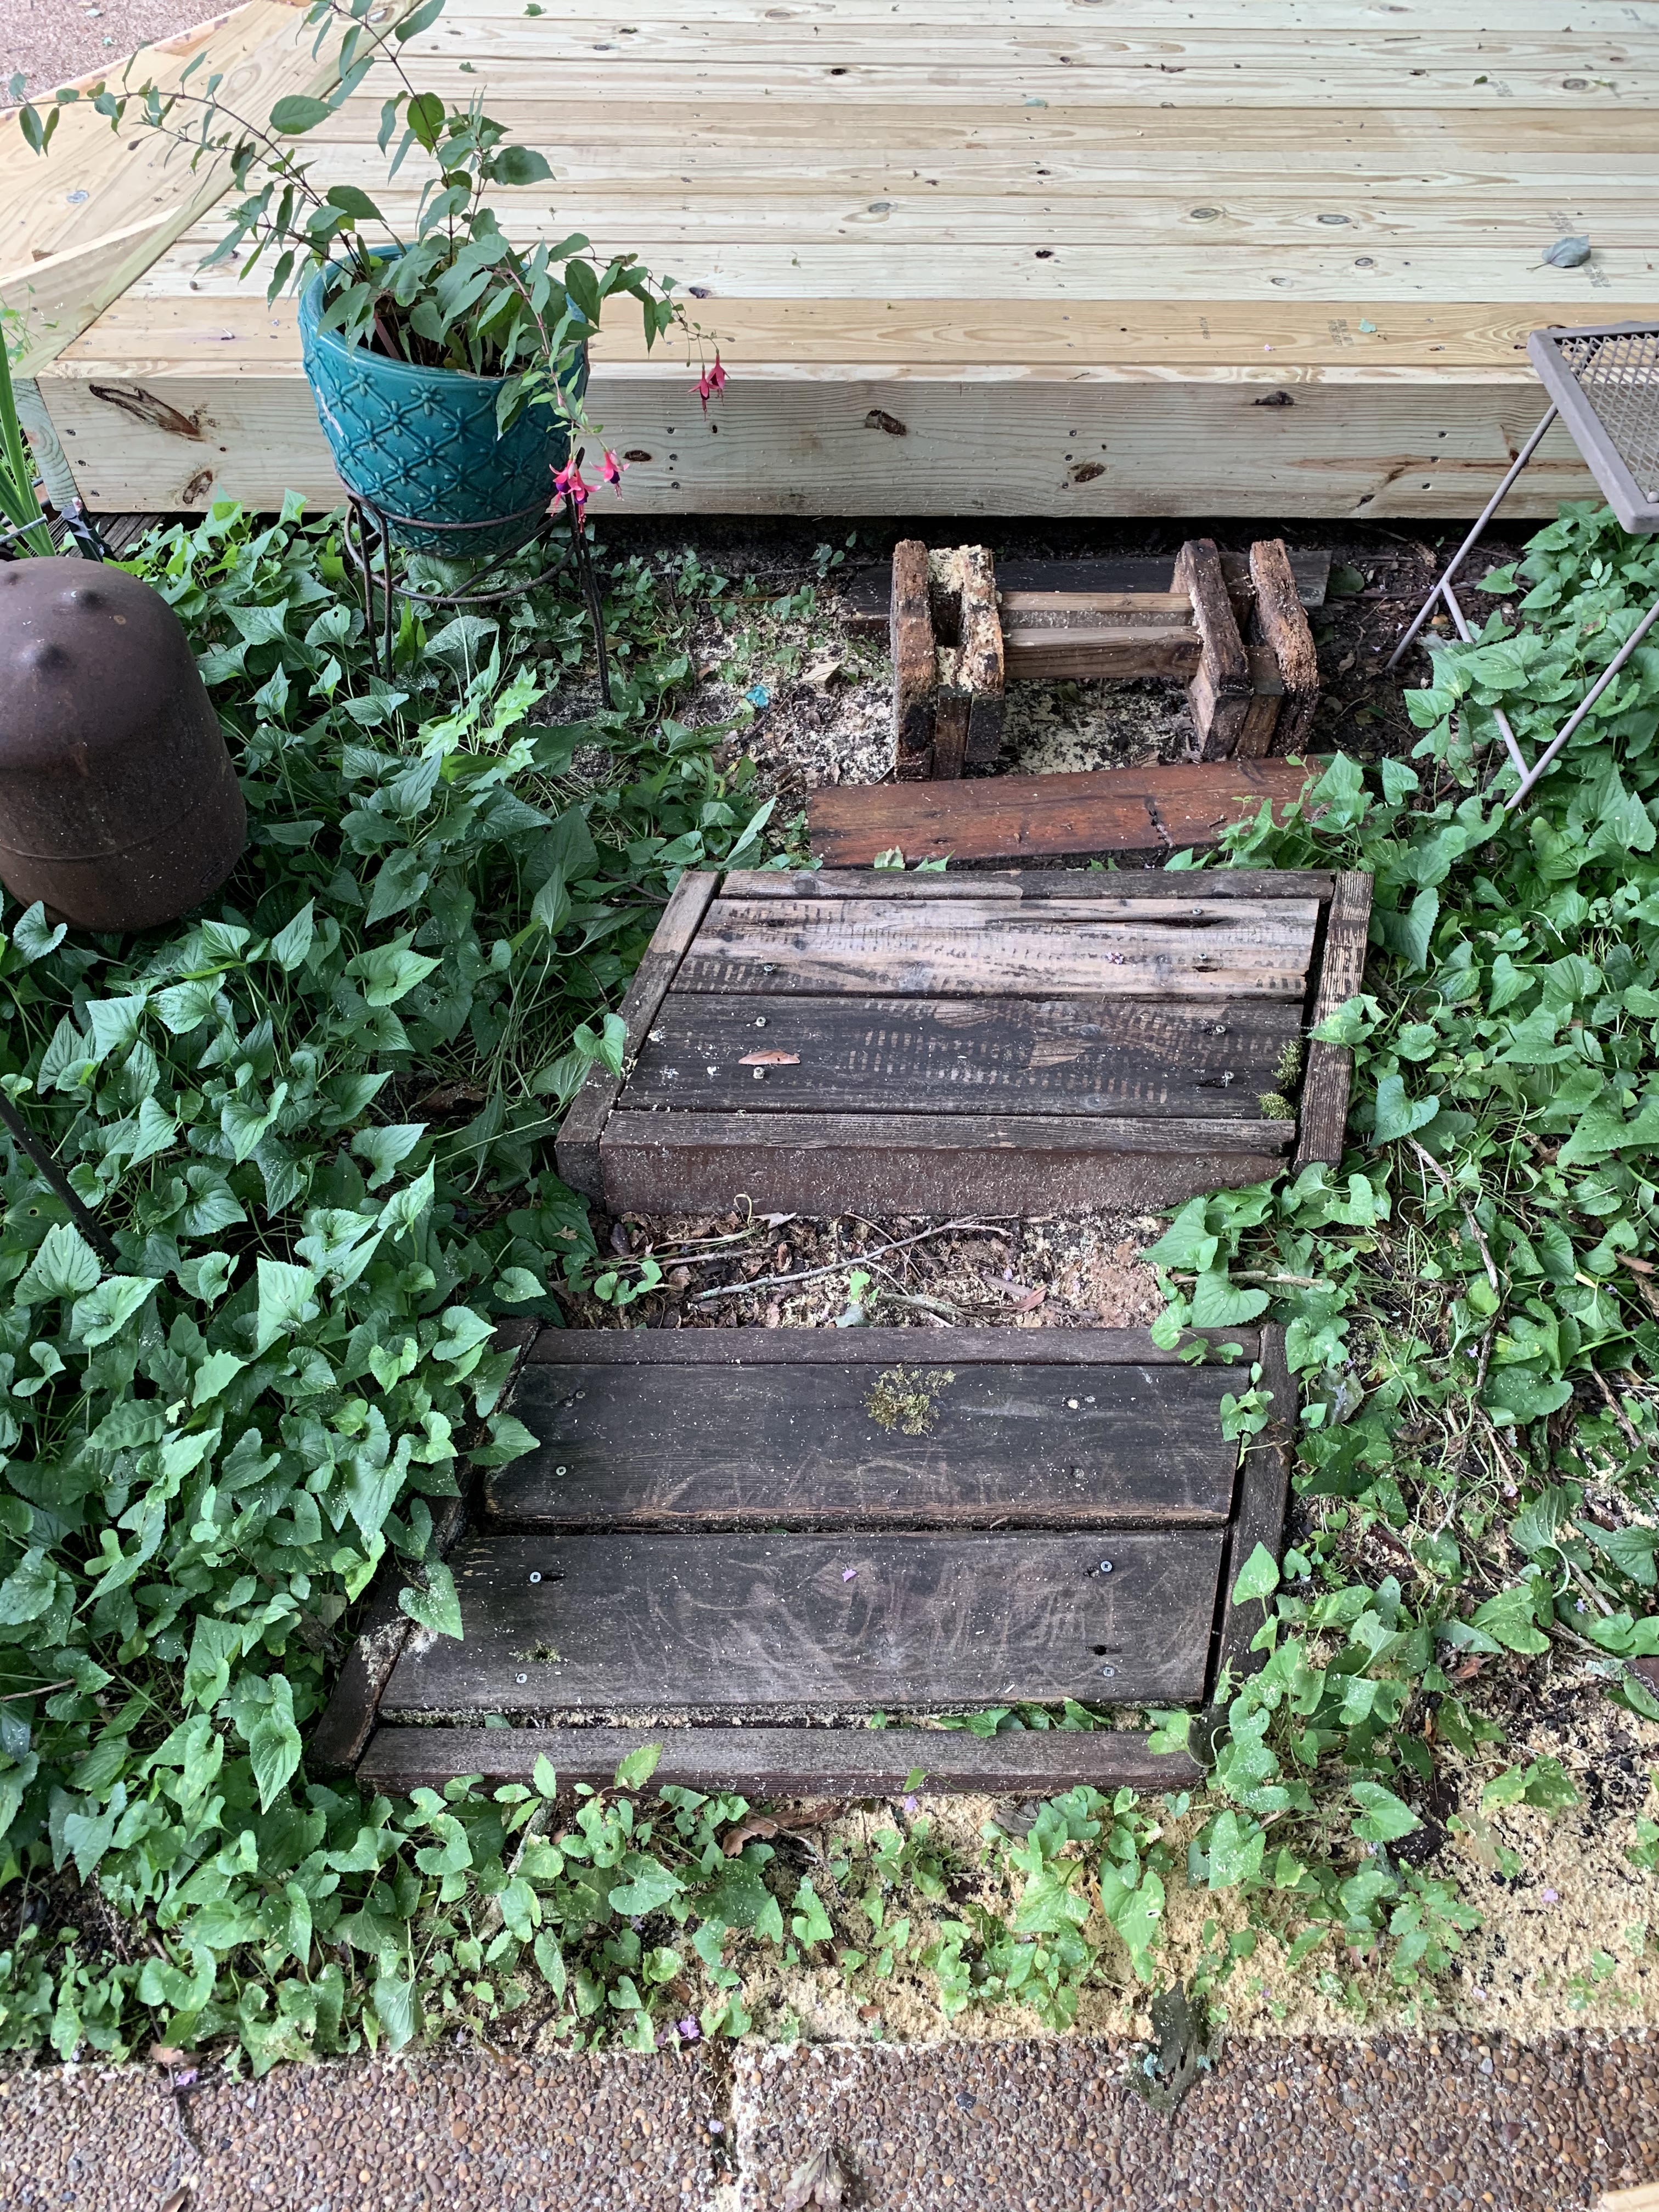
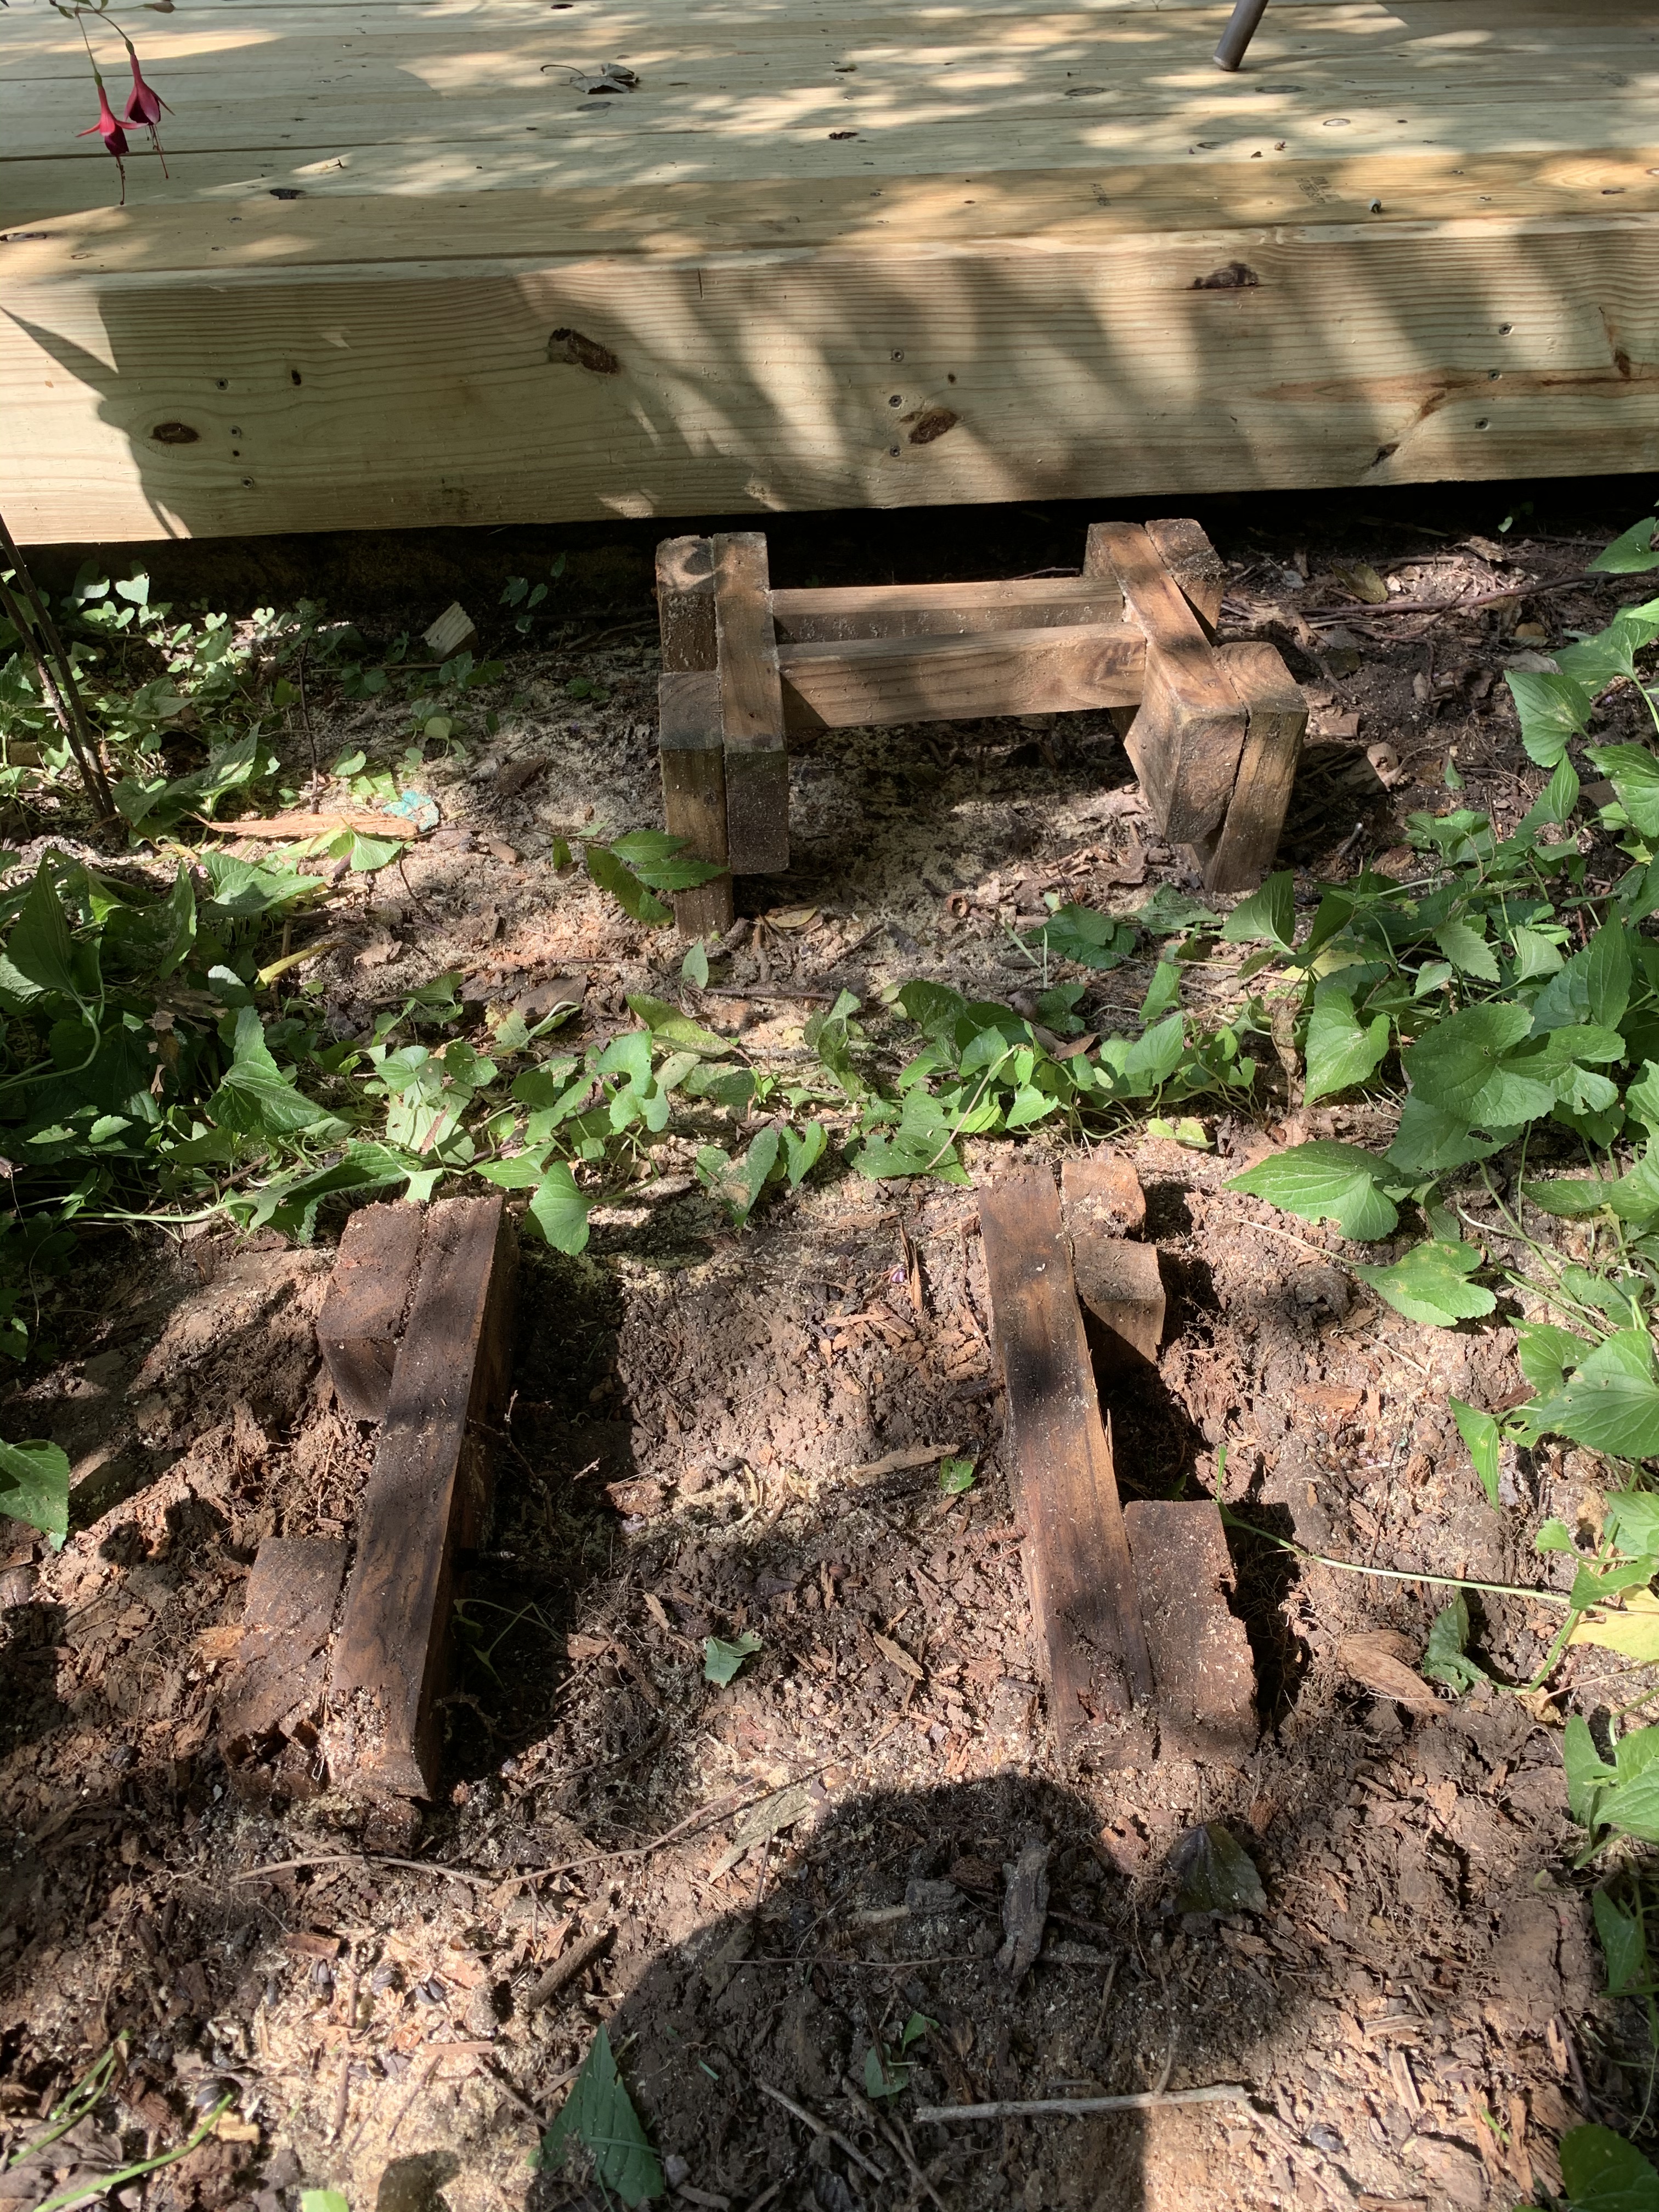
Without a clear vision as to how I would proceed with a new design, I knew the first task was to deconstruct the existing steps.
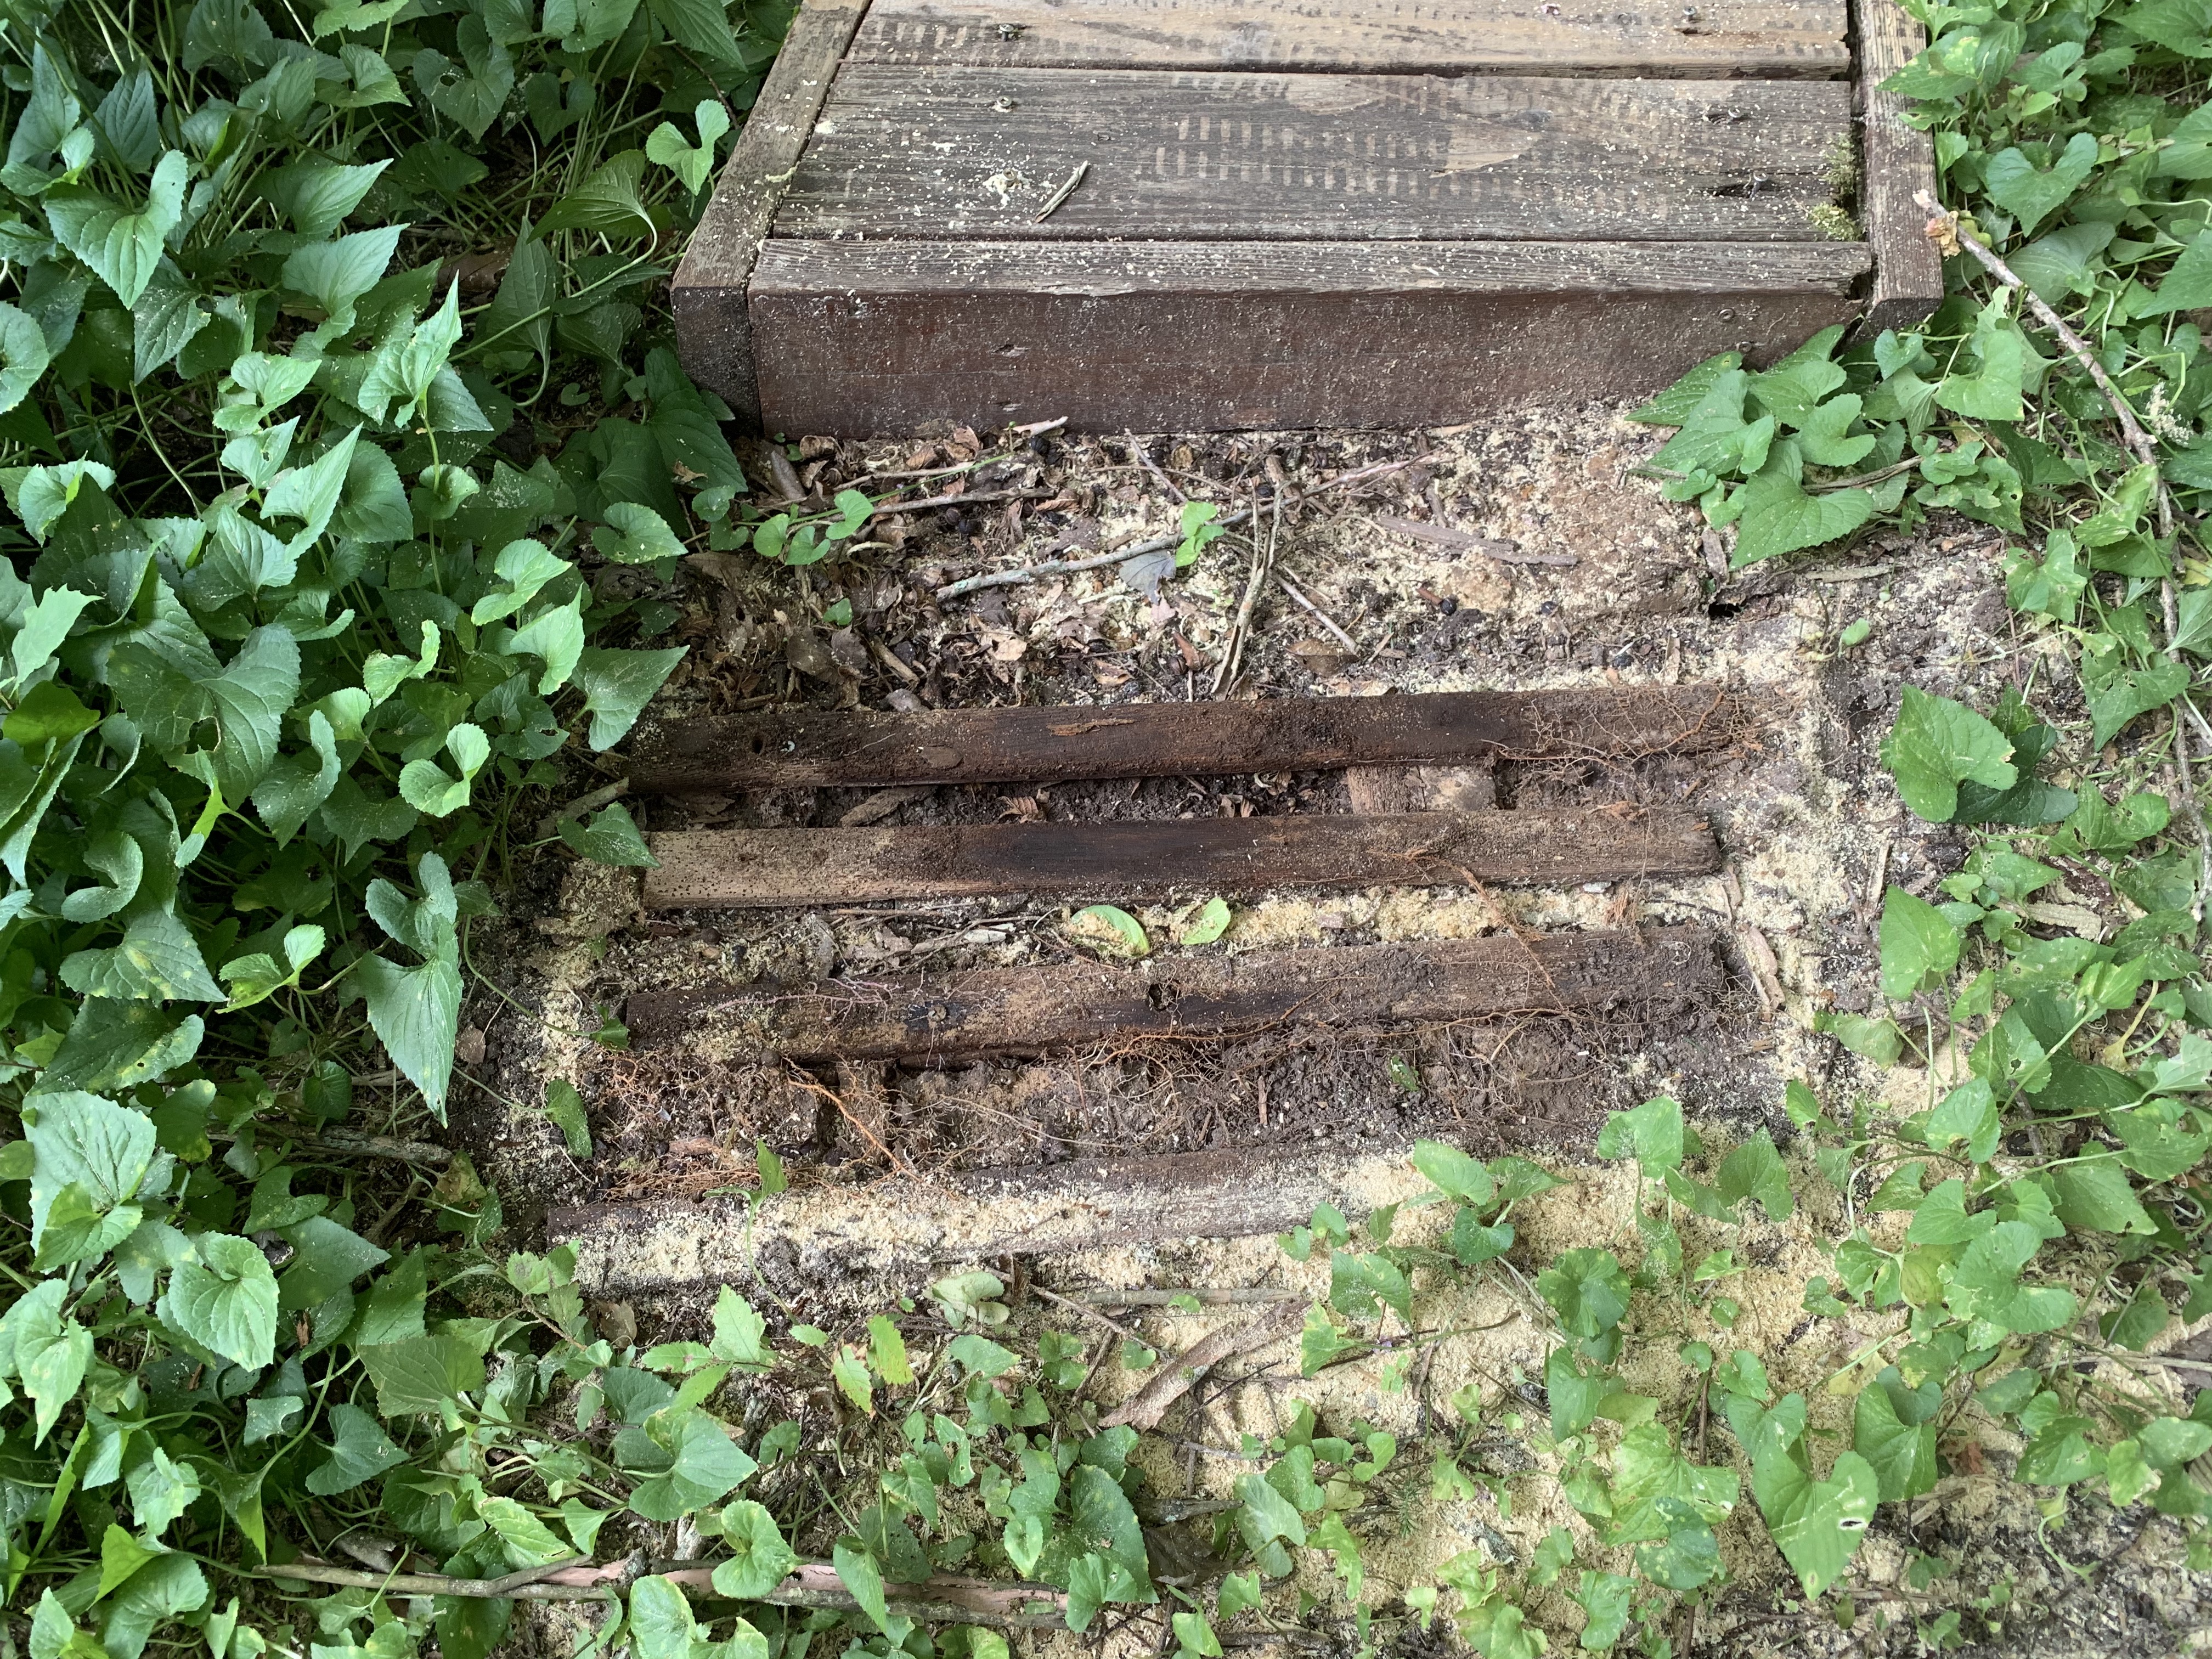
When I removed the first step, I felt I was looking at an ancient archaeological dig site. Every bit of wood beneath the step had rotted away. When I moved onto the second step, I found similar although not quite as severe deterioration.
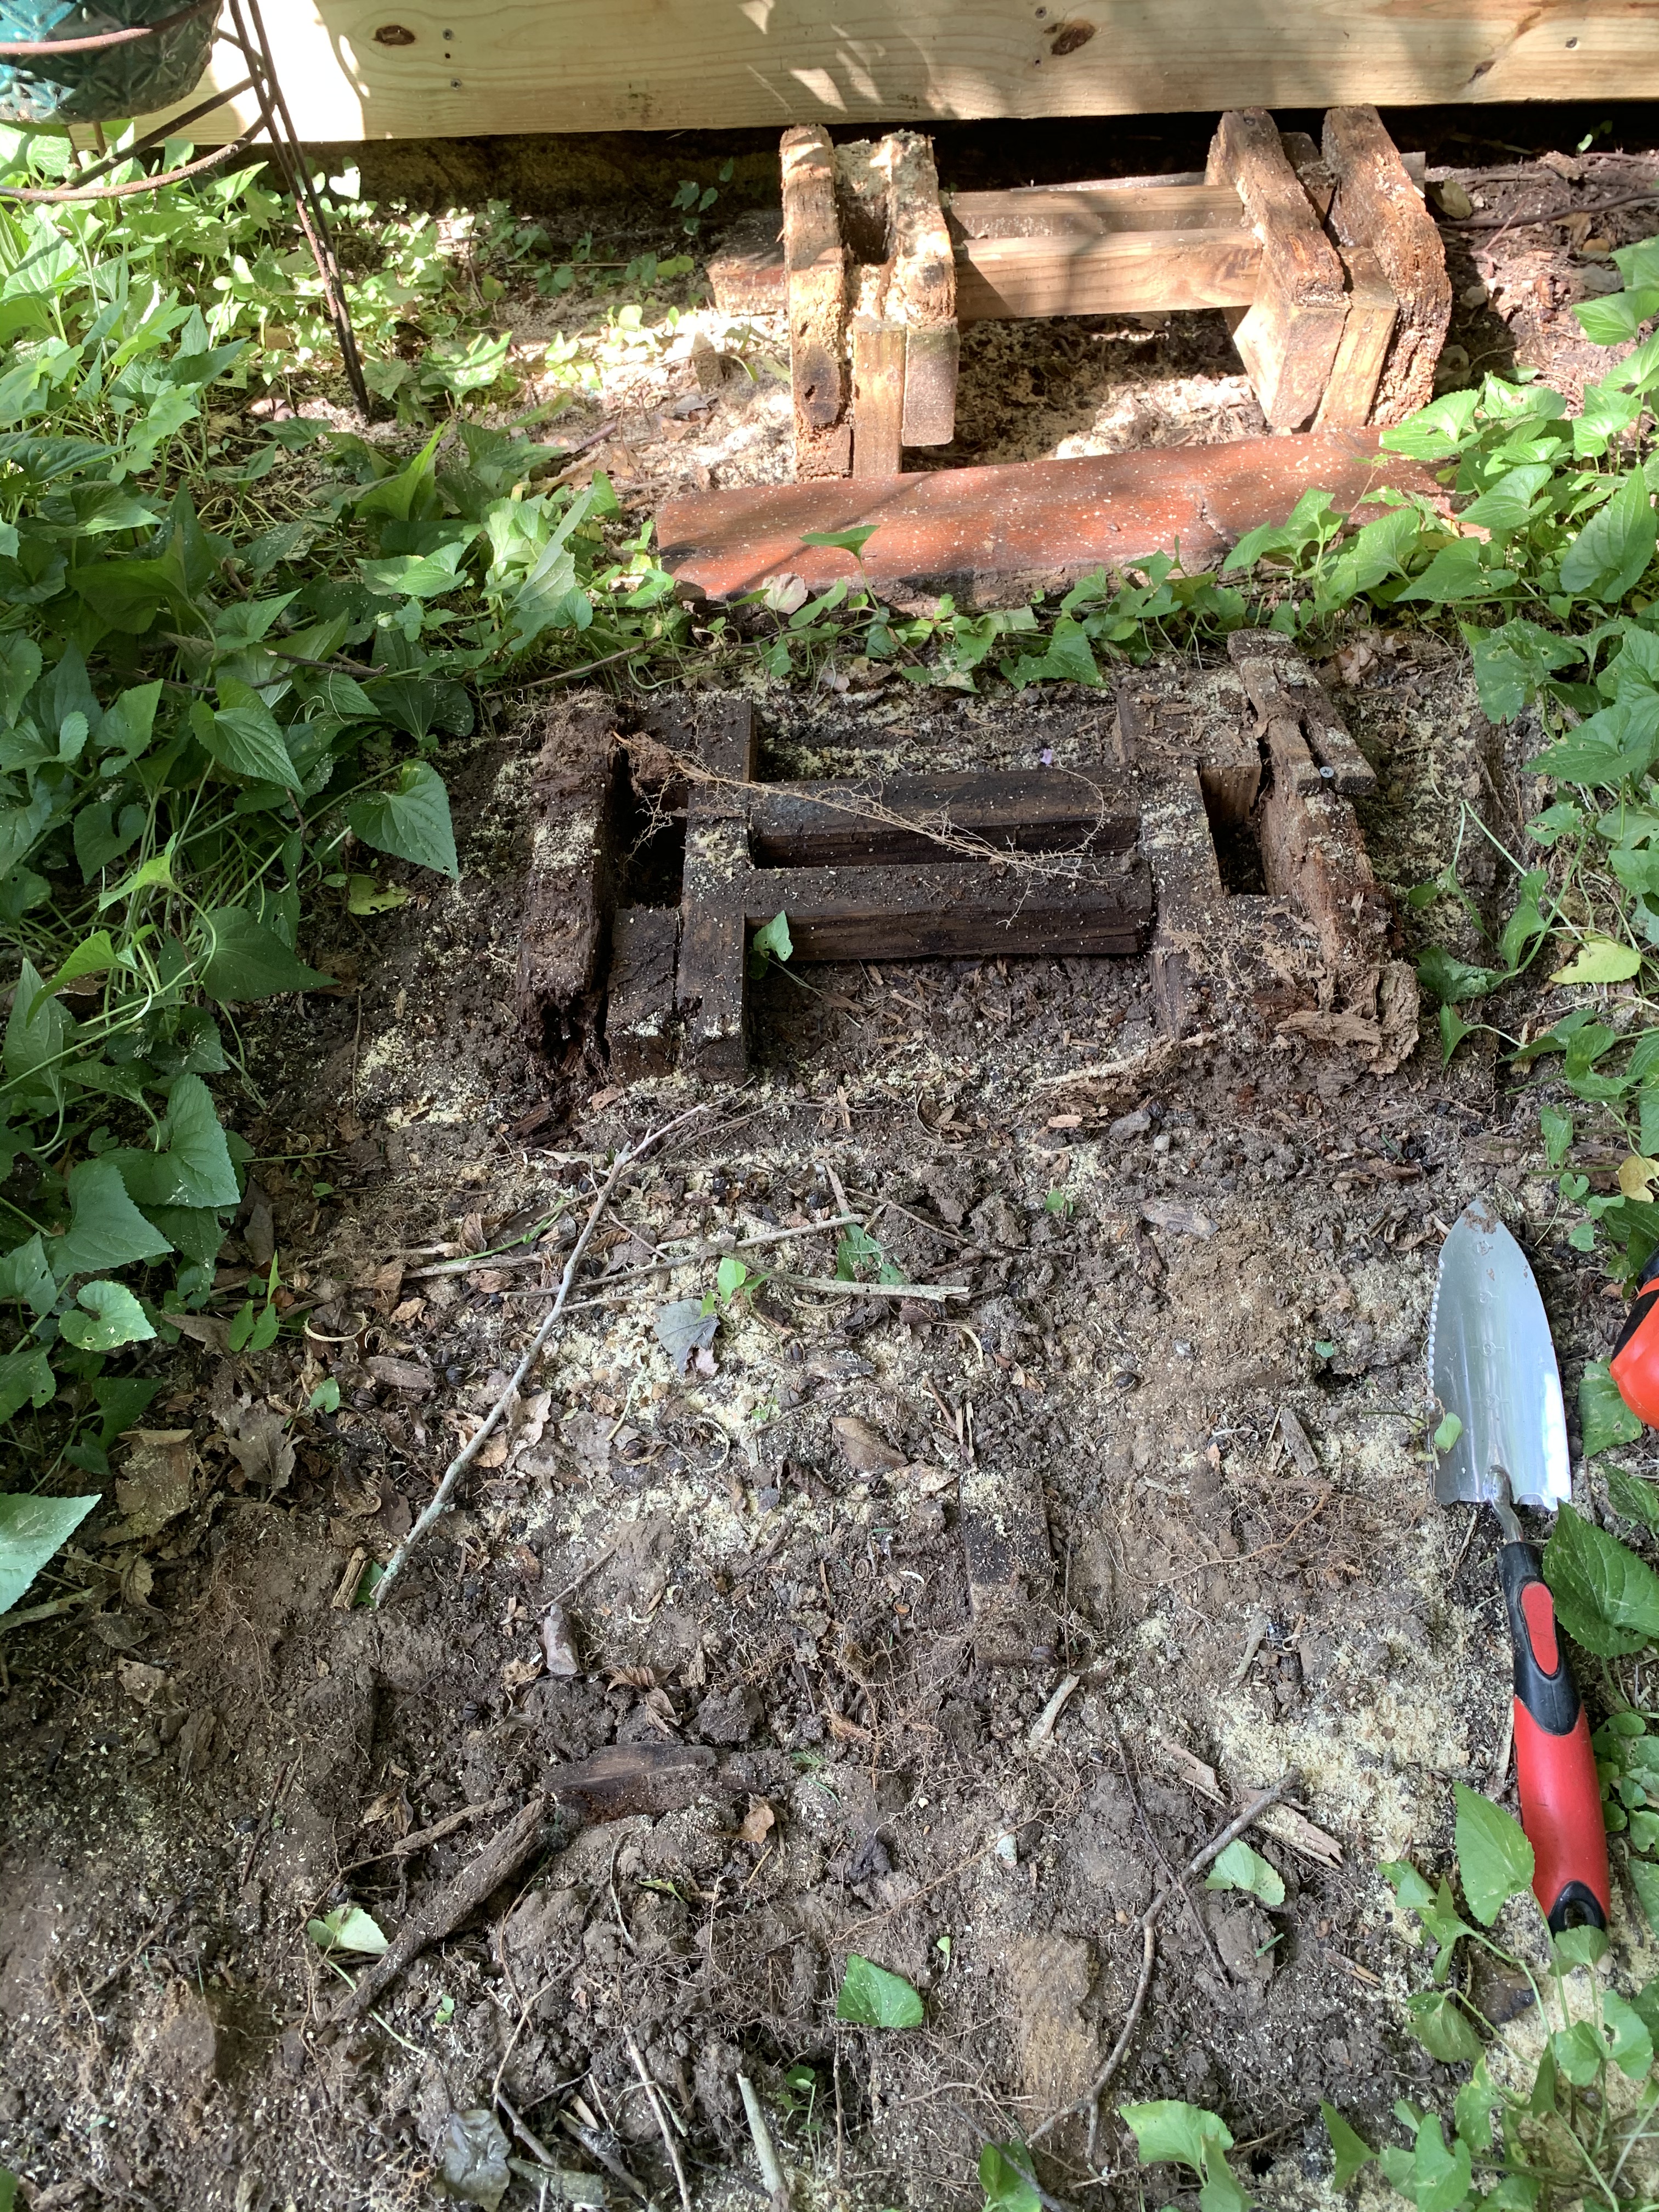
Moving to the third step, the one with the highest elevation and thus the one with the wood farthest from the ground, I found the original frame remarkably intact.
Based on these findings, I knew I was going to have to keep the wood and their supports away from the ground. This convinced me that the easiest way to do that would be to pour a concrete pad beneath the first two steps.
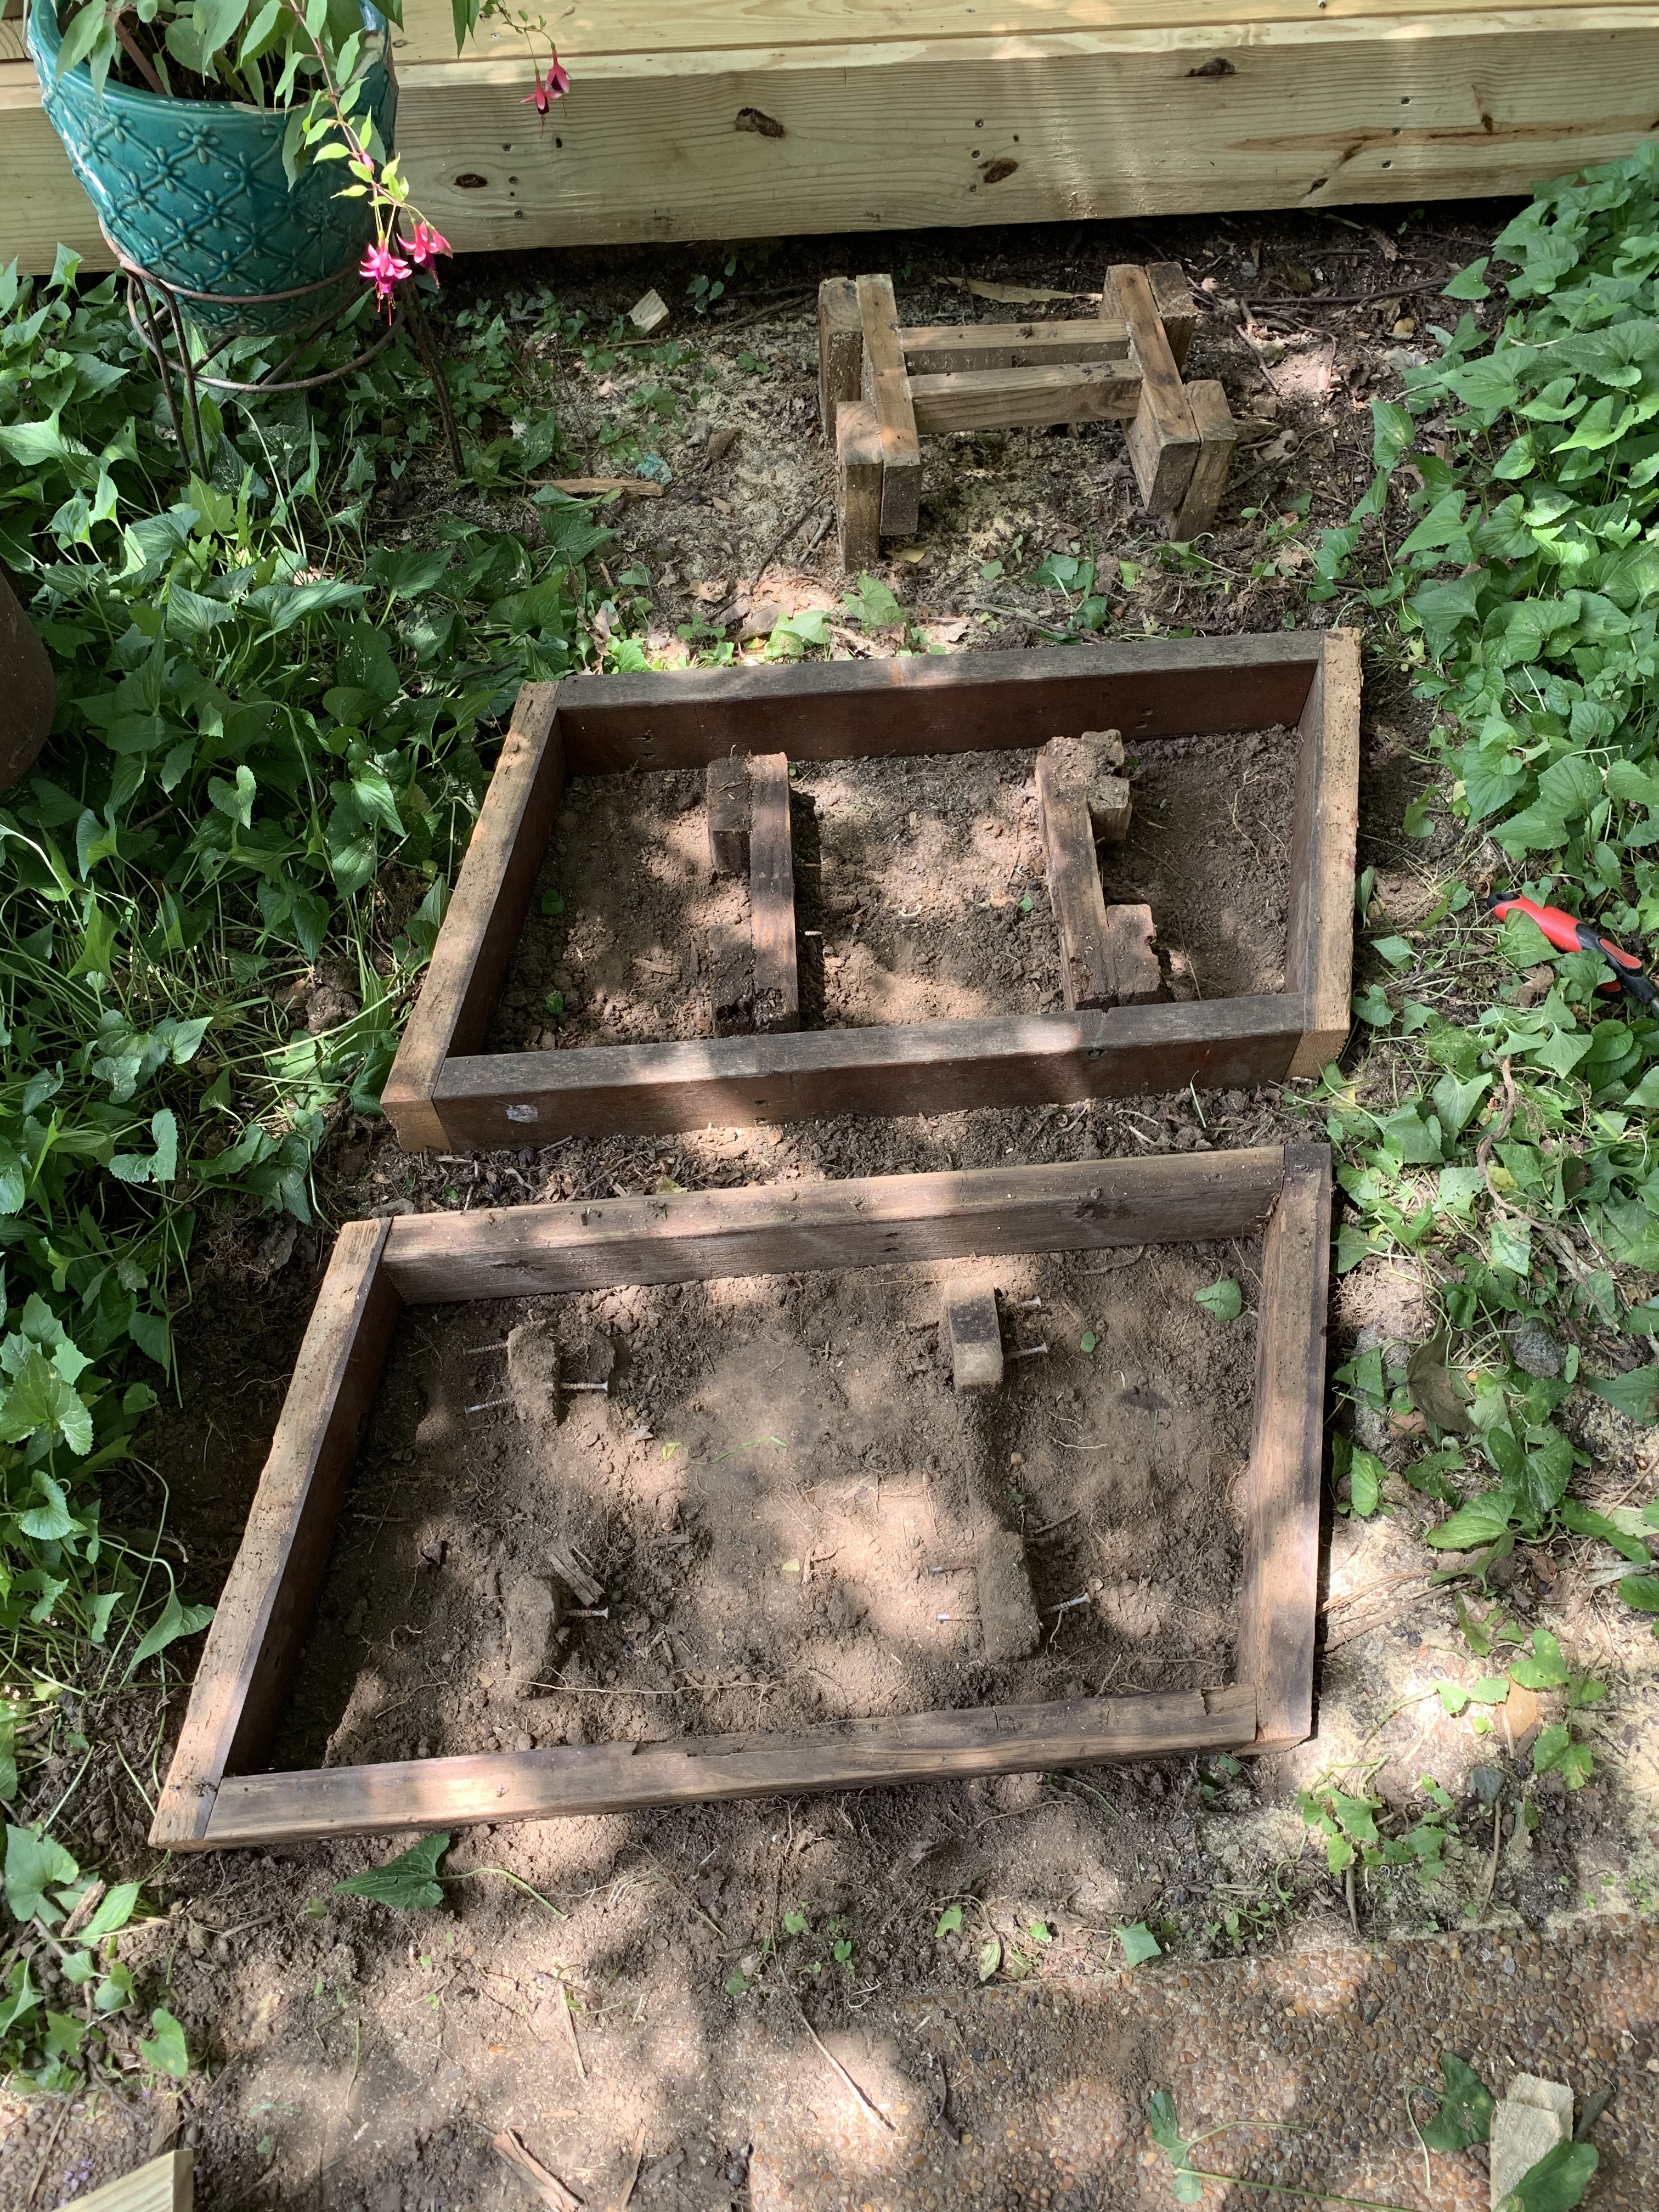
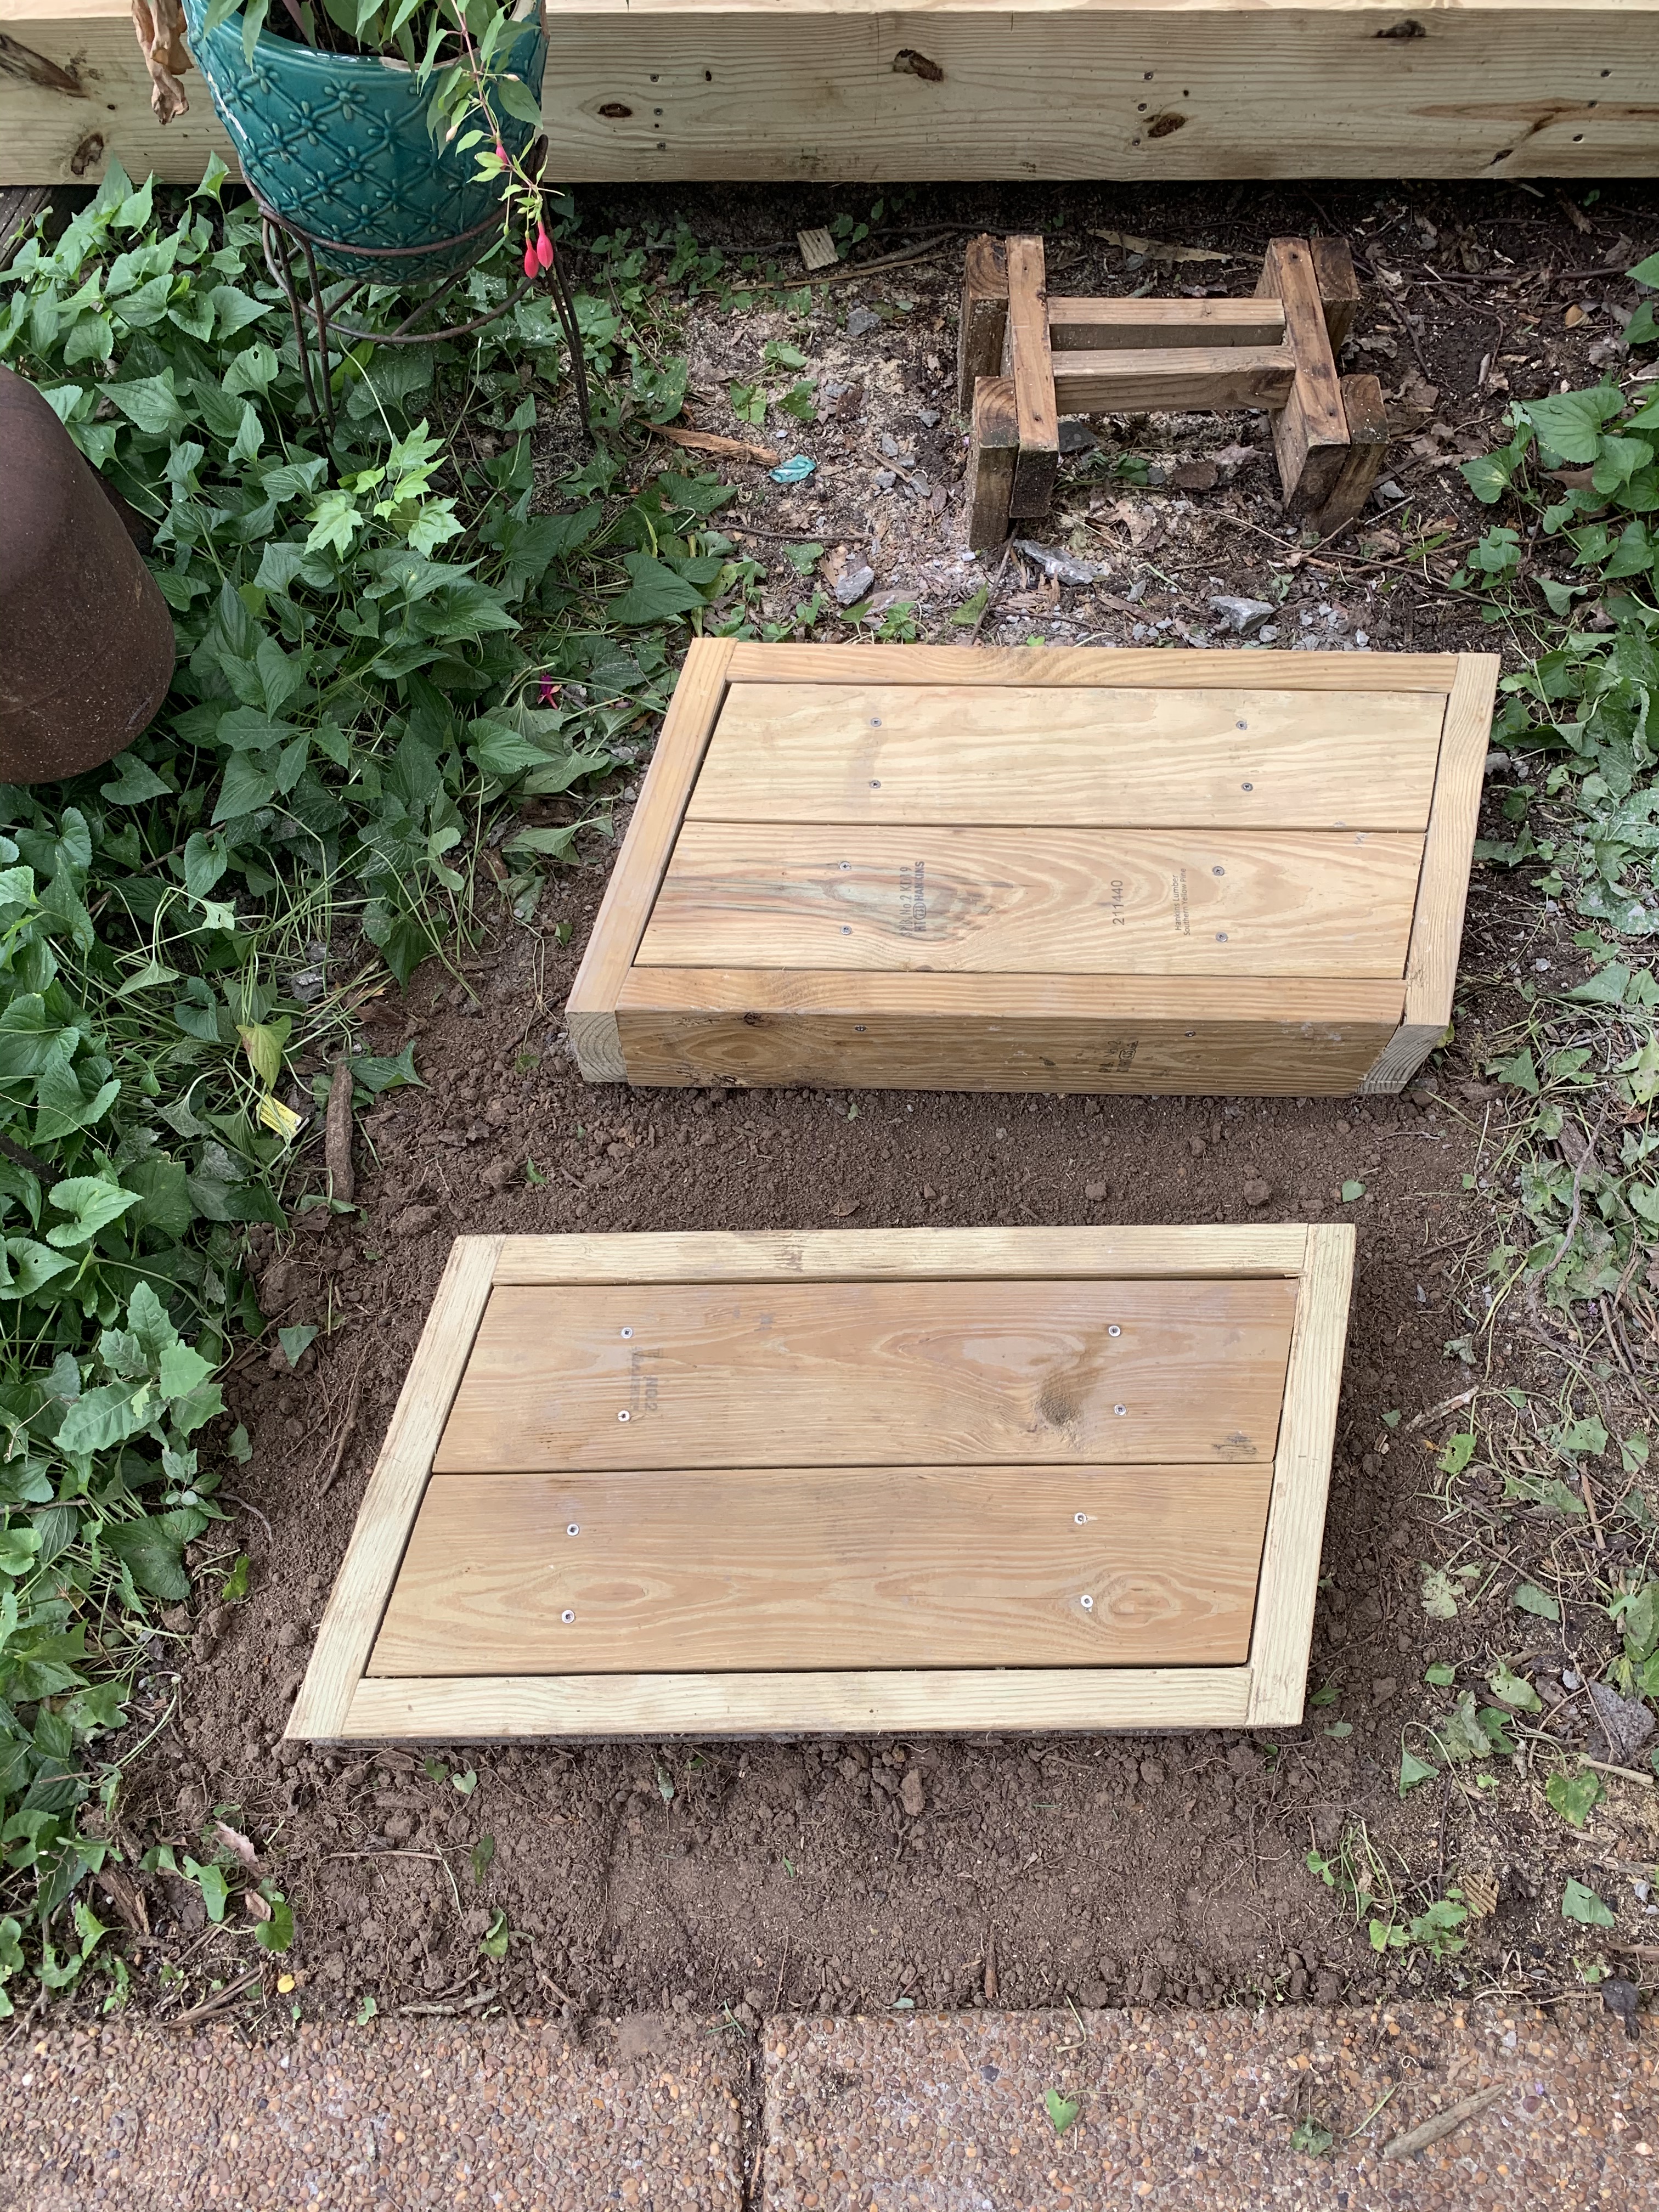
I had a number of new wood scraps left from the deck but none long enough to build a frame to pour the concrete. I then realized that I had lots of old wood left over that could be used for this purpose. I laid out the old step with the proper spacing between boards to determine the dimensions for the concrete frame.

I even cut the first board before I recalled that this new wood was slightly wider than the original and so created the new step and built the frame.

As I dug out the dirt for pouring the concrete pads, I discovered even the original support posts on the first step had dramatically deteriorated. To remedy this, I would need to imbed a new board into the concrete to which the step could be attached.
I just happened to have some concrete leftover from another project but quickly discovered I was woefully short.
At this point I was quite dirty from digging on the ground and so had to clean myself up enough to run to my favorite toy store for more sacks of concrete.
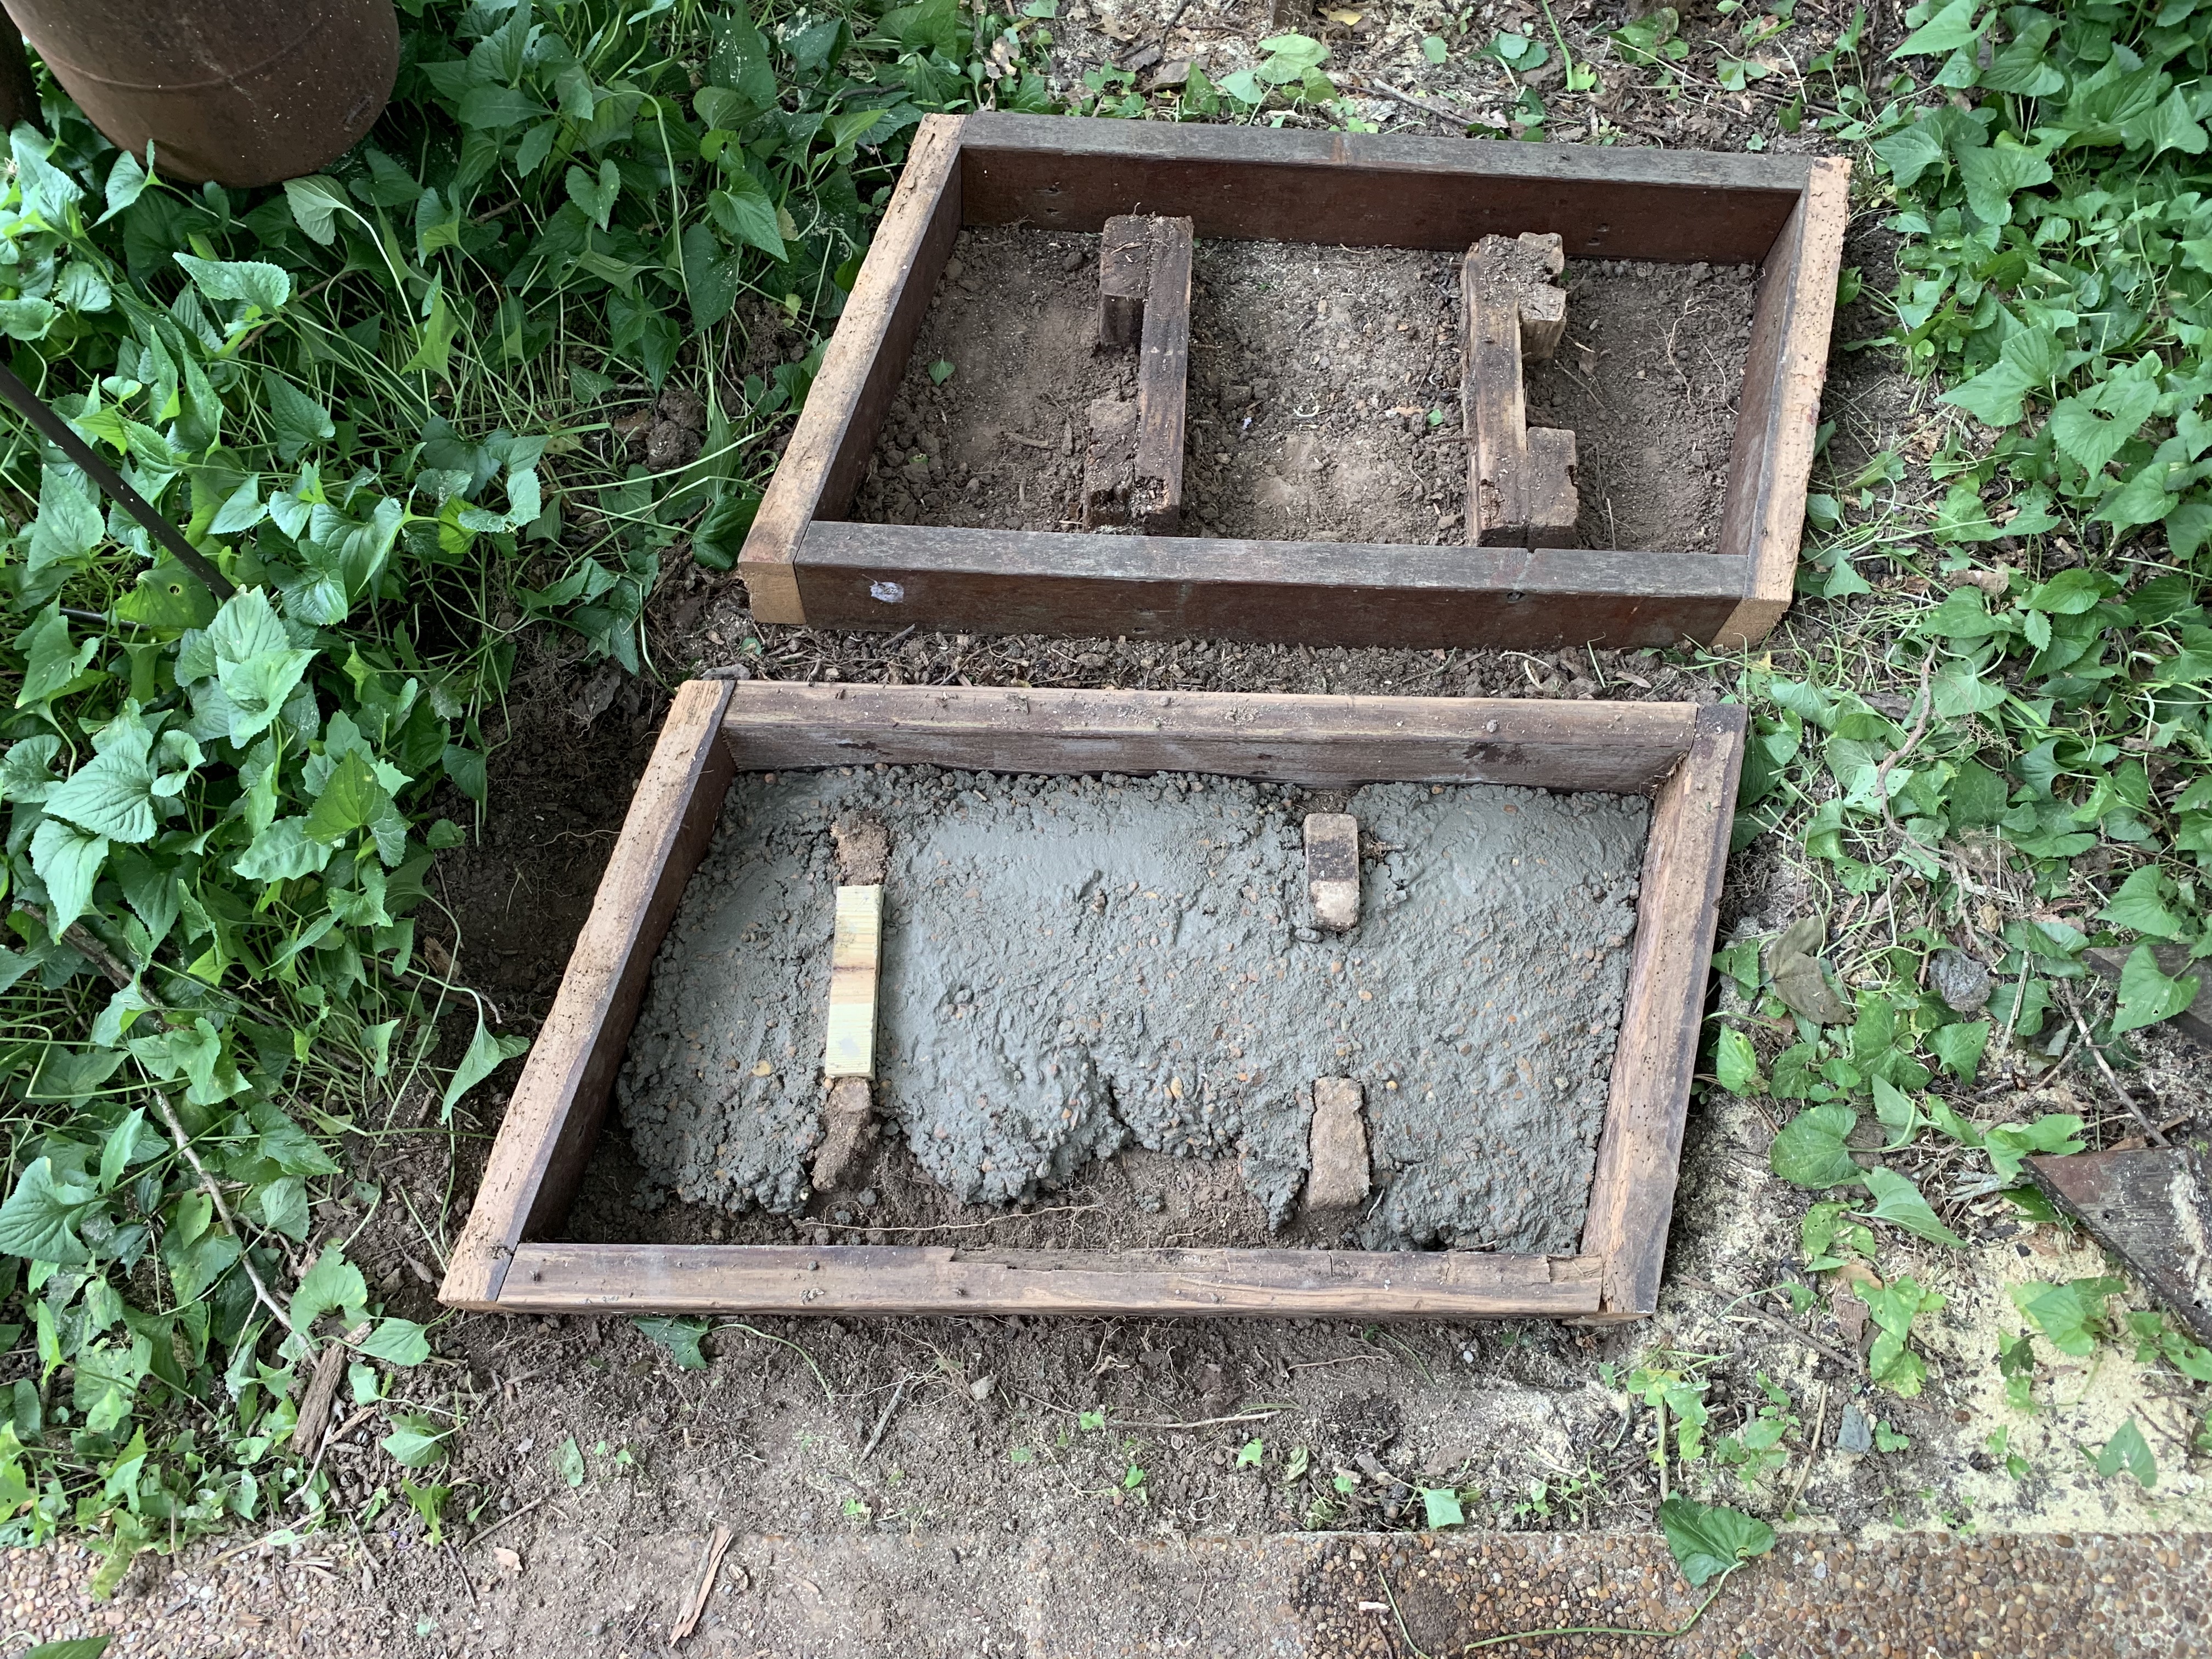
After I mixed and poured the concrete for the first step, I was just about to mix up more for the second step when the heavens opened up with an afternoon pop-up shower. This was a providential savings for me—although not so much for the paper bags of concrete—as the pause gave me time to recognize that I would need to make a smaller pad for the second step to allow the fascia boards to drape down on the sides of the concrete.
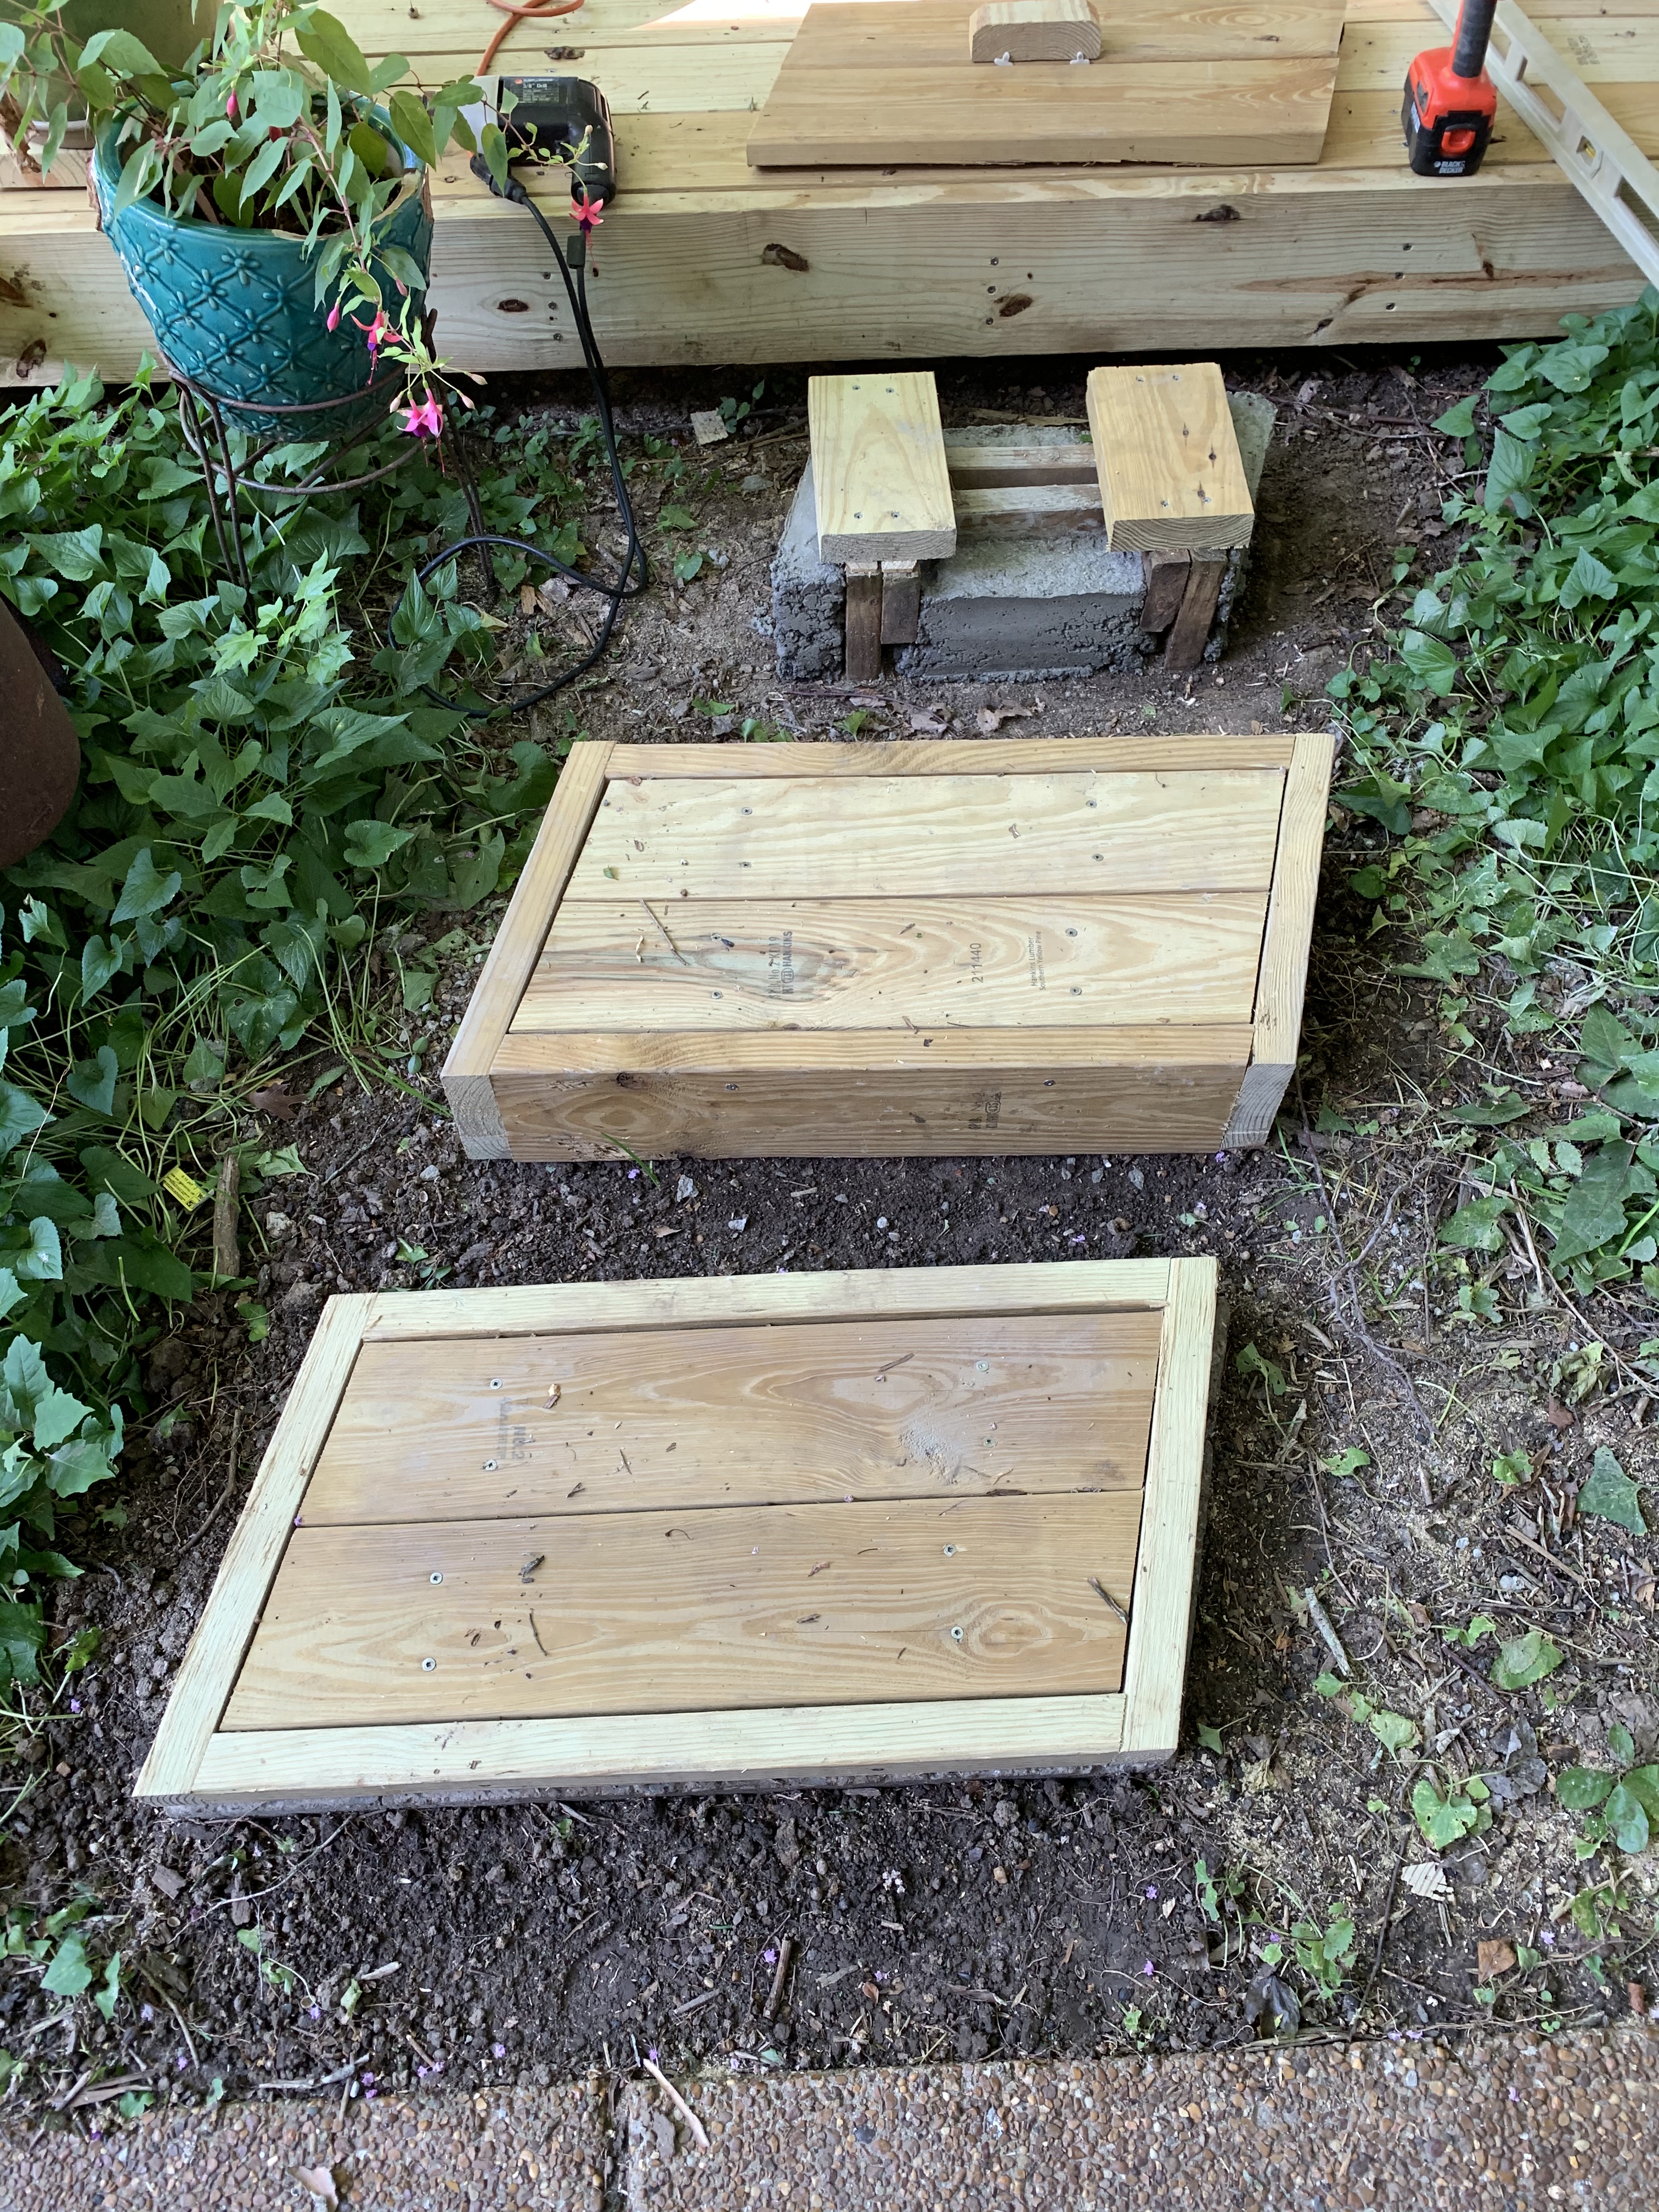
In the rain, I quickly gathered up some wood scraps to simulate the future fascia boards—a field modification to a plan pulled out of the air without design drawings—and then poured this last pad, making sure to include the imbedded wood to which the steps would be attached.

Once the concrete had set…
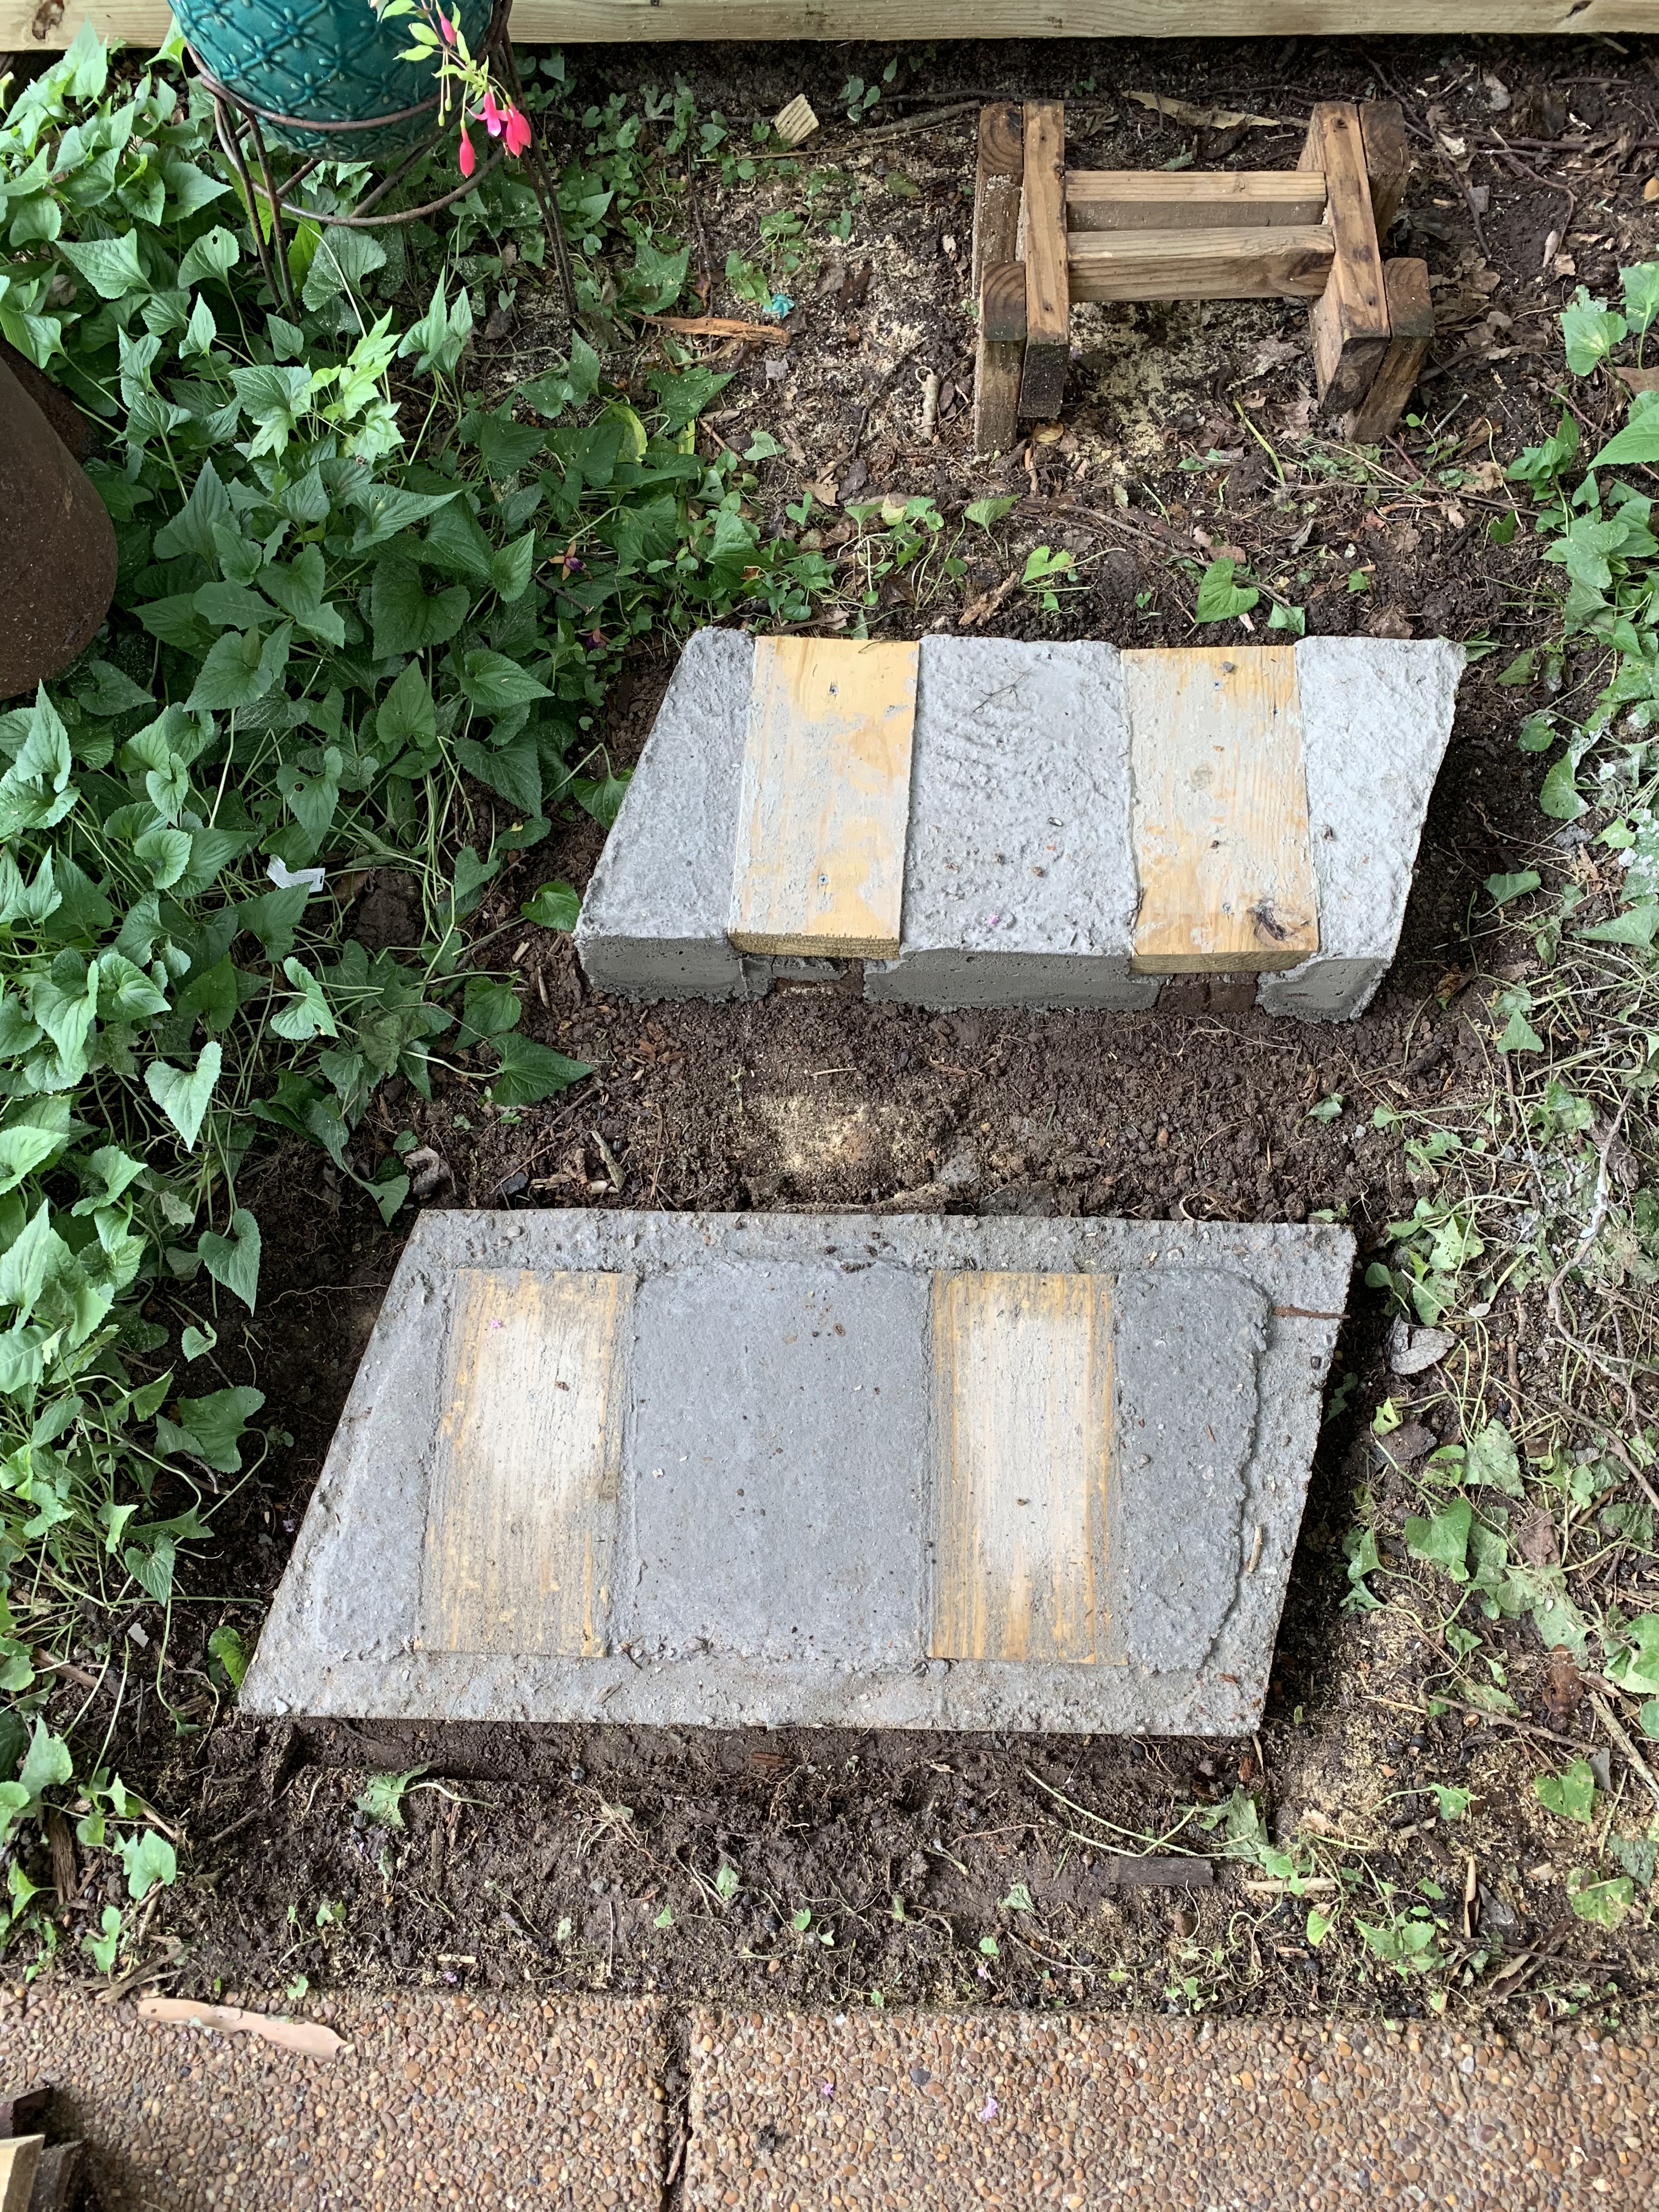
…I had nice firm supports upon which to build.

Building the first step went fairly easily but then when I went to assemble the fascia boards for the second step, I found that my rushed “field modification” had still left me with a concrete base that was too wide on all four sides. I ended up spending a good bit of time and energy chiseling the concrete down to get the fascia boards for this second step to drape down the sides. But once I did, I was very pleased with the results.
In fact, once I walked on both steps, I felt the addition of the concrete made the steps much sturdier than the original ones. This fact made me decide to pour a concrete pad for the third step as well. Only this time I made the frame smaller than the second step to avoid the problem I had with too wide of a concrete pad.

Pulling away the concrete form, I had a base upon which to build the third and final step.
Building the last step went very easily and when I stood up, was pleased to see the final result.
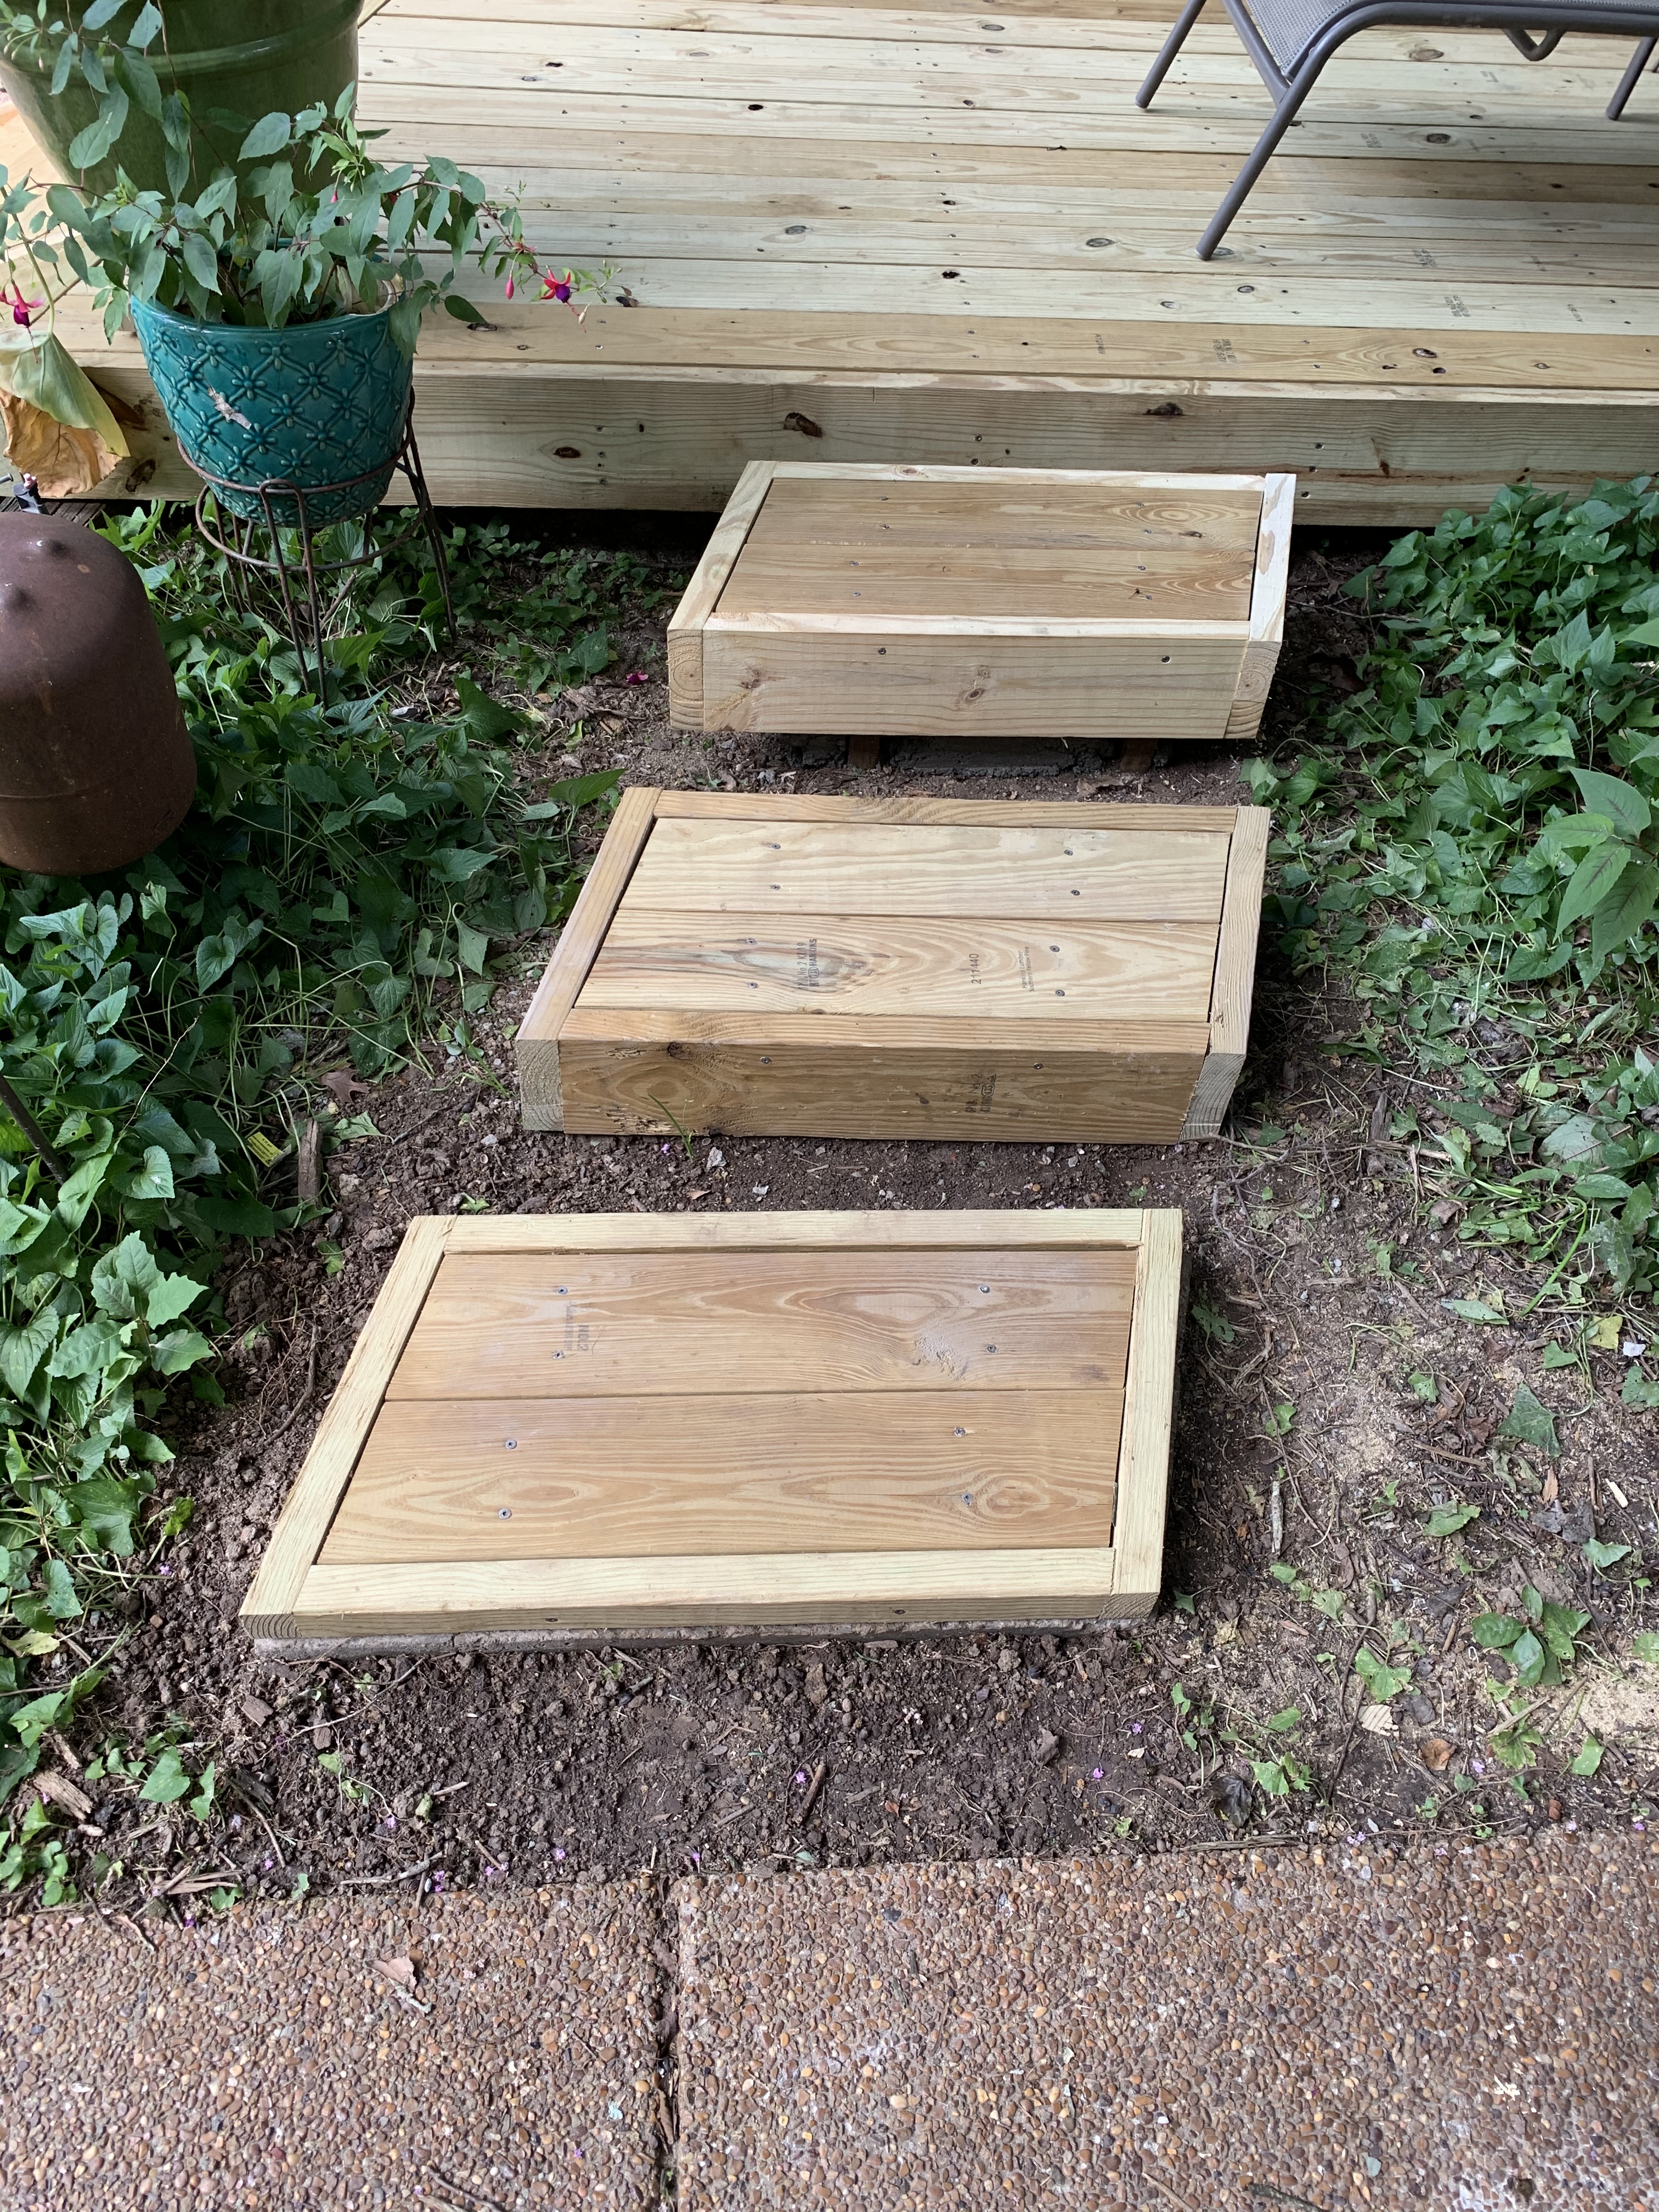
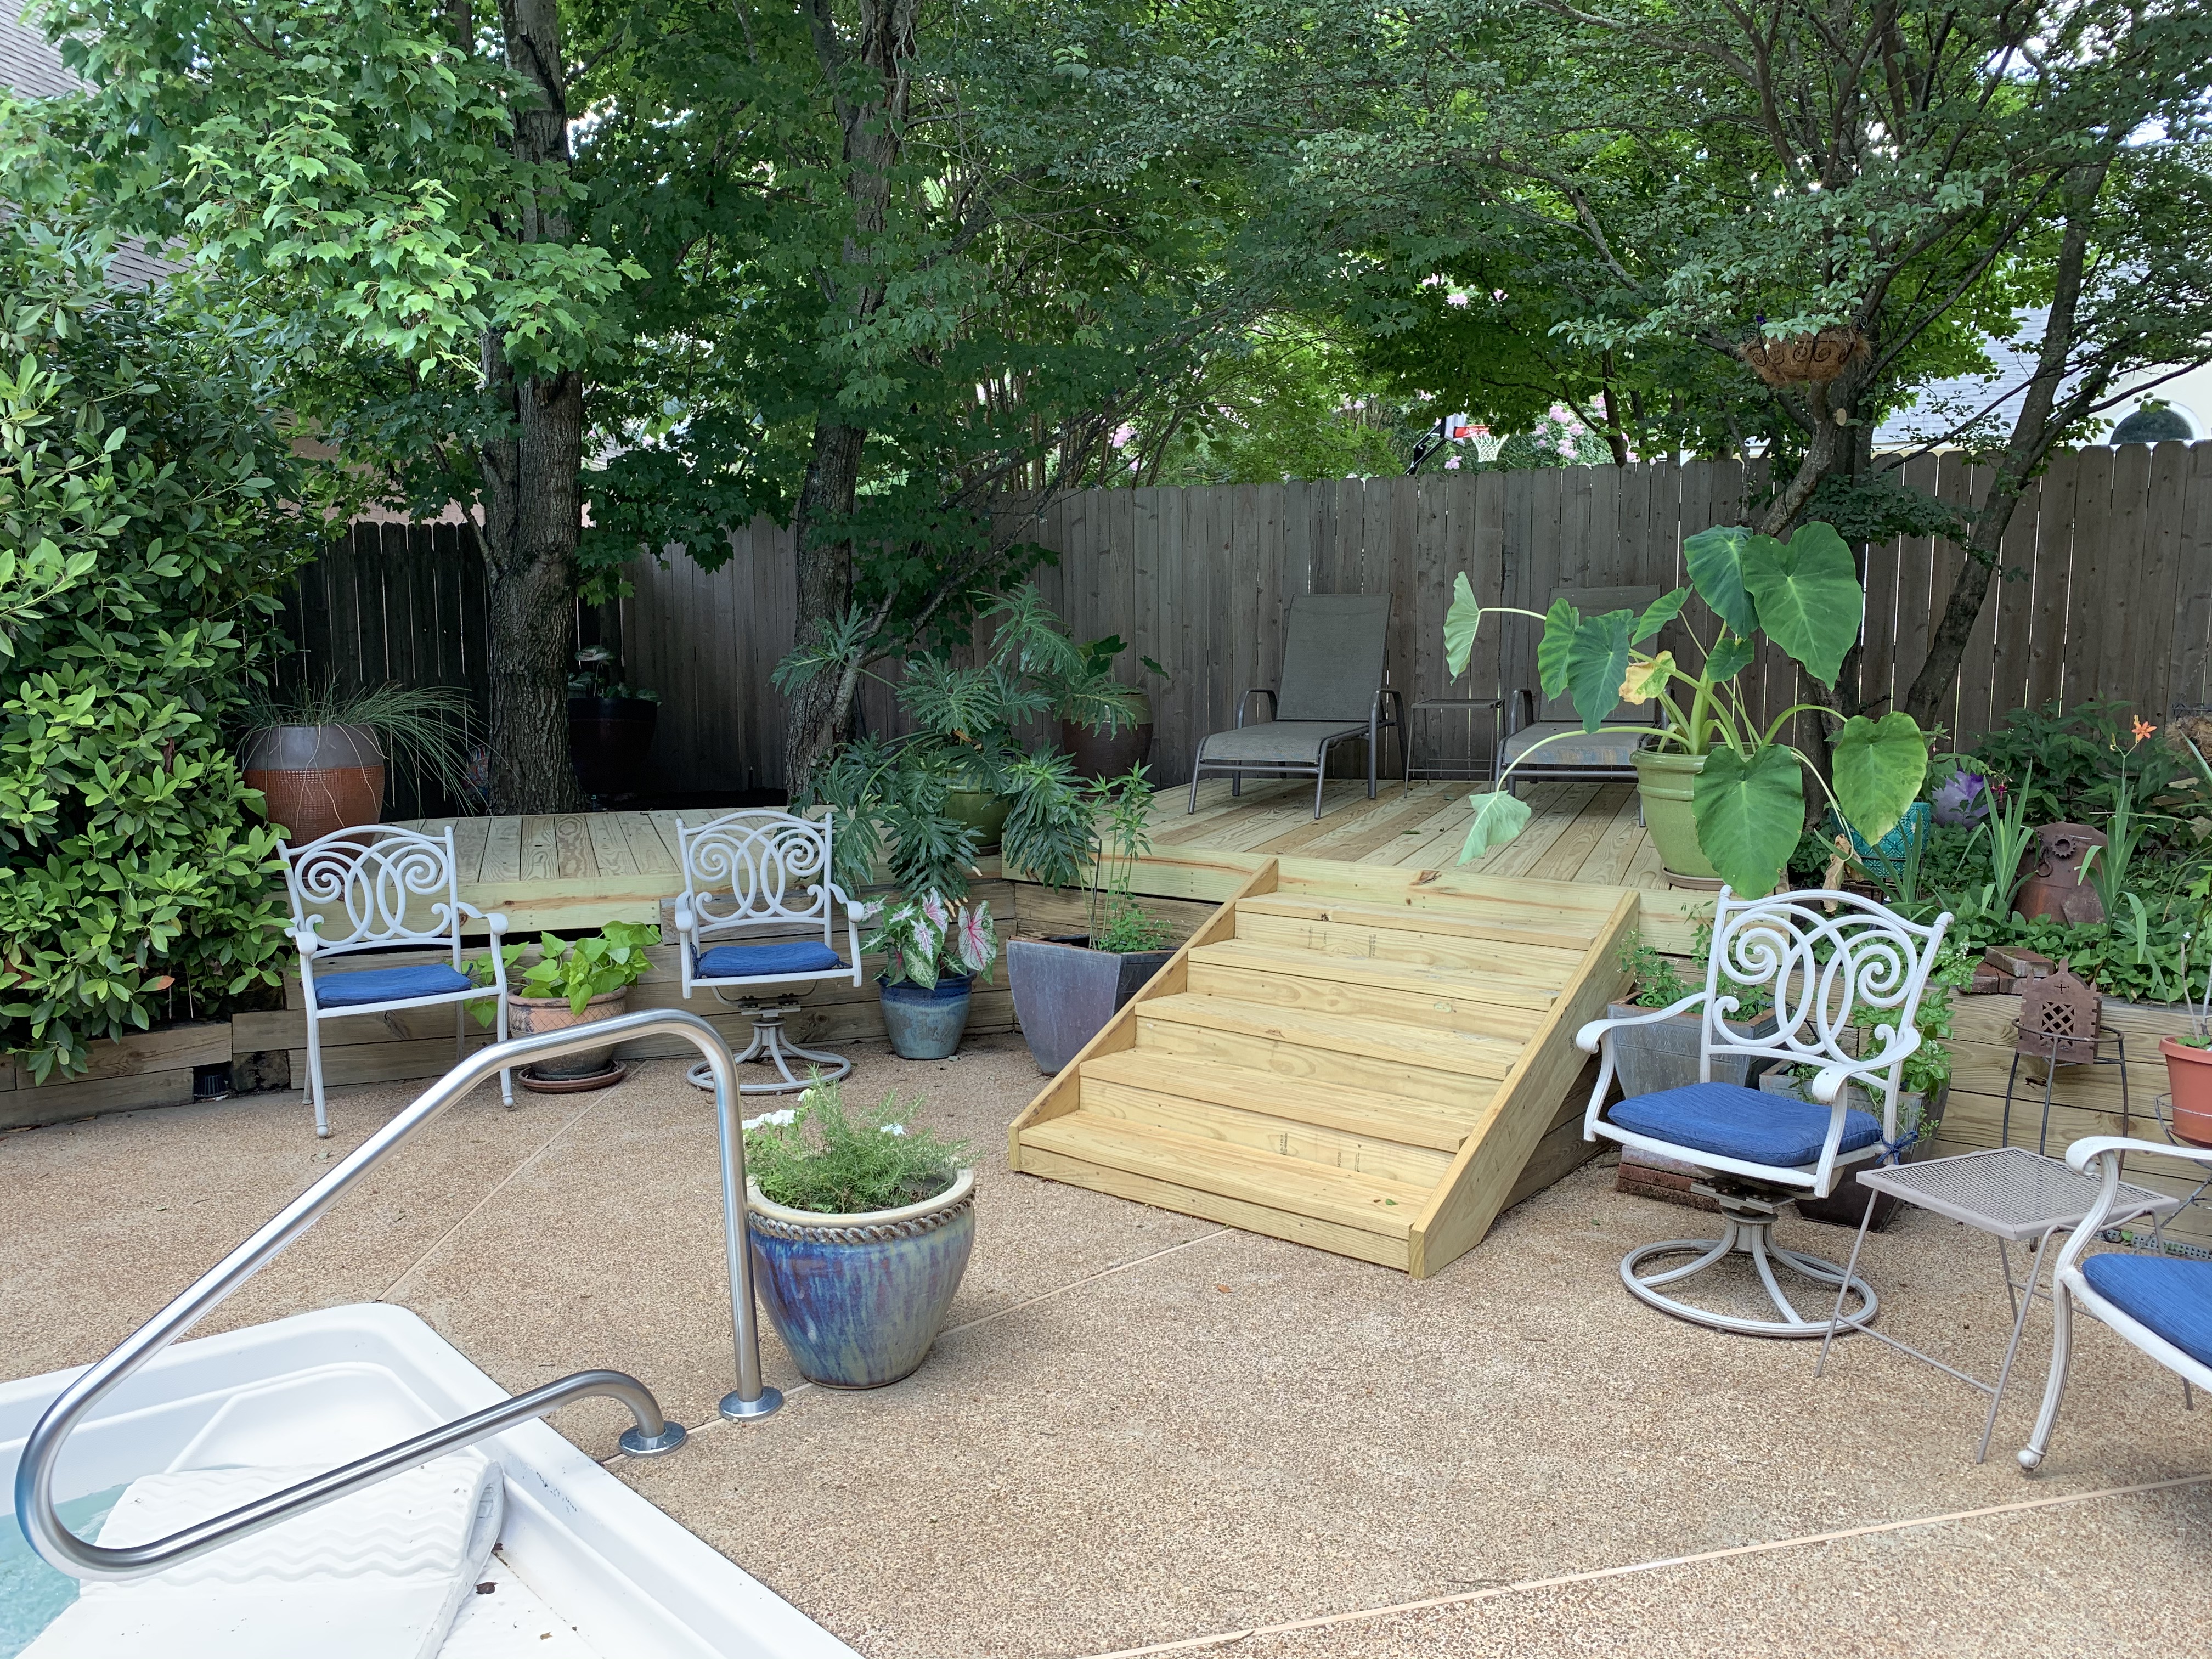
Now that these were completed, we had a very sturdy pathway to reach our deck from the walkway.
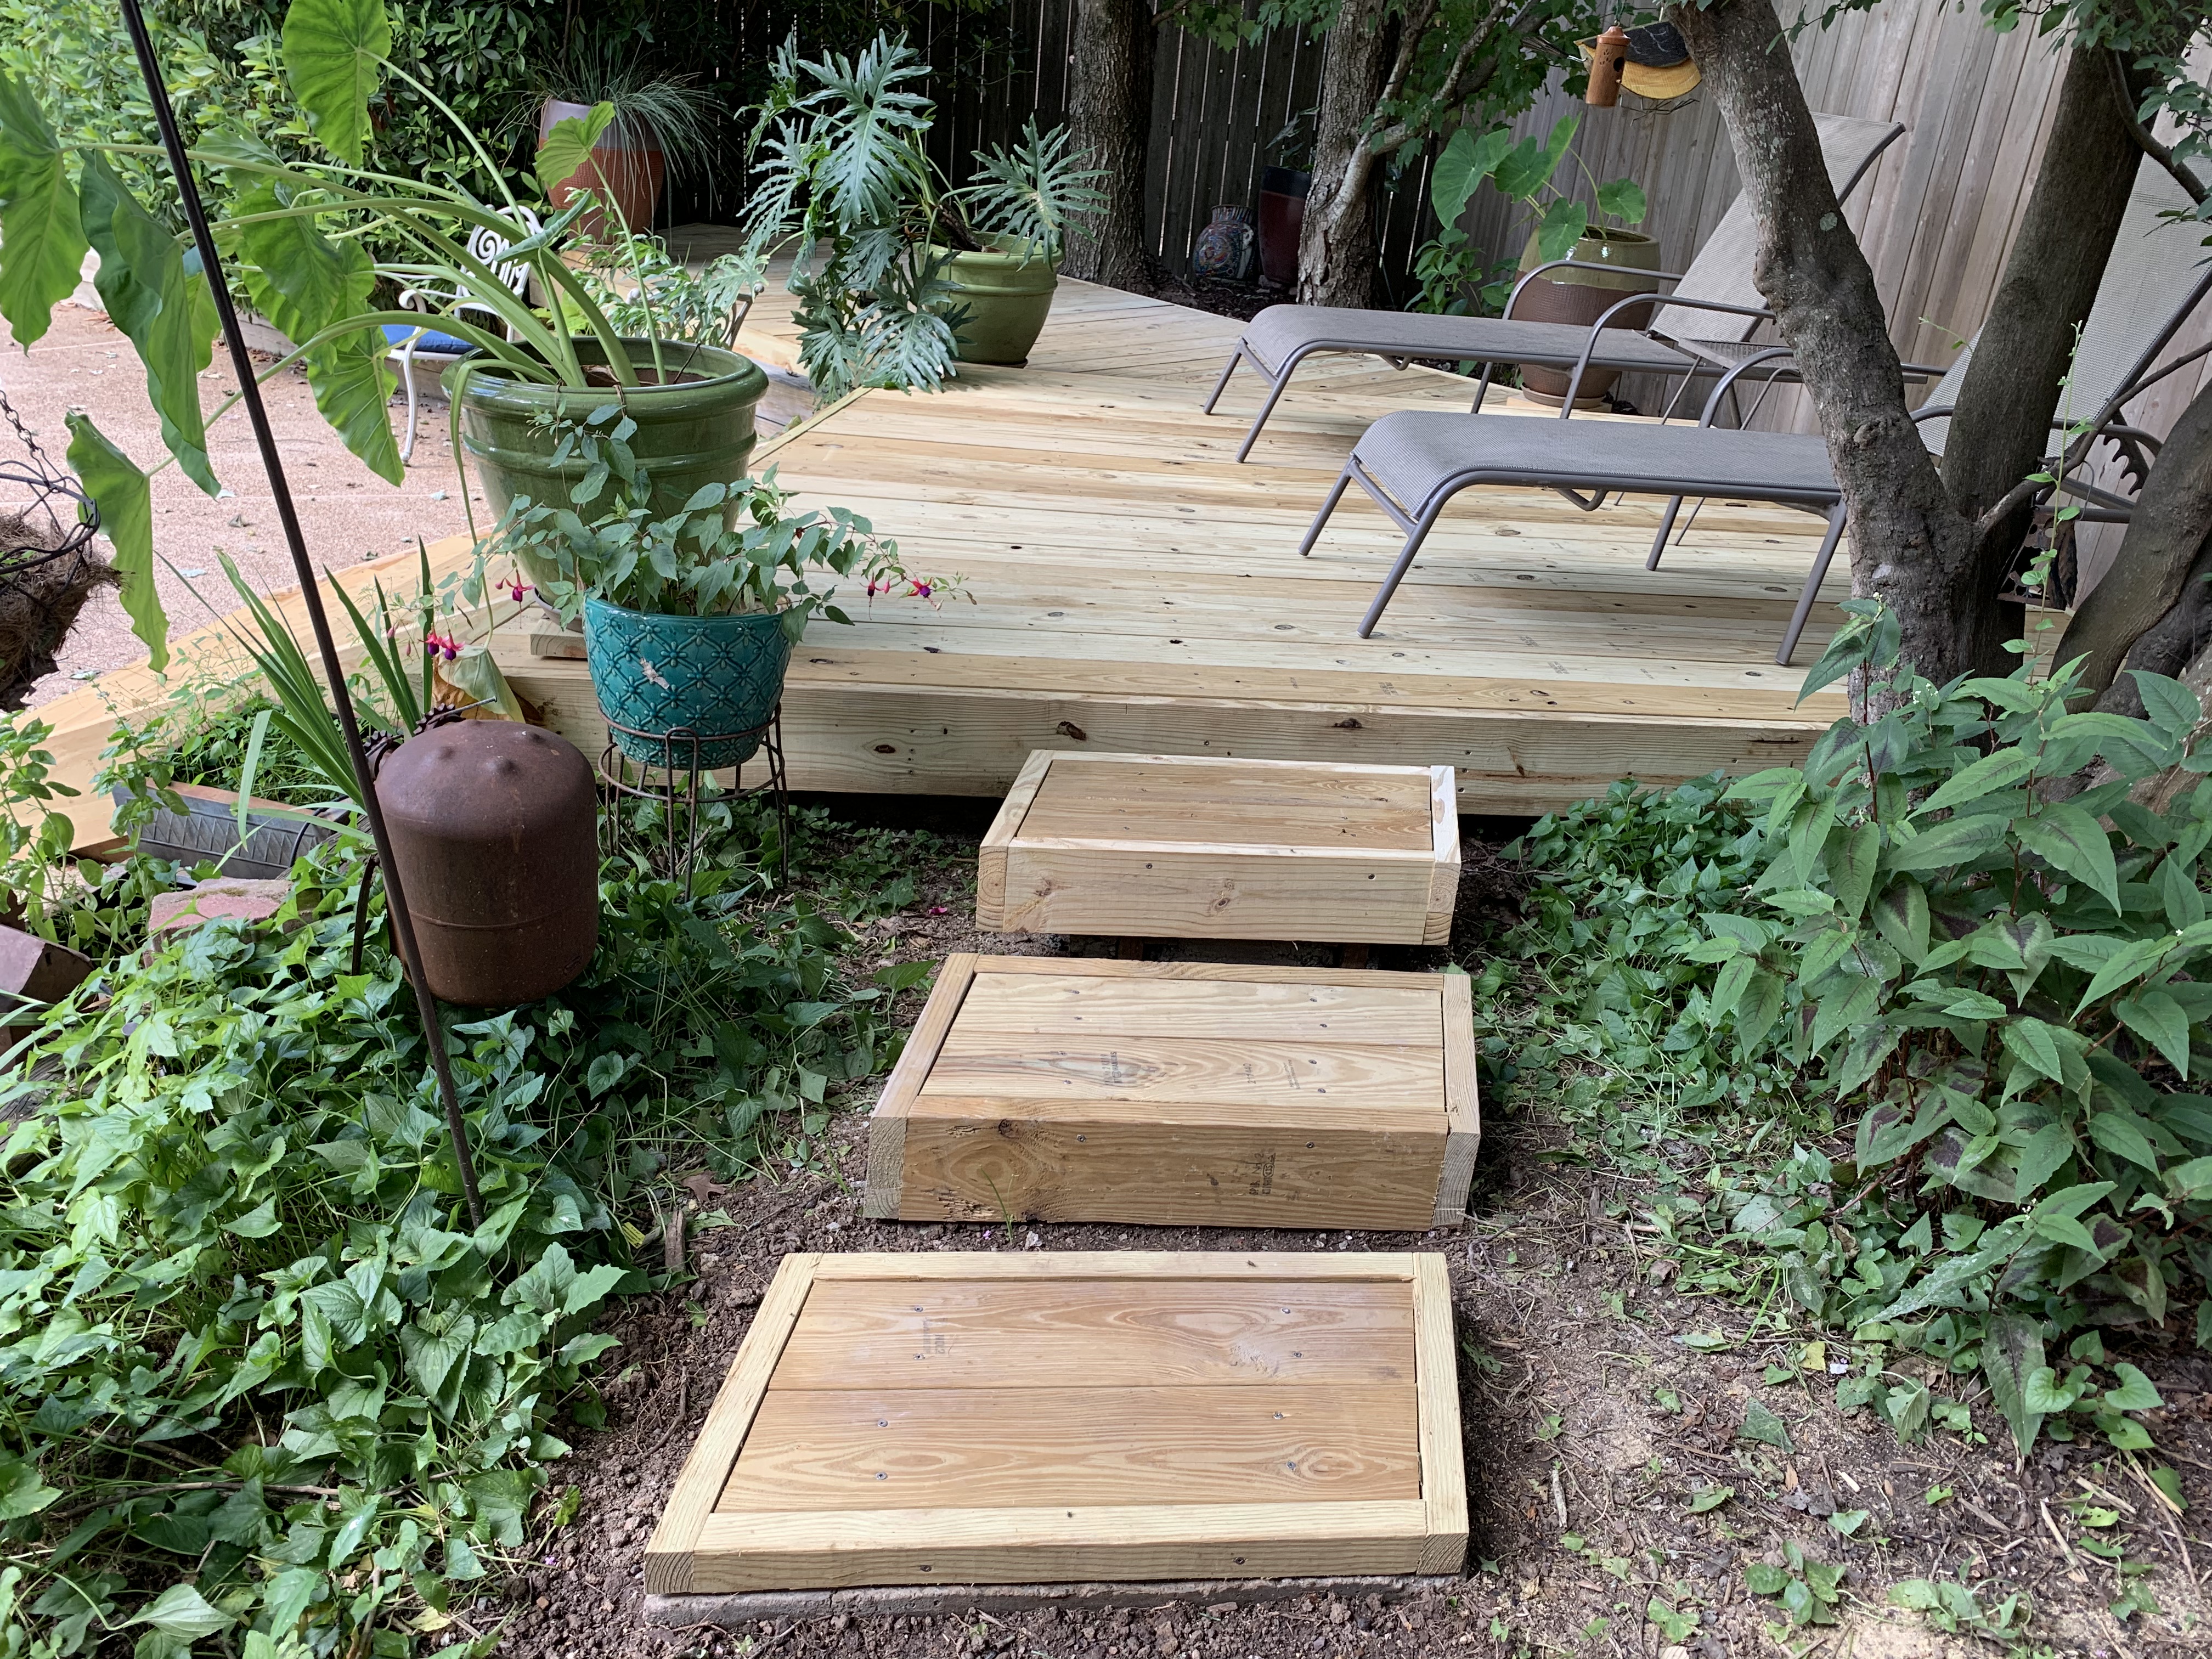
It was with mixed emotions that I put my tools away for the last time. On the one hand, I was happy to be finished with the deck rebuild but on the other hand, sad that my fun project was at an end. But with the deck ready again for occupancy, I could lounge on it and dream up my next fun project!
Categories
