
Deck – The Beginning
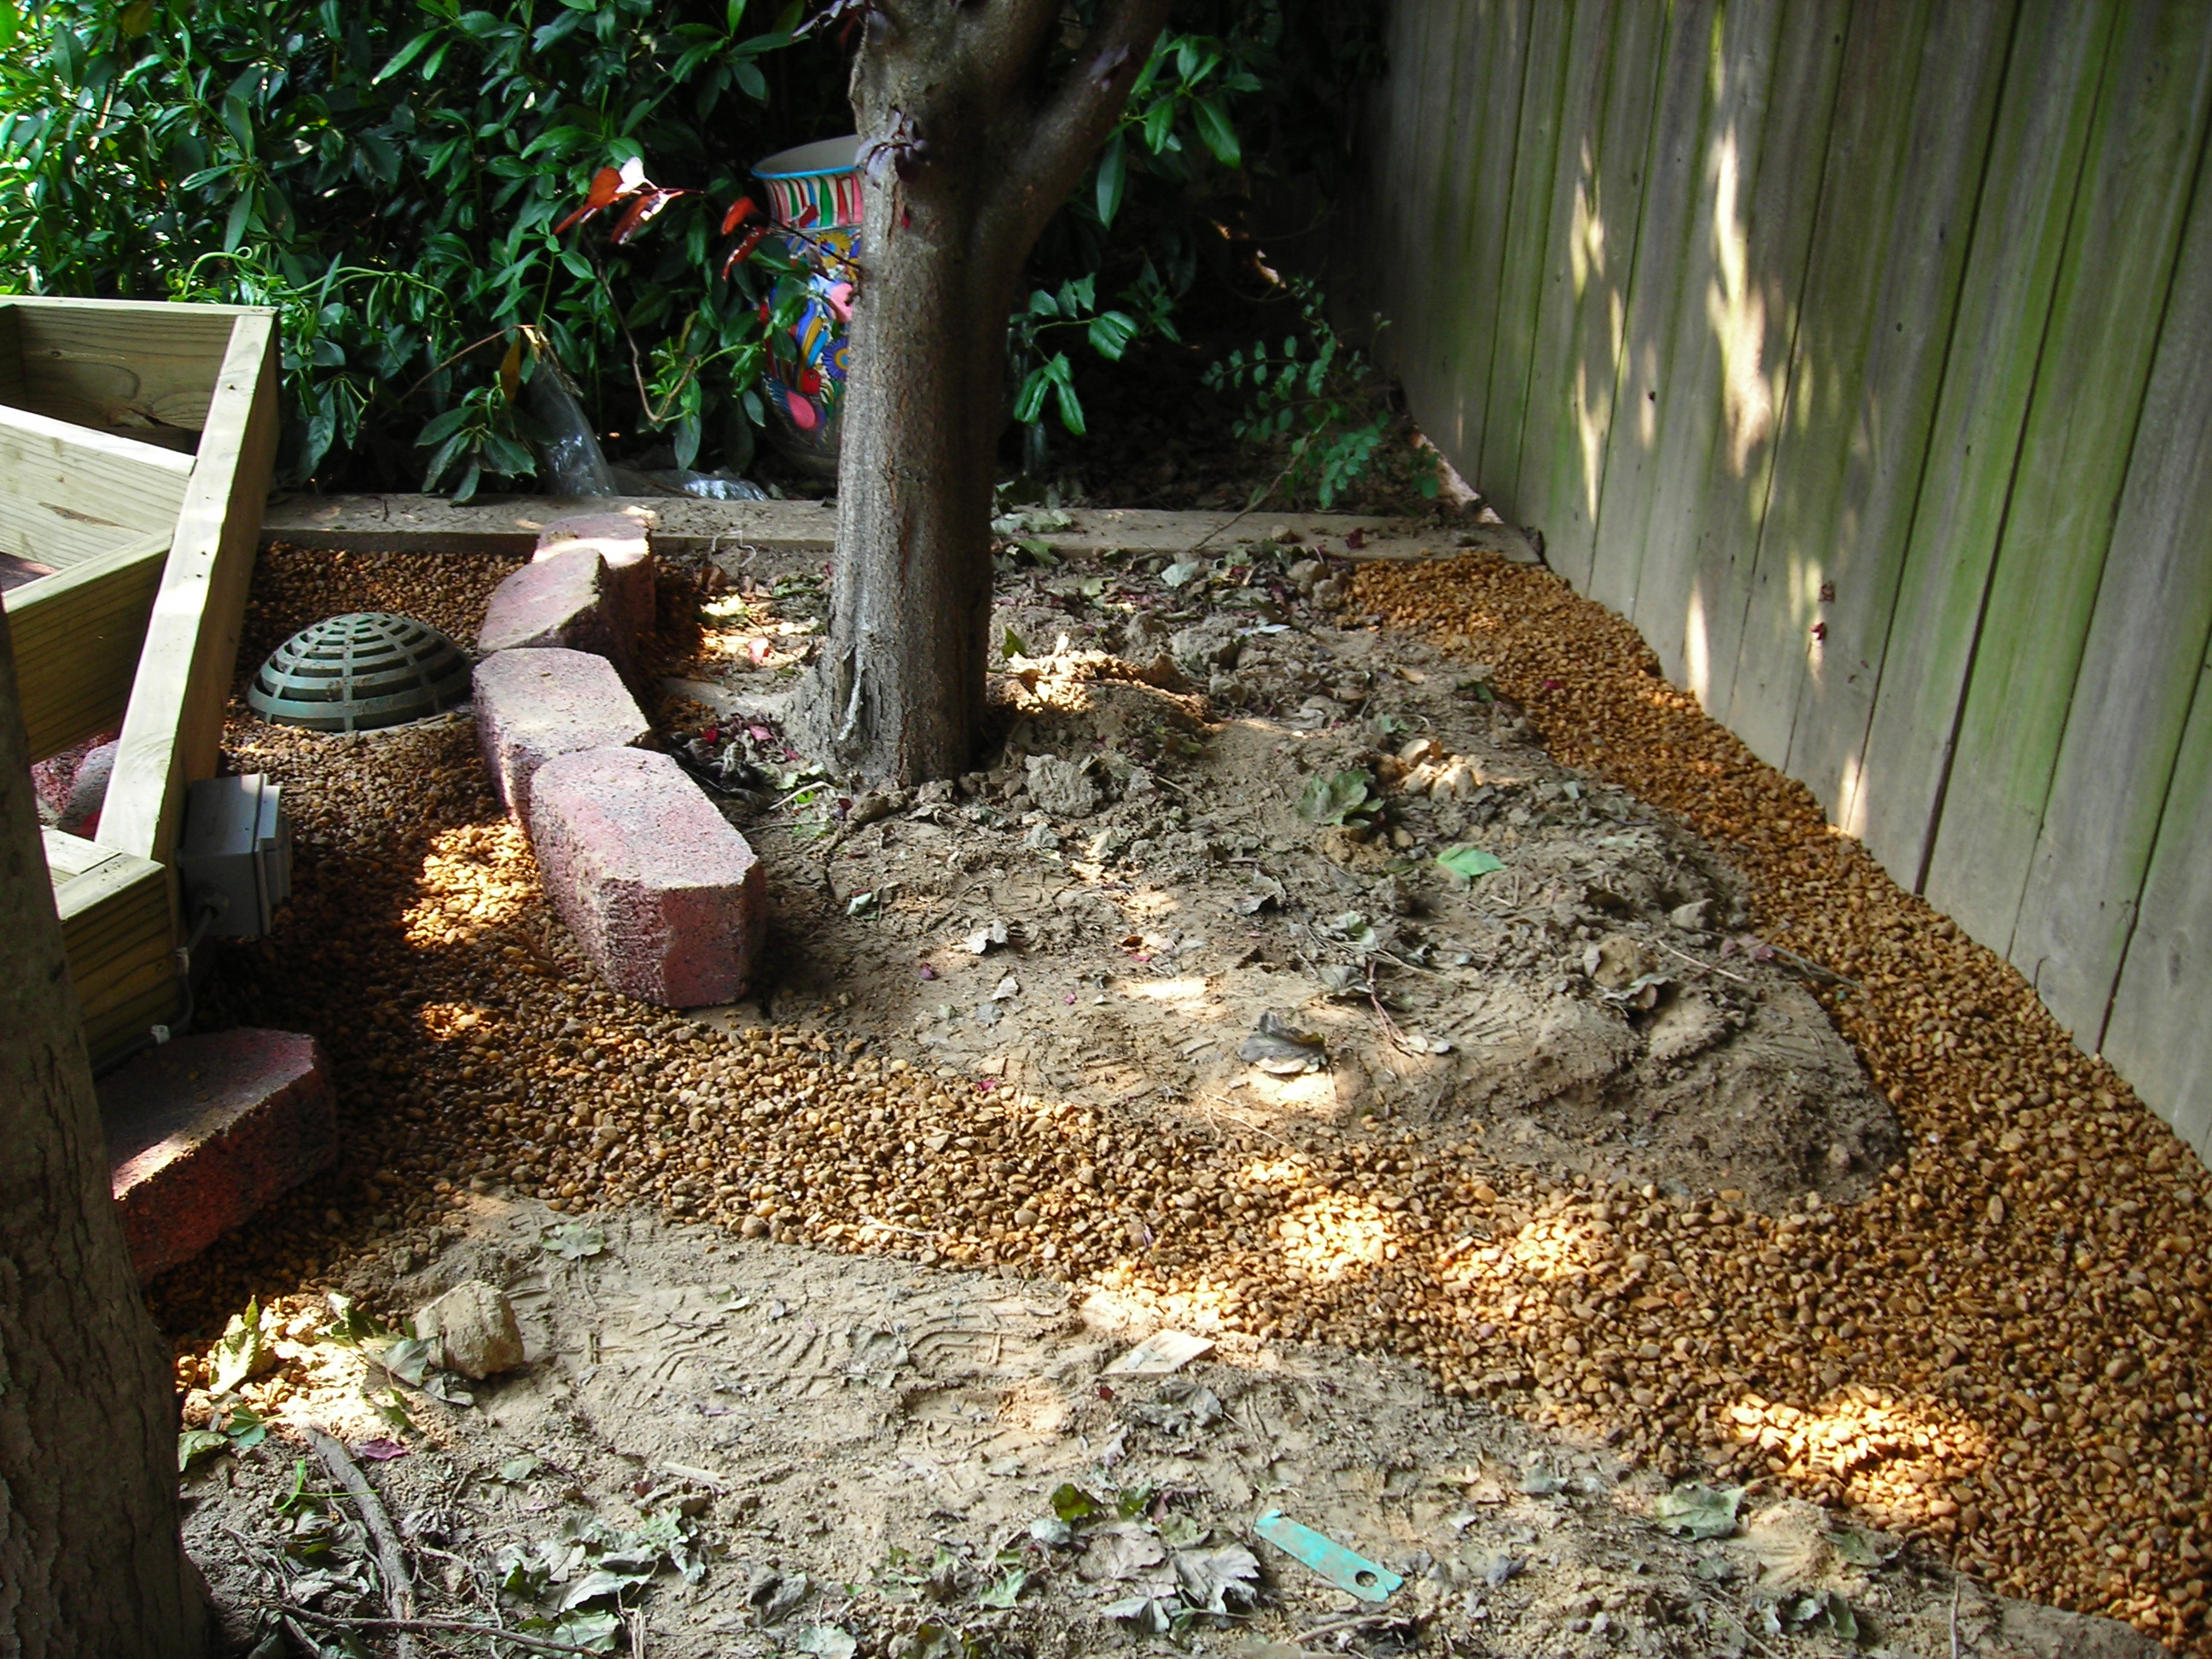
When I was telling the story of the growth of our backyard, one of the additions I mentioned was the building of a wooden deck overlooking the pool. This project was undertaken to overcome the unsightly eyesore of sparse grass that was still remaining under the trees and to better utilize the space above the pool deck.

At the time that we undertook this project in 2007, our oldest son was working as a landscape architect in the San Francisco Bay area. He agreed to come up with a design for our deck that we could build ourselves.
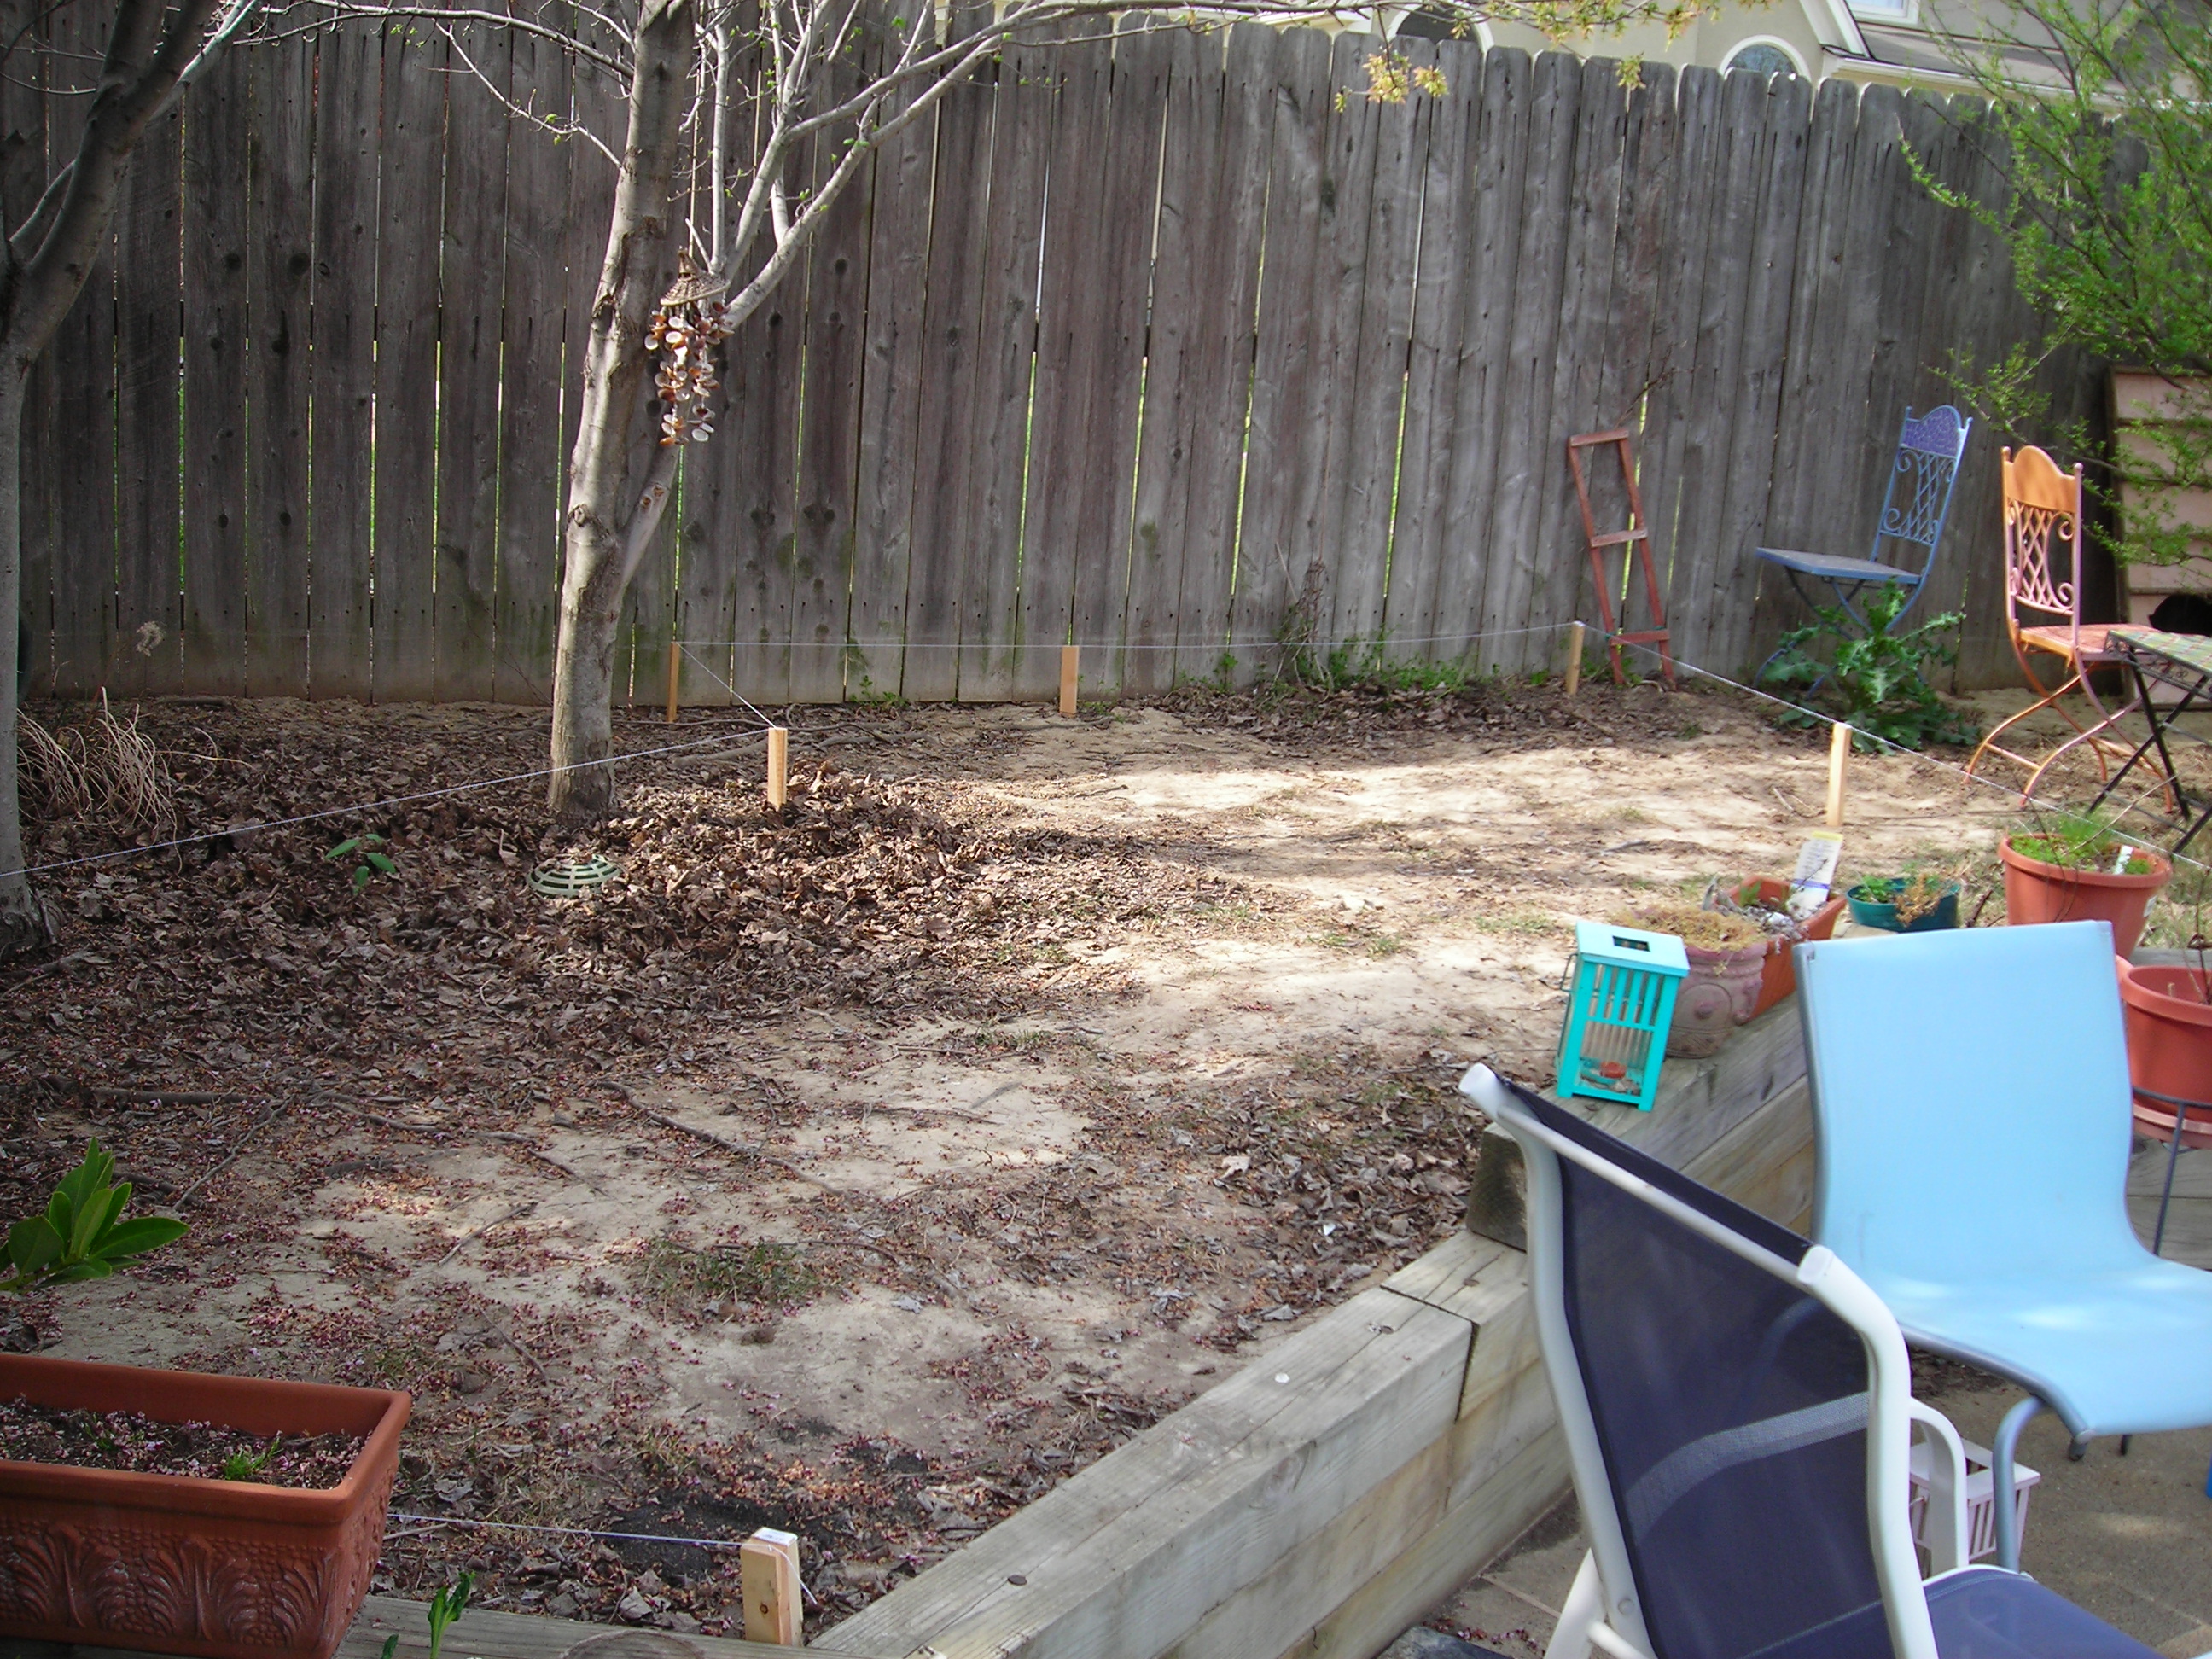
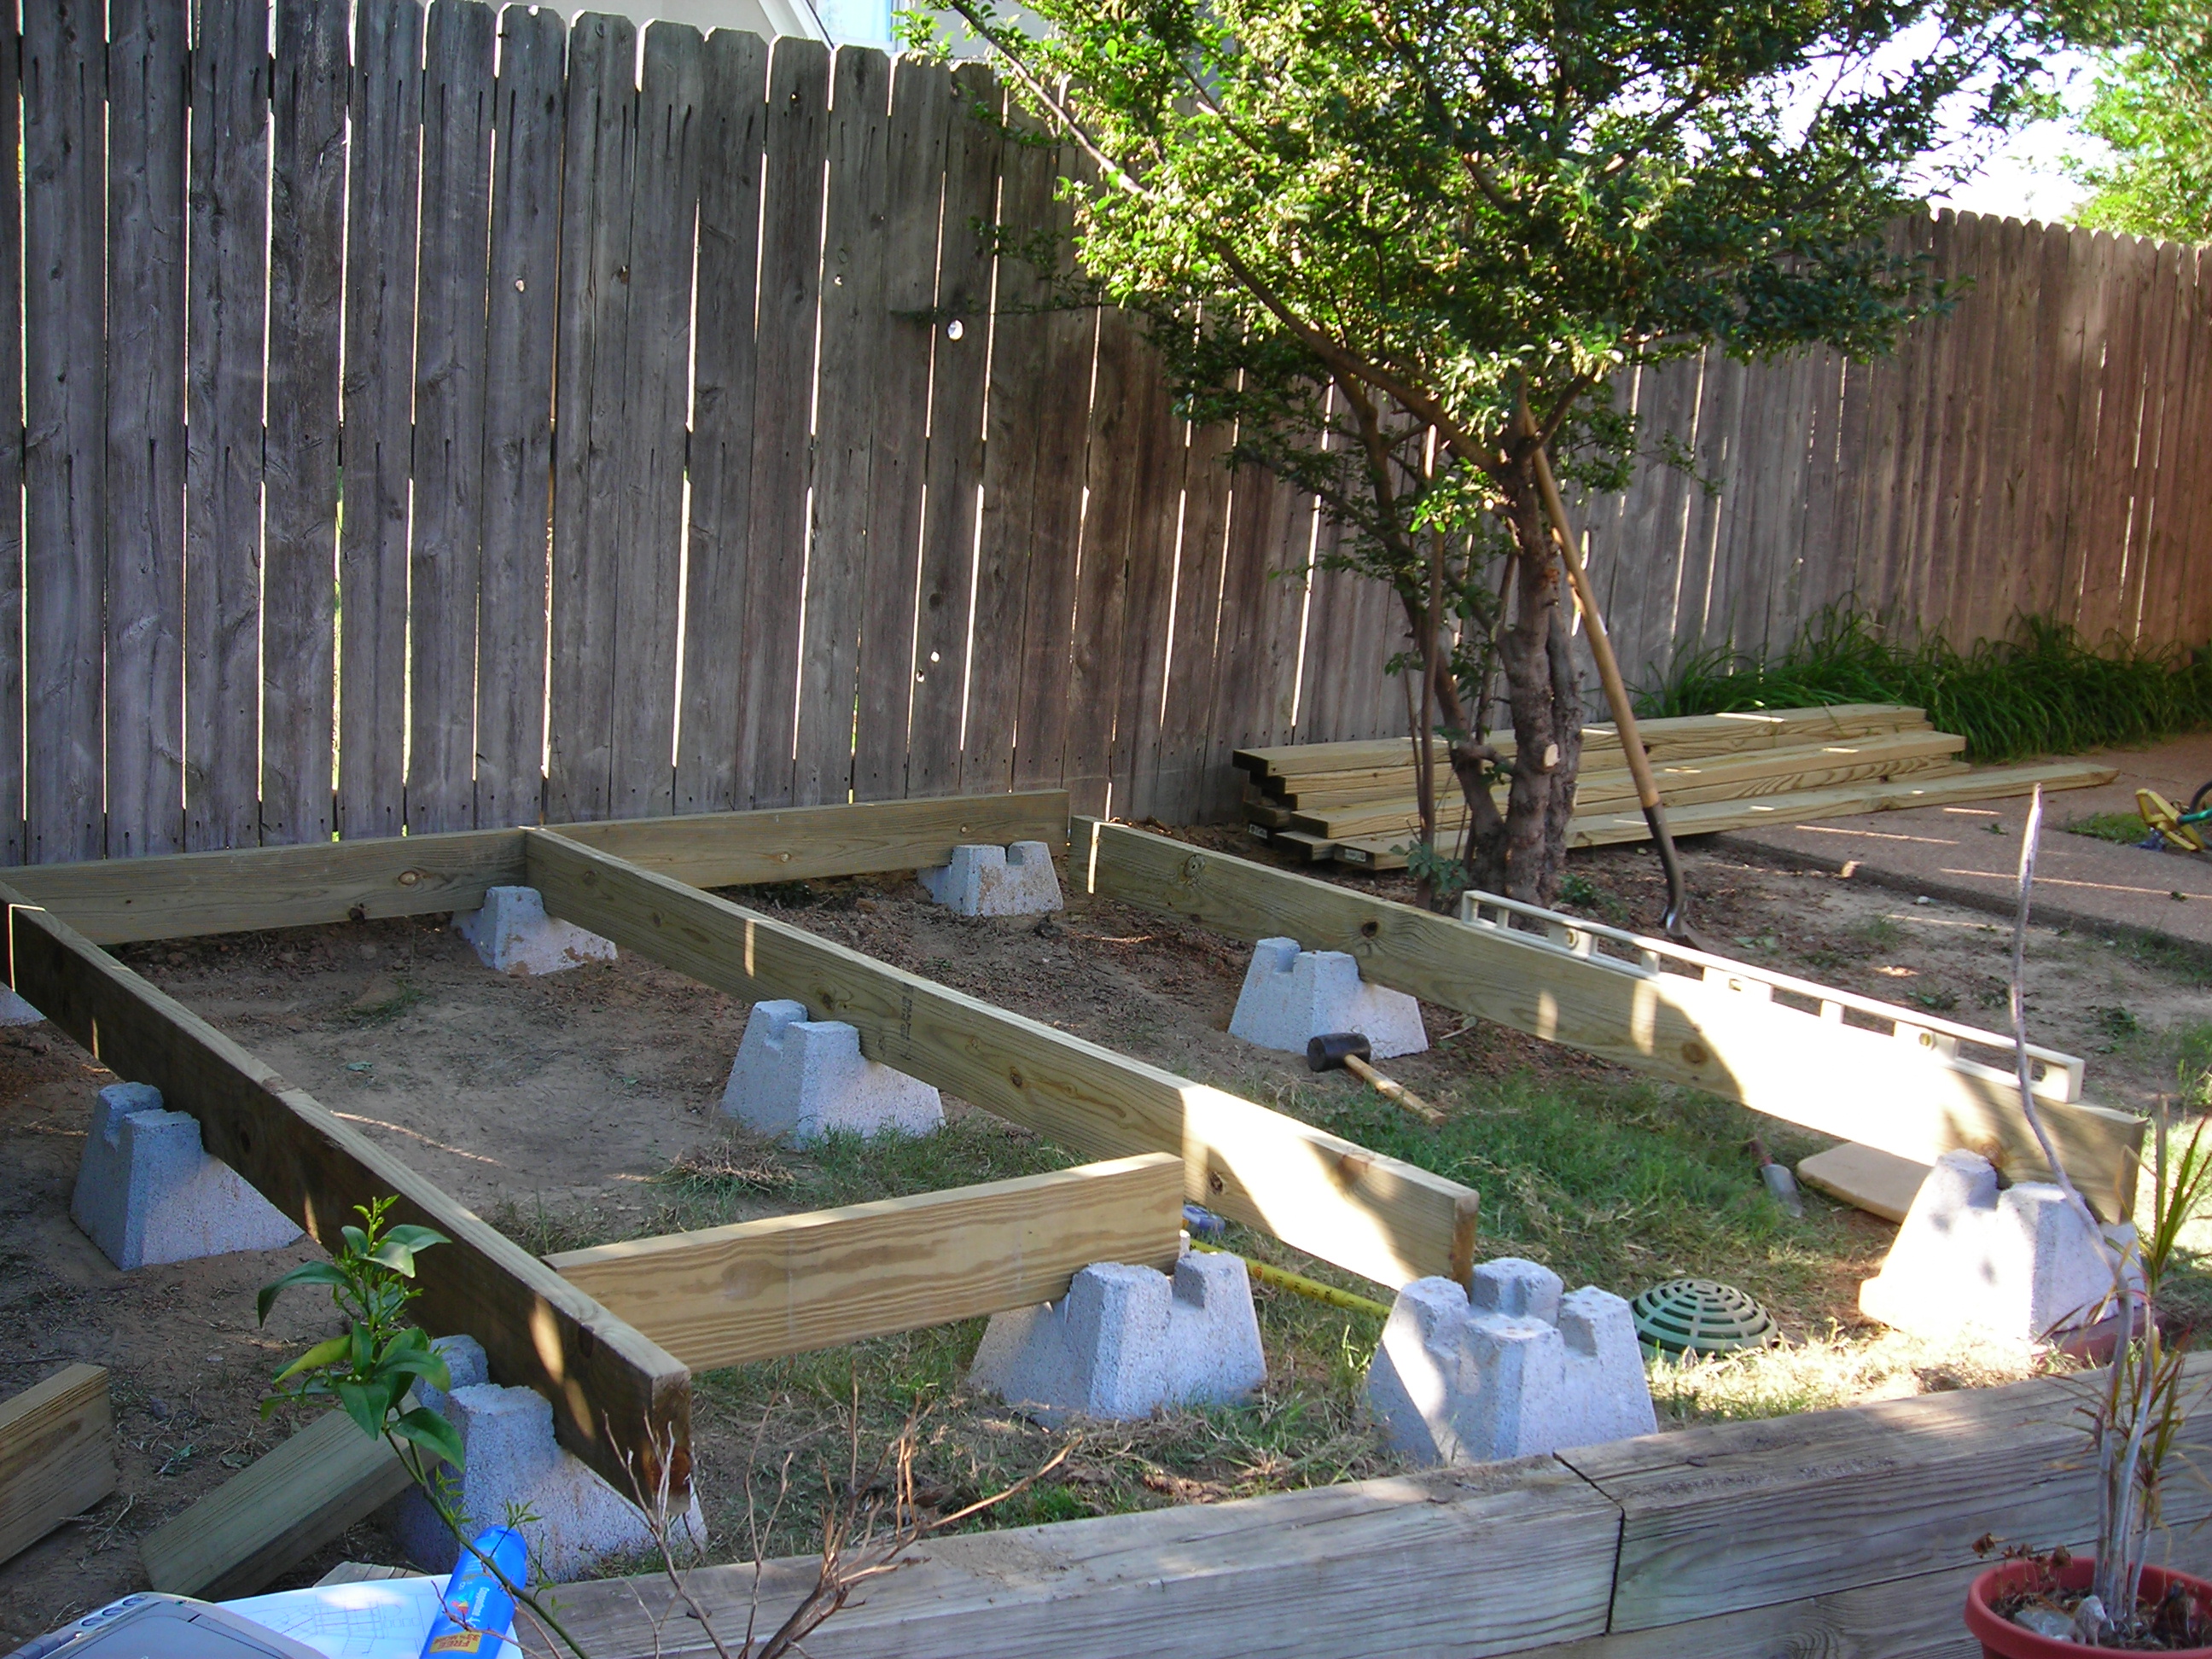
I got started by staking out what I thought could be the general shape of the deck, given the existing trees. I then took measurements of the retaining wall and this staked out area and e-mailed them to our son. I had no idea what the final plan would look like but I knew it would be a creative vision our son would develop.
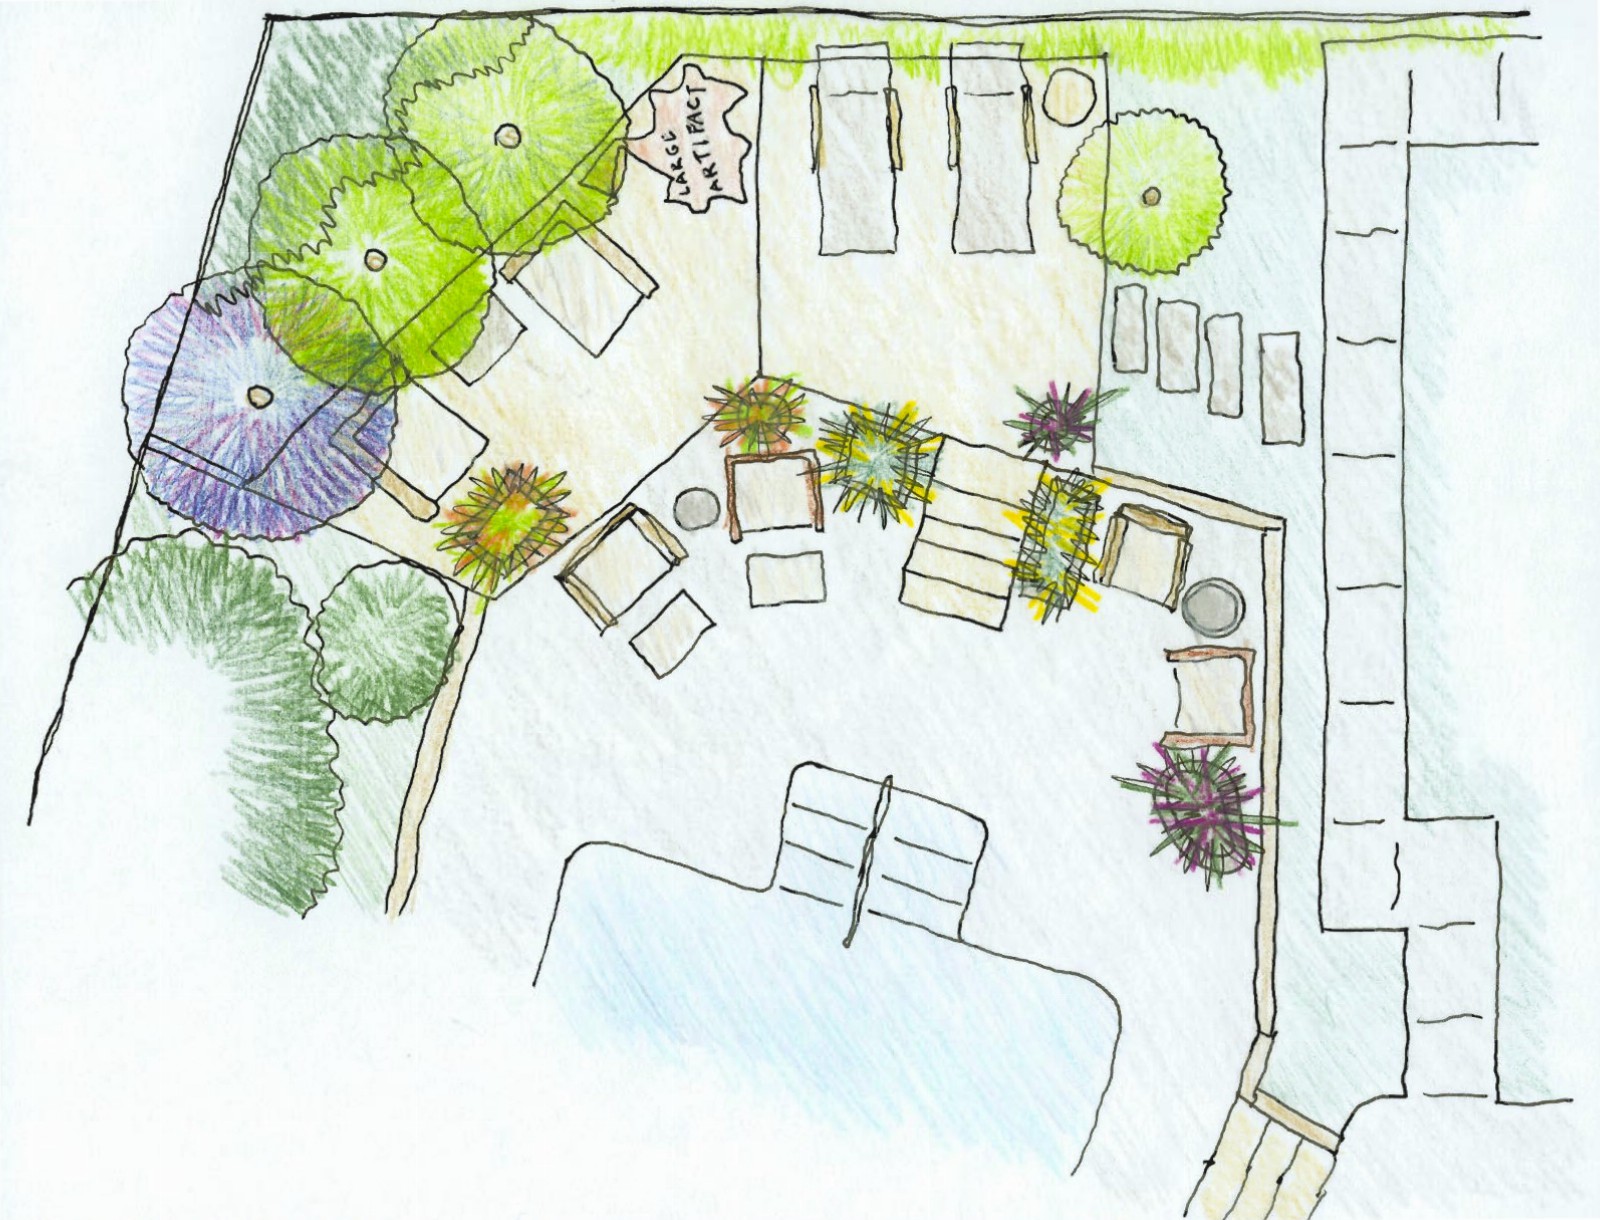
When our son e-mailed the design to us, I was most impressed. He came up with an approach that blended well with the existing hardscape of the retaining wall while providing a natural transition down from the new space to the pool deck below. The design he came up with was on two levels offset by the height of a single step that mirrored the progressive step-down of the existing retaining wall.
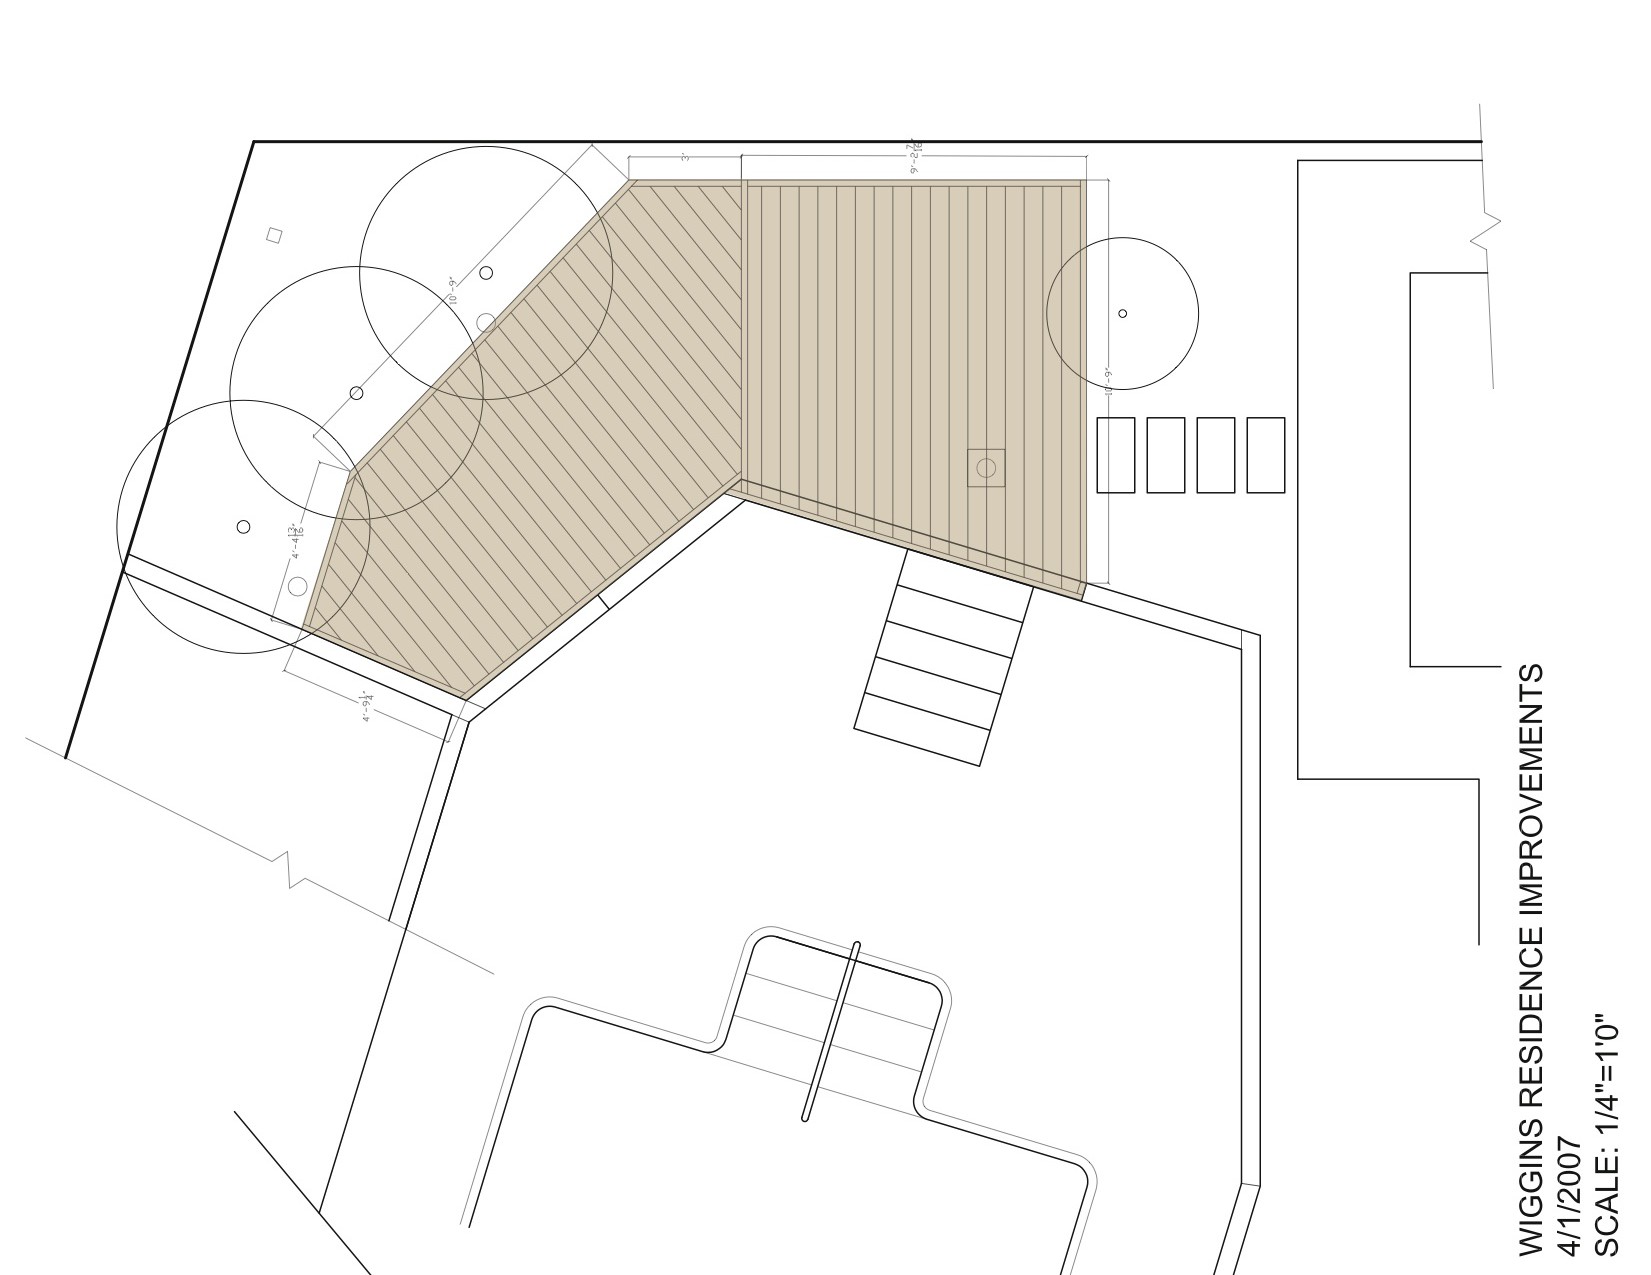
The next step was for our son to draw up the support frame for this new deck.

An important aspect of the construction was going to be how to anchor the support frame to the ground.
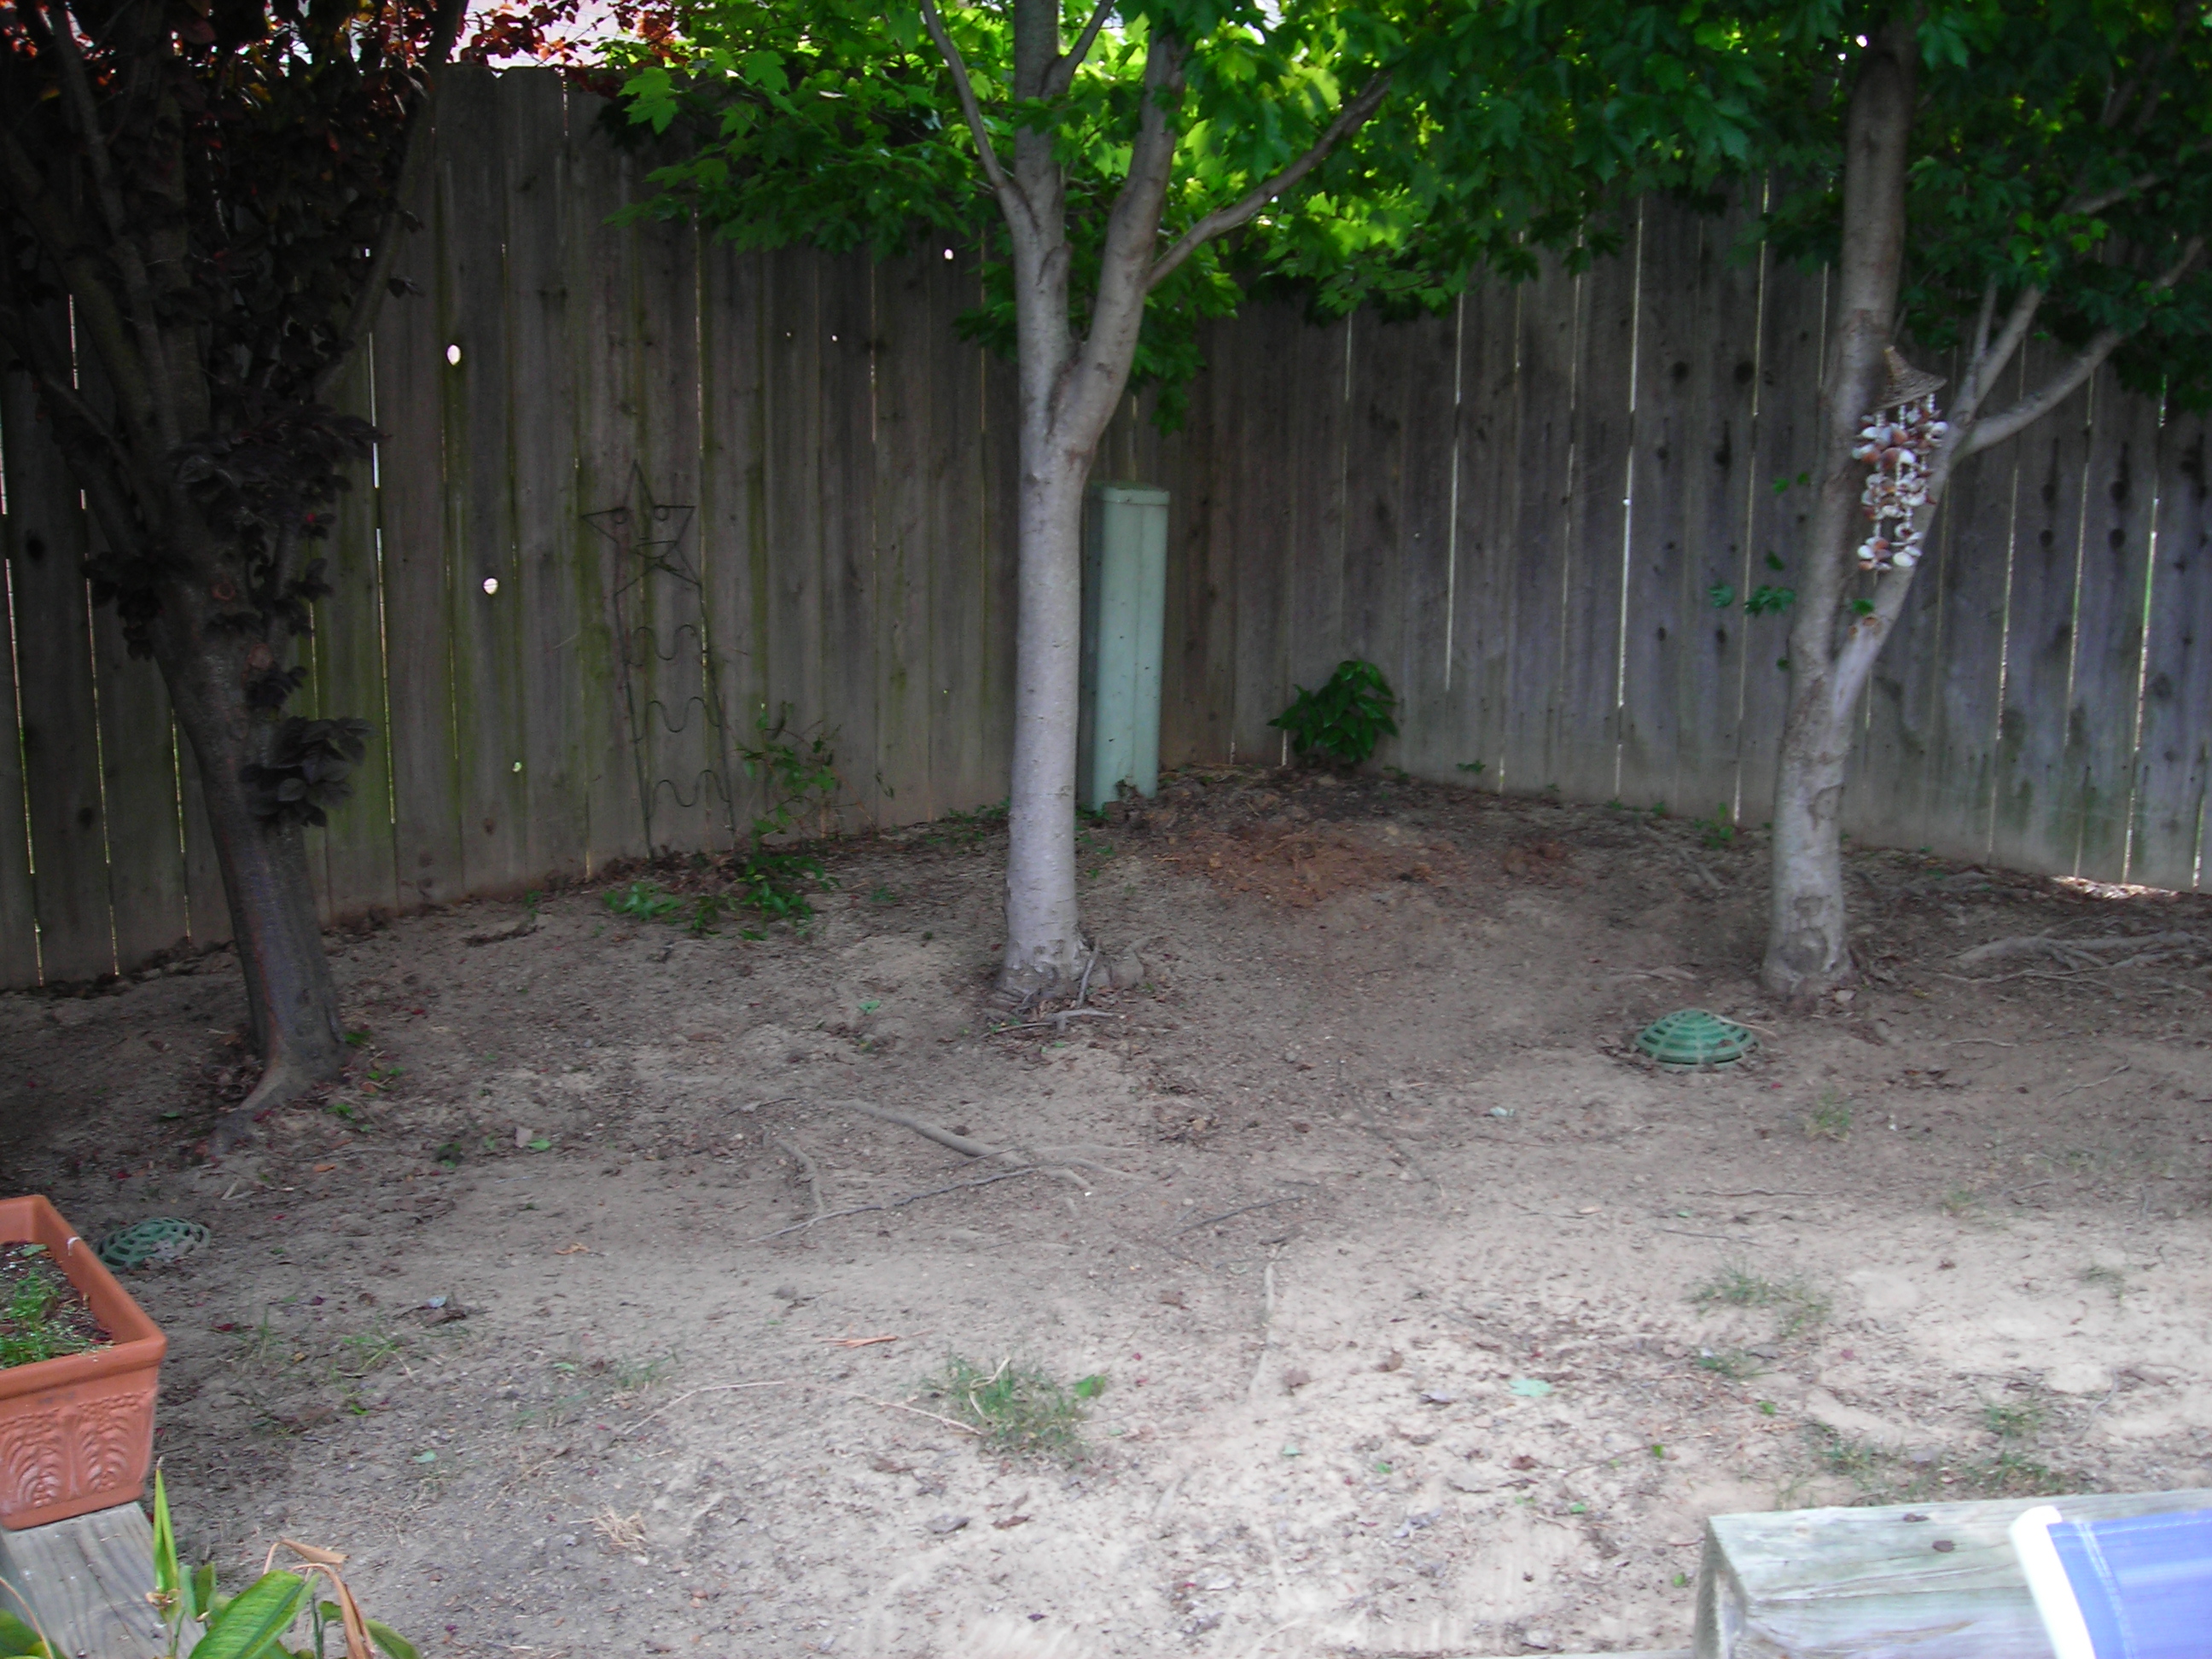
While most decks would be supported by posts sunk two to three feet into the ground, I knew with the snarled jumble of roots from the three trees, that it would be difficult to dig post holes without encountering a root.

I also had to make sure the deck supports didn’t interfere with the drainage system that had been put in place to route rainwater around the pool.
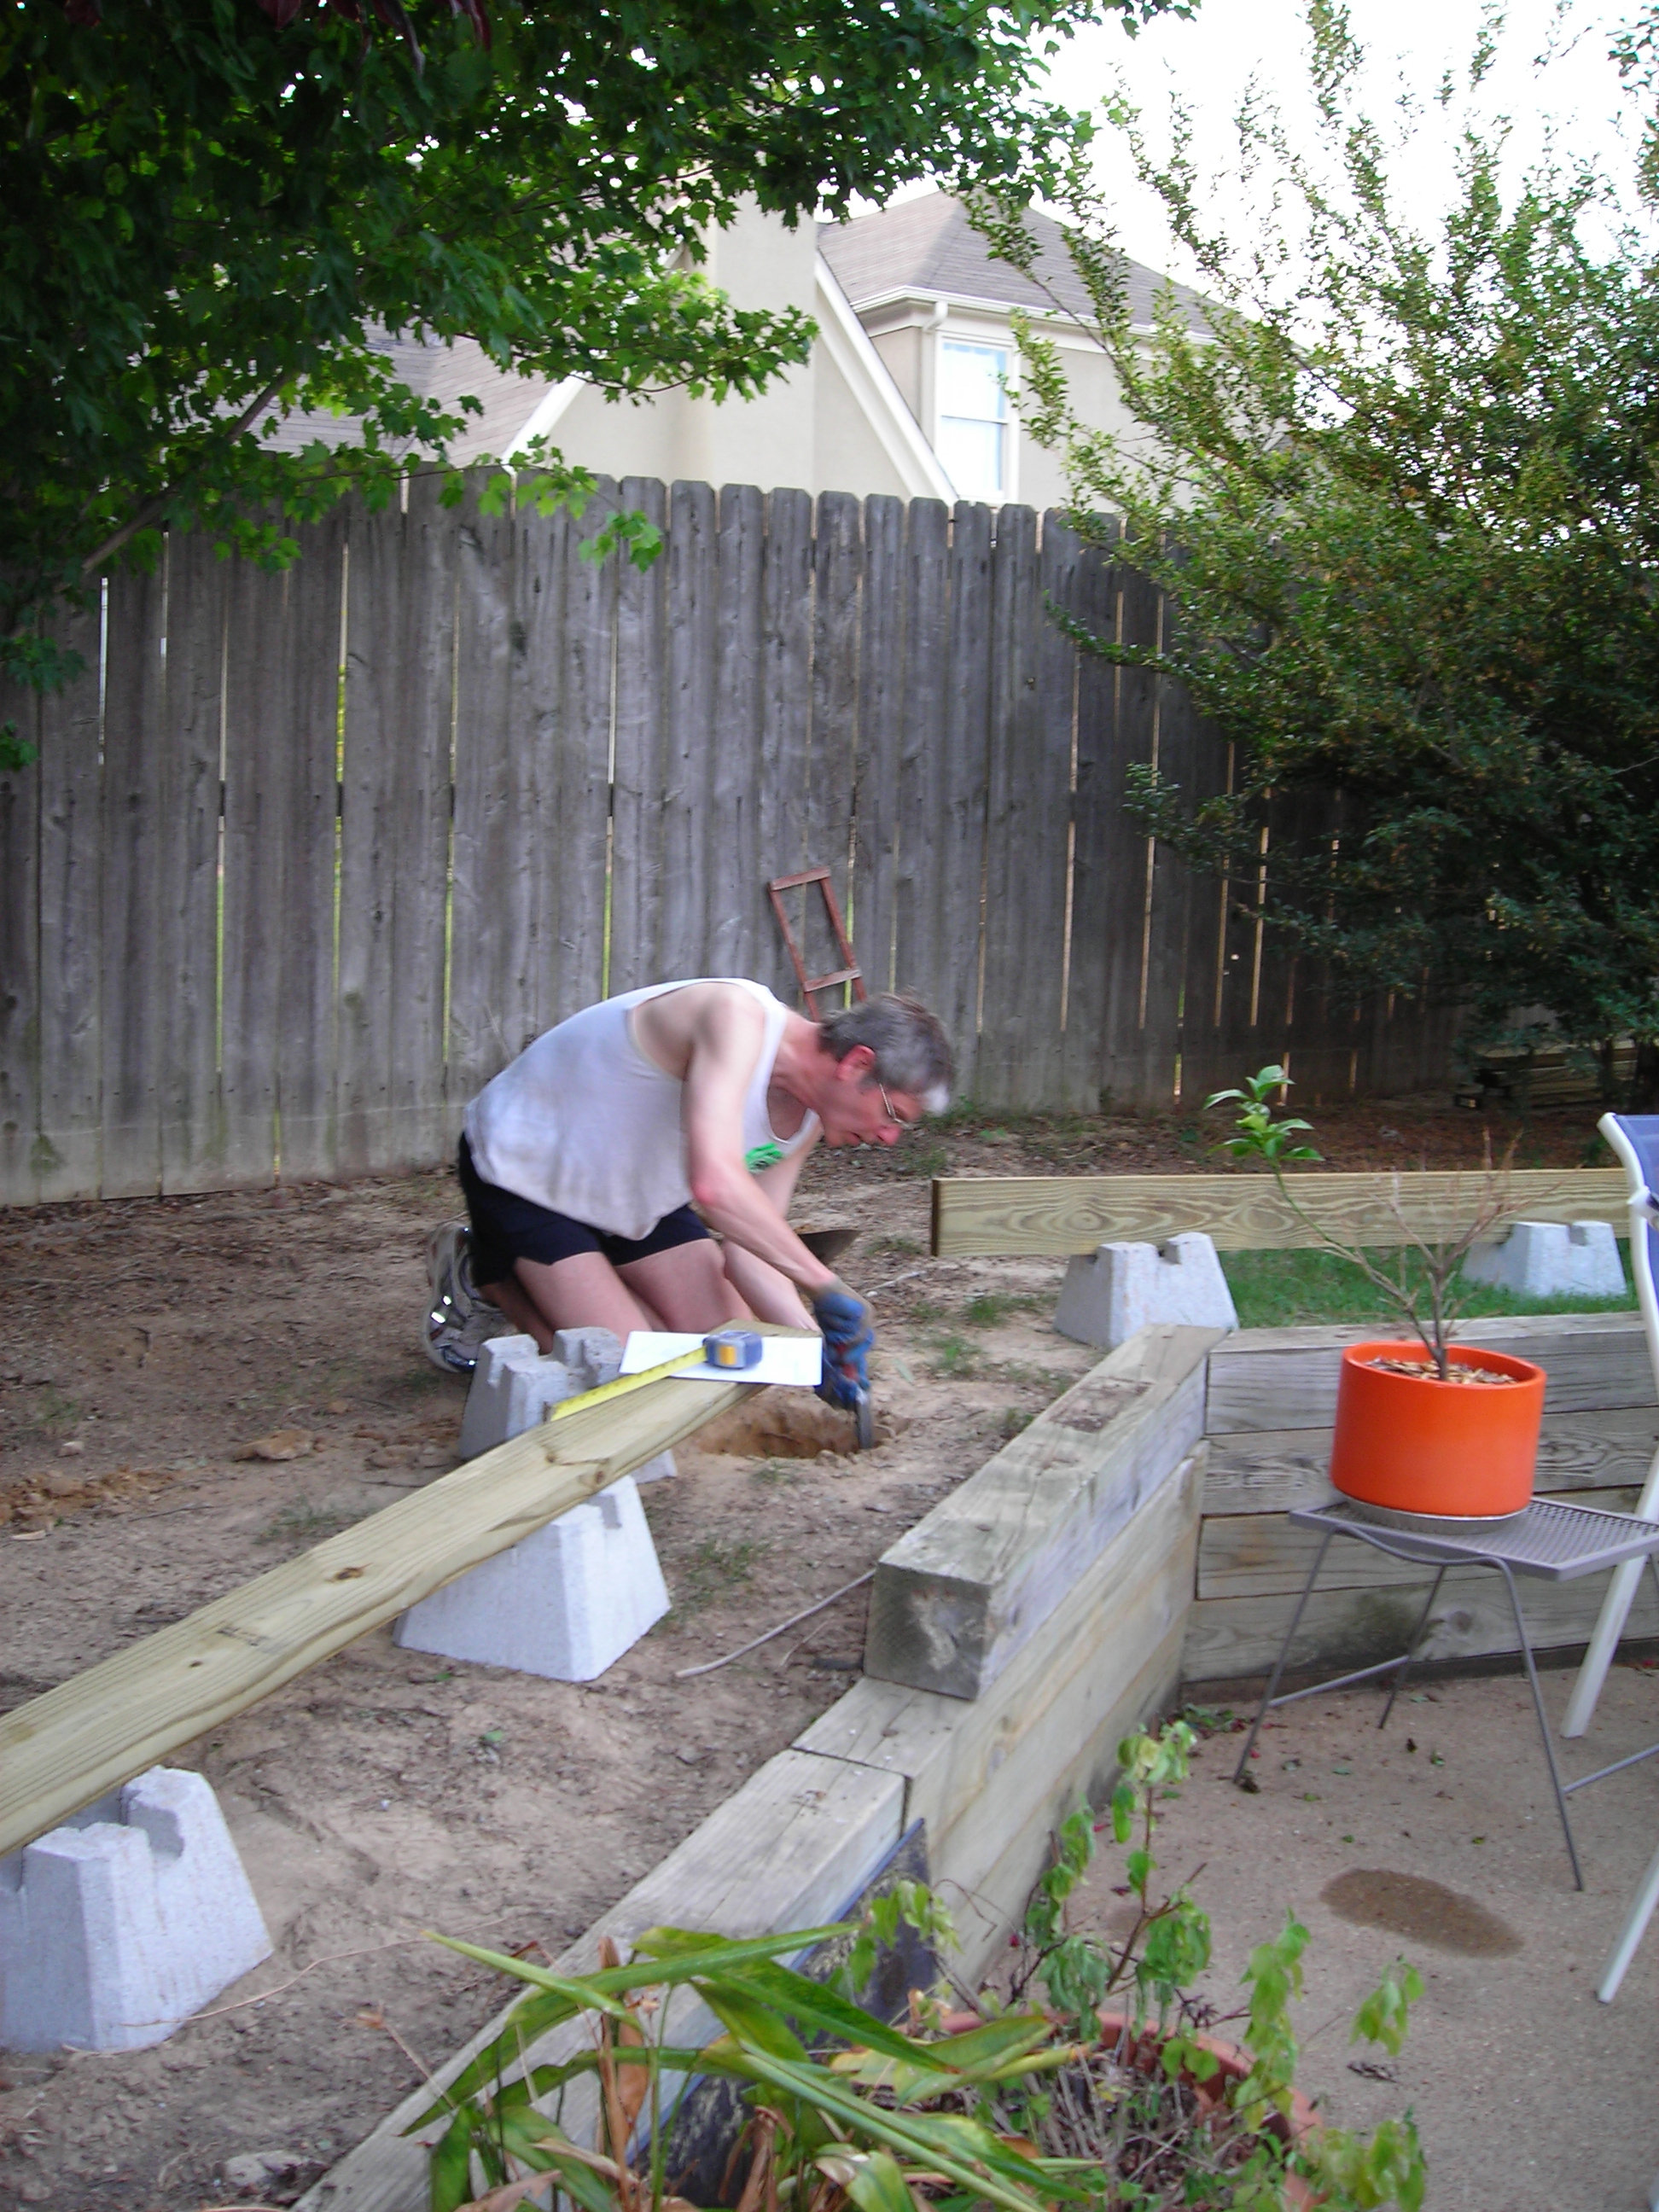
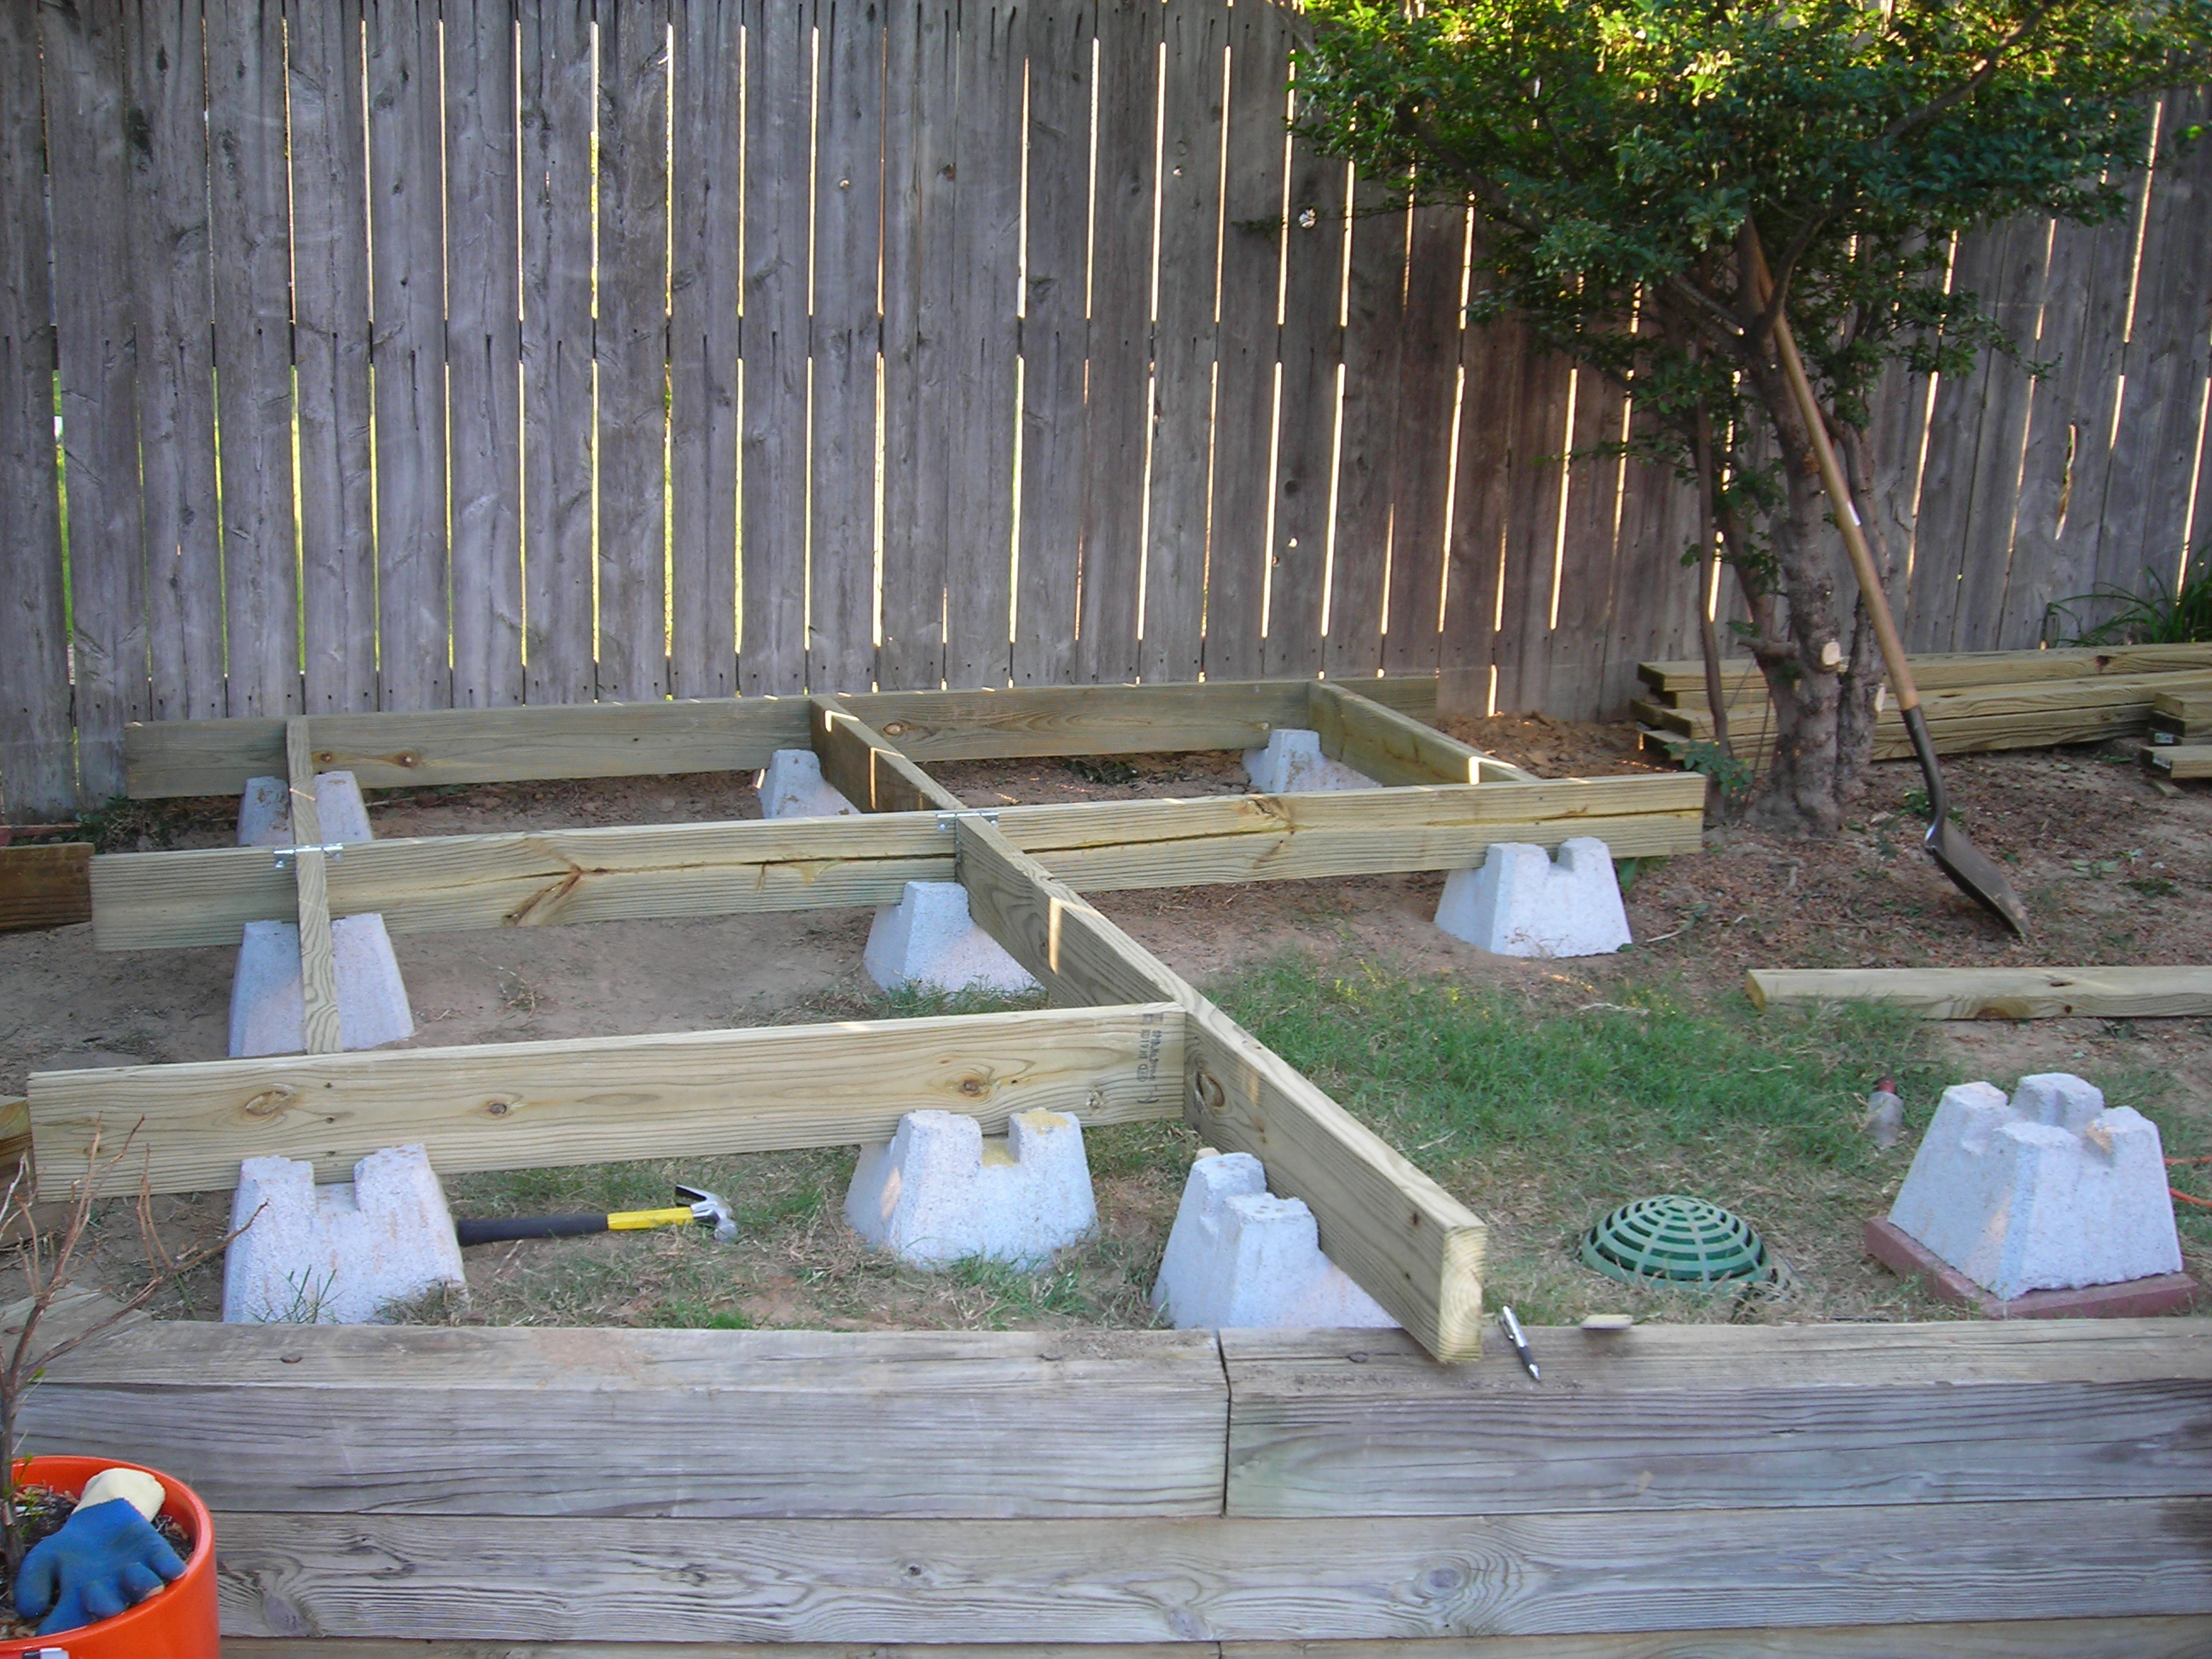
I don’t know which of us came up with the idea of using these cement blocks but they were just the perfect solution. Because of the slope of the yard, the biggest challenge for this step was digging holes for the blocks to go in at the high points of the yard so that the joists would be level with the blocks at the low points of the yard.
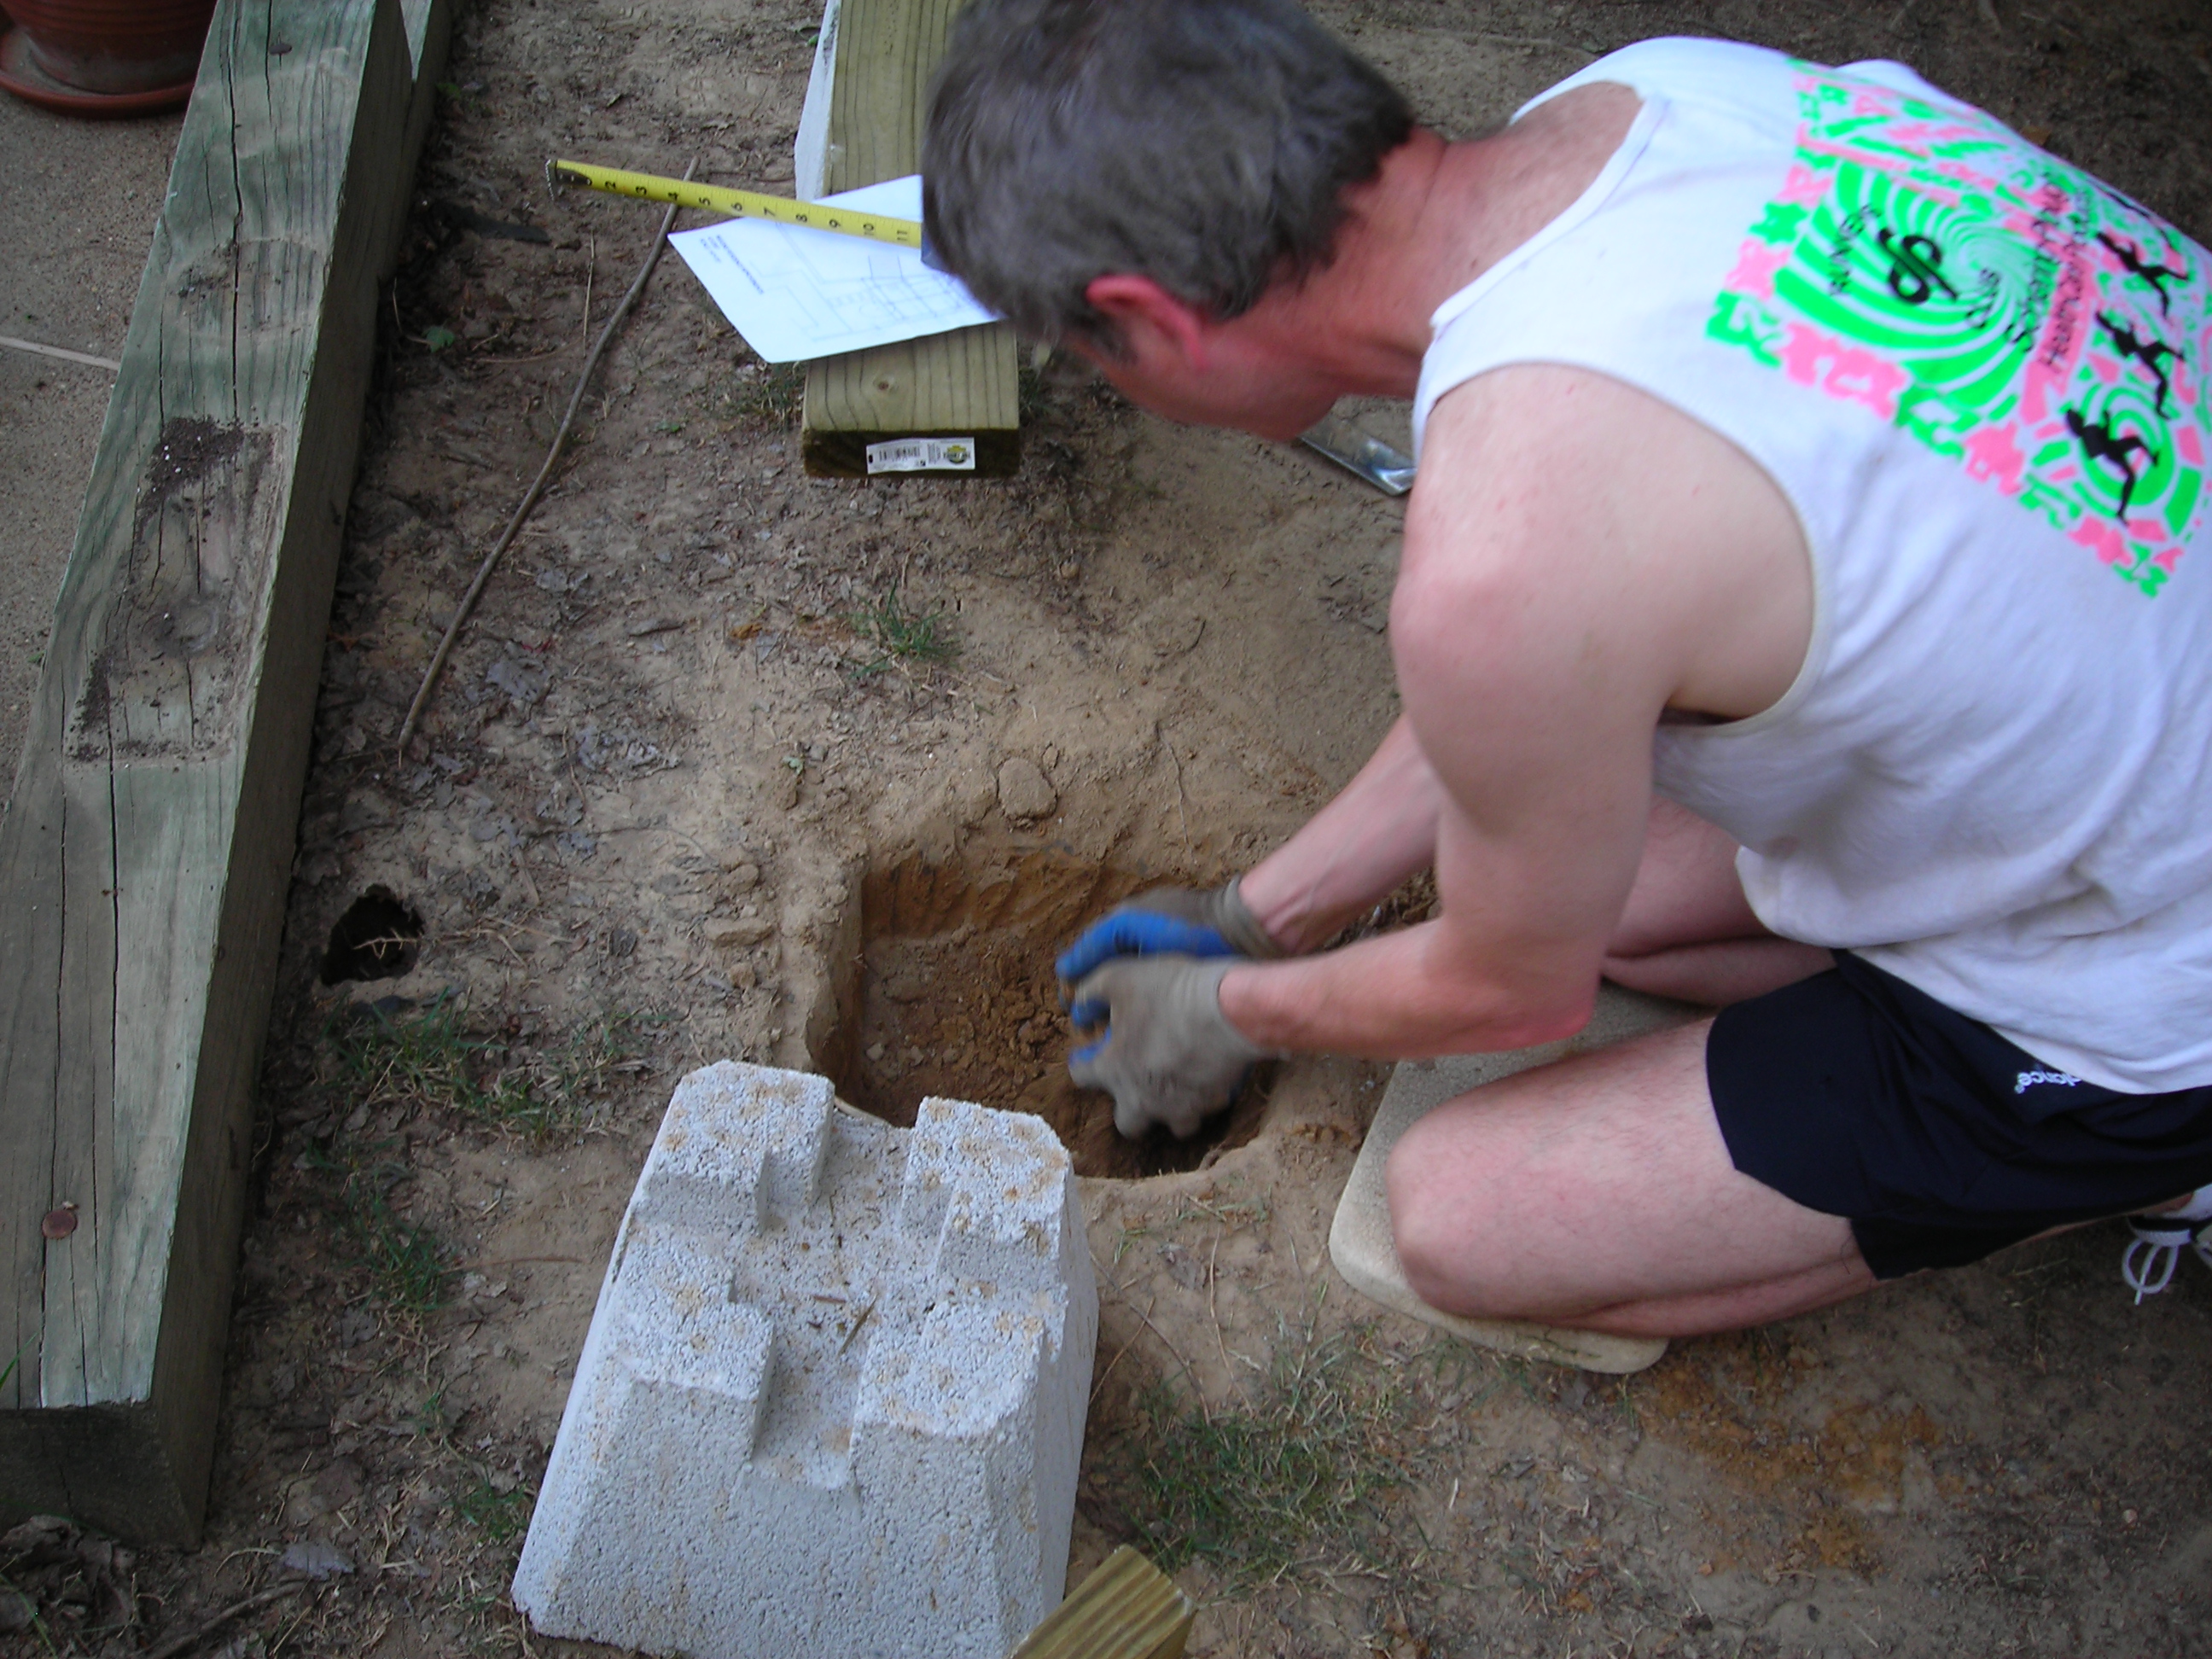
This sometimes involved digging the hole and then filling part of it back in with dirt to get the block level and then to check if the joist running to the next block was level. This was a painstaking process that took a couple of days on a weekend just to get all 19 blocks set in the ground.
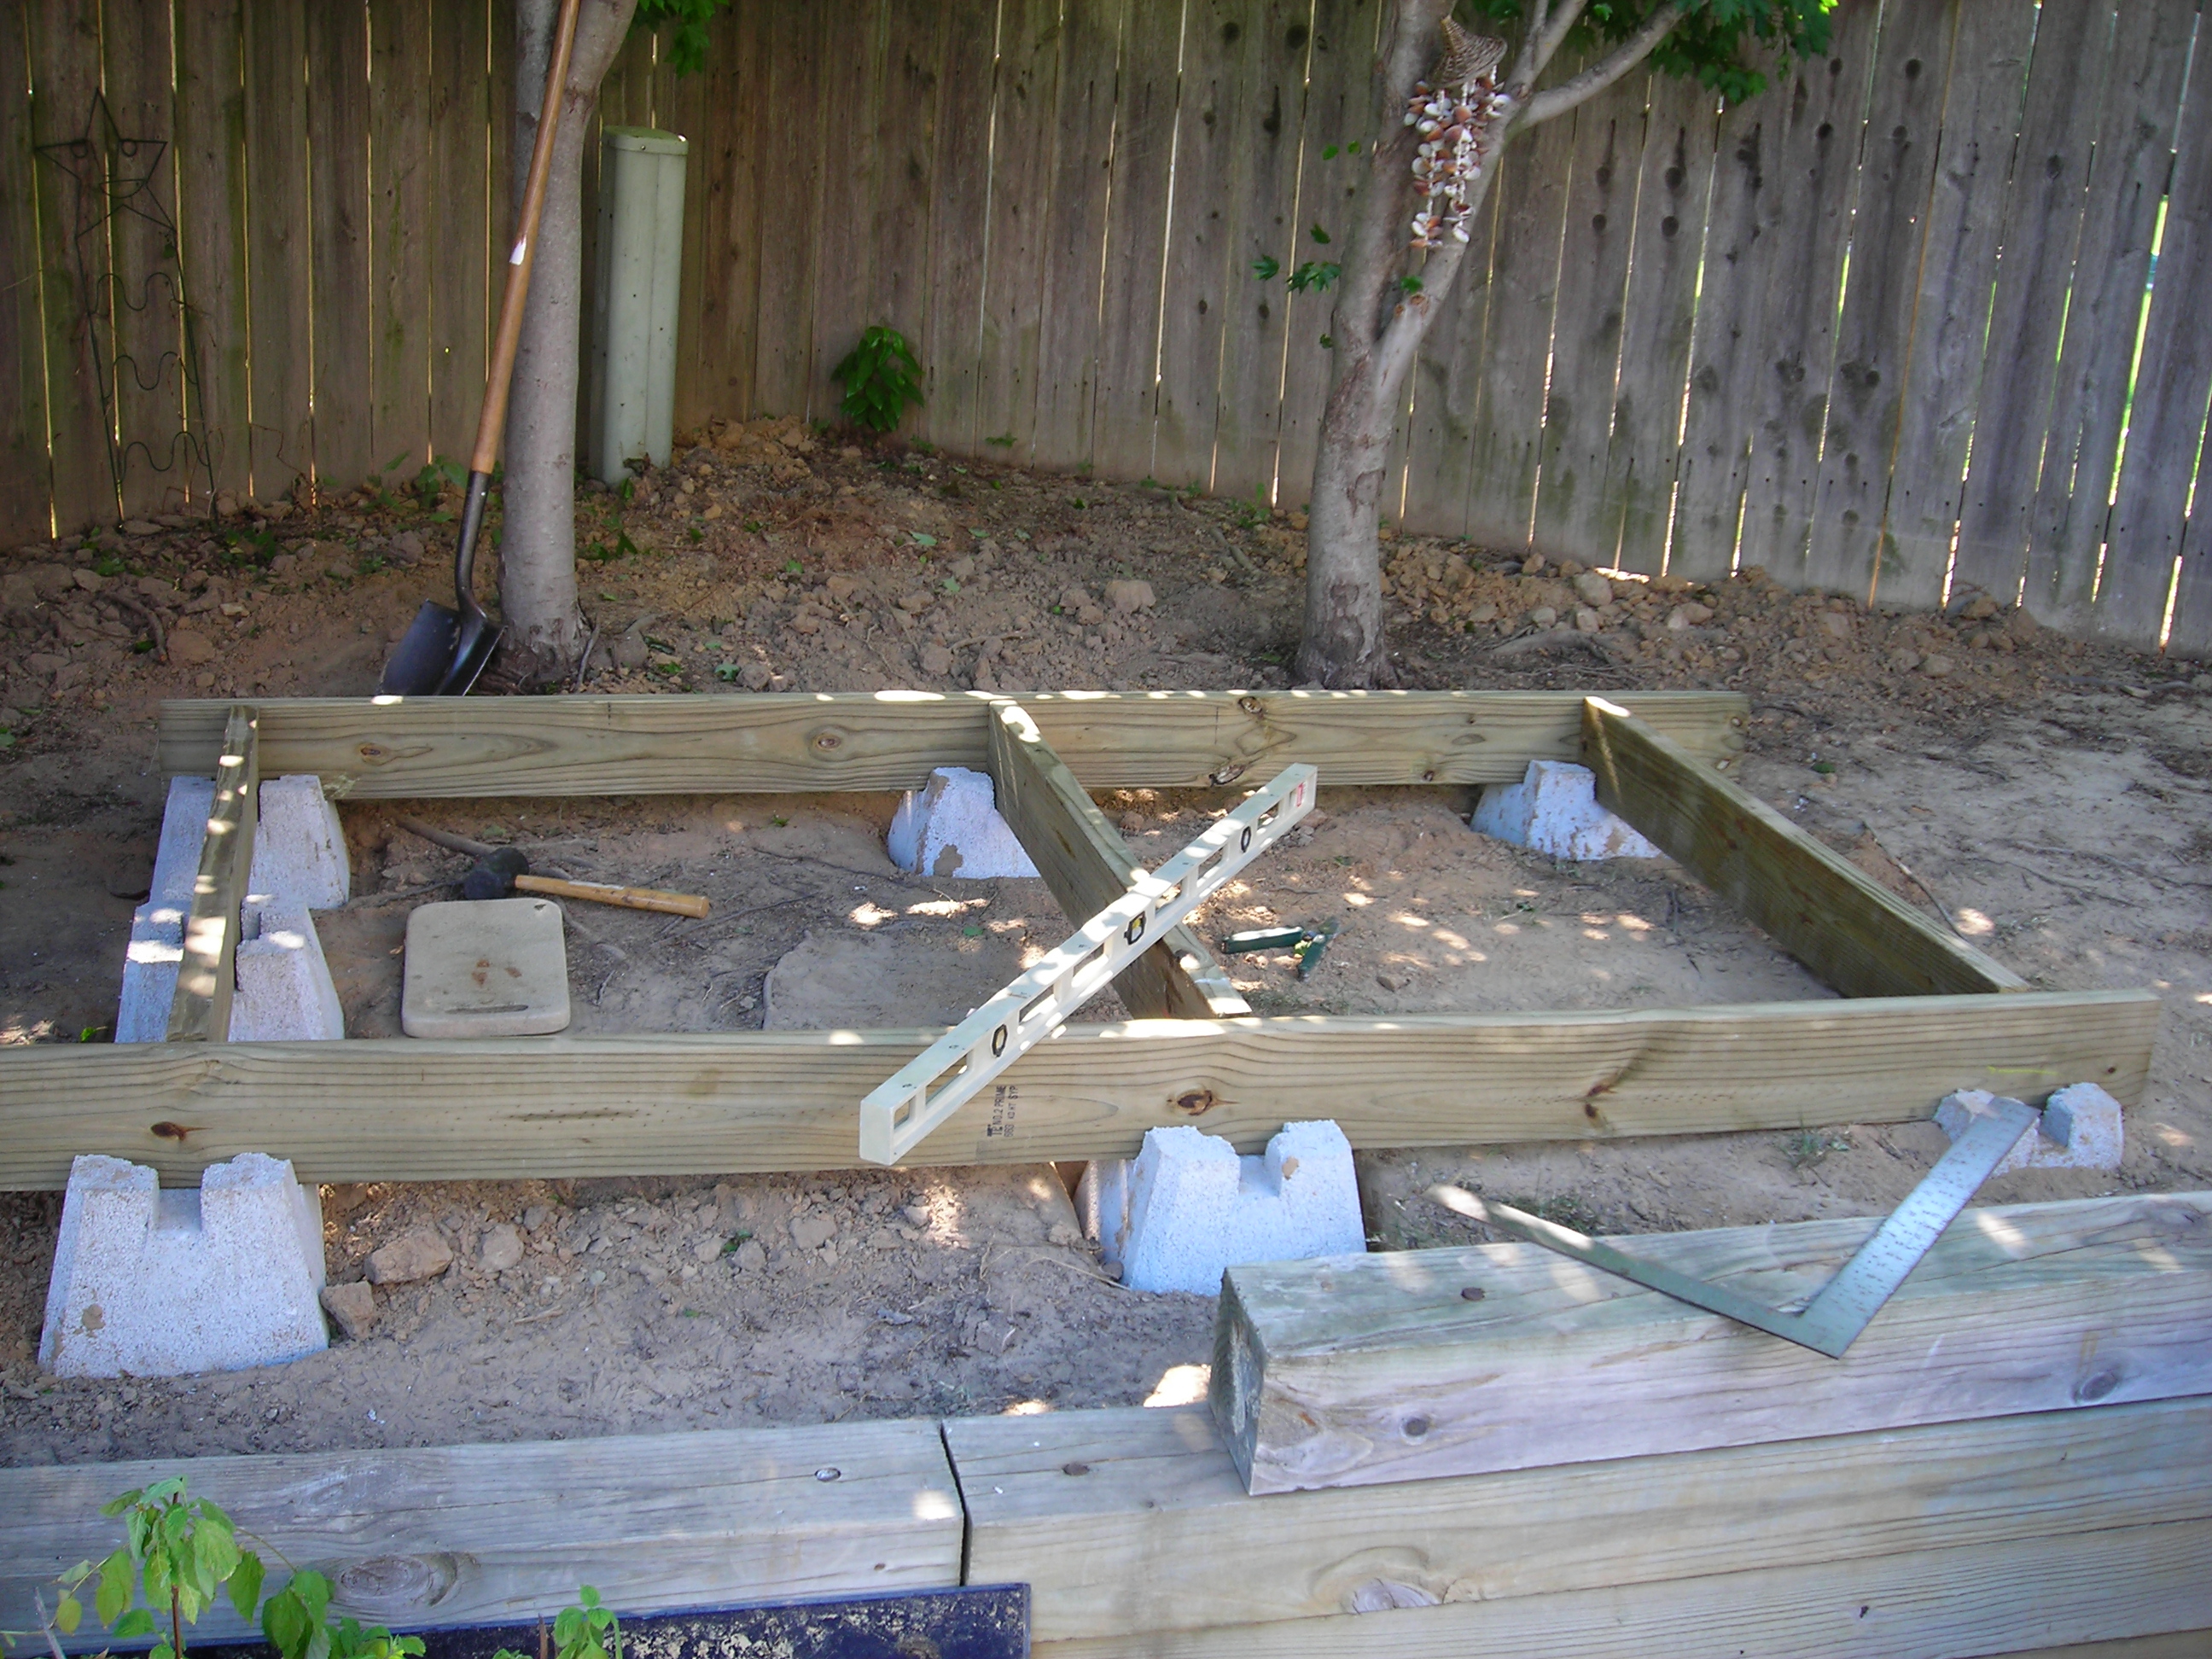
Fortunately I started with the lowest part of the deck, which was the most difficult and so got most of the digging out of the way early.
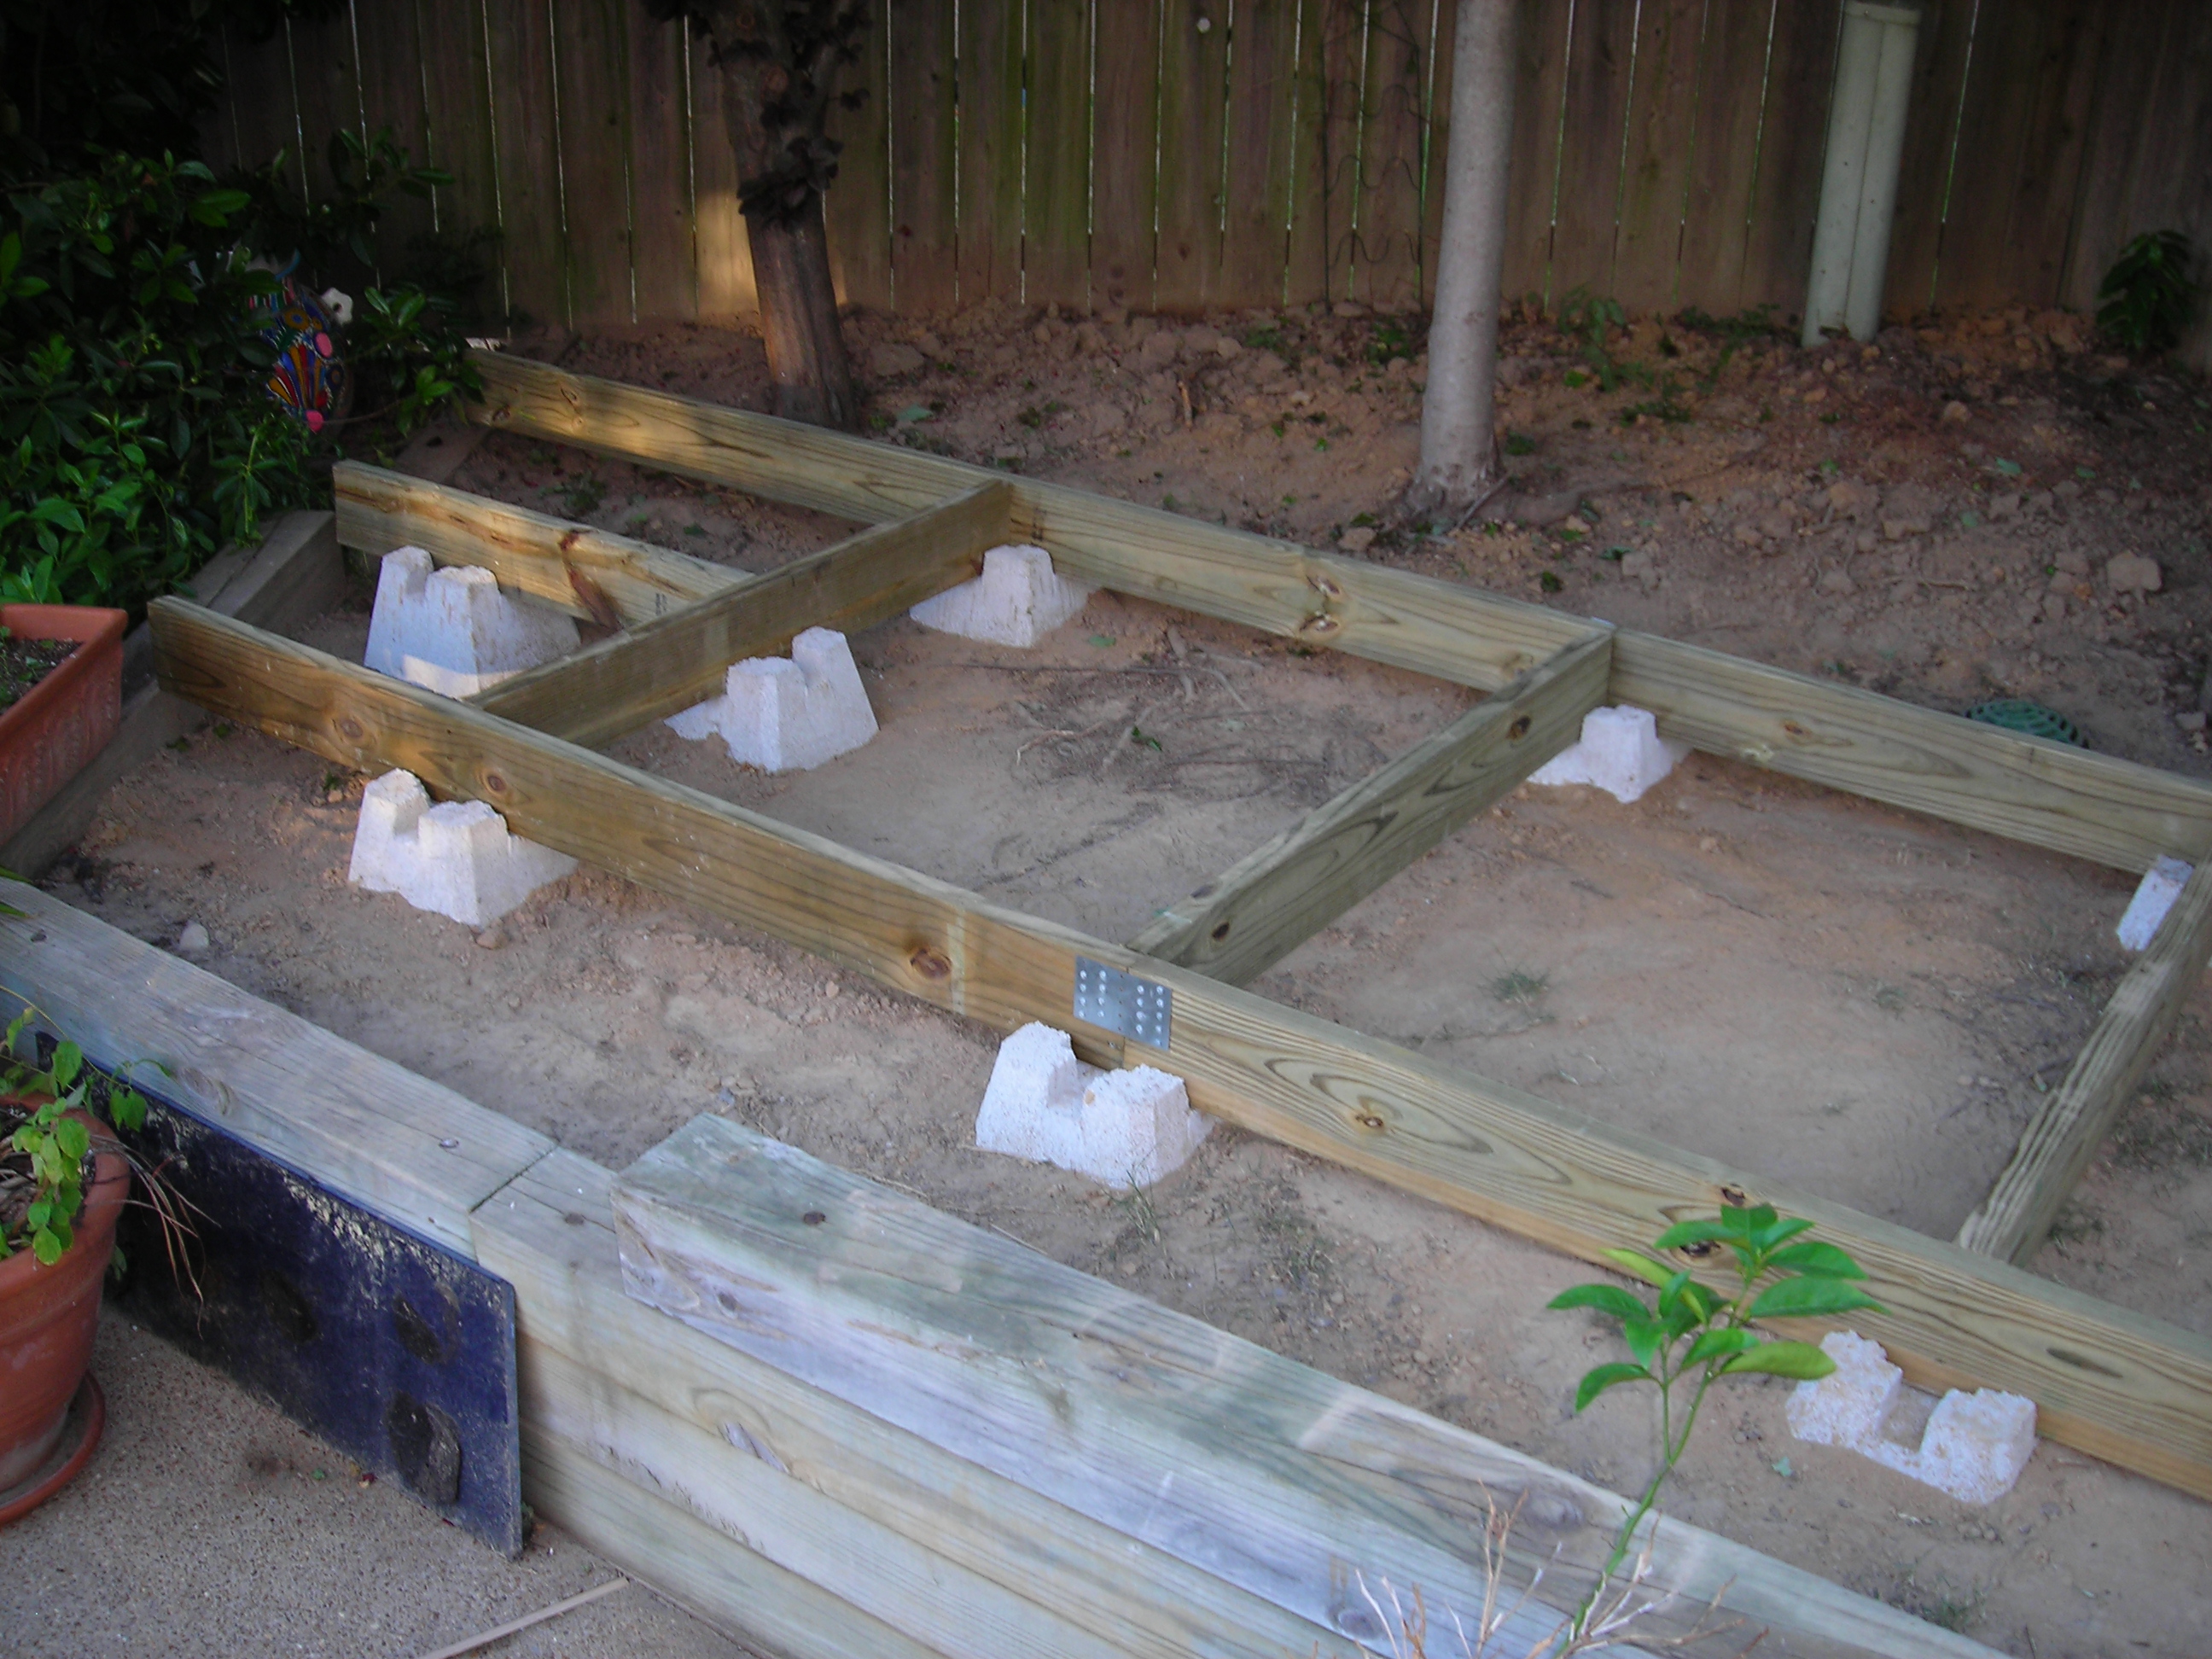
The second portion of the deck was one step up from the first so I only had to dig a few holes for these blocks.
Another important design feature my son included was that the deck would not be attached to the retaining wall as he figured the two structures, having different bases of support, would settle and shift at different rates. His design was to make it appear that the deck was floating above the retaining wall.
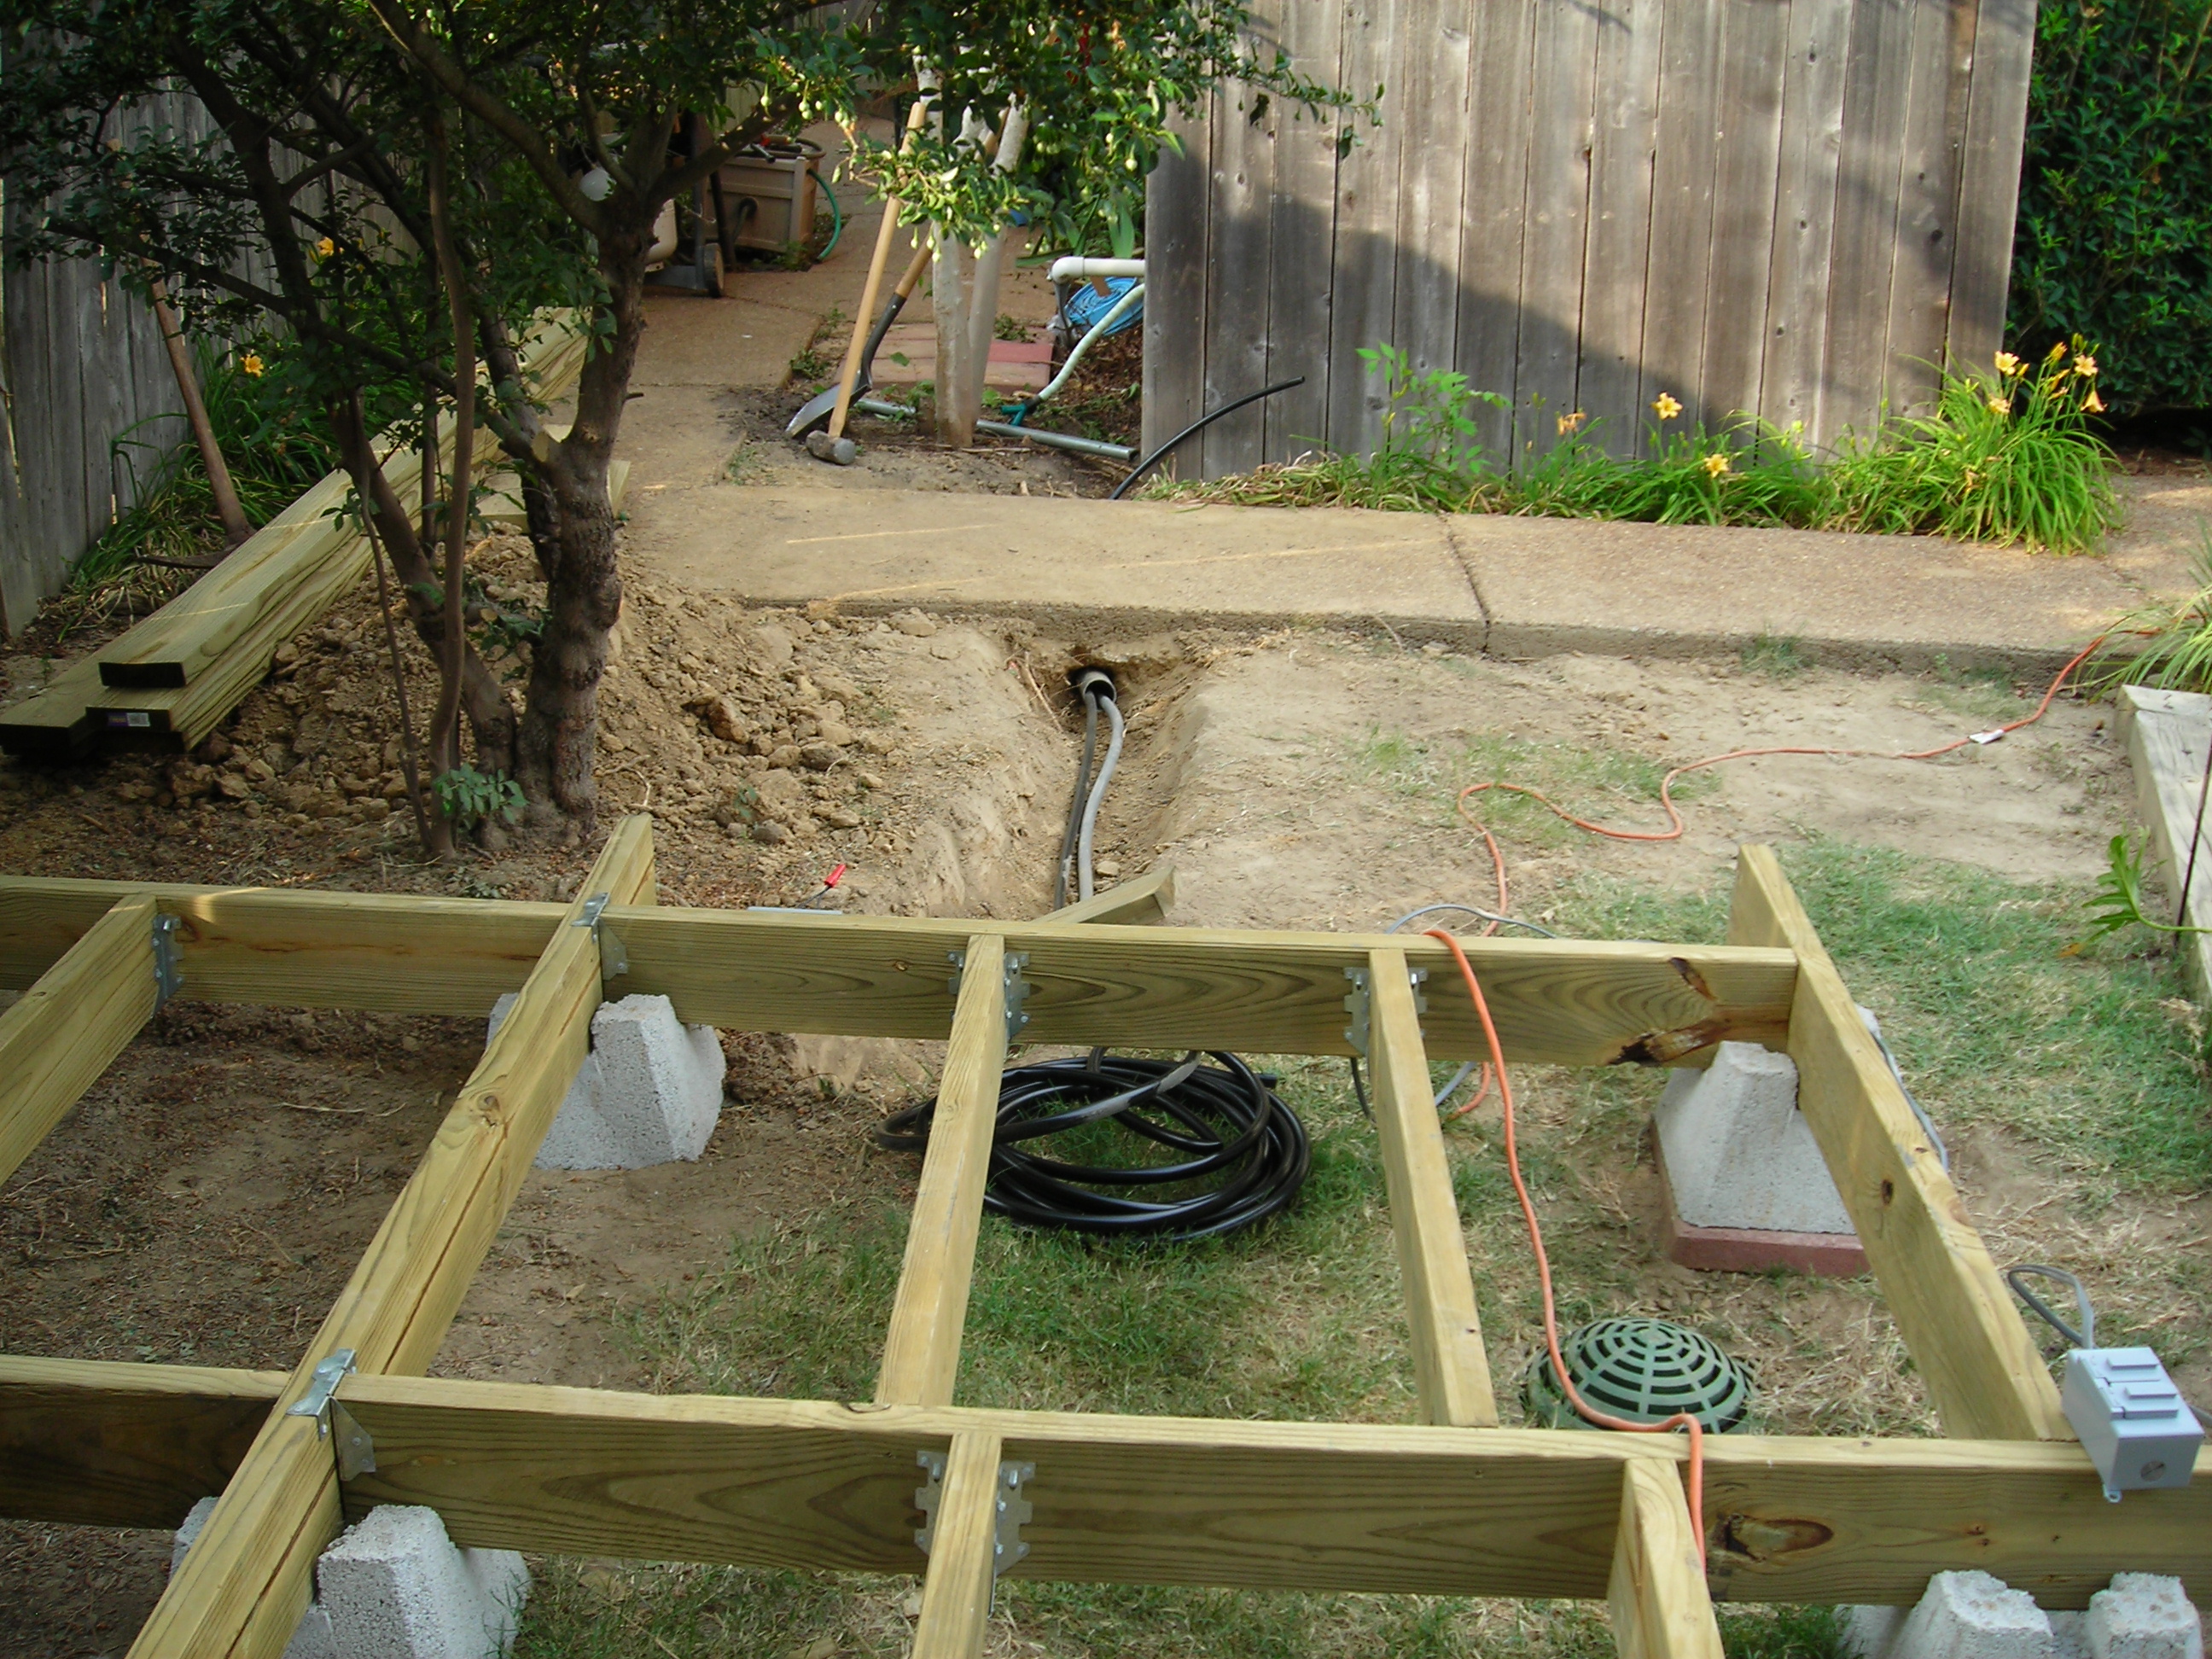
As I was finishing up the support frame, my brother-in-law and his family came into town and he having previously been an electrician, helped me wire the deck.
He and his son diligently hammered a pipe under the concrete walkway that would allow electrical and low-pressure sprinkler systems to be installed.
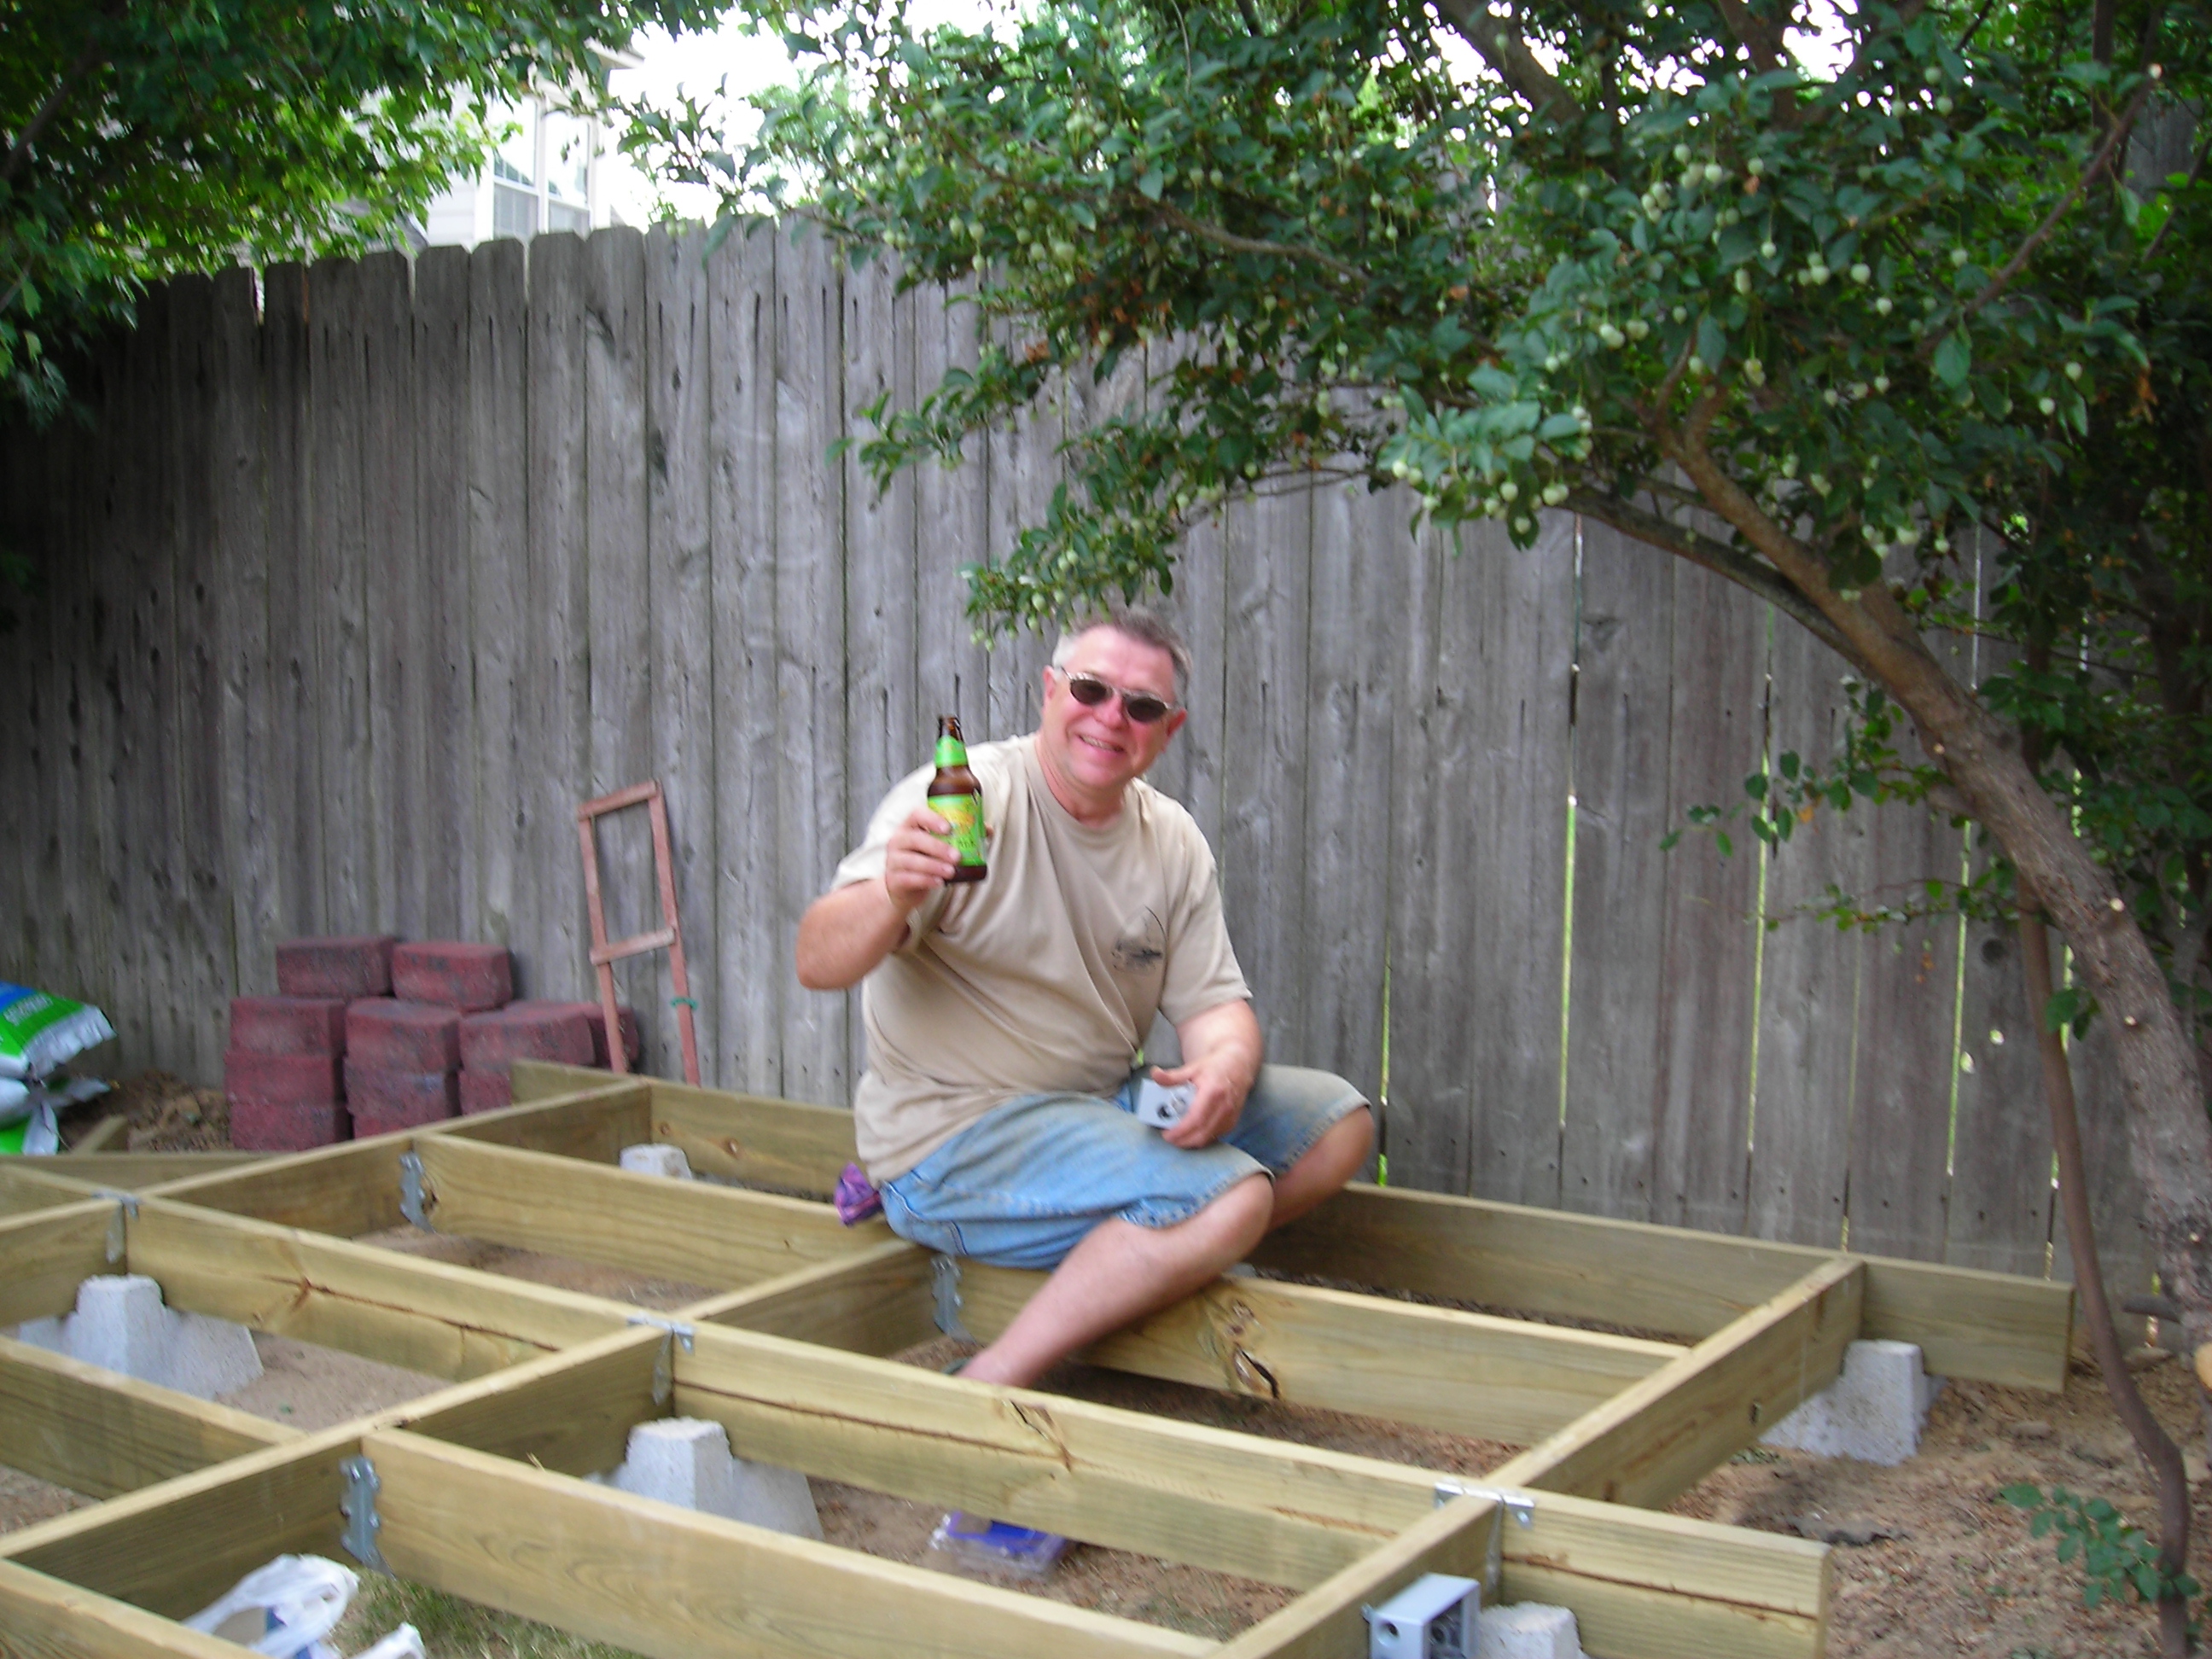
A bit more framing and the supports were ready to be covered with decking.

At this point, I realized it would be much easier to landscape on the backside of the deck before the deck boards were installed.
The first step was to ensure that excess rainwater would flow into the existing drains. To this end, I trenched flow paths from along the fence into the drain and then backfilled with pea gravel to allow ease of flow.
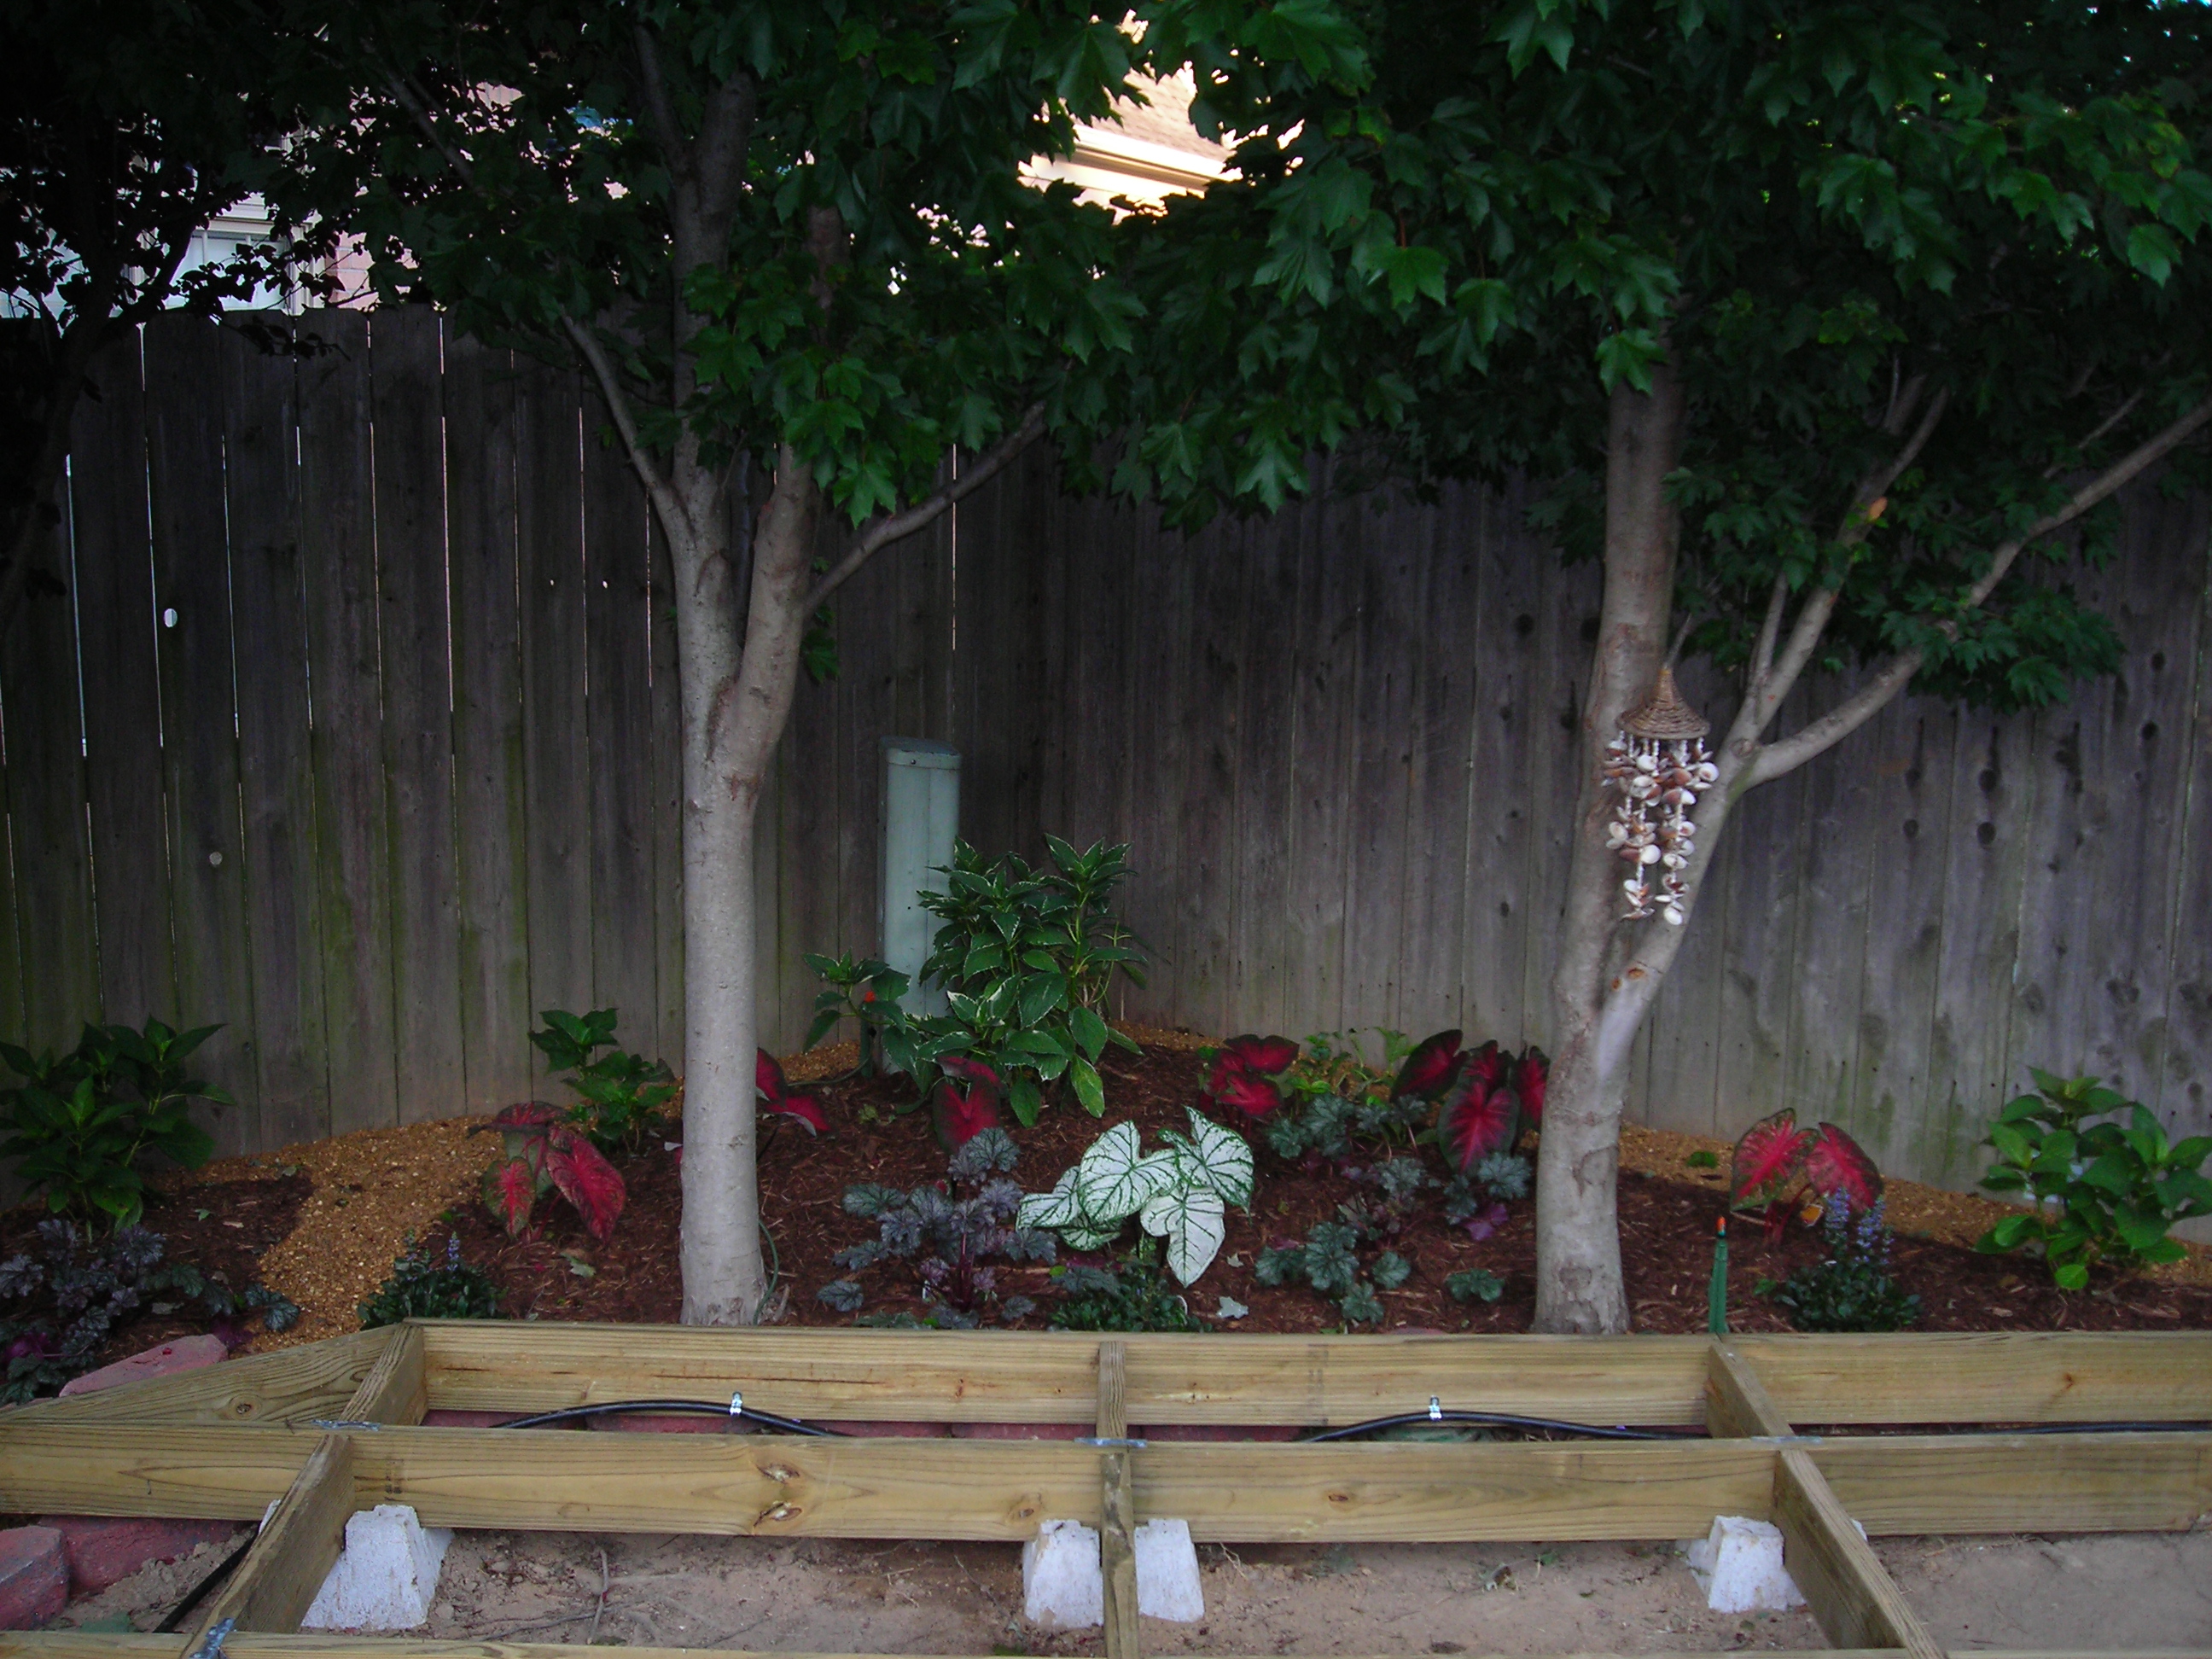
I then added shade-loving plants that would comprise the flowerbed.
The next decision was what type of wood to chose for the decking. My son suggested Ipe (Brazilian Walnut), which is an extremely durable but hard wood, so hard in fact you can’t drive a nail into it; holes have to be pre-drilled. It turned out this was also very expense adding an incremental $7,500 to the cost of the deck. After much debate, we settled on western red cedar. Another factor in our decision was picking a type of wood that came in all the lengths and widths we needed.

Another detail of the deck design was that no boards would have a joint between two shorter boards. So the selected wood would have to be available in lengths that would span the widest part of the deck.
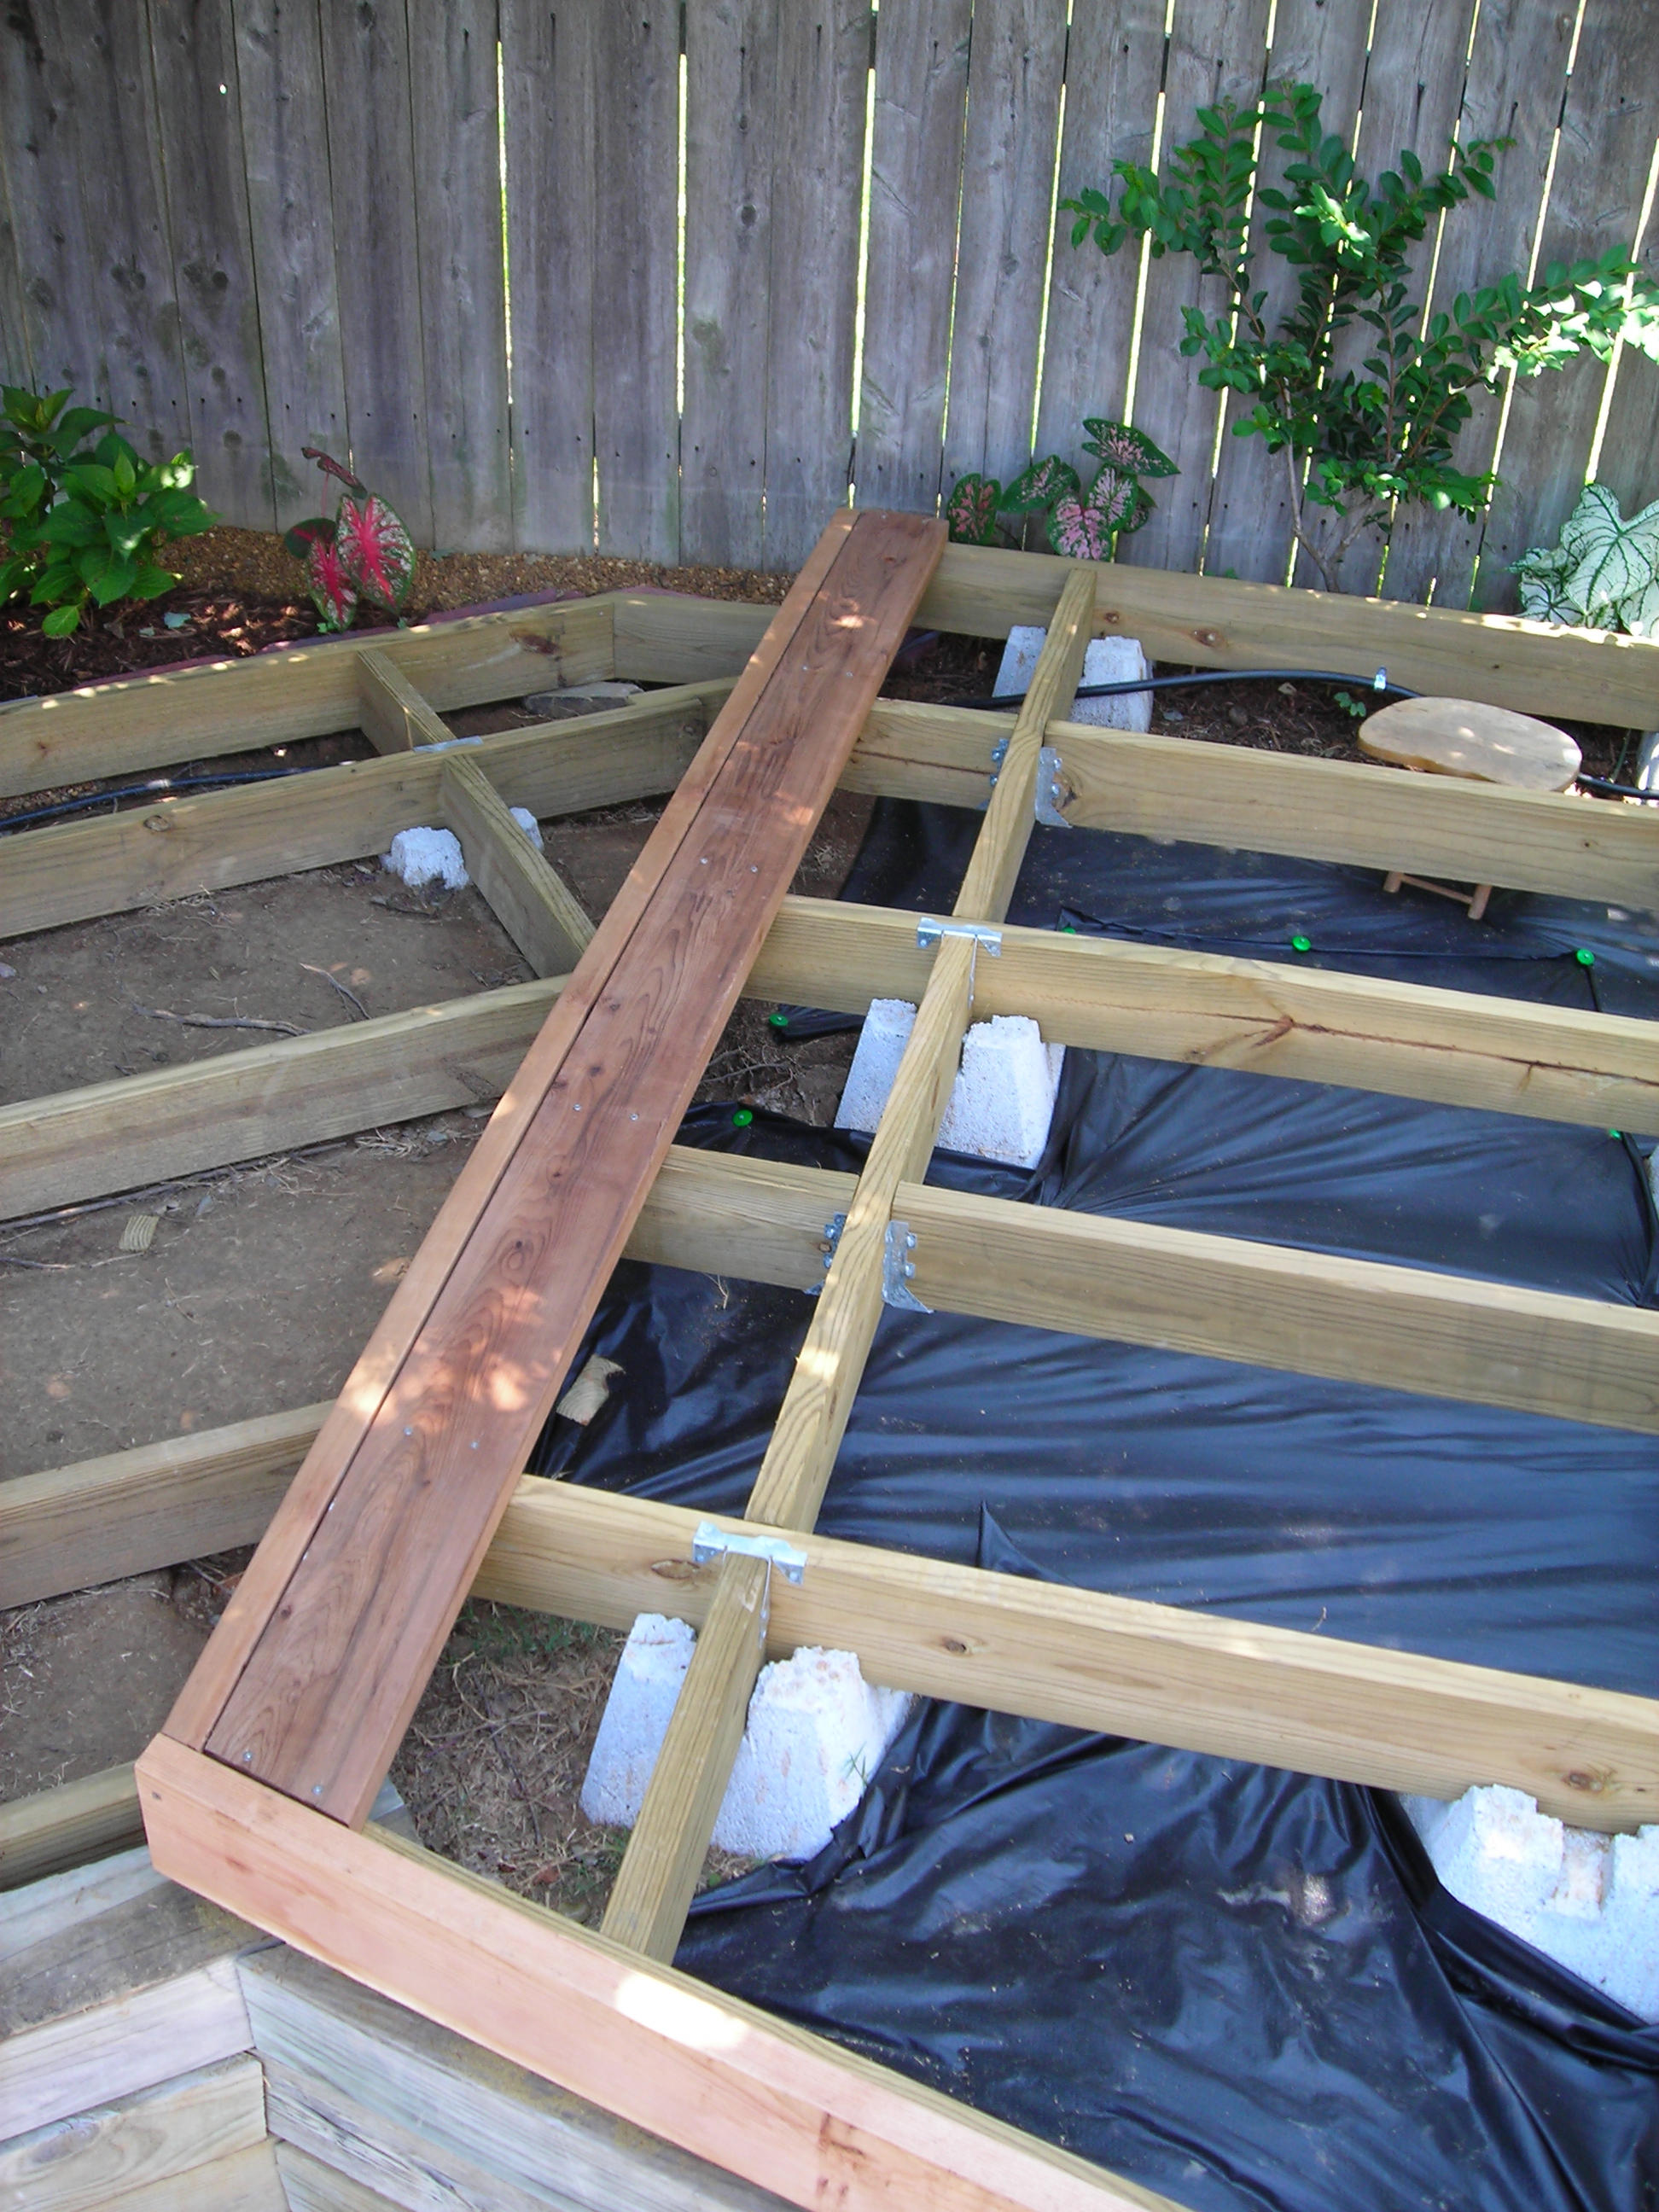
One last feature that we included was to lay down plastic sheathing to prevent any grass or weeds from growing up into the deck.
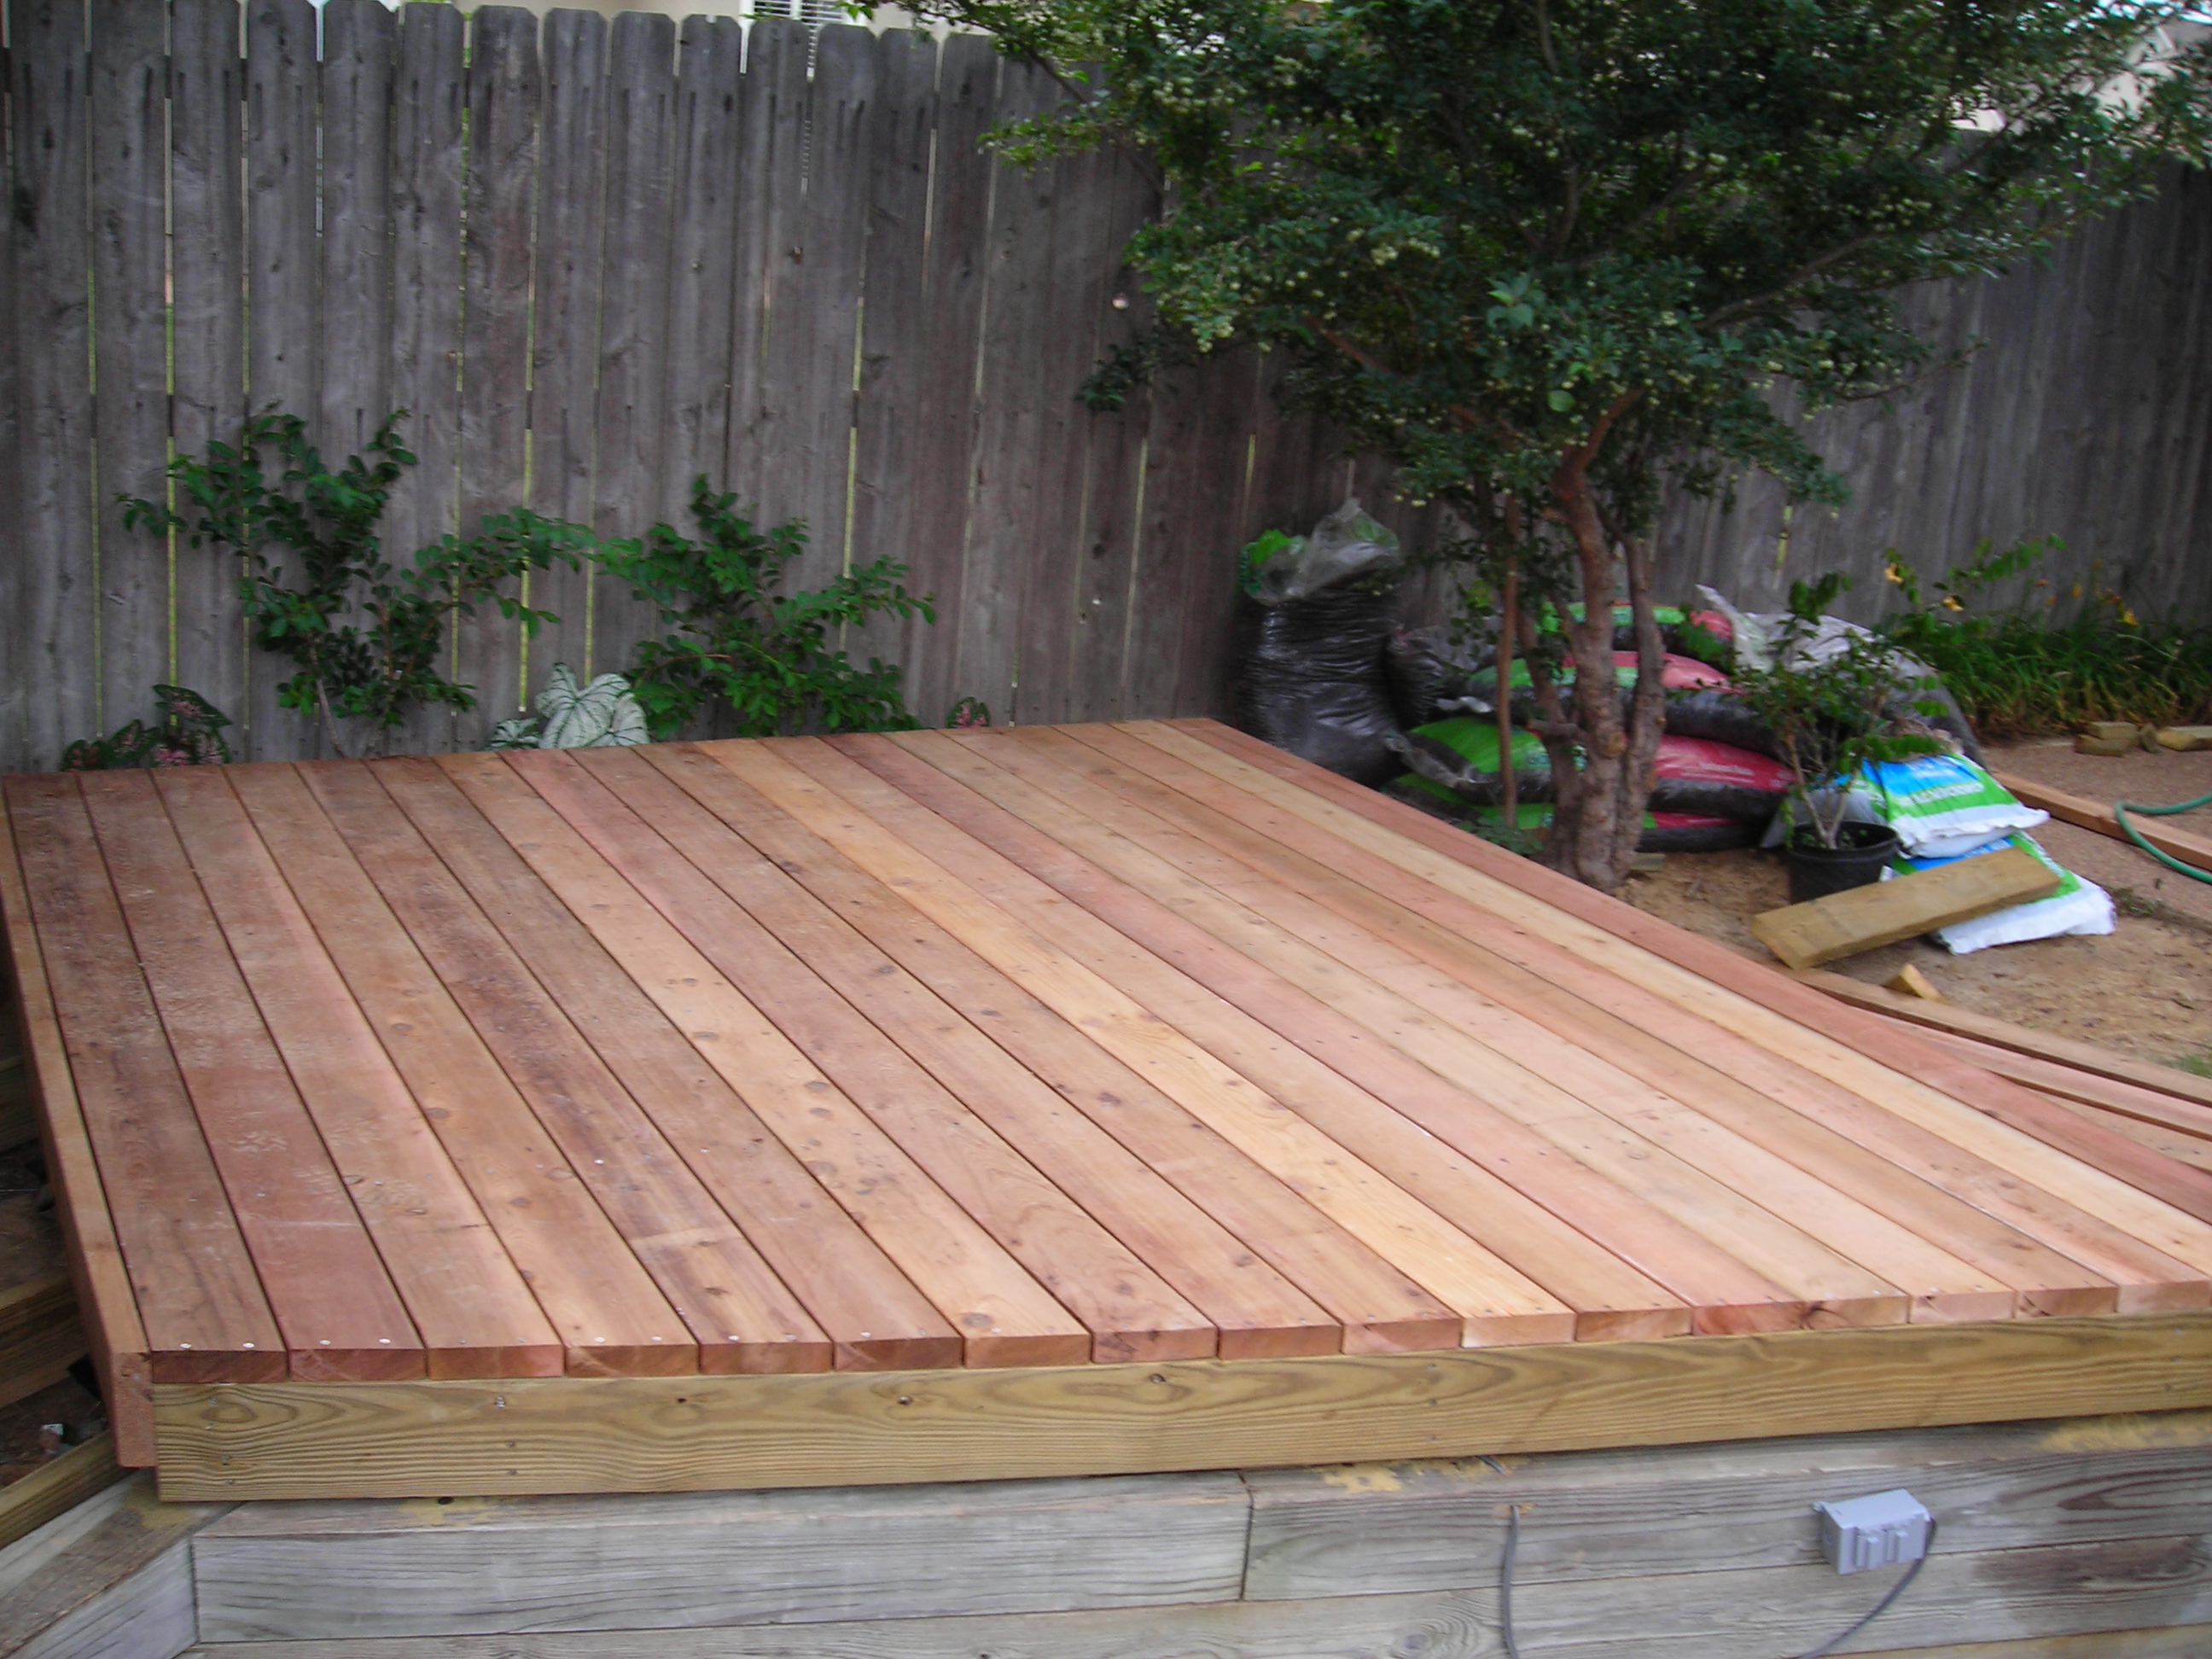
With that done, it was then just a matter of cutting each deck board to length and then screwing it into the joist support frame using stainless steel screws (to prevent future rust staining the boards).

The one board I couldn’t get in the proper width was the sideboard. The sides of the deck were designed to be a single 8-inch wide board but since the chosen wood was not available in that width, I had to rip two 5-inch wide boards and then butt the two cut edges together tightly to give the appearance of a single board.
To be continued…
Categories

Ah yes, I remember those frustrating days! It’s fun to see the deck in progress again.
I know it probably wasn’t as much fun for you as it was for me but I still appreciate your help.
Whew, I am exhausted just looking at the pictures! However, I am also so impressed: so cool to see all the things you have built!
In spite of the heat and sometimes hard work, this was the one project I had the most fun building.