
Deck – The Finish & Redo

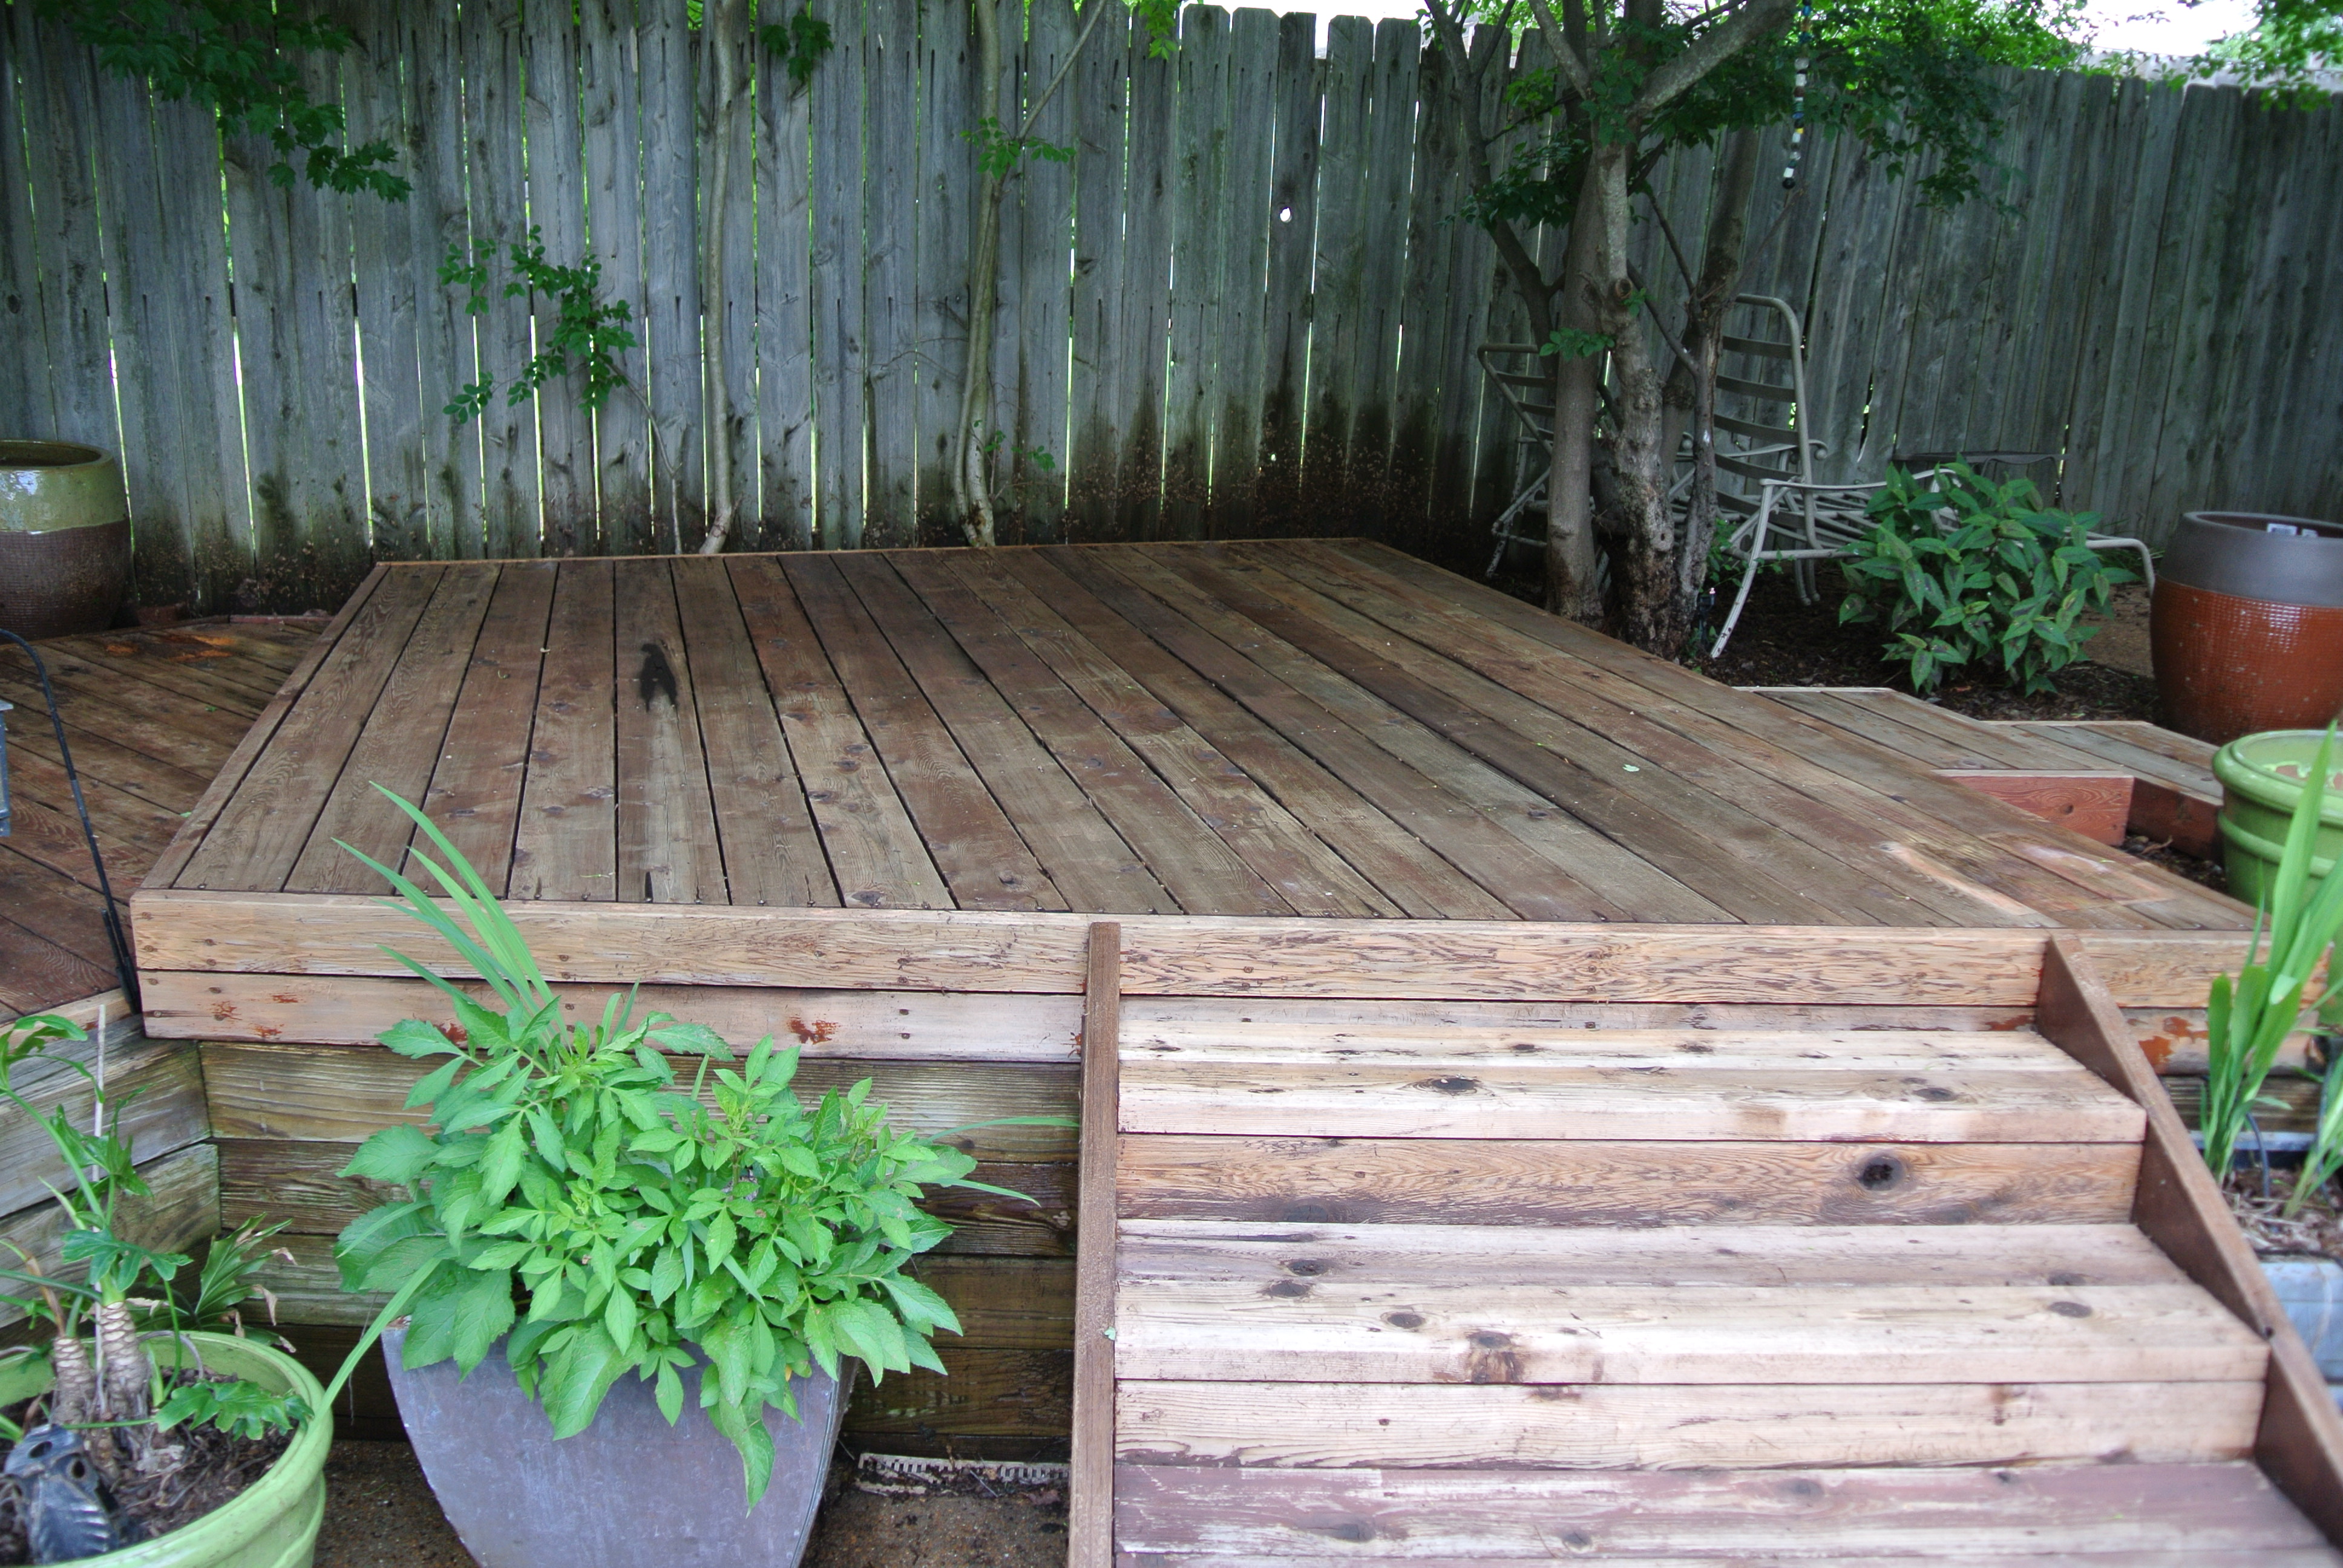
With the upper deck finished, I began to cut and attach the lower deck boards starting in the middle to ensure the long boards were all a perfect 90 degrees to the sides.
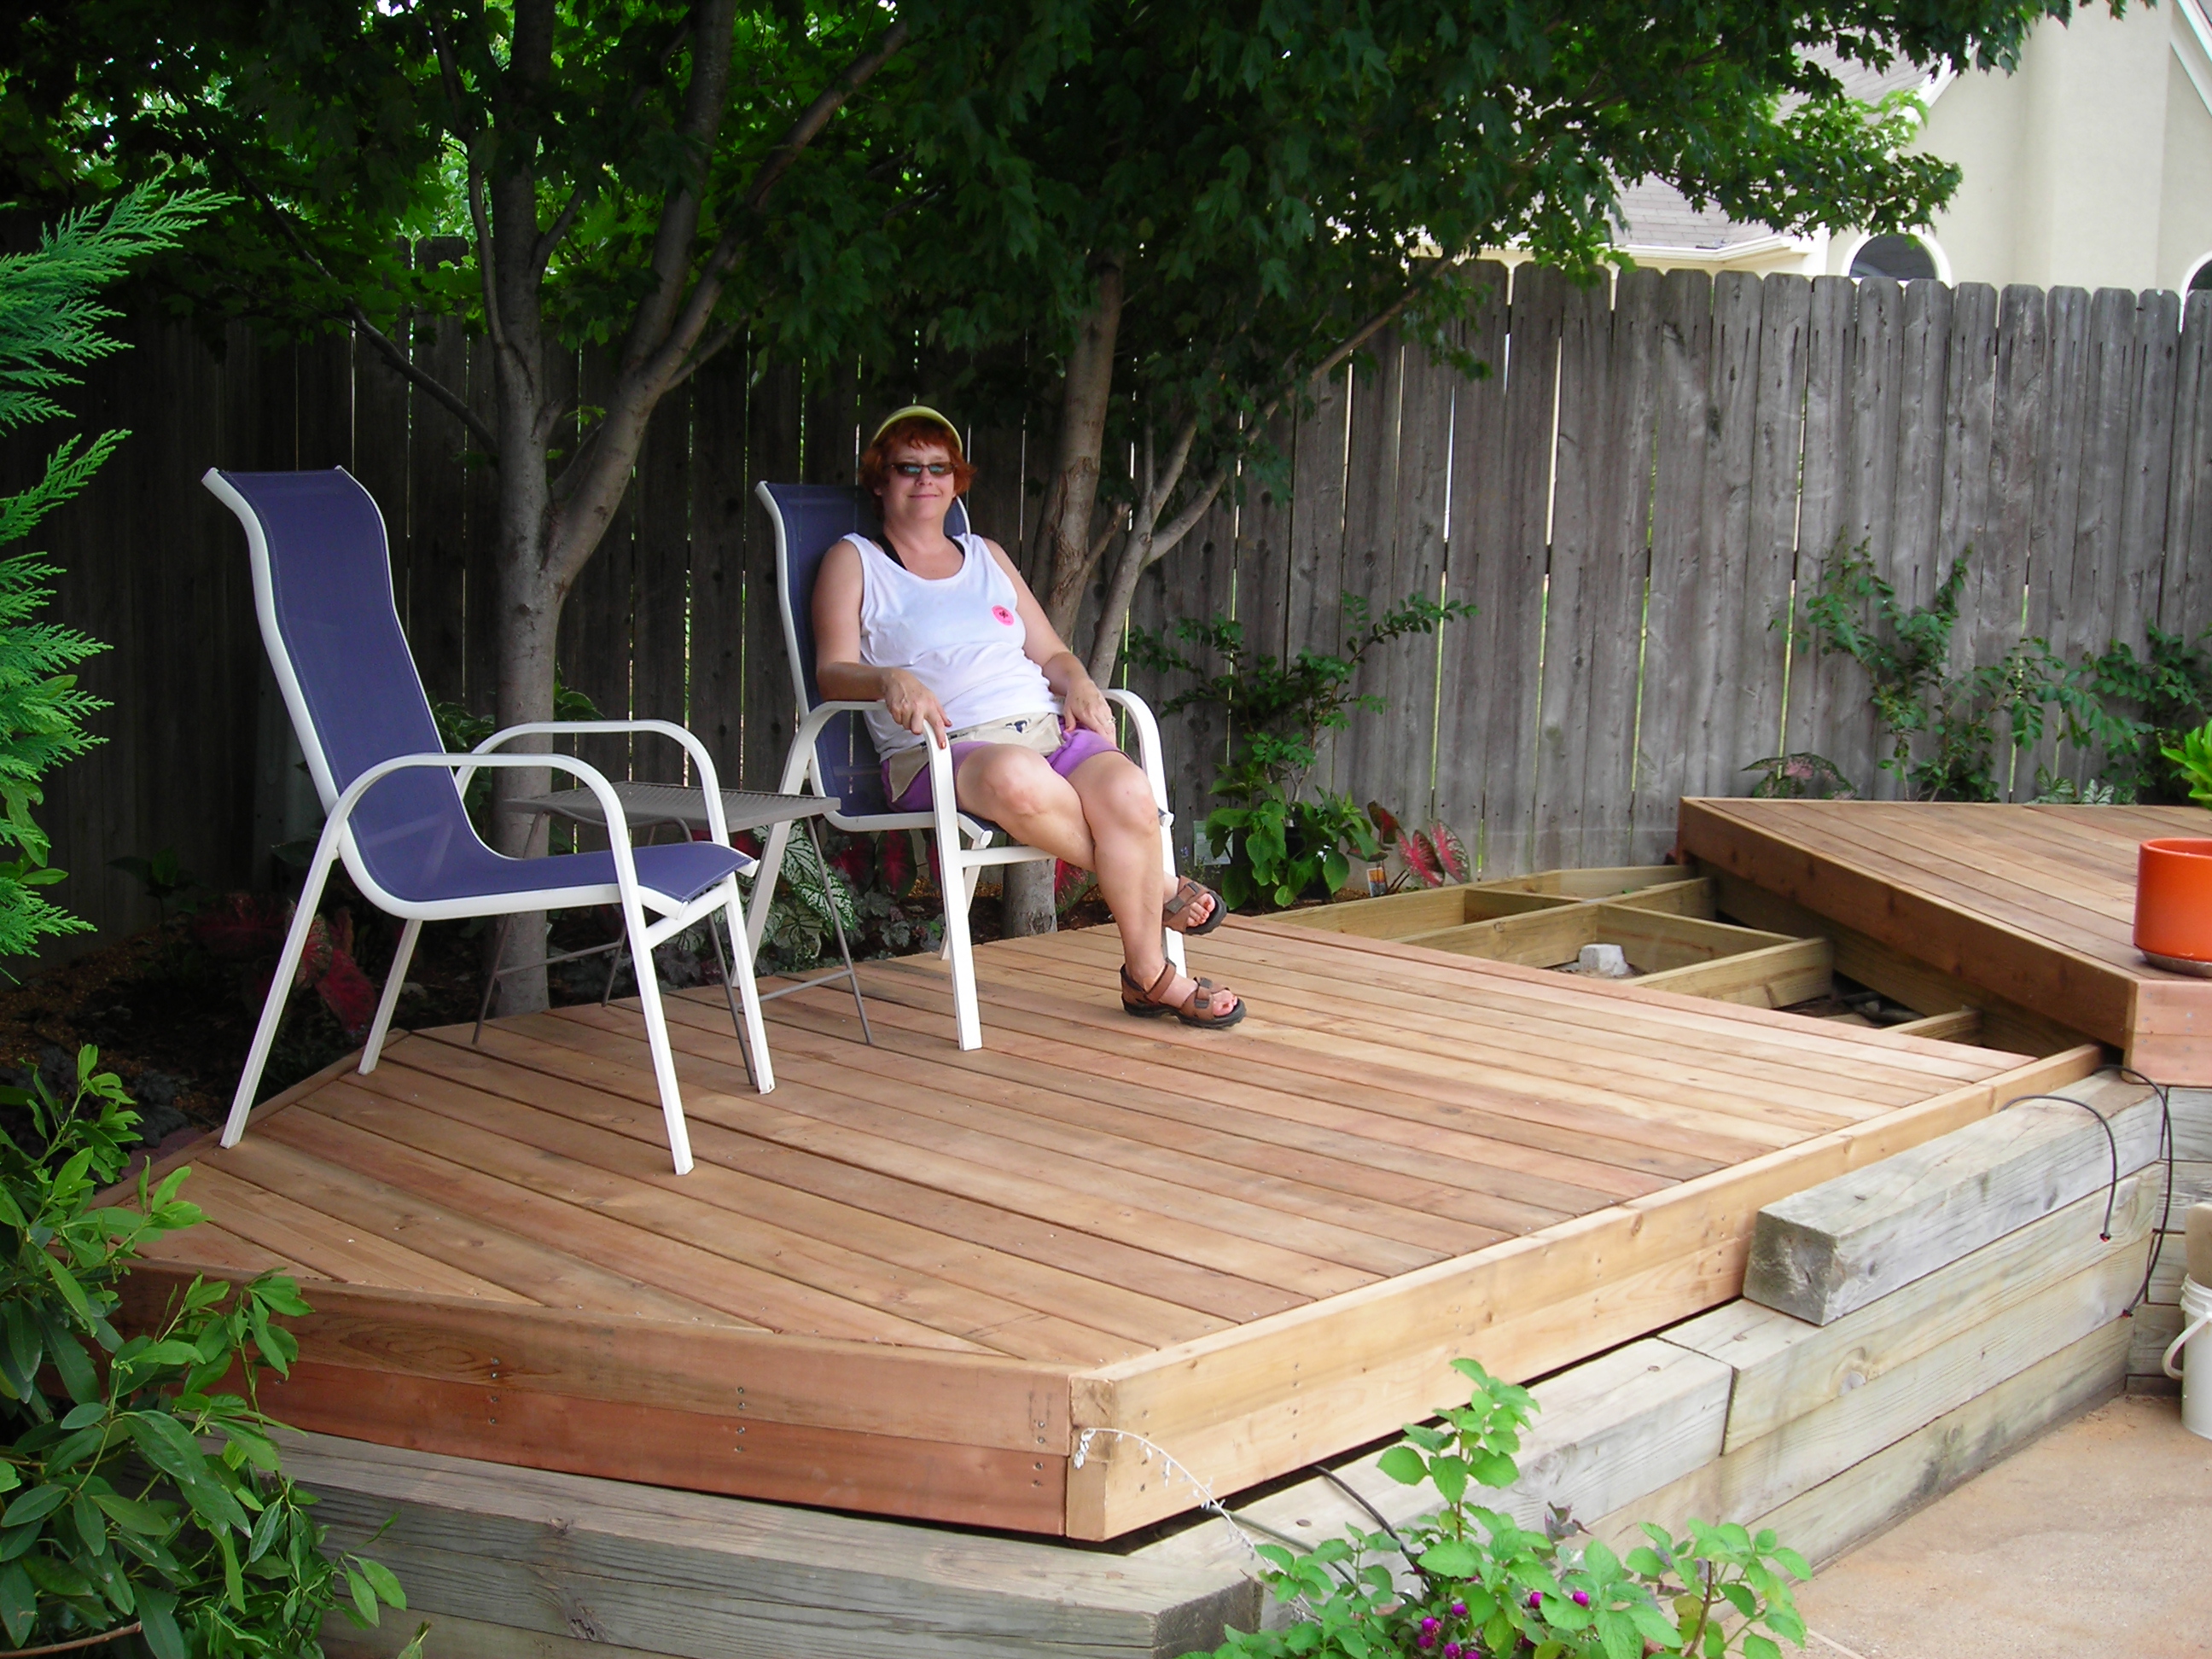
My wife, who was a tremendous help on this project, was happy to take a break on the almost finished lower deck…
…before all of the boards were cut and installed.

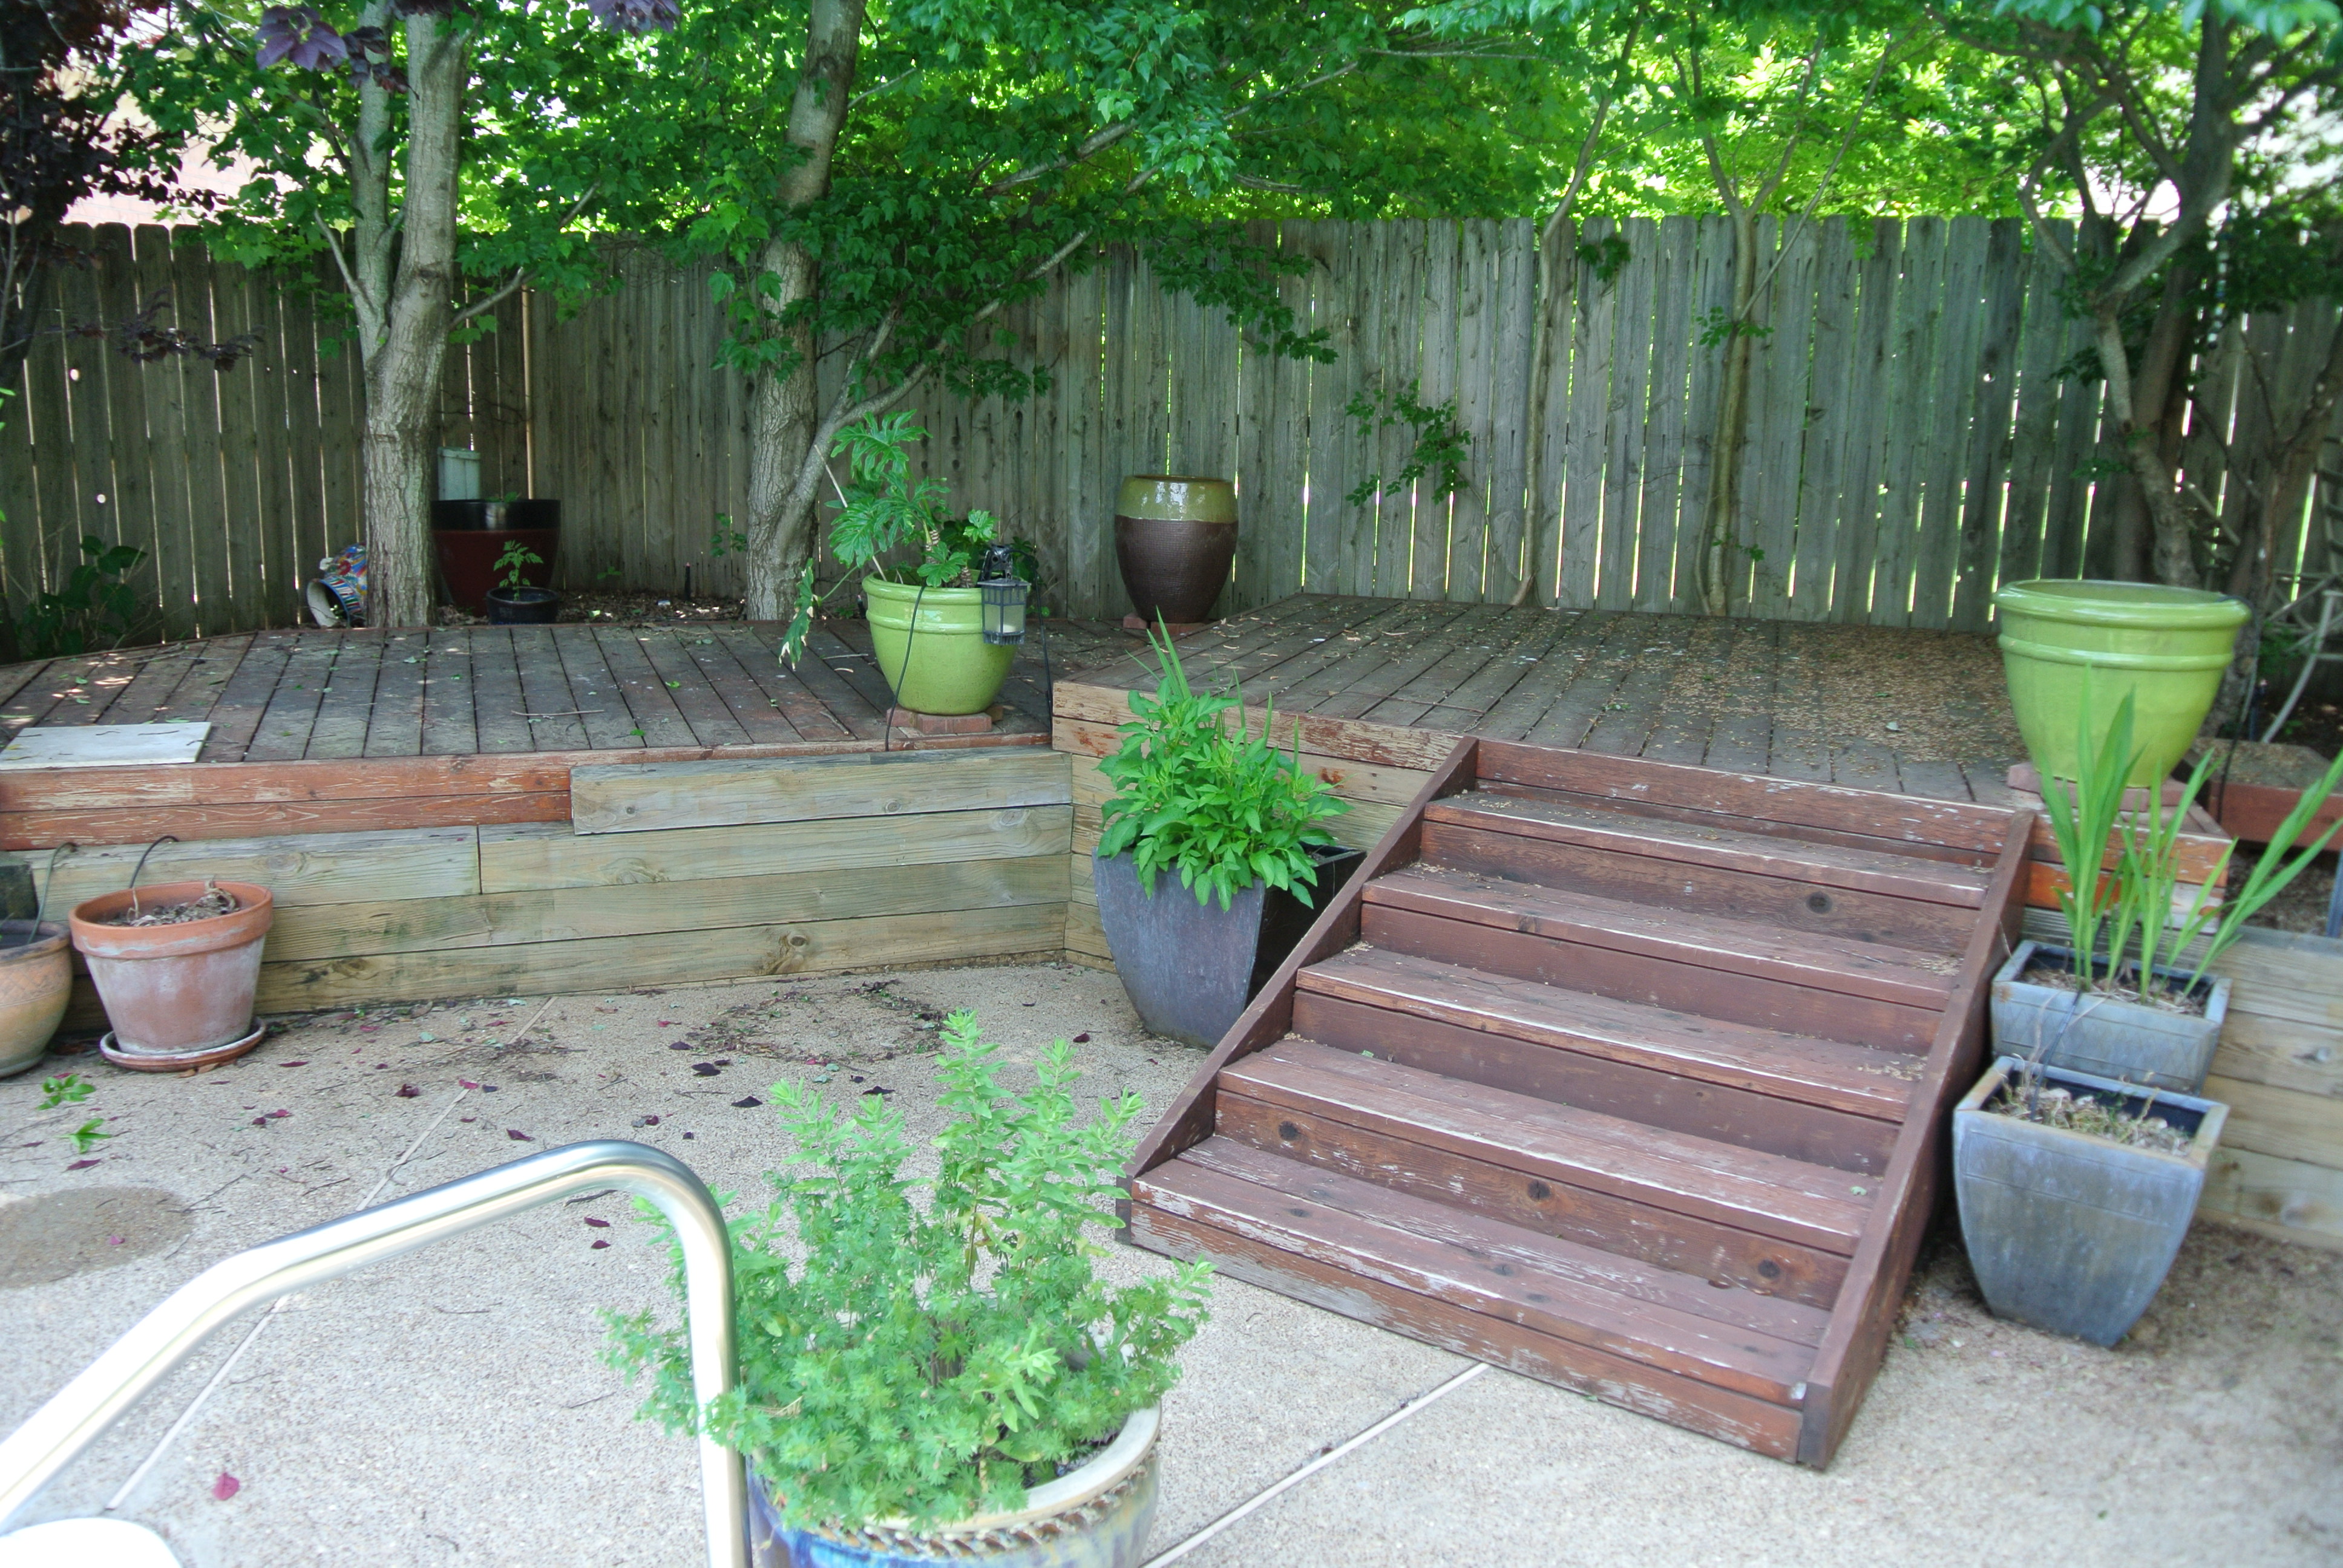
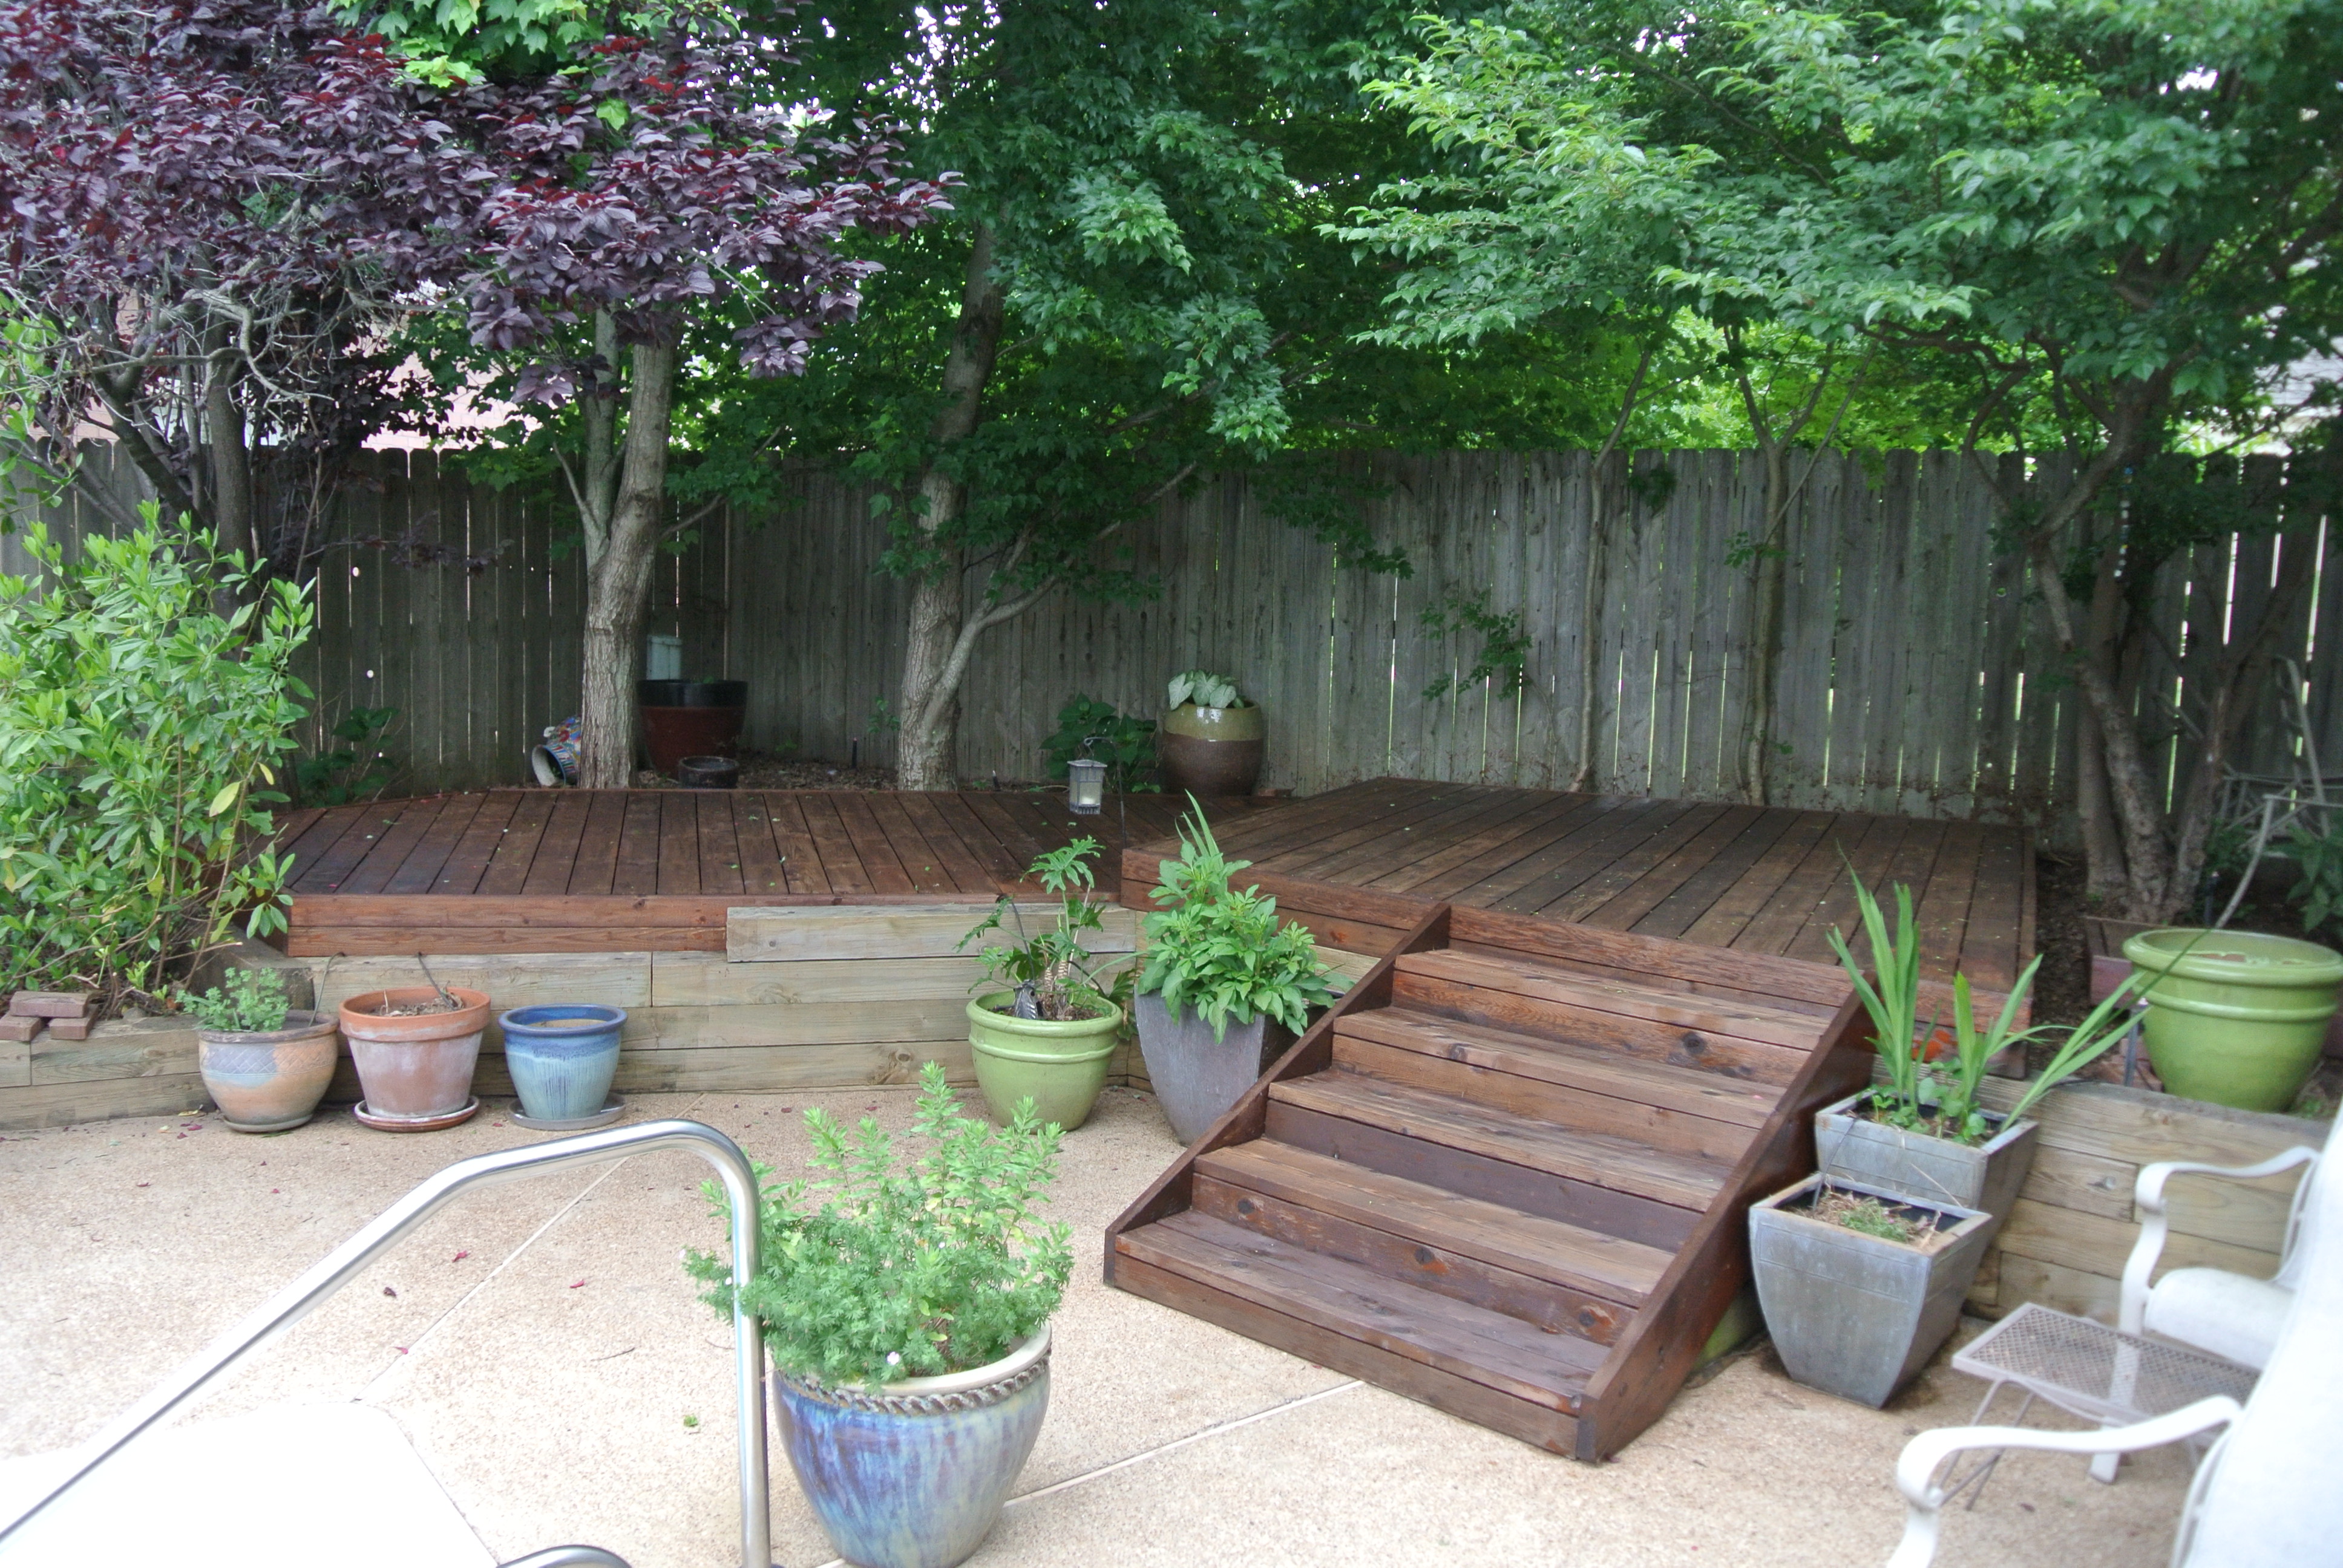
The last construction step was to build the stairs from the pool deck up to the new deck. But before this step could commence, I had to pressure wash the retaining wall to give it a rejuvenated look.
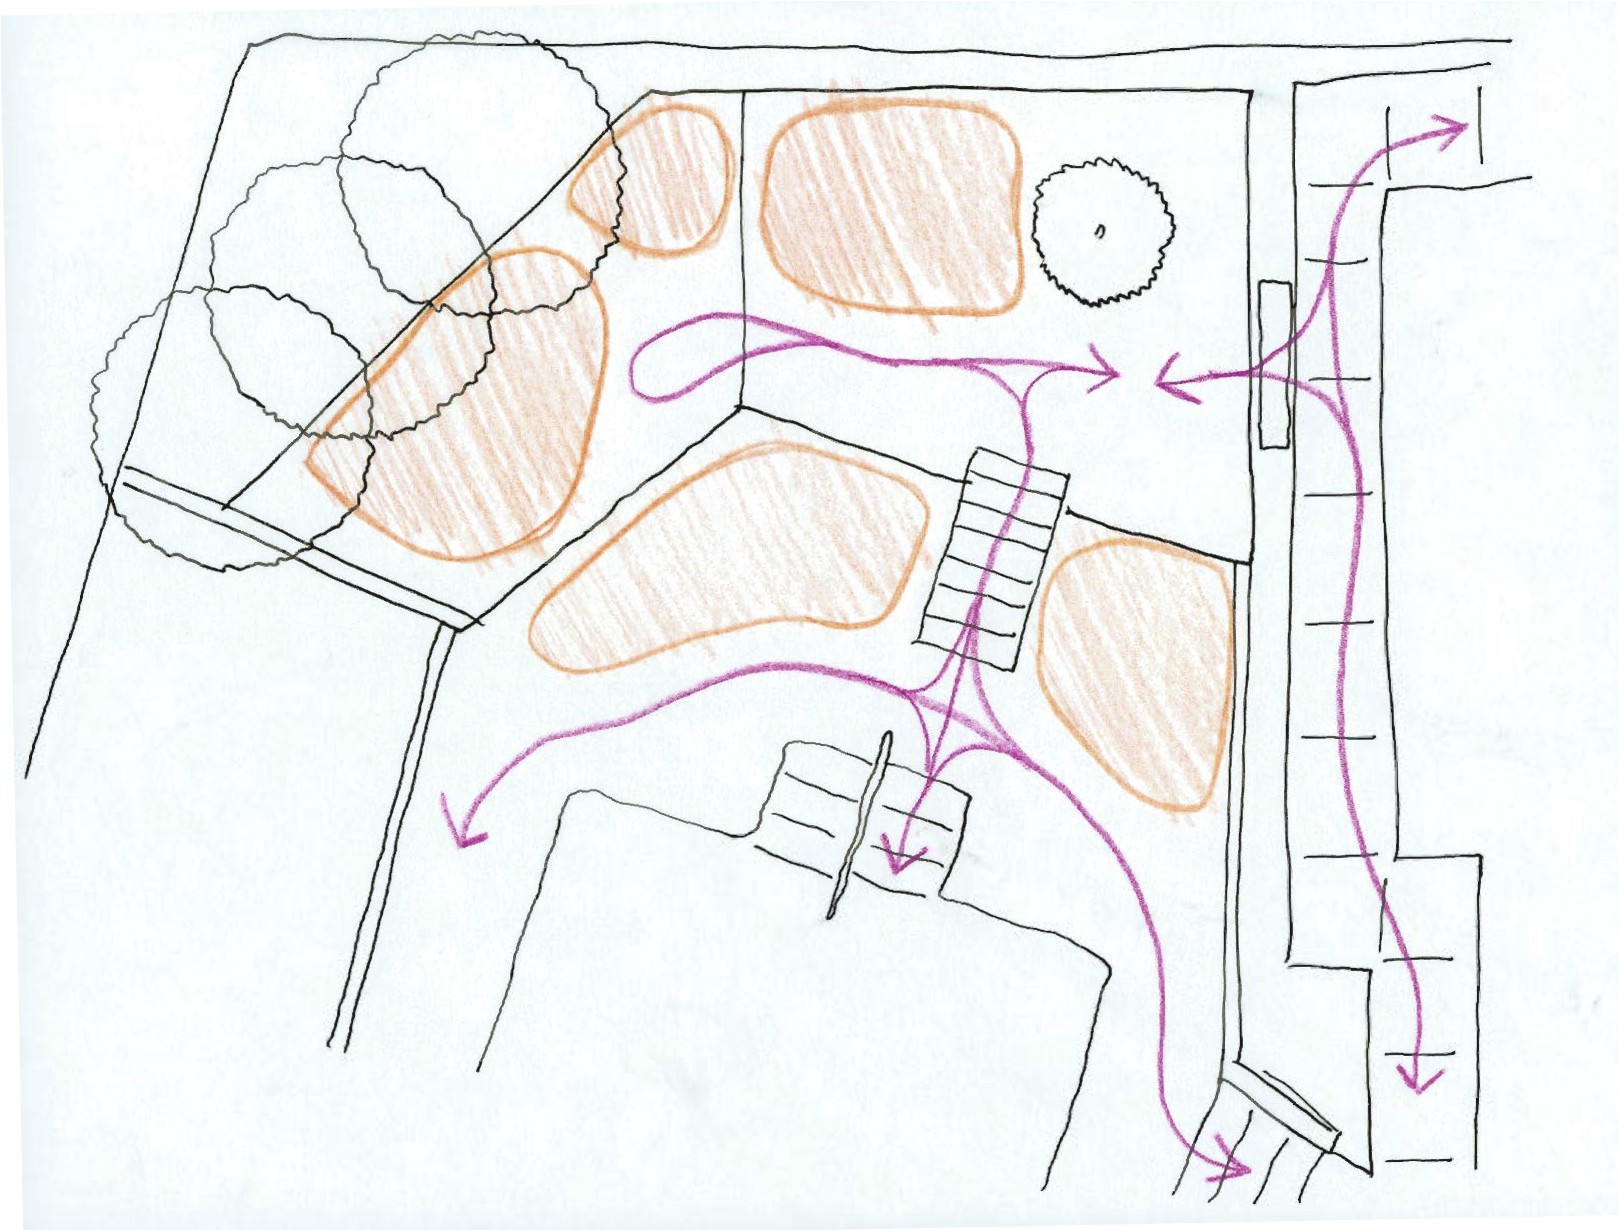
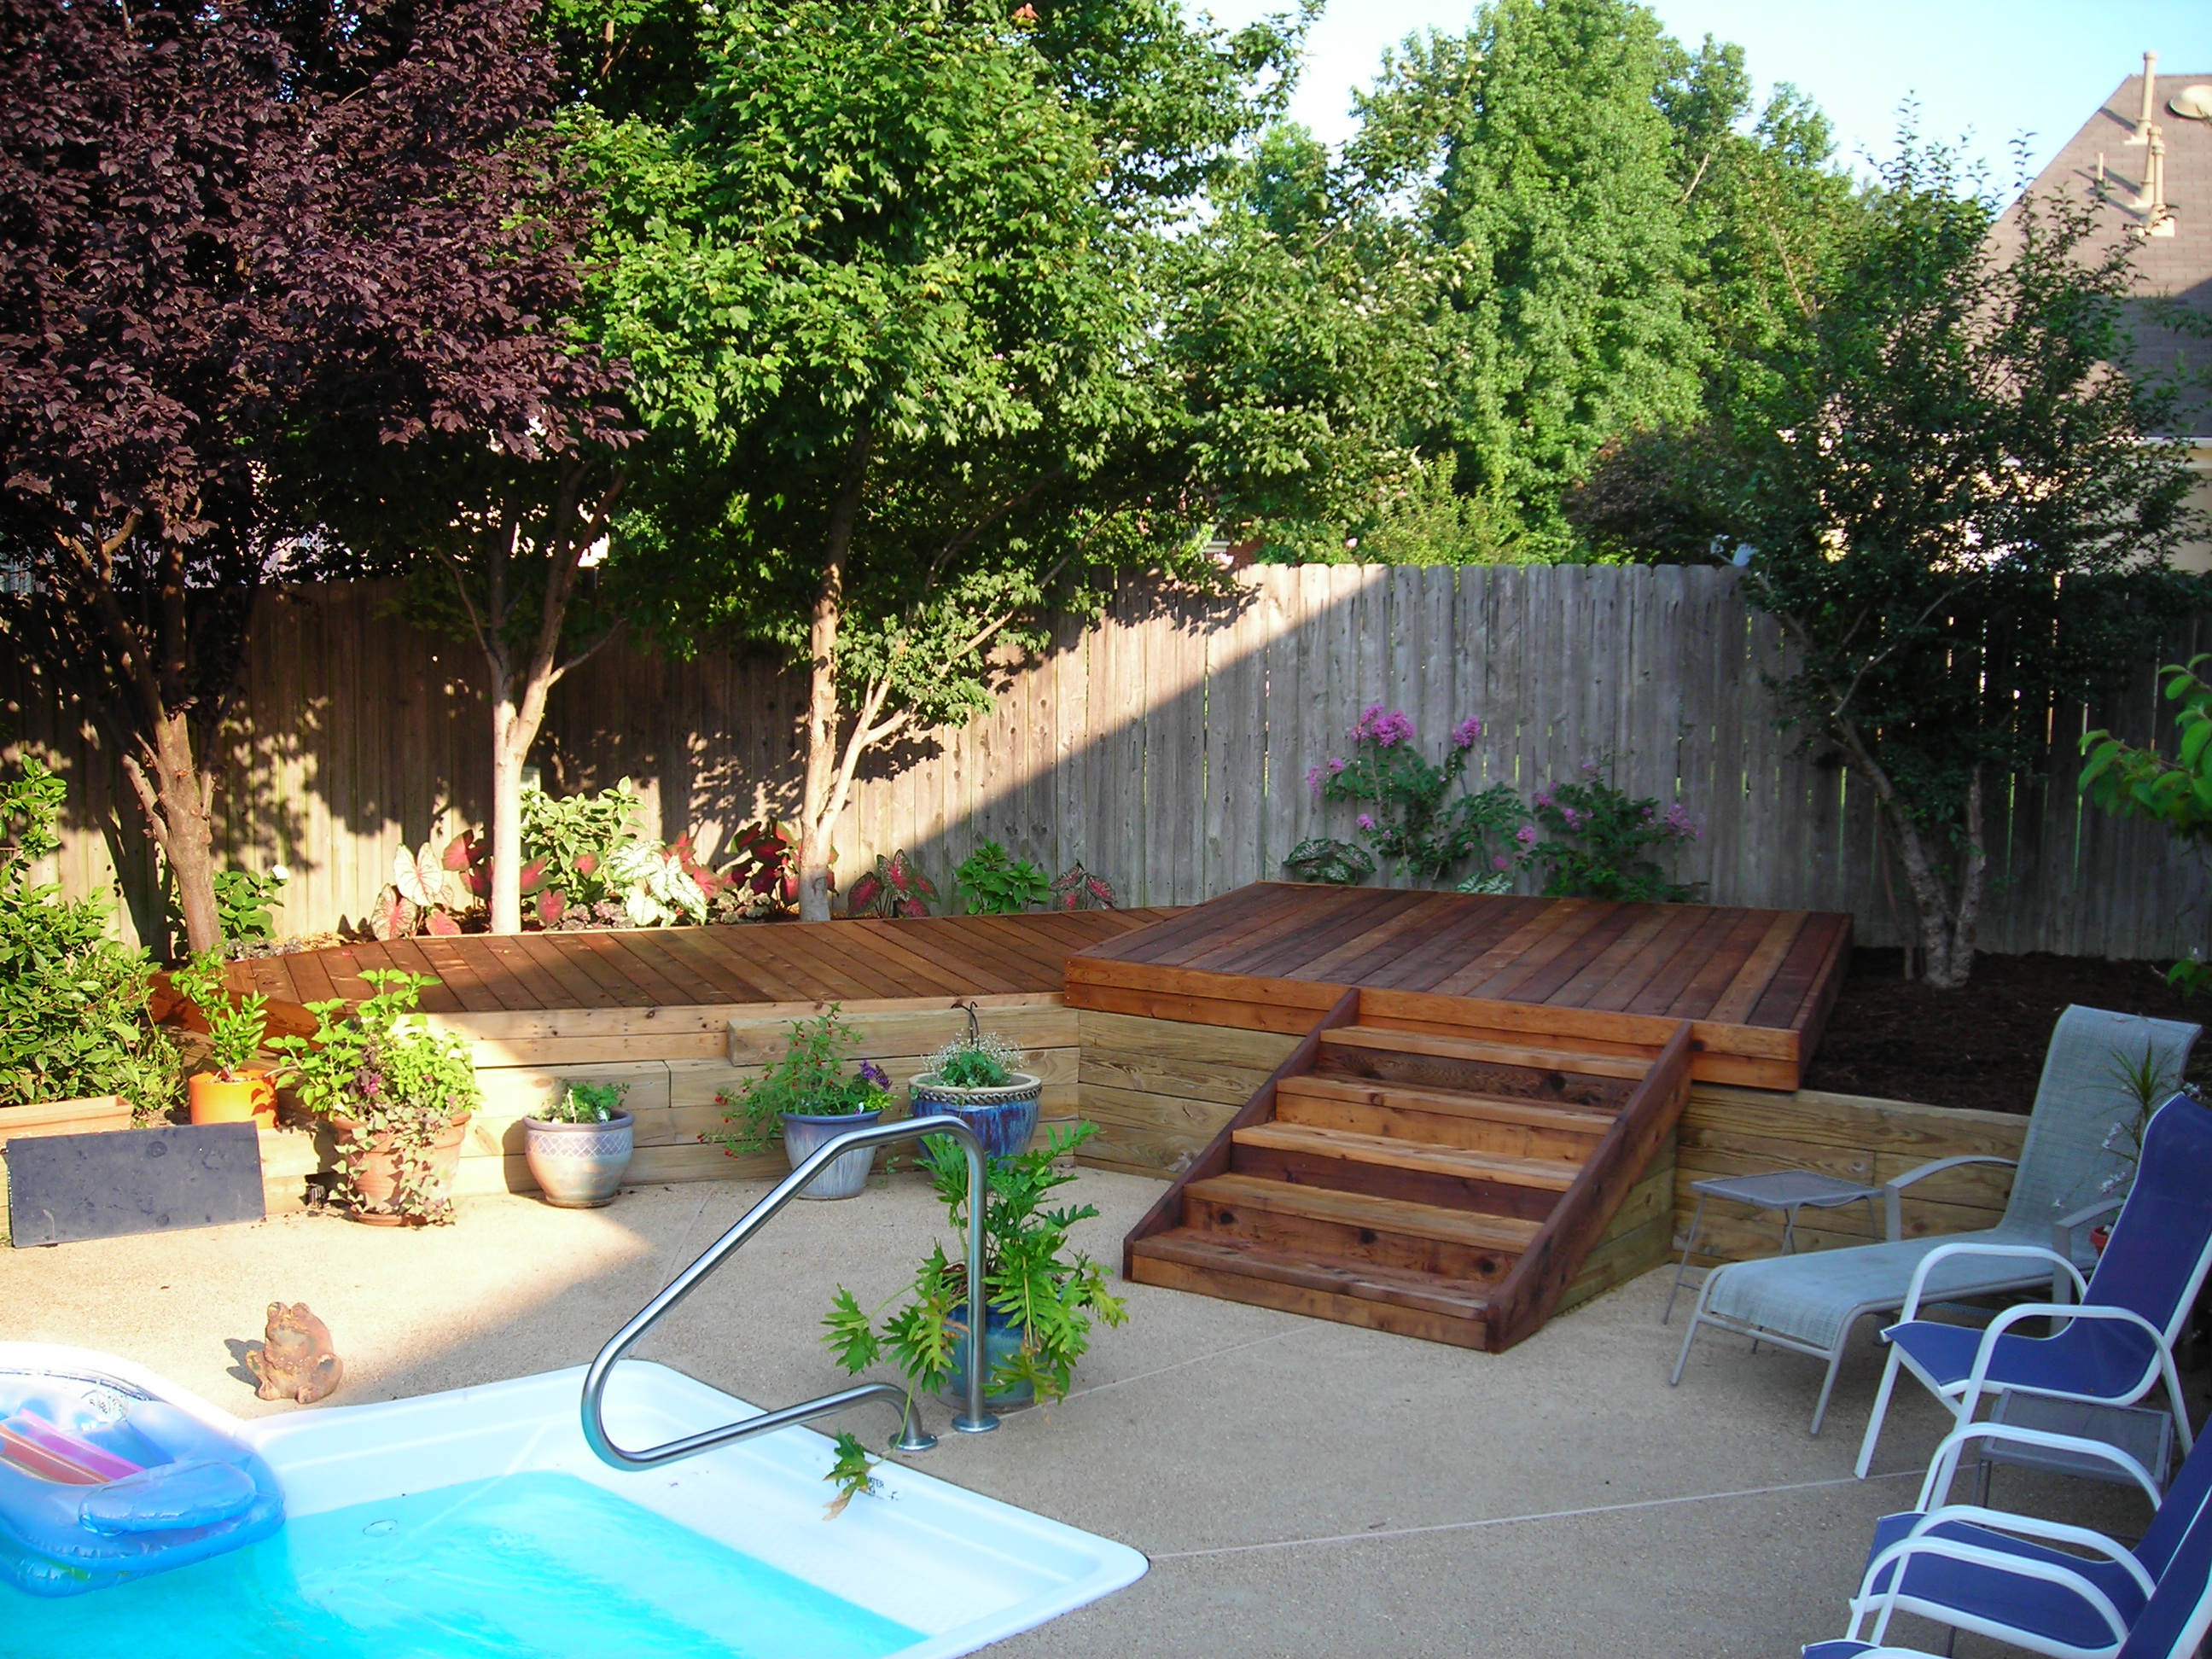
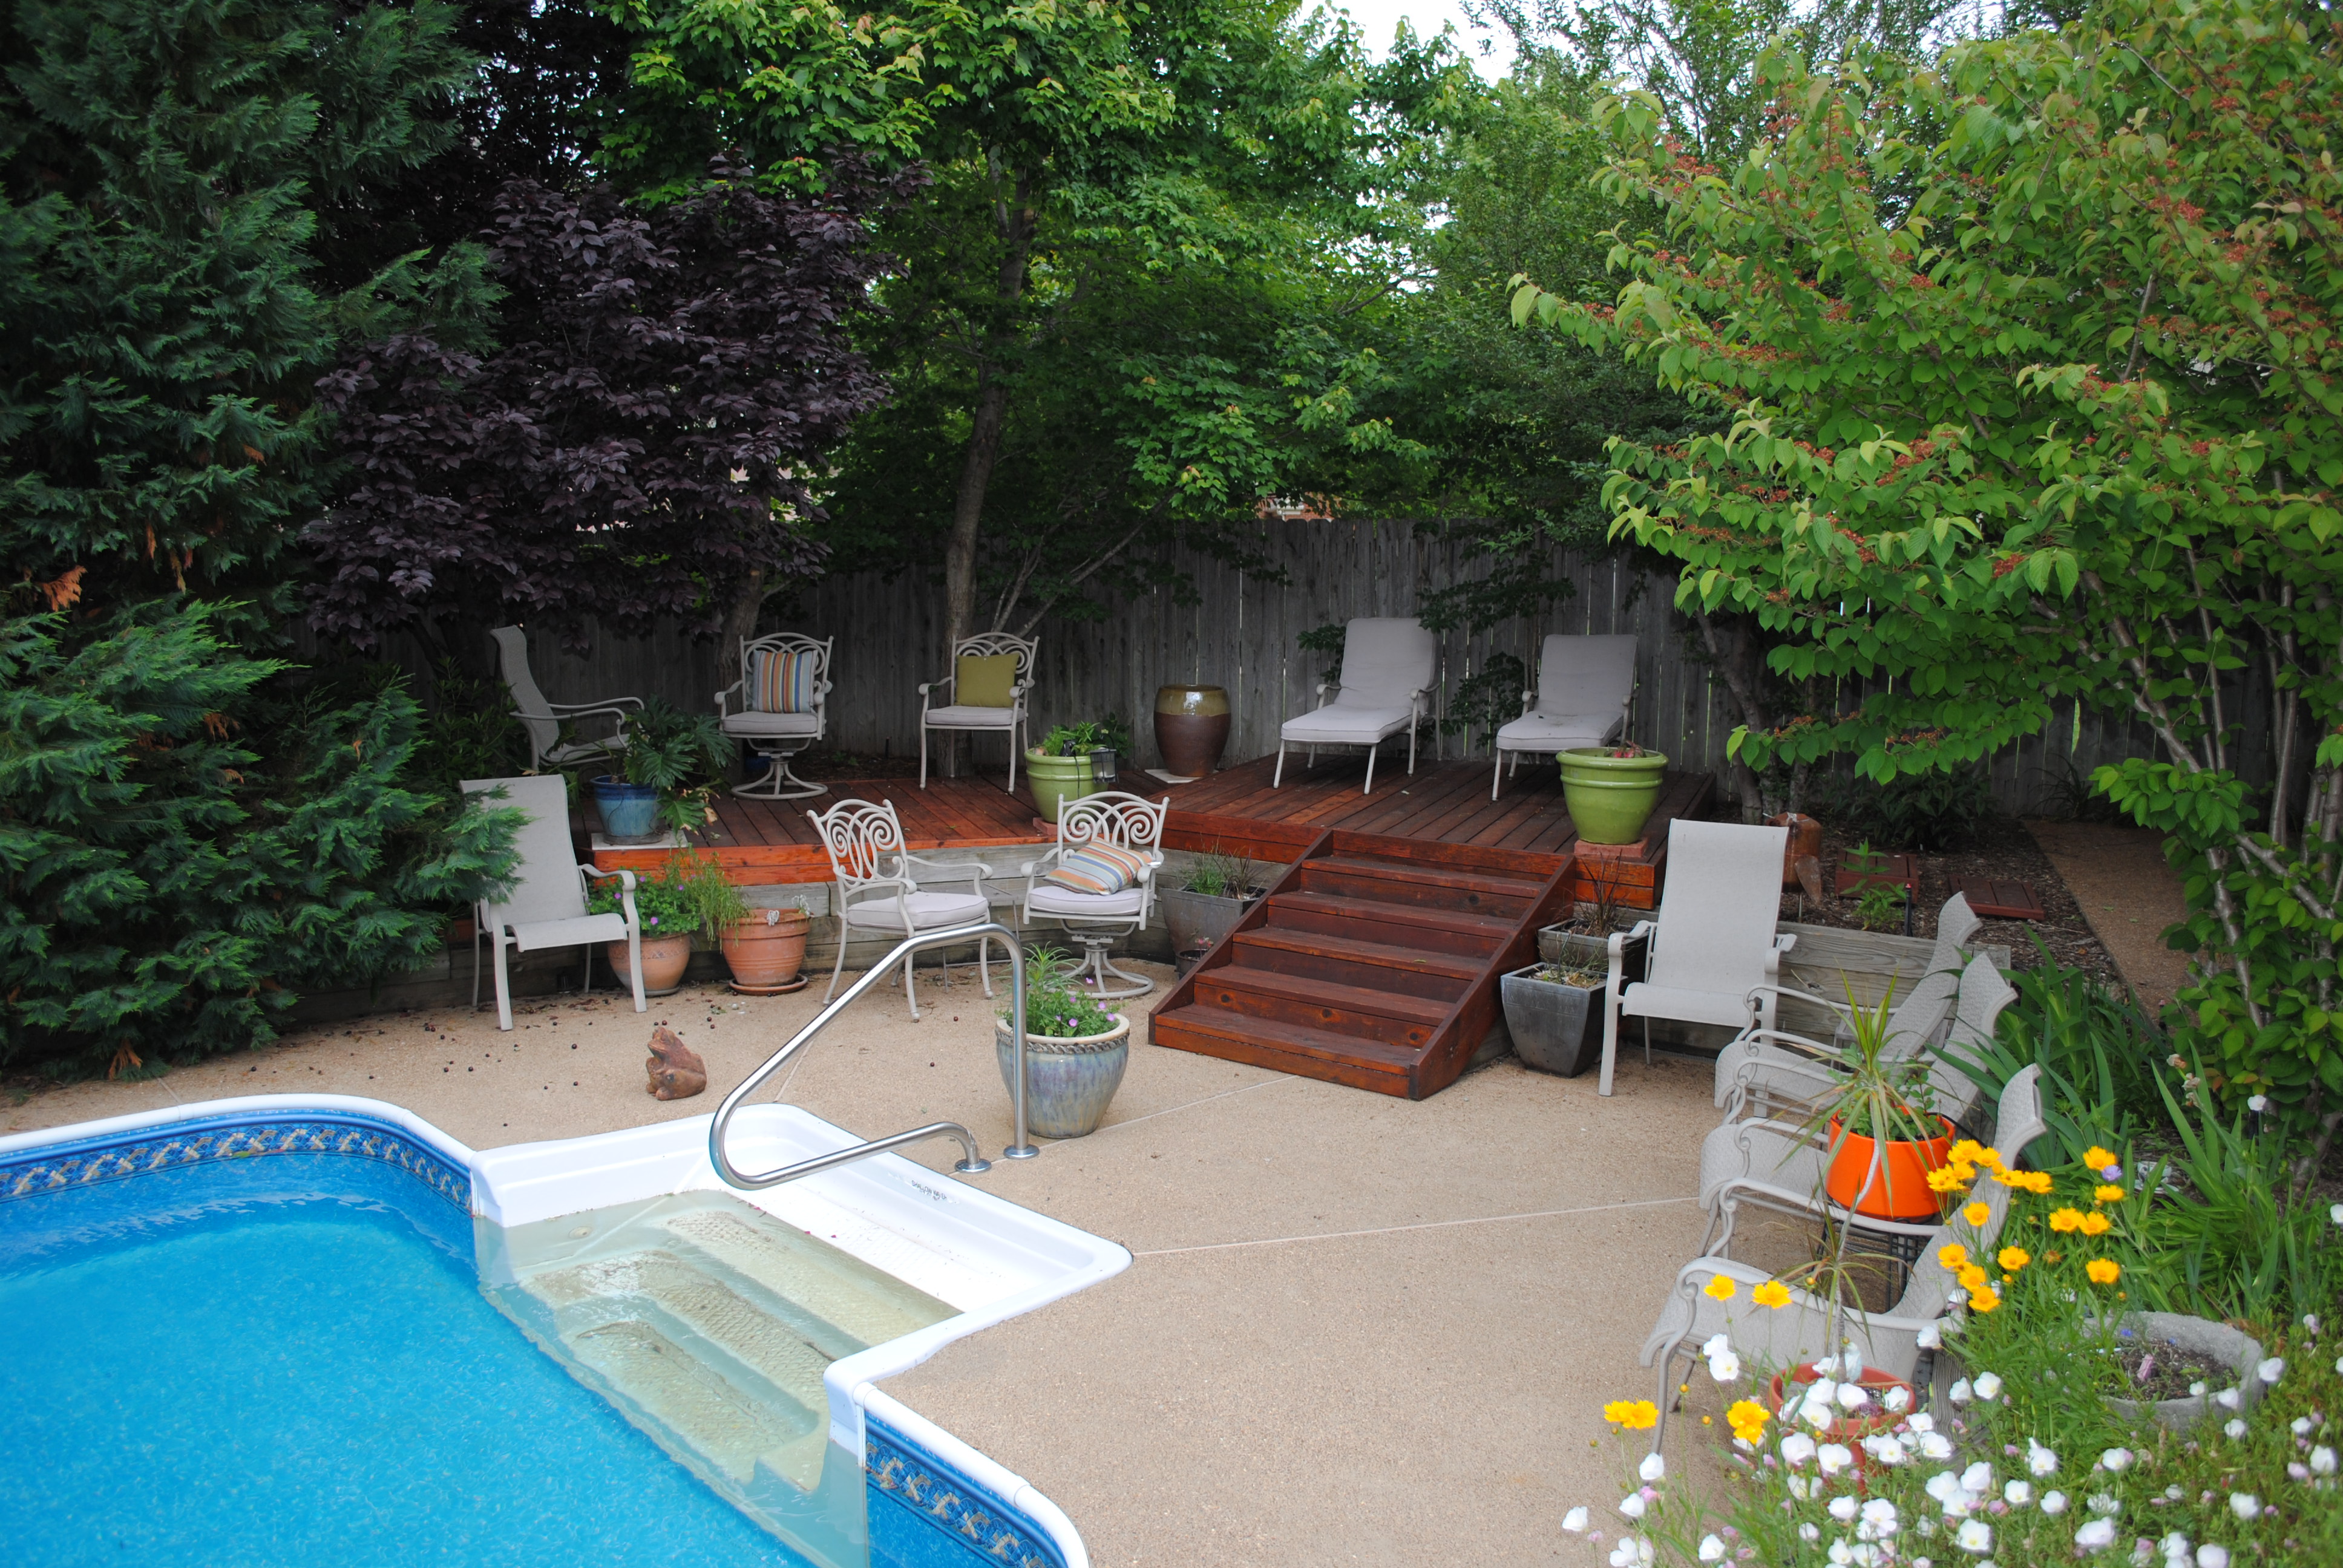
The placement of the steps was critical to the design, as they would line up with the pool steps so that you could come up one set of steps from the water then ascend the next set of steps up to the deck thereby making the transition from water to pebbly concrete to comfortable wood. This also created two separate seating areas on the pool deck that would be separated by the stairs.
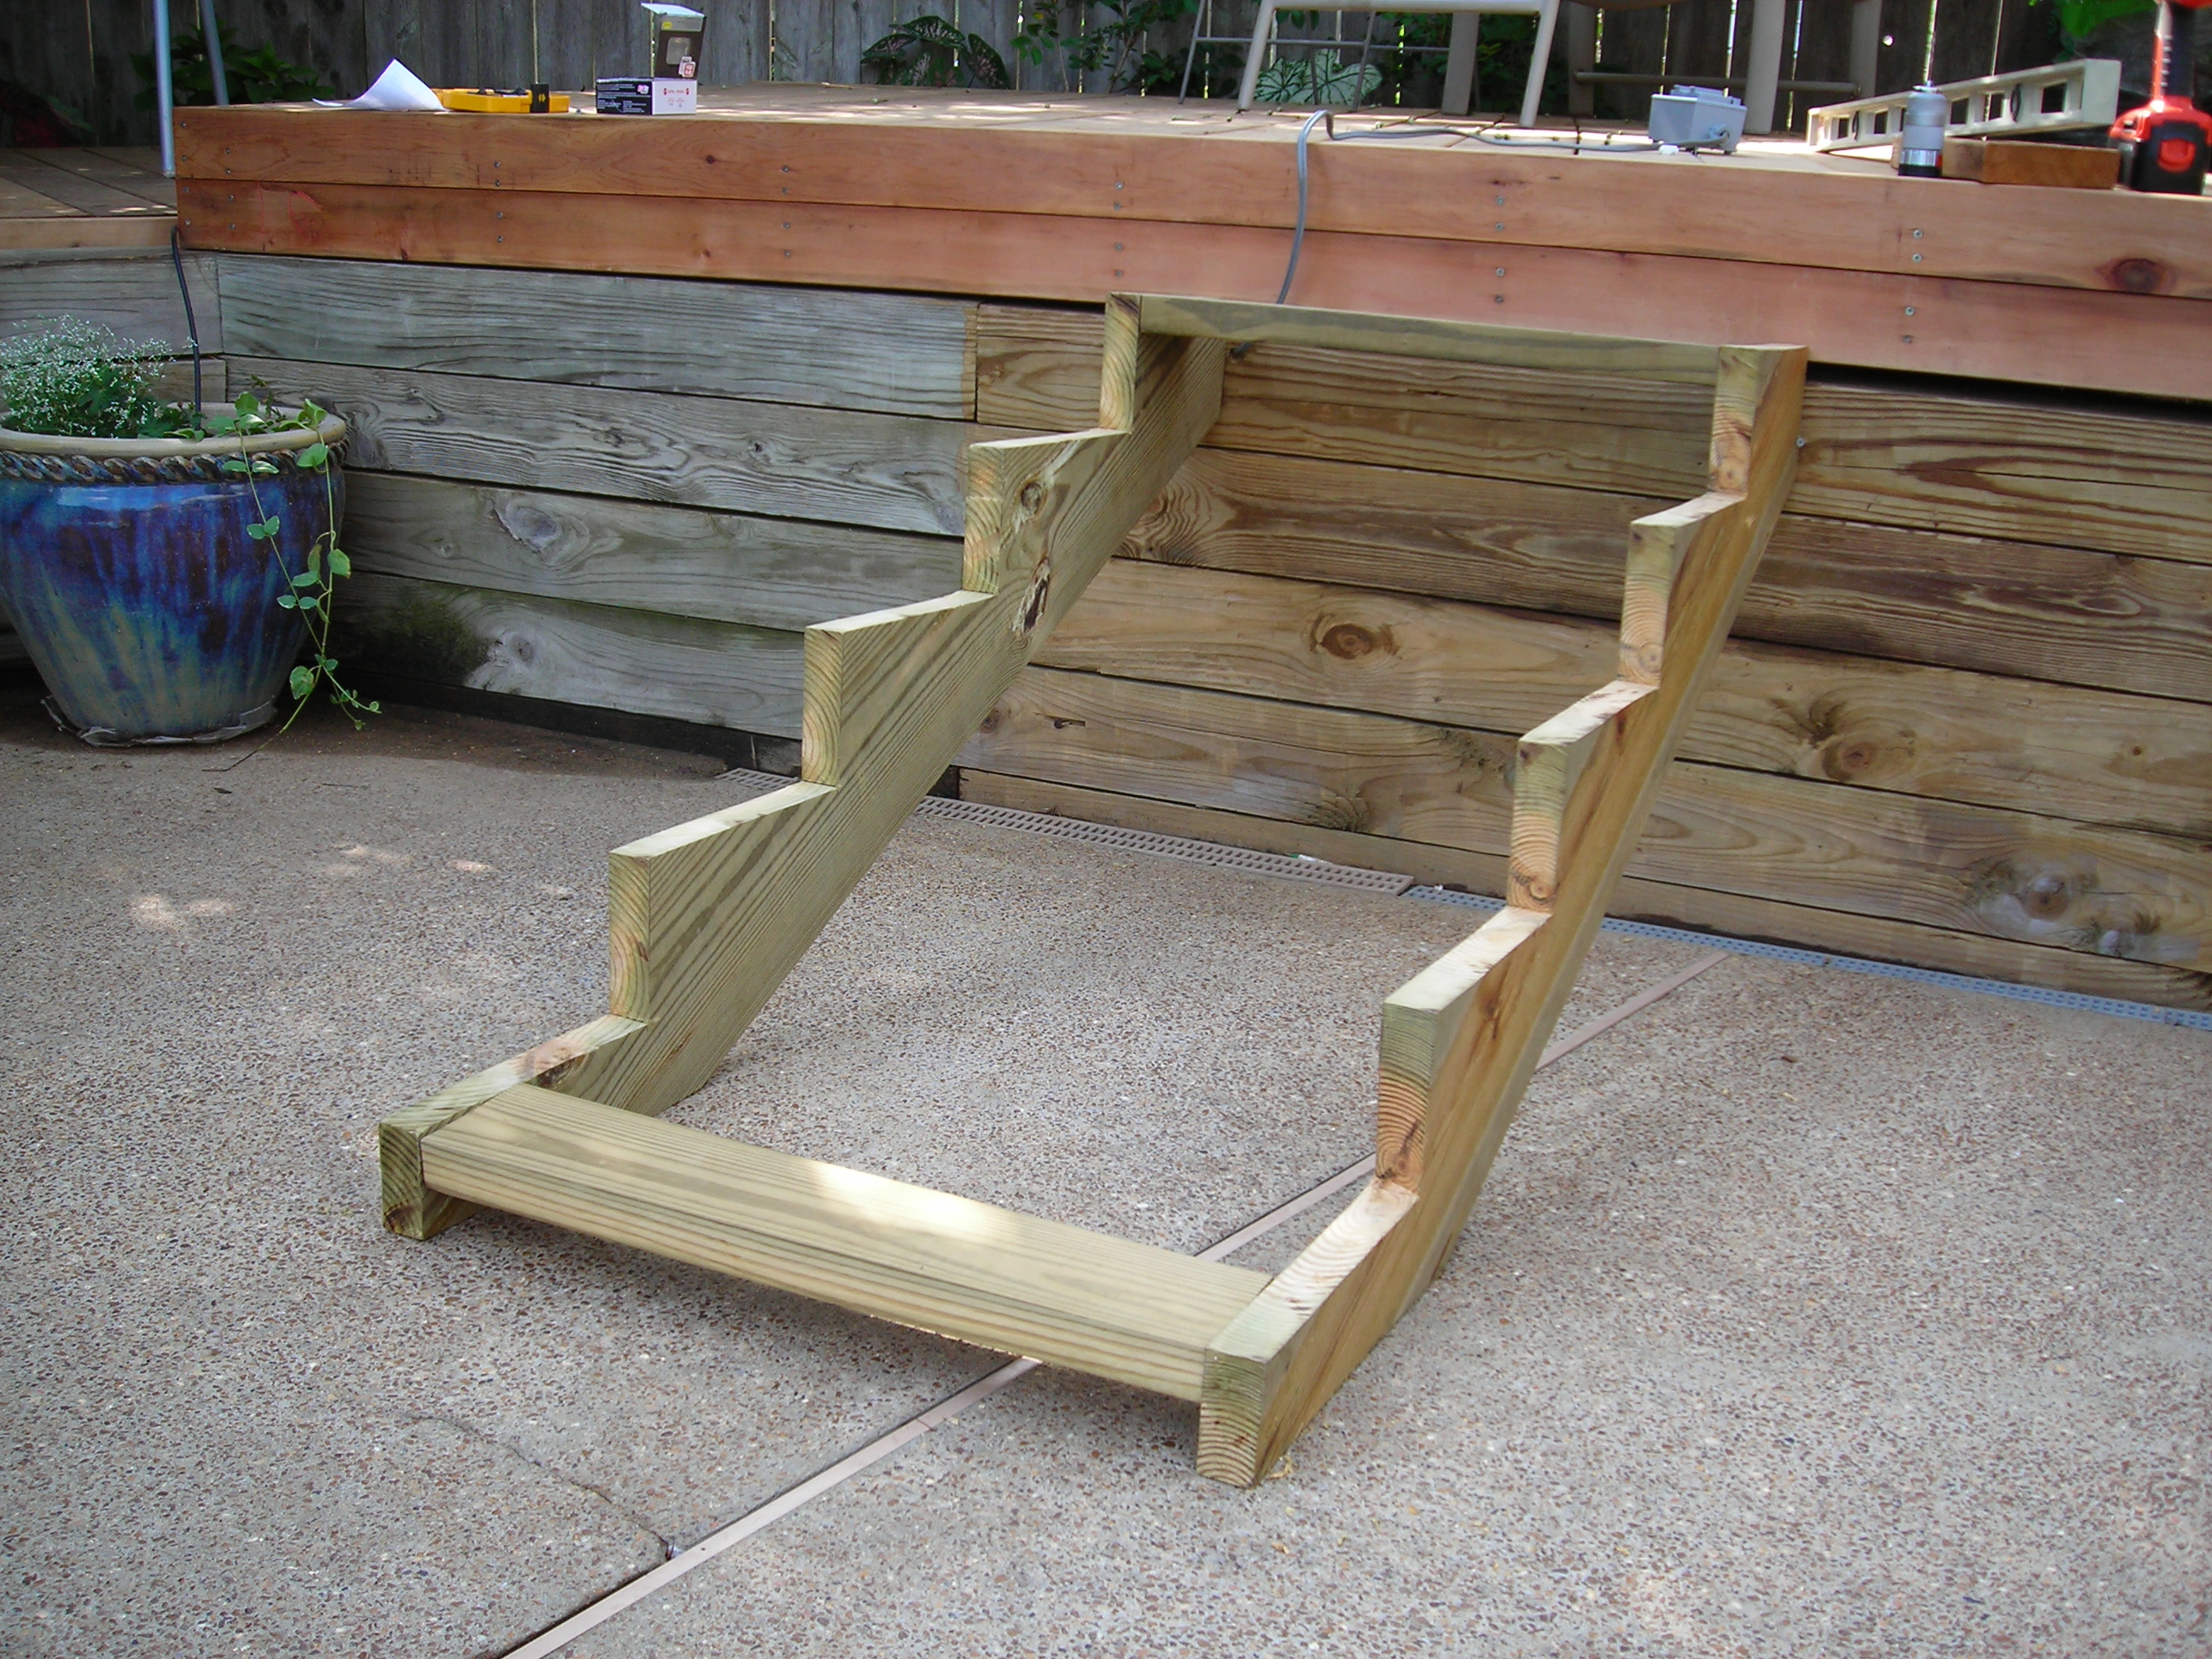
Once the frame was complete…
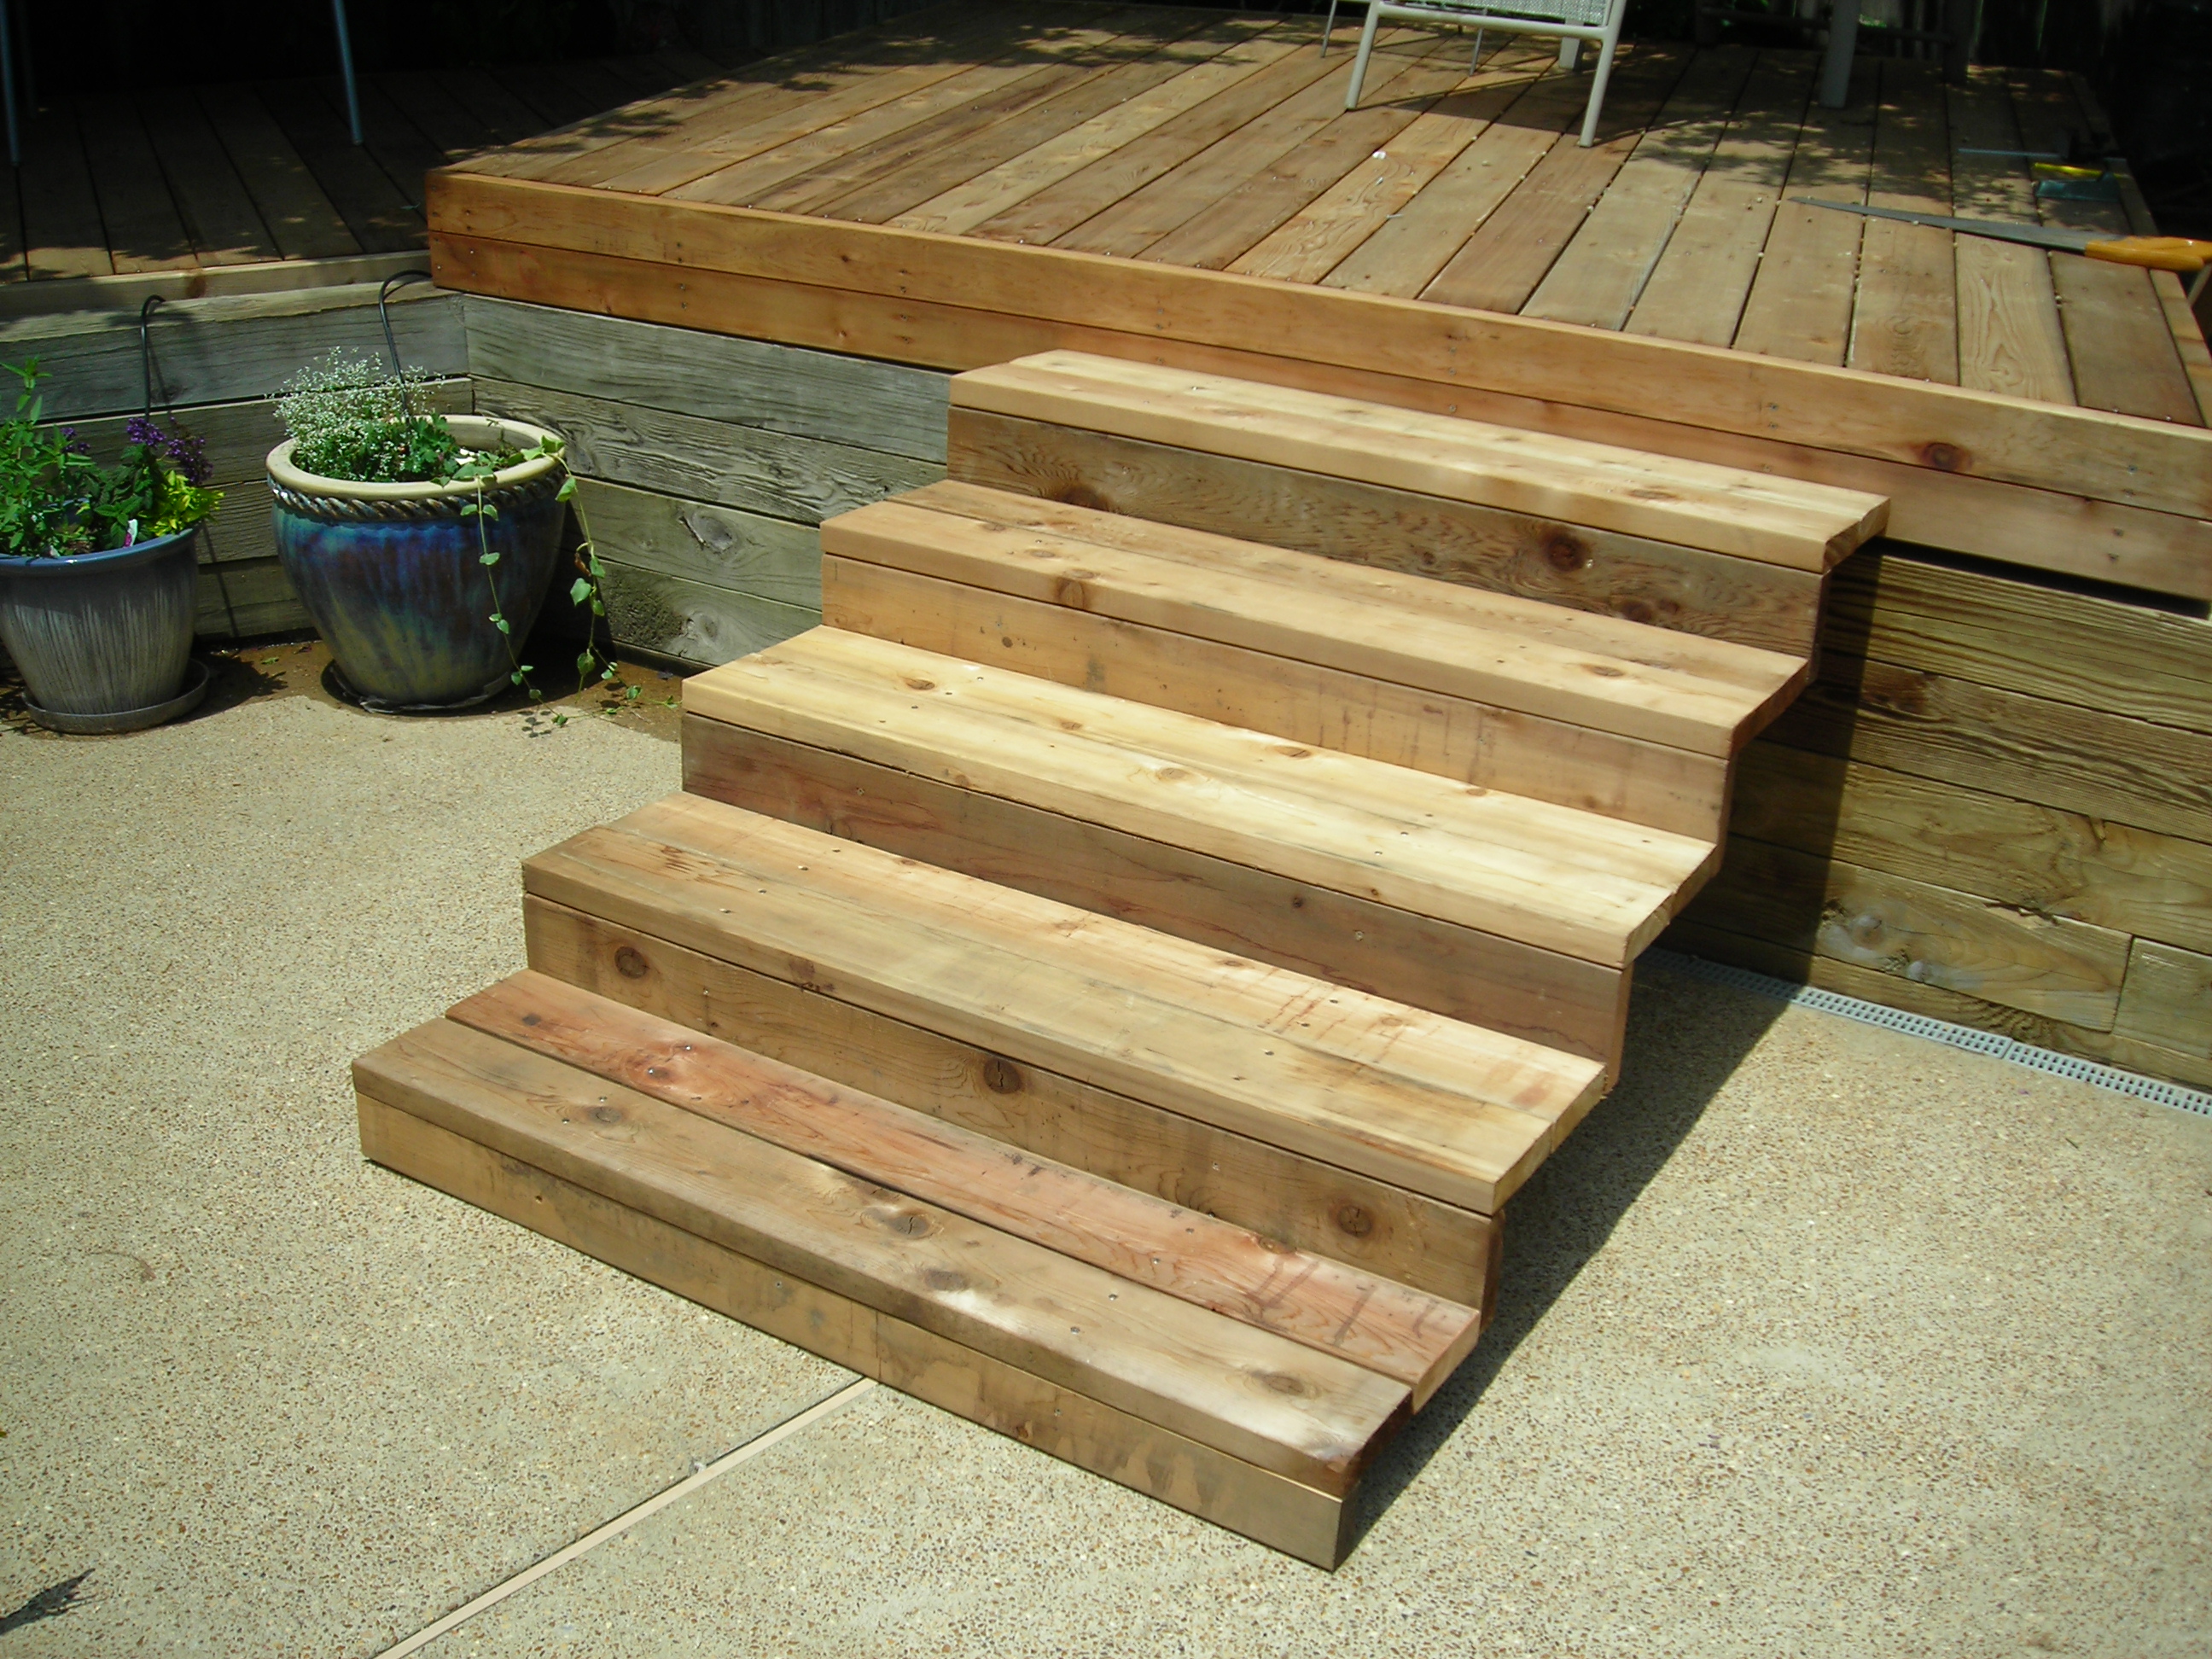
…it was just a few cuts to create the steps and risers.
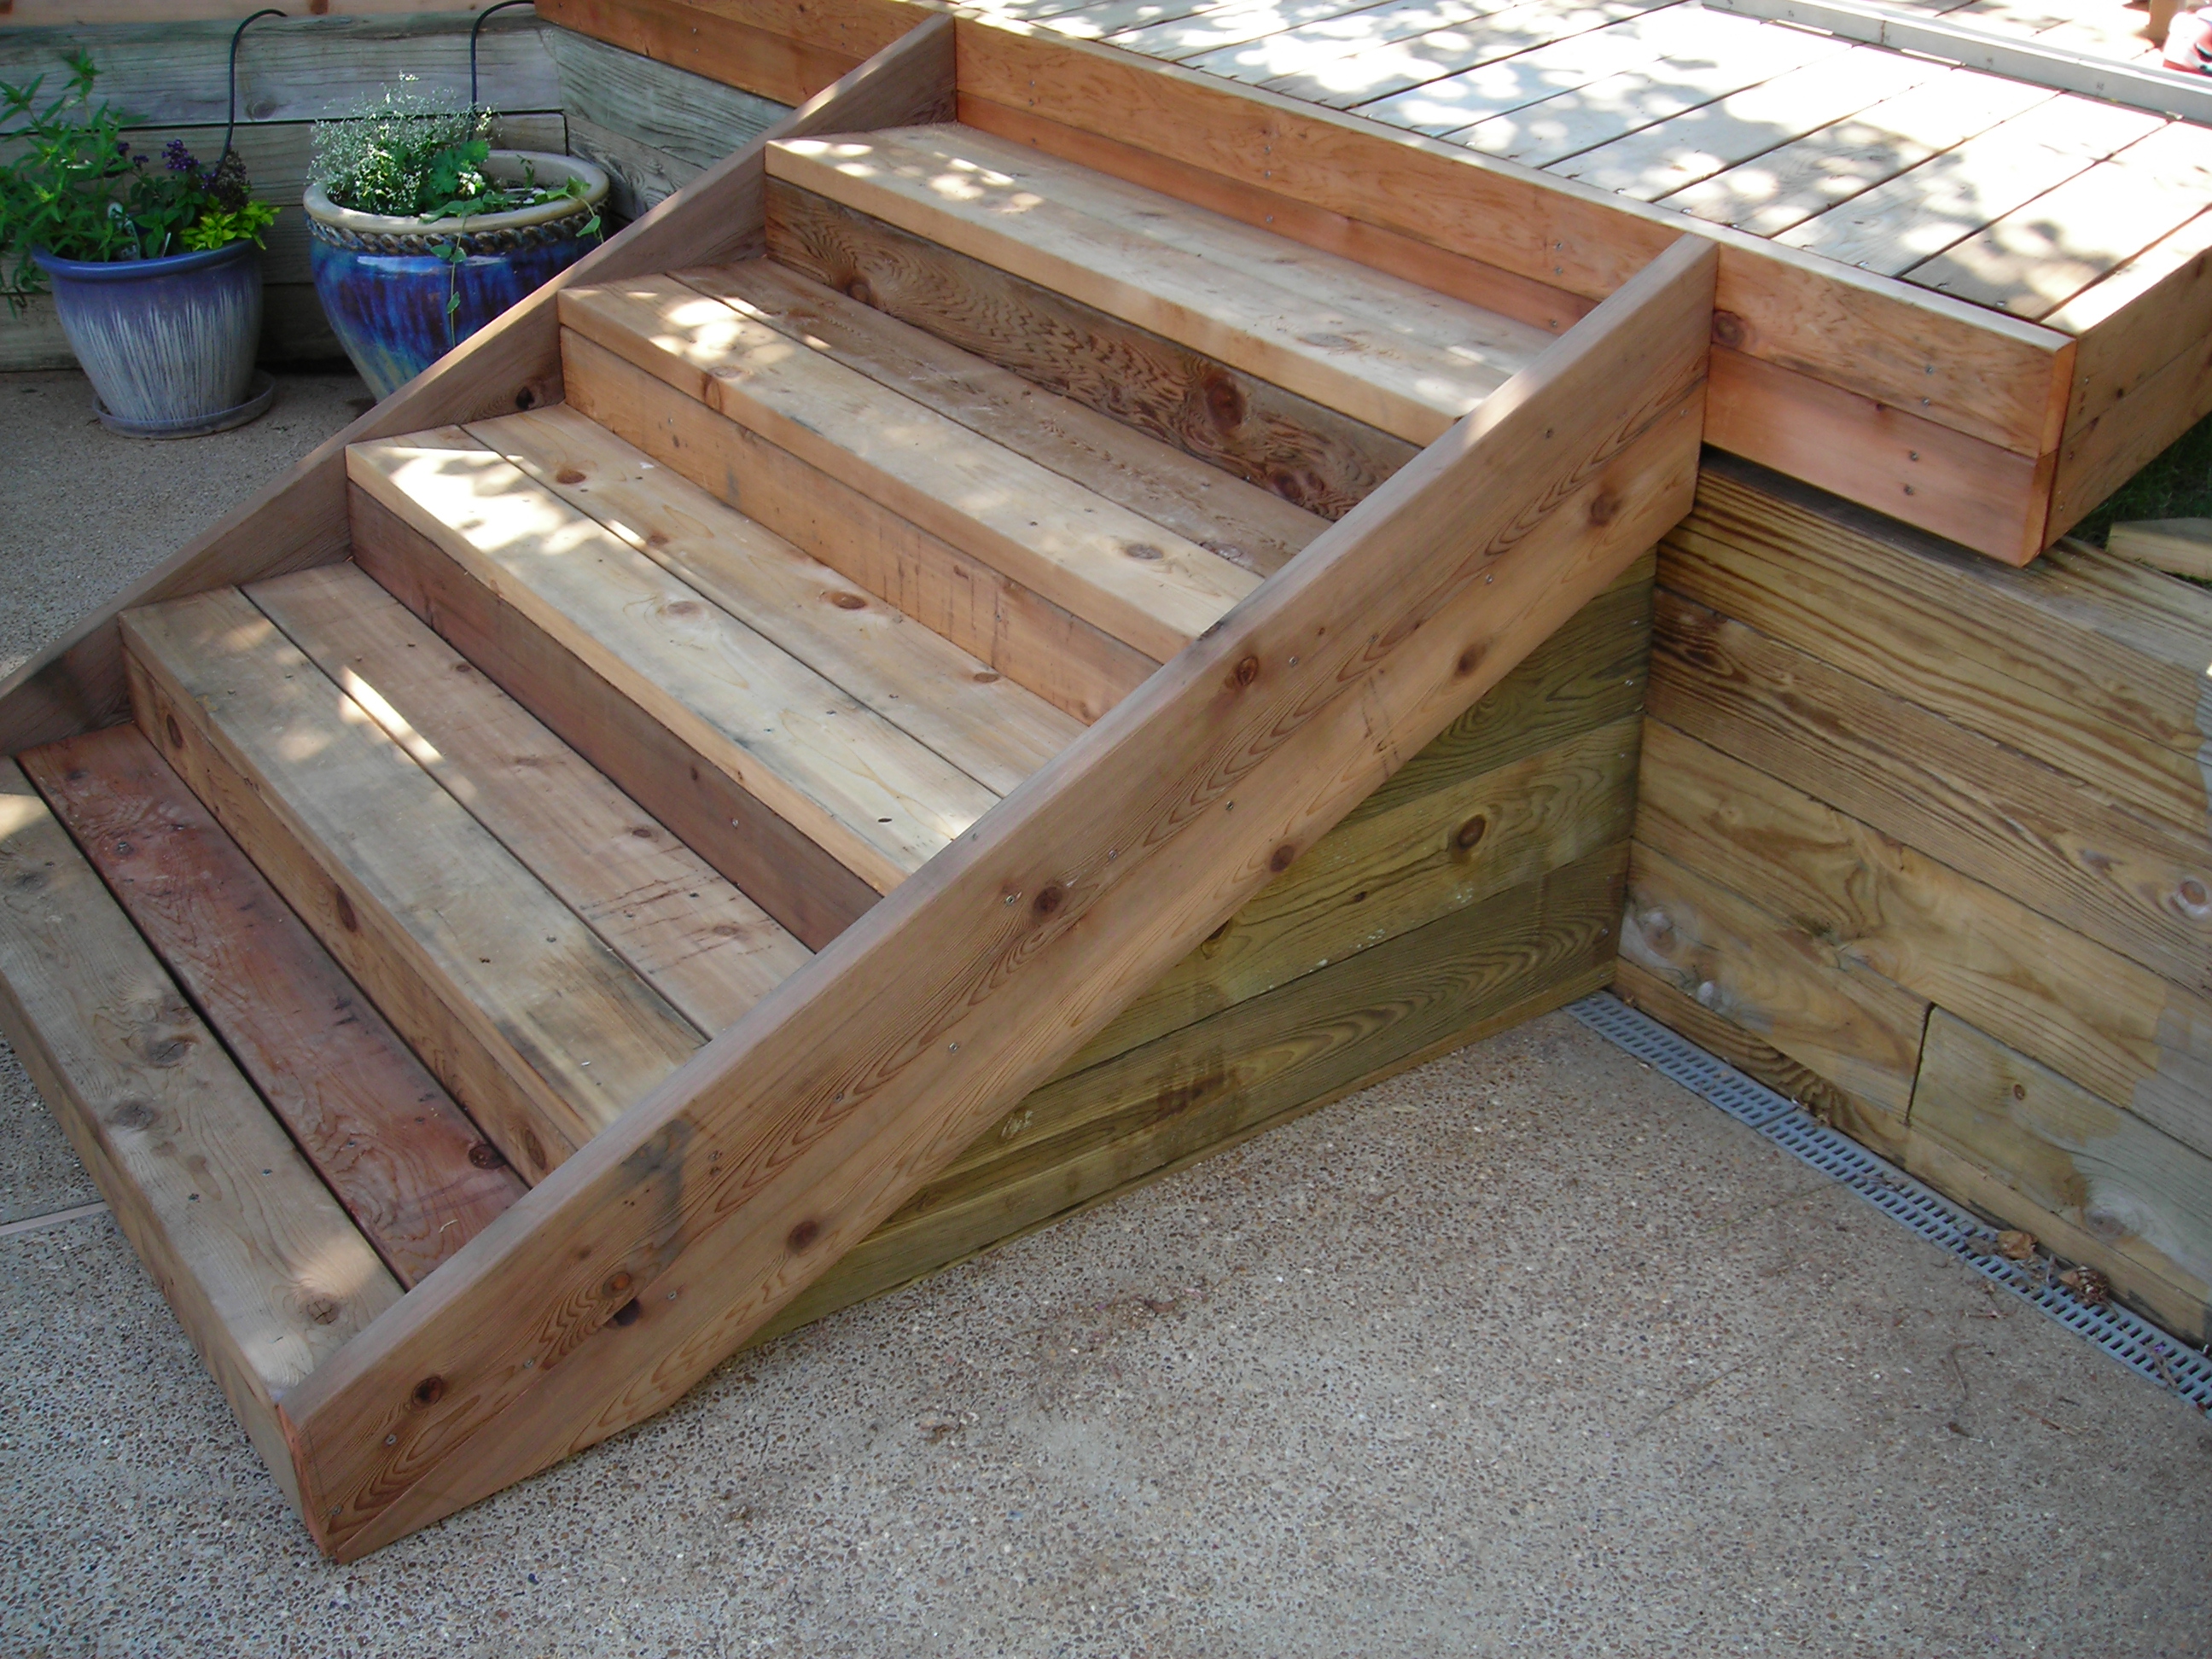
Our son designed the sides of the stairs to match the existing pressure treated retaining wall with the top cedar board flowing right into the sides of the new deck.
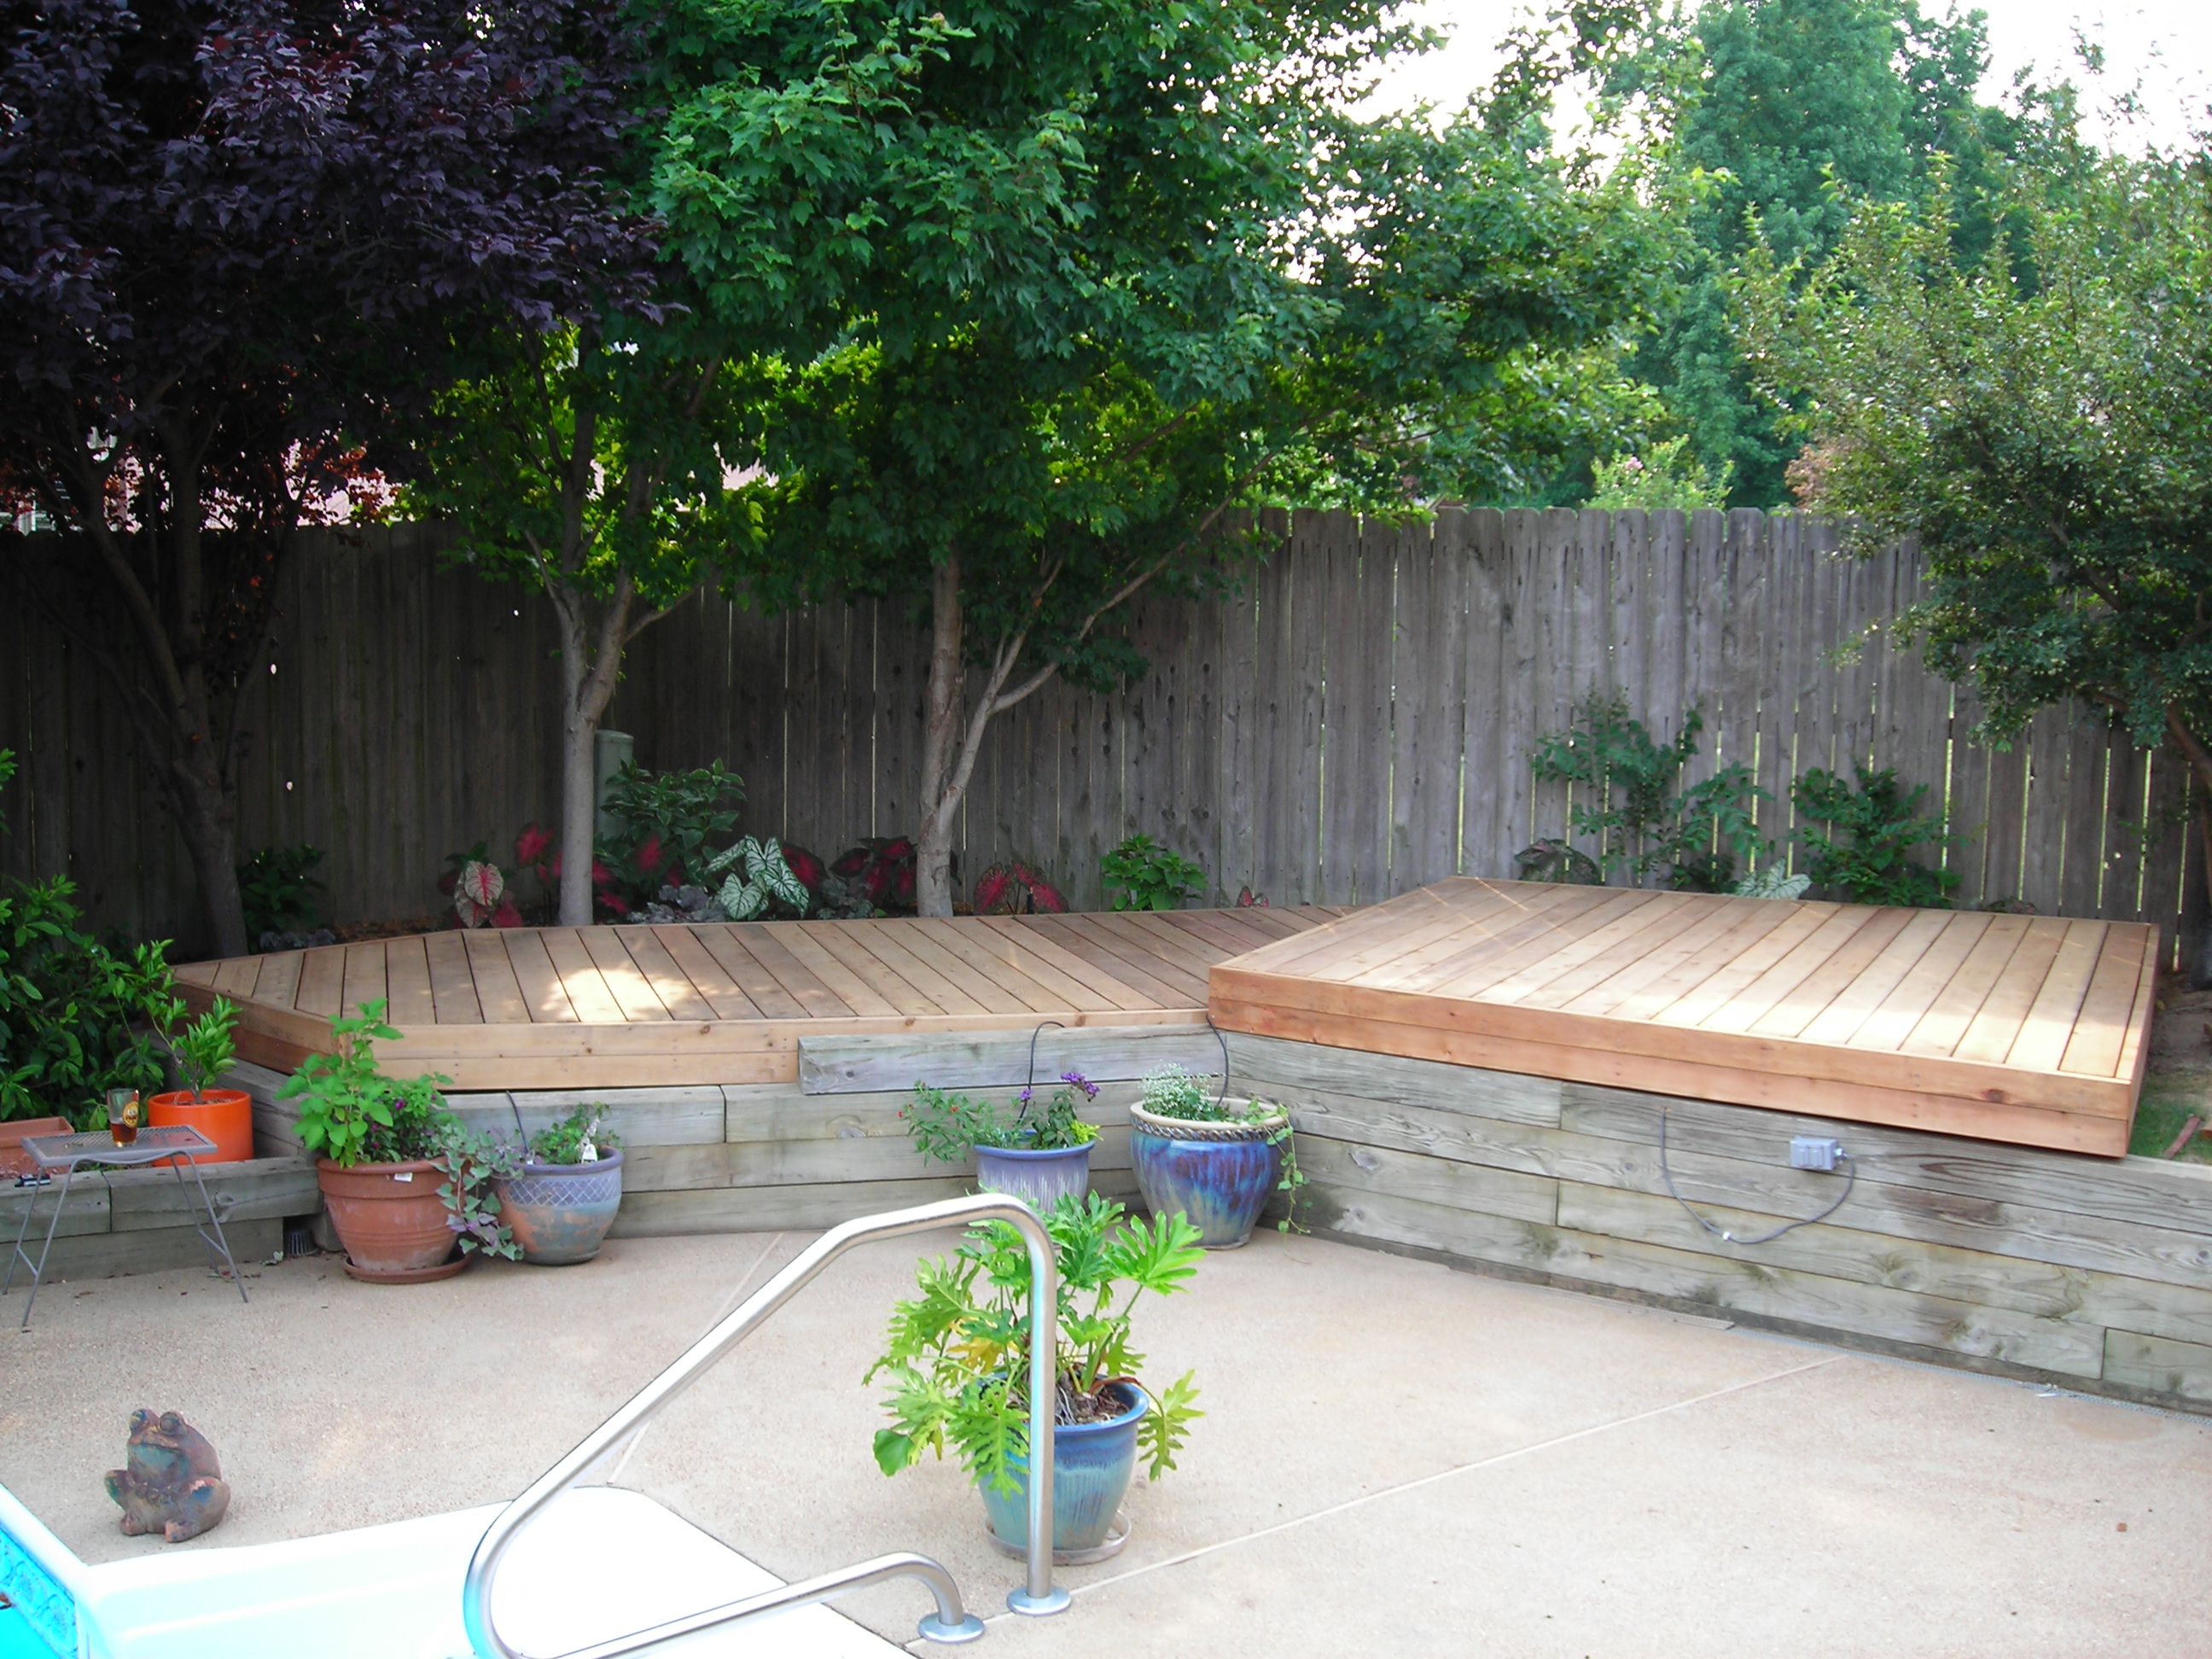
Pressure washing the rest of the seven-year-old retaining wall blended the new with the old.
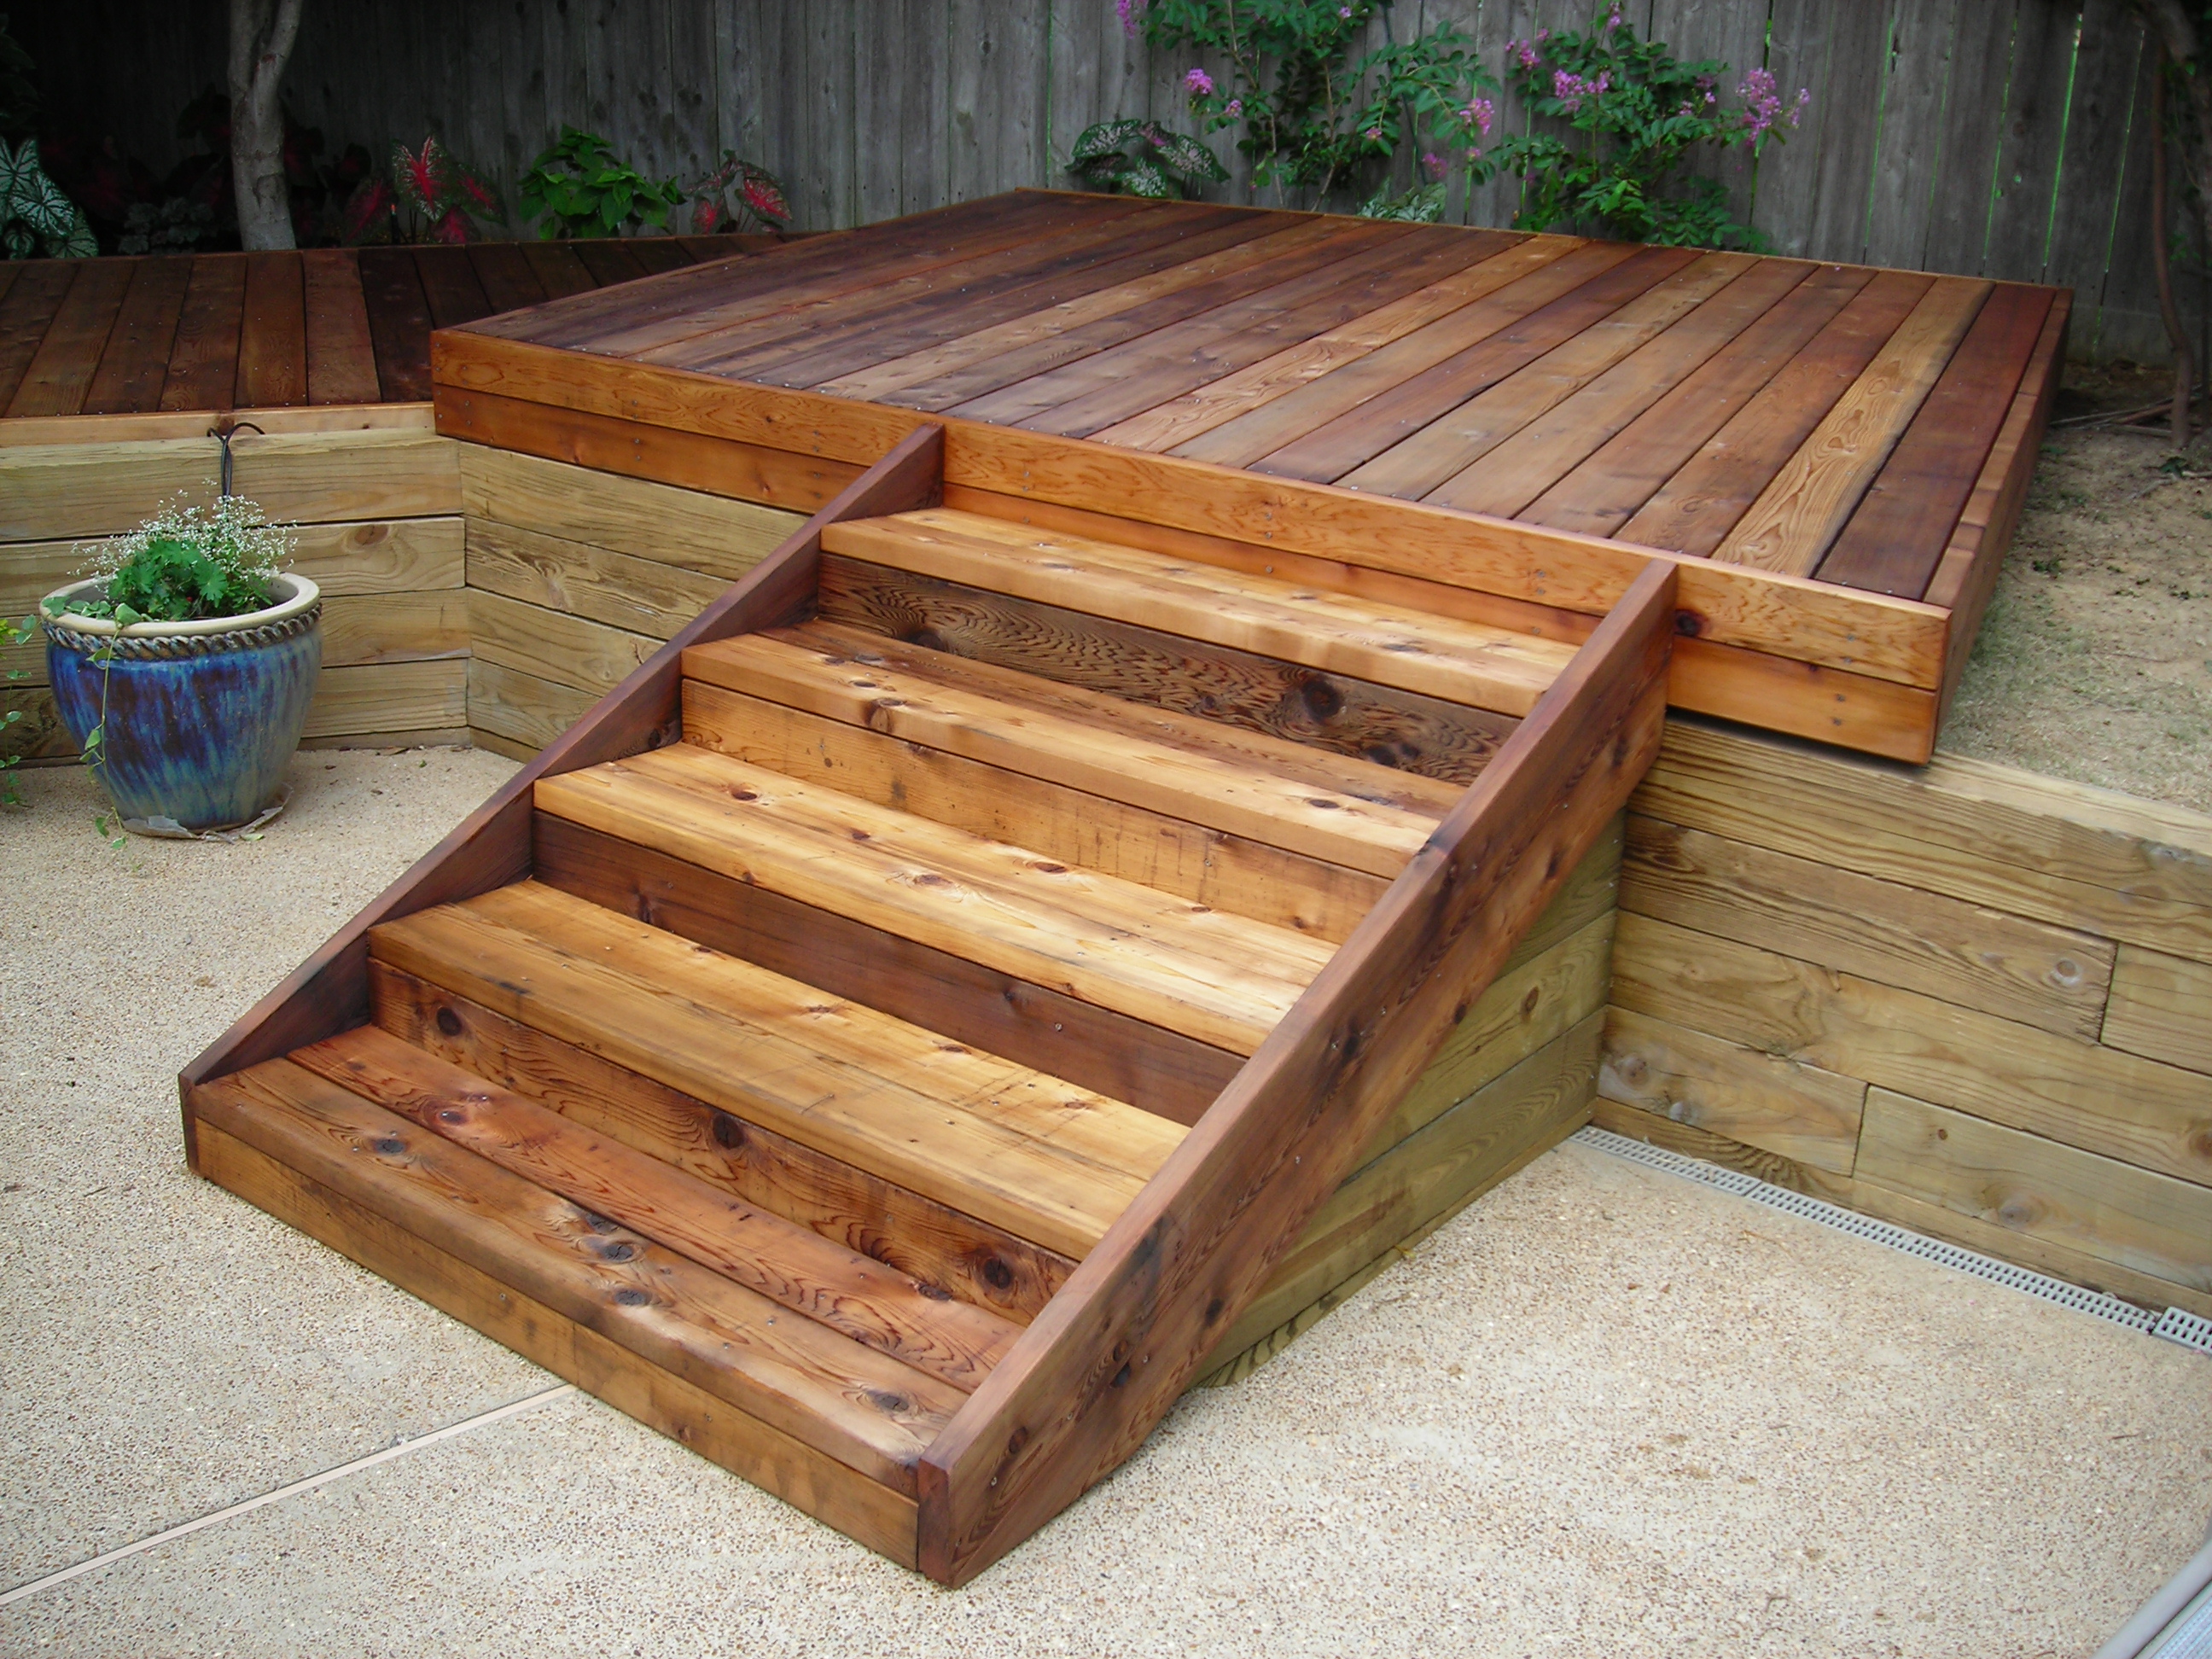
The final decision was how to treat the red cedar. We explored a number of different options but in the end went with applying an oil finish that would accentuate the natural red tone of the western cedar.
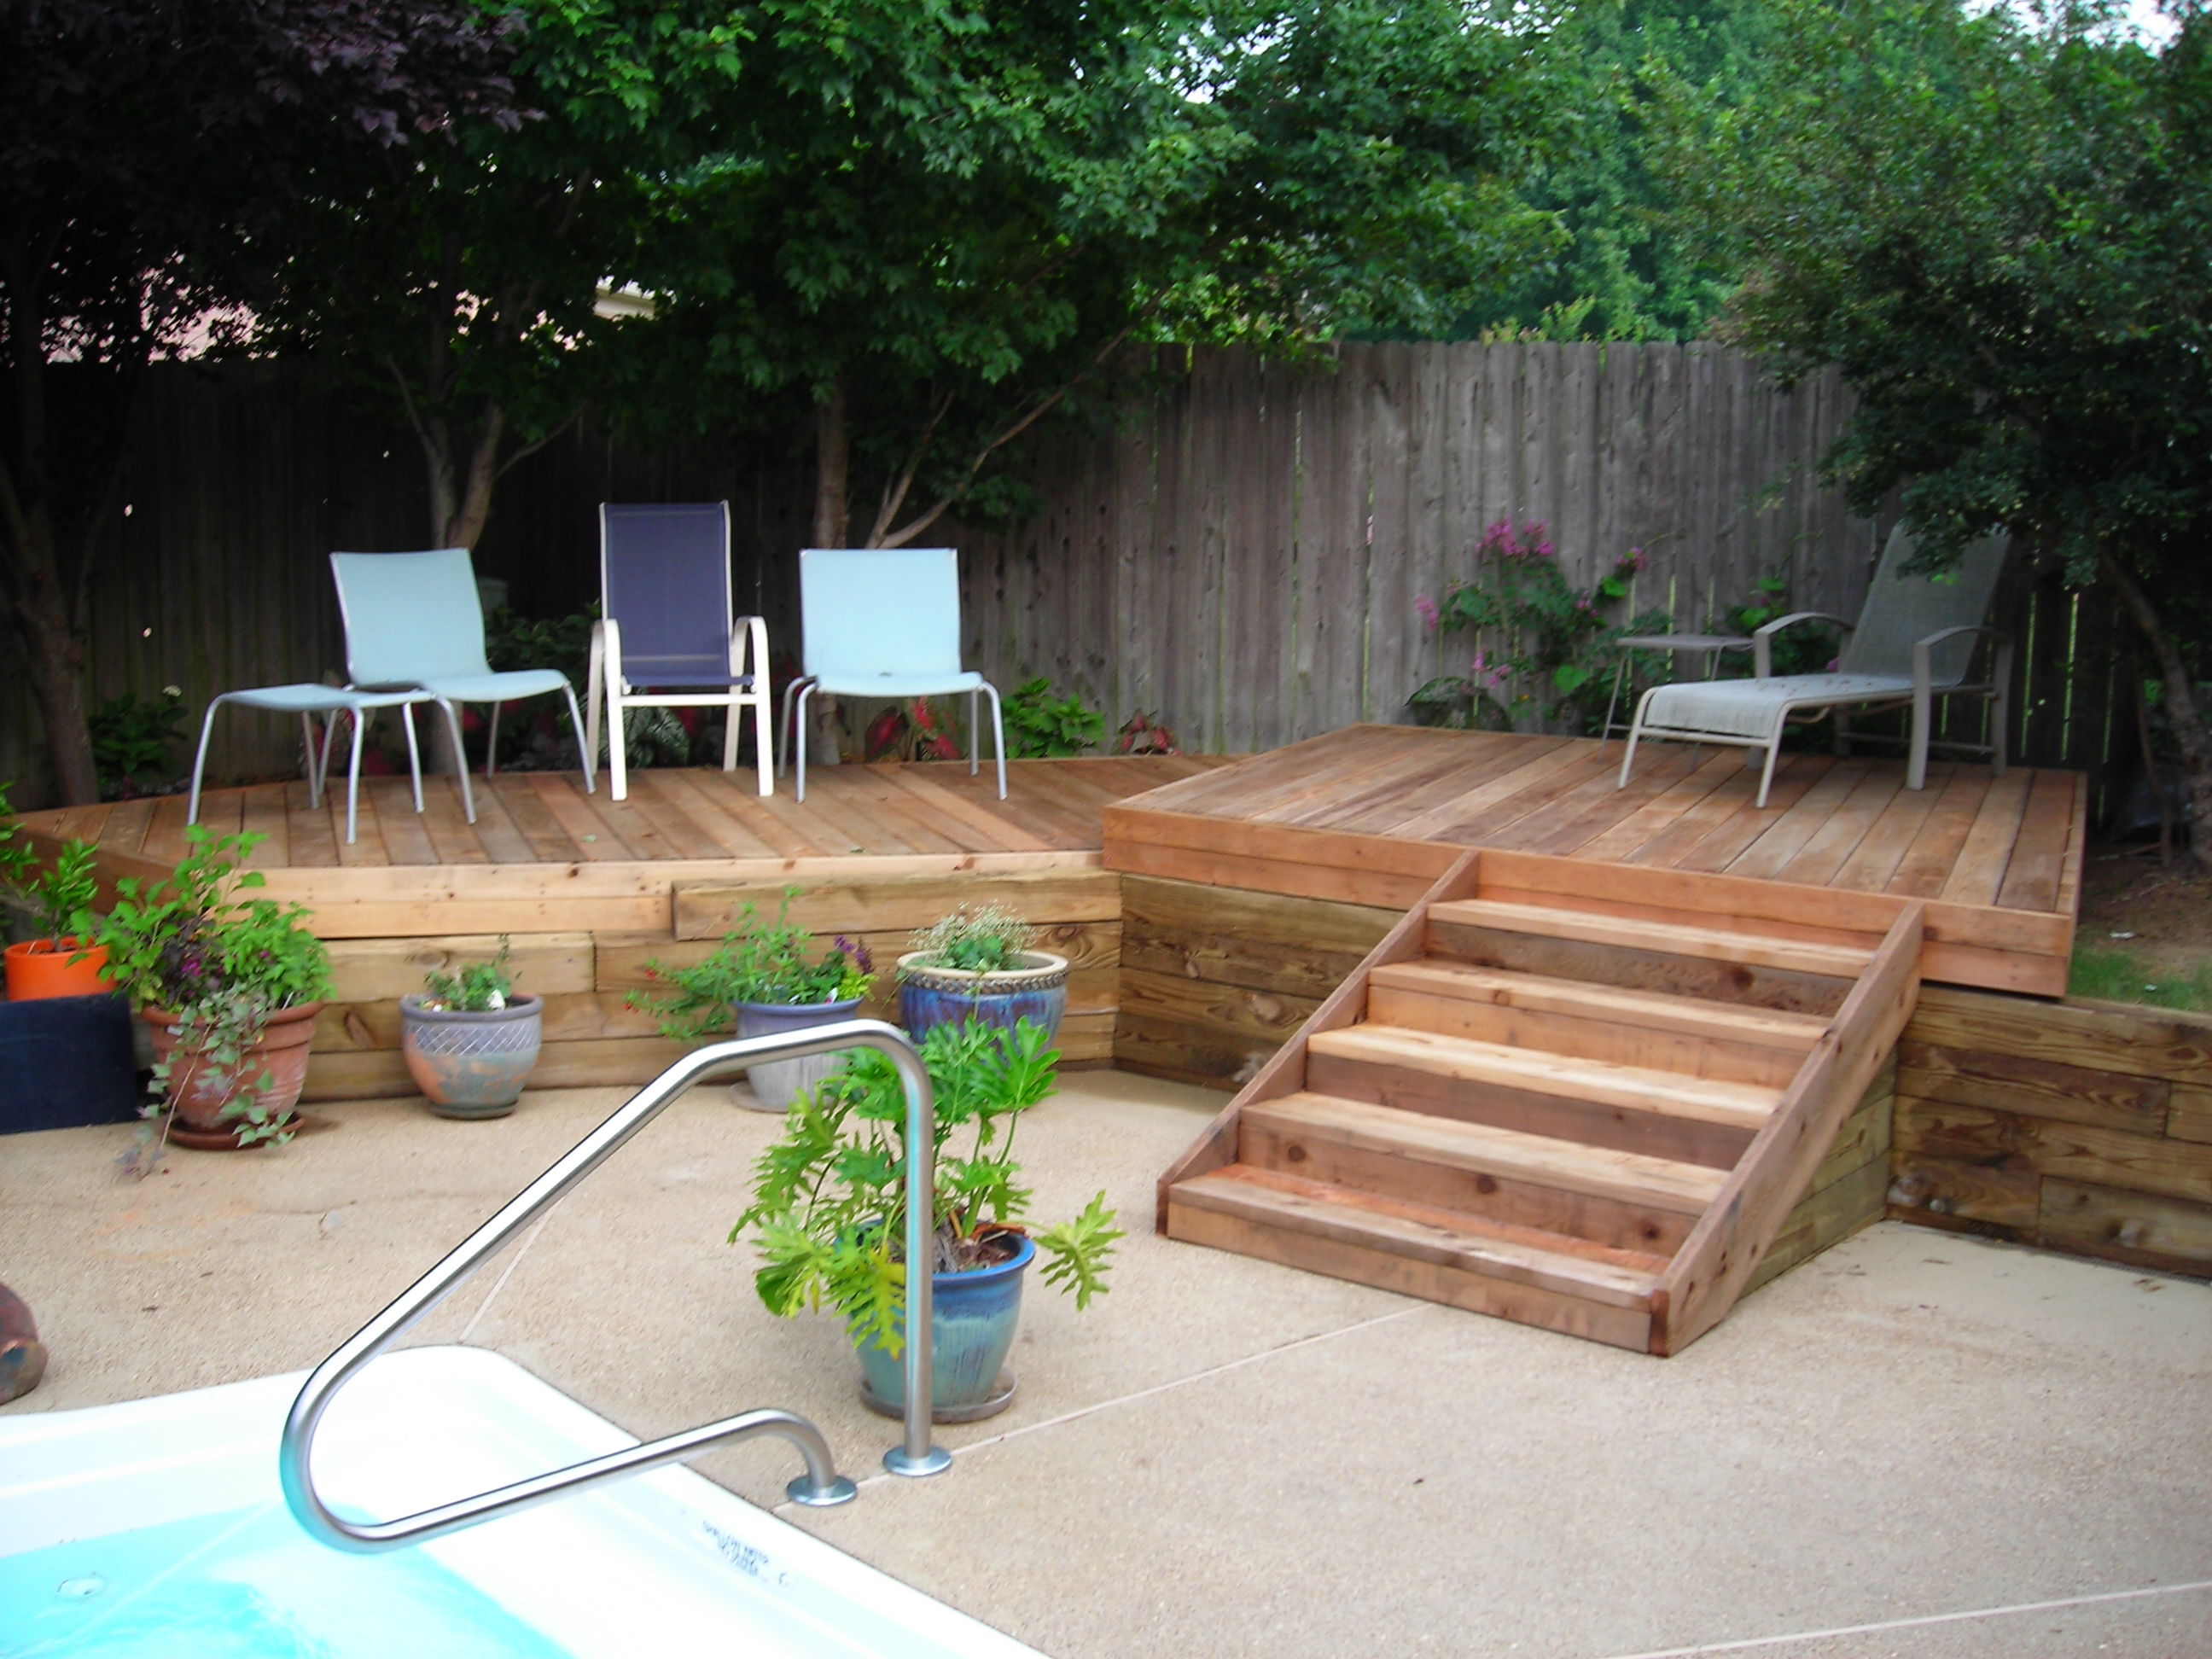
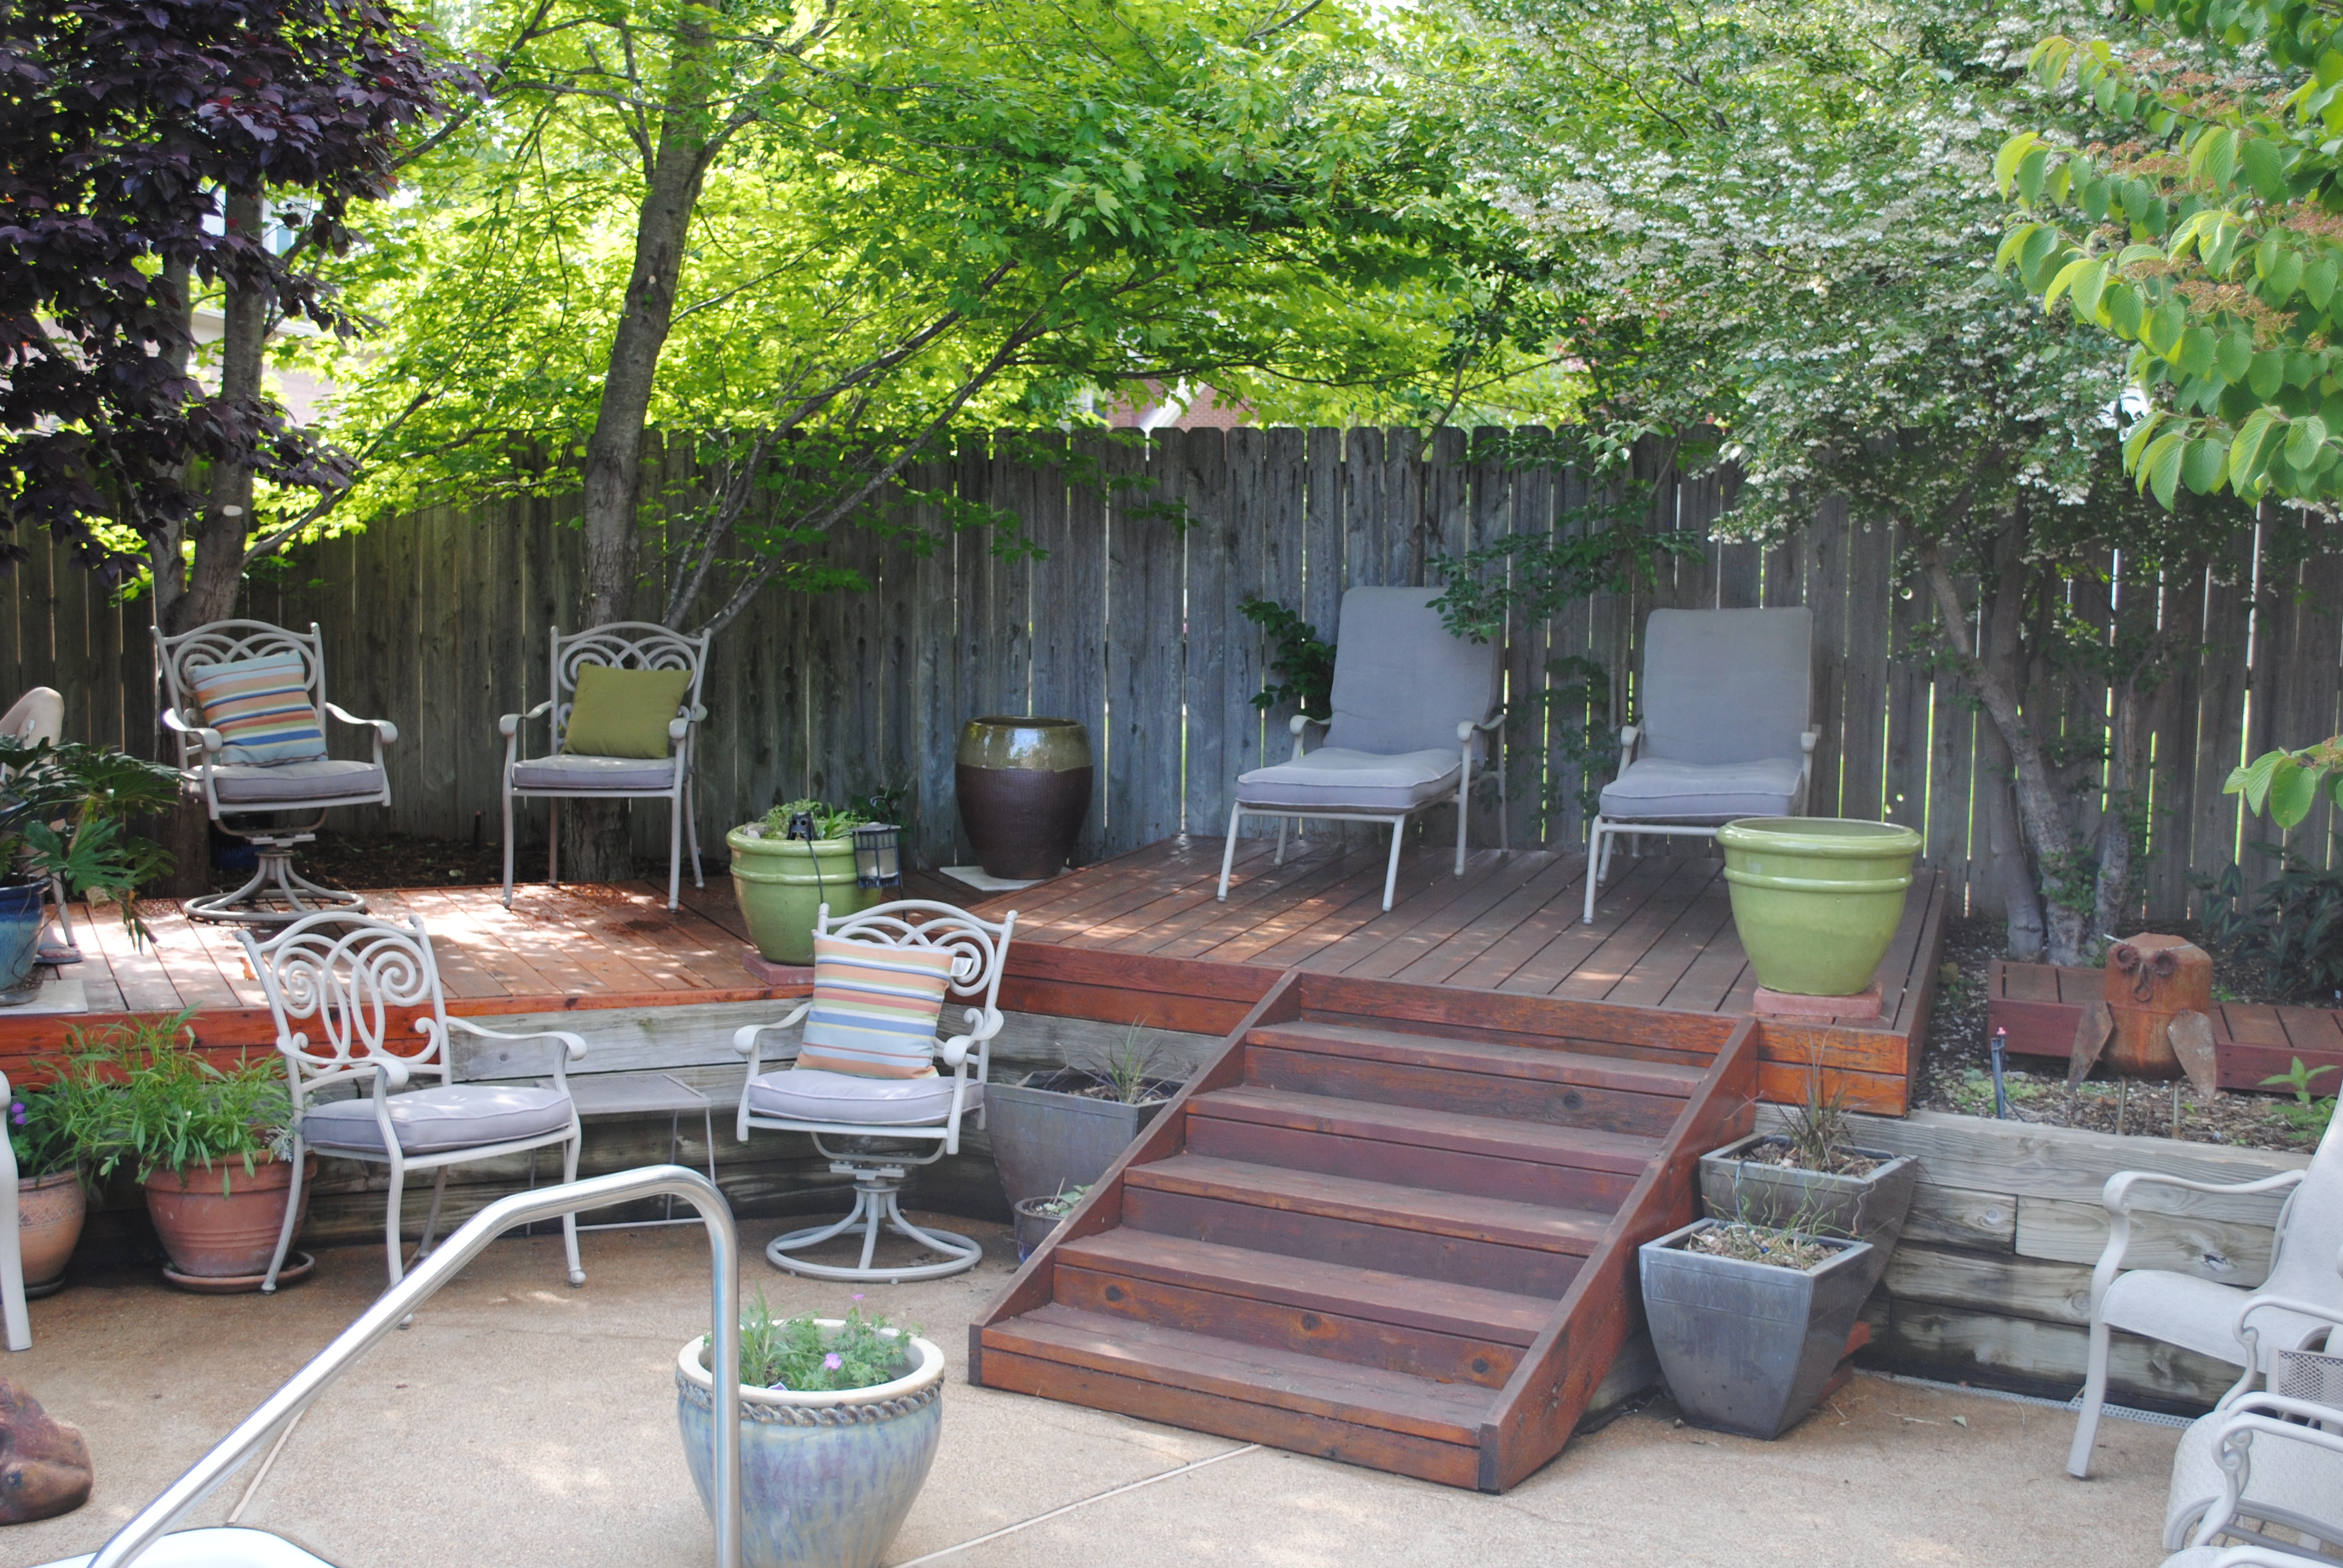
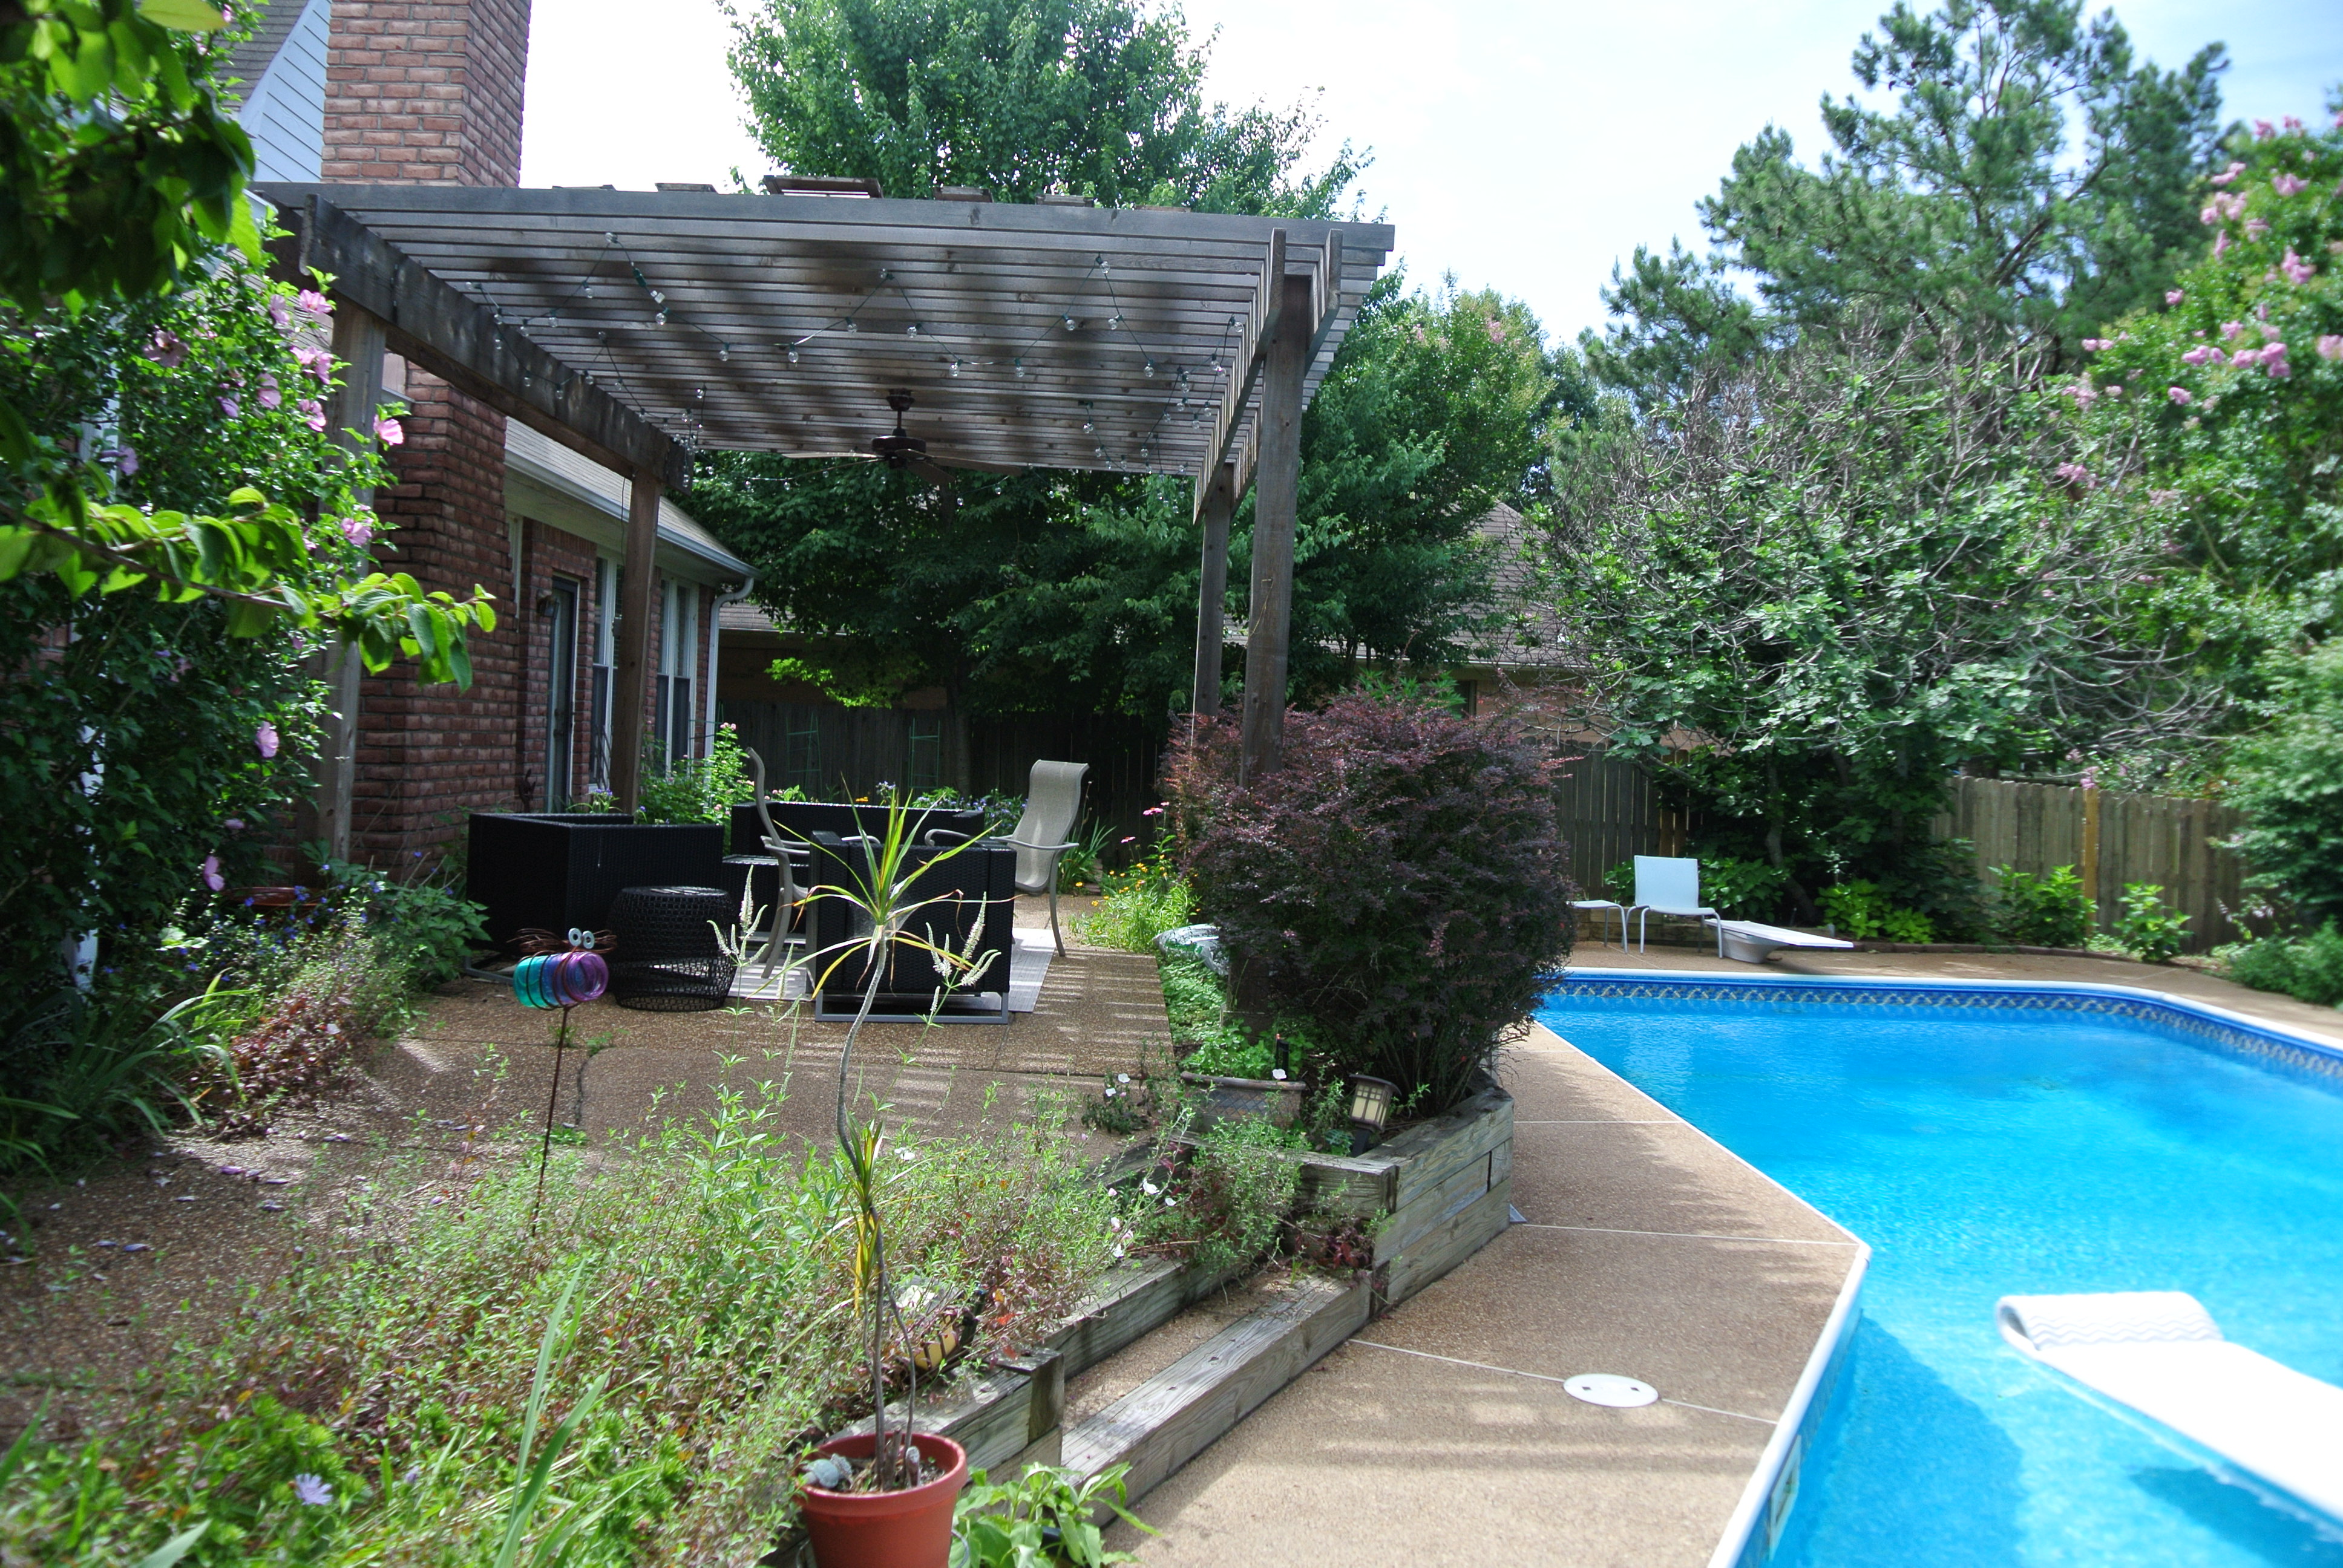
Now we were ready to add the furniture.

While we started this project in the cool days of May, it wasn’t finished until after the 4th of July and since almost all of the work was done over weekends, we had to endure the progressively hotter Memphis days. Over the course of the project, I lost about five pounds—not that I would recommend this as a weight loss program for anyone—but in spite of the heat, I must say it was the most fun project I had ever undertaken. It allowed me to work with my own hands using all of my power tools (and some new ones as well) to build a useful structure, one of the pastime pleasures I enjoy most. And unlike some of the projects I had undertaken in the past (club house, railroad layout), it didn’t languish for years in an incomplete state.
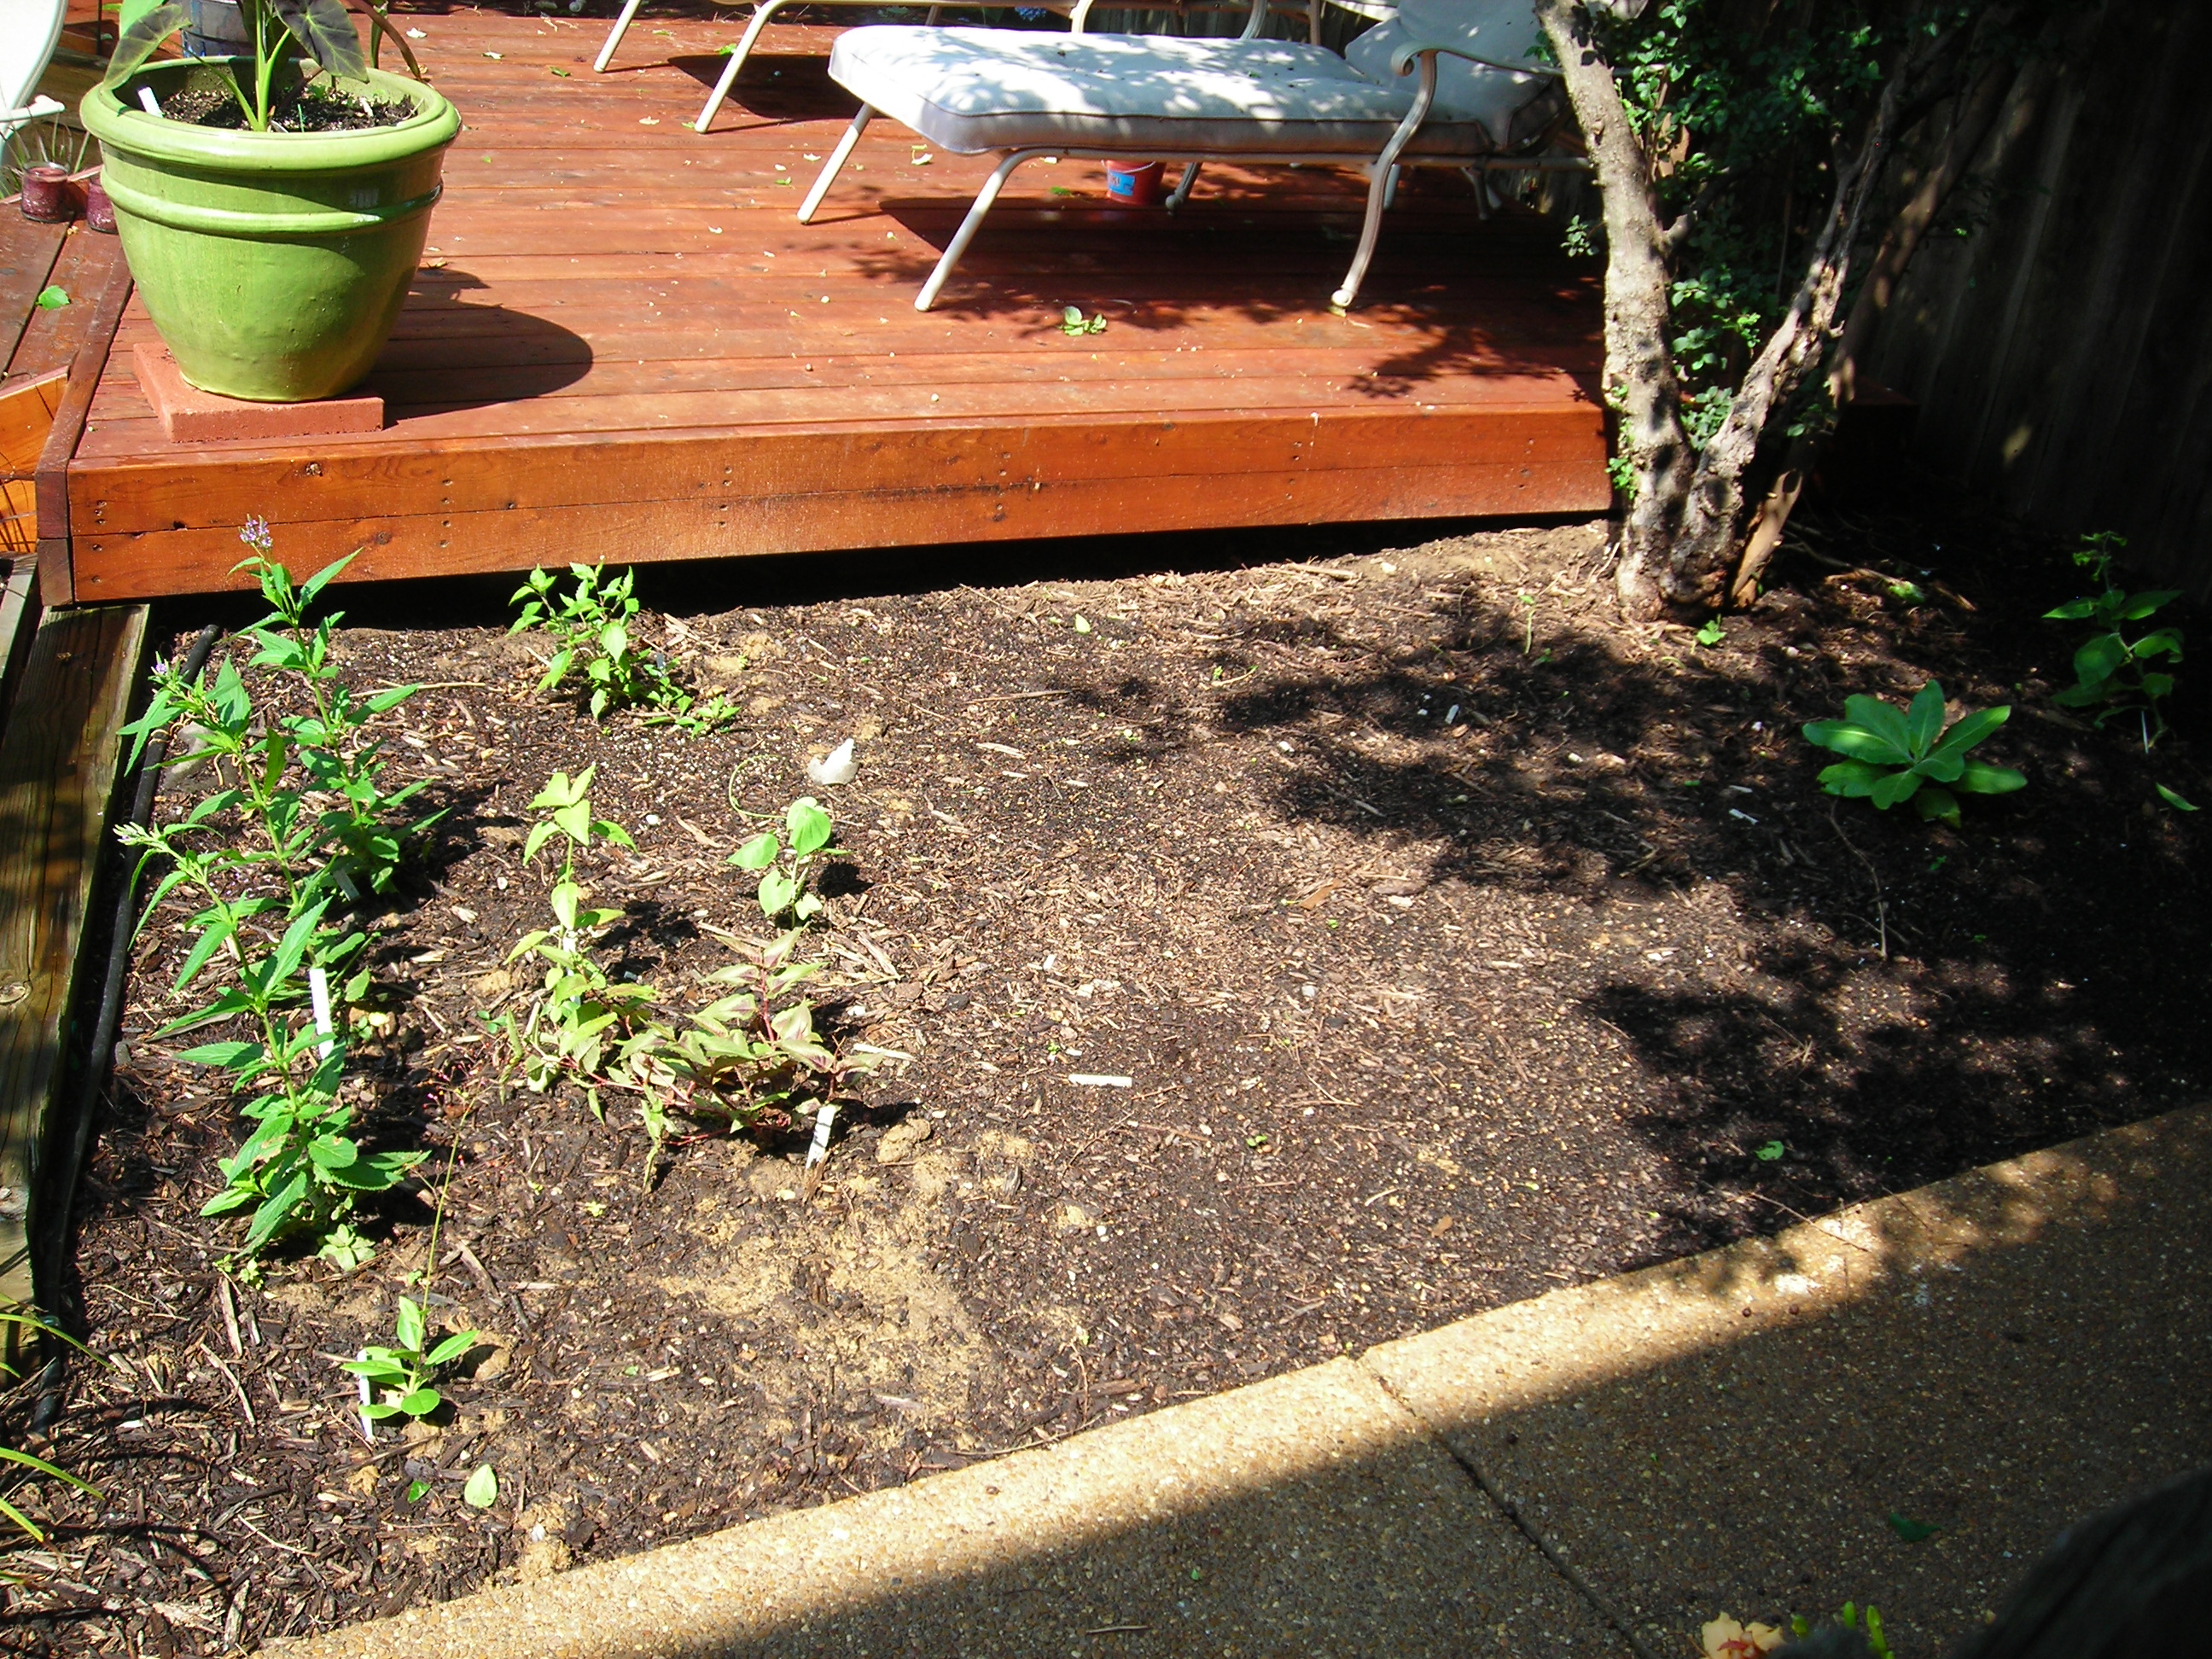
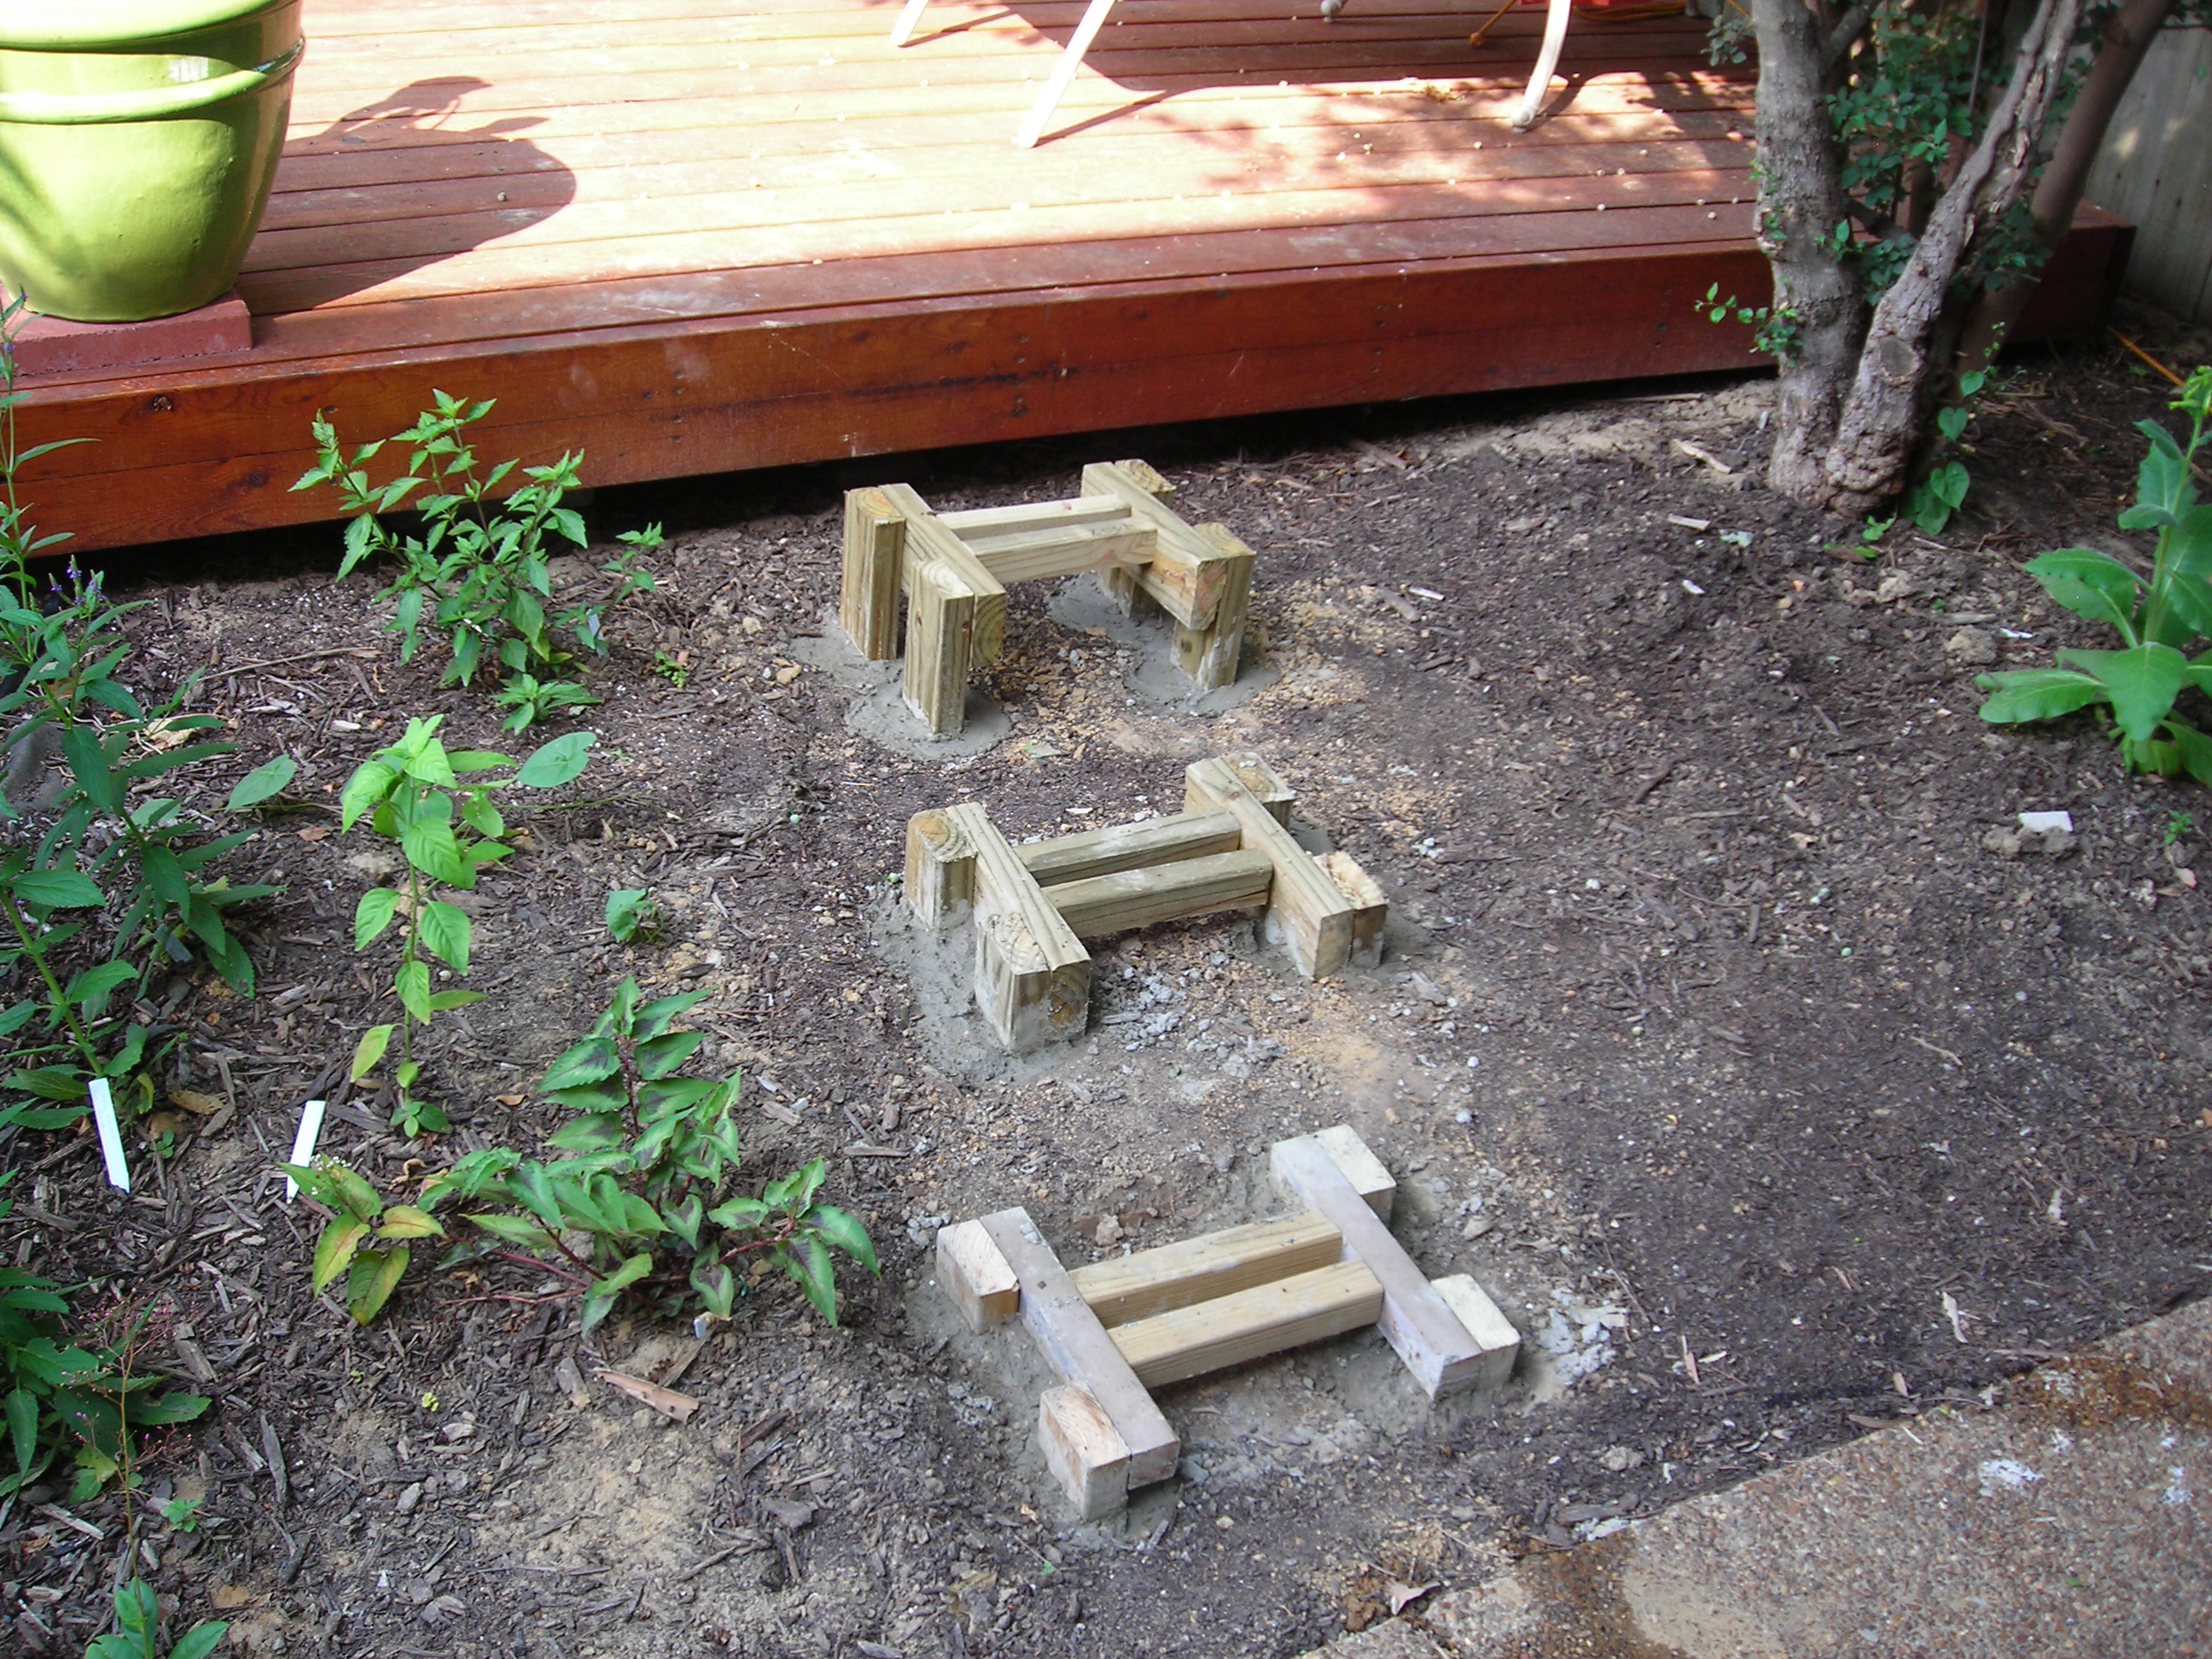
Two years later, I added the side steps to provide another access point to the deck. I wanted to keep with the same design as the deck with the sides of the steps running parallel to the side of the deck.
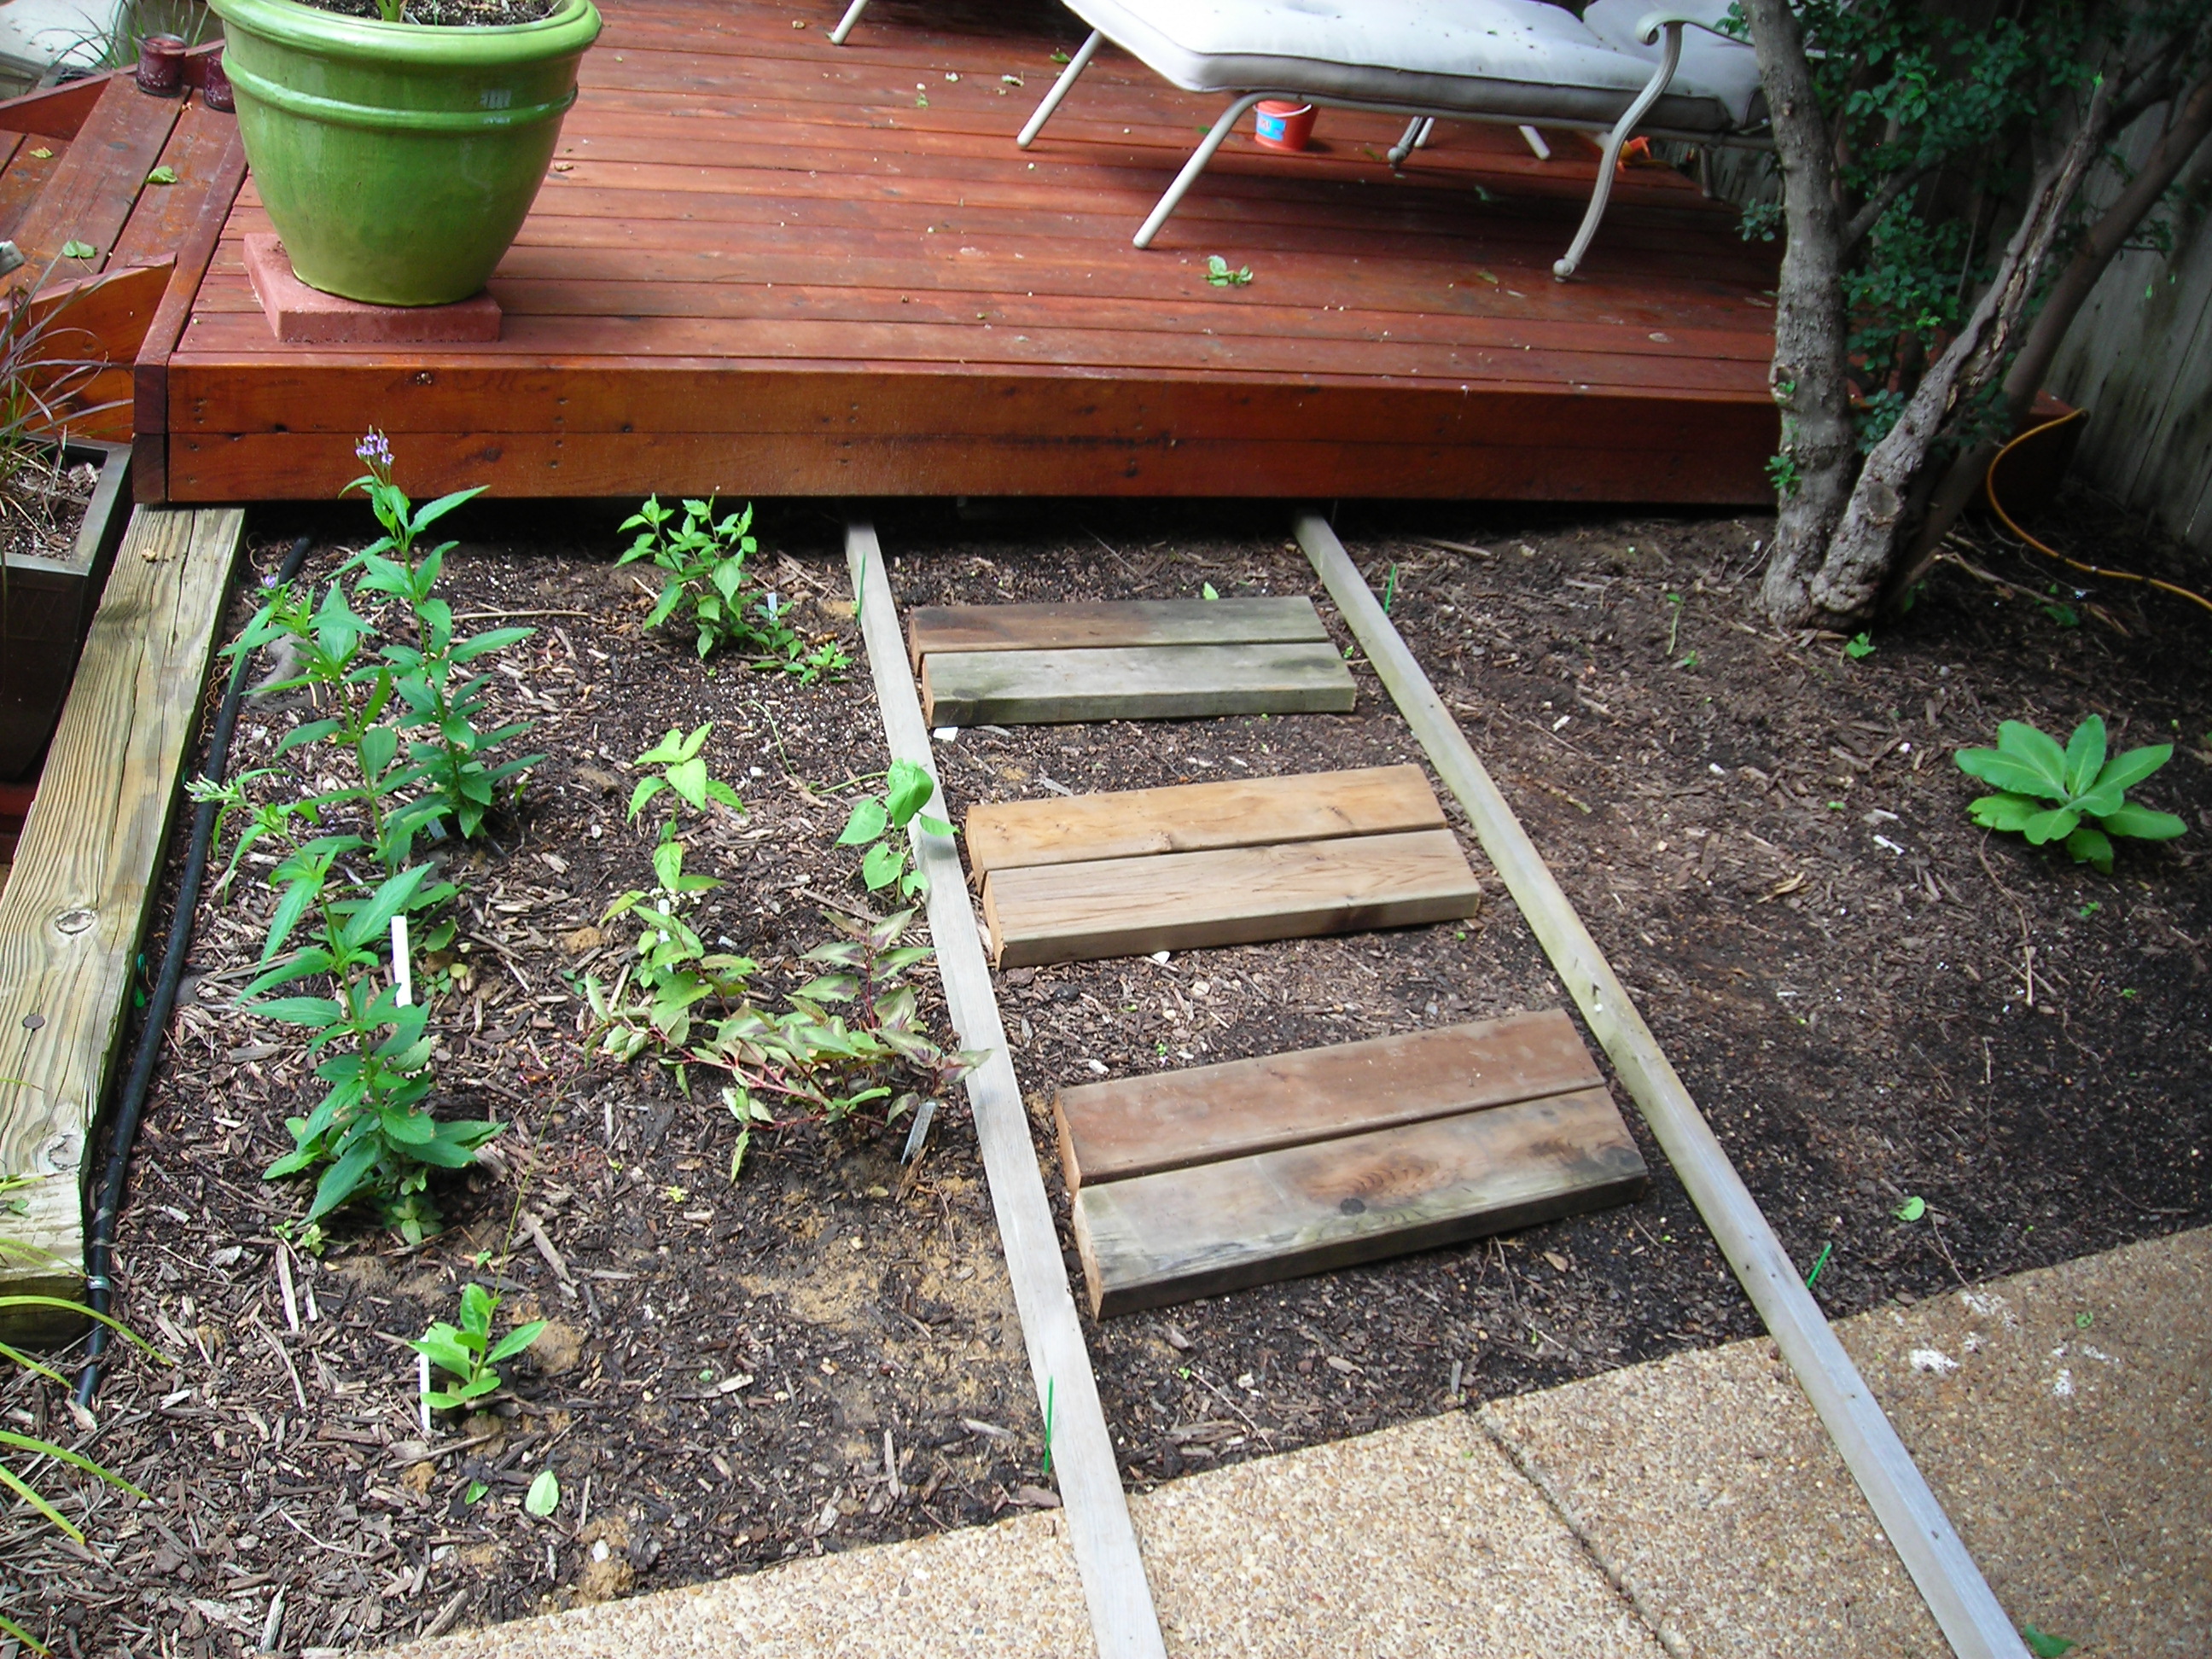
Since I had very little height to progress from the concrete walkway to the upper deck, each step graded a soft transition from the previous step.
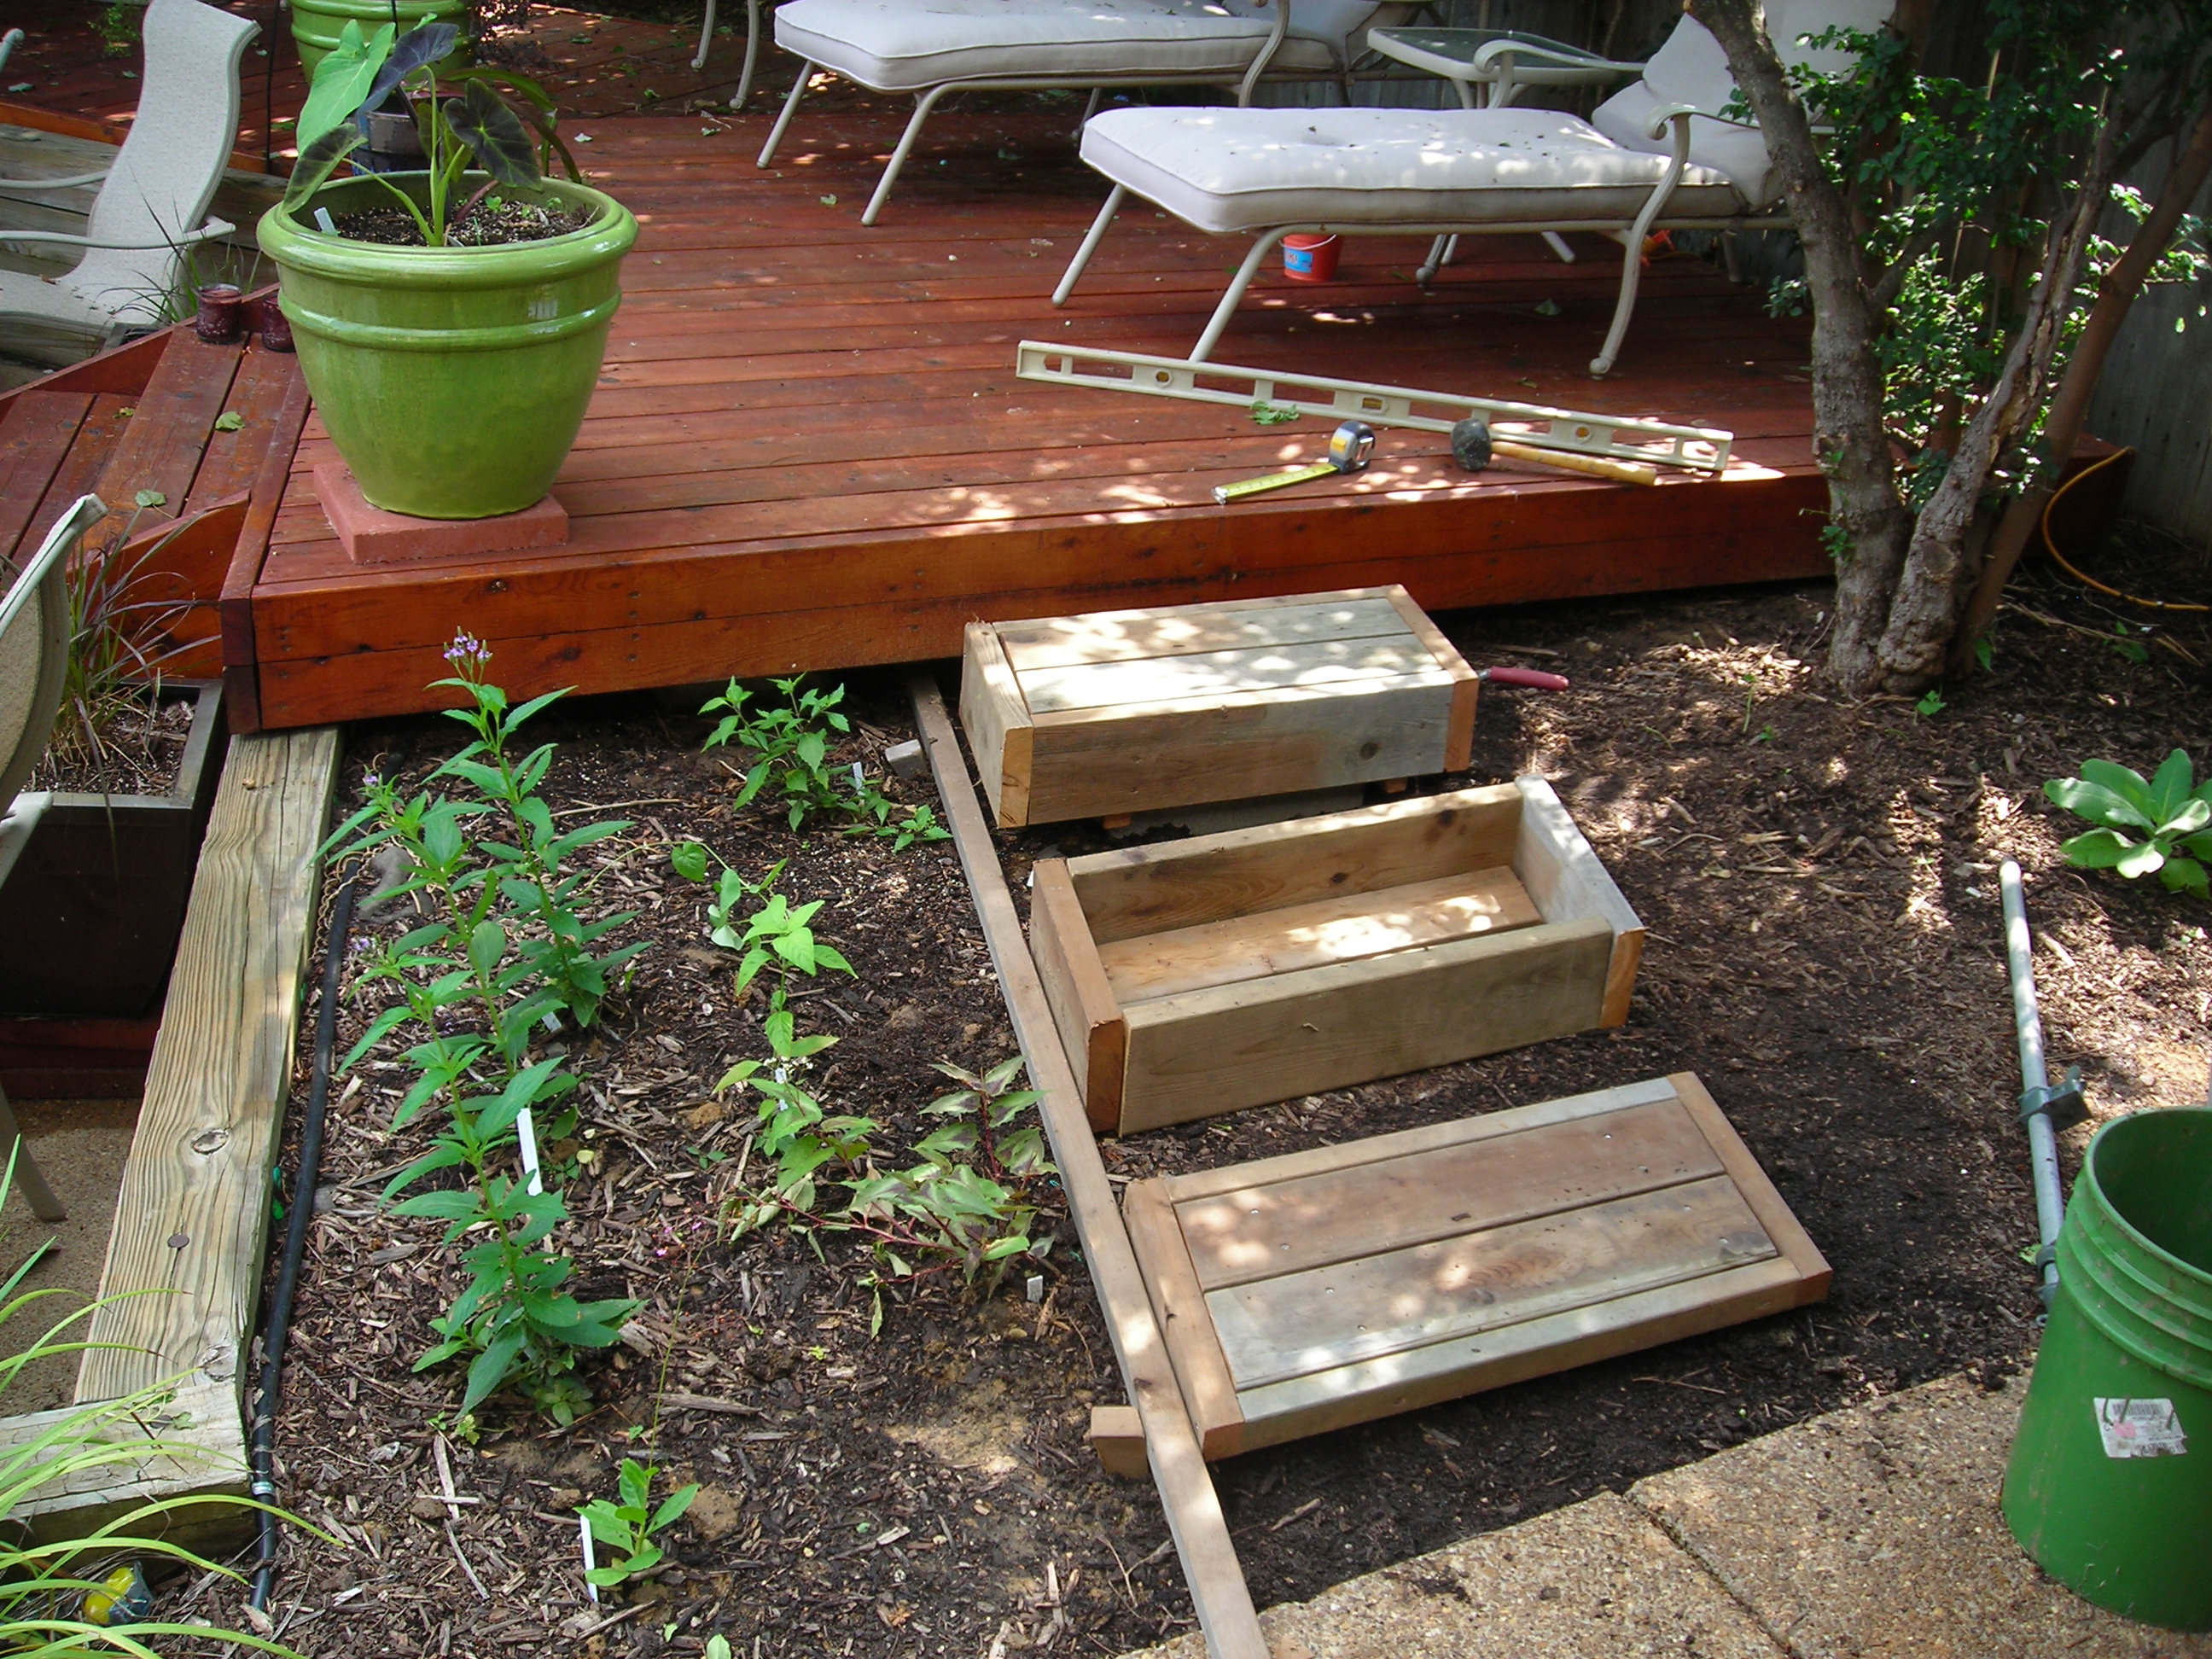
Since the space for the steps was away from the trees, I was able to dig holes for the step supports and set them in concrete
The last task was to stain them to match the rest of the deck…
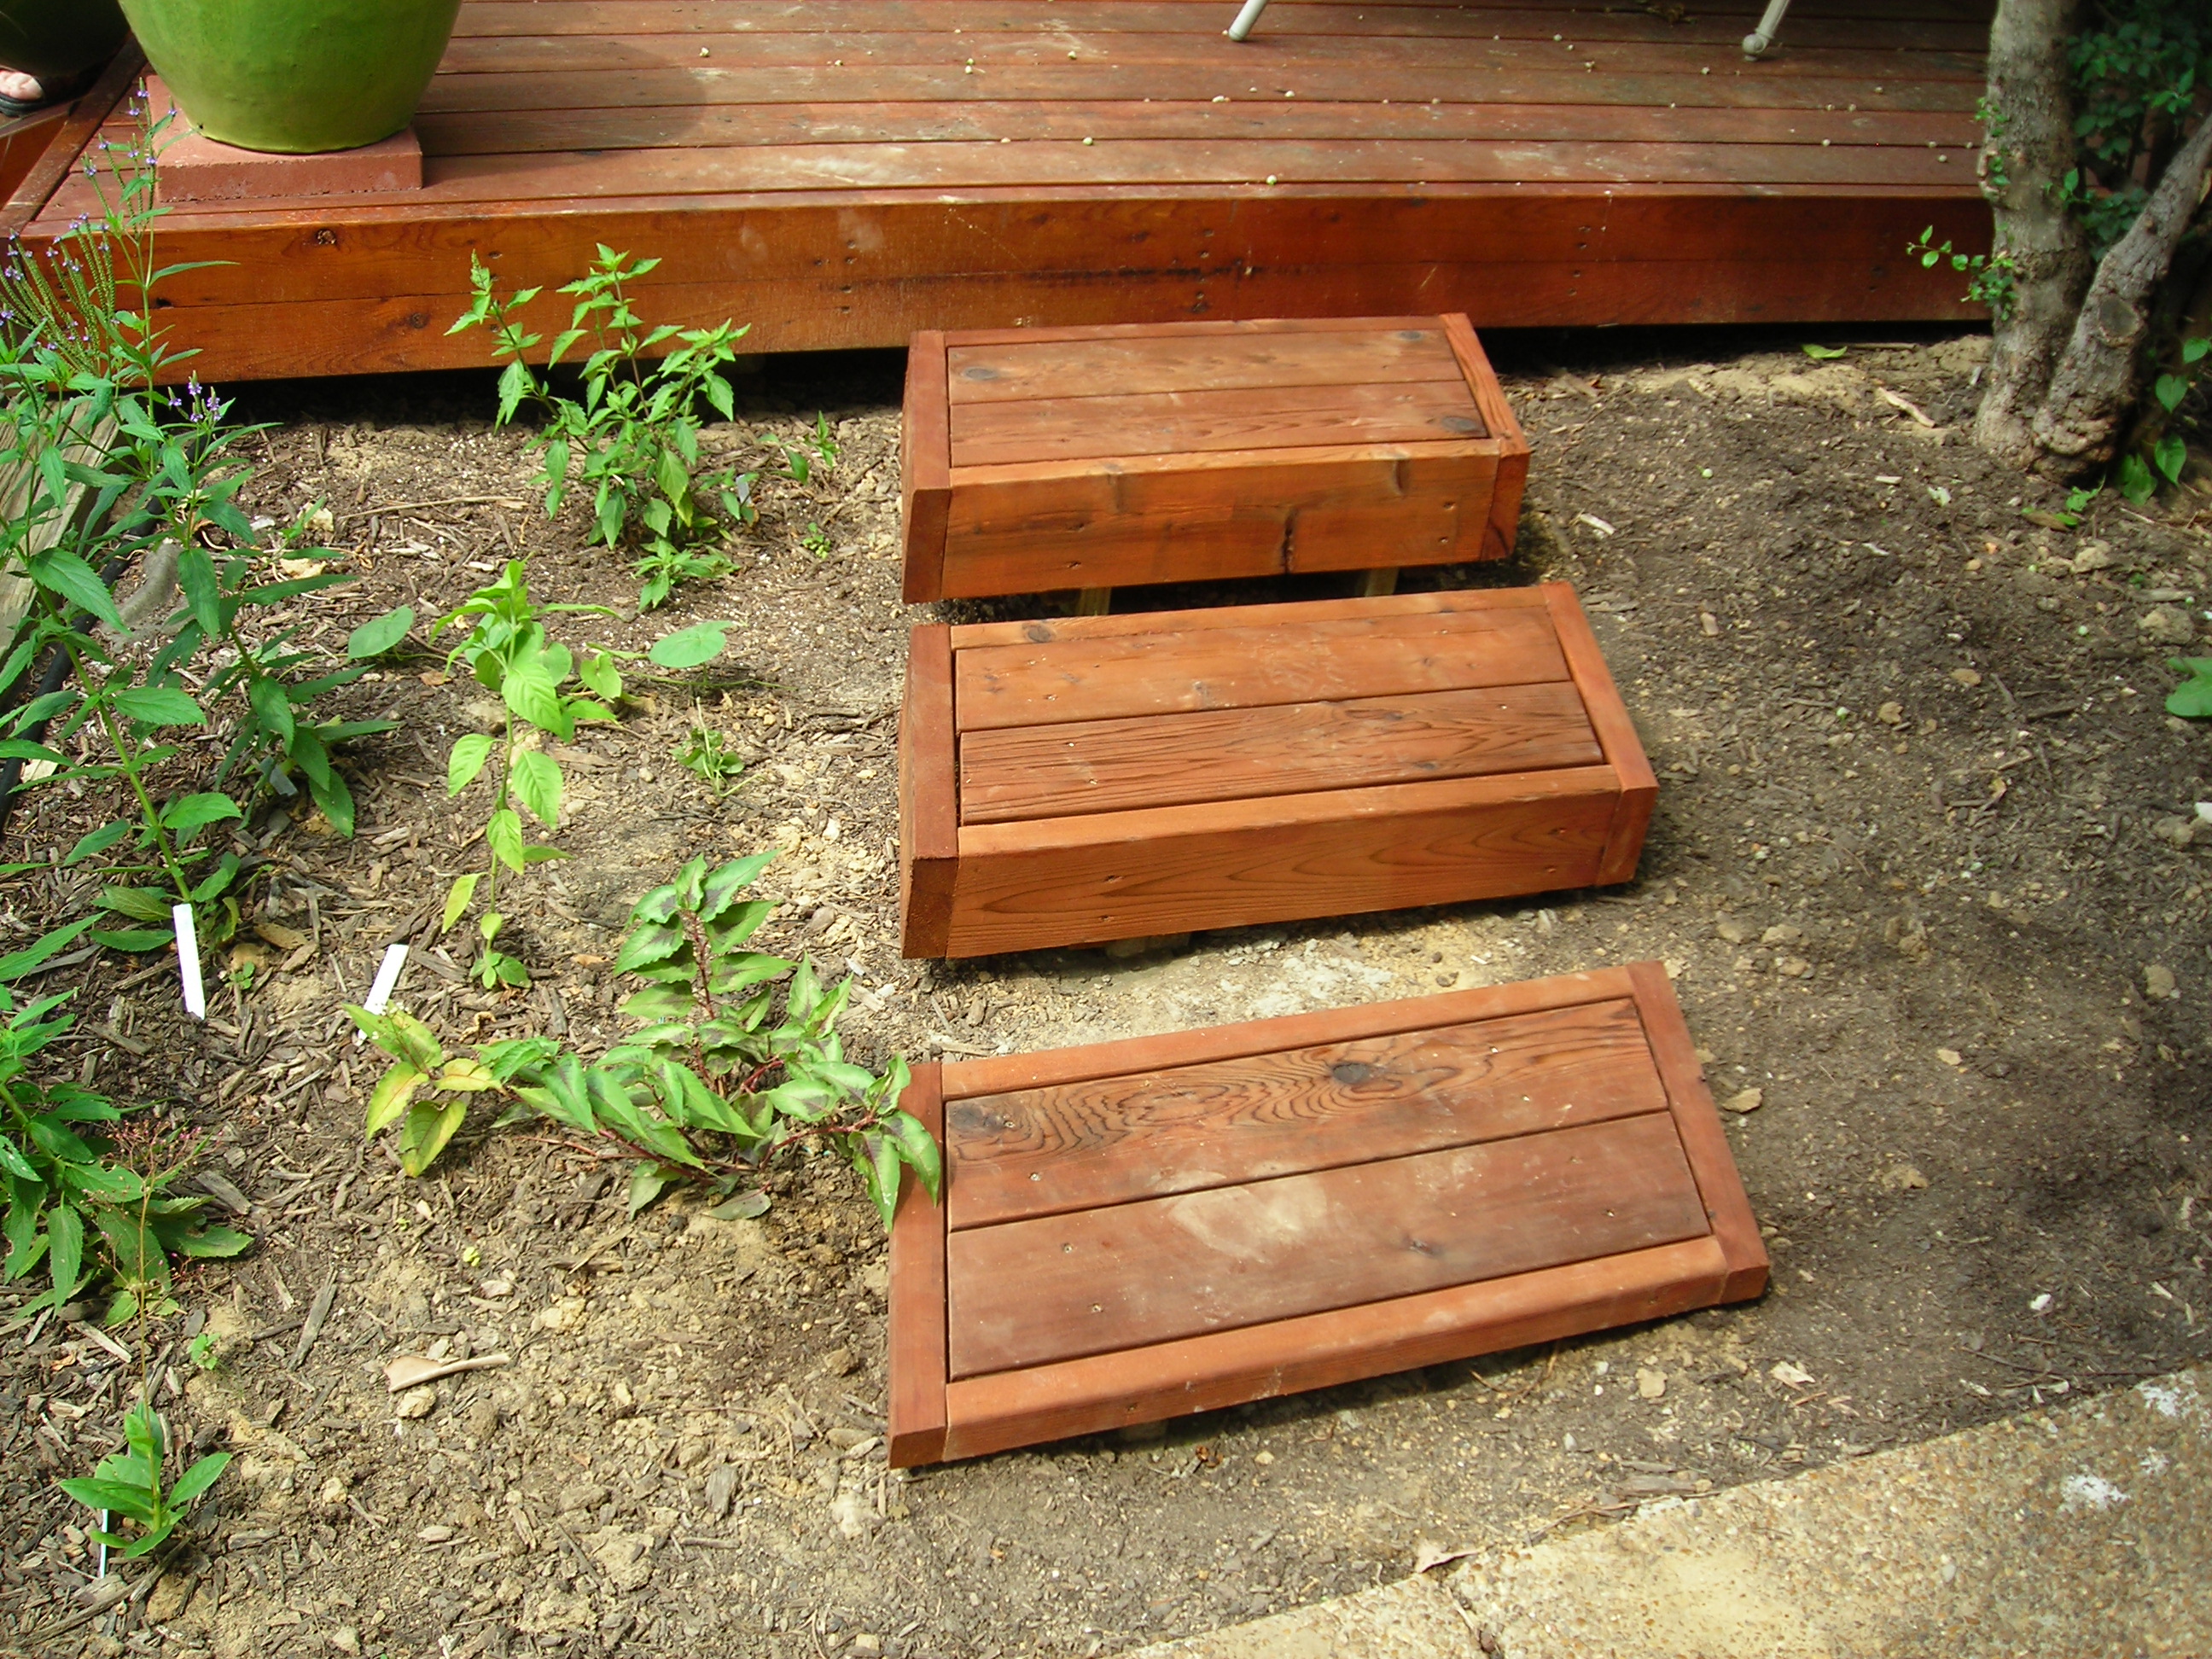
…and then mulch around them.

The deck weathered fairly well over the years providing many days of relaxation by the pool but in 2011, it was due for a facelift as we were having the influx of a large number of family and friends at our home for our daughter’s wedding.
Since the oil stain had not lasted as long as I had hoped, I decided to try another product. And to restore some lost color to the wood; I chose a stain with a tint in it. Unfortunately, the western redwood I purchased turned out to be a lot more red than western cedar. But with the wedding just weeks away, it was too late to change the stain.
And this alternate stain lasted even less time than the first one and so was due for another facelift in less than three years.
This spring, I started with a thorough pressure washing (a must power tool for any man) which removed much of the old colored stain remaining that had not already flaked off over the years.
When I went to my favorite toy store to look for stain, I chose a different brand and one that came in a clear cedar tint.
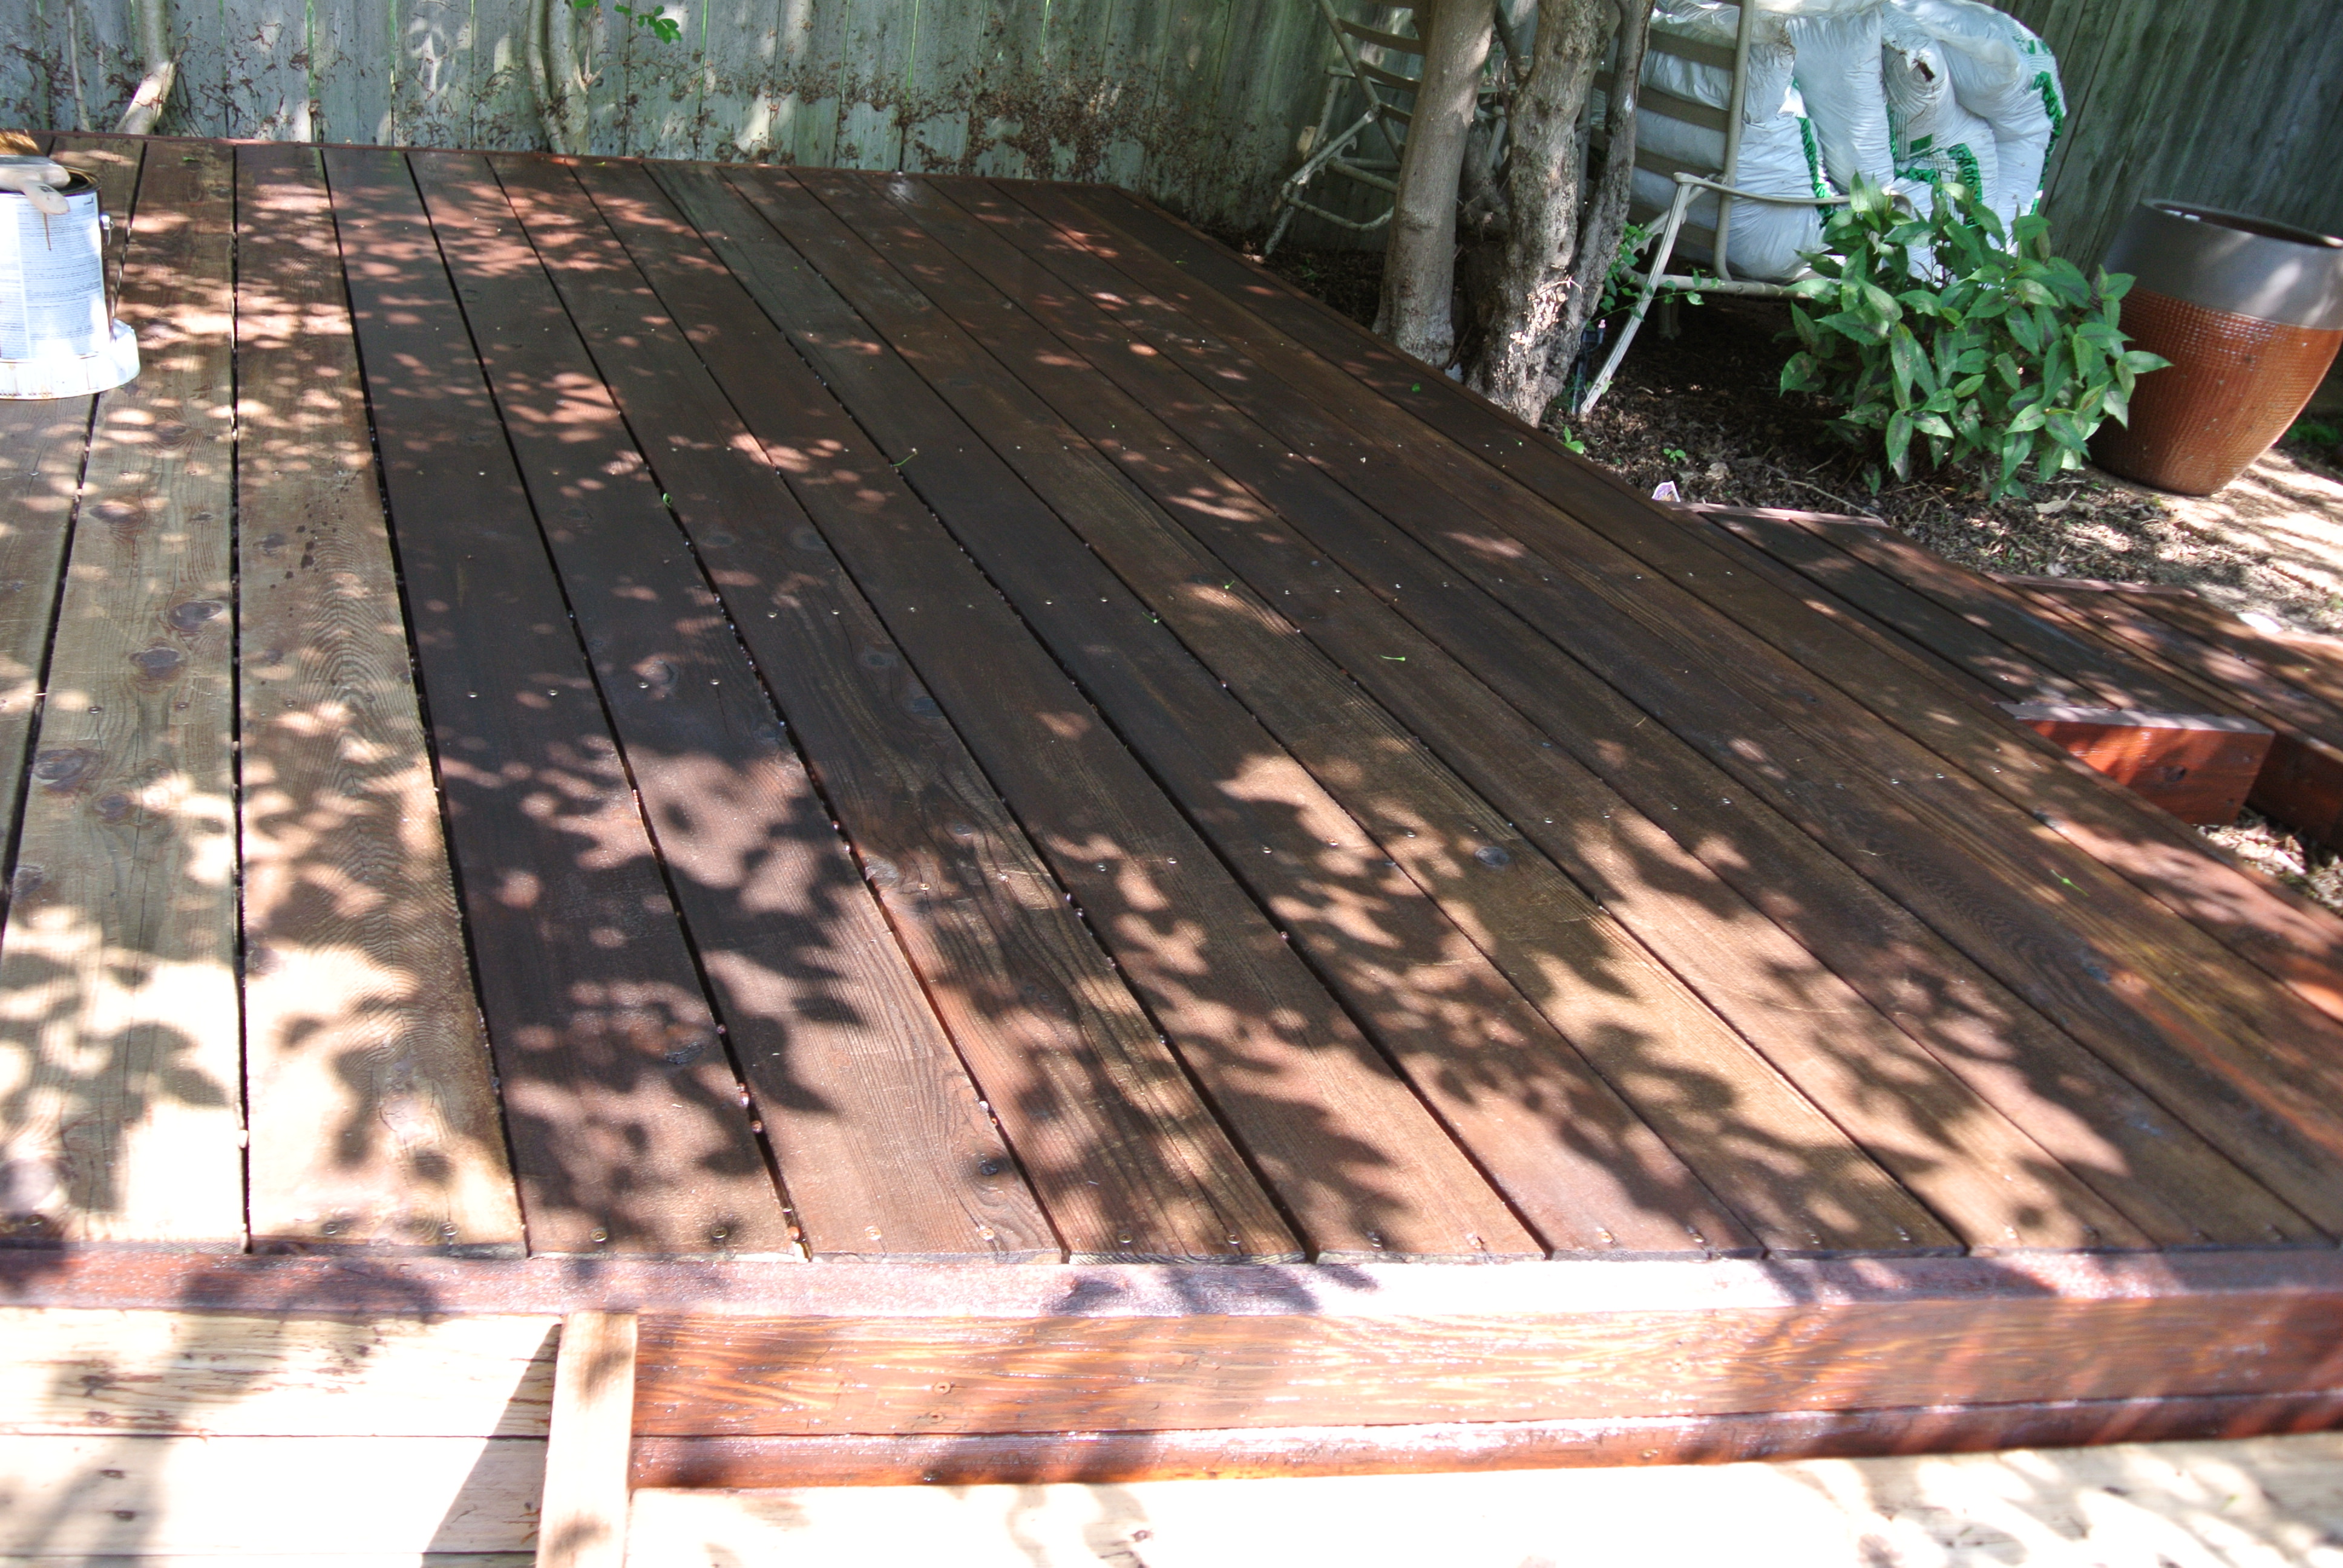
I could tell that I had made a much better choice this time around.
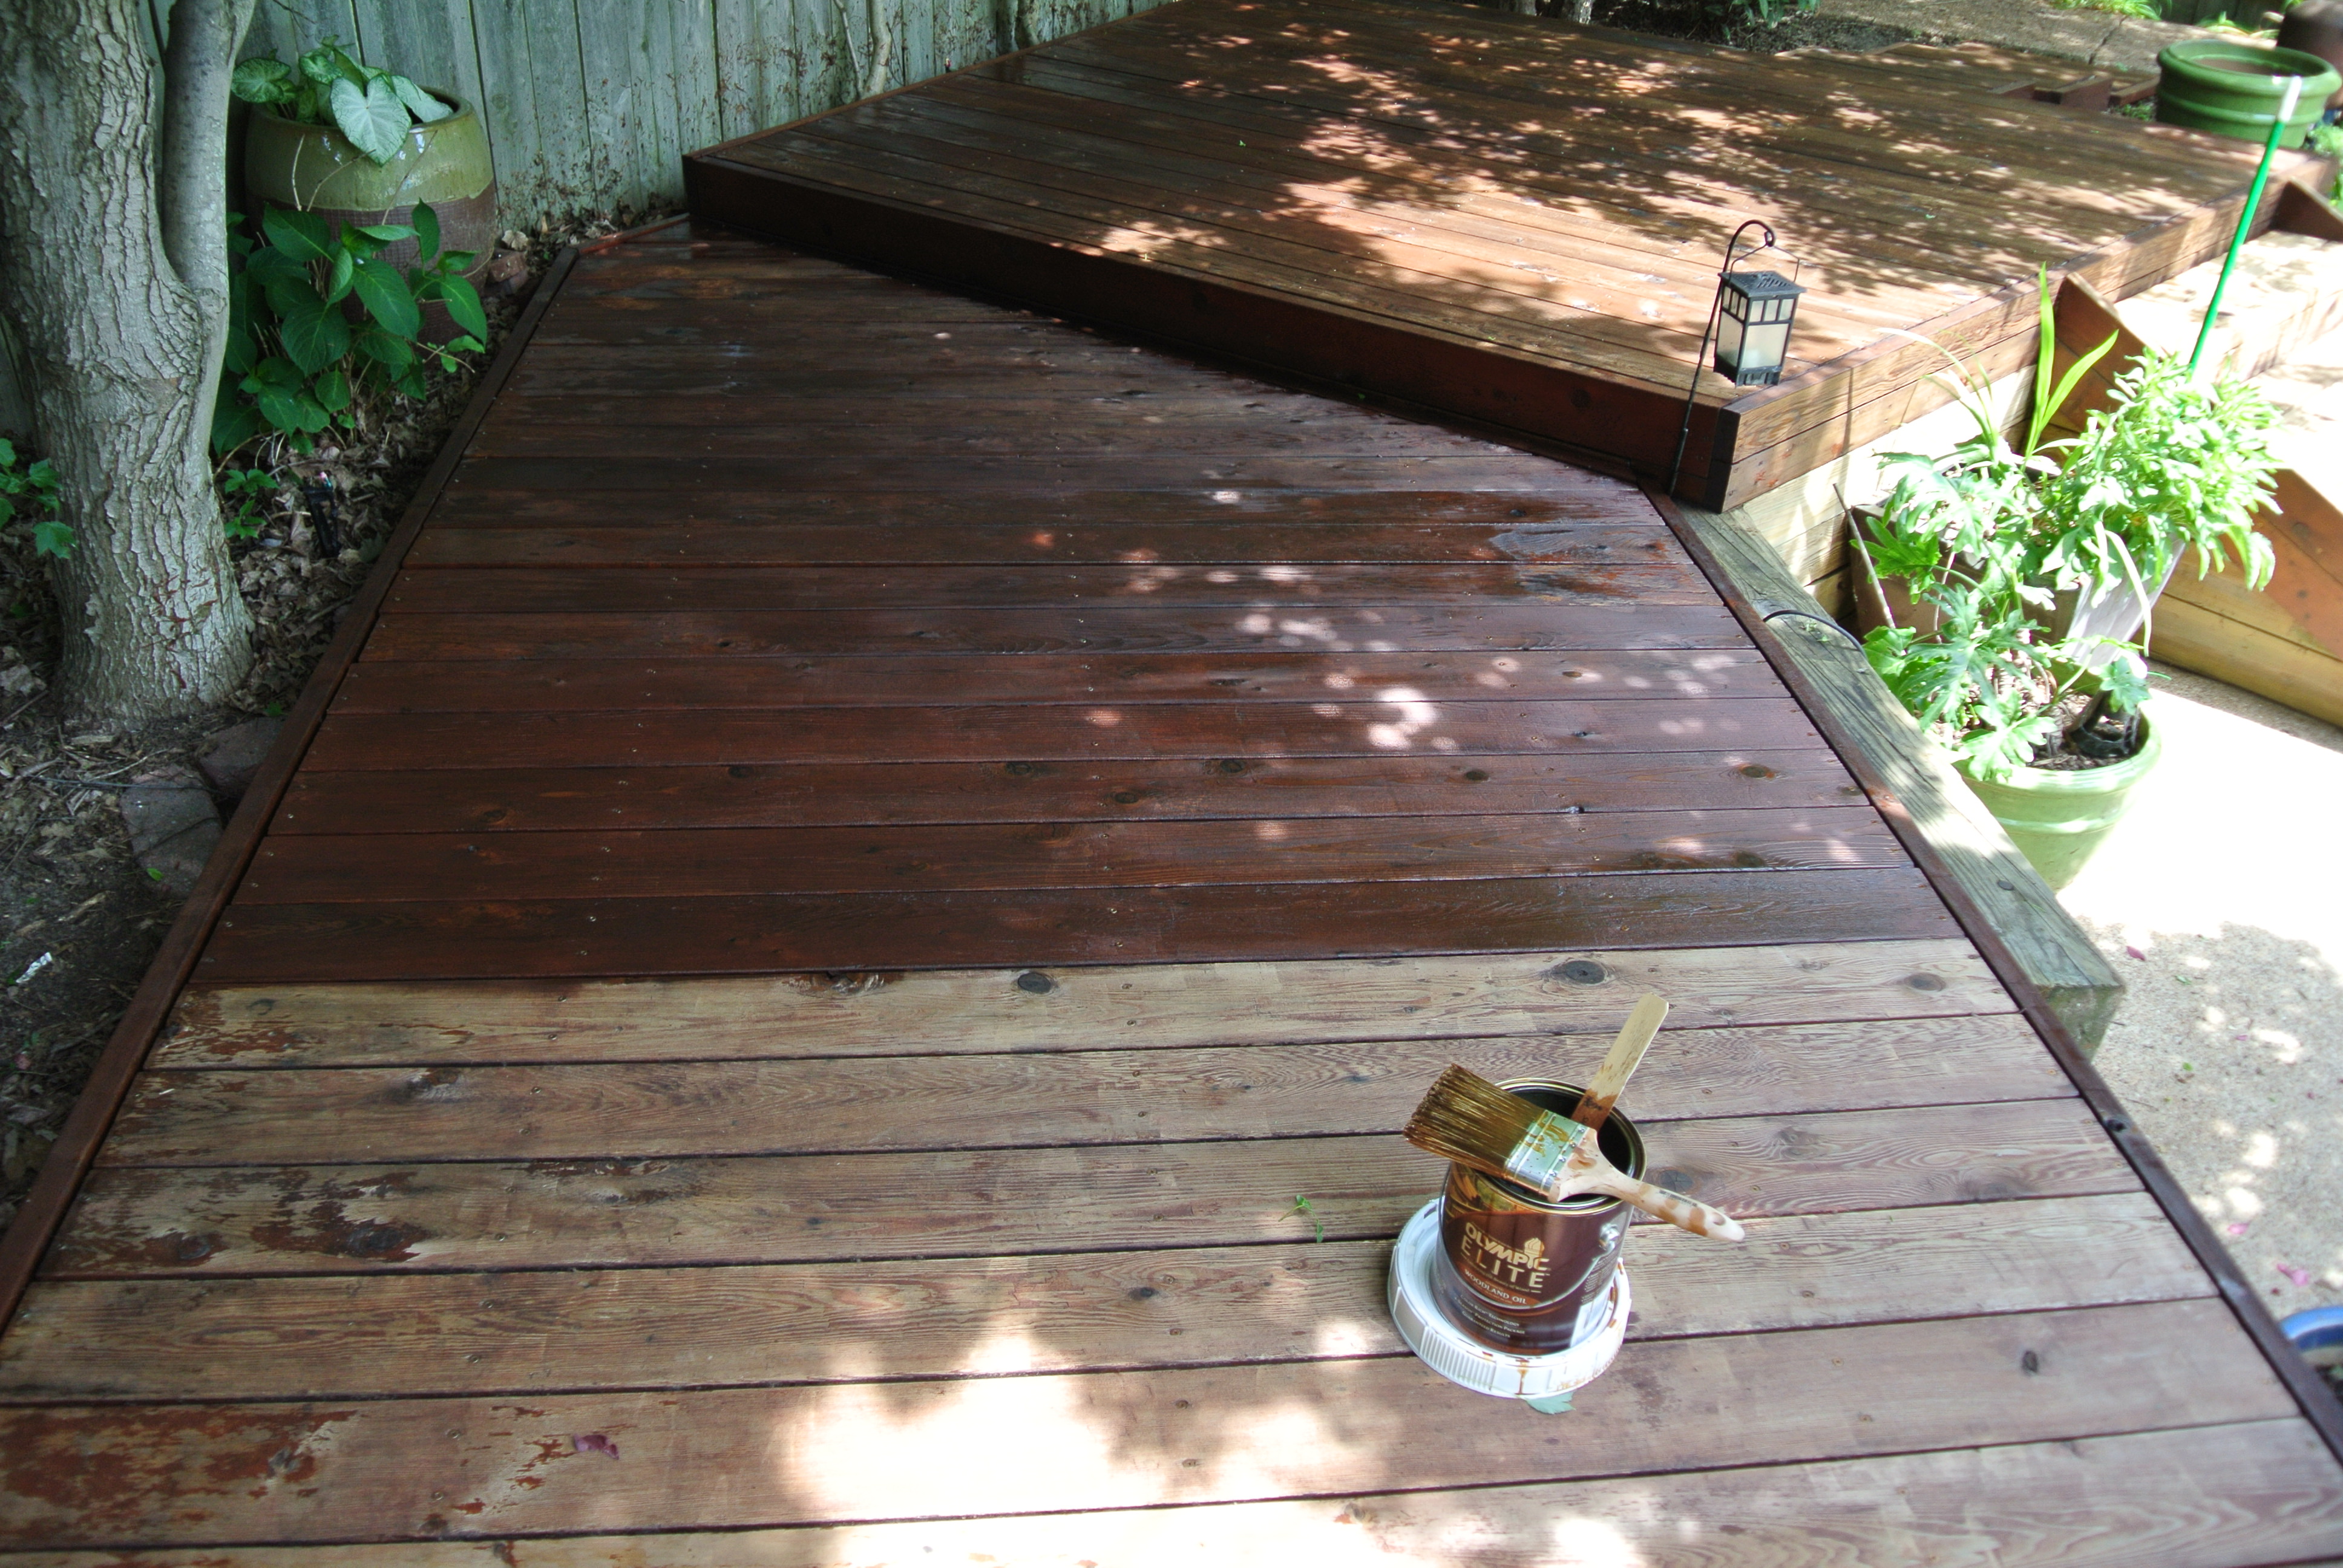
This stain was truly returning the wood to its original luster.
And when it was done, I was most pleased with the outcome.

Hopefully this deck redo will last for years to come and not only provide us with something more pleasing to our eyes, but a nice relaxing spot to look out over the yard.
Categories

I love reliving those days, but do not love the picture of me that you posted. Grrr. I am sure I had worked very hard that day! The deck was definitely a fun project. I think we need fewer chairs out there, don’t you/
I really enjoyed going back through these old photos as well; it was definitely a fun project. As to the chairs, just like the last big storm that came through, I can simply toss half of them into the pool so you’ll have a place to sit there too.