
A Garbage Blind
Summer time is always a fun time to have an outdoor building project. I love to build things with my hands, mostly models but sometimes more useful, full-scale items as well. This is a tale about the latter using all of the power tools I had recently obtained at the time.
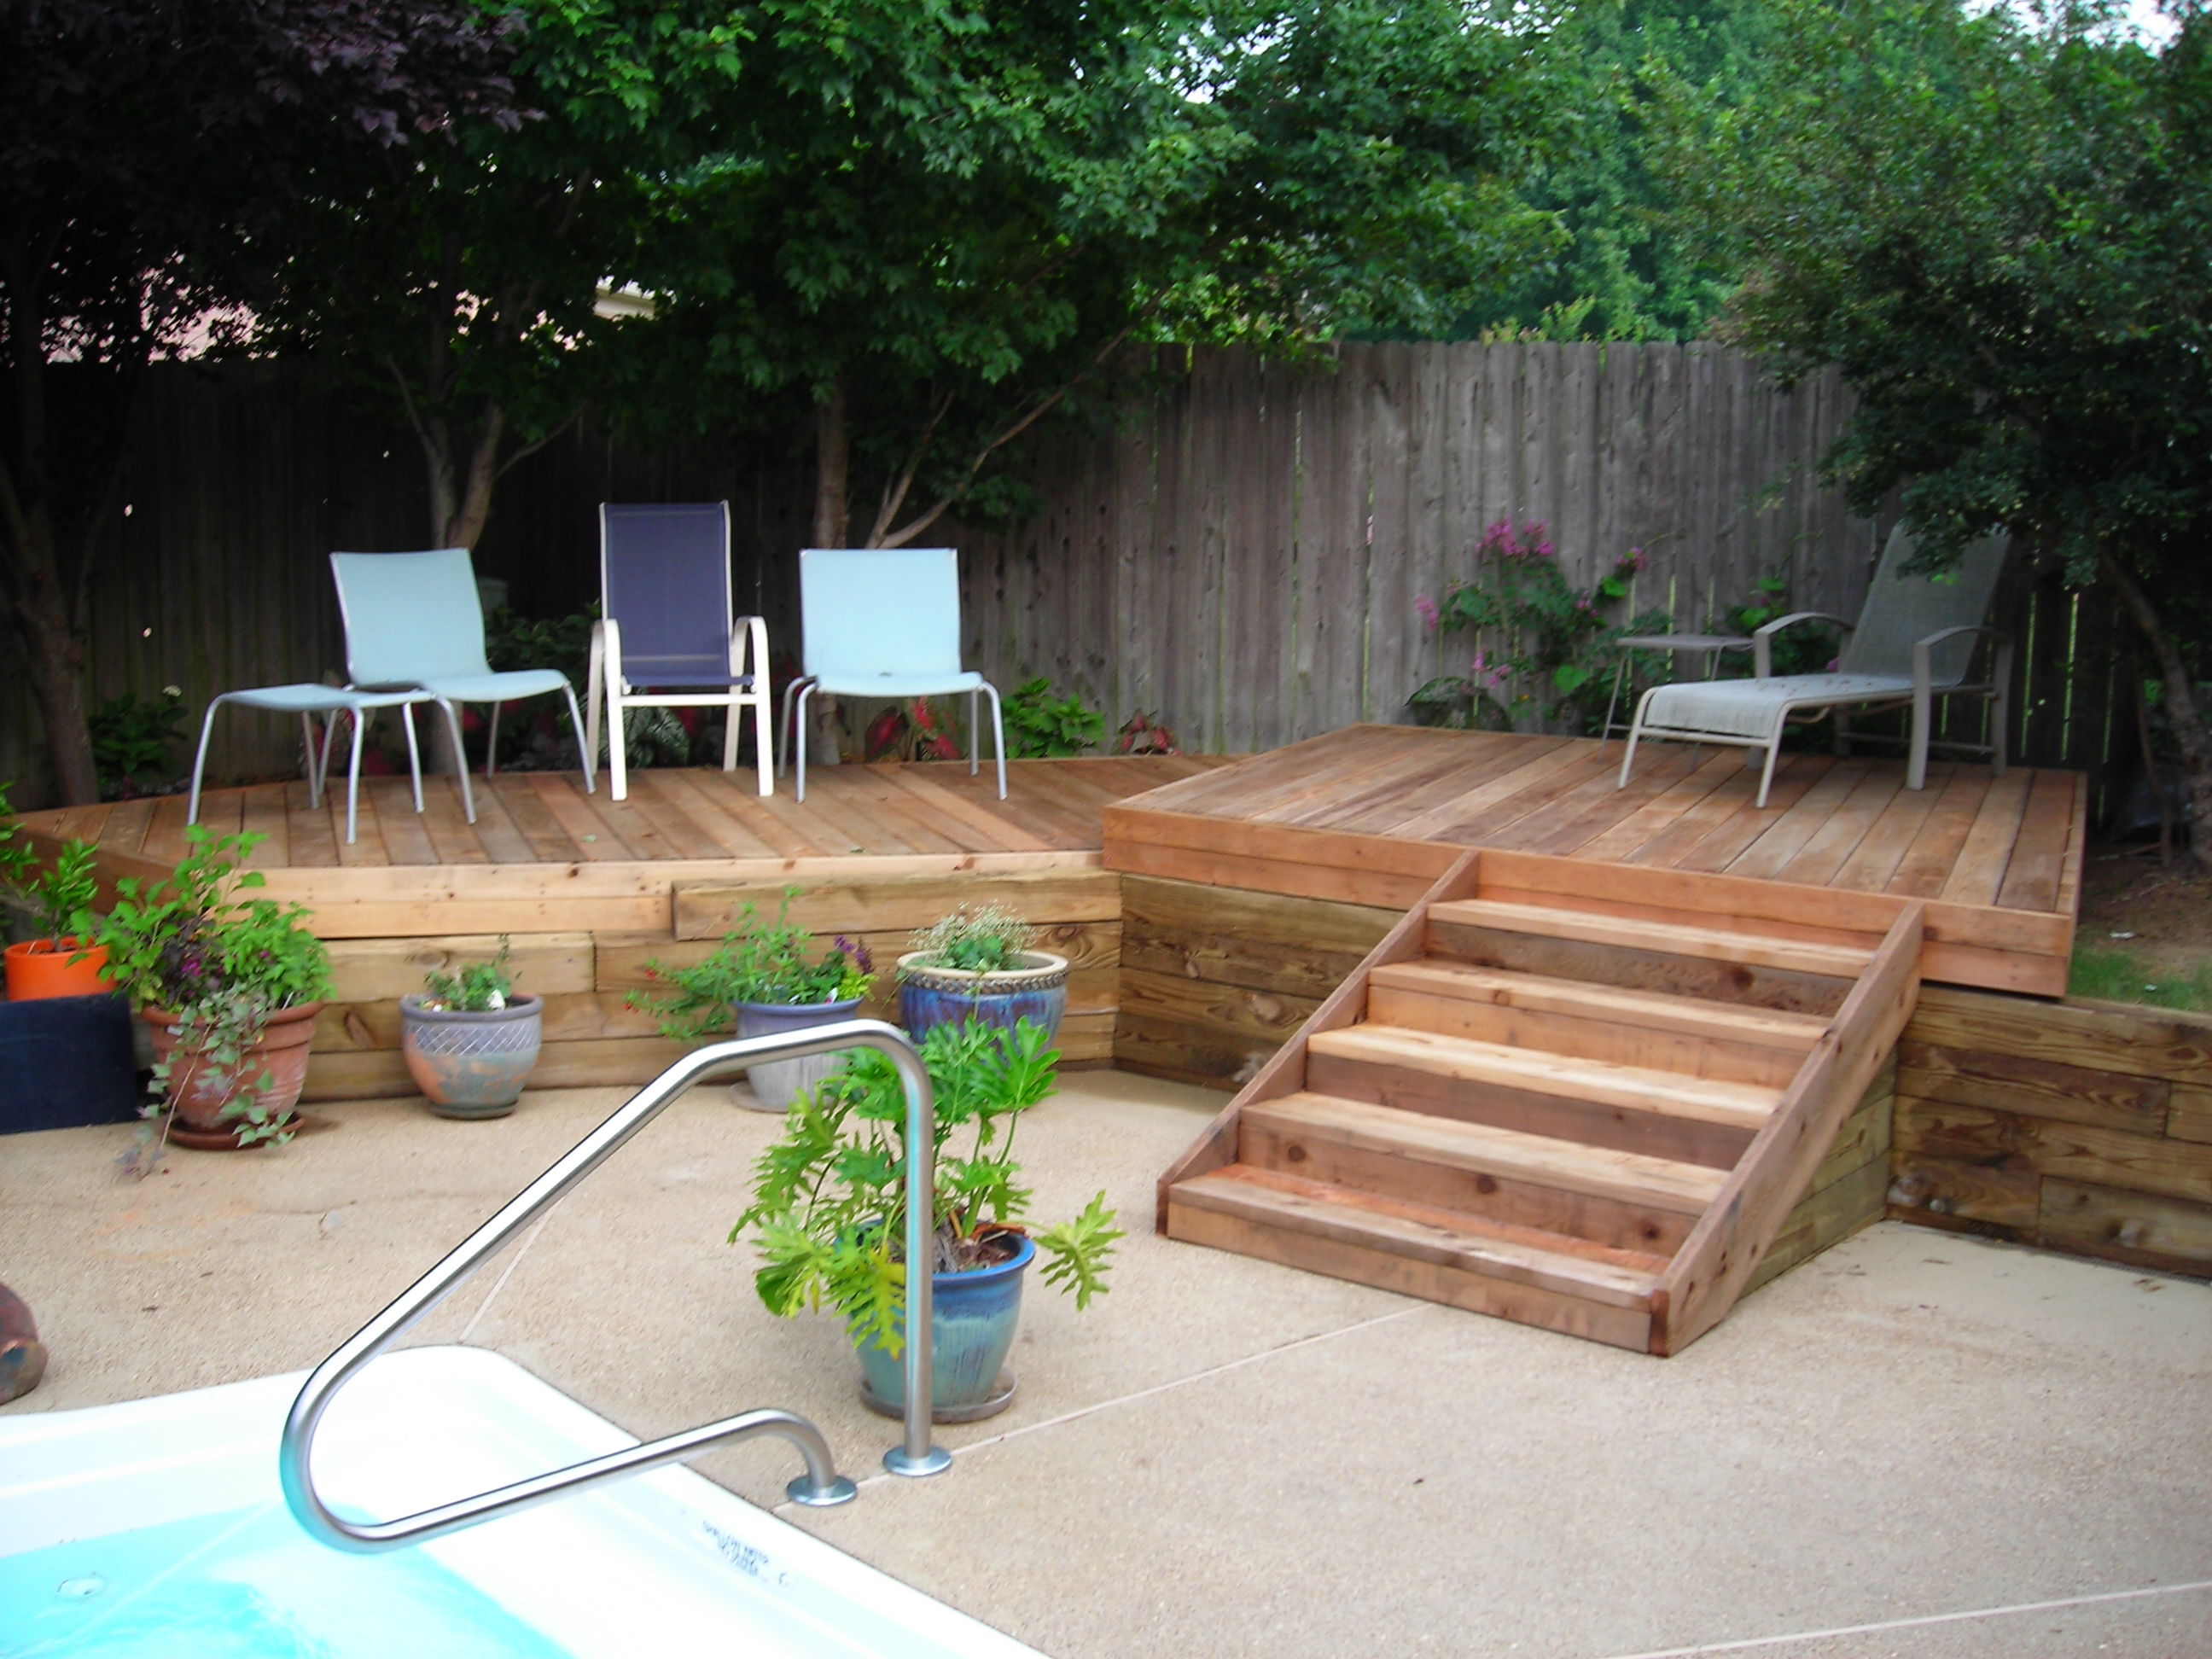
I have written in the past about the pool deck that my oldest son, an architect, designed and my wife and I built a number of years ago. It was a lot of fun (at least for me). But this project goes back even further than that and follows on the heels (pun intended) of my doormats.
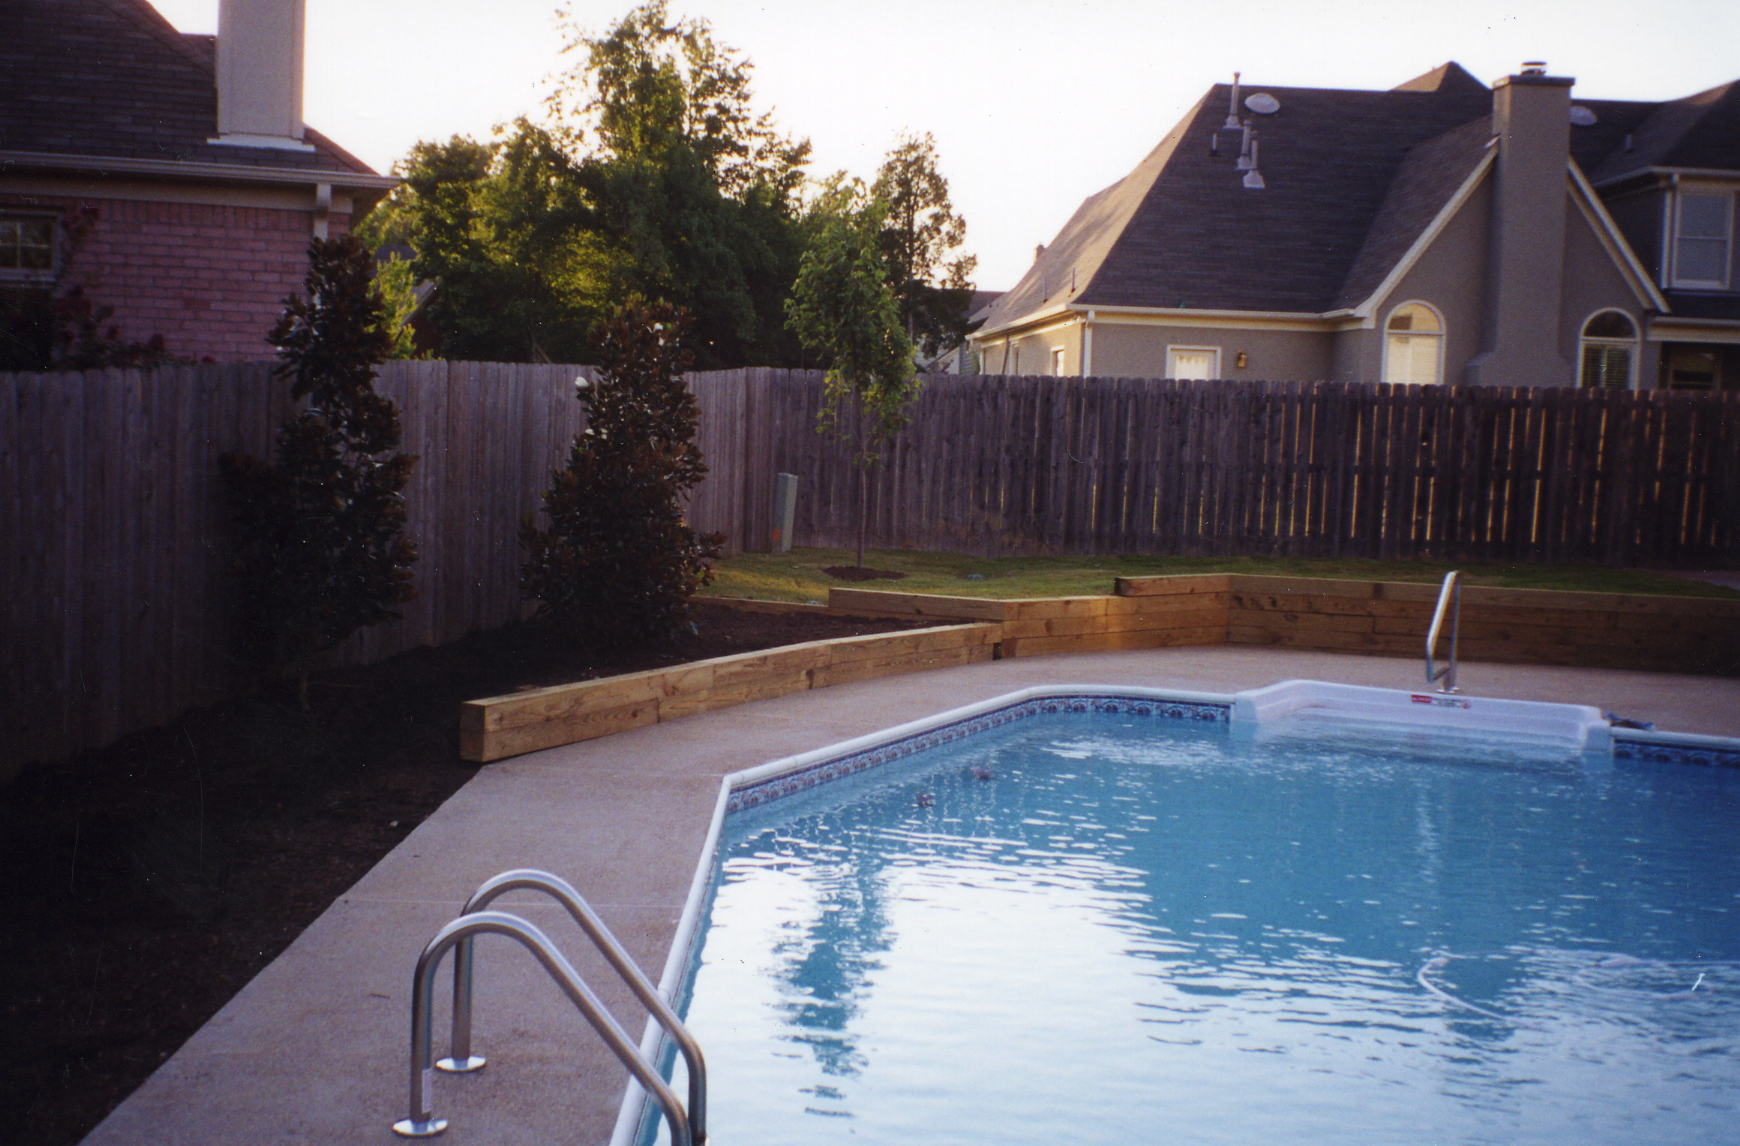
In the summer of 2000 after we had had our pool installed, we added a nice concrete walkway for pool-goers to traverse from the front yard to the backyard to access the pool.

It just wasn’t an aesthetically pleasing walk with the pool equipment visible. Building a fence around the pool equipment was a must and happened almost as soon as the pool installation company drove off.
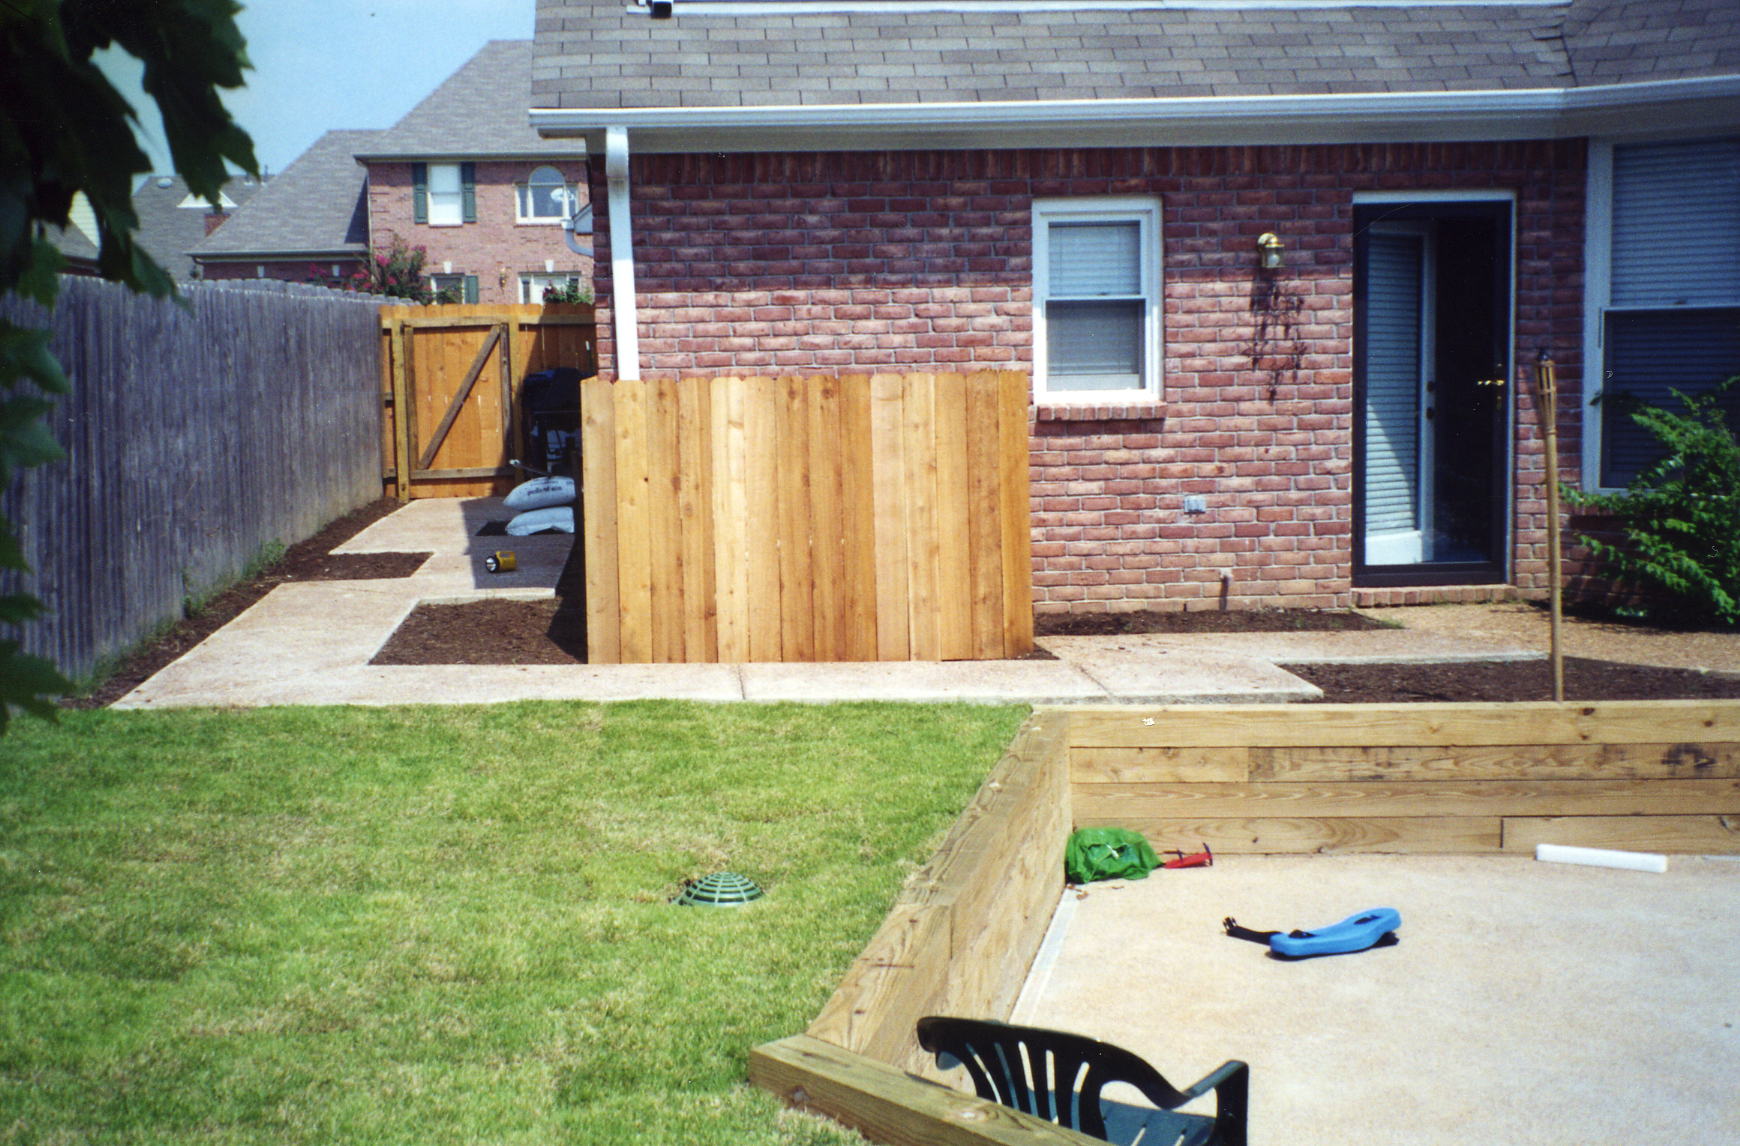
But this still left us with an unsightly concrete pad next to the gate upon which the garbage cans would sit, hidden from the street but within plain view to anyone walking through the gate to the pool. Aside from adding foliage to the flower beds framed by the walkway, this was the way the walkway stayed for three years. But then thanks to our son the recent architect graduate that was about to change.
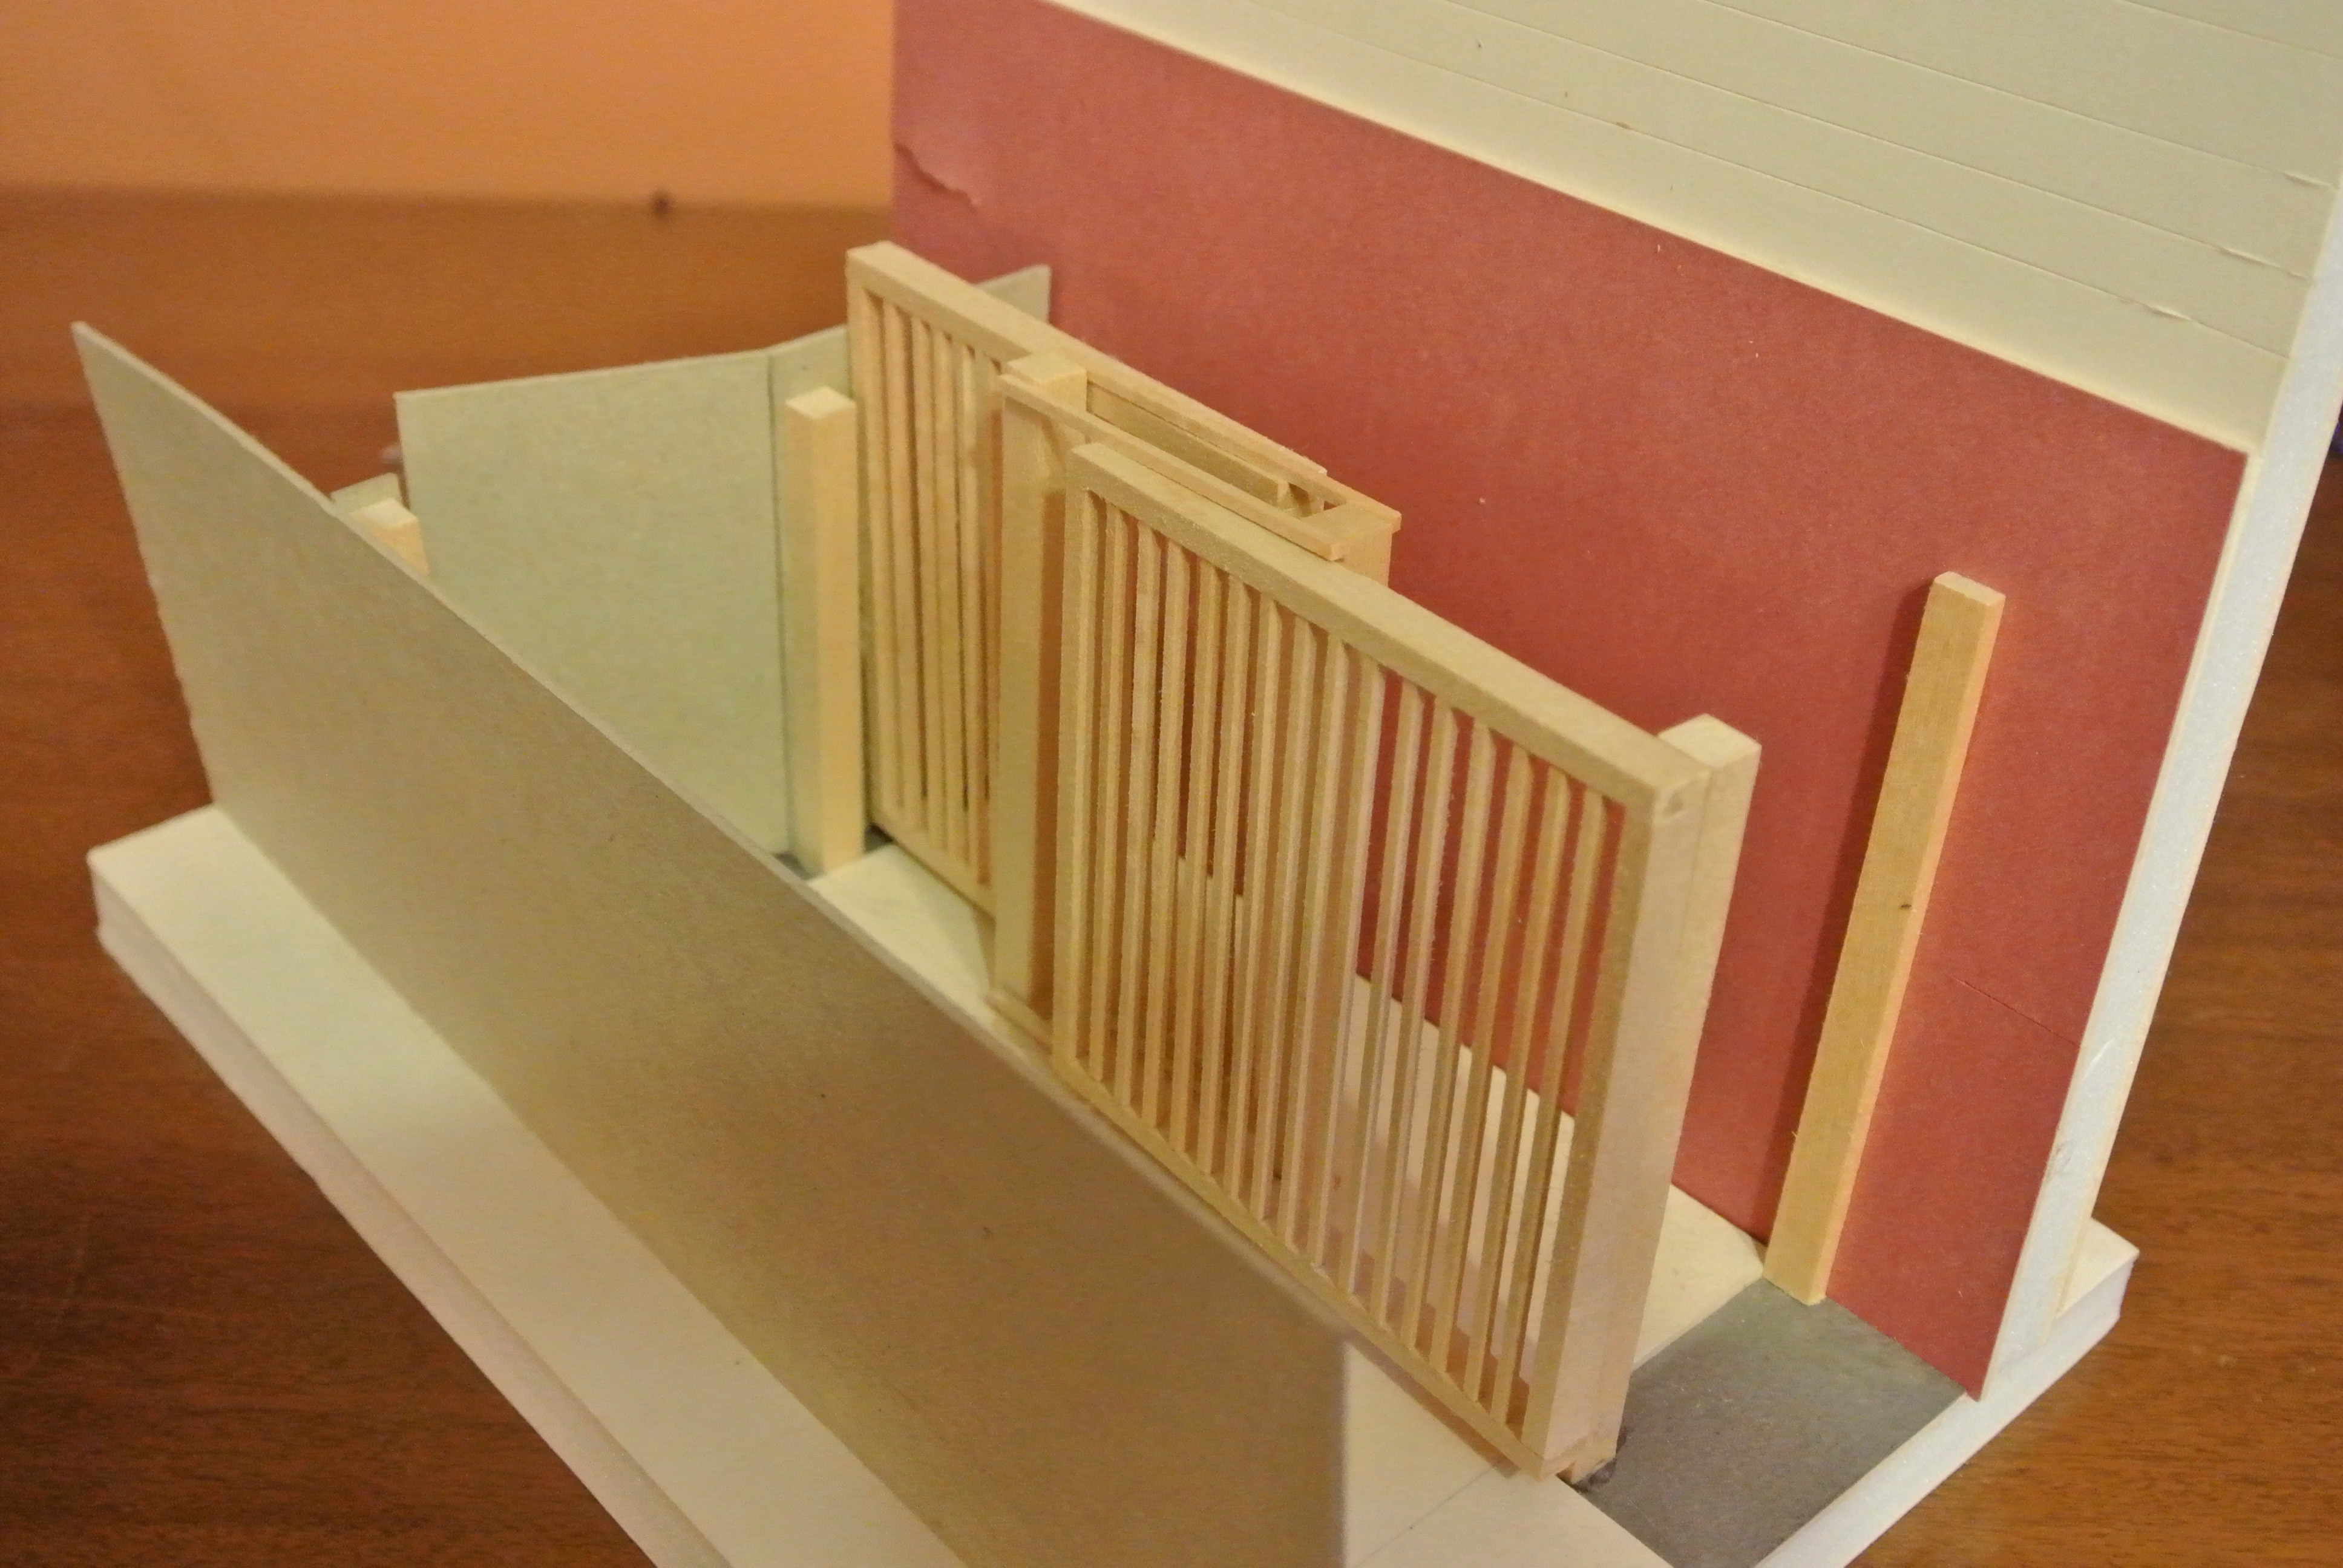
One Saturday night, my wife and I were about to go out to dinner but before we left, I must have made some comment to my son about what an eyesore it was to still walk past garbage cans on our way to the pool. Either the stars were aligned or inspiration jumped in his mind because by the time we returned, our son had not only come up with a wonderful idea, he had actually built a working model of it to physically present his idea.
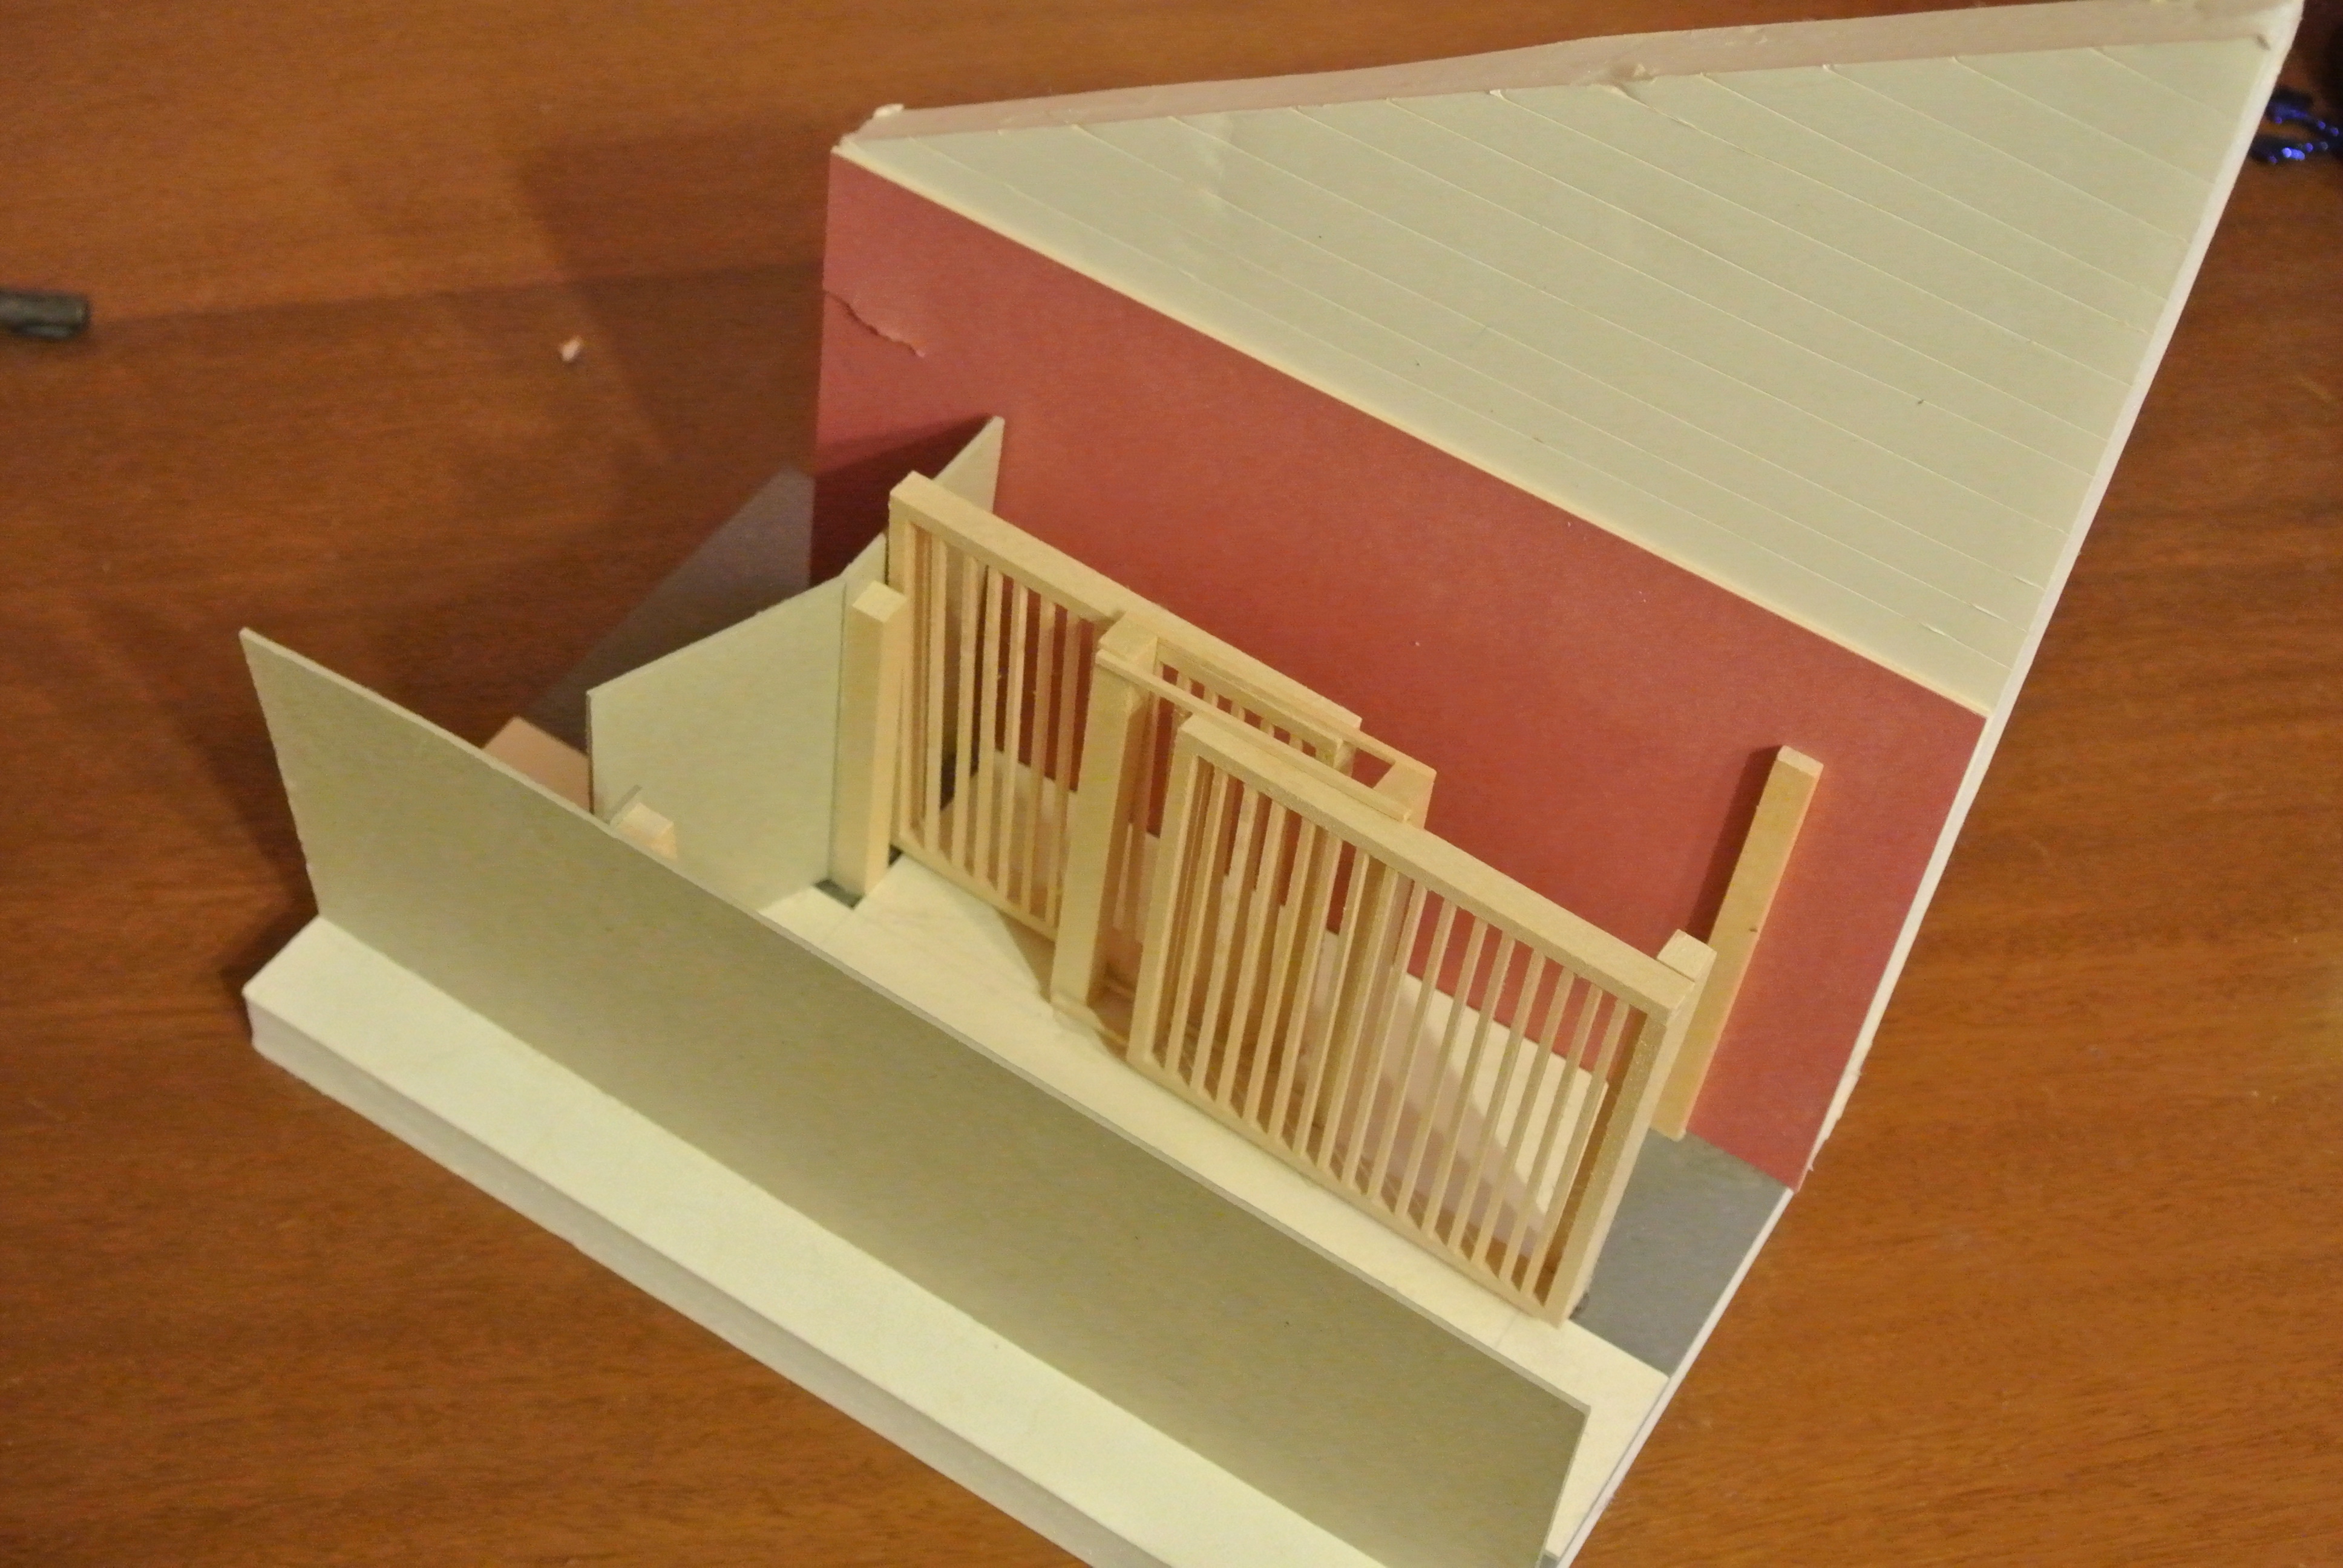
My first thought after what a cool idea he had come up with was probably, wow that architecture degree really was worth all of that money!
As my son explained how it could be built, what materials could be used and how it would all work, all I could do was stand back and smile with pride. Since he would be heading off to graduate school soon, we had to work fast.
We came up with a bill of materials and headed off to the home improvement center to purchase everything. We only had one technical issue to still work out. In the model, the two louvered doors (front and back) slid across wooden runners. In the model, the doors moved smoothly but was simply lightweight basswood offering little frictional resistance. In the full-scale version, we didn’t know how heavy the louvered doors would be once complete which would impact the opening and closing mechanisms. Since we couldn’t figure the mechanical functioning out in advance, we only purchased the wood and screws we would need to assemble everything. We assumed we would figure that part out later.
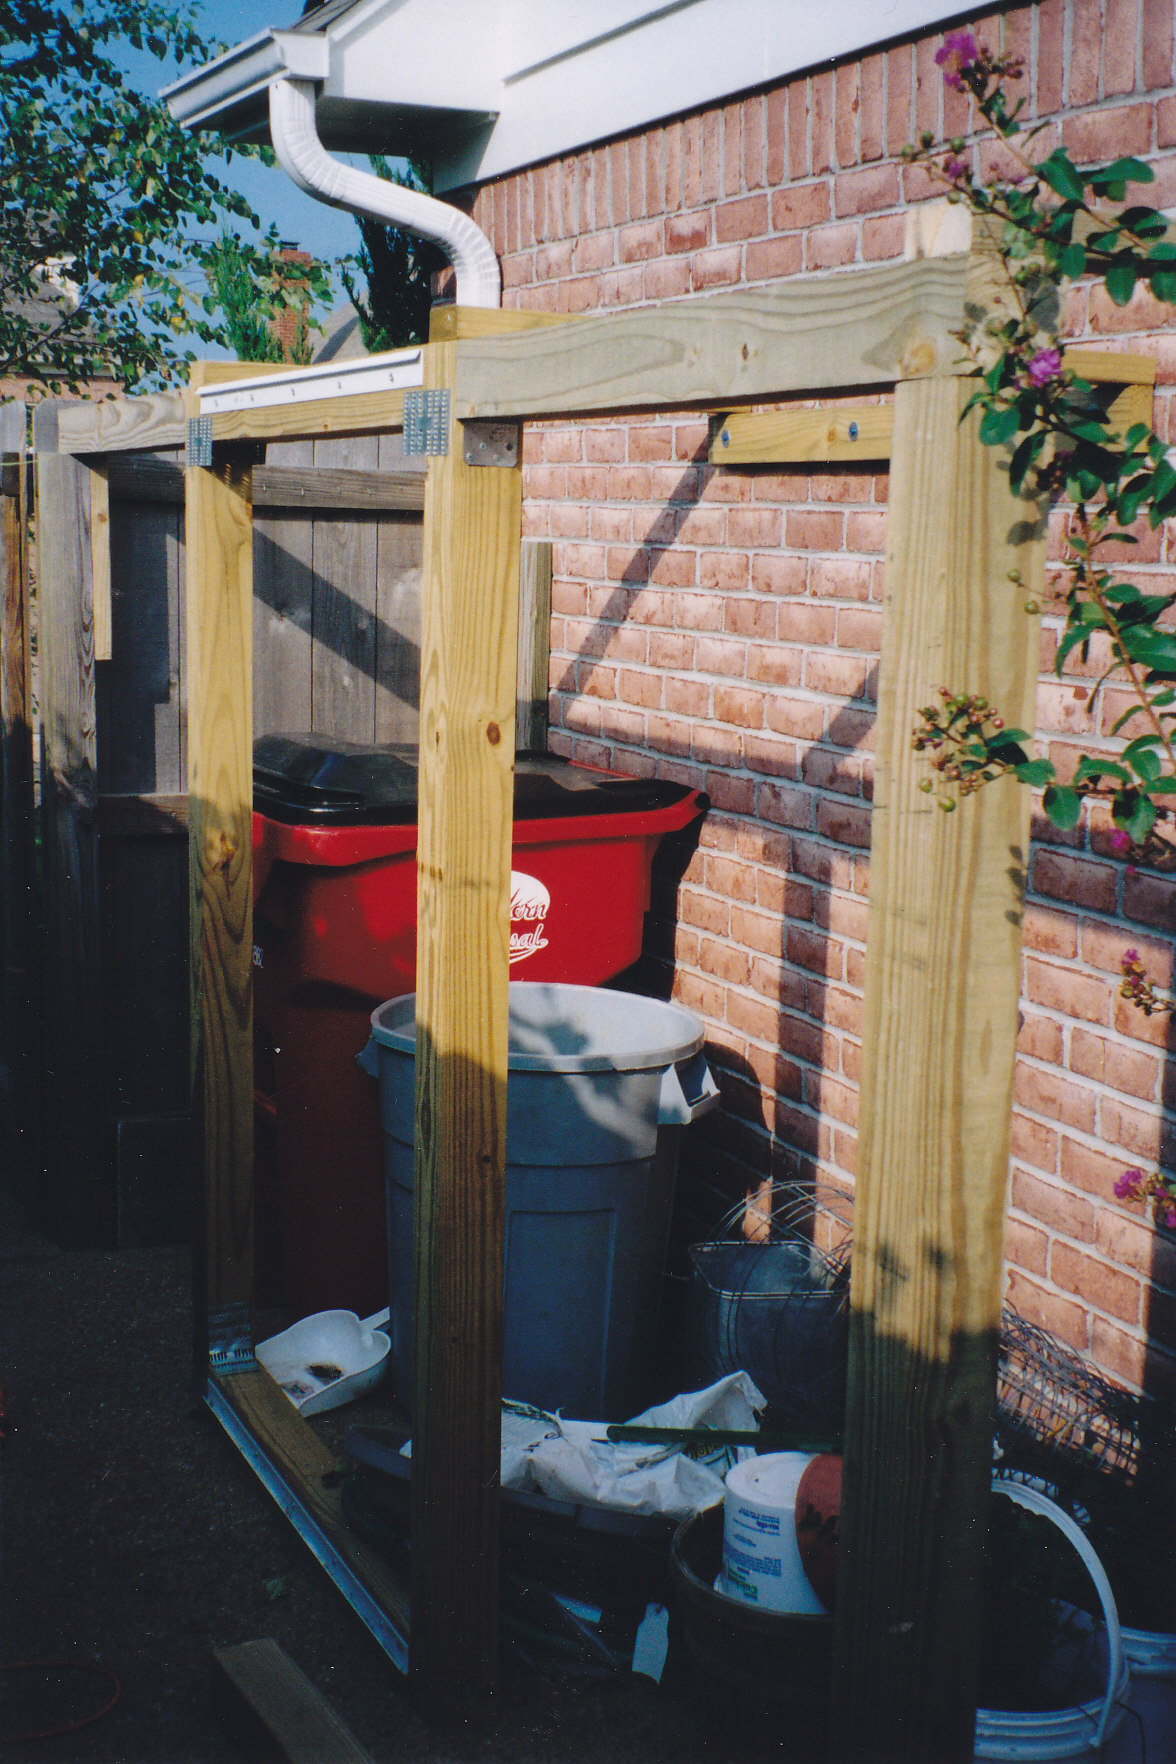
The first step was to build the structure that would support the doors and provide their sliding mechanism. For this framework, we used pressure treated 4 X 4 posts attaching them to the concrete pad with metal brackets. Unlike the model, we decided to stabilize the support structure by running 2 X 4 pressure treated studs to the side of the house.
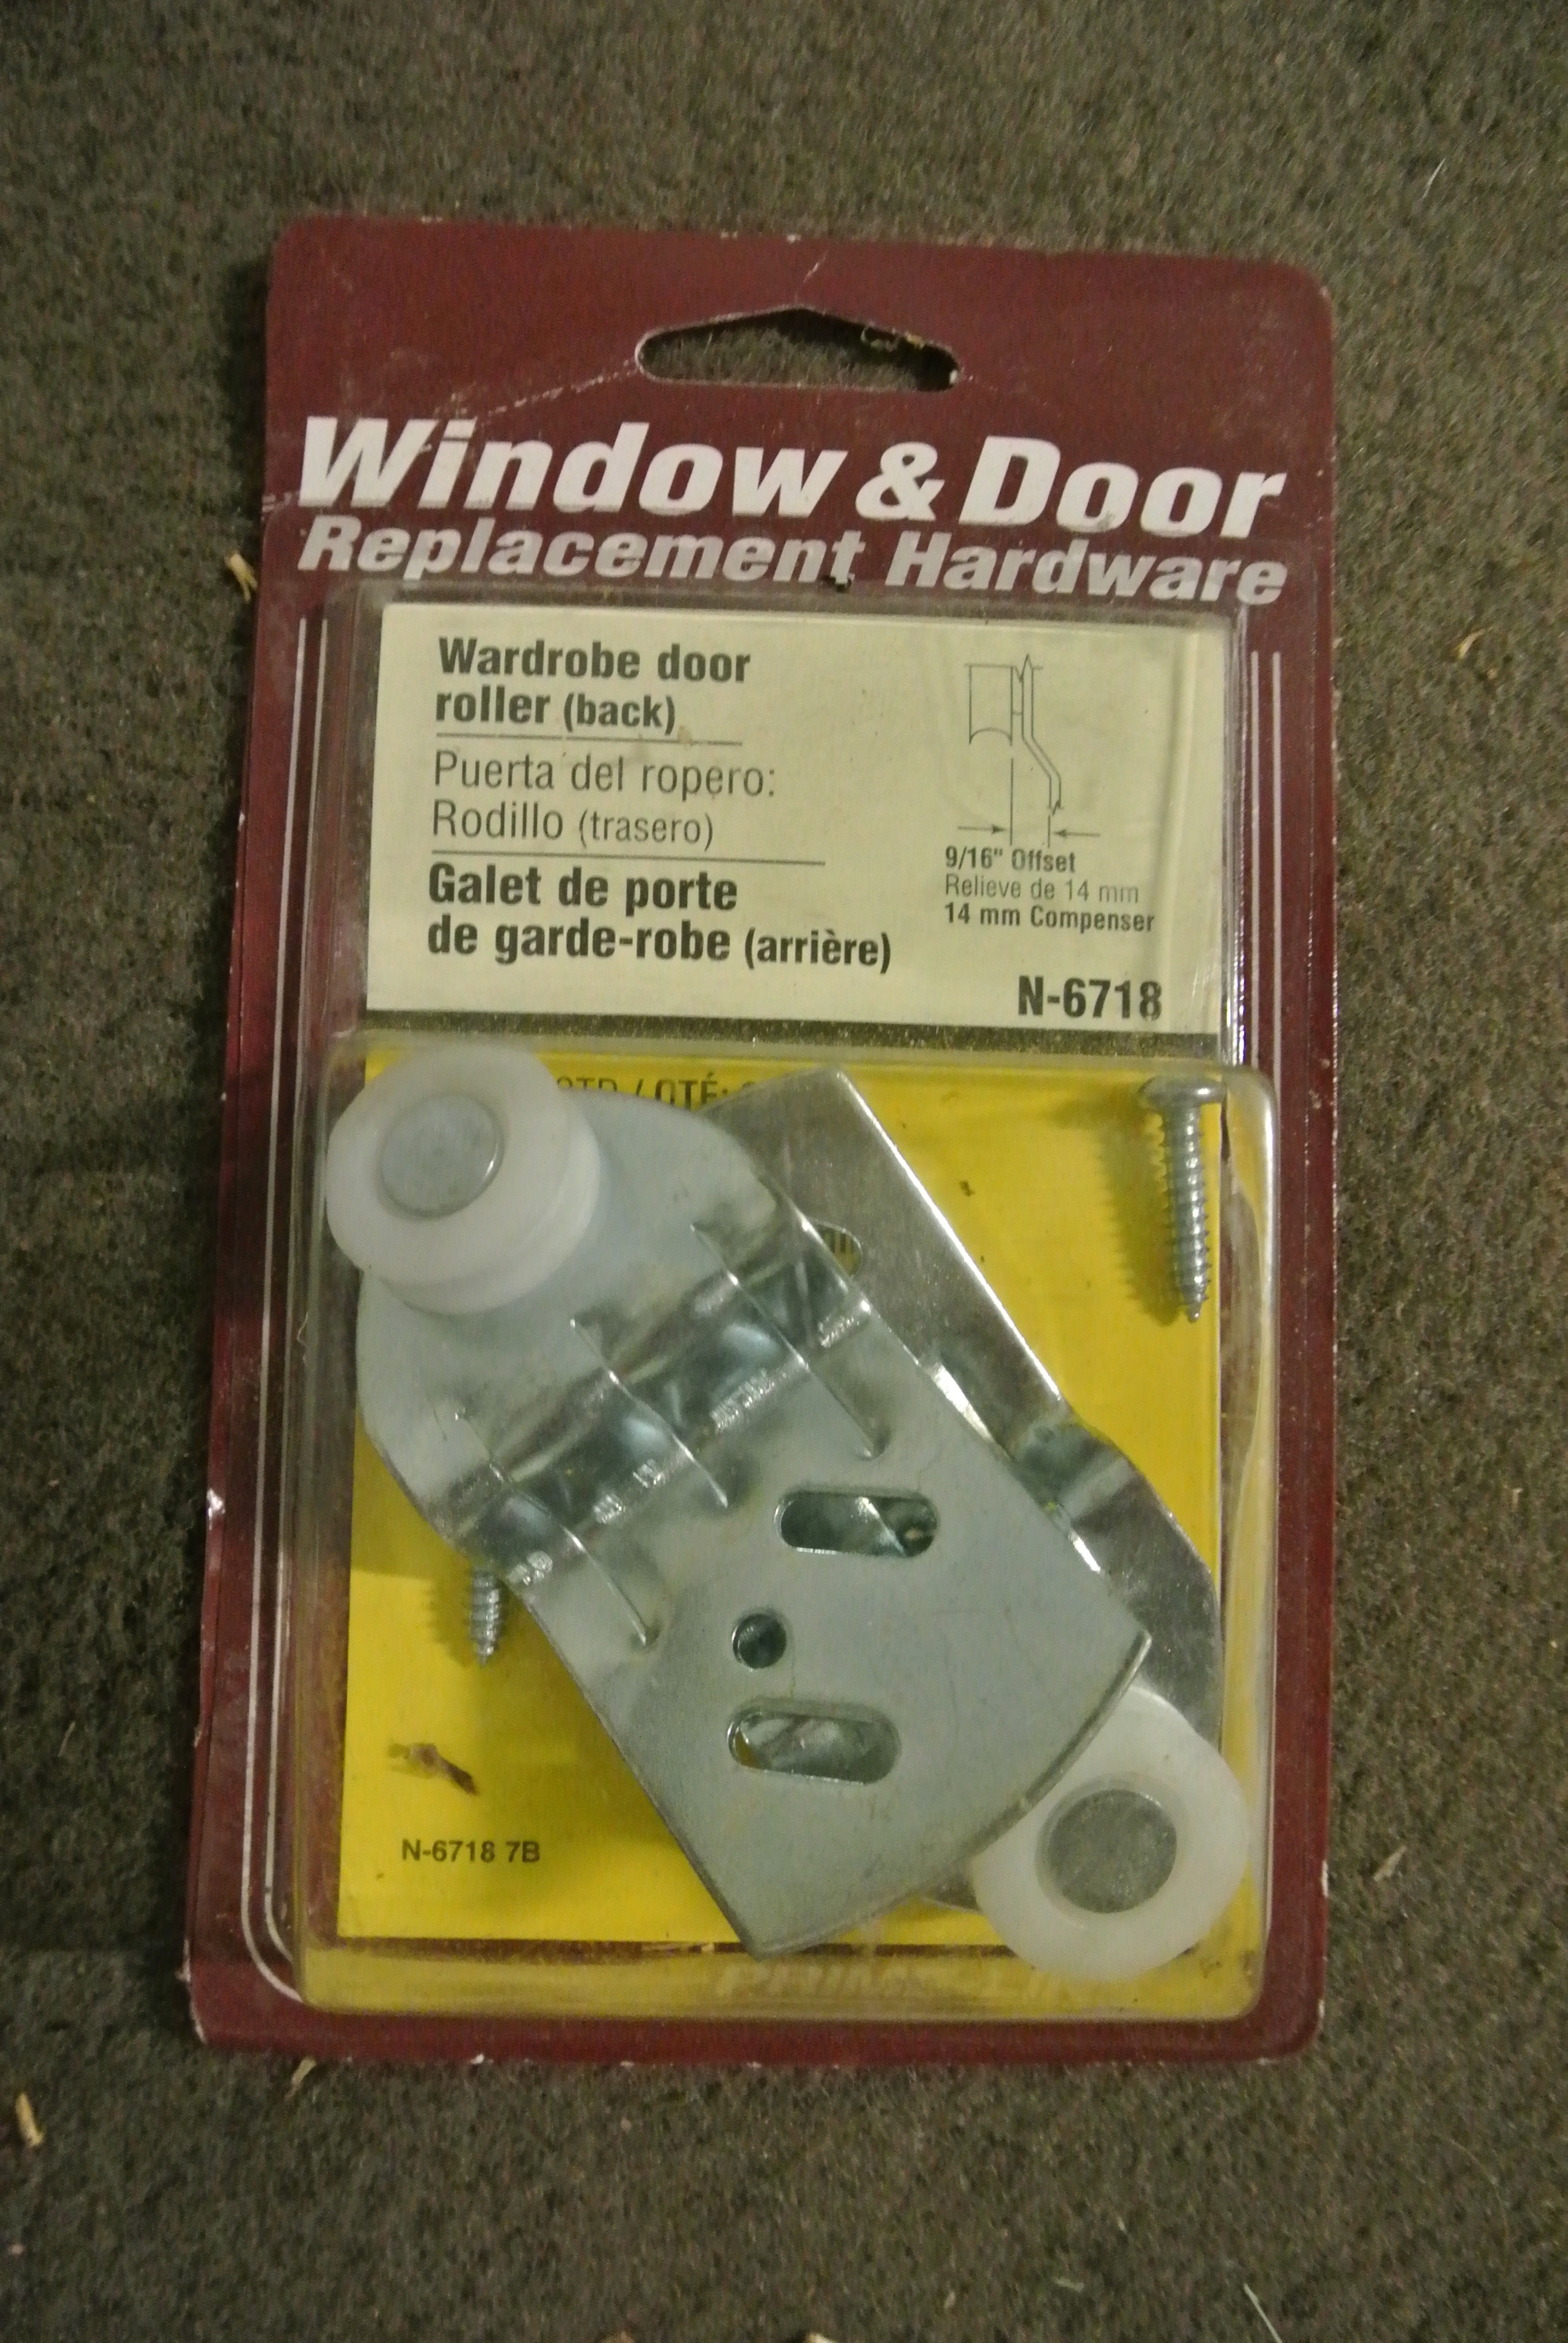
Returning to the home improvement center, the best approach we could come up with for our door mechanism was to use closet door hardware, with the metal rails seen here at top and bottom. We next built the first louvered door and when we went to lift it off the ground, found that it was in fact quite heavy. It was built from 1 X 2 boards with randomly placed interconnecting blocks (a variation on the doormat design) and was over 7 feet long and 5.5 feet tall. We probably shouldn’t have been surprised. When we attached the rollers and tried to install the door, we found the weight of the door almost crushed the bottom rollers and as a result, would not budge.
Our next step, since we were running out of time before my son would be heading off to graduate school was to make one more fast trip to the home improvement center and explore other working options. We wandered around the store for quite a while looking at garage door mechanisms, gate hardware and any other possible wheeled solution that might jump out at us. In the end, aside from having something custom designed and built for our application, we returned to our original idea of using closet door hardware but with some modifications.
First we gave up on having the top and bottom runner idea. While this would have been the most aesthetically pleasing since the mechanism would have been hidden, it just wasn’t practical due to the size and shape of our doors. As originally envisioned, the door would cantilever out on the top and bottom runners as it closed in front of the opening. This is where the weight of the door really created a problem since about half of the door would be free floating in front of the opening, its weight unsupported in space. We decided that having one runner at the top that extended over the opening as well would provide continuous support for the door in the opened or closed position.
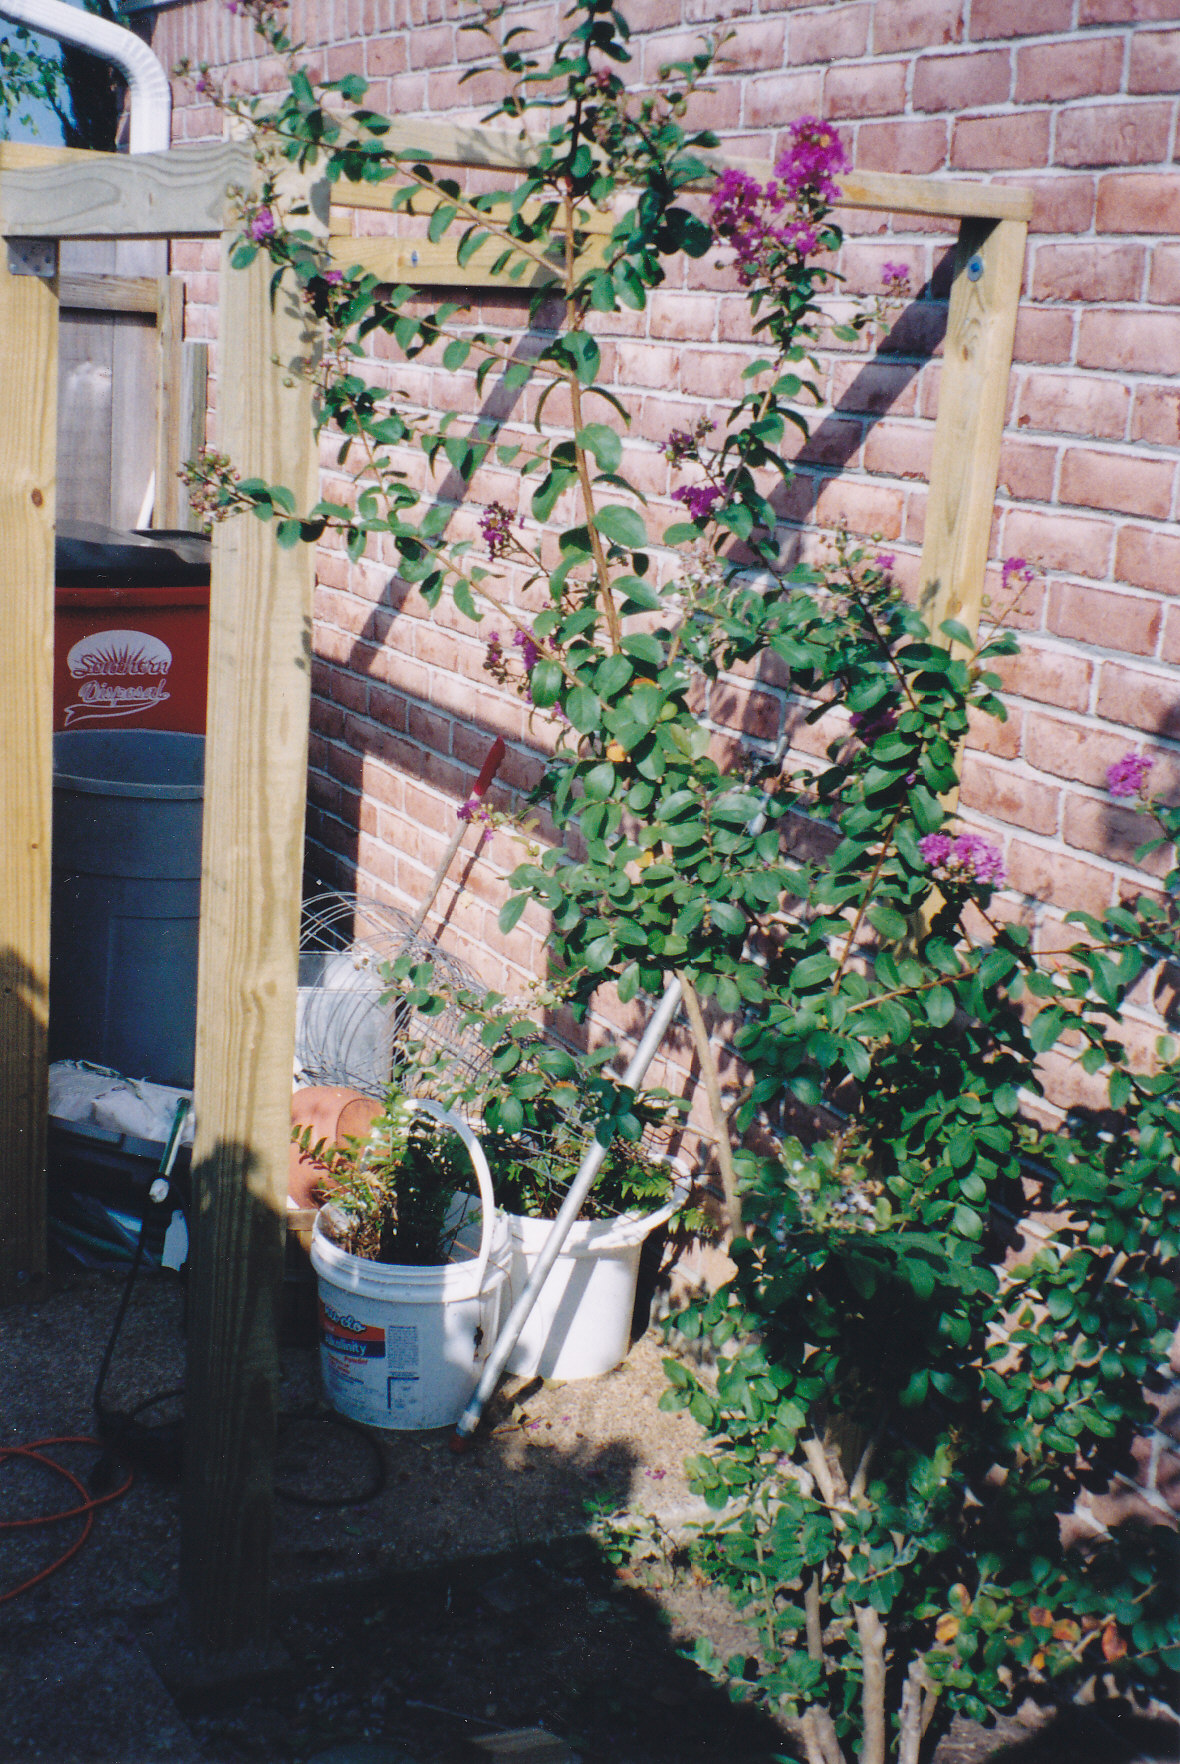
The second modification we made was in order to reduce the dead weight on each roller wheel; we added wheels every 10 inches for a total of eight wheels per door. The finished doors then took on this appearance.
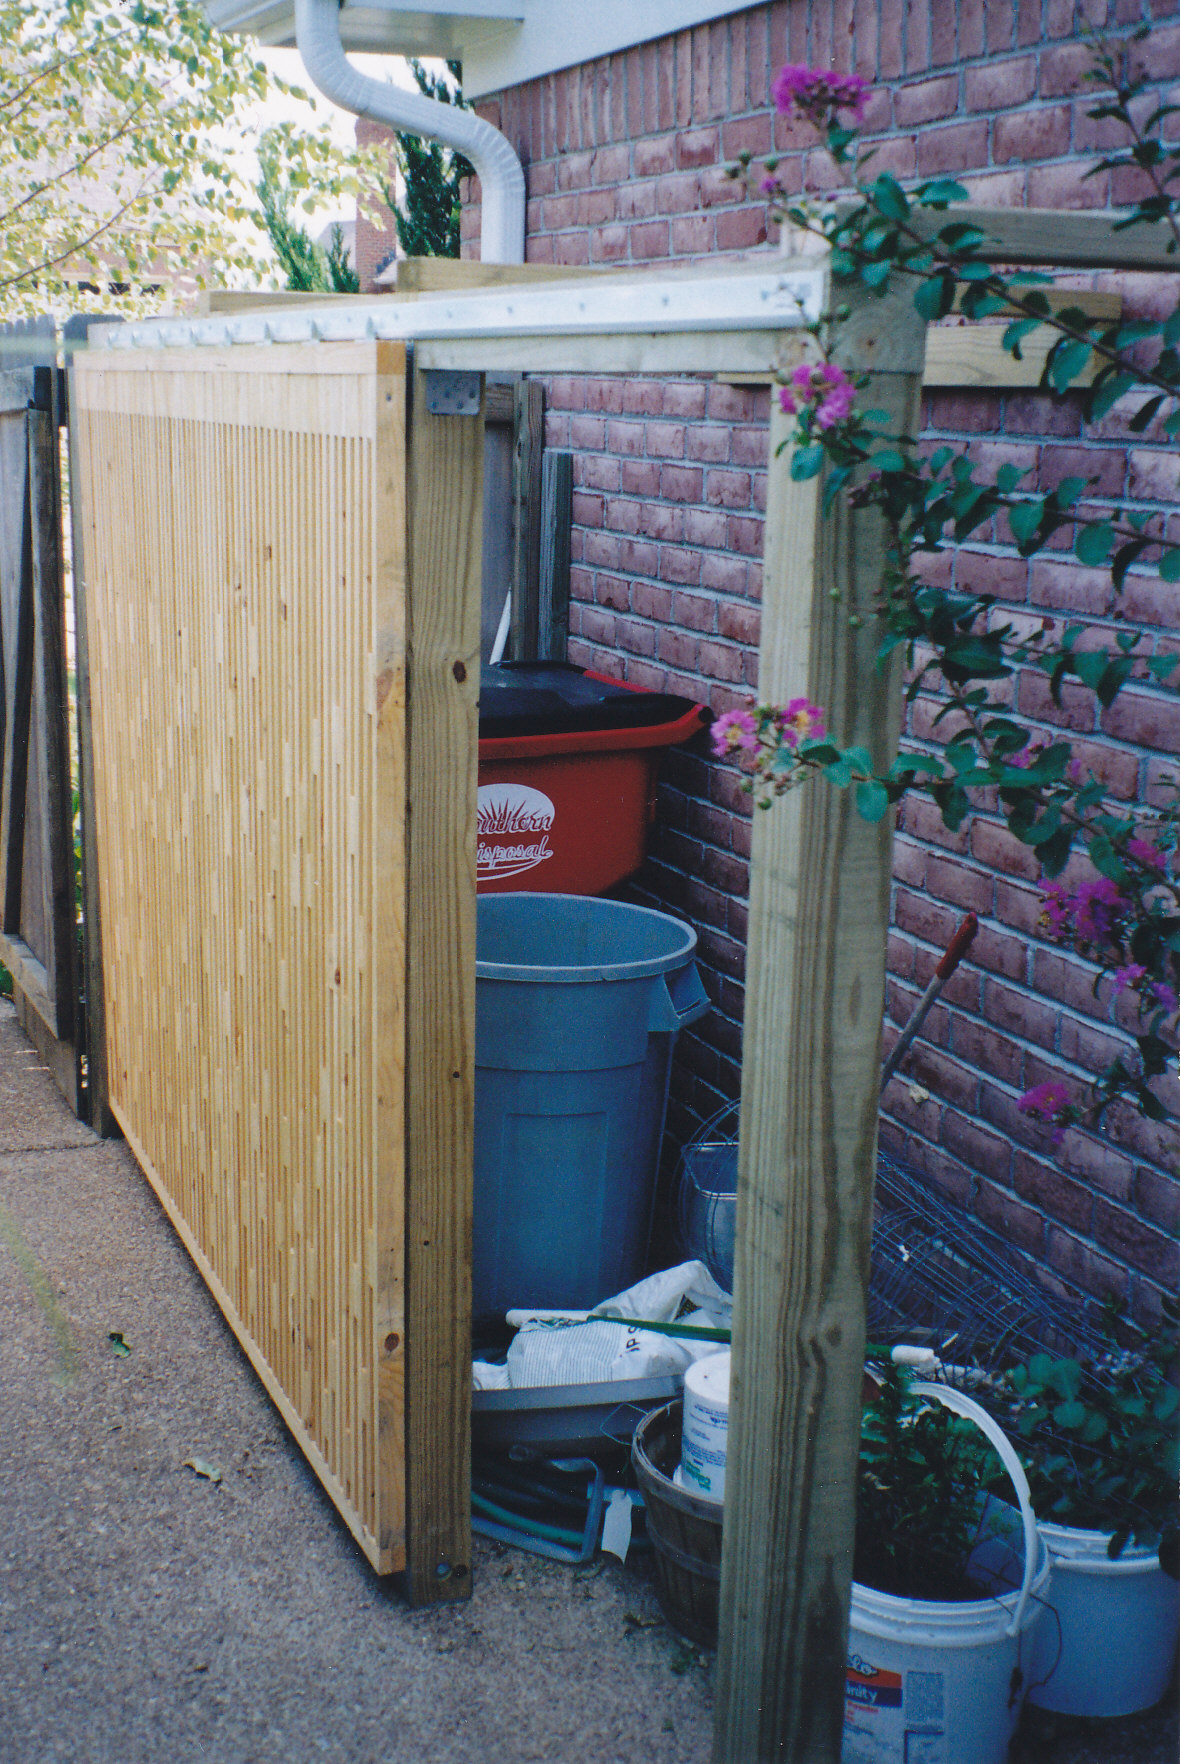
This provided a much-improved appearance to hiding our garbage cans but it ultimately proved short-lived.
Just a year after installation, the dead weight of the door still was too much for the little plastic wheels and several broke. Because of the broken wheels, the other wheels would jump the track and the whole door would come off of the track. It was like trying to drive an eight-wheel train down a train track with half the wheels out of alignment. It was simply a recipe for disaster.
I talked to our son who was by this time, off at graduate school. Between our discussions, the solution derived was to make two more modifications.
First, we reduced the size of the doors to just the width of the opening. This meant rather than being slightly more than 7 feet long, the door would only be about 3 ⅓ feet long thus reducing its weight by over one half. To reduce the dead weight on each wheel, we included five wheels spacing them every 8 inches.
This modification necessitated another modification, that the middle support section would be a fixed louvered section since the door would only be large enough to cover the opening in the closed position. In this photo, you can see the weathered, but shortened door to the left and the freshly installed middle section with new wood.
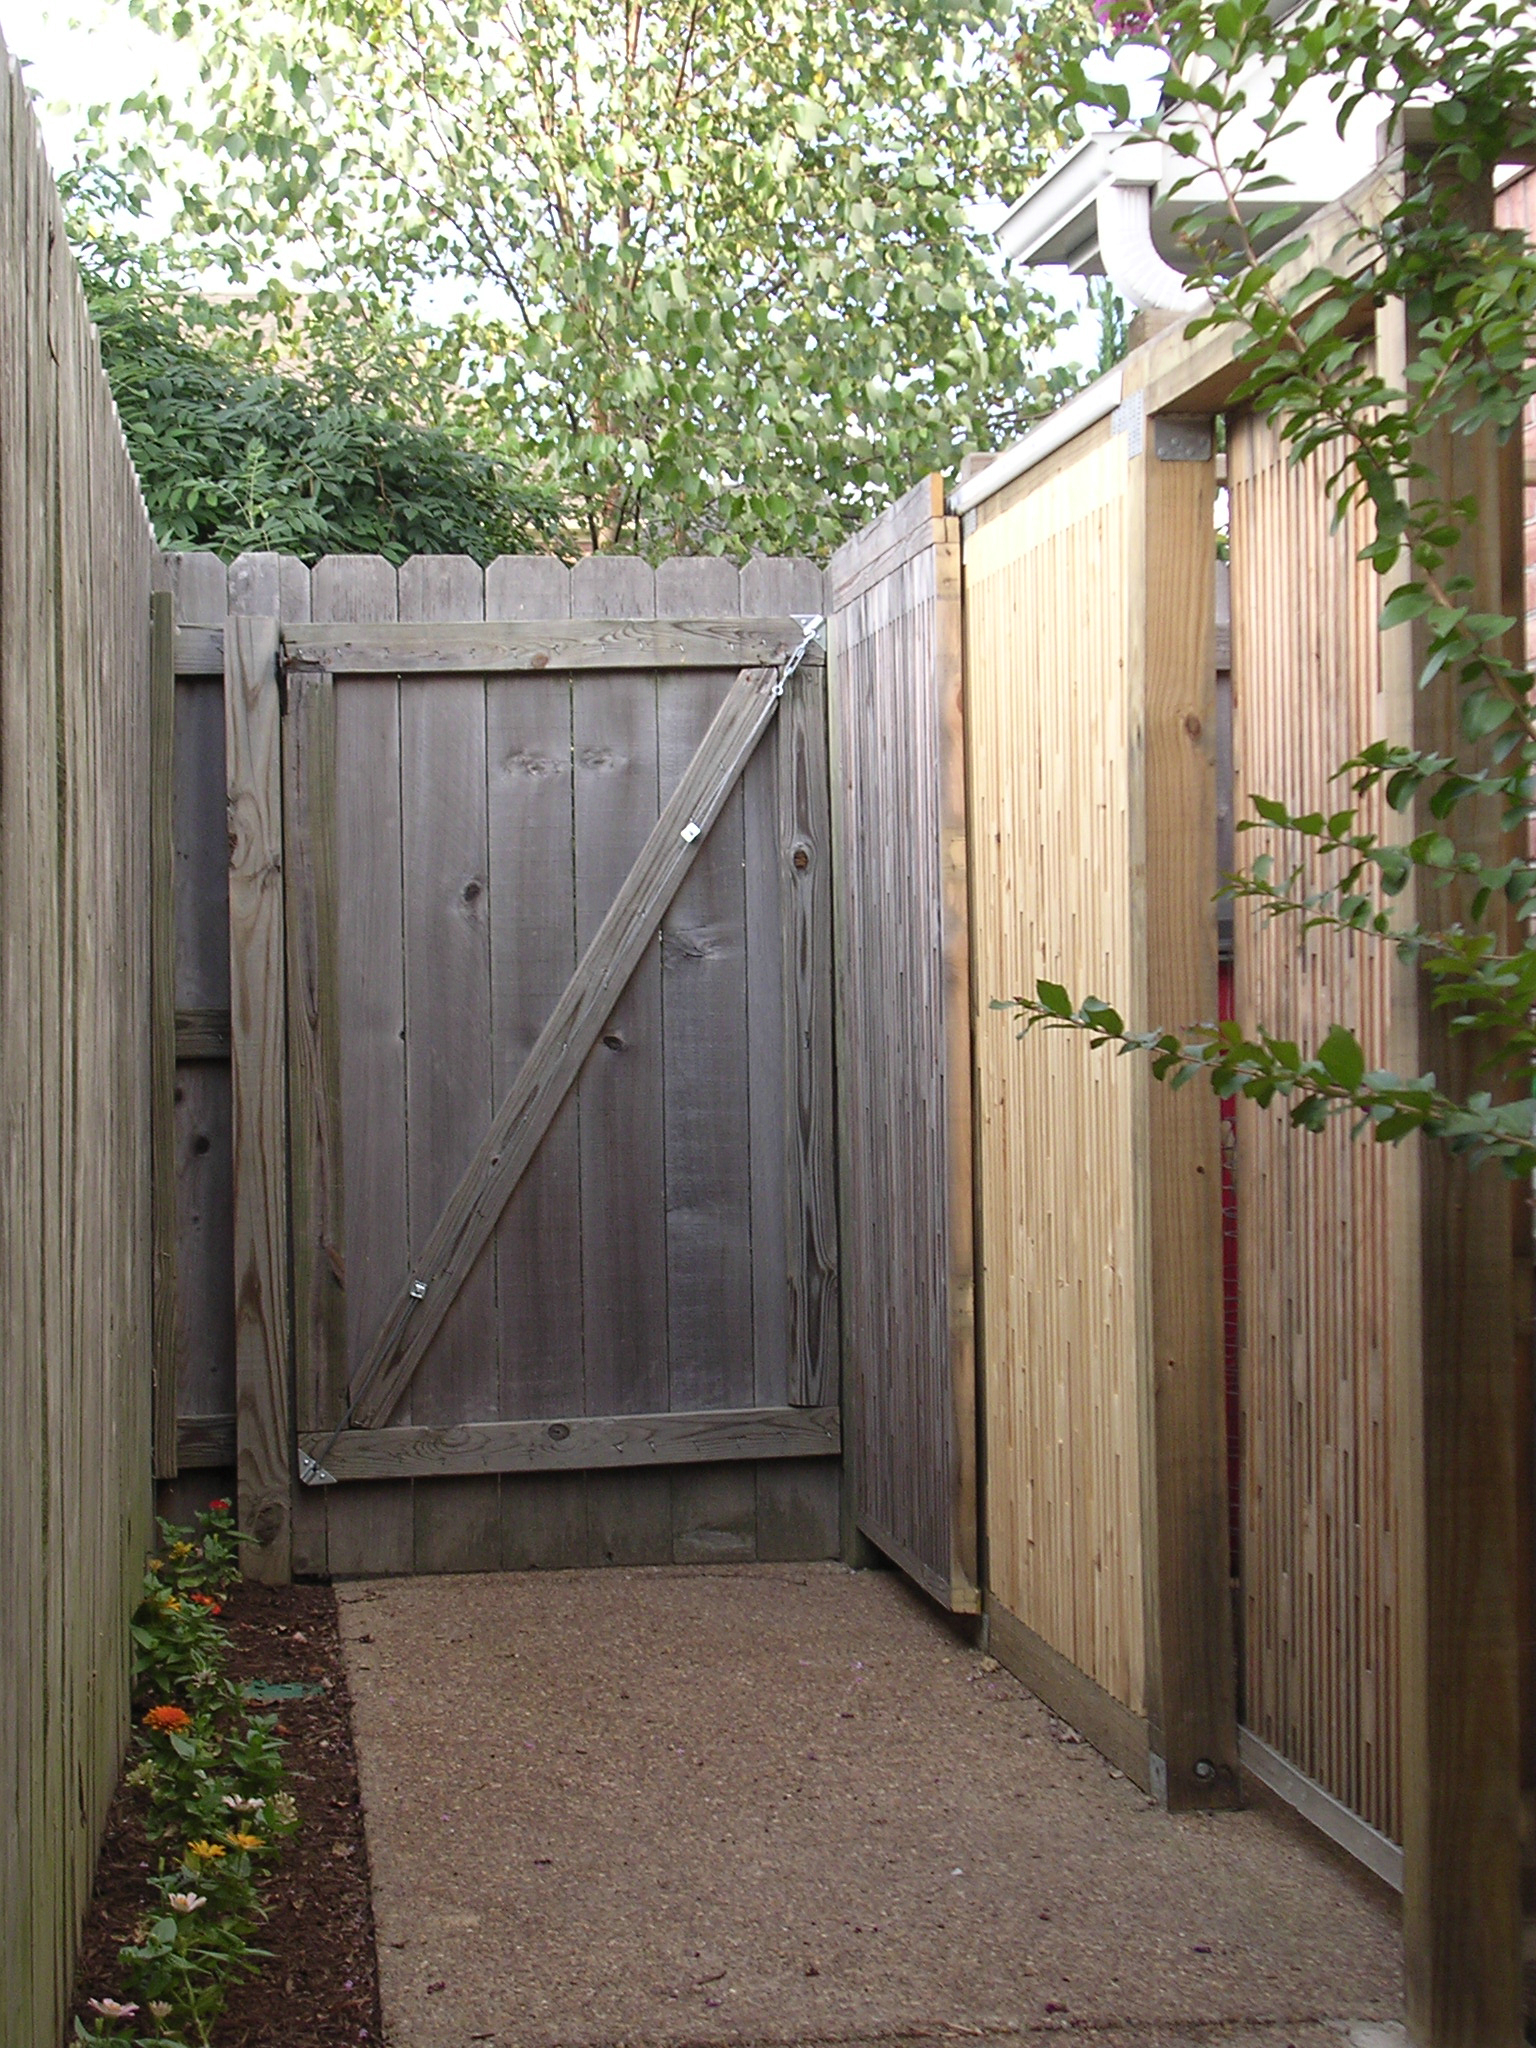
Also, added was an apron board at the top to hide the wheels and to give it a cleaner finish.
Very few people can claim to have a garbage blind designed, engineered, and built by a real architect—but we can. But even this extraordinary effort could not overcome the limitation of not having pressure treated 1 X 2 boards.

Because of this, sadly the garbage blind is in need of a refresh with new wood.
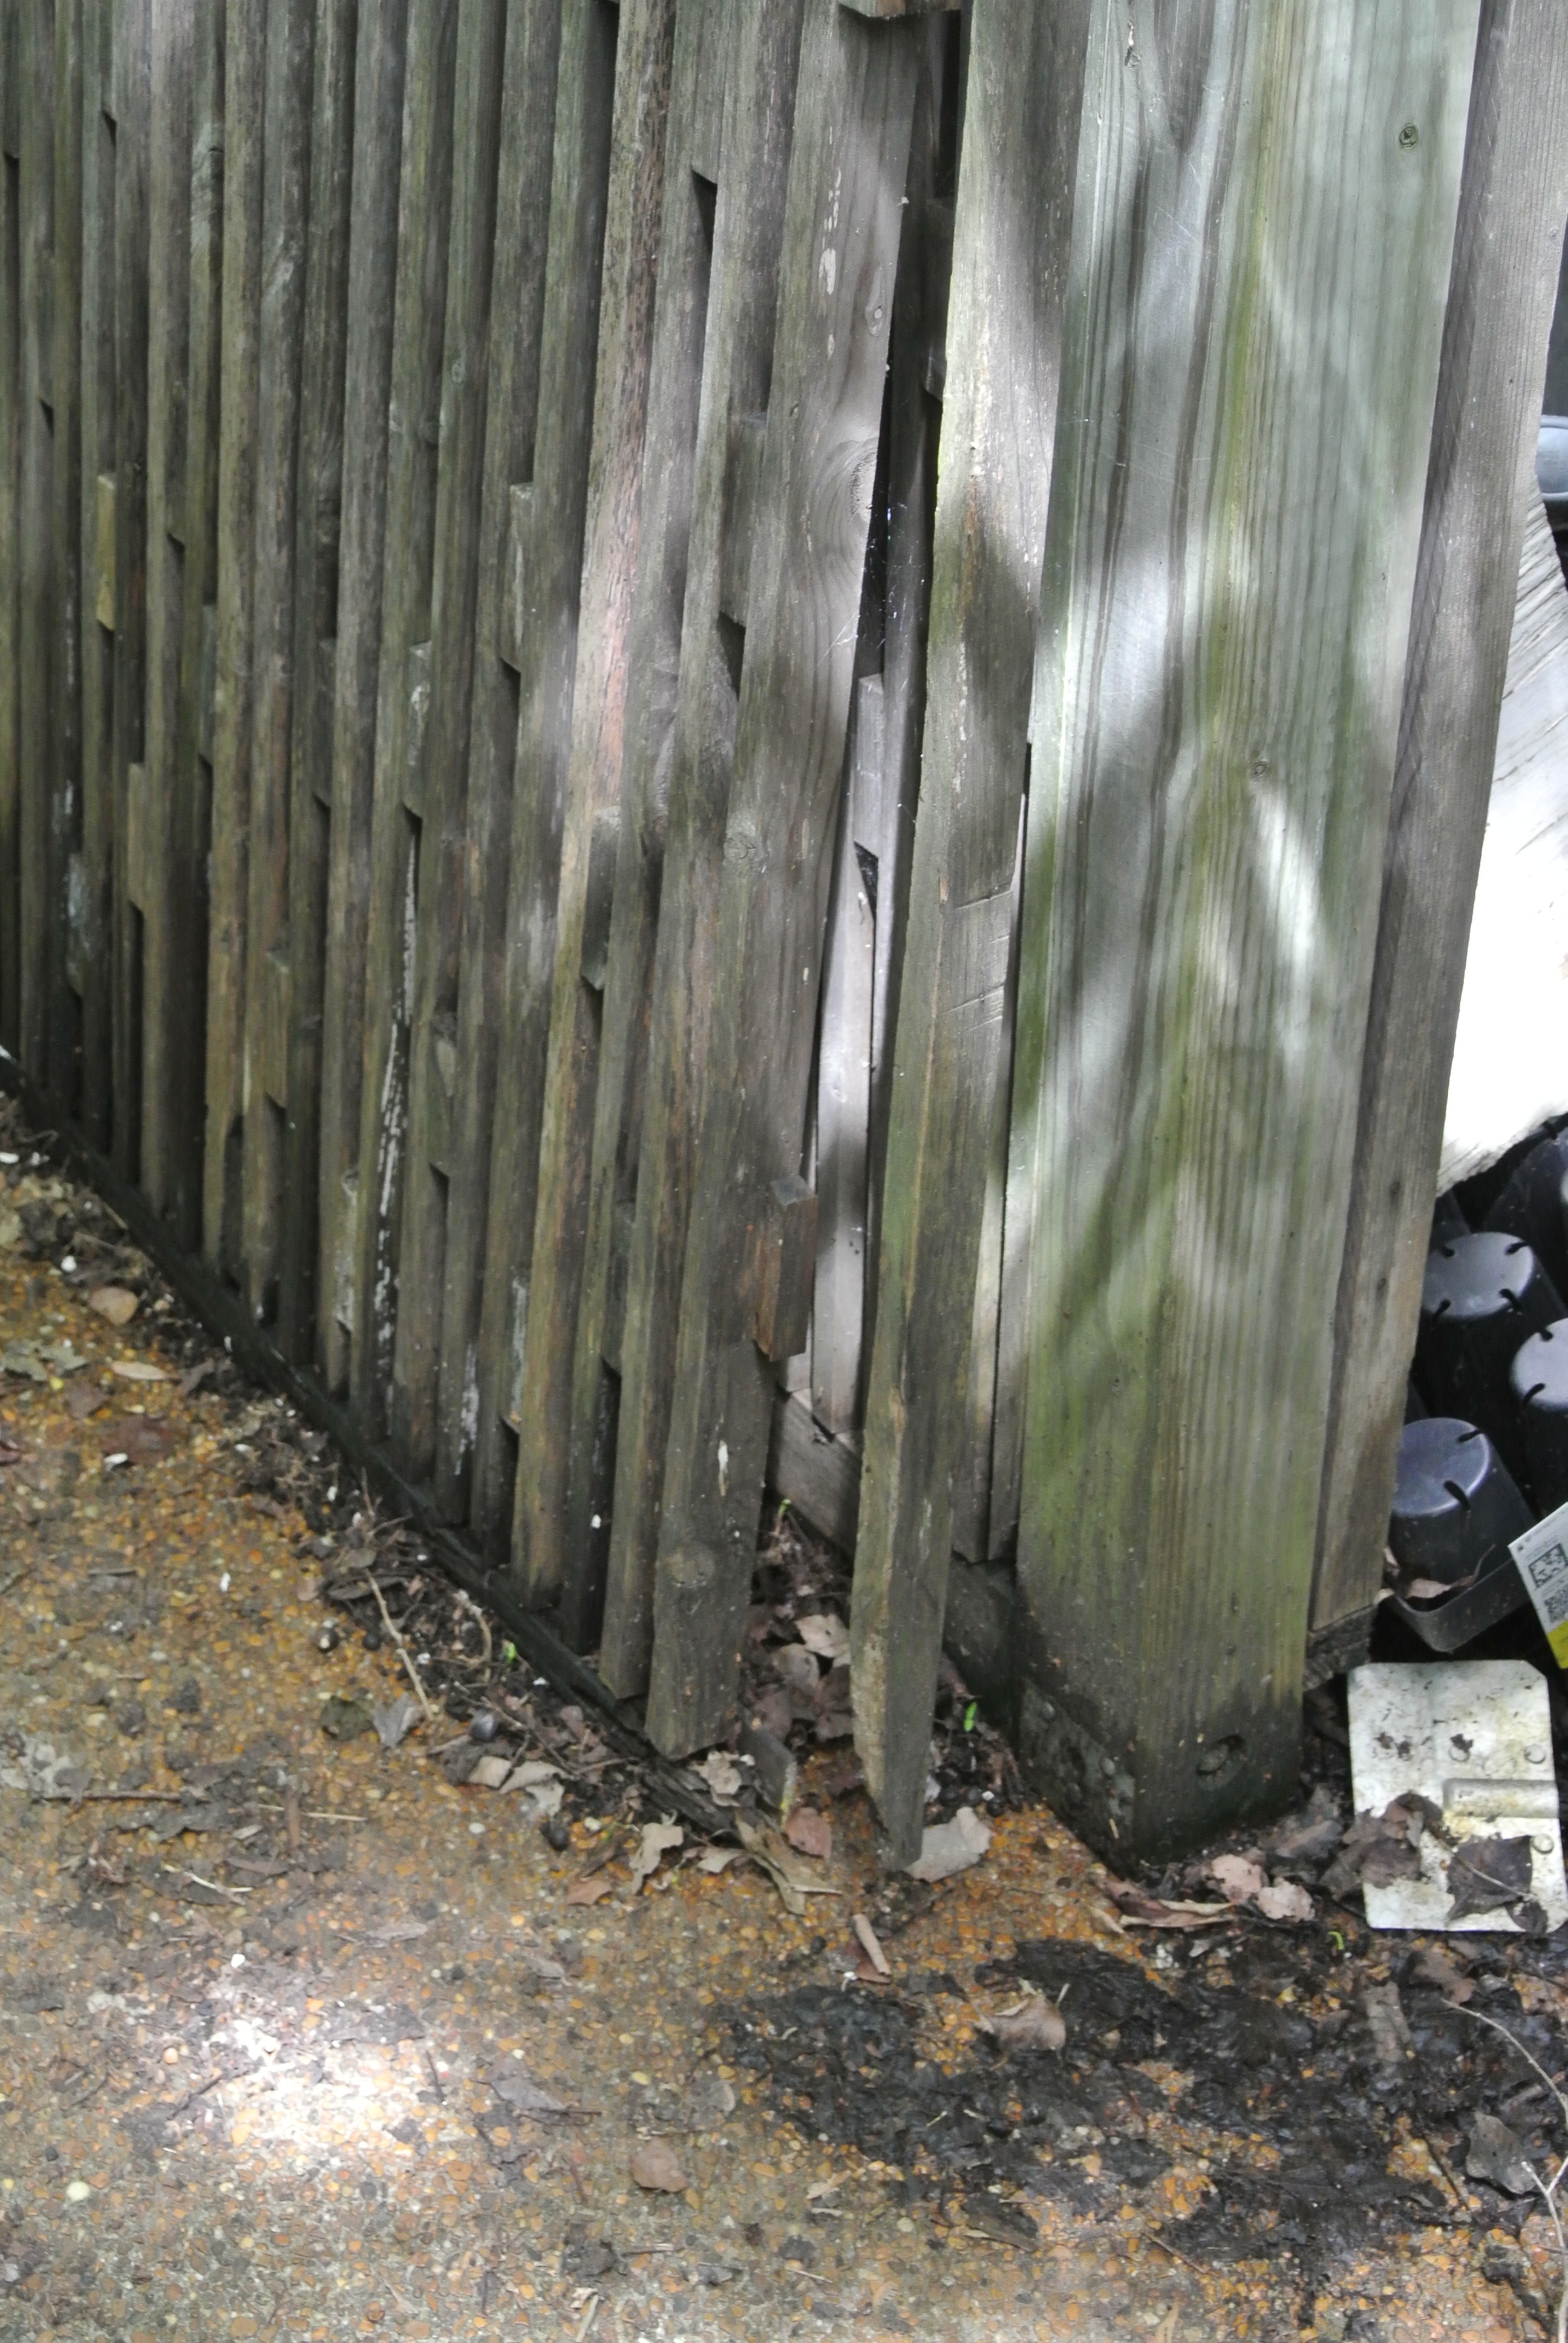
But since I still have all of those fun power tools, a new summer time project will be rebuilding the doors and getting the whole blind looking spiffy again.
Categories

I would be THRILLED for you to spiff up the garbage blind!
To get another chance to play with all of my fun power tools, absolutely!