
New Vision for an Old Garbage Blind
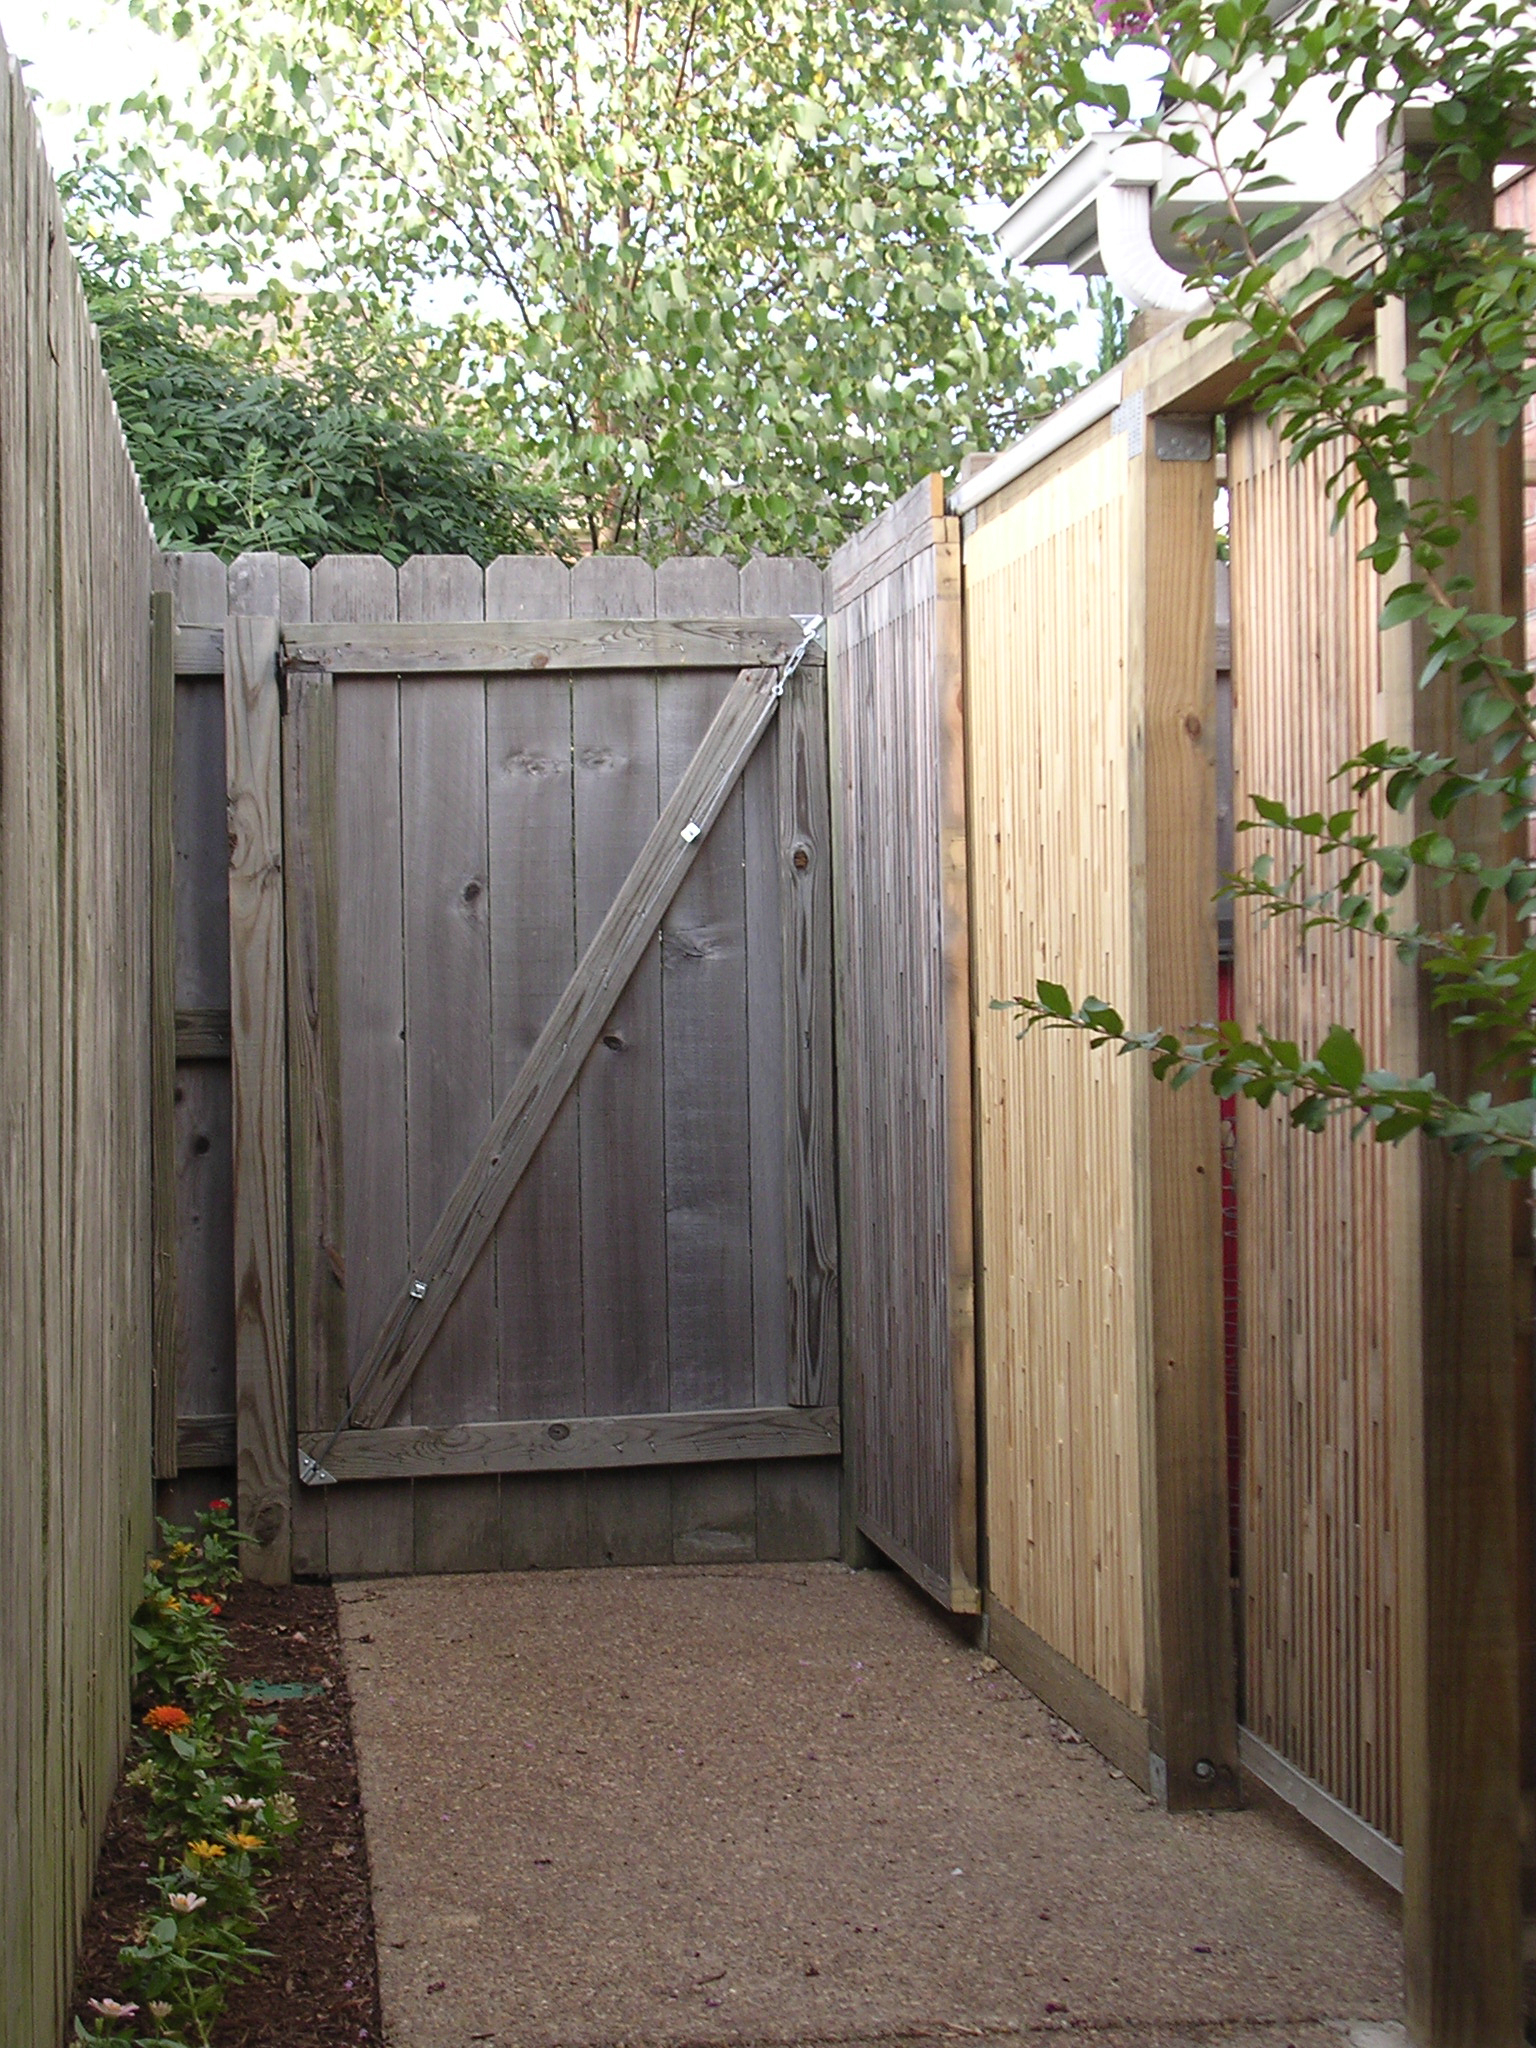
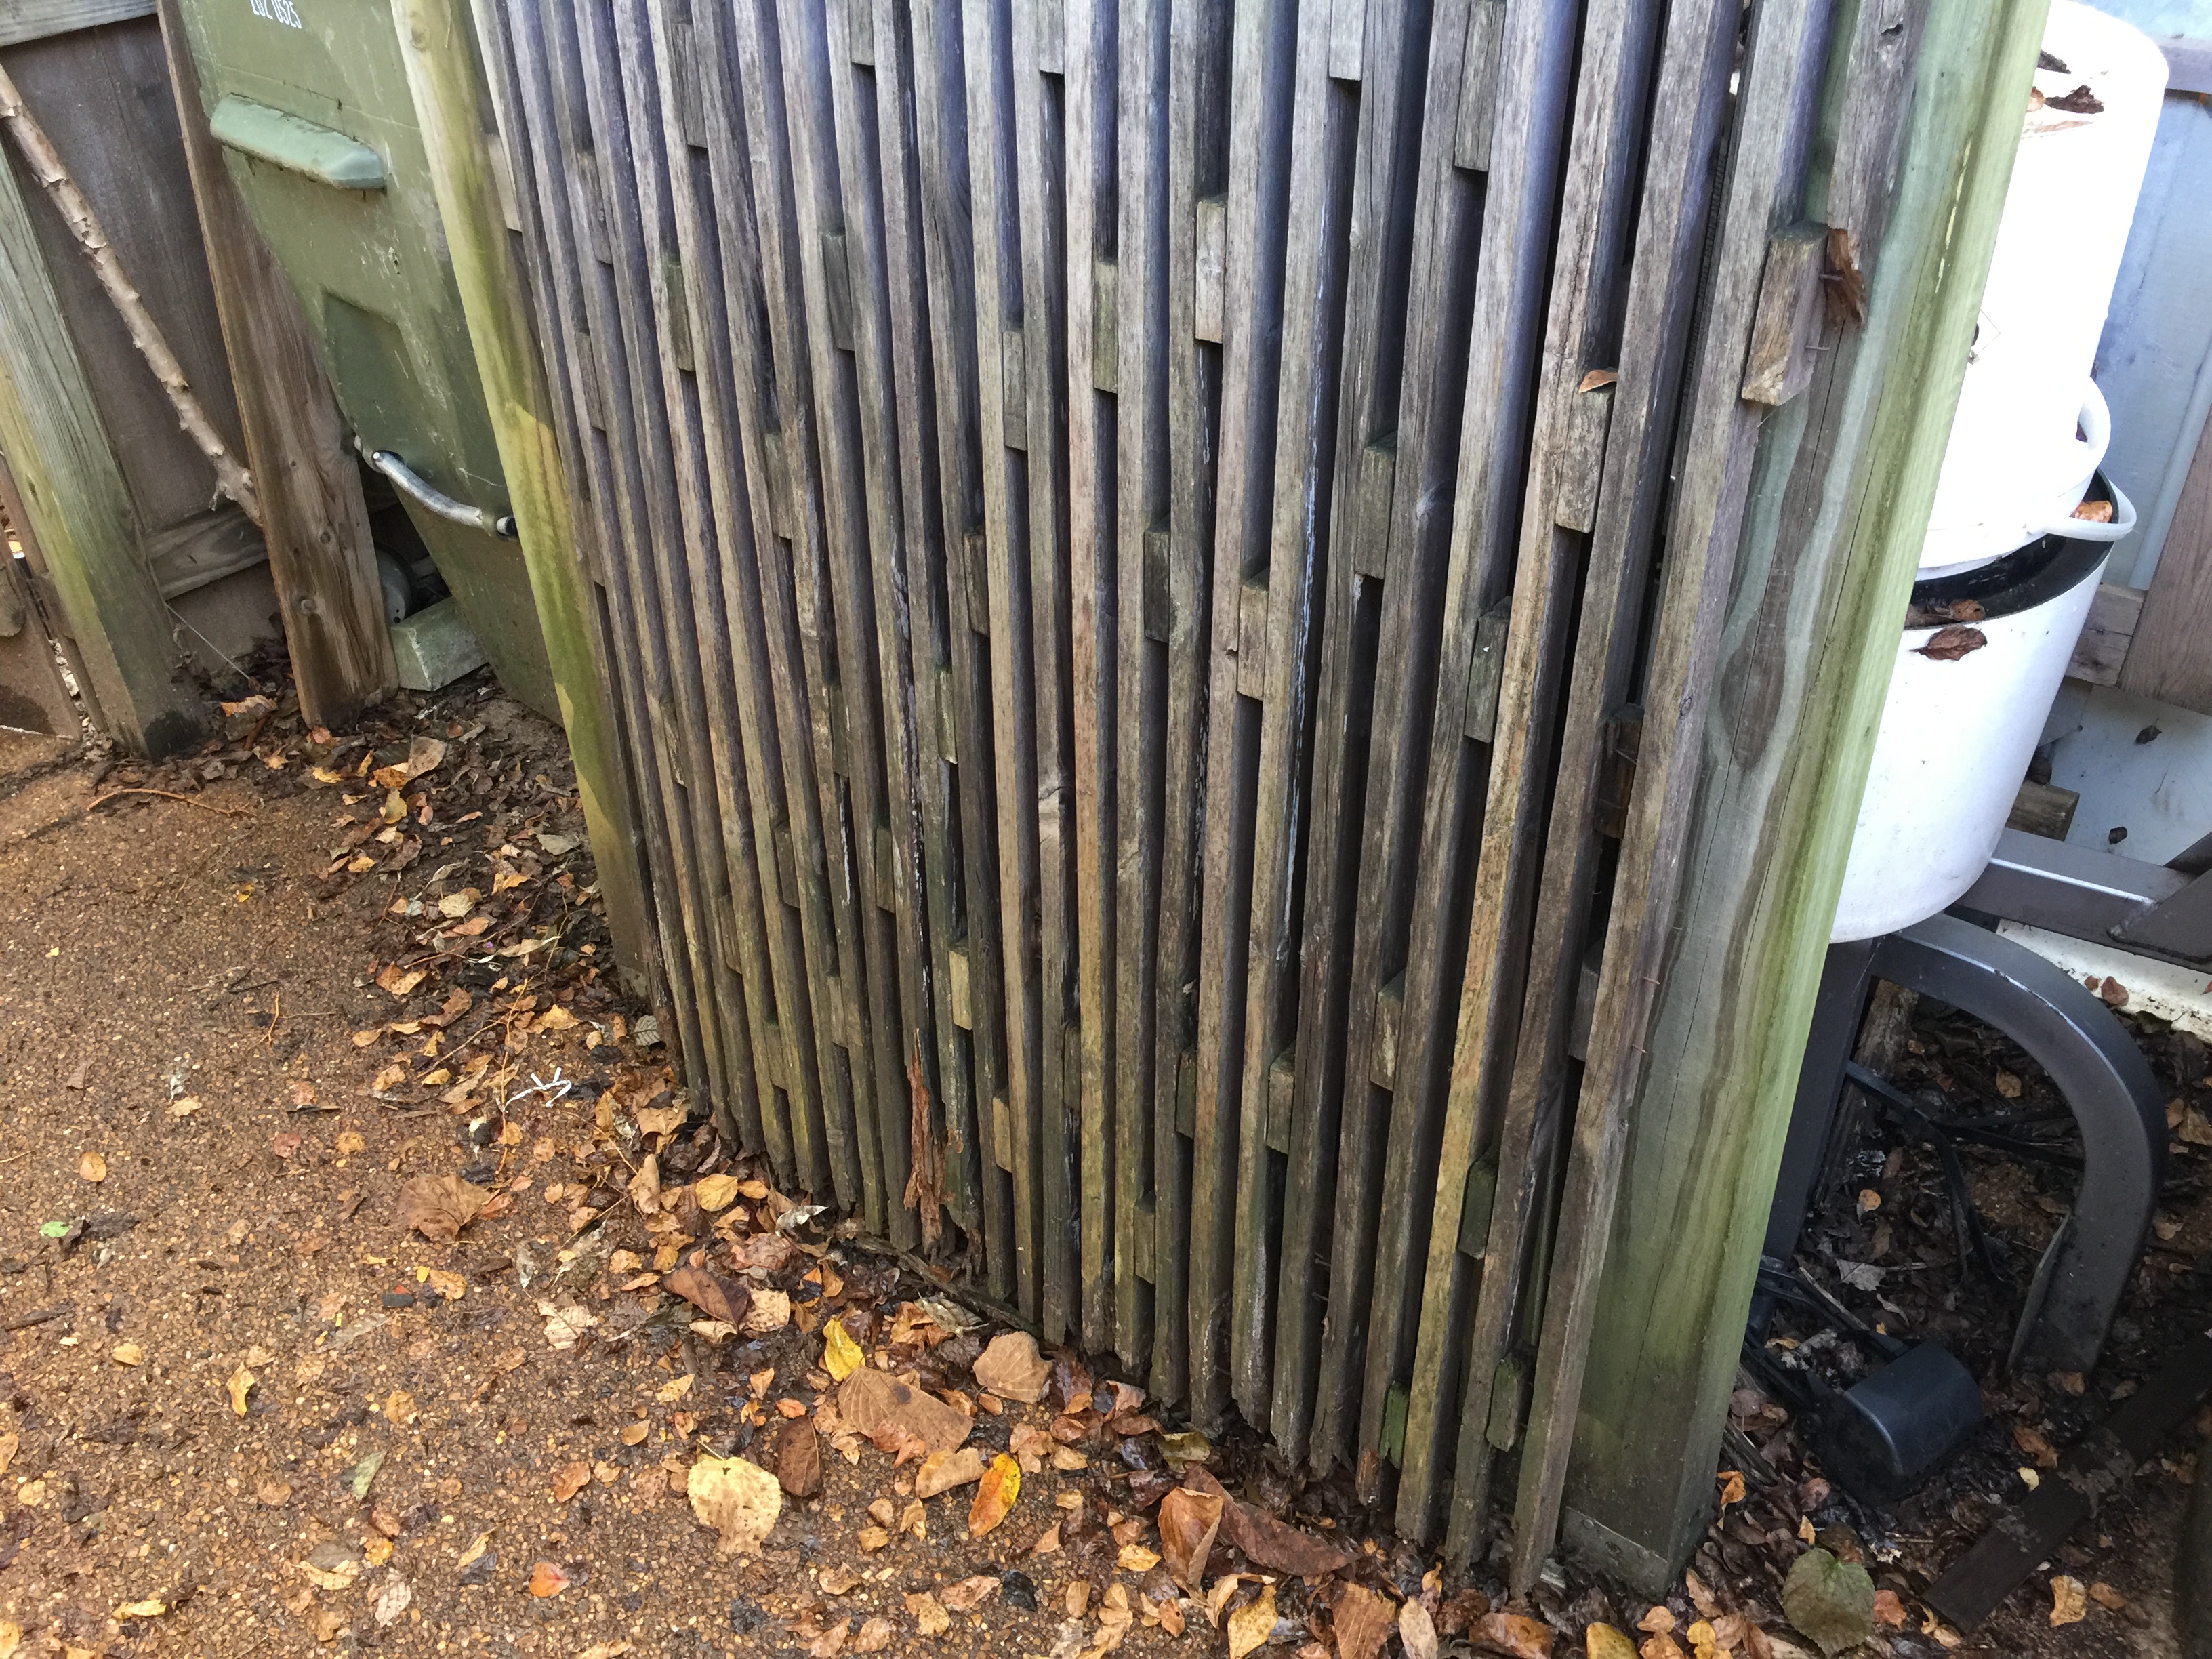
In 2015, I wrote about this garbage blind, which my oldest son designed and helped me to build before he headed off to pursue a graduate degree in architecture. At the end of that post, I noted that due to the unavailability of pressure treated 1 X 2 boards and over ten years exposure to the elements; the garbage blind was in need of “spiffing up.” Well in the three years since I wrote that post, all of the untreated 1 X 2 boards have deteriorated even further, particularly, the gates.
And with the completion of the new fence…

…looked even more unsightly given that the non functioning gates remain open simply leaning up against the frame like an old washed-up derelict.

The fact that the gates had proven to be the Achilles heel of this 15-year old DIY project prompted me to explore other designs rather than just rebuilding the existing structure with new materials. Probably the easiest way to rebuild it would have been to use the same “dog-eared” cedar boards to make the blind match the fence. But that just seemed too boring.
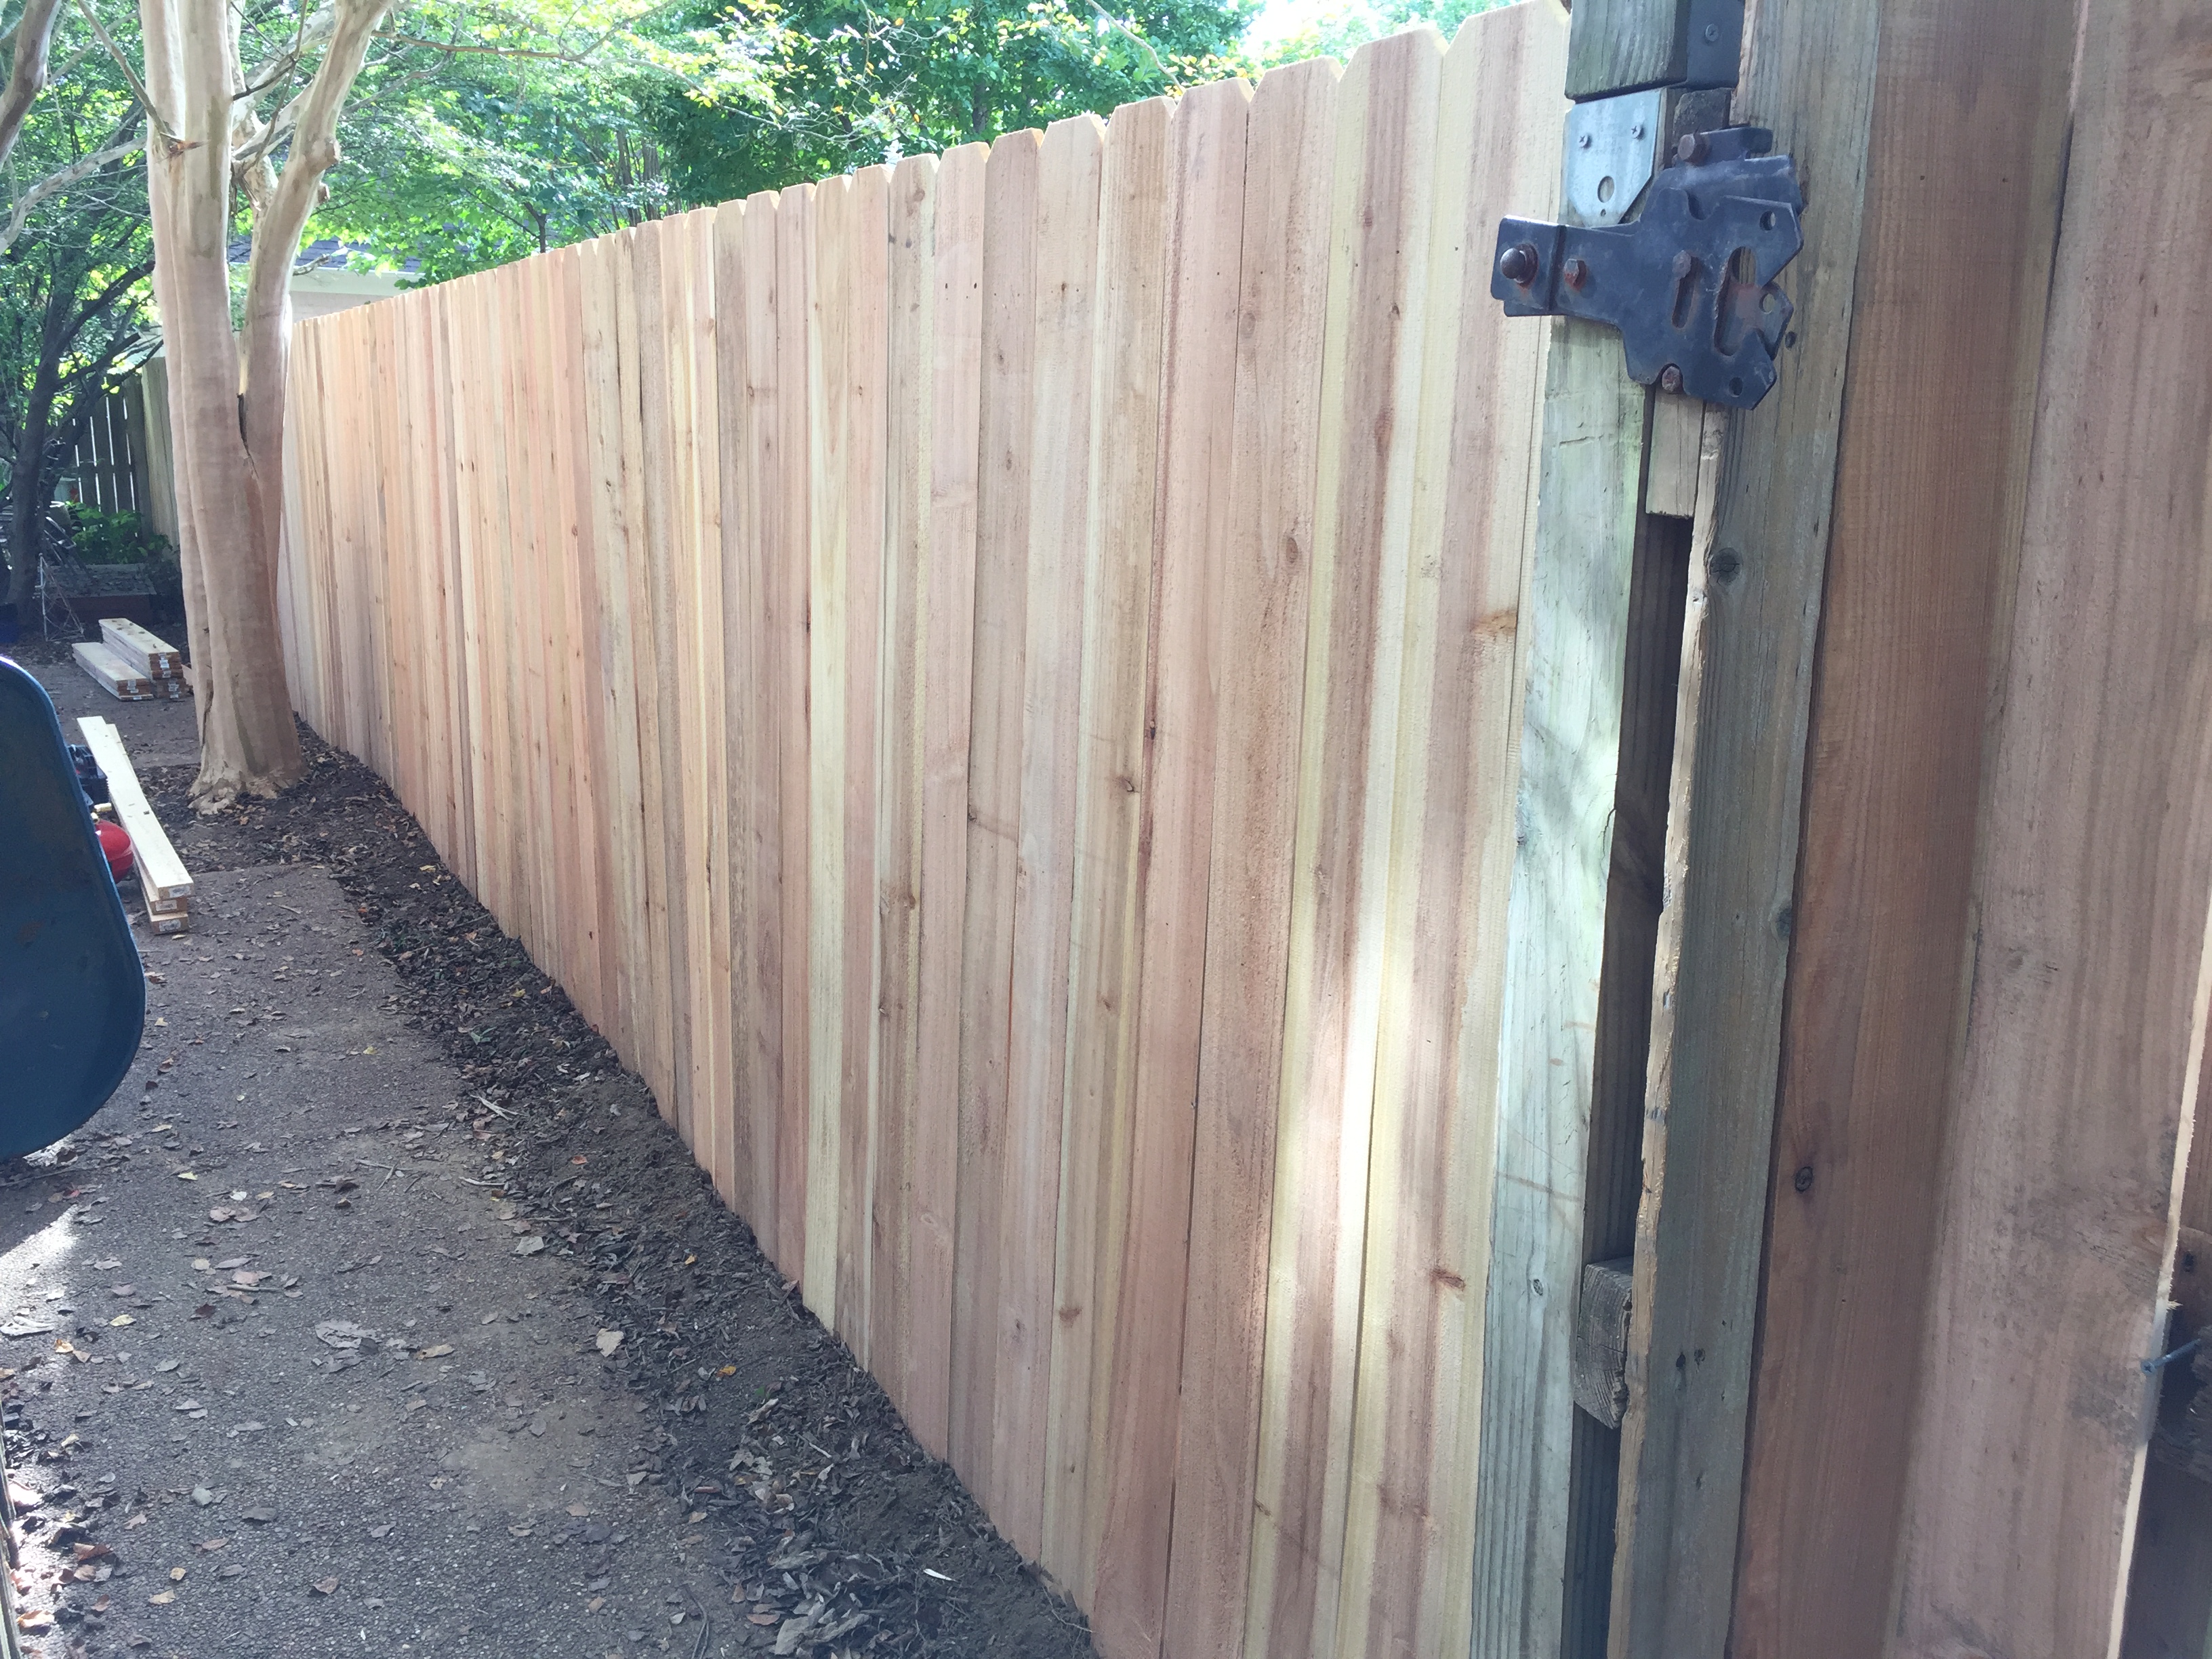
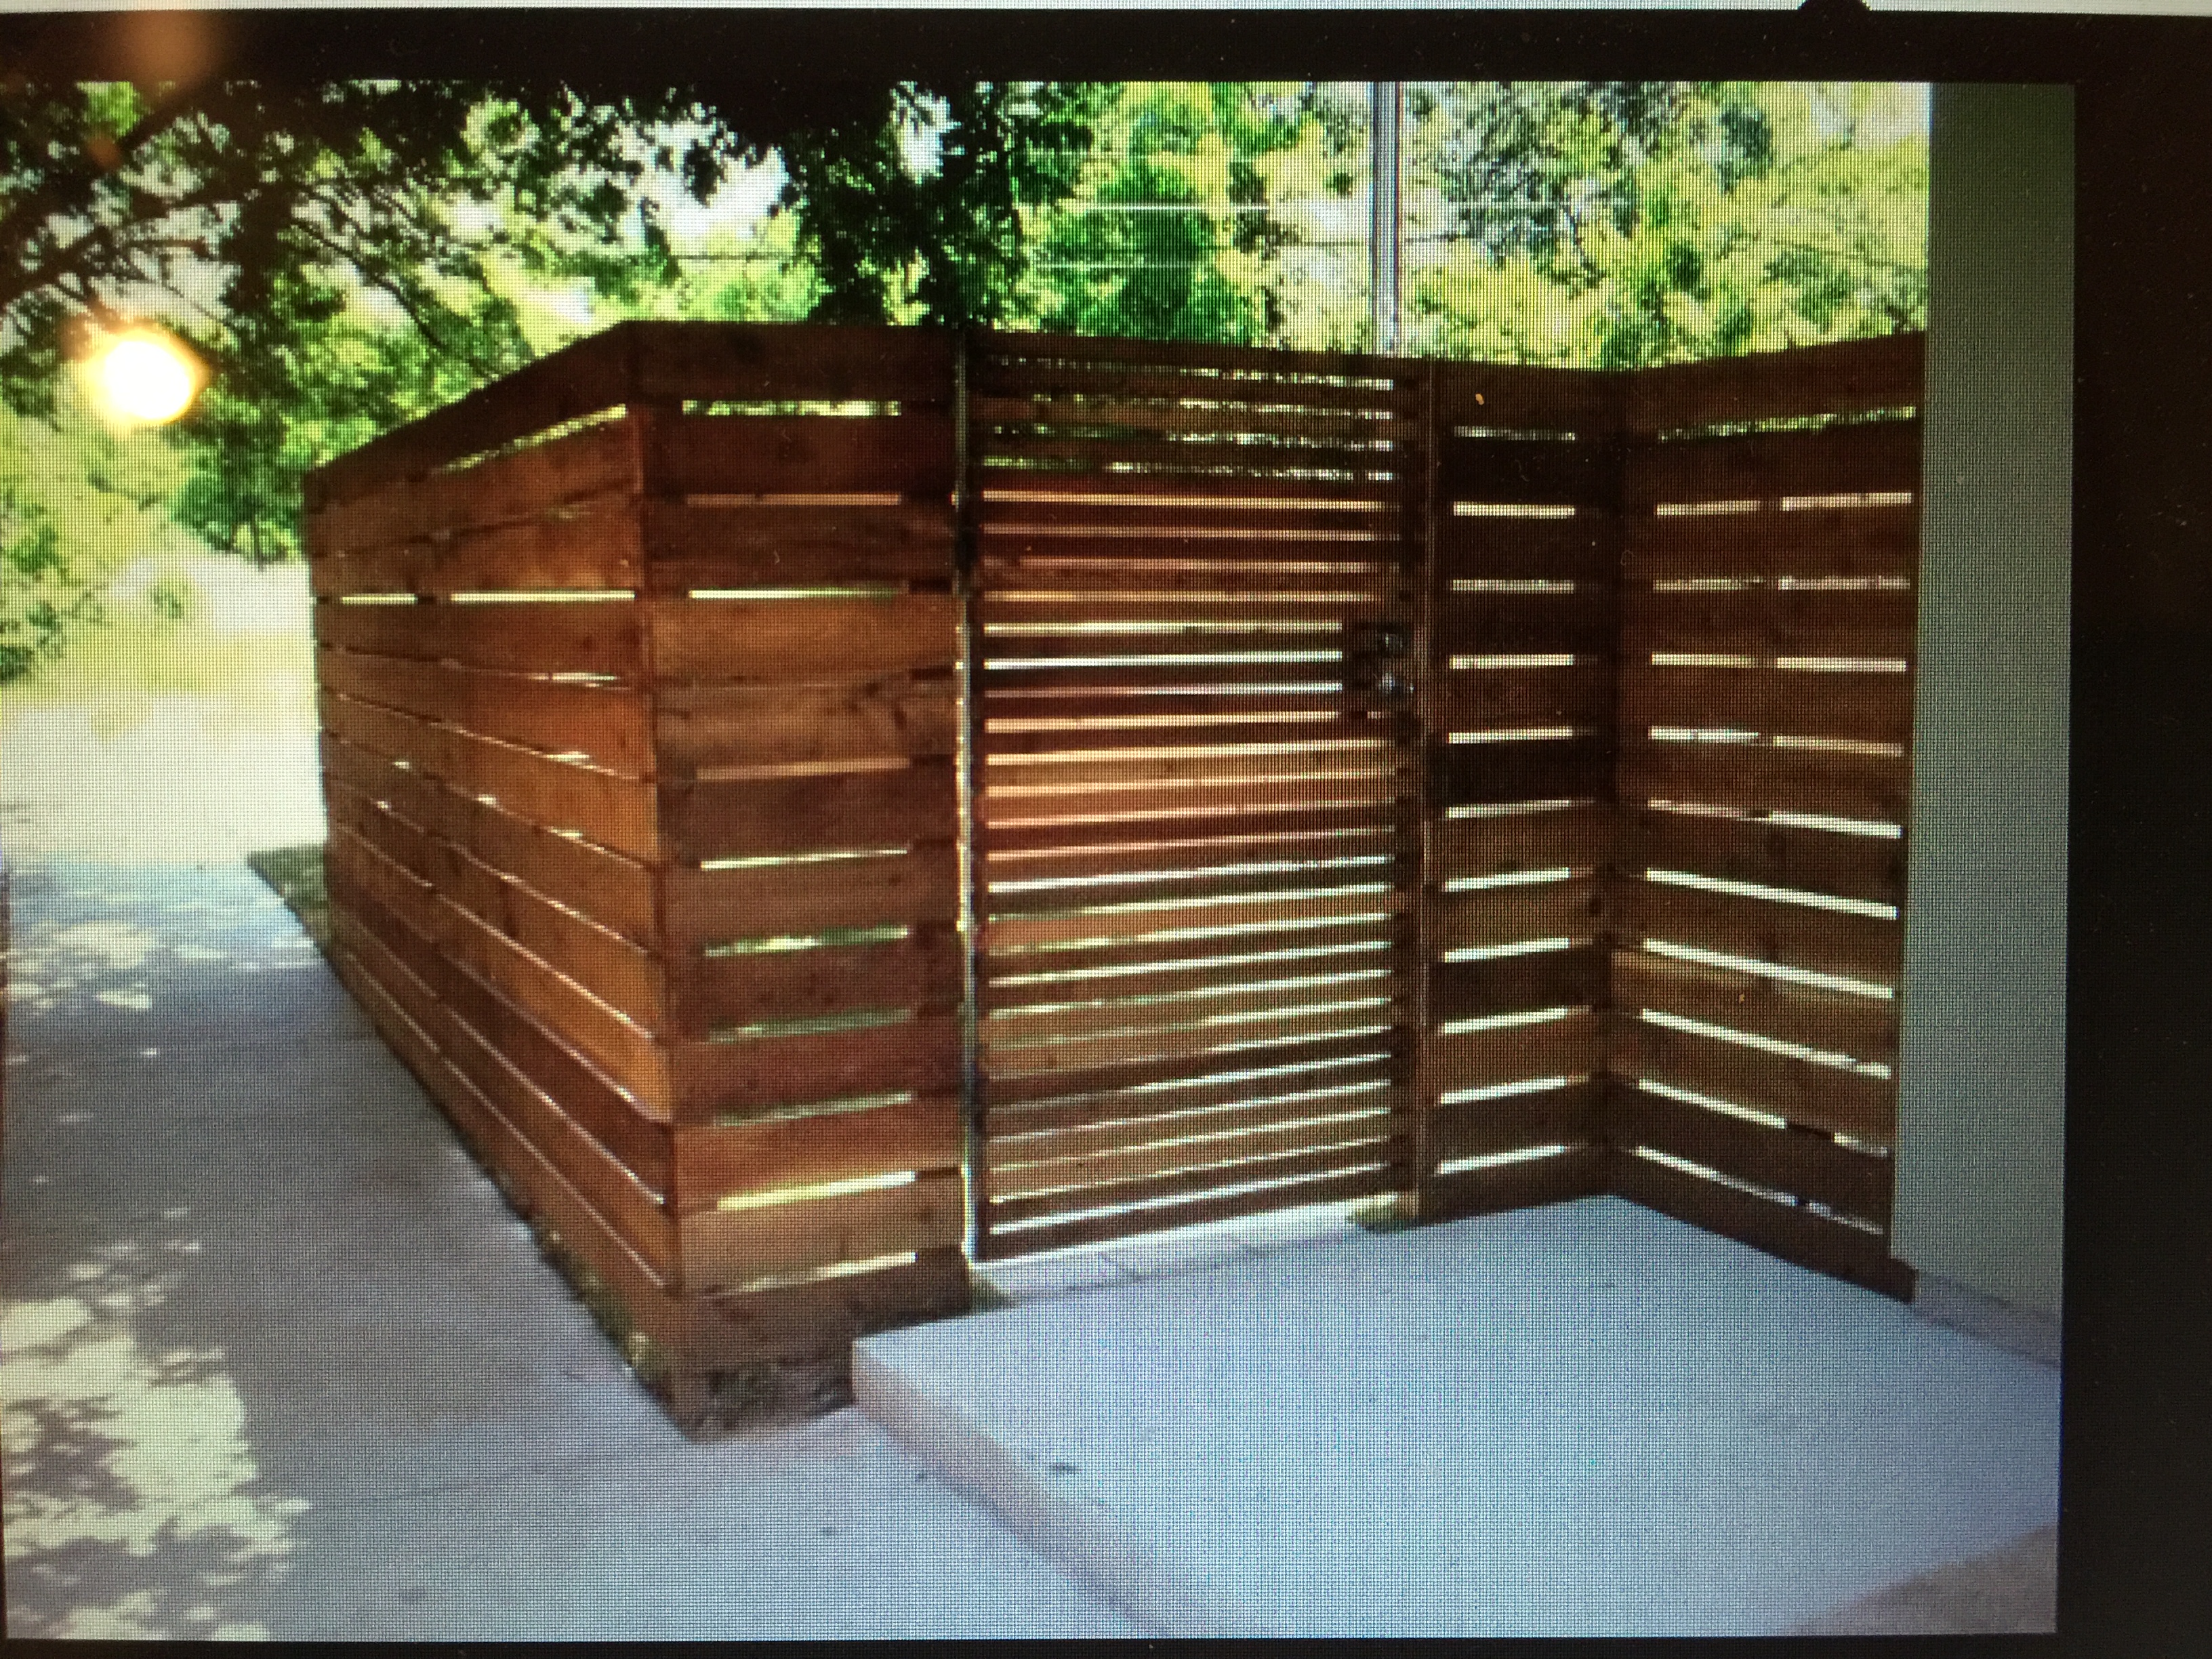
Ironically it was a visit to see my oldest son and his family who now live south of San Francisco that served as inspiration for a garbage blind makeover. Just a half block from his home, we passed a house that had a very nice fence with stained and finished boards running horizontally. Most fences, in particular the one I had just completed have the boards in a vertical orientation.
But knowing that the gate would again be heavy and present a structural challenge as before, I explored online to see if I could find another idea. I knew I had found it when I came across this fence that incorporates lighter materials for the gate.
With a new vision for our old garbage blind in hand, the first step was to empty out the blind and deconstruct the existing 1 X 2 boards, which given their severe state of disrepair didn’t take much effort.
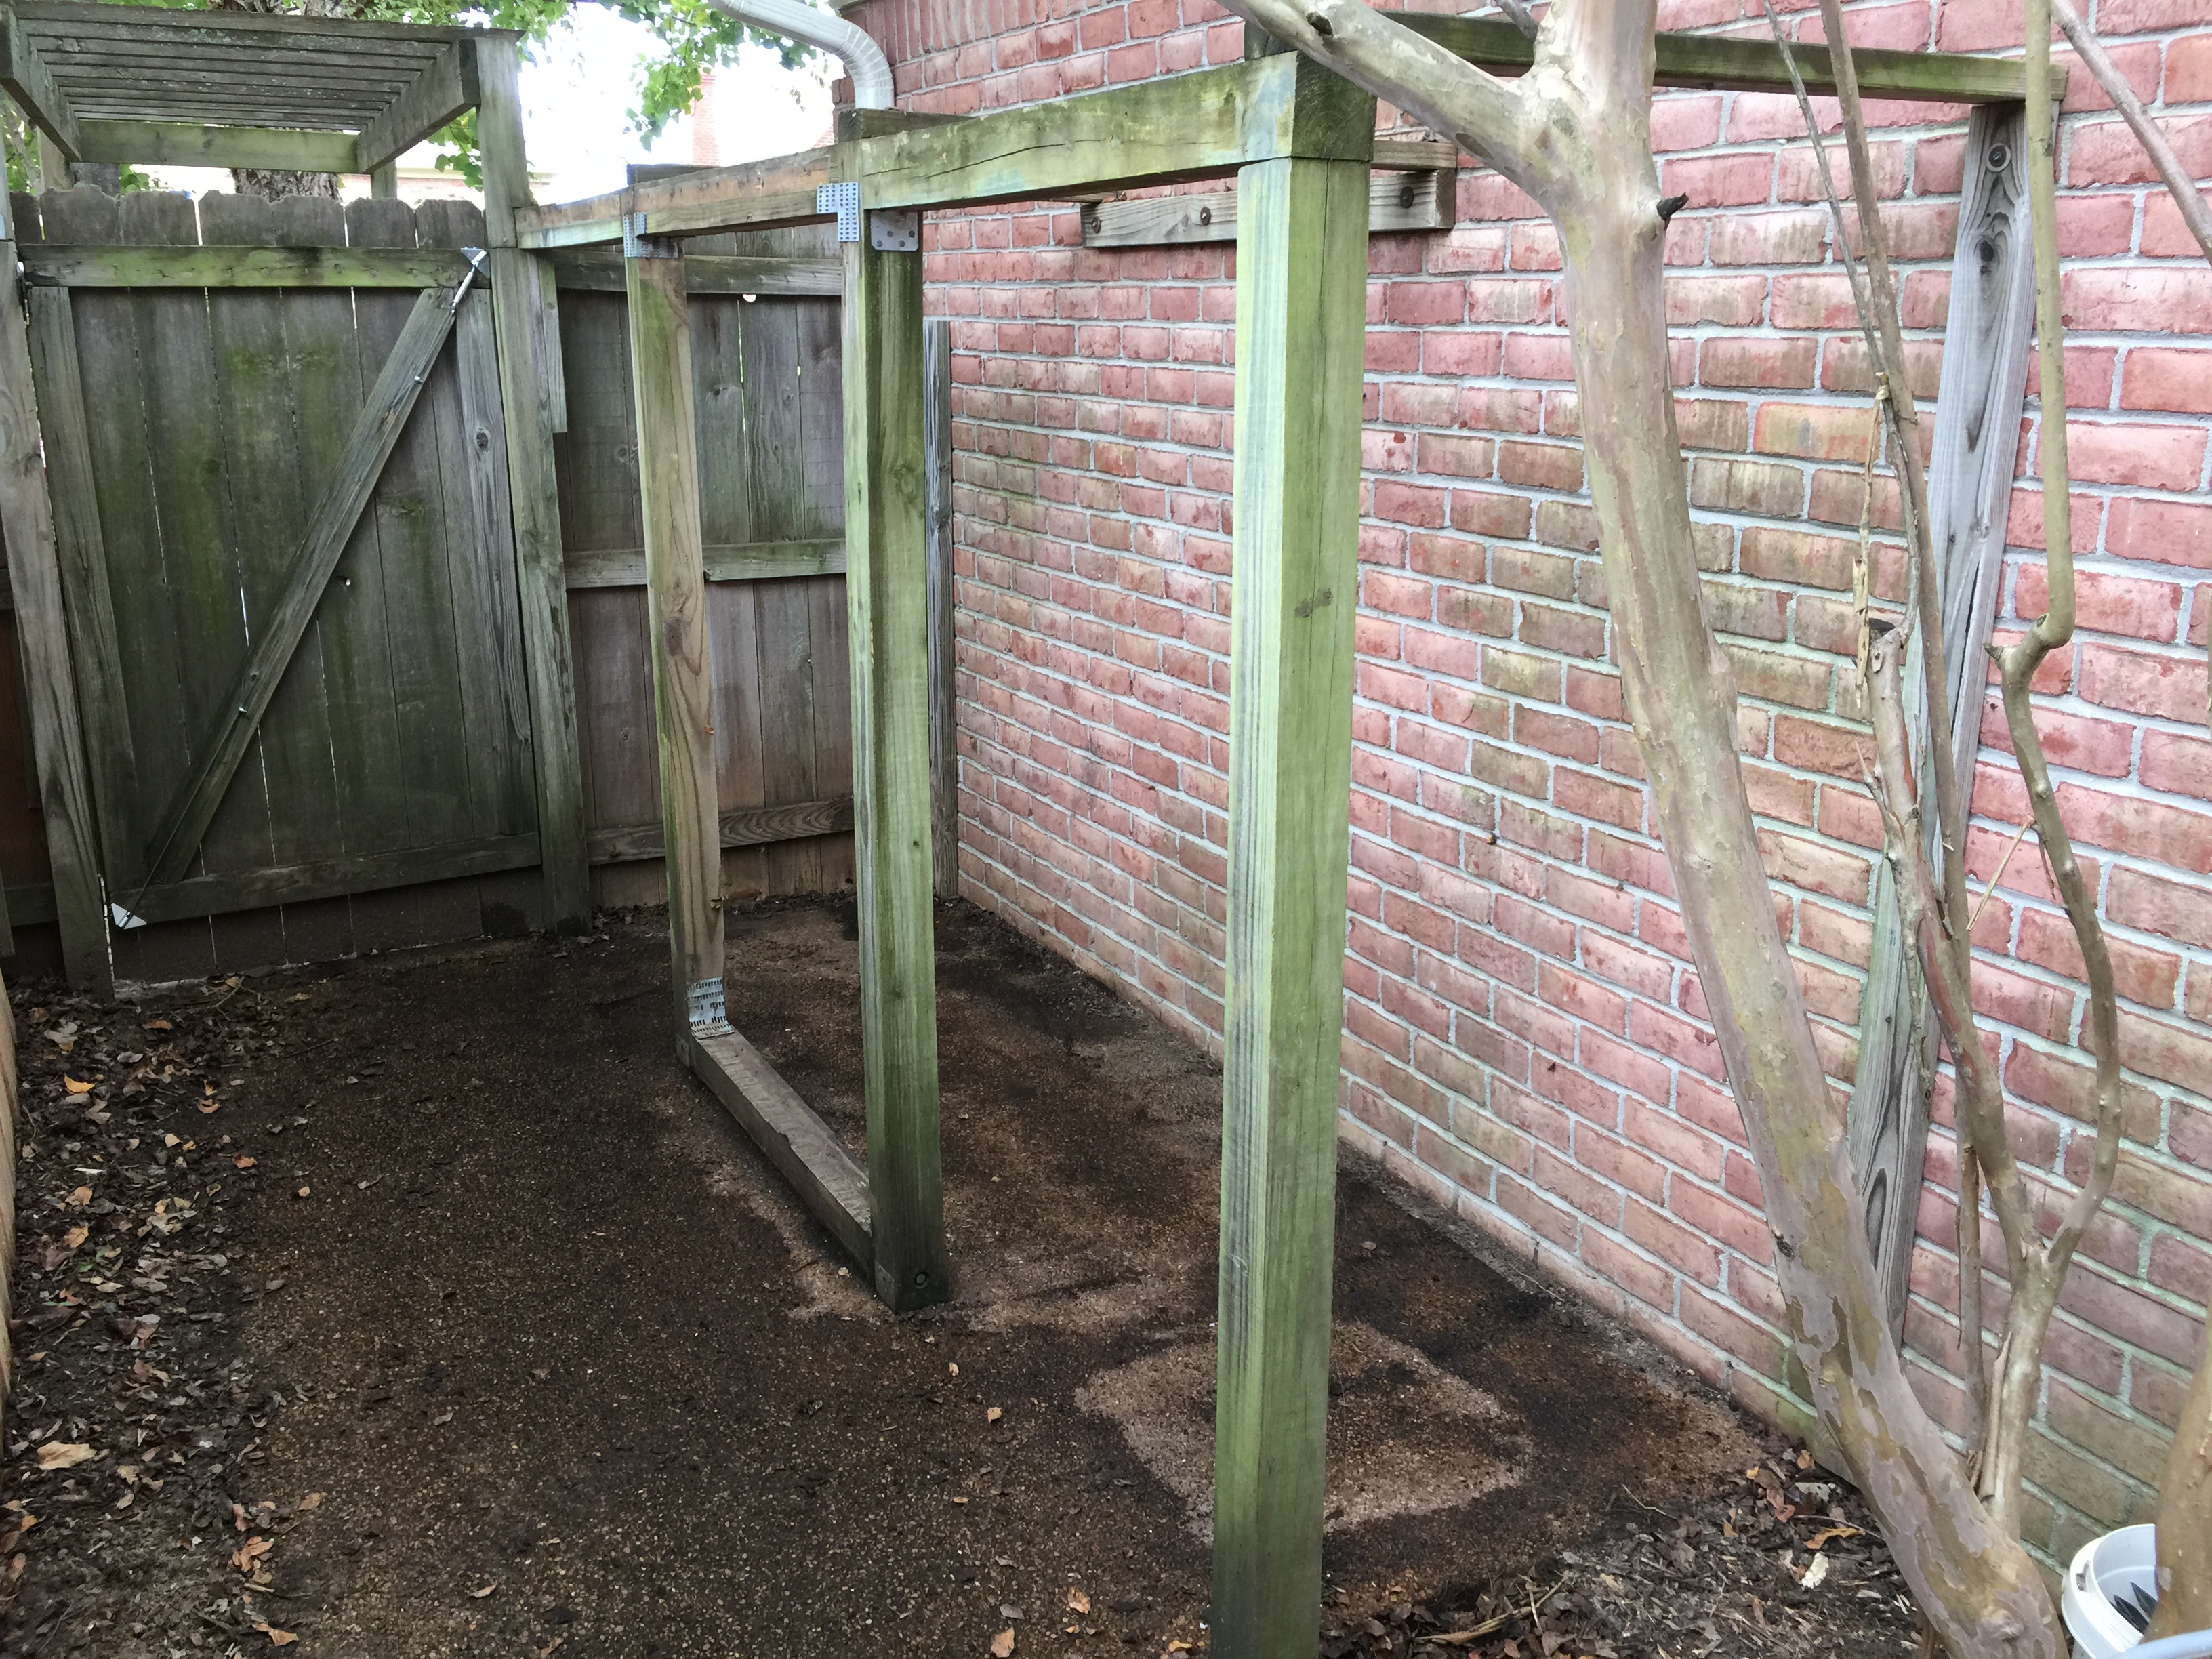
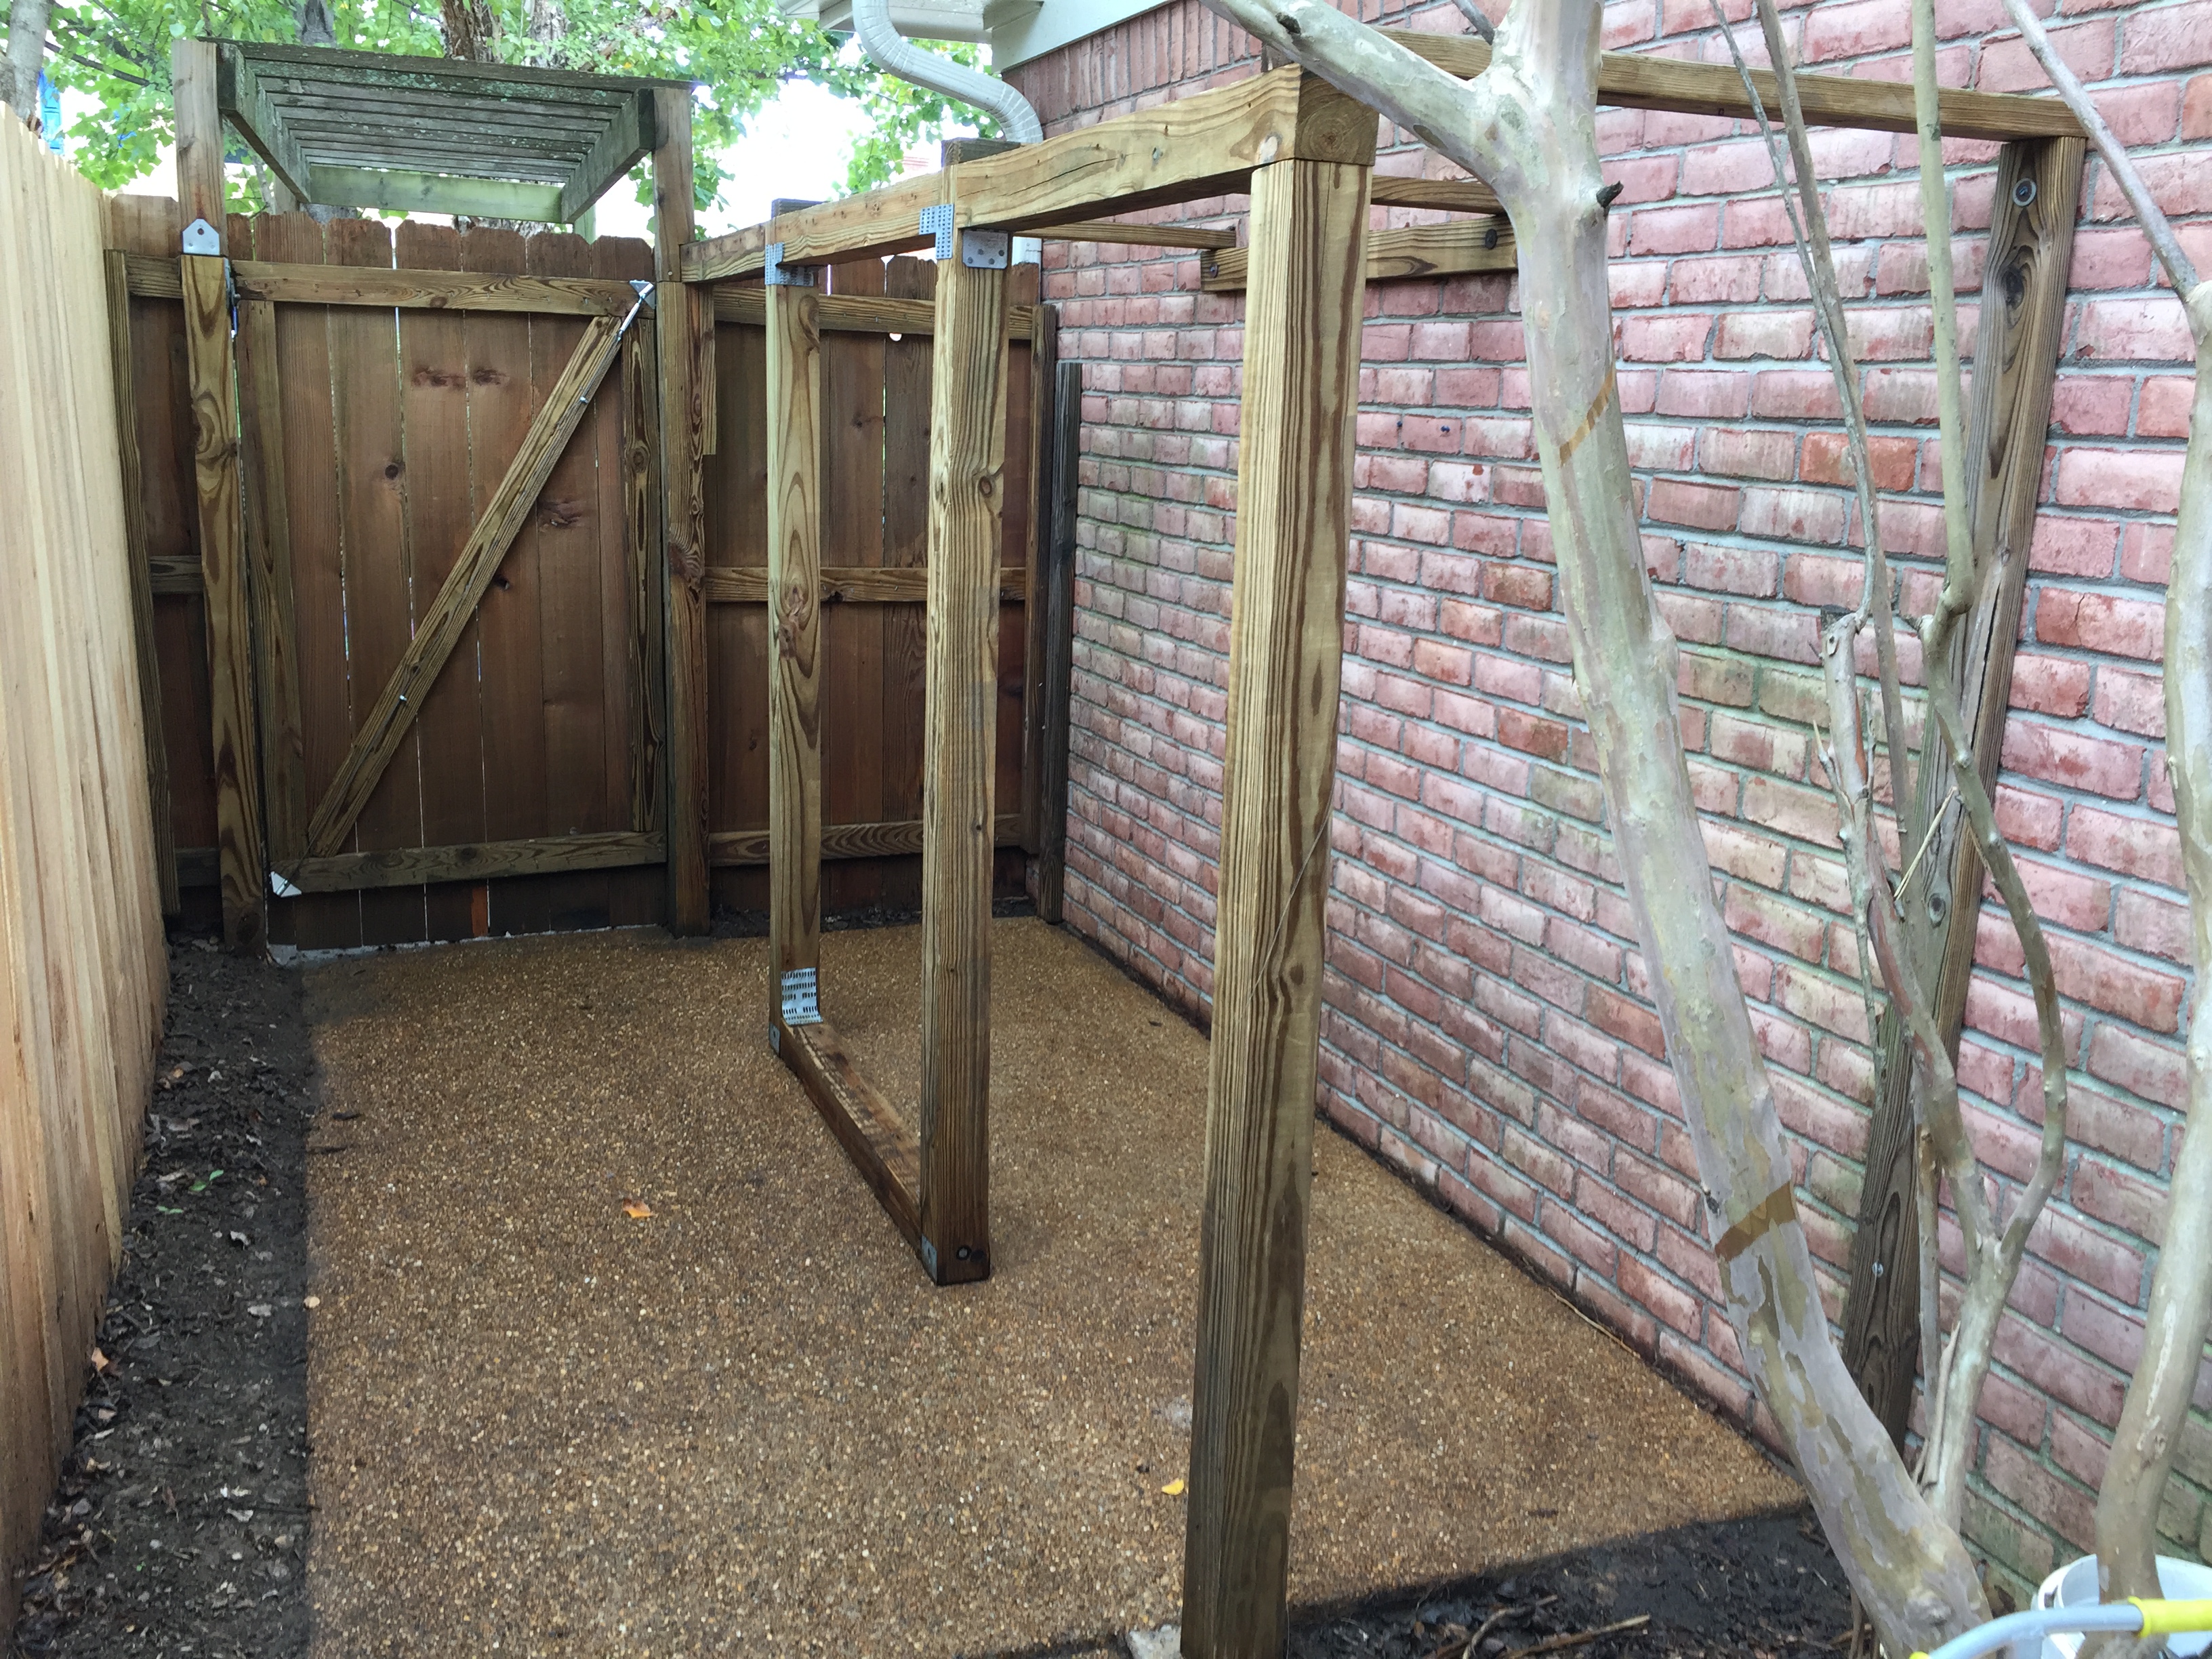
I planned to reuse the existing frame since it had stood the test of time; just a simple pressure washing returned it to its almost original condition.
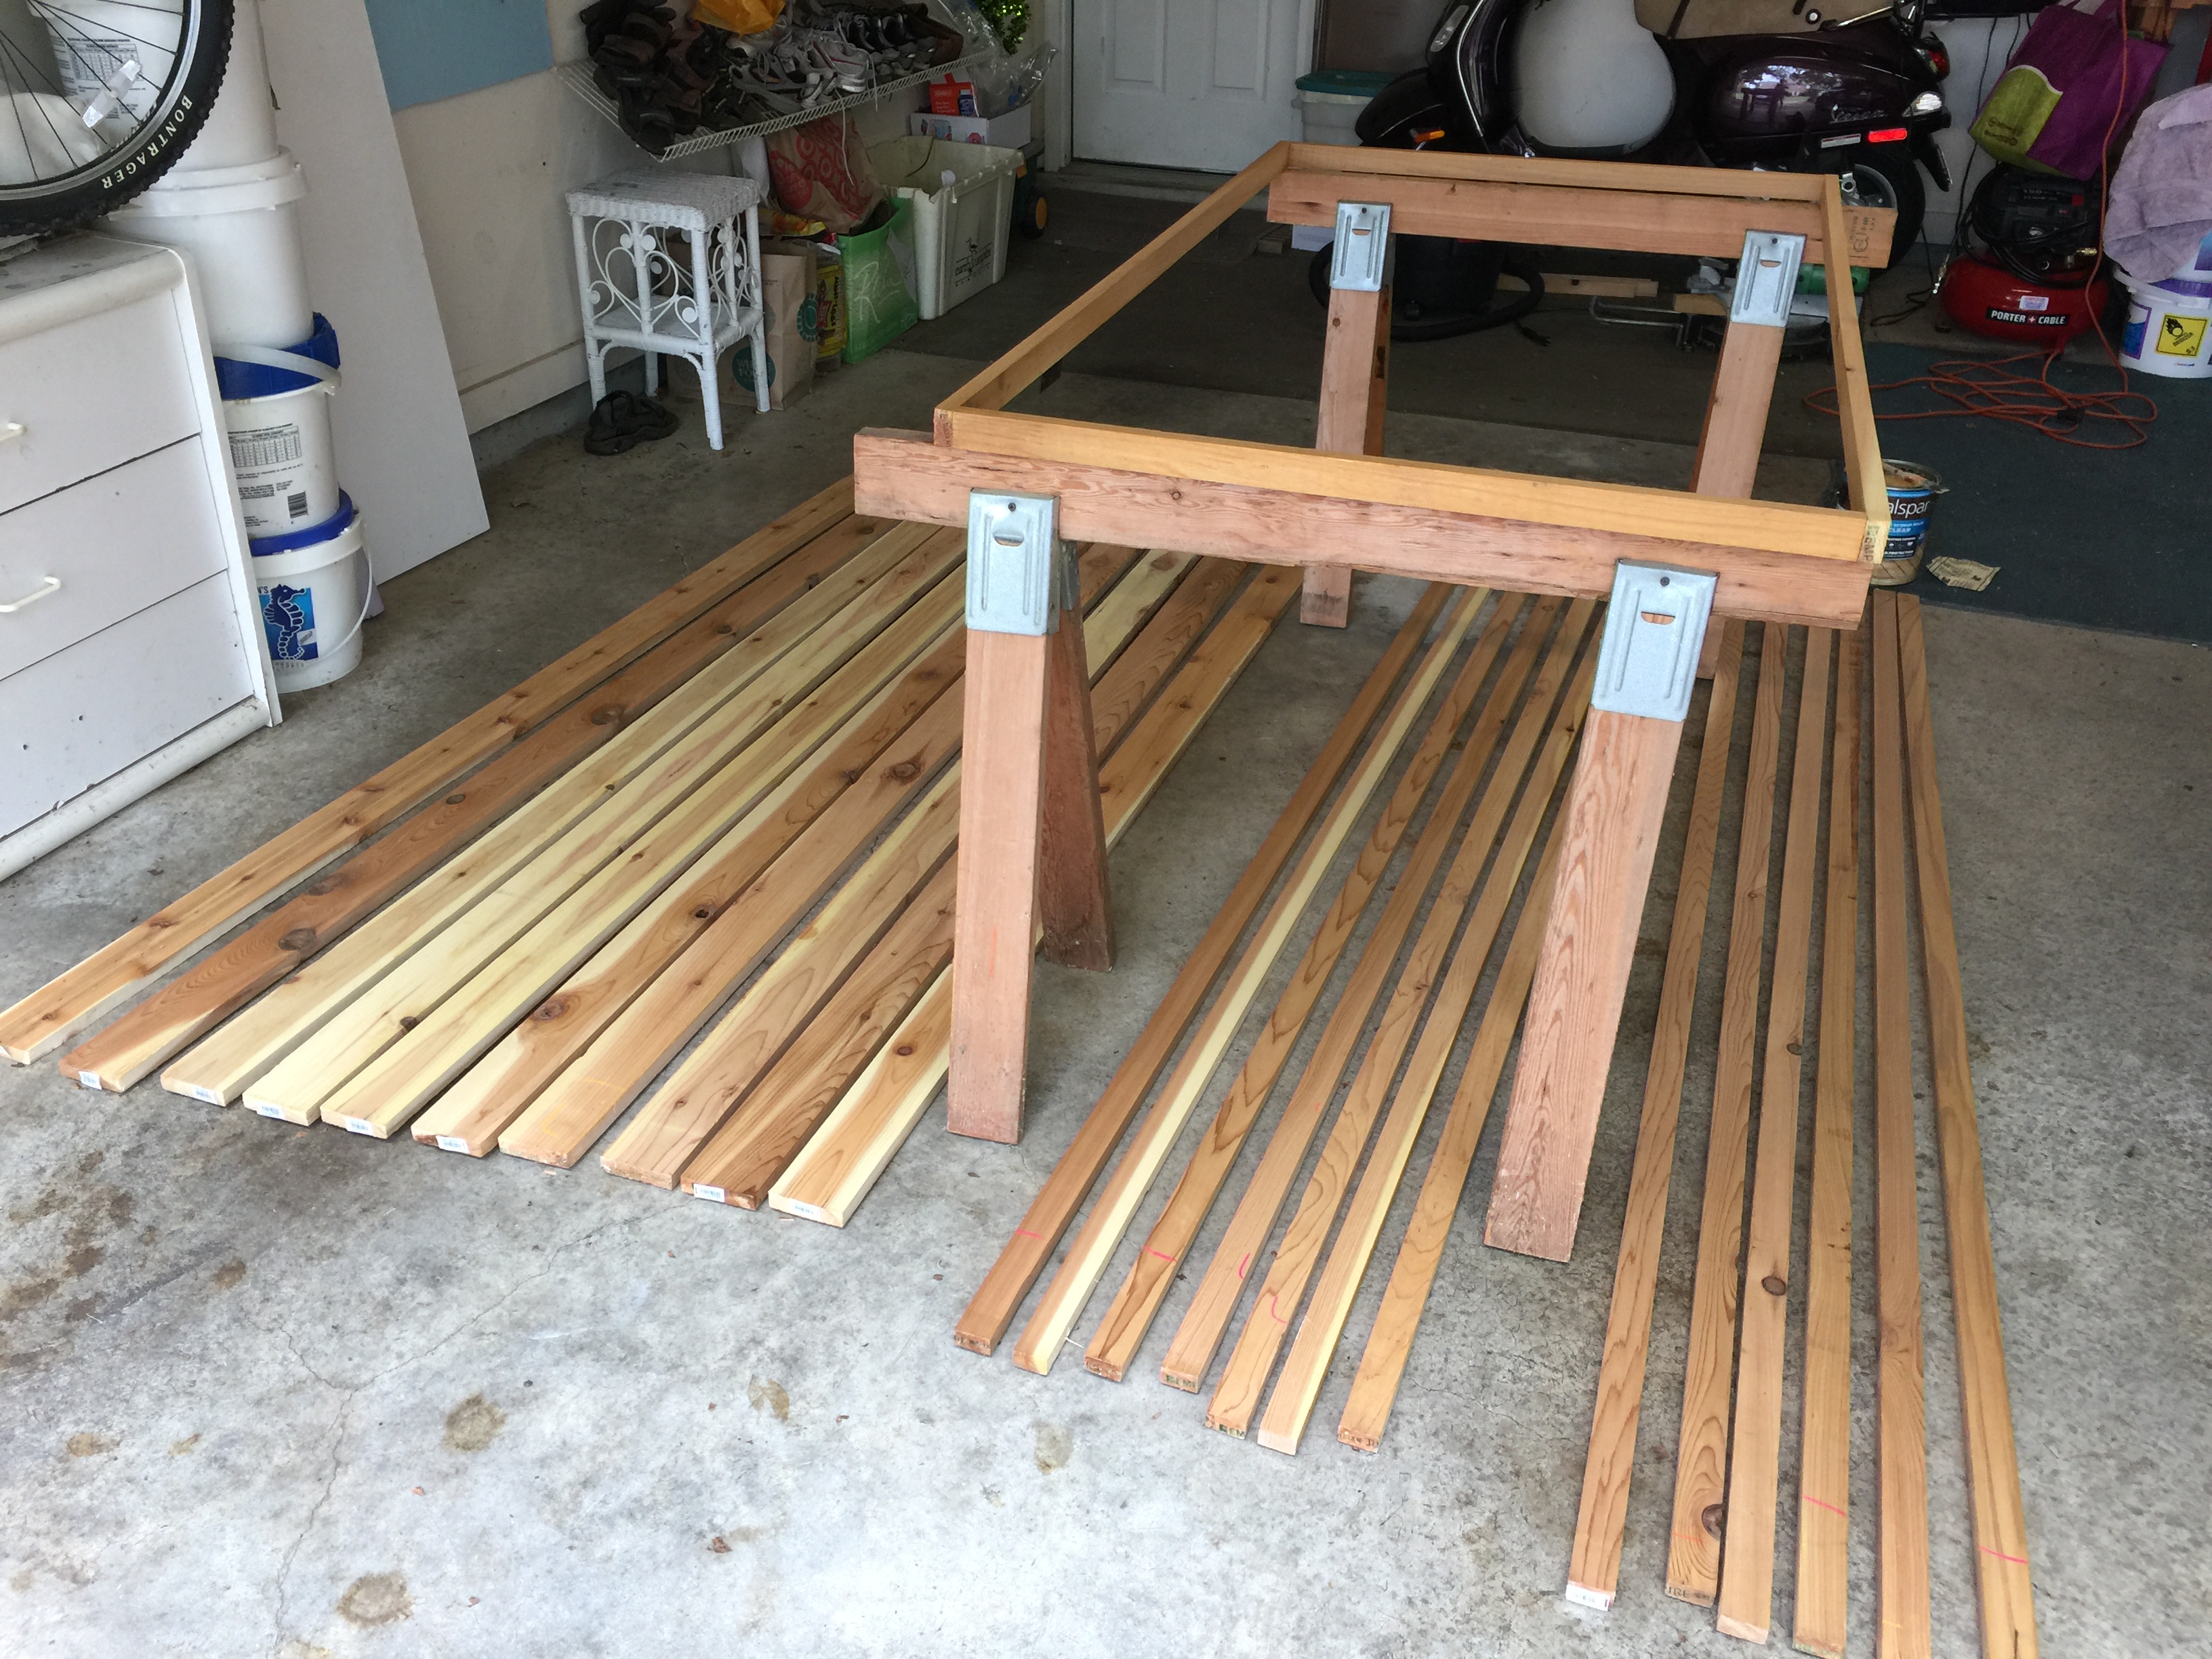
After a visit to my favorite toy store (Lowe’s) to explore building materials, I settled on cedar boards that had a smooth finish on one side and came in the two sizes I need, 1 X 2 and 1 X 4 boards.
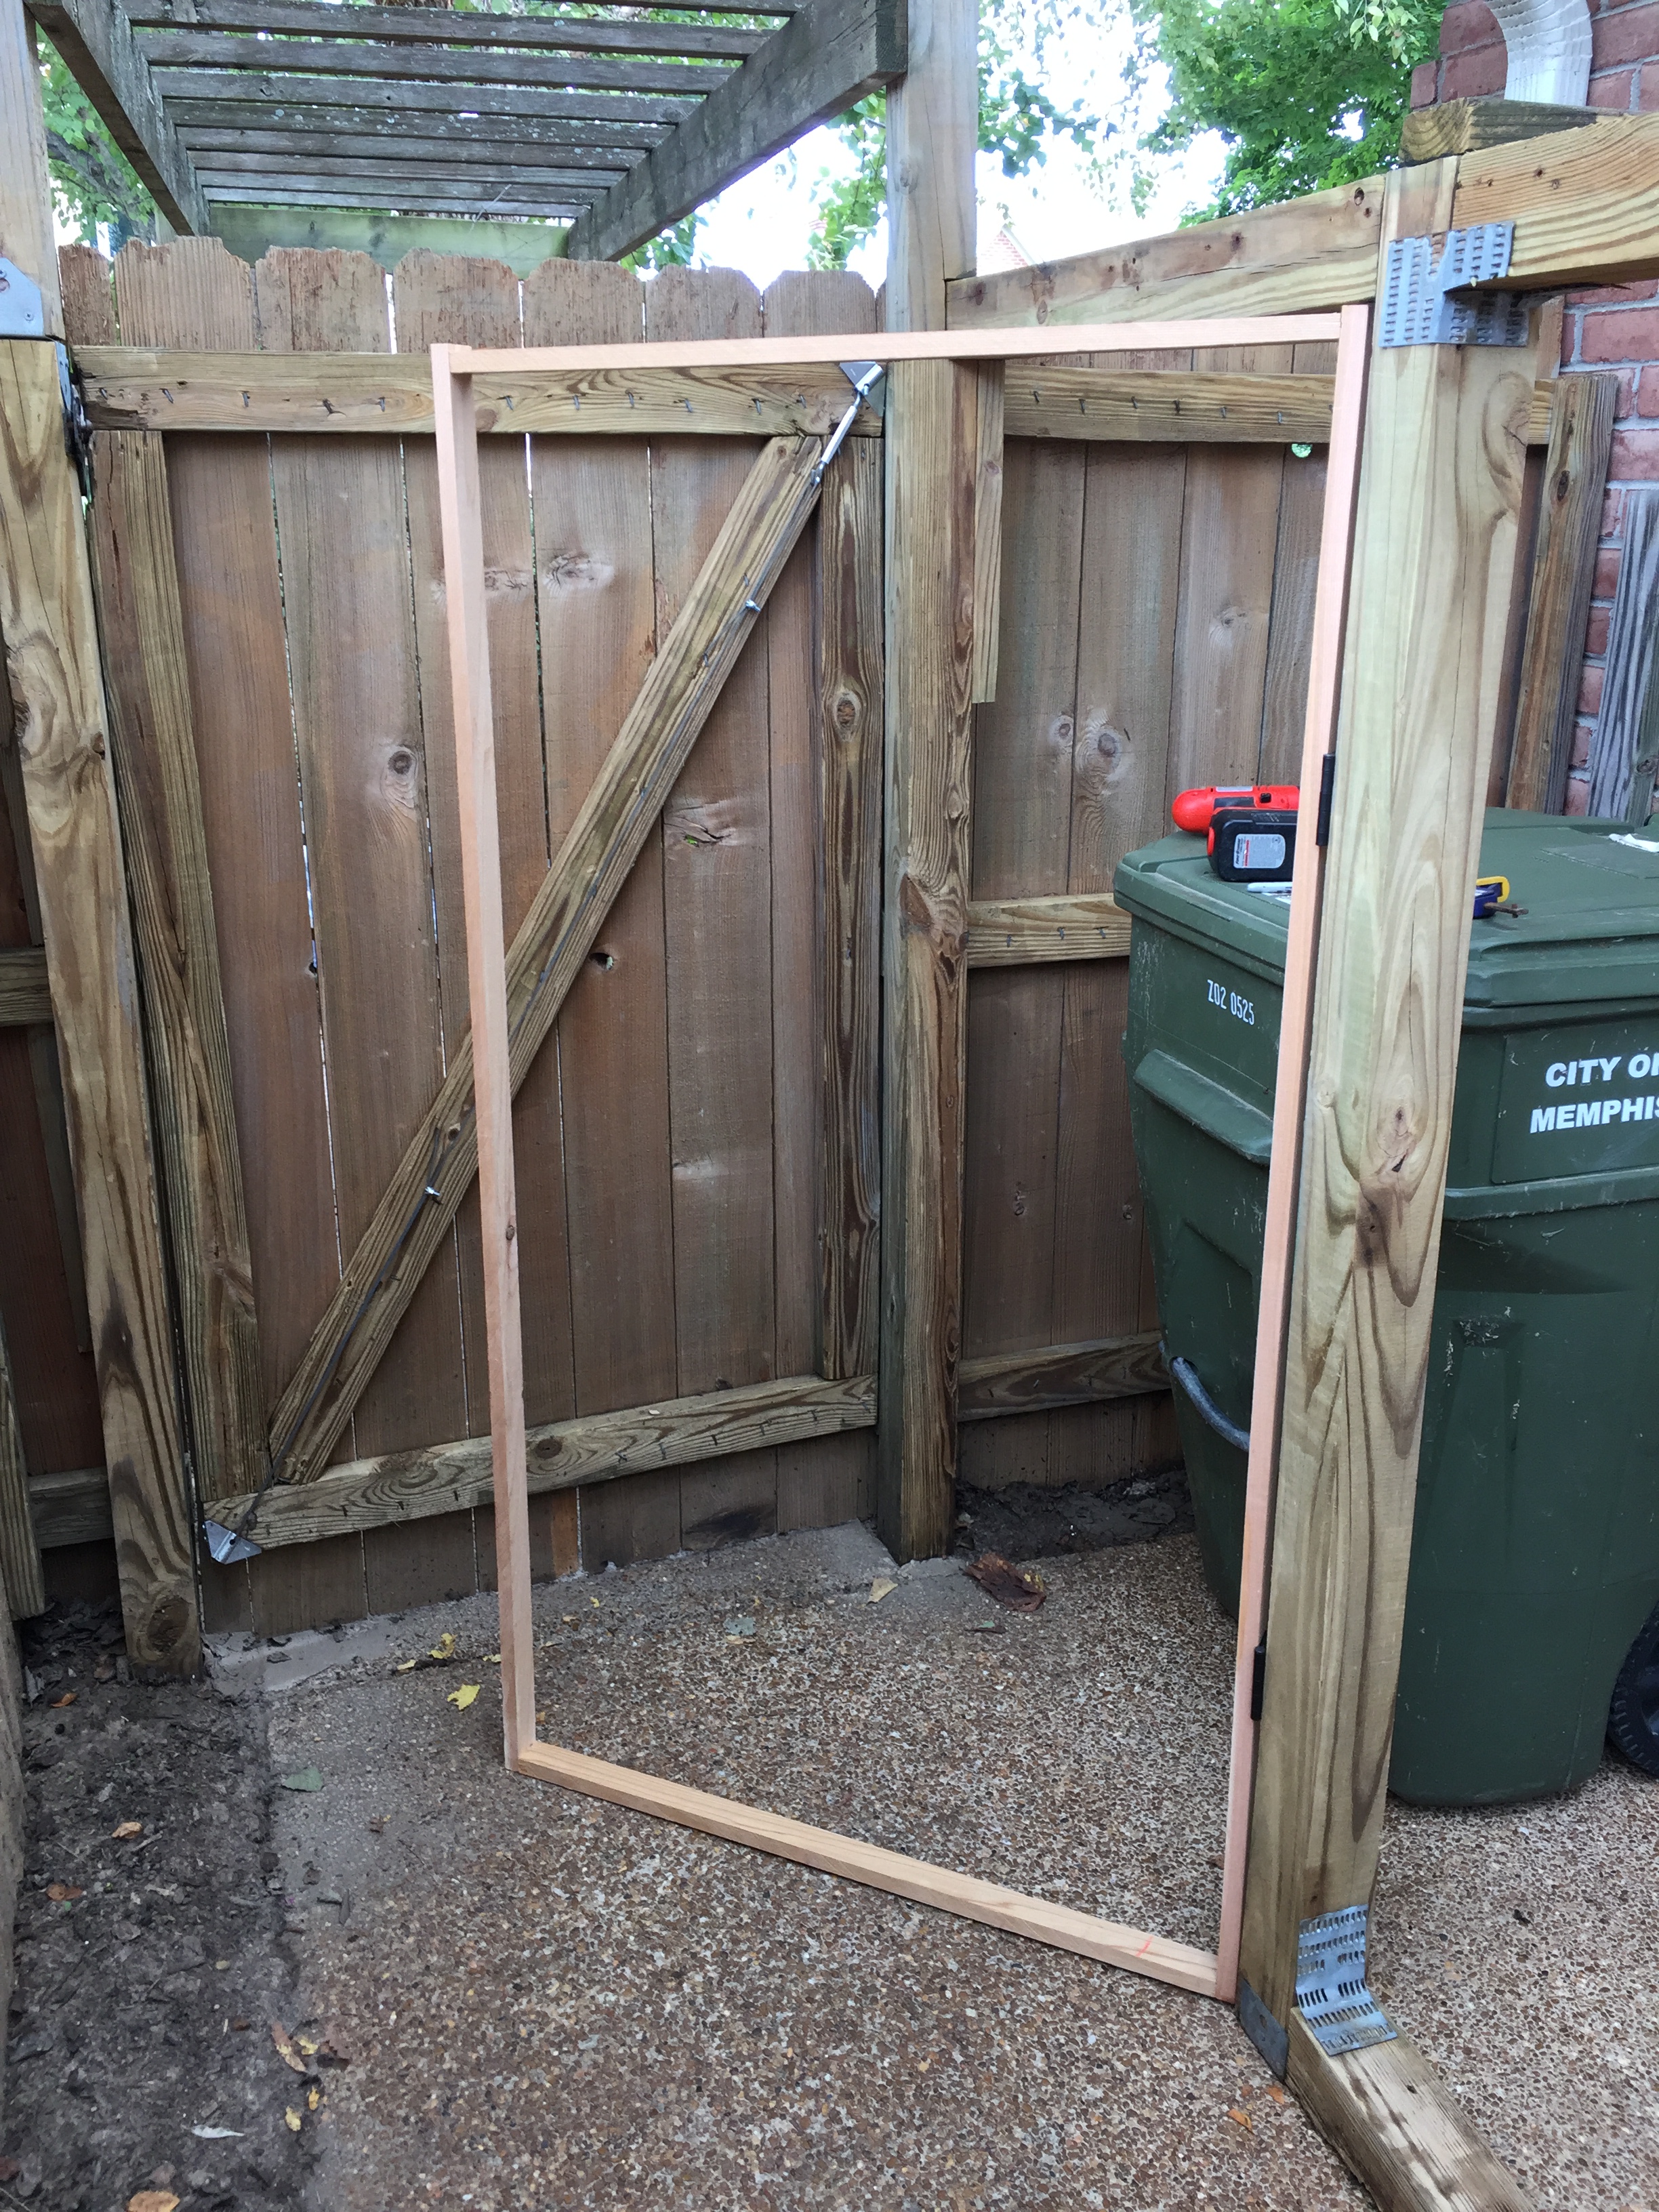
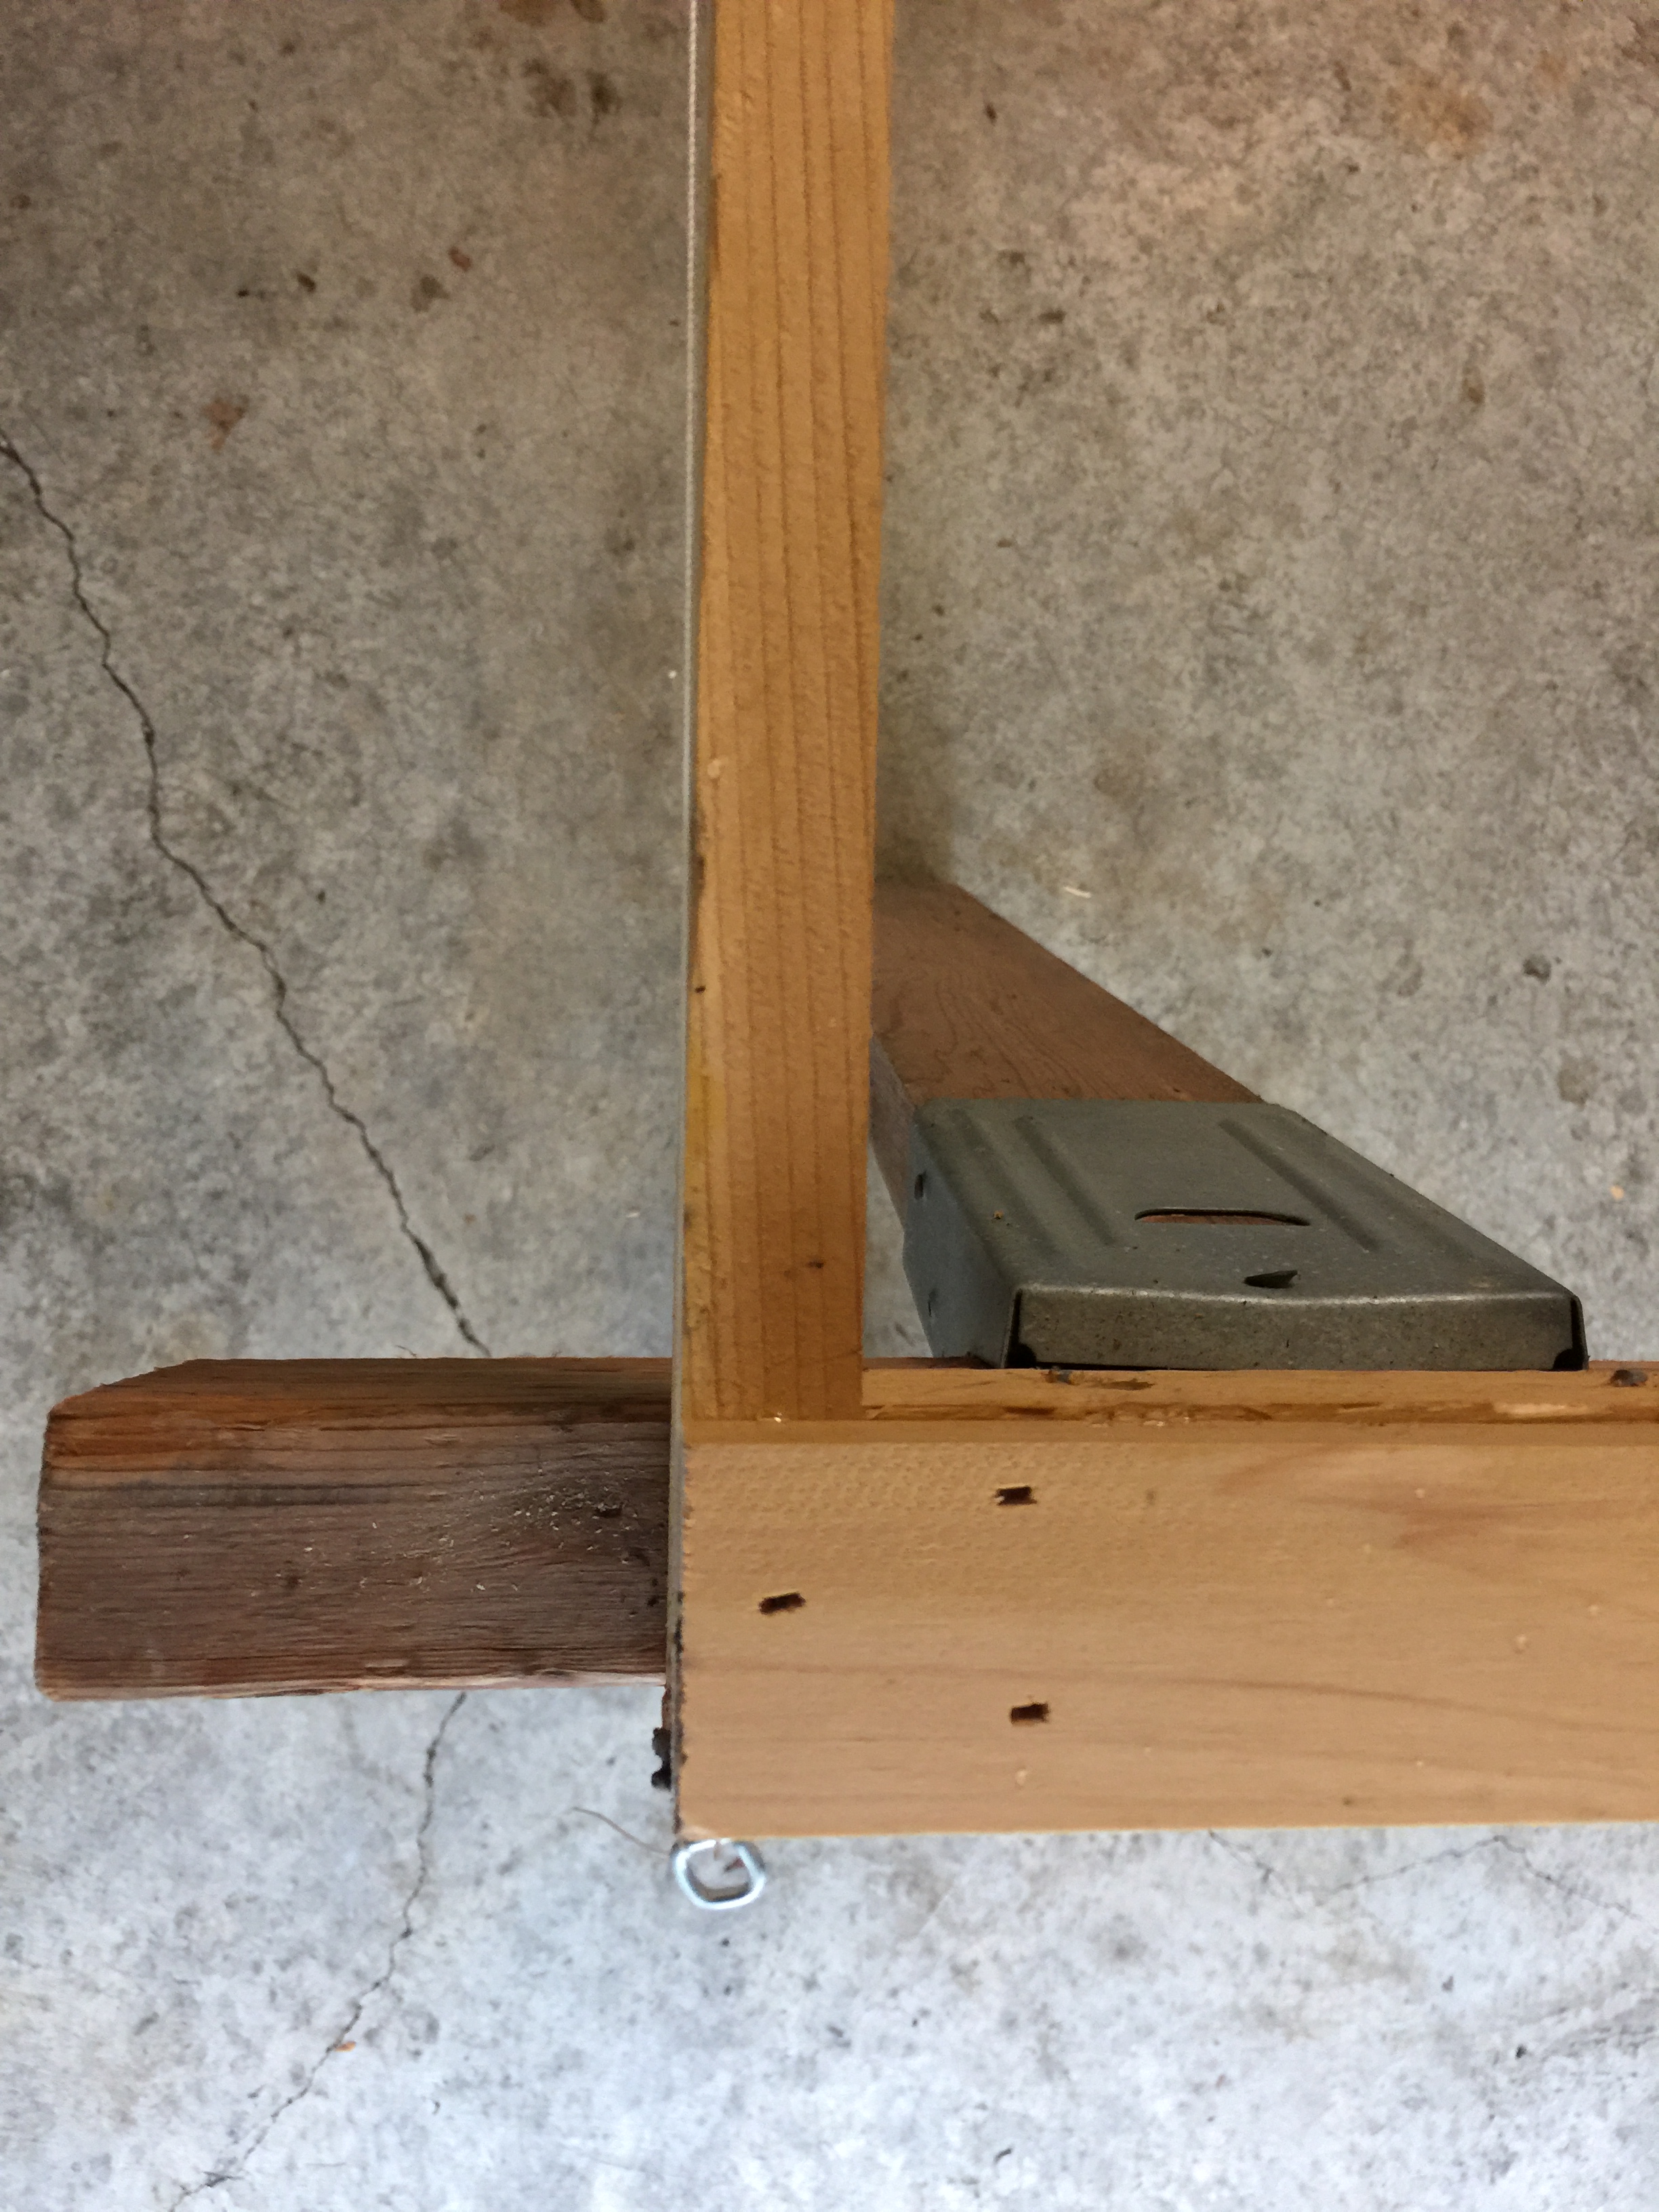
I decided to start with the most difficult part of the project, building the gates. First step was to build the frame for the gate and attach it to the garbage blind frame with hinges.
Thinking that it would be easier to waterproof the boards prior to assembly, I coated them on all four sides with a clear-stain waterproof sealer.
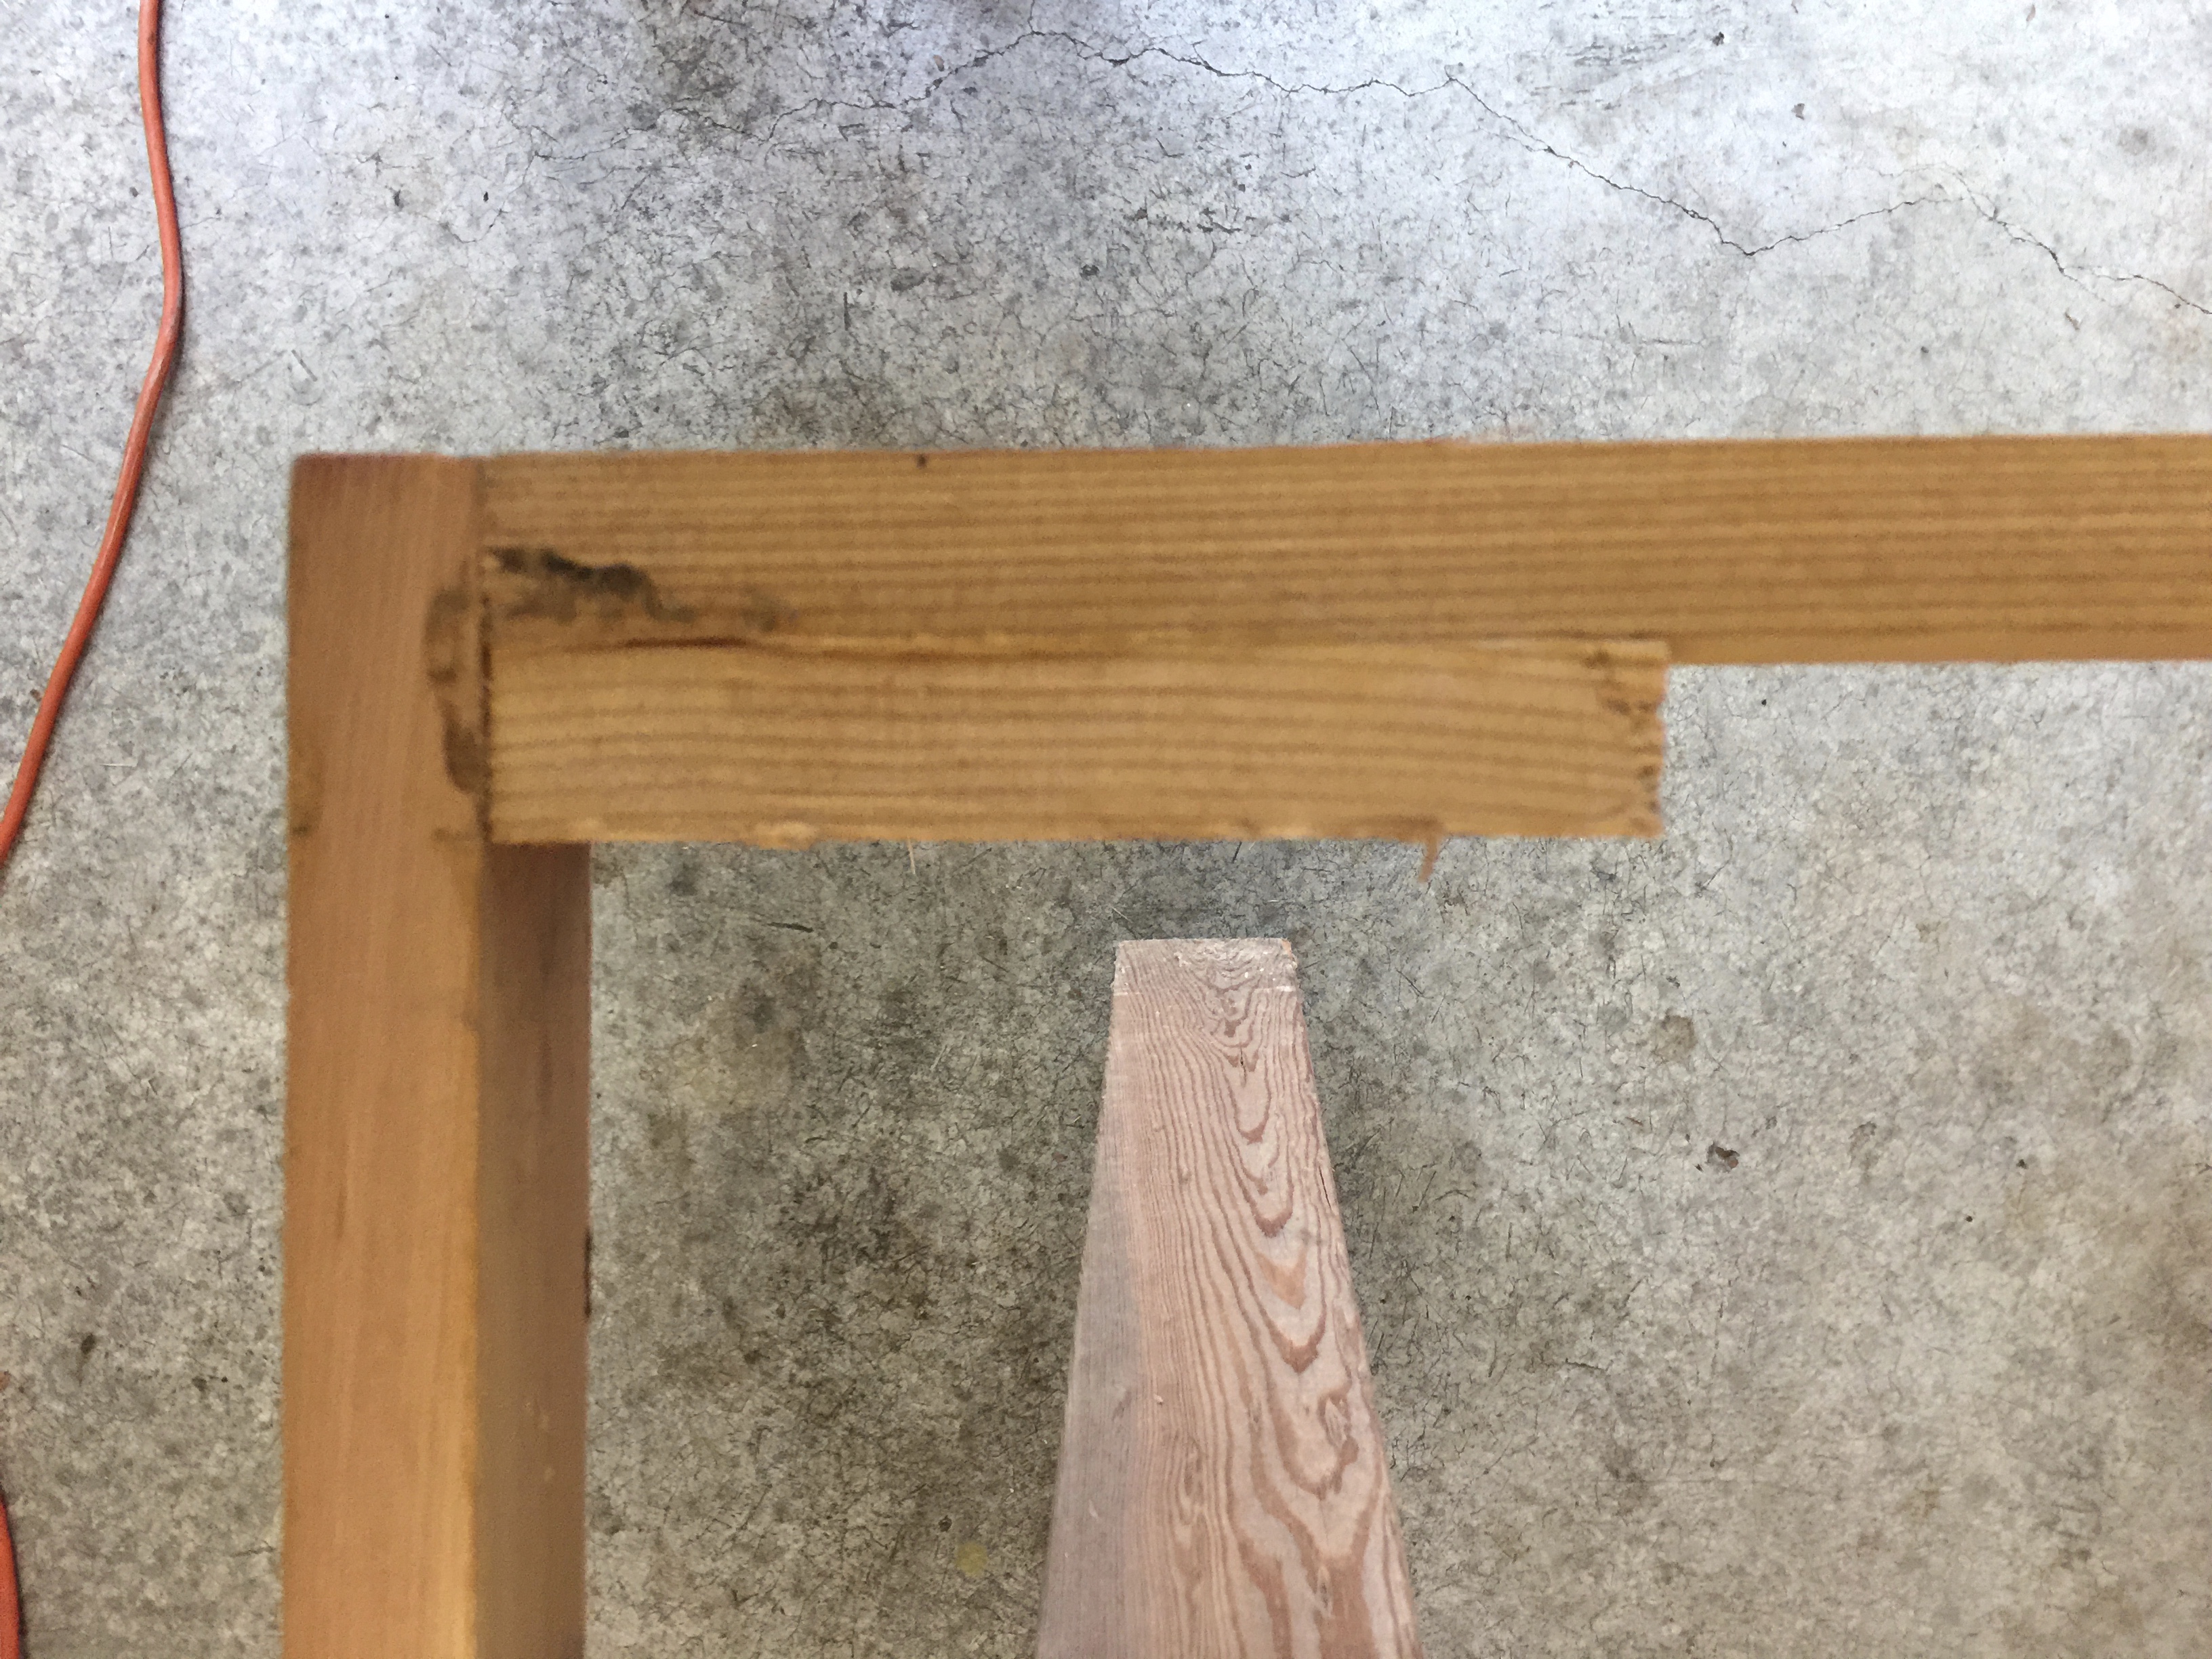
As I handled the gate frame, it seemed a bit flimsy so to add some structural rigidity, I added a small block at the four corners.
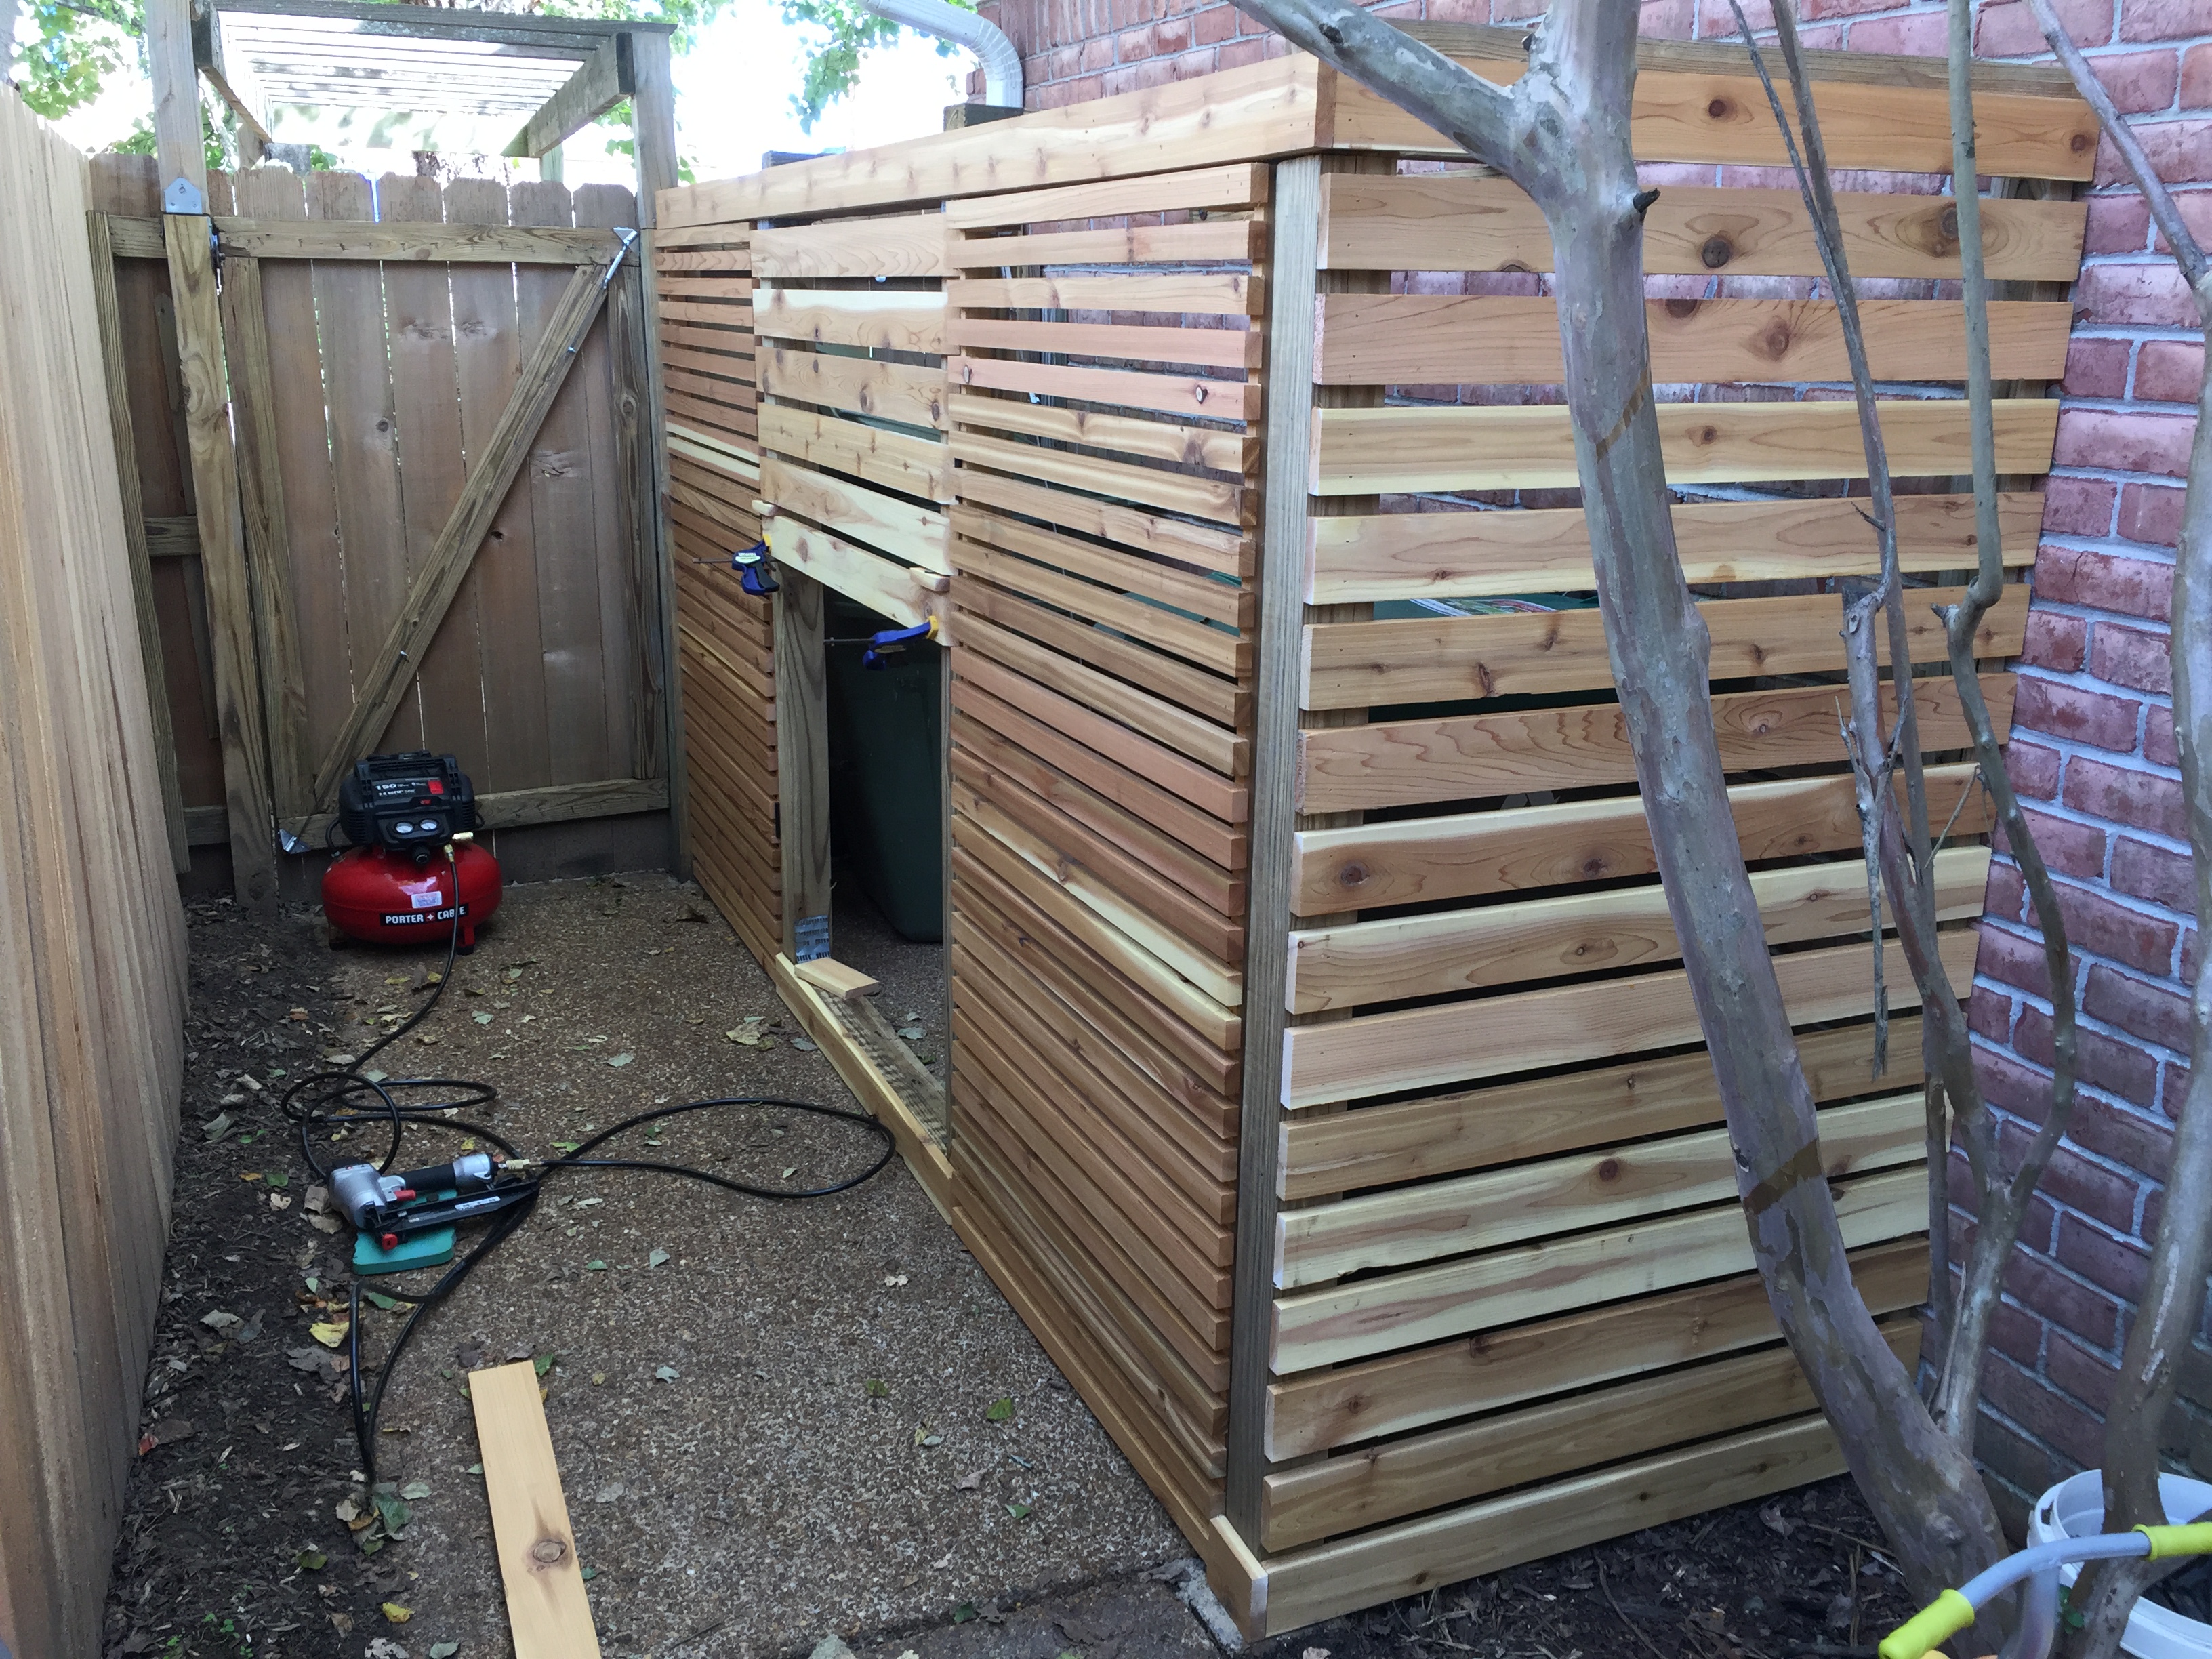
Then it was time to get out my nail gun and have some fun attaching the 1 X 2 inch boards. But three complications arose.
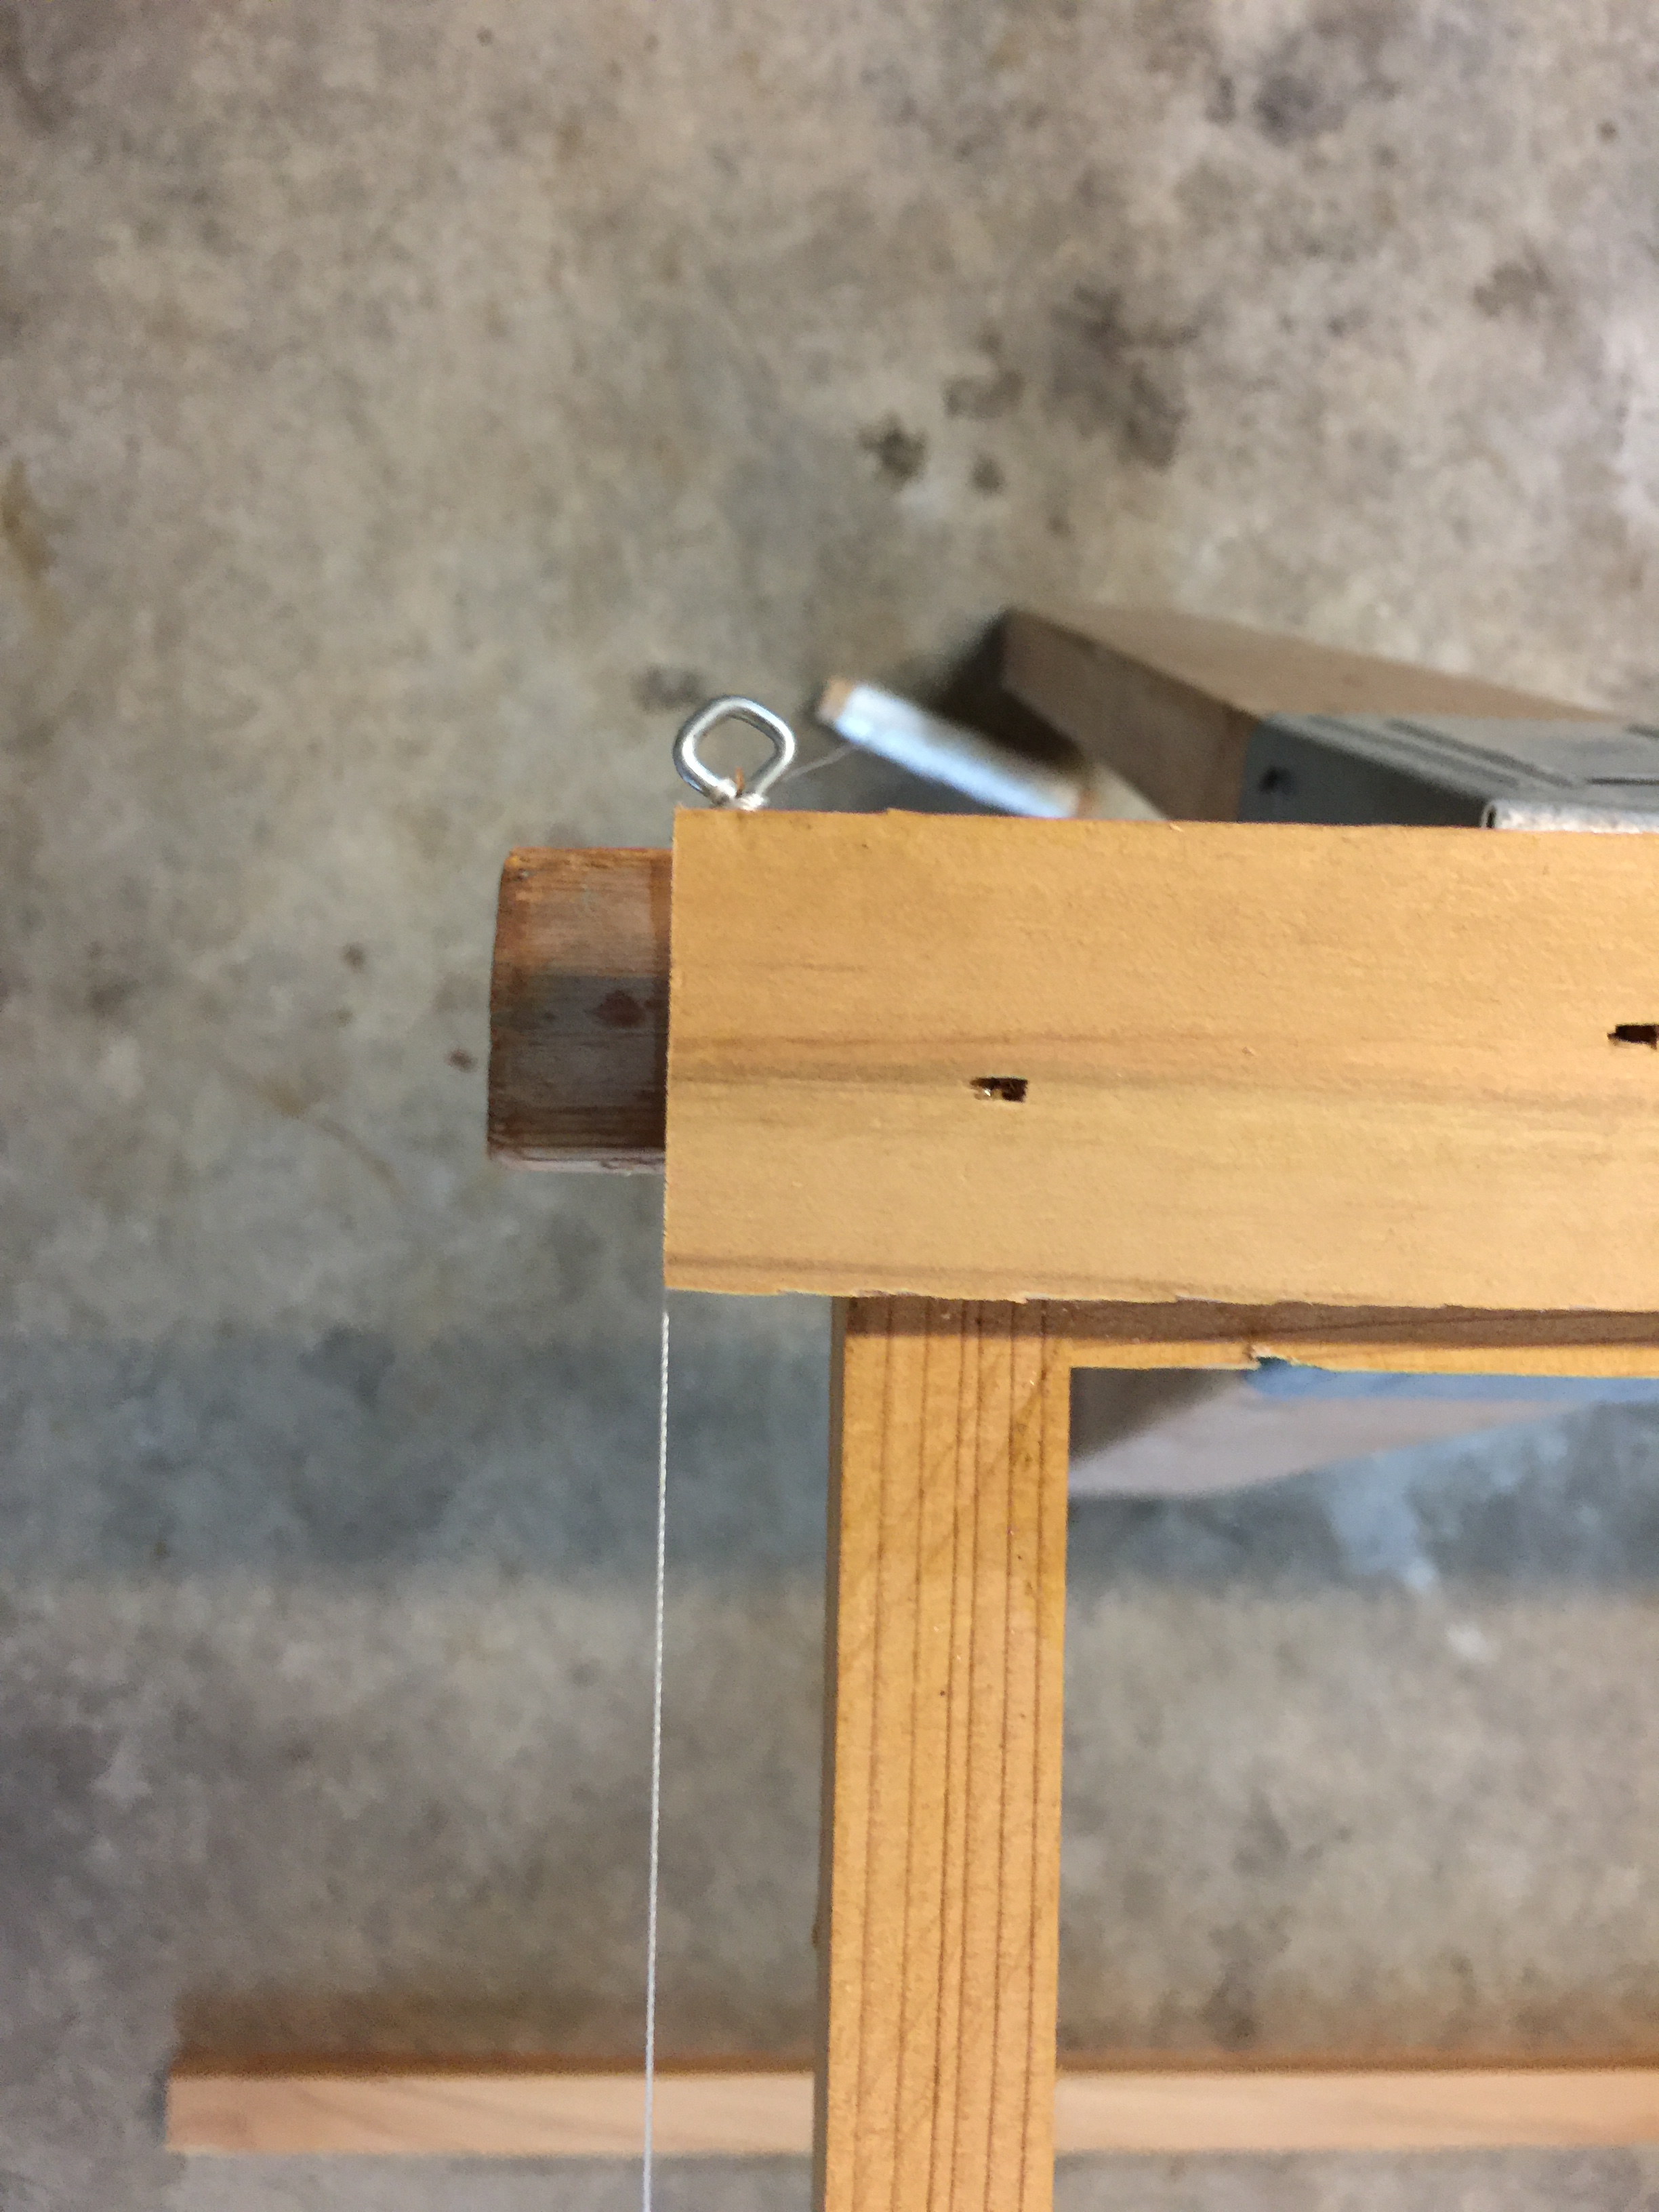
First, when I built the gate frame, I realized that while my son and I had done a good job of making the 4 X 4 frame plumb and level, the existing fence post 4 X 4 was ¾ of an inch out of plumb at the top. I decided that a true square gate frame would be stronger than an odd shaped one and so made it square. This meant that my gate boards would be ¾ of an inch longer at the top than at the bottom. To know how long each board would need to be, I ran a string from the bottom of the frame to the top.
The second complication was figuring out how much of a gap to have between the boards of the gate. I did not want to have to rip a board at the bottom and have a skinny board so the spacing needed to be perfect. But until I figured out how wide the gap would be, I wouldn’t even know how many boards it would take to face the gate. I first considered spacing the boards using the 1 X 2 on its edge, which would actually match the gap of the old design. But it seemed too wide. I next picked up a random piece or wood I had in a woodbin to try it. But then the third complication arose.
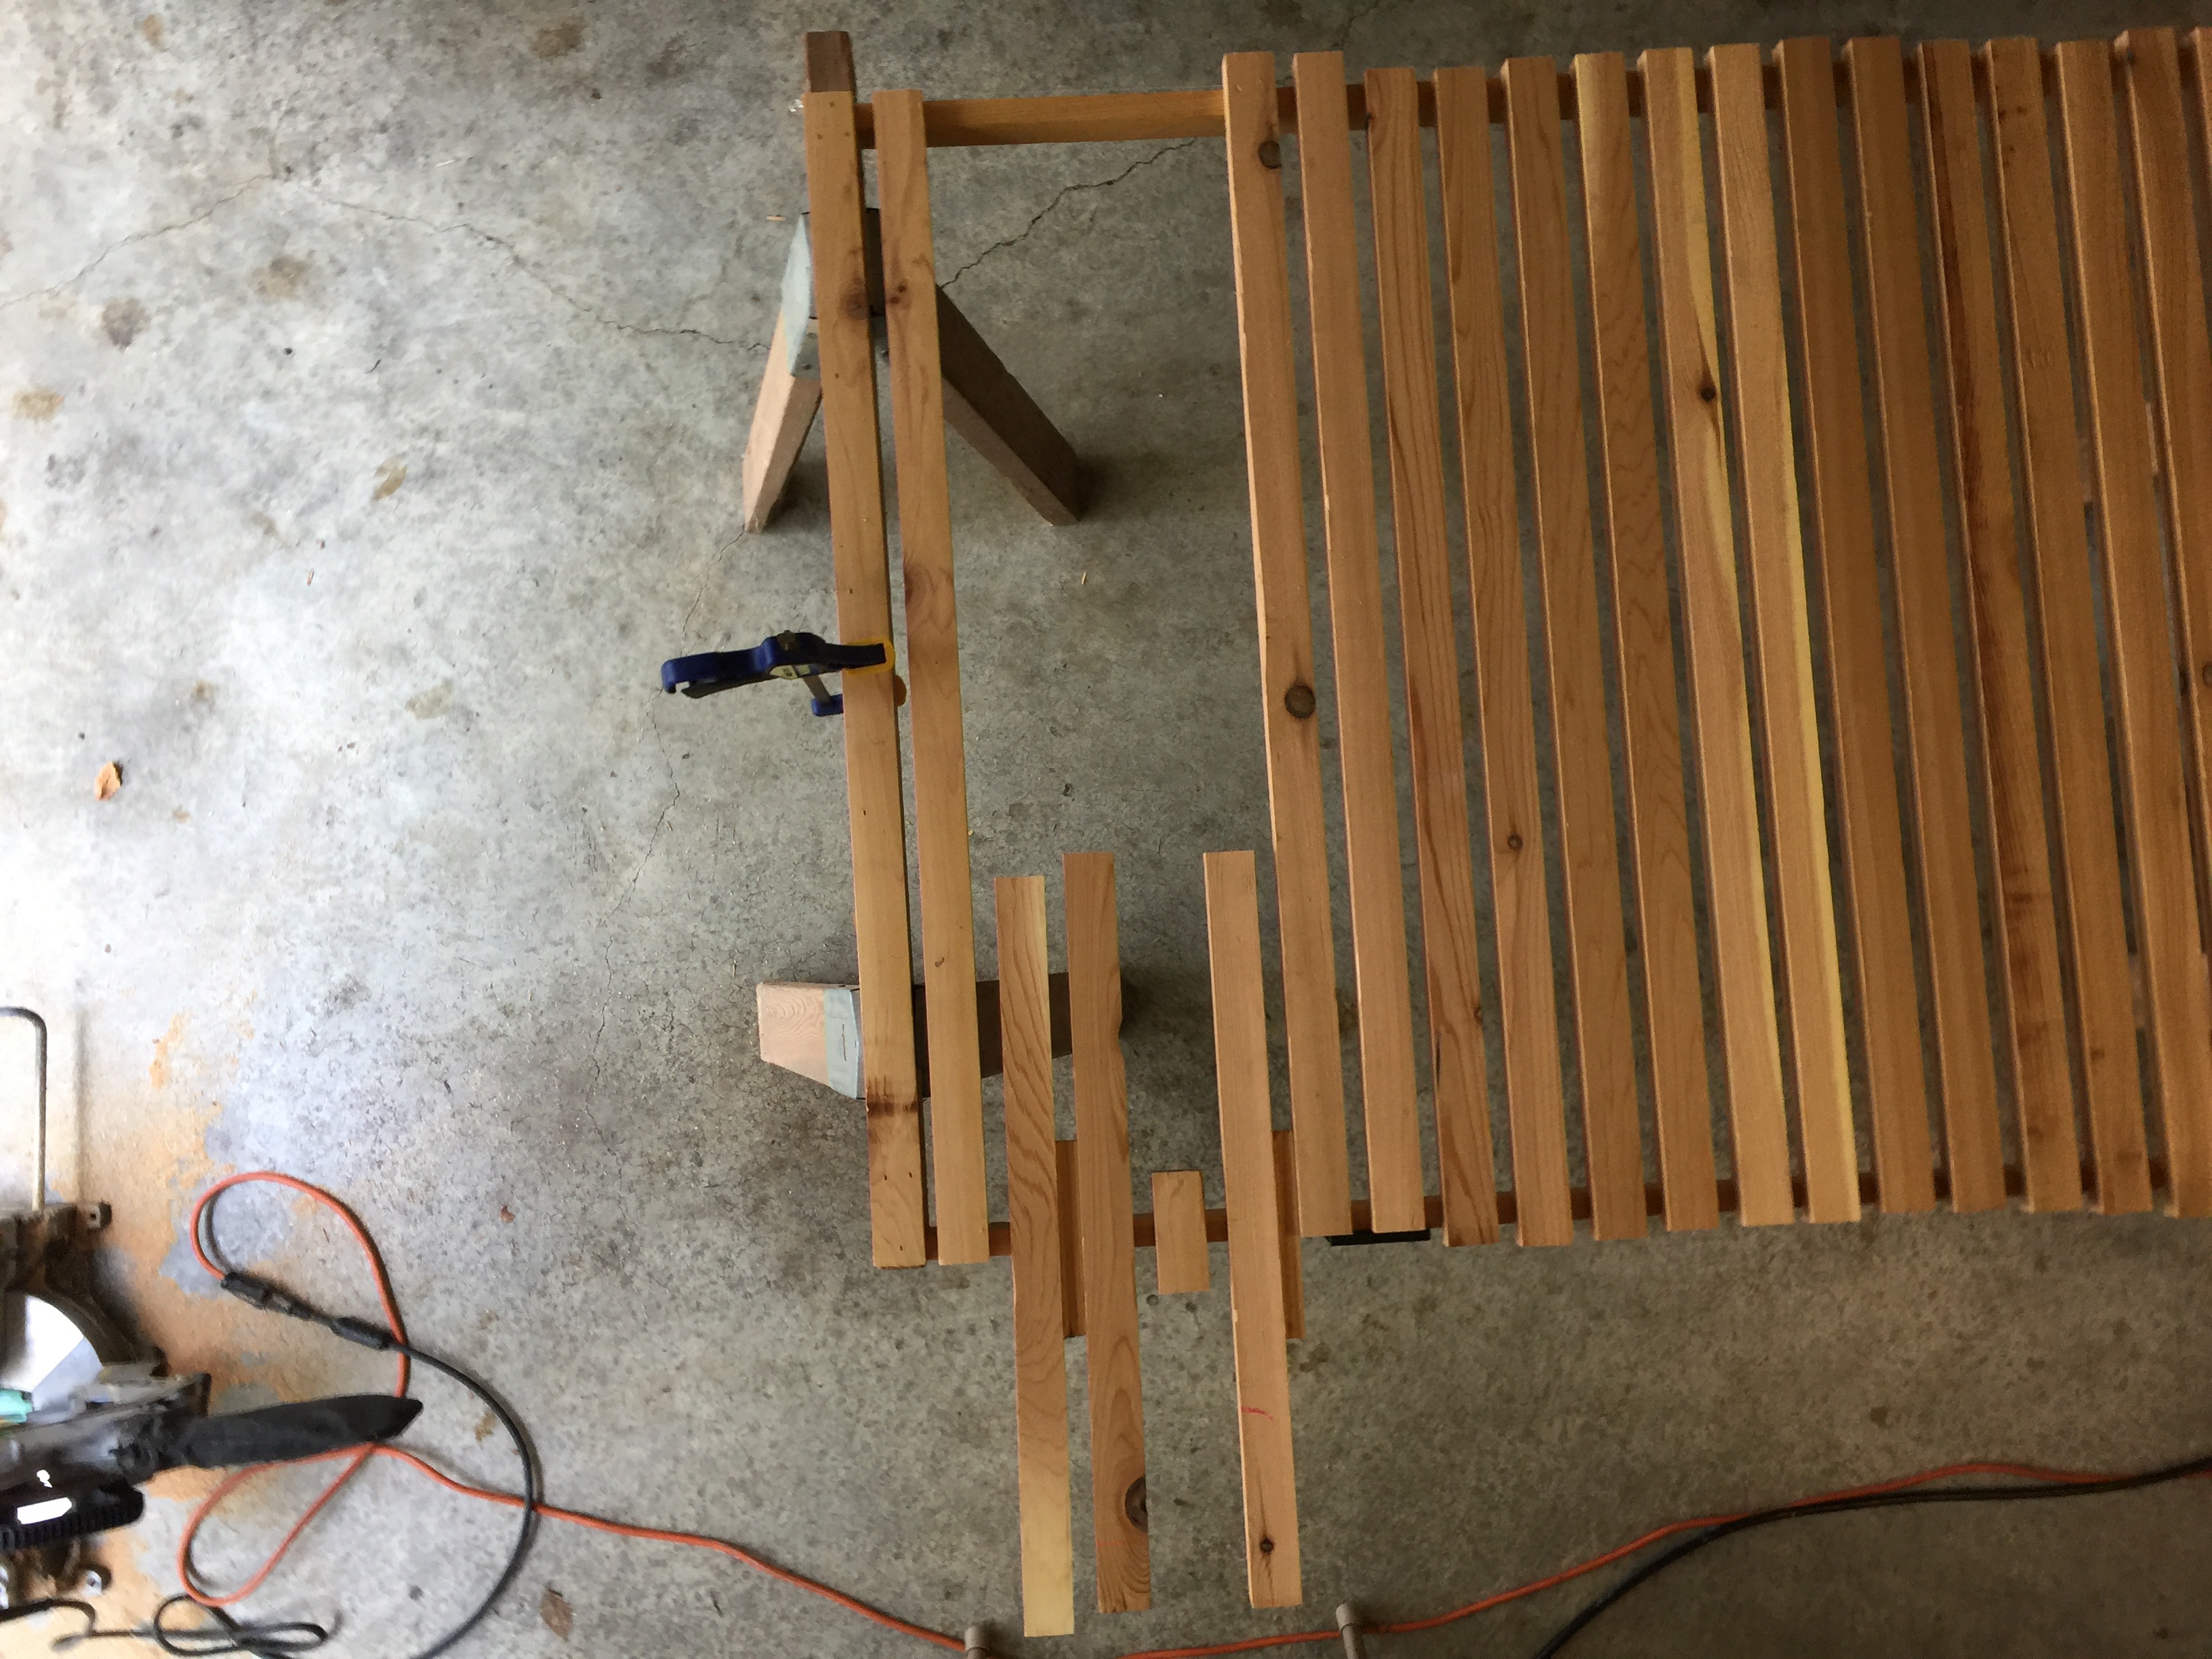
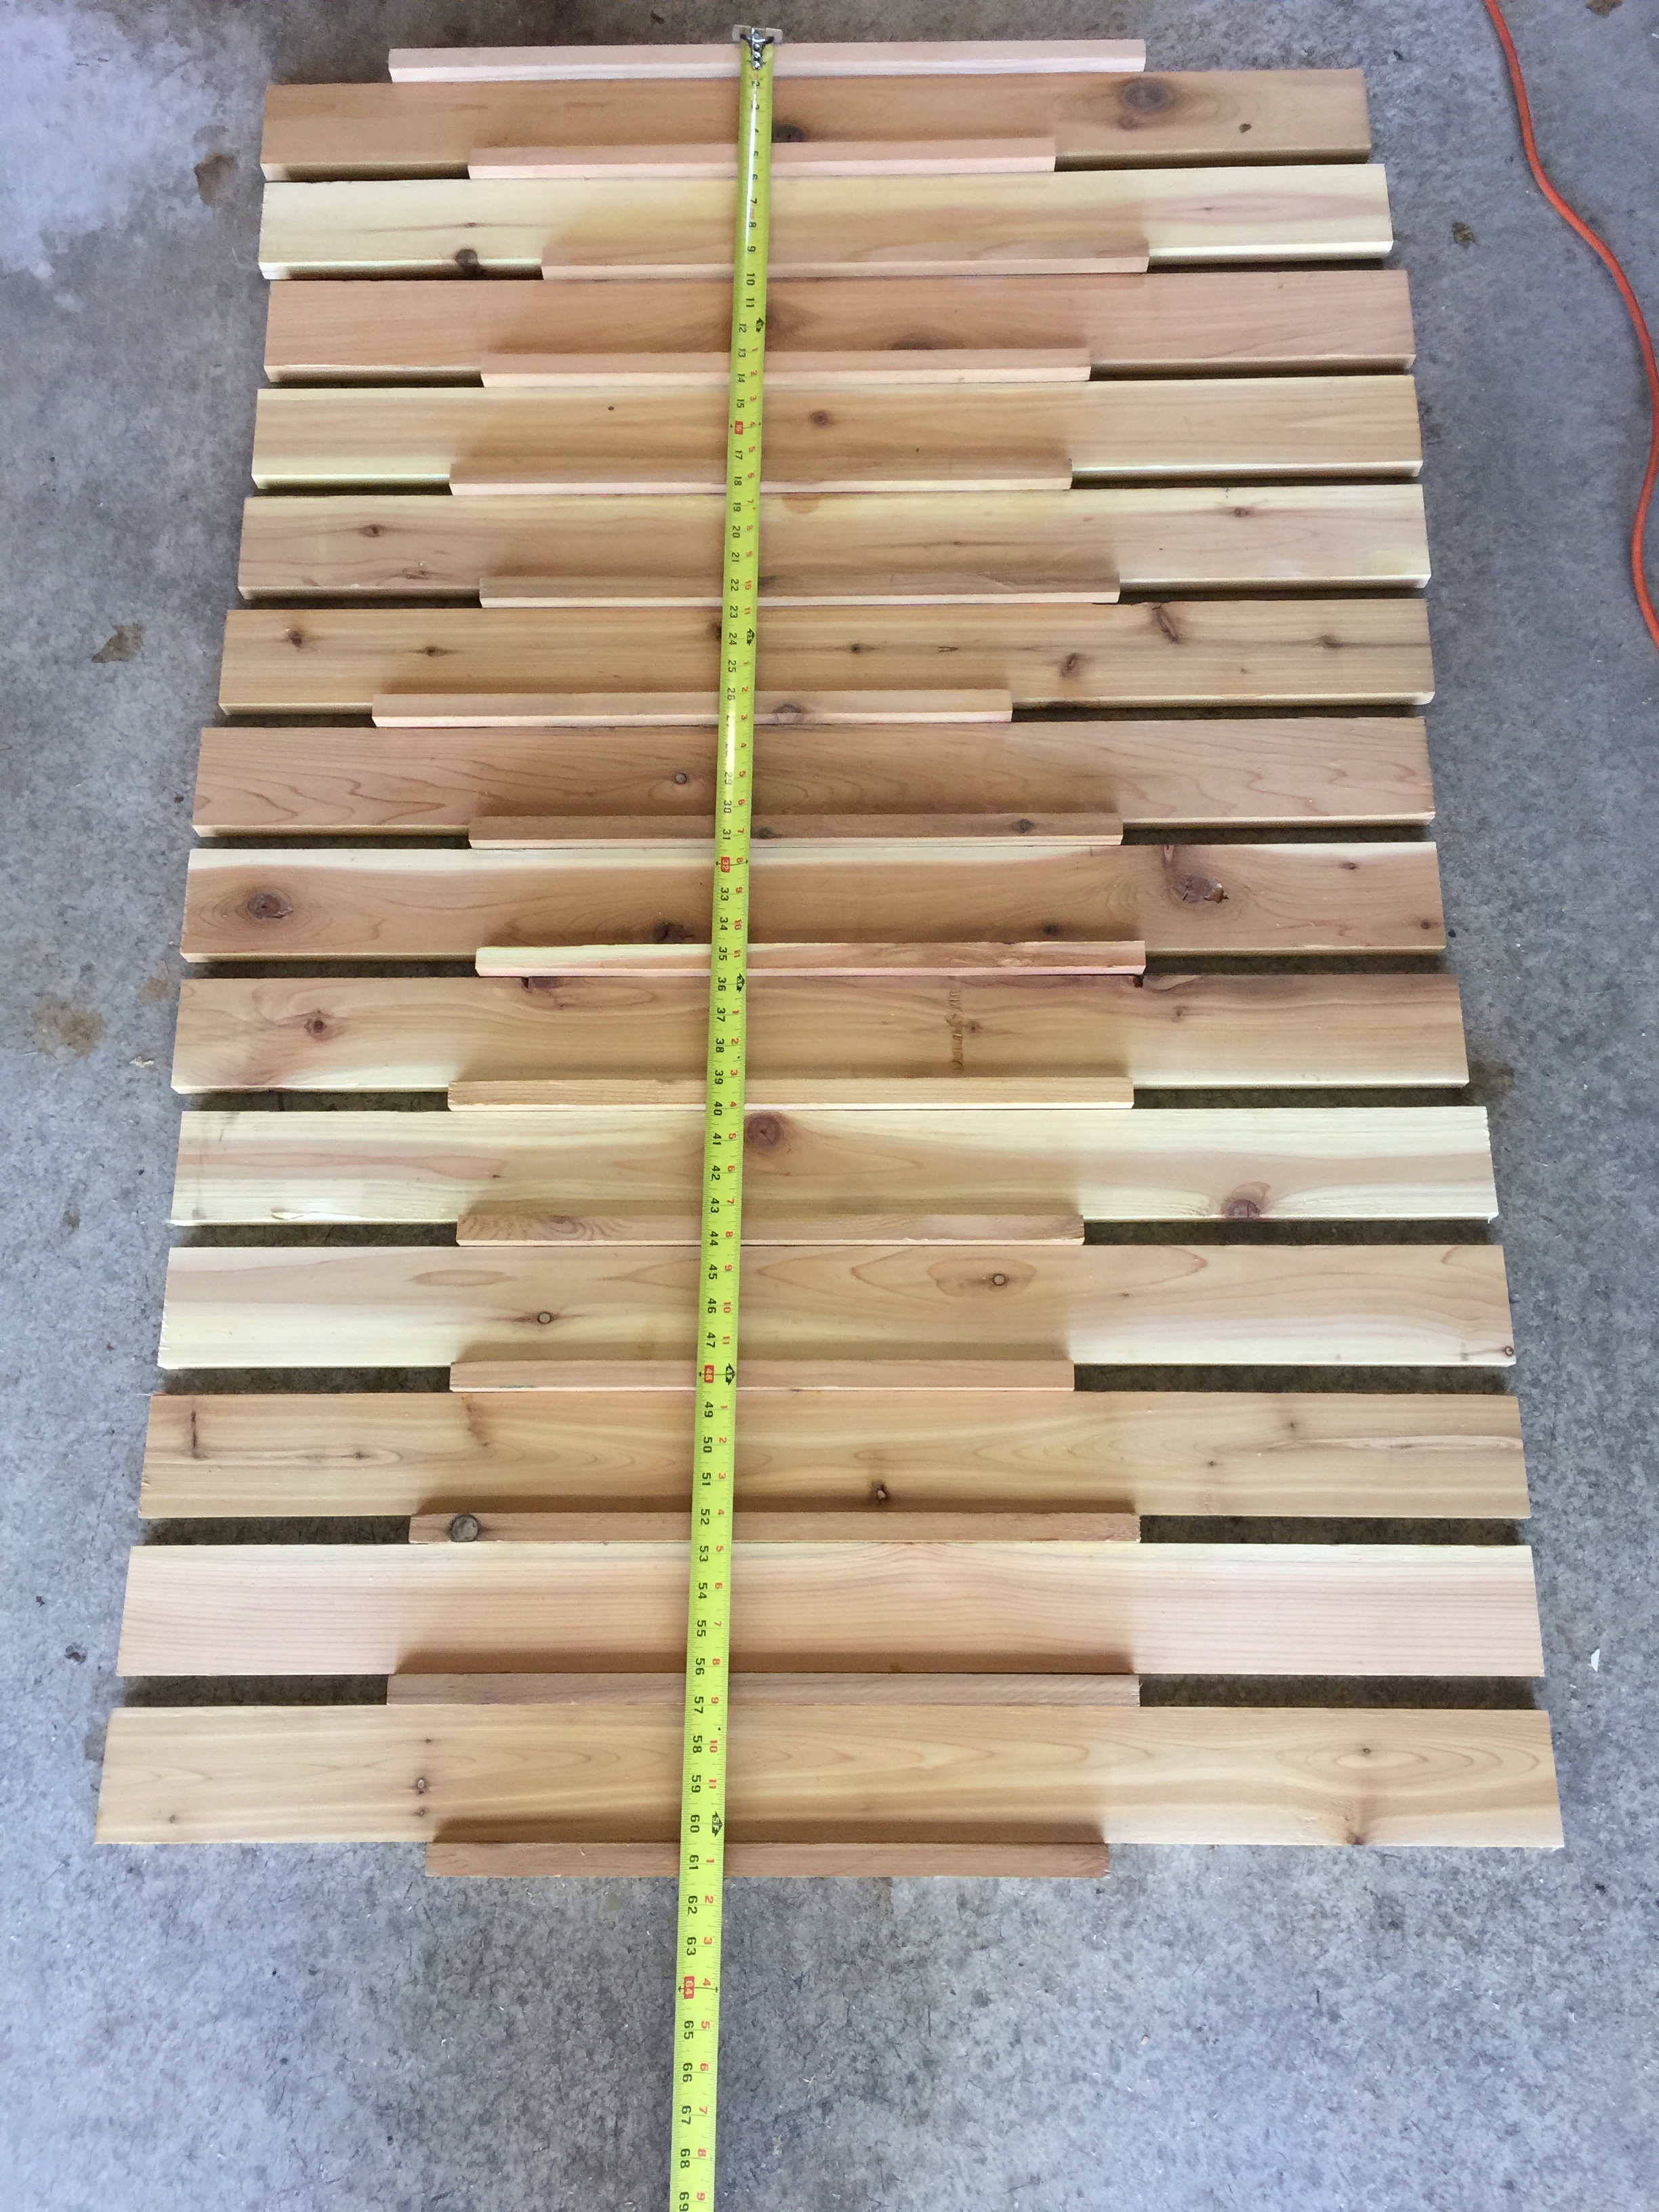
The gate width was 36 inches at the bottom and 36.75 inches at the top. The 1 X 2 boards I bought were 8 feet in length. I knew I would get two gate boards from each uncut board but I still didn’t know how long each would need to be until I knew the spacing. It was essentially the chicken and egg analogy. So I decided to crack the egg. I went ahead and cut two pieces from each board 36.75 inches long and then trial spaced them out on the frame using the little scrap of wood I found.
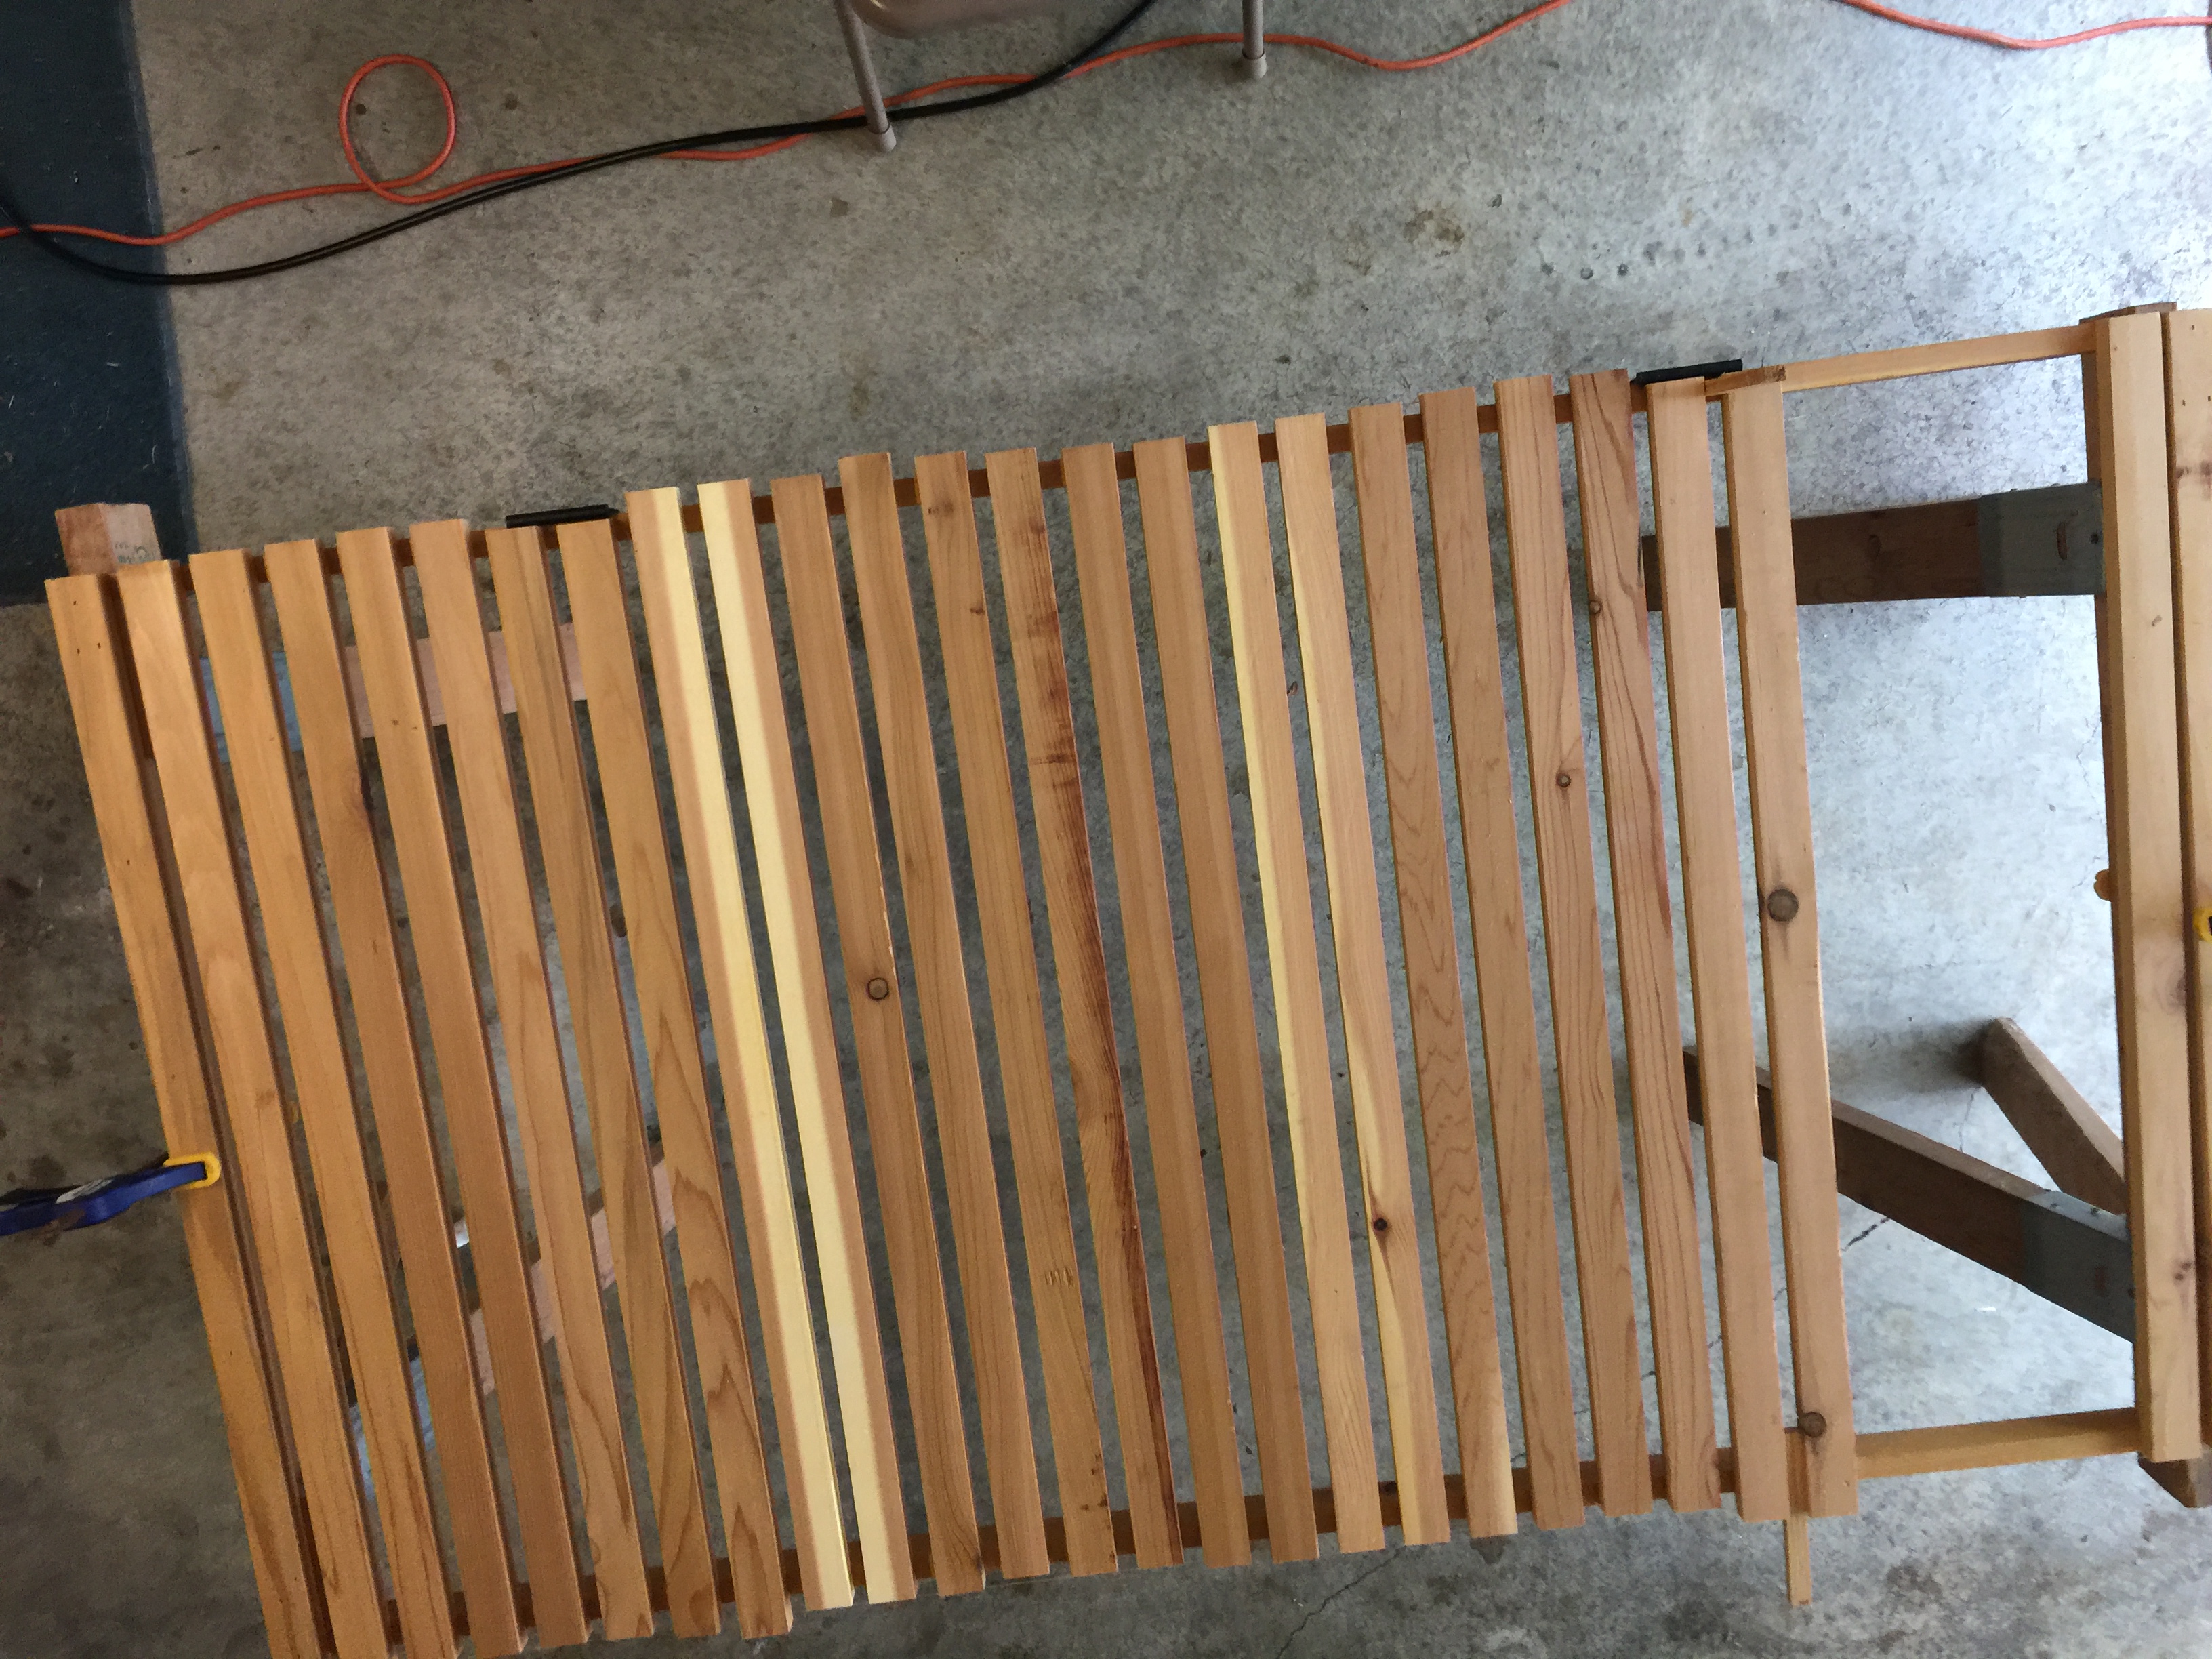
I ran out of boards before I got to the bottom of the gate but using a few left over scraps, spaced the remaining pieces and came to the wonderful realization that I had hit on the perfect gap width on my very first try. Incredible!
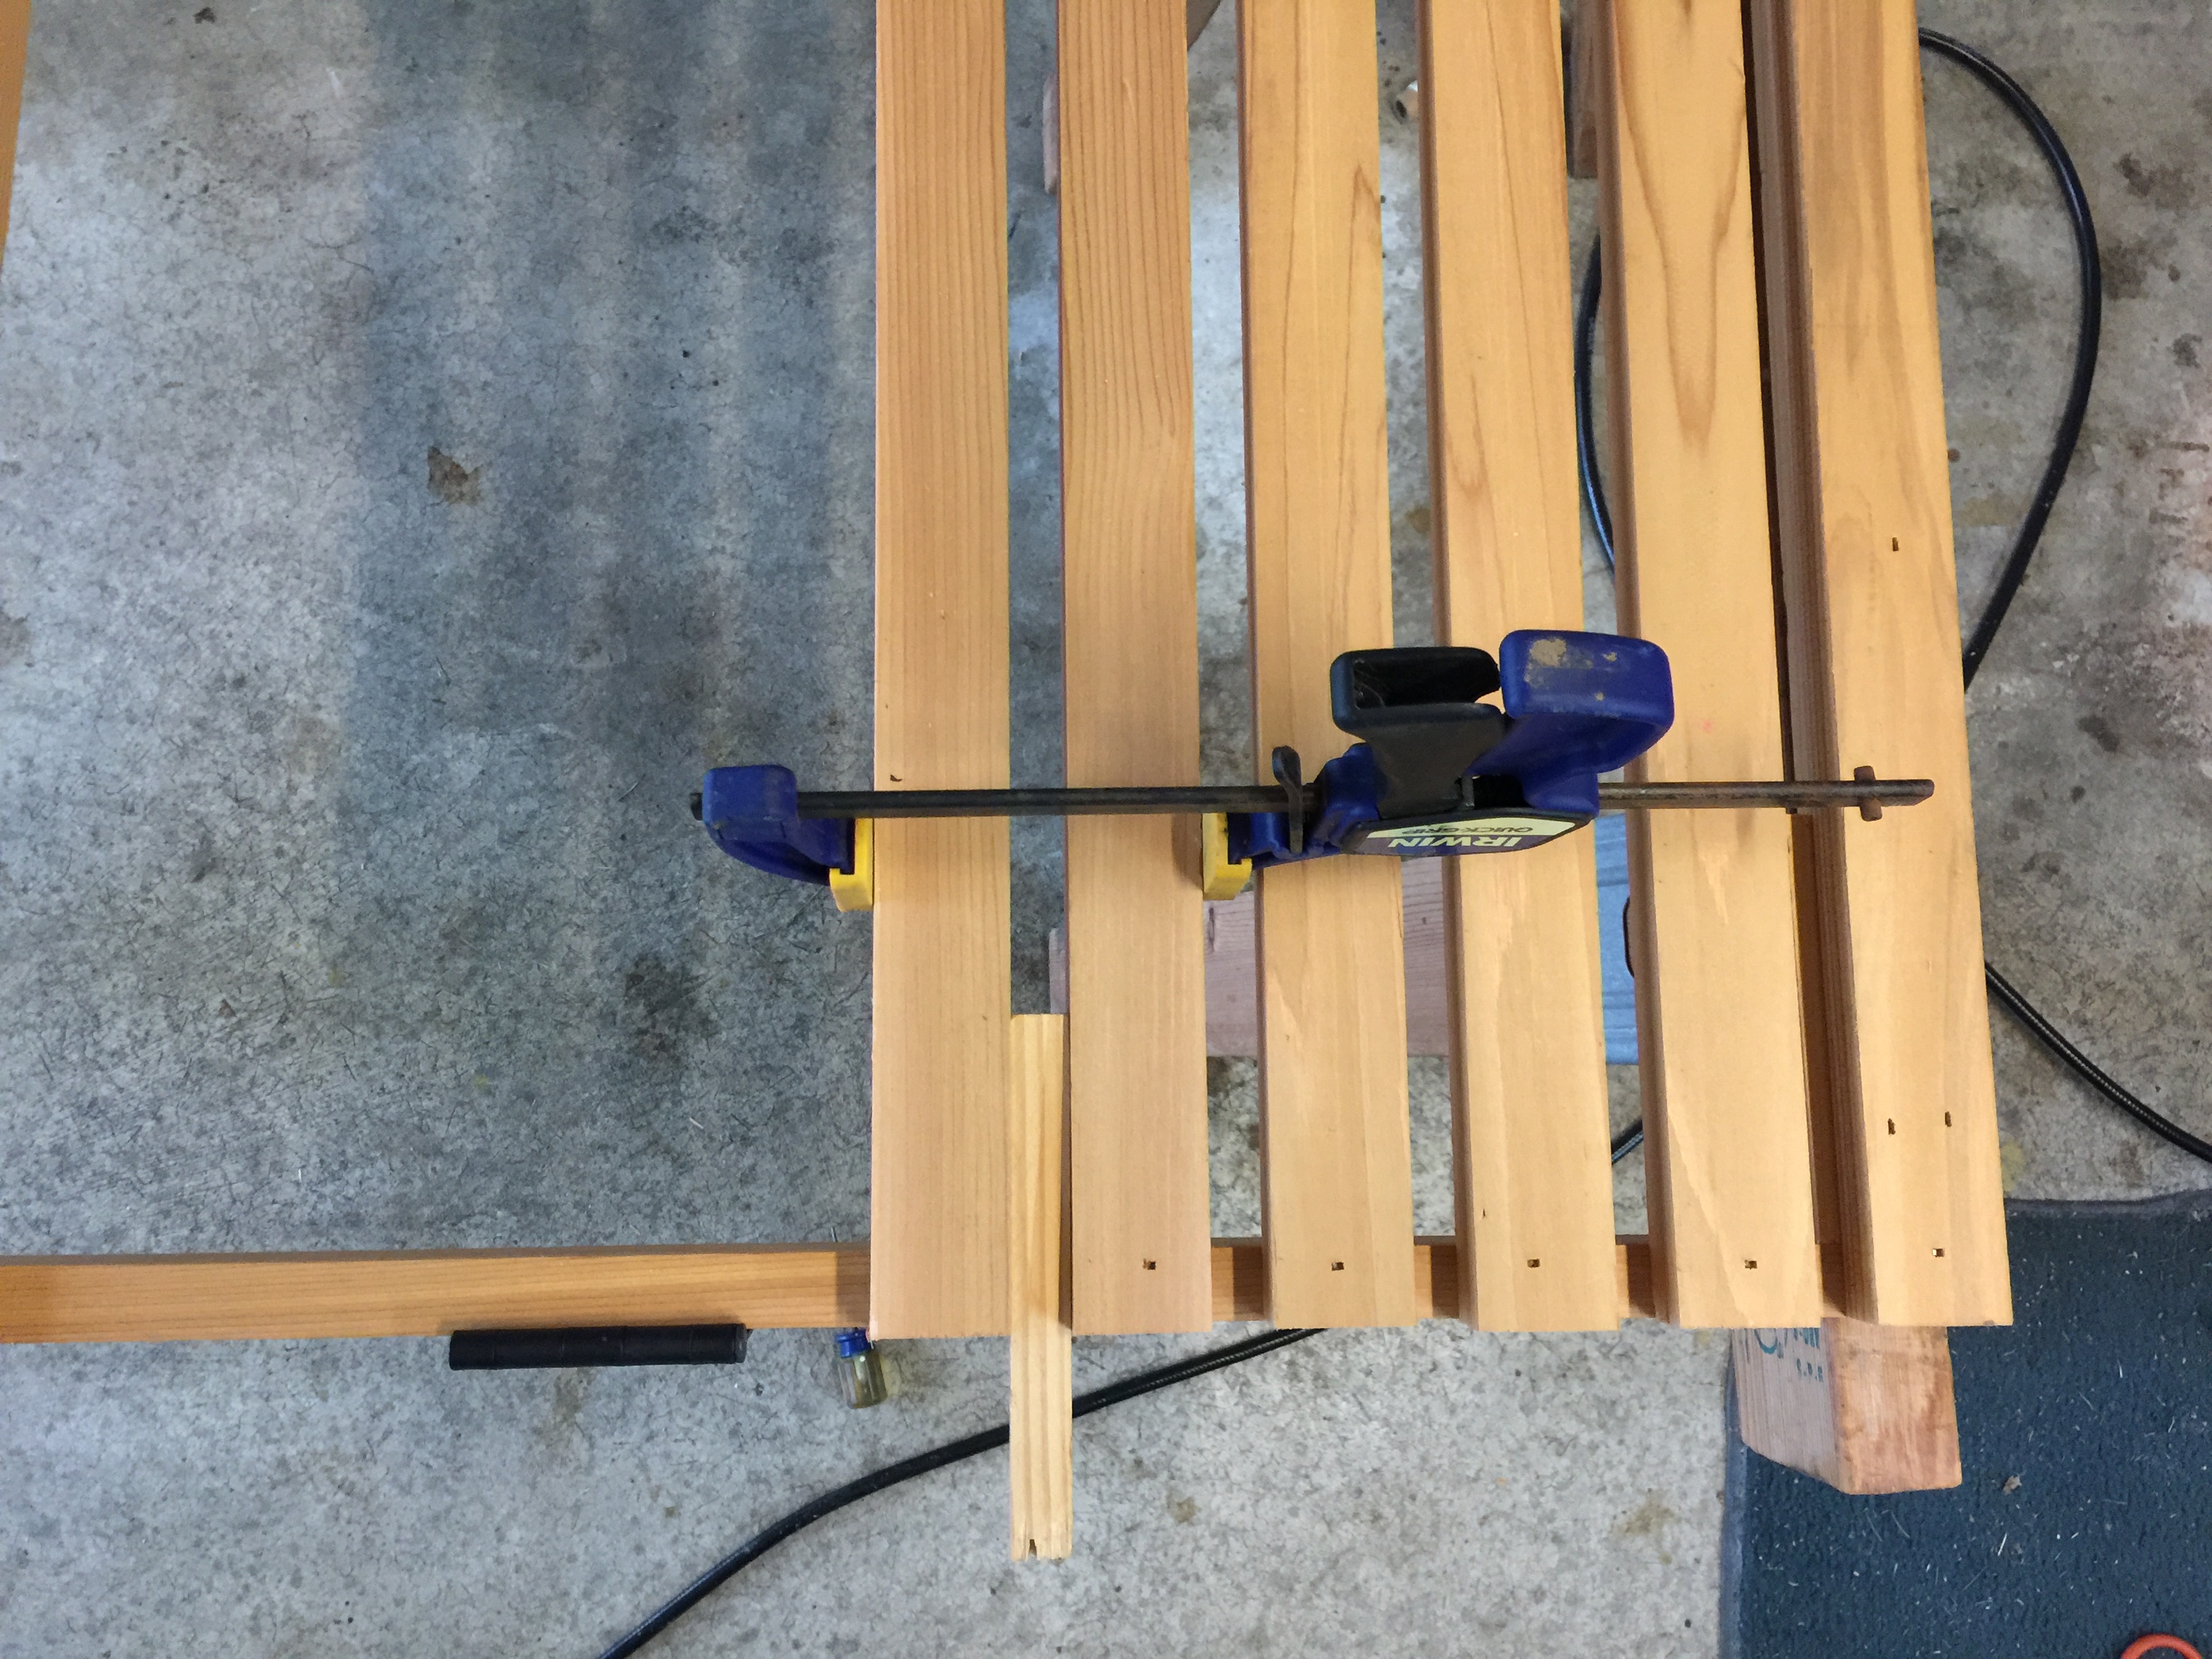
With the brain teaser overcome, the manual process began of determining the correct length of each board, cutting it to length, and then attaching it to the frame with my nail gun while the gap piece was clamped between the board to be nailed and the one previously nailed.
Once I purchased and treated the additional boards, it was fairly quick to finish the first gate.
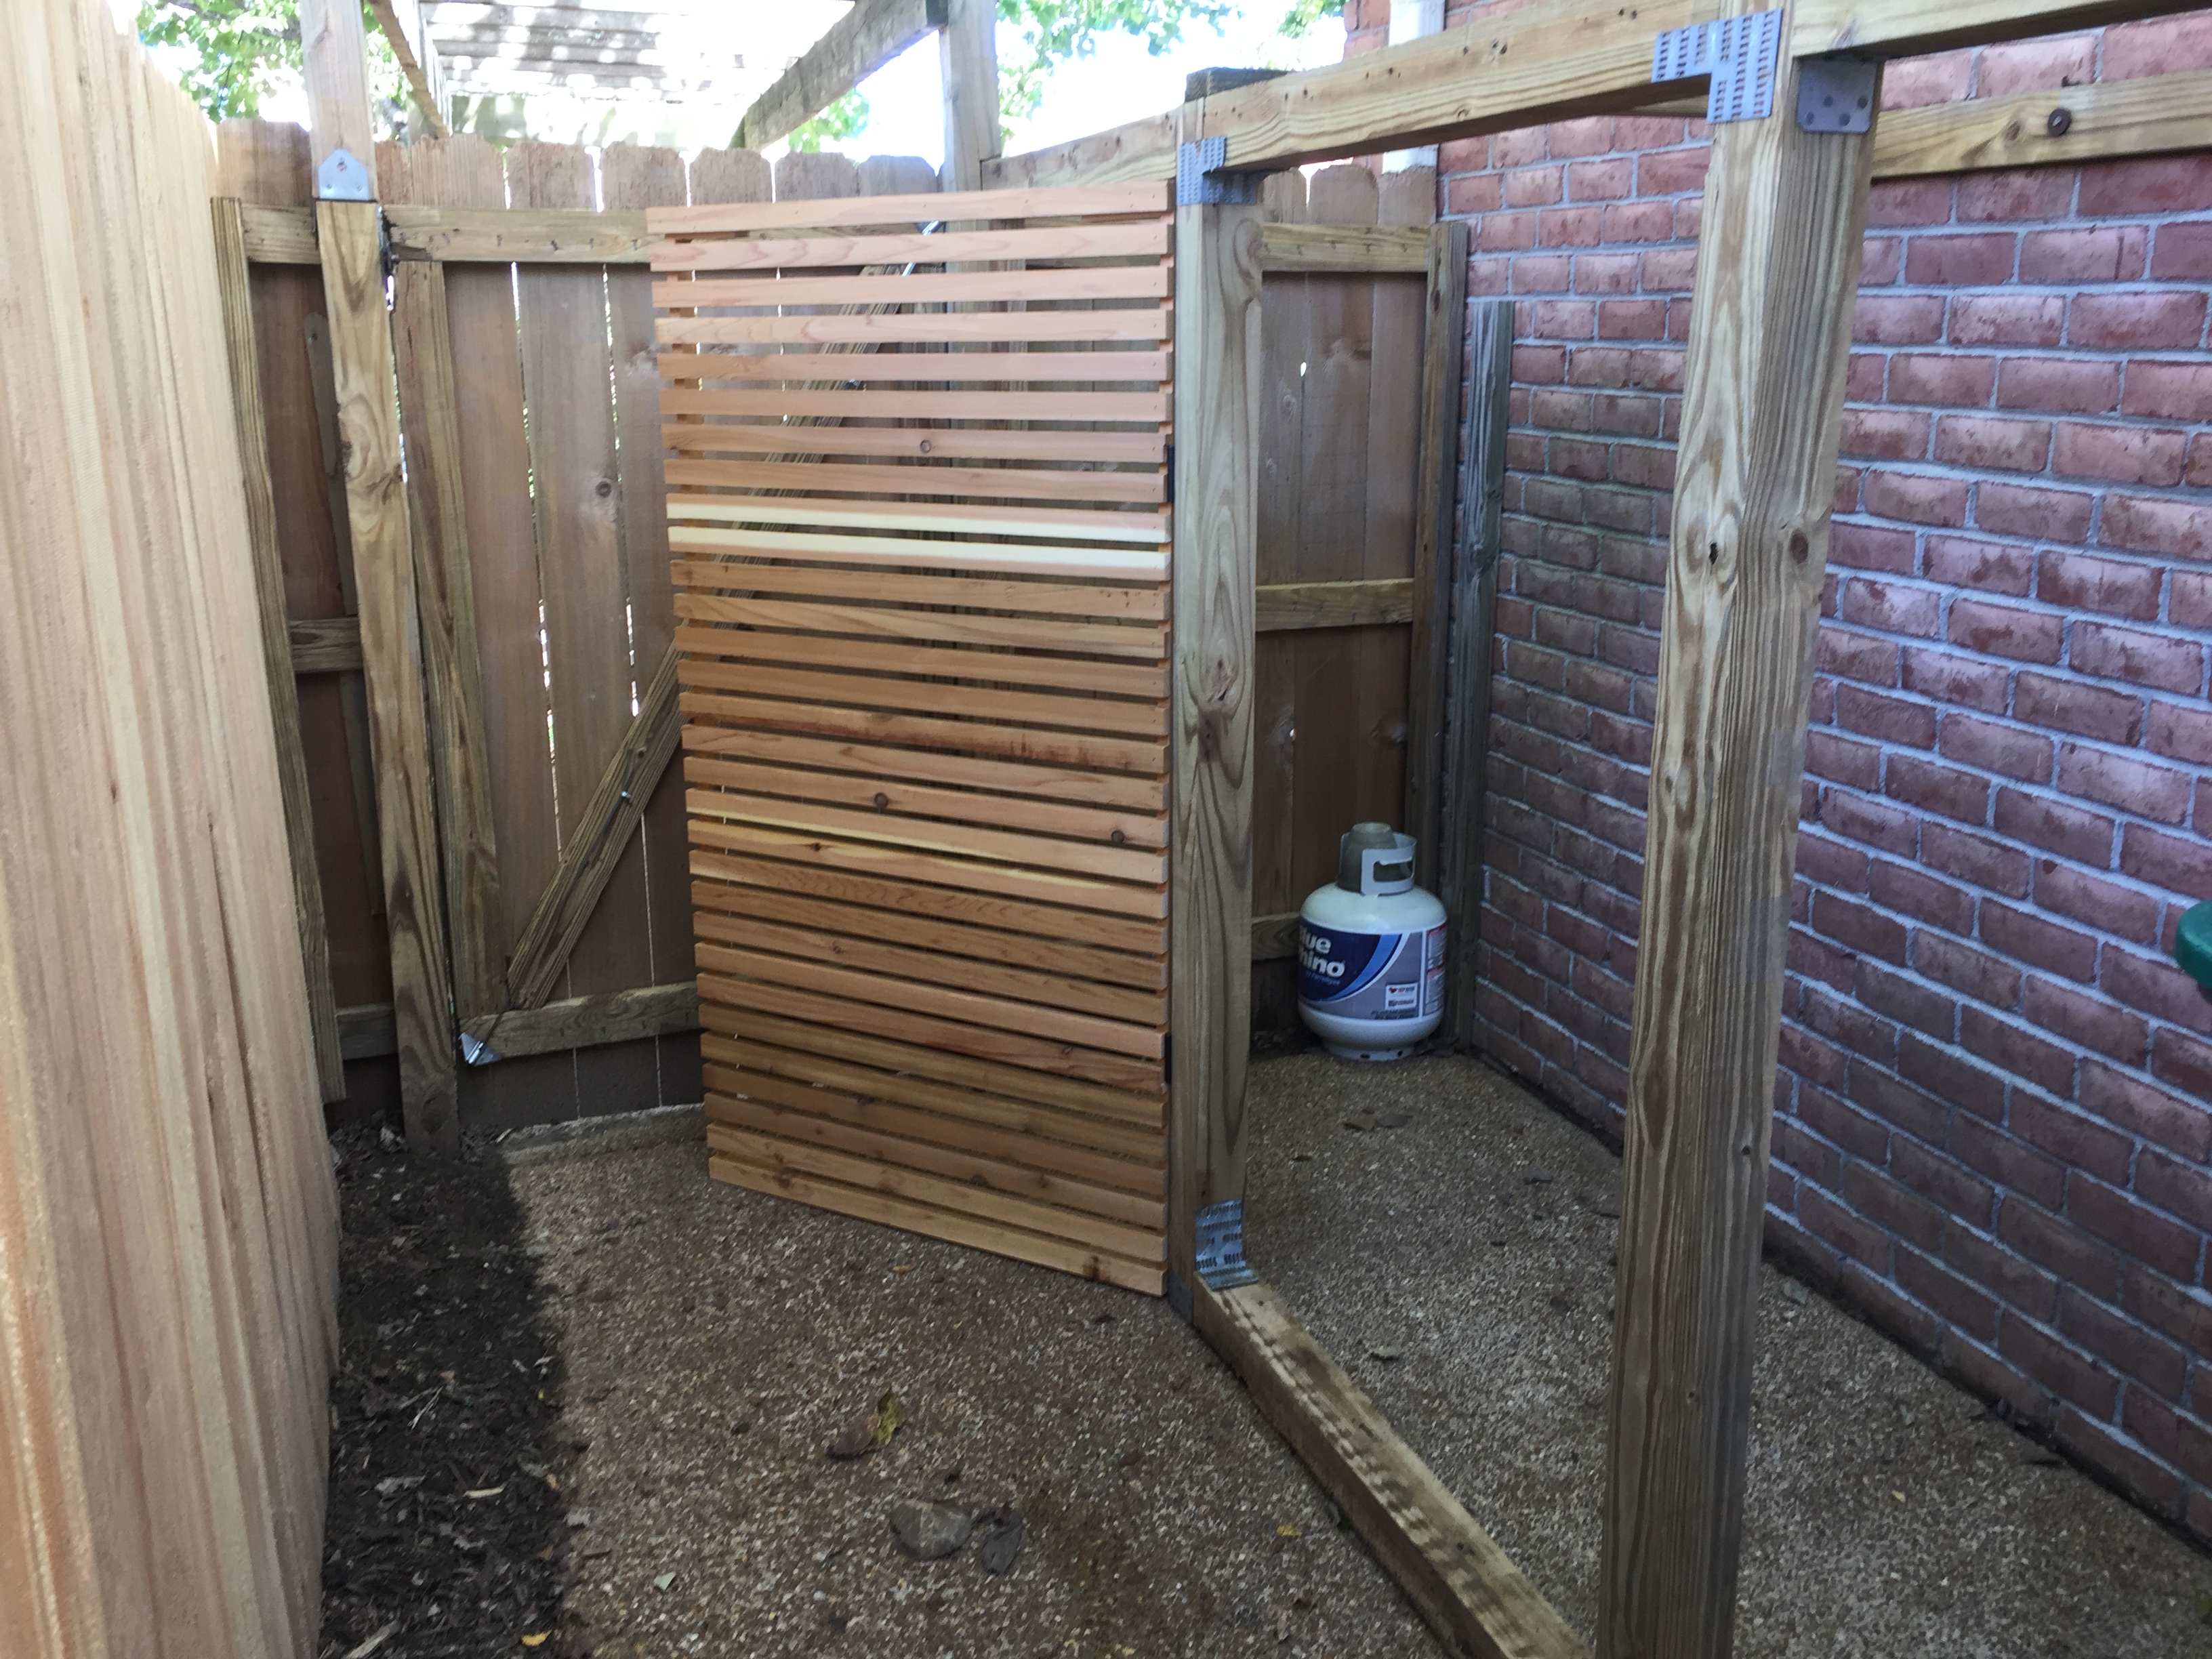
When I went to hang it on the frame, I found that it sagged scraping along the pavement as I opened it. I thought being lighter weight than the old gate, an anti-sag kit would not be necessary but I guess I couldn’t overcome basic laws of physics. So another trip to the hardware store to get two anti-sag kits.
Building the second gate went much faster than the first since I had the experience but still encountered one problem. When I had about three boards left to attach at the bottom, I saw that in spite of using the same gap piece of wood, there was going to be a large empty gap at the bottom. I rechecked to see if I made a mistake in my gap somewhere up the gate but couldn’t find one. The only thing I could figure was that this second batch of boards must have been slightly narrower than the first. To remedy the issue, I just spaced the last three boards a little wider than all the rest. When I hung both gates, I couldn’t tell the difference and thought they looked very nice.
The last part of the project, which was the easiest part, was to attach the 1 X 4 boards to the existing frame.
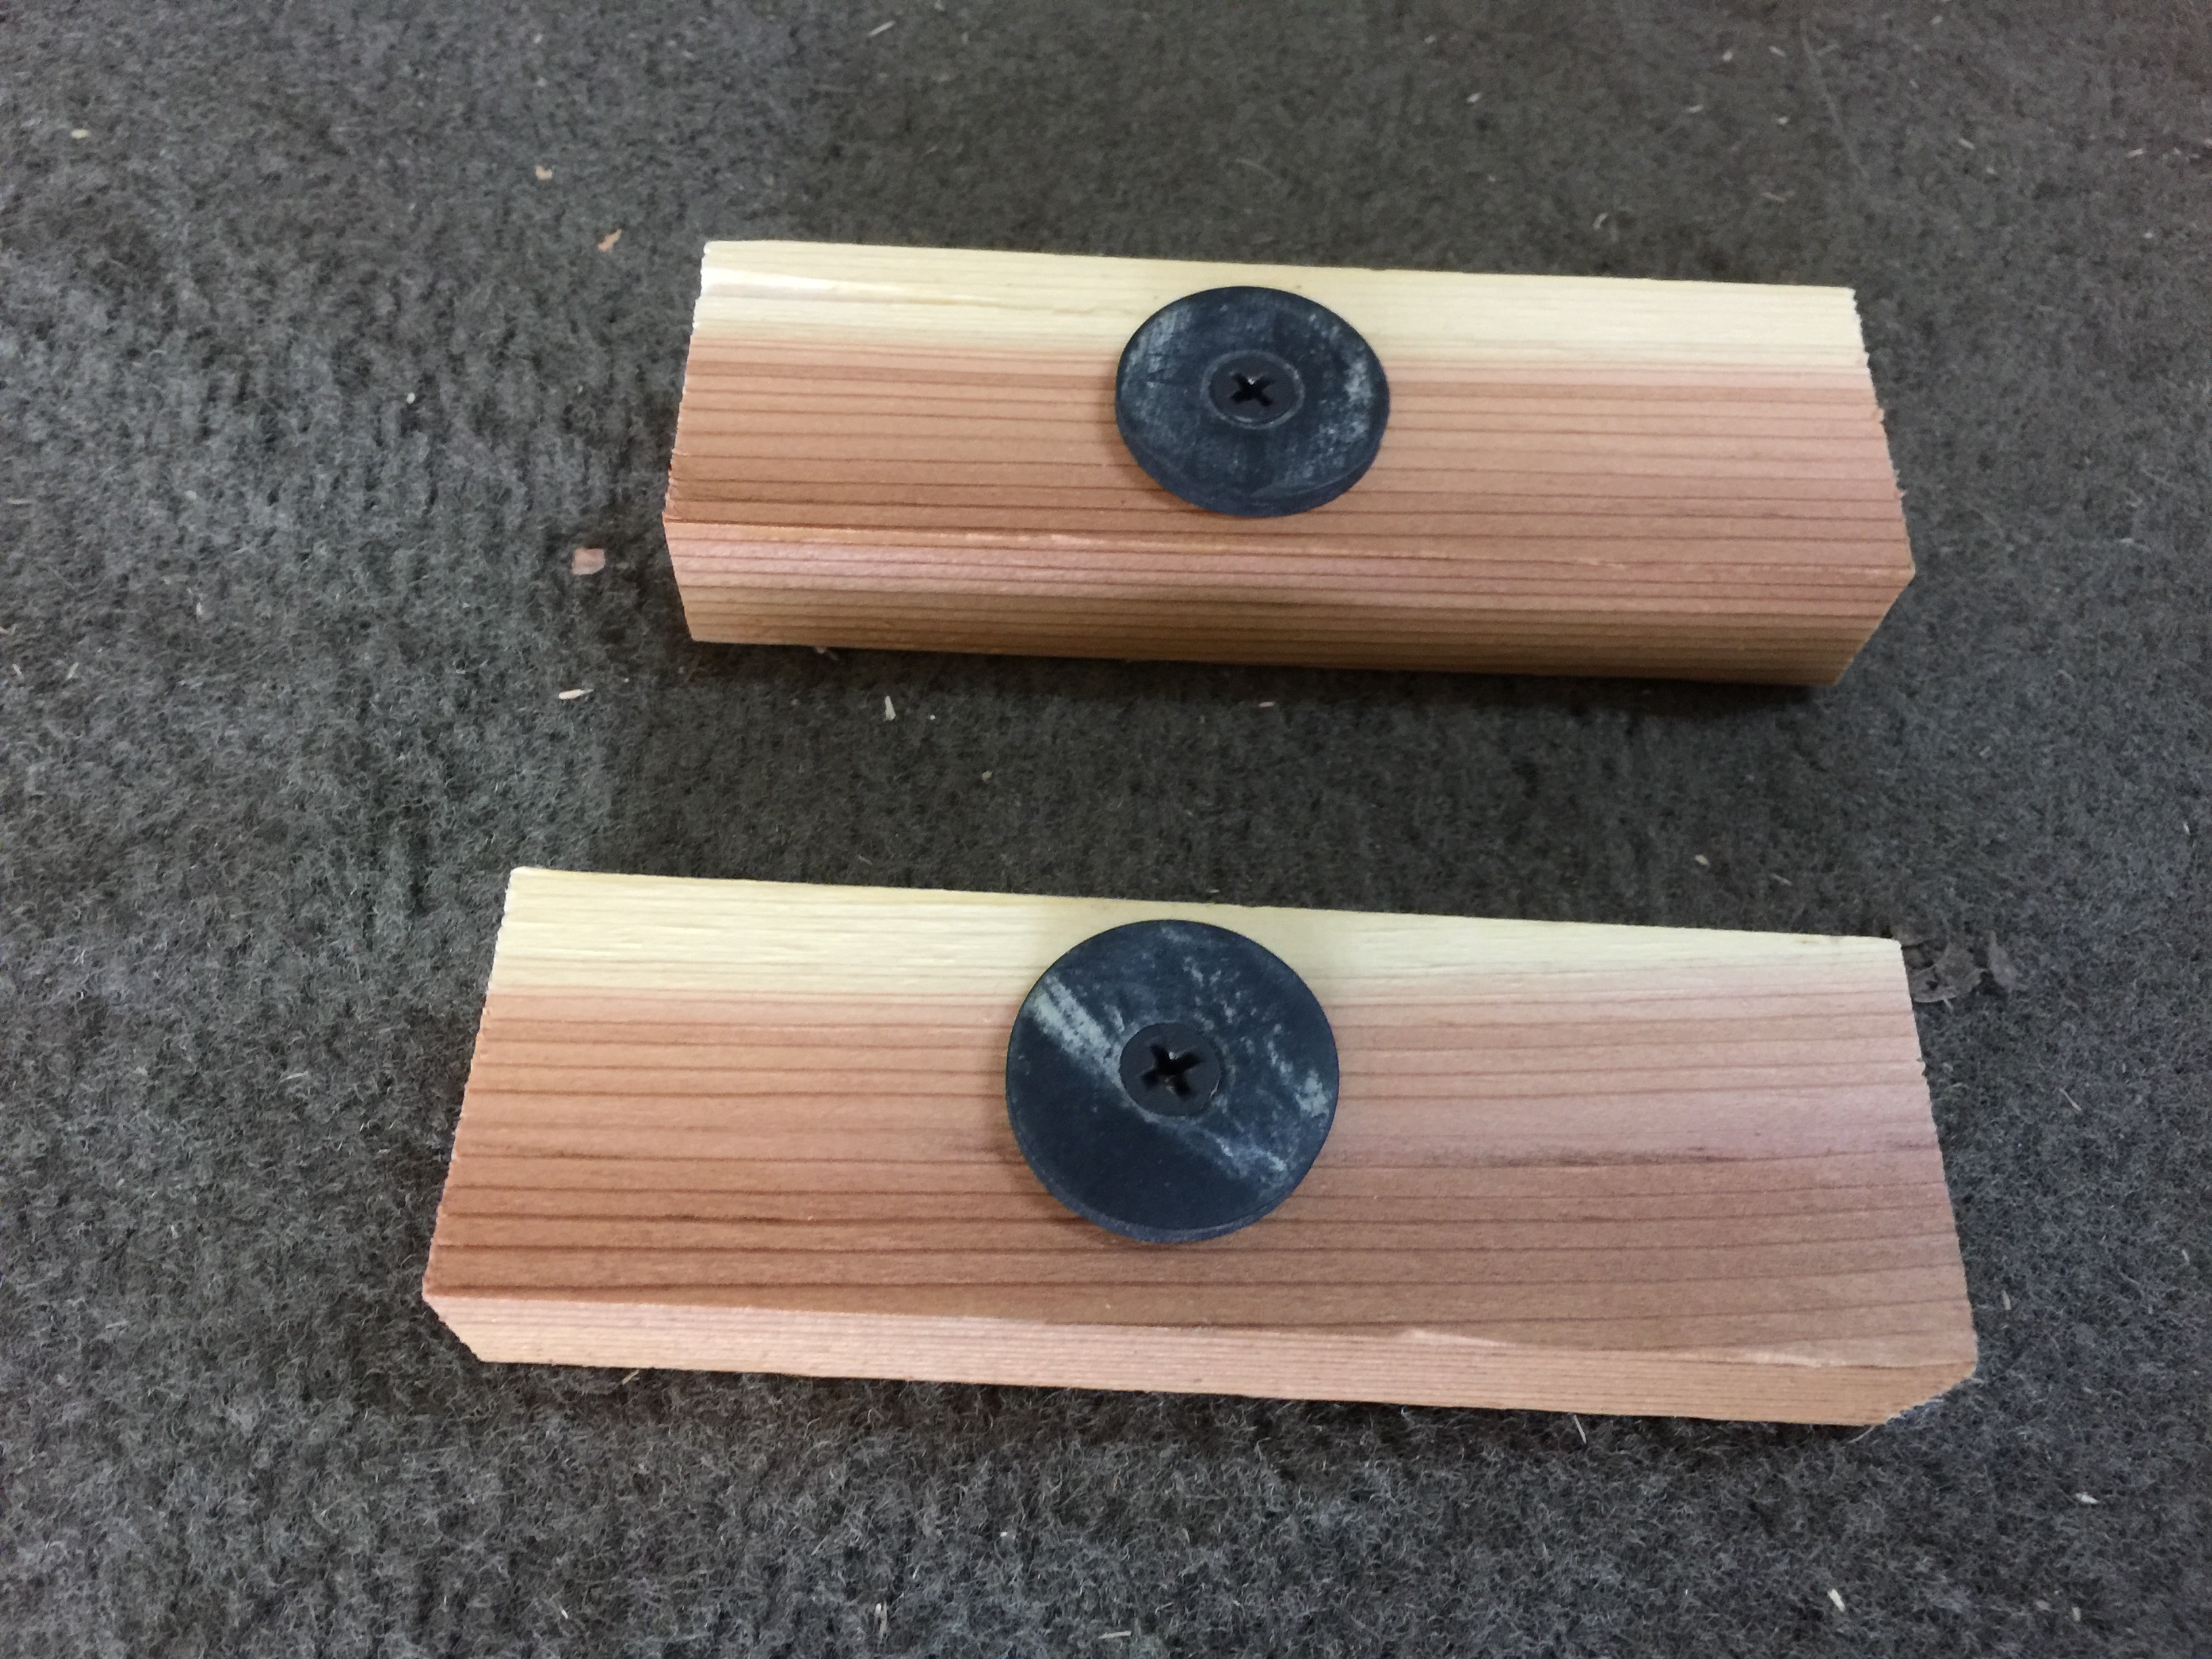
I trial fitted these boards using the narrow edge of 1 X 2 inch boards as a gap but ended up being 1.75 inches too short or about 1/8 inch too narrow for each gap. I didn’t think I could find a board in my bin that was that exact width but then came across the idea of attaching a 1/8-inch rubber washer to the 1 X 2 inch board spacer.
Other than having to work around this crepe myrtle, attaching the boards at the end went fairly quickly…
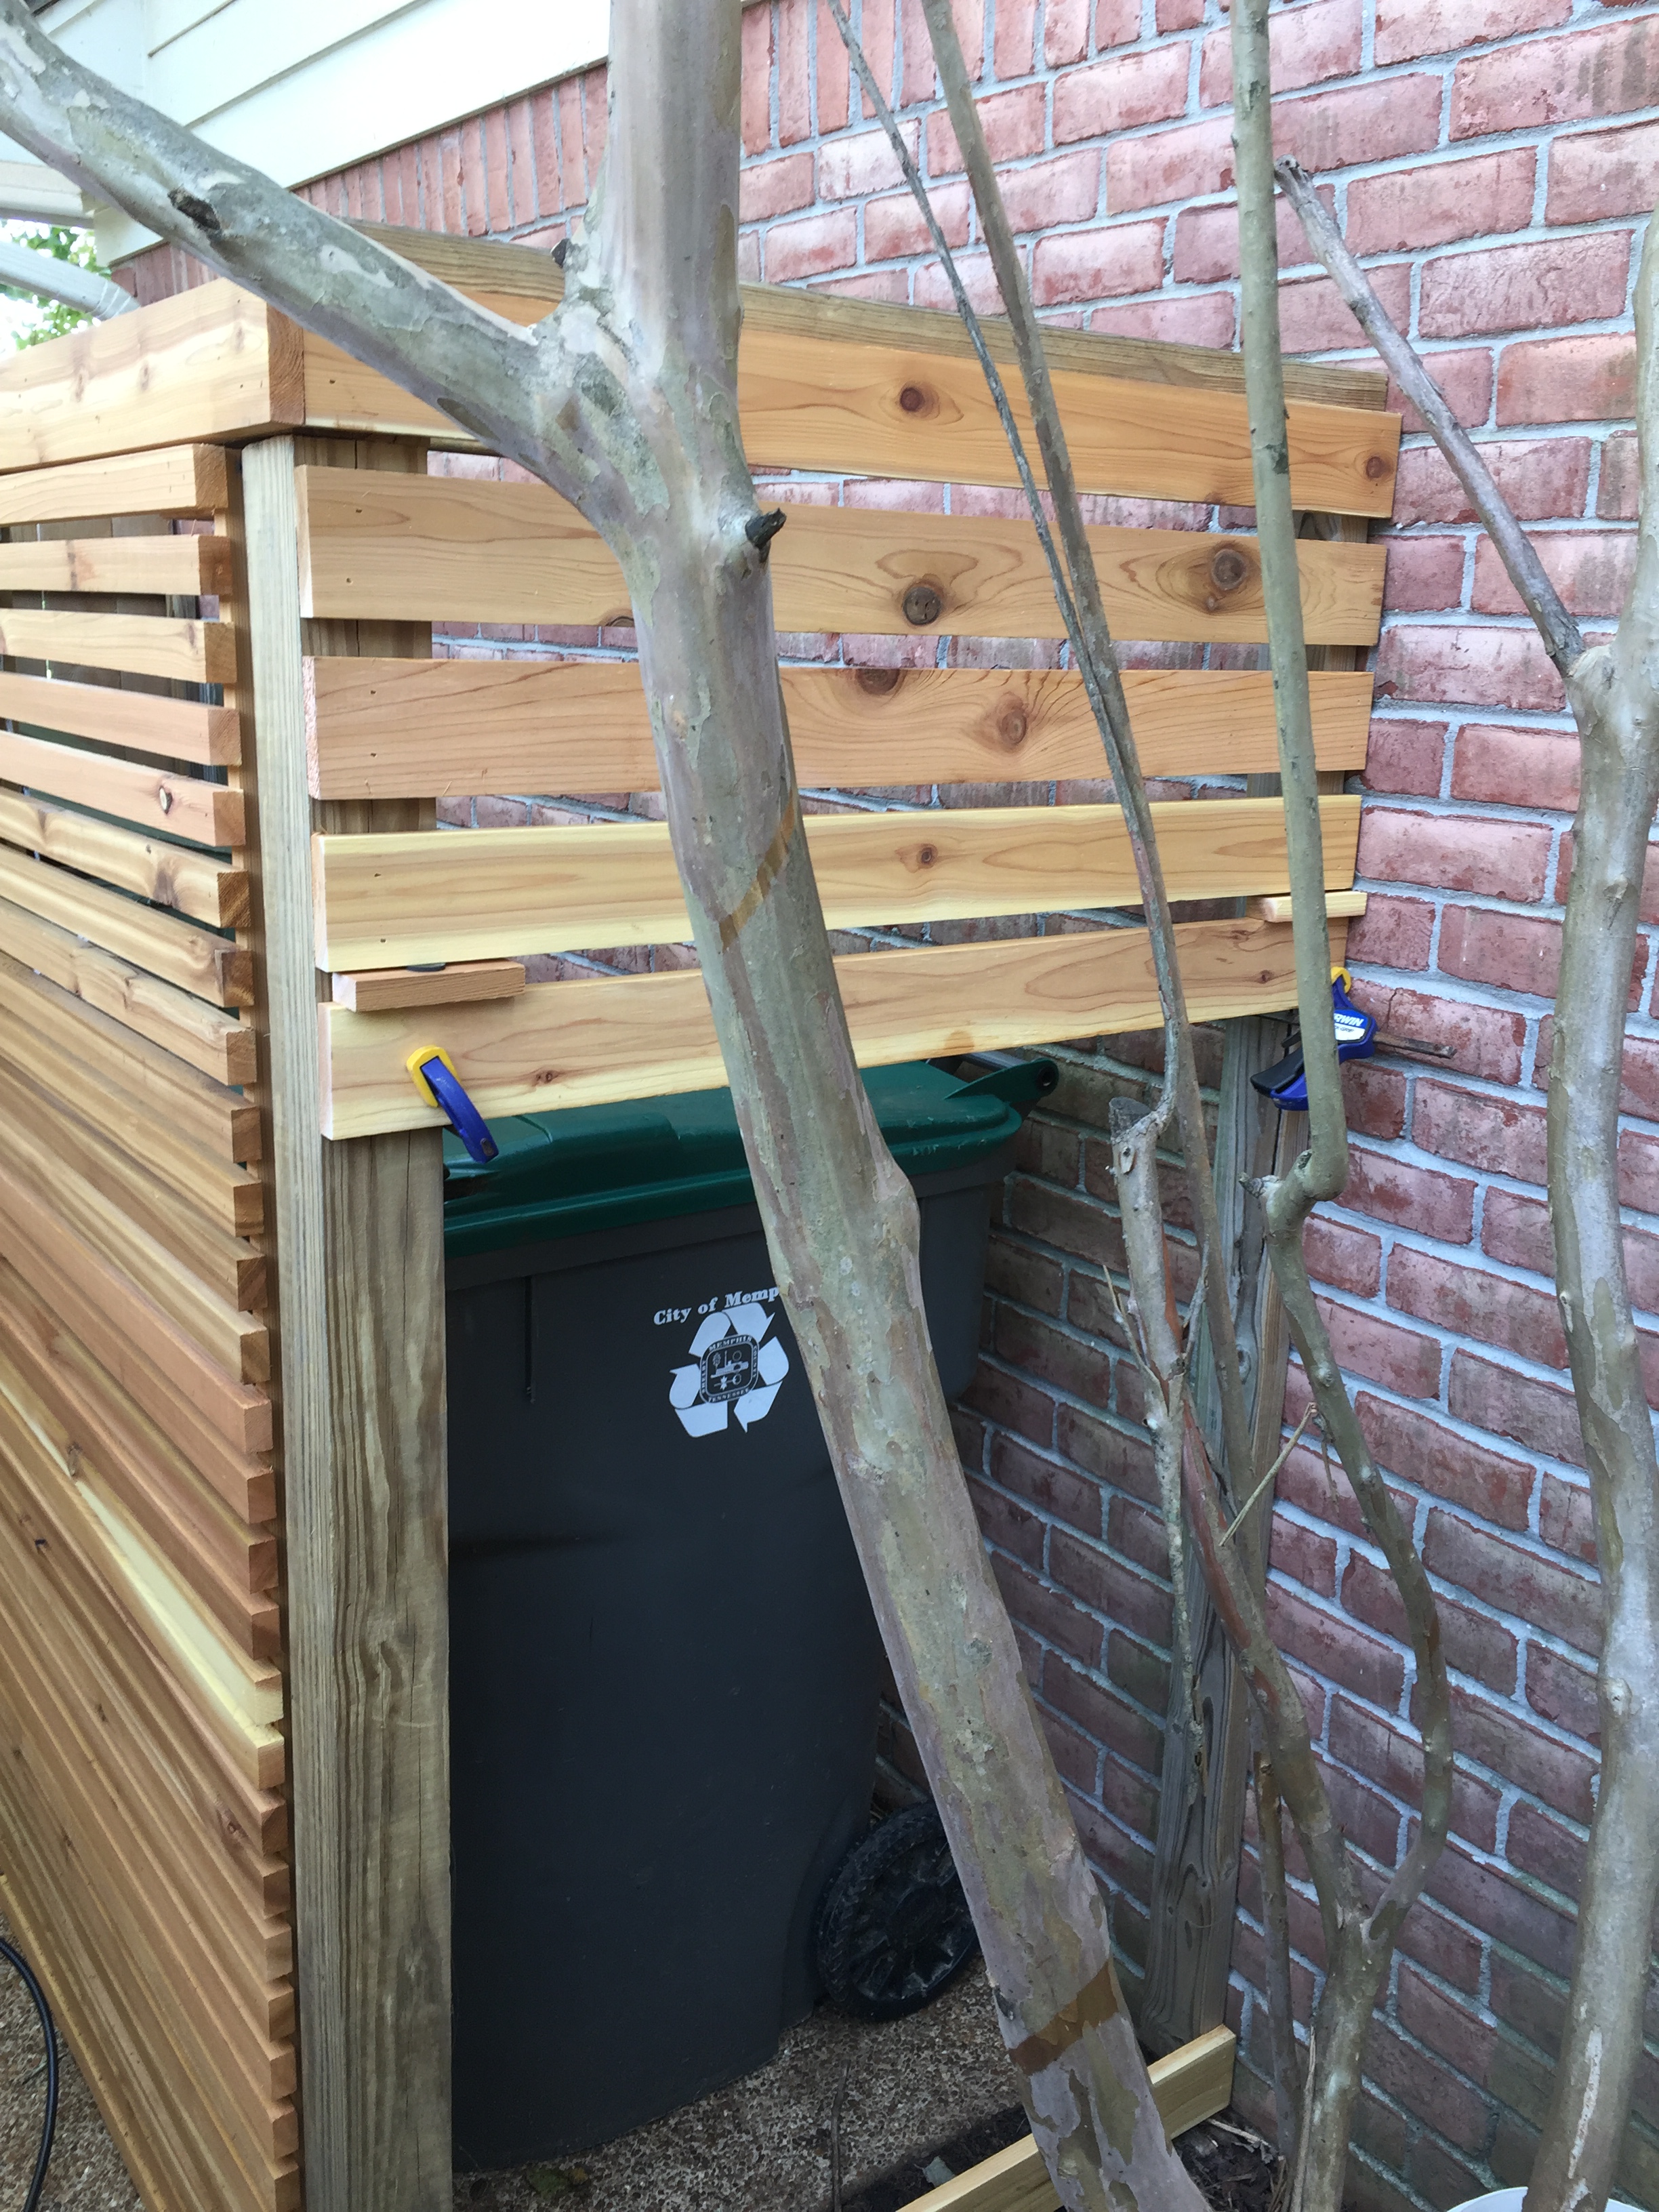
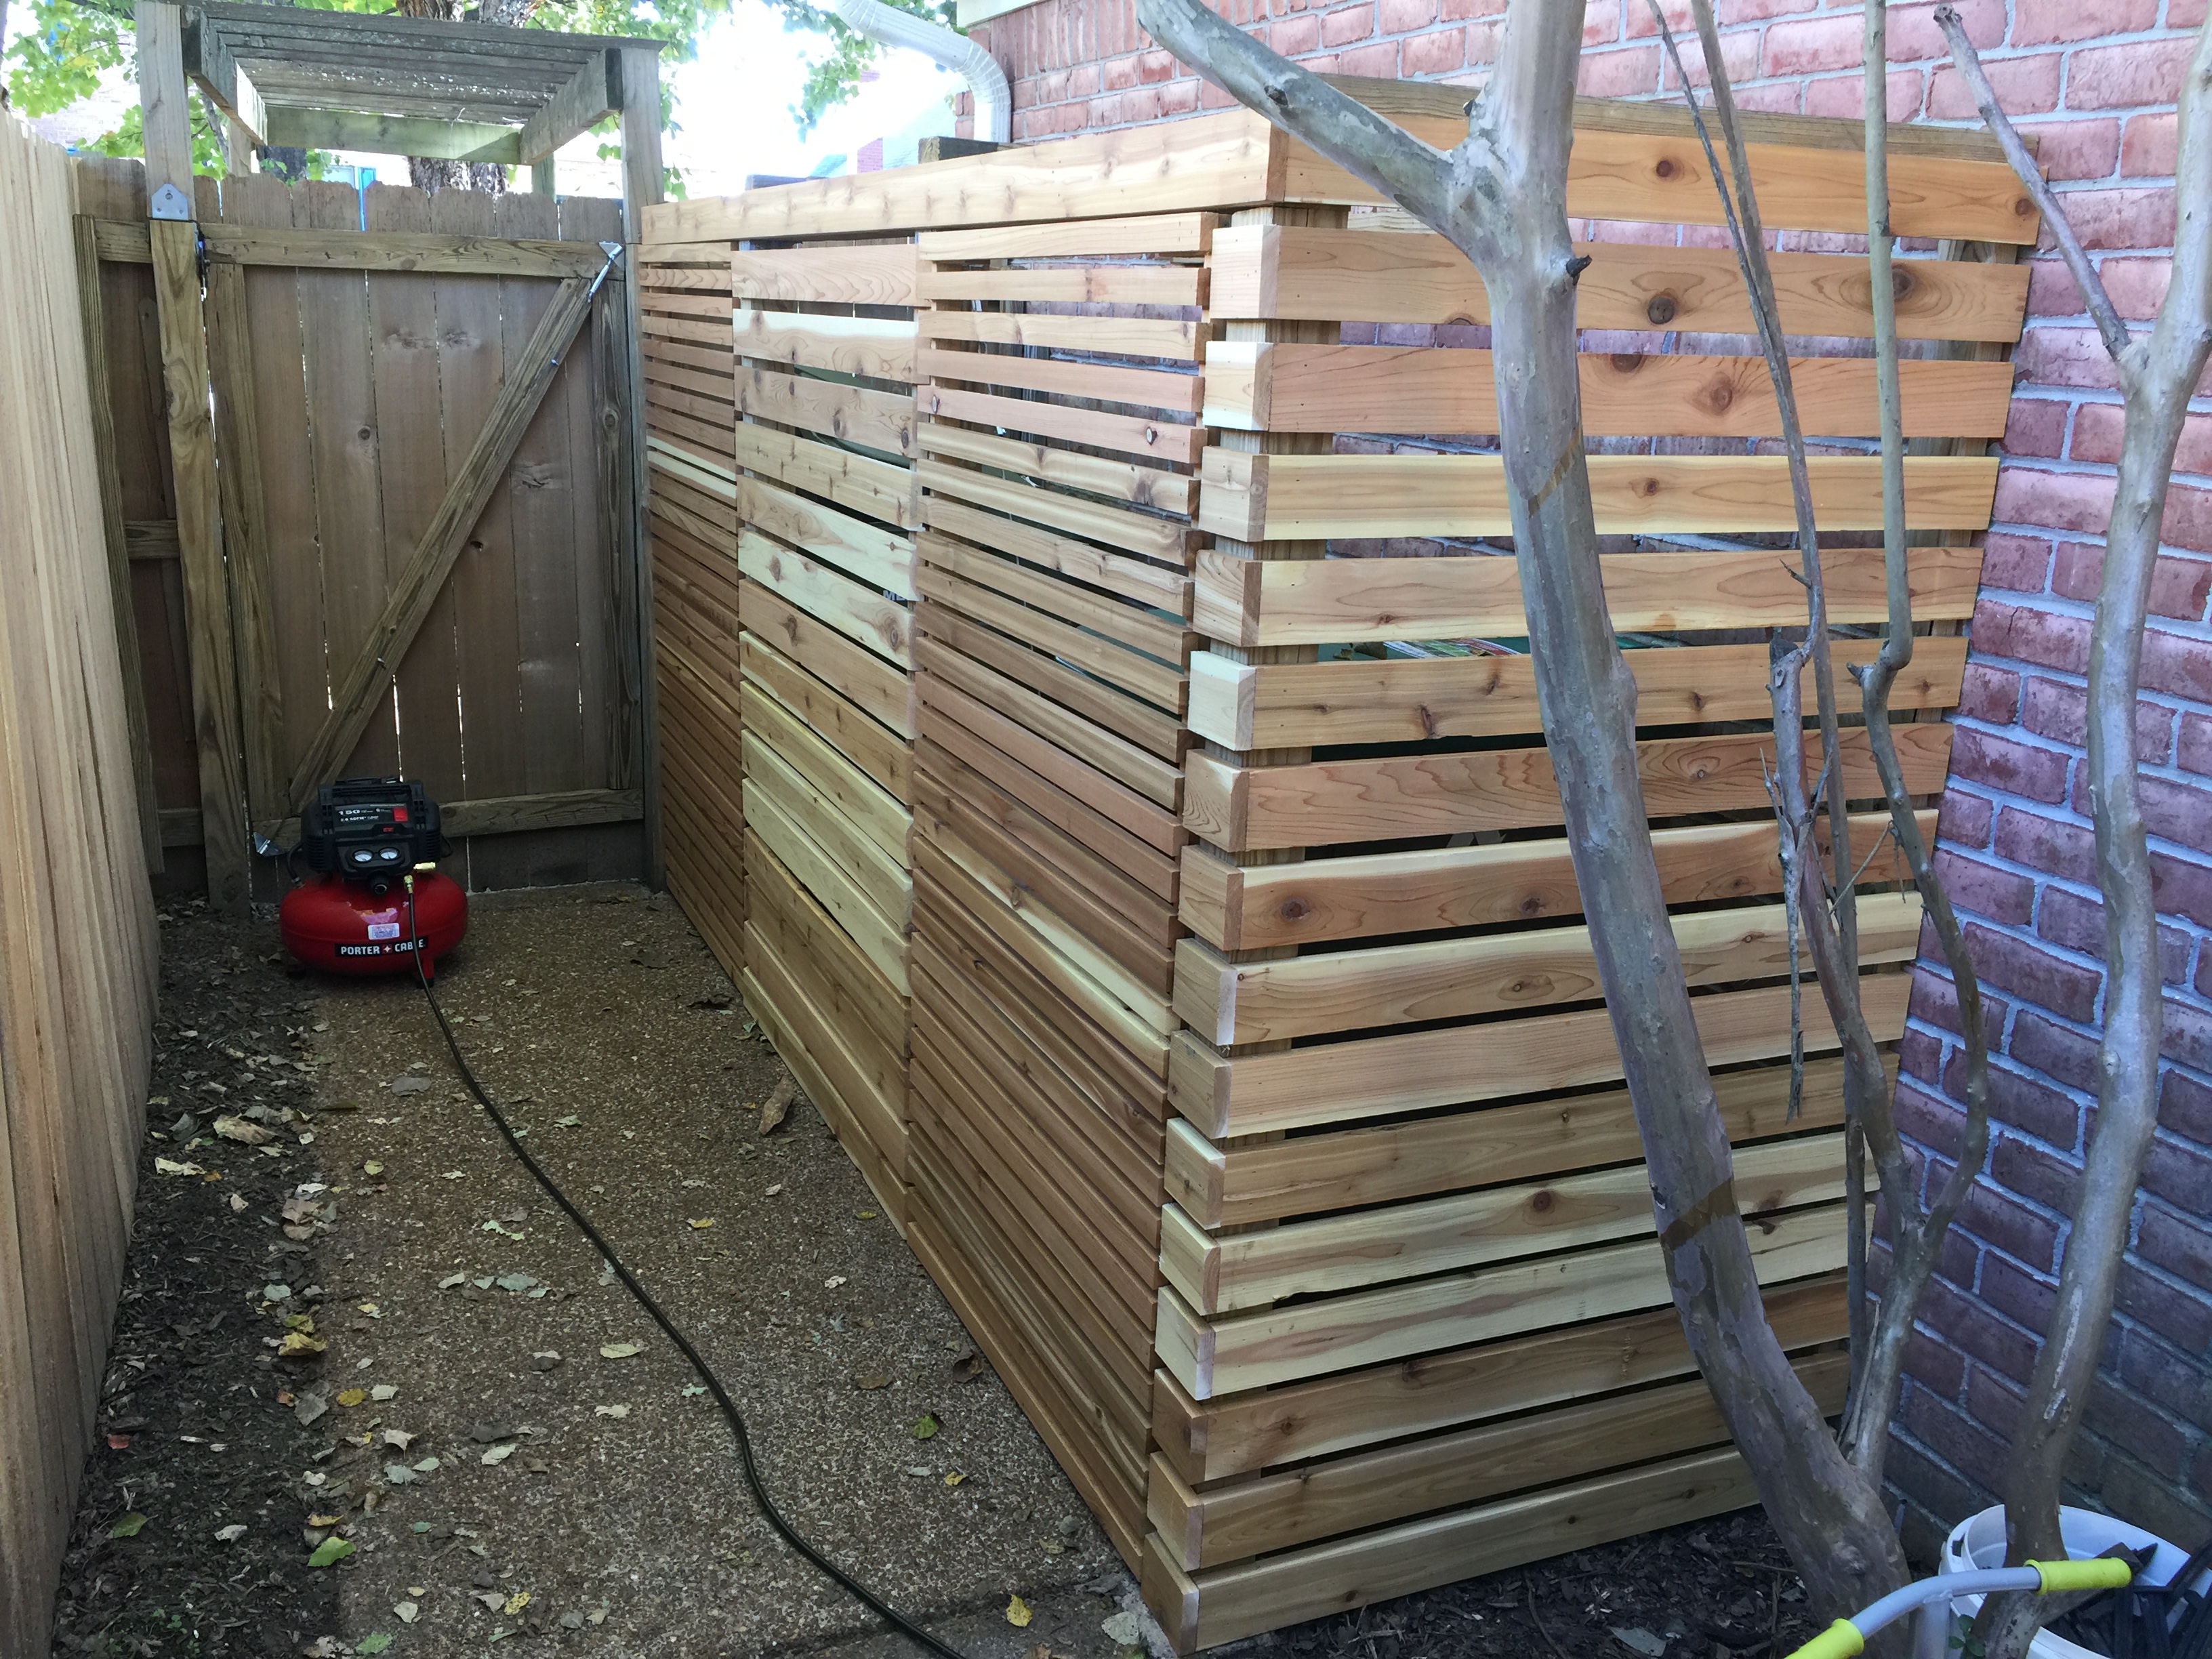
…and in no time was complete.
The middle section of 1 X 4 inch boards attached even easier with the only difference being that I cut both ends at a 45-degree angle to allow the gates to open without hitting the middle boards.
The last step was then to attach the approximately 4.5 inch 1 X 4 inch pieces on the corner.
This still left the top pressure treated boards exposed so I decided to cobble together some shorter leftover 1 X 2 inch pieces to cover these.
The absolute last step was then to attach a handle to each gate for ease of opening.

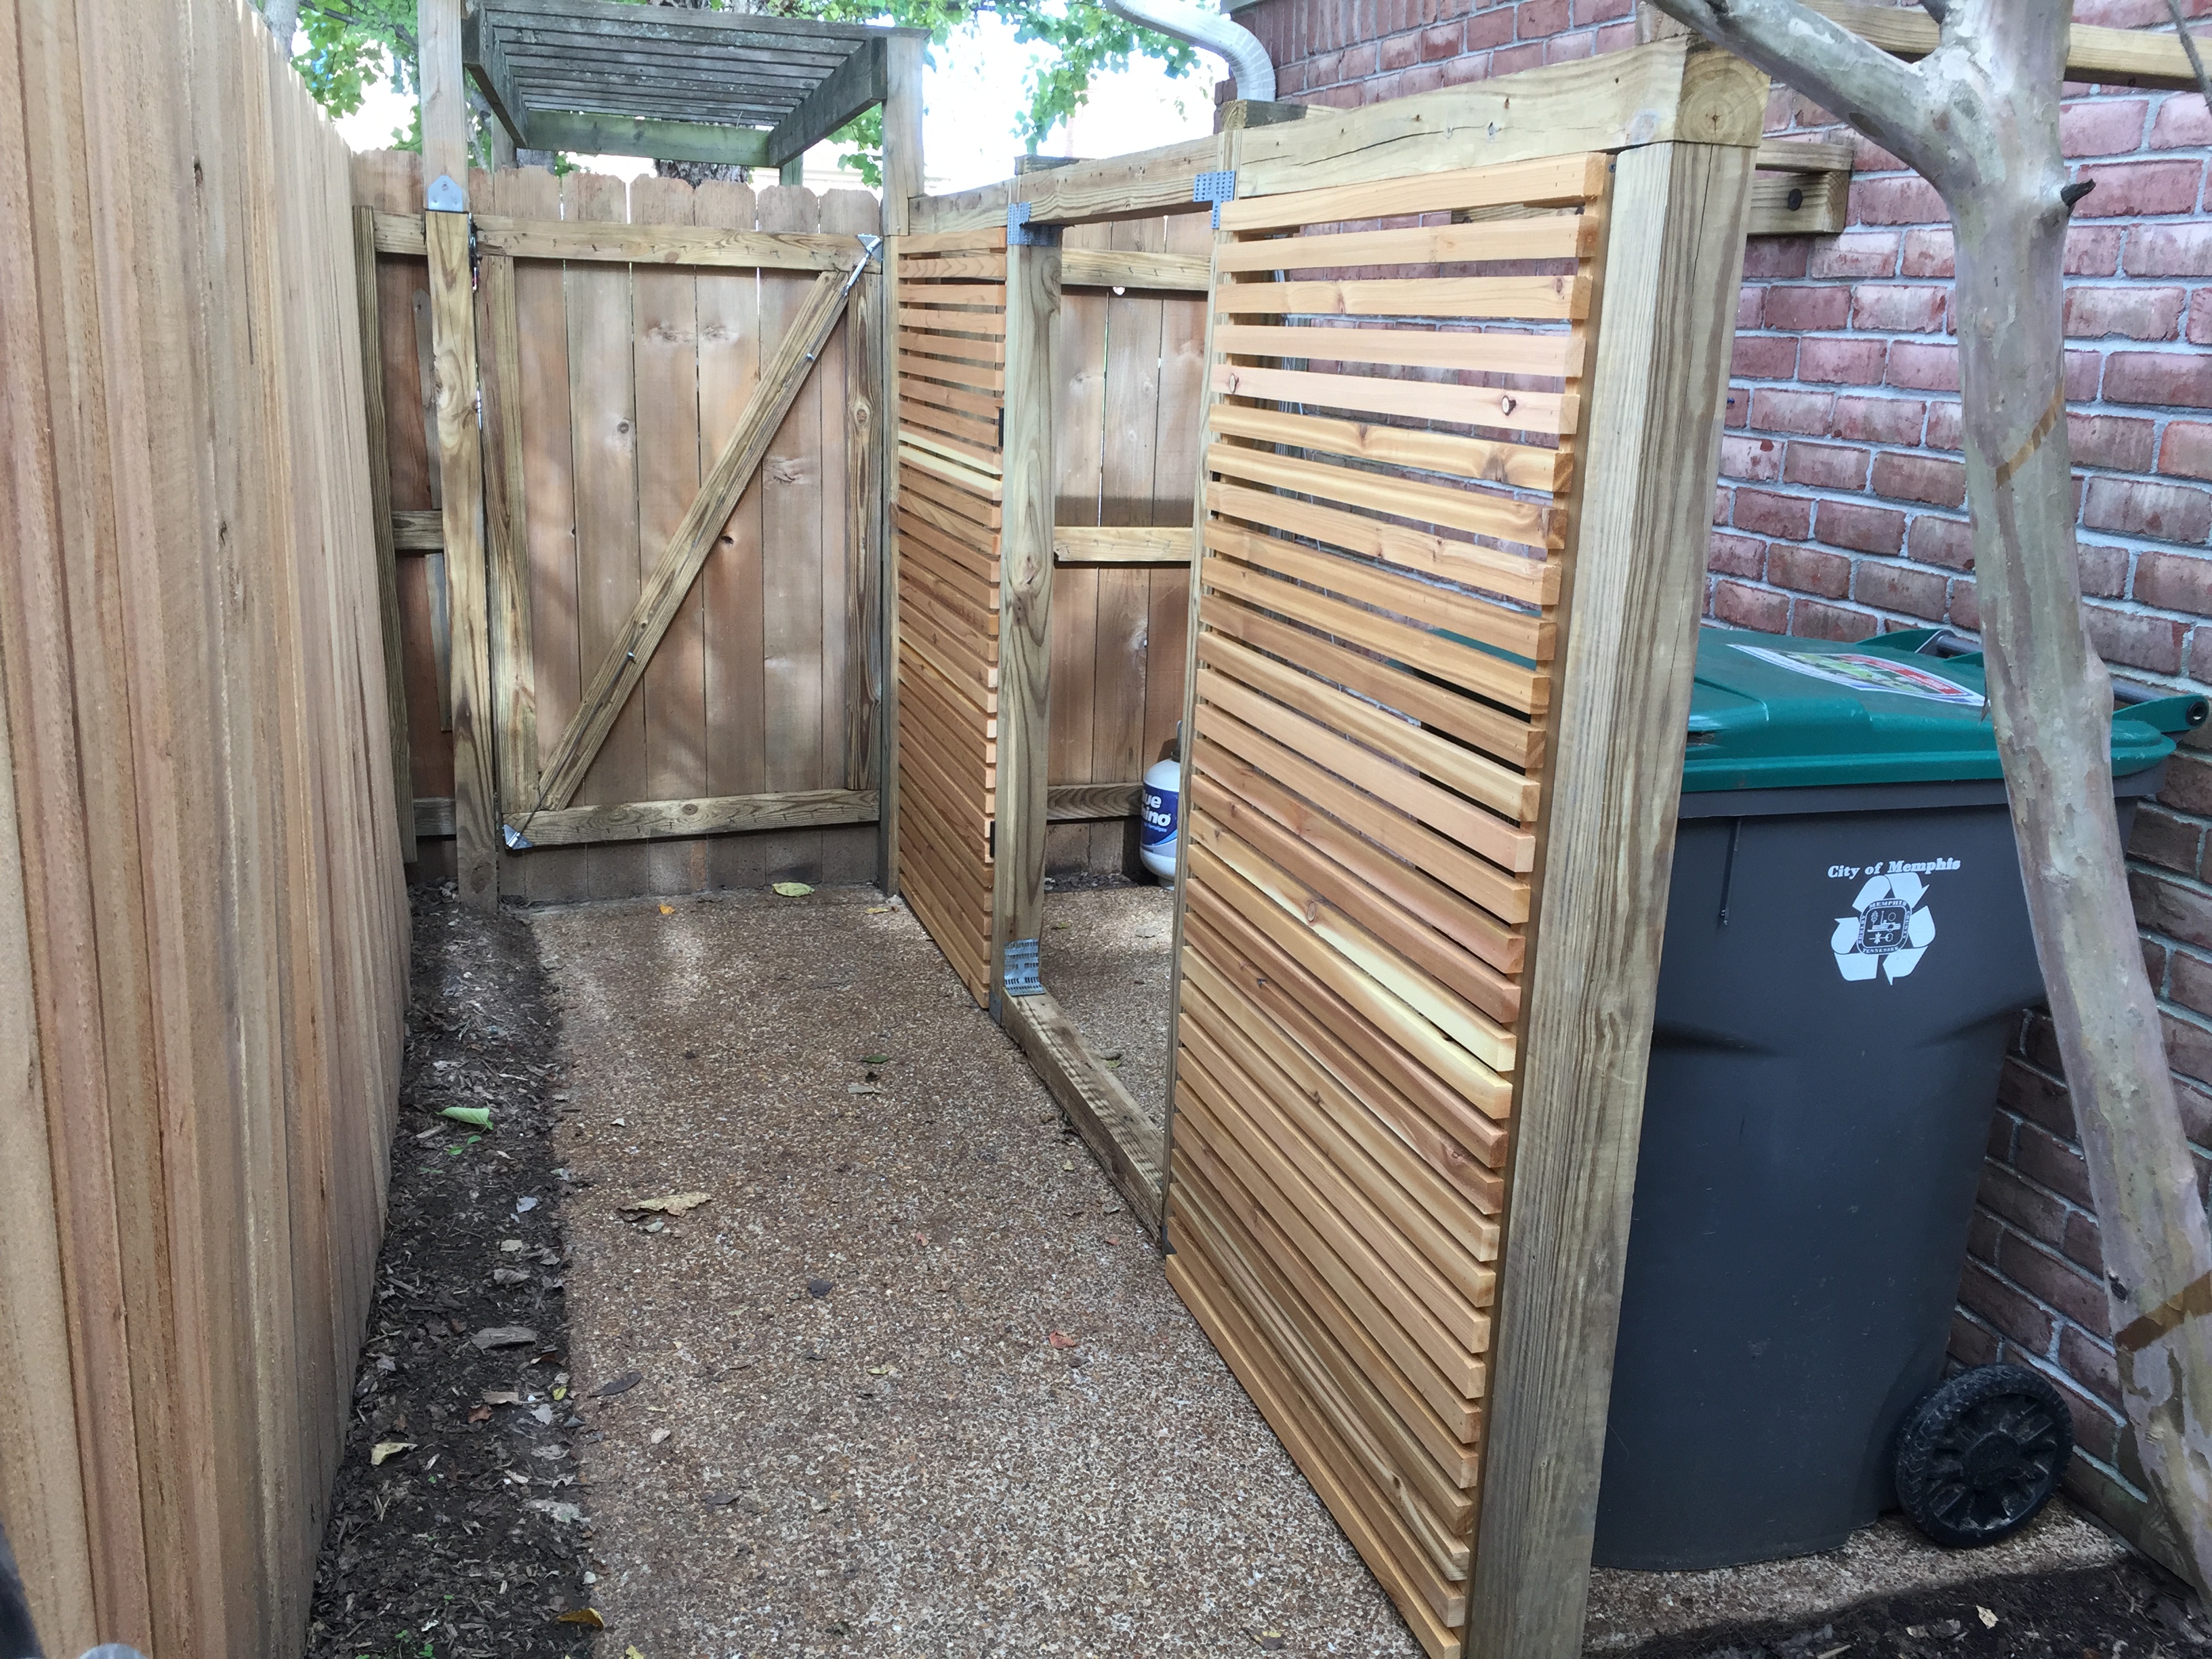
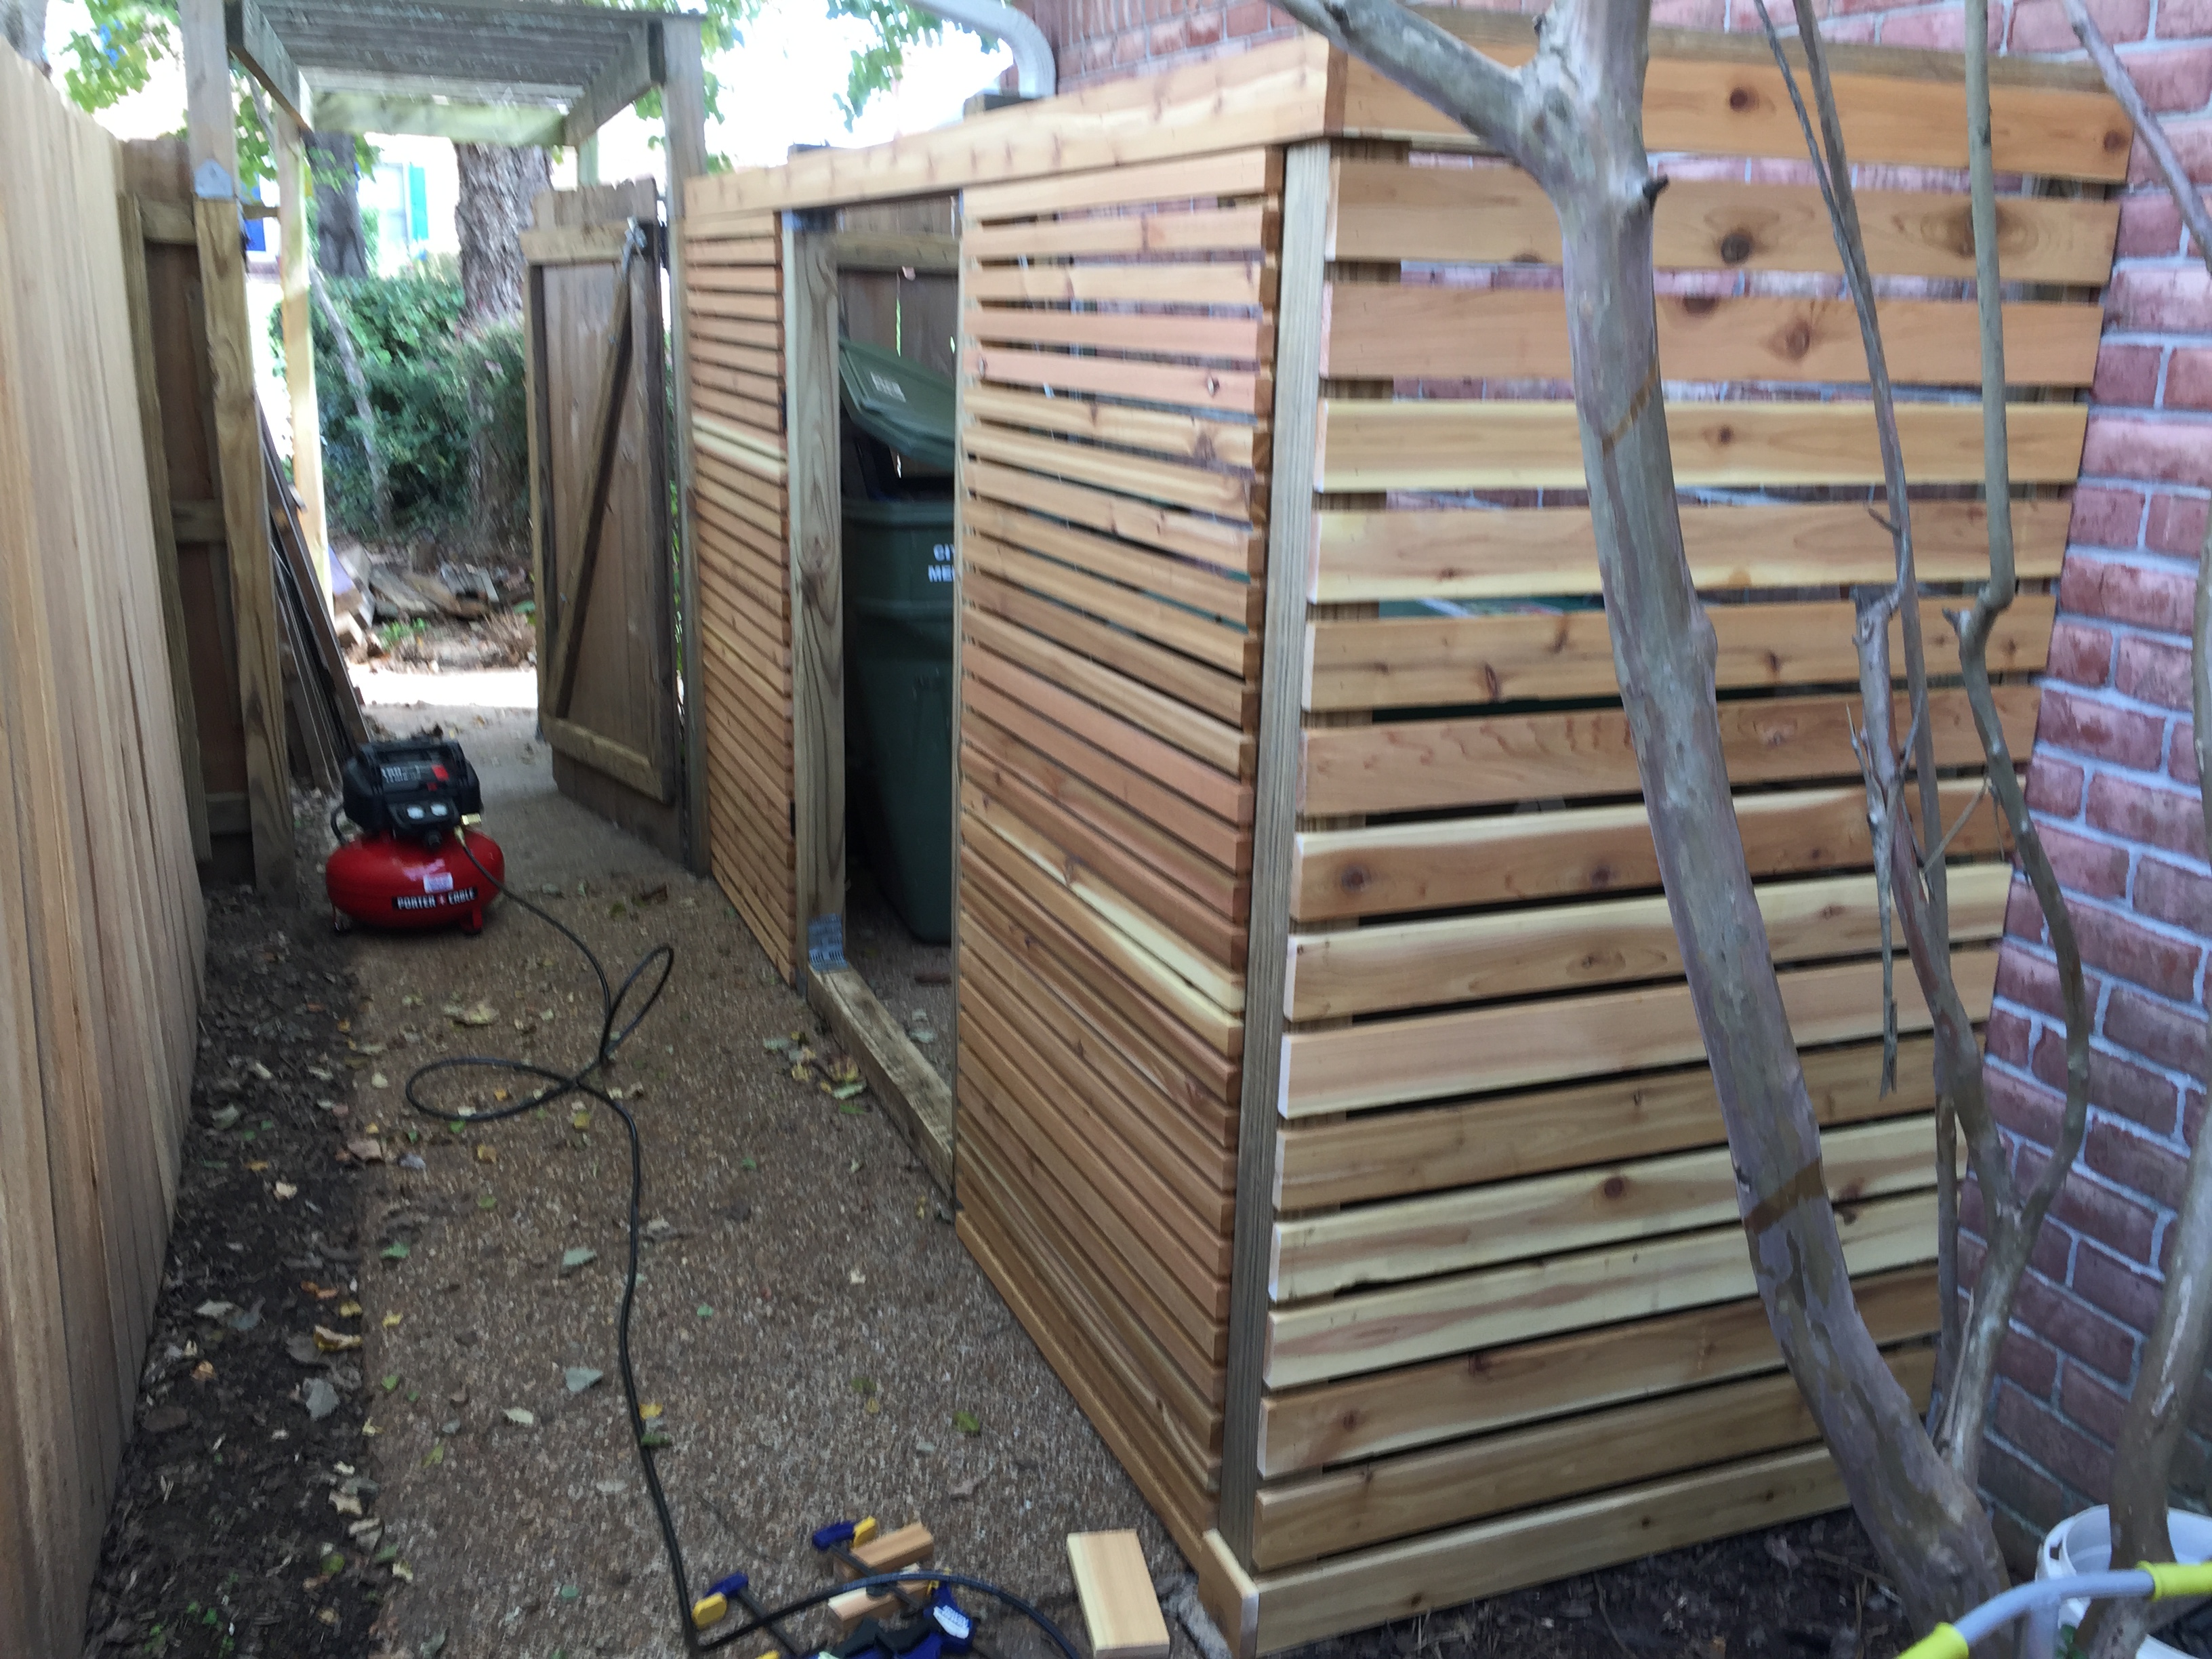
When compared to the beginning condition, …
…the new design seemed to give the whole section a nice and clean look, a brand new 20-20 vision for an old garbage blind!
Categories

Impressive! The horizontal boards look great! That’s also quite a feat of engineering. I’d never have the patience to pull it off!
Thanks, I had fun doing it. I really like the new look.