
Doormats Revisited – First Step
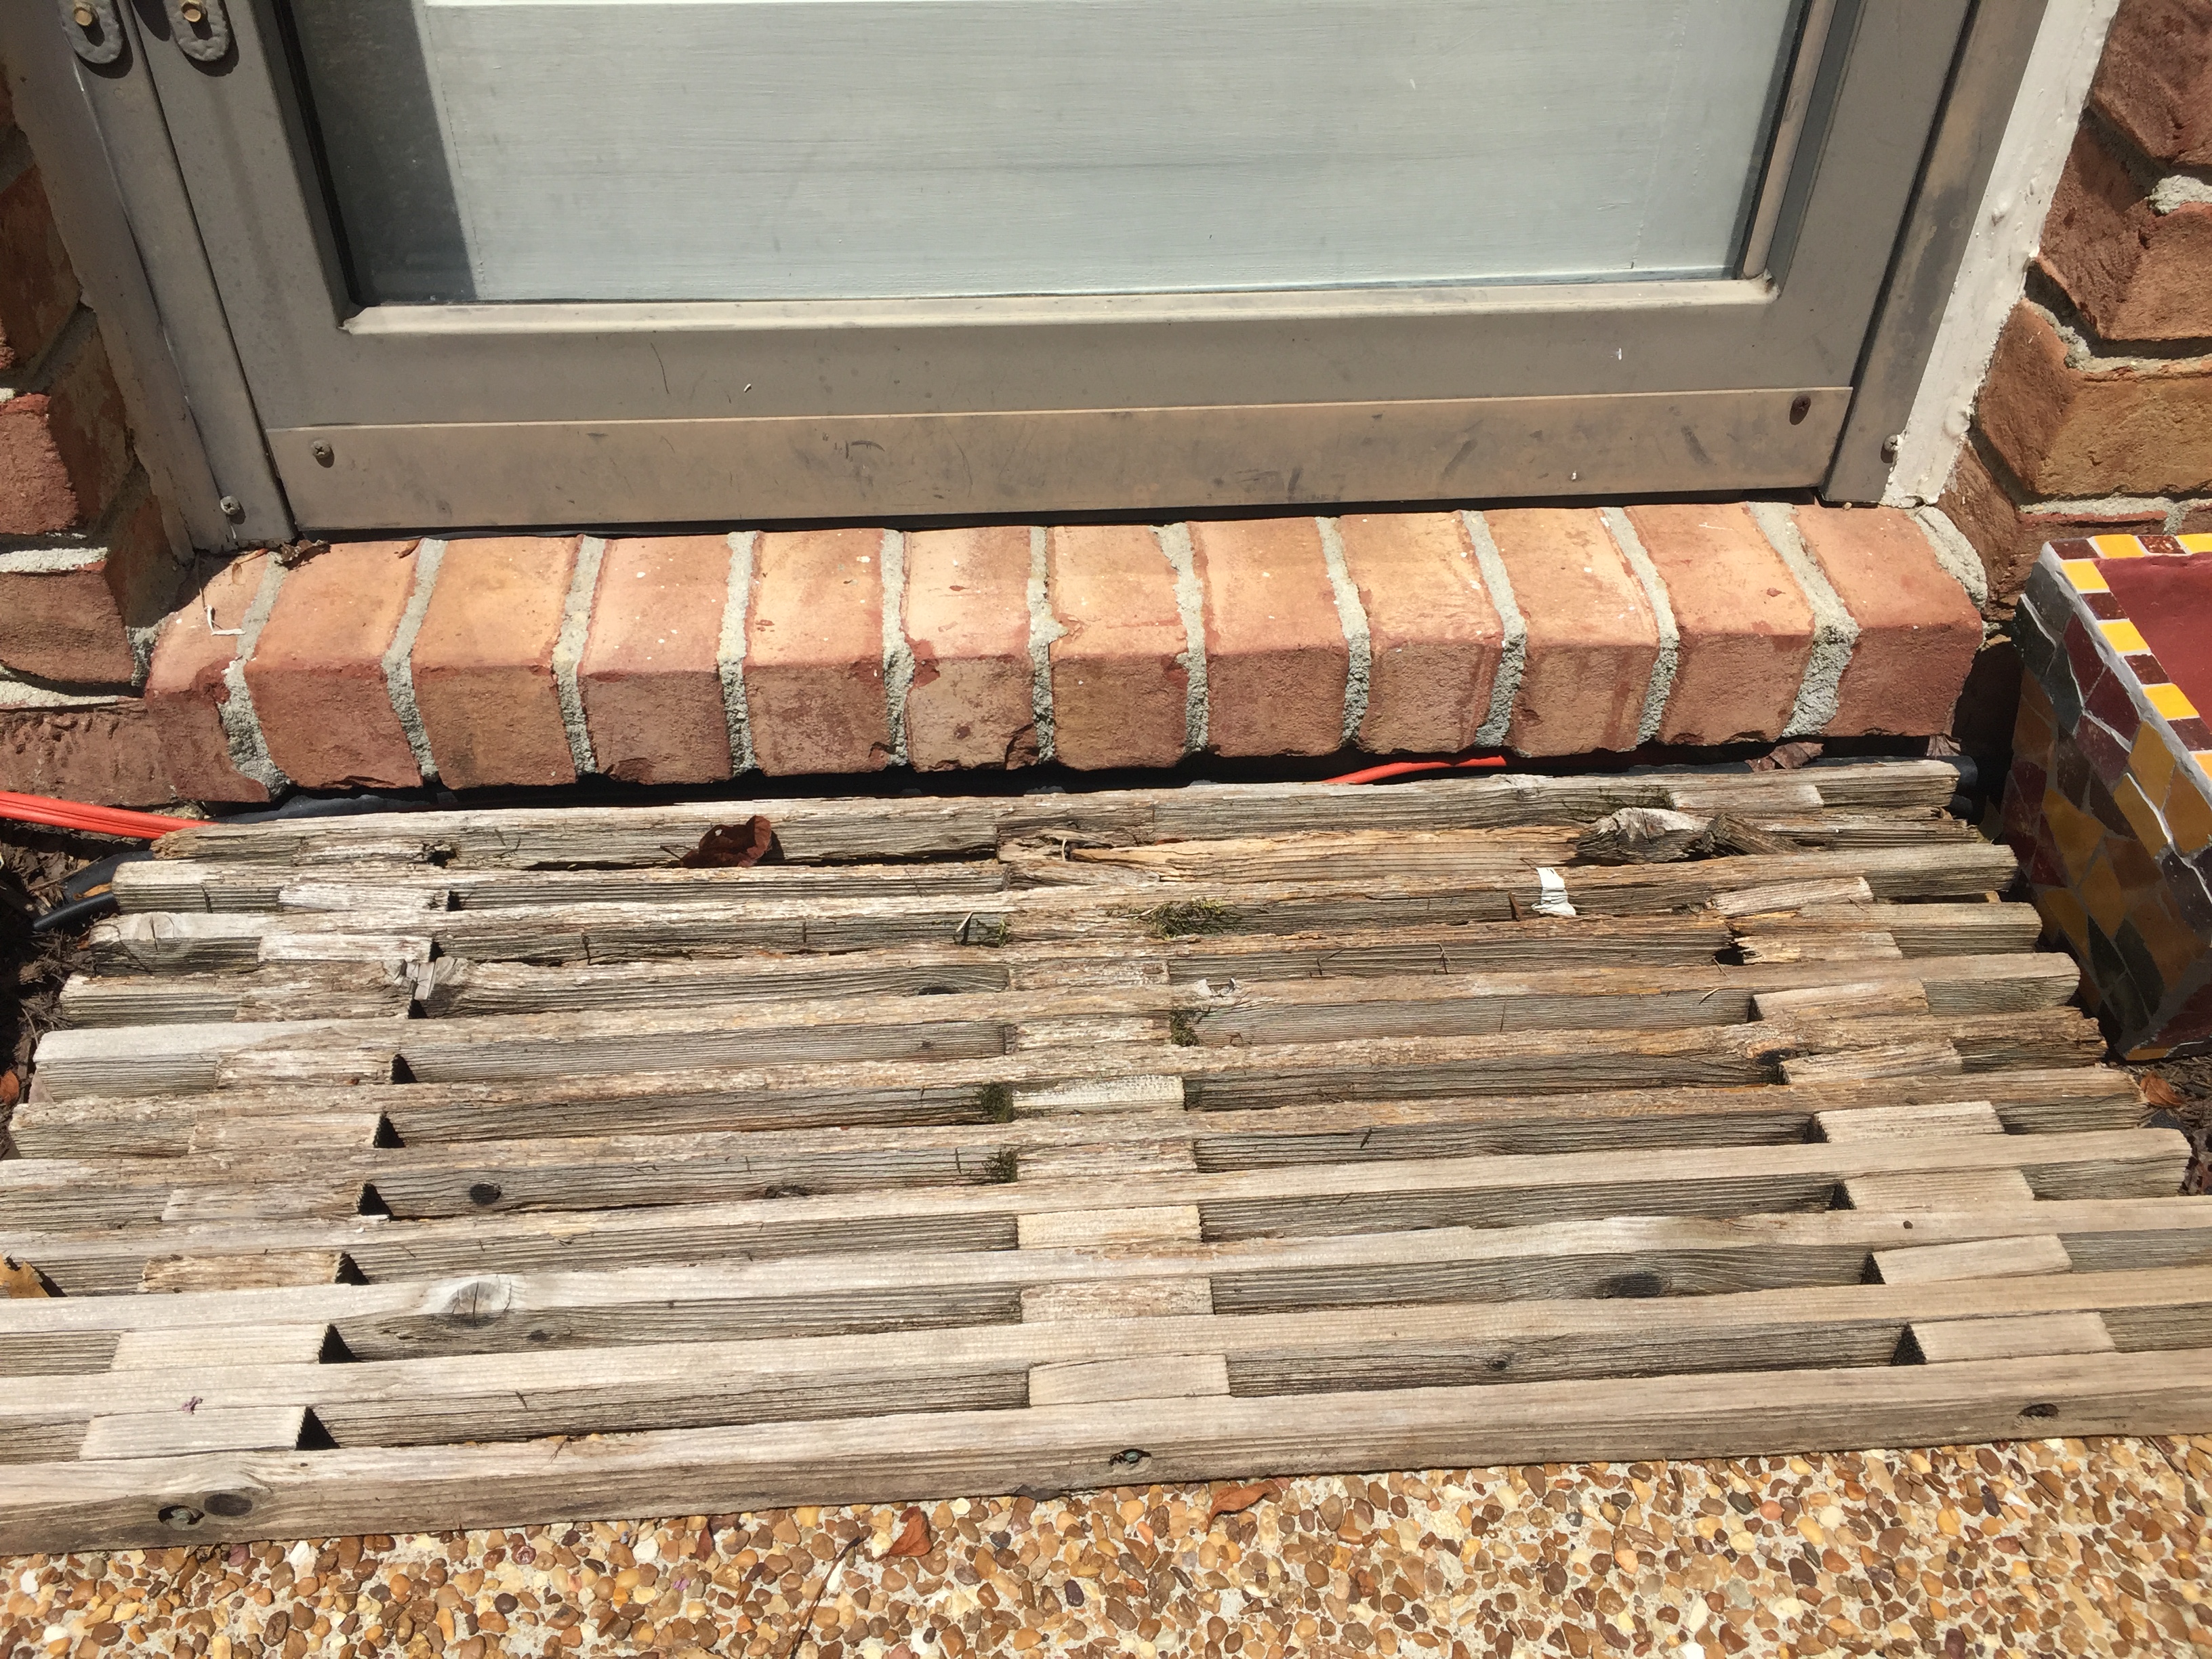
This spring when I was pressure washing our back patio, I discovered that the wooden doormat outside one of our back doors, the door we don’t use that often had not weathered very well.
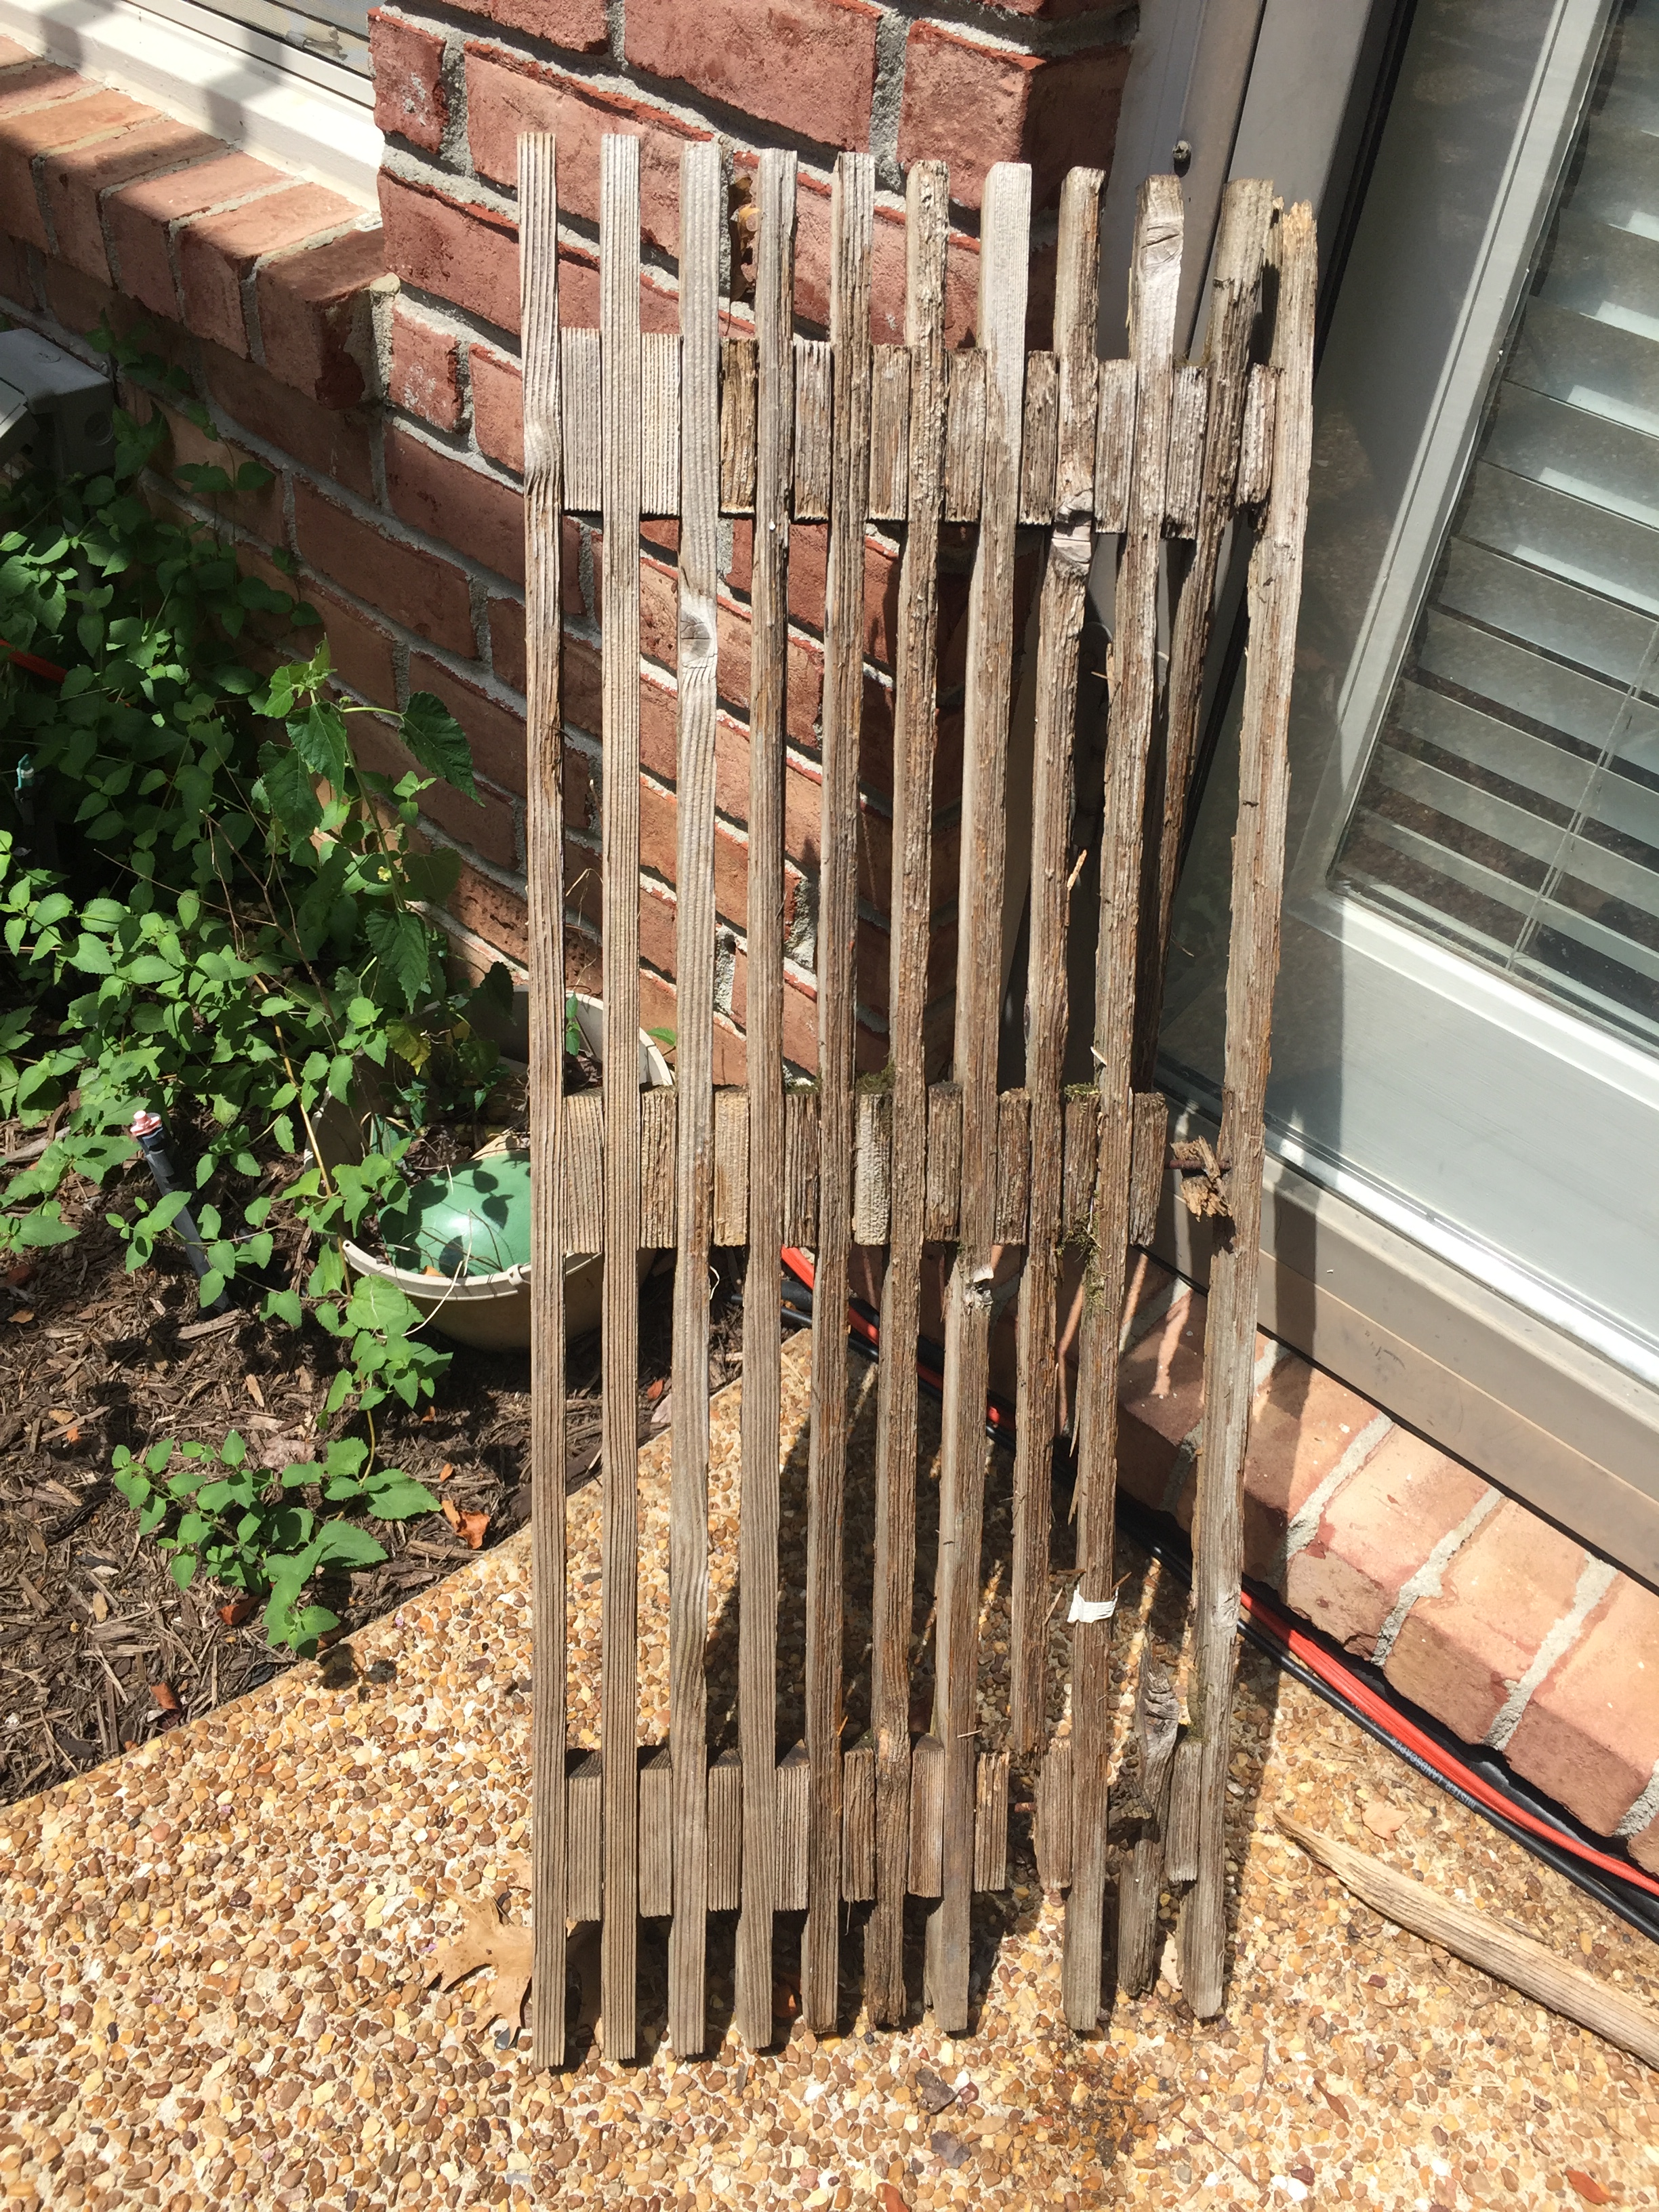
In fact, when I lifted it up to move it out of the way to pressure wash underneath it, it literally began to fall apart.
Normally upon discovering such an issue, I would want to remedy it right away but too many other projects needing attention (i.e., pressure washing, weeding, mulching), kept me from addressing this issue until the middle of July.
I figured this must have been one of the first doormats I made after we moved in 20 years ago and probably has gotten the worst of the weather where it was located as it was completely unprotected from the elements. I seem to recall that when I made these, I just used common pine so probably what is surprising is that it even lasted this long, given that I had not treated the wood with any water-proofing agent. For my replacement mat, I decided to use a more weather durable wood—cedar.
I actually planned on making two doormats as when our youngest son and his family bought and moved into their new home this past spring, I told him I would make a wooden doormat for his front door. So, when the remnants of Hurricane/Tropical Storm Barry were predicted to crash through Memphis with up to four days of continuous rain, I figured this would be as good a time as any to take on a garage project.

When I wrote about building these wooden doormats several years ago, I mentioned in that post that I had experimented with several different sizes and settled on one that was 36 inches long, had eleven slats, and was joined in three places with ten 3-inch blocks using threaded rods and nuts. The size of the threaded rod I chose was #10-24.

My plan was to re-use some left over cedar wood from my garbage blind project last year so I calculated that to make two doormats with those scraps, I would need to buy a dozen 6-foot cedar 1 X 2-inch boards. When I got to my favorite store, I found the shortest length they had was 8-foot. Quick in-store calculations revealed I would need eleven 8-foot length boards and with the 2-foot sections from each left over, I would not even need the scrap wood. Oh well, I can save that for another project.
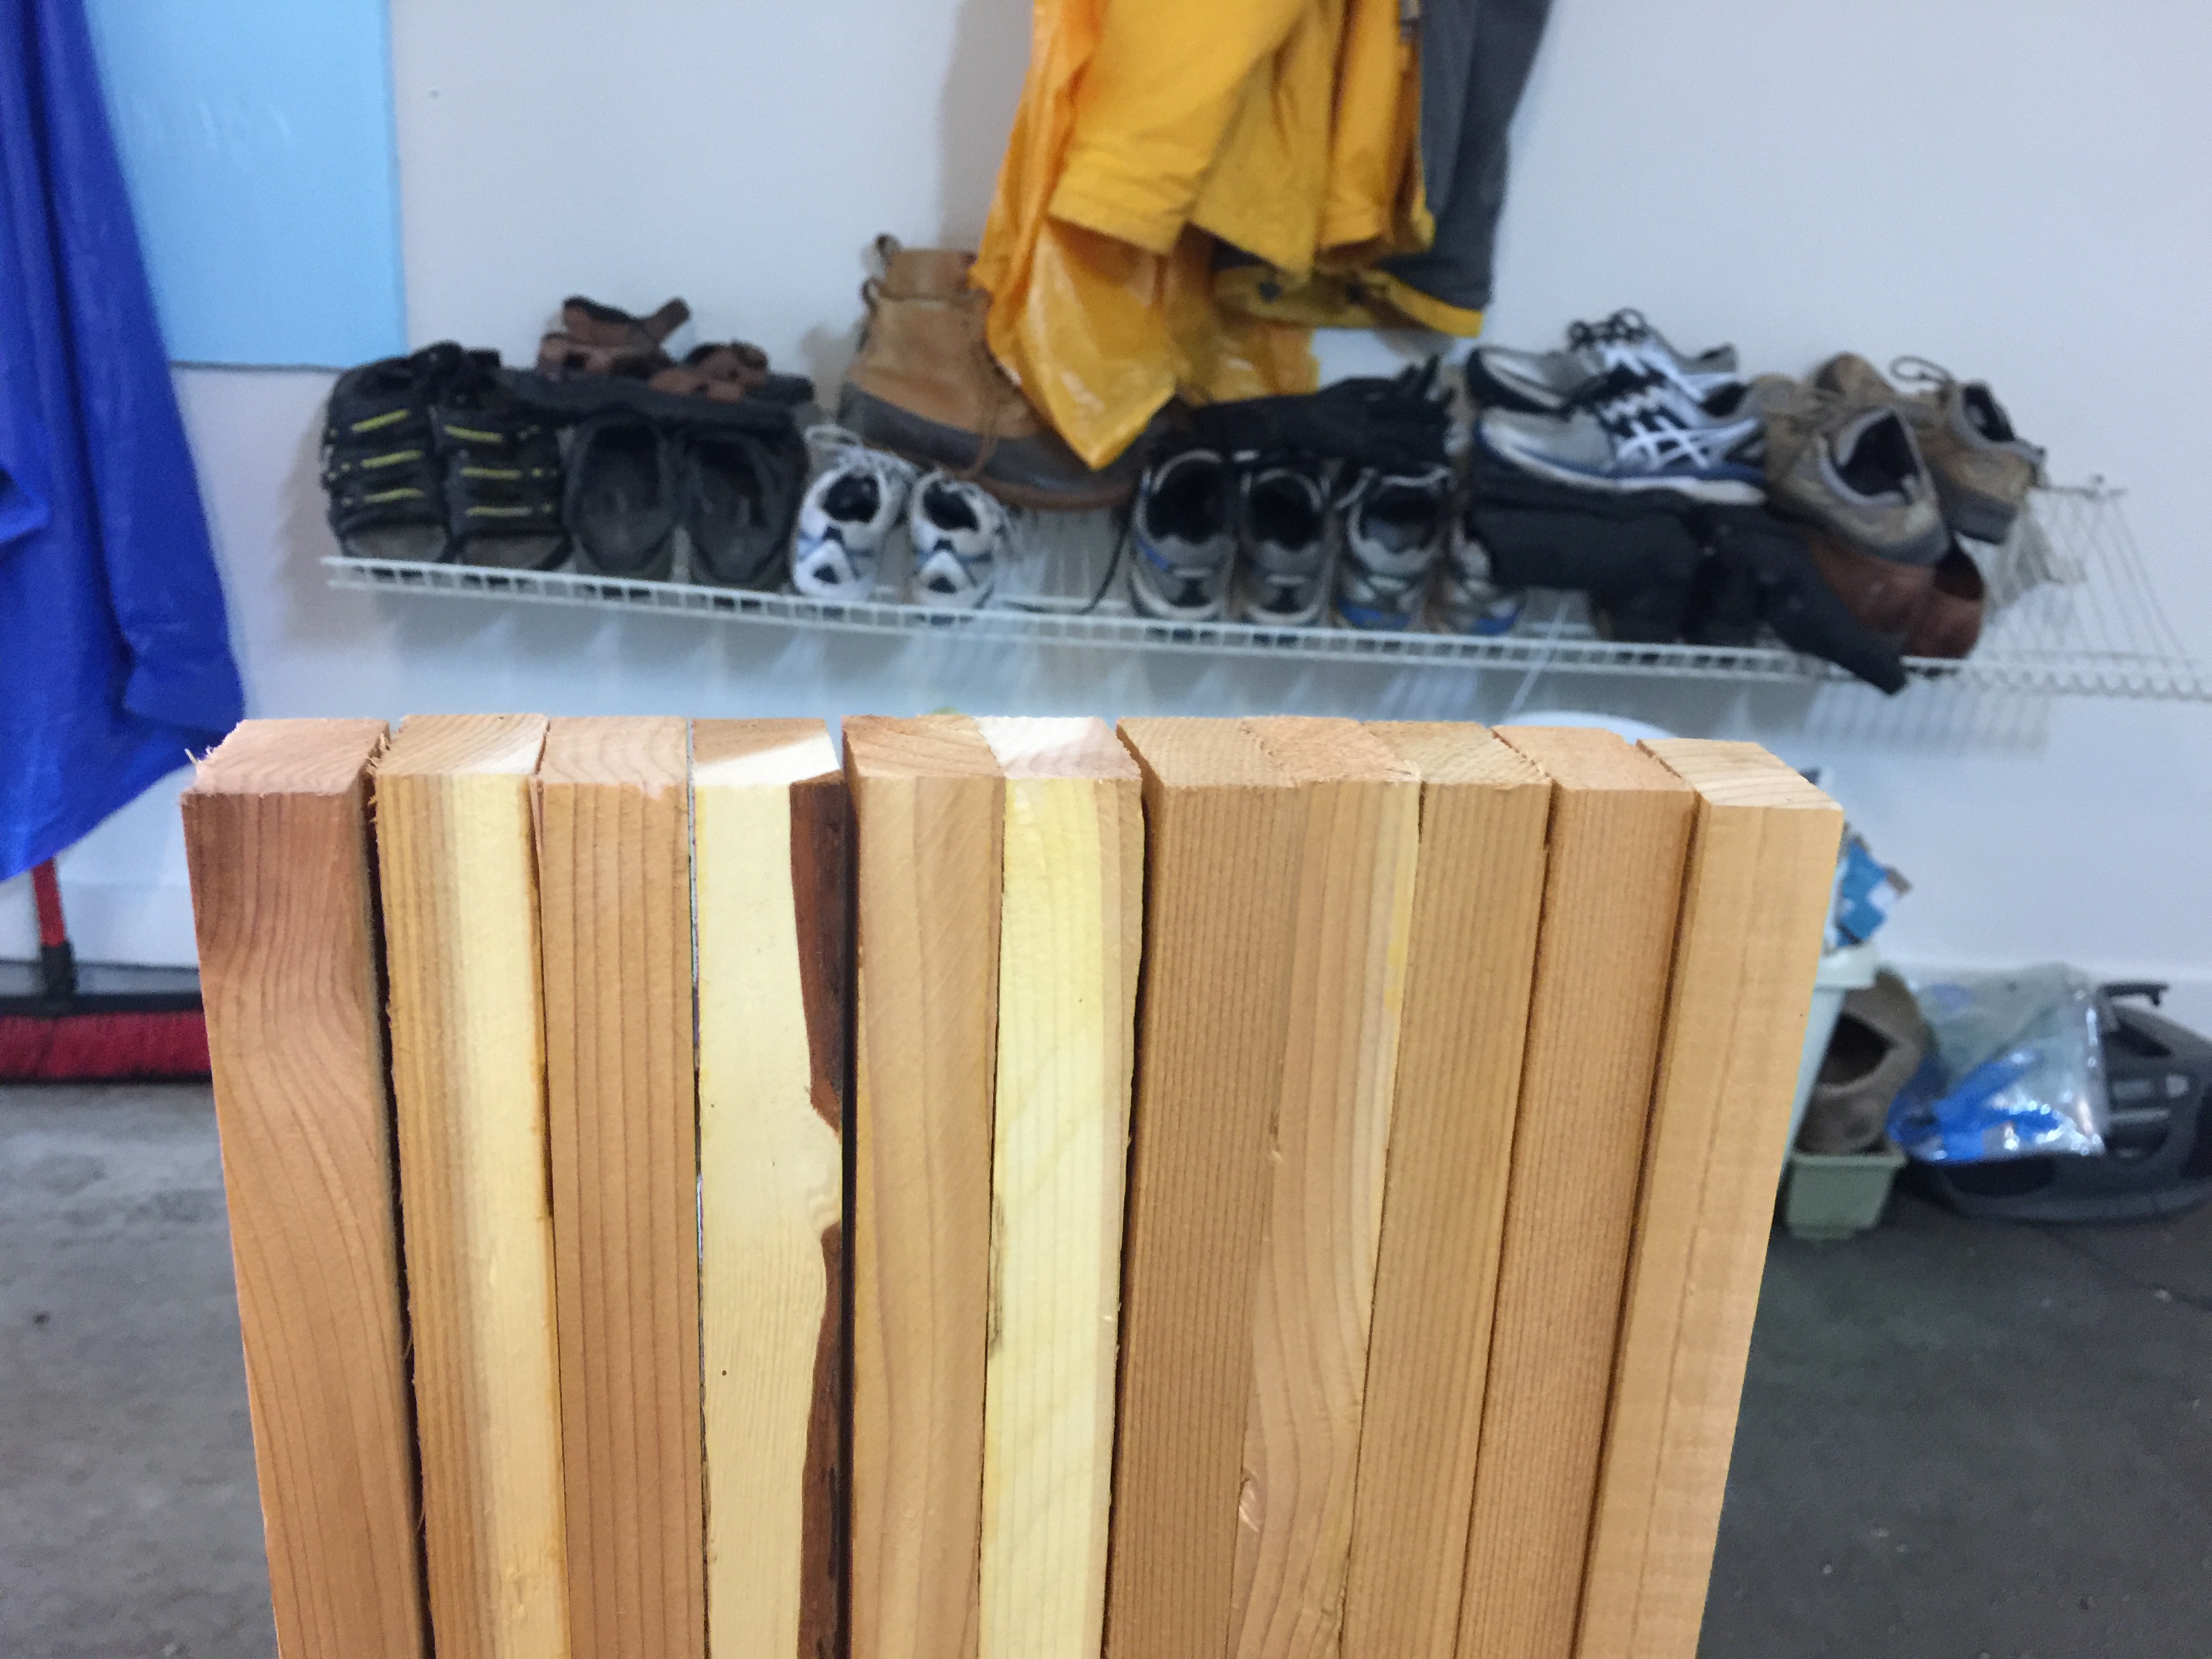
The first step was to cover all four sides with a water-proofing clear stain. I used a water-based product on the garbage blind because of the easy clean up (I hate cleaning up after oil-based paint) and it seemed to weather well after nearly a year outside with the wood still looking new. I applied this to three sides first and then after drying overnight the fourth side. Our garage has a ceiling fan, and this helped in drying given the approaching storm.

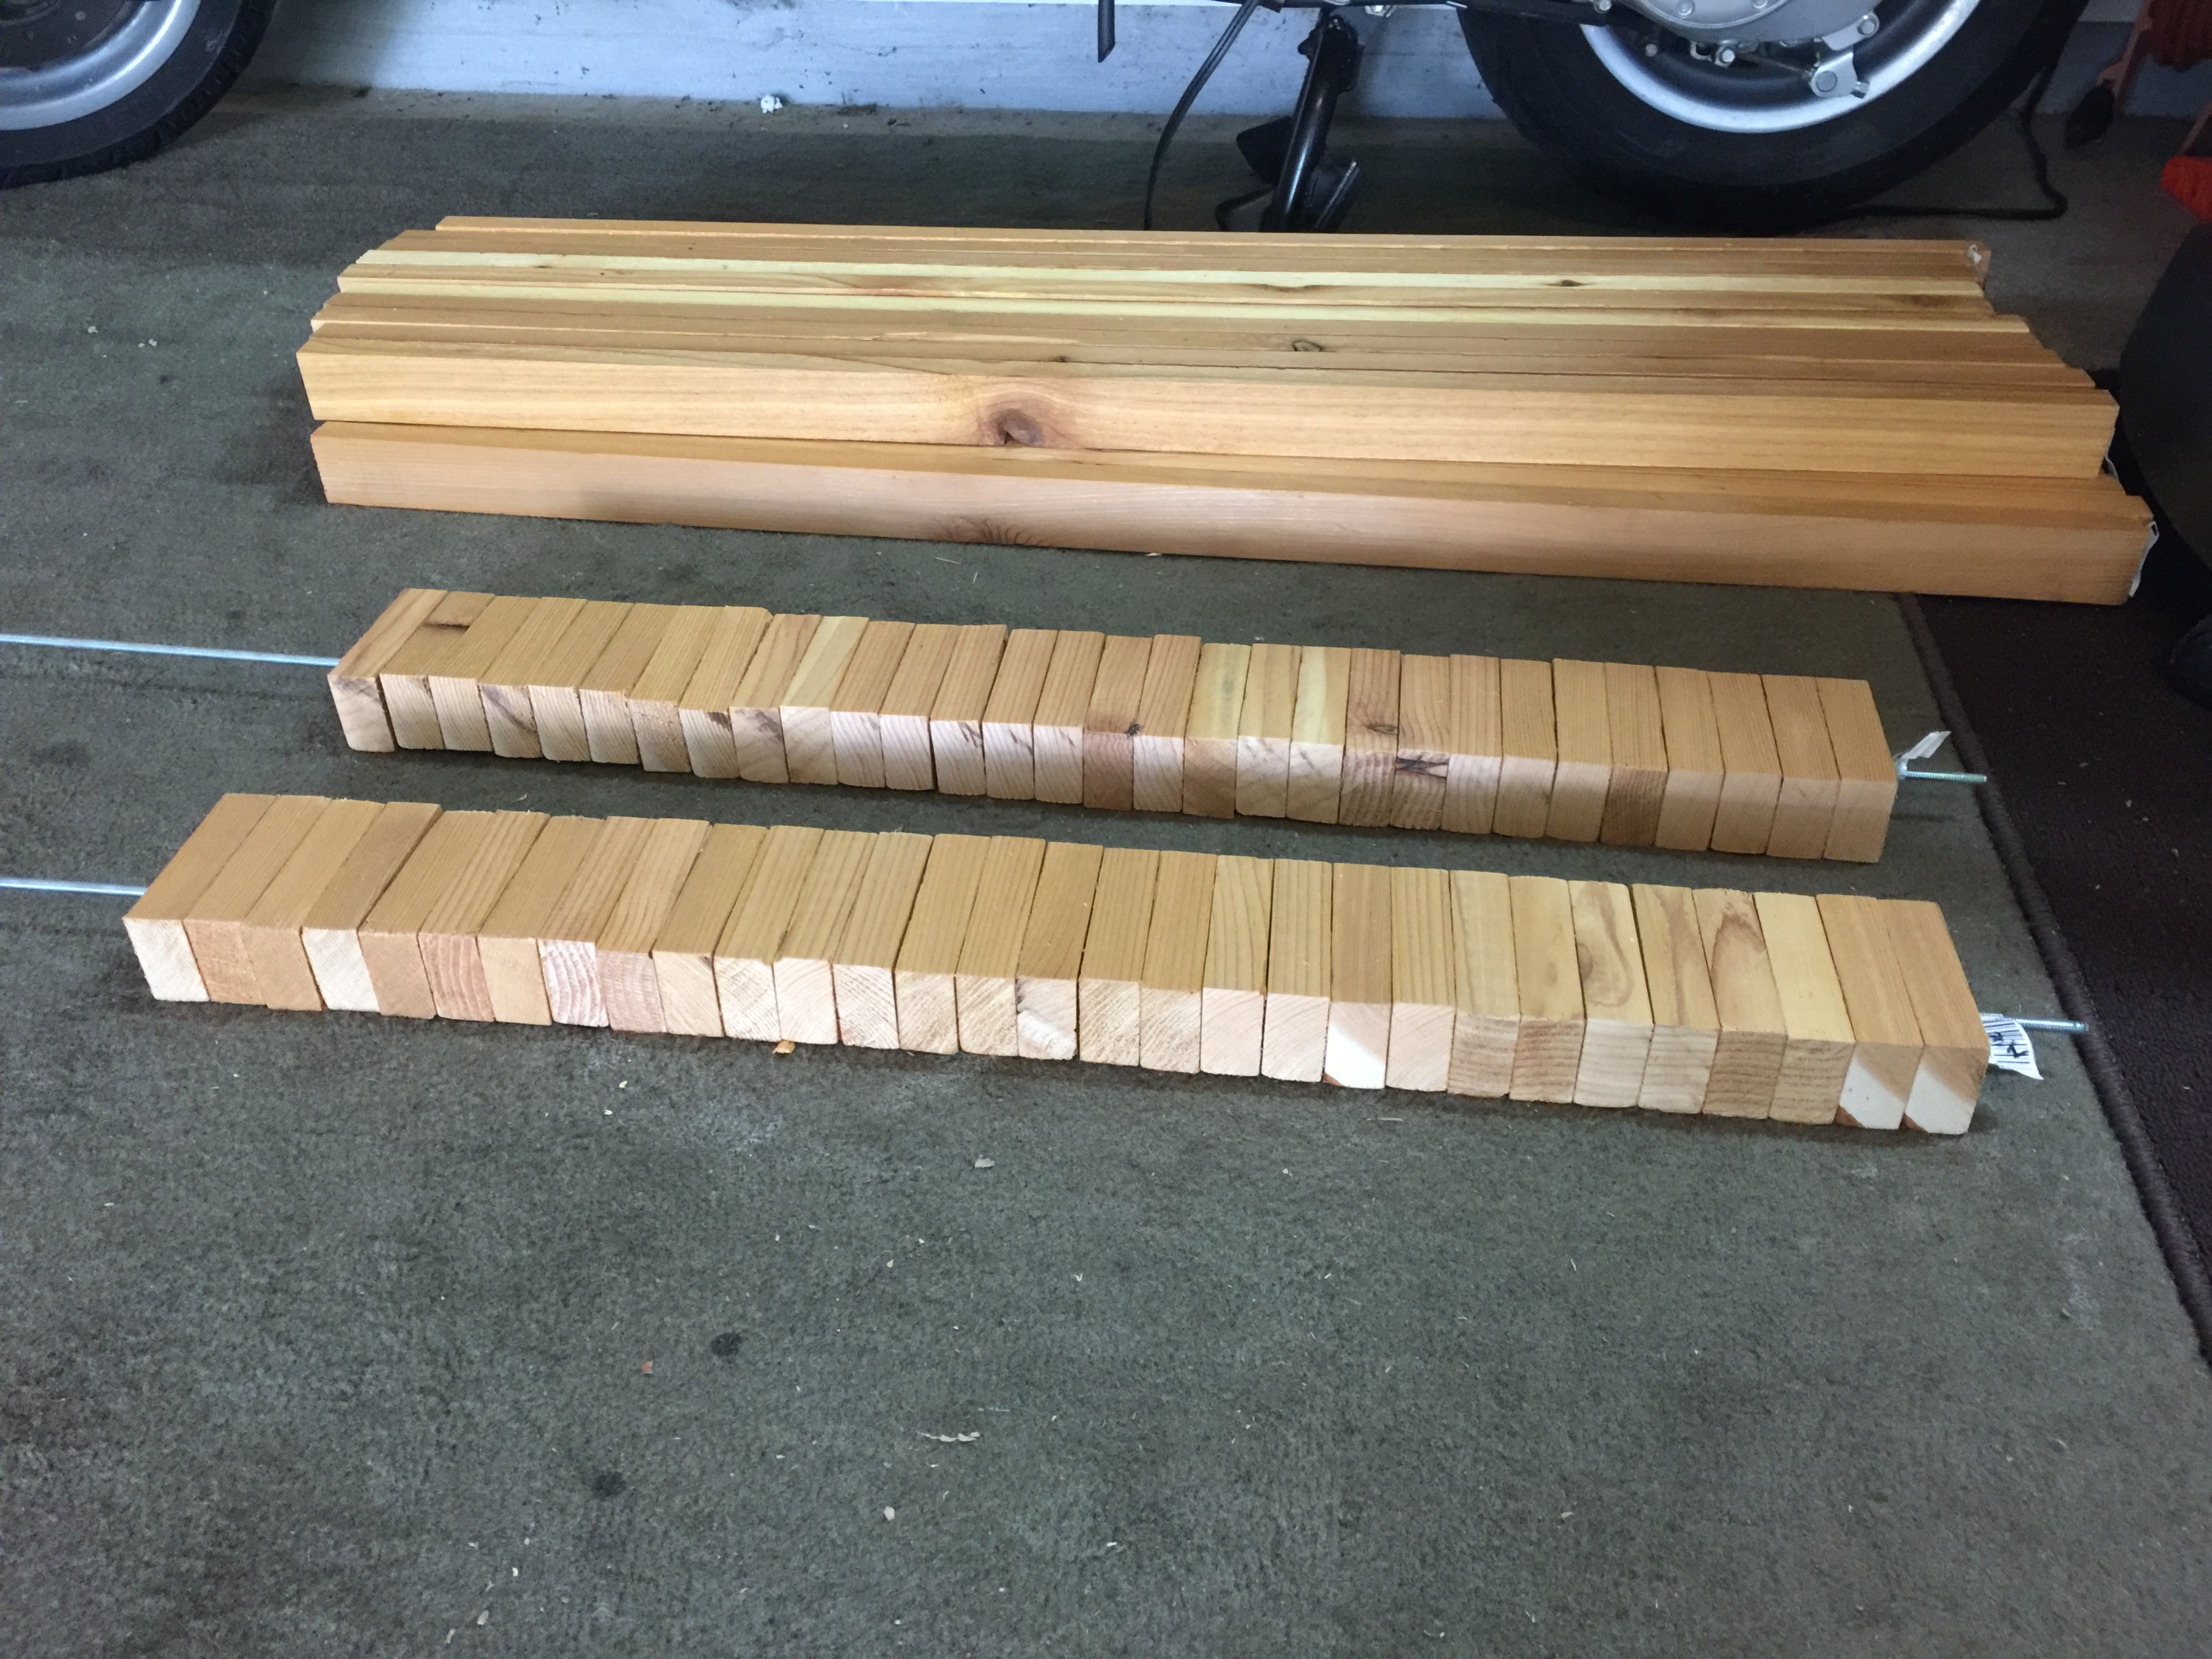
Once the boards had dried overnight, I next needed to cut each of them into two 36-inch lengths. I chose to do this with my miter saw which I tend to use more than my table saw since it is easier to get out. I positioned it on the floor of the garage so that the board would butt up against the side of the garage to ensure they were each cut consistently.

After cutting all twenty-two boards, I lined them up eleven at a time and was pleased to see they all were the same length.
I considered using the miter saw for cutting the 3-inch blocks but decided it would be too difficult to make them all the same length. This is where a table saw with a fixed fence is ideal for making the 60 cuts I would need. When I cleaned out the garage last year, I took it all apart since I had not used it in so many years. Recalling how much effort it required to take it apart, I was hesitant to put it all back together again. But then I decided I could do without the table stand (which was where most of the assembly would be) and set the saw on the floor of the garage.
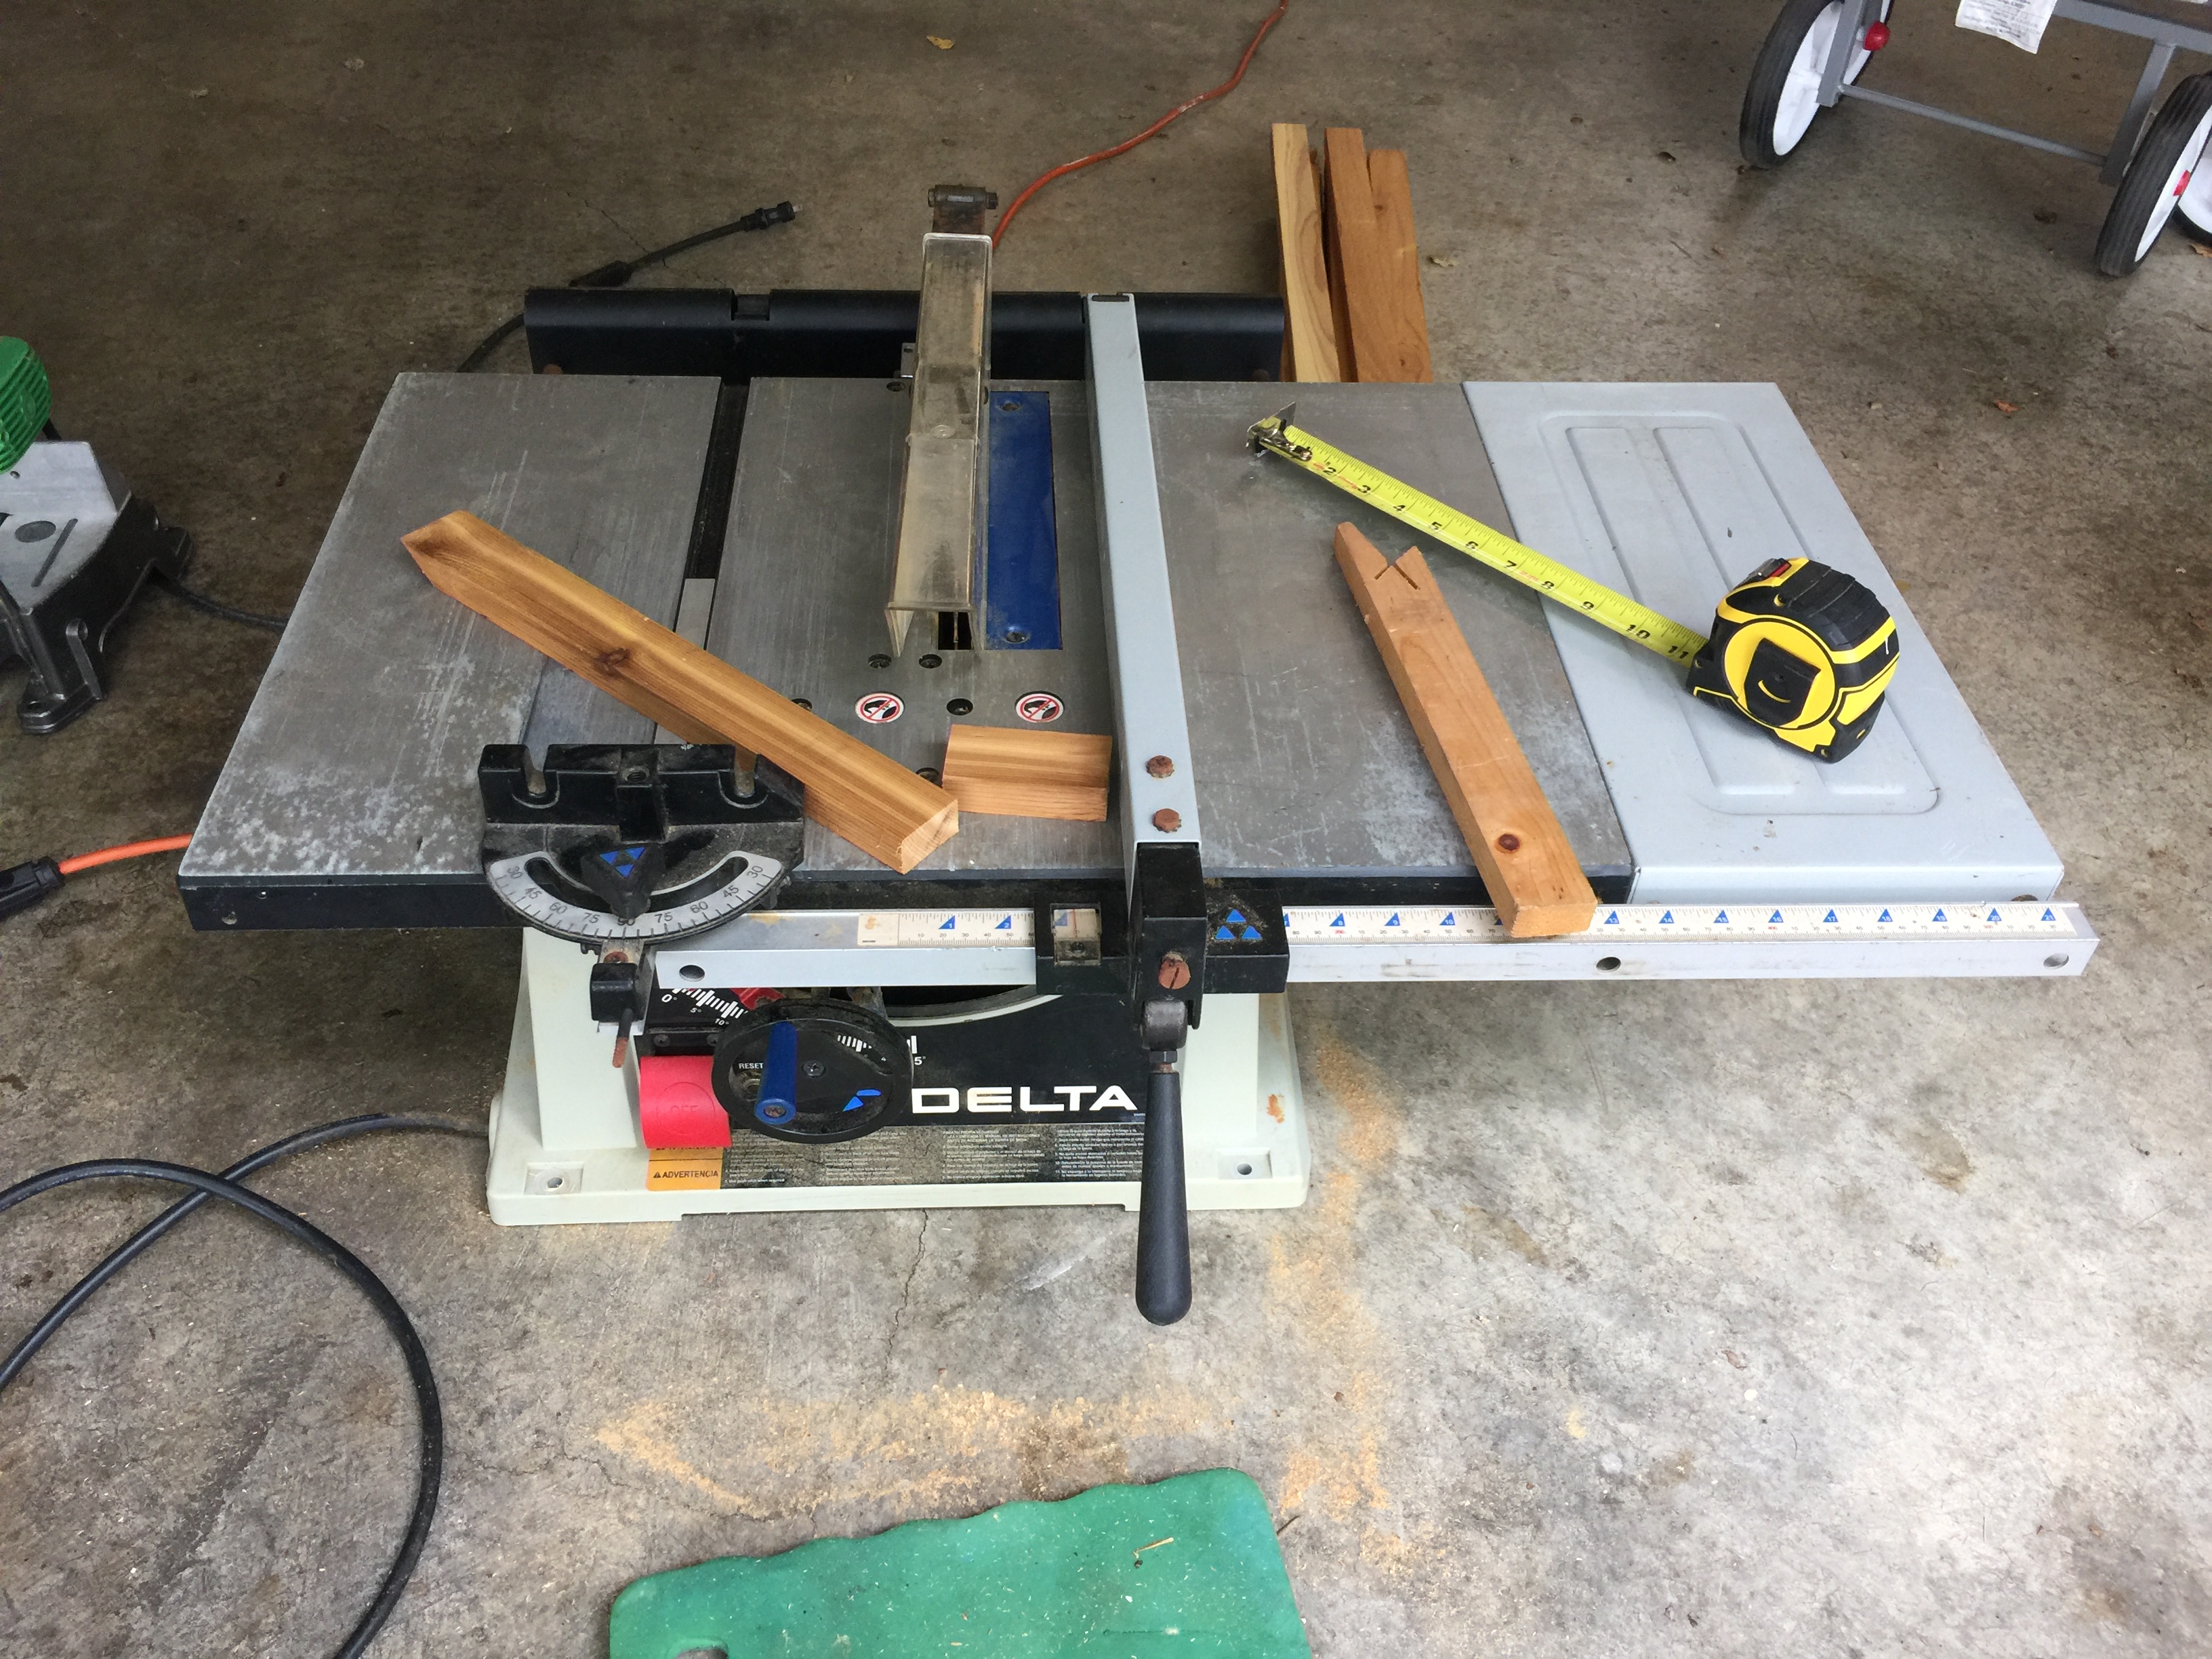
I was only able to cut two blocks before I knew the table’s dancing across the smooth concrete floor from the motor’s vibrations was not going to be a safe operation for the number of blocks I needed. But then I got the idea of putting the table saw on a rug and that turned the table into a stationary wall flower.
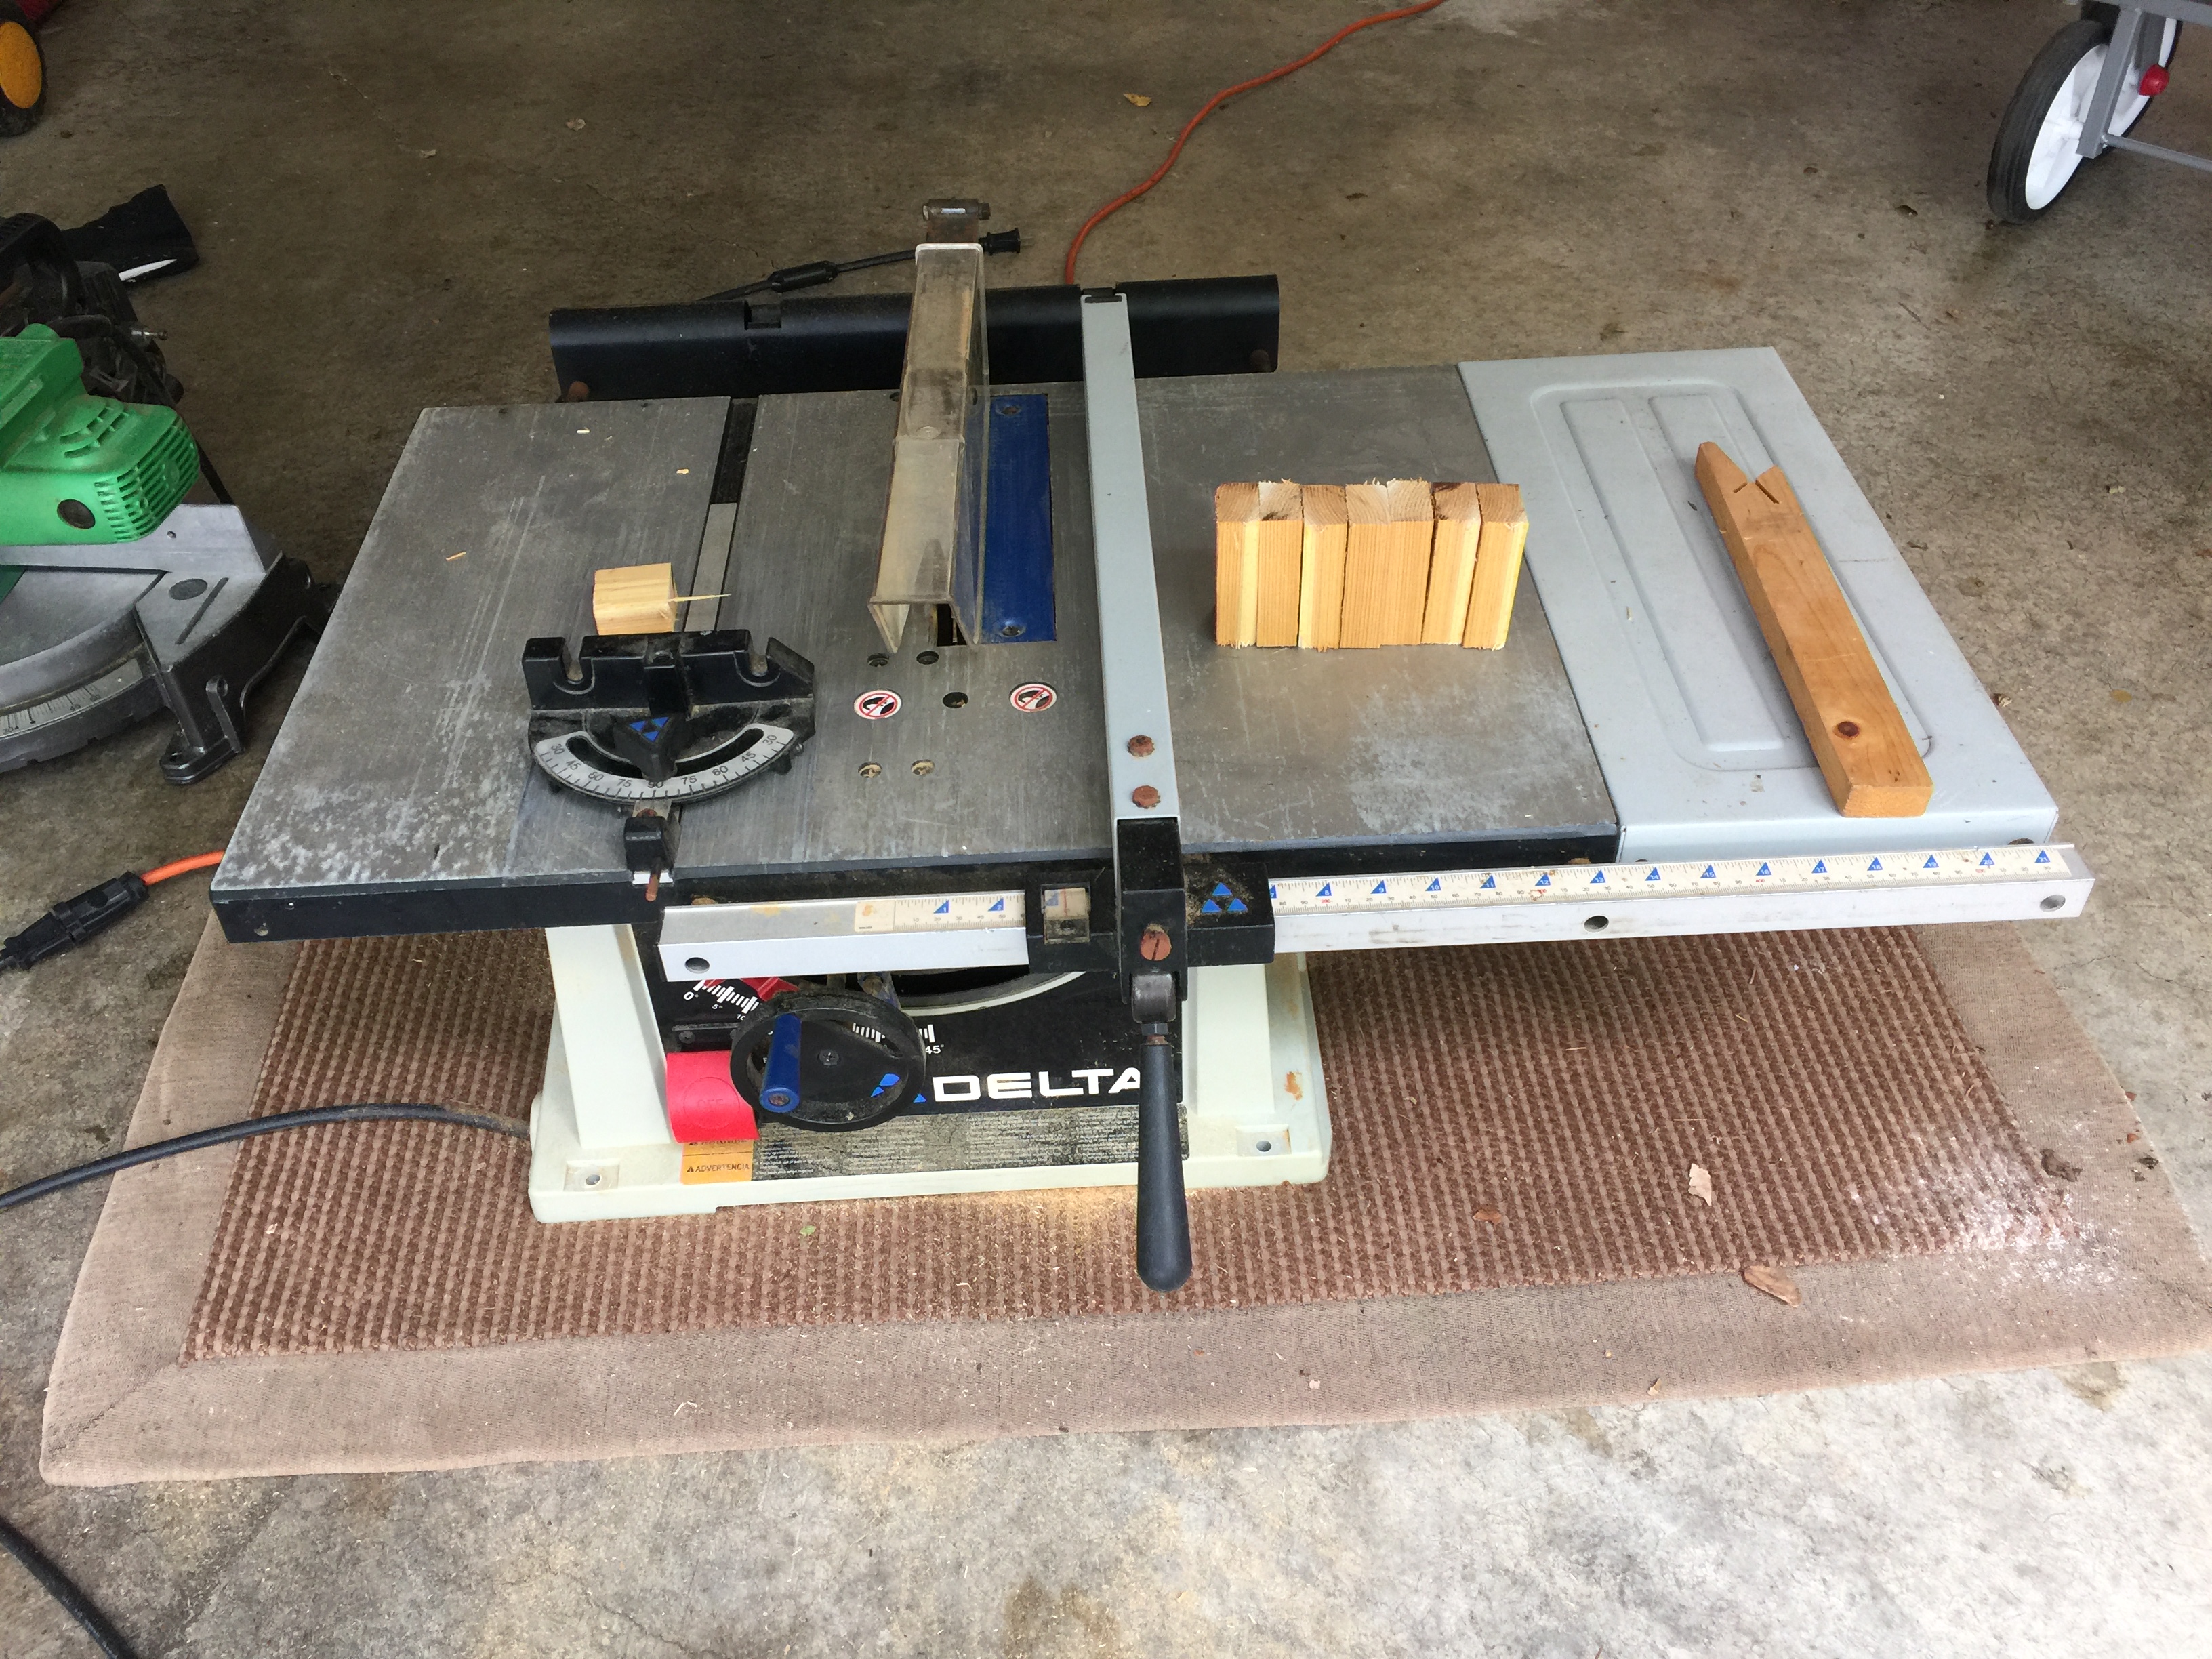
While using it on its stand would have avoided me kneeling on the floor, the sawing went very quickly and, in less time, than it would have taken to put together the stand, I had my sixty blocks.
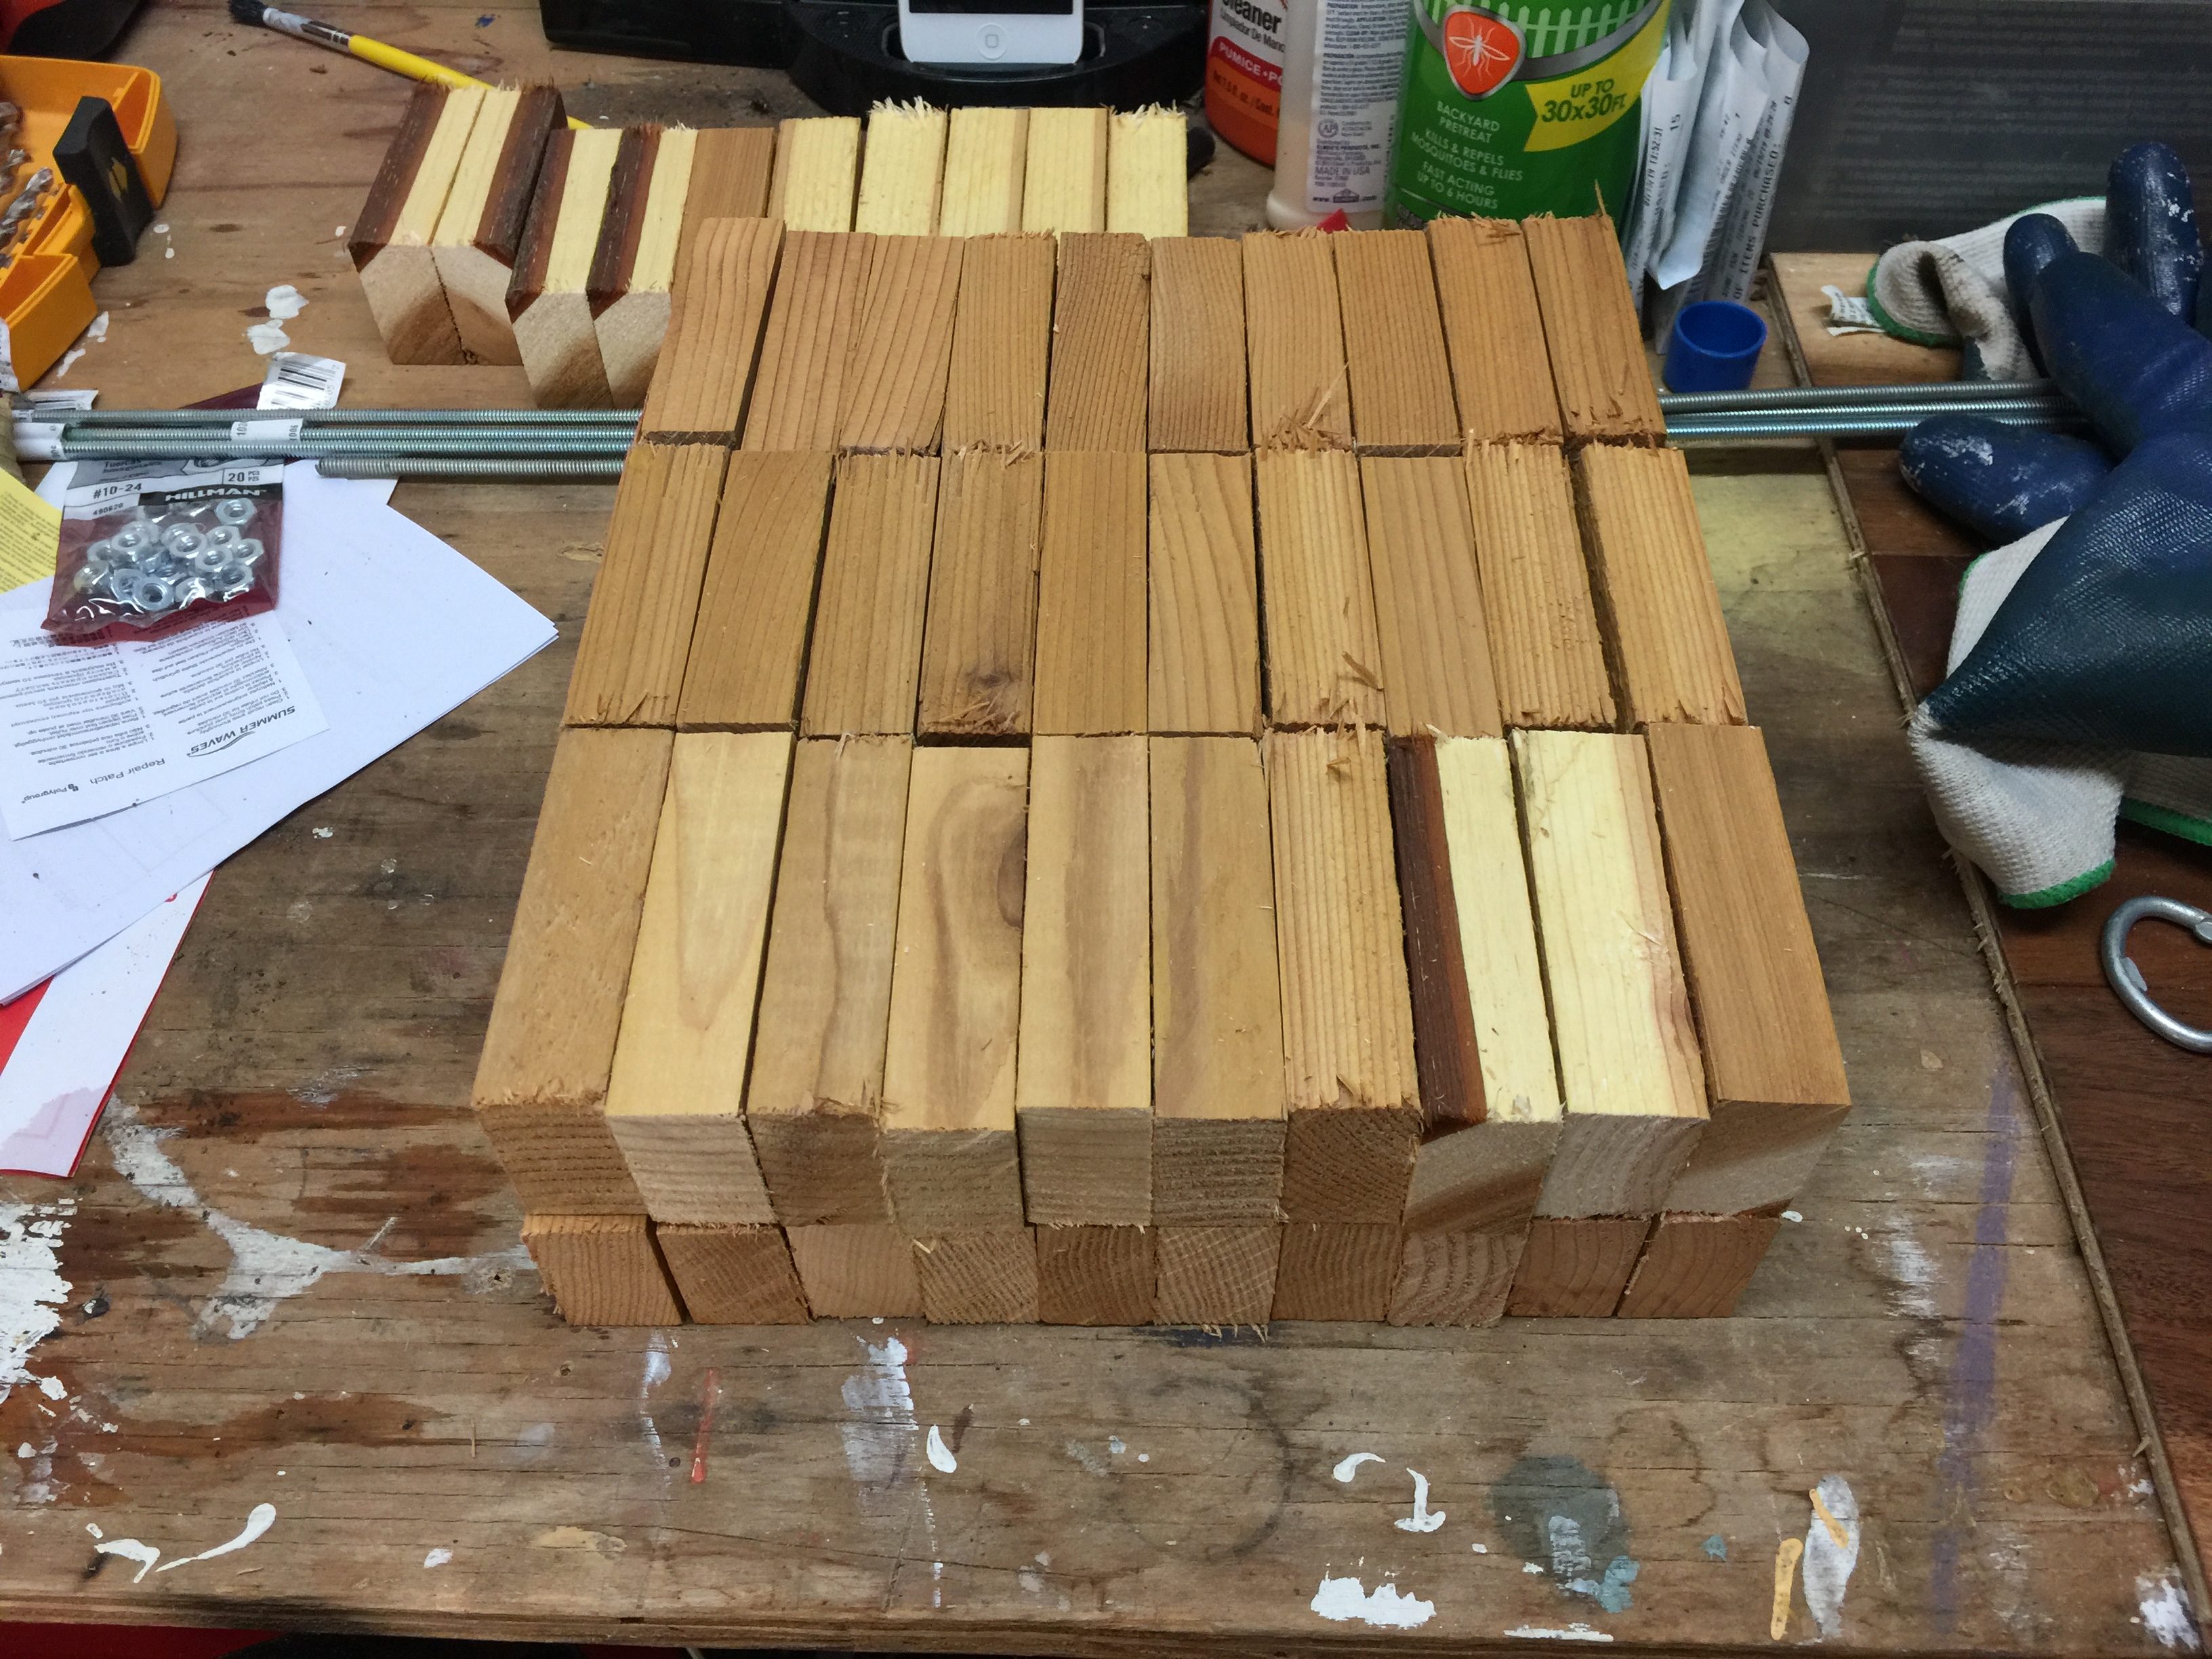
A quick sanding of the cut edges removed the splinters and got them ready for drilling the hole.
A drill press is critical for drilling a truly perpendicular hole (don’t try this with a hand-held drill) and when I lined up one of the blocks in the drill press jaws, I saw the block was slightly smaller than the jaws.
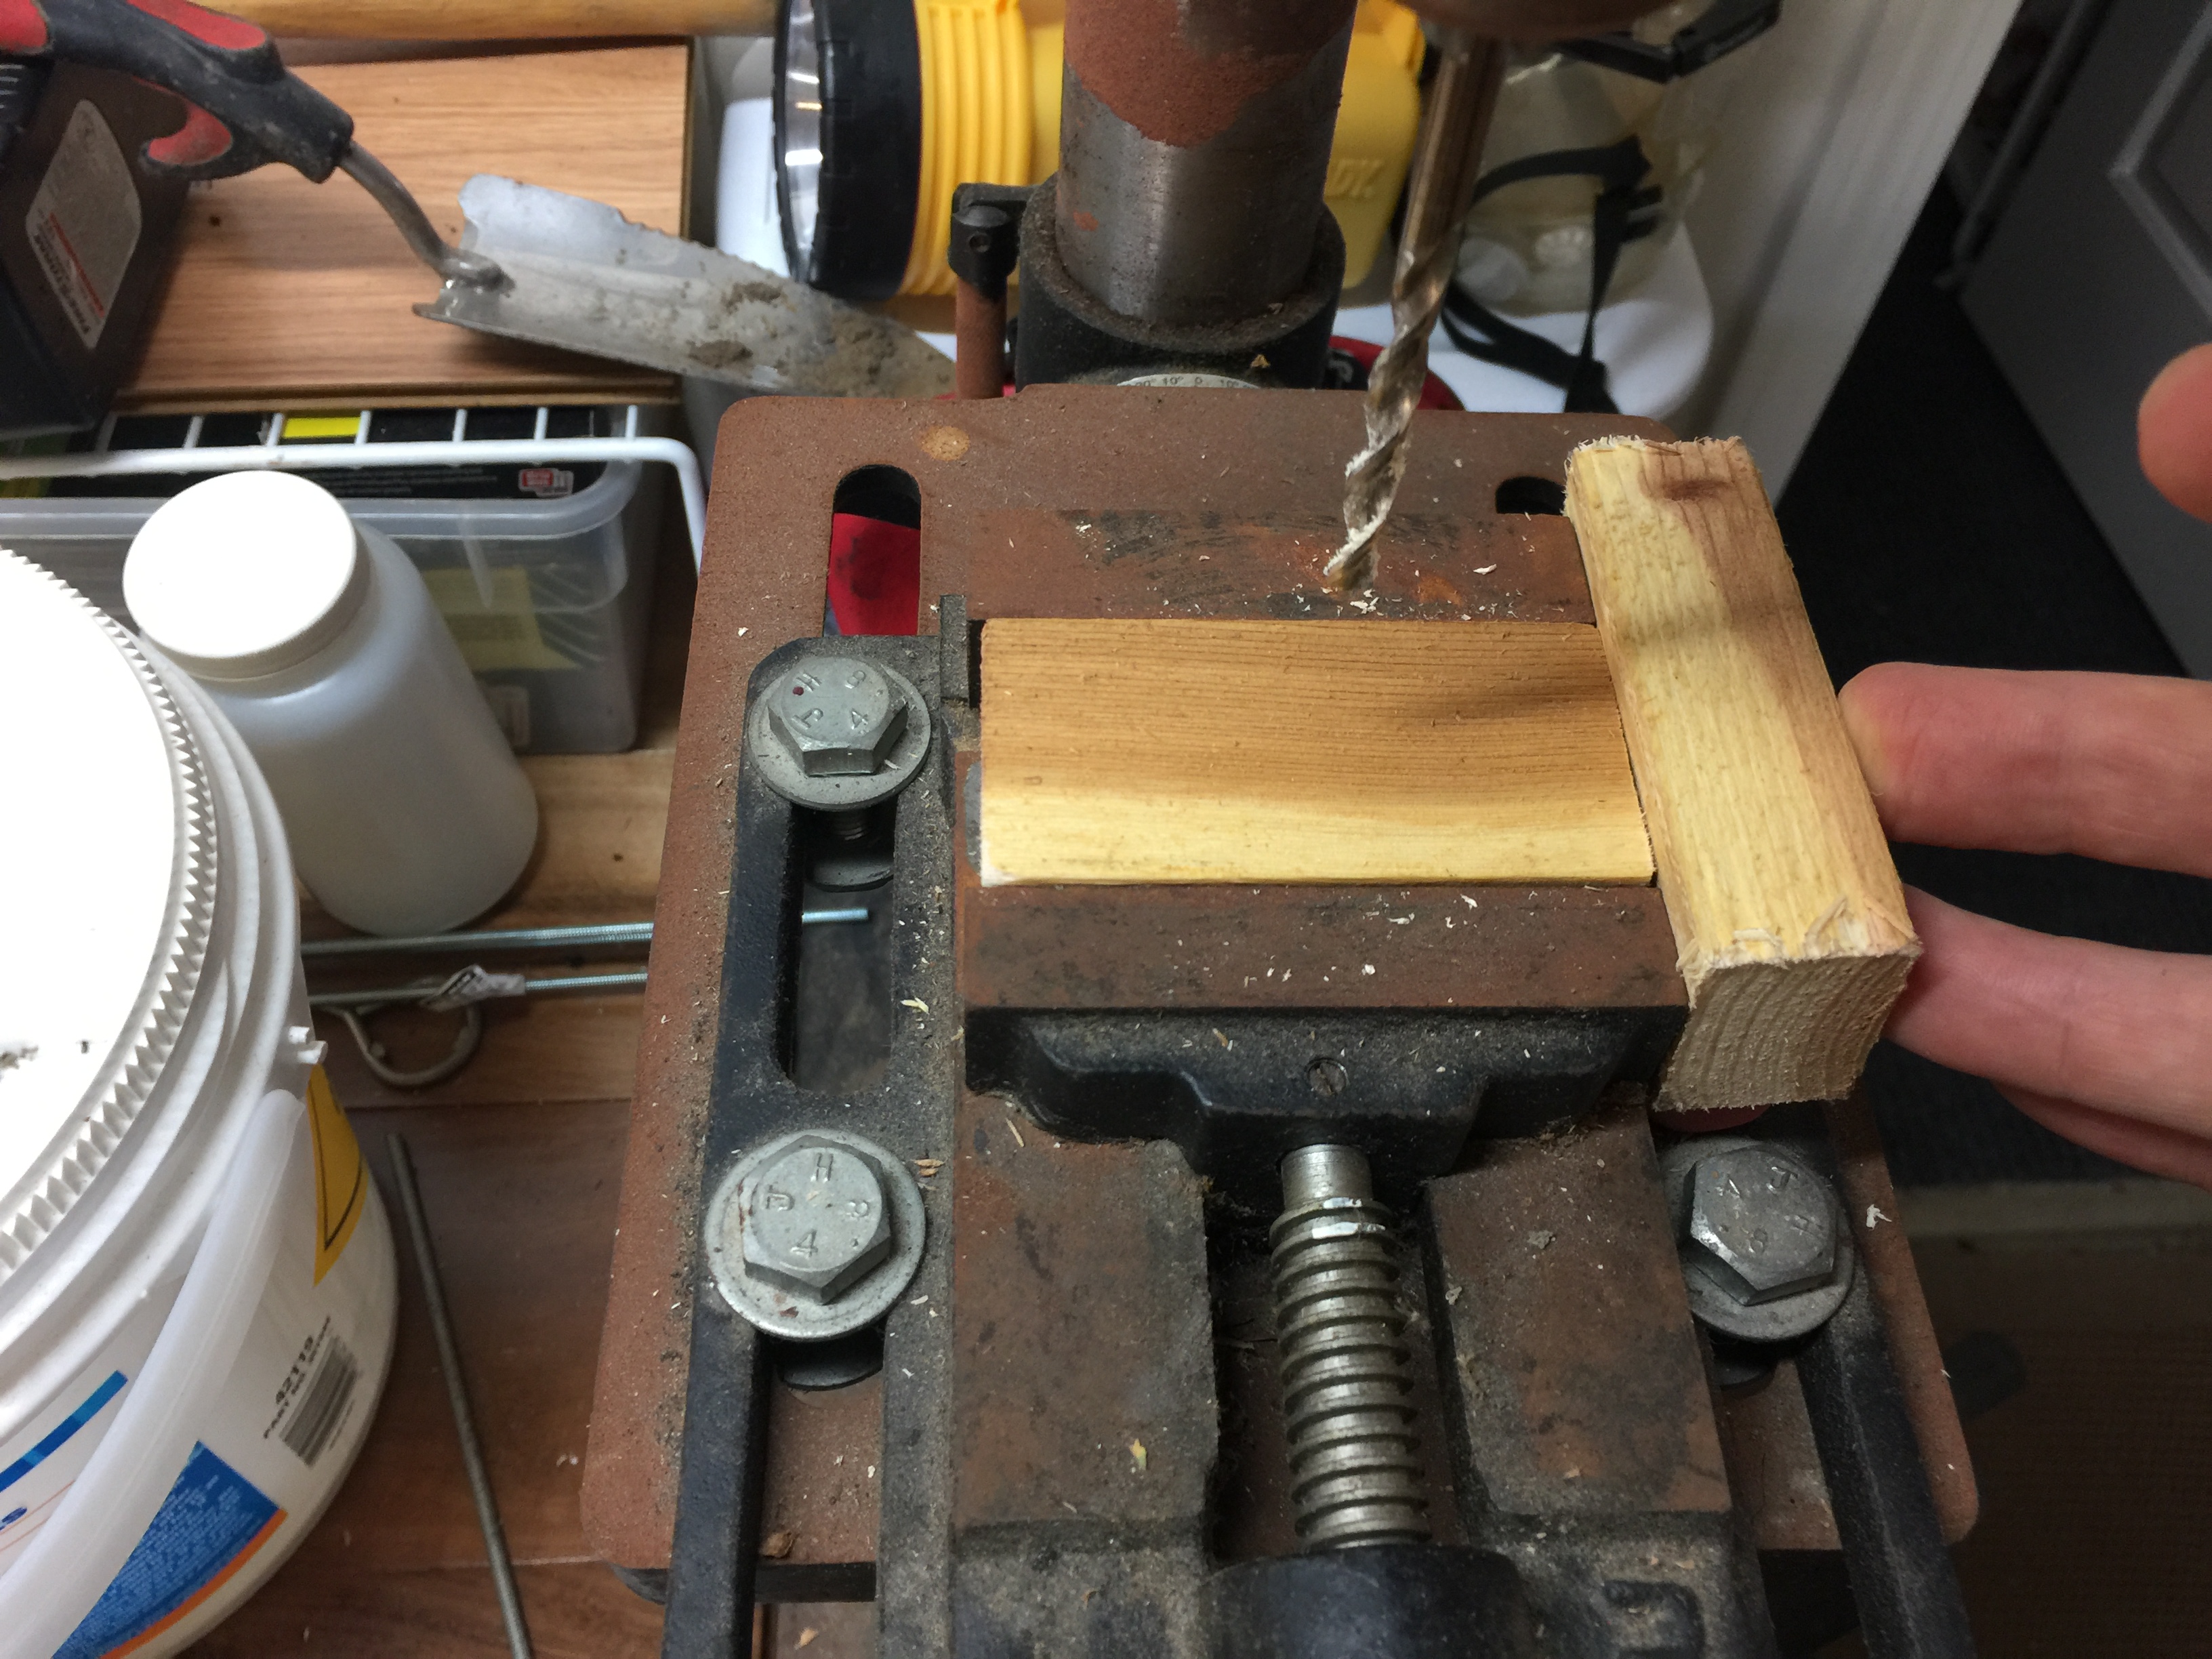
When I measured, I found the jaws to be 3 and 1/8 inch in length while my block was 3 and 1/16 inch. Learning for next time: make the blocks 3 and 1/8 inches so the block will just fit in the jaws and the hole will be drilled exactly in the middle.

I figured my best bet for consistency was to line up the block with the right side of the jaws which meant since the hole would not be exactly in the center of the block, I would just need to keep track of their orientation (I put an “R” on the right side of the hole).
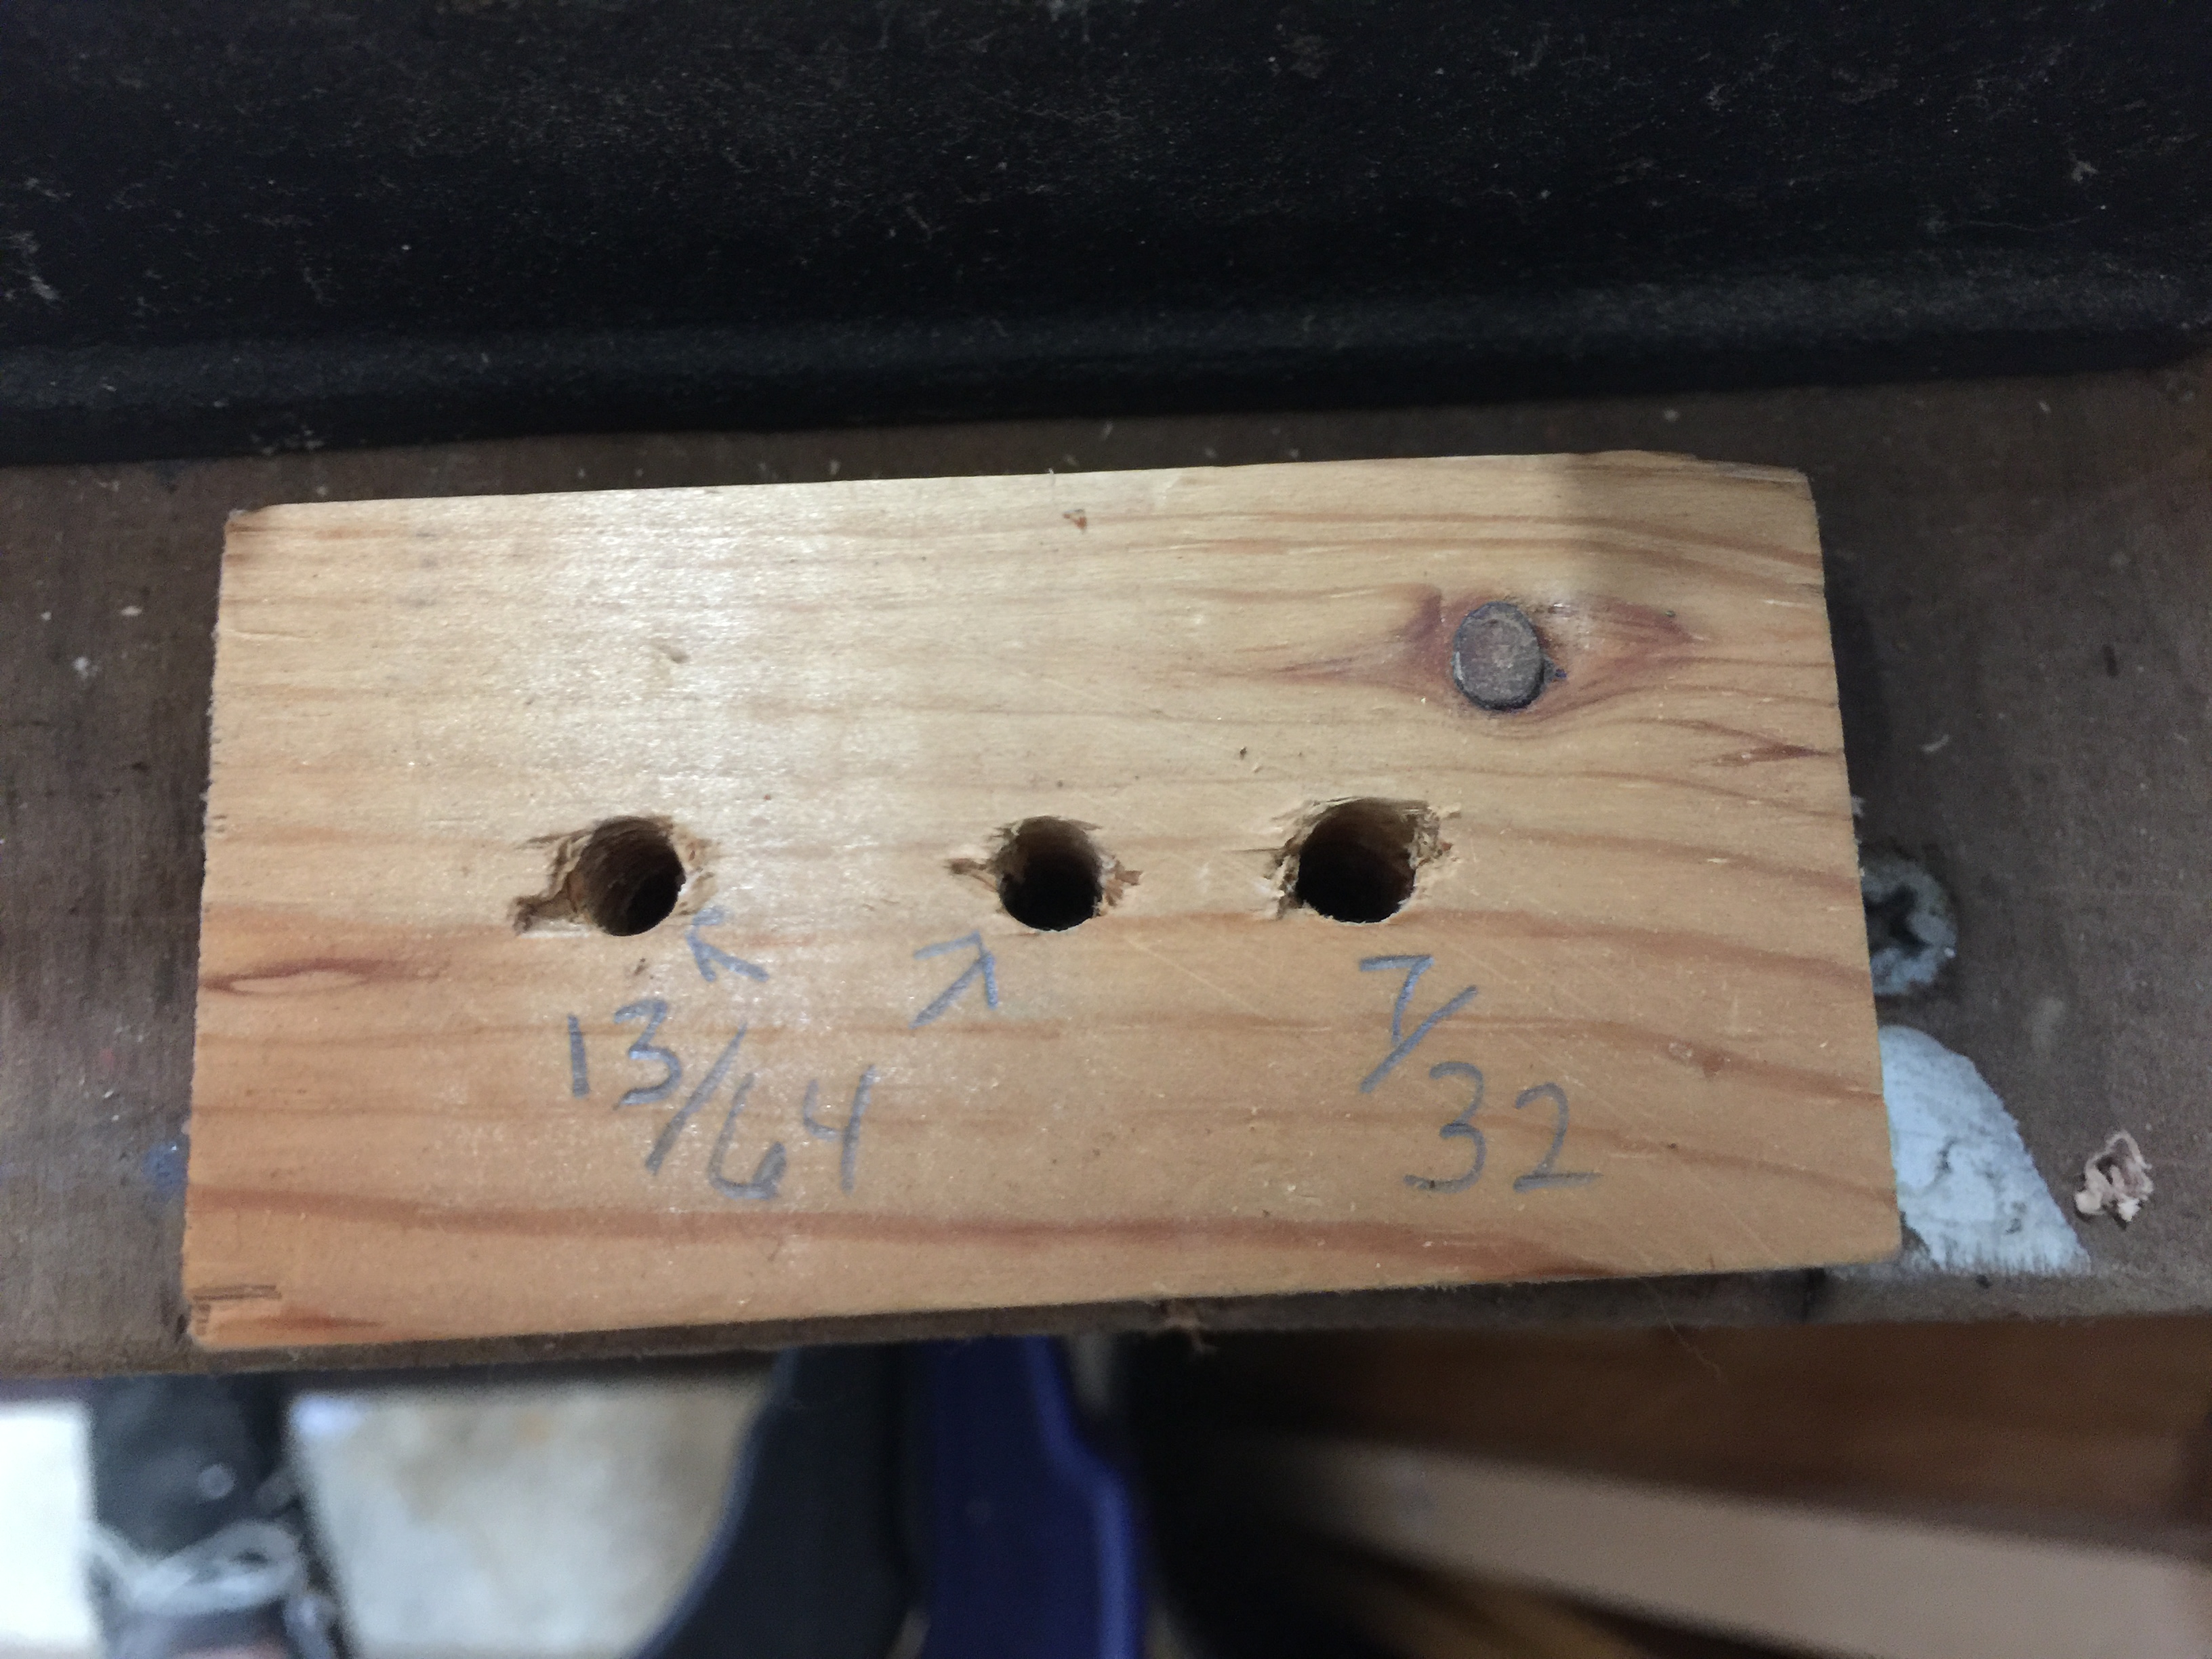
I must have previously figured out that a 13/64” drill bit was the right size to drill for a #10-24 threaded rod as I found this block in one of the bins on my workbench (when the rod was inserted into the 7/32” hole, it had too much wobble).
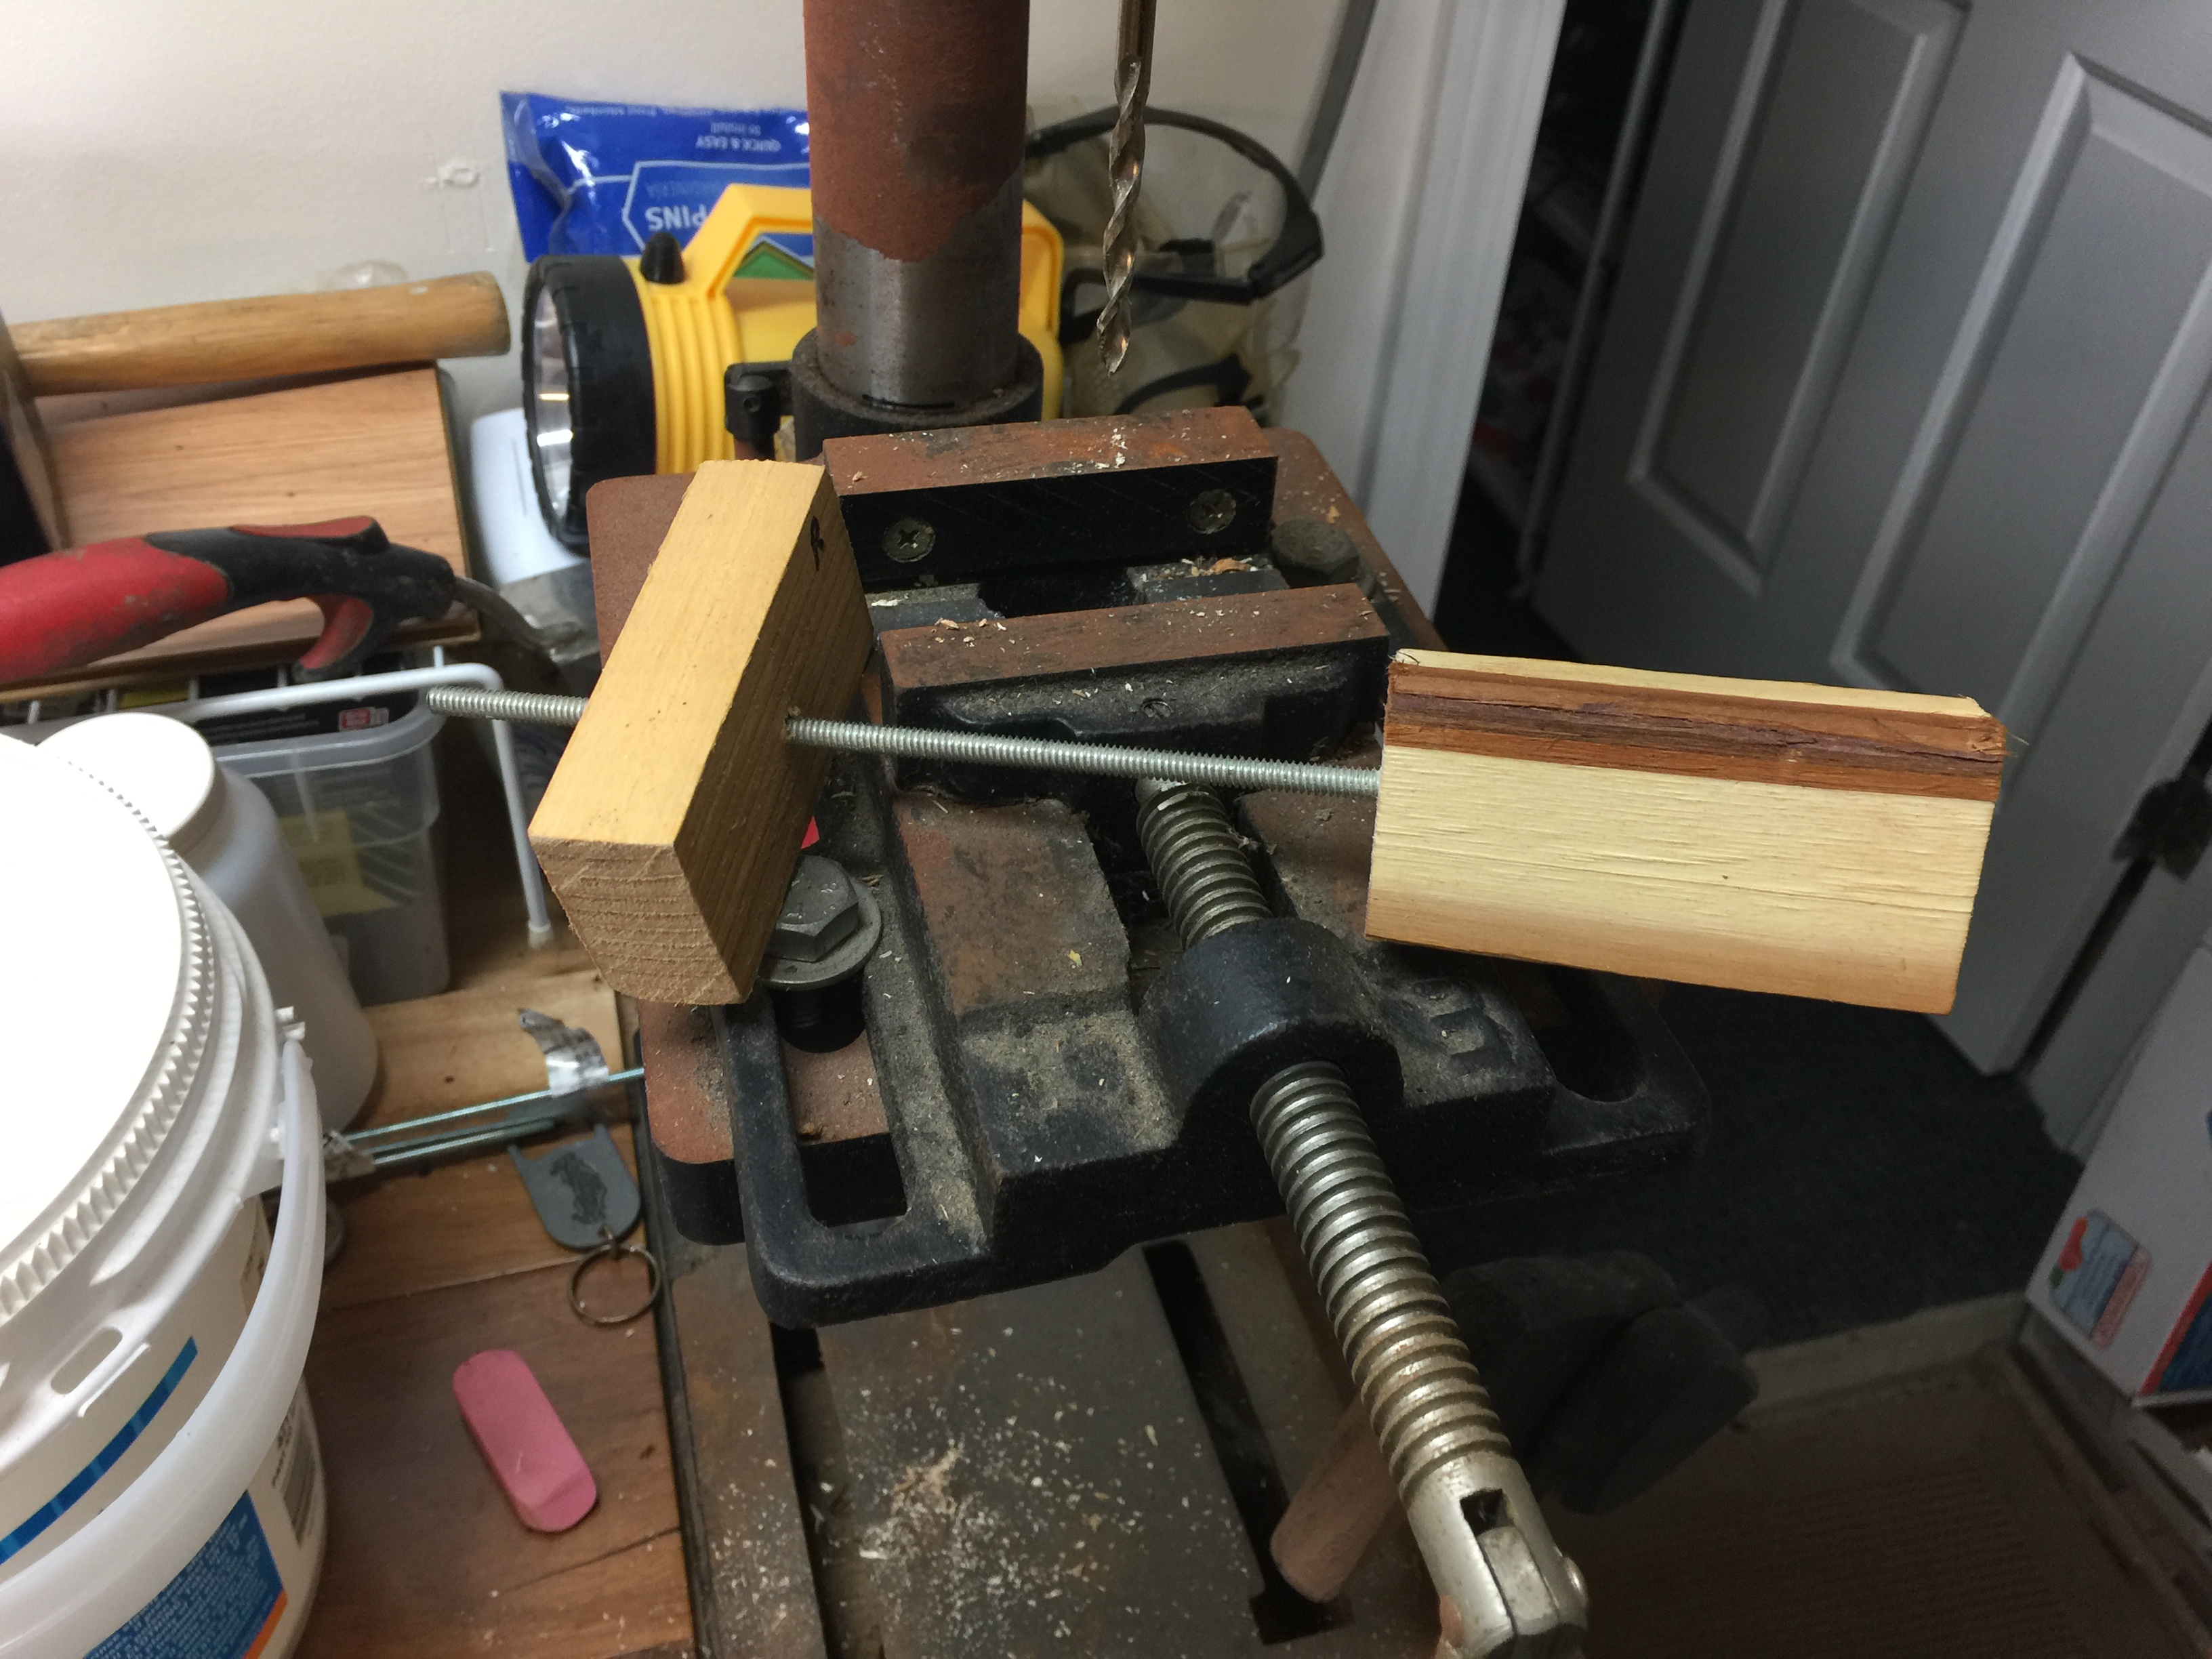
But I remembered while previously making doormats that I had trouble getting the rod through all the holes since it was such a tight fit with the 13/64” drilled hole. Maybe getting smarter in my old age, I made myself a new tool to ream out the hole after drilling to give it just the slightest wiggle room. One size smaller drill bit in my drill press gave me a deep perpendicular hole in a spare block that allowed a scrap piece of threaded rod to tightly screw in. With this tool, I wouldn’t ram the threaded rod through my palm like a sharp stiletto.
After drilling all 60 blocks, I found they easily slipped onto the threaded rod which made painting the cut ends with waterproofing agent much easier.
To be continued…
Categories

Cool! I’ve always loved these. But I think maybe my favorite part was seeing your handwriting on the block. You and Jim would sure have fun in his shop!!
Oh wow you are right! He really has a nice shop.