
Doormats Revisited – Last Step
…Continued from Doormats Revisited – First Step

The next step along this DIY adventure to new doormats was to drill the three holes into each of the 36-inch boards. I found on one of my existing doormats that the two outside holes were 4 and ½ inches from the end (with the center obviously at 18 inches) and since this looked right, decided to use these same measurements.
After carefully measuring and drilling the first board (I religiously prescribe to the “measure twice and cut once” meme), I pondered how to make sure each board would be drilled the same. I figured measuring each board separately would likely lead to slight variations and I must have experienced this problem previously as I recalled after cutting the eleven boards that I had to clamp them all together and run them across a belt sander to bring them all to the same length. So instead, I decided to use the first board as a template by clamping an undrilled board to it and then using the existing holes as a guide and drilling through it.
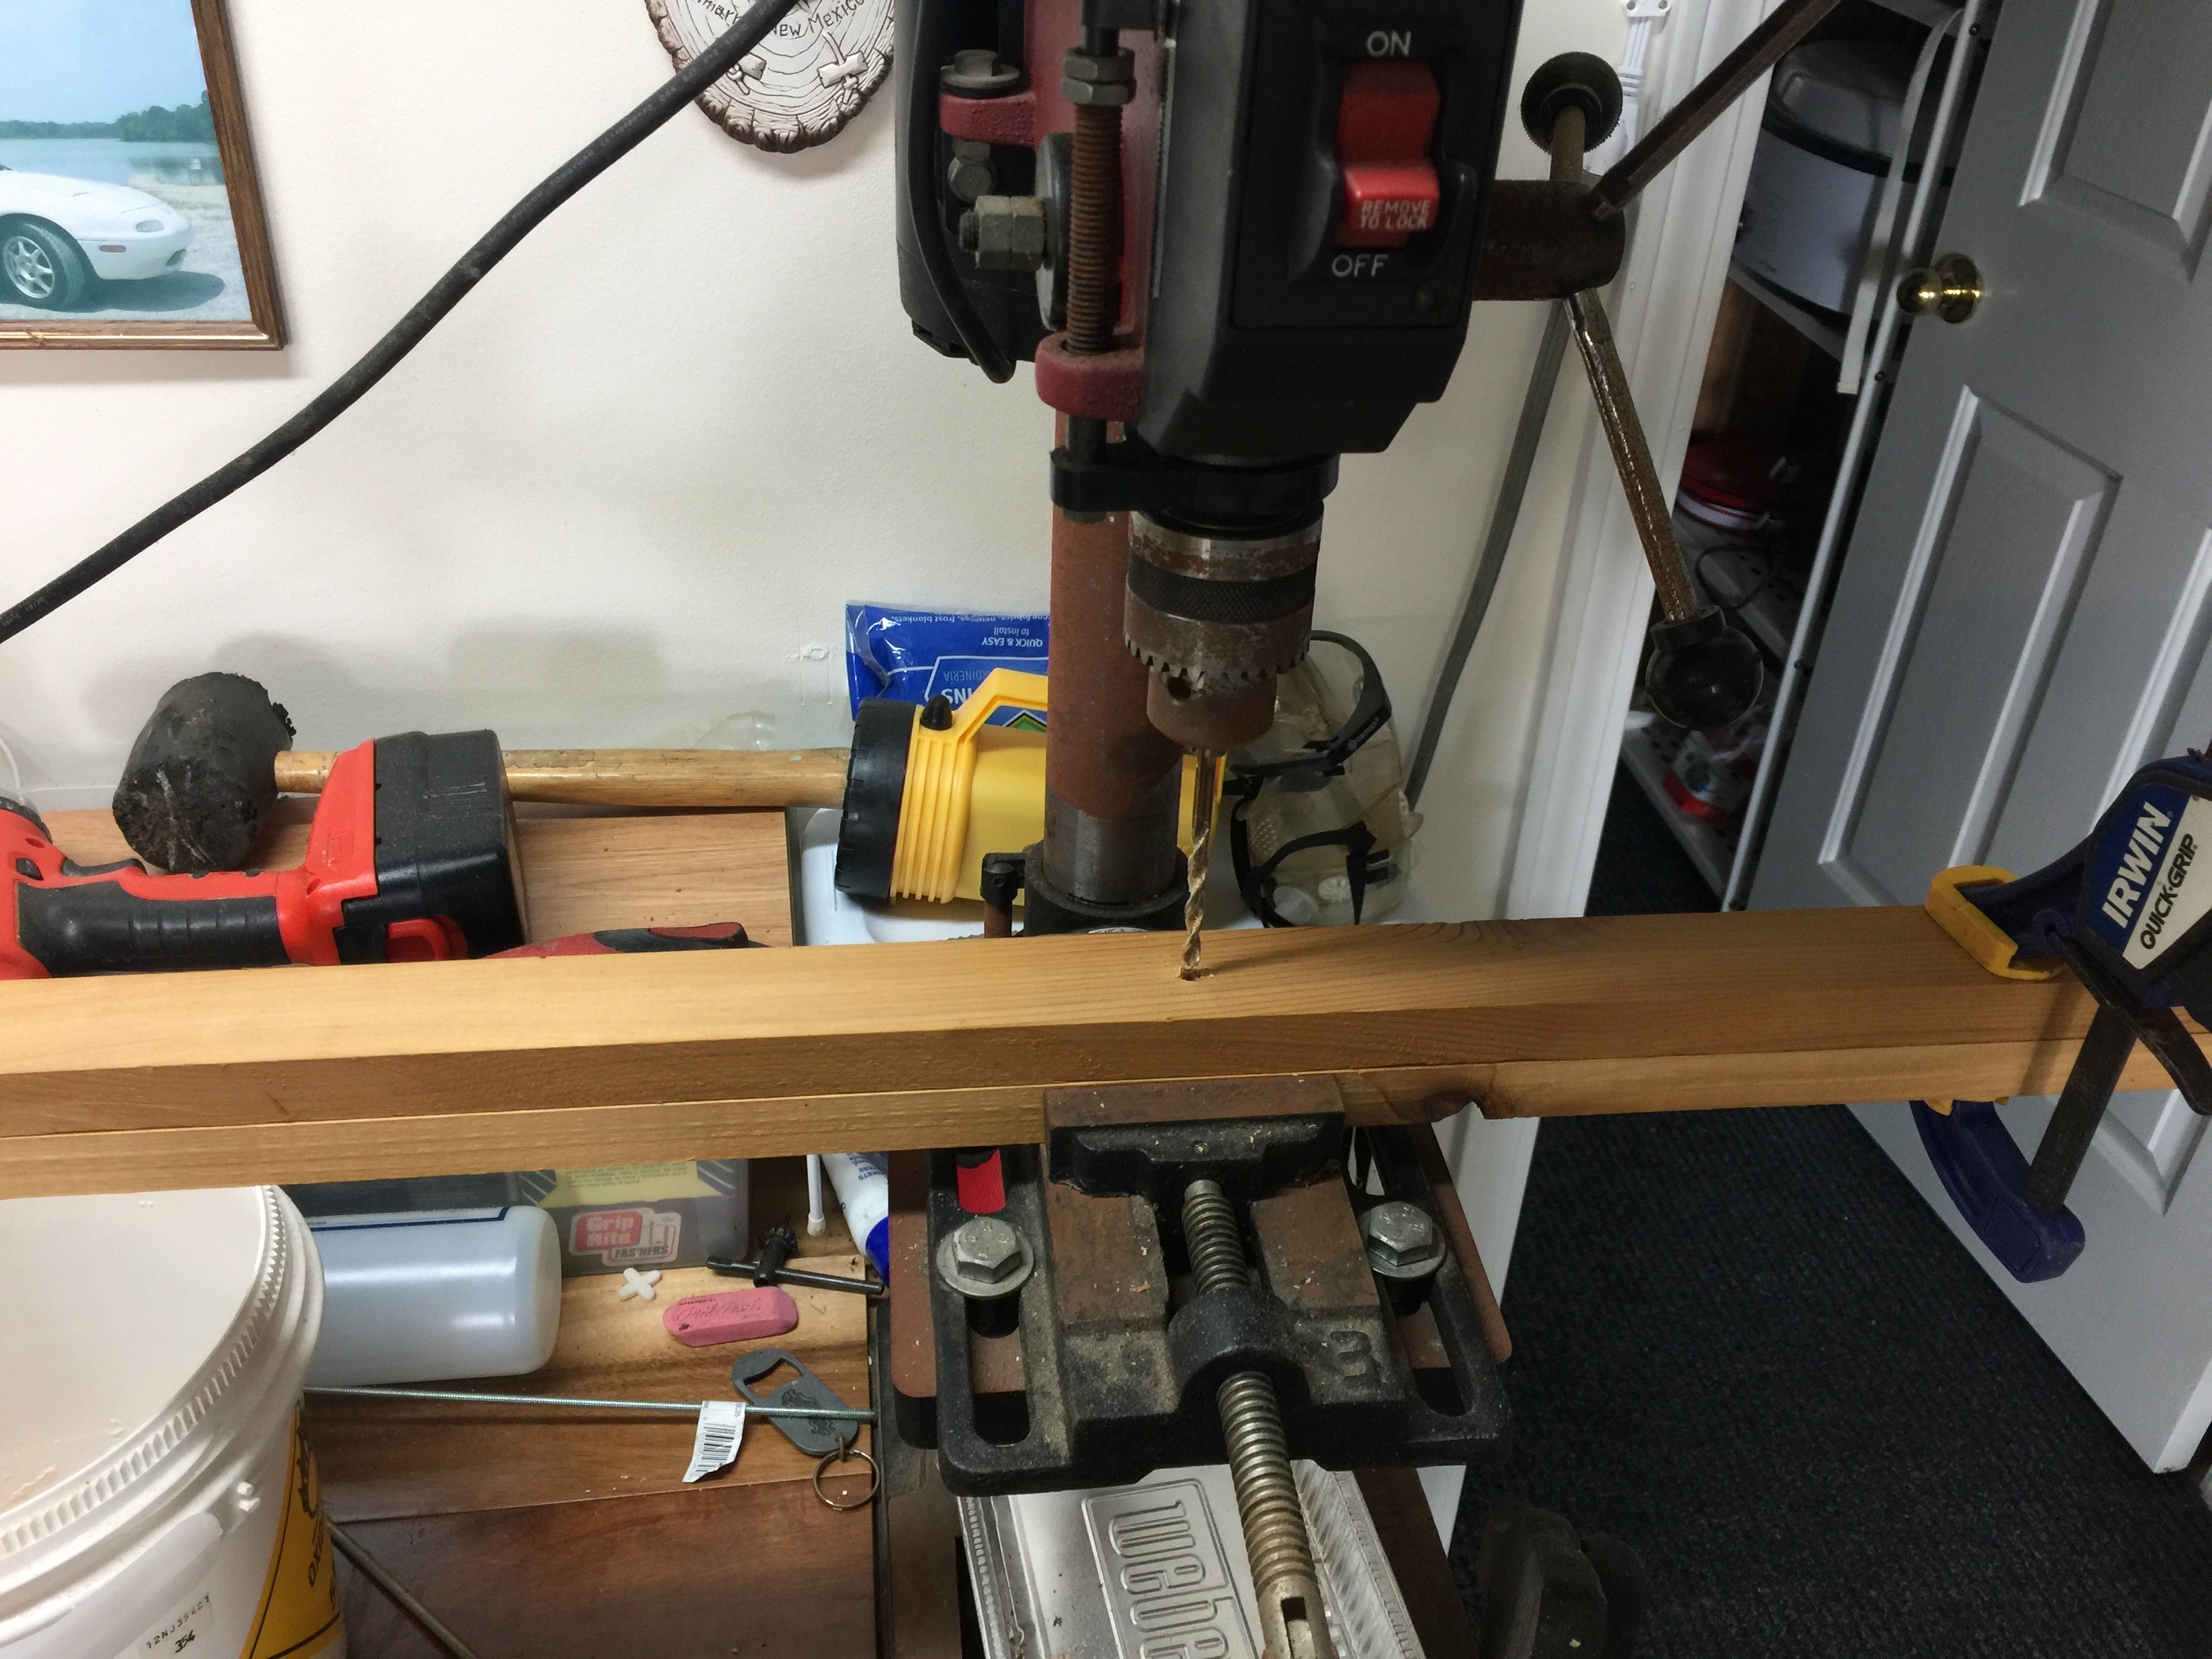
I worried drilling continuously through the same board might end up with its hole being too big, so I decided to consecutively use the previously drilled board as the template for the next board.
So that I could begin to see some real progress beyond just a bunch of cut and drilled pieces of wood, I decided to assemble the doormat as I drilled the long board holes. I cut each of the 36-inch threaded rods in half, knowing these could be cut to the correct length later.
Unfortunately, my chosen drilling technique became like one of those childhood telephone games where one child tells a story to the next child and so on until by the time the story gets to the last child, it is quite different from what it started out. Turns out a slight difference in widths of some of these boards (they were obviously not precision machined) caused the hole to begin to get lower and lower off center.

Fortunately, I discovered this before I was no more than half way through when I found that the threaded 3-inch block did not fit flush with the top of the long board (recall these blocks were all drilled in the dead center of the jaws). Well I had already decided that I would give my son the best of the two finished doormats so I figured this one would be mine.
Switching to my original idea of using the first board as the template for all the rest, I finished drilling all the holes for the first doormat.
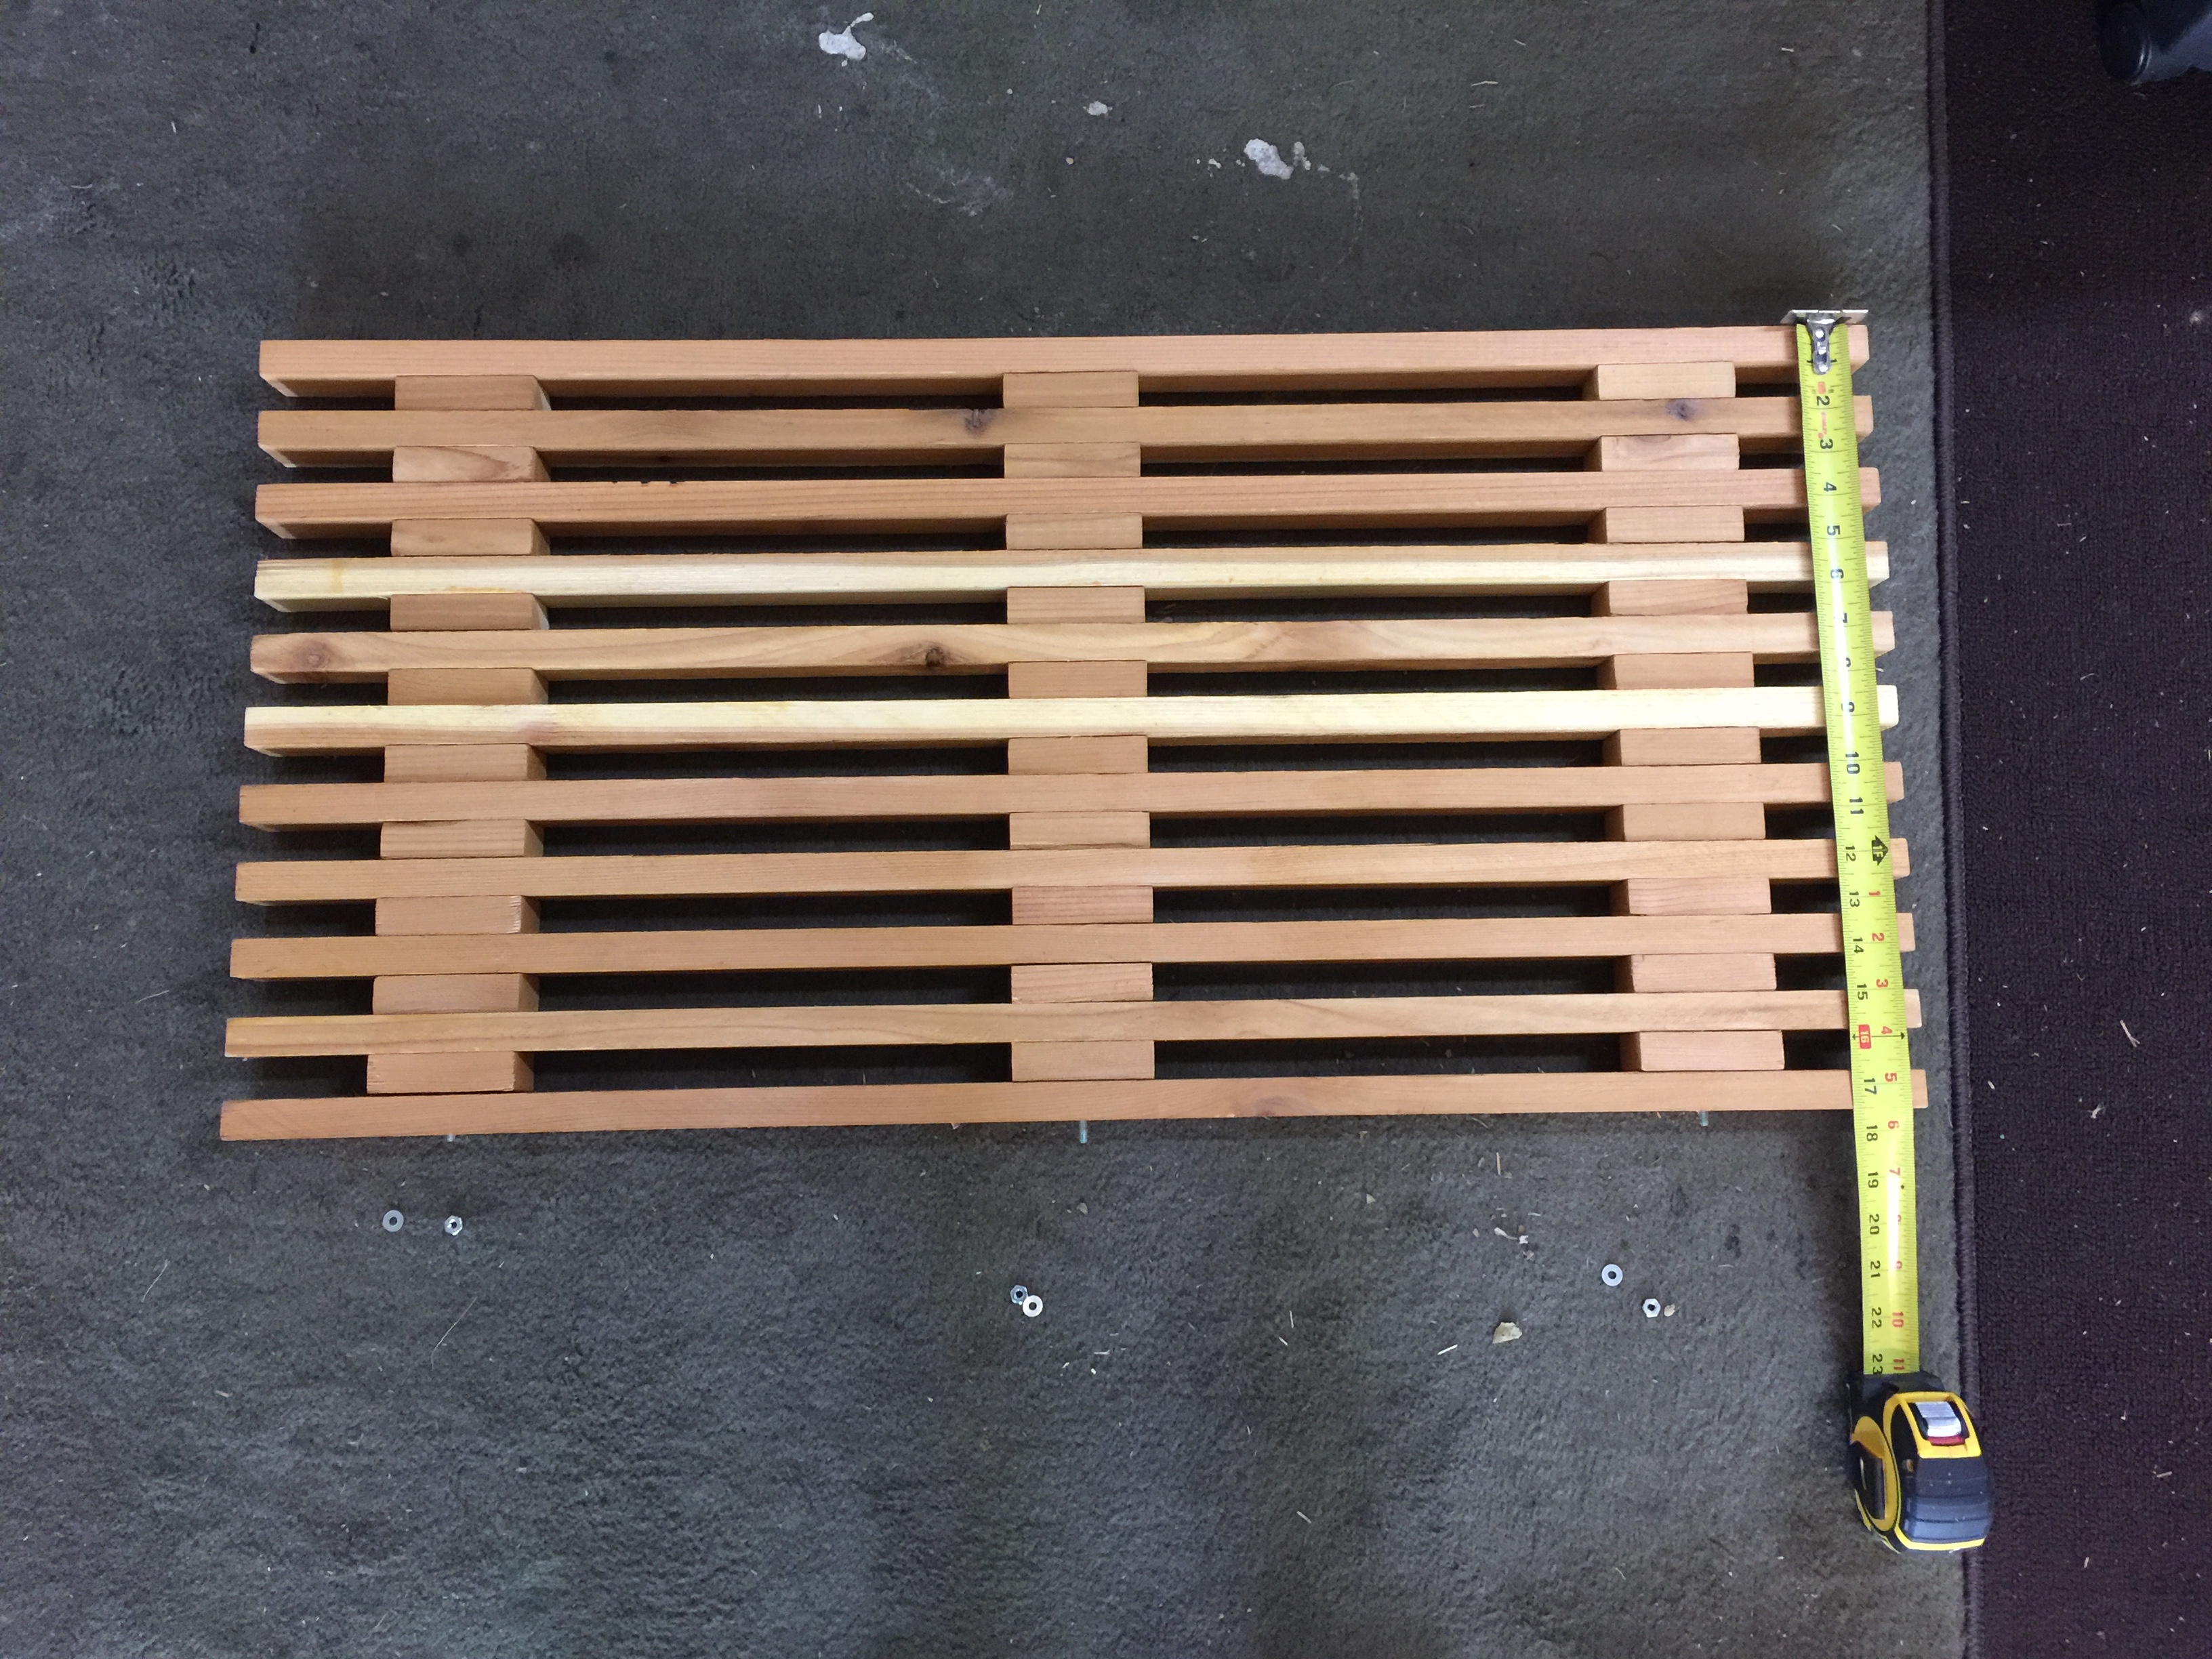
When I added the last board to the first doormat, I was surprised to see that the threaded rods were just barely long enough. When I had measured my existing door mat, I found that they were about 14 inches wide. Laying my tape measure next to the mat, I found it was 17 and ½ inches. Obviously, these cedar boards were thicker than the pine boards I had previously used.
I counted my blessings for not having to go out and buy new threaded rods and moved on to the last few steps. First was to countersink the holes on the two outside boards so the nuts would not stick out…
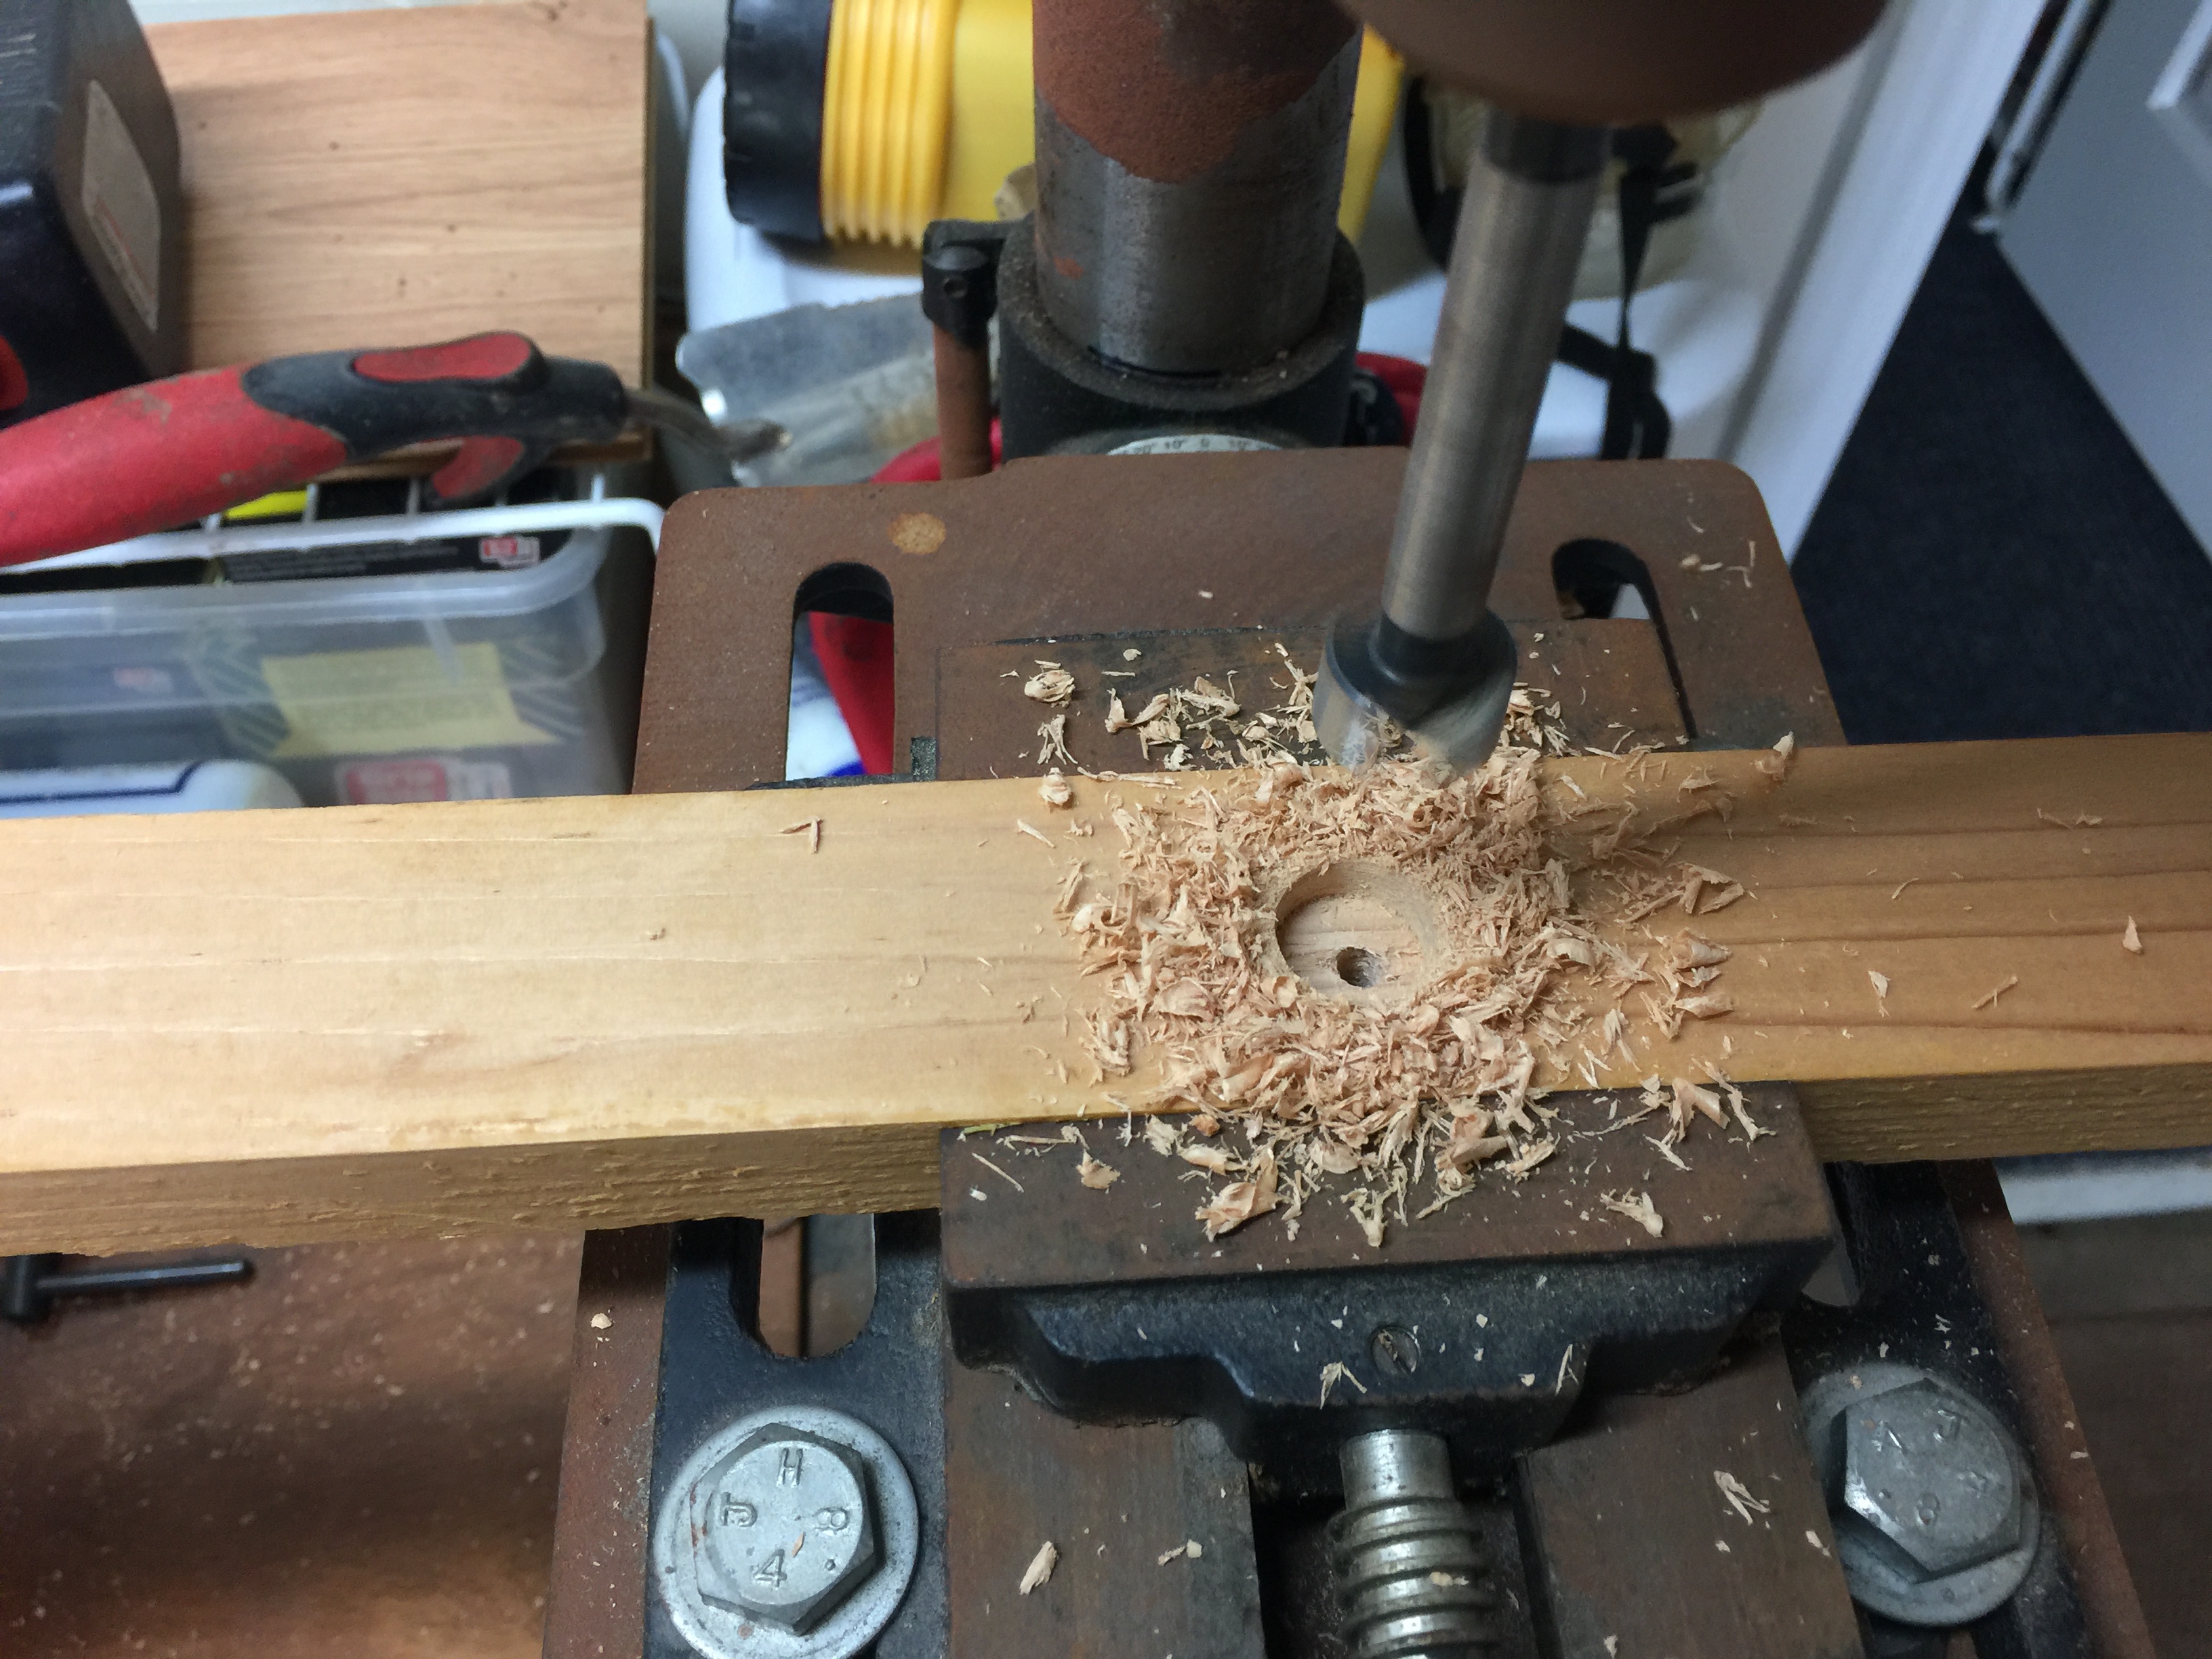
…and then begin the final assembly.

Here, a furniture clamp came in really handy to hold the doormat tightly together so I could determine the correct length for the threaded rod. I made sure the threaded rod, nut and washer were flush against the inside of the countersunk hole with a punch before I marked the other end of the rod for cutting. Using a permanent marker, I made a line on the threads so the cut end too would be just inside the countersunk hole. I then removed the last board to reveal the marks and cut all three with a hack saw (a sharp blade is helpful here (mine was not) as the rod cannot be held in a clamp and moves back and forth with each blade stroke).
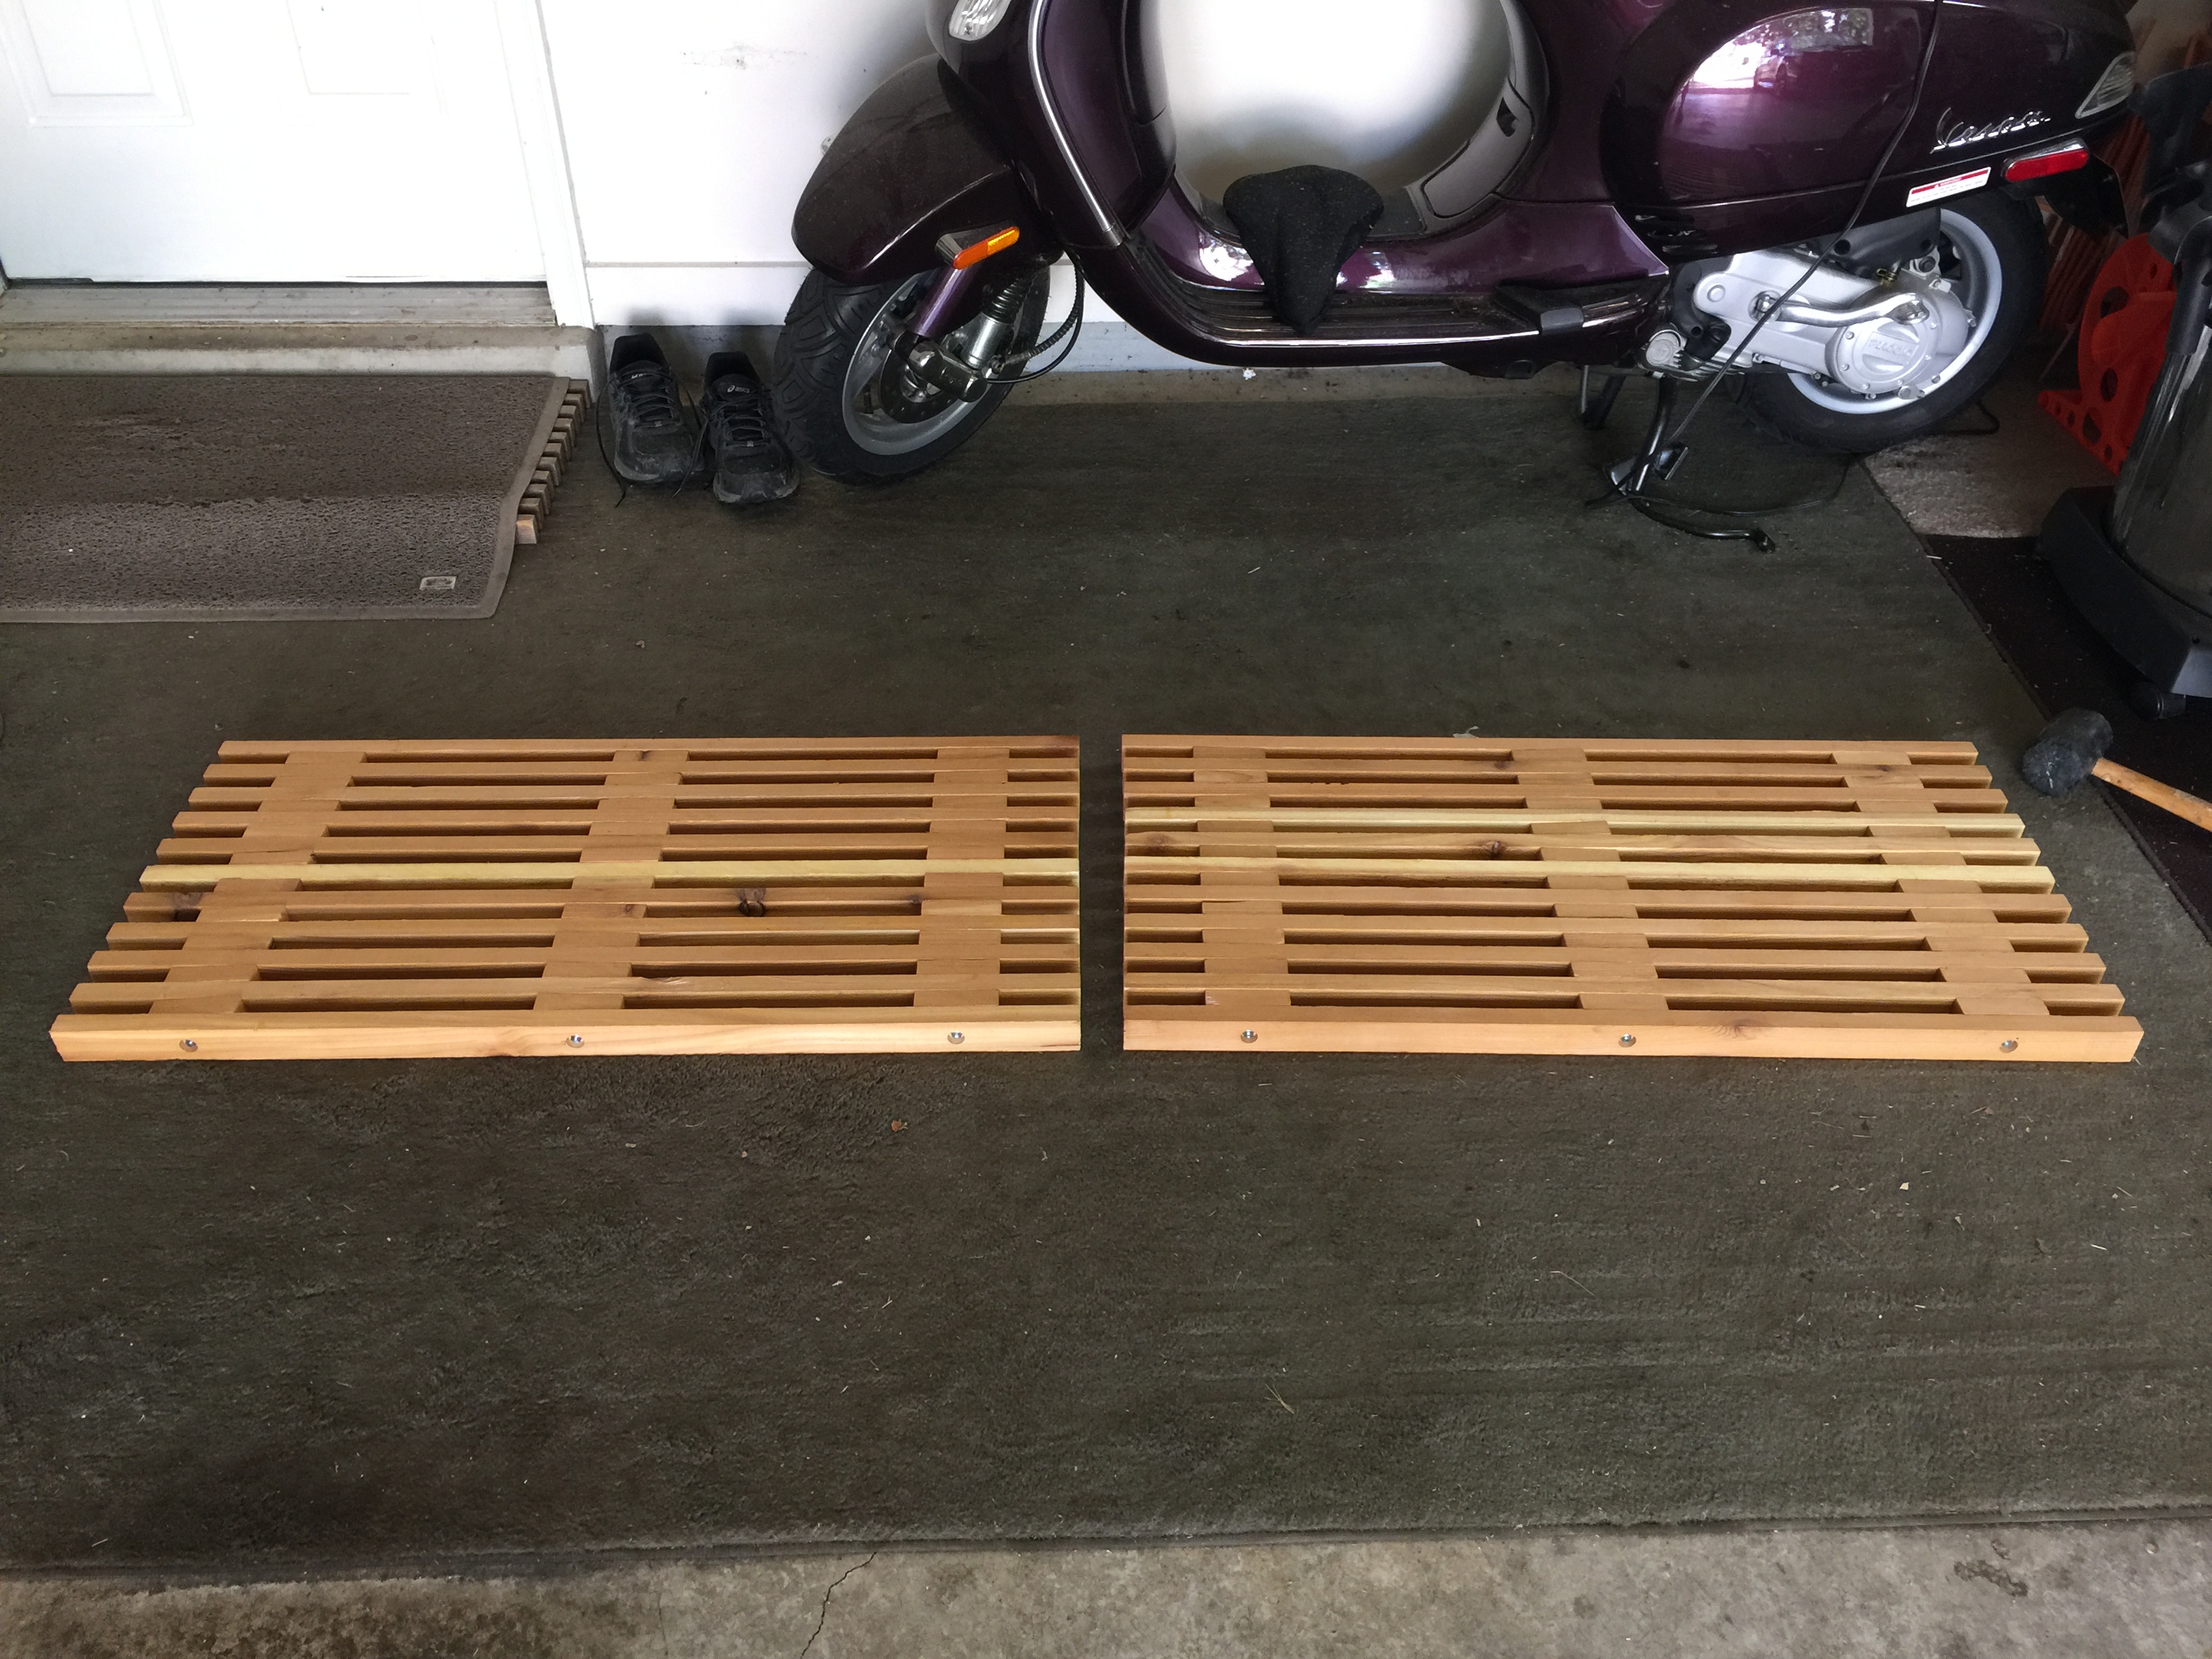
The furniture clamp again came in handy when attaching the last three washers and nuts. A socket wrench on both sides allowed me to tighten the nuts on each rod firmly in place. Stepping back, I was pleased to see one finished door mat…
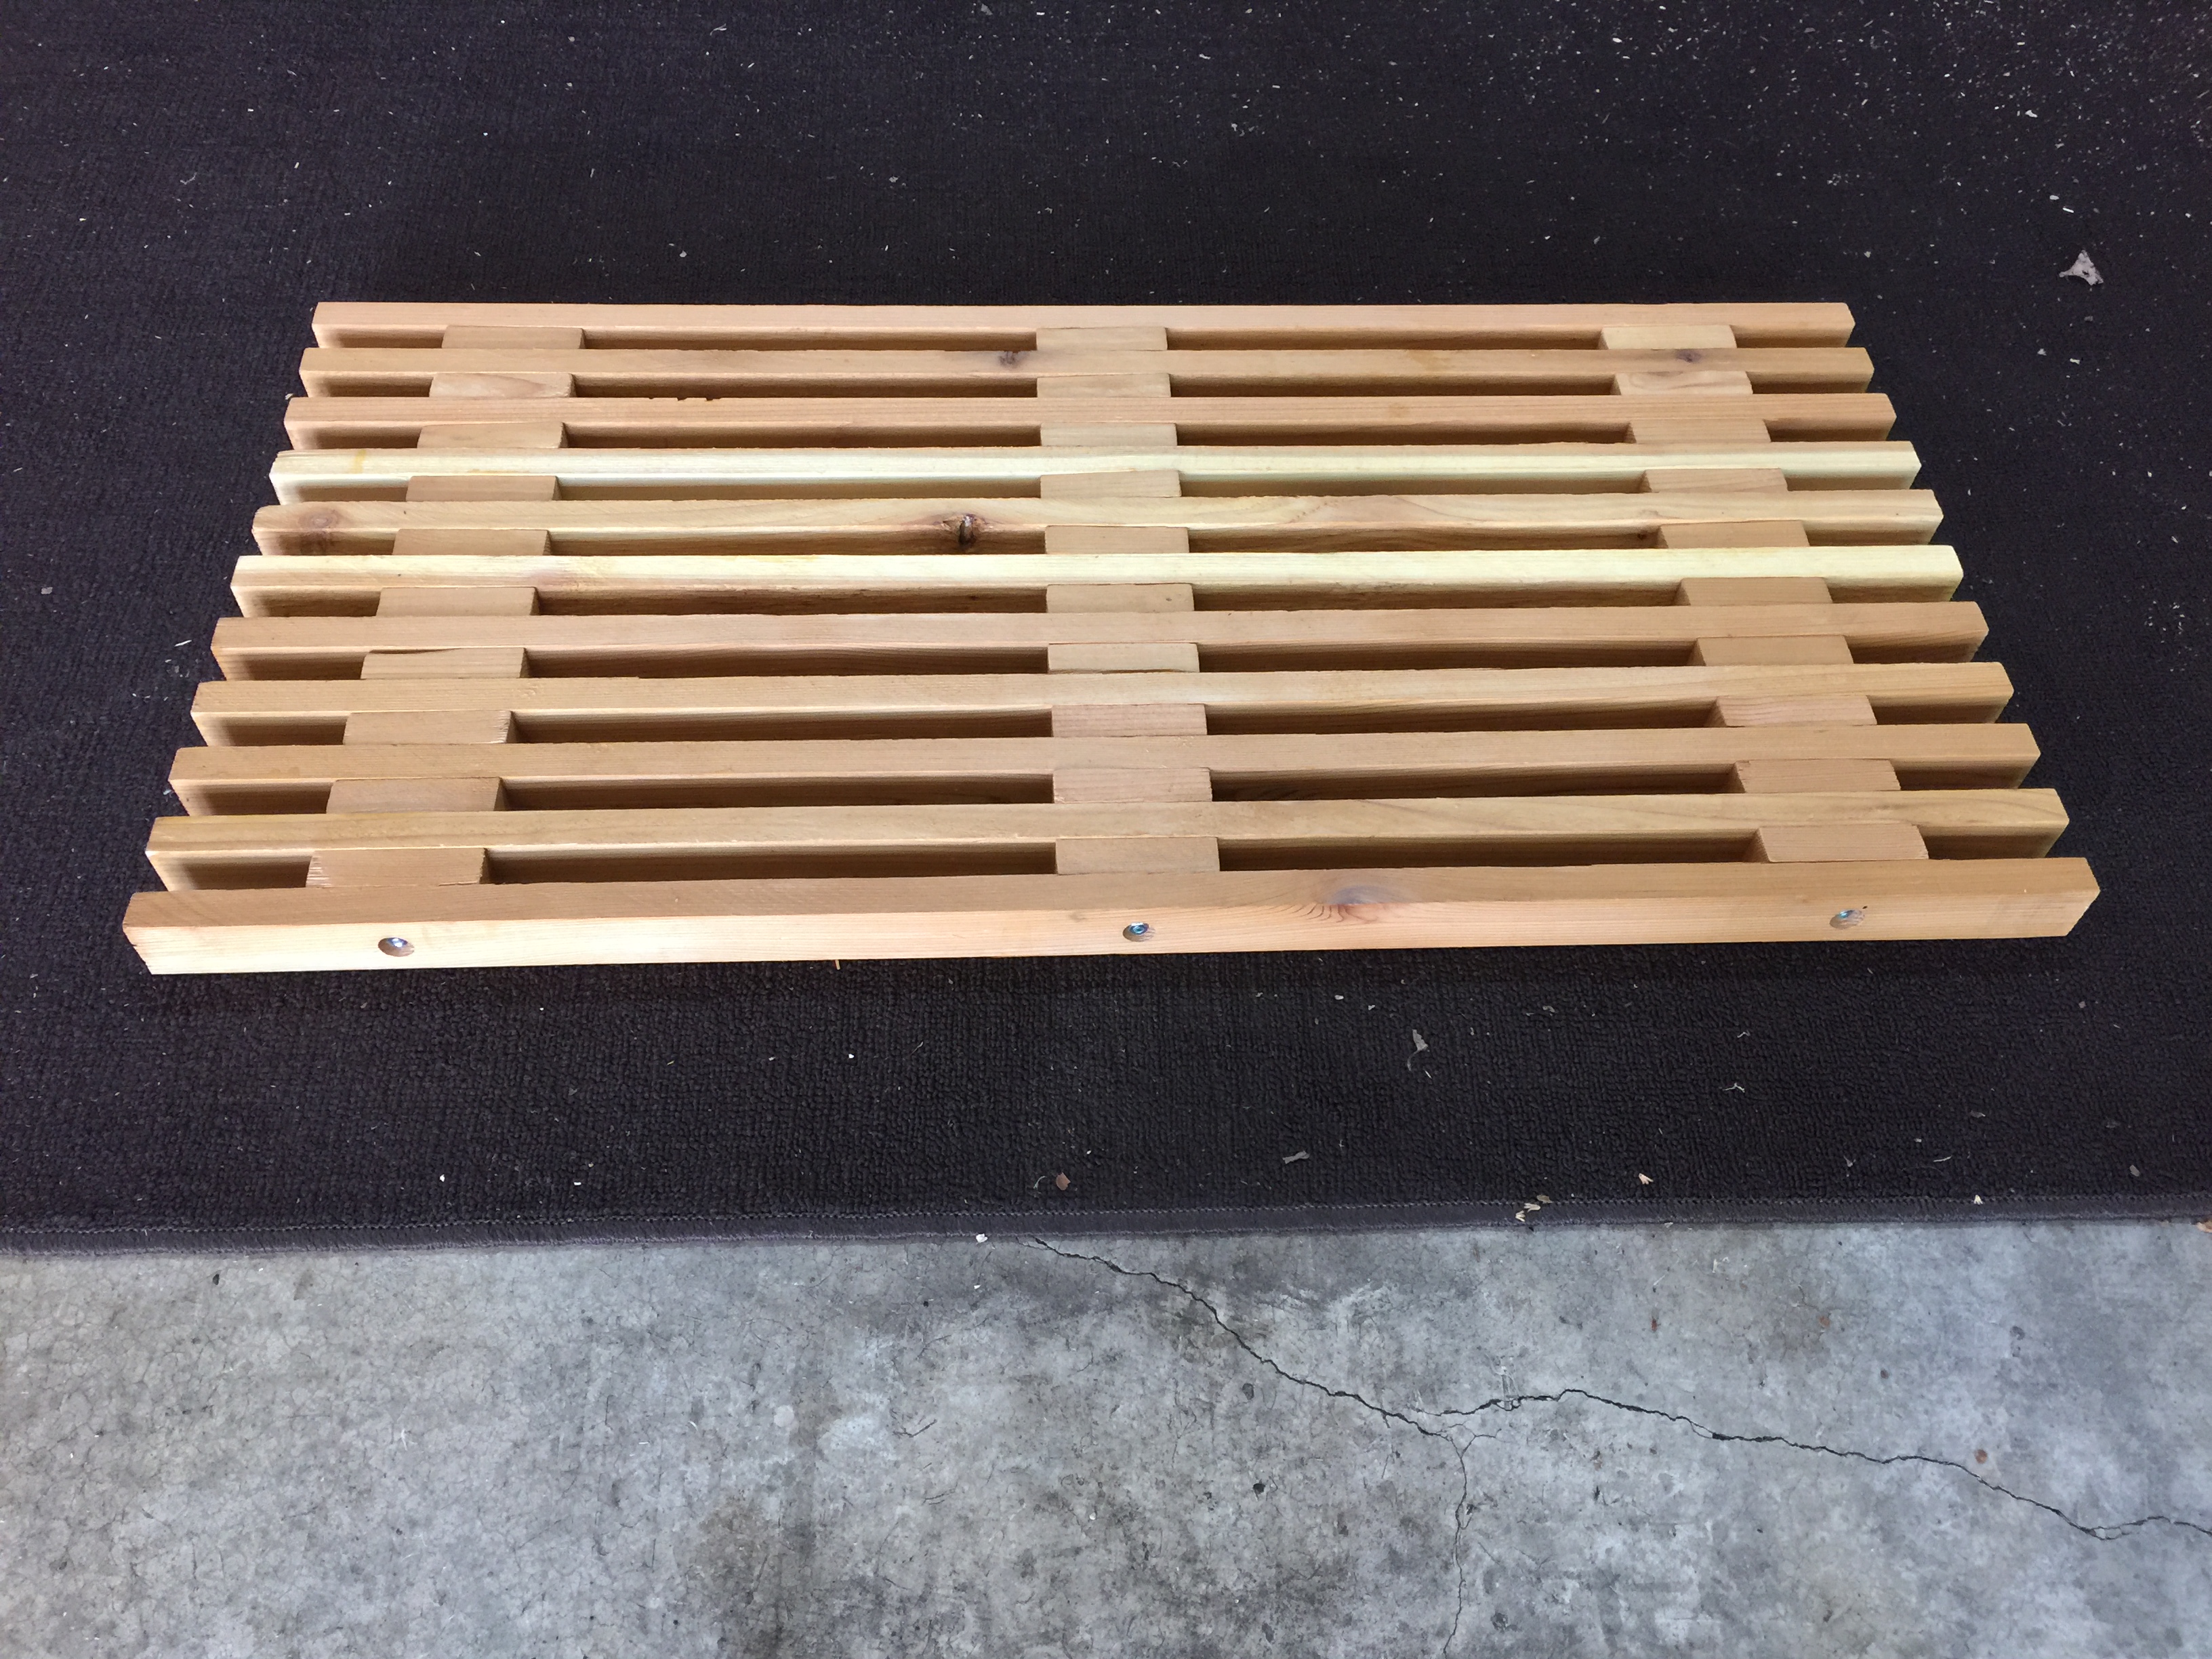
…and shortly thereafter, two finished door mats.
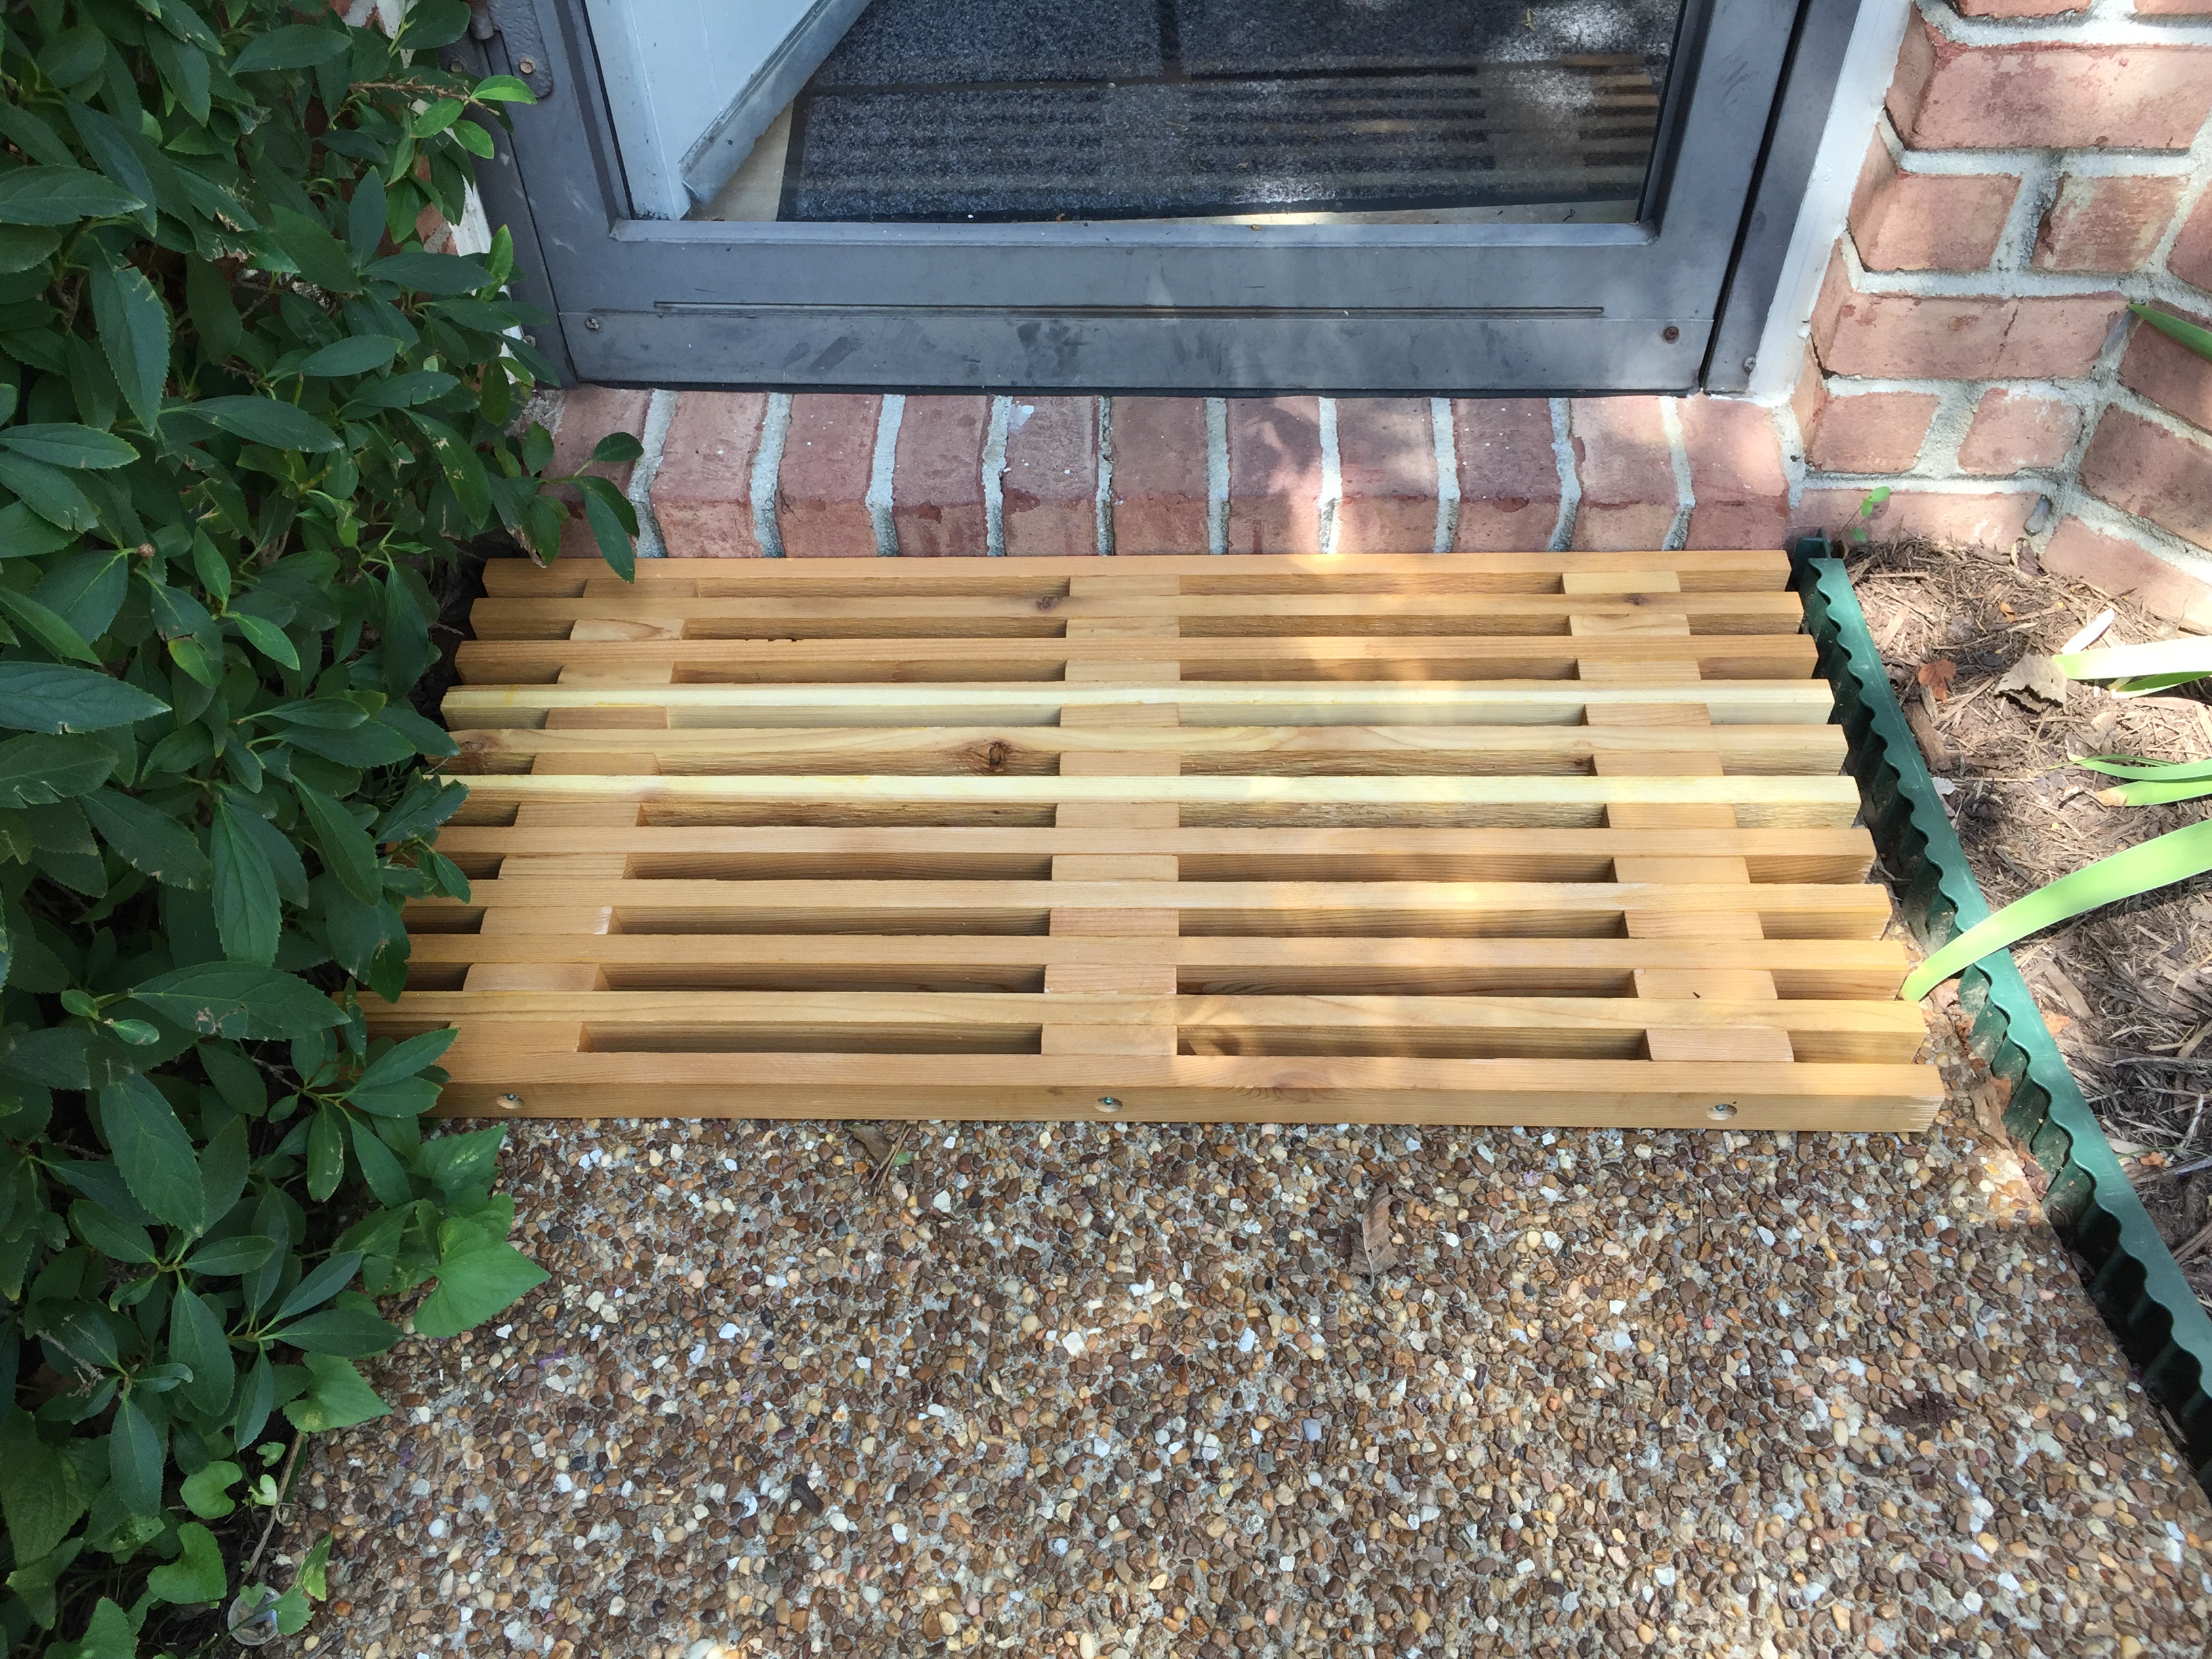
A few days later, I took the second completed doormat over to my son’s house where it looked very nice on his front porch.
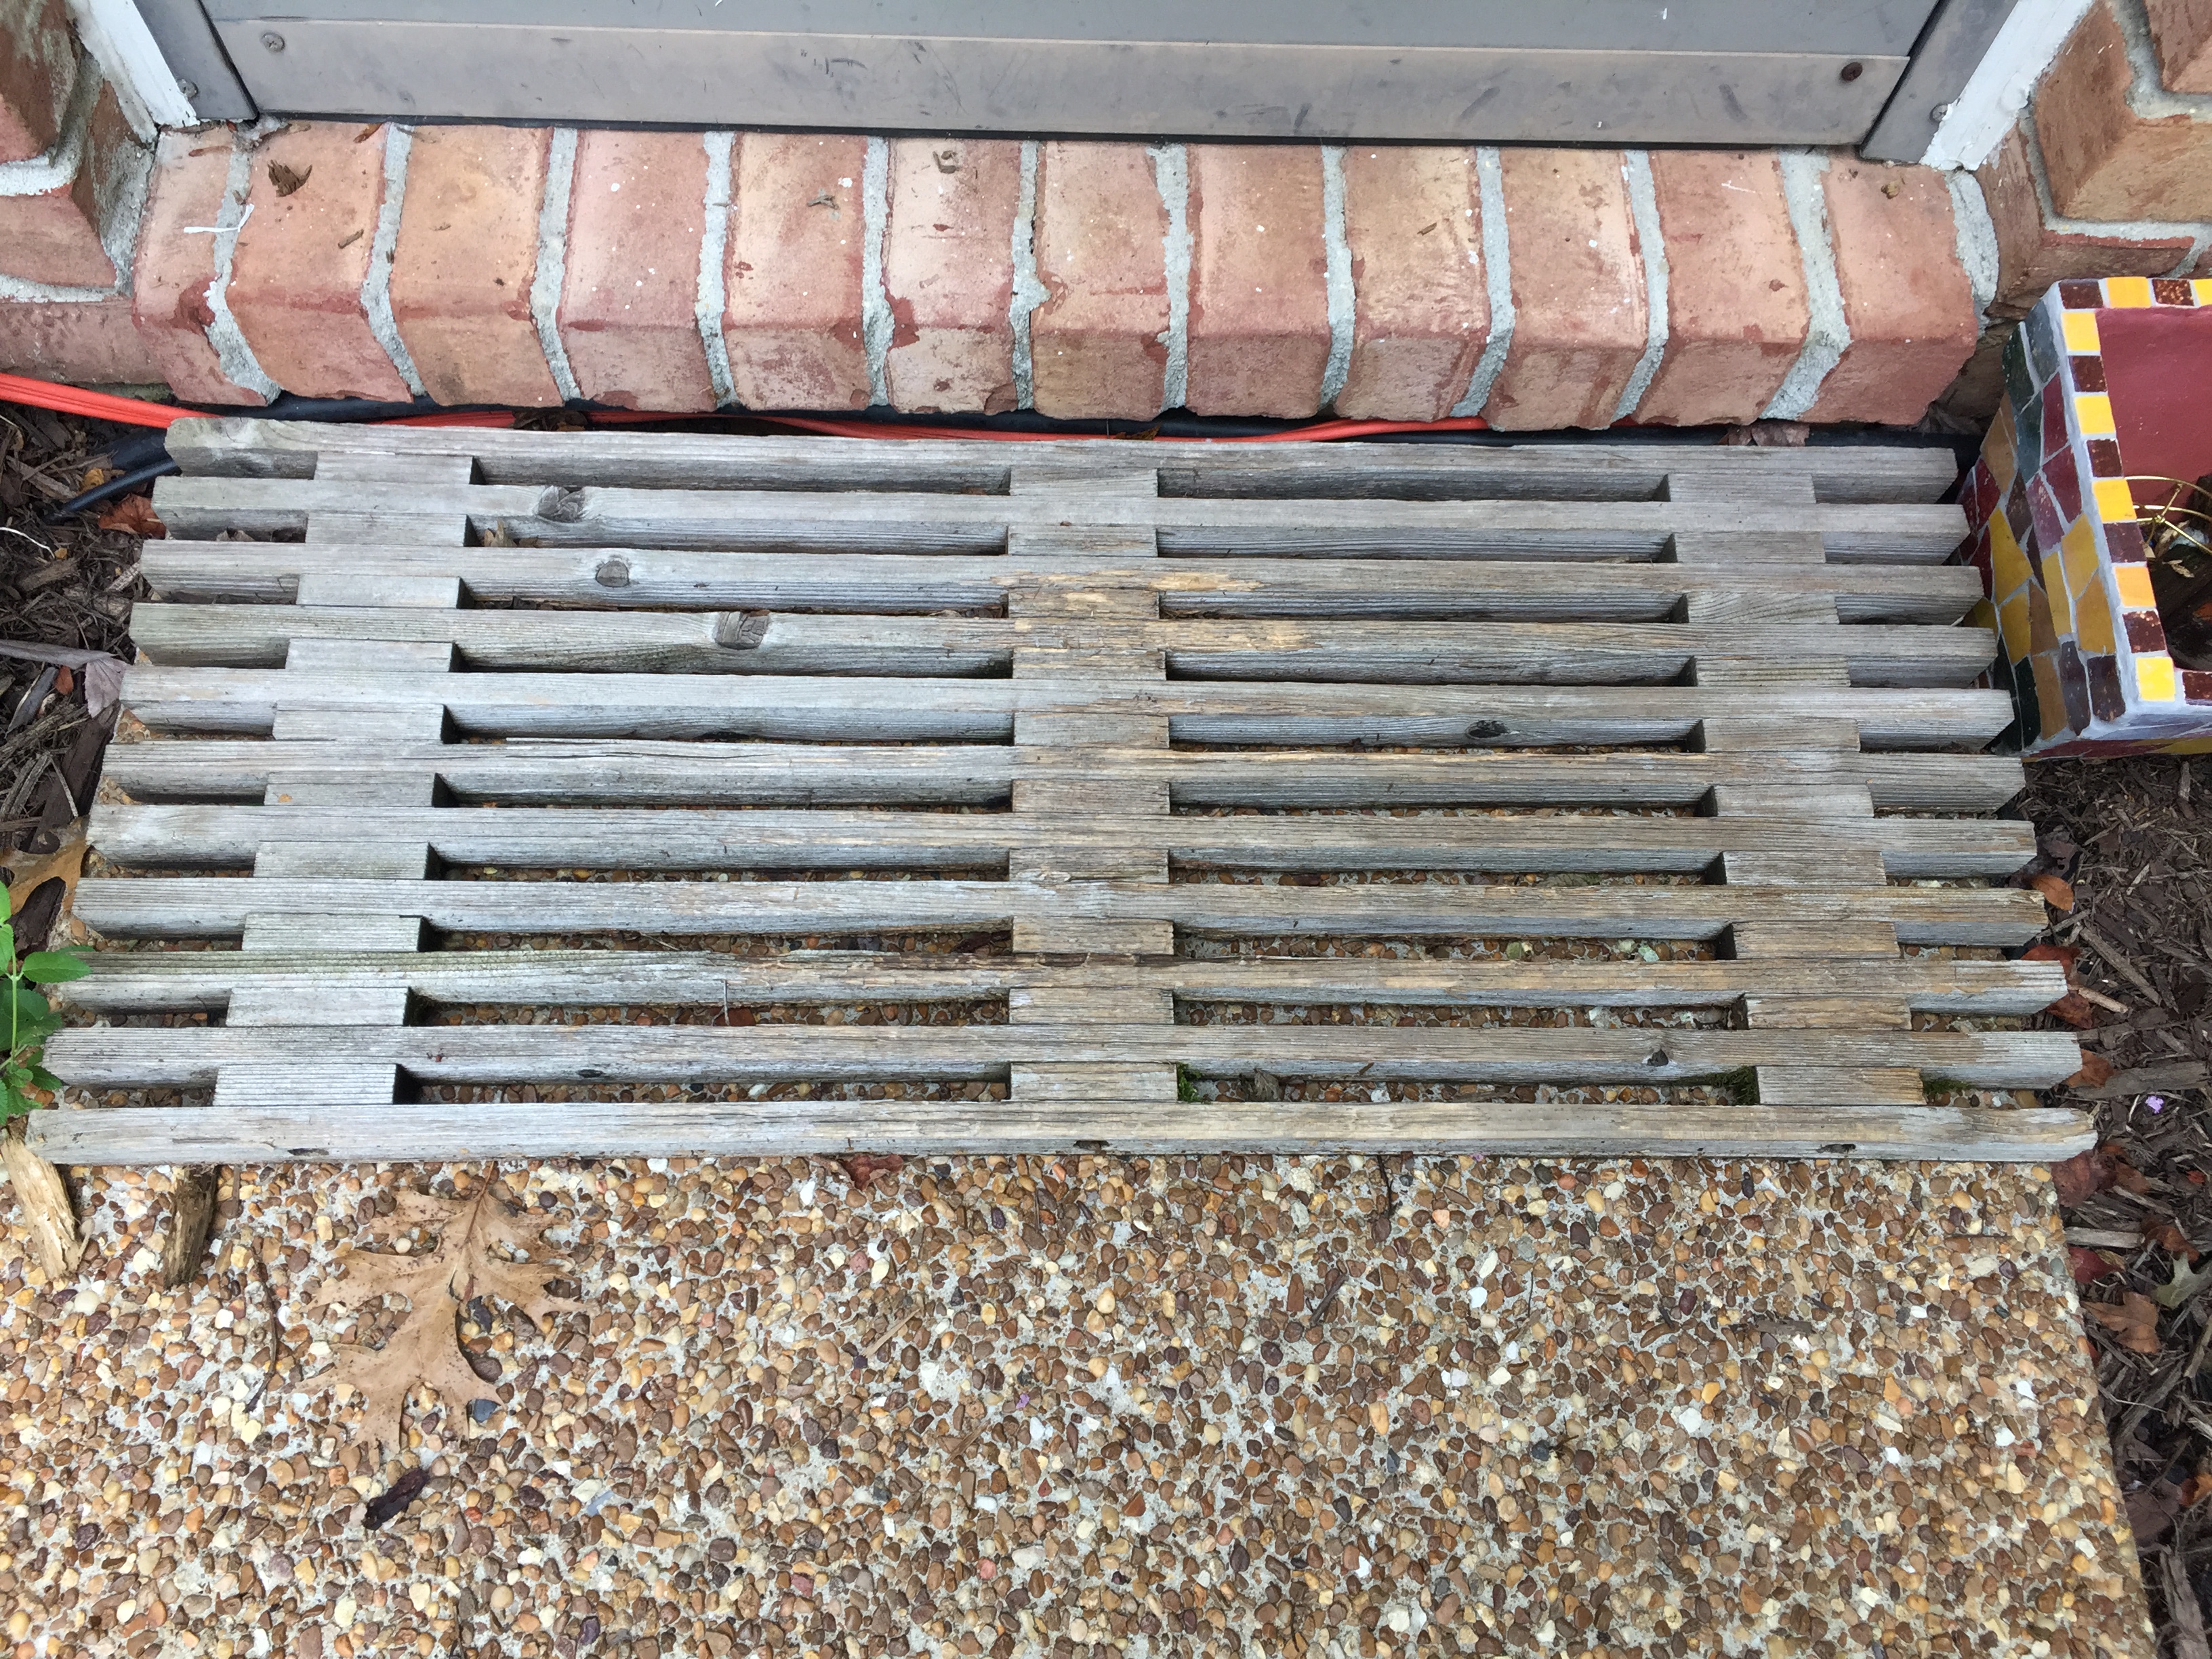
I couldn’t have been happier to finally throw away the old dilapidated doormat but when I went to replace it with the one from our other more-frequently used backdoor (where the new one would go), I noticed that it probably would not be long before it too would begin to look like the one now in the garbage. Which meant I would be building another doormat soon. But at least I had all this new learning that would make it an even easier fun project.
POSTSCRIPT:
What may not have come through in my telling is that in spite of the problems I encountered, I really had fun building these. I knew I would as I enjoyed designing and building them the first time. I have always had a blast building different things with my own hands.
For my regular readers, I’ve tried not to make this too tedious of a post but at the same time including enough details for those adventurous DIYers out there that may want to try making one his or herself. Hopefully I have reached a happy medium. However, if you do decide to make one yourself and run into a snag or need more details, shoot me a message and I will be happy to help.
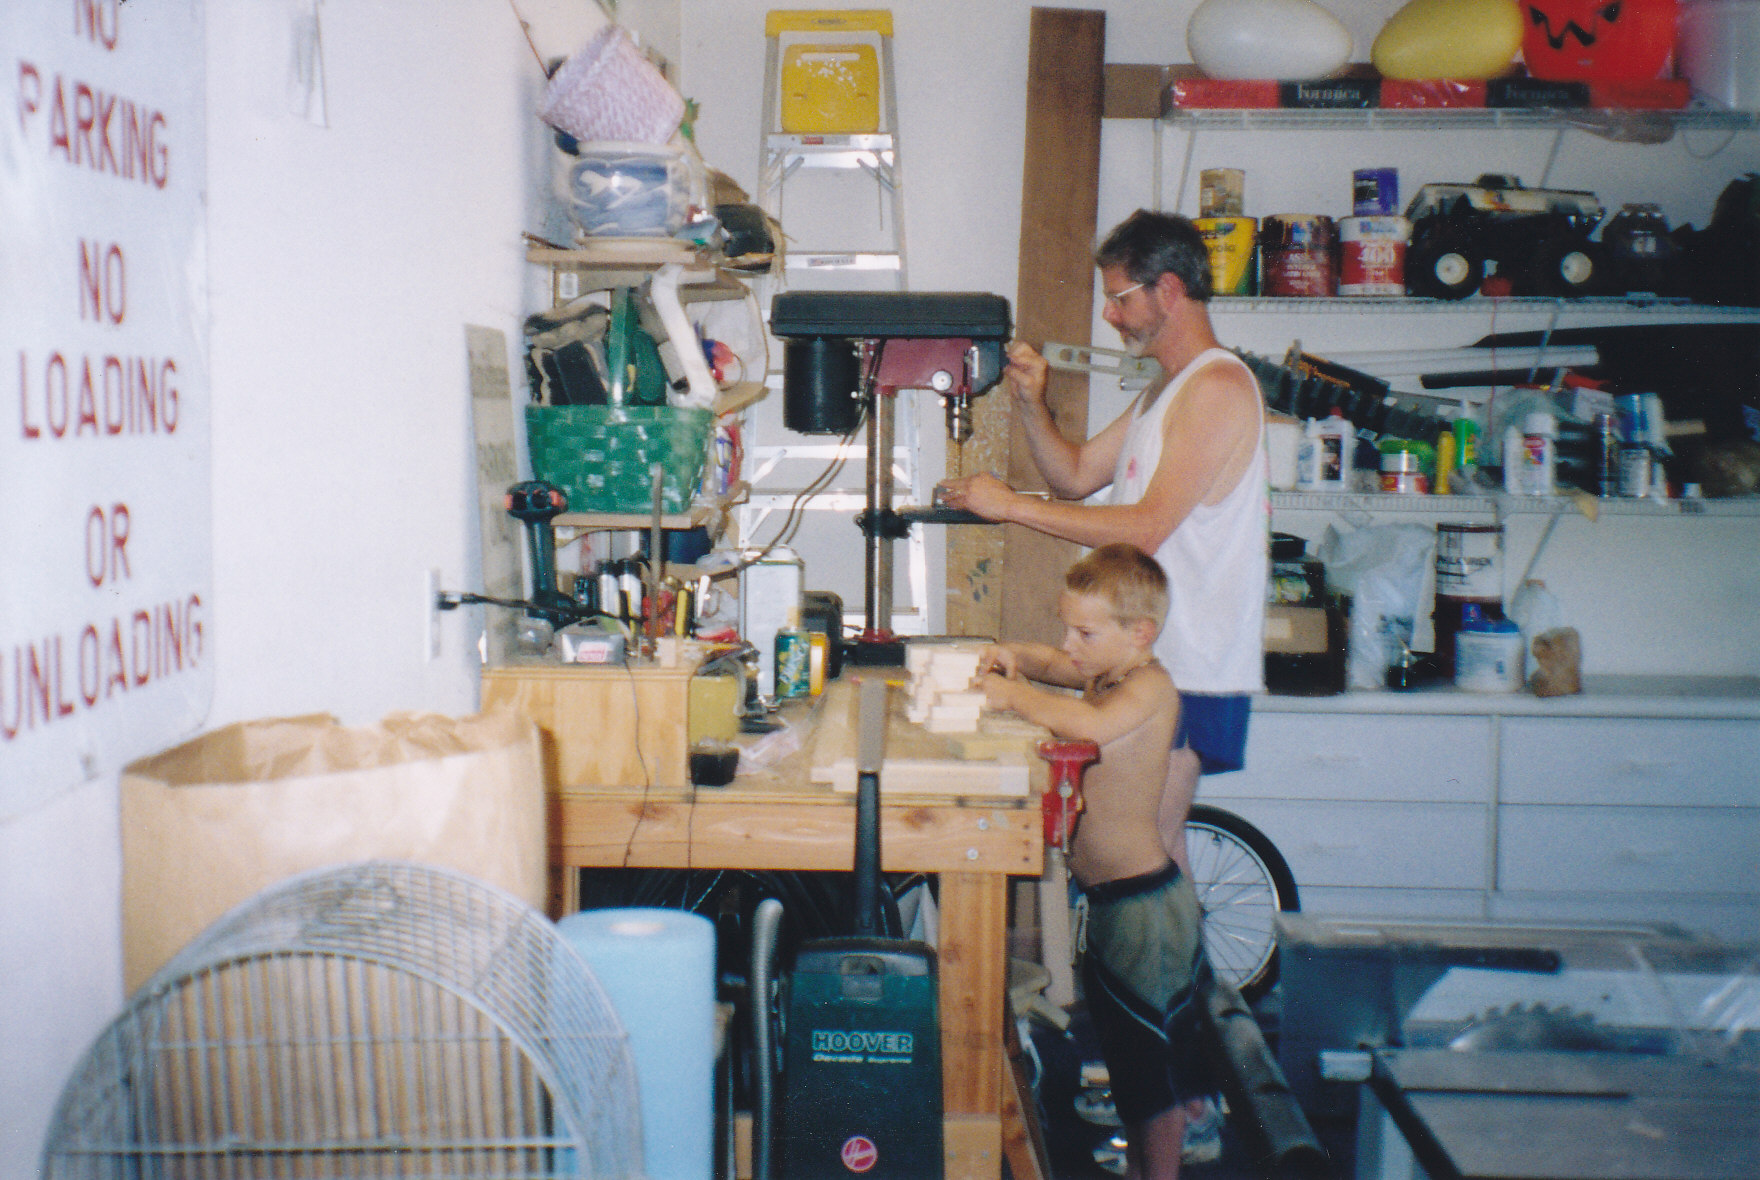
Part of the fun for an adult scientist is to discover these small improvements empirically while at the same time, the little boy in me has fun working with his hands (and handy adult power tools)!
Categories

Enjoyed the post. We’re still enjoying the mat you made for us. It’s mostly been under cover on our front porch and is still in good shape! Thanks.
That’s great! I’d almost forgotten I had made you one. Don’t recall when it might have been. Glad you liked the post.
Cool! It’s fun to see you make things like this because I am pretty sure I’d be hopeless at it! I’m still trying to figure out a way to farm all the fabric cutting for my sewing projects out to you—I’m sure you’d do a better job! But what we have in common is a true love of making things with our hands—it’s always fun! Now I am off to replace the Velcro on a pair of shoes!
Thanks, that is a nice trait we have in common! I will be happy to help with cutting your fabric as well.