
A Variation on a Theme
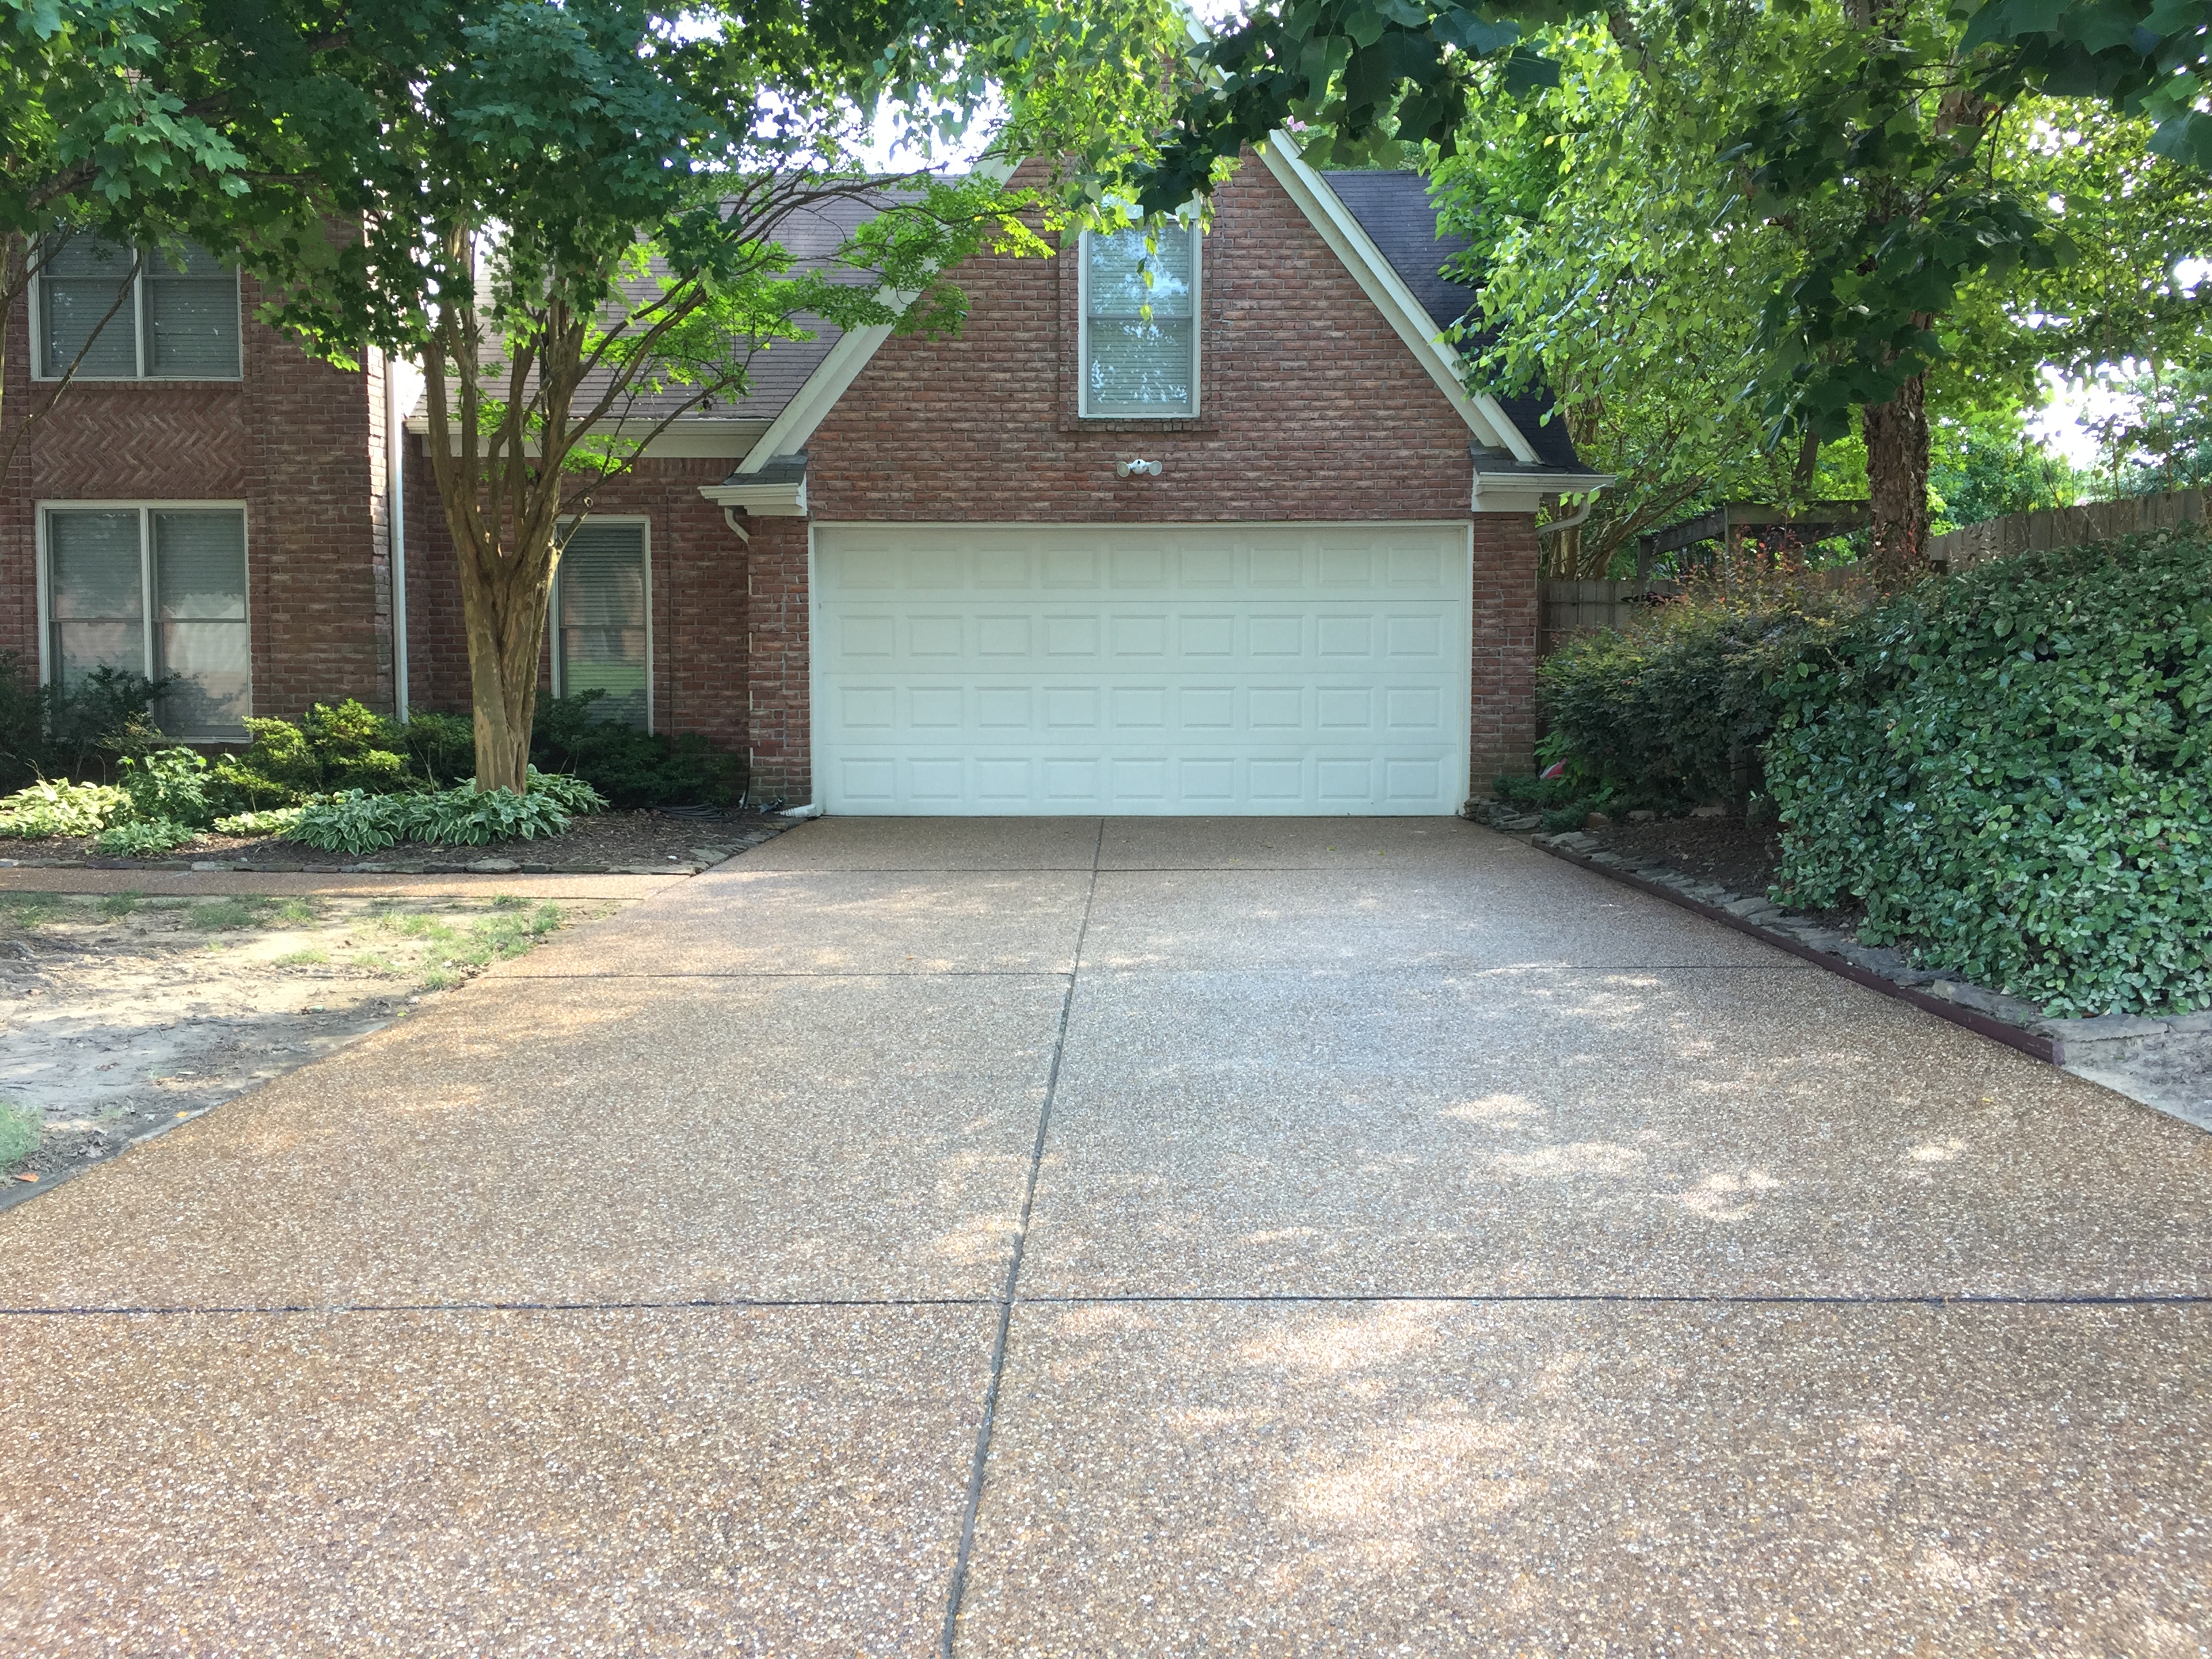
Last July, I pressure washed and weather sealed our walkway and driveway. I also pressure washed the wooden doormat that I made a number of years ago to give it a fresh clean look as well. When I went to replace the two large planter pots, it seemed that the pieces of ceramic tile that I had used to raise the planters off the porch to allow for water drainage just looked rather dreary.
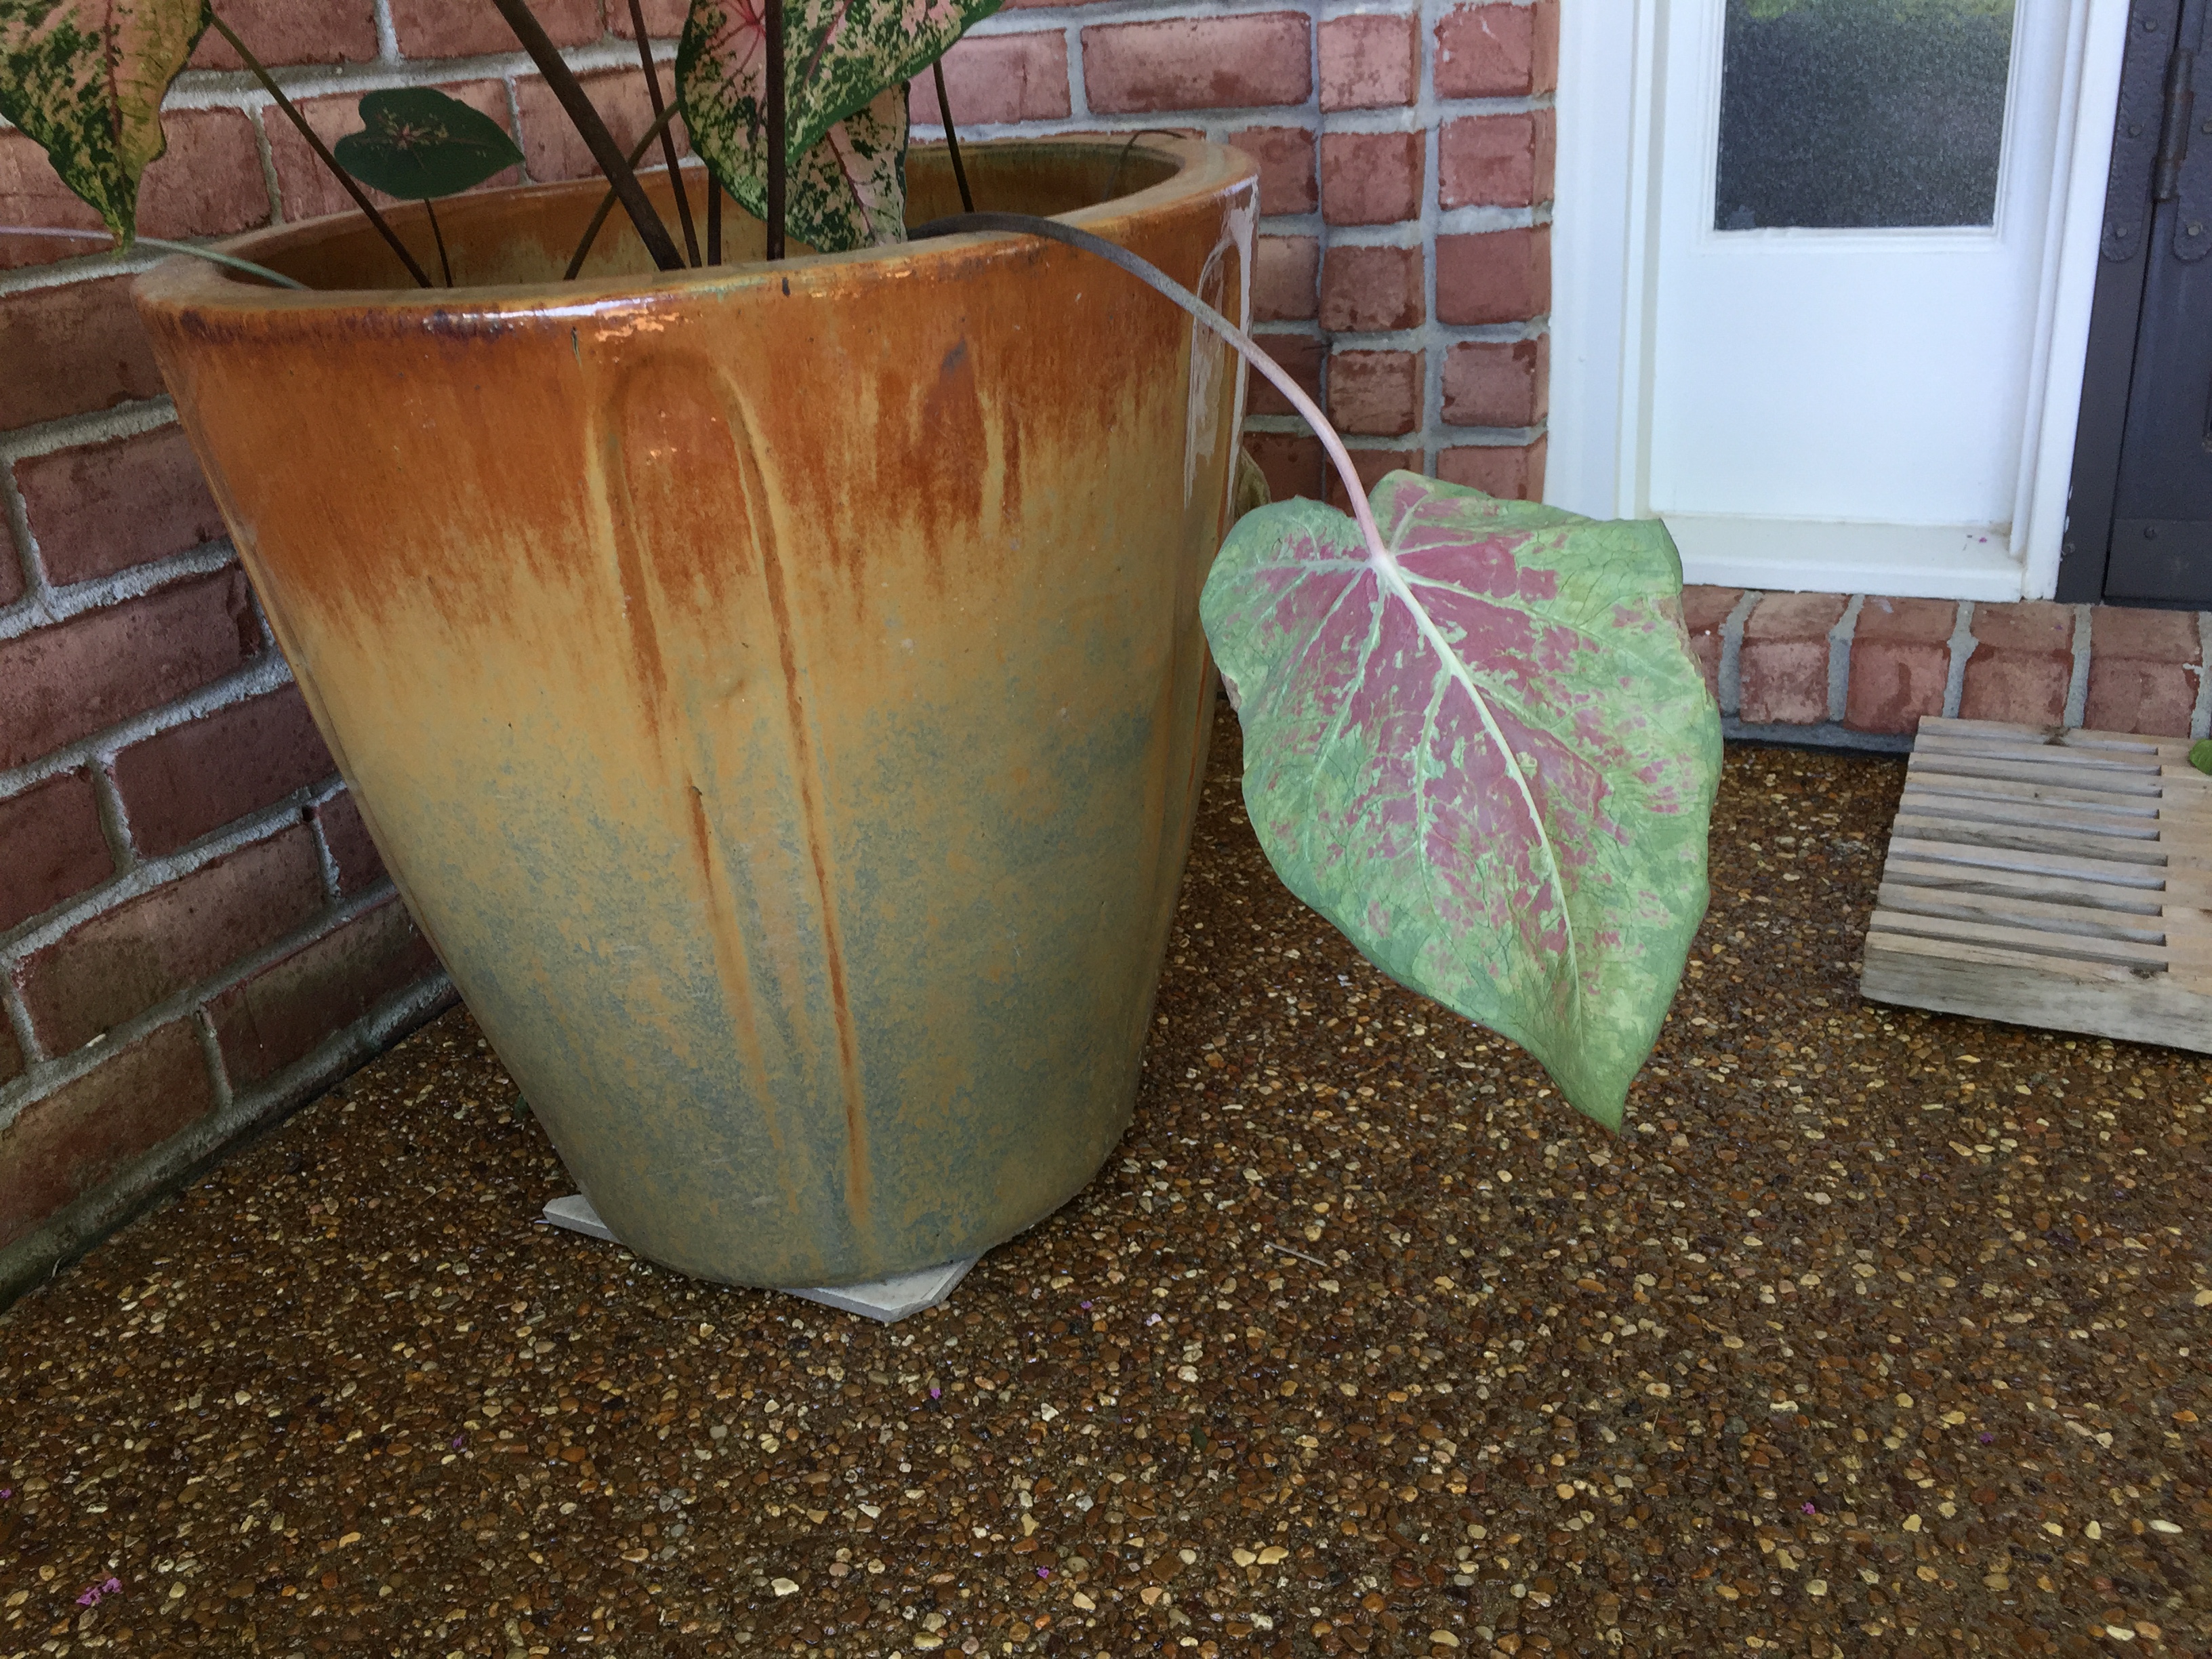
I considered buying an actual planter plate or flat planter stand to give the newly cleaned porch a more aesthetic finish. But then I got another idea. What if I made wooden planter plates using the same design as the wooden doormats that I made?
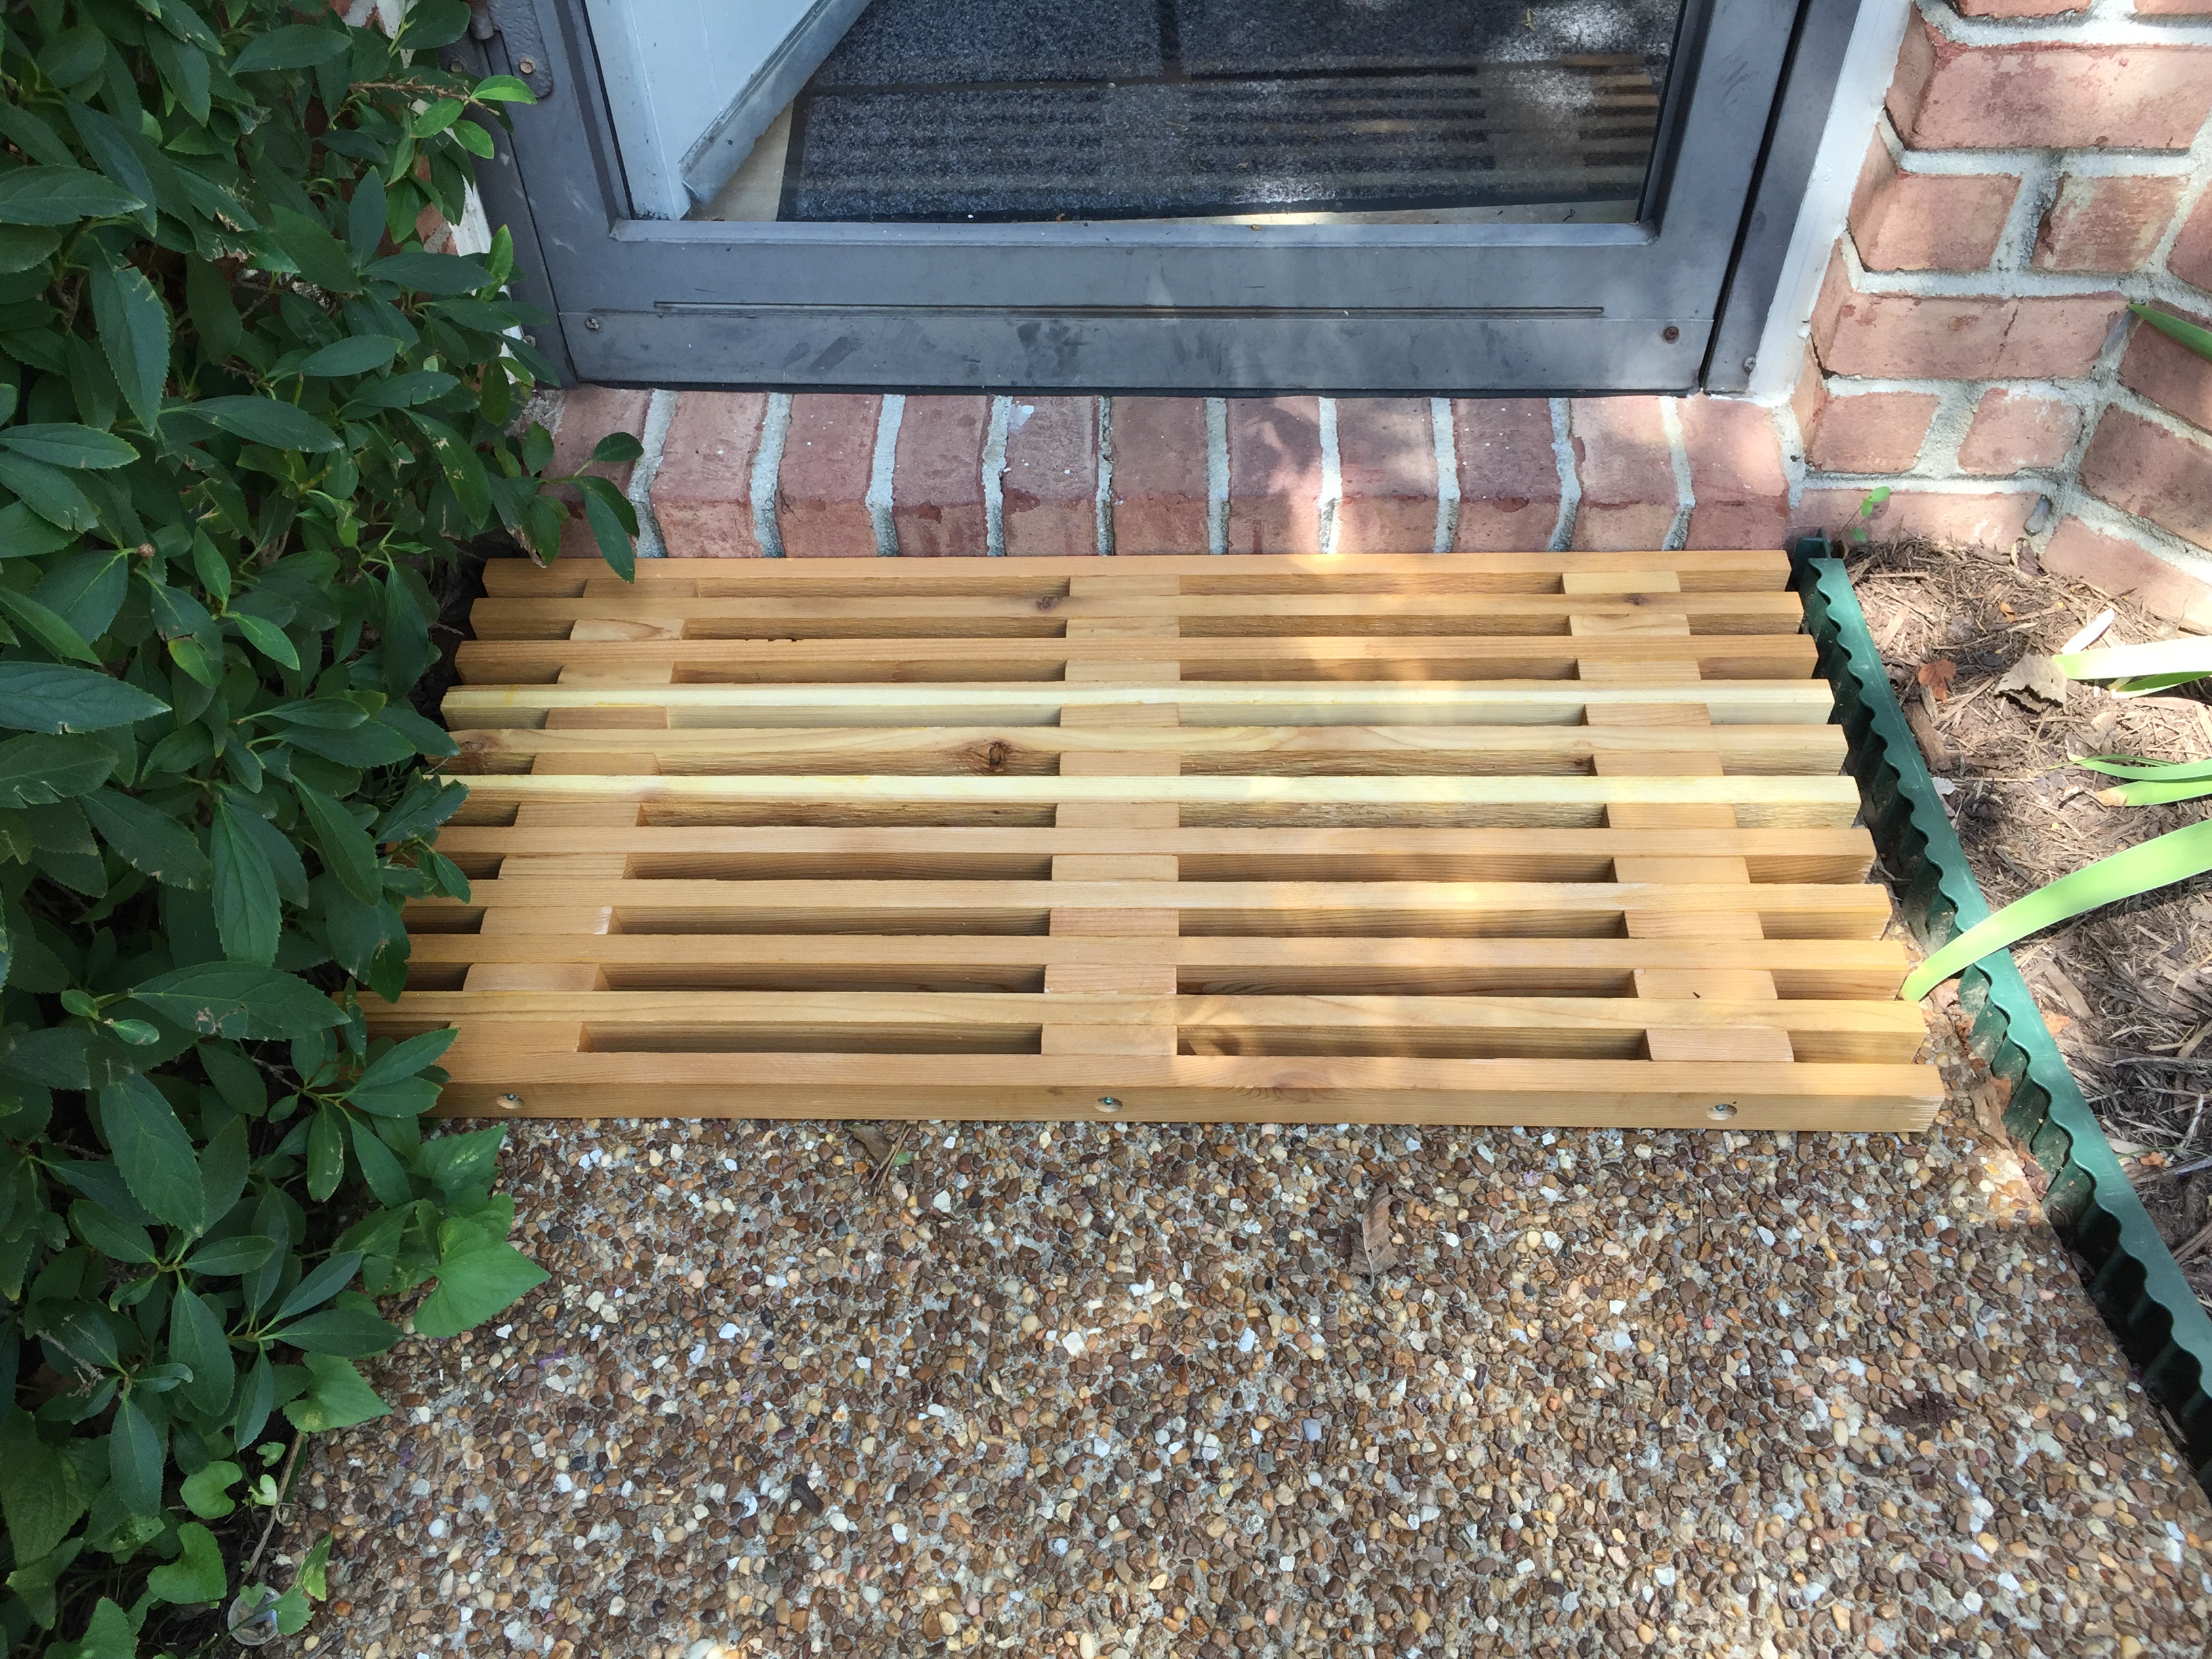
In case you missed the post describing how I built the doormat above (described here); it is one of two I made recently from cedar 1 X 2-inch slats measuring 36 inches in length and fitted together with three threaded rods, washers and nuts. After I finished those last two that I built, I was a bit sad that my fun project was over. This idea would allow me more fun and create something else useful. I loved it!
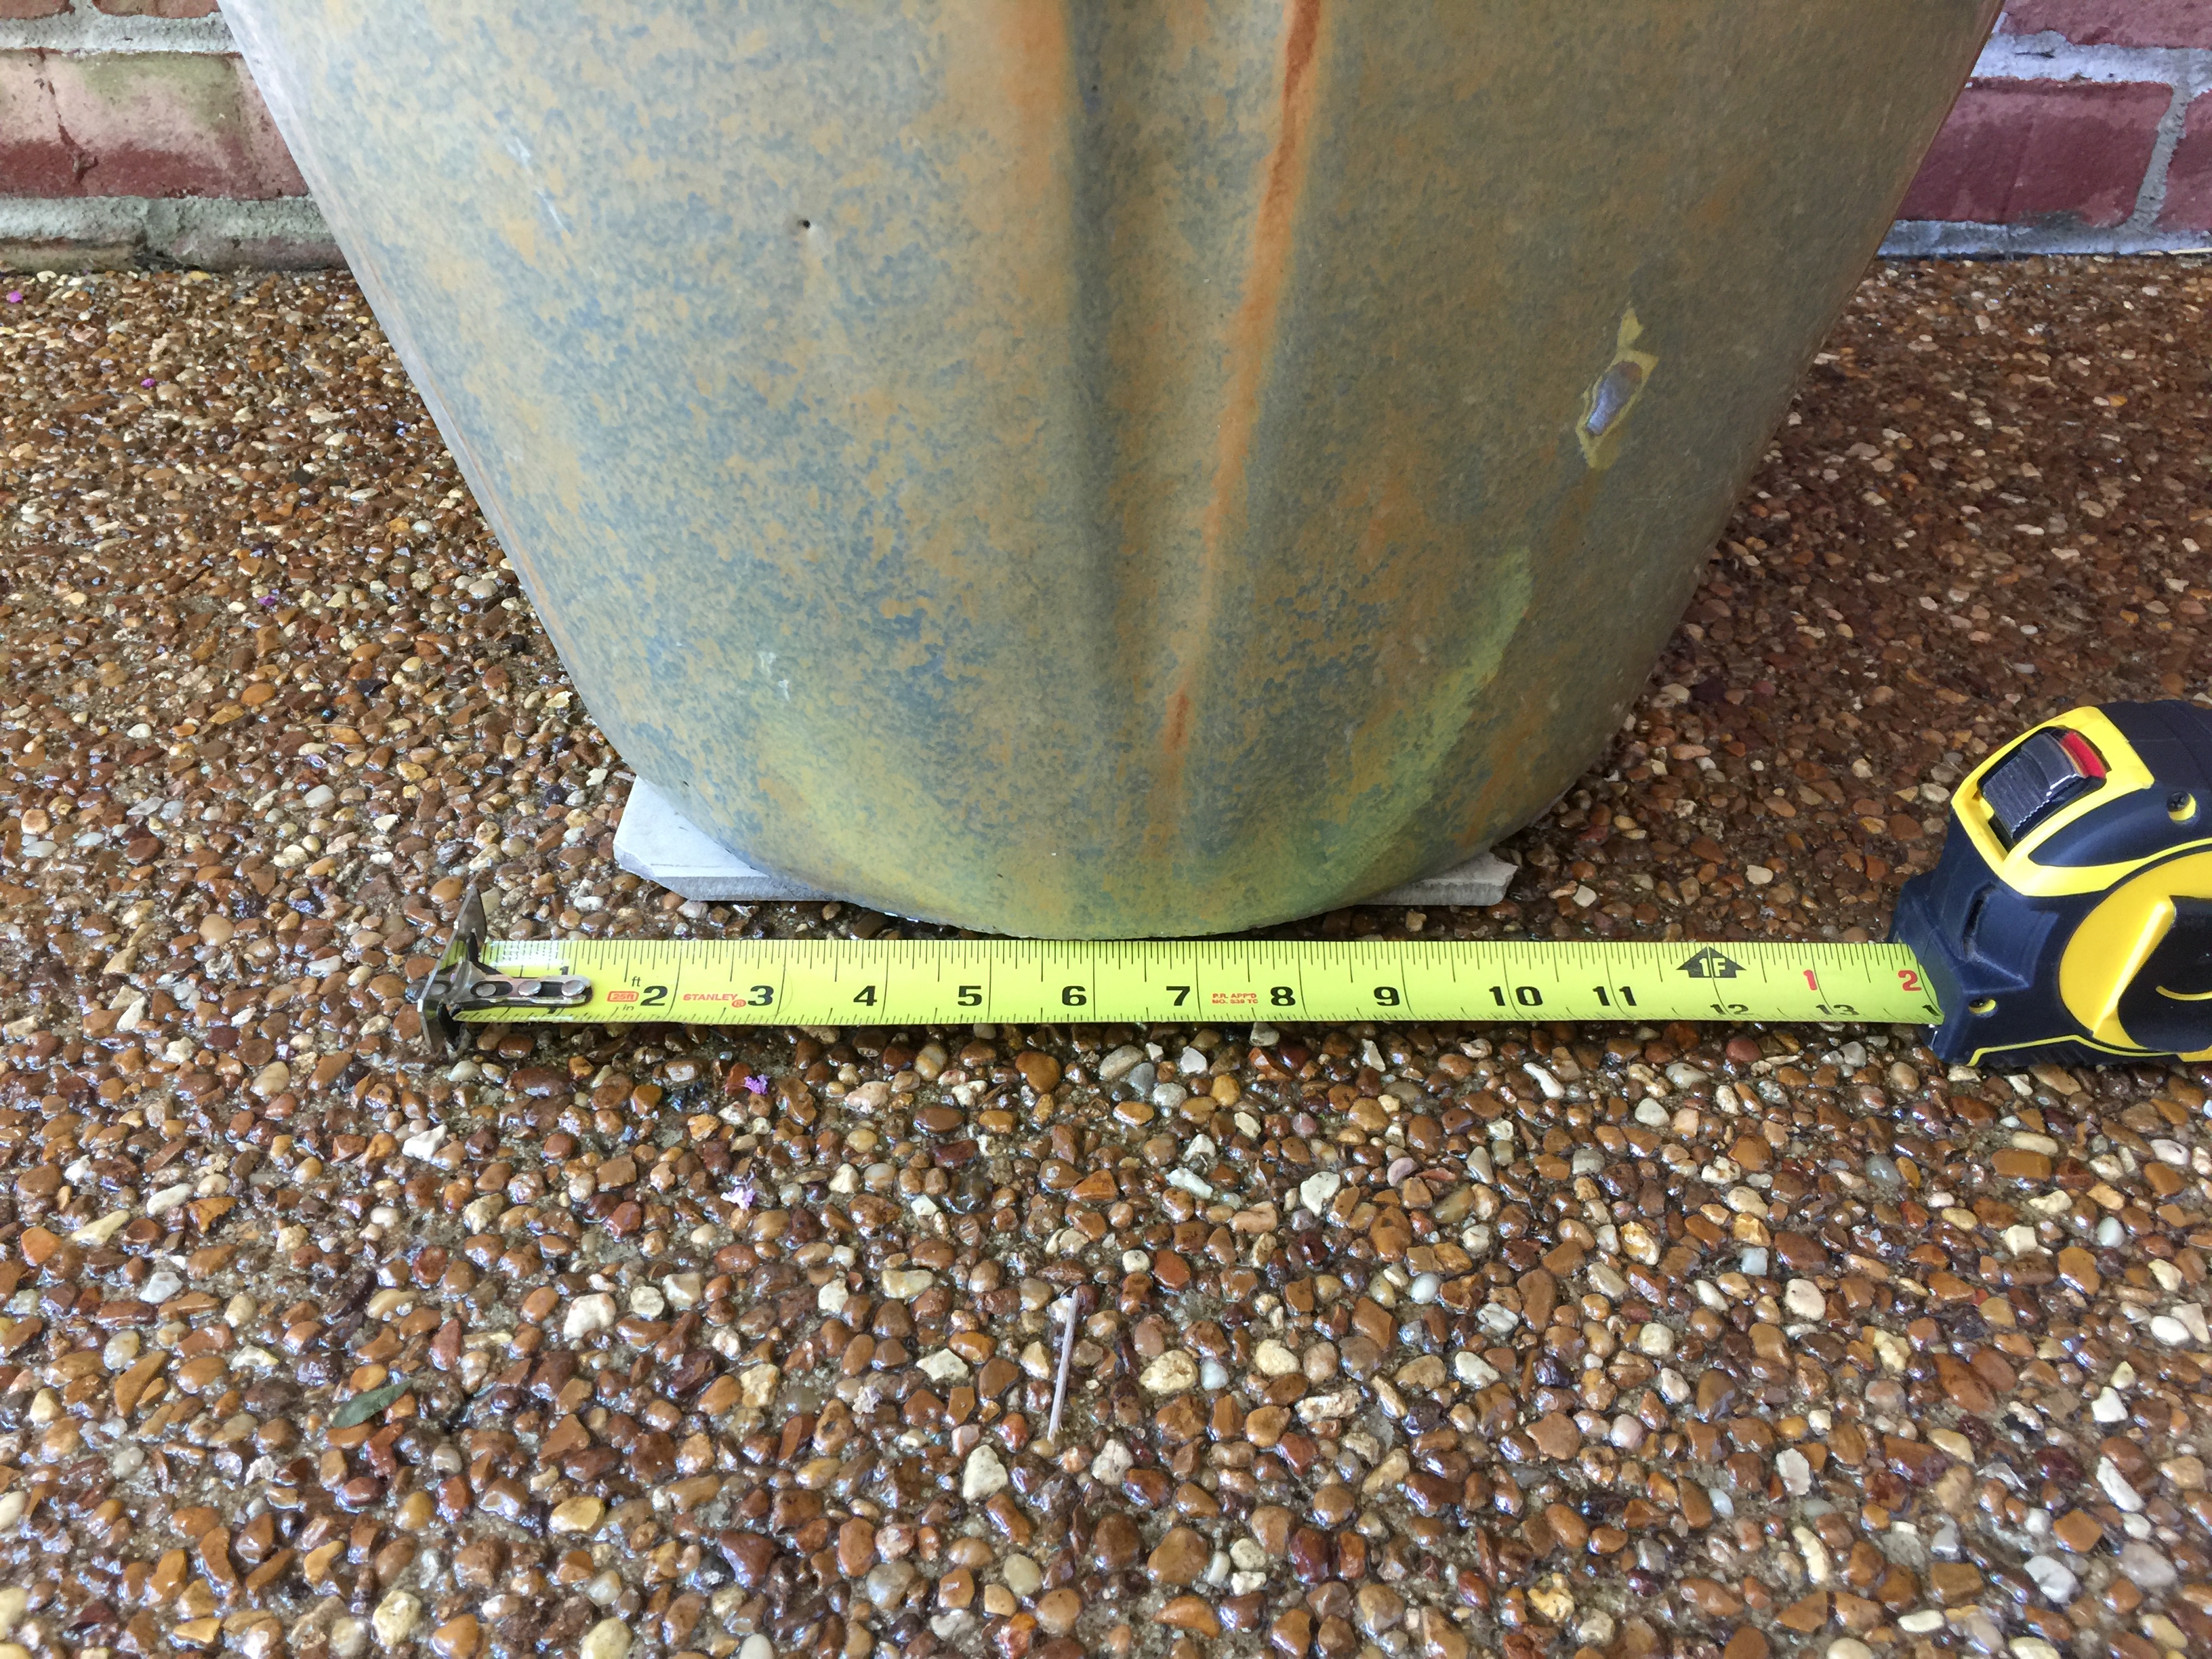
The first step was to figure out how large the planter plates should be. Measuring at the bottom of the planter, it looked like a 12-inch square would be just the right size. That even seemed like a pretty standard size.
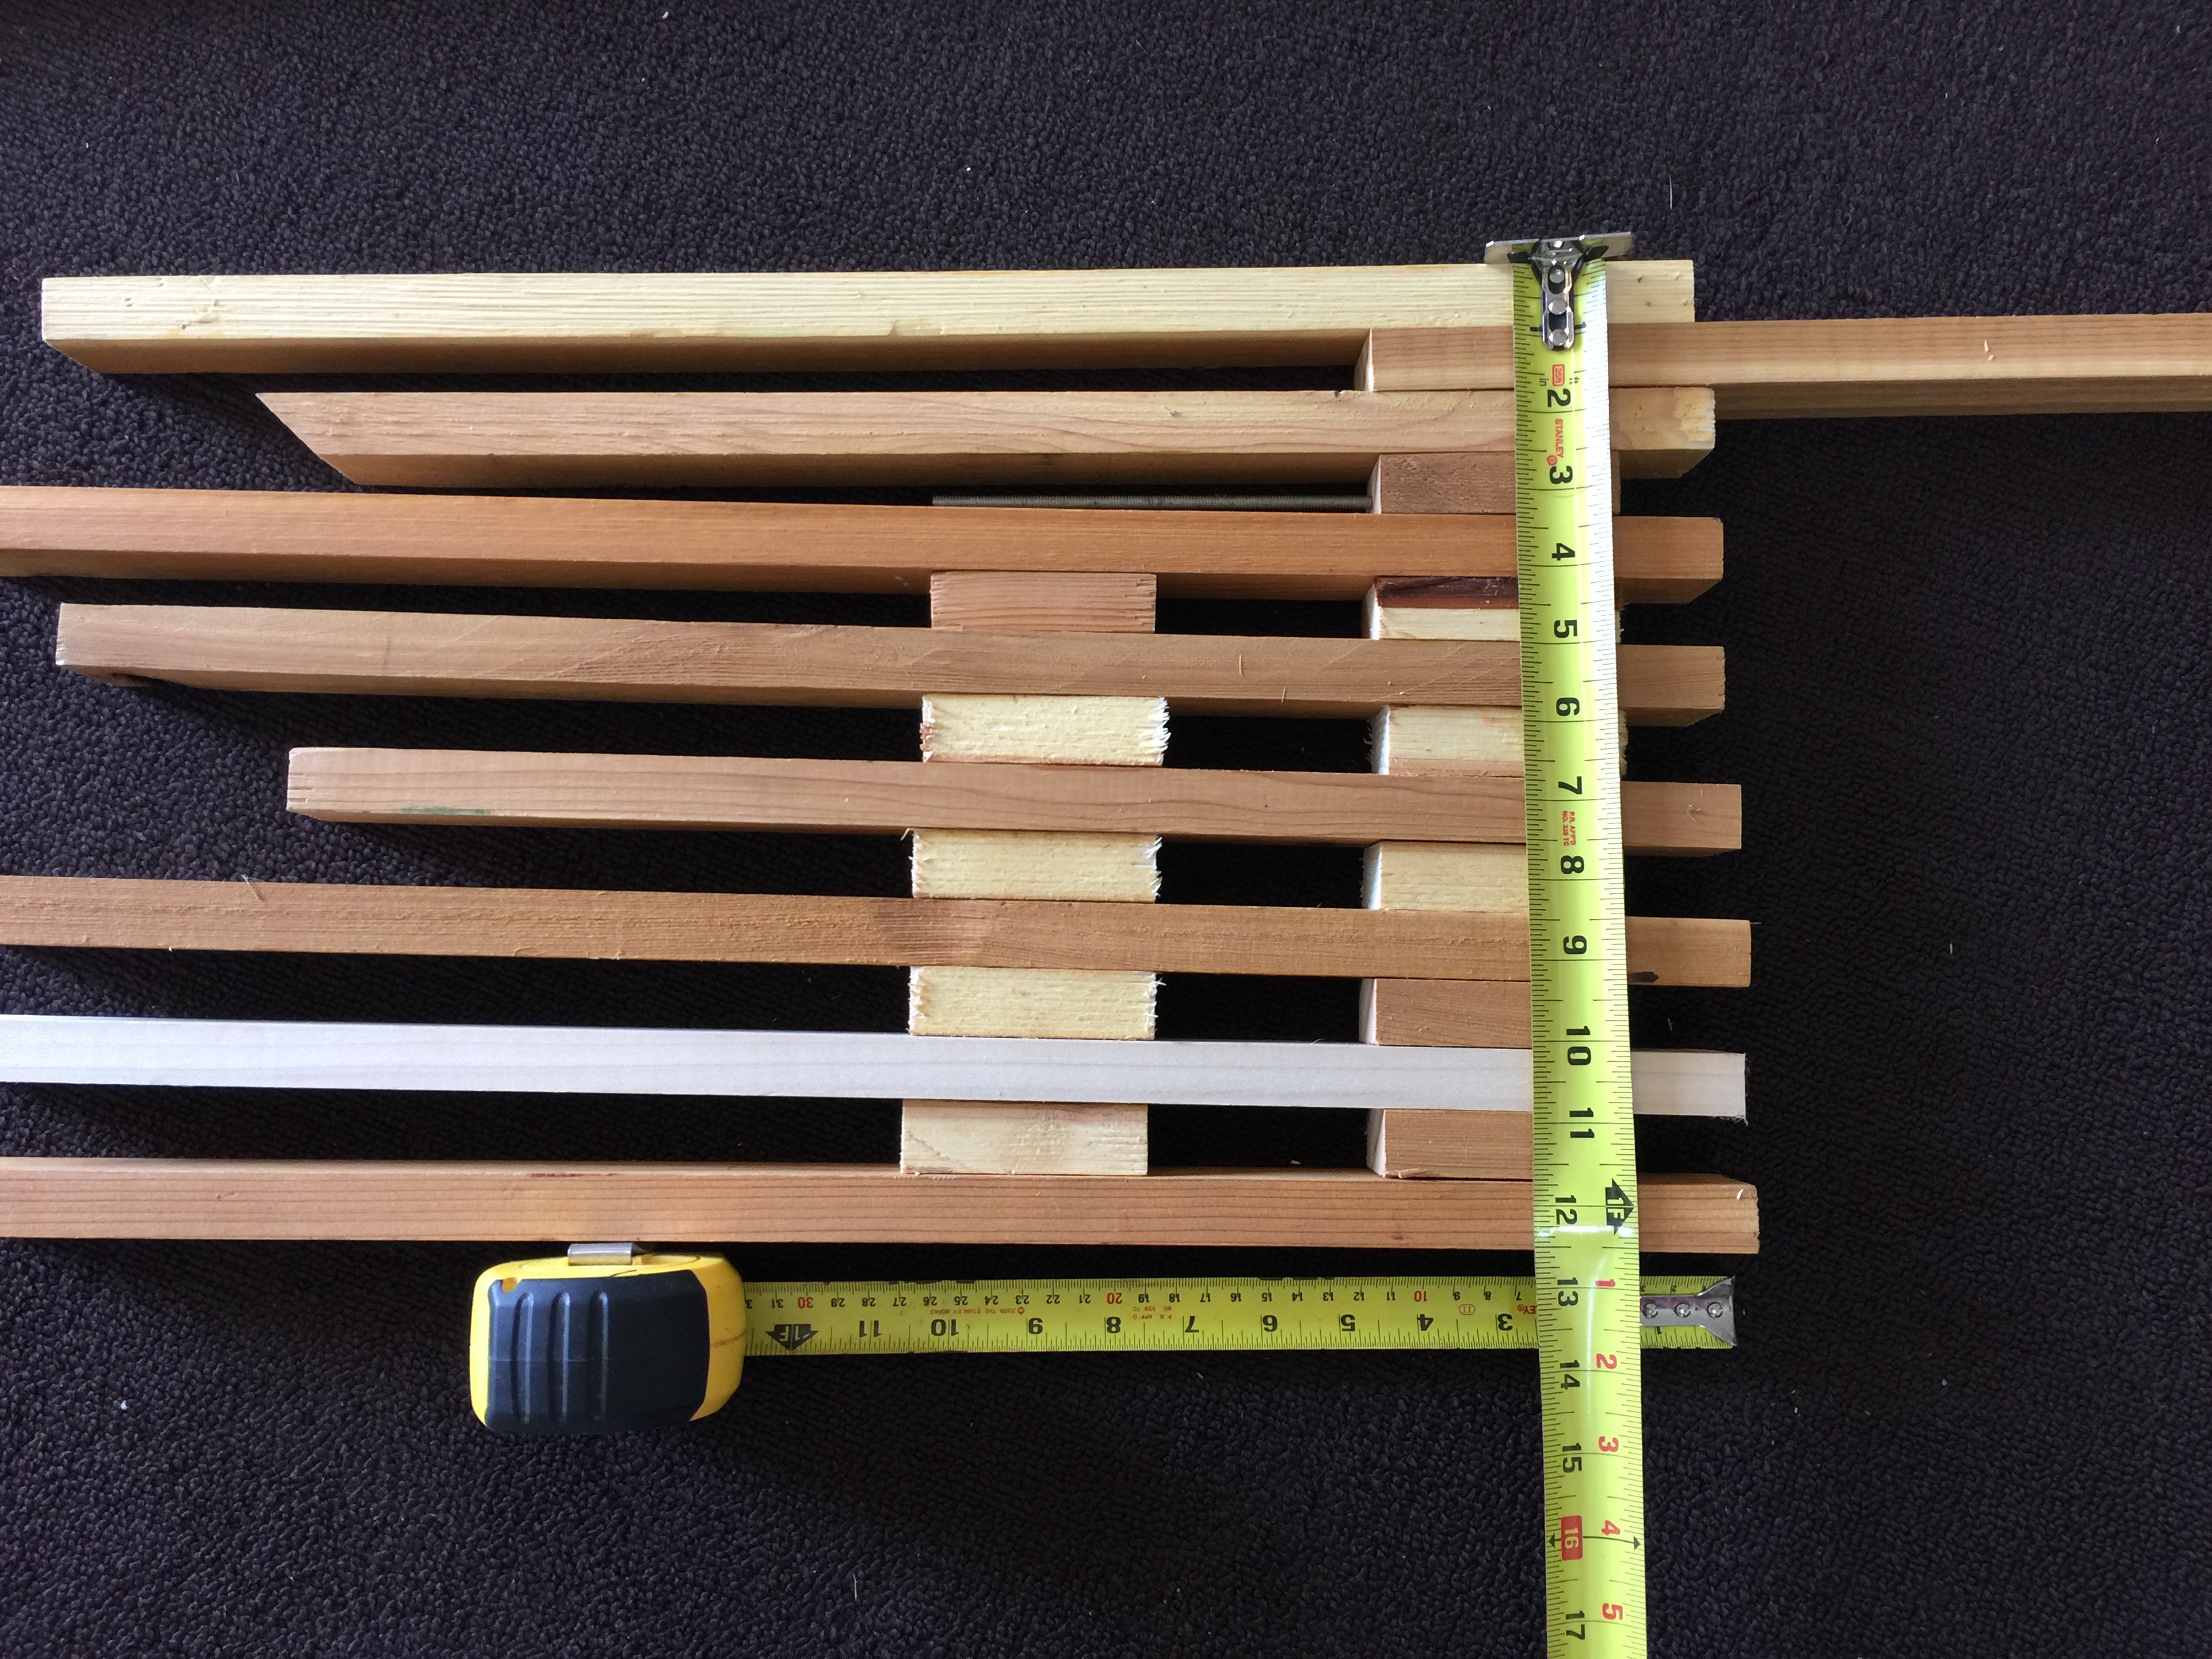
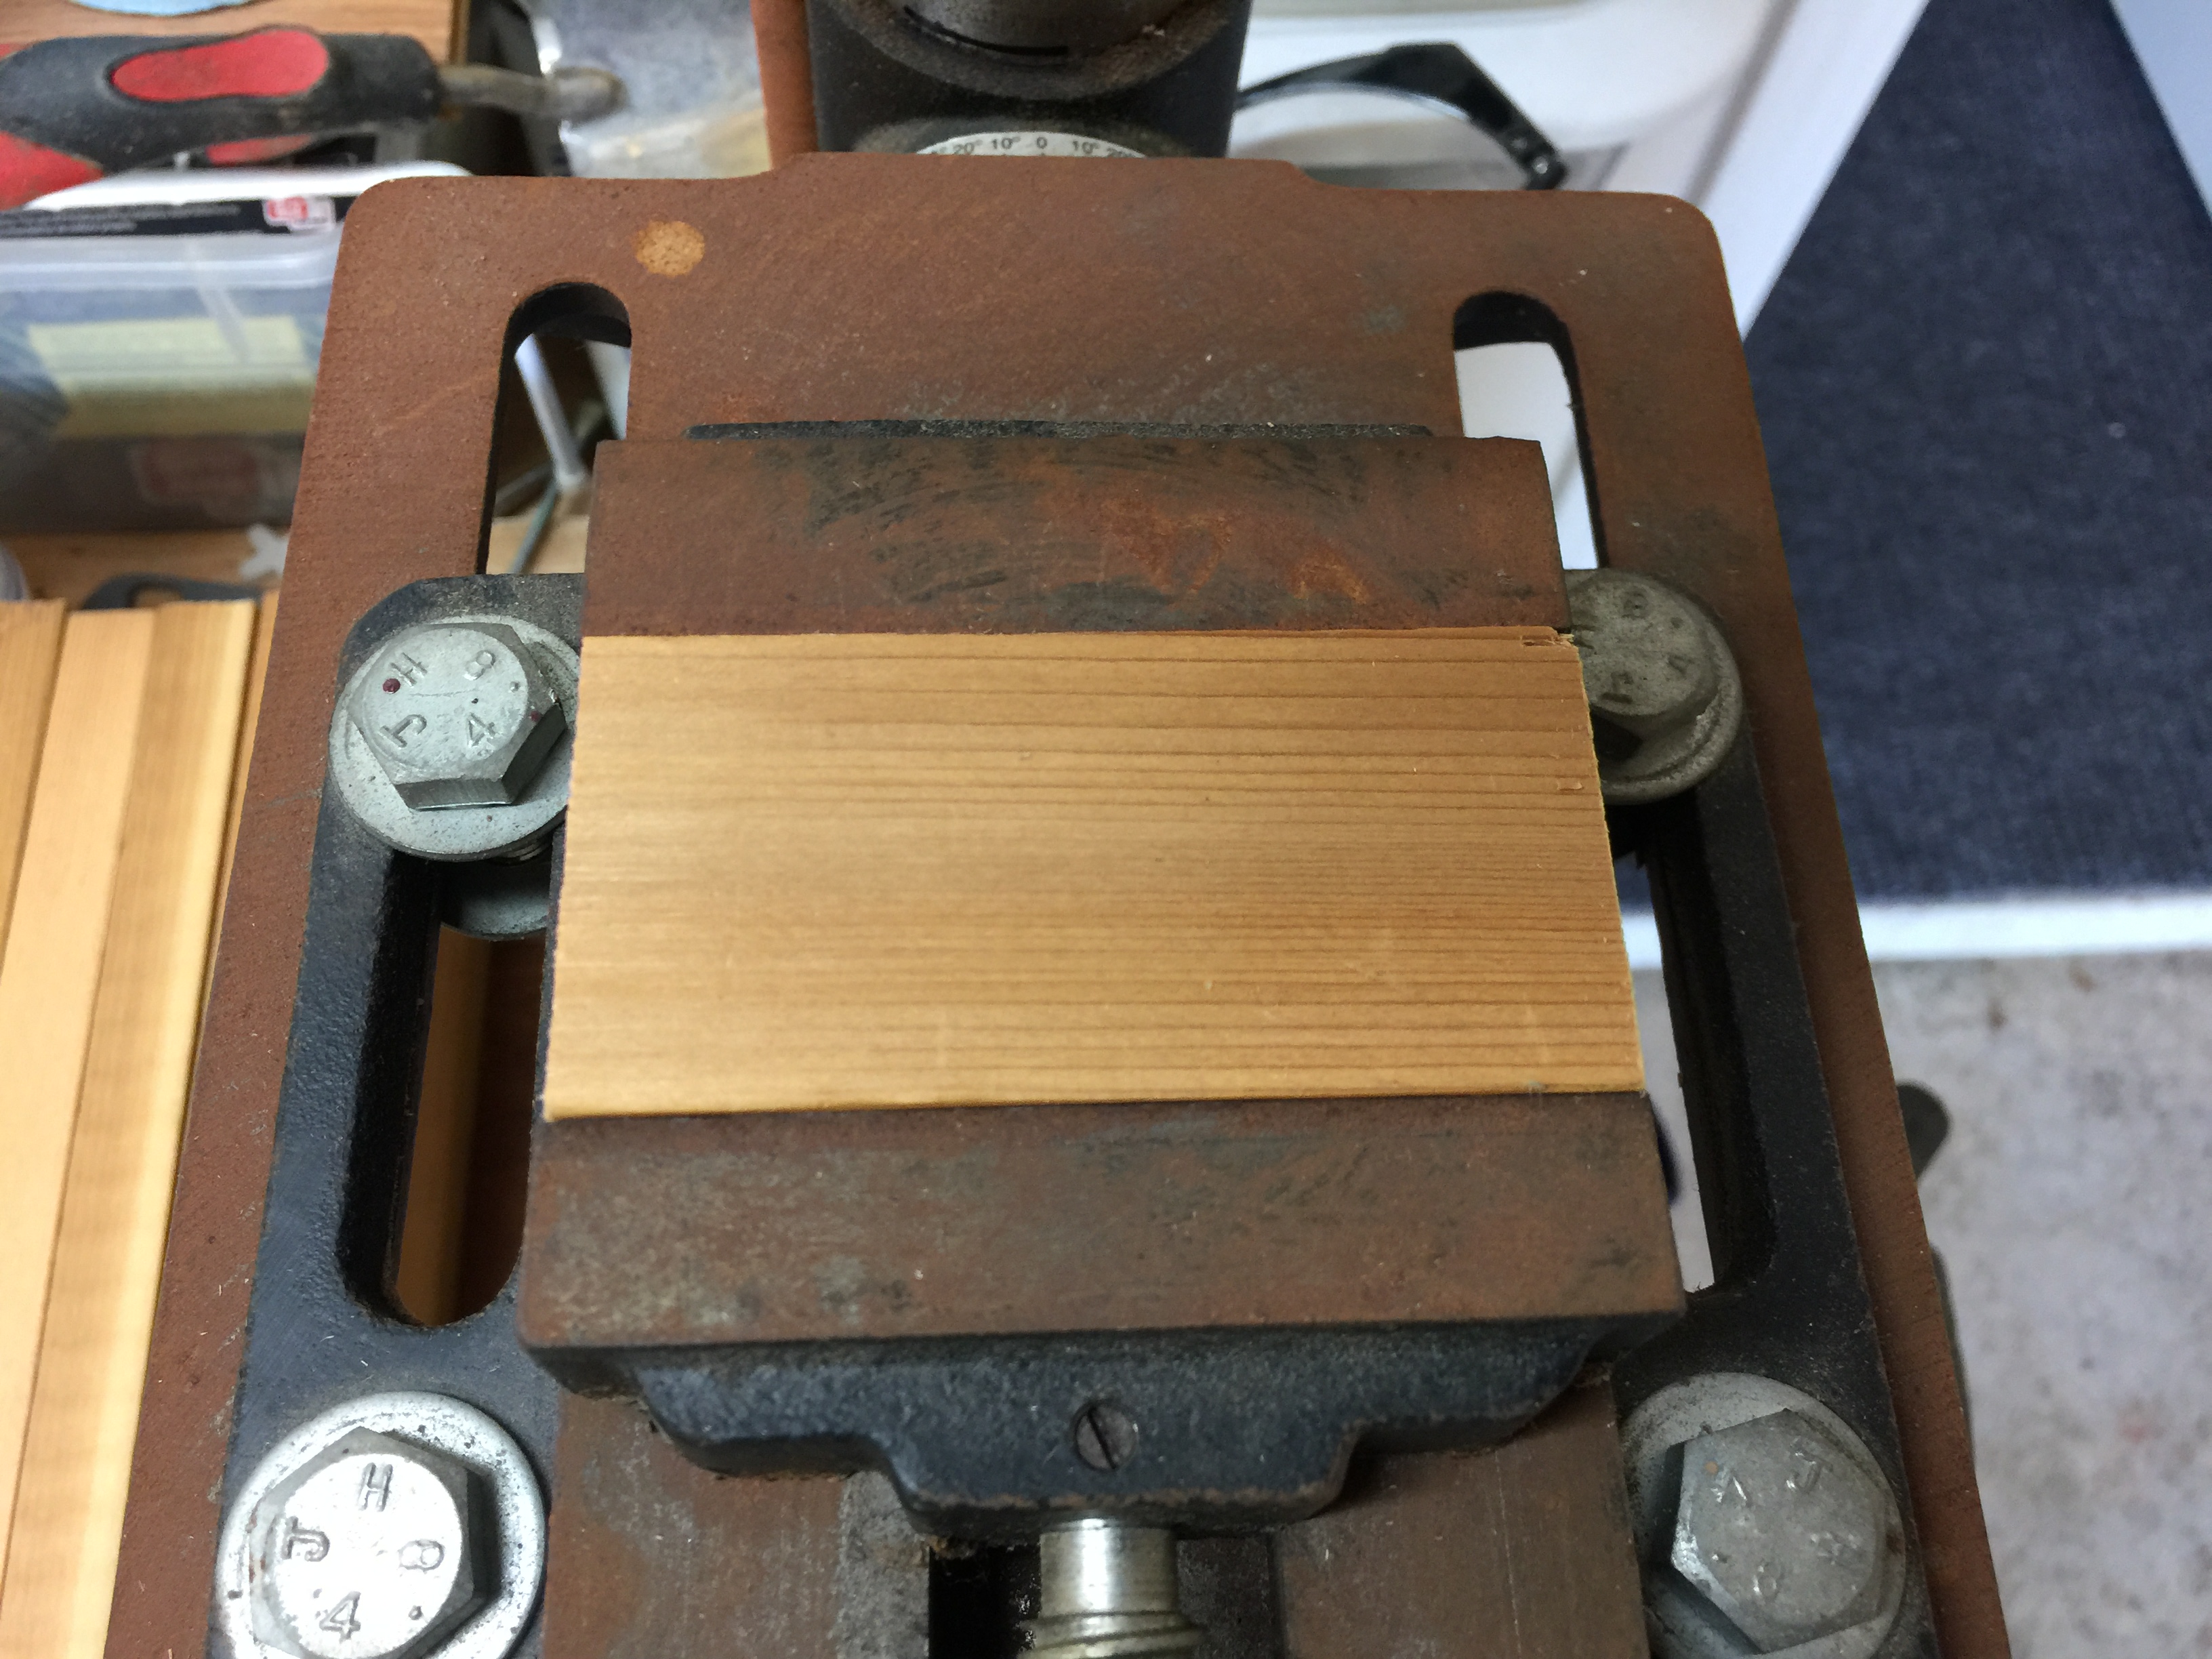
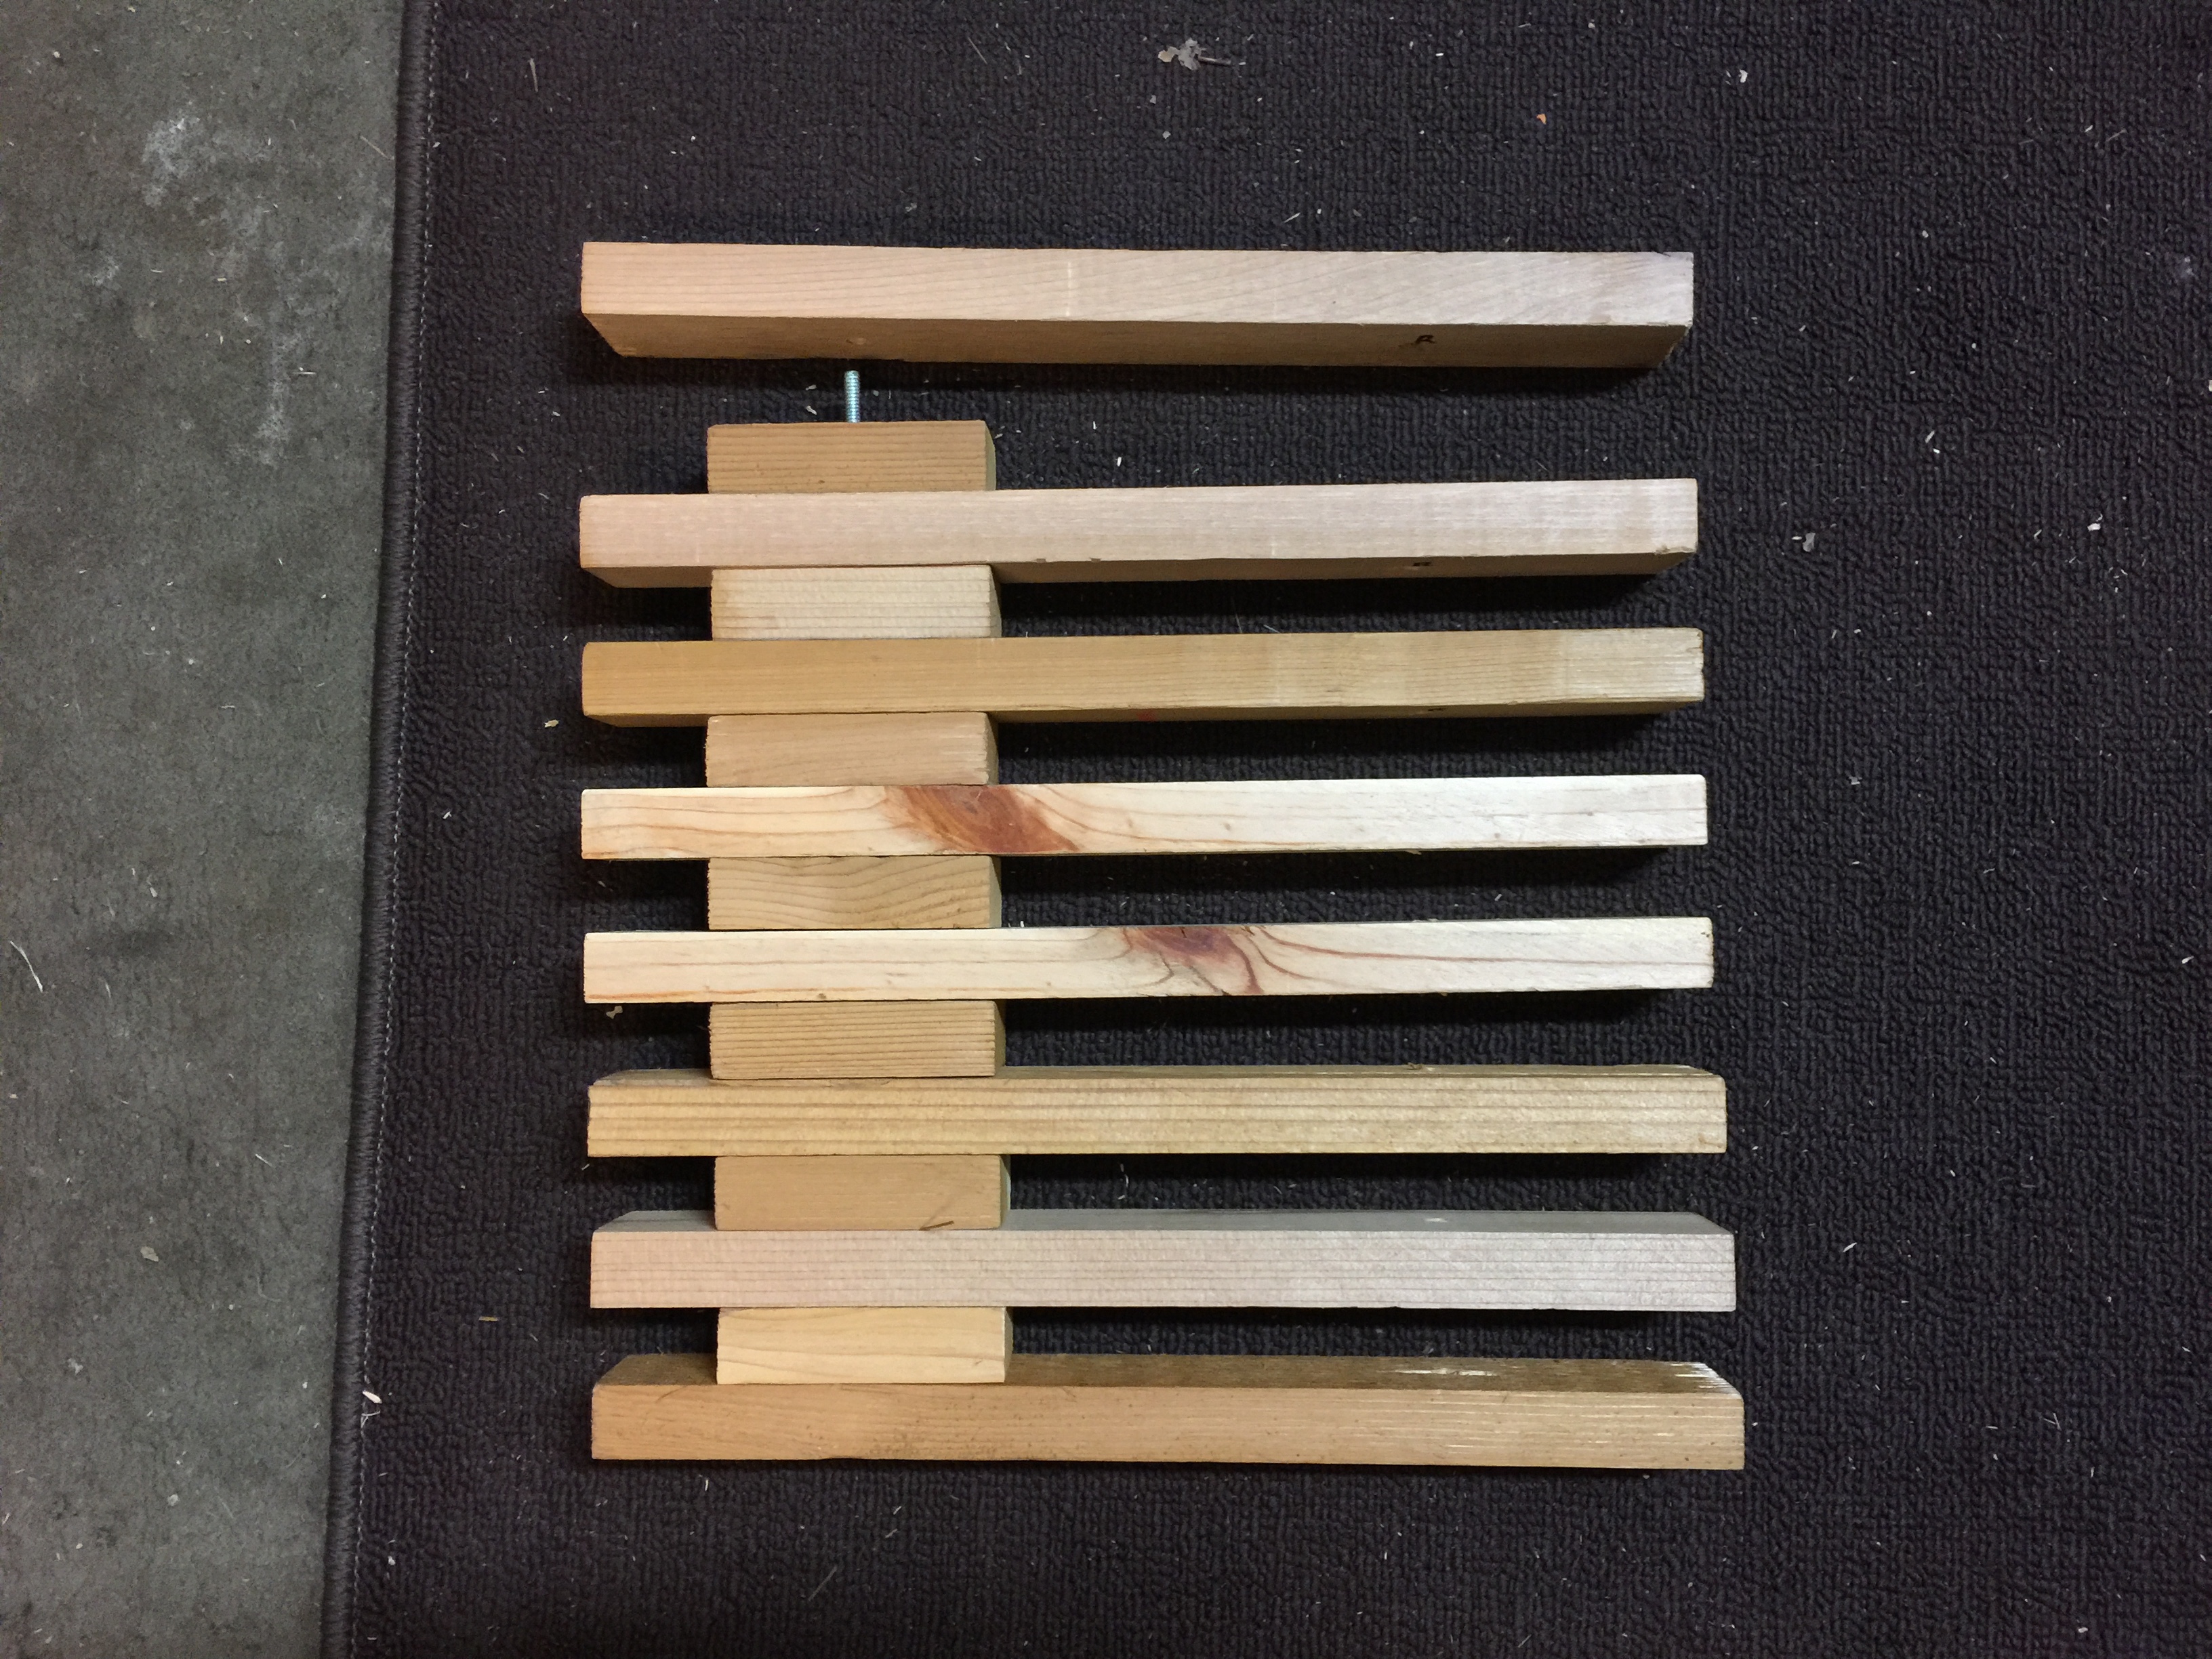
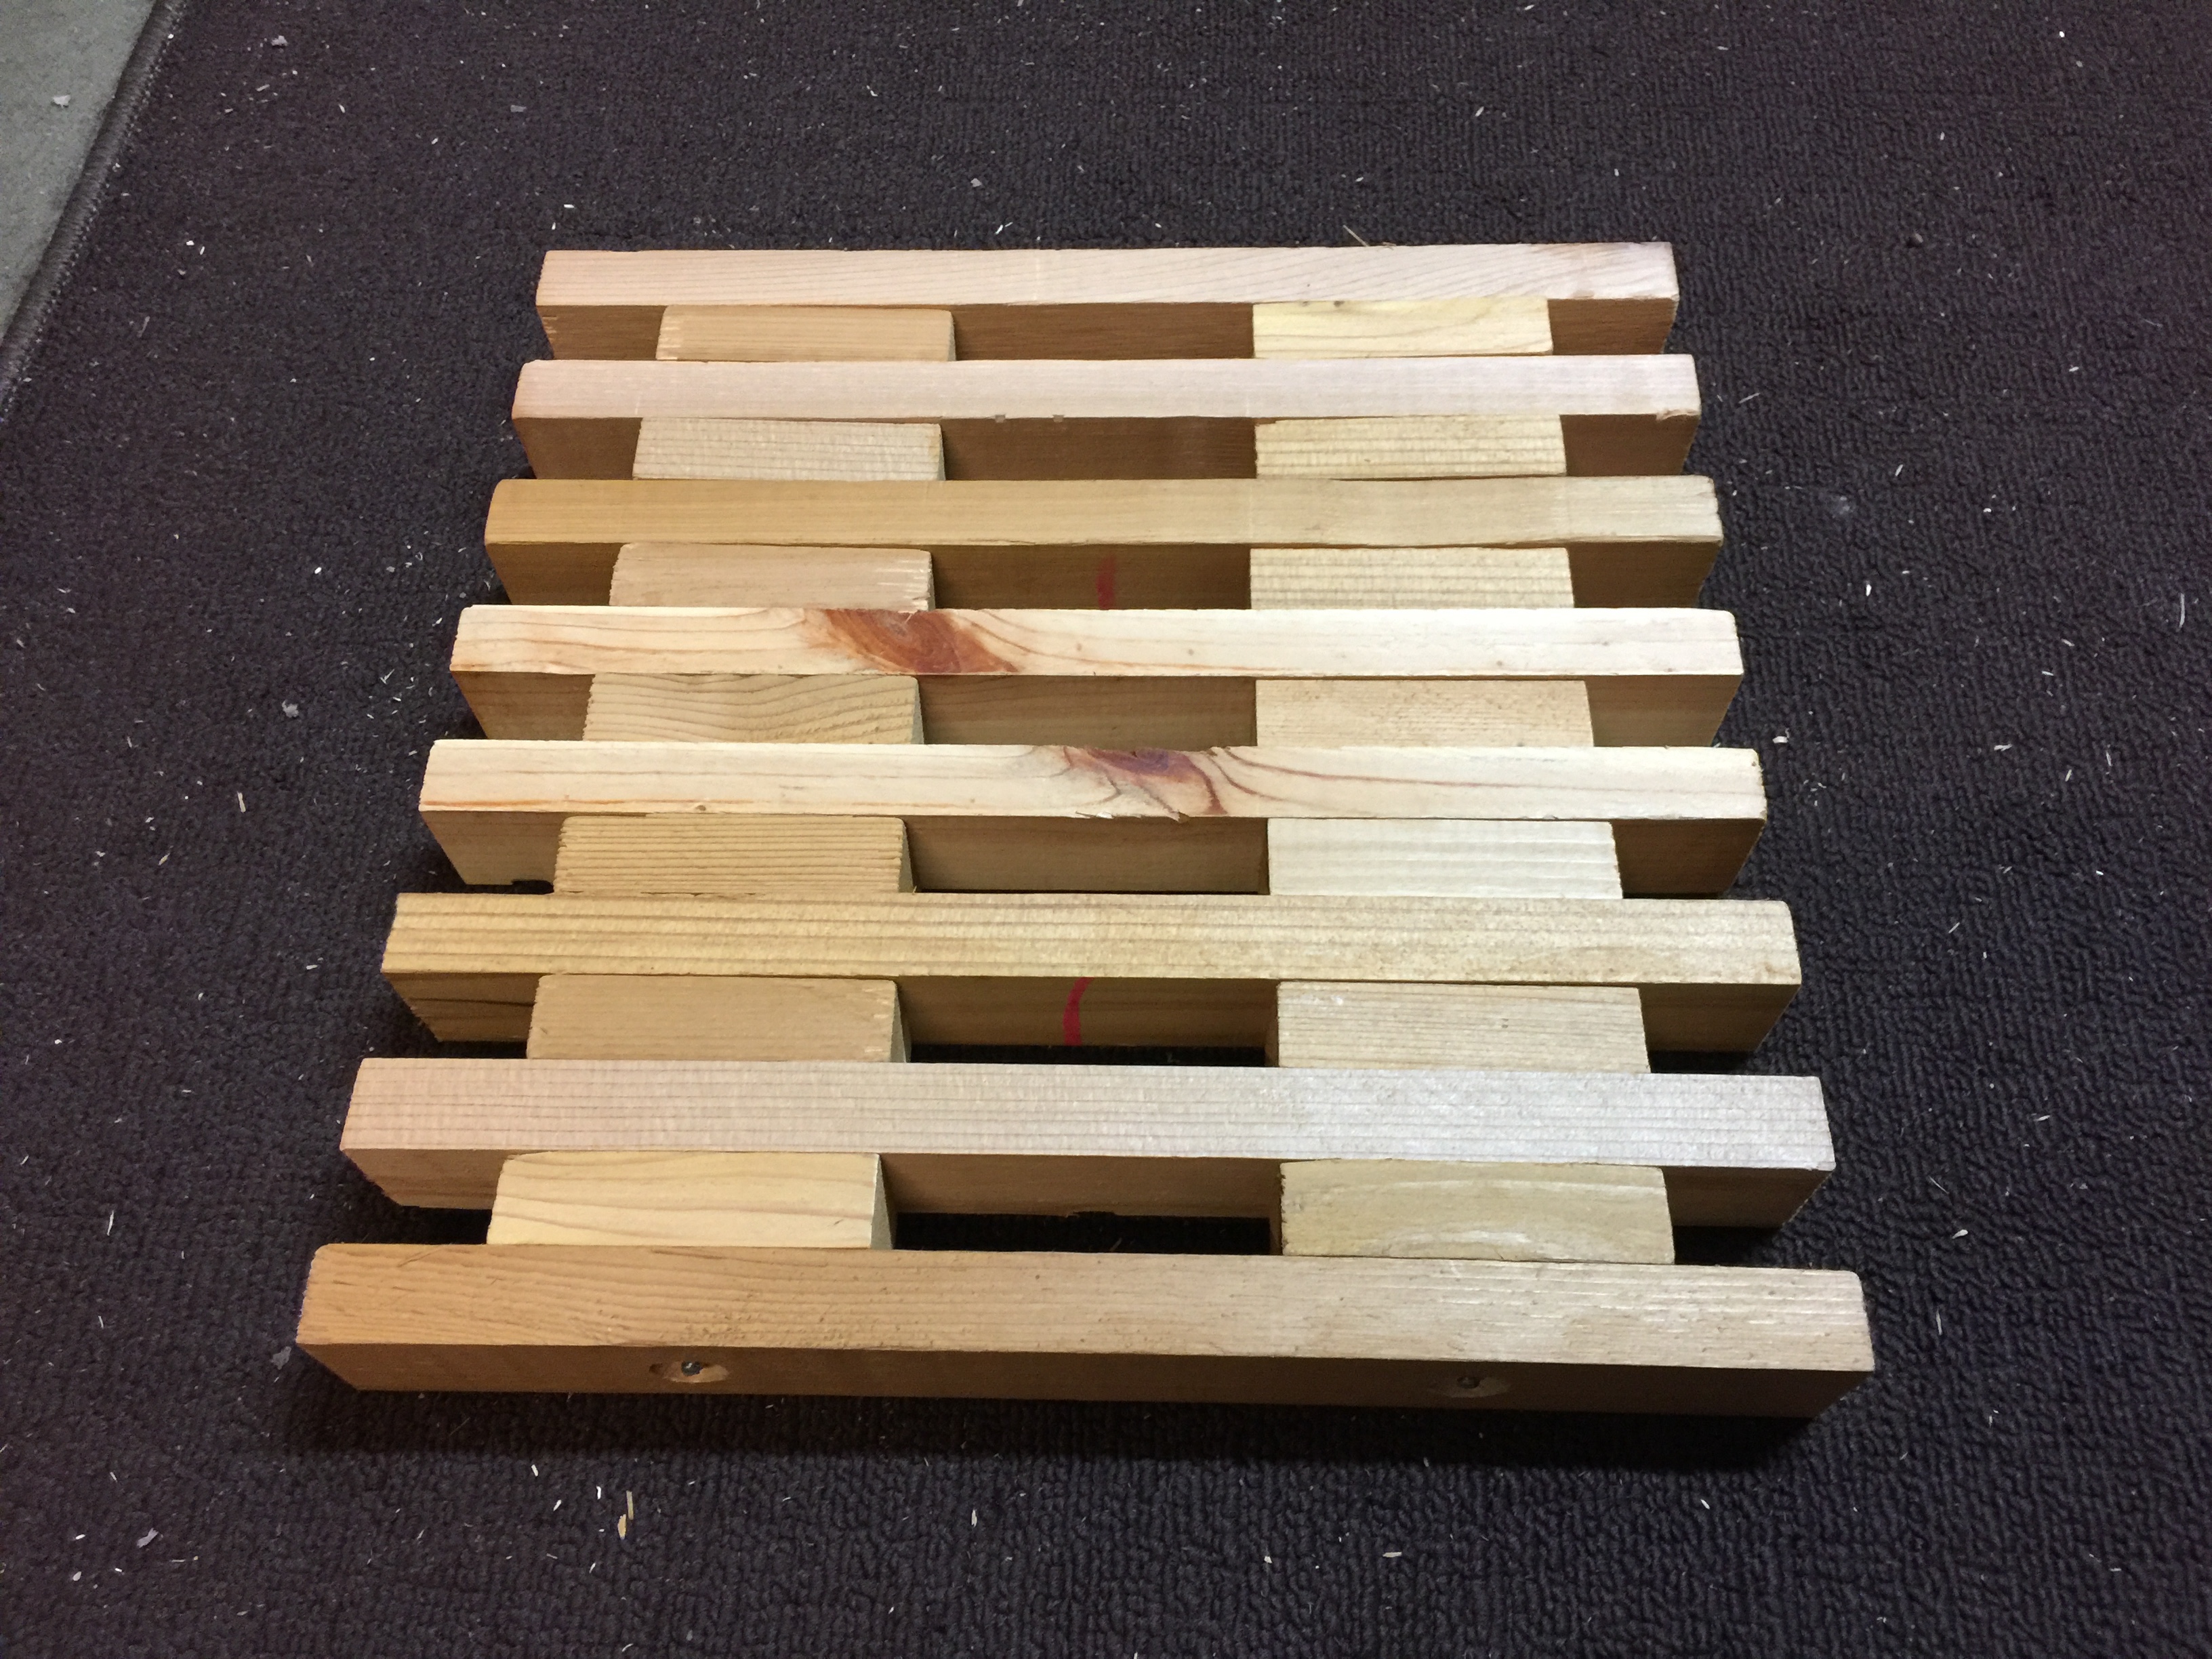
Knowing that I wanted a 12-inch square plate with 12-inch long slats, the next step was to figure out how many slats and blocks would also yield a 12-inch width. Using some scraps left over from my previous doormat and garbage blind projects, I laid them out and discovered that eight slats and seven blocks in between yielded a width of 12.5 inches.
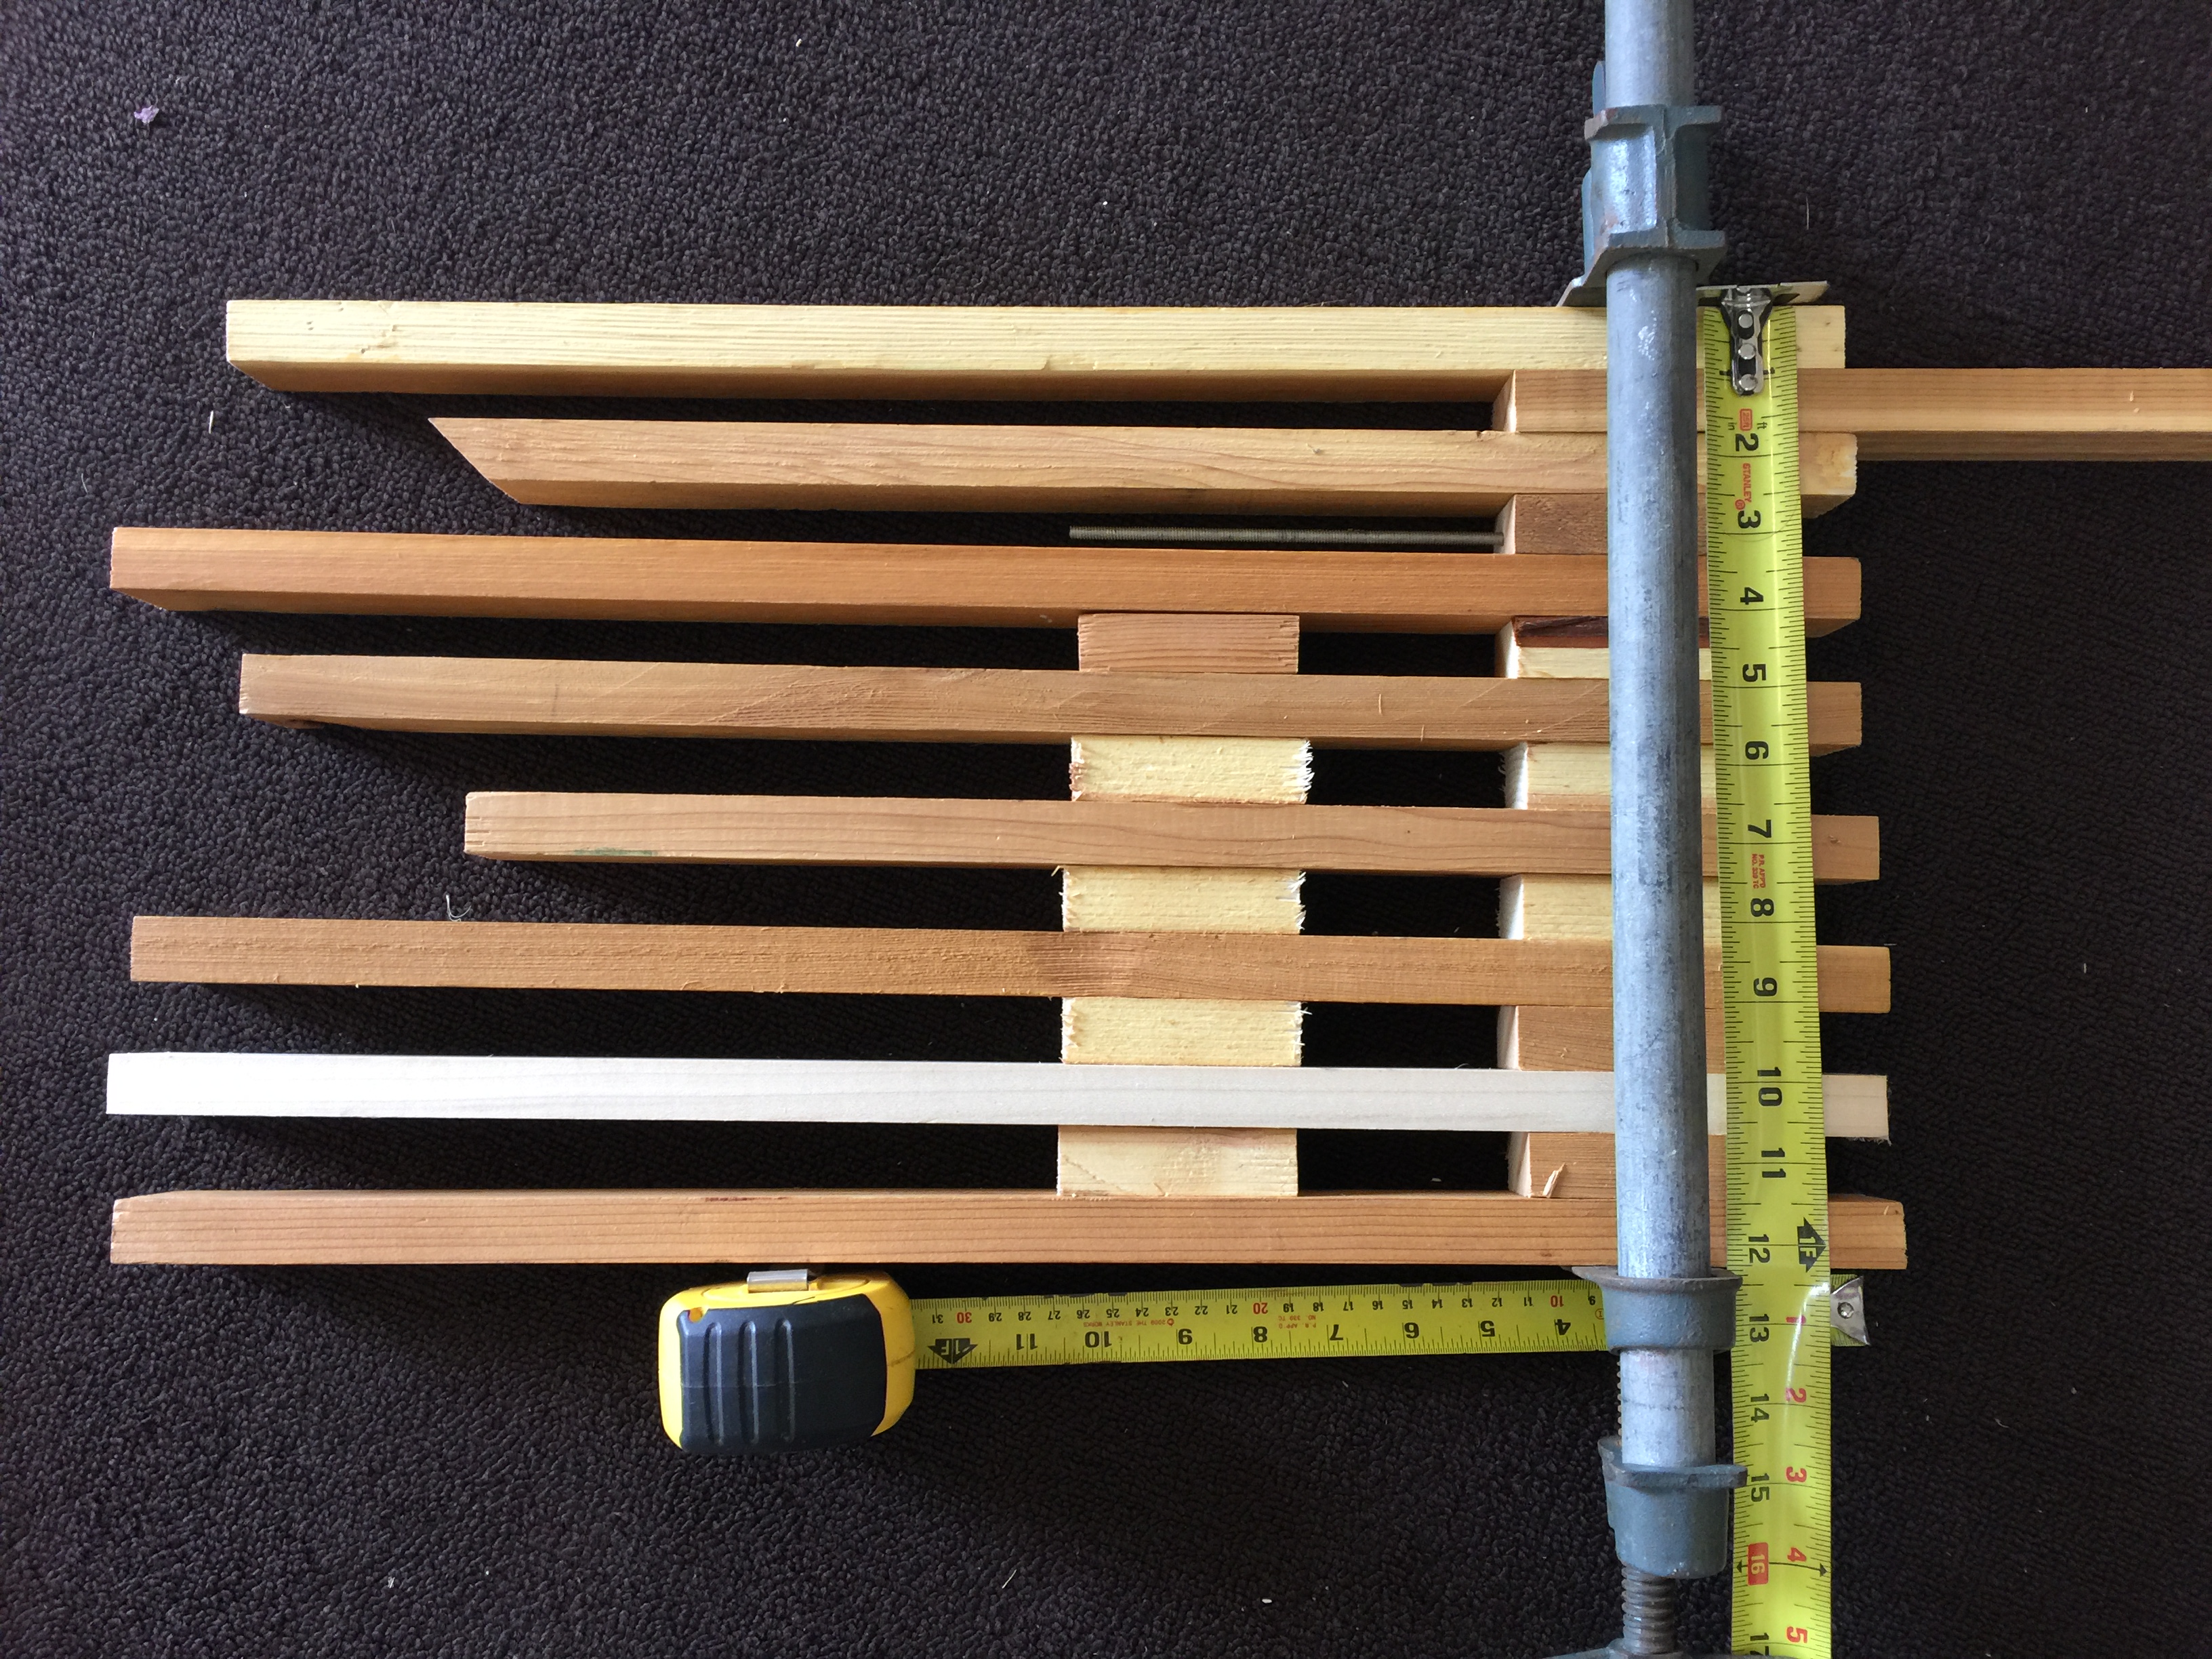
But then I remembered that when everything was clamped together to secure the boards with the threaded rod, it might be slightly less. Sure enough, when I tightened a furniture clamp on my rough concept, it came out exactly 12.25 inches. So, 12 and ¼ inches it would be; very close to my original idea of 12 inches square.
My doormats used 3-inch blocks and I considered using smaller ones for these planter plates to proportionally adjust down from a 36-inch long doormat to a 12-inch long planter plate. But then I realized that the small blocks would be underneath the planter and would not show so it didn’t really matter what size they were. Sticking with the 3-inch block and 12-inch length, I had just enough scraps left from my previous doormat project and garbage blind project that I would not have to buy any additional 1 X 2-inch cedar boards. And since these scraps had already been weather treated, I would only have to weather treat the cut ends.
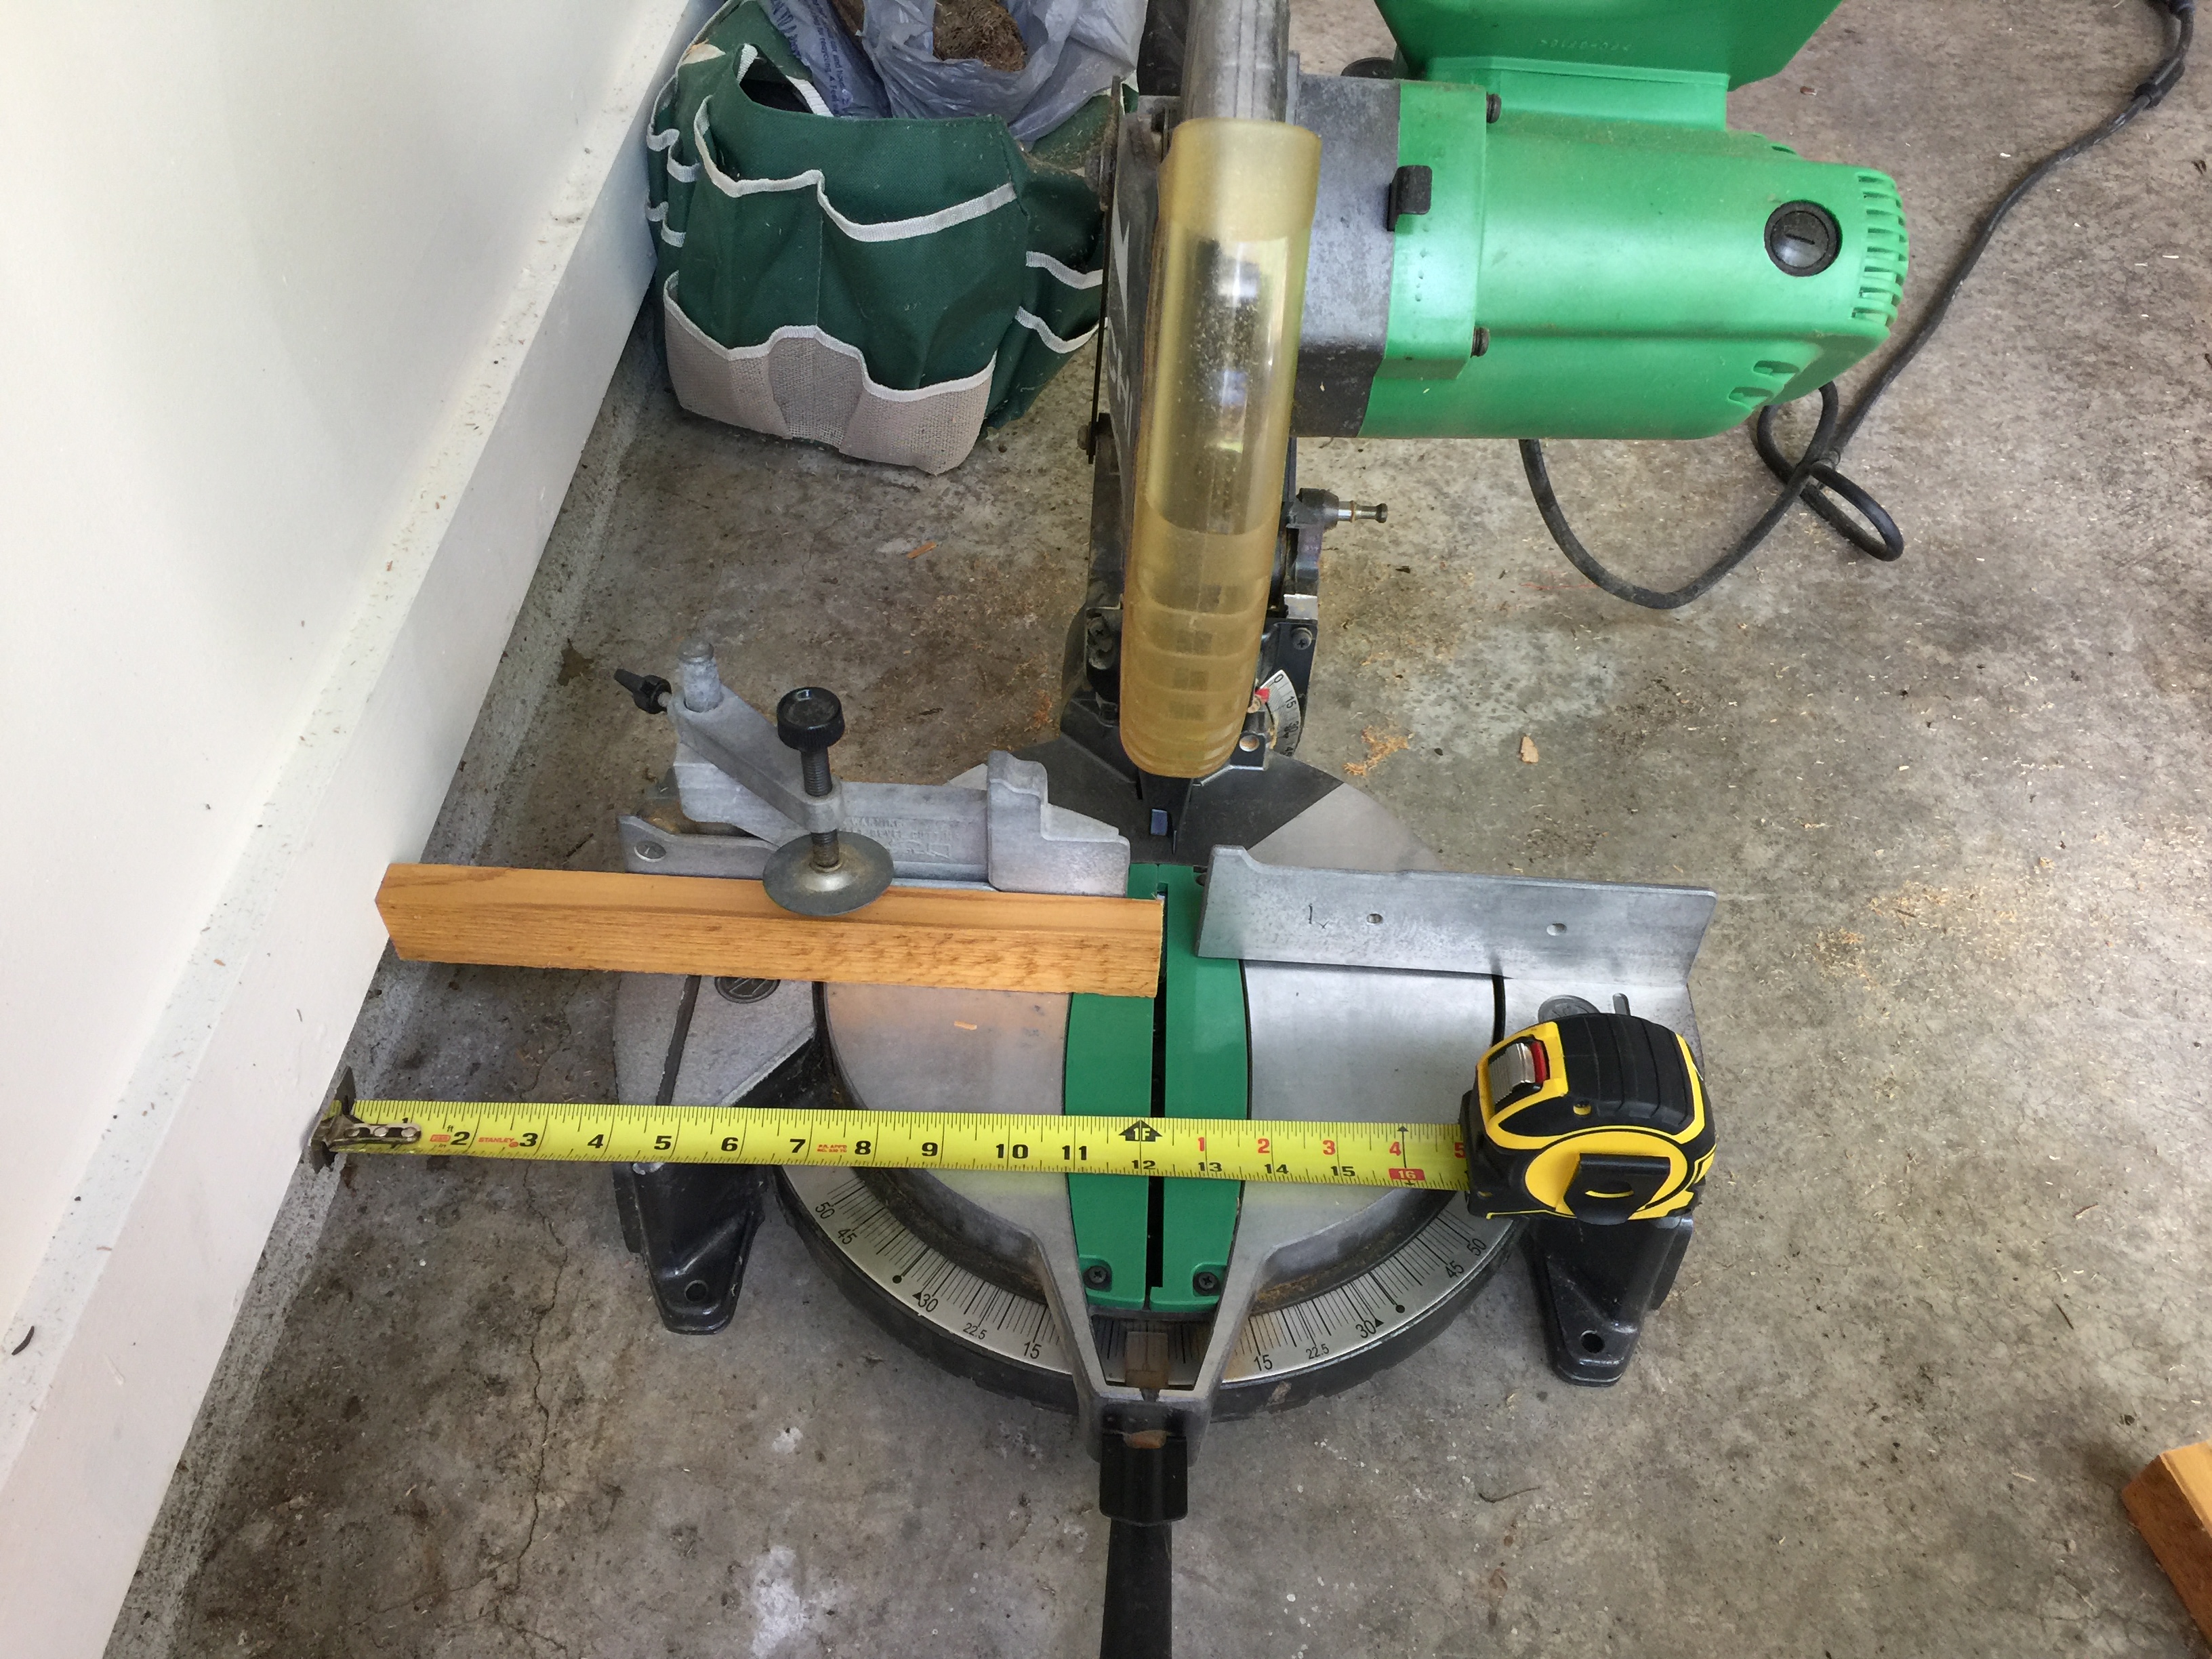
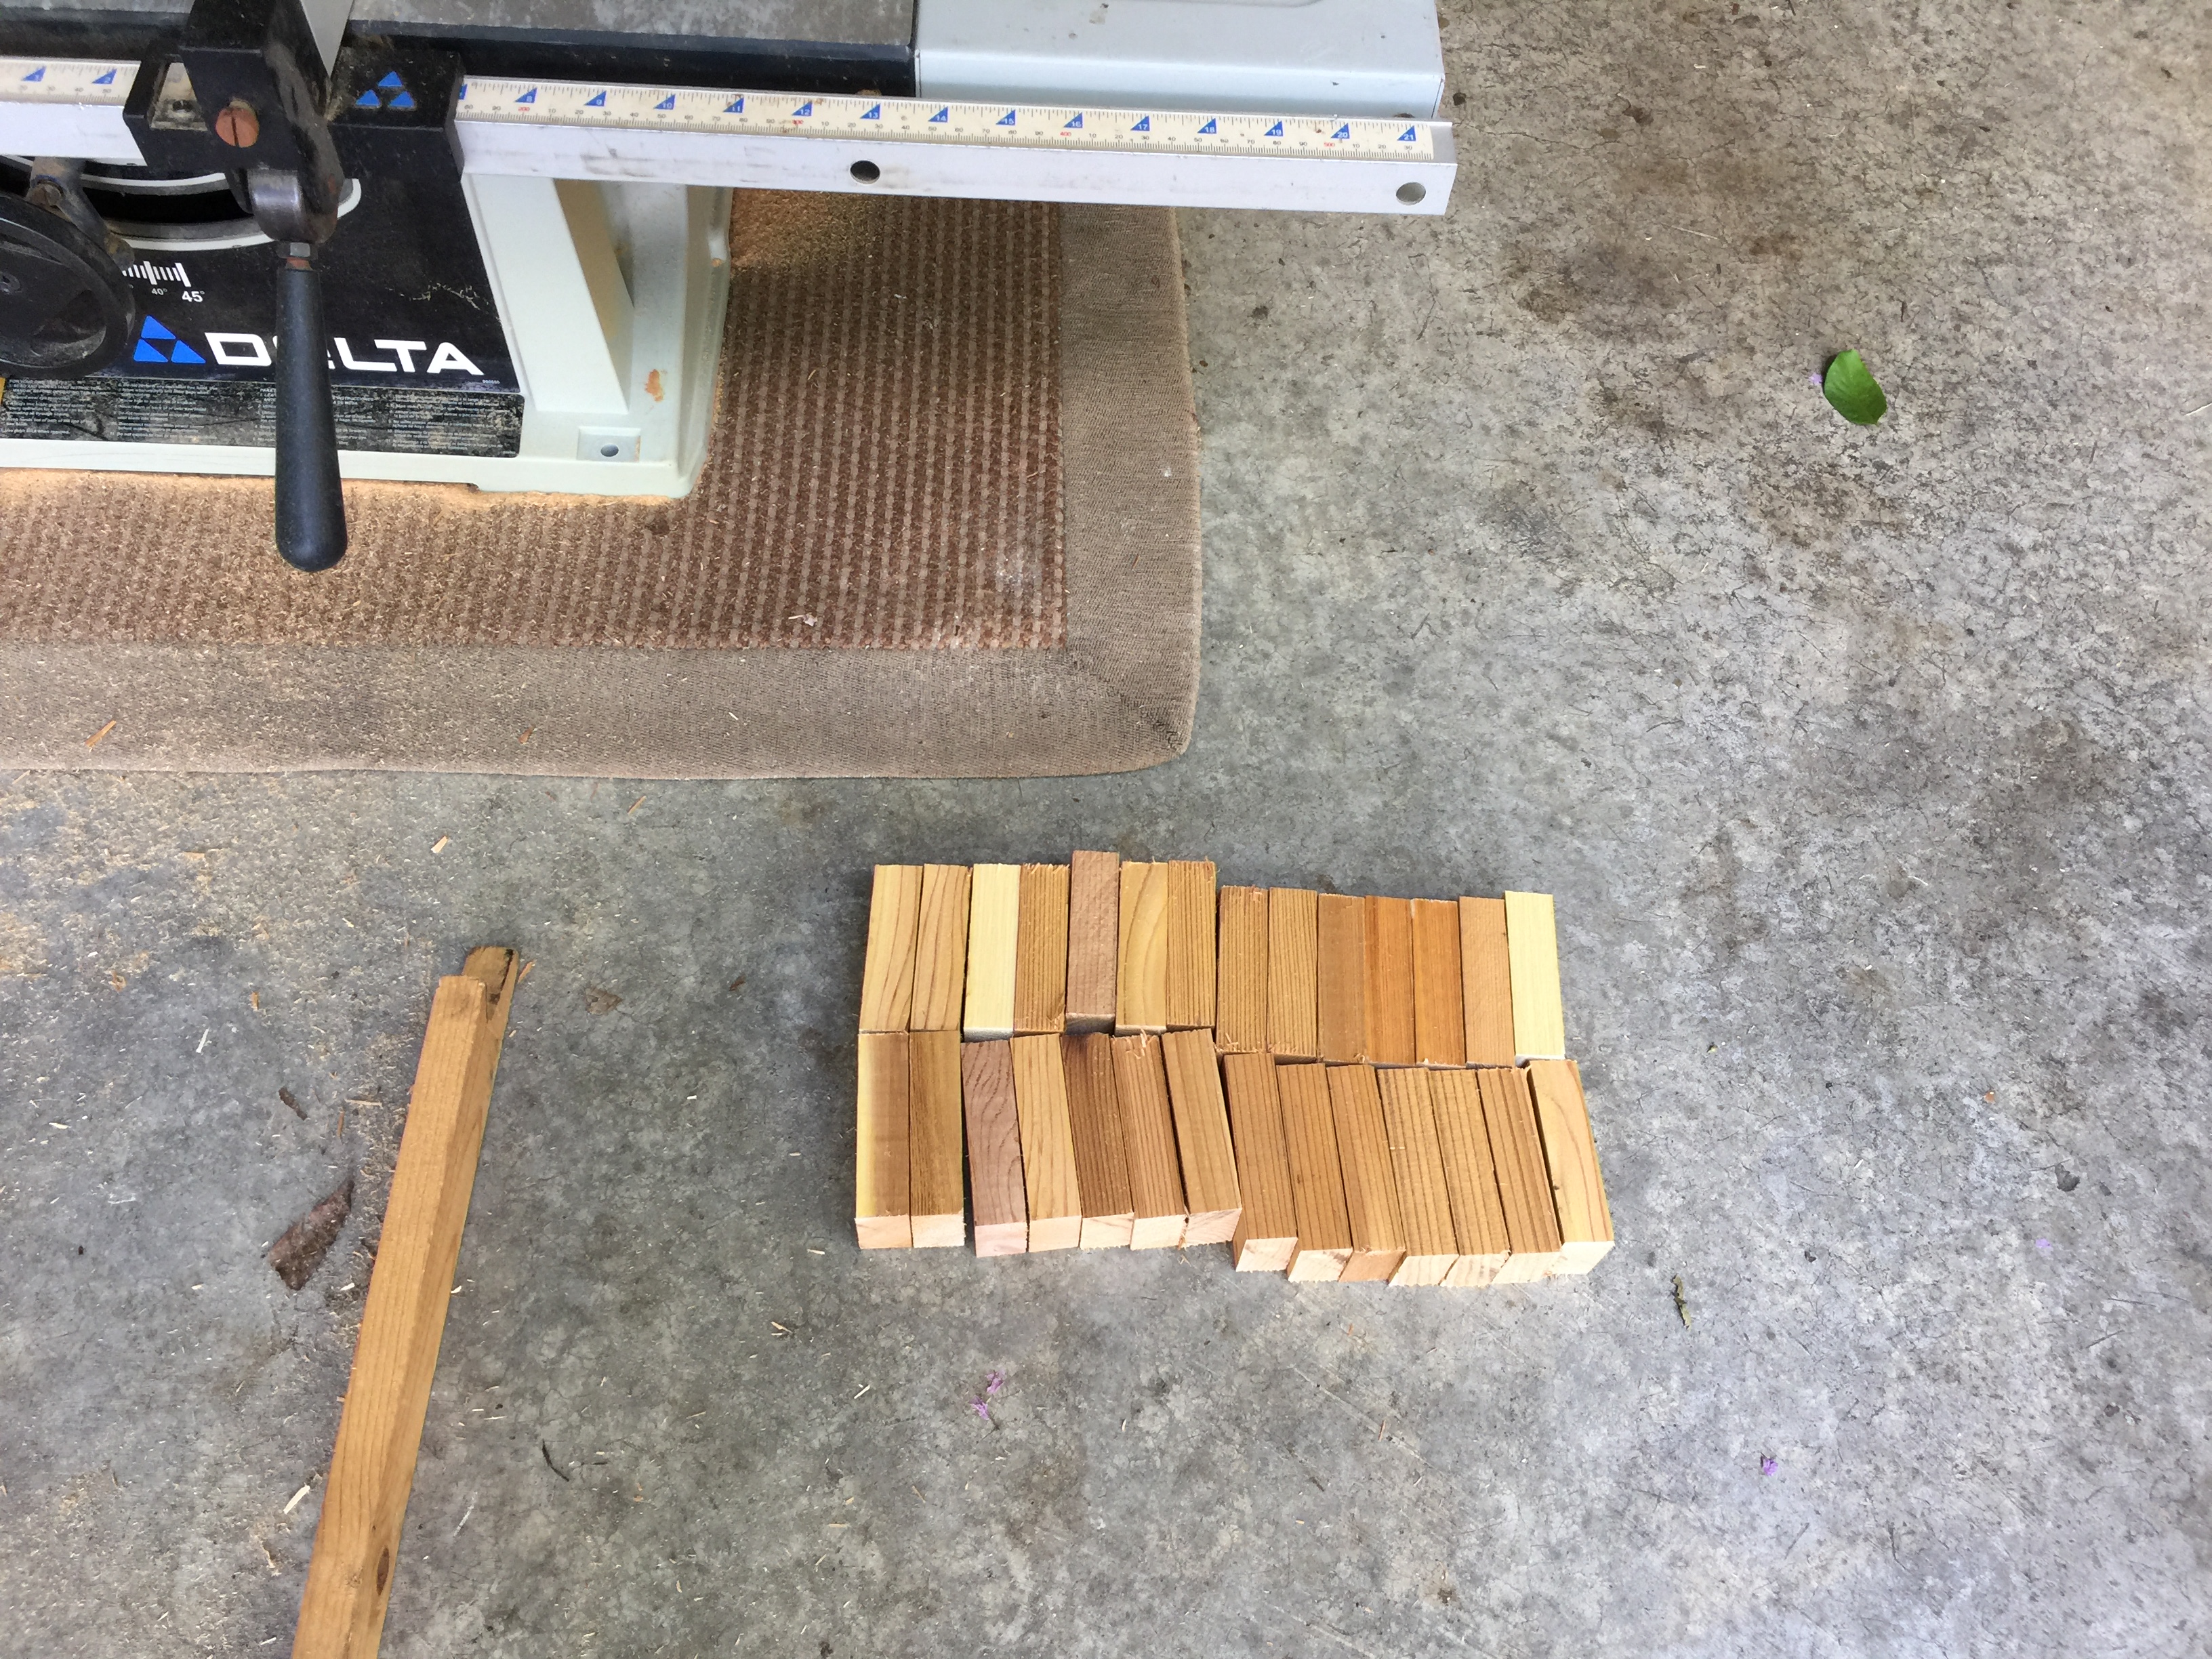
As with my doormats, I decided to cut the long boards with my miter saw arranging it on the floor of the garage so that when the board was flush up against the garage wall (on left), I would get an exact 12.25-inch cut and in no time, I had all sixteen boards needed to make two plates.
I recalled from my previous doormat project that I needed to increase the width of these nominal 3-inch blocks from 3 and 1/16 inches to 3 and 1/8 inches so that the block would be the exact same length as the drill press jaws. As before, I chose to cut these blocks with my table saw on the garage floor resting on a rug to keep it from dancing along the floor. I adjusted the fence out an additional 1/16 of an inch, made my cut and success!
With this setting fixed, I quickly cut the twenty-eight blocks I would need.
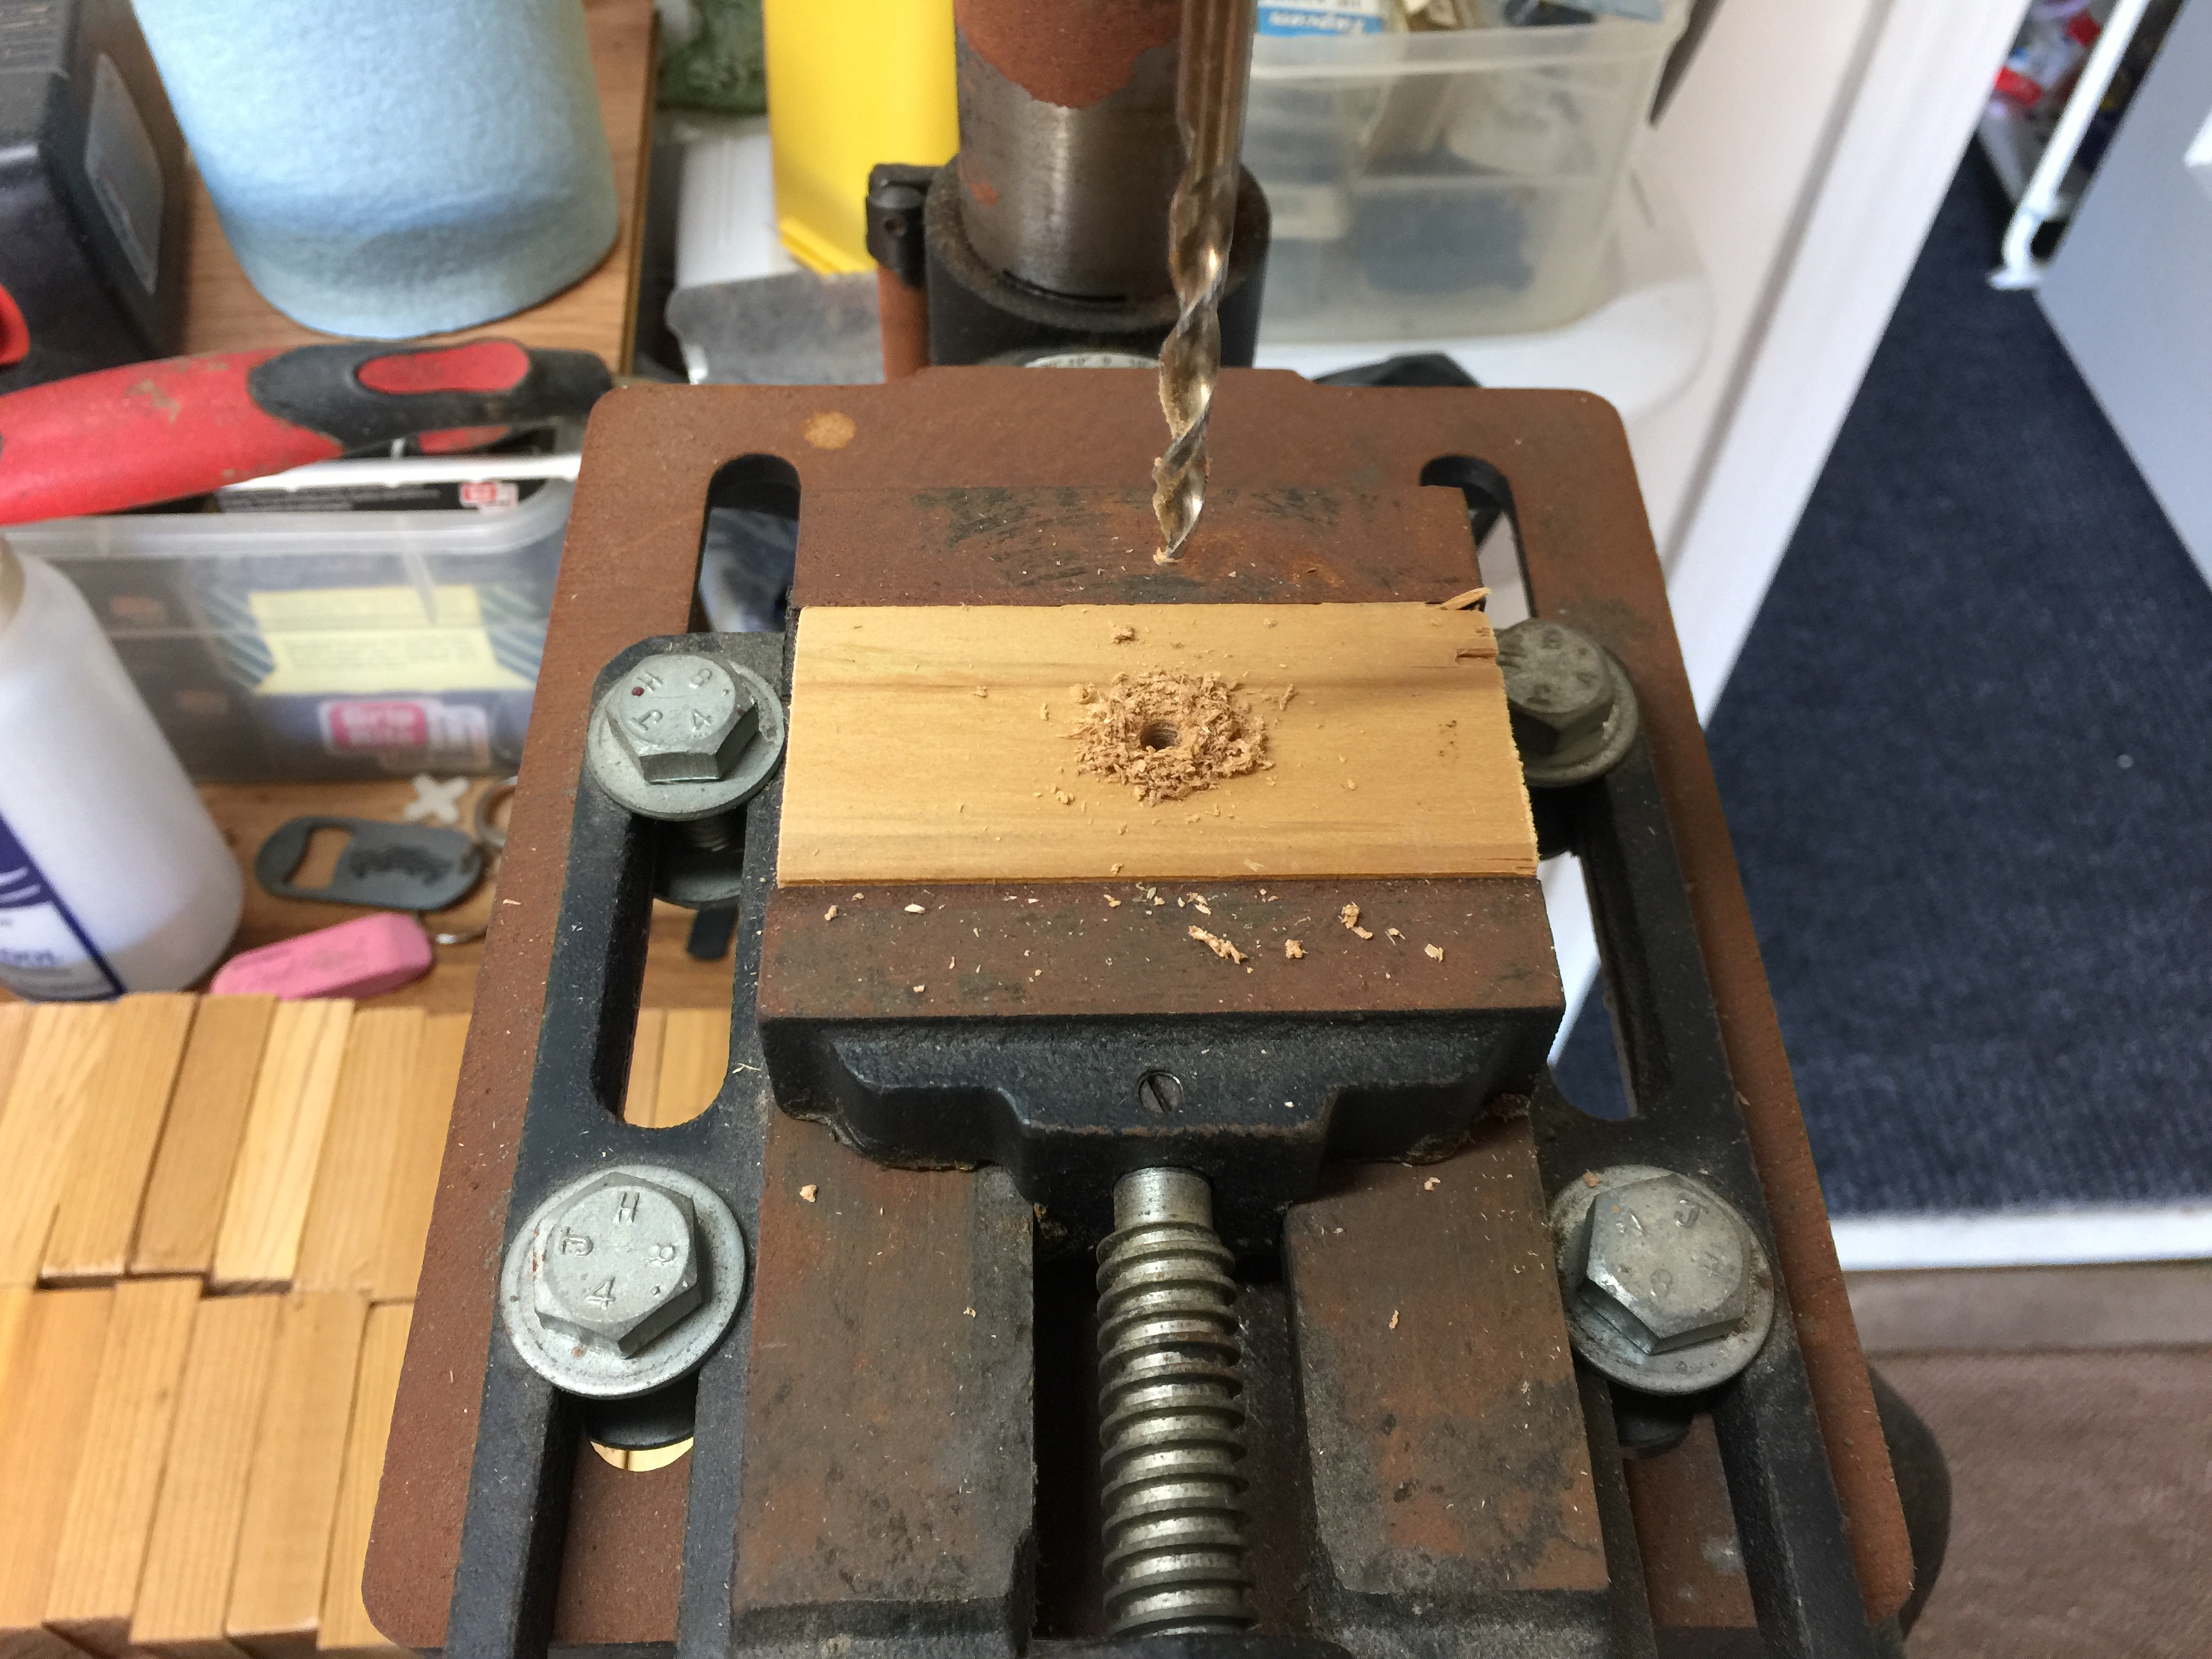
I set up the drill press with the same 13/64” drill bit that I used previously and drilled the hole in each block. It was nice to know that the hole was exactly in the center of the block this time since the block was the same length as the drill press jaws.
But before I could drill my two holes in my 12 and ¼ inch slats, I needed to figure out how far in the blocks should be placed. Even though I knew most of the blocks would not show since they would be underneath the planter, I still needed to consider how far from the end they should be as this would show. I tried several different approaches and came up with the following.
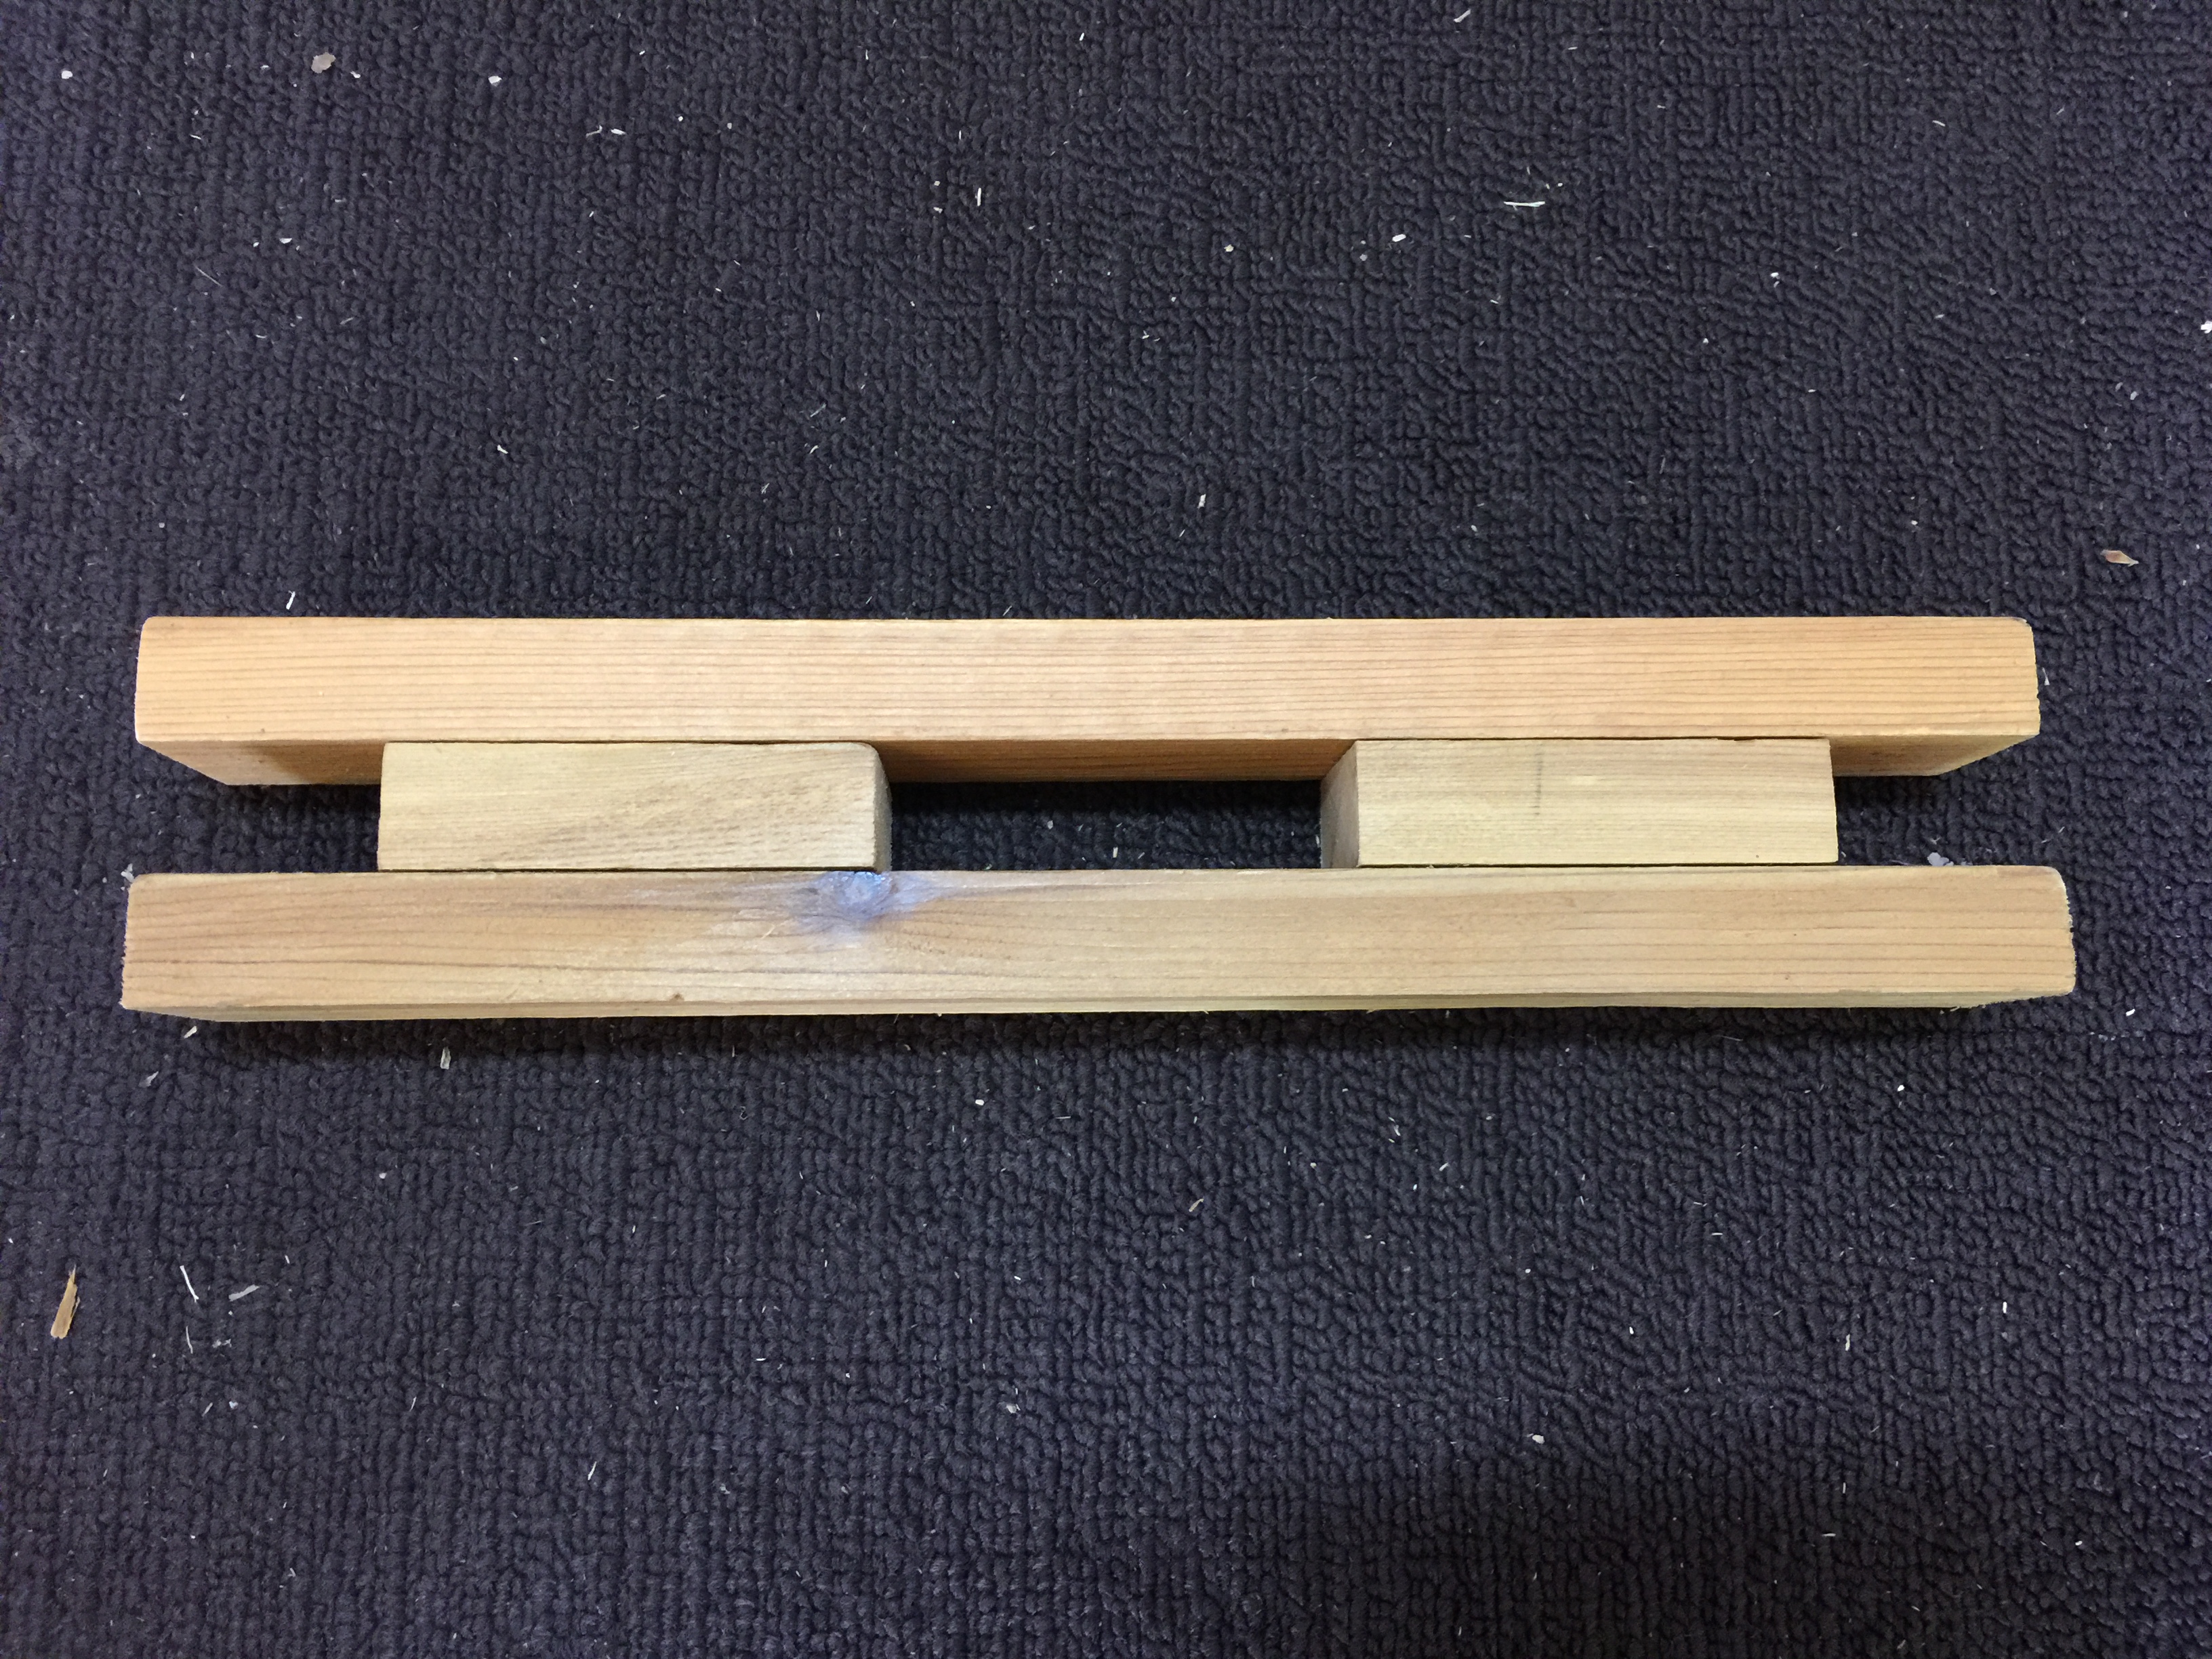
This design had the blocks pushed in from each end 1.5 inches leaving about a 3-inch gap between the two 3-inch blocks, a nice proportional look. This also simplified my drilling as the hole would be exactly 3 inches from the end of the 12-inch slats.
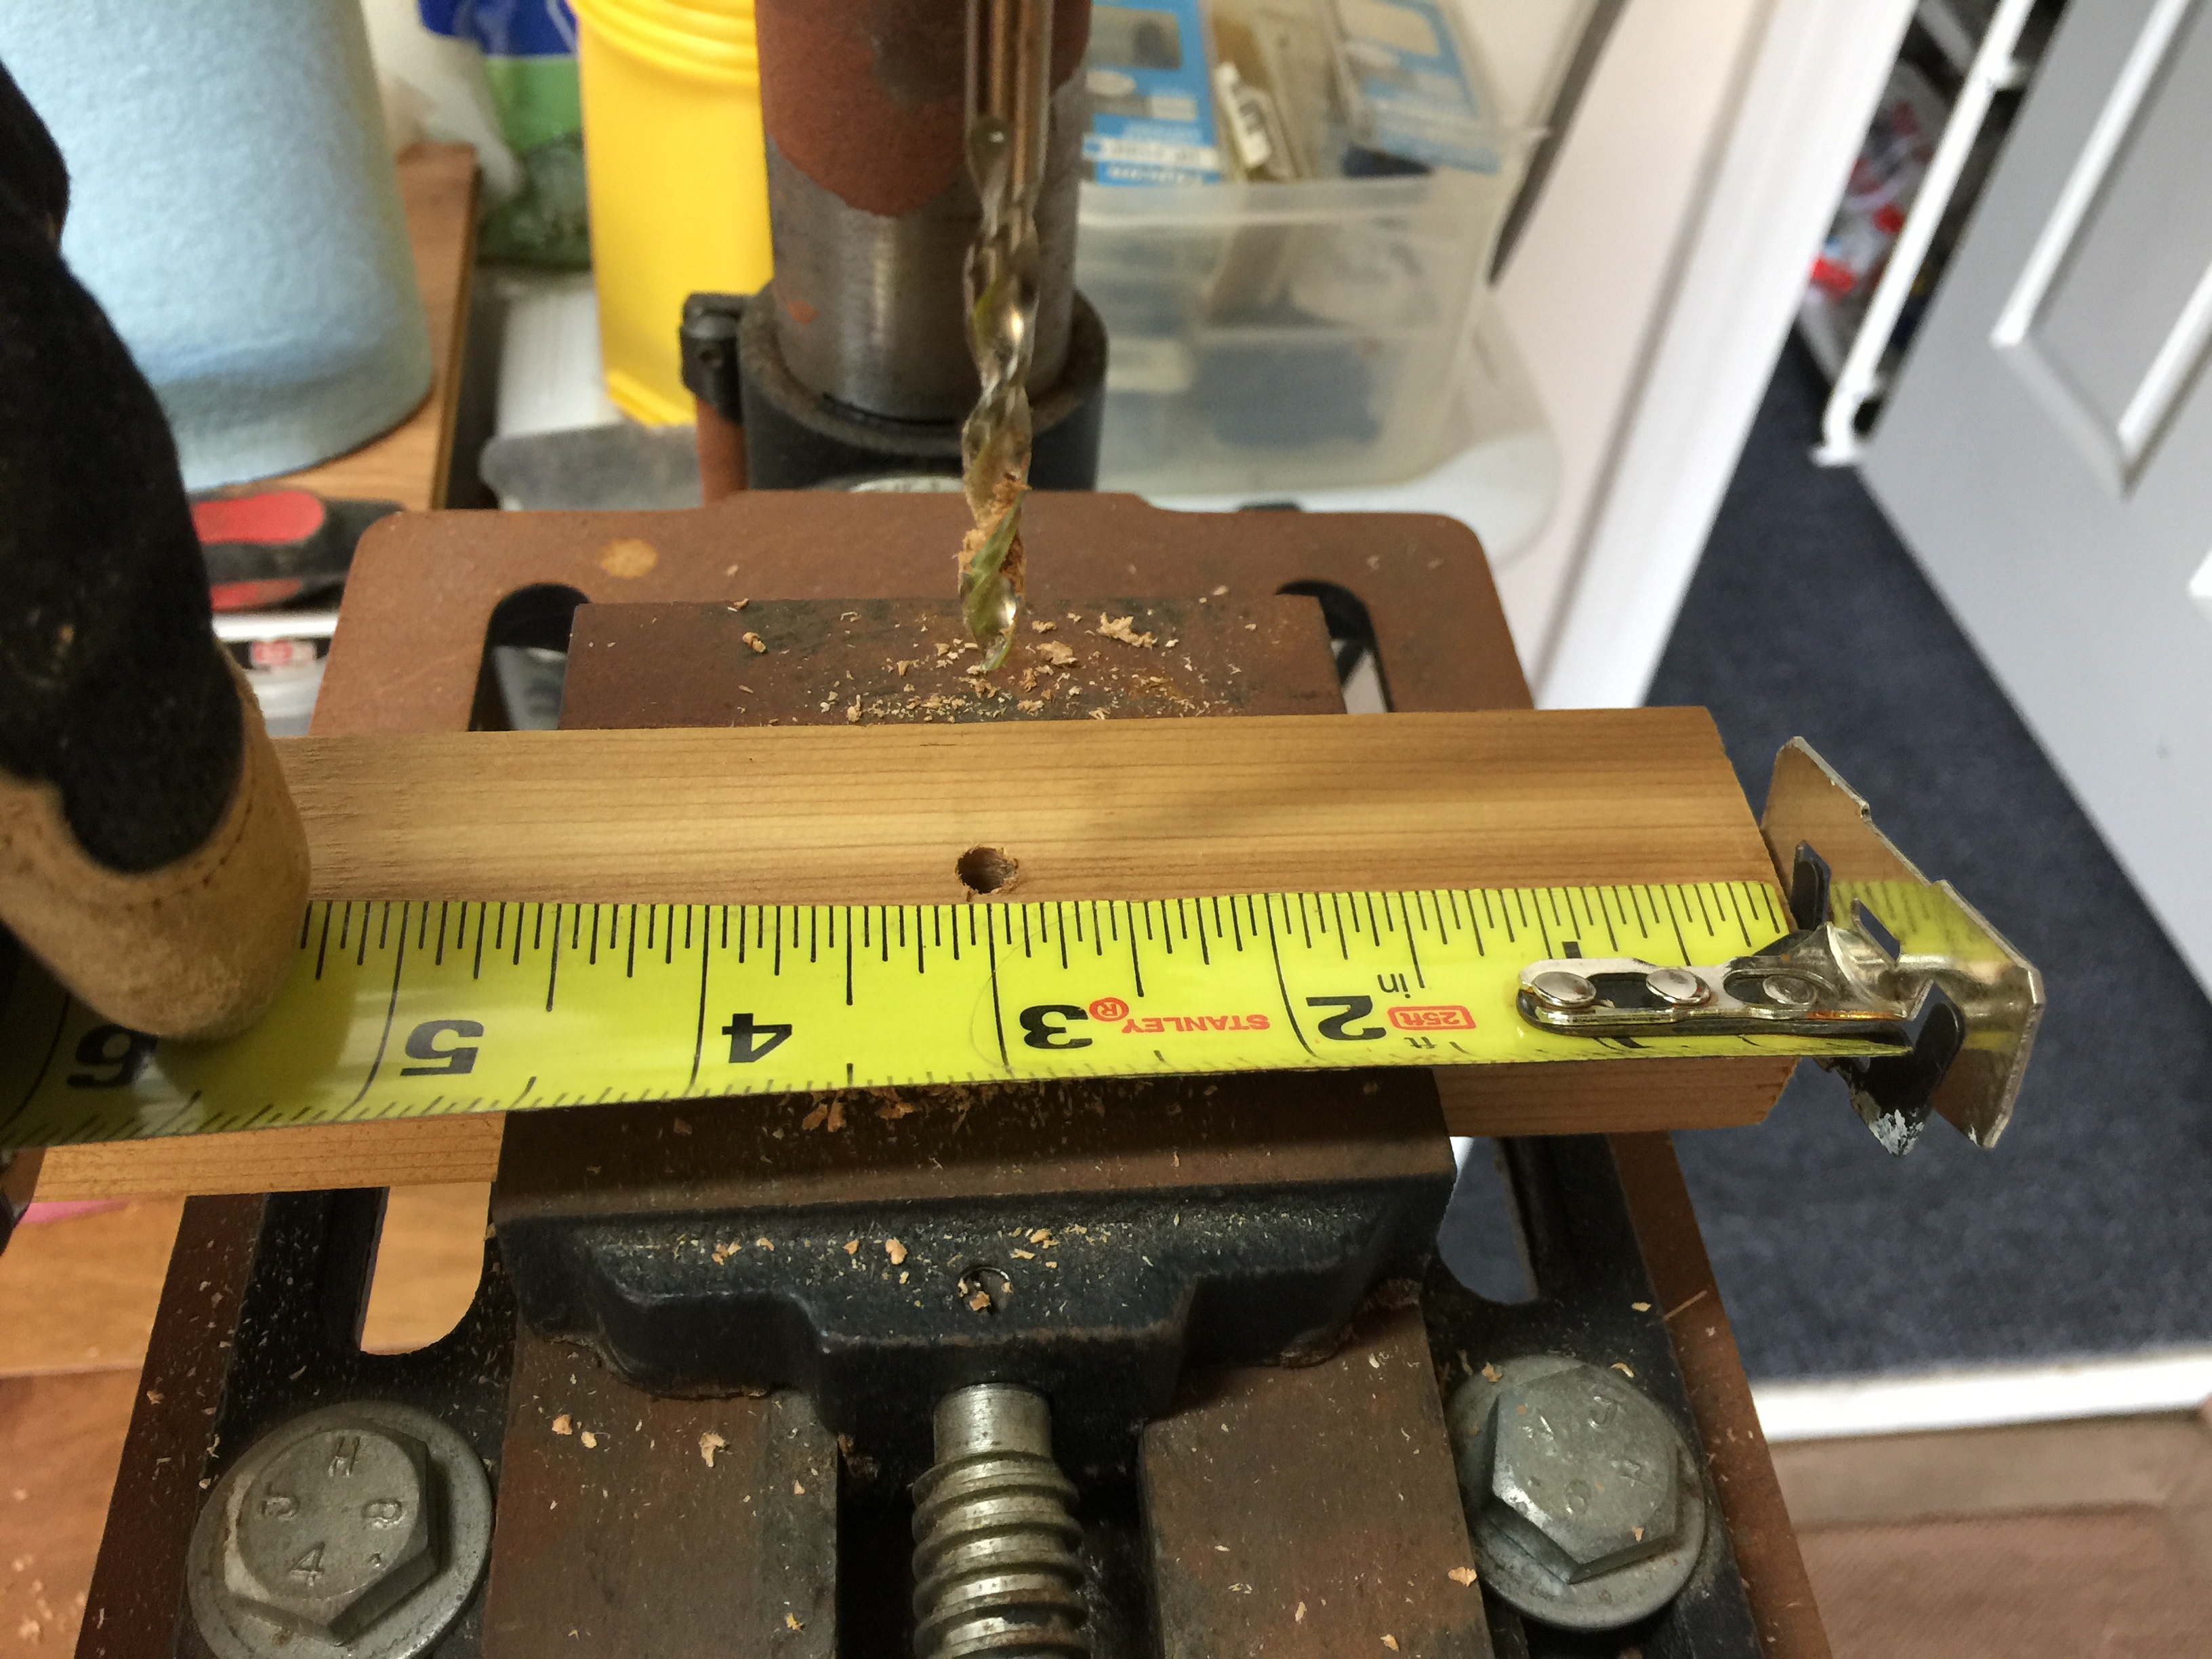
I drilled the first slat and was pleased with the results.
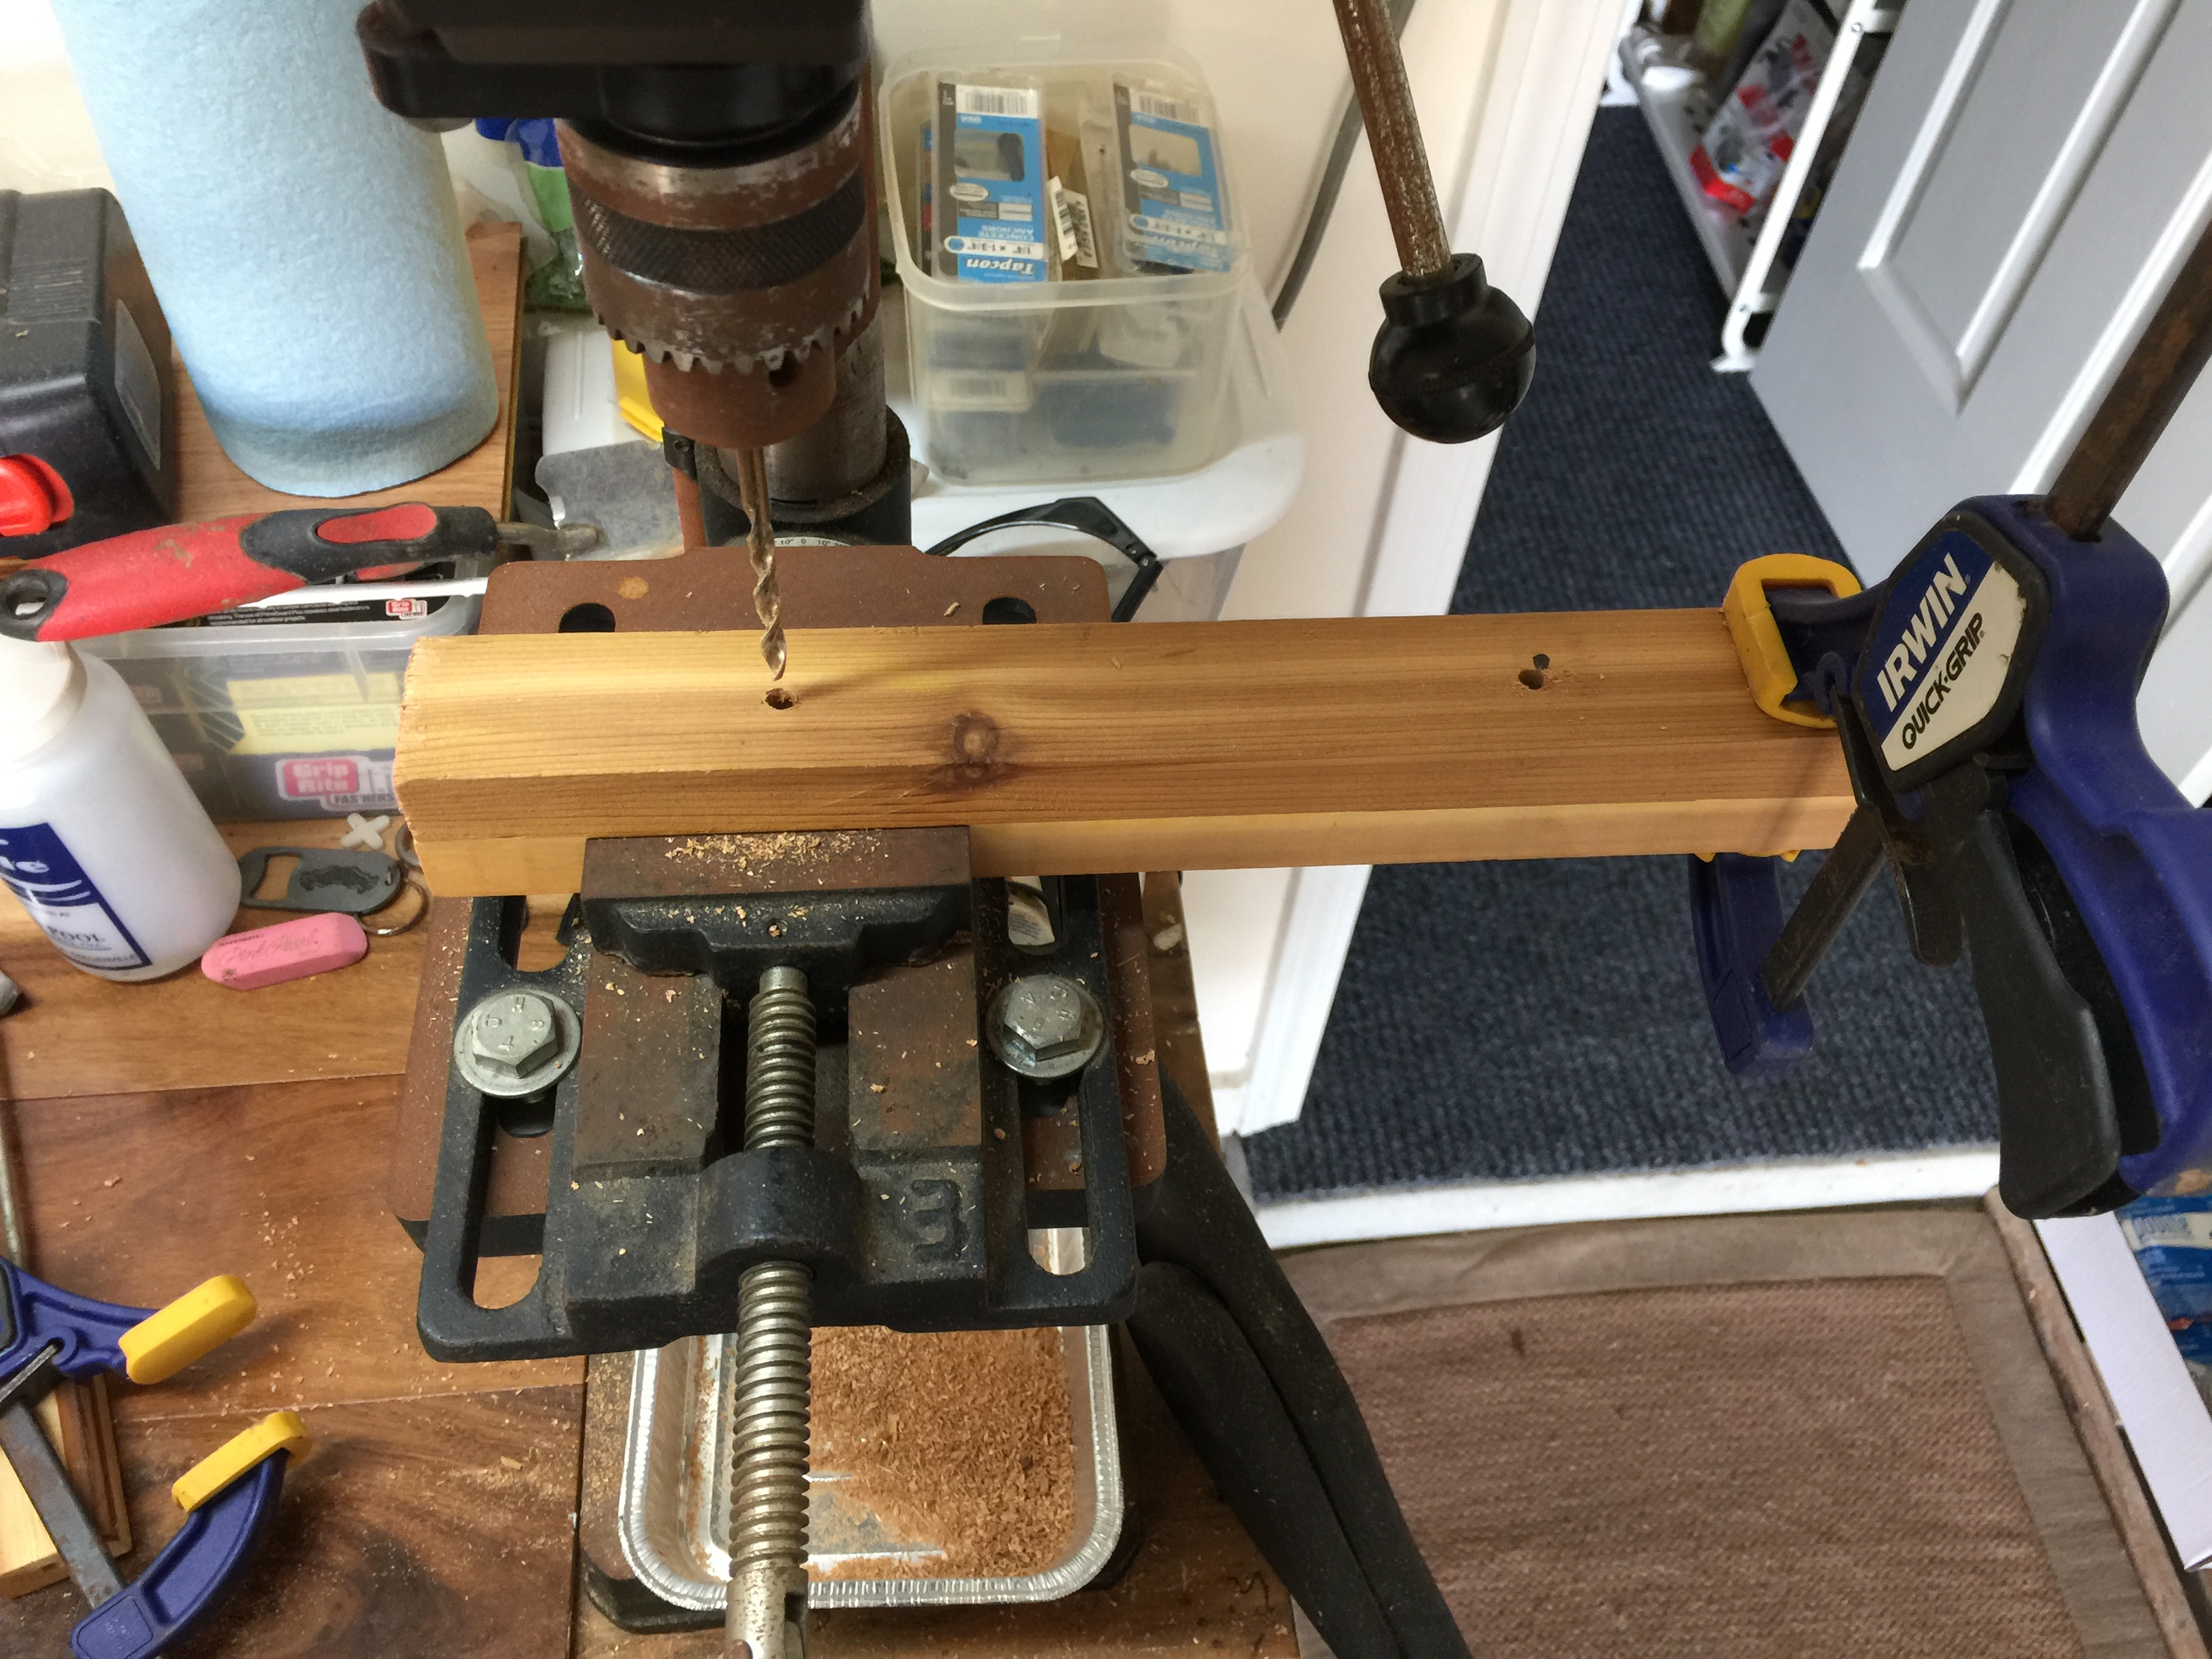
As with the doormats, I decided to use one slat as the template to drill the two holes in the other slats. The only problem I encountered was because these slats were so short, I could not clamp the template slat to the to-be-drilled slat on both ends. However, I figured out after drilling the first hole that by loosening the drill press jaws and sliding the slat over, I could clamp the other end before unclamping the clamped end.
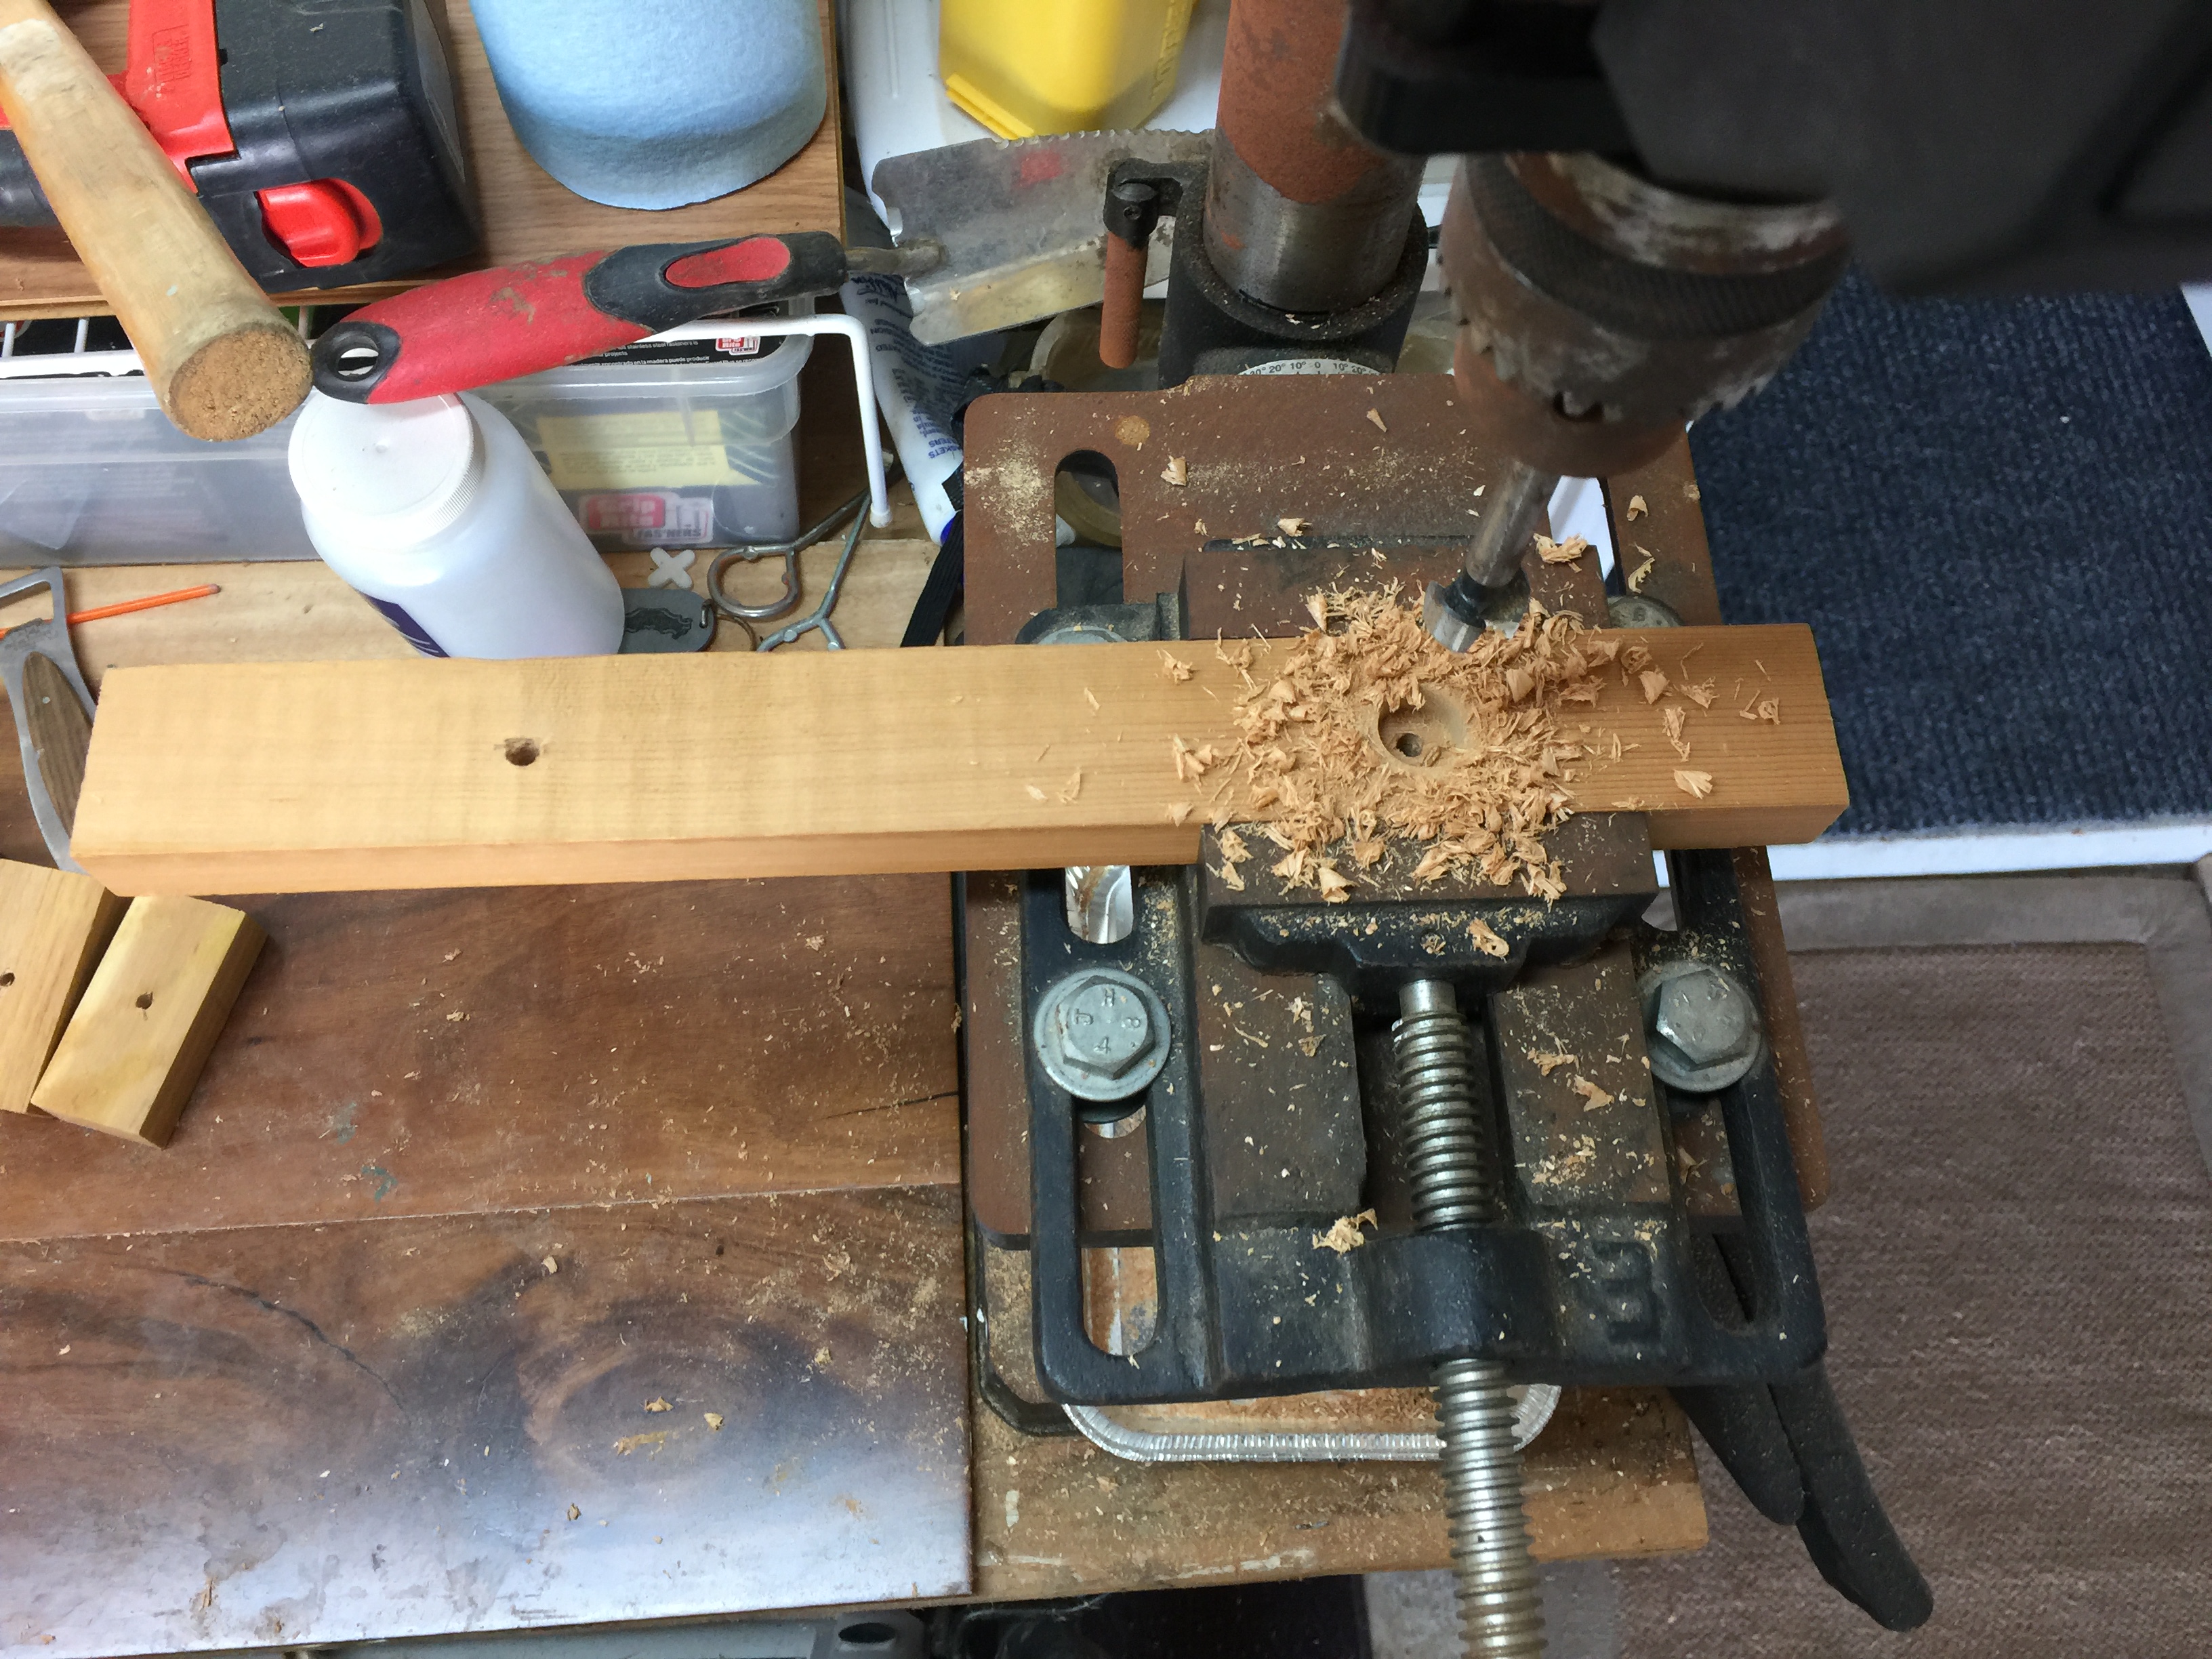
This process went well, and the last drill press step was to counter sink the two outside slats so that the washer and nut would be recessed in the slat.
As with the doormats, I needed to figure out how long the threaded rod needed to be to hold the planter plate tightly together without any of the threaded rod sticking out from the countersunk holes. Knowing that the finished plate should be about 12.25 inches wide, I purchased one 12-inch threaded rod and one 36-inch threaded rod to give me the four pieces I would need (obviously a bit of a gamble).
Turns out it was just the right length. I quickly cut another 12-inch length of threaded rod, added the washers and nuts, and tightened everything down.
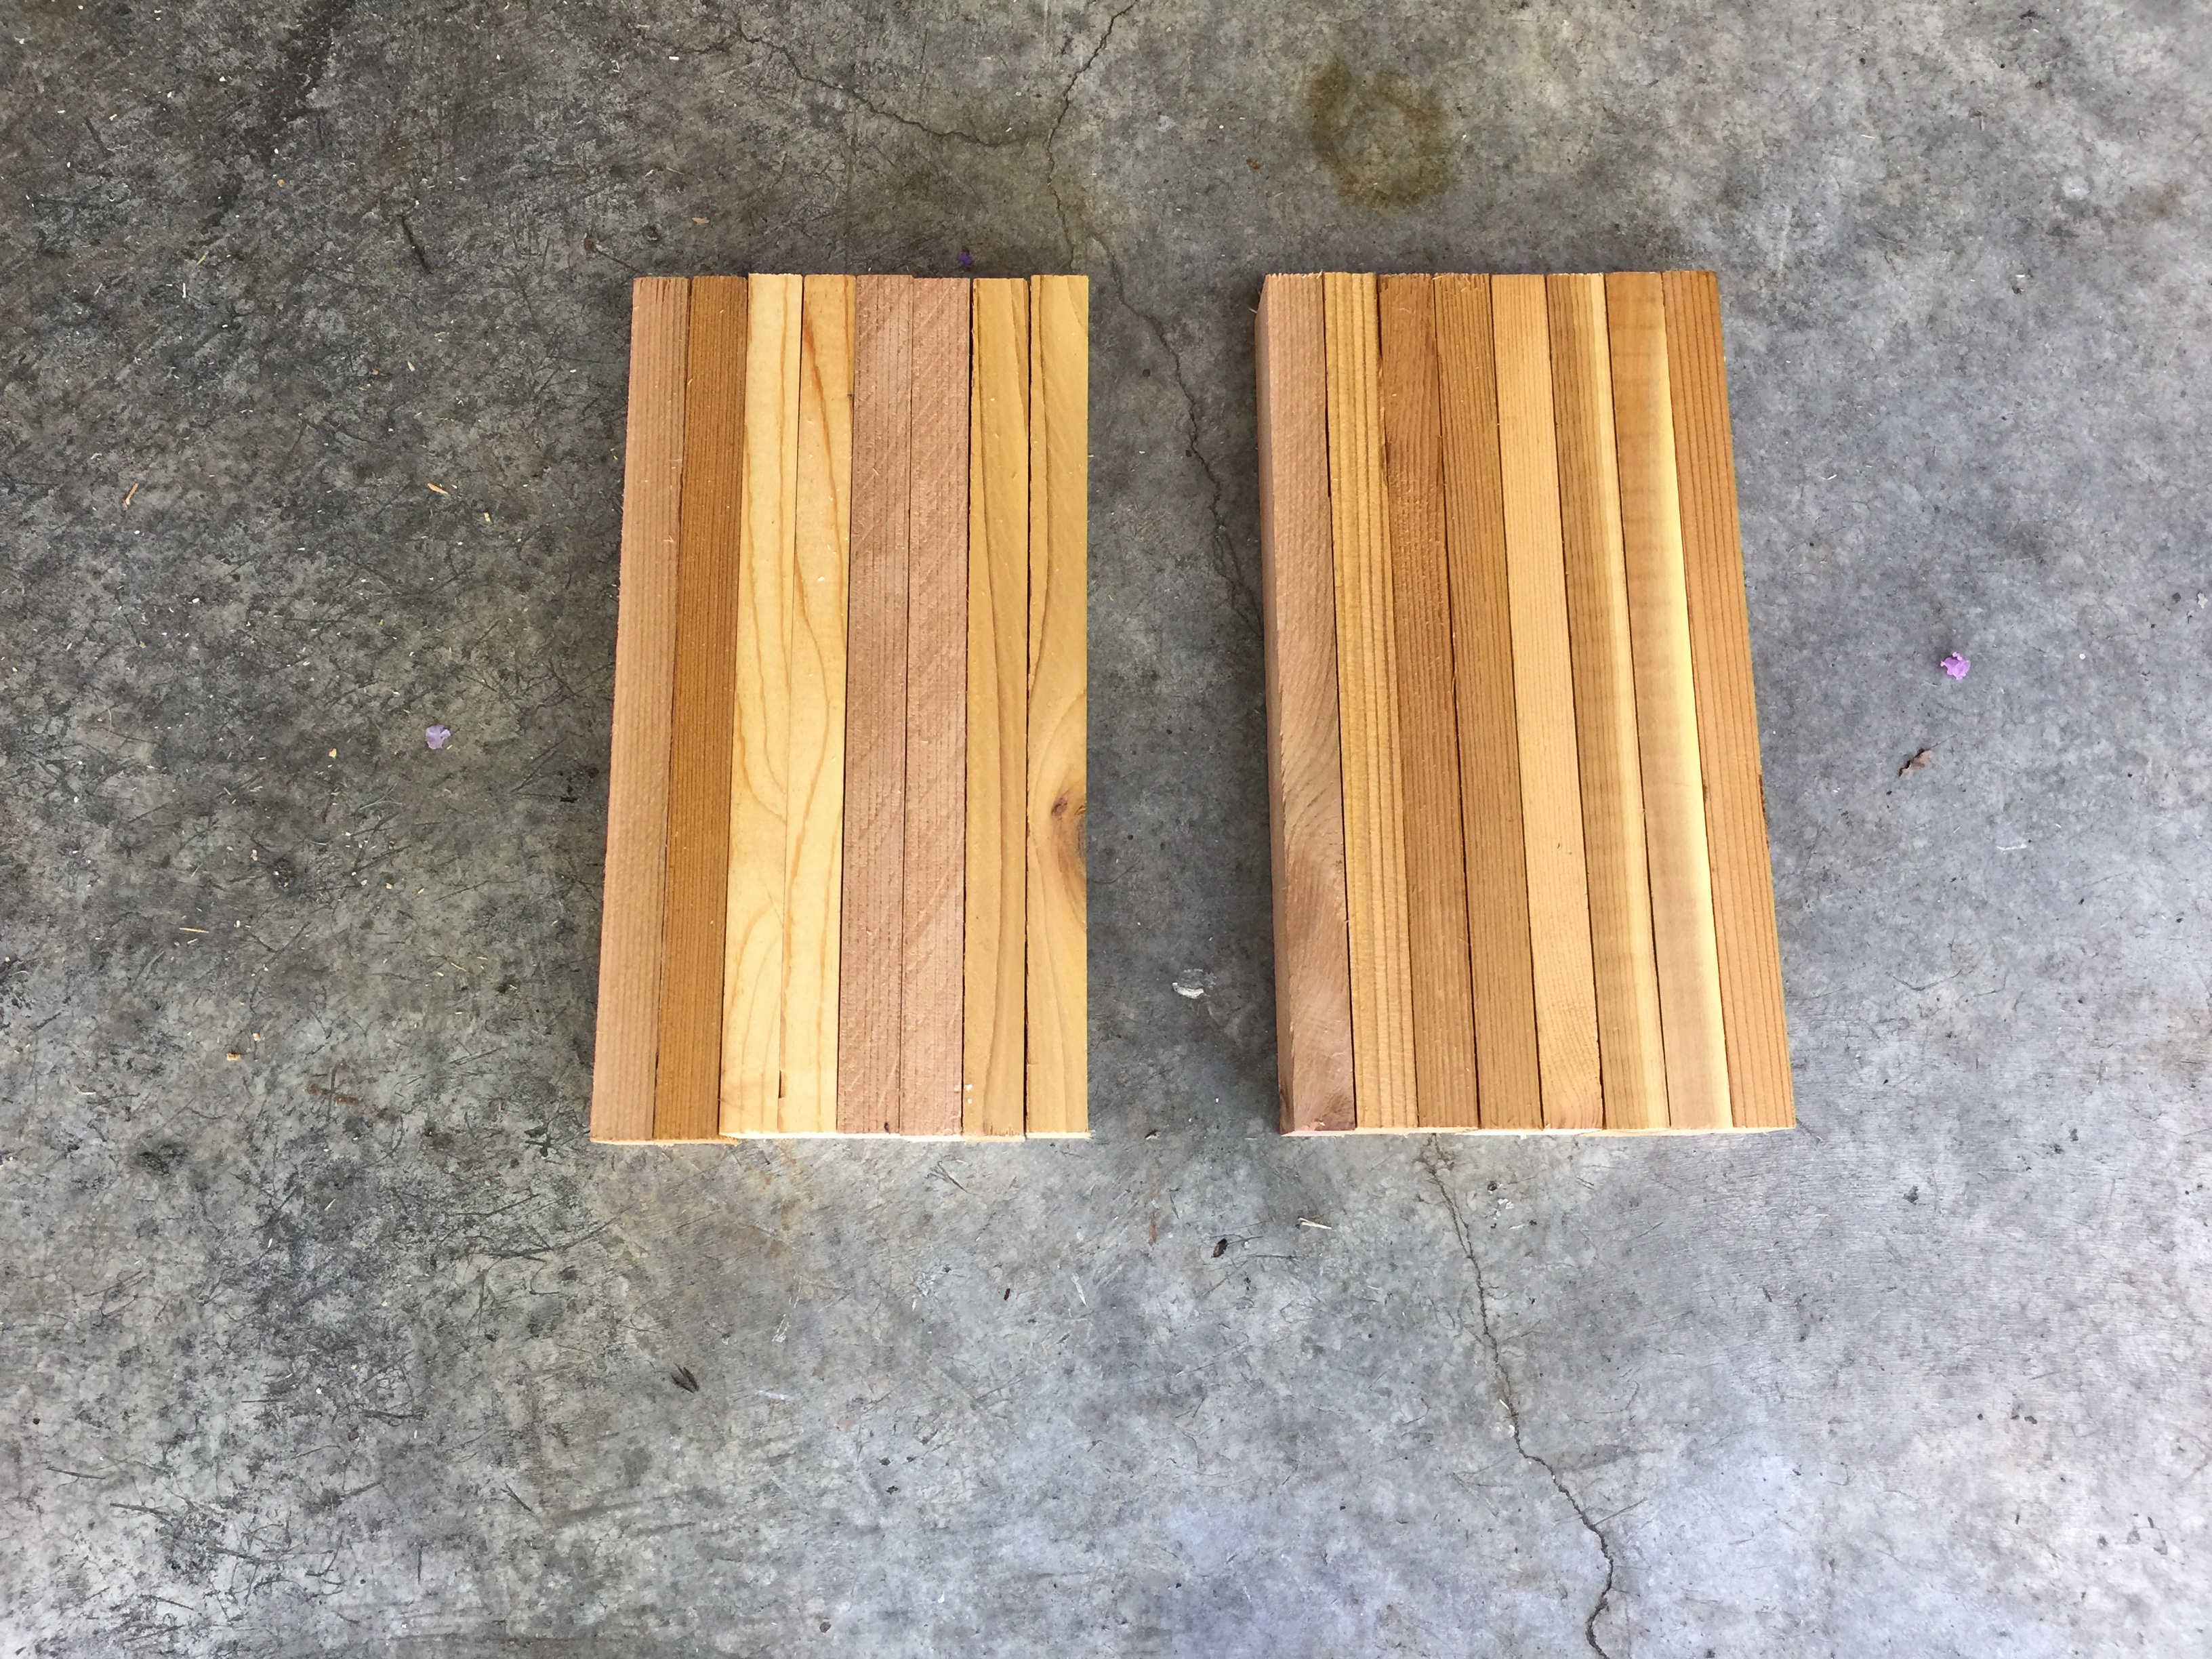
It was a happy moment when I manhandled the heavy planter on to the new planter plate and stepped back seeing the look I had originally envisioned in my mind’s eye.
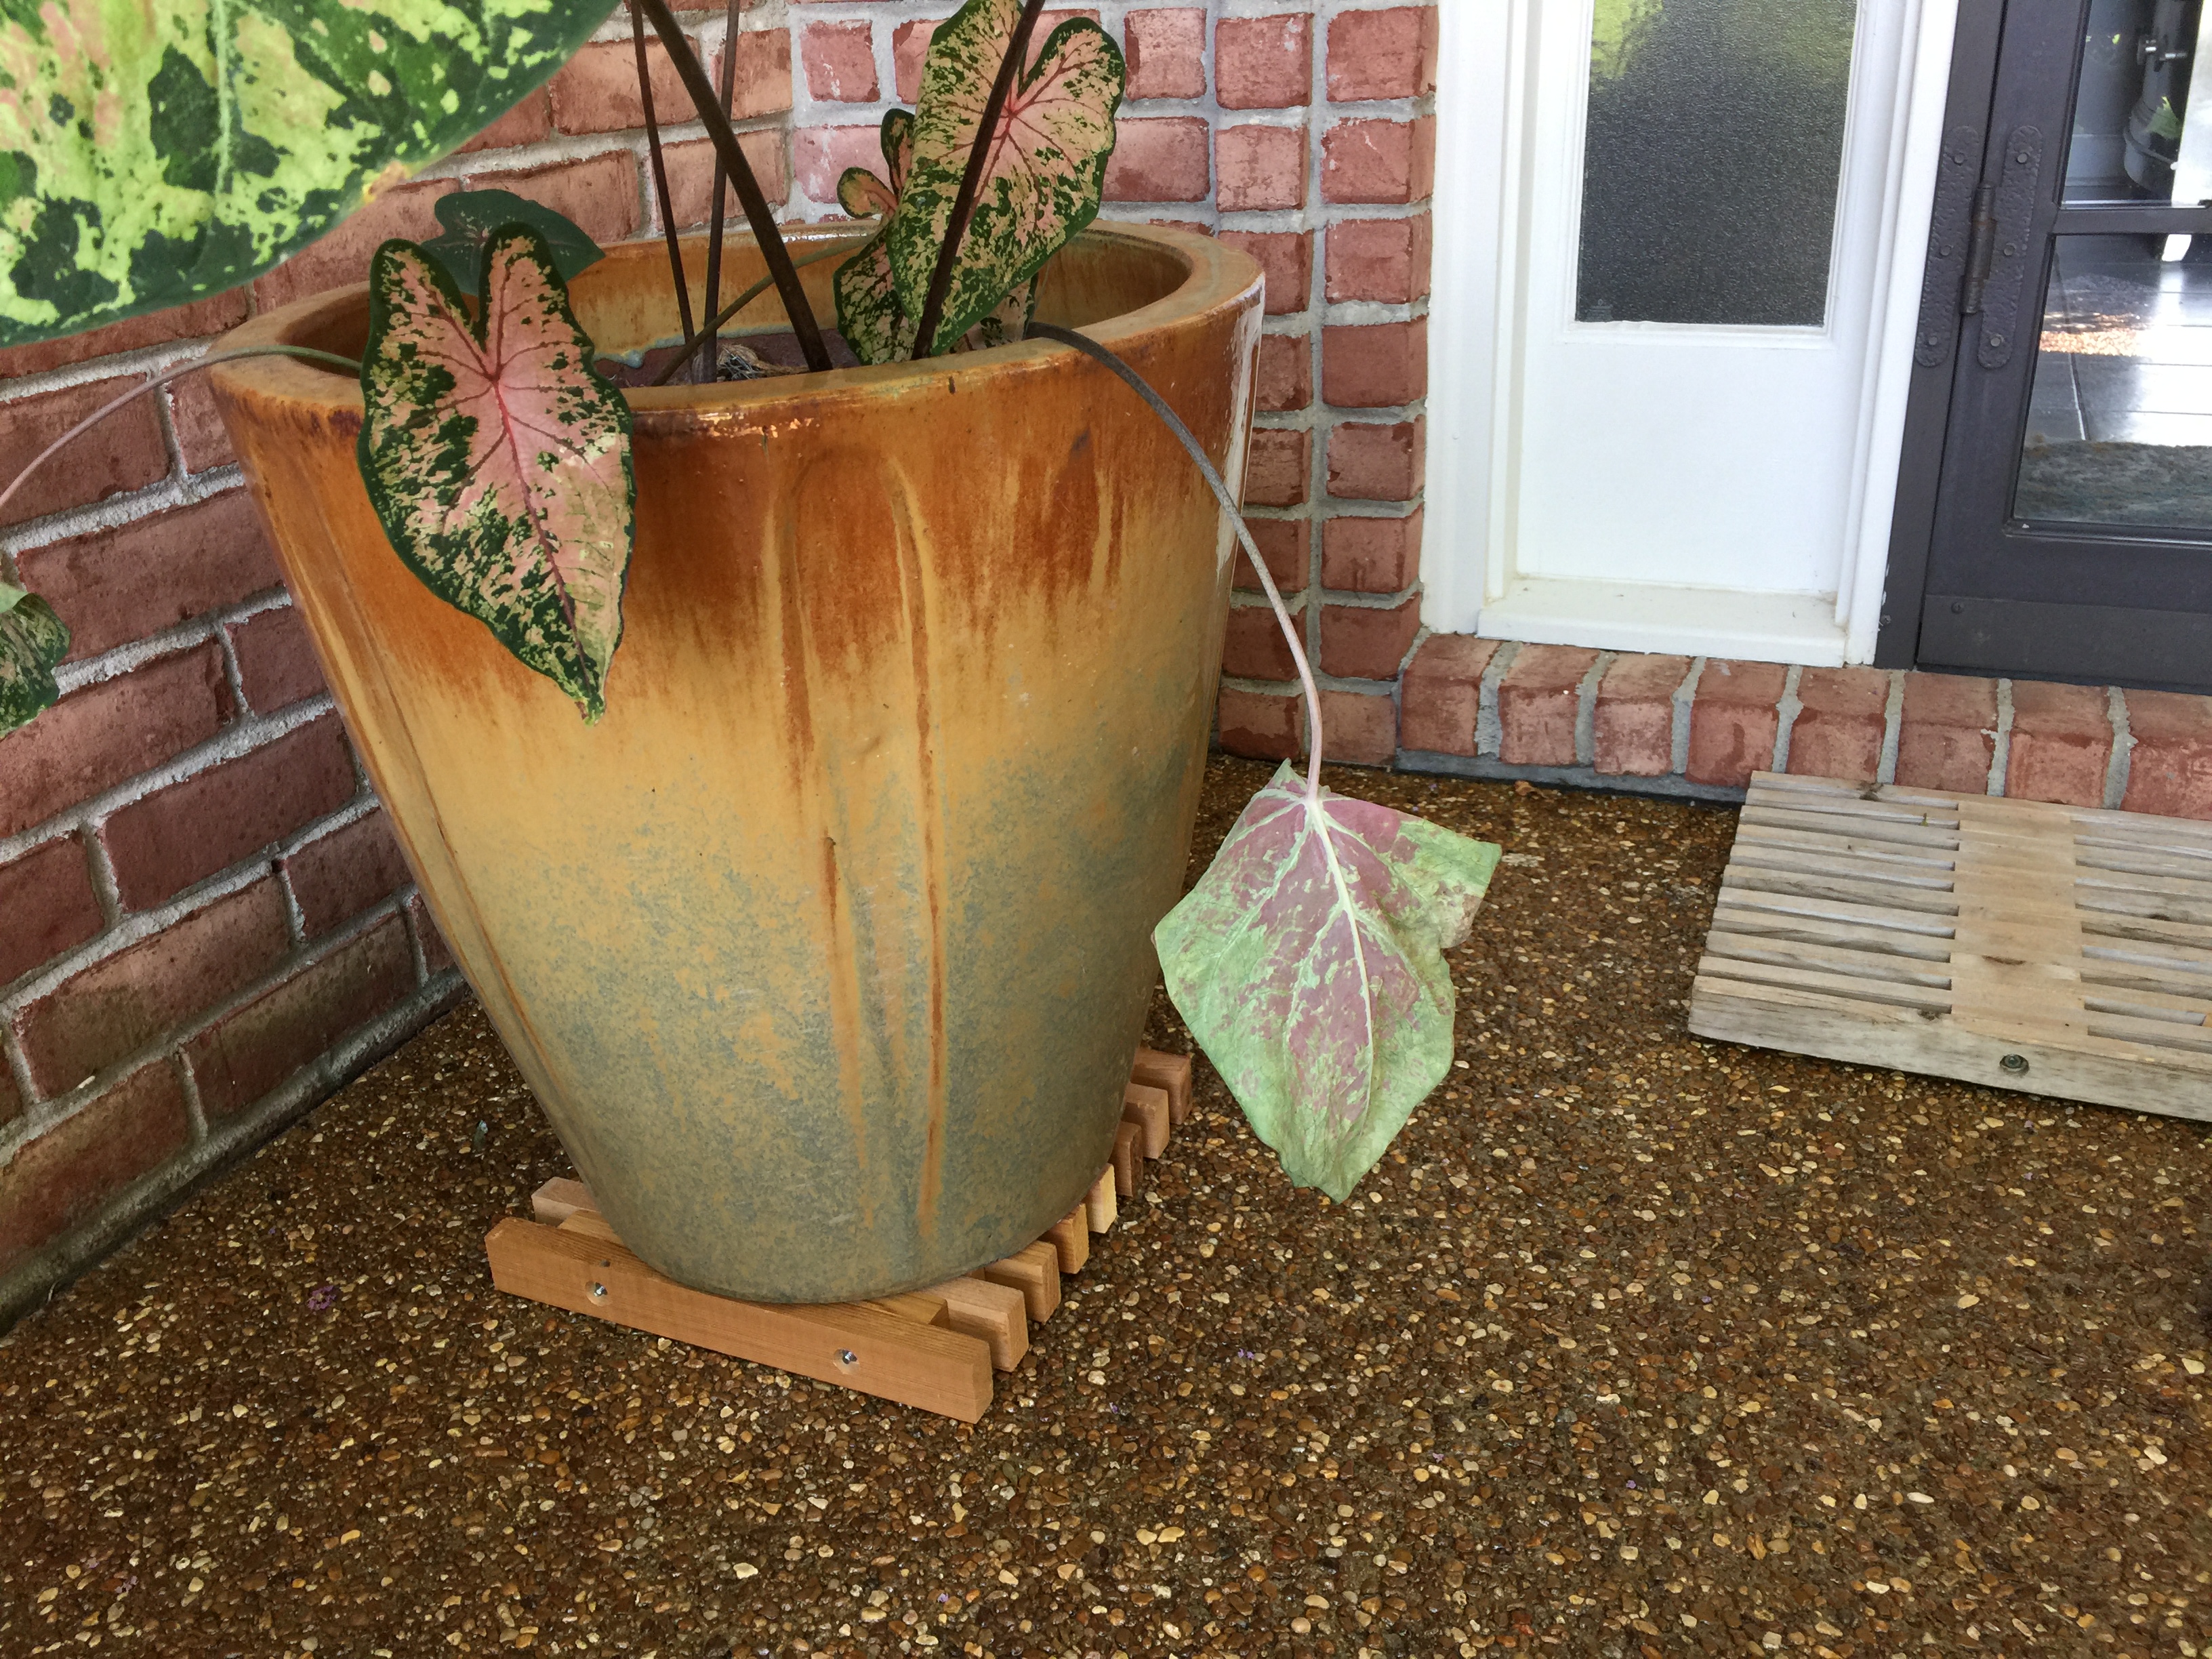
The second plate went together just as quickly and in no time was installed with the other one.
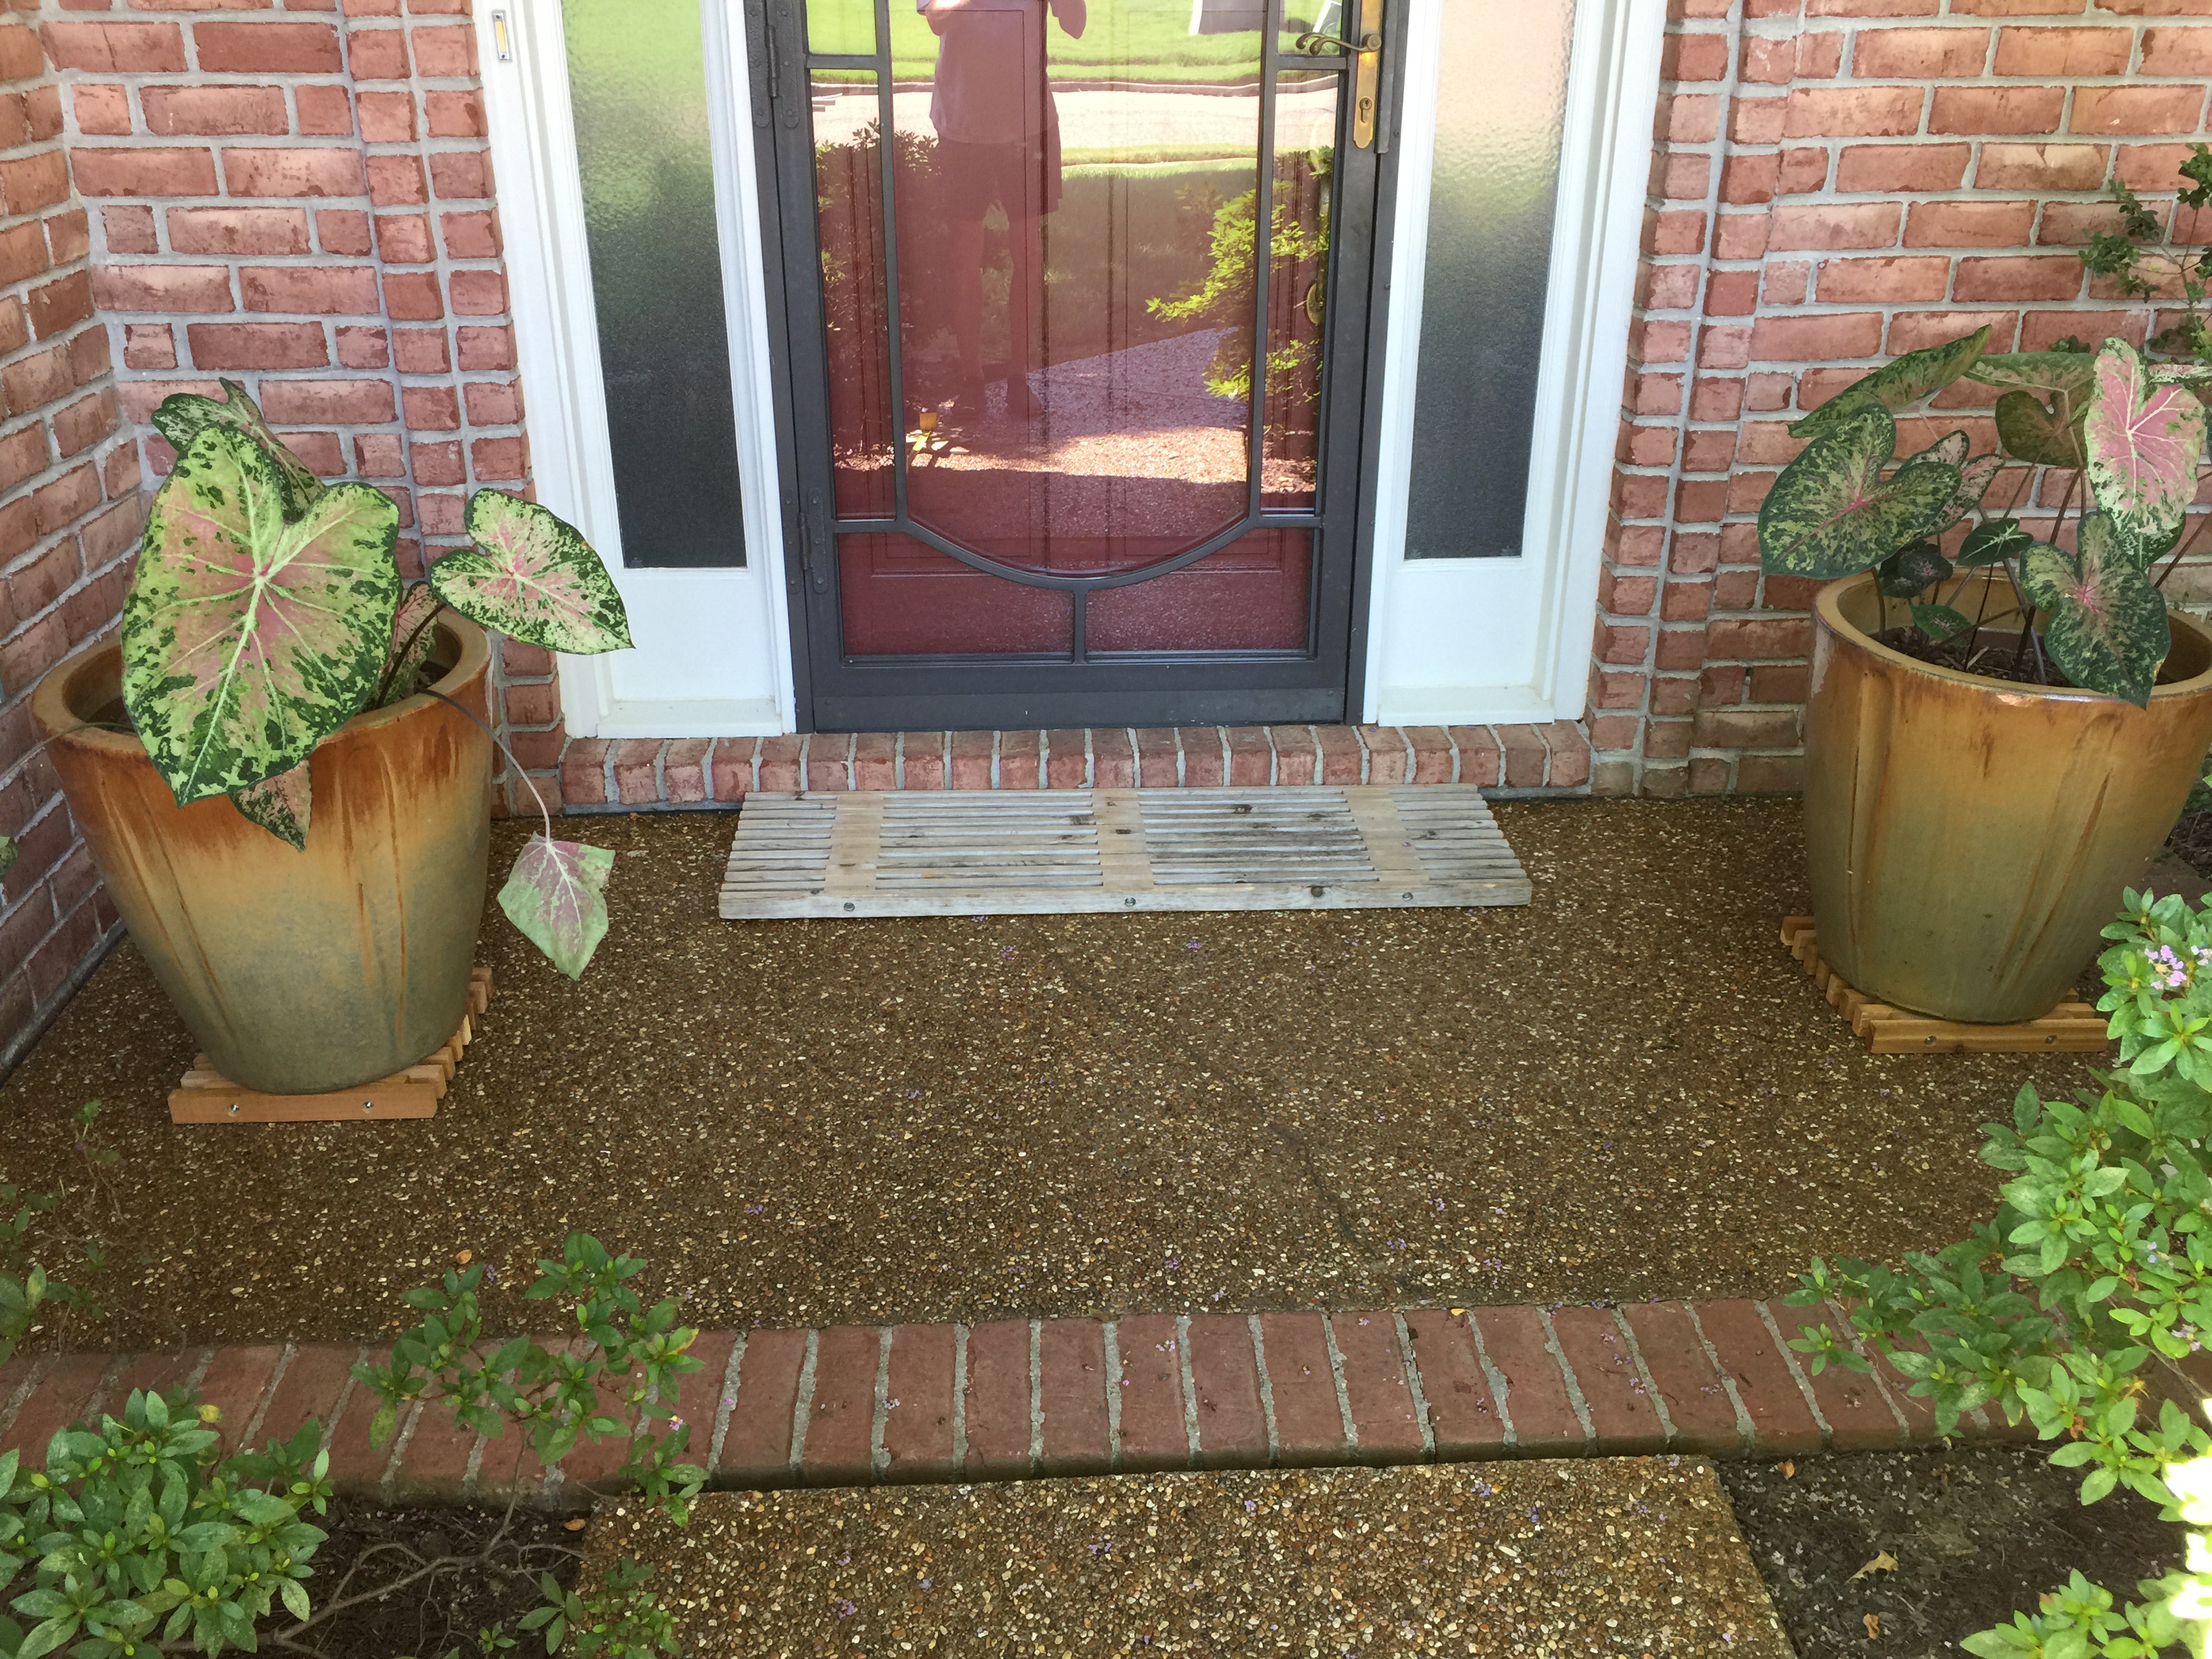
My eyes were pleased as they scanned from the planter on the right to the planter of the left except for one caveat. You guessed it. When compared to the new planter plates, the old doormat now looked dreary. Considering it was quite old, made from common pine and not water resistant treated, it had not aged very gracefully.
With the sidelights on either side of the front door, this was the one doormat I had made that was 48-inches long rather than the standard 36-inch length. Thus, moving my new doormat from the back door to the front door would not work either since it would be too short. But the good news is I now had another fun project ahead for me!

Which I completed soon after. Finally, the front porch look I was really wanting!
Categories
