
Doll House Surprise for My Granddaughter – The Walls Go Up
In between working on sections of the foundation, I continued to paint seemingly every surface of the walls. After three coats of paint (four seemed no better), I was finally ready to begin assembling the house itself. Since a misdirection here would be quite detrimental to the look of the finished house, I closely scrutinized the instructions to be sure I understood them correctly.
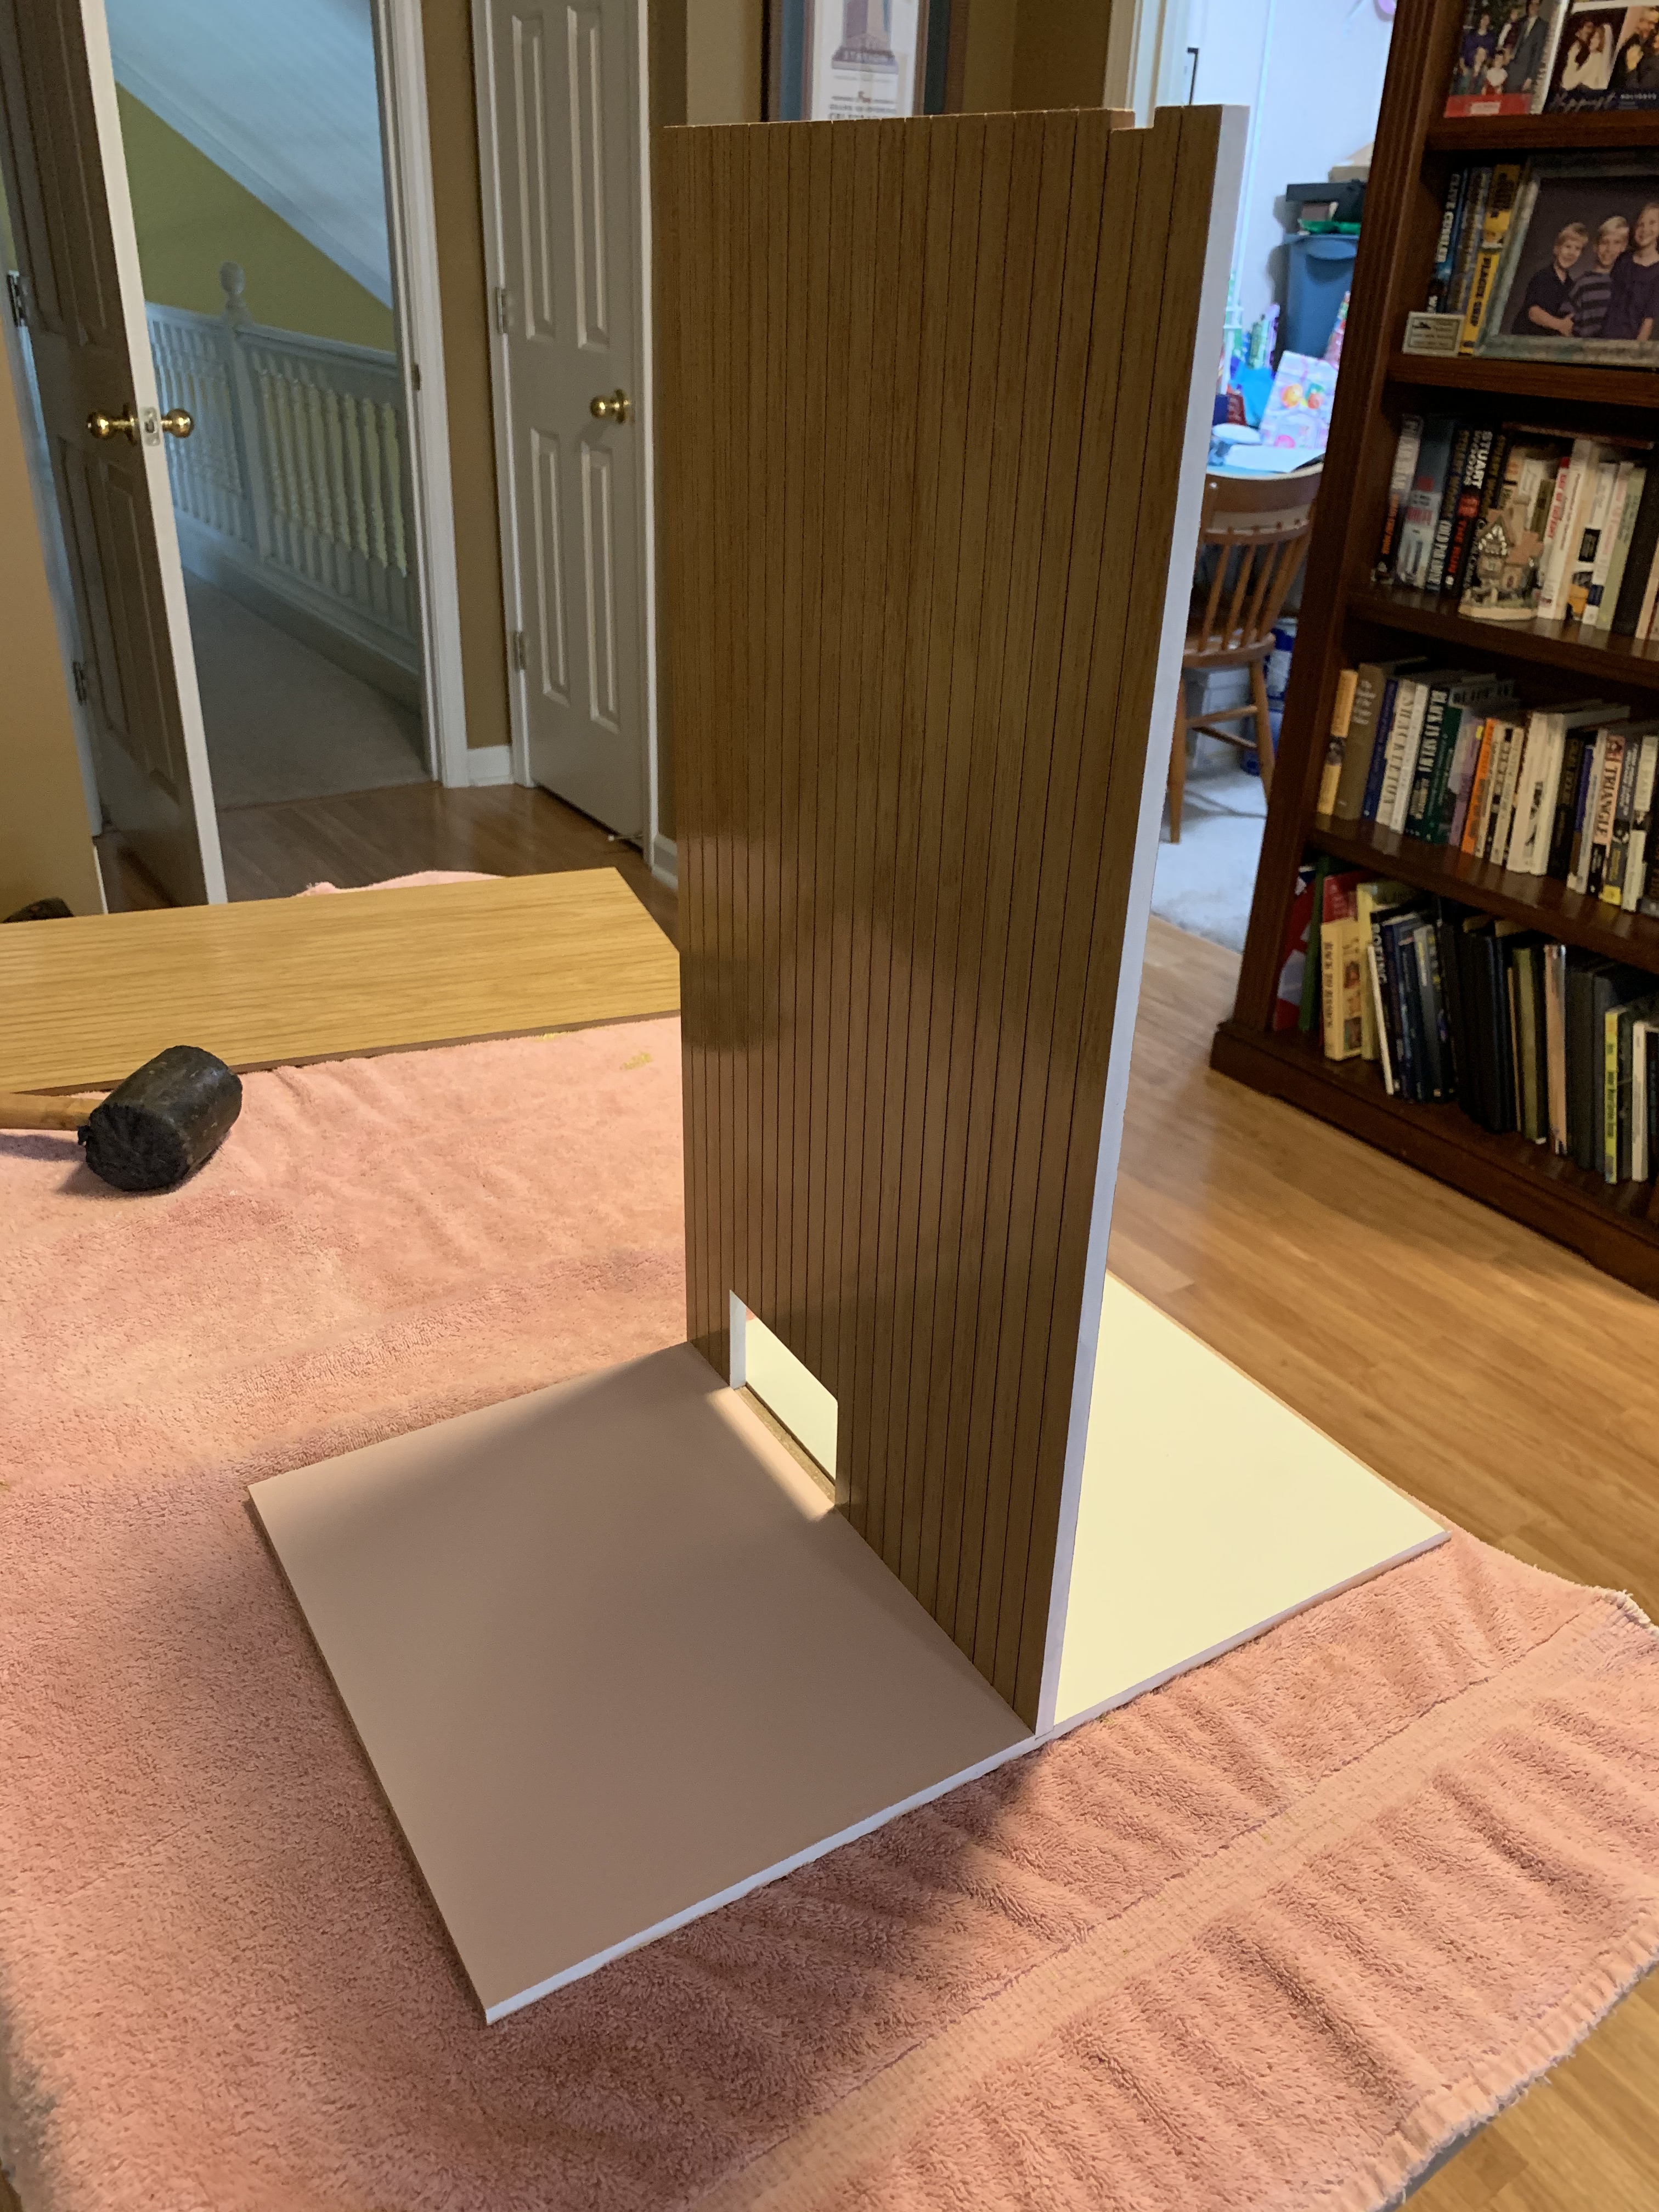
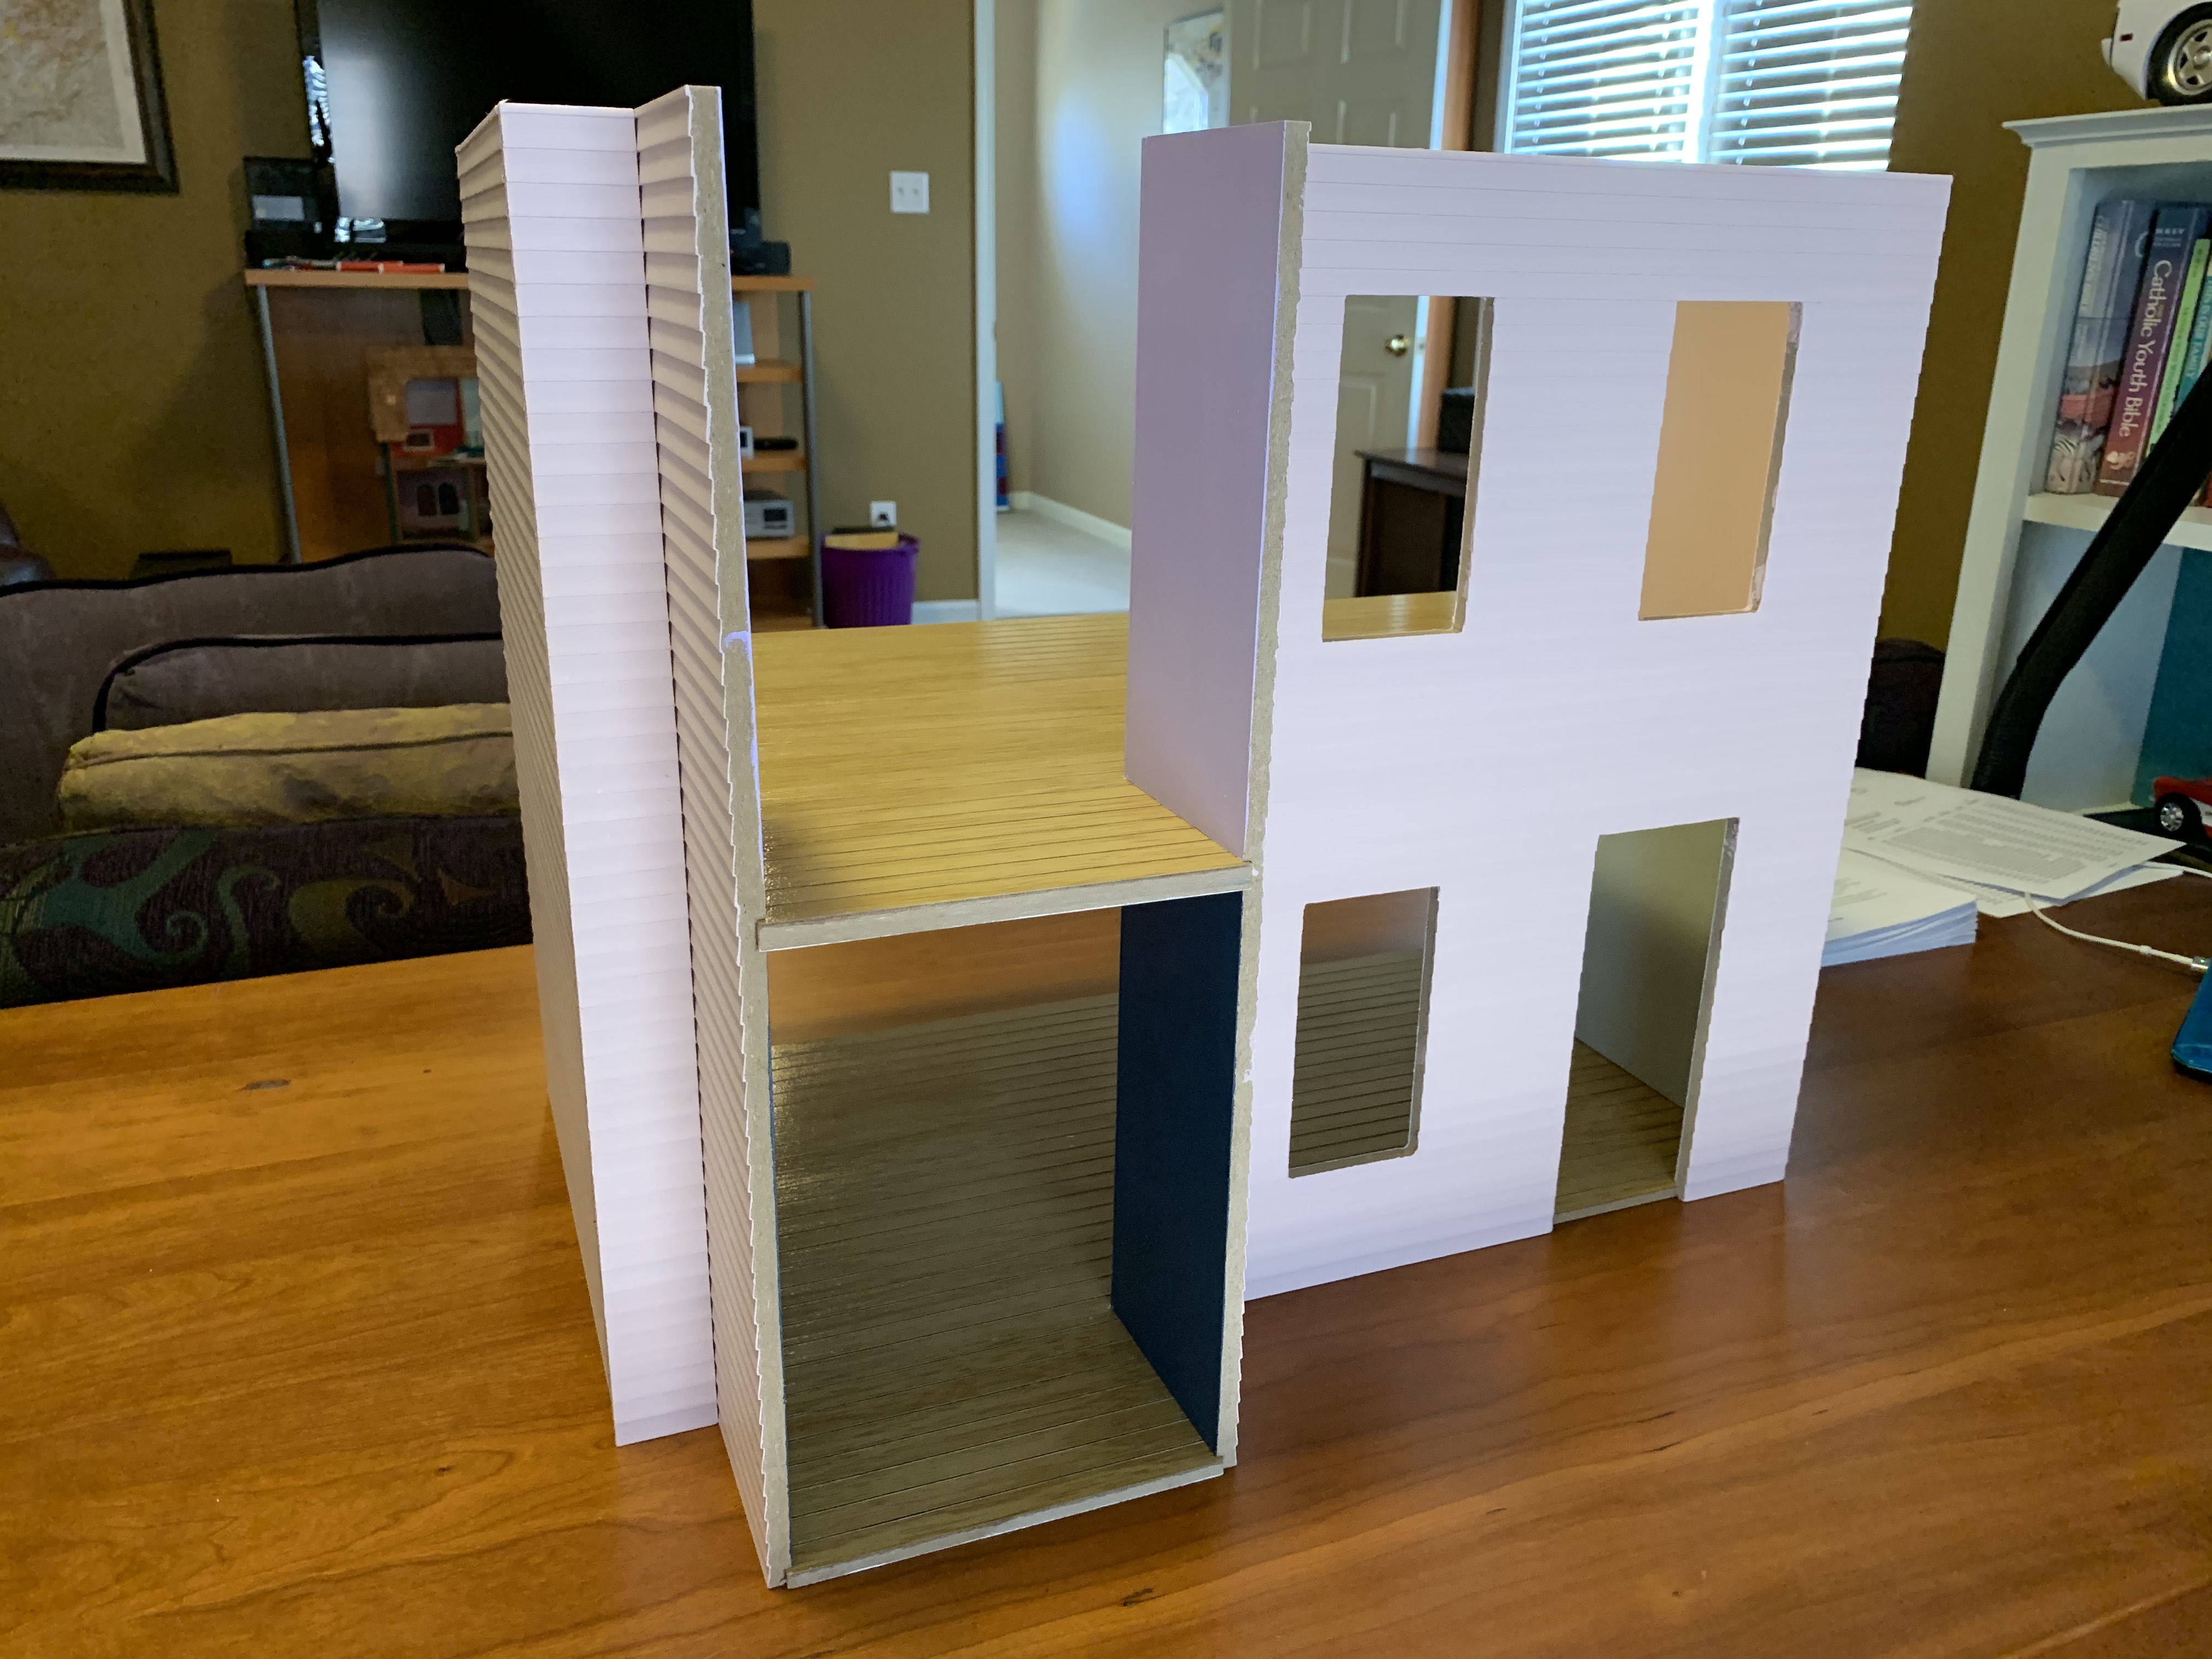
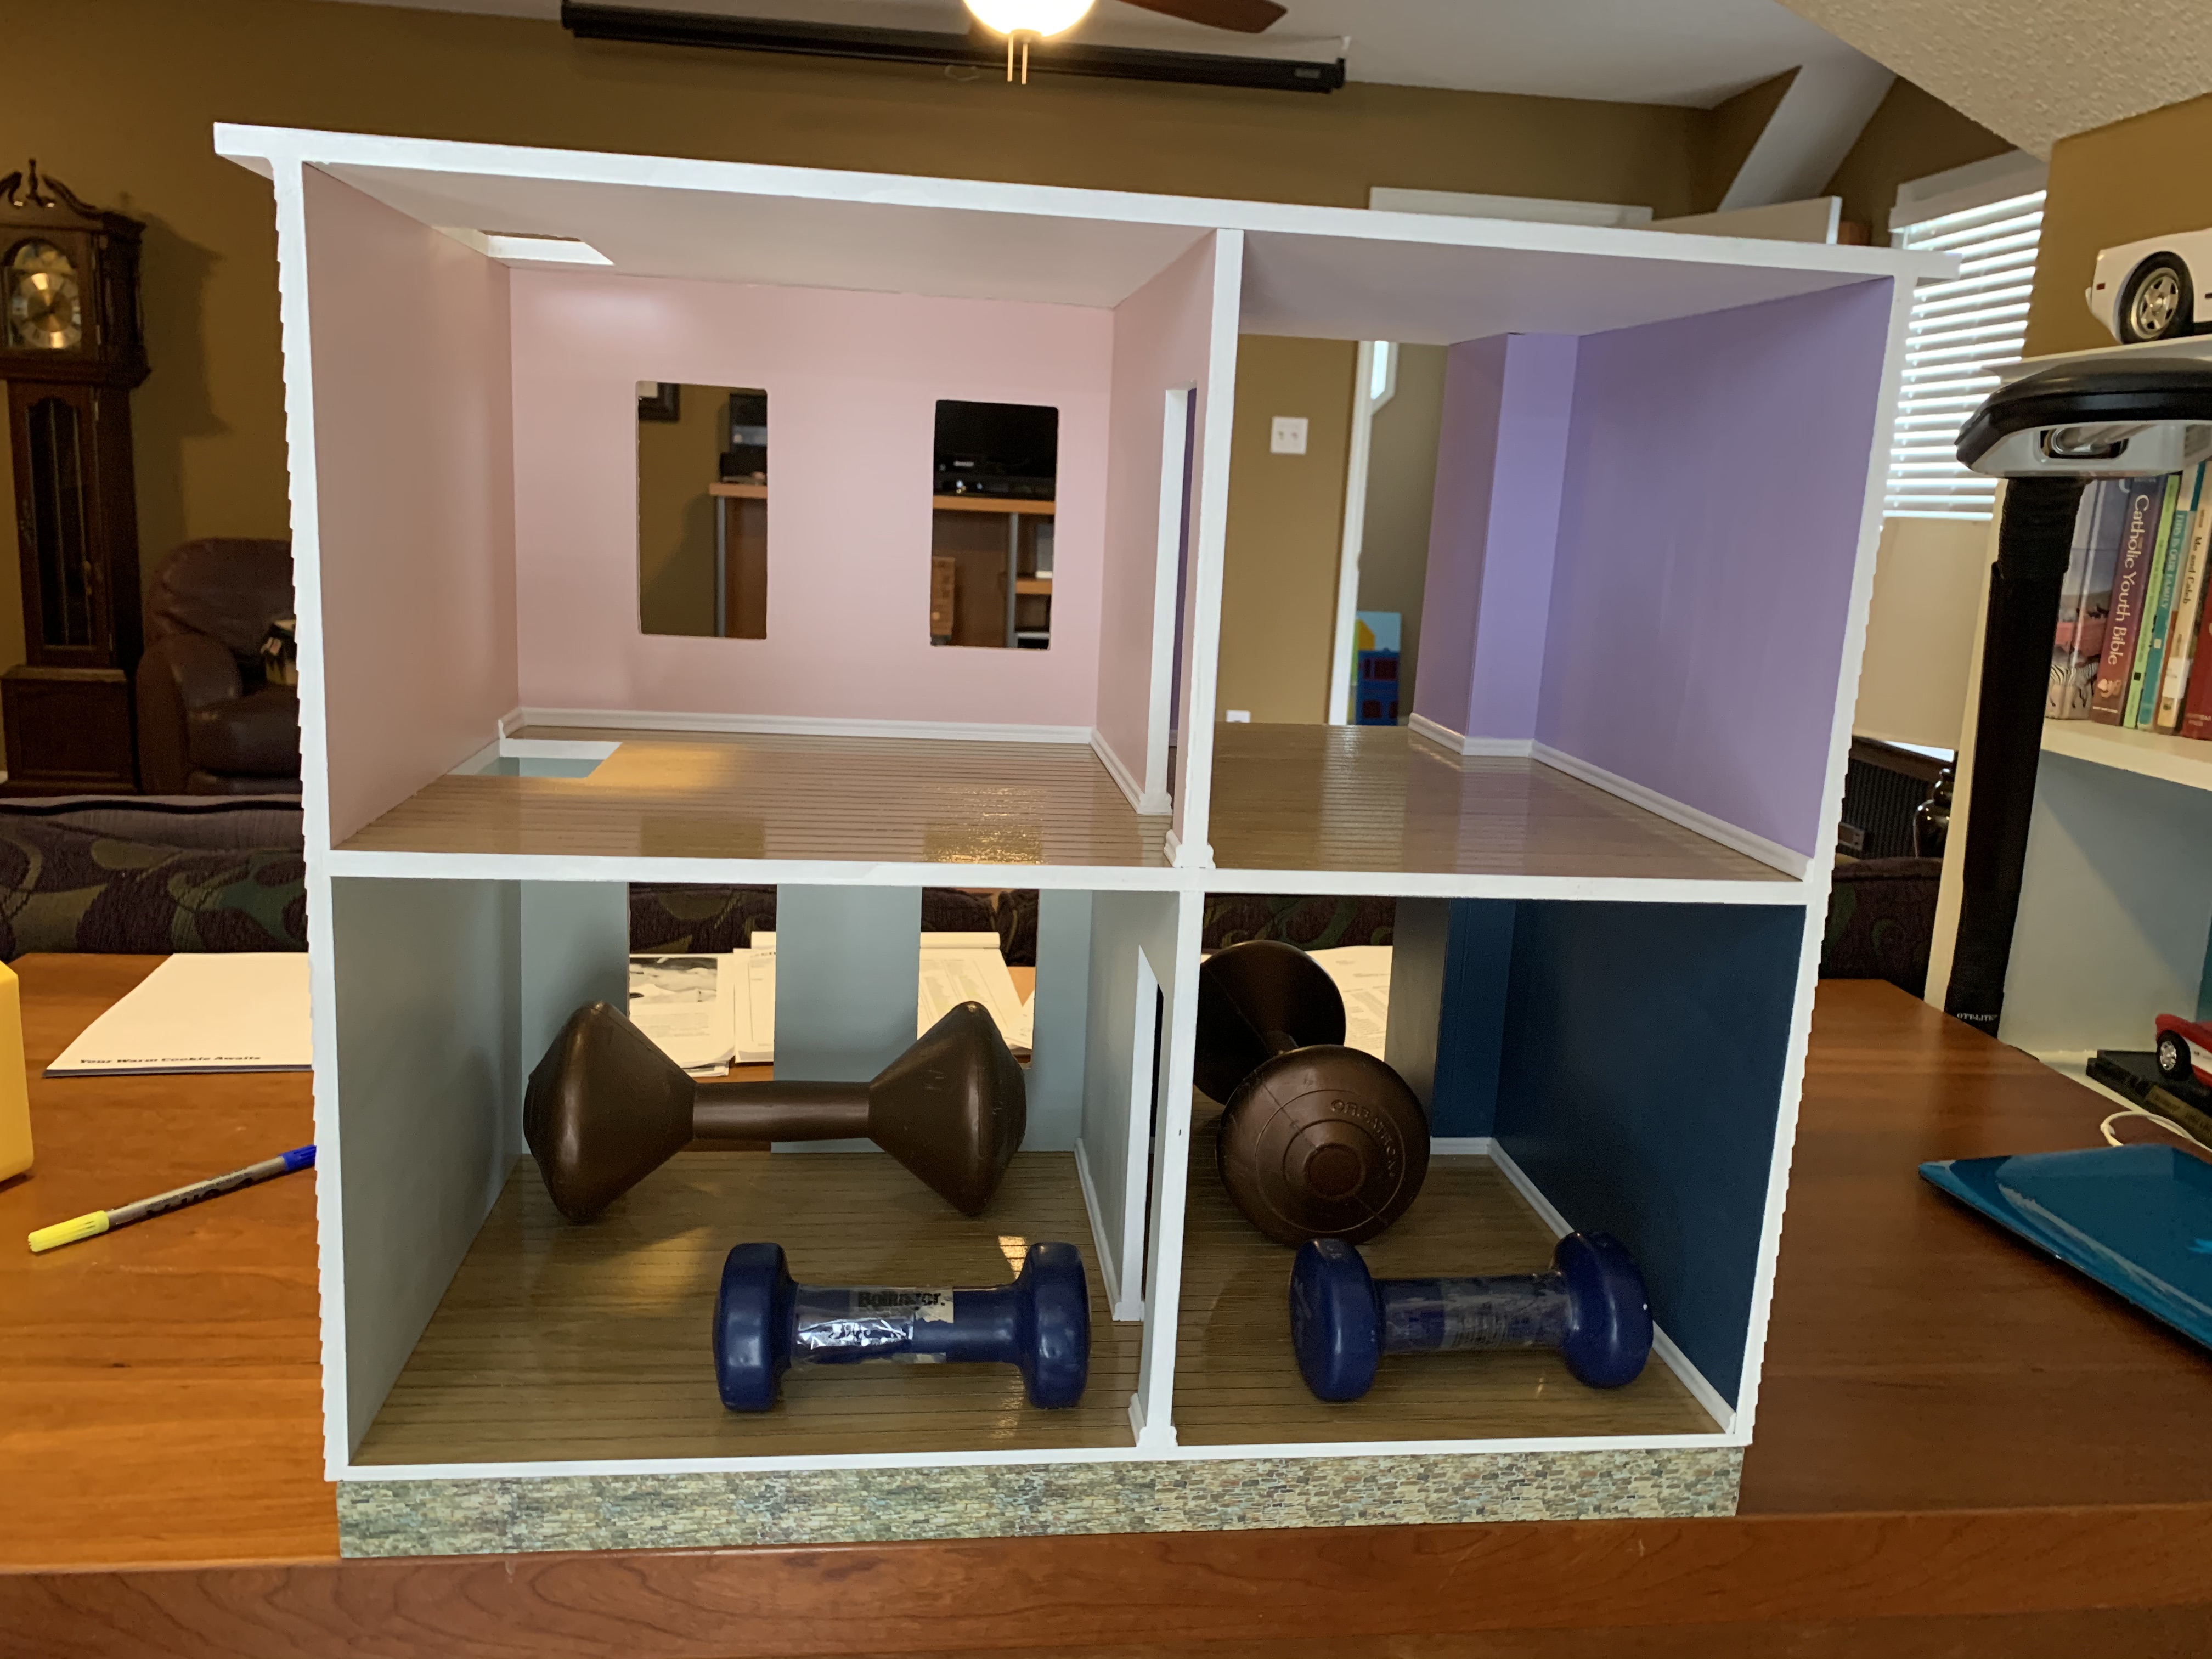
First up was to glue the middle (second) floor to the right-side wall. Once this had dried, the left-side wall was also glued. I used hand weights to ensure the glue bonded tightly since there would be no screws securing the walls to the floors (the interior wall I used to square up the fit).
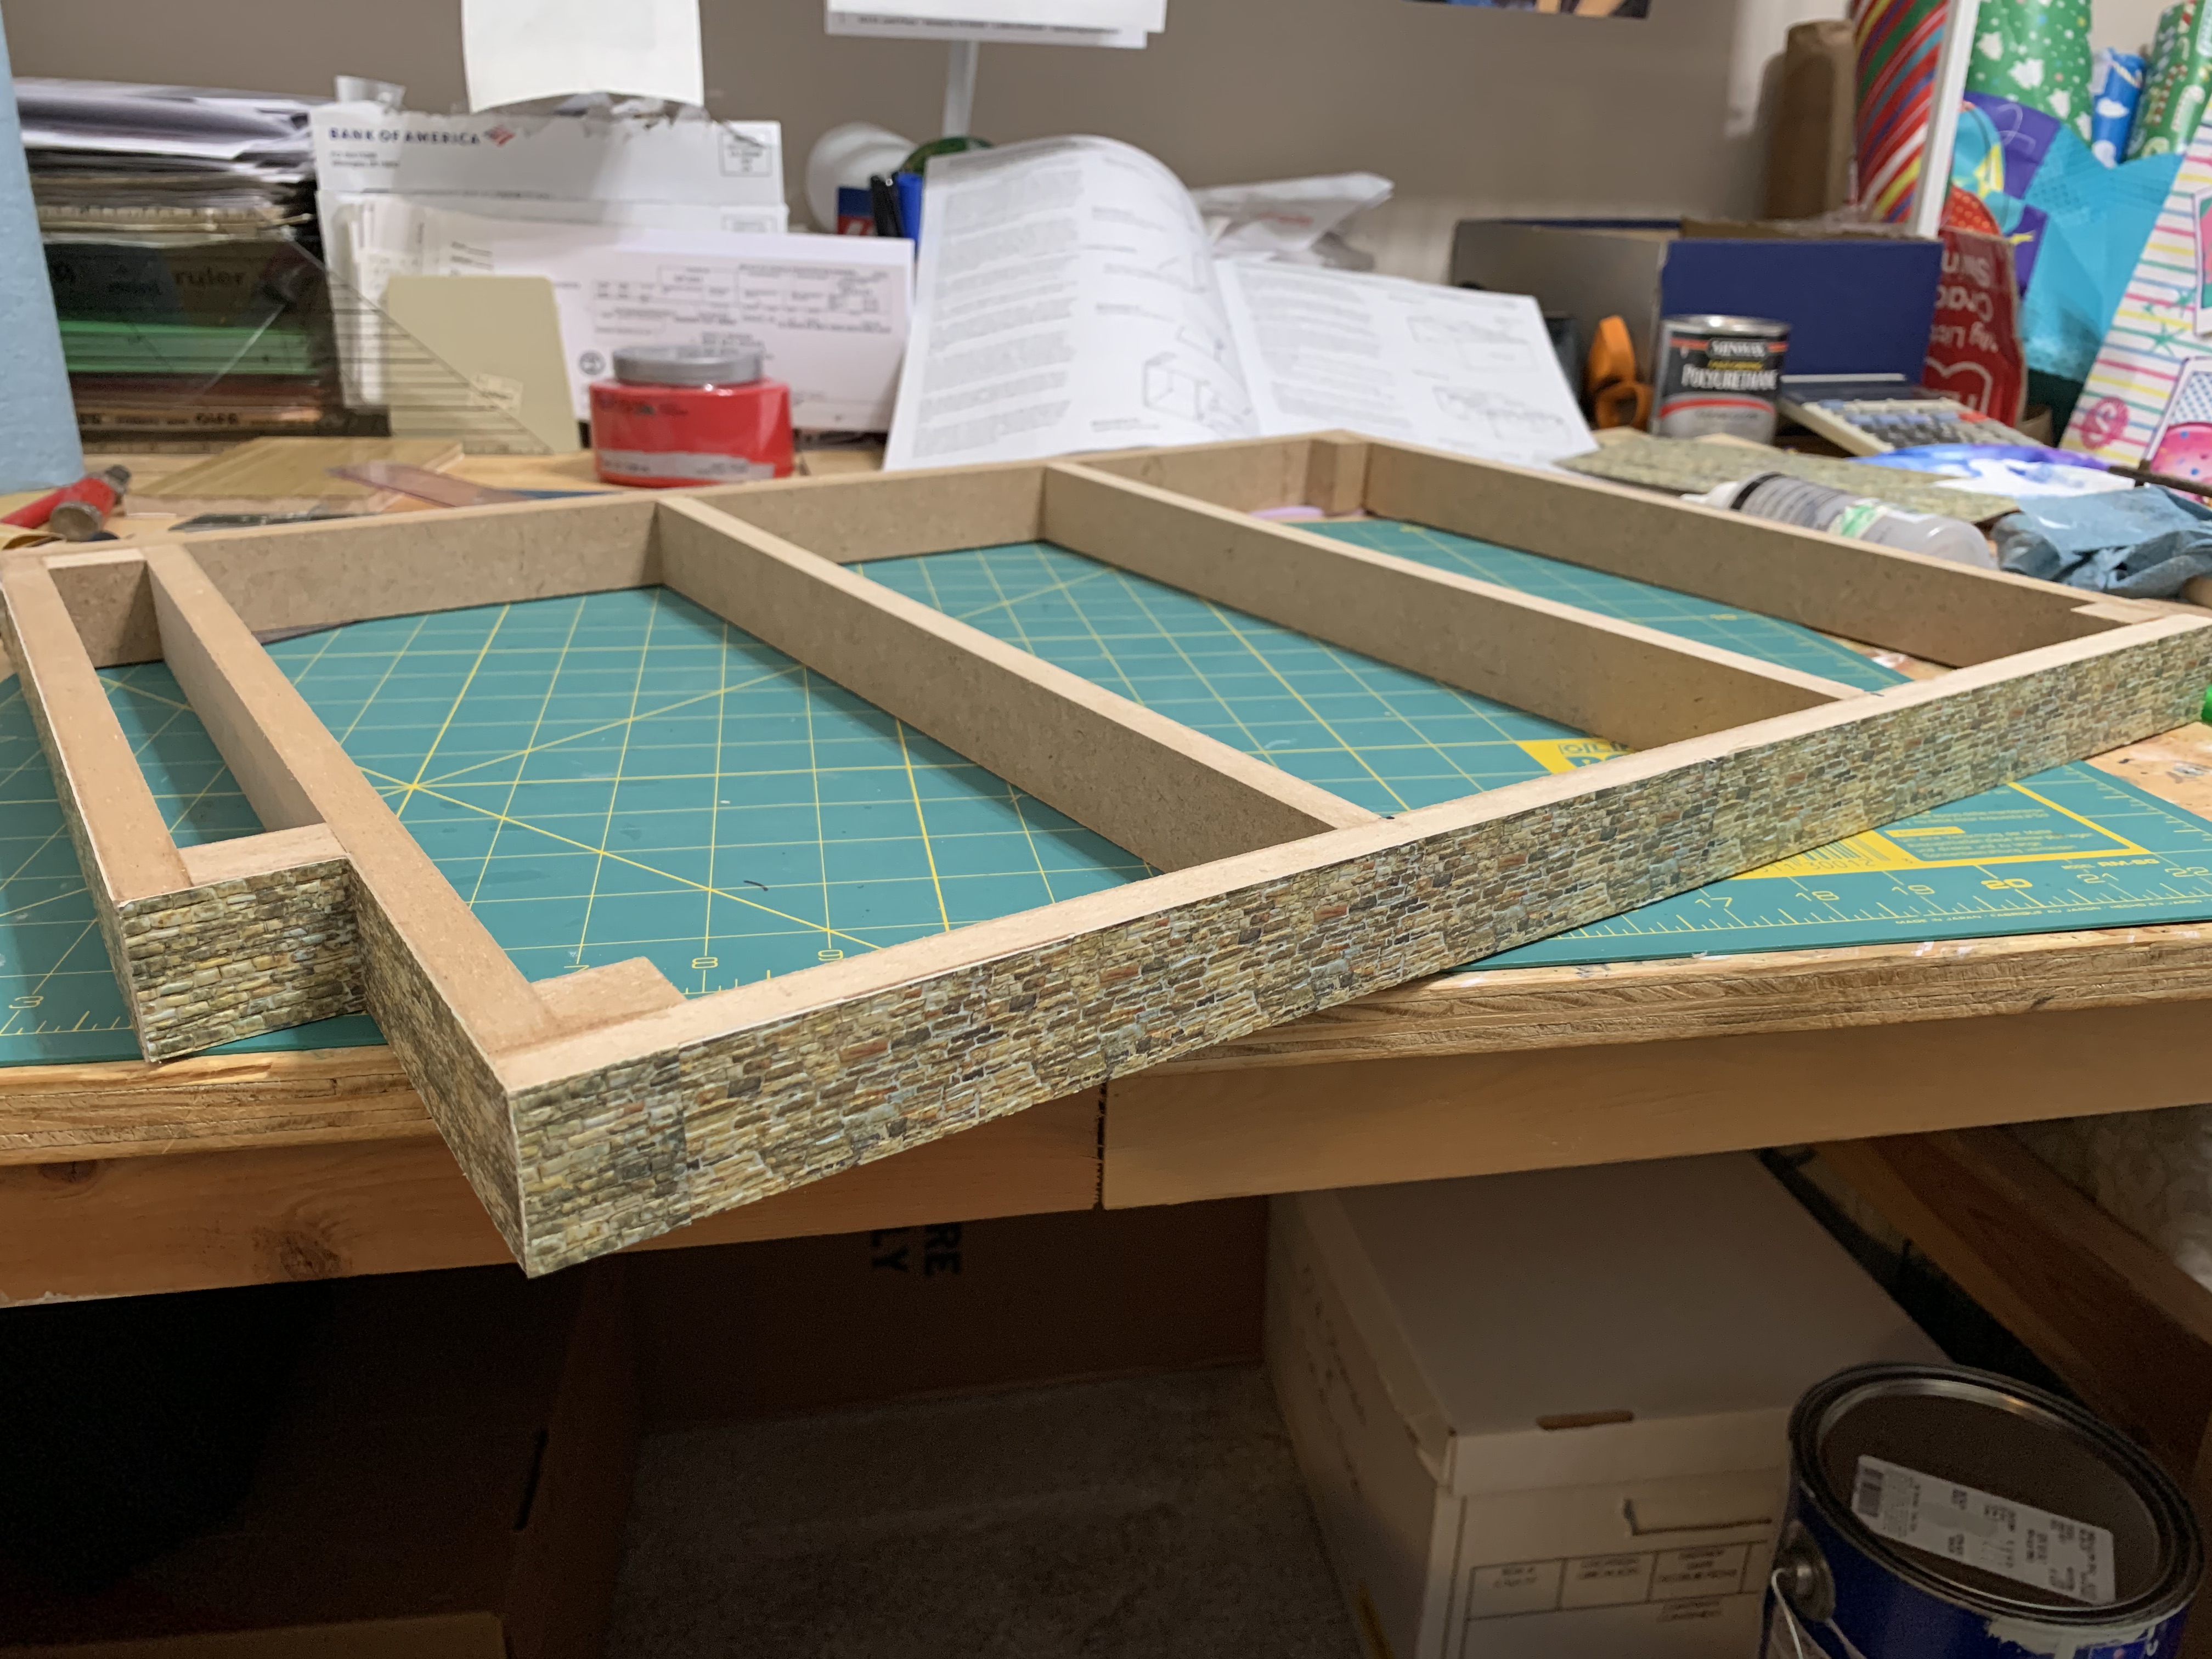
After gluing the first floor to the walls, I had the beginnings of a box.

Allowing this subassembly to dry overnight, I next glued on the right front side of the house. This step I followed precisely the taping instructions as there was no other way to ensure the top of the front and side walls were square since the top floor, when installed, would actually overhang the walls; not fit into grooves like the first two floors. This step also had to dry overnight to ensure a strong bond.
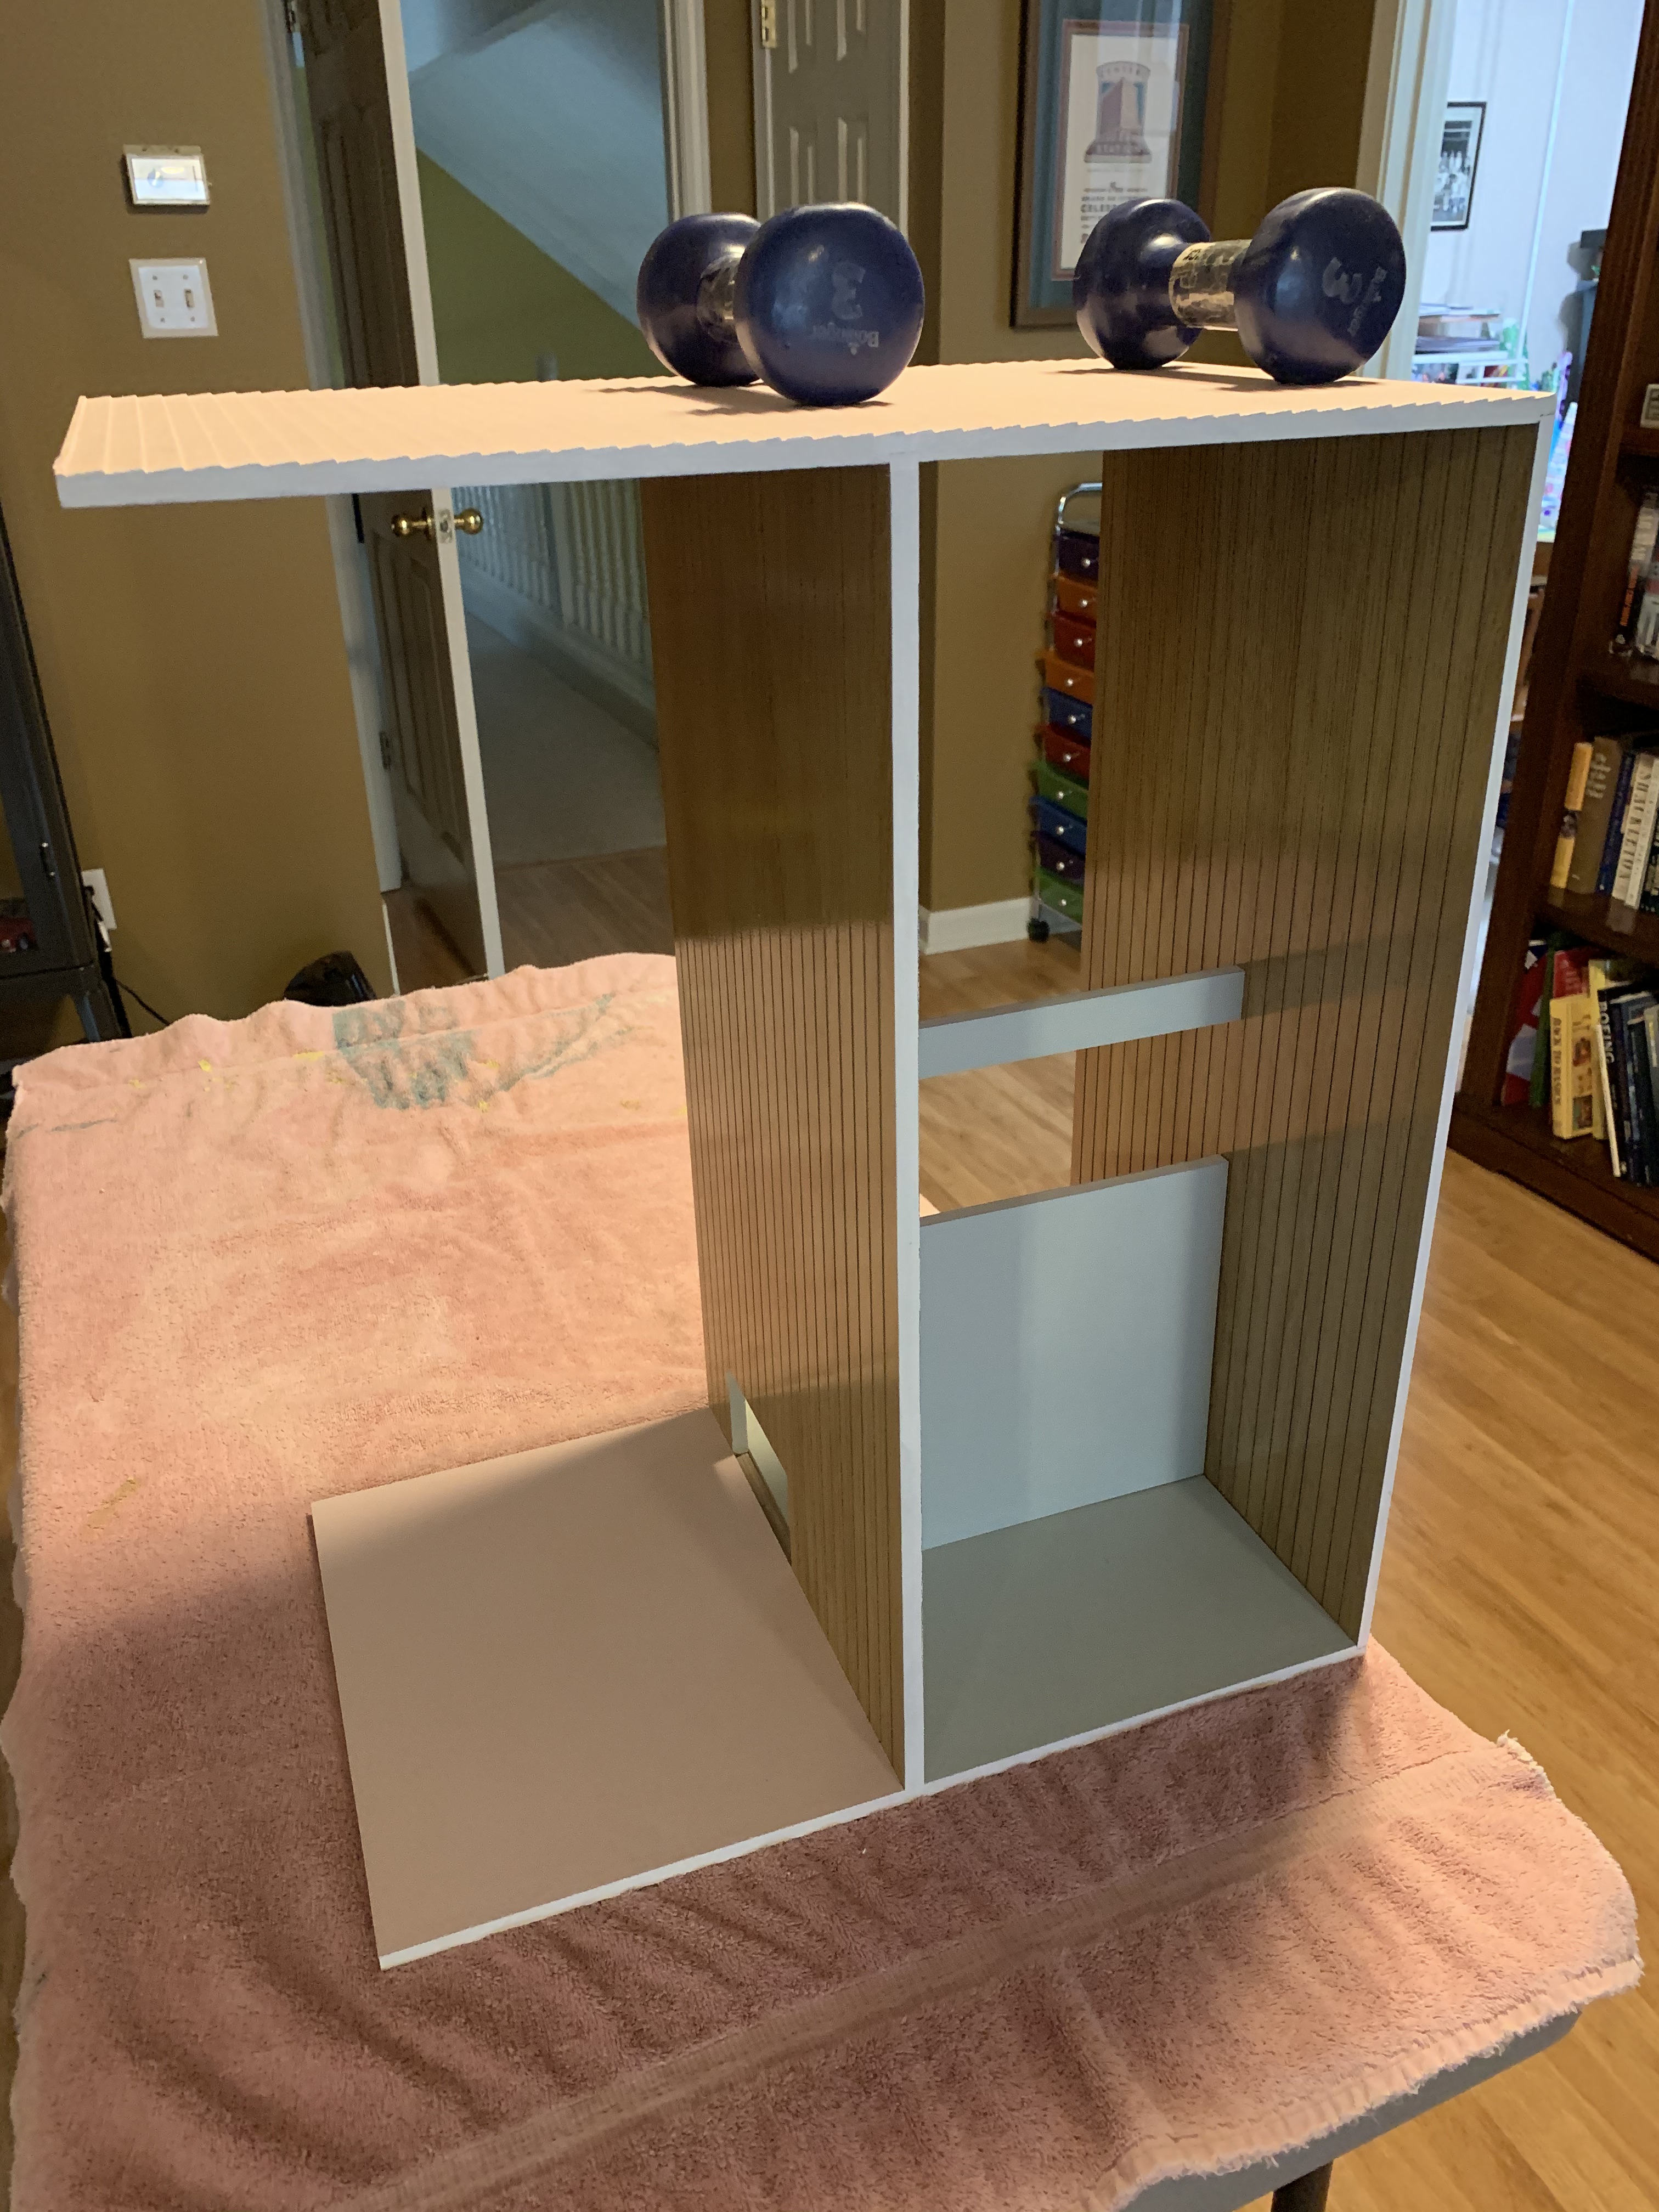
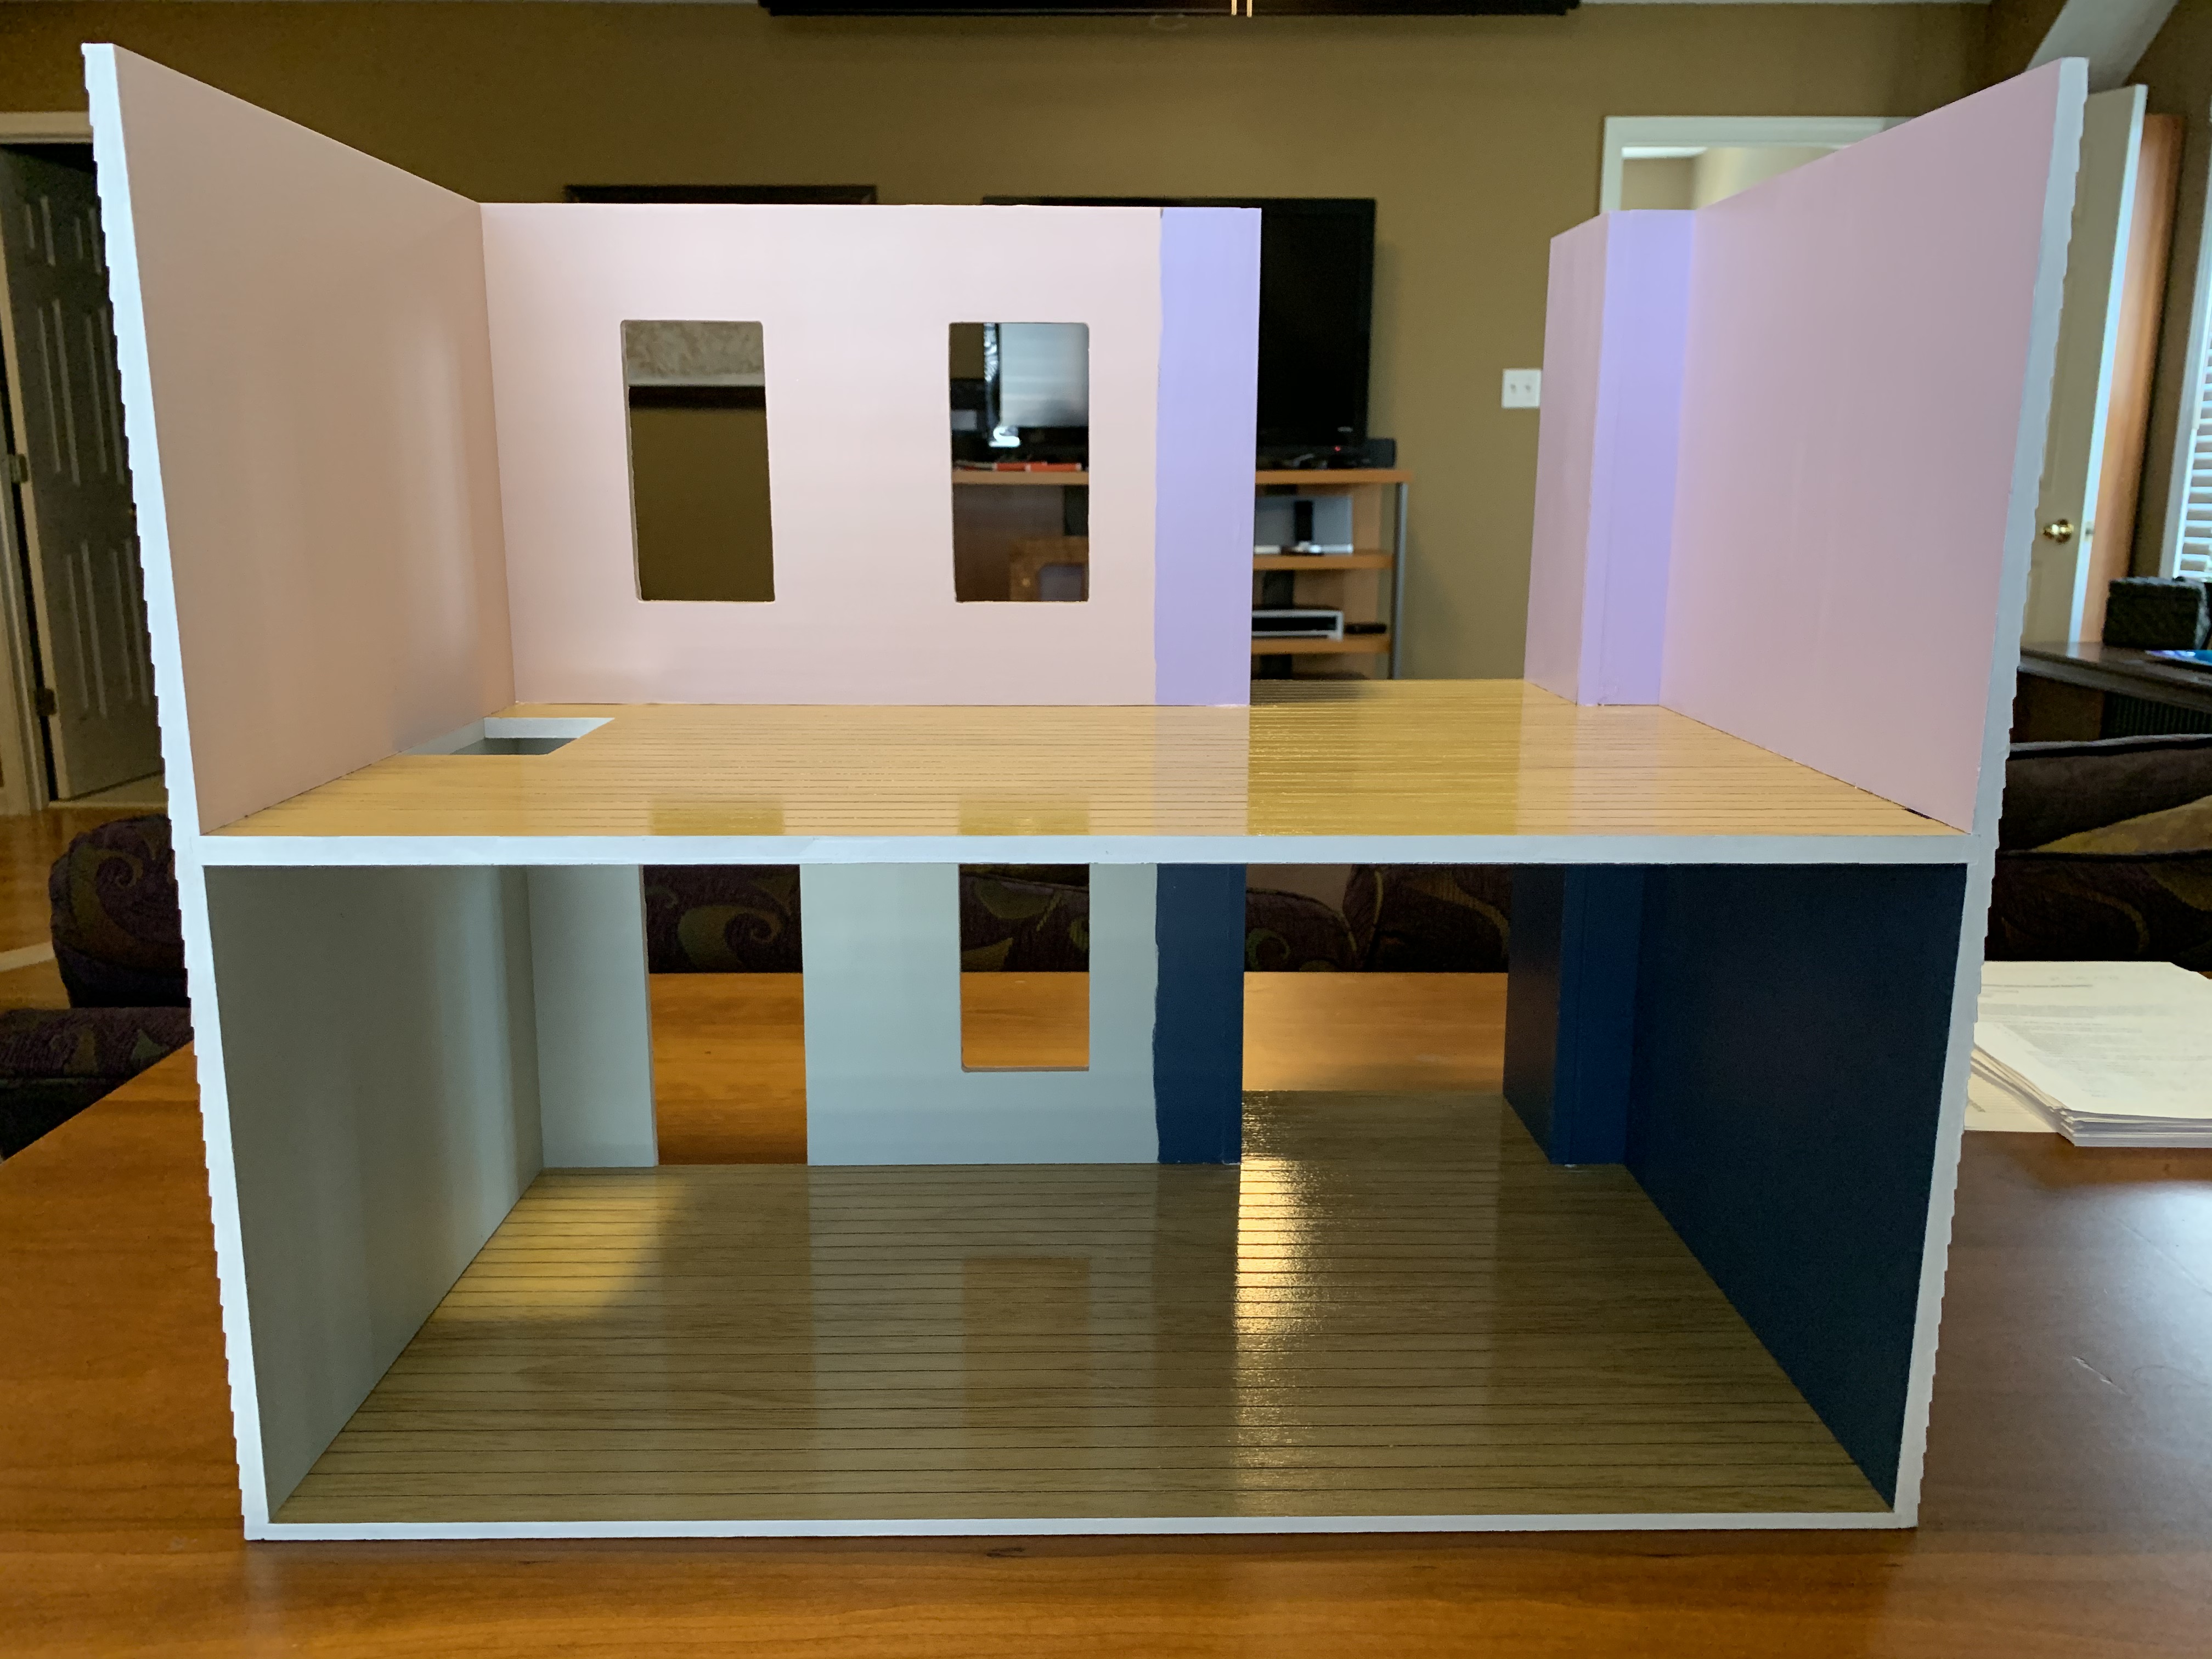
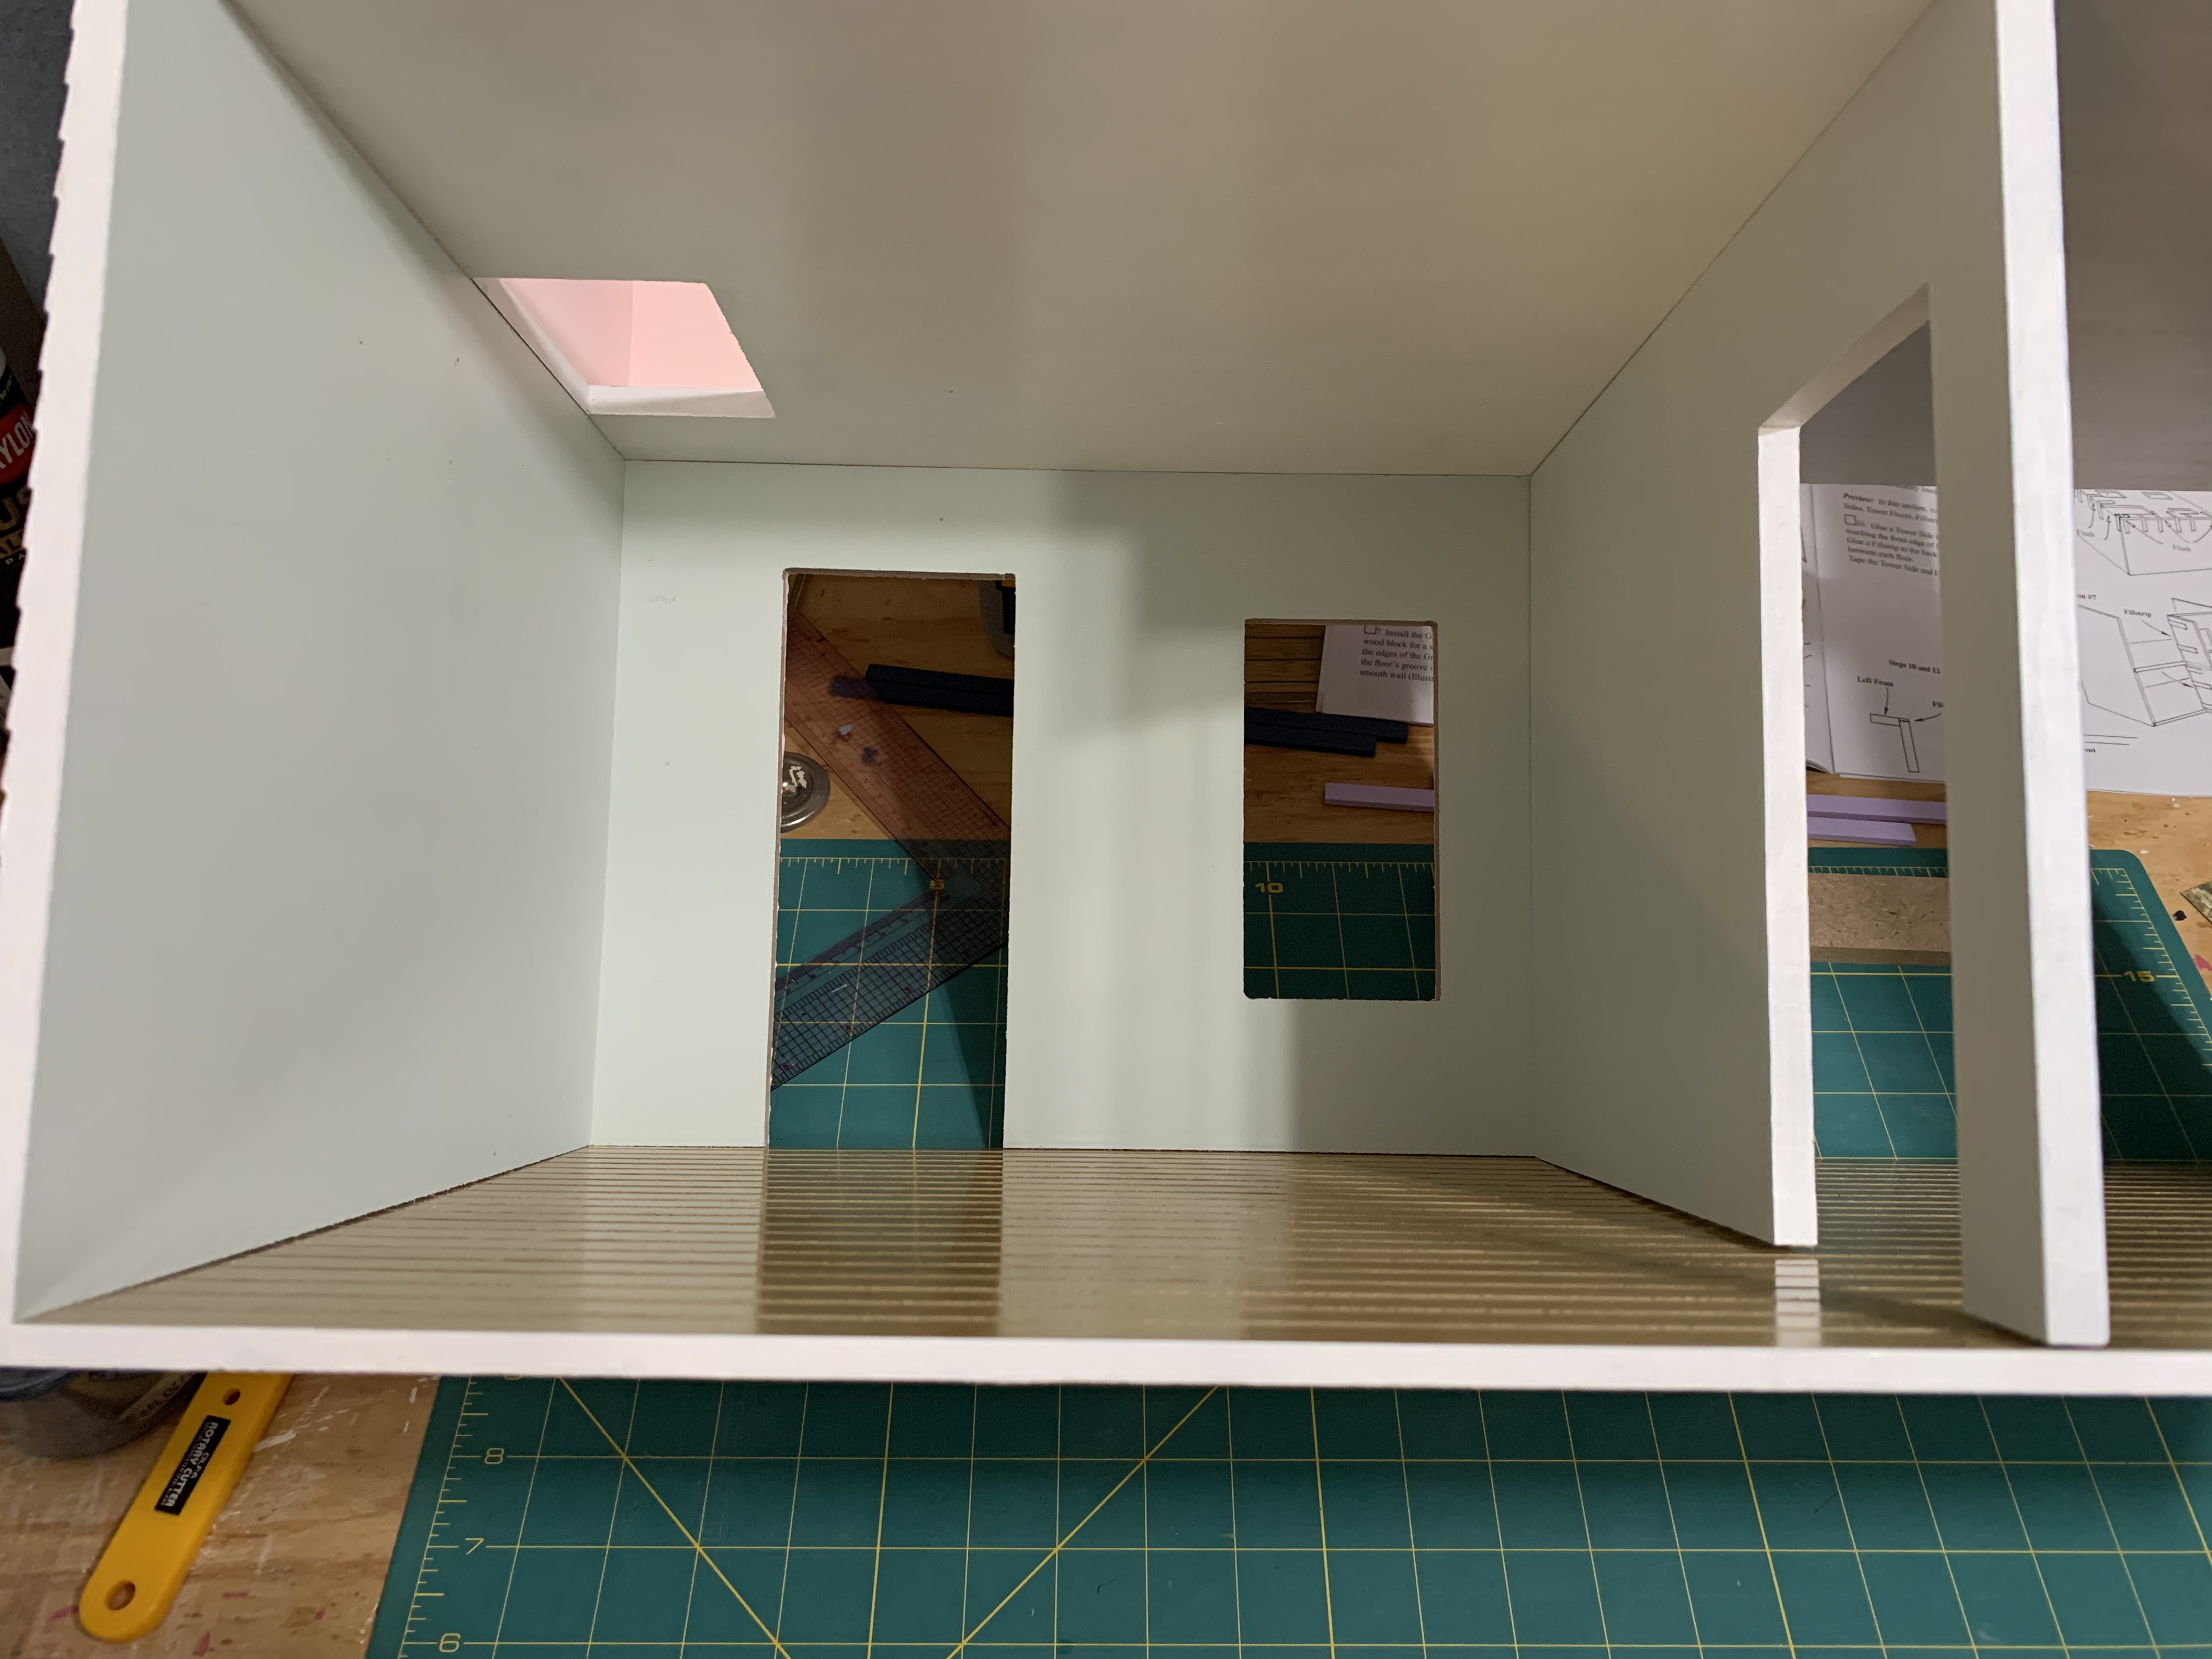
Once this front wall had thoroughly dried, I could stand the house back up and peer into the interior of this growing miniature mansion.
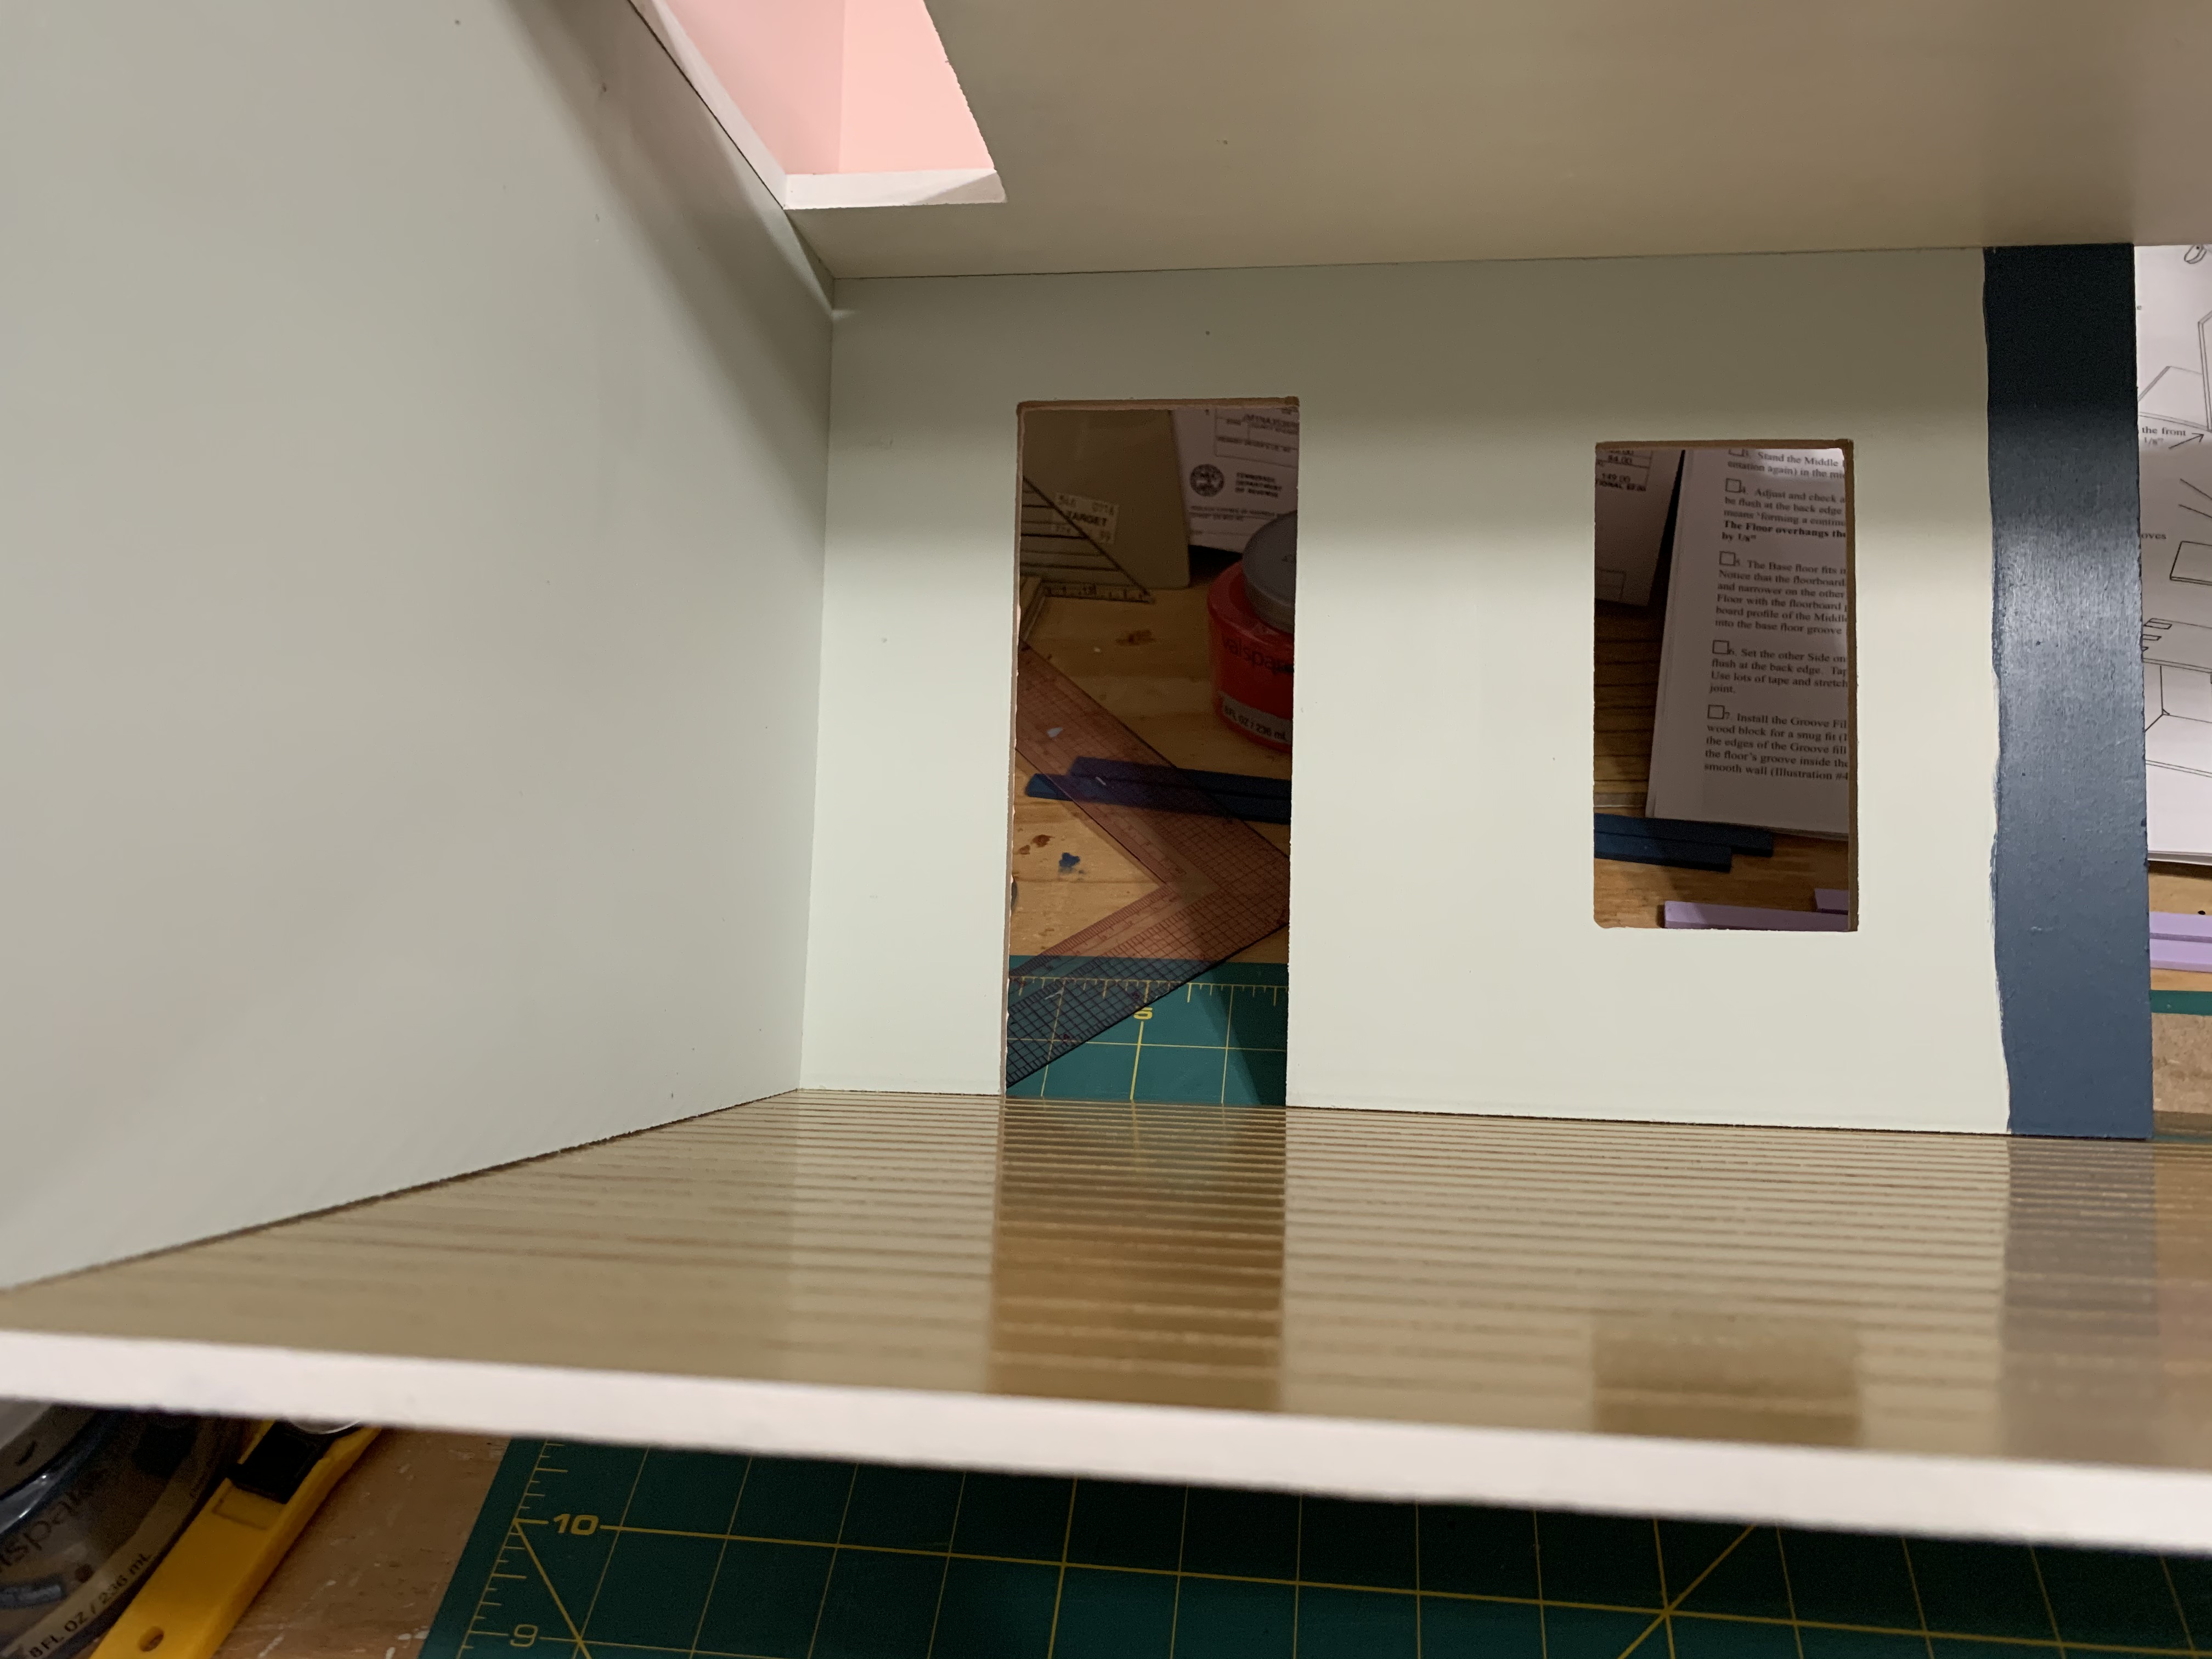
But as I looked more closely on the first floor, I noticed several gaps between the wall and floor. Looking ahead in the directions, I saw that there were no baseboards included in the kit, although the instructions conveniently indicated they were available for additional purchase. Since I was trying to make this dollhouse as nice as possible, I opted to spend the extra money and get baseboards. When I went back to the hobby store, I was pleased to see they had them in stock and pre-finished in white no less.
As I continued to glue on additional sections of the front of the house, I was most impressed with how everything fit together so nicely. I know I originally complained about the material from which the house was made (MDF) but this company definitely went the extra mile in engineering and precision cutting the pieces. Maybe being an engineered wood product allowed this level of precision since random odd grains found in virgin wood were totally absent.
Stepping back, now I could see it was really starting to look like a miniature house—and I was having a blast building it.
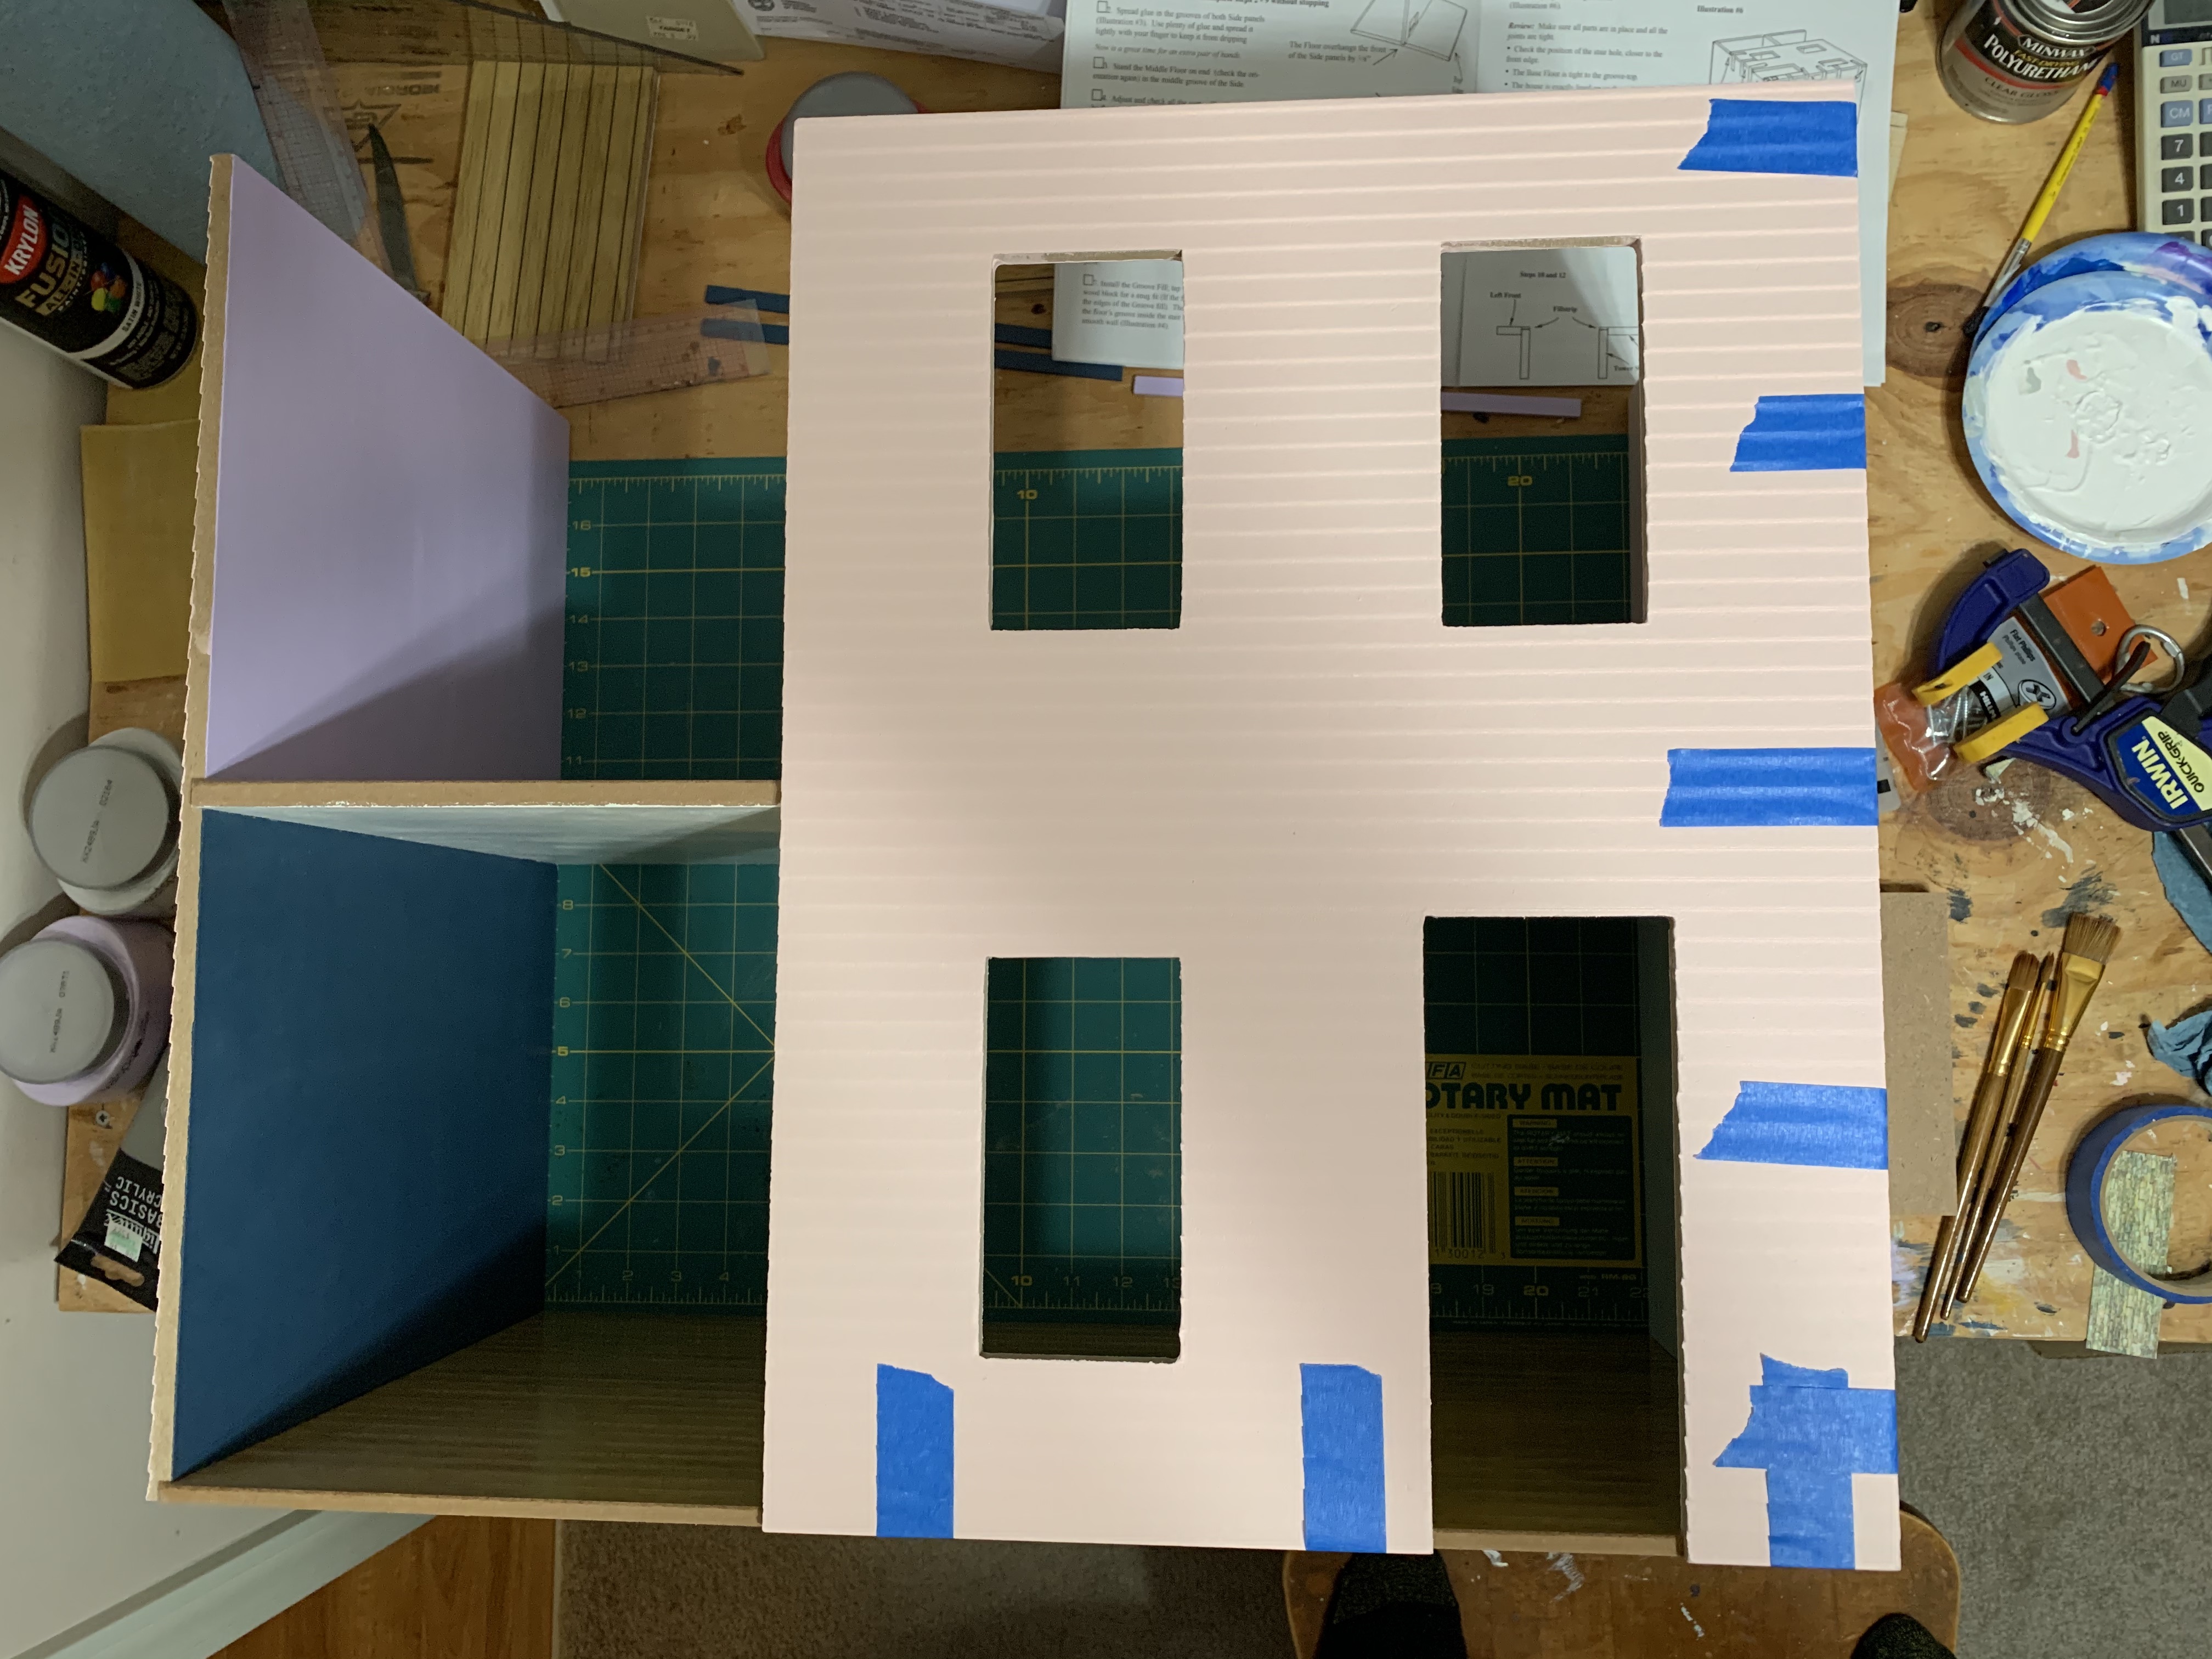
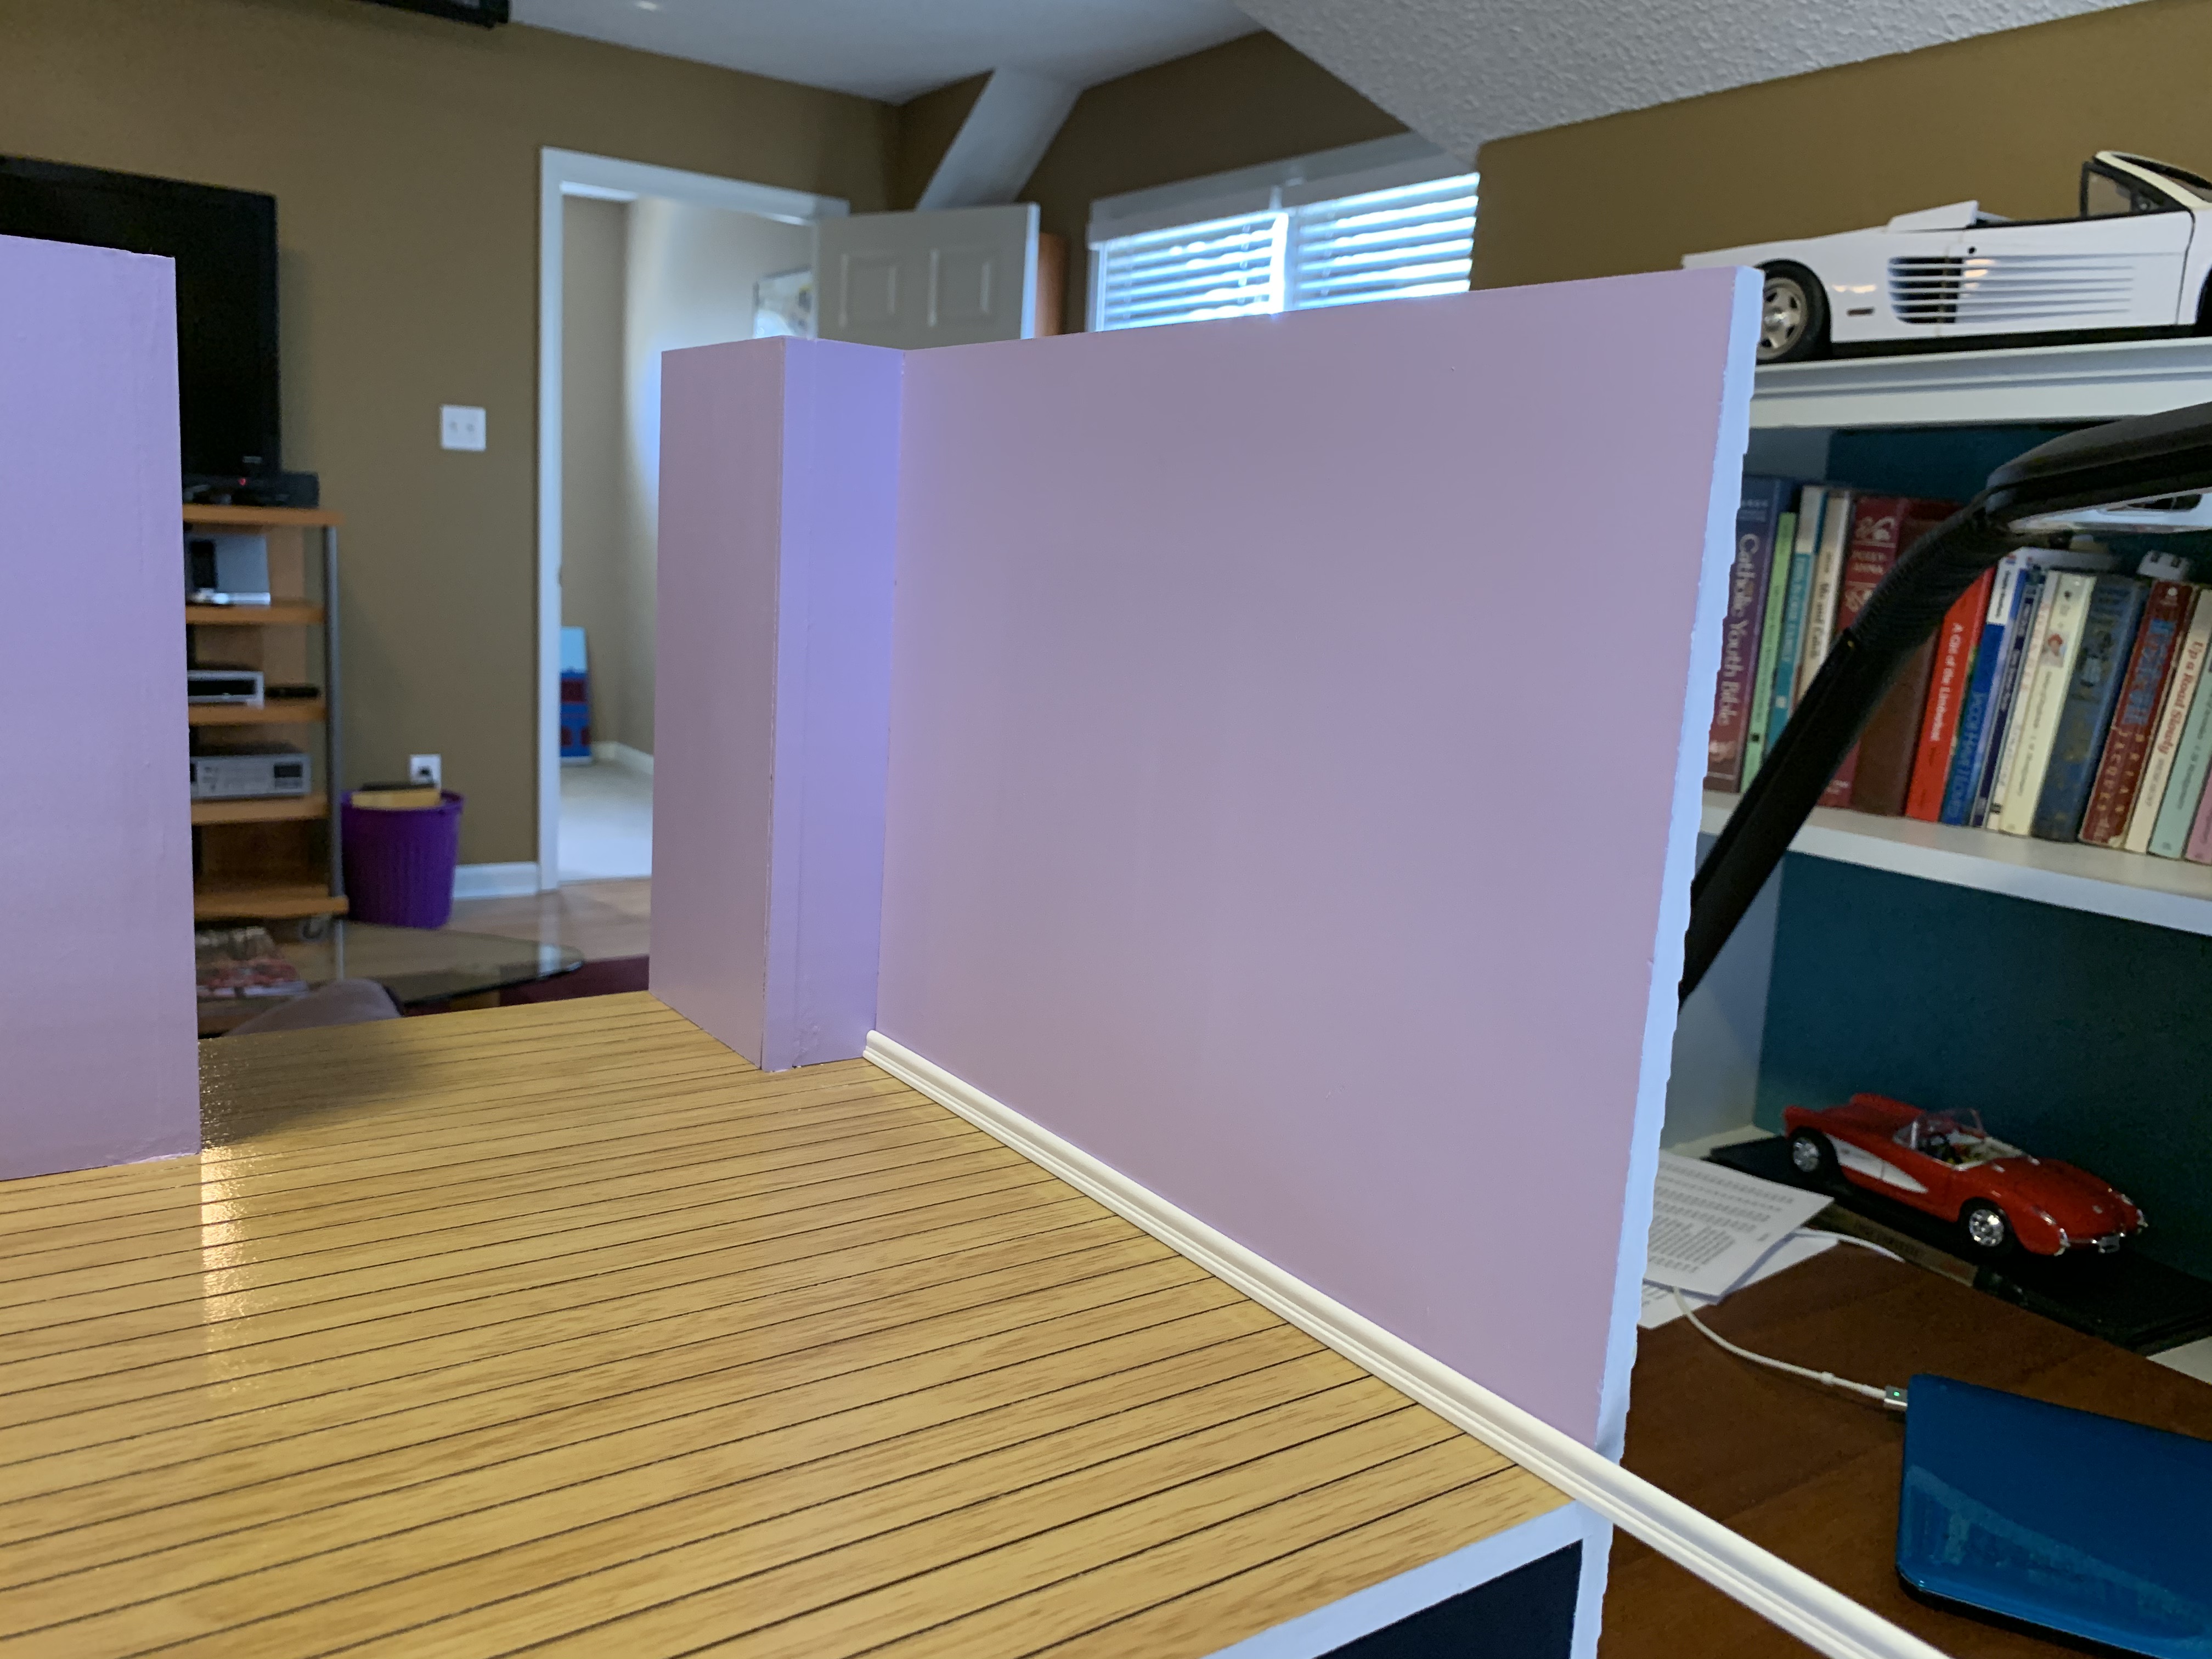
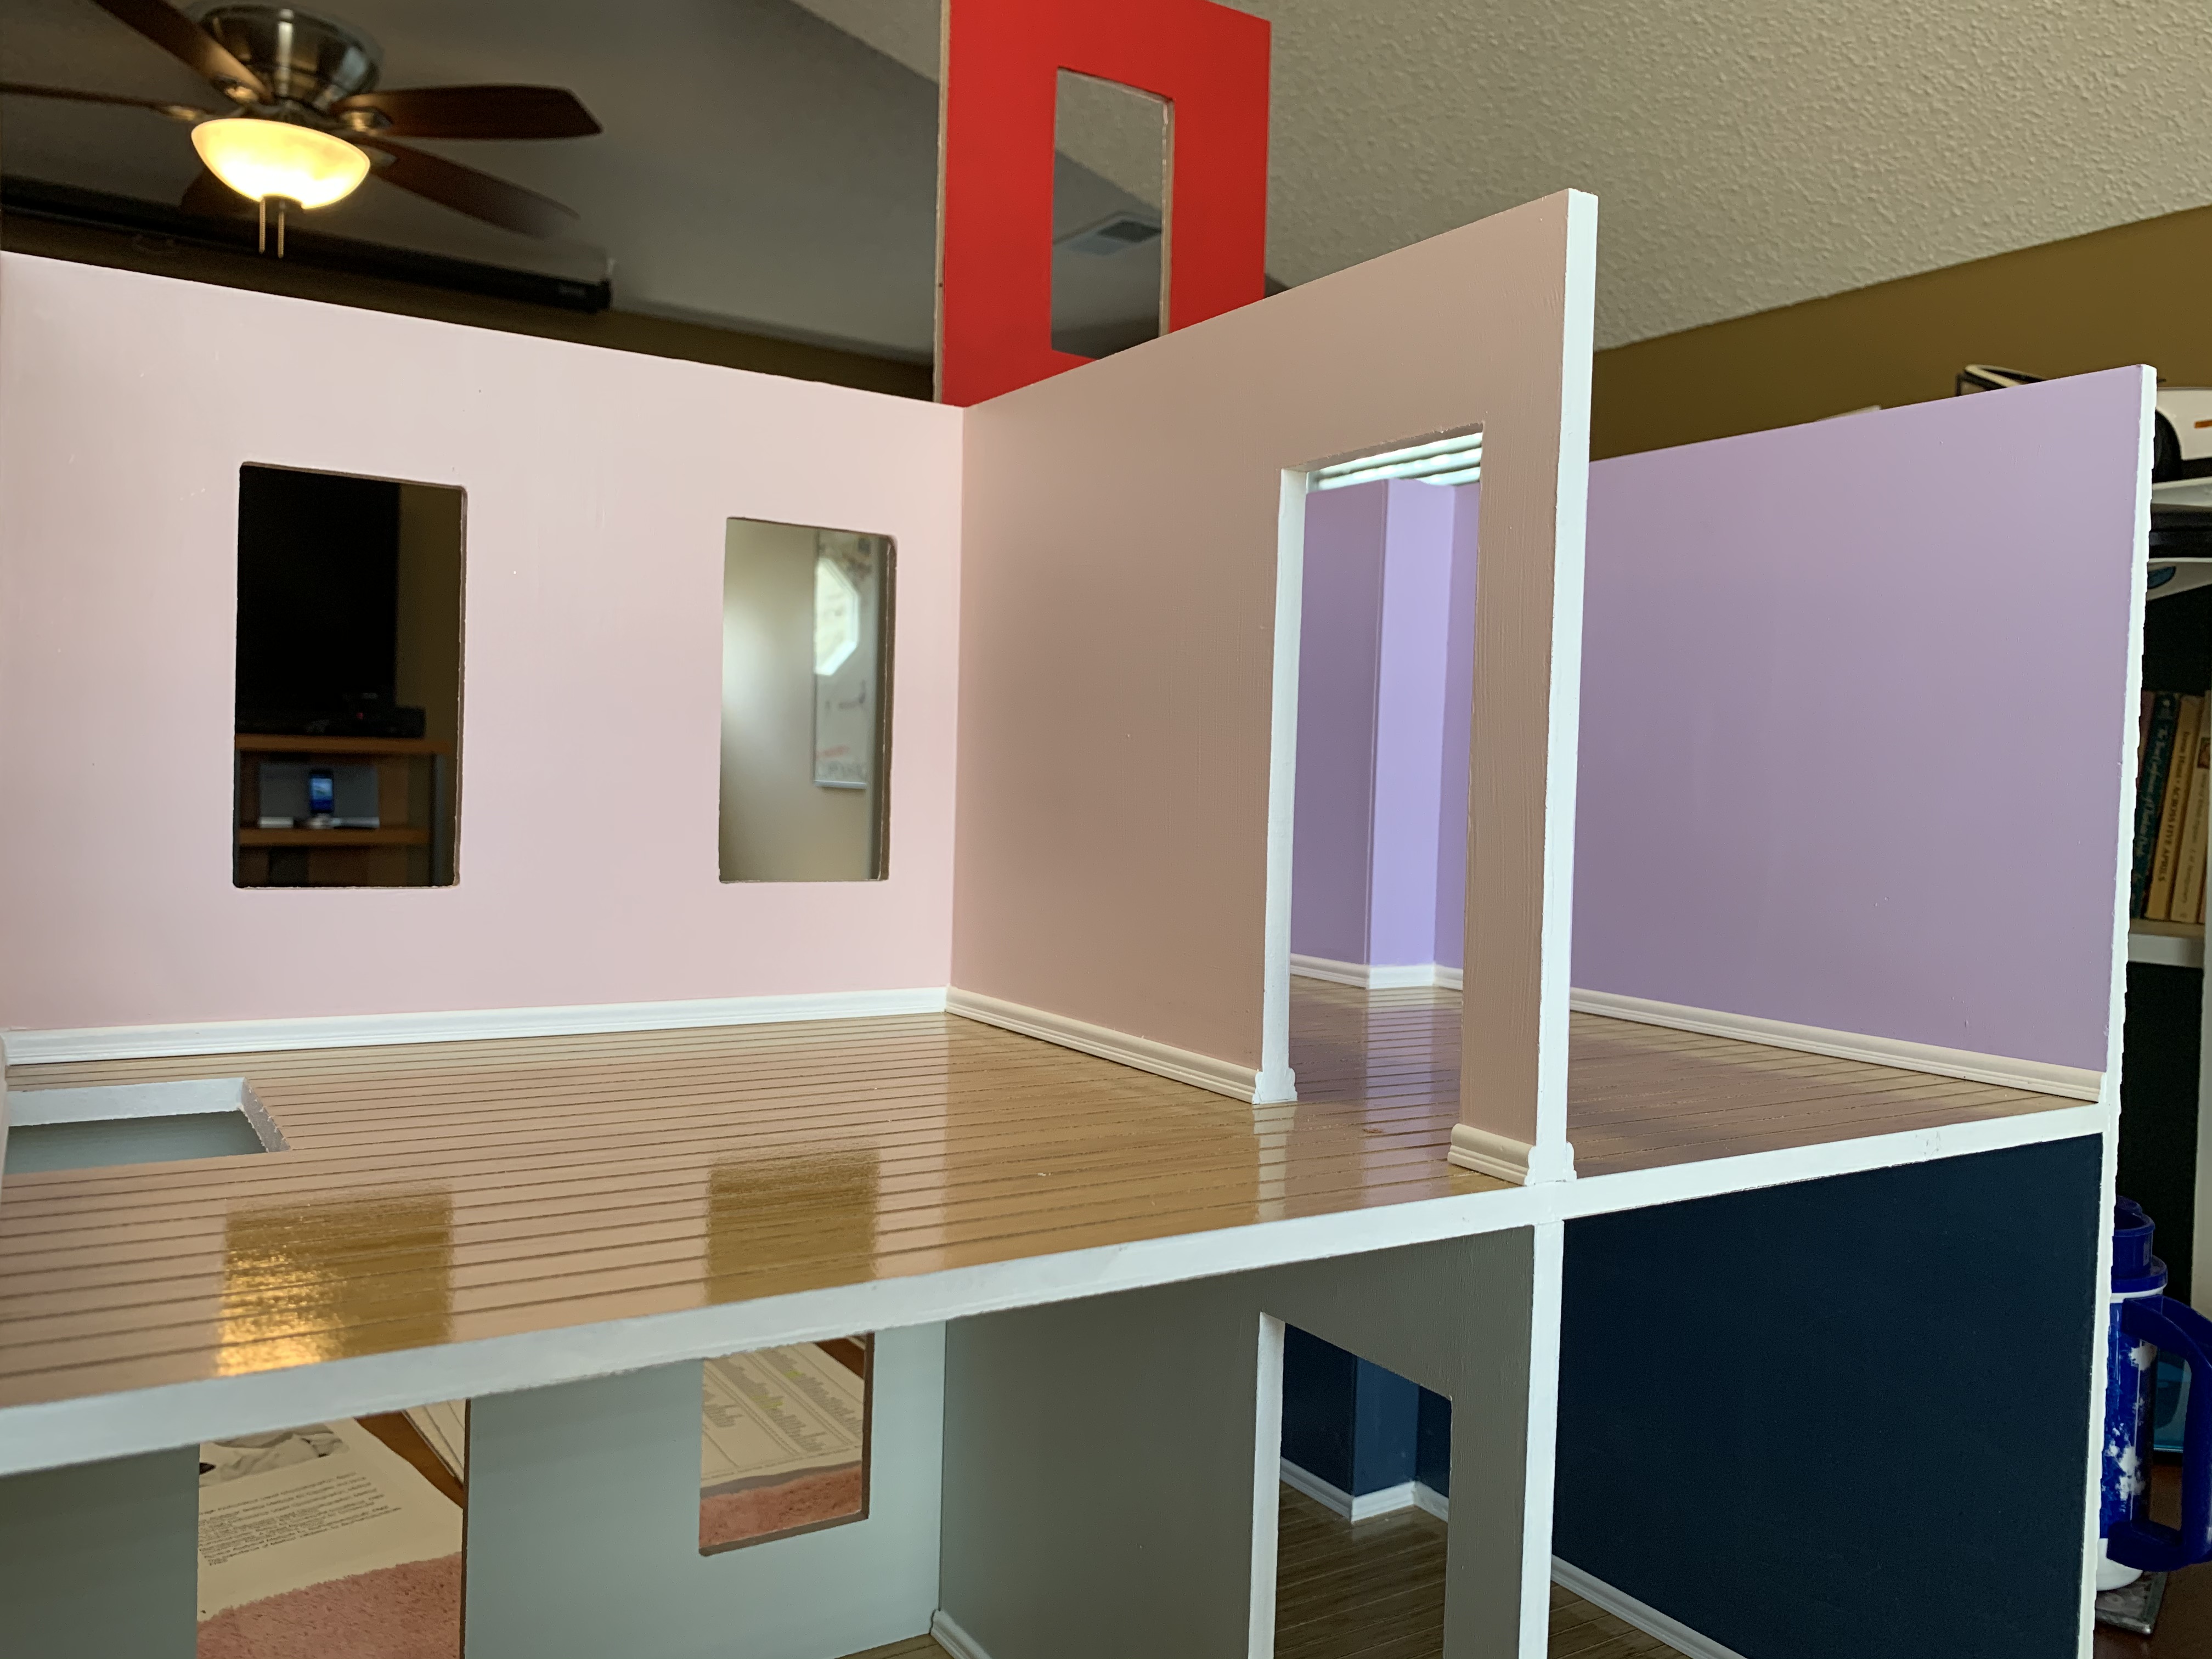
At this point, I deviated from the instructions in several regards. First, in the directions, installation of the three interior walls (what made two rooms on each of three floors) was not performed until the end of the building process to allow flexibility in their placement based on the size of the furnishings you chose to purchase. However, this meant the entire interior of the house would have to be painted all the same color (I guess not unlike a new construction home). But I wanted to make each room a different color to make it more realistic so I had to figure out the wall placement up front so I could paint each room.
Second, knowing that these interior walls would be the most vulnerable to getting knocked down with rigorous play by small hands, I chose to screw them to the floor below and the ceiling above. For the first-floor wall, I was able to screw from beneath since the foundation would hide the screw heads. For the second and third floor walls, I could screw from the floor above down to hold the top of the wall in place but once those screws were in place, I couldn’t screw from beneath to secure the next floor wall. So, to overcome this dilemma, I left the screw heads about ¼ of an inch up (not flush with the floor) creating a “pin” that I could then hollow out the bottom of the wall to fit onto. This way, each wall was screwed in place from the floor above and anchored on these pins at the bottom.
Third, since I was going to install baseboards, I figured it would be easier before the rest of the house was built to install these now rather than trying to squeeze my hands into these tight tiny spaces. But little did I know what an additional challenge I was undertaking.
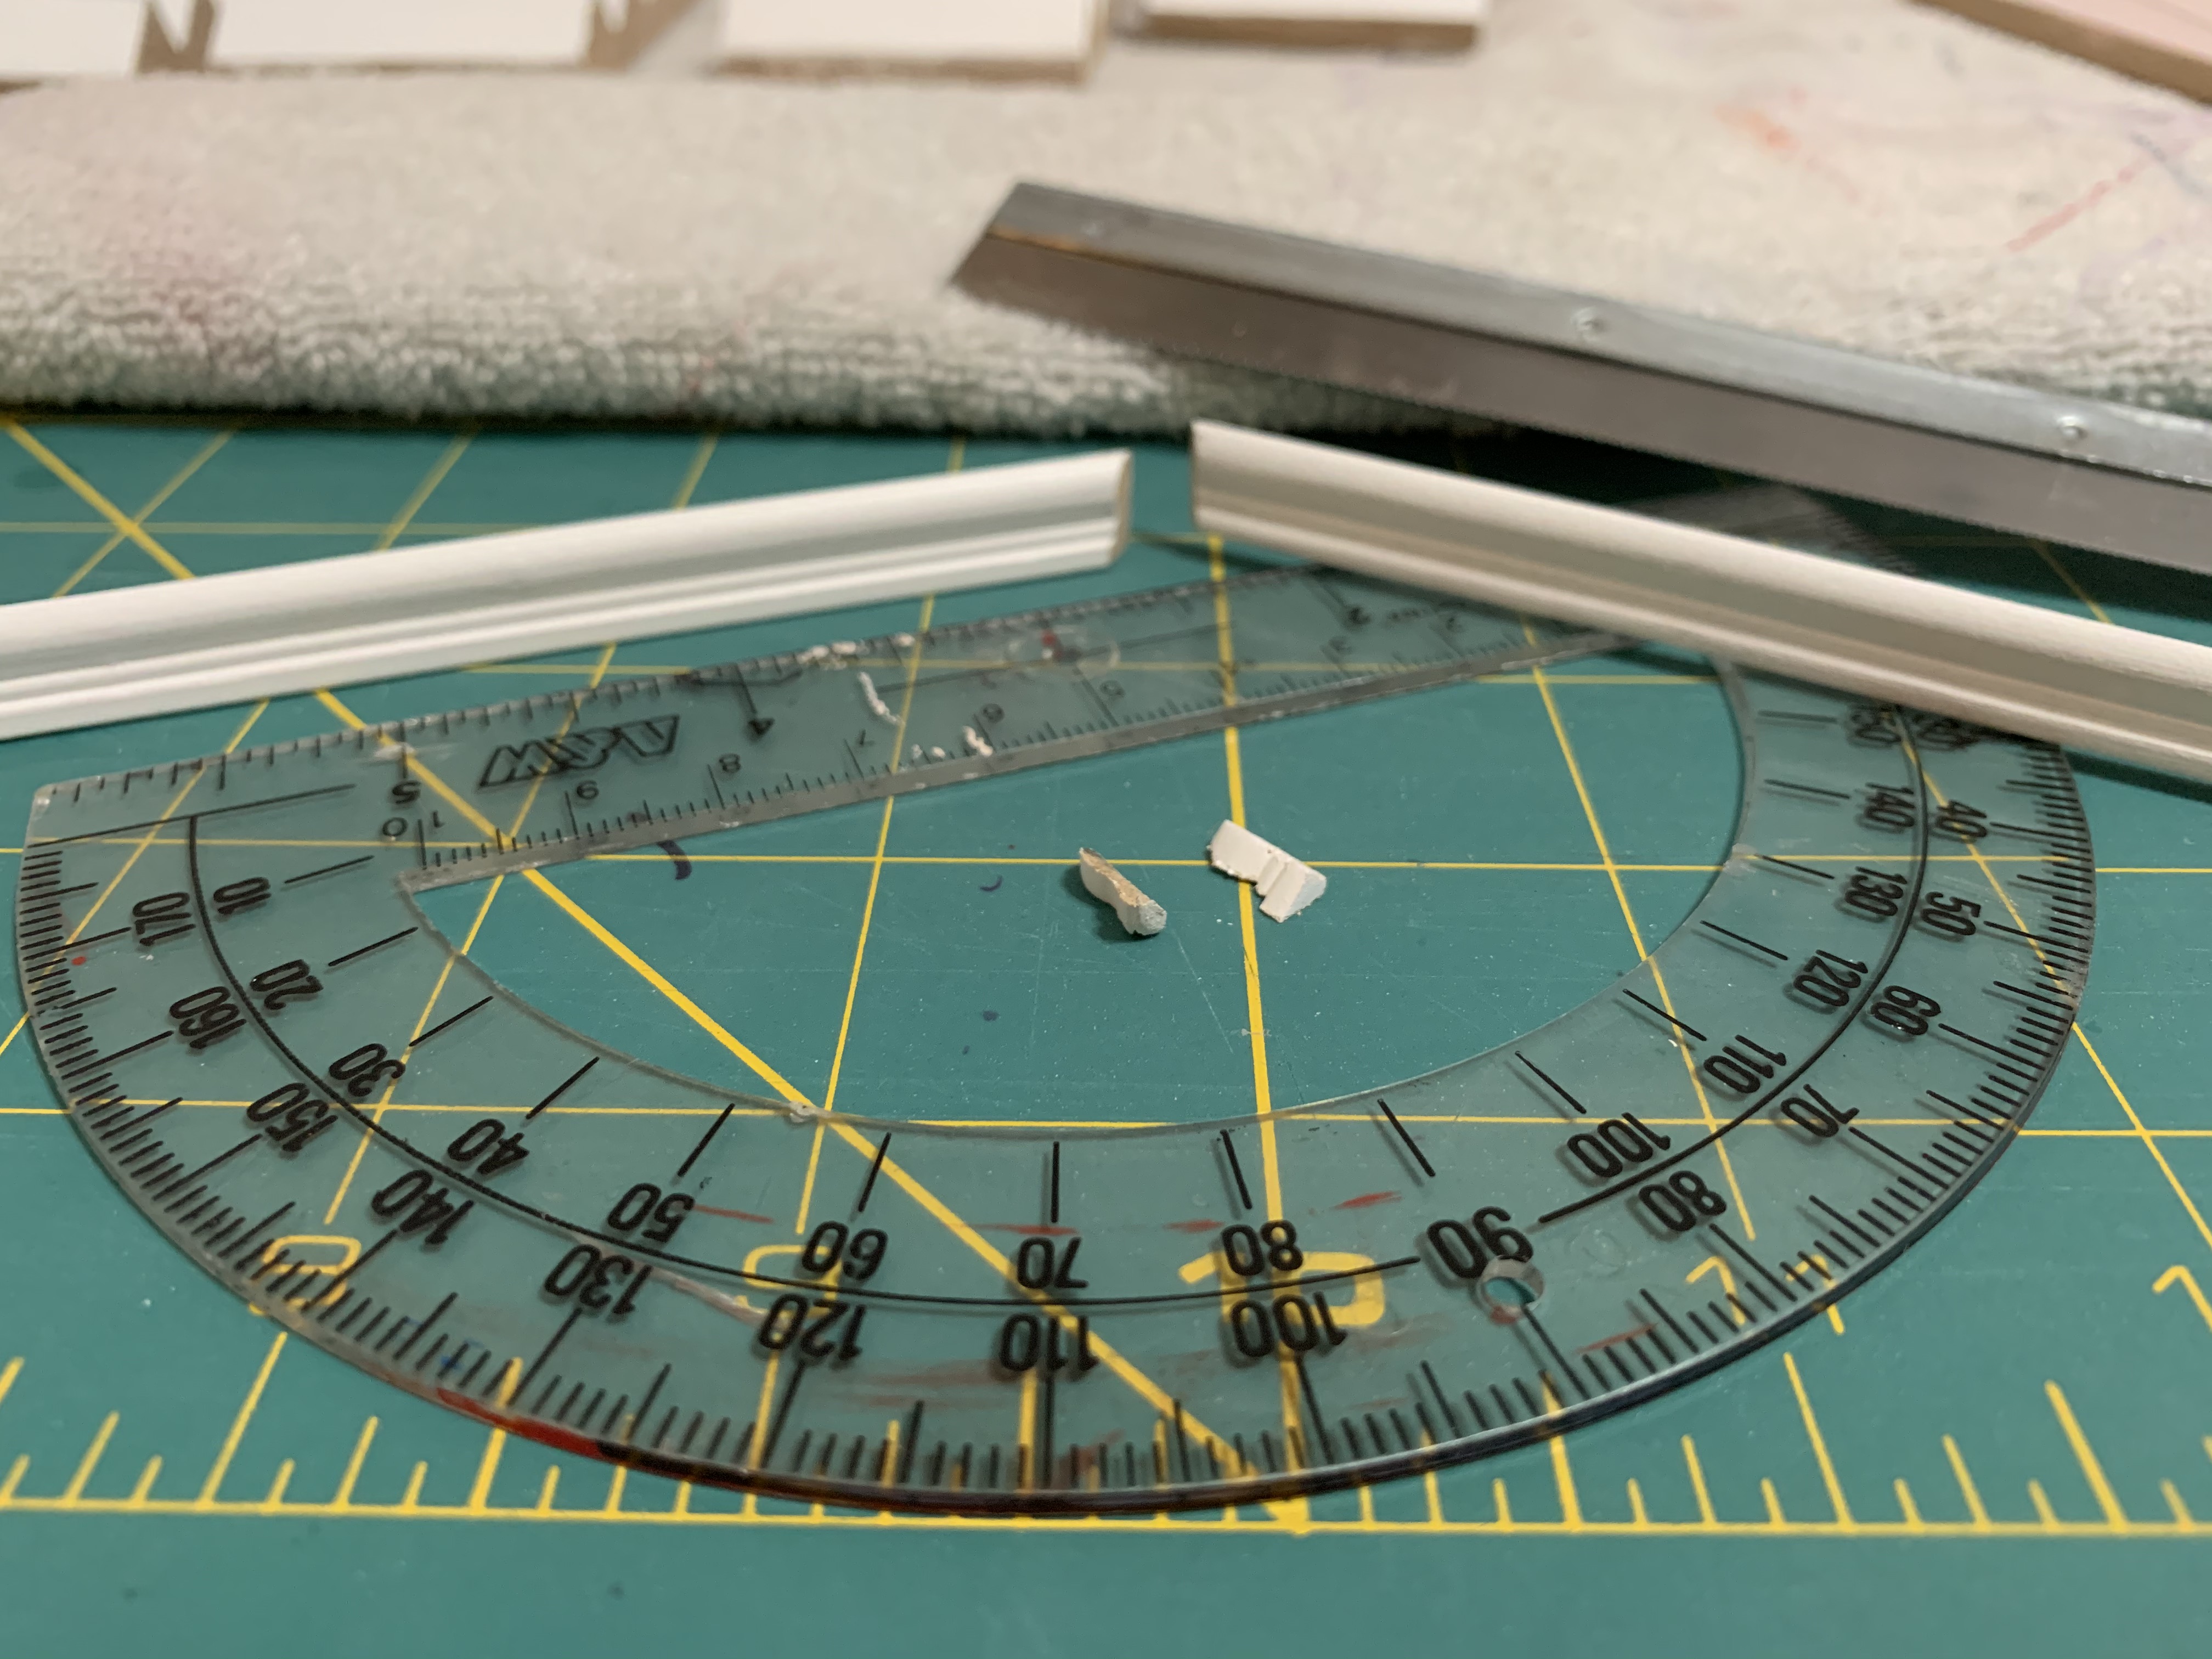
When I purchased the baseboards, I also purchased a very fine small hobby saw. But then I wondered how I was going to cut precise 45-degree angles without a miniature miter box. If you have read some of my DIY projects before, you know my mitering skills are not the greatest and I figured they would be even more difficult in 1/12 scale. But I came up with an idea to create my own little “pseudo” miter box using a compass taped to my work surface.
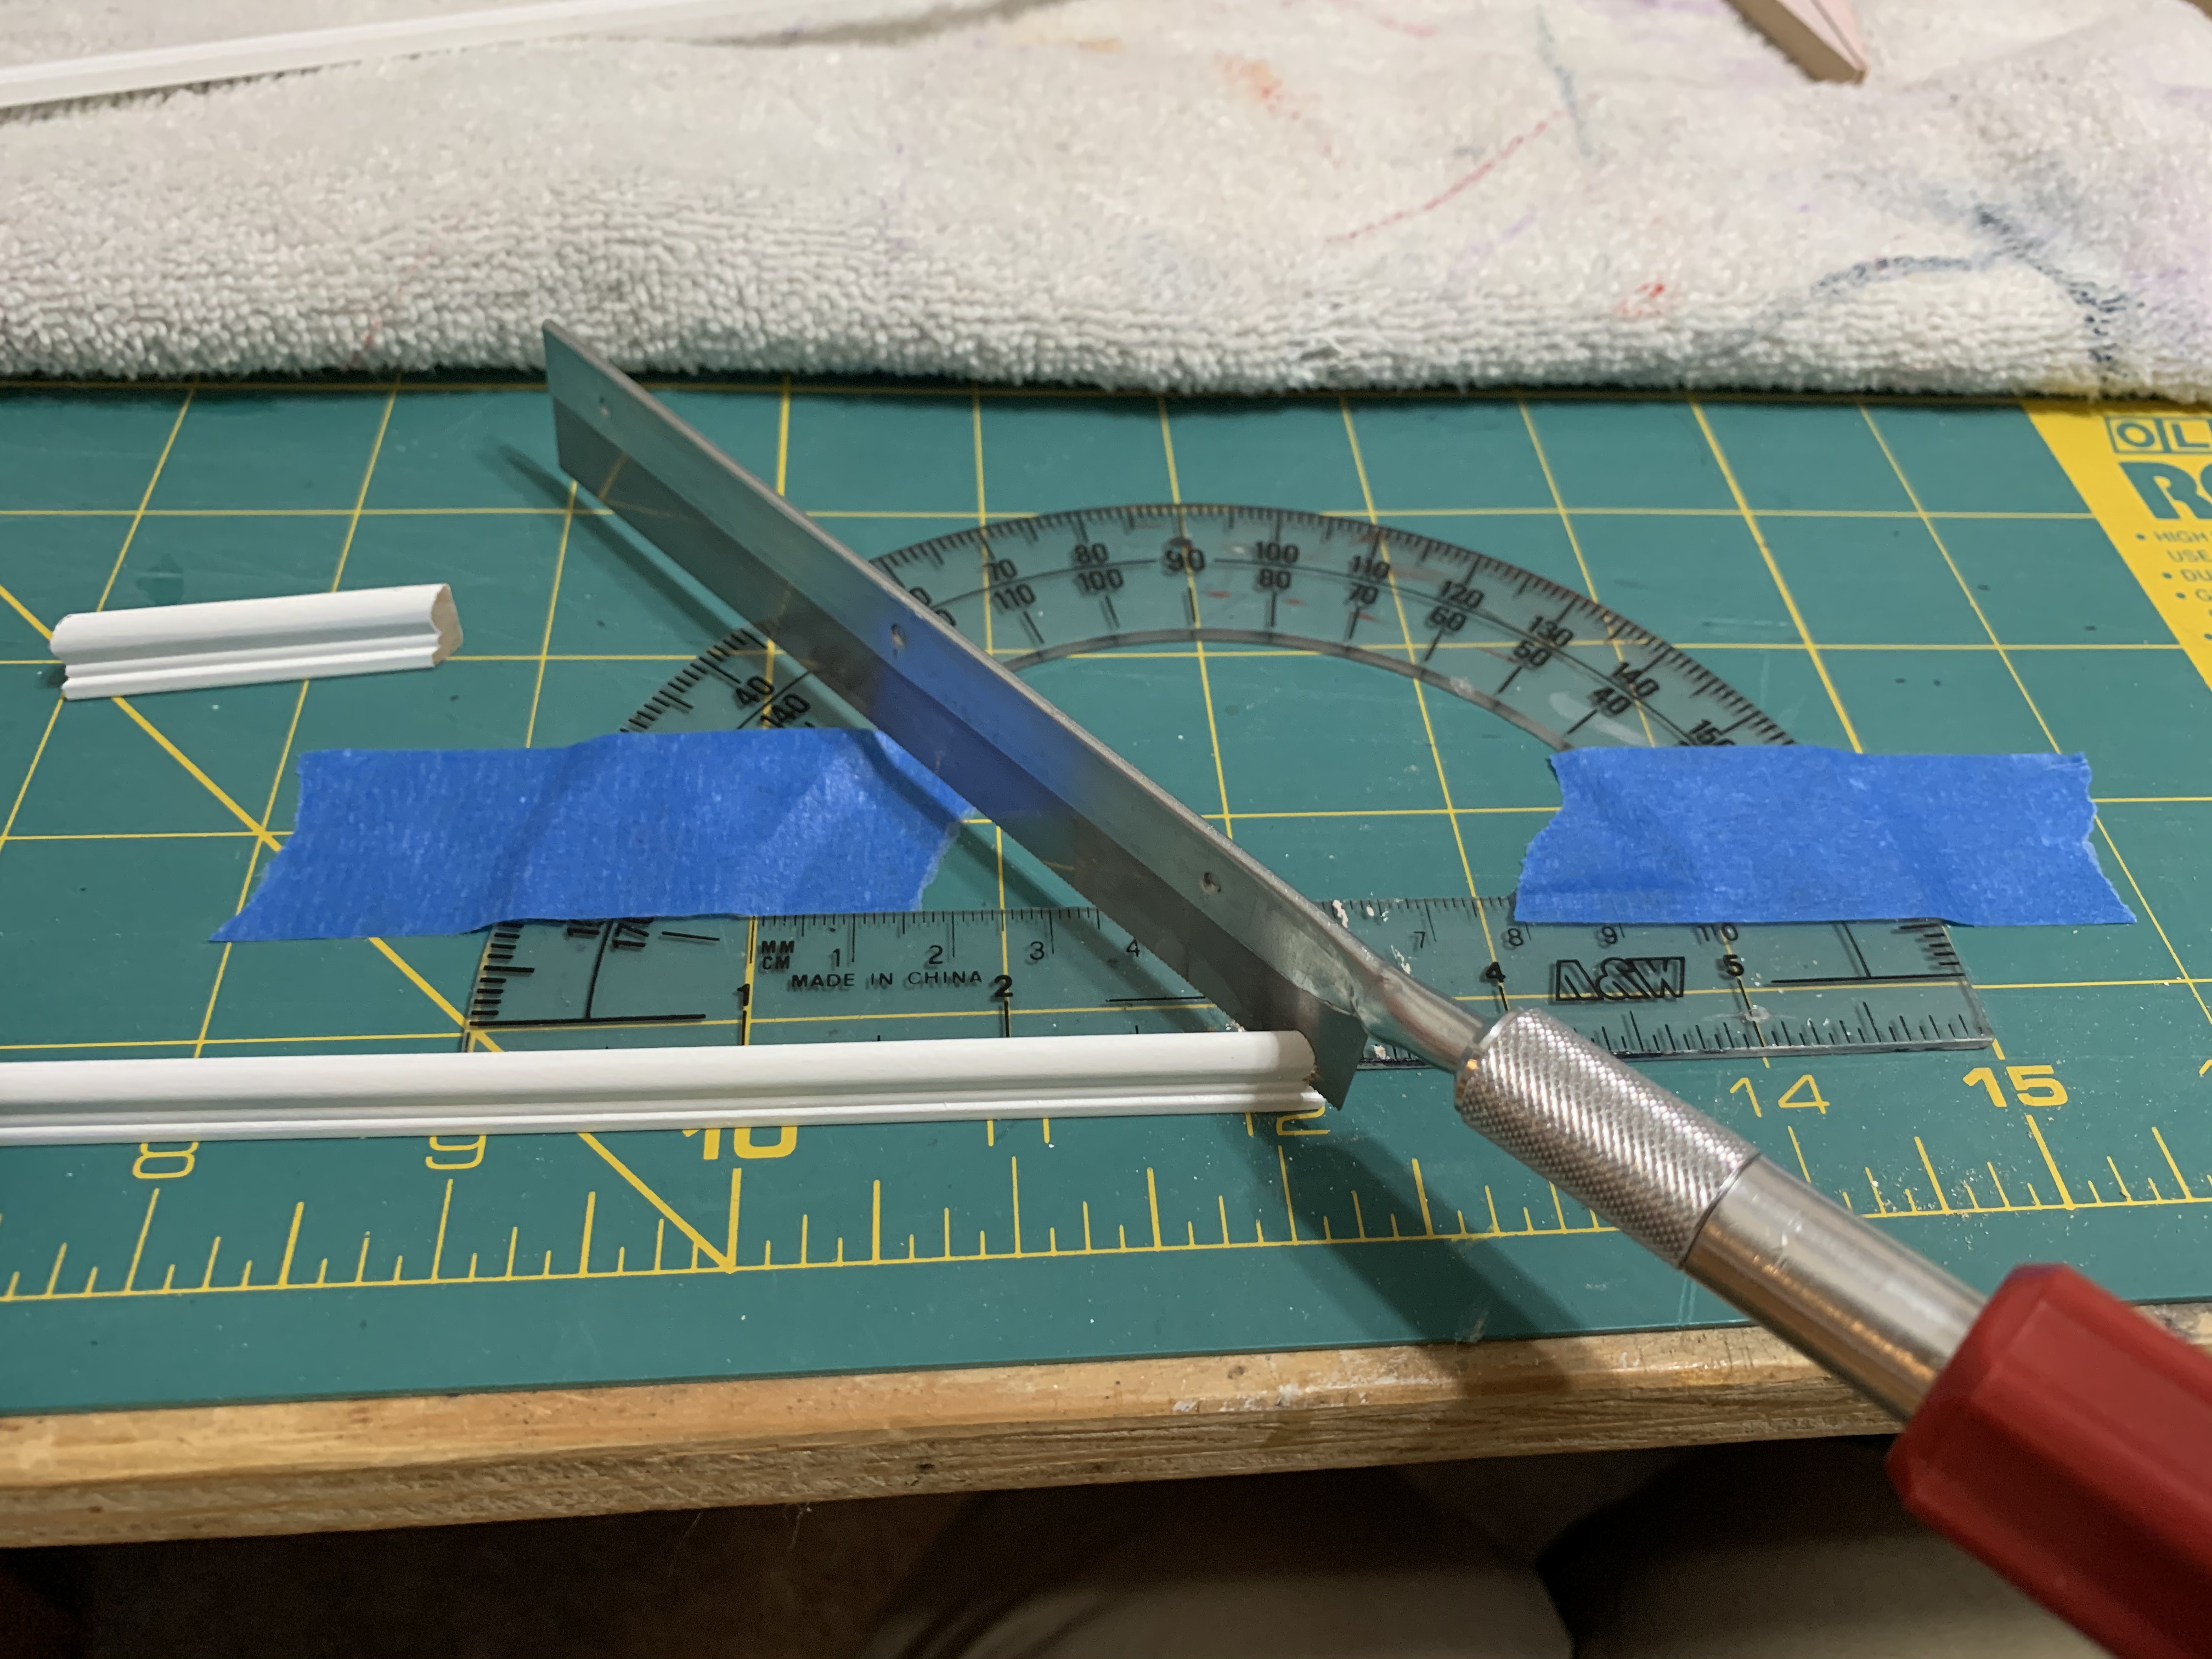
Carefully, I would align my saw blade with the compass center and the 45-degree line and slowly saw, holding the piece as still as possible. This seemed to work fairly well although without small clamps, there must have been some “wiggle” in my cuts as when I placed two pieces in a room corner, rarely did they line up perfectly. But thank goodness for spackling and wood putty to fill in the gaps.
After completing most of the baseboards (explained shortly), I once again returned to following the instructions as written. Next up were major steps of attaching the top floor to the house, …

…attaching the house to the foundation, …
…and adding the last front section, the tower front wall.

Now you could say this really was starting to look like a dollhouse.
To be continued…
Categories

This look so great. I wish I had the space to build.
Thanks! It definitely helps having space to spread out. And thanks for stopping by and reading!
The dolls I collect are 16-18 inches tall so I definitely want to work on a custom build, but really simple, because I don’t know what I’m doing. (LOL) I can’t wait to see the finished product.
A full size adult doll in the 1/12 scale I am building would be about 5 to 6 inches tall. A 16 inch adult doll would be about 1/5 scale. I have not seen a doll house kit that large. Stay tuned for my finished house.