
Doll House Surprise for My Granddaughter – Laying the Foundation

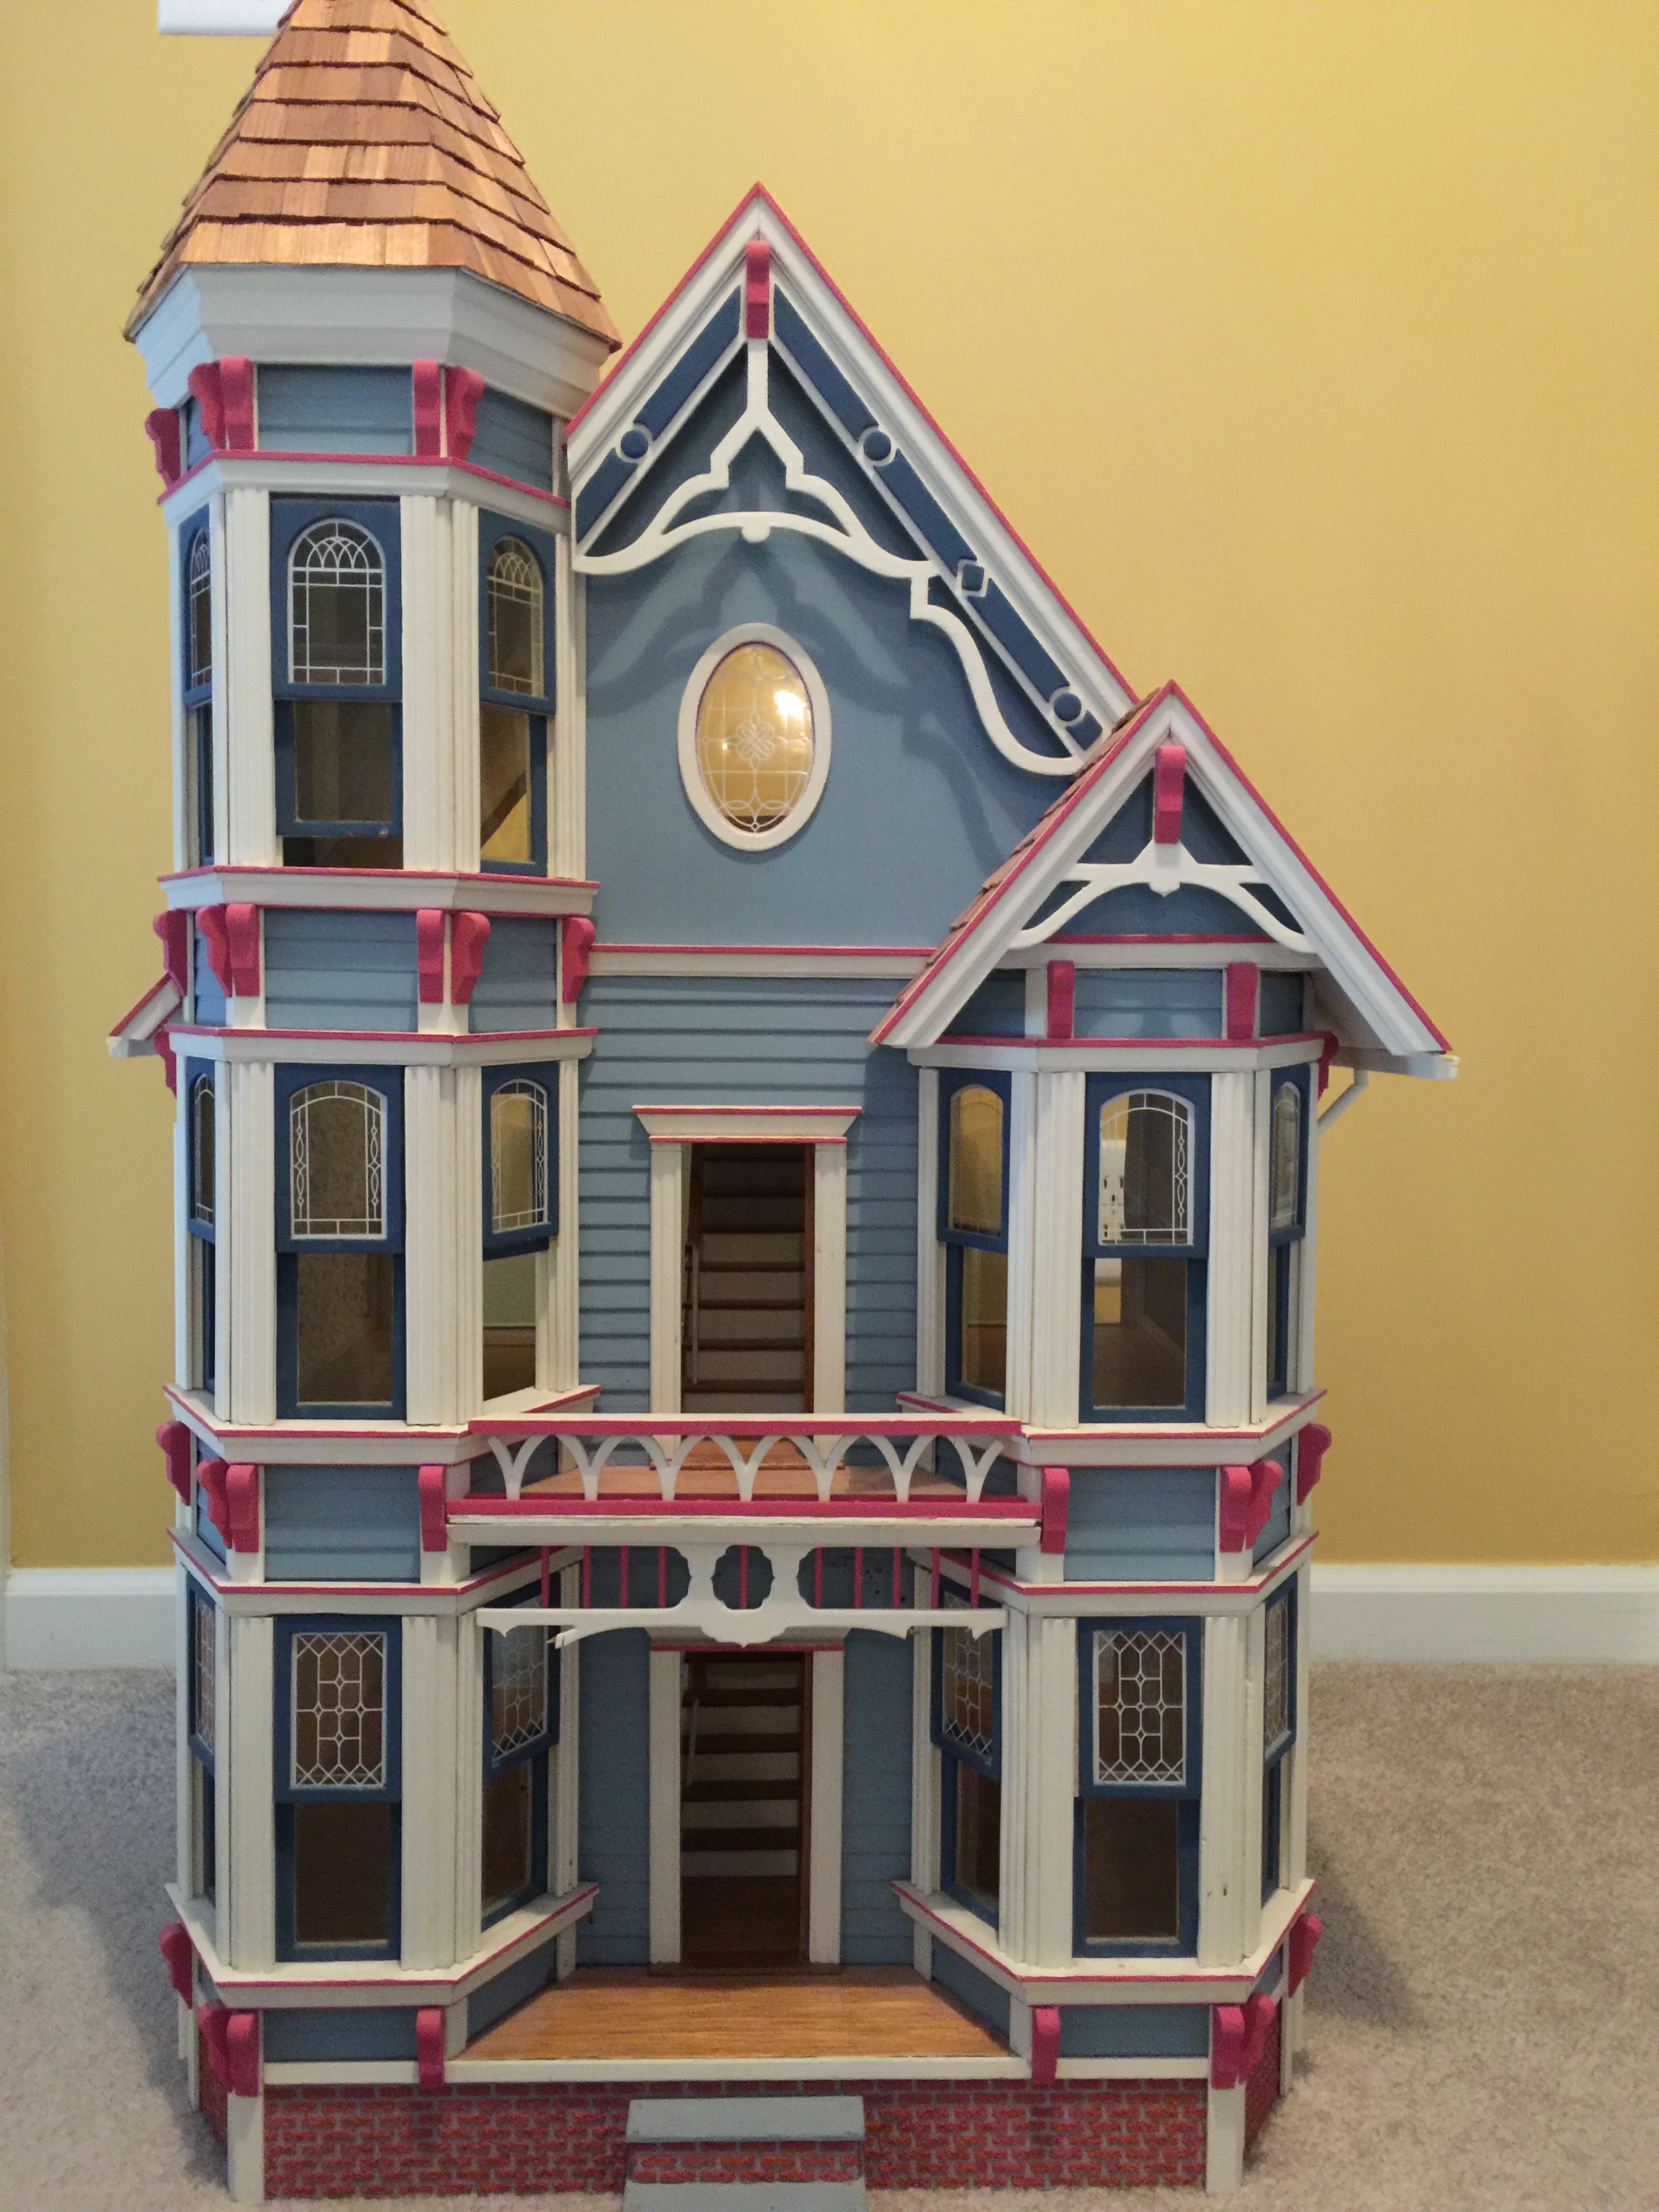
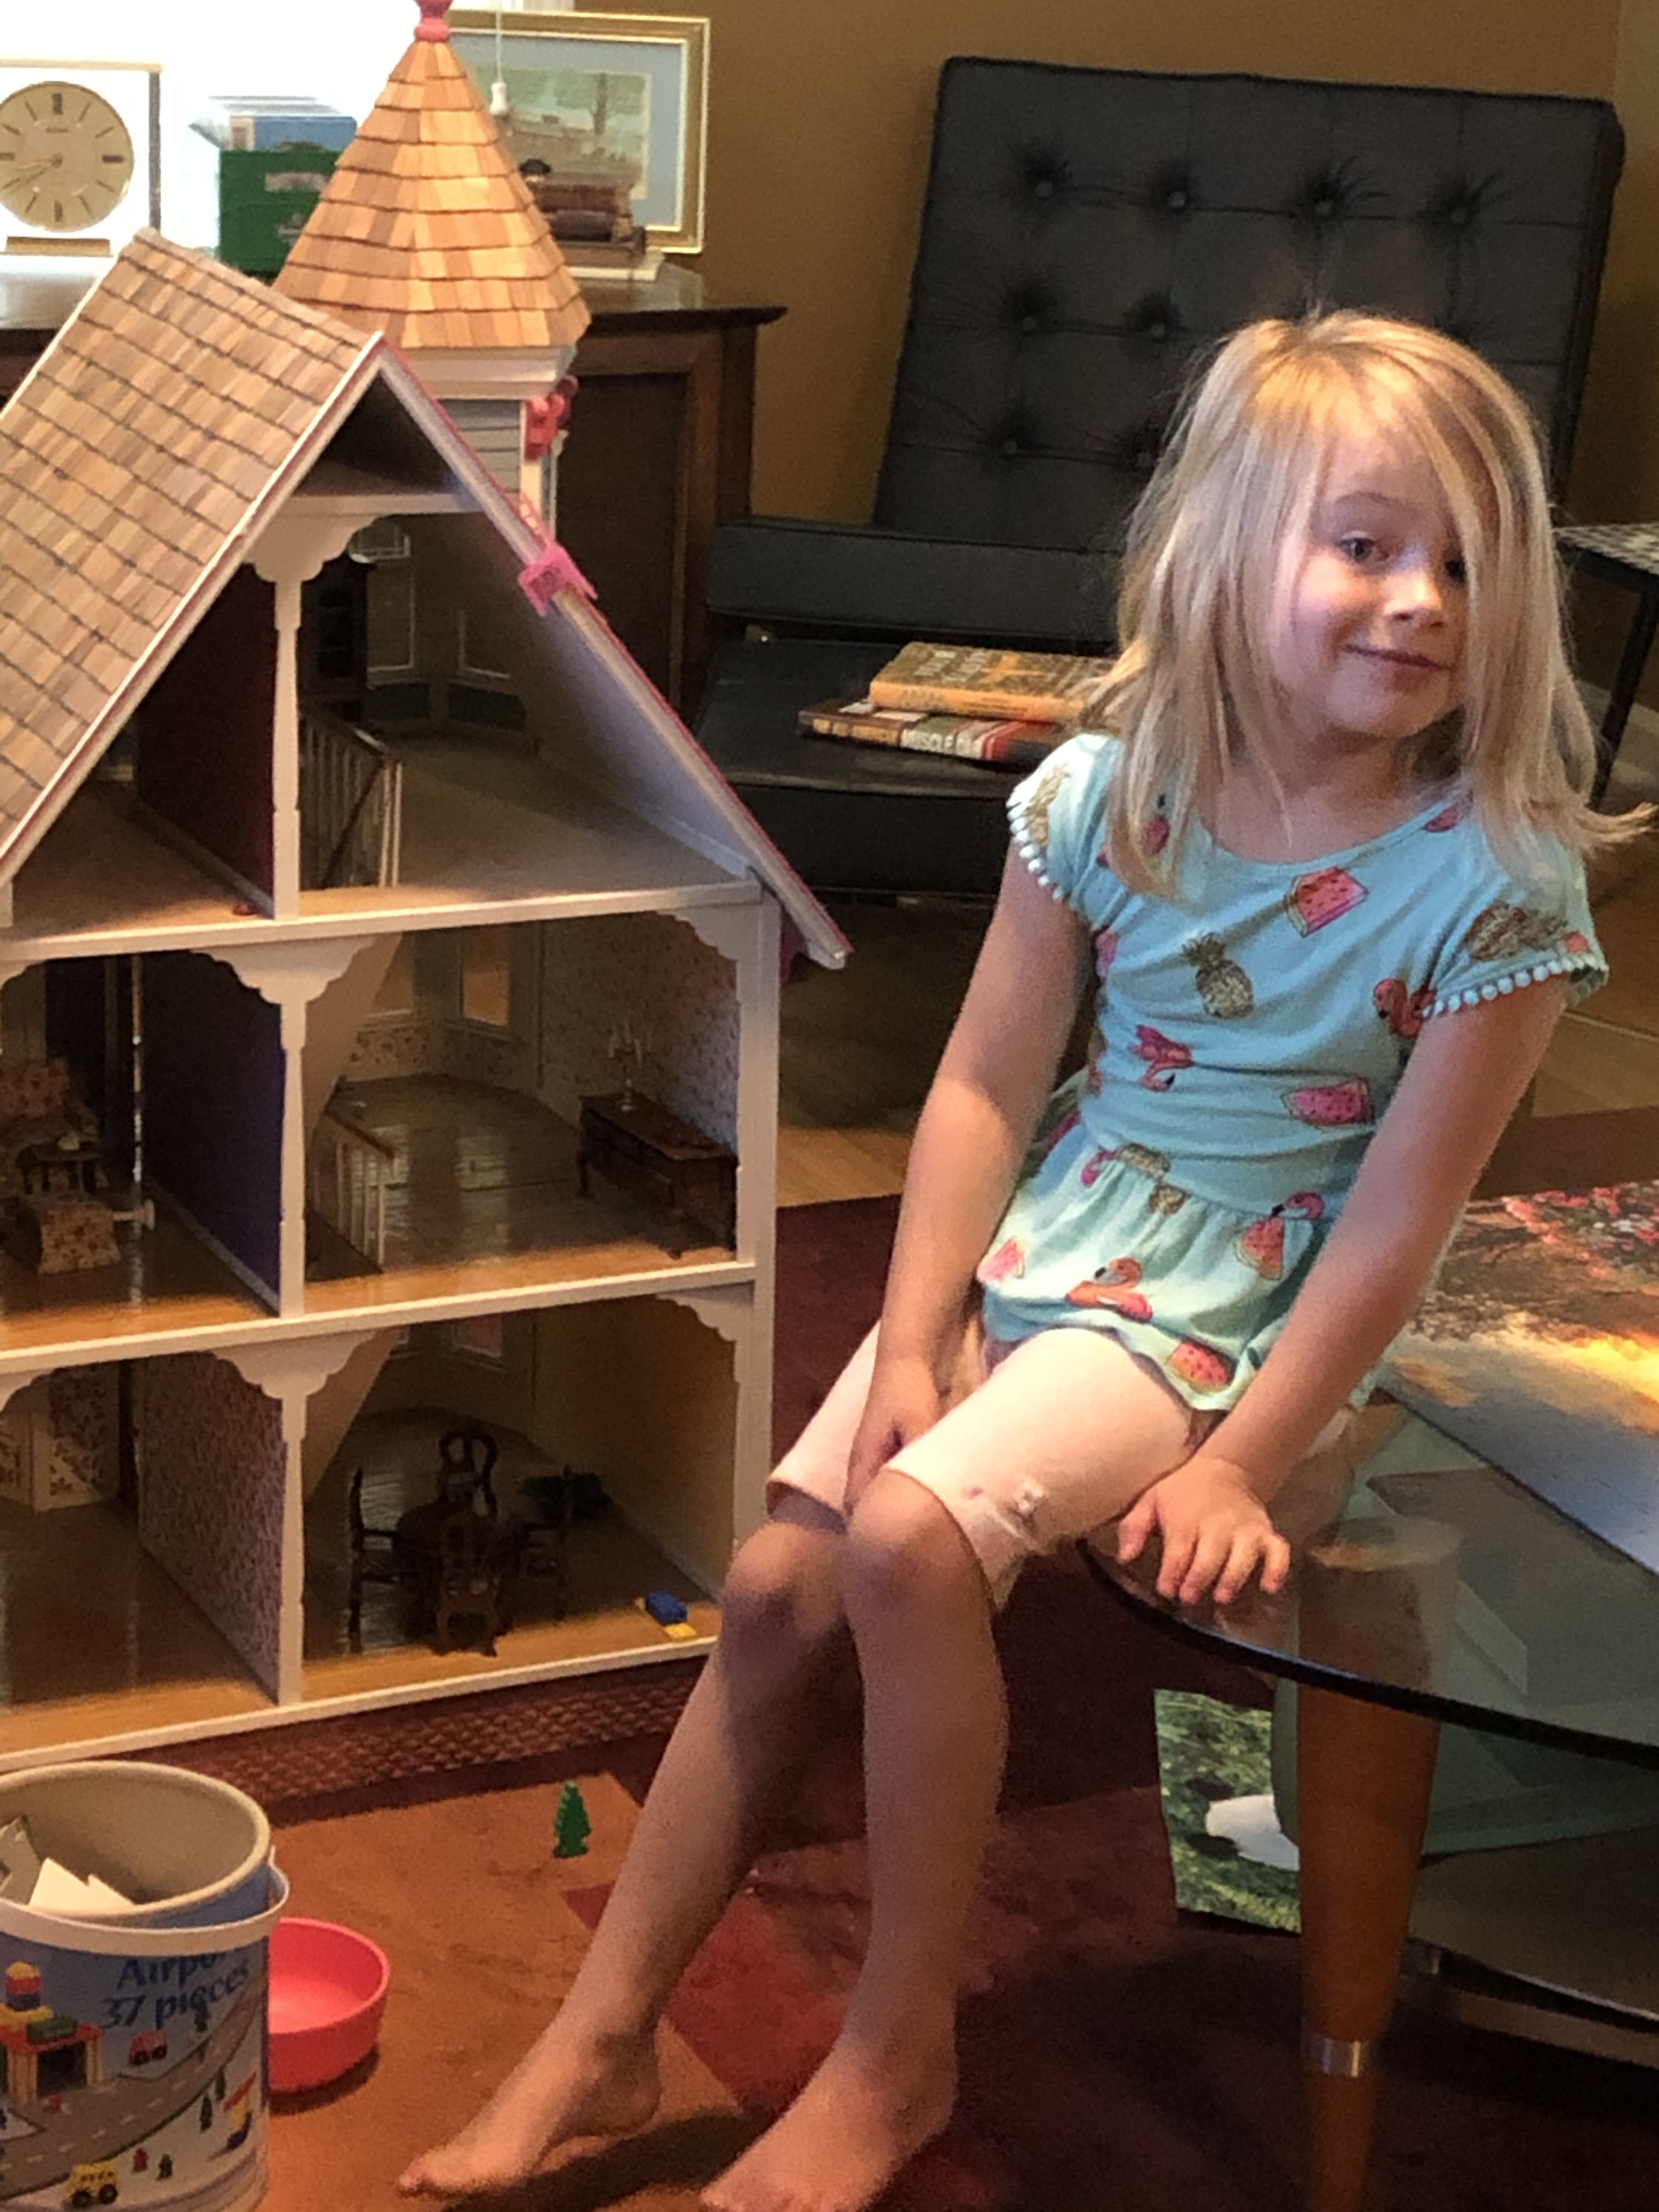
I have been waiting for this day for a long time! Several years ago, I posted about these two dollhouses I built for my daughter when she was young. After sitting in our playroom neglected for many years, I was delighted to see our intown granddaughter begin to play with them whenever she came over. Seeing her having fun with them got me antsy to build another one for her as a surprise Christmas gift.
I knew in 2019 she was probably still too young to play with a wooden dollhouse with so many fragile and easily broken pieces. But then I thought by Christmas of 2020, she might be just the right age and I would have plenty of time to build it. After Christmas last year, I checked with her parents and they both agreed that would be a nice present for her next year. So, in February after I finished my winter-time puzzling, I went to a local hobby store and found just what I was looking for.

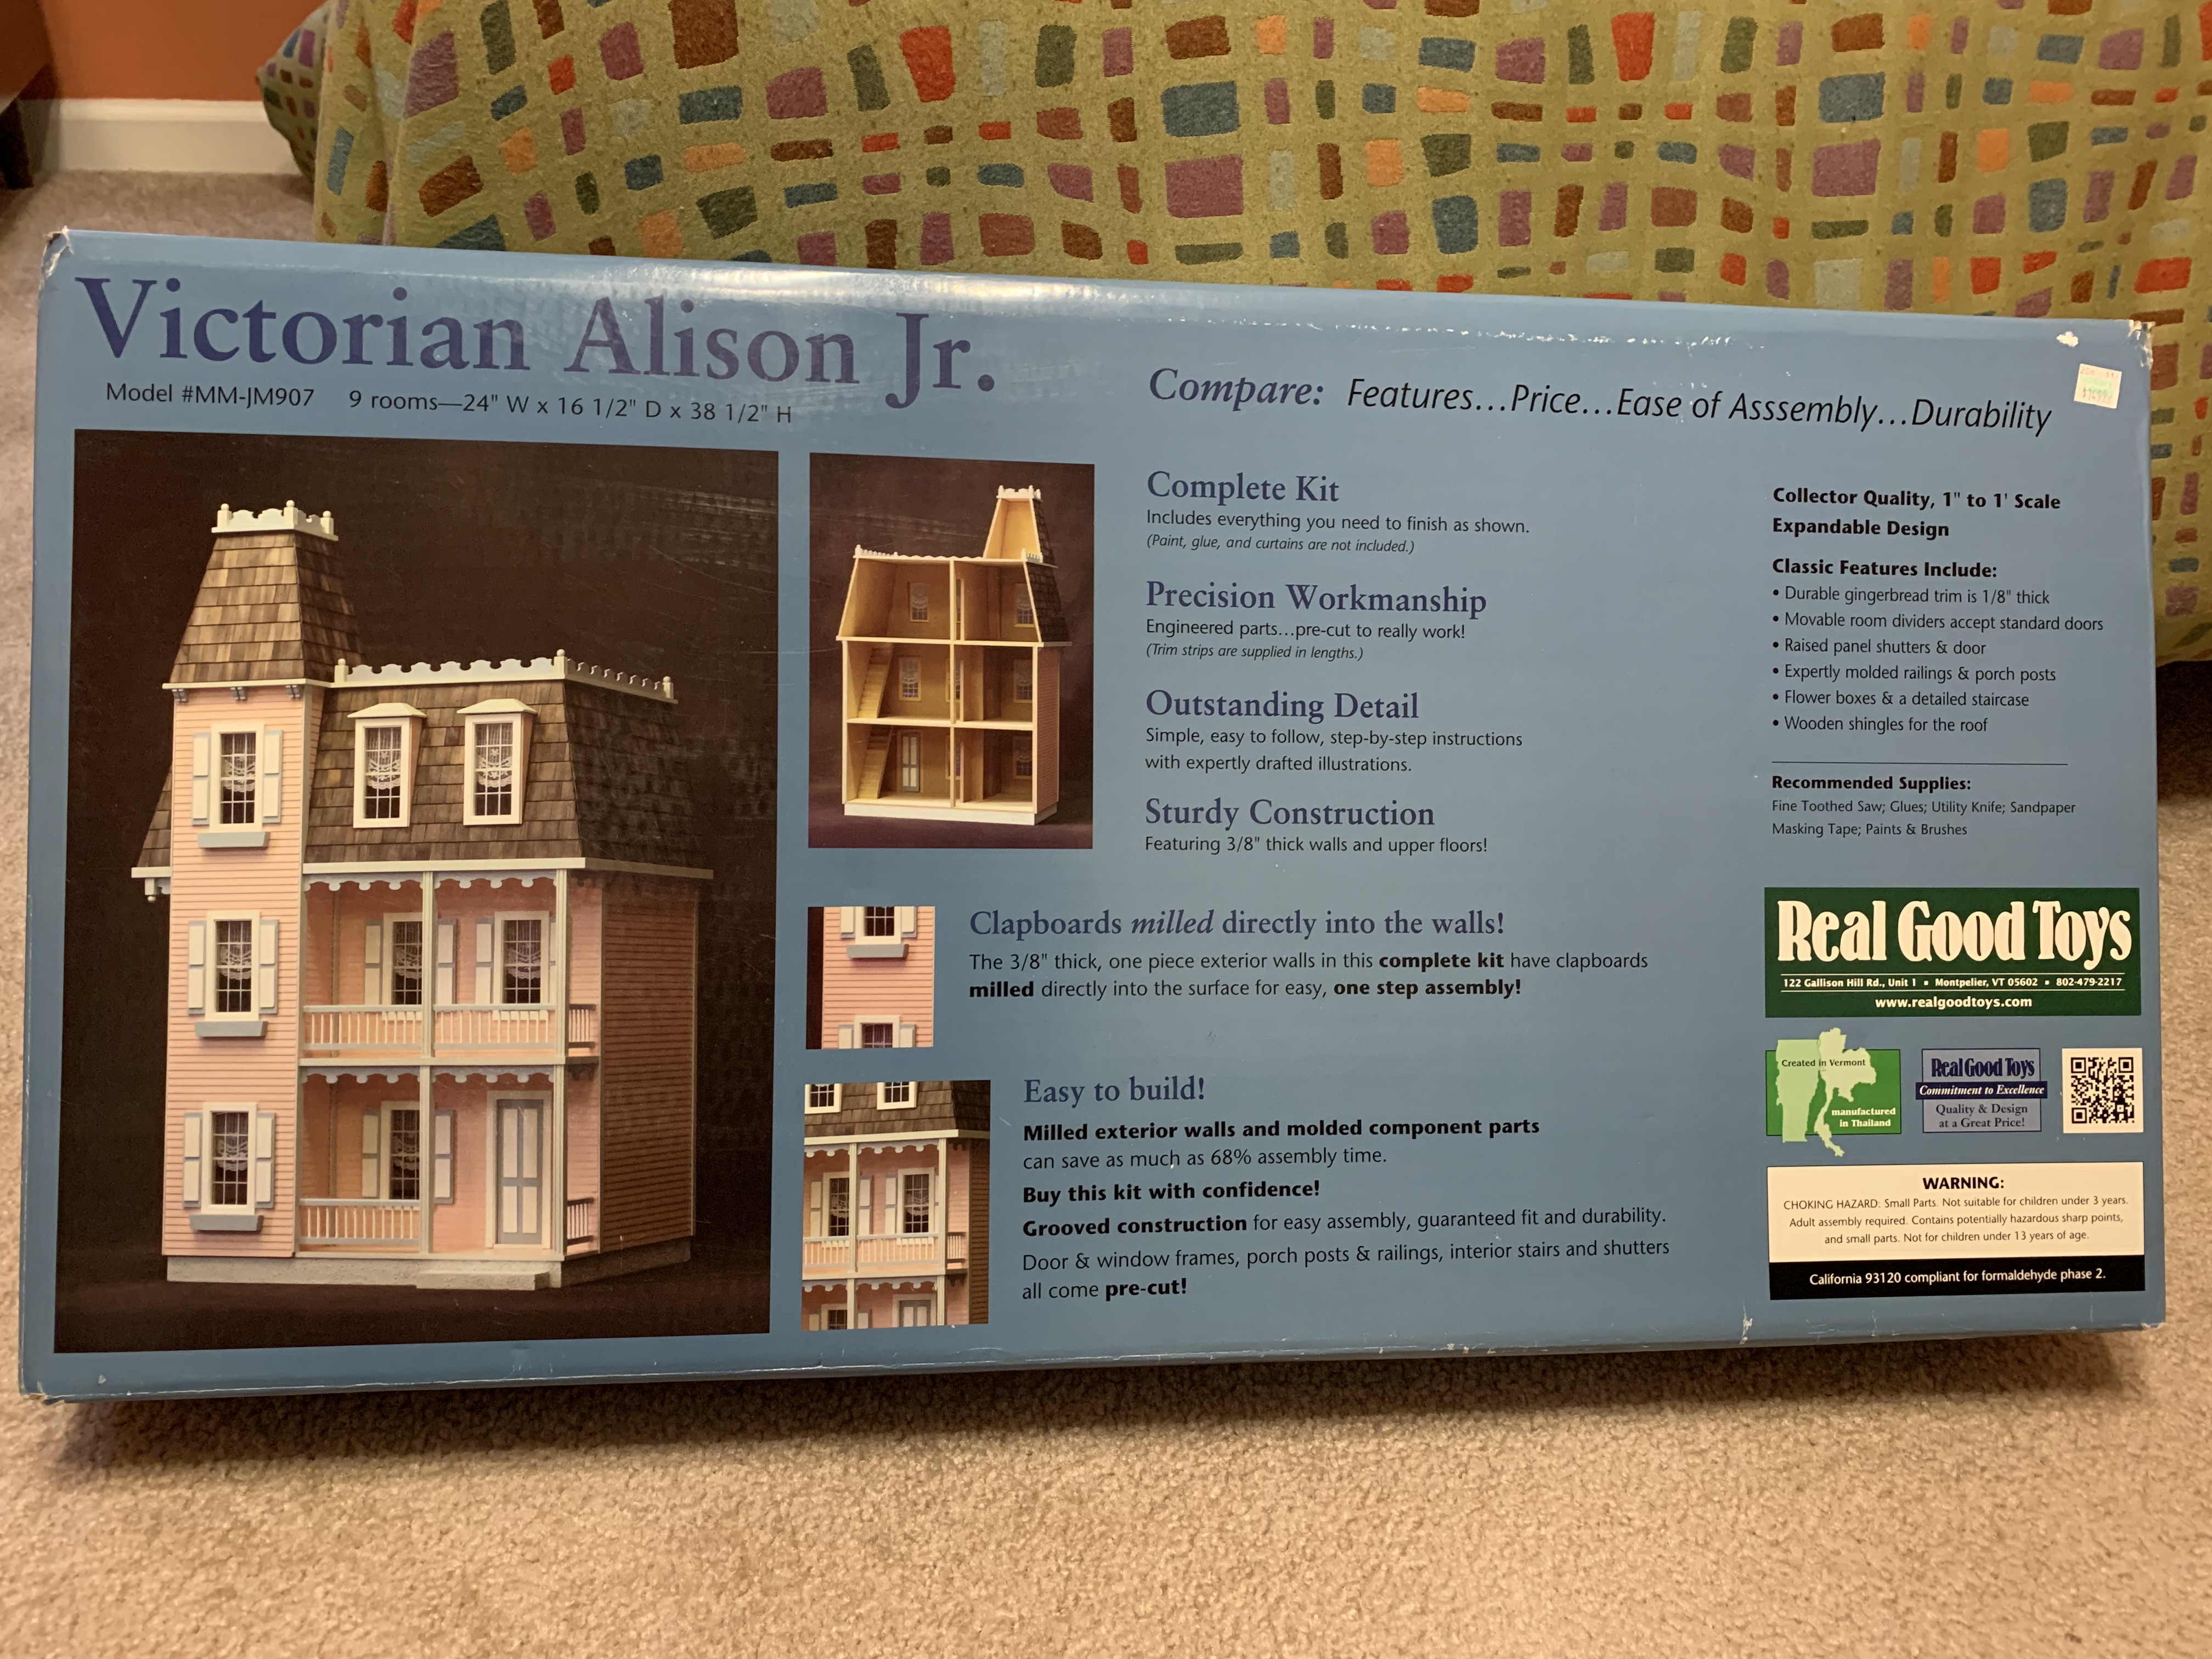
I wanted to give my granddaughter something similar but at the same time different from the blue doll house. Her favorite color being pink, this house seemed just the right one providing a perfect color scheme. I made my purchase and happily took it home.
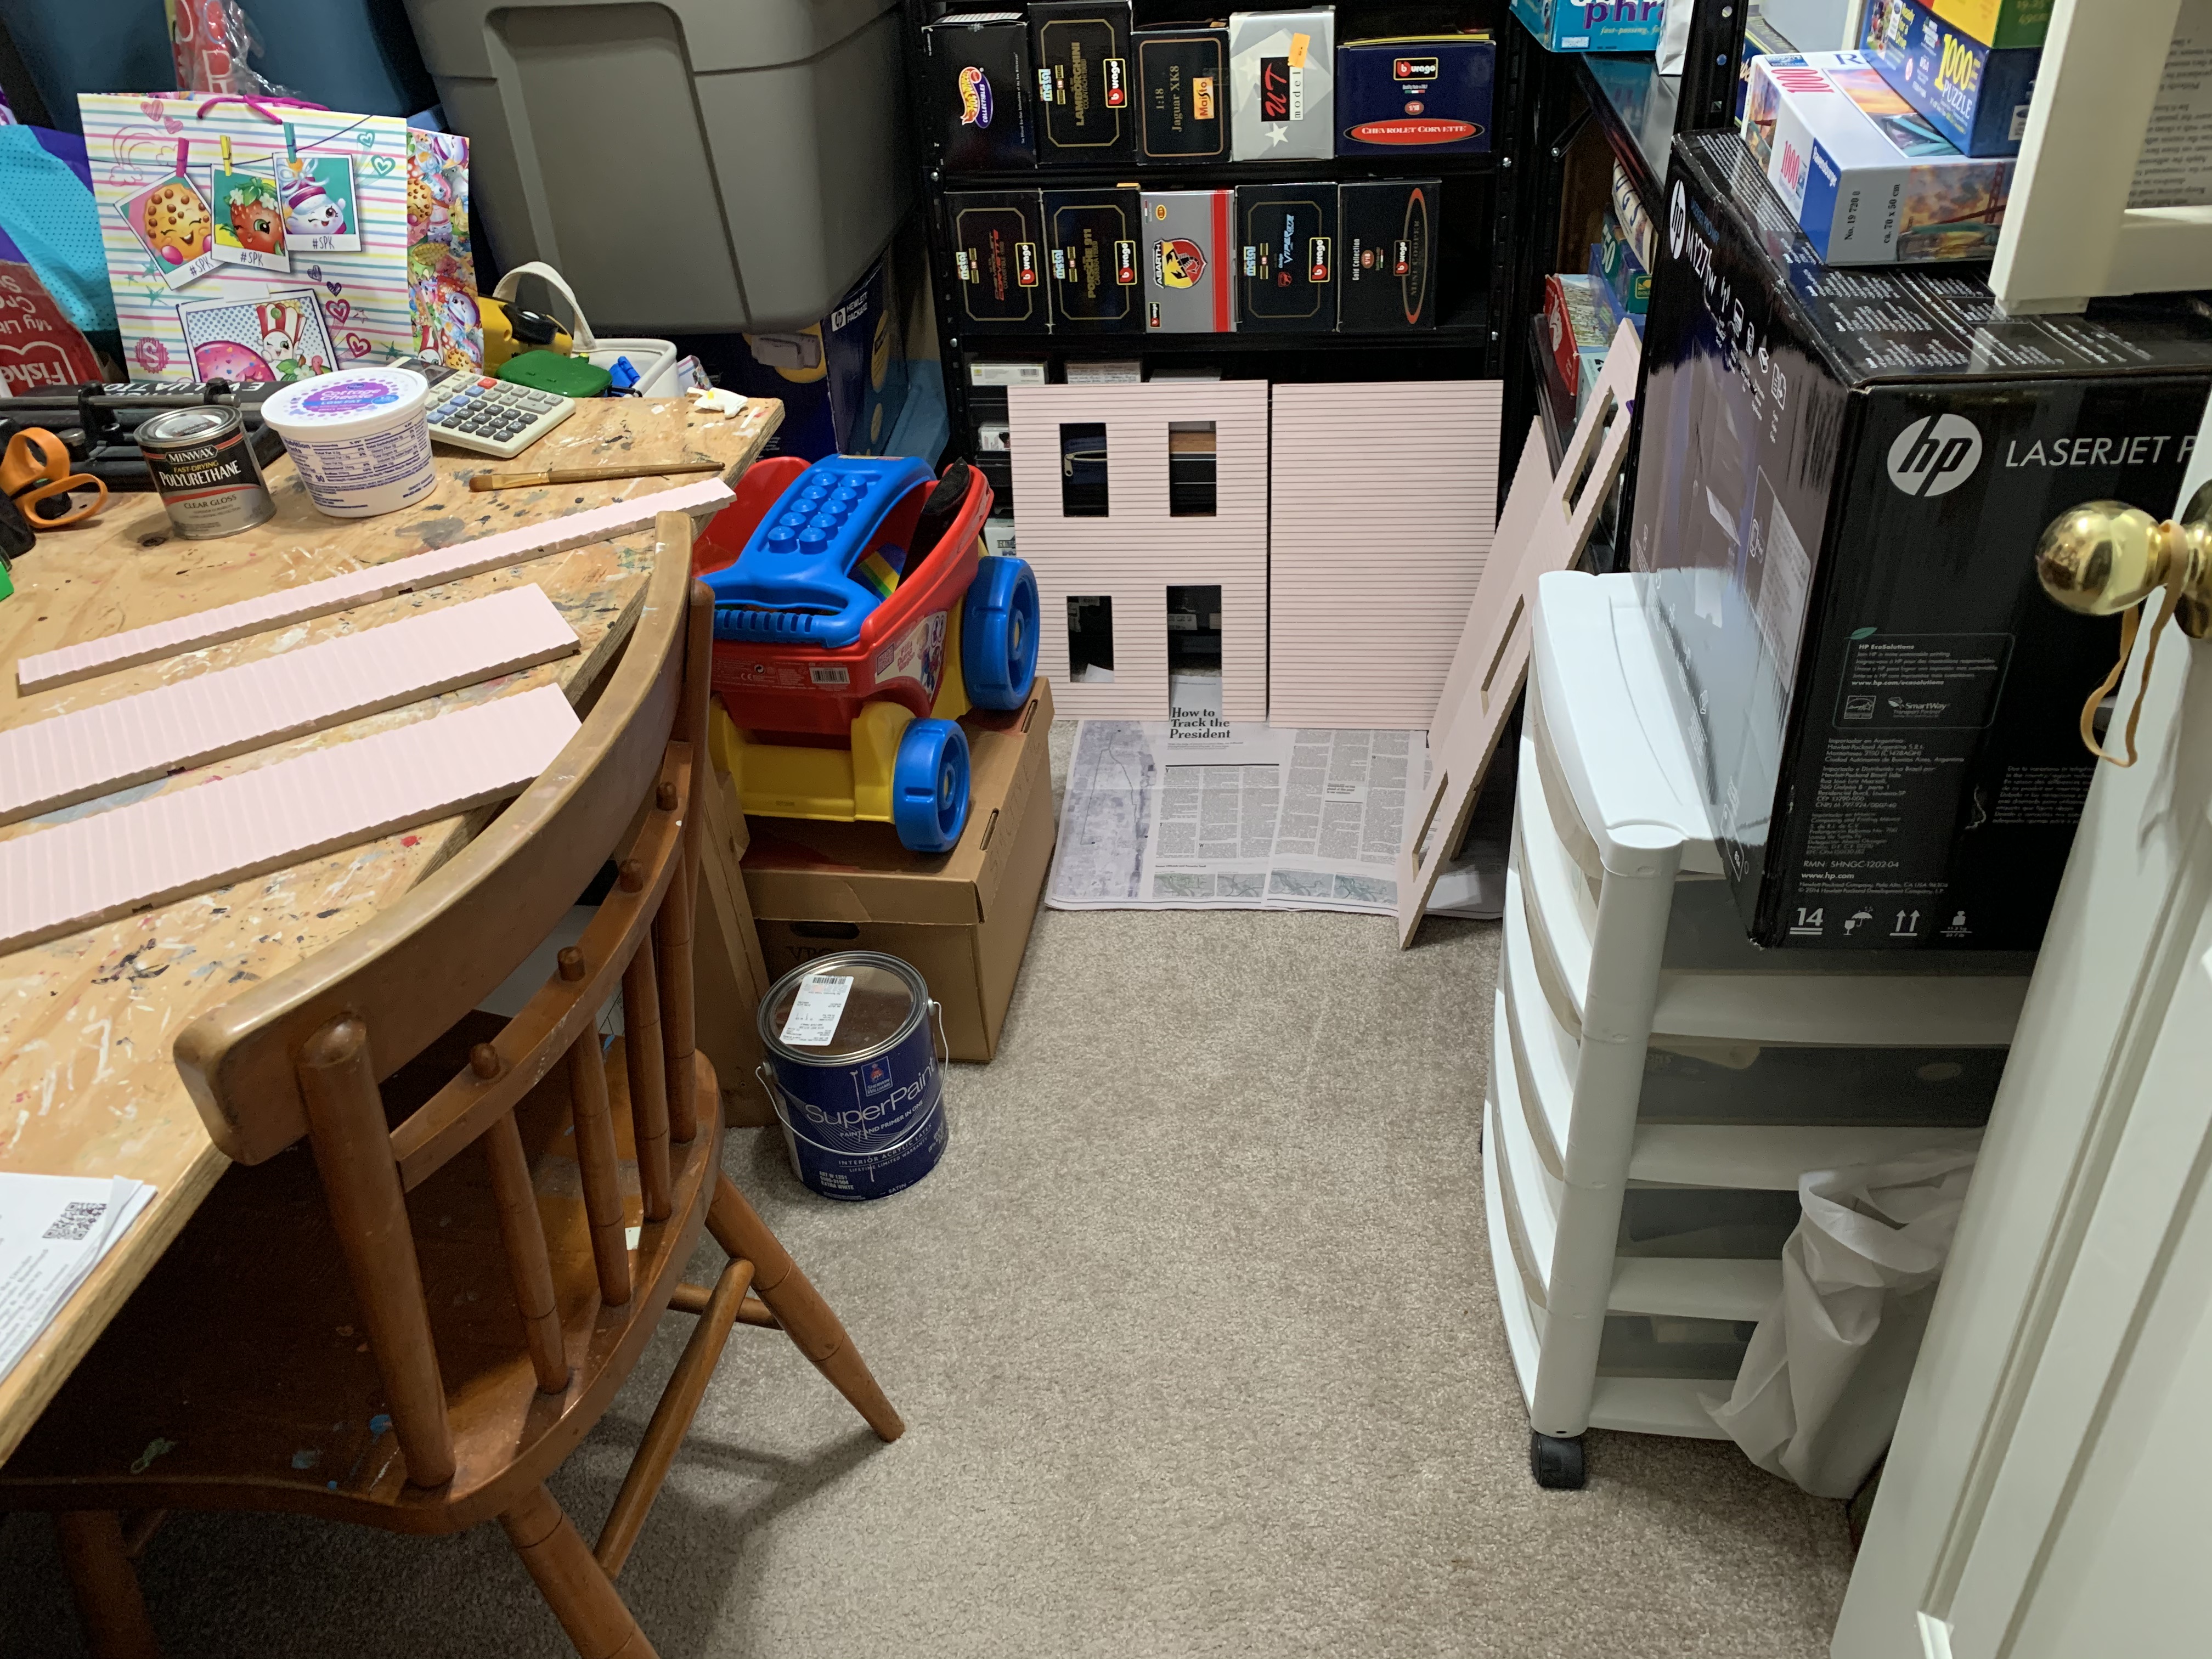
Since this was going to be a surprise already assembled, I had to find a hidden workspace where I could build it without my granddaughter seeing it on one of her many visits to “Mimi’s” house (my wife’s grandmother name). When we moved in many years ago, I built a worktable in this large closet off our playroom and so this seemed a good “secret workshop” in which to build as the door could be kept closed.

However, first I had to clear it off of all the things that accumulated on the workbench over the years (you know how that can happen).
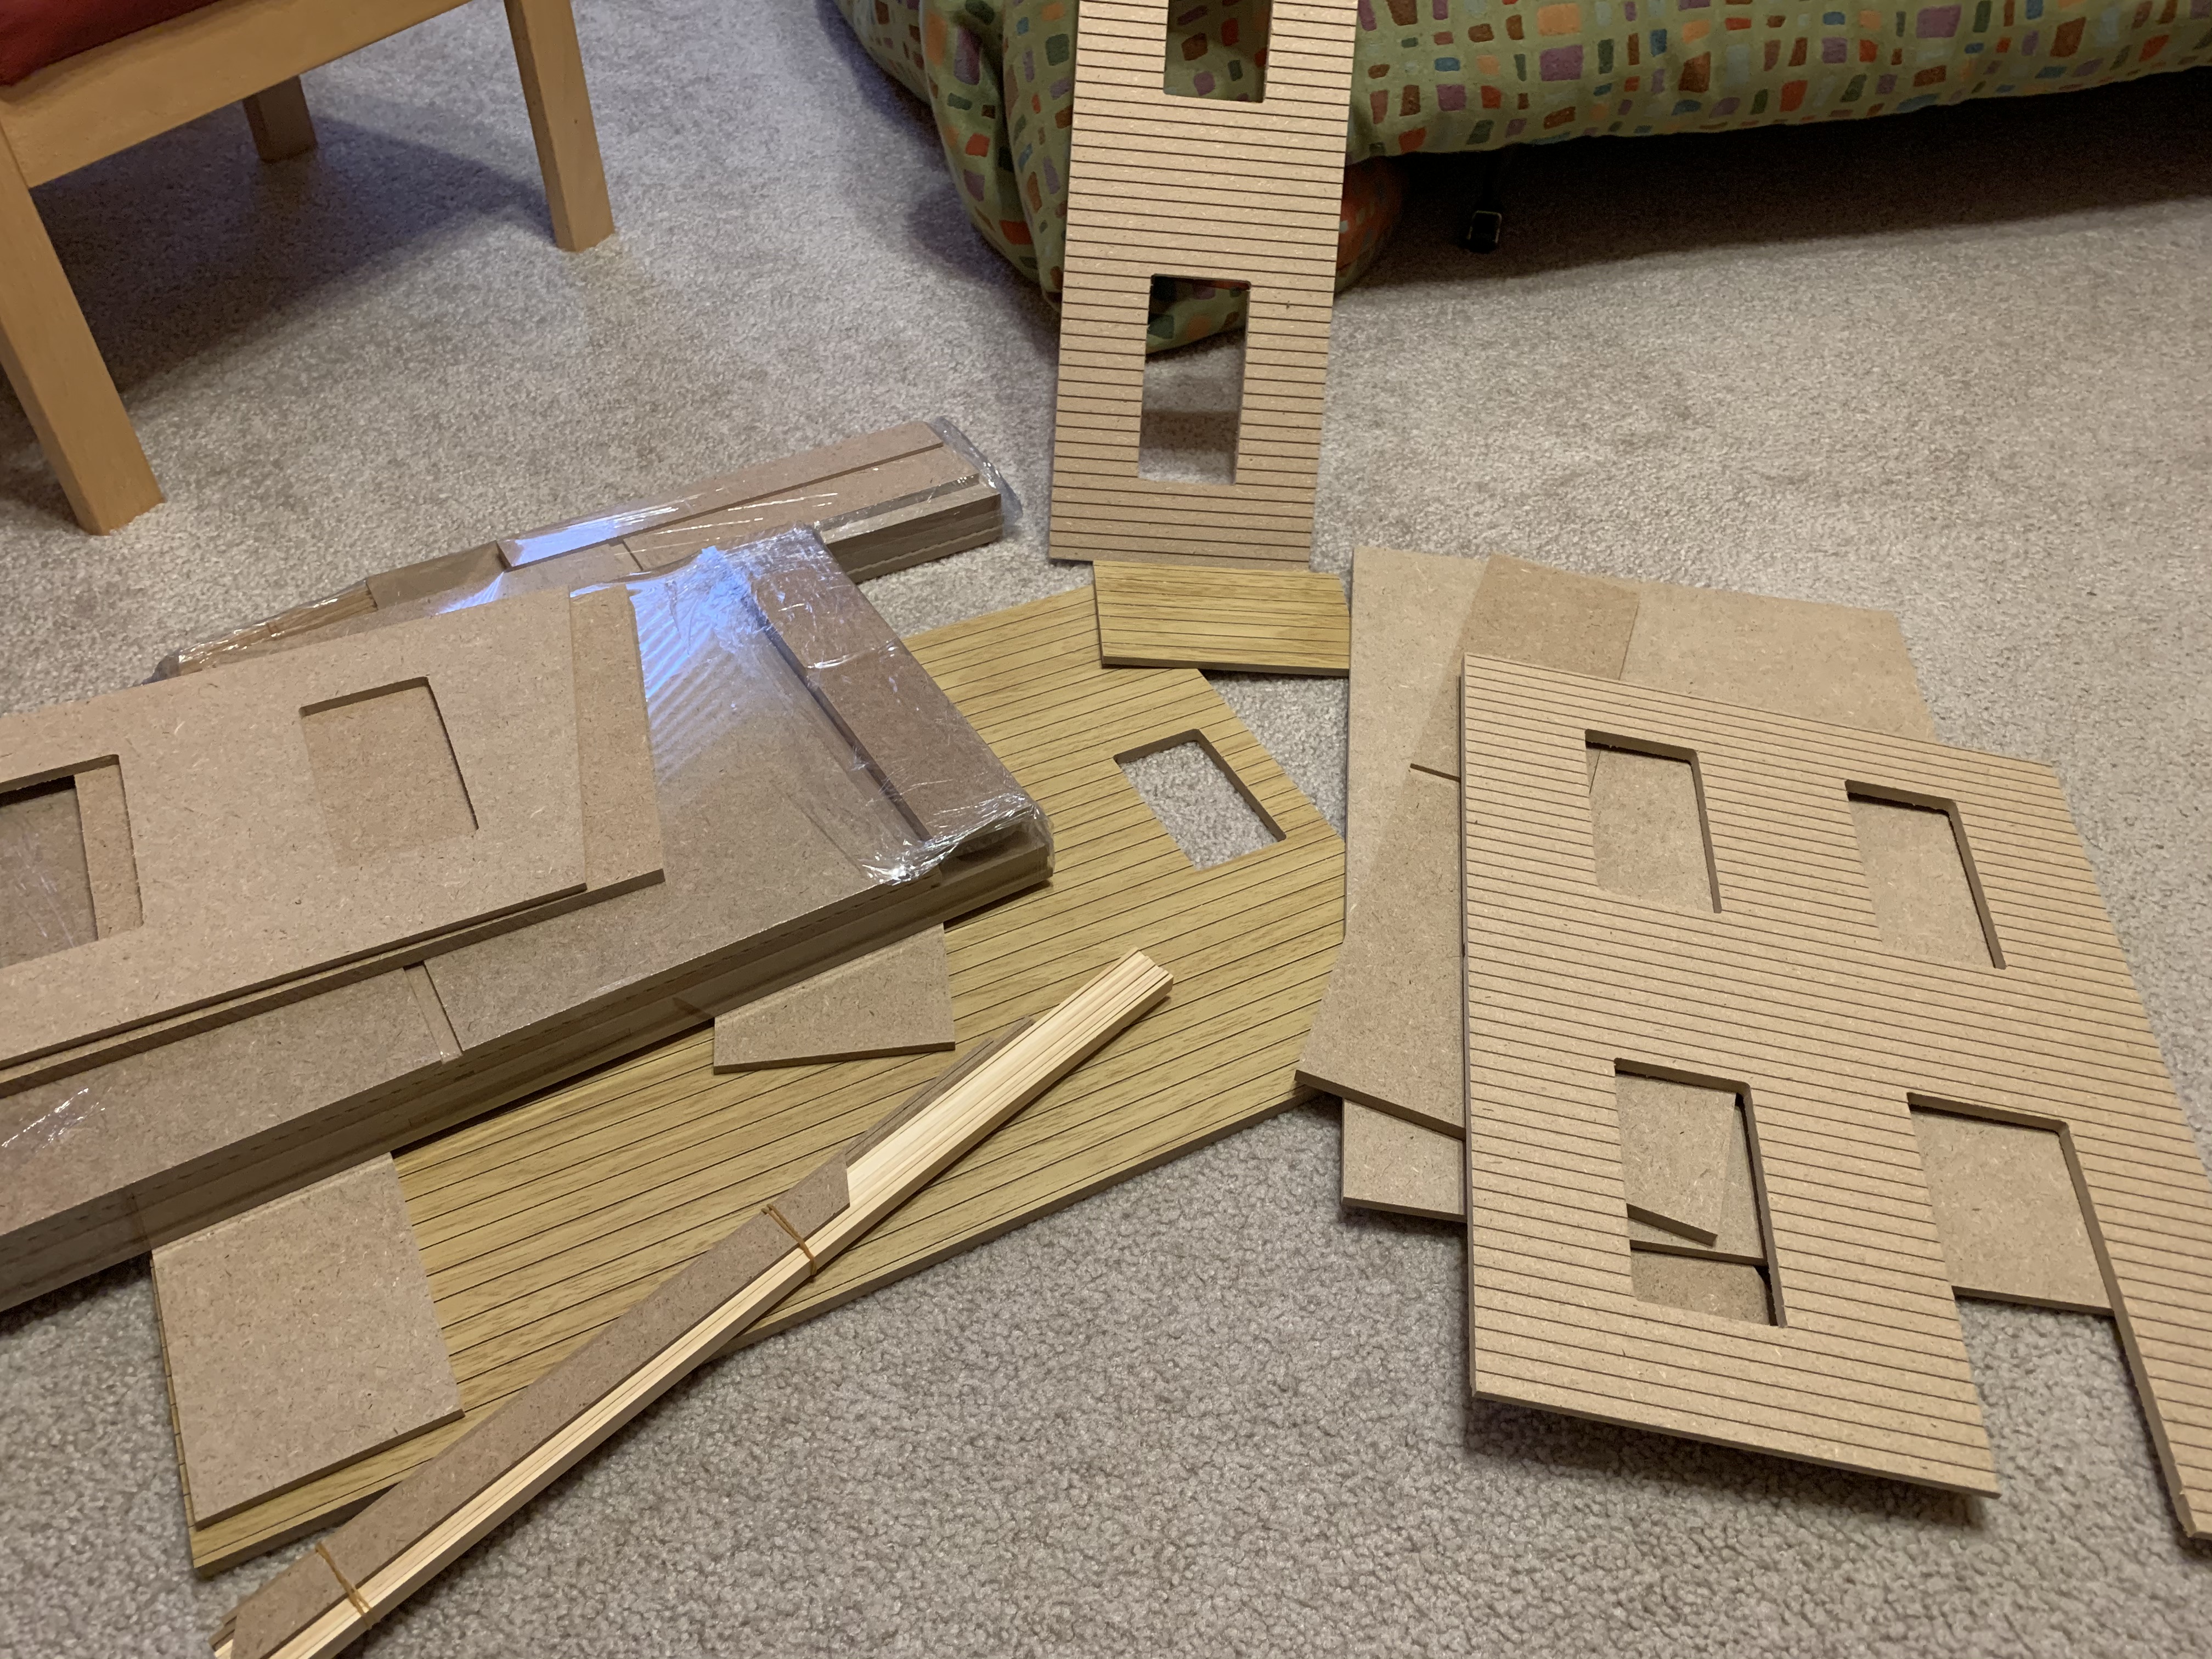
When I opened the box at home, I was surprised to see that most of it was not made of solid wood as the blue doll house had been but rather medium density fiberboard (MDF, a much denser version of particle board).

I particularly liked the realistic clapboards on this blue house which were precision milled into the wood and with a light sanding and painting, looked like the real thing. In this new kit, the clapboards were also milled but since the engineered wood was full of compressed wood fibers, it had a much rougher texture. Considering that it has been over 25 years since I last bought a doll house kit, apparently a lot has changed since then.
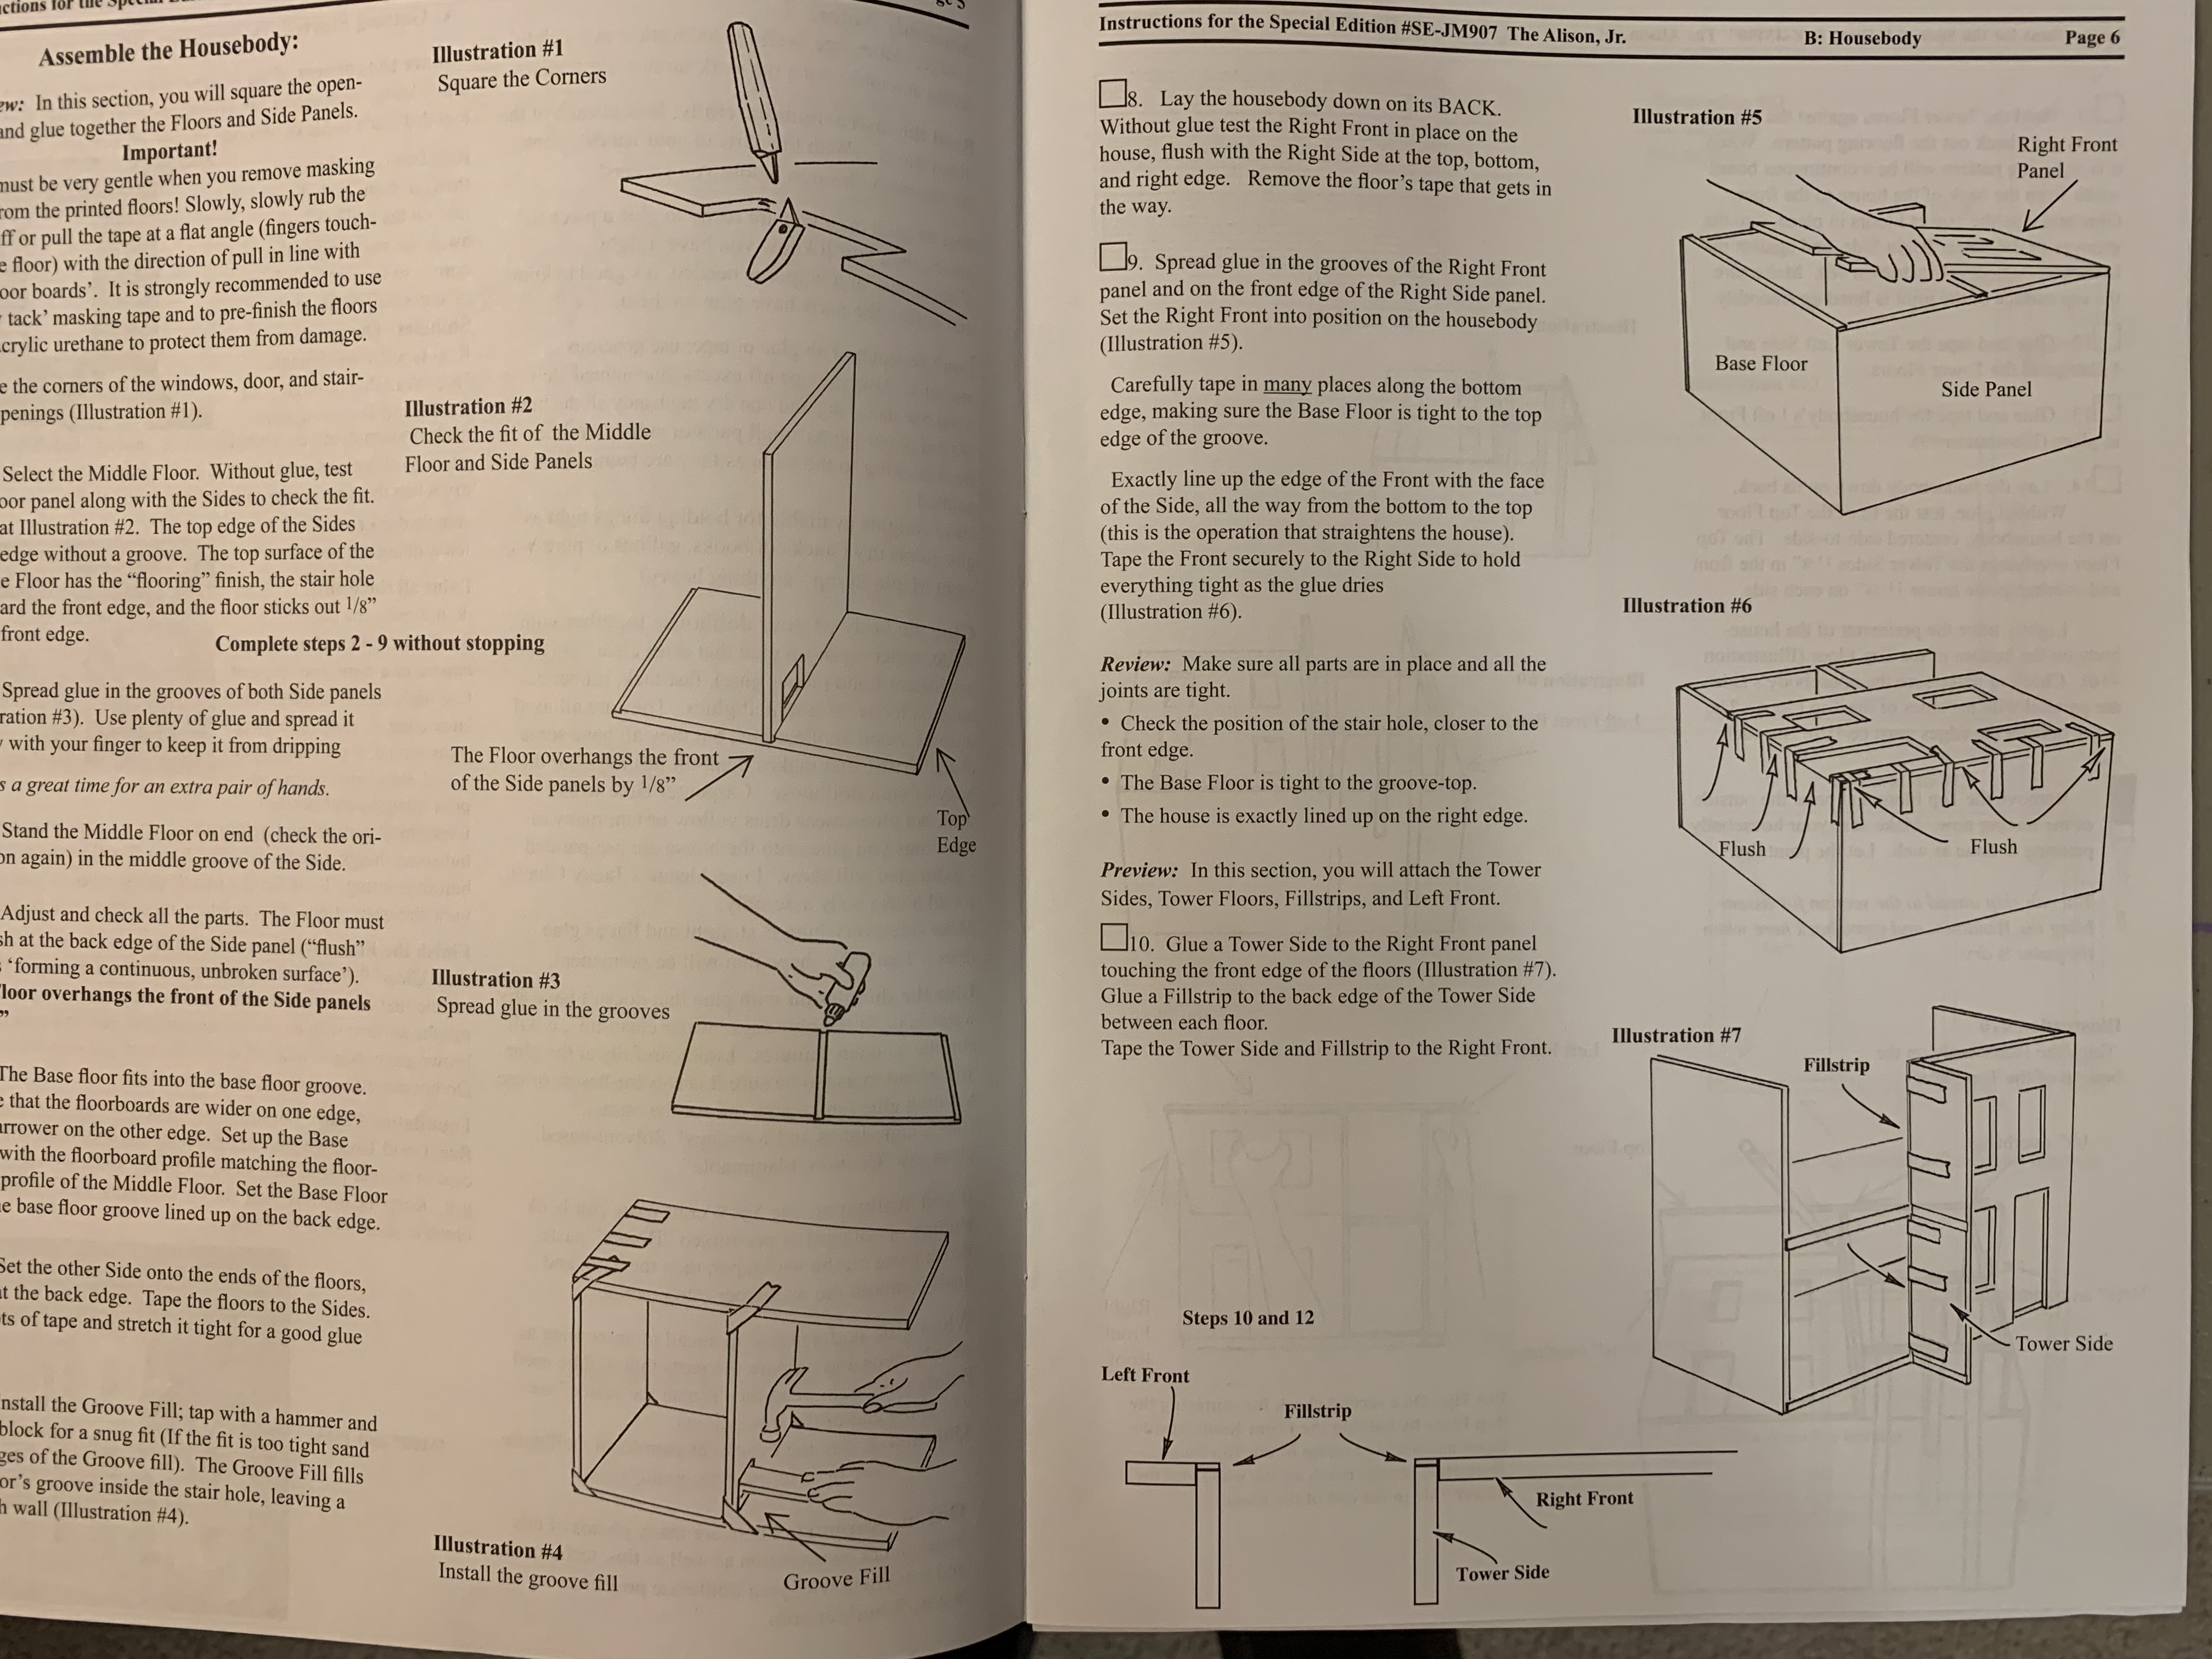
As I pored over the directions, it also seemed the assembly was going to be dramatically different—in my opinion, overly simplified. Maybe they had gotten too many customer complaints about how difficult the kits were to build. I for one, loved the realistic approach of building a foundation, laying down individual floorboards, sanding them smooth, staining them, and then varnishing them.
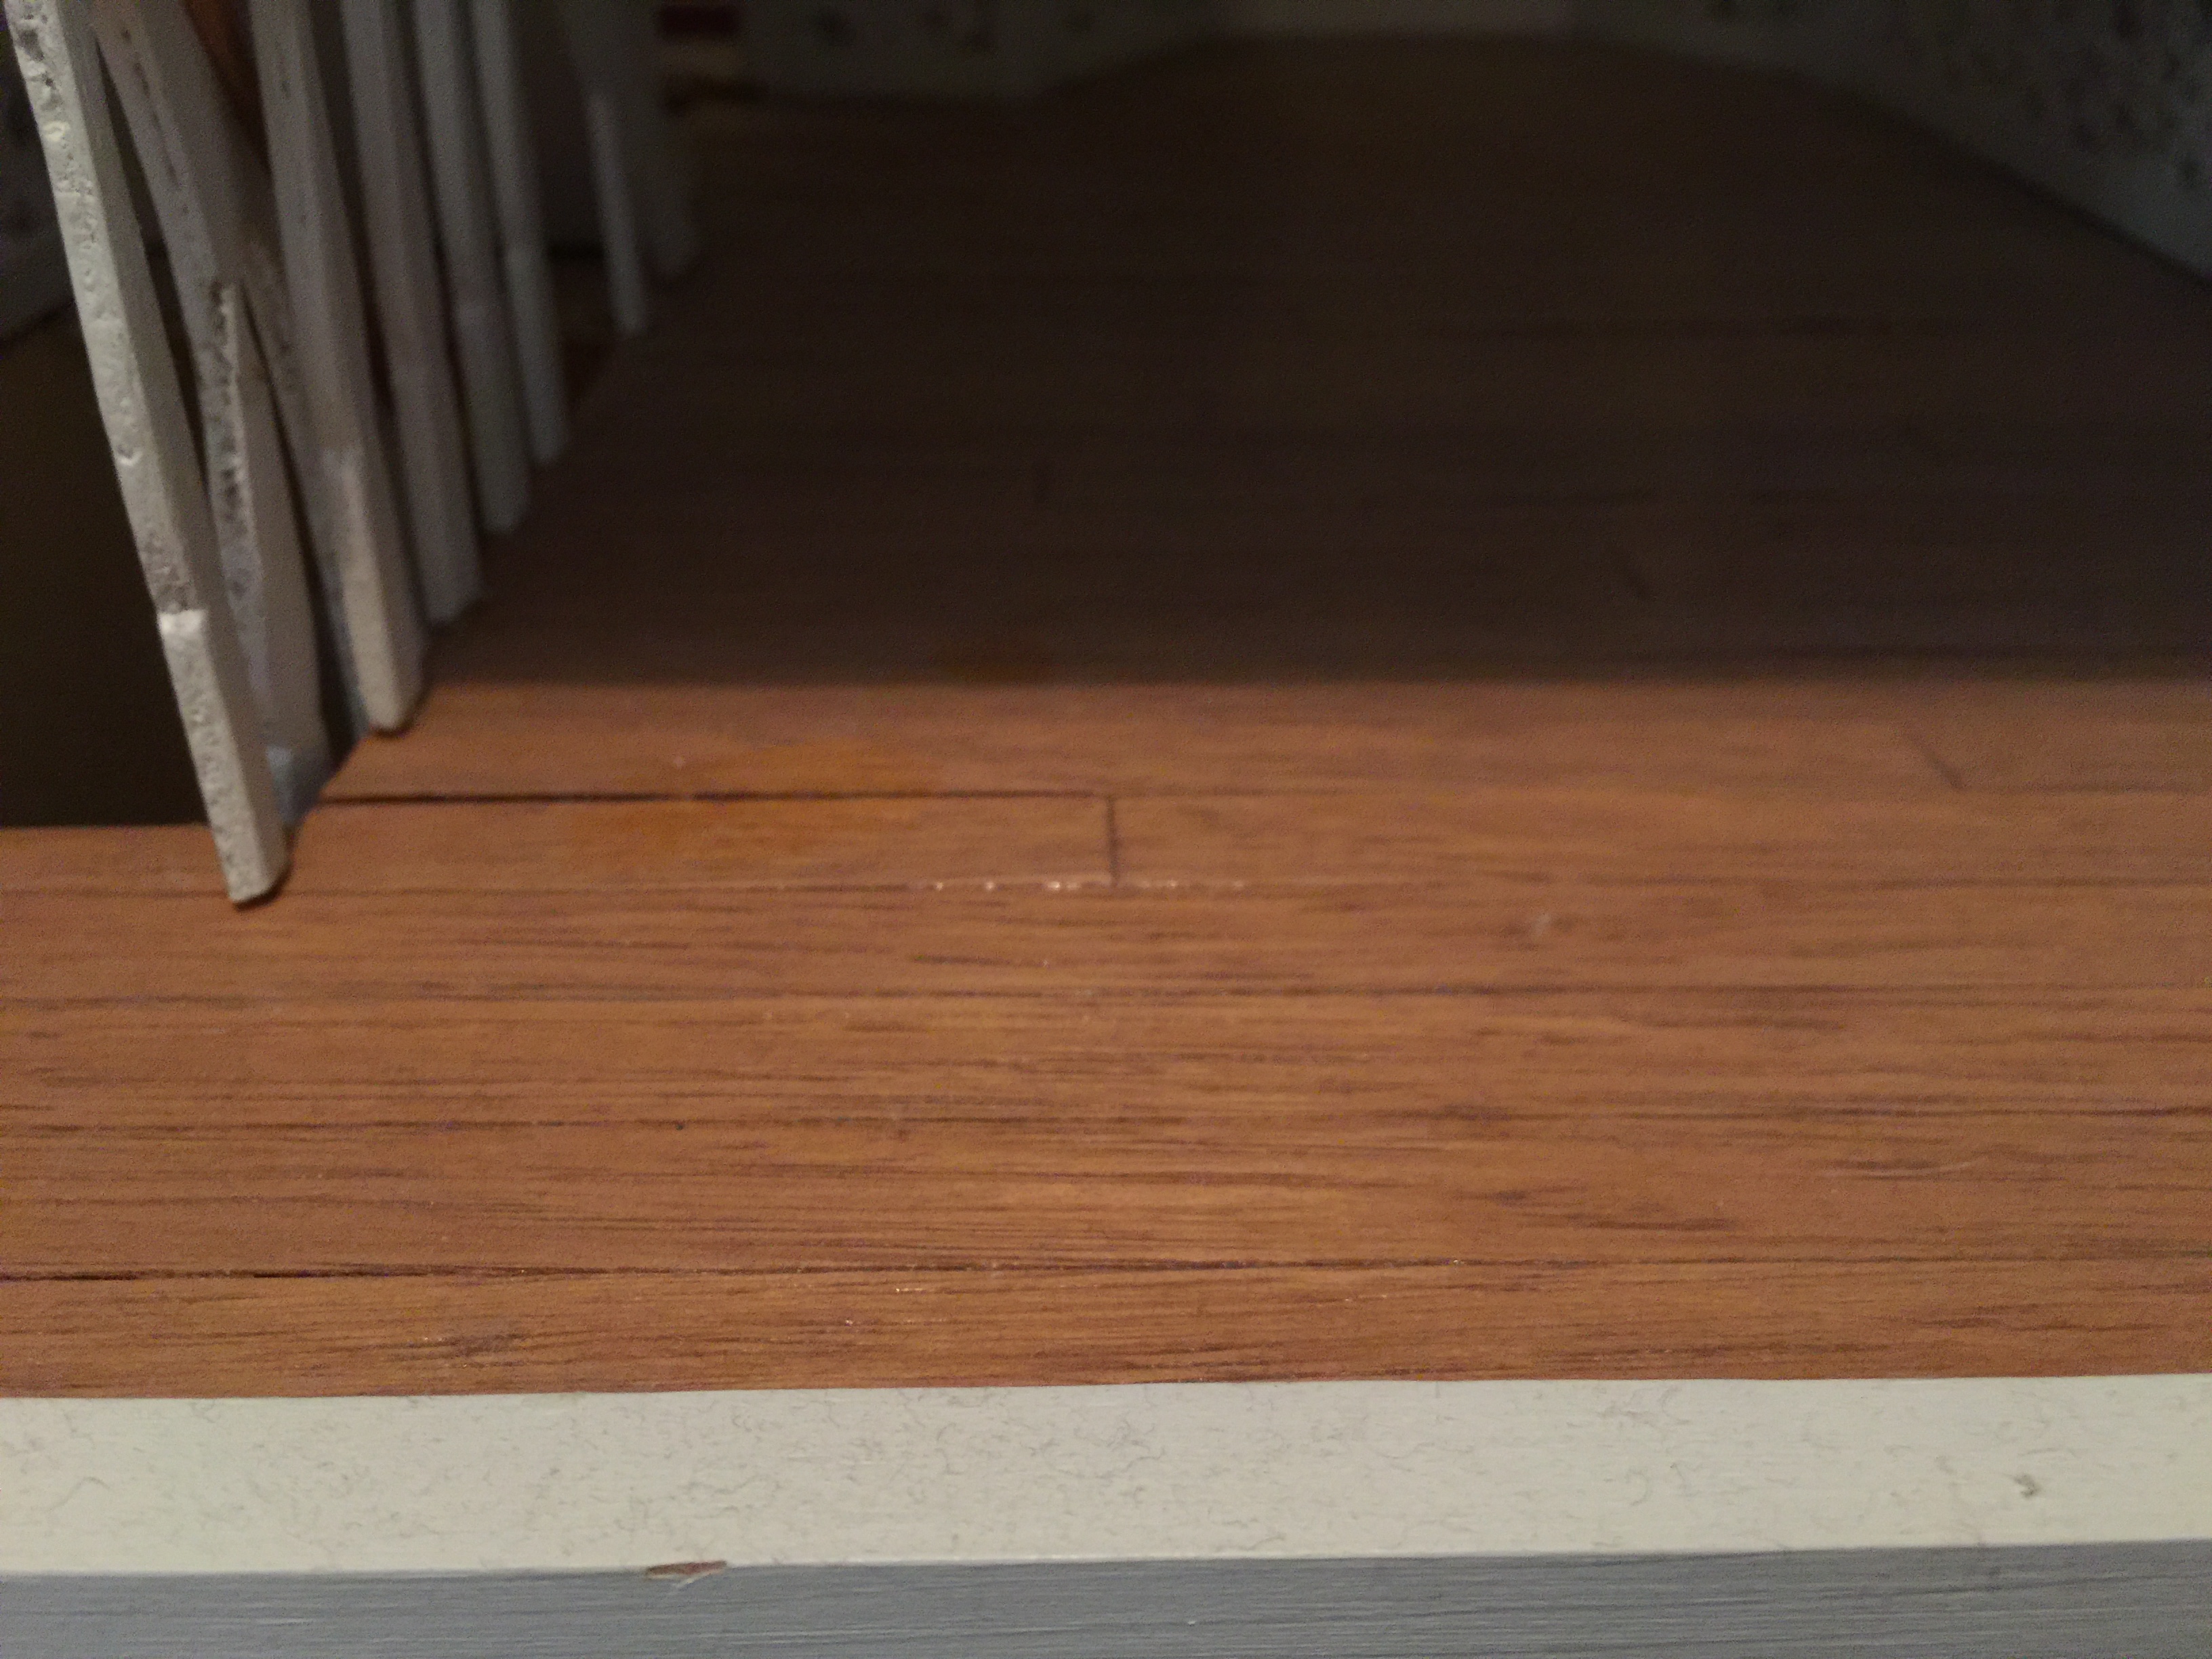
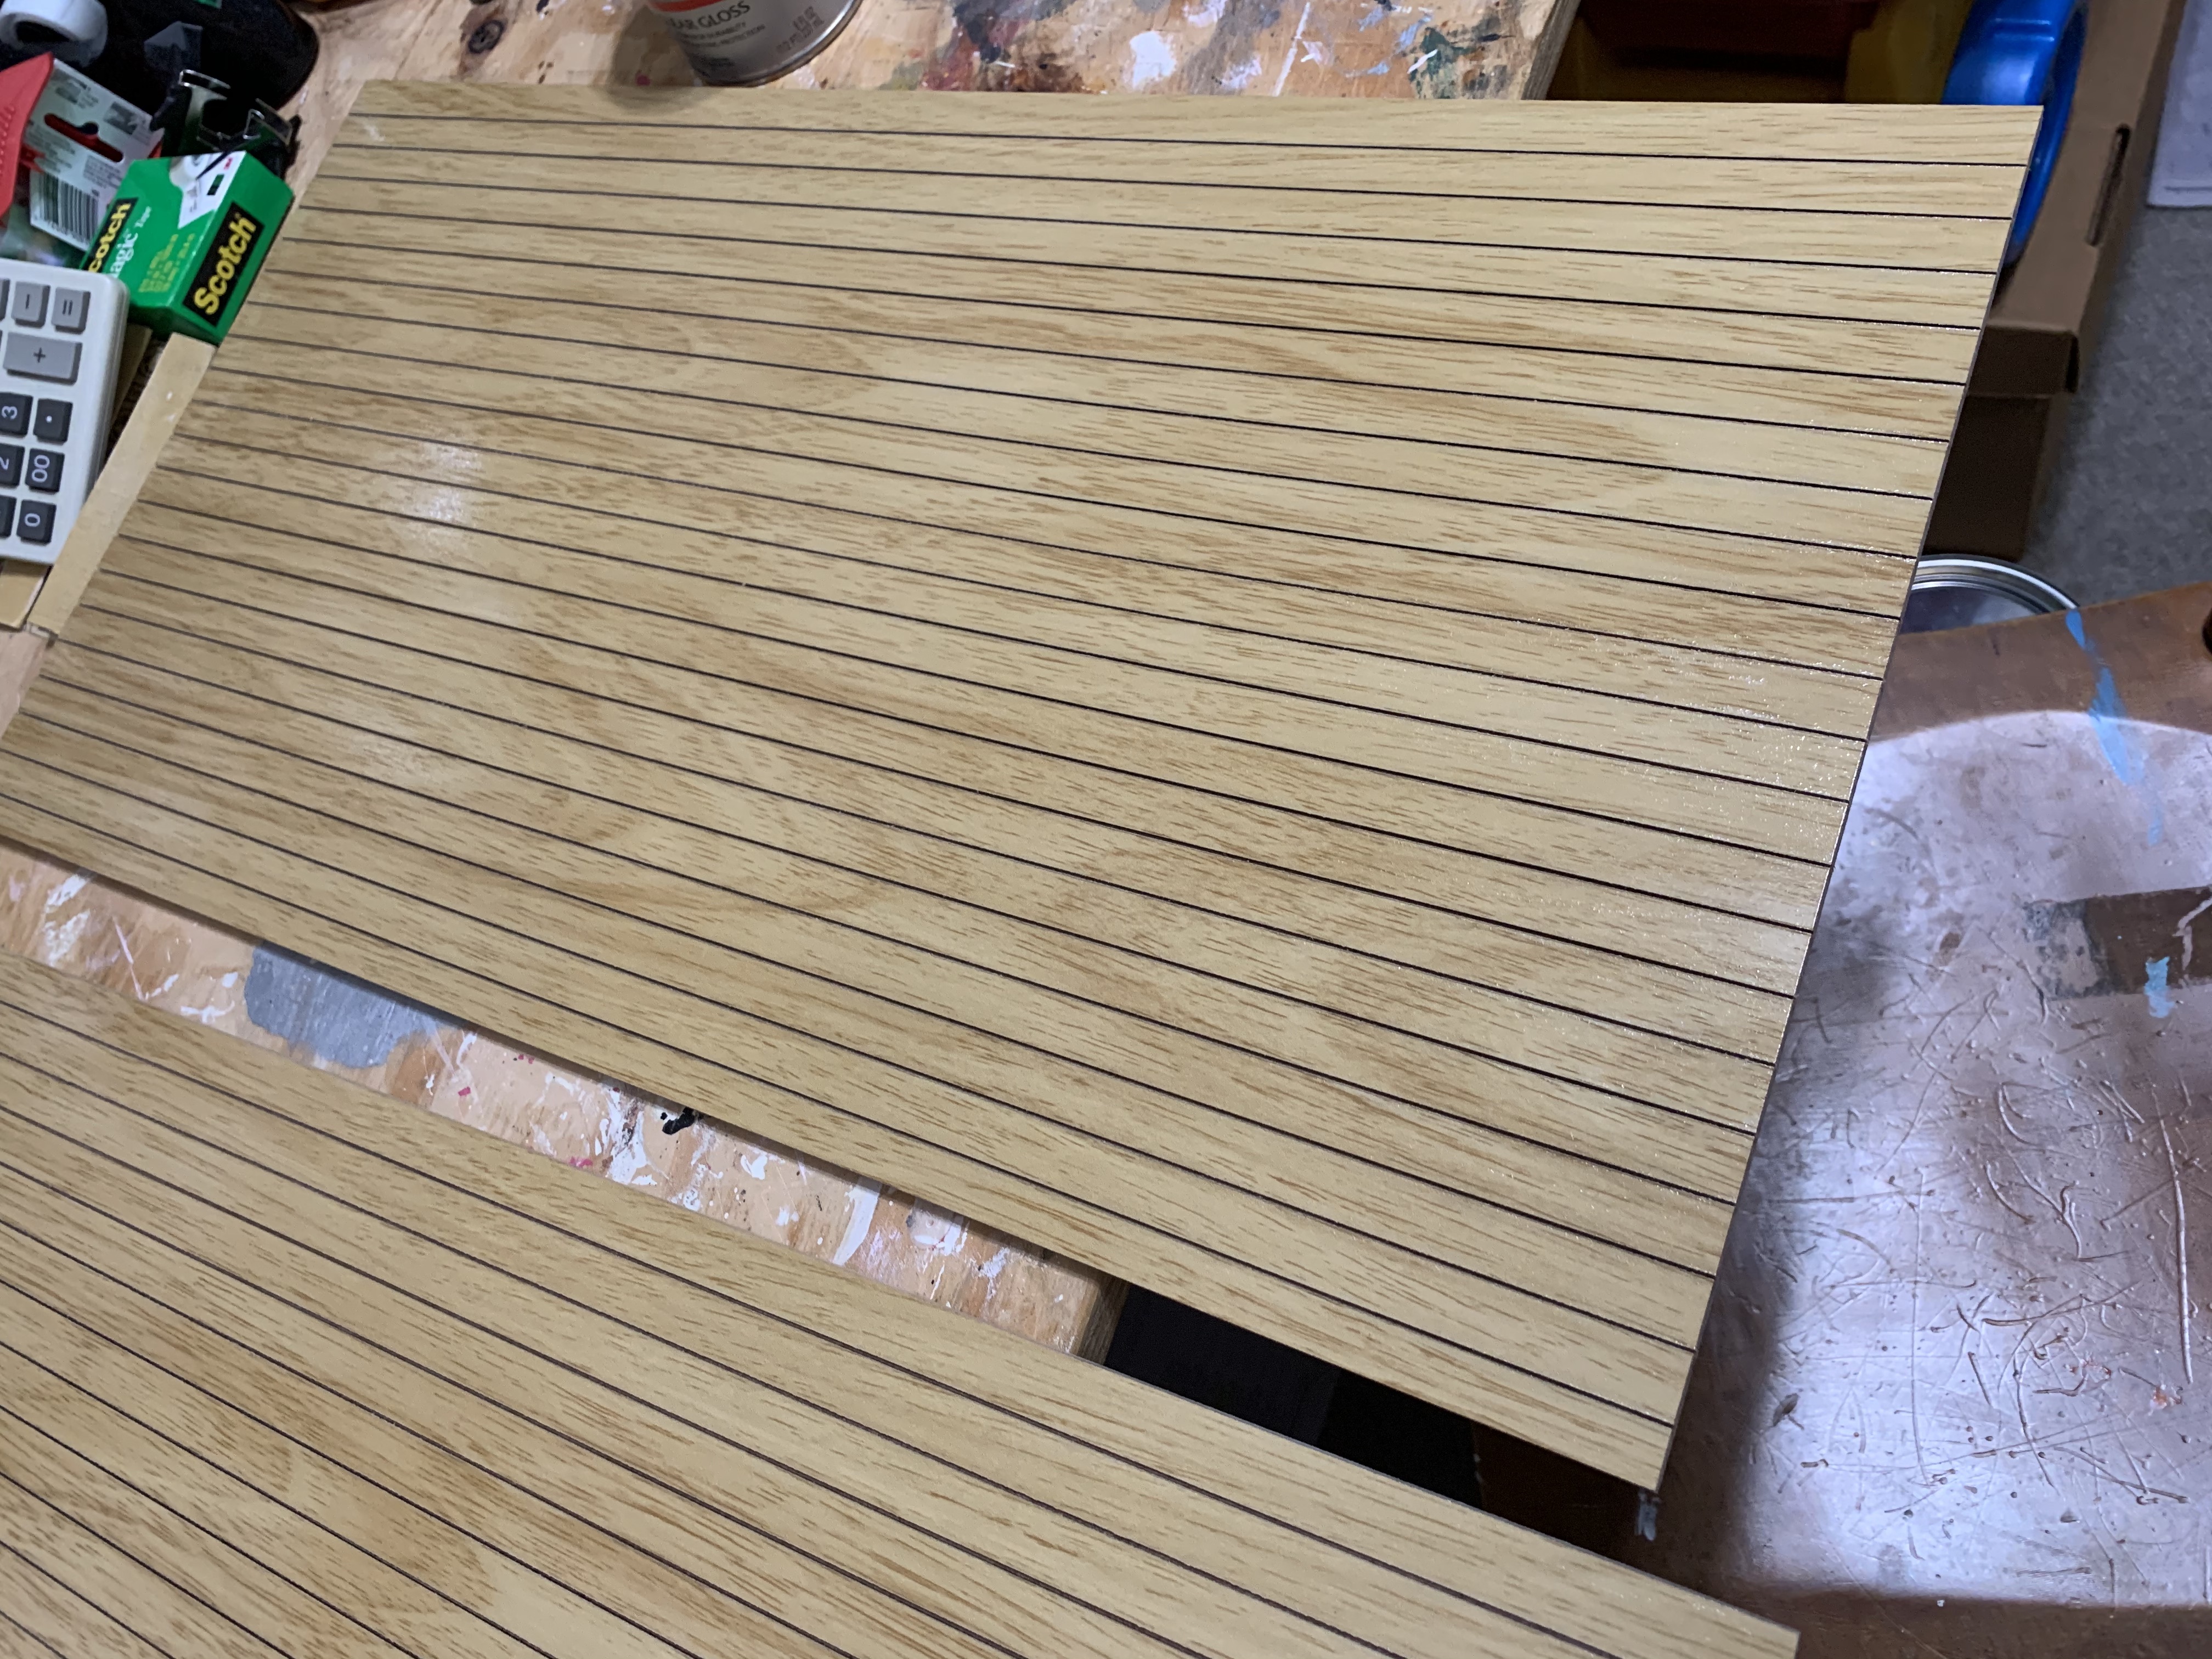
In the new kit, the floorboards were printed onto the wood with grooves cut into the wood to give the appearance of individual boards (although really long ones that ran the entire length of the house). But these still were not labor free as they too had to be sealed with clear polyurethane to prevent the faux wood printing from peeling or rubbing off.
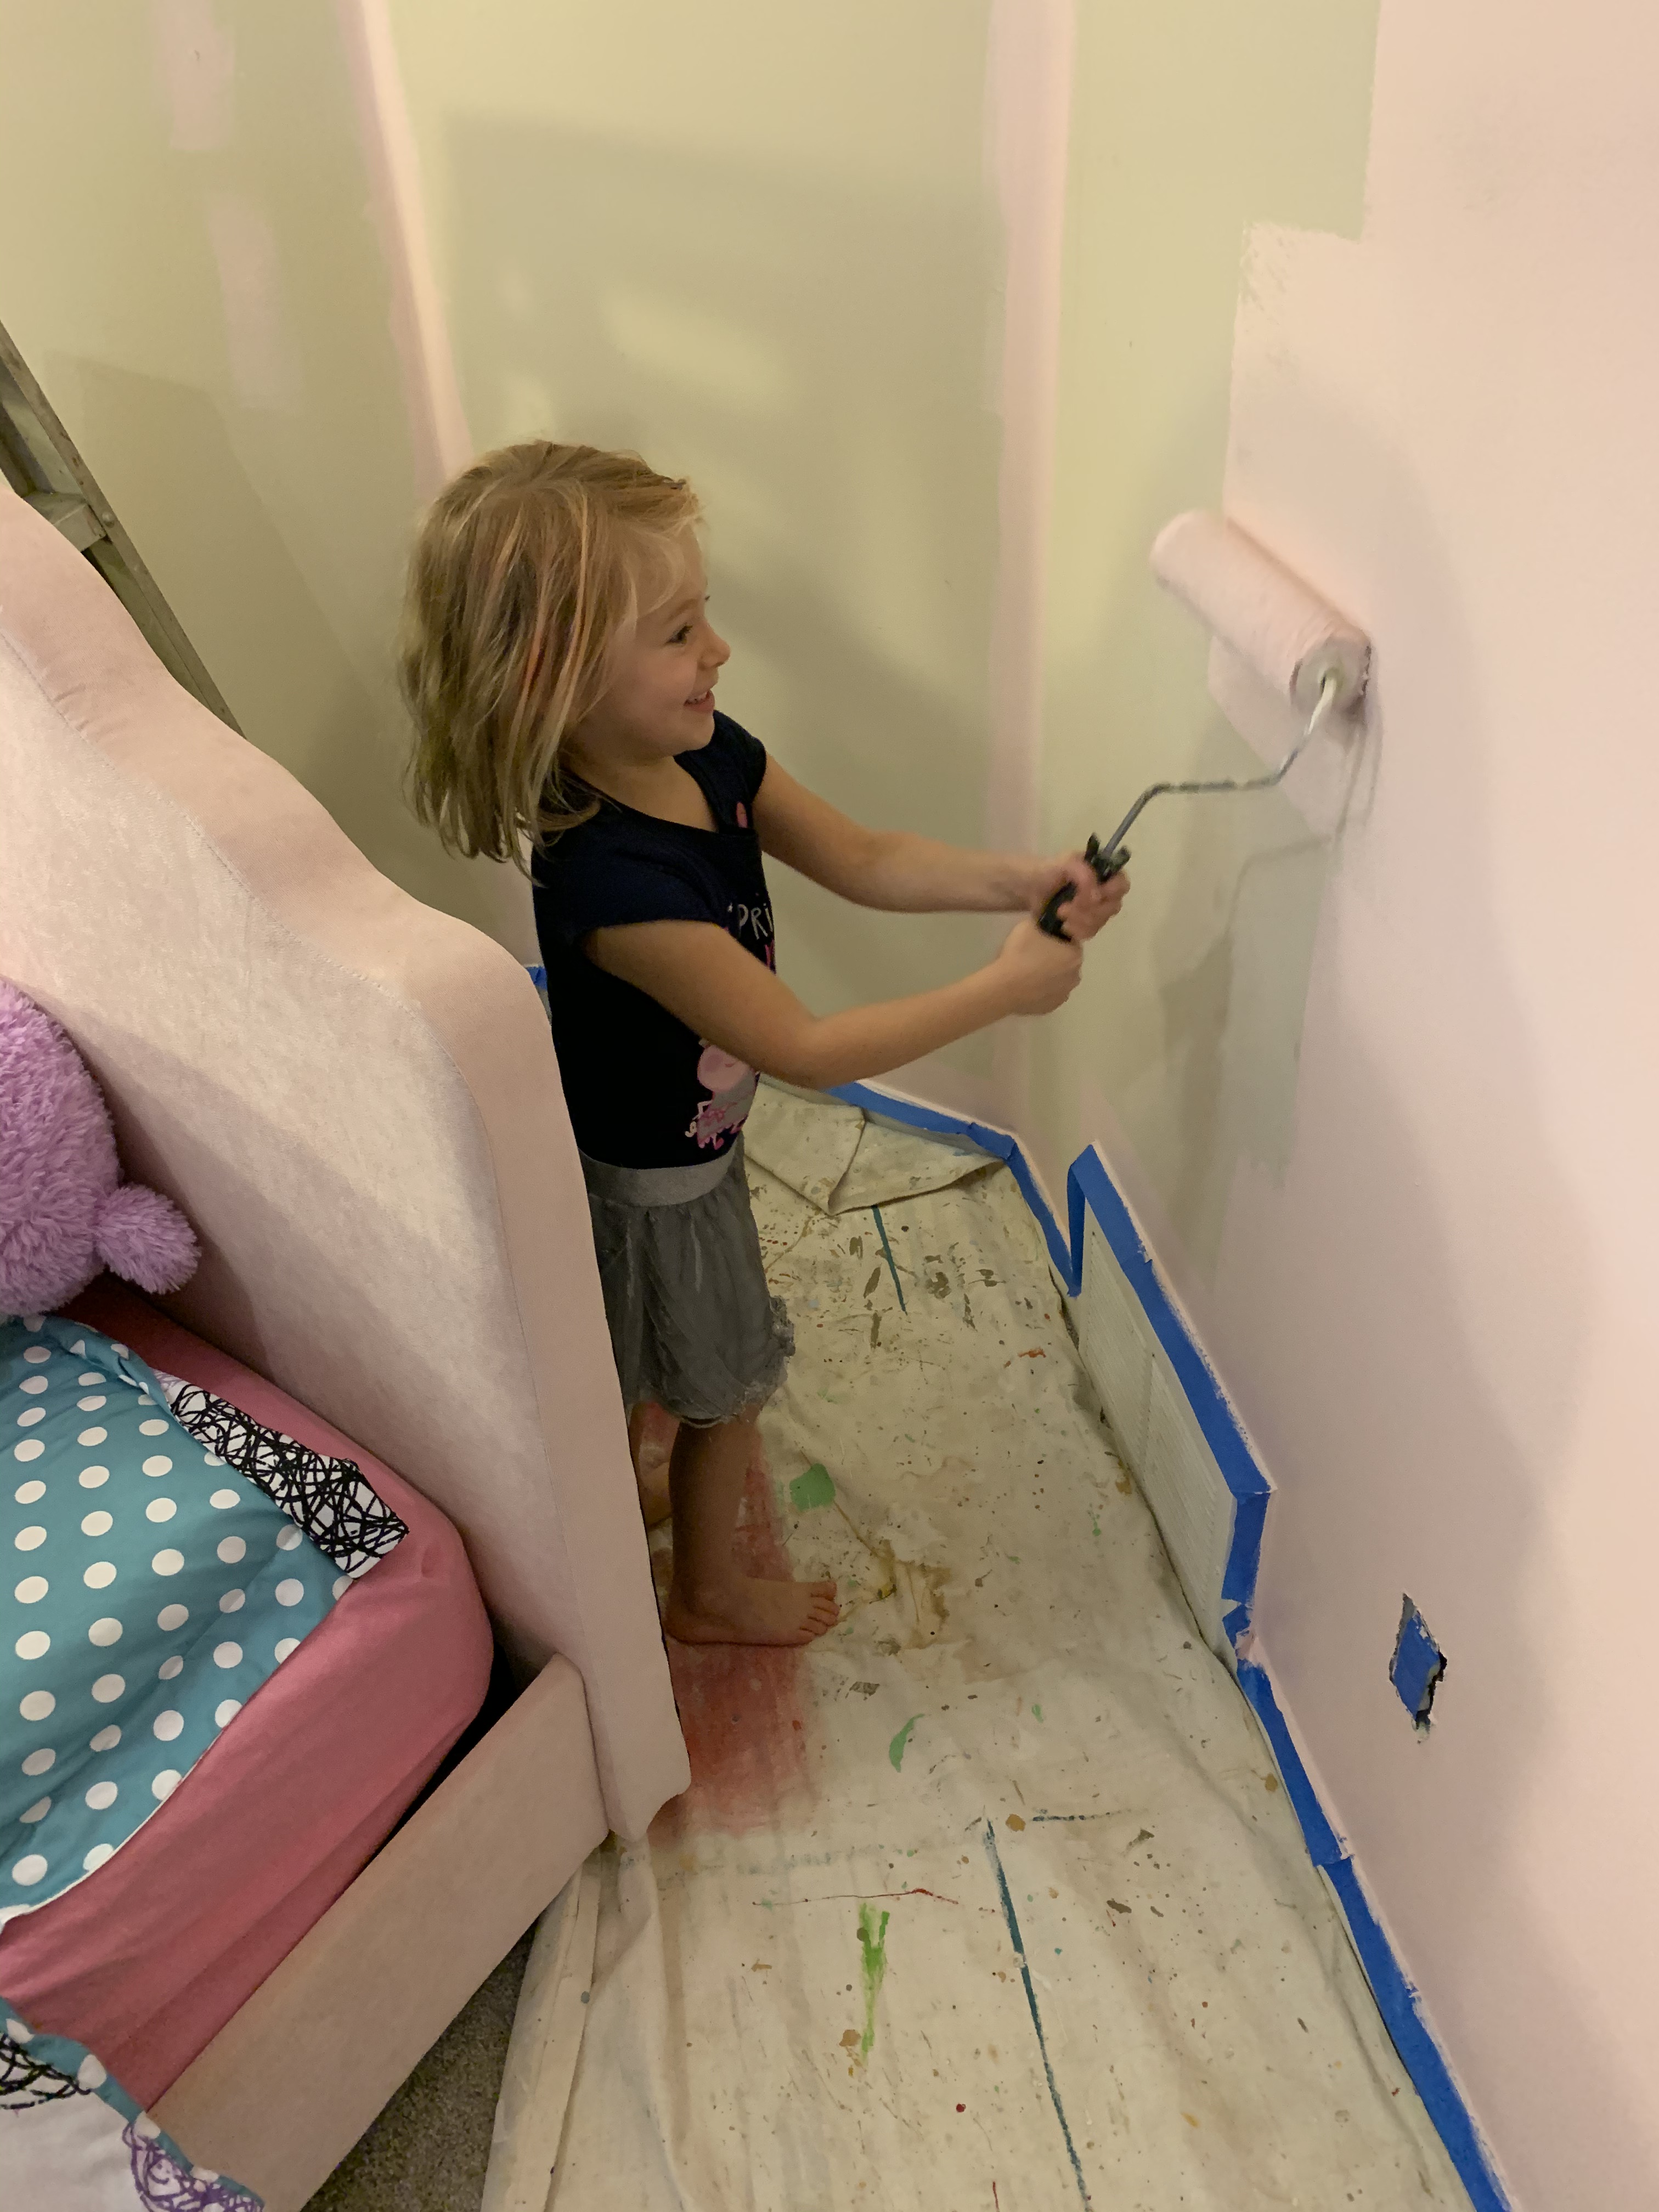
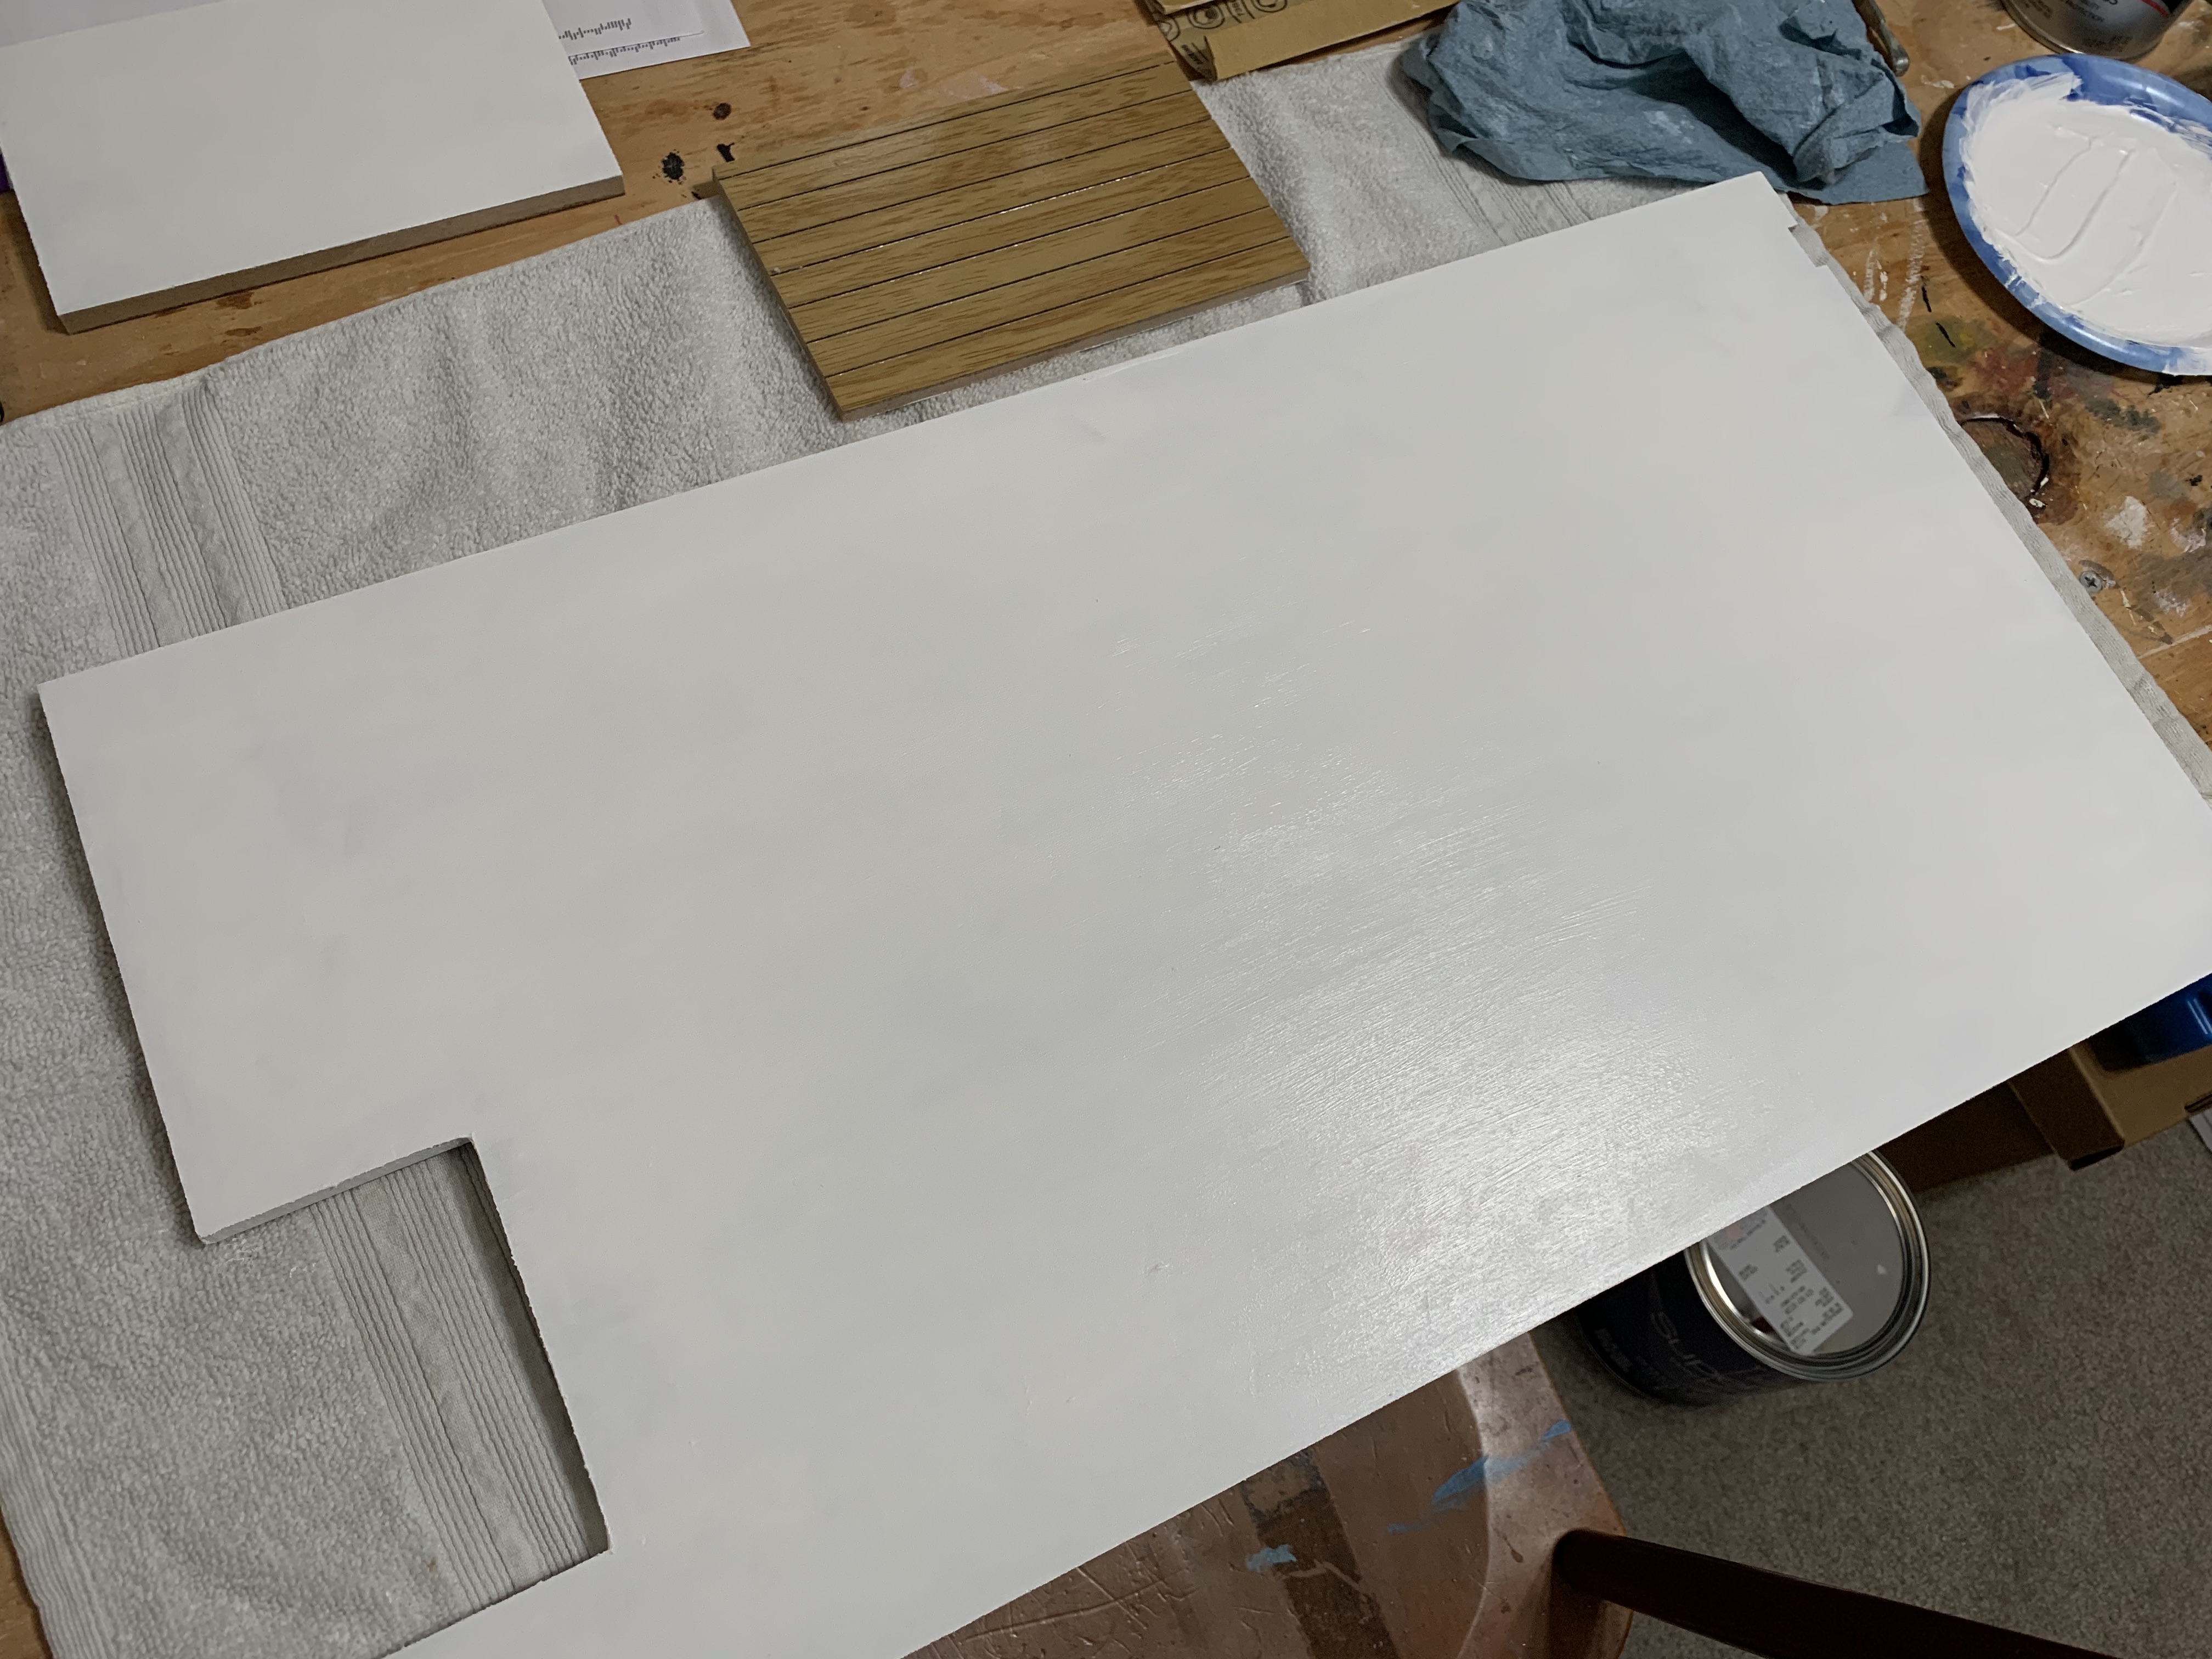
I wish I had kept the directions from the last dollhouse that I built to compare. However, with my assembly enthusiasm only slightly diminished, I was happy to get started. The assembly directions highly encouraged painting all surfaces BEFORE assembly since painting and sanding in tight corners was difficult. So, first step was to paint the exterior walls pink. I happened to have paint leftover from when I painted my granddaughter’s bedroom pink so this dollhouse would perfectly match the color in her room.
However, no amount of sanding and coats of paint left as smooth a finish as the blue house, not even four coats with sanding in between.

After sealing the floors, I also realized I would need to paint the bottoms of them white as they would be the ceiling for the floor below.
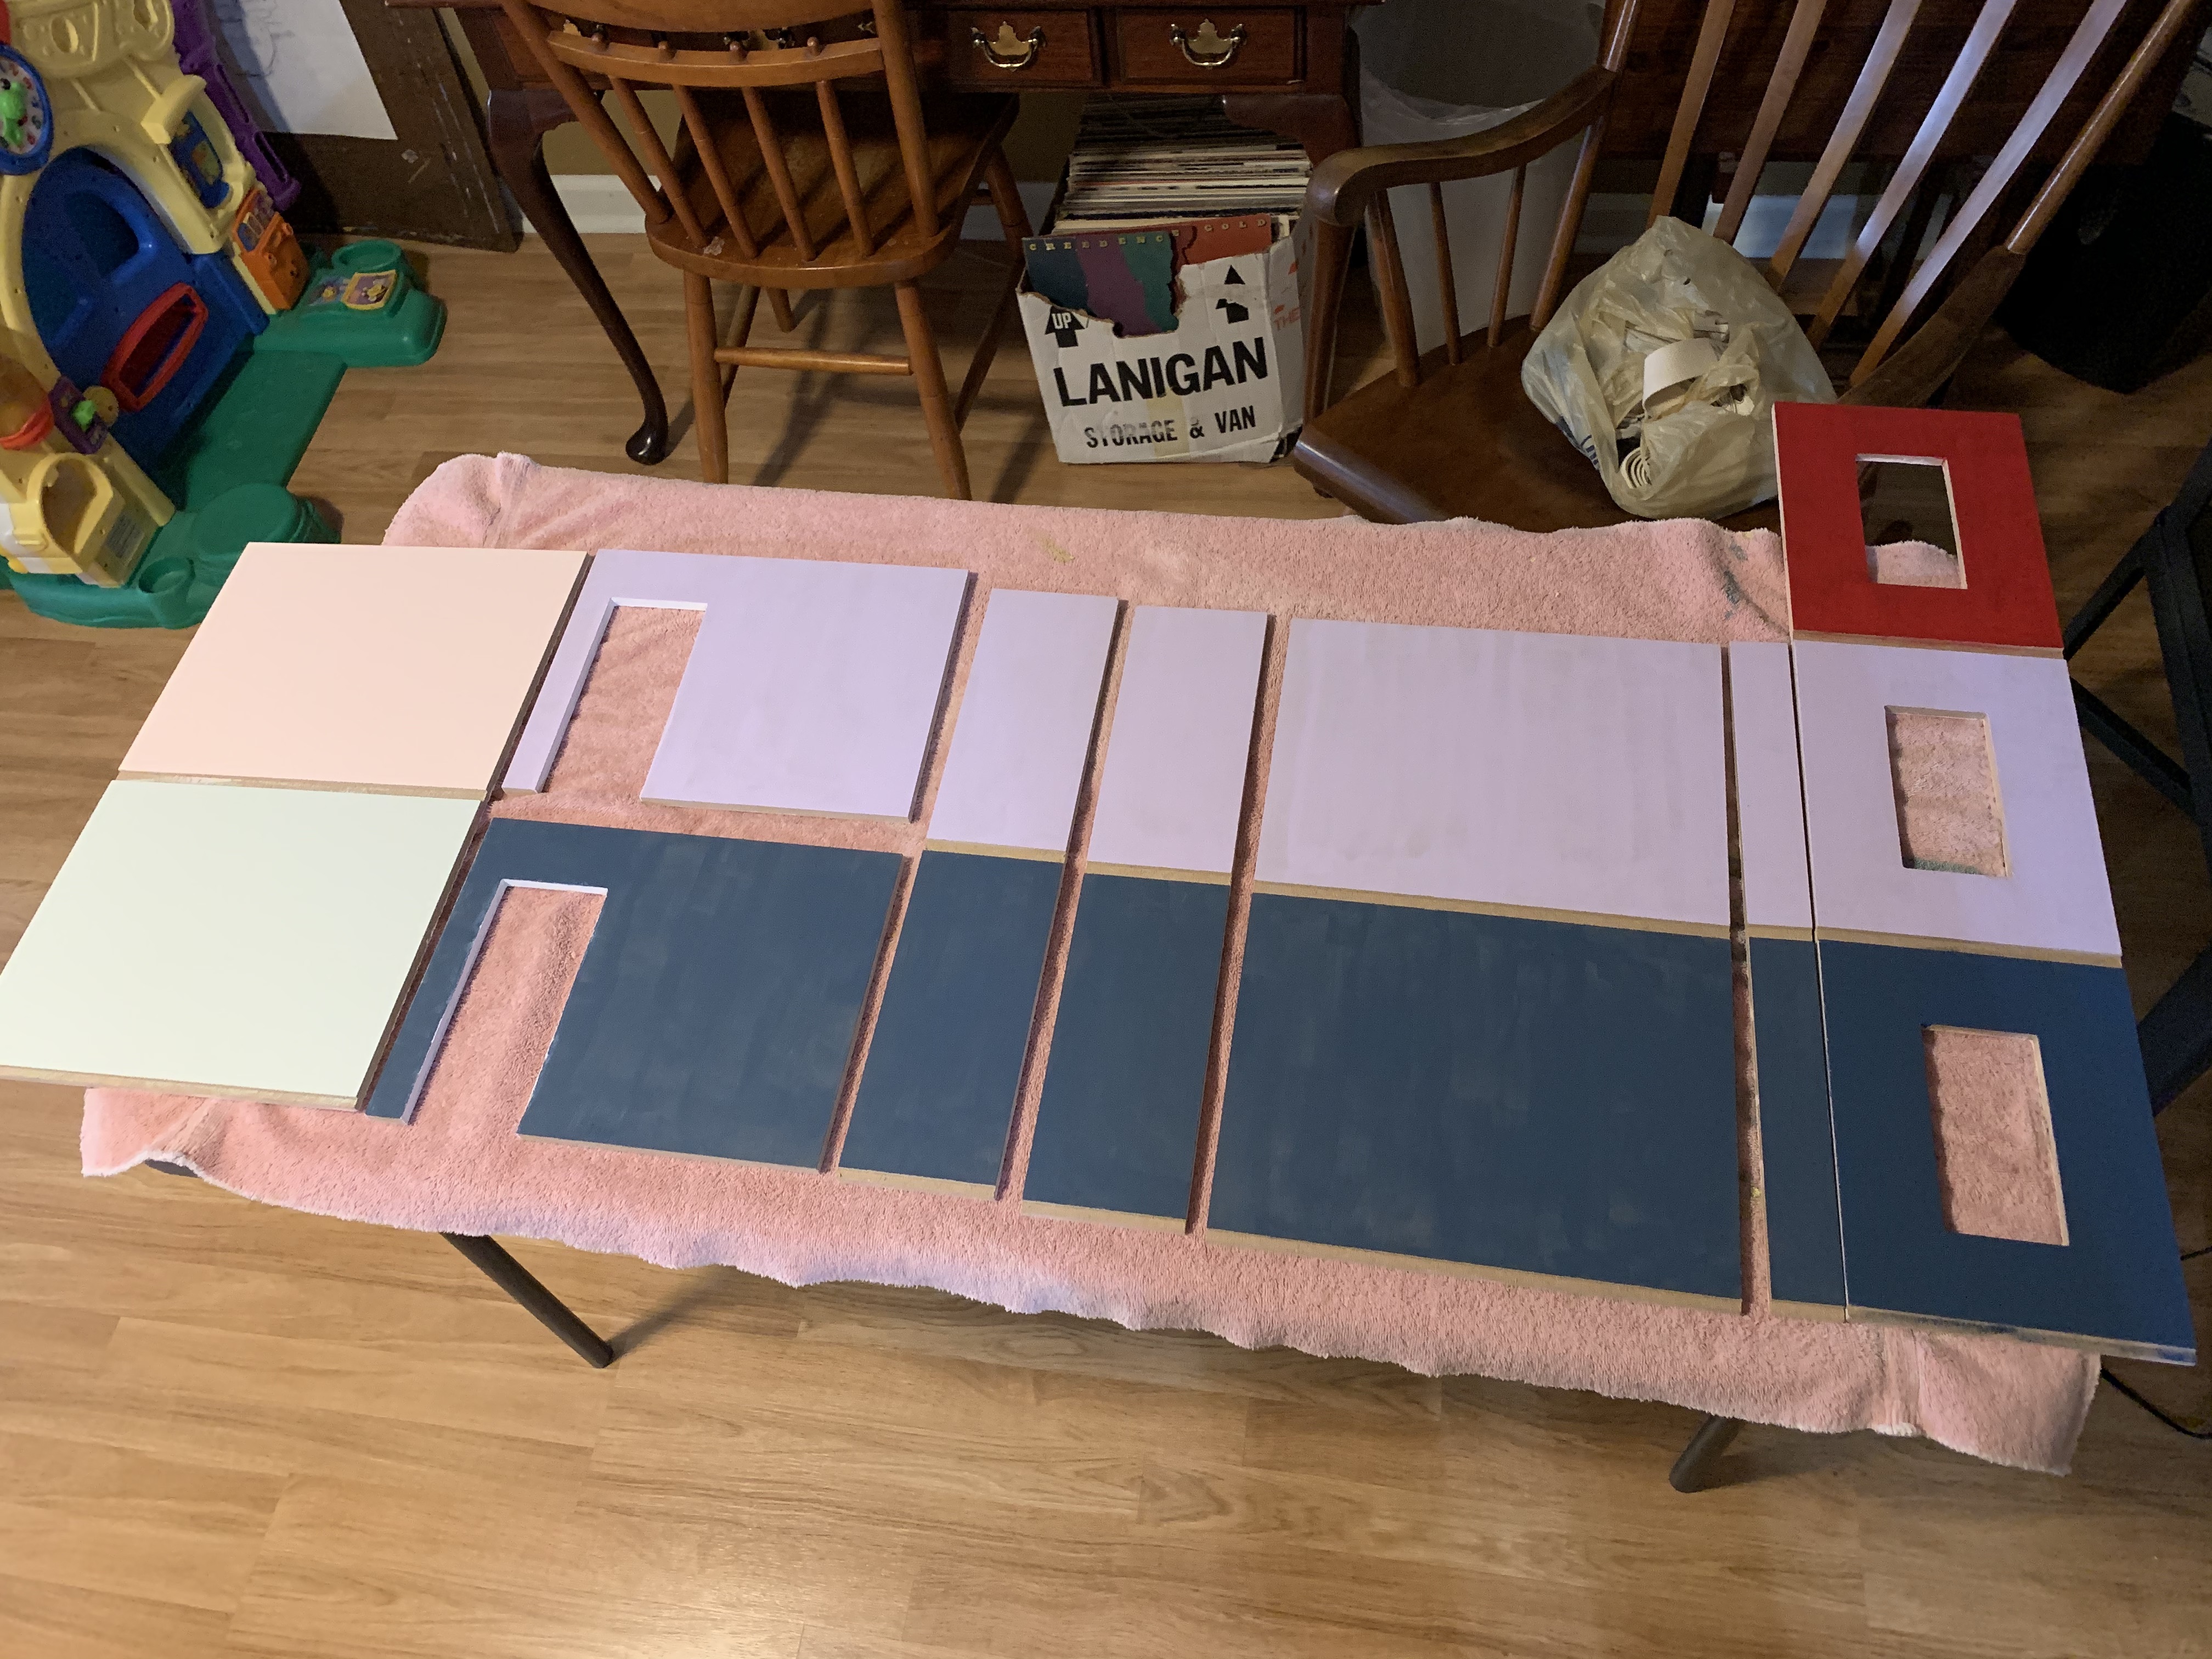
It seemed to take forever to begin the assembly process with all this required upfront painting. And I had to pick out colors for the rooms as well that I thought she would like. In the past, I used leftover buckets of house paint since those were readily available at no cost. I knew one bedroom would have to be her pink (same as exterior color) and the other I thought could be her Mimi’s bedroom color, which had recently been painted. Another color was left over paint from when I painted the hearth room and kitchen at our son’s house. The other colors I bought sampler jars of house paint in colorful shades I thought she would like.
One day to speed up the process, I set up an extra table and tried to paint as much as I could.
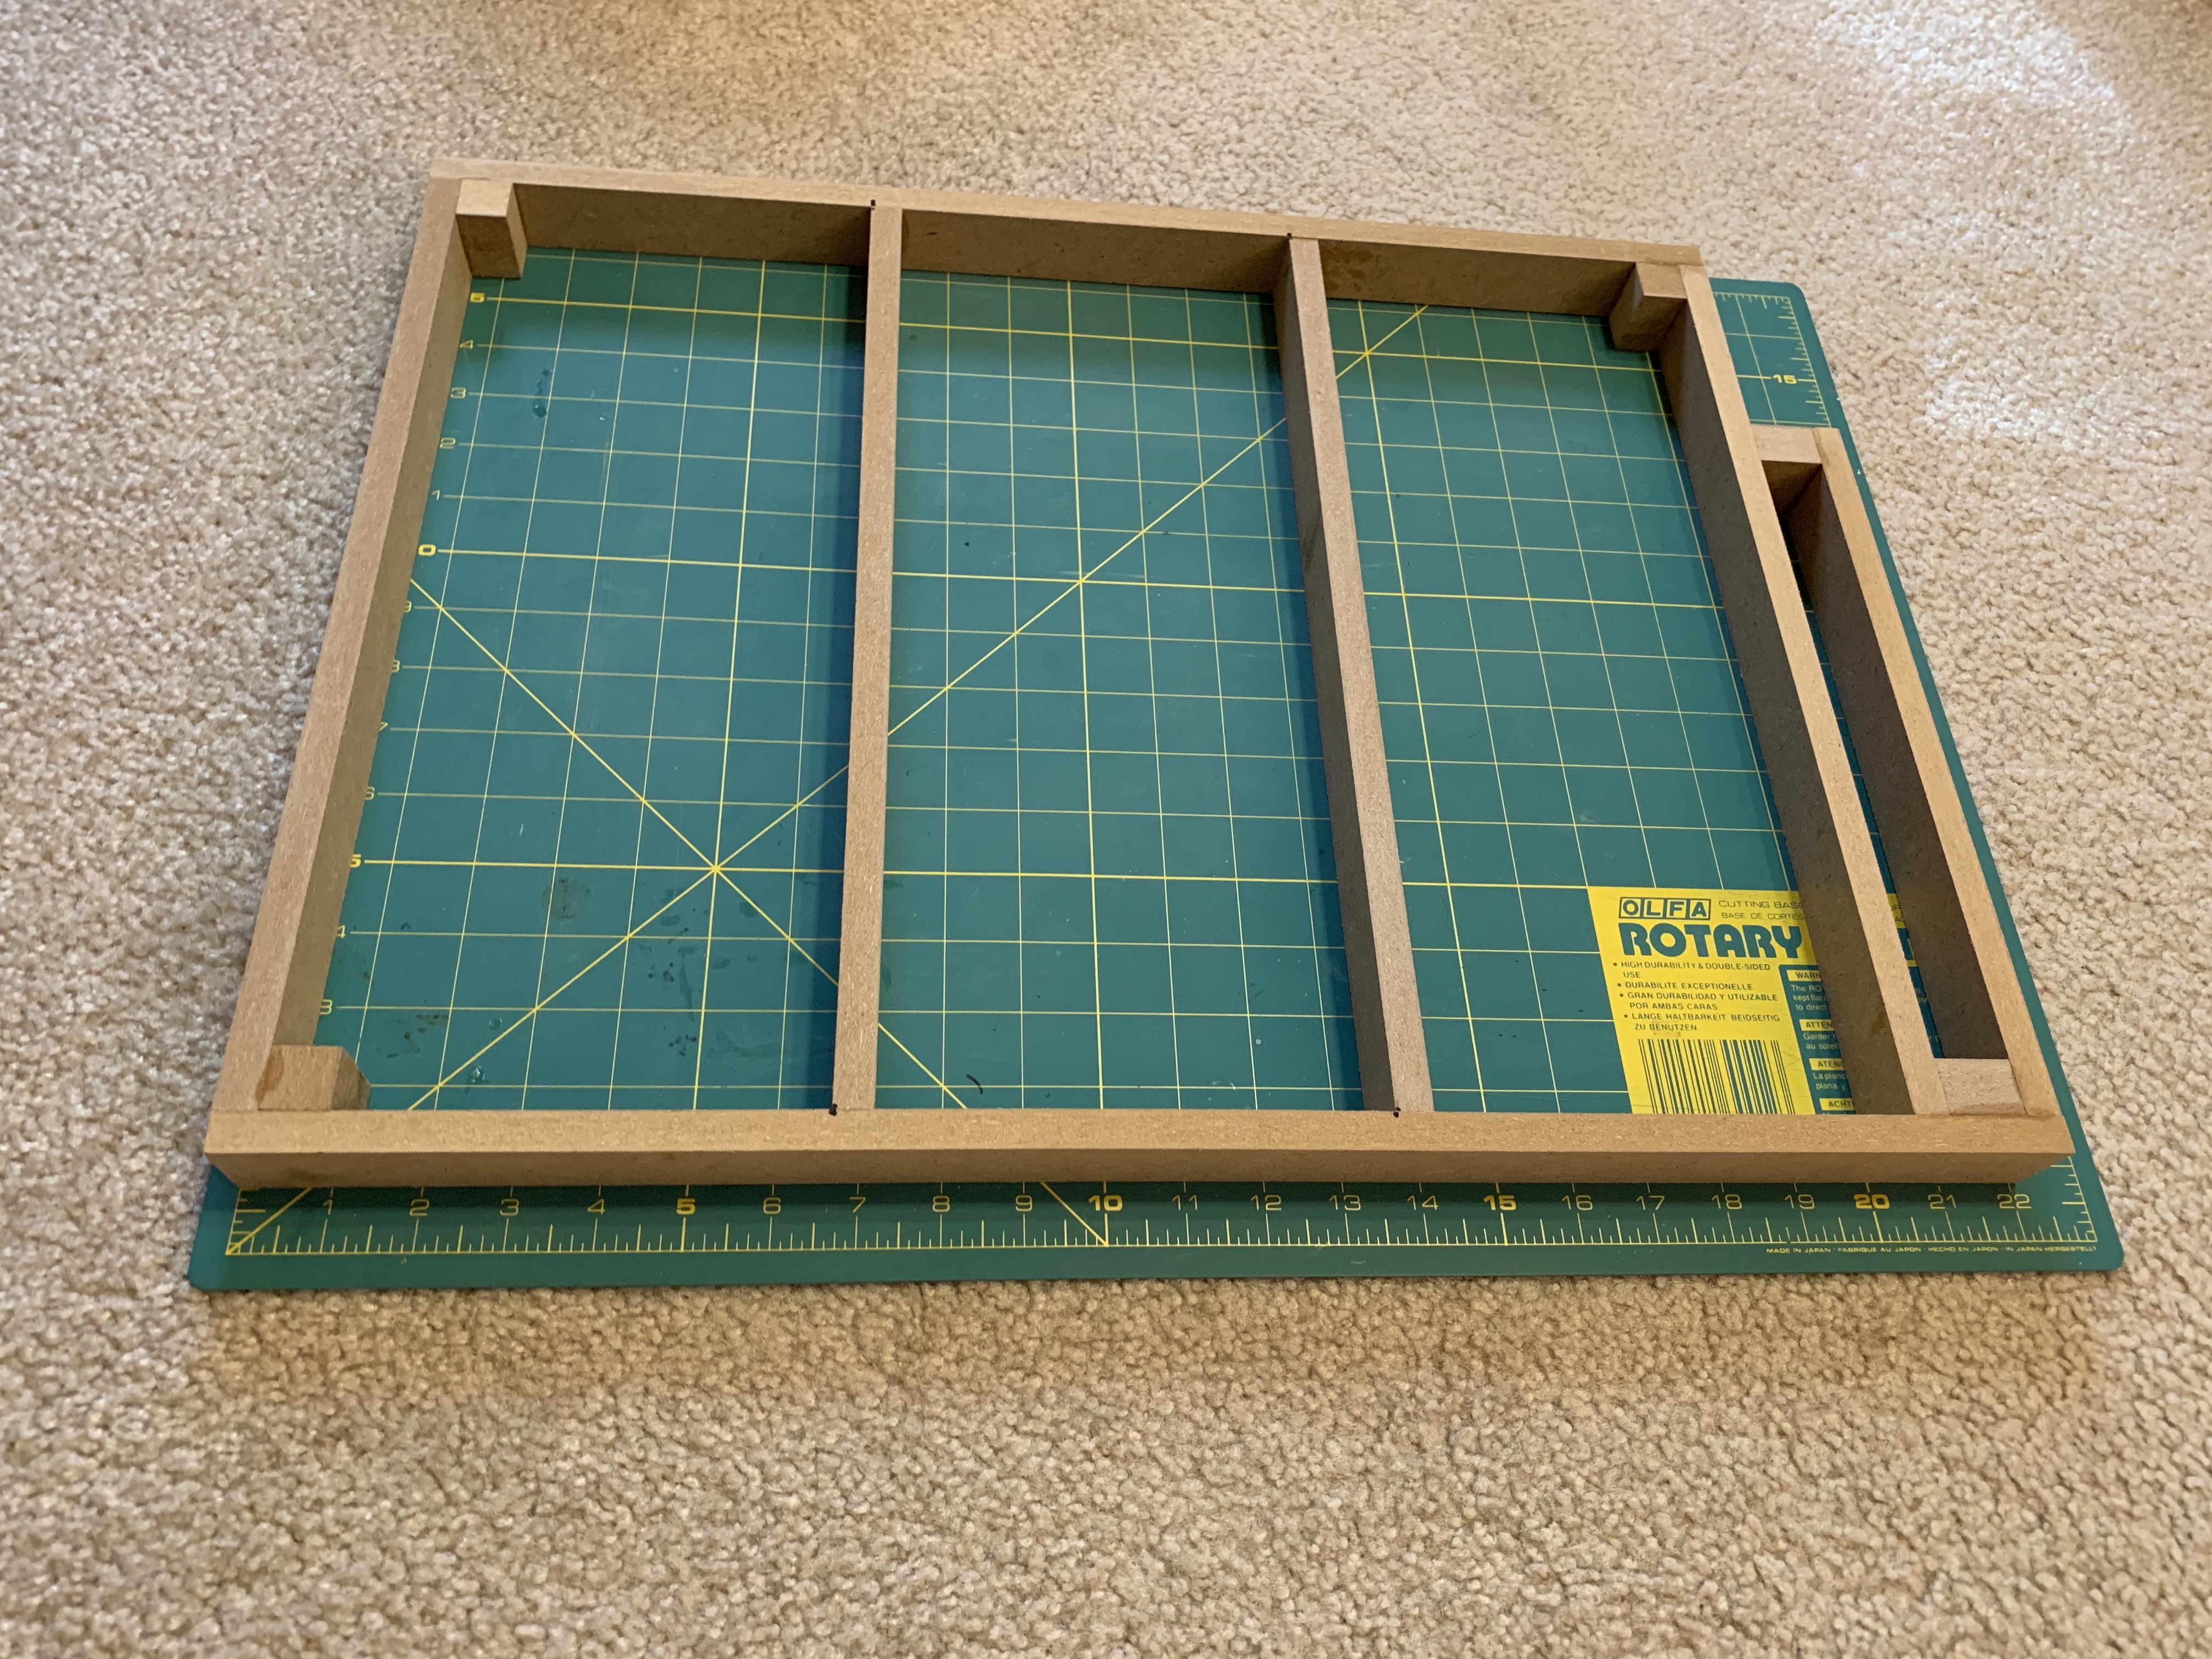
Then as I was looking ahead to figure out which was the left and right side third floor walls so they could be painted, I saw that the foundation was supposed to be assembled first and then painted. I thought, finally, something I could build. I quickly got the necessary pieces together and began to have some real fun.

I used these clamps rather than following the instruction’s recommended taping technique thinking it would secure the glue even more tightly. Progressively using these two clamps, I completed the foundation allowing ample time for the glue to dry before adding additional pieces. Since you always want to build on a solid foundation, I also added small screws in the four corners just to strengthen the structure even more.
Once completed, the next step was to paint the foundation. The instructions included directions (but not materials) on how to give the foundation a “stucco-like” appearance. I had seen this on the display model at the store and was not impressed with its appearance.
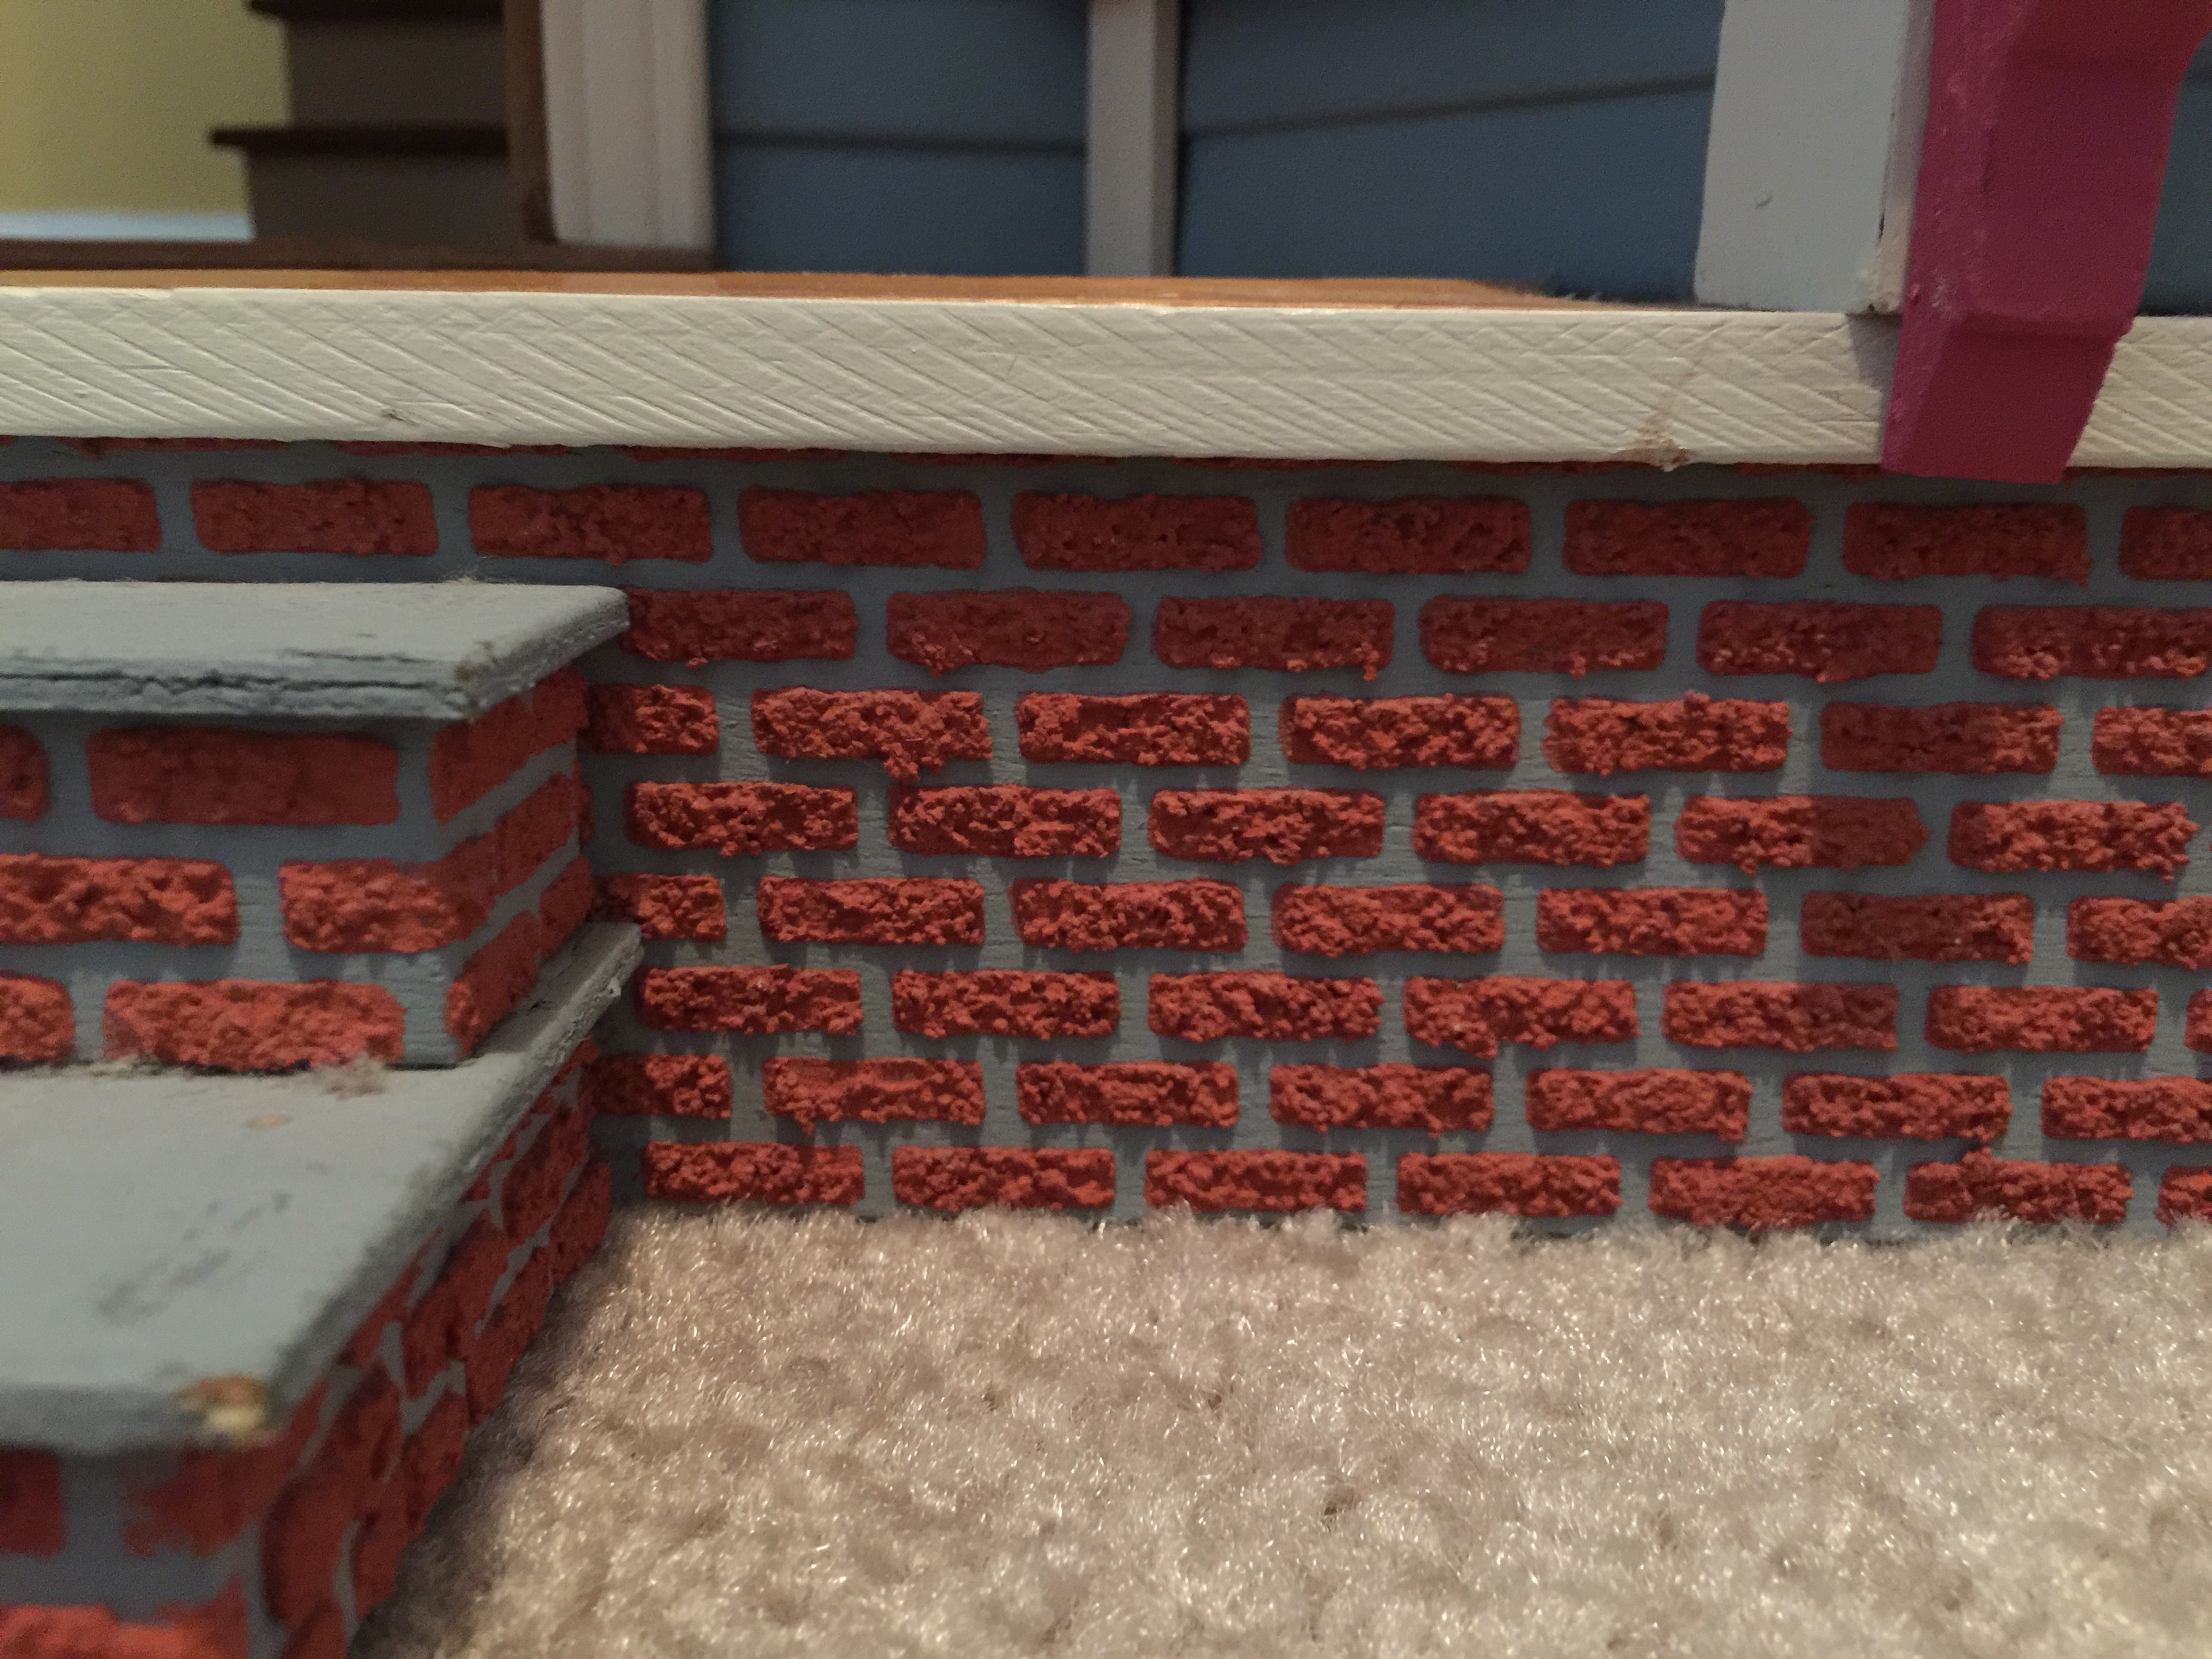
I much preferred the method used on the blue dollhouse which gave it this faux brick look.
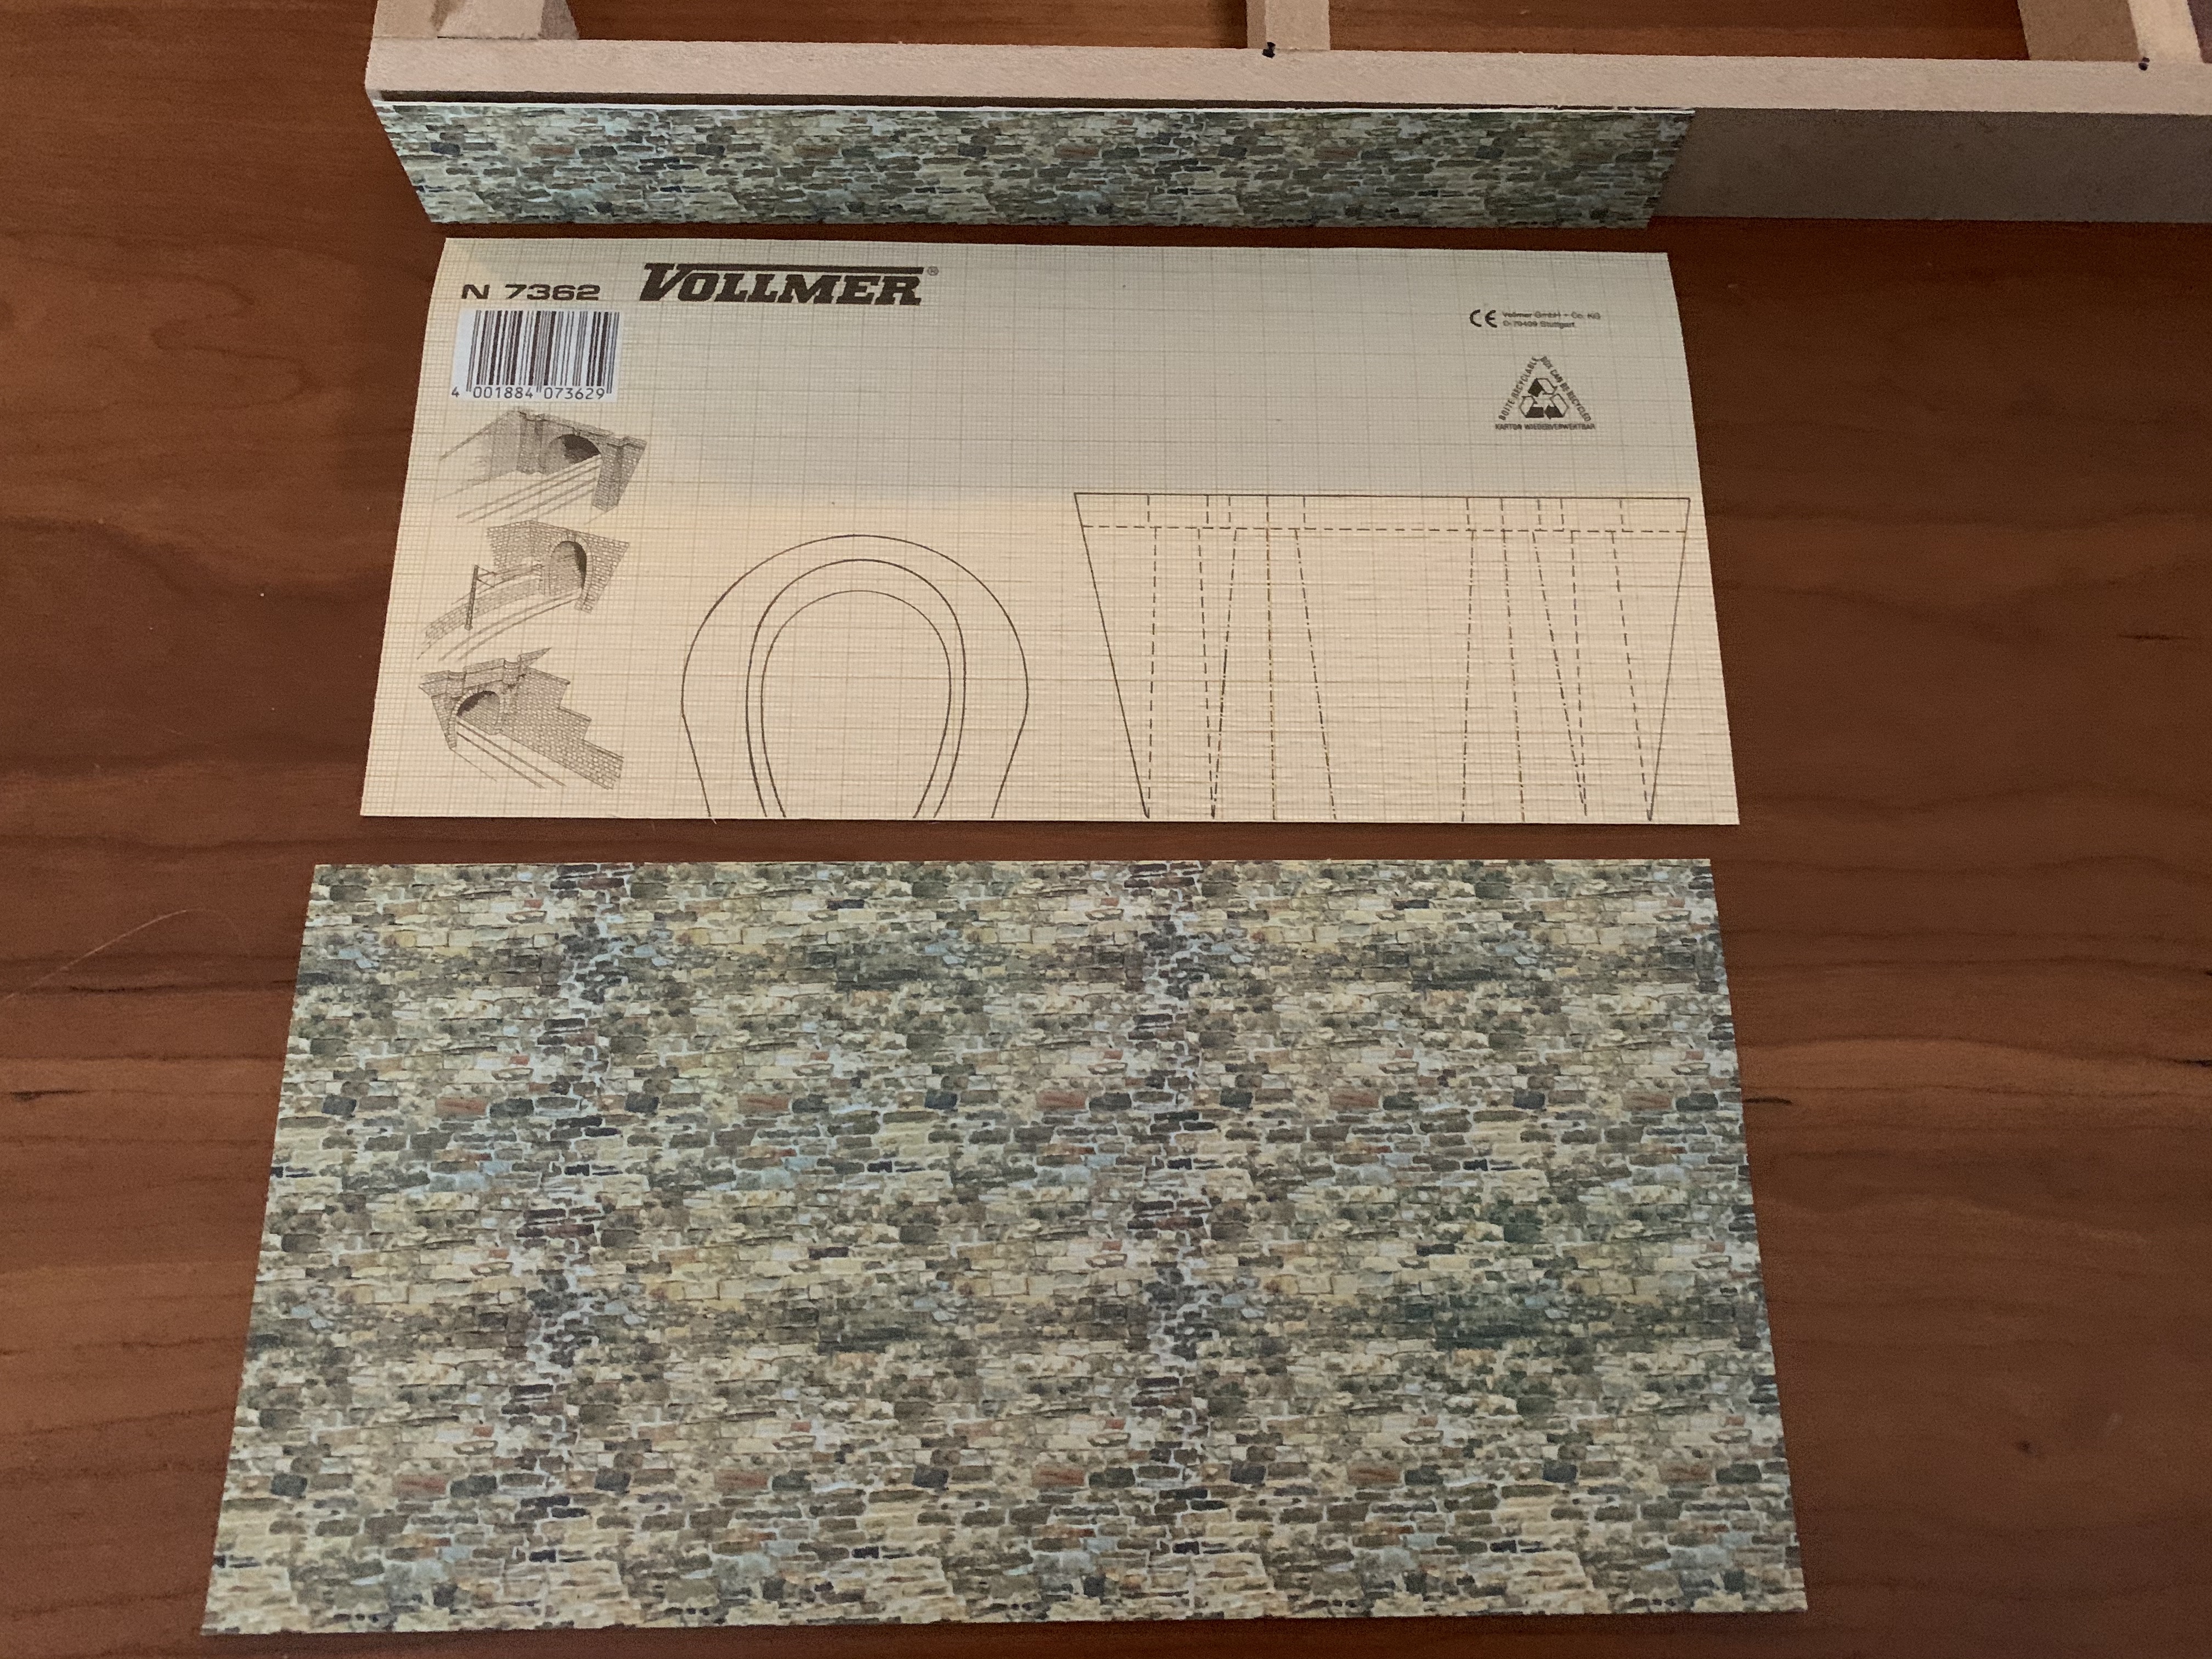
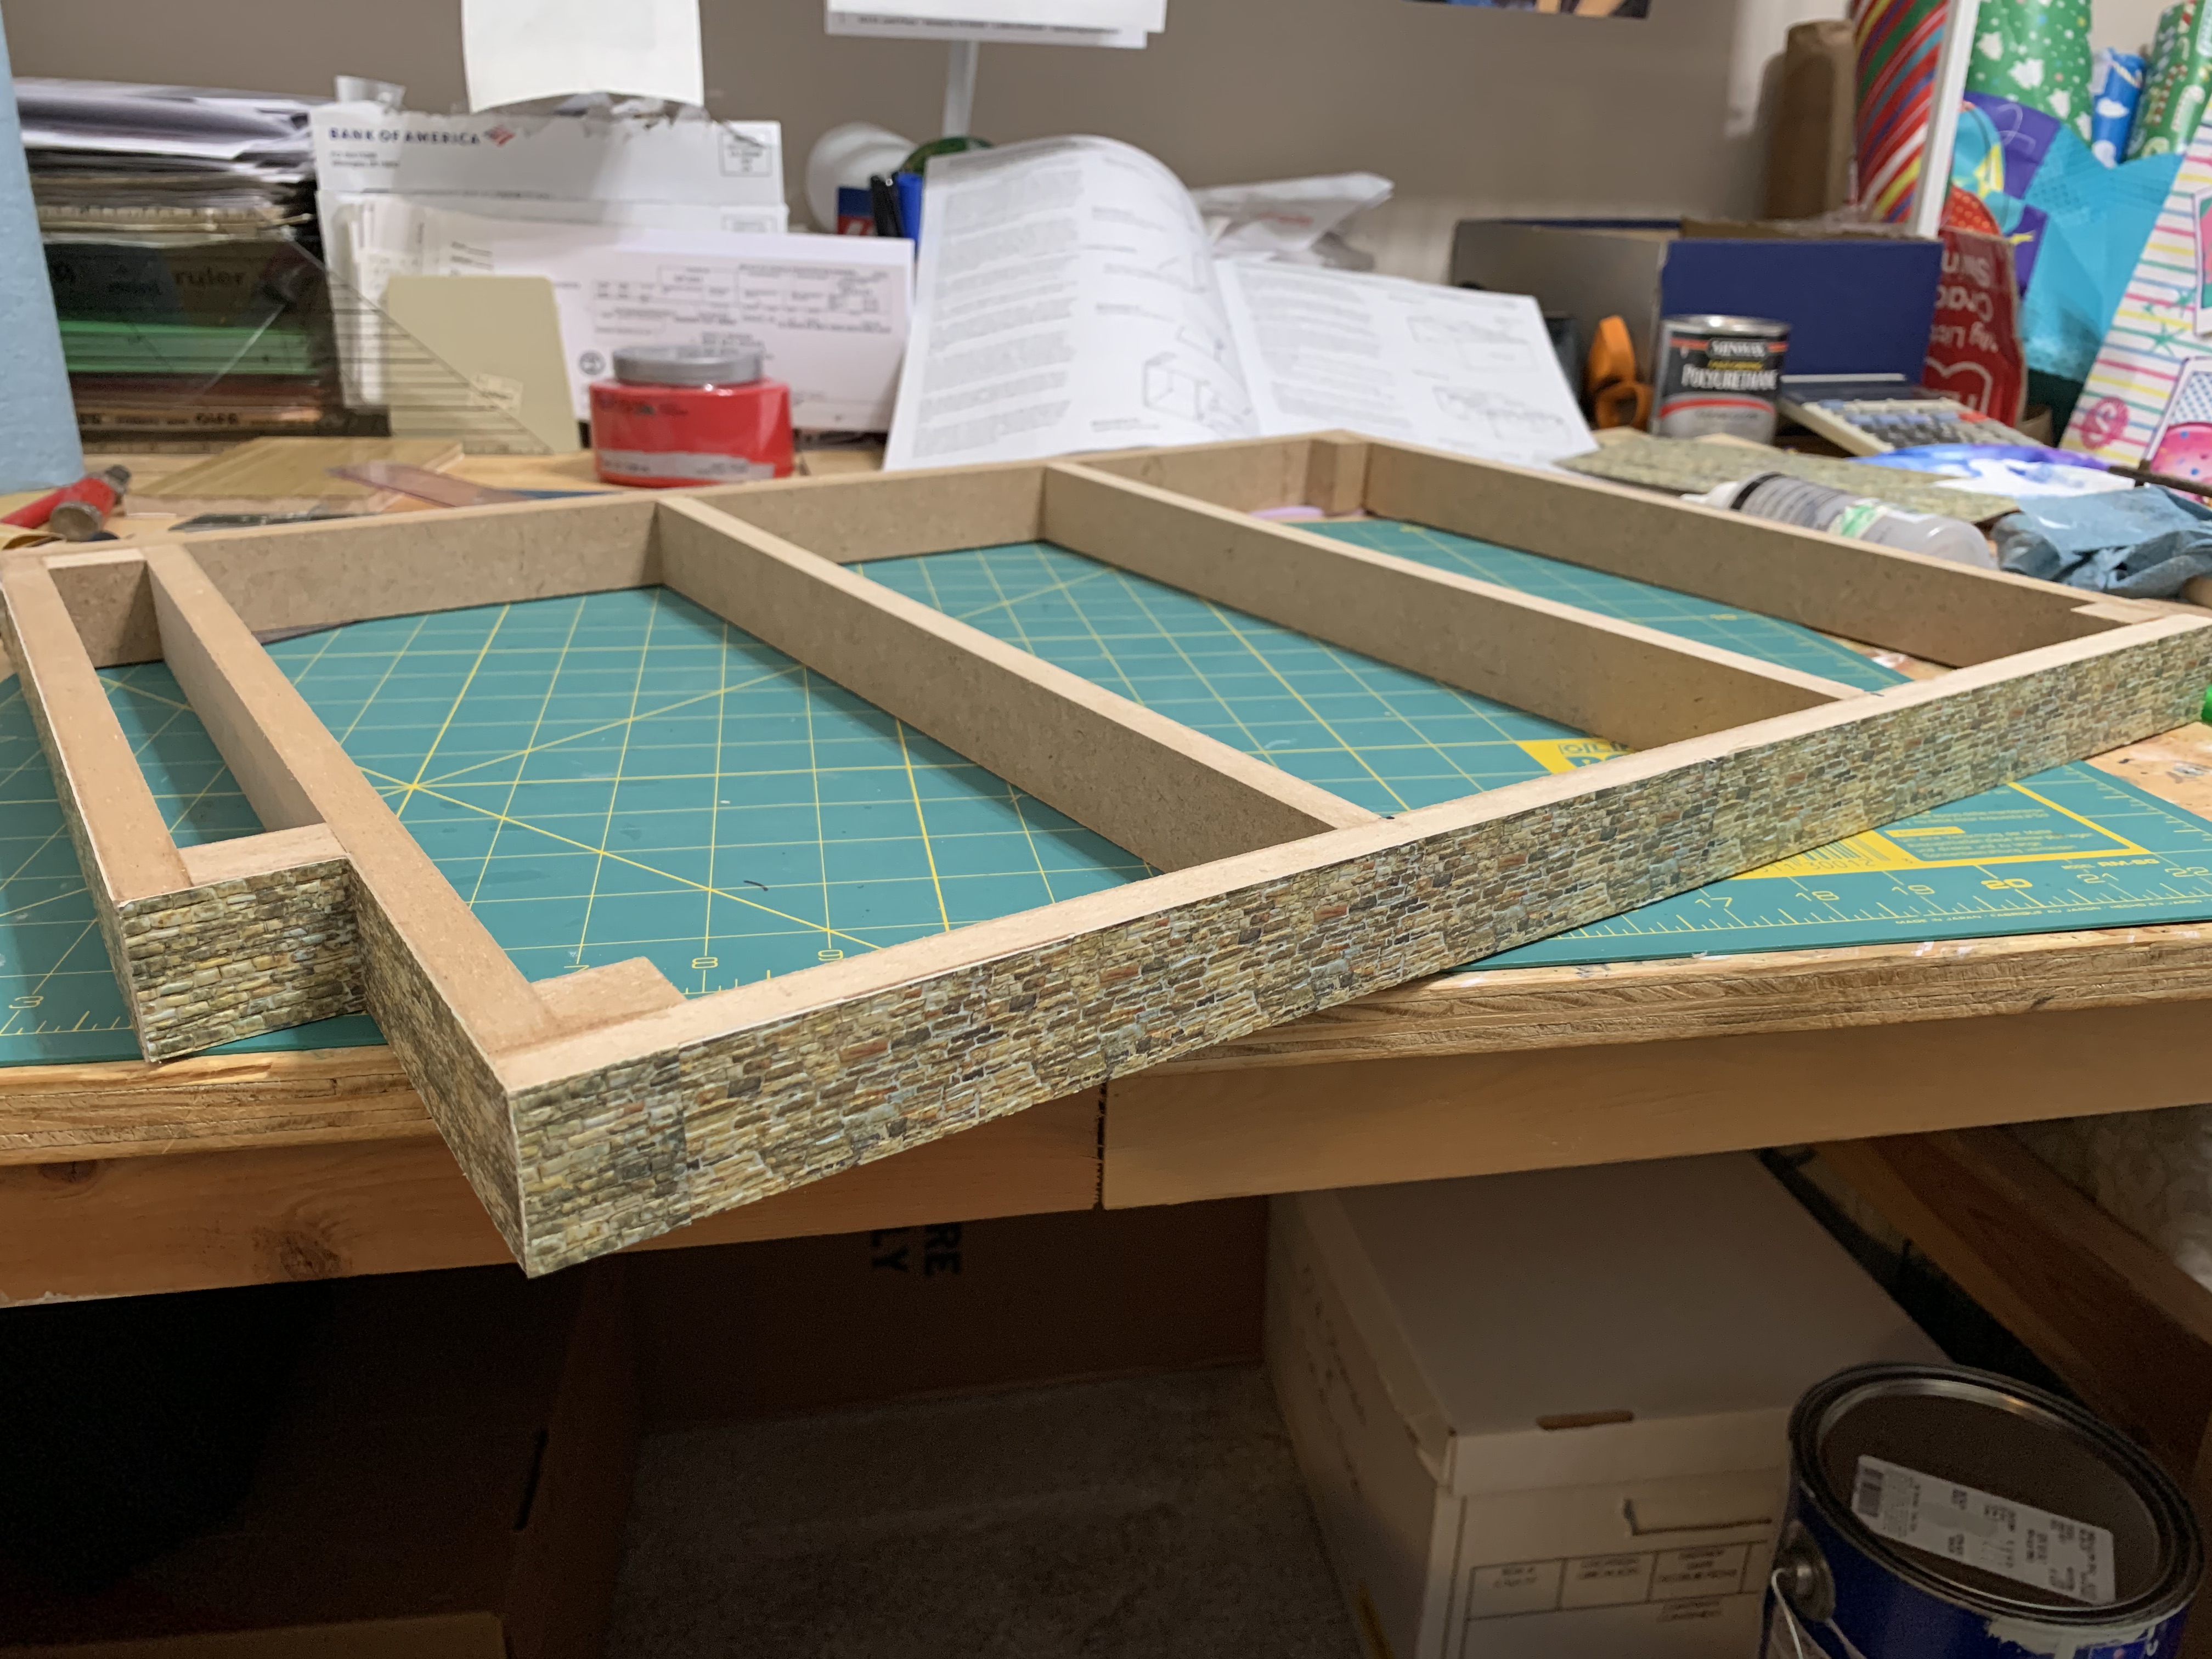
However, having this rock-wall cardstock left over from my train layout building days, I decided to use it instead, progressively gluing and clamping one section at a time until all sides were covered.
To be continued…
Categories

This is so sweet! And what a fun project! I’m sorry the little isn’t the same quality as the older ones. What a bummer! But I love your workaround with the faux rocks. Looks great!
Thanks! It was a fun project! And as you will see, it all turns out well.