
Phone Chair – Phase I
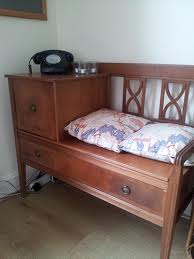
If you search the Internet for a phone chair, you are likely to find one of three different options. First, you might find an antique chair that you can sit in that holds a traditional rotary dial landline phone.
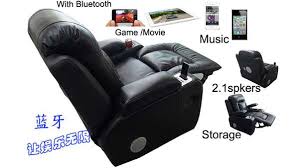
Or you might run across a high tech recliner that your cell phone connects to so you can leisurely make calls as you flip through your multi-media entertainment center.
But interestingly, the majority of your hits will be for miniature chairs that your cell phone can sit in while it is not pressed against the side of your head.

You might wonder why anyone would search for such an item but judging by the large number of cell phone chairs for sale on the Internet, apparently a lot of people do. For someone who loves miniatures of almost anything (see Miniature Models), it is surprising I hadn’t thought of this before now. Maybe it is because it violates the modeler’s law of allowing one scale model mated to a different scale model. But it was when I passed by a coworker’s desk and saw their iPhone lounging in a miniature beach chair that got me thinking about a chair for my cell phone. And since I had been searching for an idea of a model to build, this seemed the perfect candidate.
Since I am an extremely organized guy—think a place for everything and everything in its place—I thought what a perfect spot for my phone to relax in while I was at work. That decided, I next just needed to figure out what kind of miniature chair to build. That part was actually fairly easy. I didn’t want to try to replicate the canvas beach chair I had seen; I wanted something unique. This is where my sister came in.
A number of years ago, at her art showing, I discovered she had quilted a beach scene with three colorful Adirondack chairs. I loved it; it really gave one a sense of being on vacation. Recalling this quilt, I thought this would be the perfect chair for my iPhone to relax in while I was busy.

I had never tried to build an Adirondack chair before but I figured I could find directions on the Internet. While multi-tasking in one of my teleconferences at work, I searched the internet and found a wonderful website that had the detailed plans for a full size chair: Skip to my lou.
Having used proportions before for scaling up photographic images to make a larger painting, I figured I could scale down the plans to build a chair just the right size for my iPhone.
The website indicated that the template was actual size and should be printed out on 24” X 36” paper. Since I was building a miniature version, I started by printing the template out on 8.5” X 11” paper. This reduced the scale by about a factor of three. Based on the width of the chair backs, I estimated I would need to reduce the template again by at least half.

Using a photocopier with reduction capability, I first tried a 45% of full-scale setting but a quick measure with my iPhone indicated that might be a tight fit, so I went with a 50% reduction. This gave the phone enough wiggle room that it could lounge comfortably resting against the chair back between the two arms.
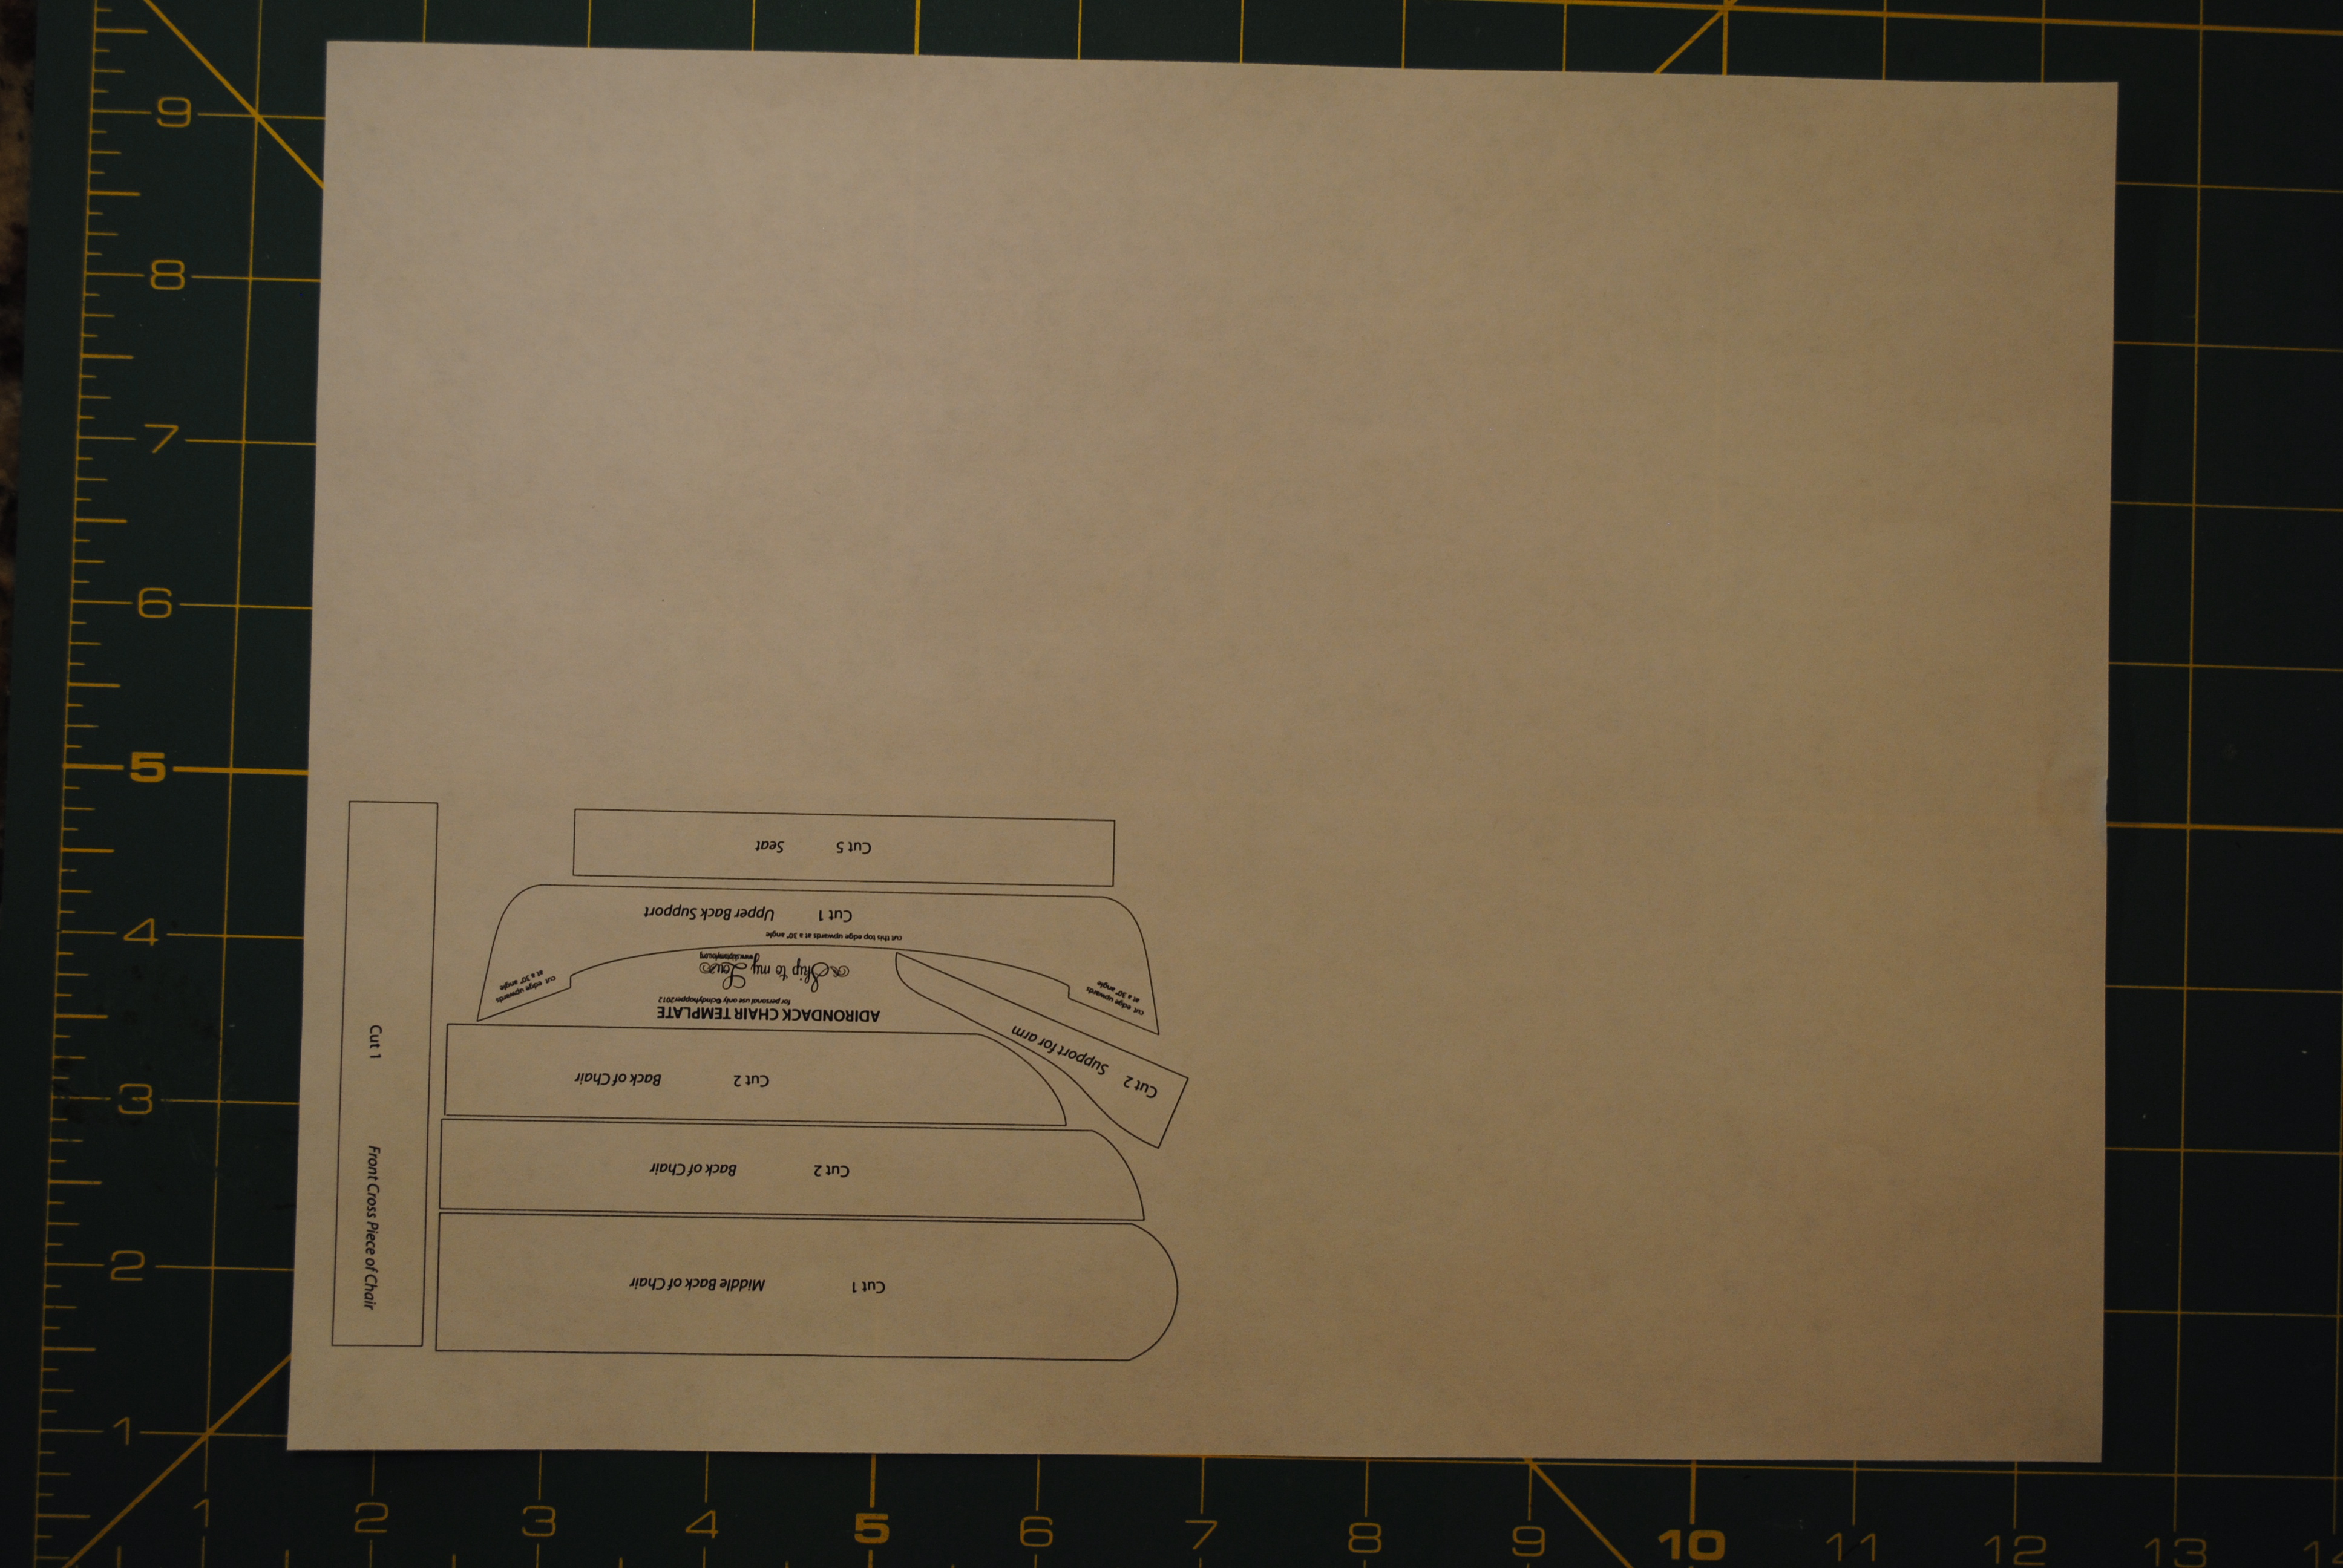
Interestingly, the 50% reduction reduced the template to around ¼ of the page.
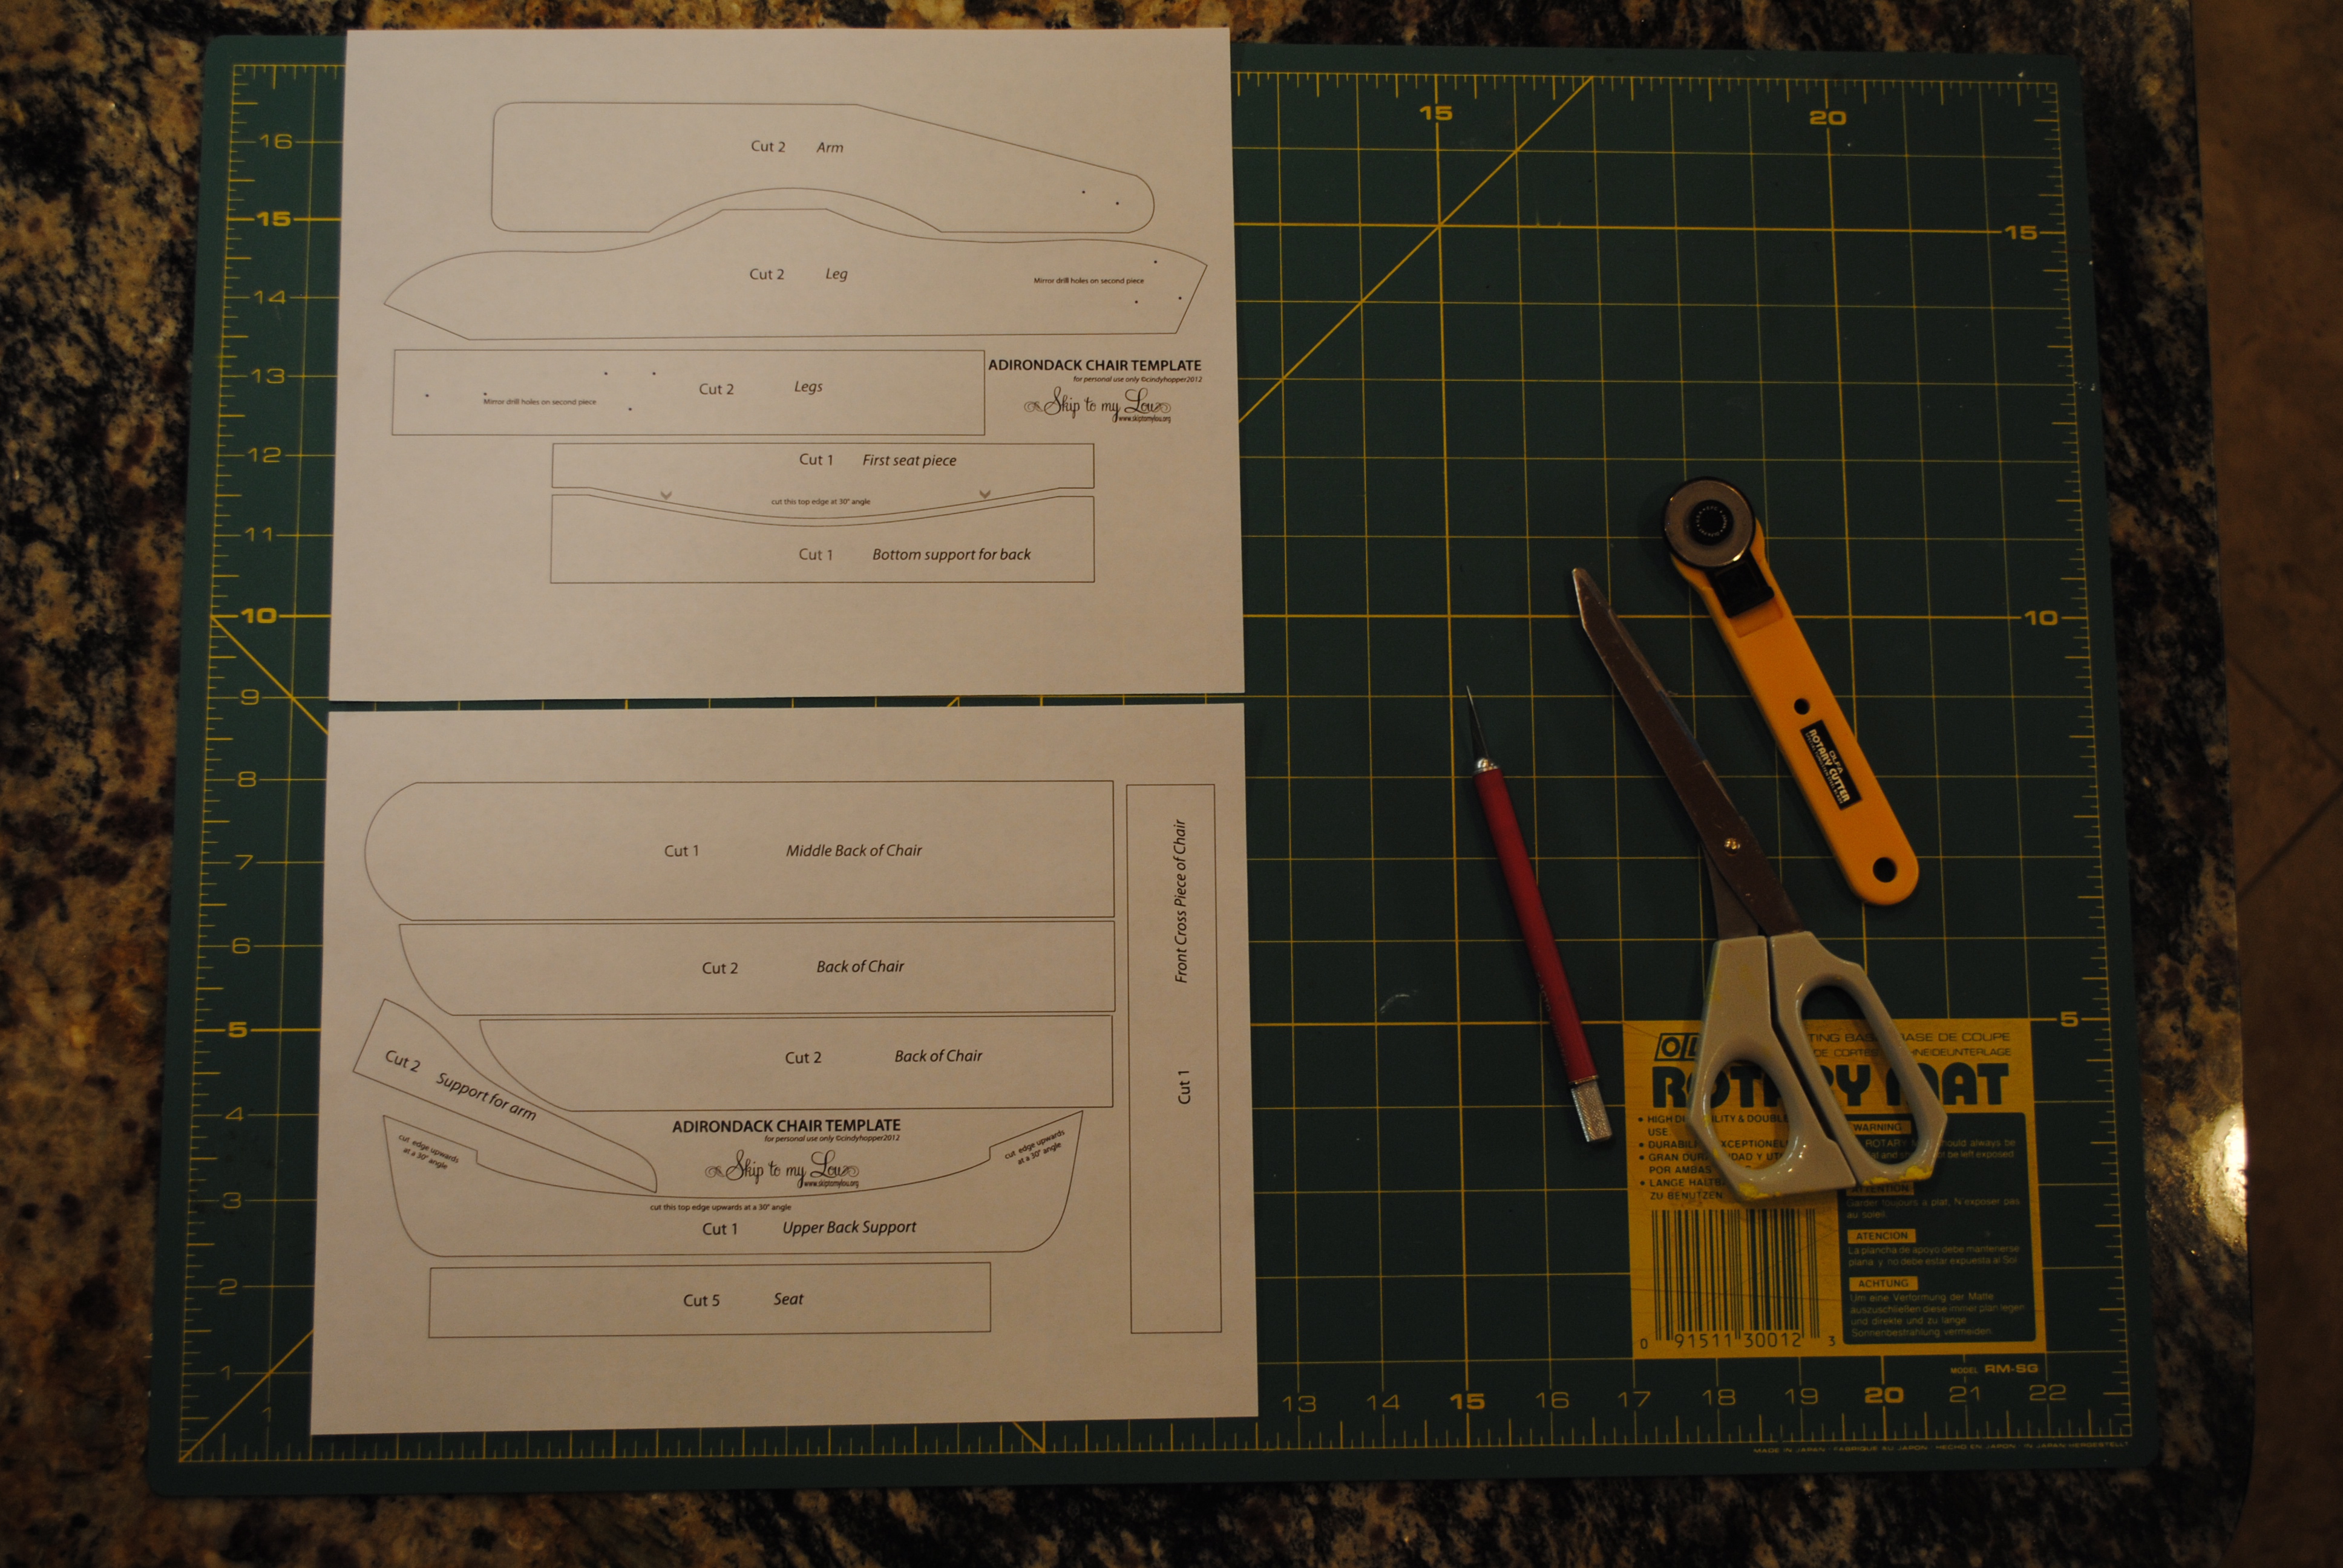
Next, I had to get my materials together. My tools were scissors, model knife, rotary cutter, rotary mat and tacky glue.
My starting materials were mat board and a two foot long piece of 3/32” X 4” Bass wood board. I had a hard time deciding between the 3/32” thickness and the 1/16” thick Bass wood board since I wanted the proportions to be in the correct scale. In the end, I went with the 3/32” thickness thinking that a sturdier model would be better than a flimsy accurate to scale version.
I next proceeded to carefully cut out each piece of the chair with a pair of scissors. I made two photocopies of each page since a number of parts required two or more pieces. Once I had all of the paper pieces cut out, I then glued them to the back of the mat board. A wallpaper roller came in handy for gluing the paper templates to the mat board.
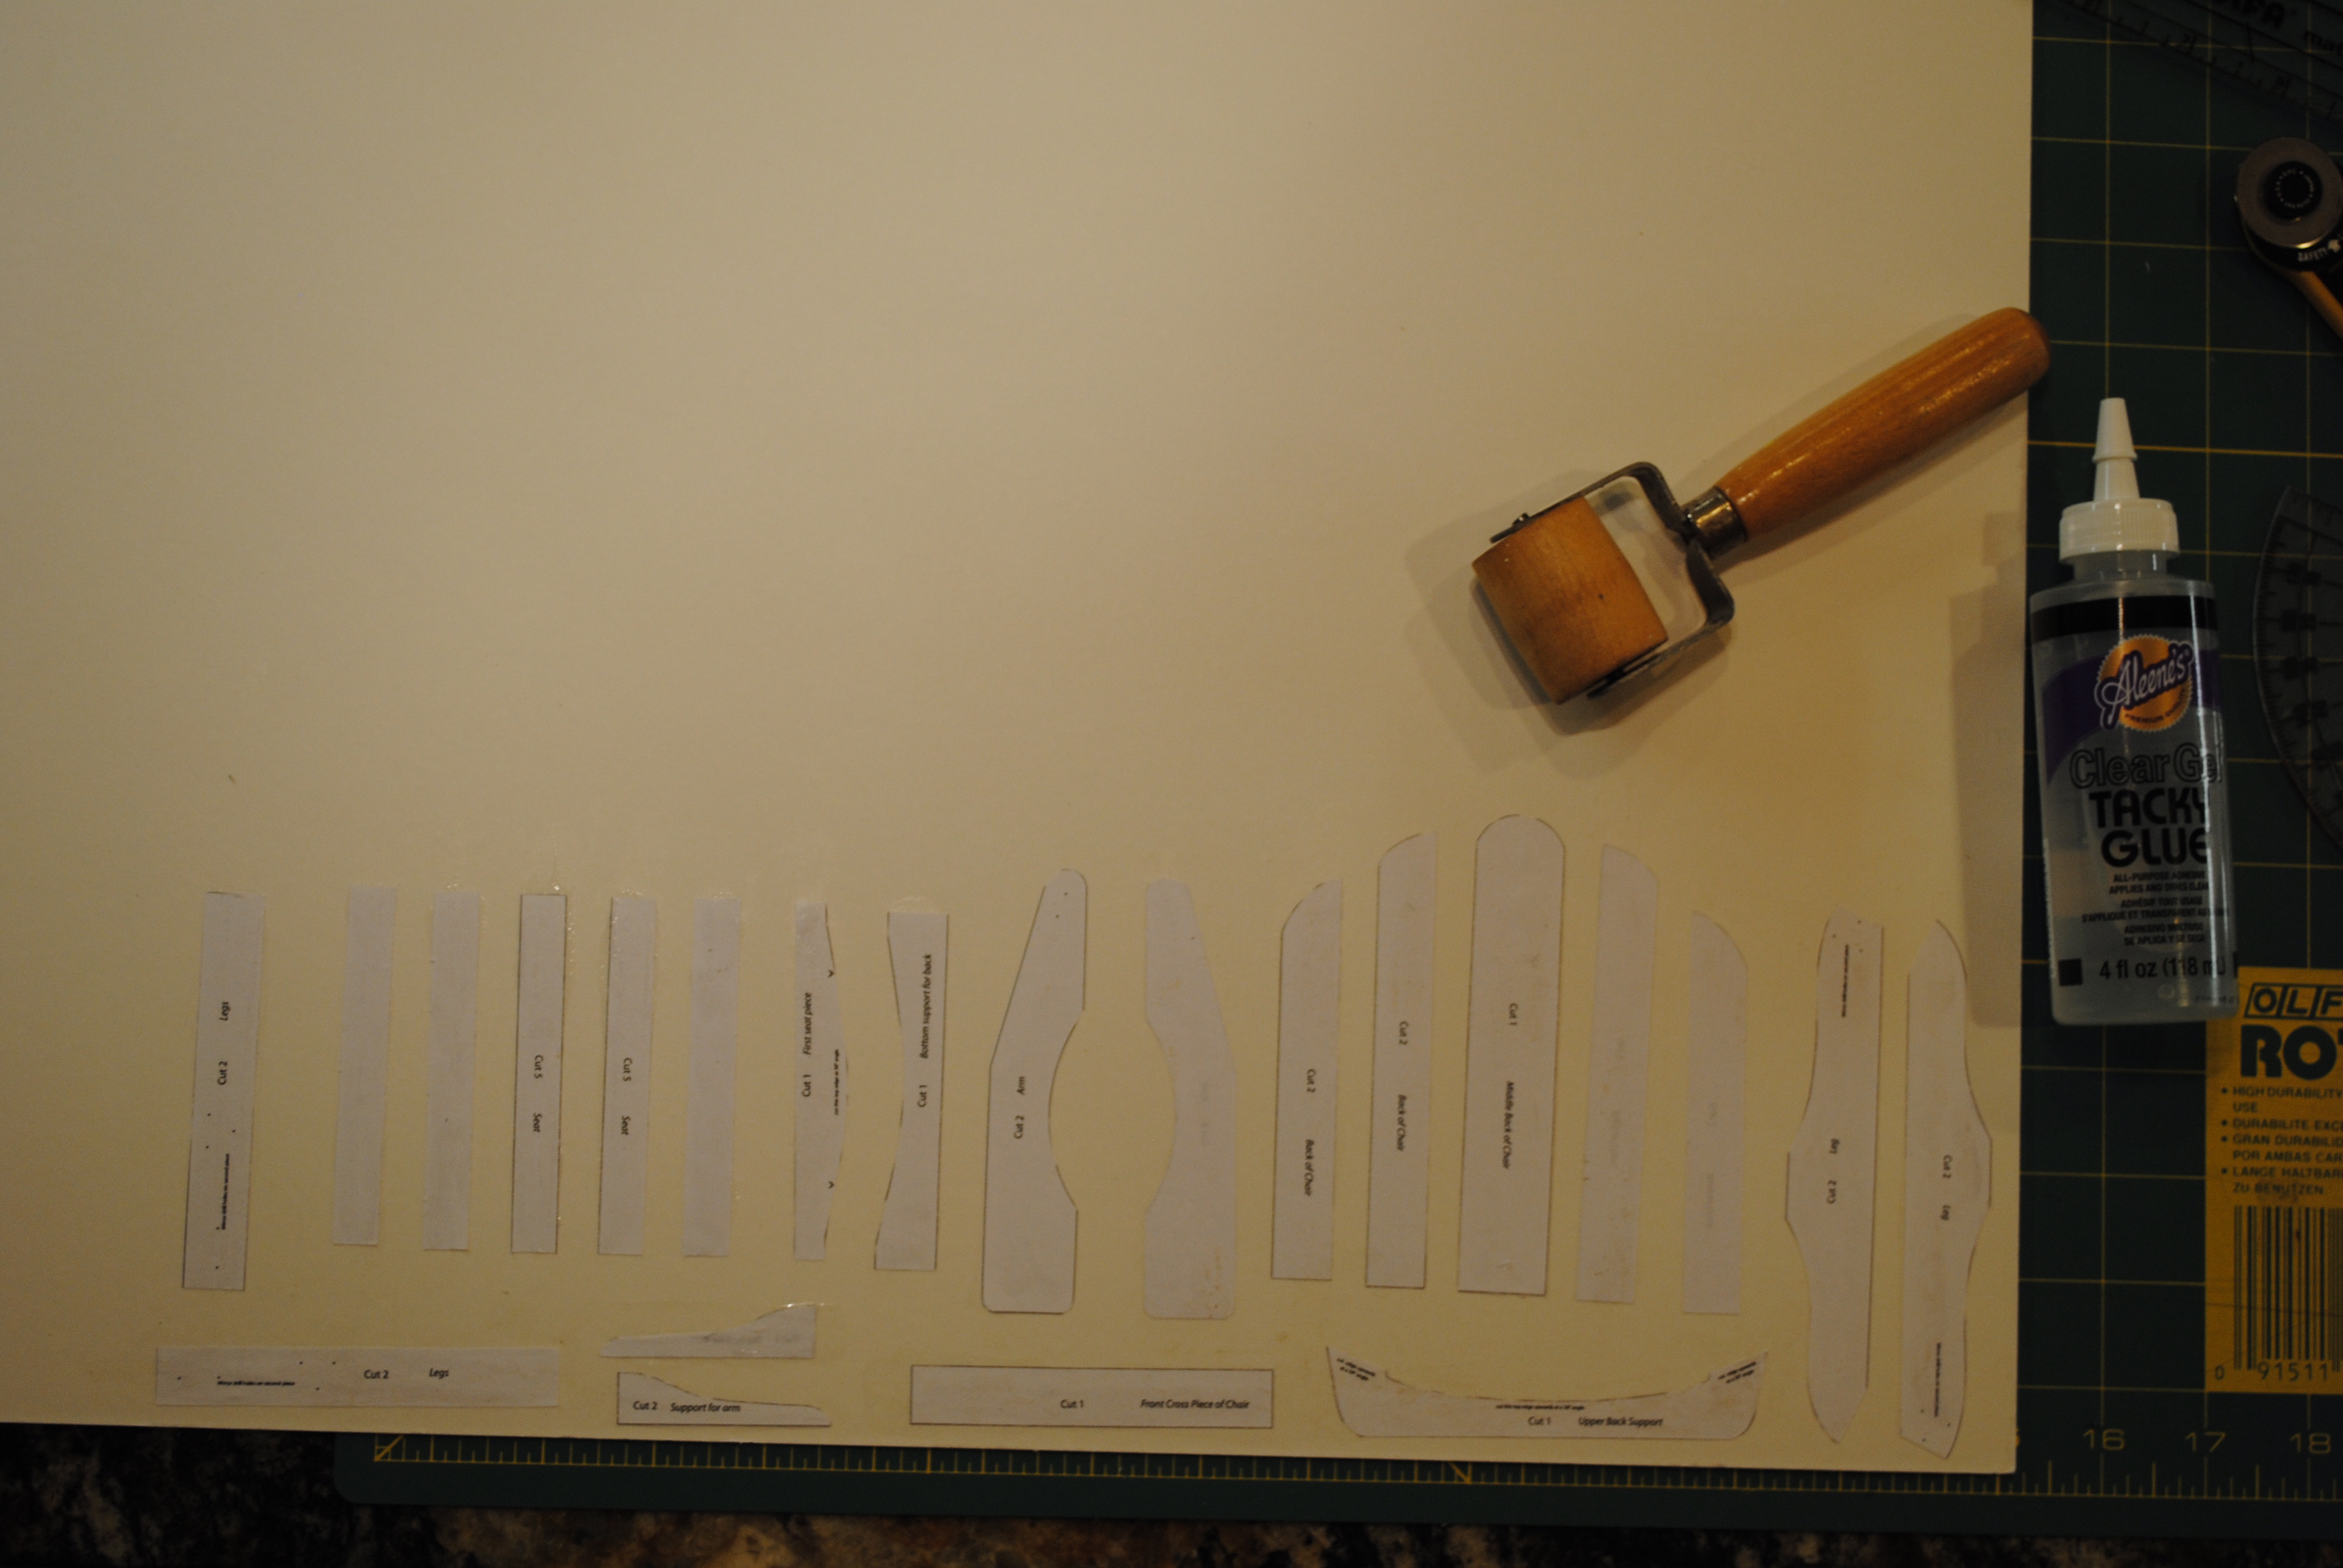
I chose a mat board over the paper templates for two reasons: 1) I wanted a sturdy template in case I decided to make multiple chairs, and 2) I wanted to trial fit the chair together before I cut any wood to make sure it fit and looked correct. As it turned out, I was really glad I had done that.
When I went to cut the pieces from the mat board, I found it did not cut very easily. I tried a model knife and rotary cutter but neither worked satisfactorily. However, after inflicting significant pain on my right thumb, a quick trip to the hobby shop for a cushioned knife with sharper blades remedied that problem.
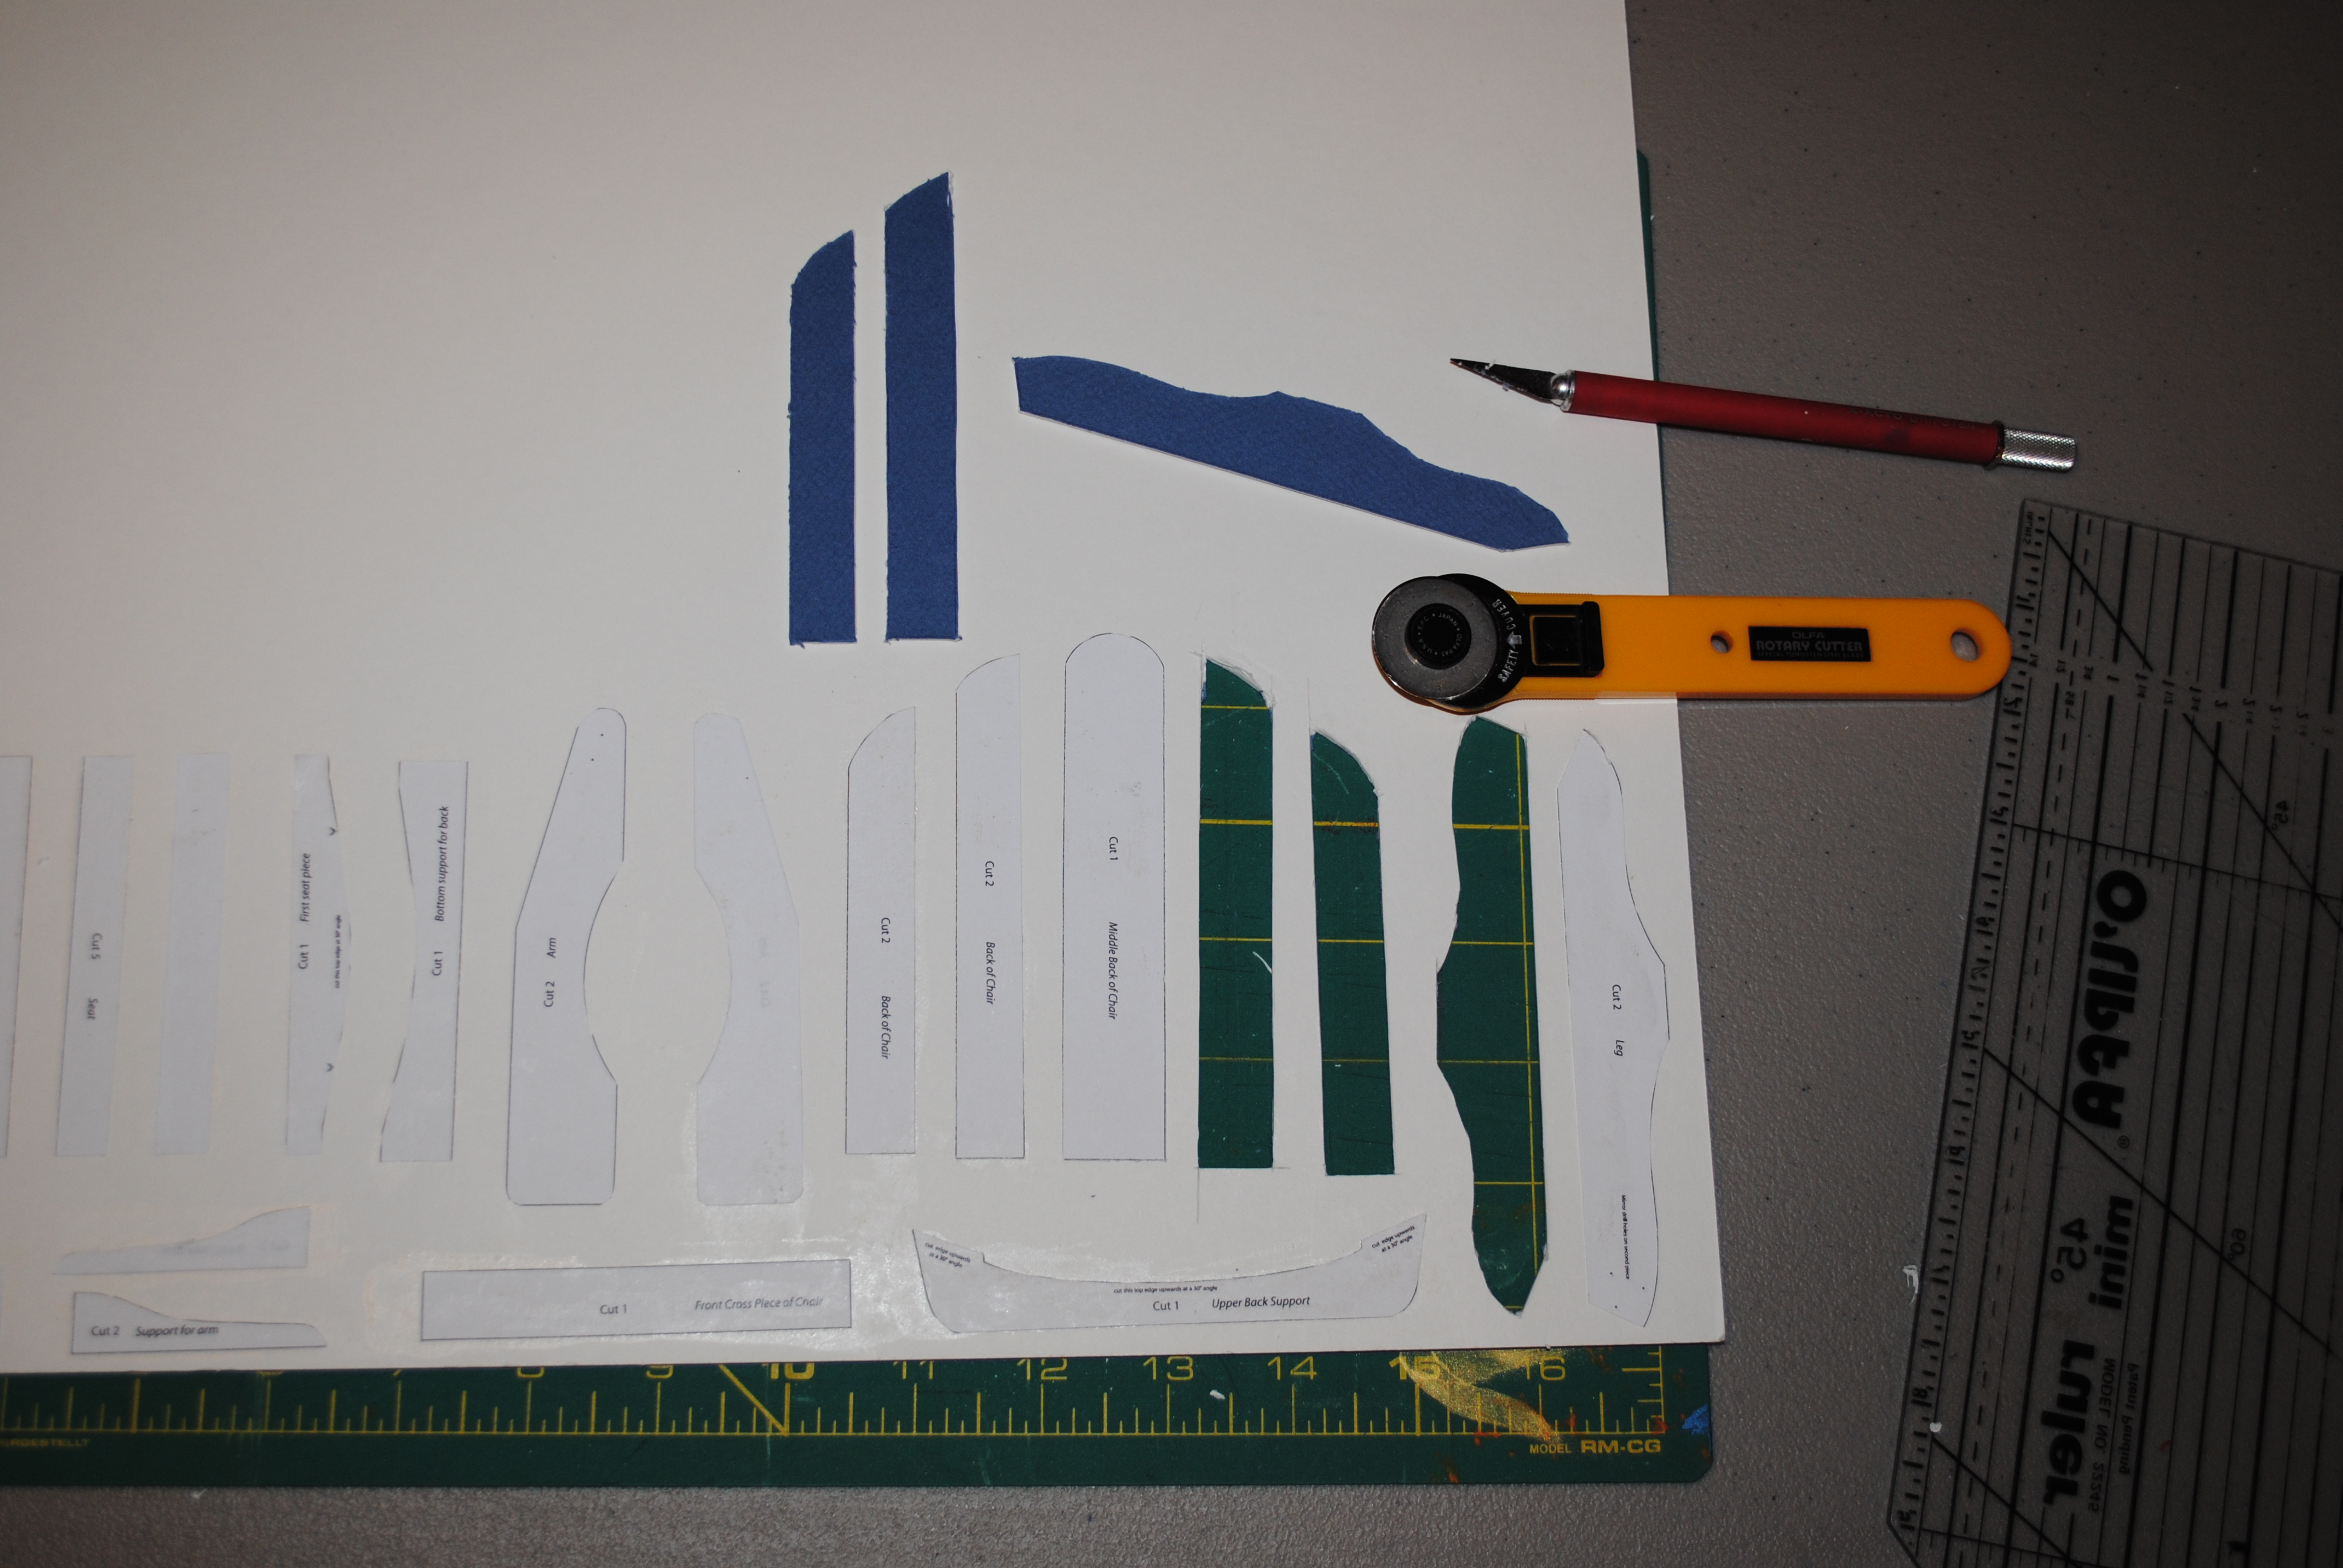
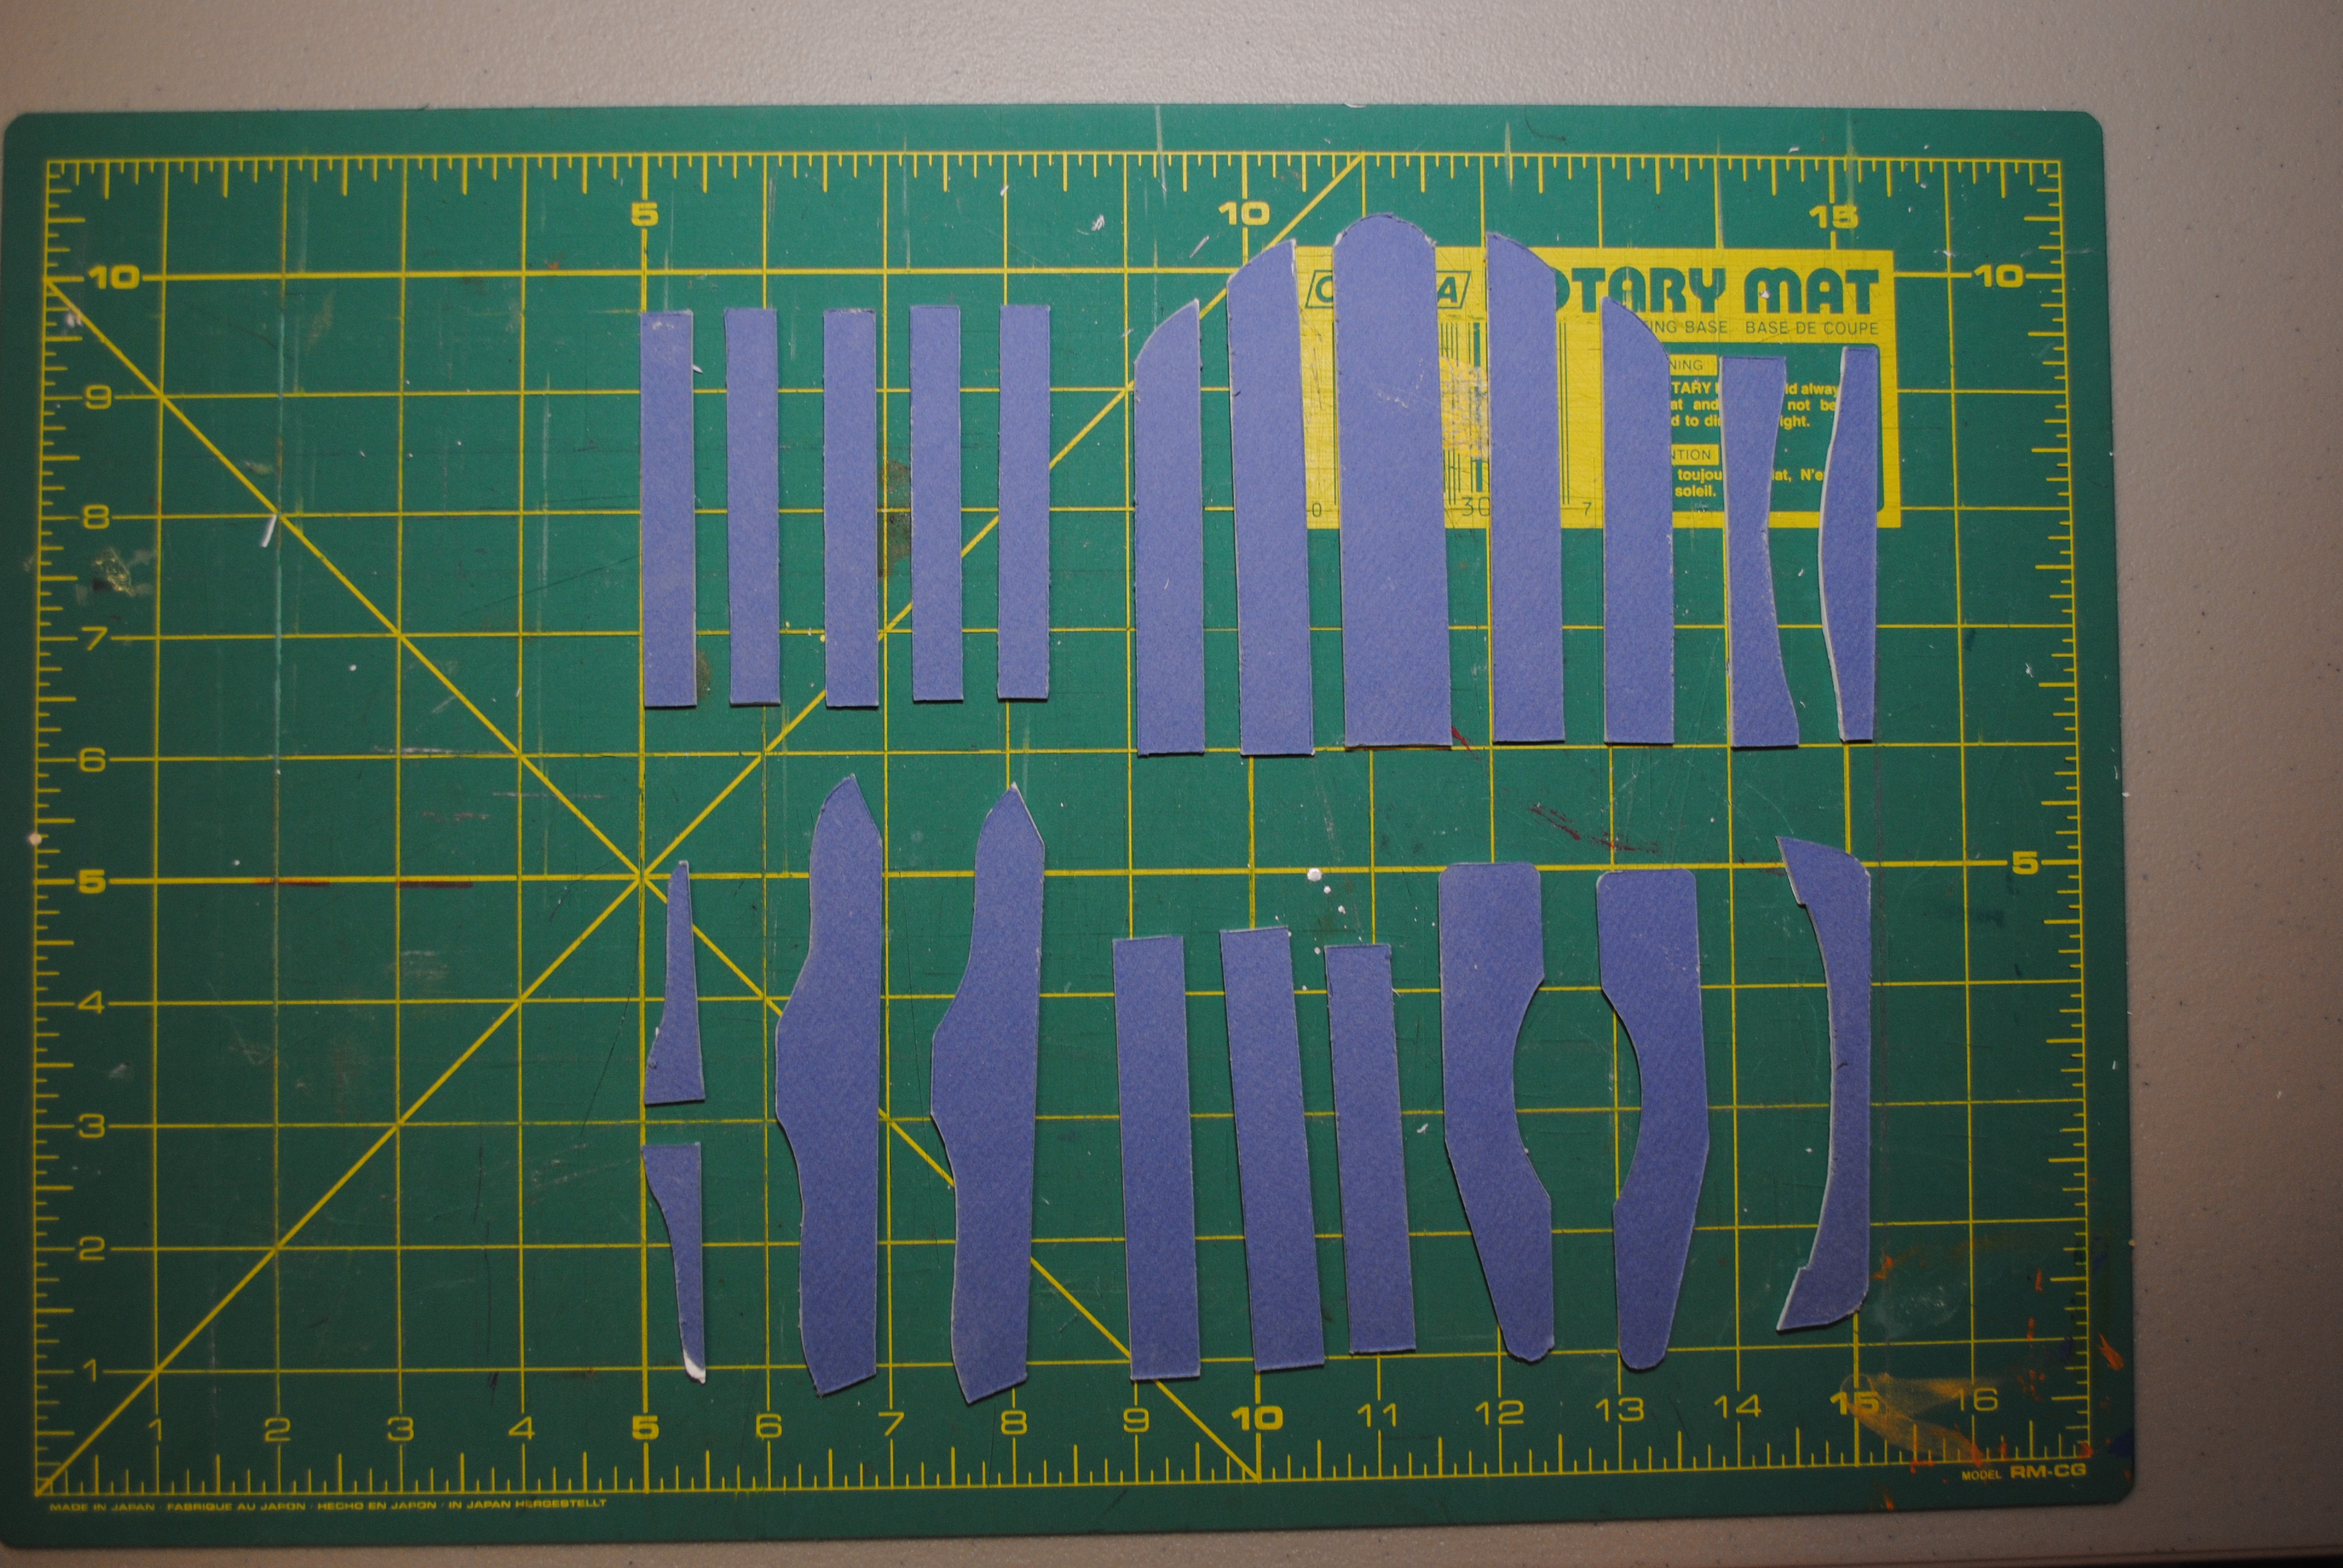
With all of the parts cut out, I sanded the edges to smooth them out and made sure the matching pieces were the same size.
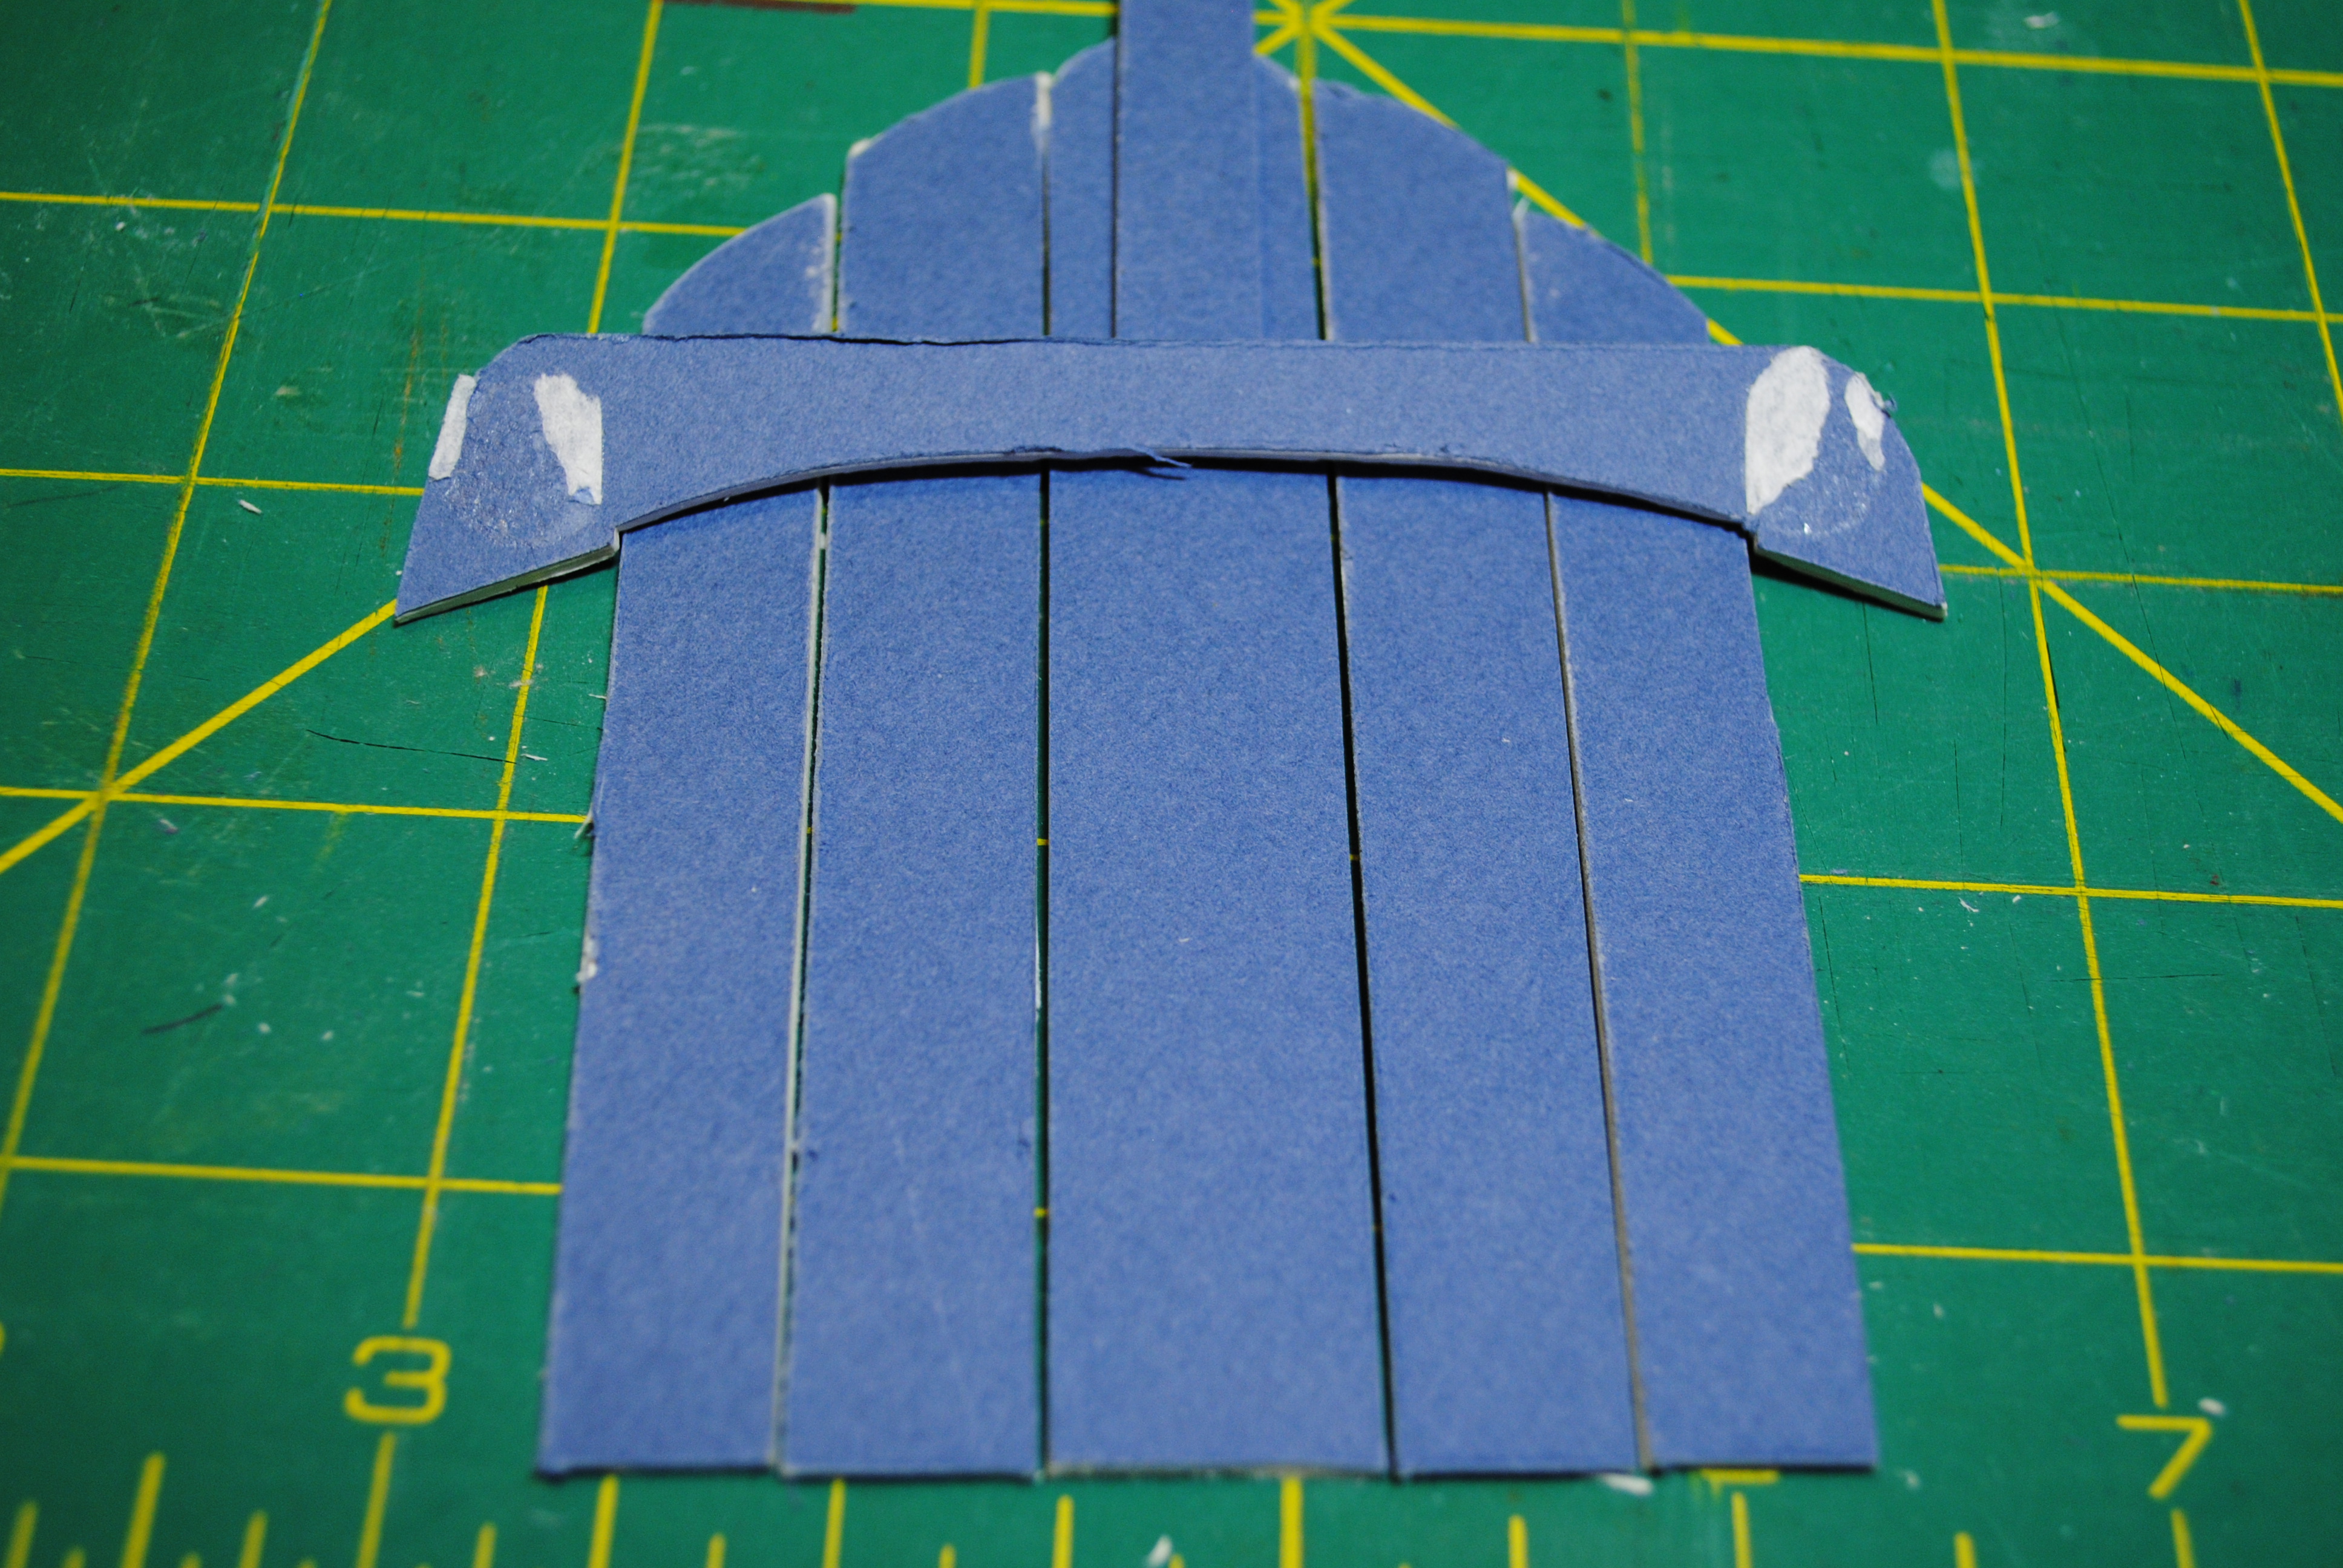
At this point, I pulled up the website and walked through the assembly photos. Knowing that I wanted to take the mat board pieces back apart, I sparingly used glue. Once I had the frame glued together, I decided to just pin the arms to the frame so I could check fit the back pieces. I knew this would be a critical step as the spacing needed to be wide enough to allow all five back pieces to fit between the arms with adequate spacing between each piece. Here is where I encountered my first problem.
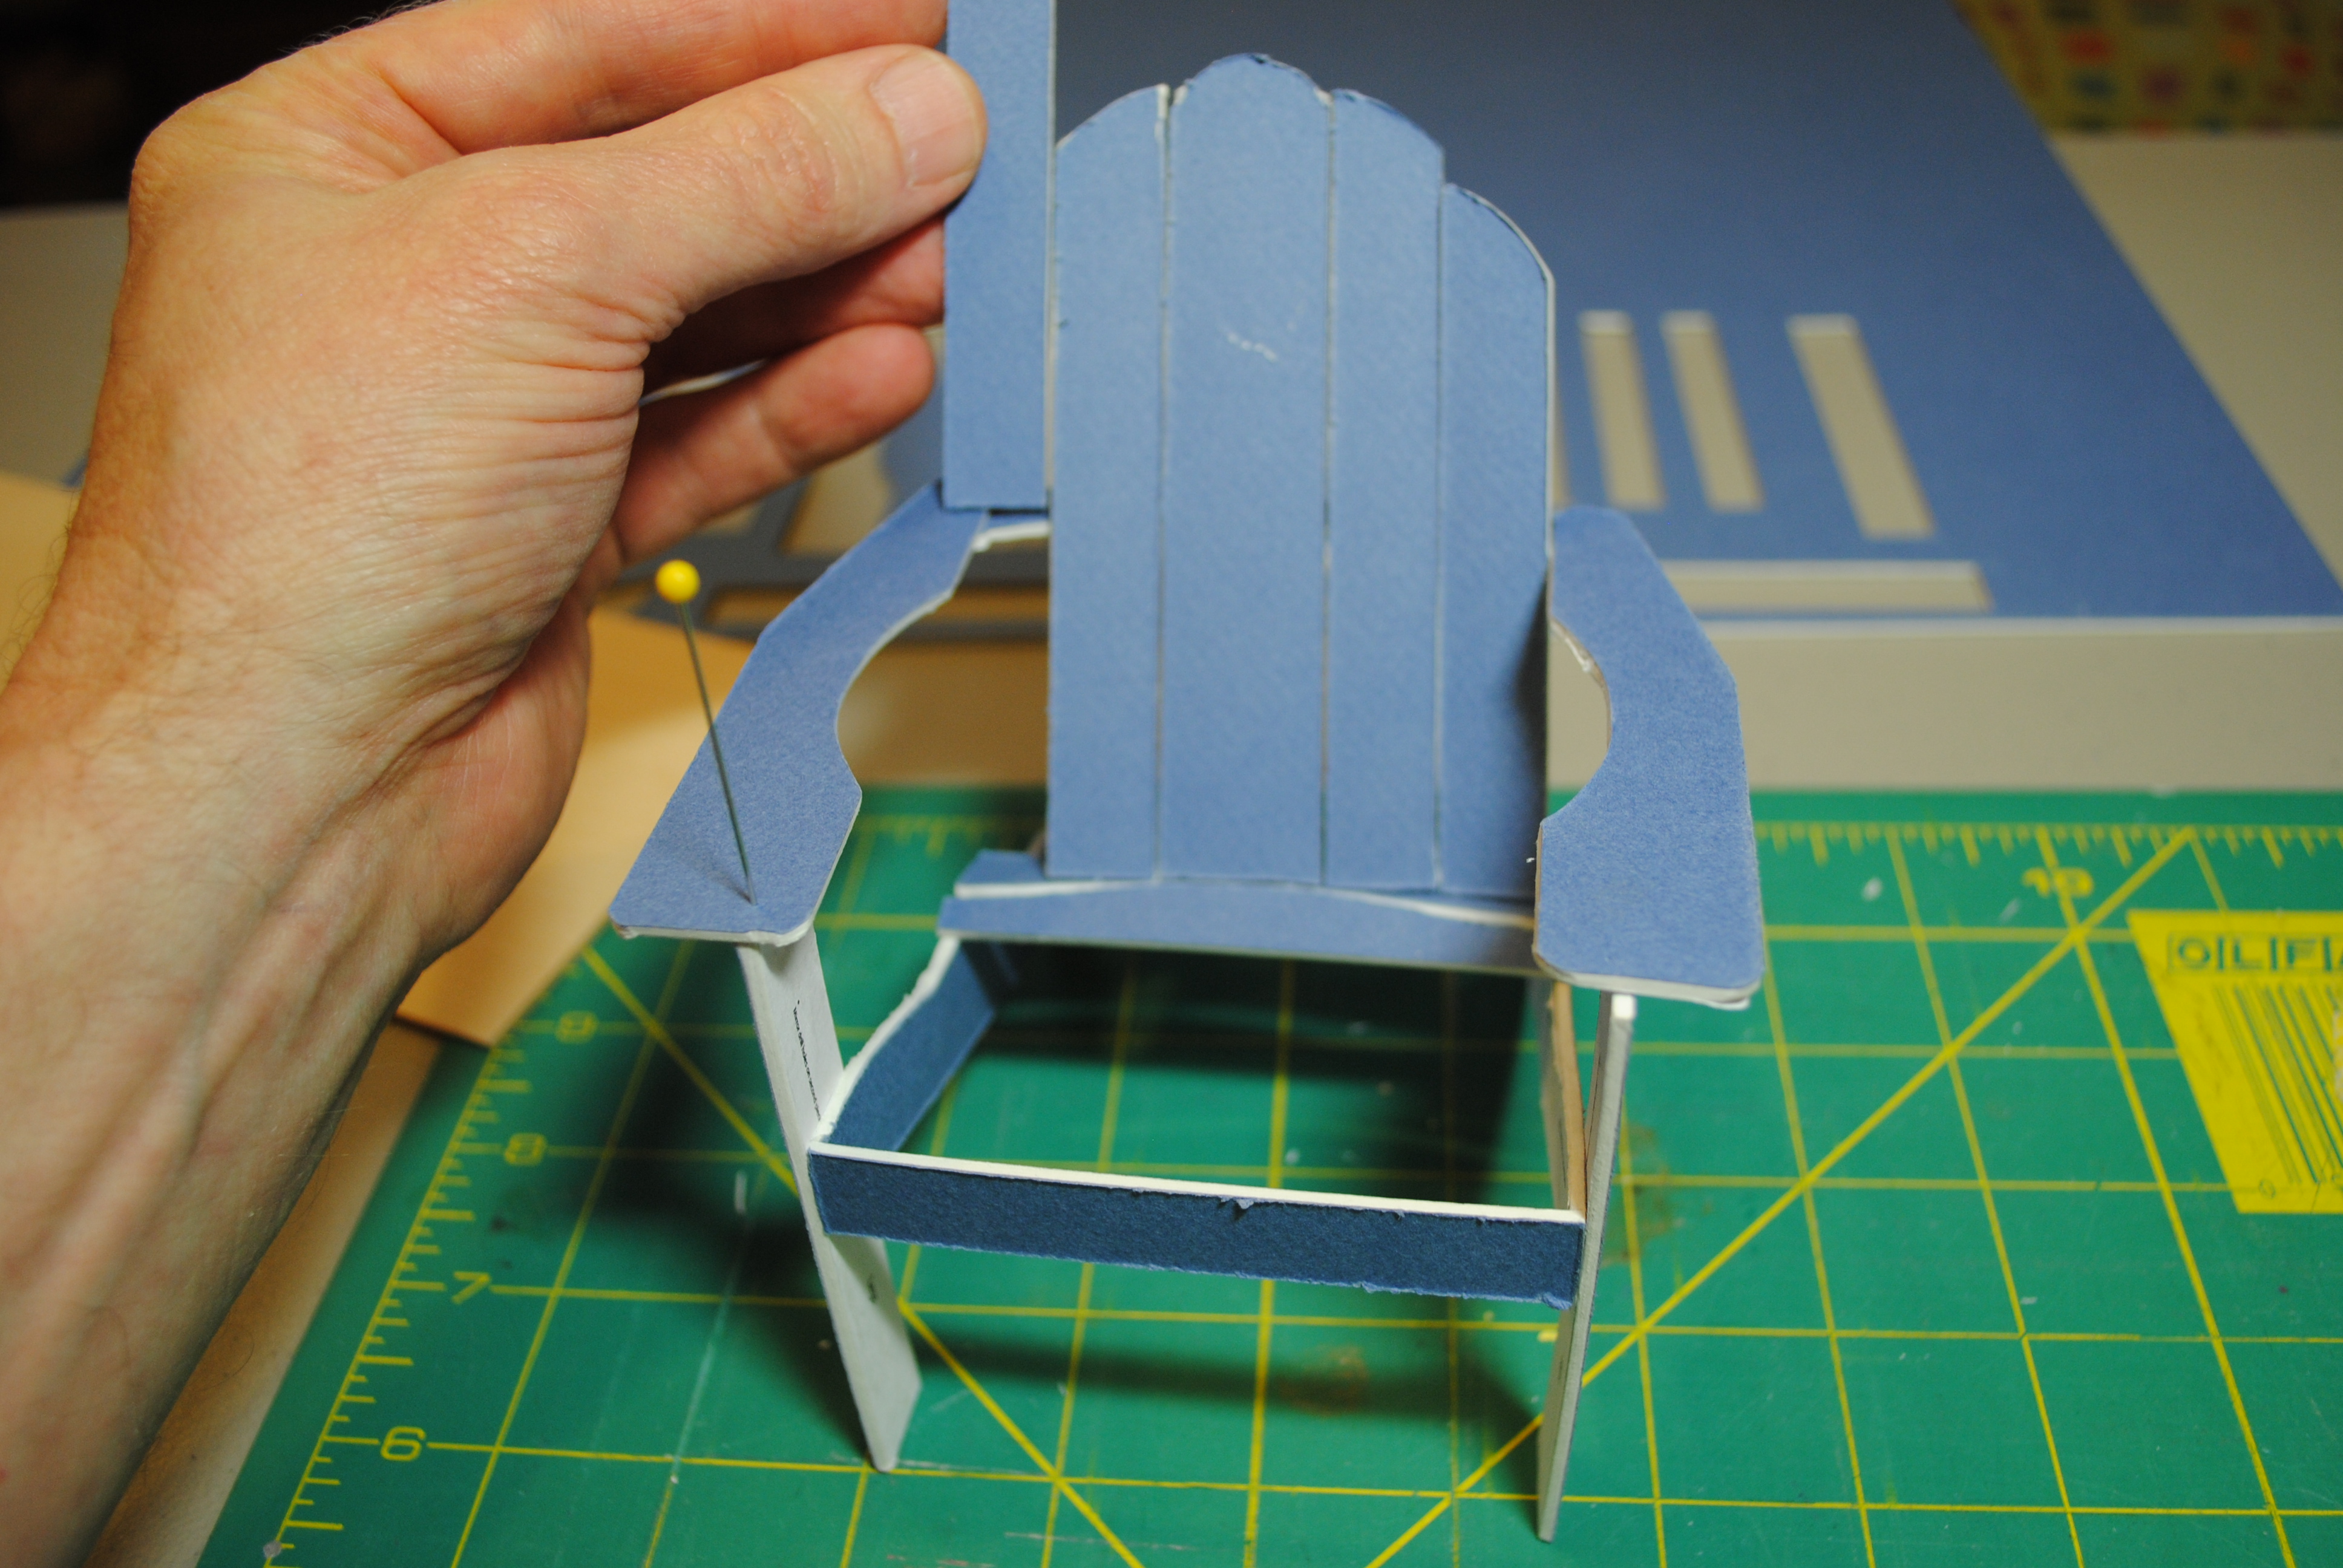
Somewhere in my reductions, cutting the paper templates, and cutting the mat board templates, my back pieces had grown to the point that even butted against each other, the spacing between the arms was still about ¼” too narrow. The scientist in me wanted to research what happened but fortunately the practical side of me said, “Don’t try to figure out why, just fix it.” So I narrowed each of the back pieces just a little. I started with the center back piece, and then moved to the other four pieces, just slicing a little off each side. This allowed the five pieces to fit nicely between the back brace with about the width of the pin between each back piece.
To be continued…
Categories

So THIS is what you’ve been up to! What a darling, fun project! i can’t wait to see the finished product!
Now that the secret is out, you can see me finish the chair. And maybe your phone will want to try relaxing in it.
let me know when you start taking orders!
Sight unseen?? I’m still working on the prototype and there is still so much beta testing that must be conducted and then there’s the… Oh the life of a scientist…
Haha! This made me laugh:)
That is too adorable for words! I love it! This is wonderfully written, and fantastically creative! I can’t wait to see how it turns out, and I wish I were there to work on it with you!
Thank you; I wish you had been here too! It has been fun keeping it a secret from your mom but I don’t think we could keep you being here a secret from her.
By the way, I shared this post on Twitter, and someone wants to buy one already! 😉 You talented scientist, you!
Maybe I’ve found that encore career…