
Phone Chair – Phase II
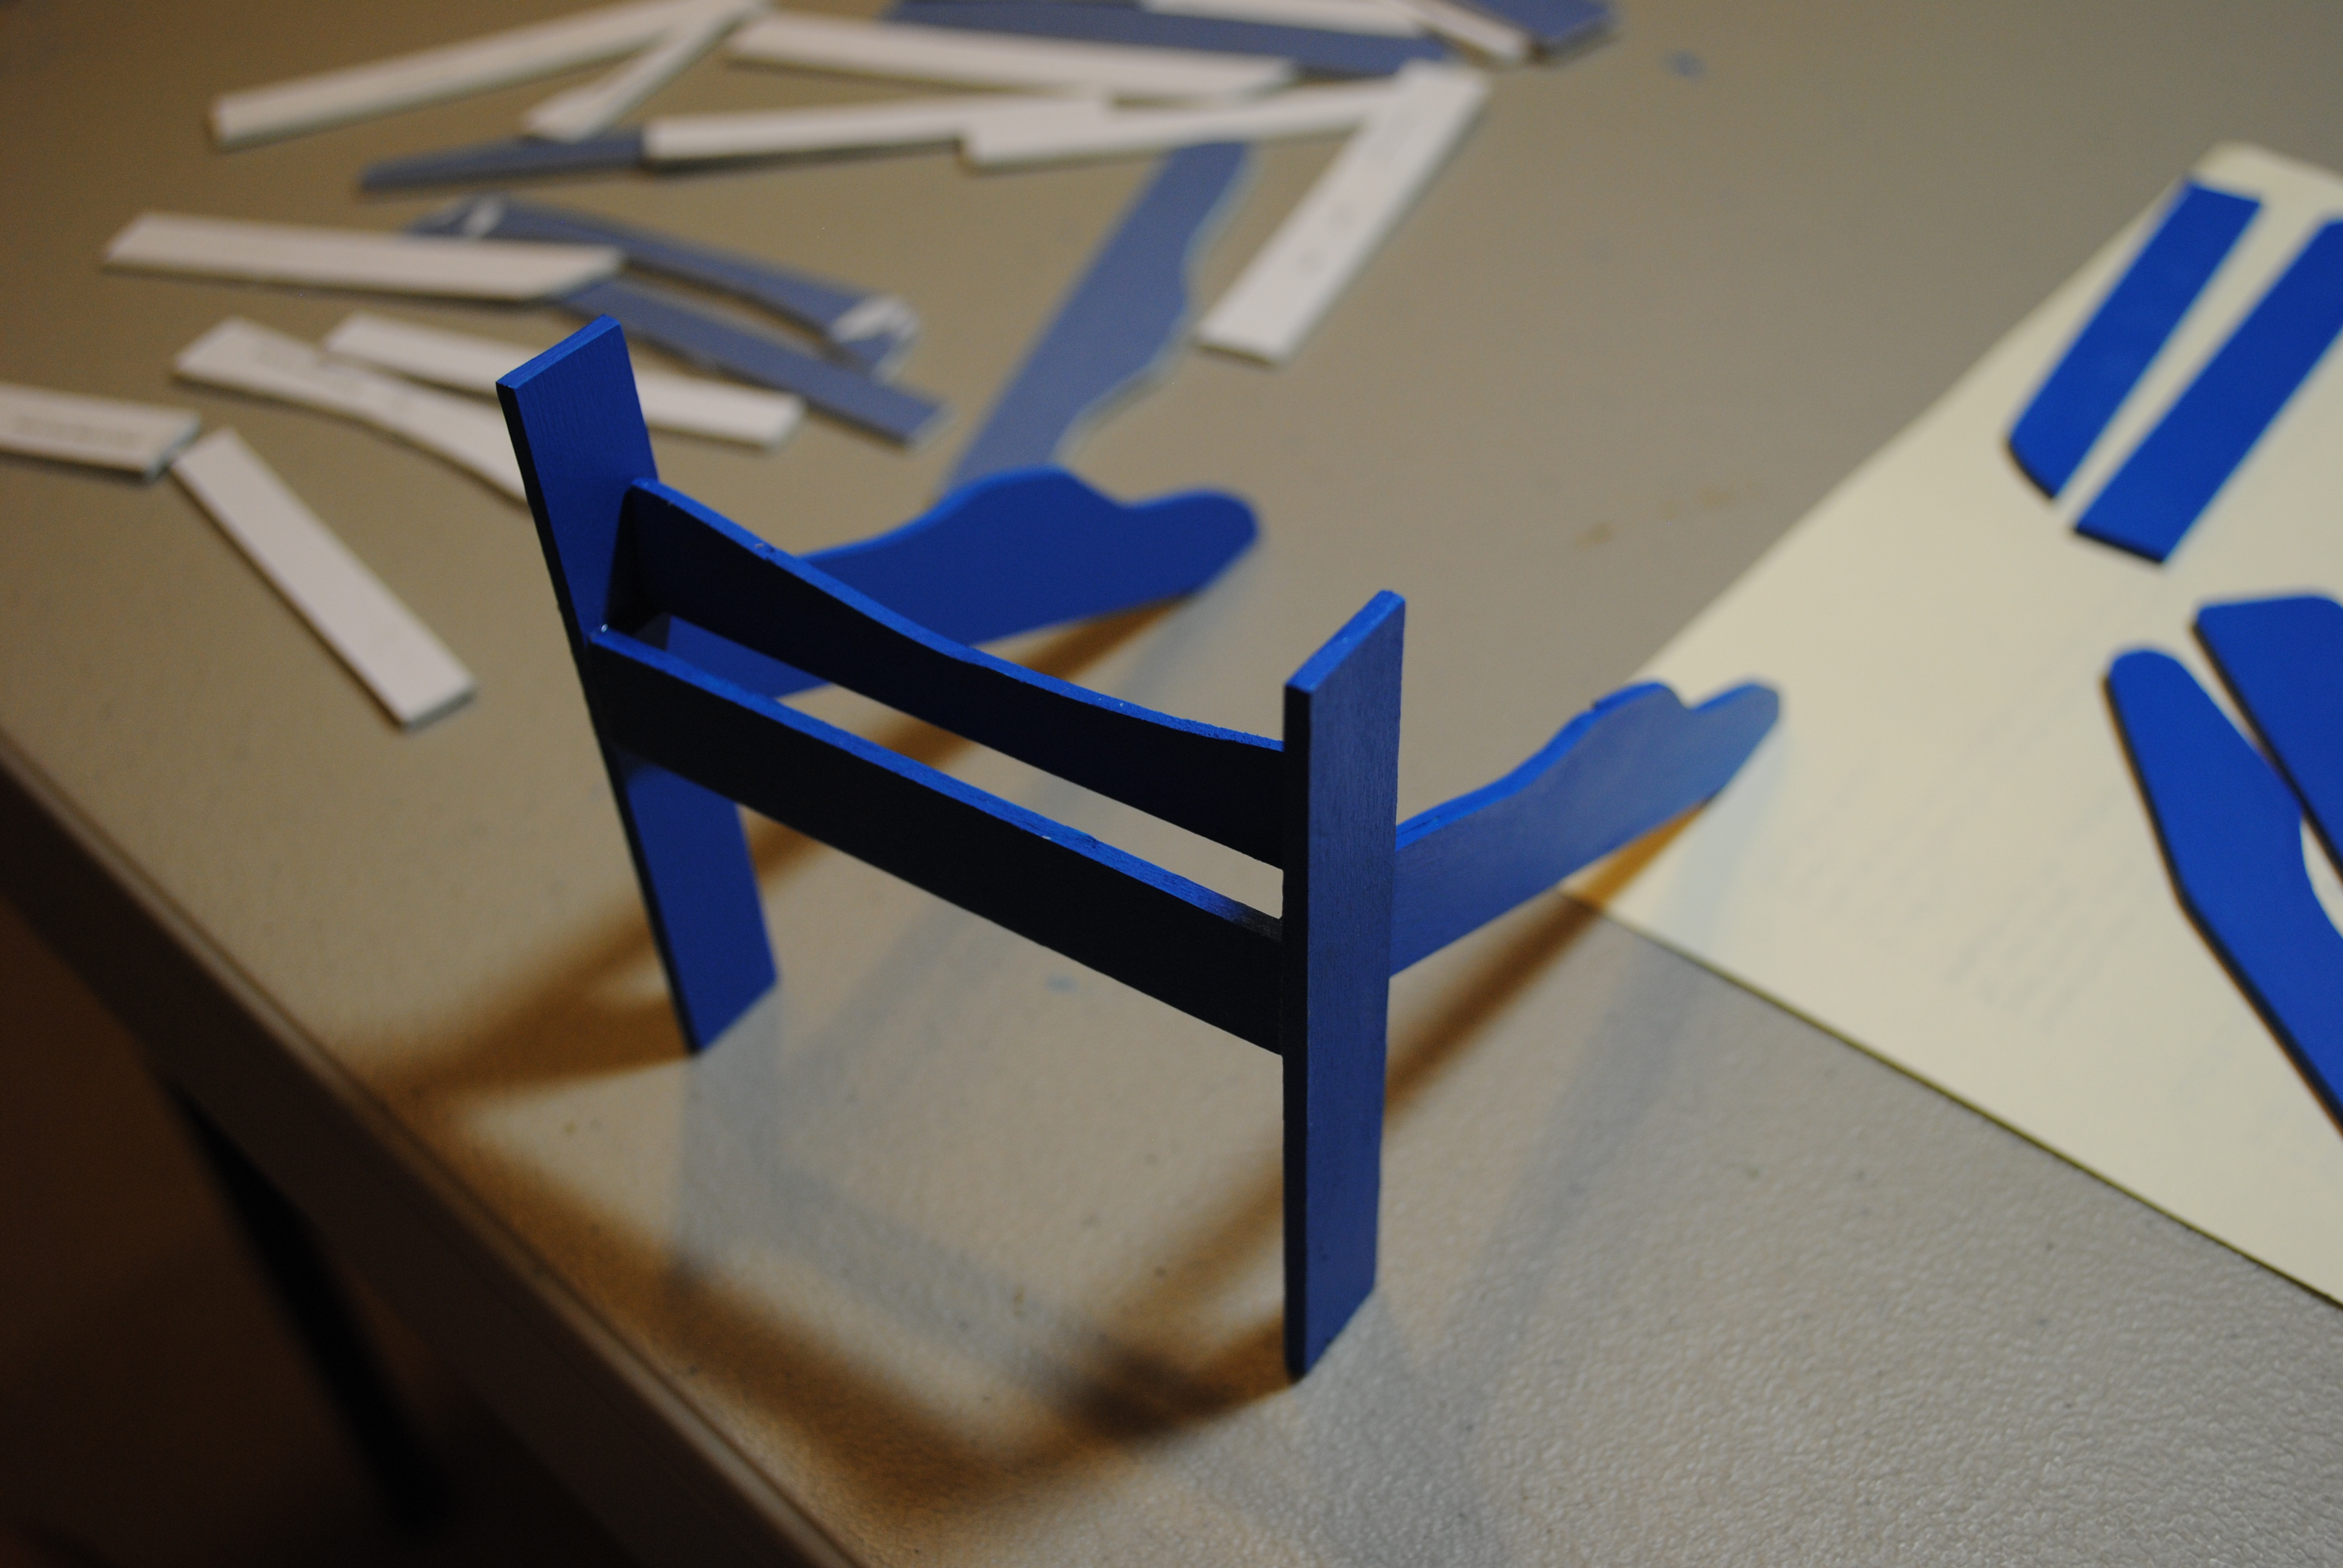
My next problem I encountered was that it appeared that all of the seat pieces were too short. After assembling it, I realized that the front cross piece, the bottom support for the chair back pieces, and all of the five seat pieces needed to be the same length to ensure the chair was square. I lined up all seven pieces together and found that the front crosspiece was about a 1/8” longer than all of the others. I measured their lengths on the un-reduced paper template and found them all to be the same. Apparently I had cut the front crosspiece just slightly too long. Using one of the seat pieces as a template, I shortened the front crosspiece so it was the same length as all of the other pieces.
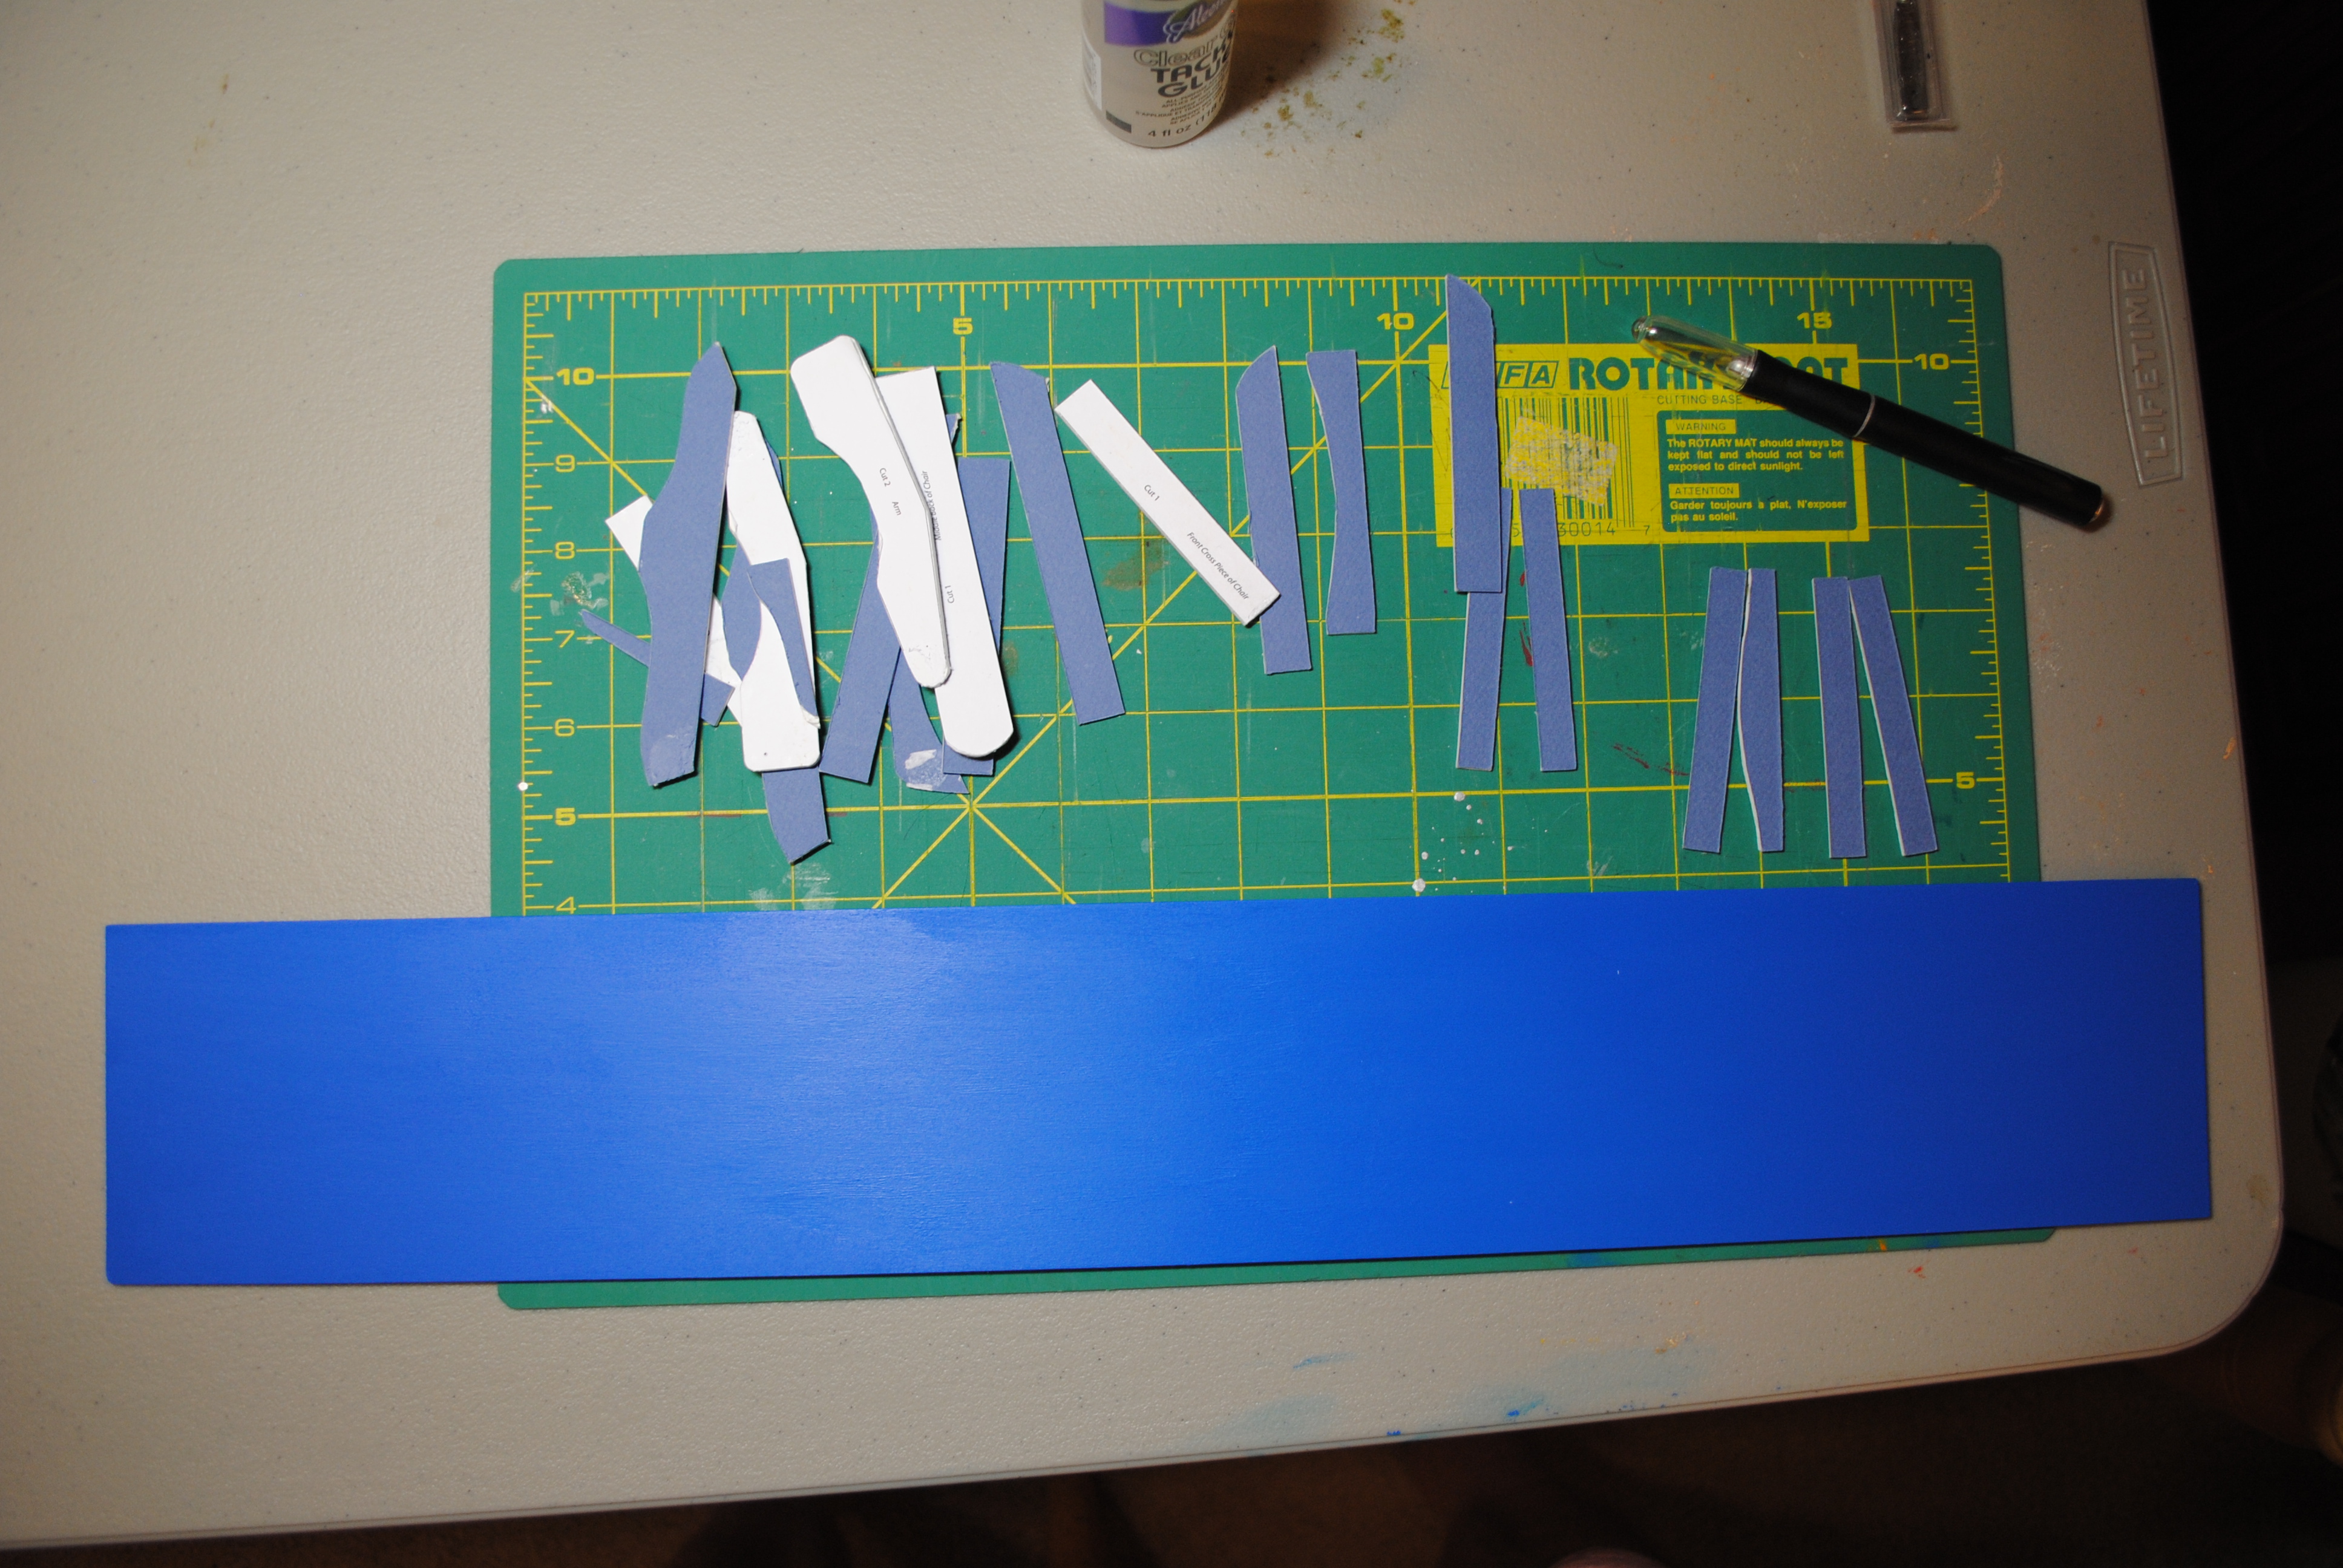
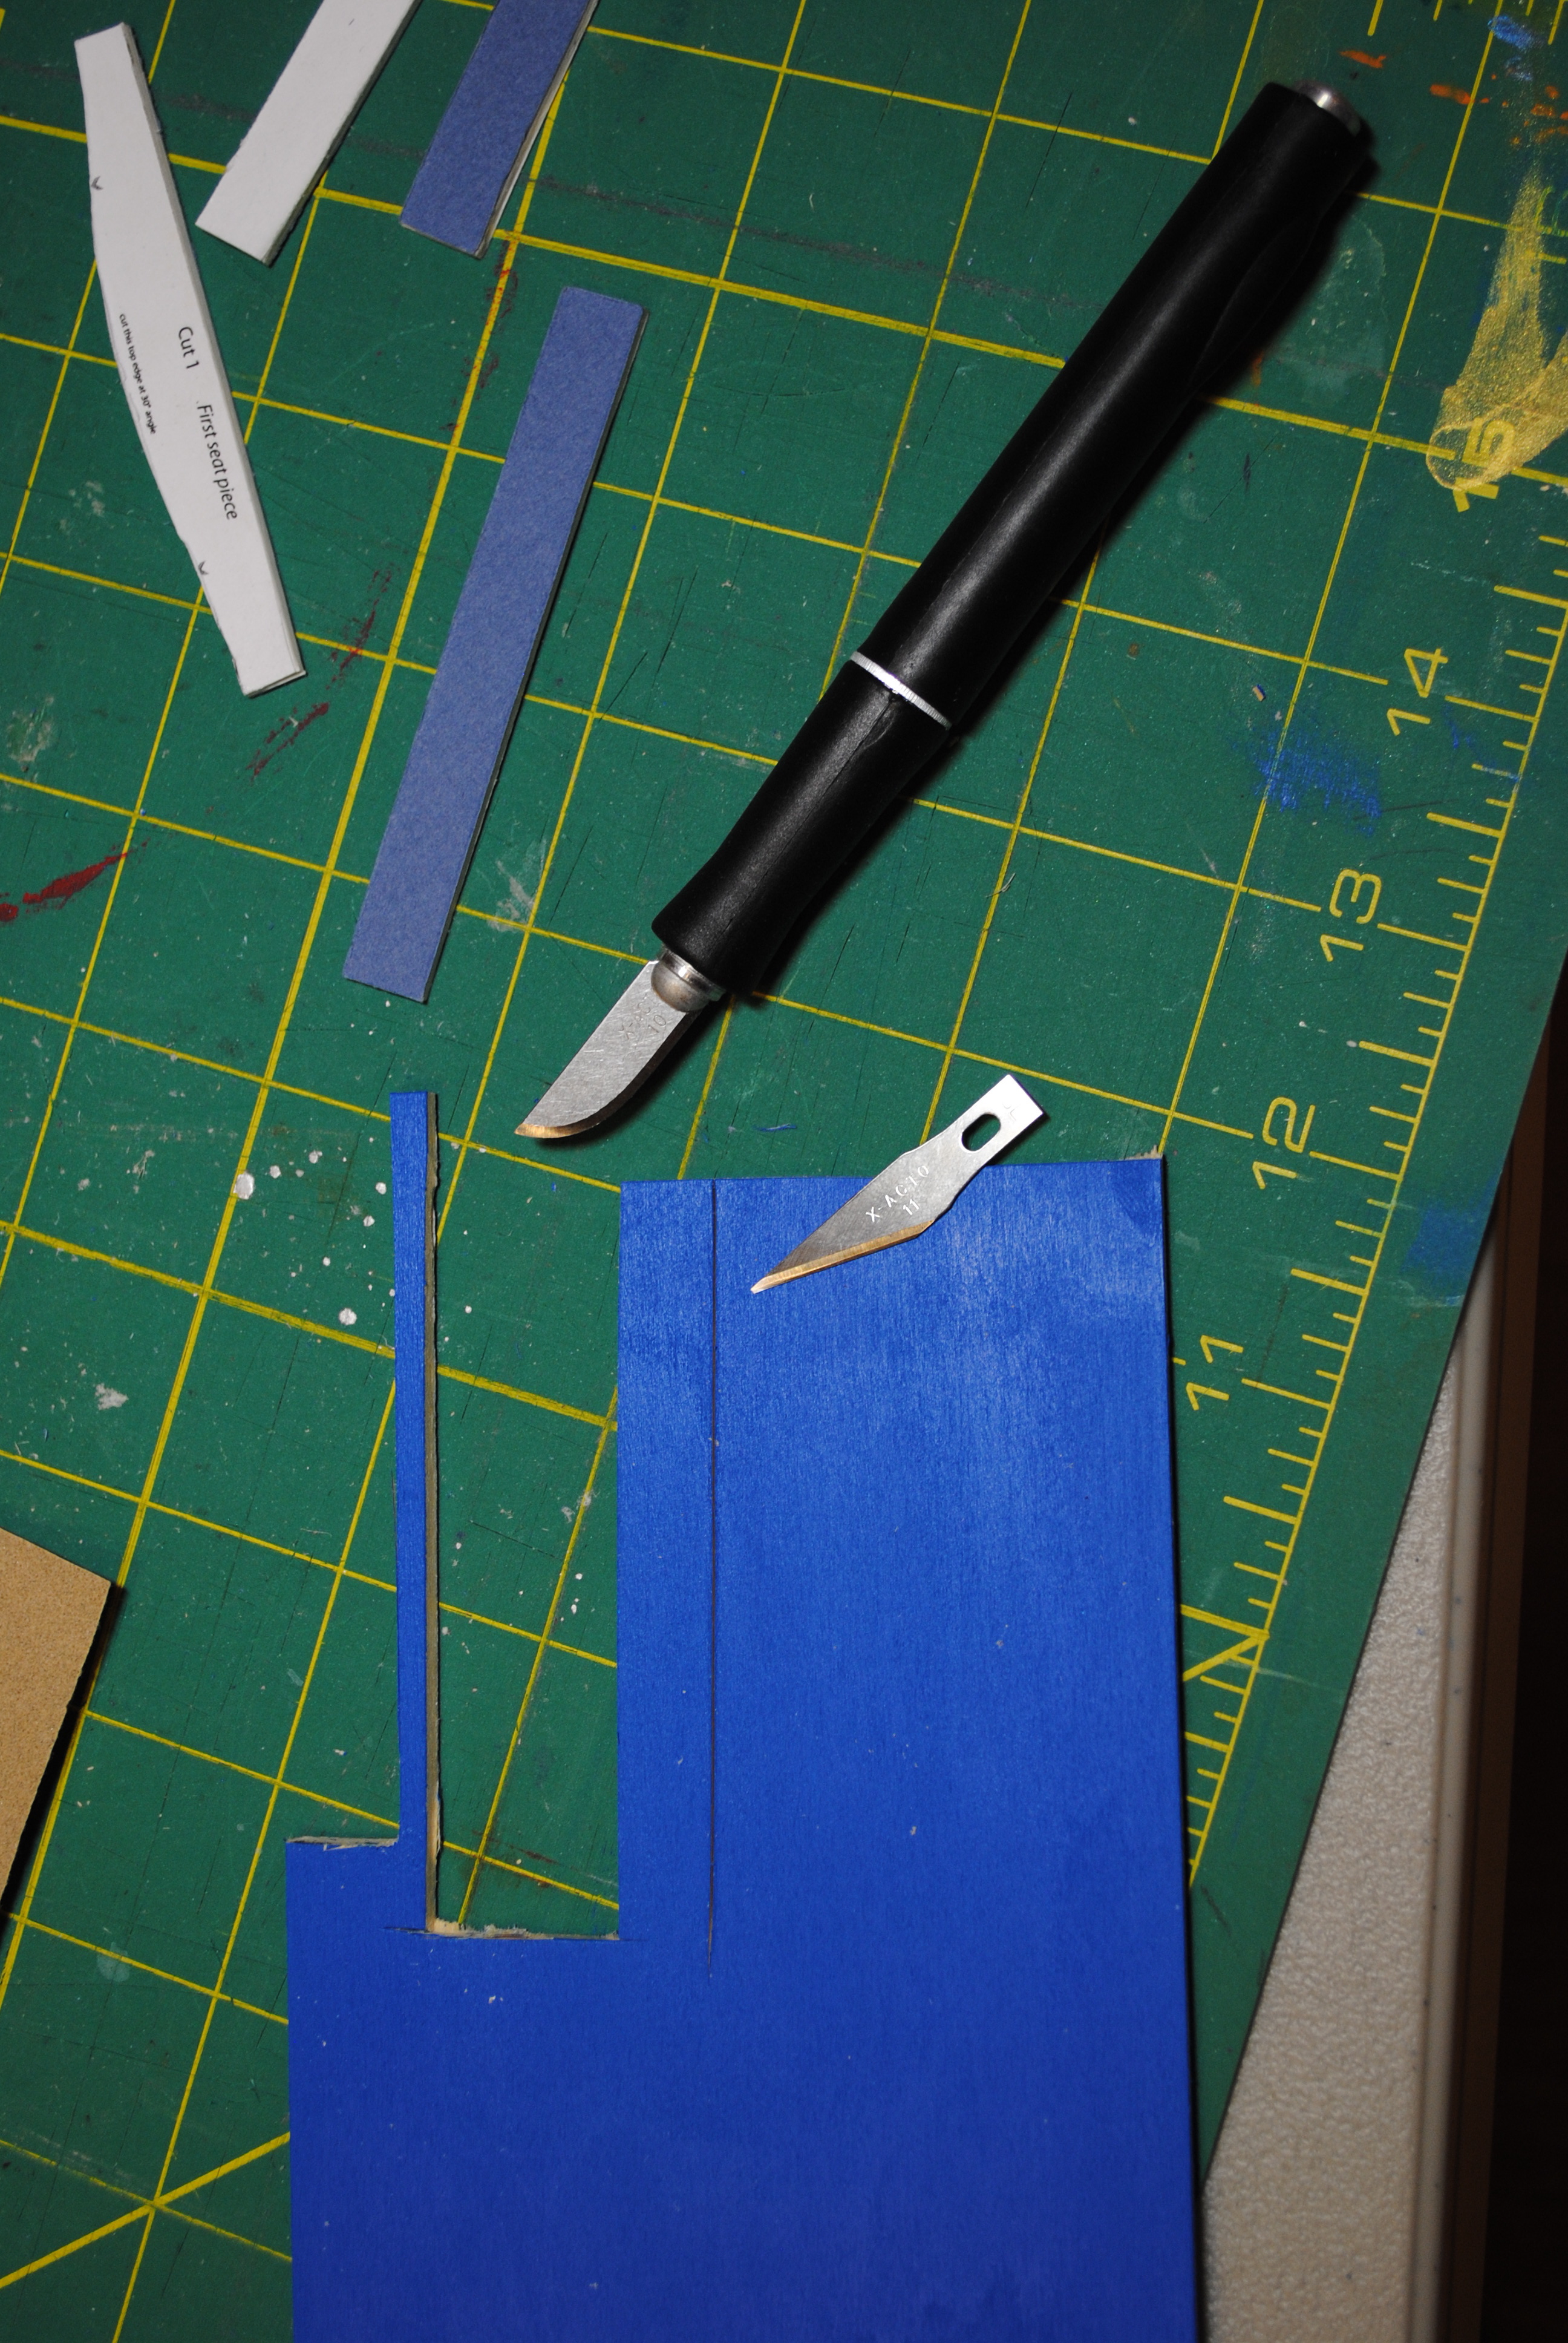
I had chosen a blue mat board to get a feel for how the finished chair would look since I planned on painting it my favorite color, blue. I decided that it would be easier to paint the entire Basswood board rather than small individual pieces. The first step was to sand it with very fine grit 220-sandpaper and then paint it with two coats of paint, lightly sanding between coats. Now I was ready to use my matt board templates to cut all of the pieces from the Basswood.
Some tricks I learned that maybe someone who has done this before already knows:
1) Make your long cuts with the grain of the wood and short cuts against the grain; this is a lot easier on your fingers.
2) A pointed blade is best for long cuts with the grain and a curved blade is best for short cuts against the grain; this allows straighter cuts with the pointed blade on the long cuts and more leverage on the short cuts to cut against the grain.
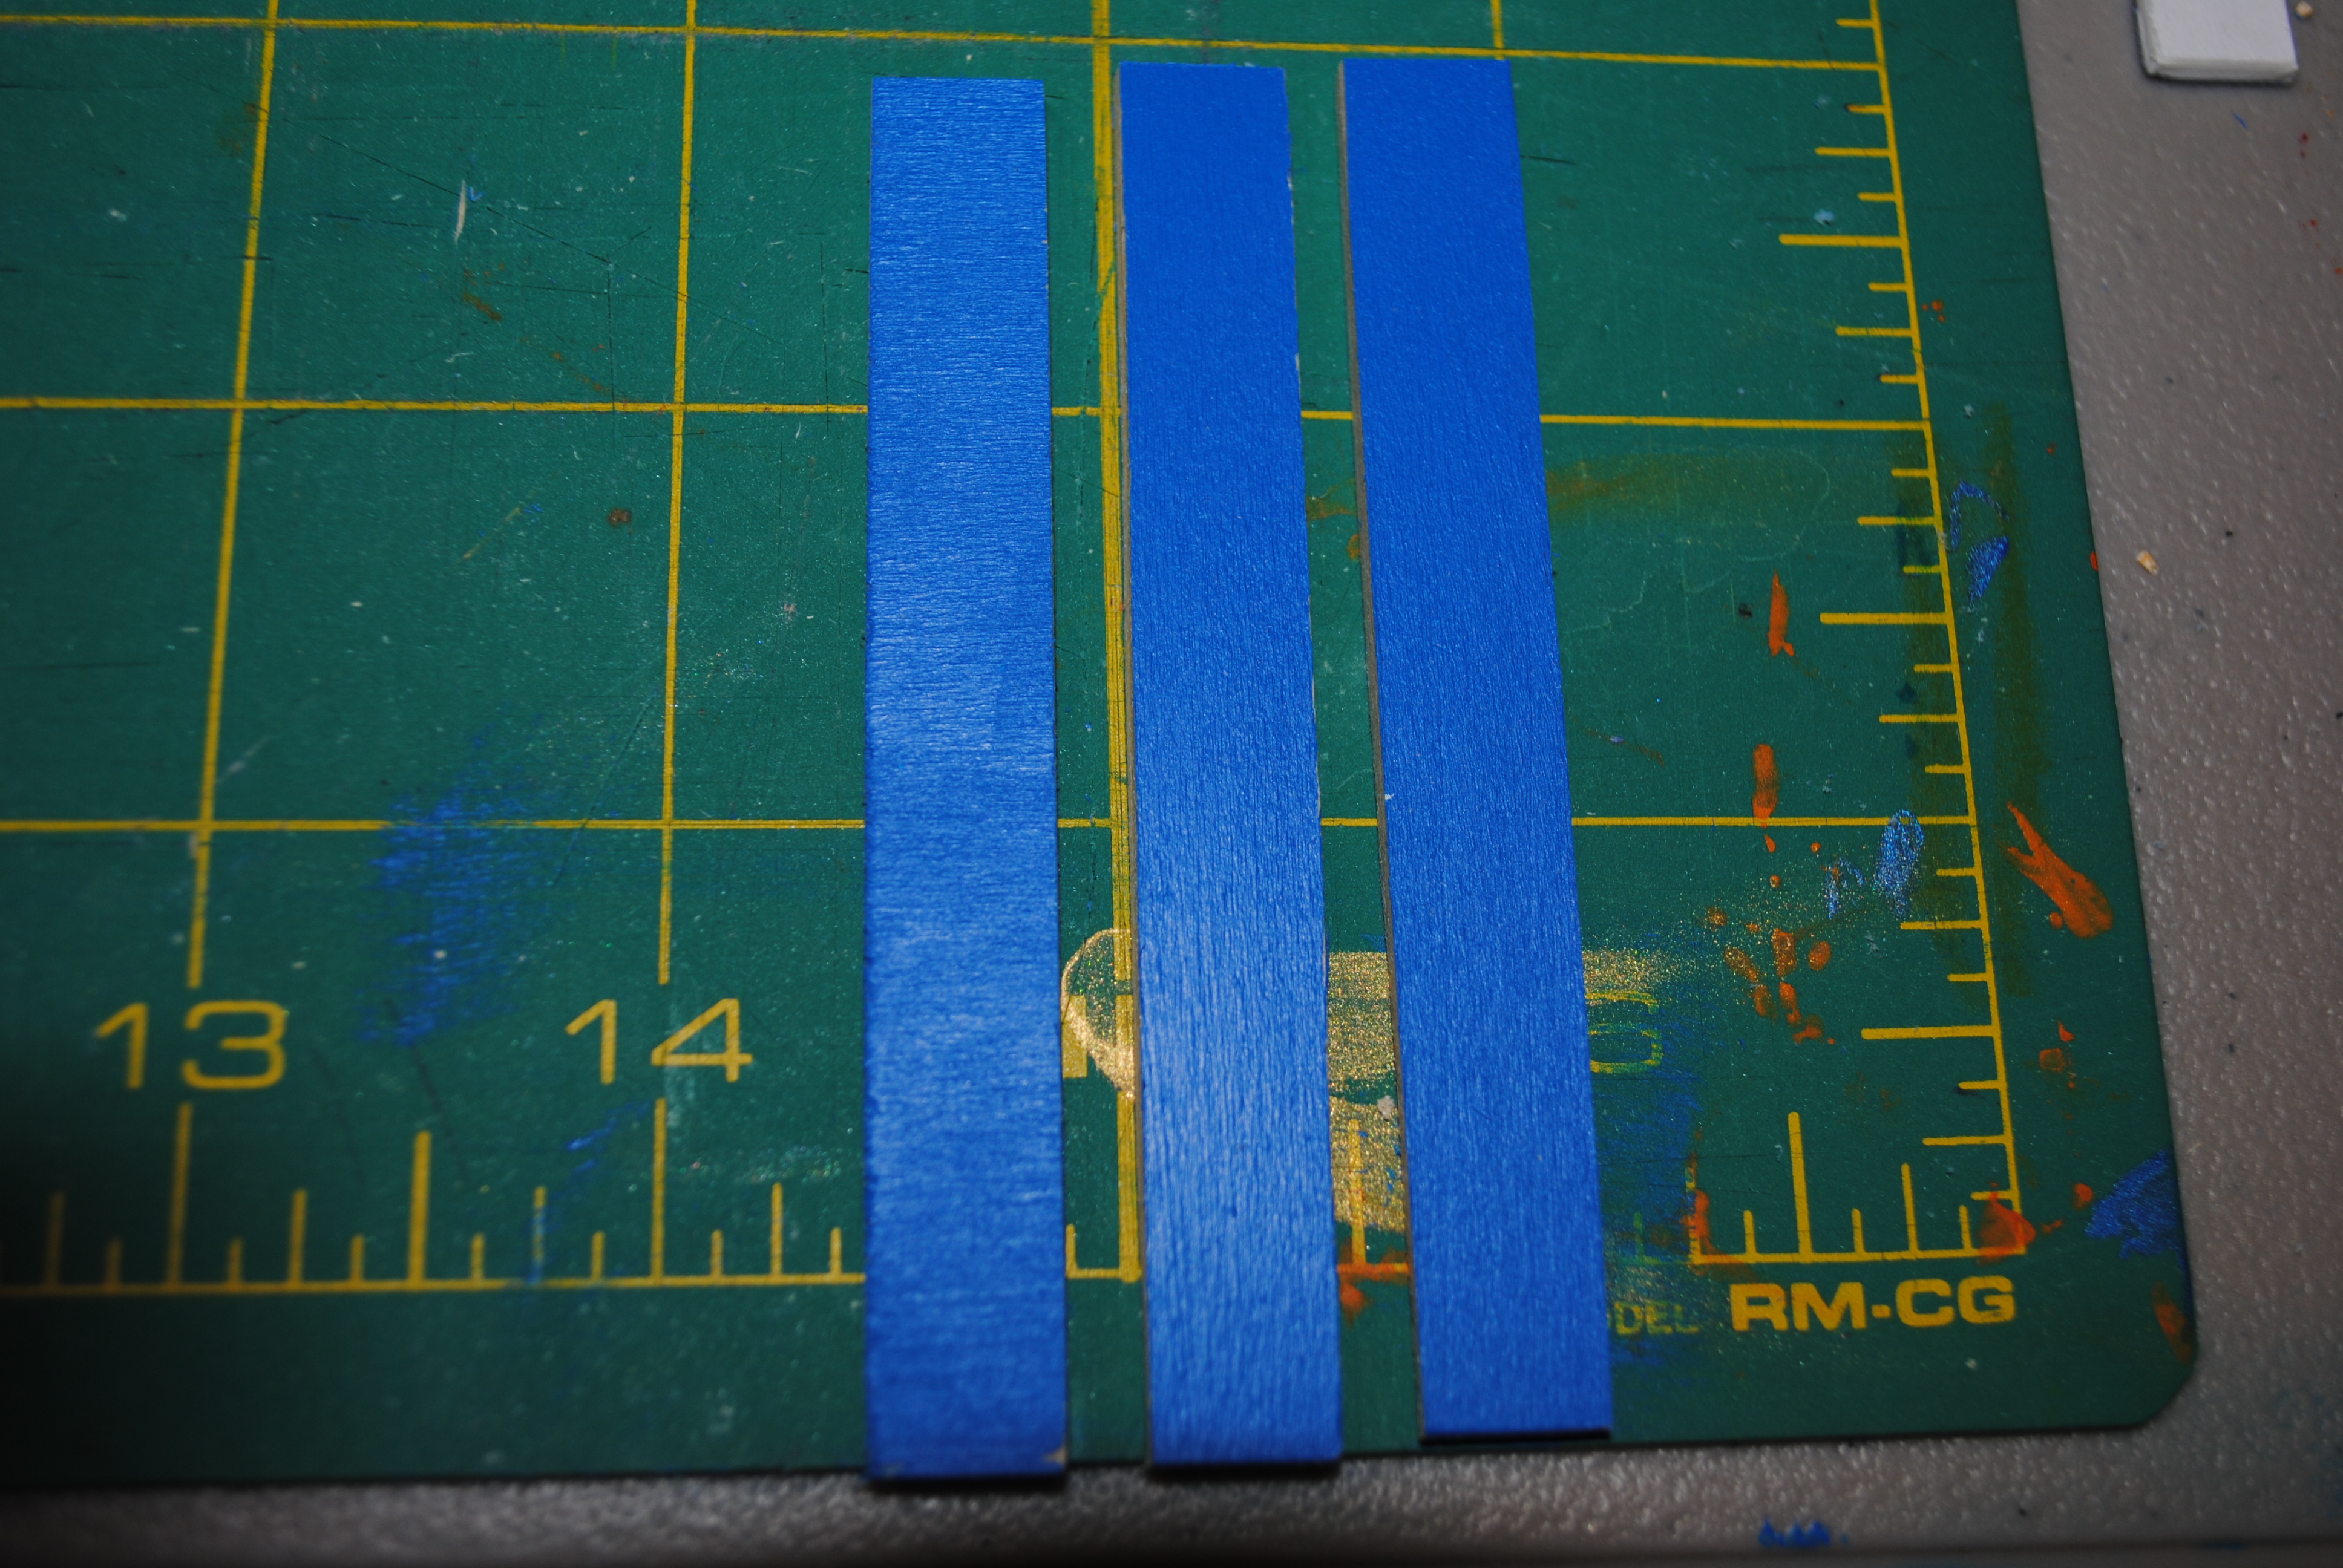
3) Cut all the pieces with the grain in the same (long) direction; this will make it more like the full-scale model.
4) After cutting a piece, line it up with its template and sand it lightly to smooth out the cuts.
5) Once both matched pieces are cut (e.g., legs, arms, etc.), line up the pieces and sand them lightly so that they match each other.
Once all of the pieces are cut out and edges sanded, trial fit them together to be sure no more sanding is needed. Once you are satisfied with the fit, then paint the edges, as this will be easier before the individual pieces are glued together.
Once all of the pieces are painted, then you can glue them together. This is where I pulled up the website again to follow the assembly instructions and photos. And I am glad I did as I quickly realized, thanks to the online photos, that I had glued the front legs to the back legs without leaving the gap for the front crosspiece to fit flush between the two front legs. Also, to make sure the chair was square, I used one pair of glued legs as a template for the other pair and then used a small clamp to hold all four pieces firmly together until they were dry.
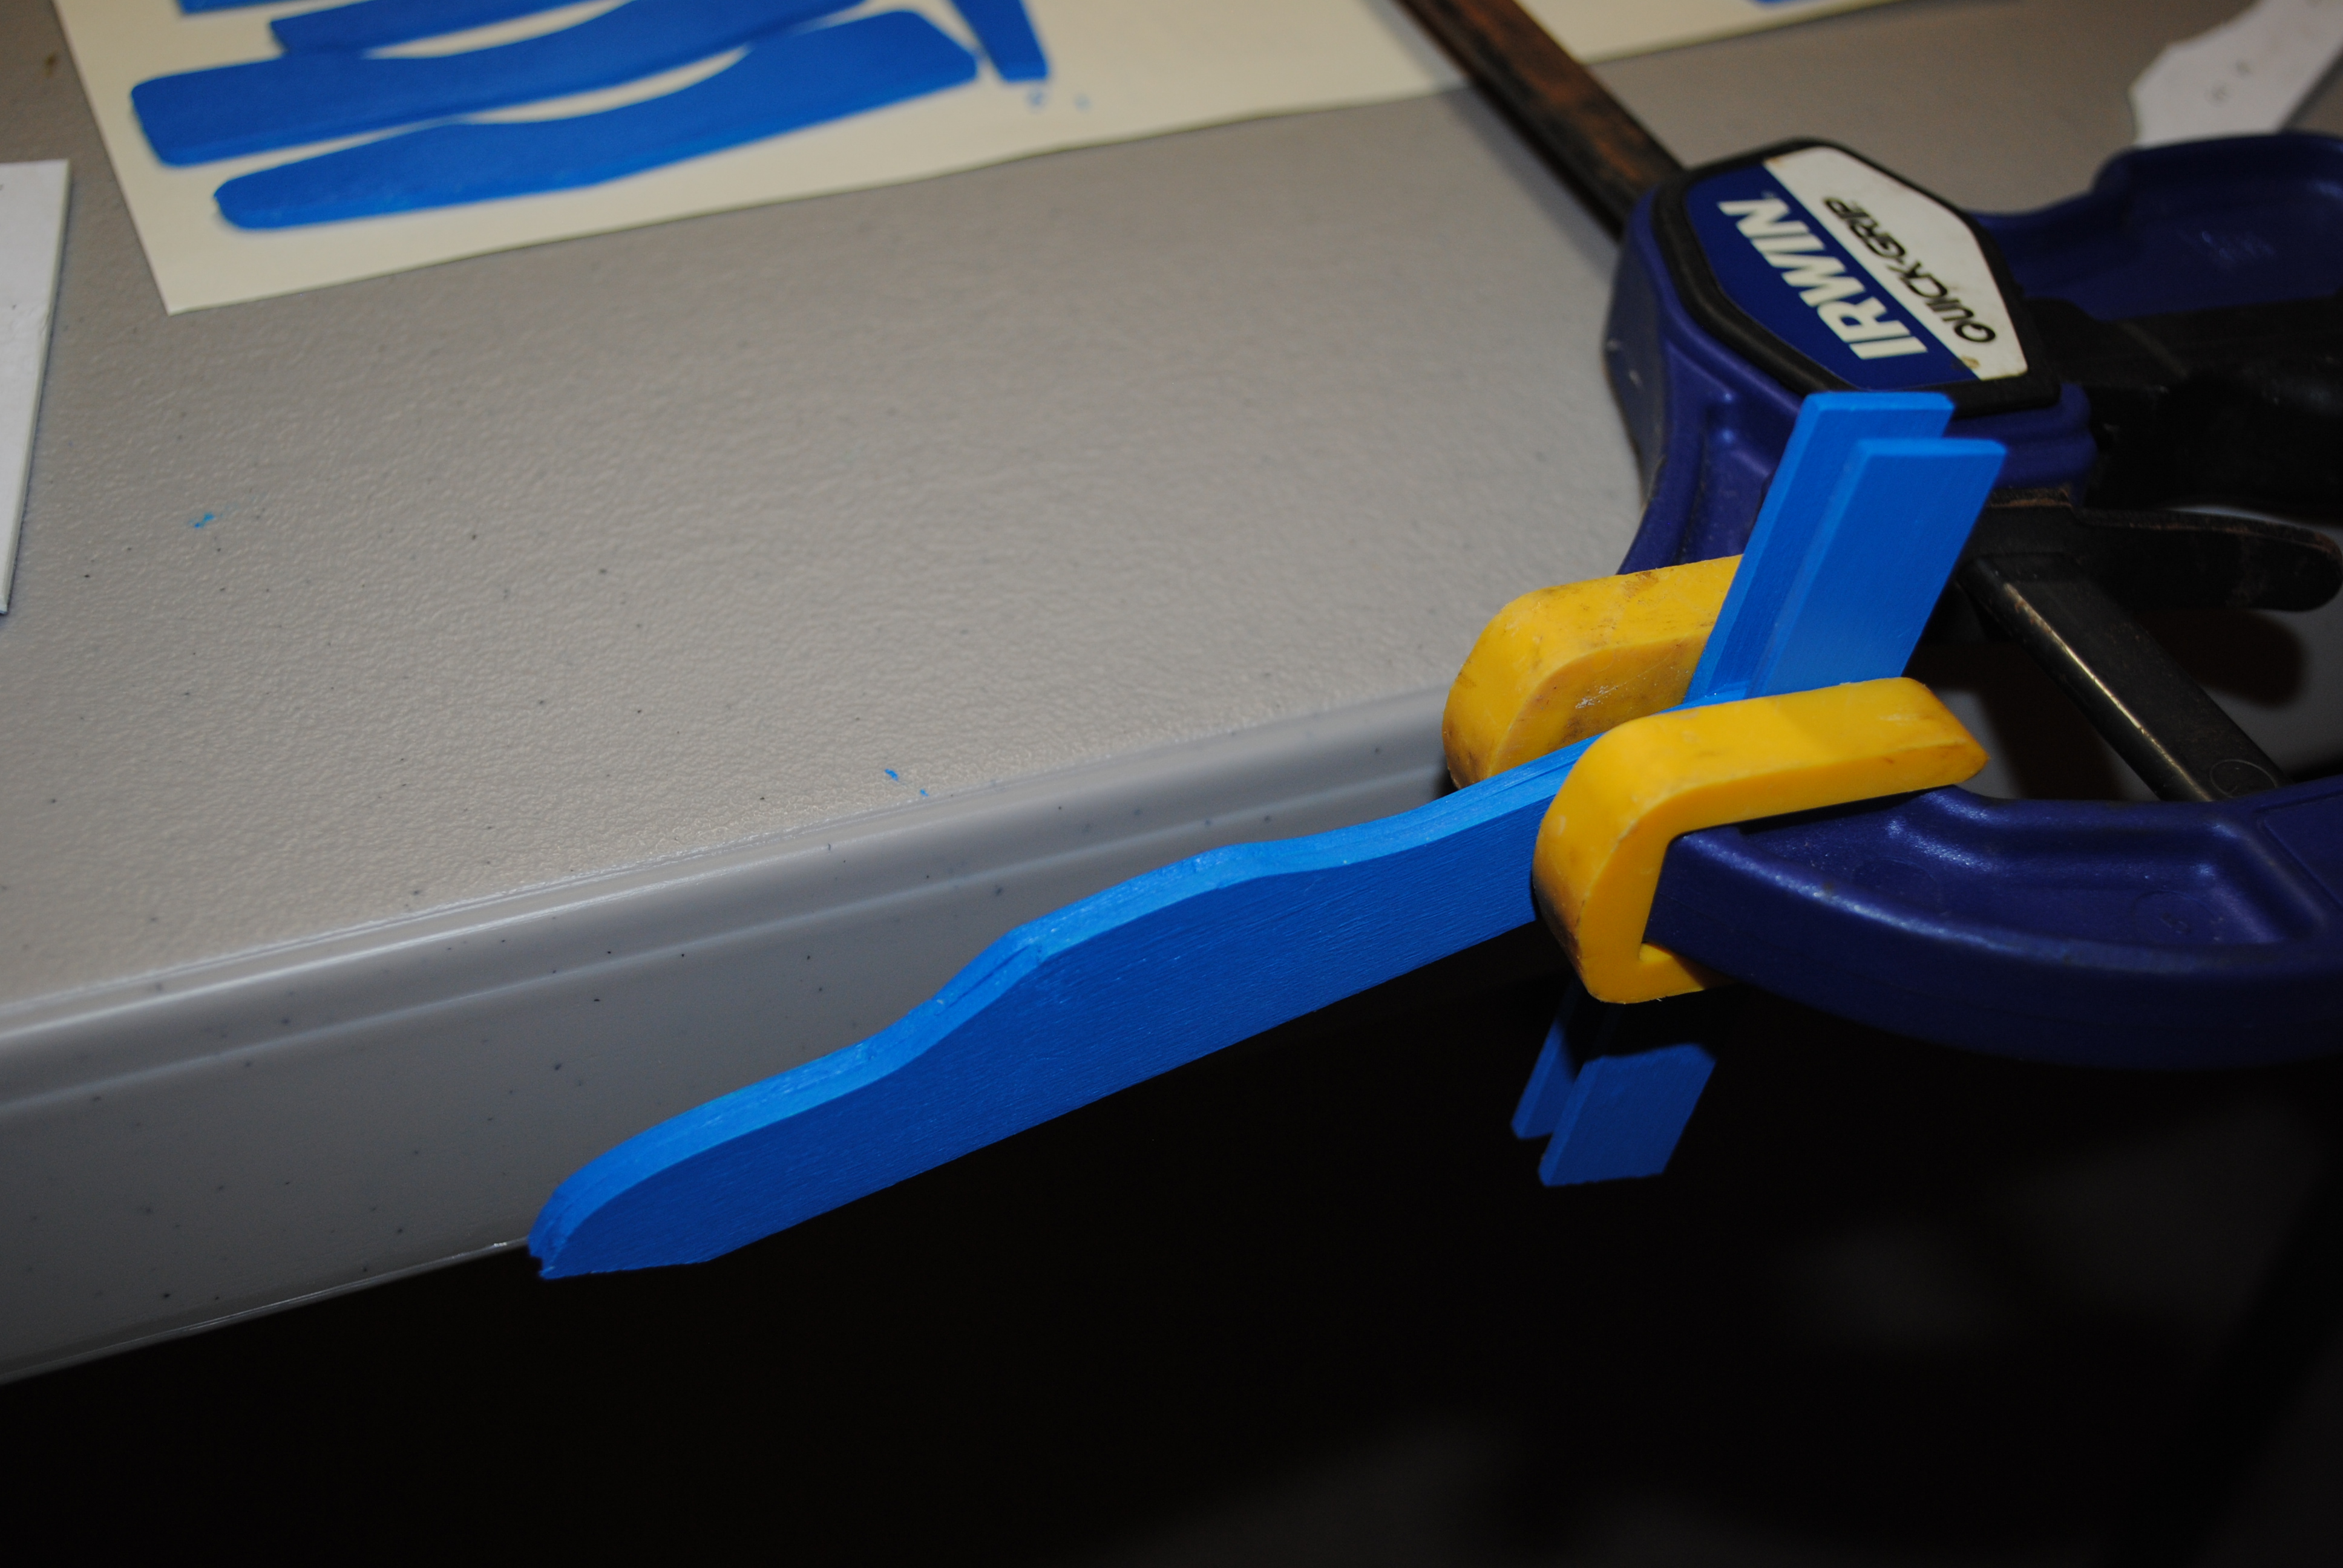
When I went to glue the front crosspiece to the two assembled leg pairs, I tried using the clamp again to hold the two legs tightly to the crosspiece but even the slightest pressure from the clamp would torque the assembly into a parallelogram. In the end, I just held them together while the glue set placing the bottom support between the legs to keep the frame square.
After it was dry, I realized my old habit of getting excess glue on my fingers and then transferring said wet glue to unintended surfaces of my model had returned from my childhood days. When building plastic car models, this often led to frosted spots on the windshield or in extreme cases deformation of the plastic part. The good news with wood and tacky glue is it comes off more easily without damaging the surface.
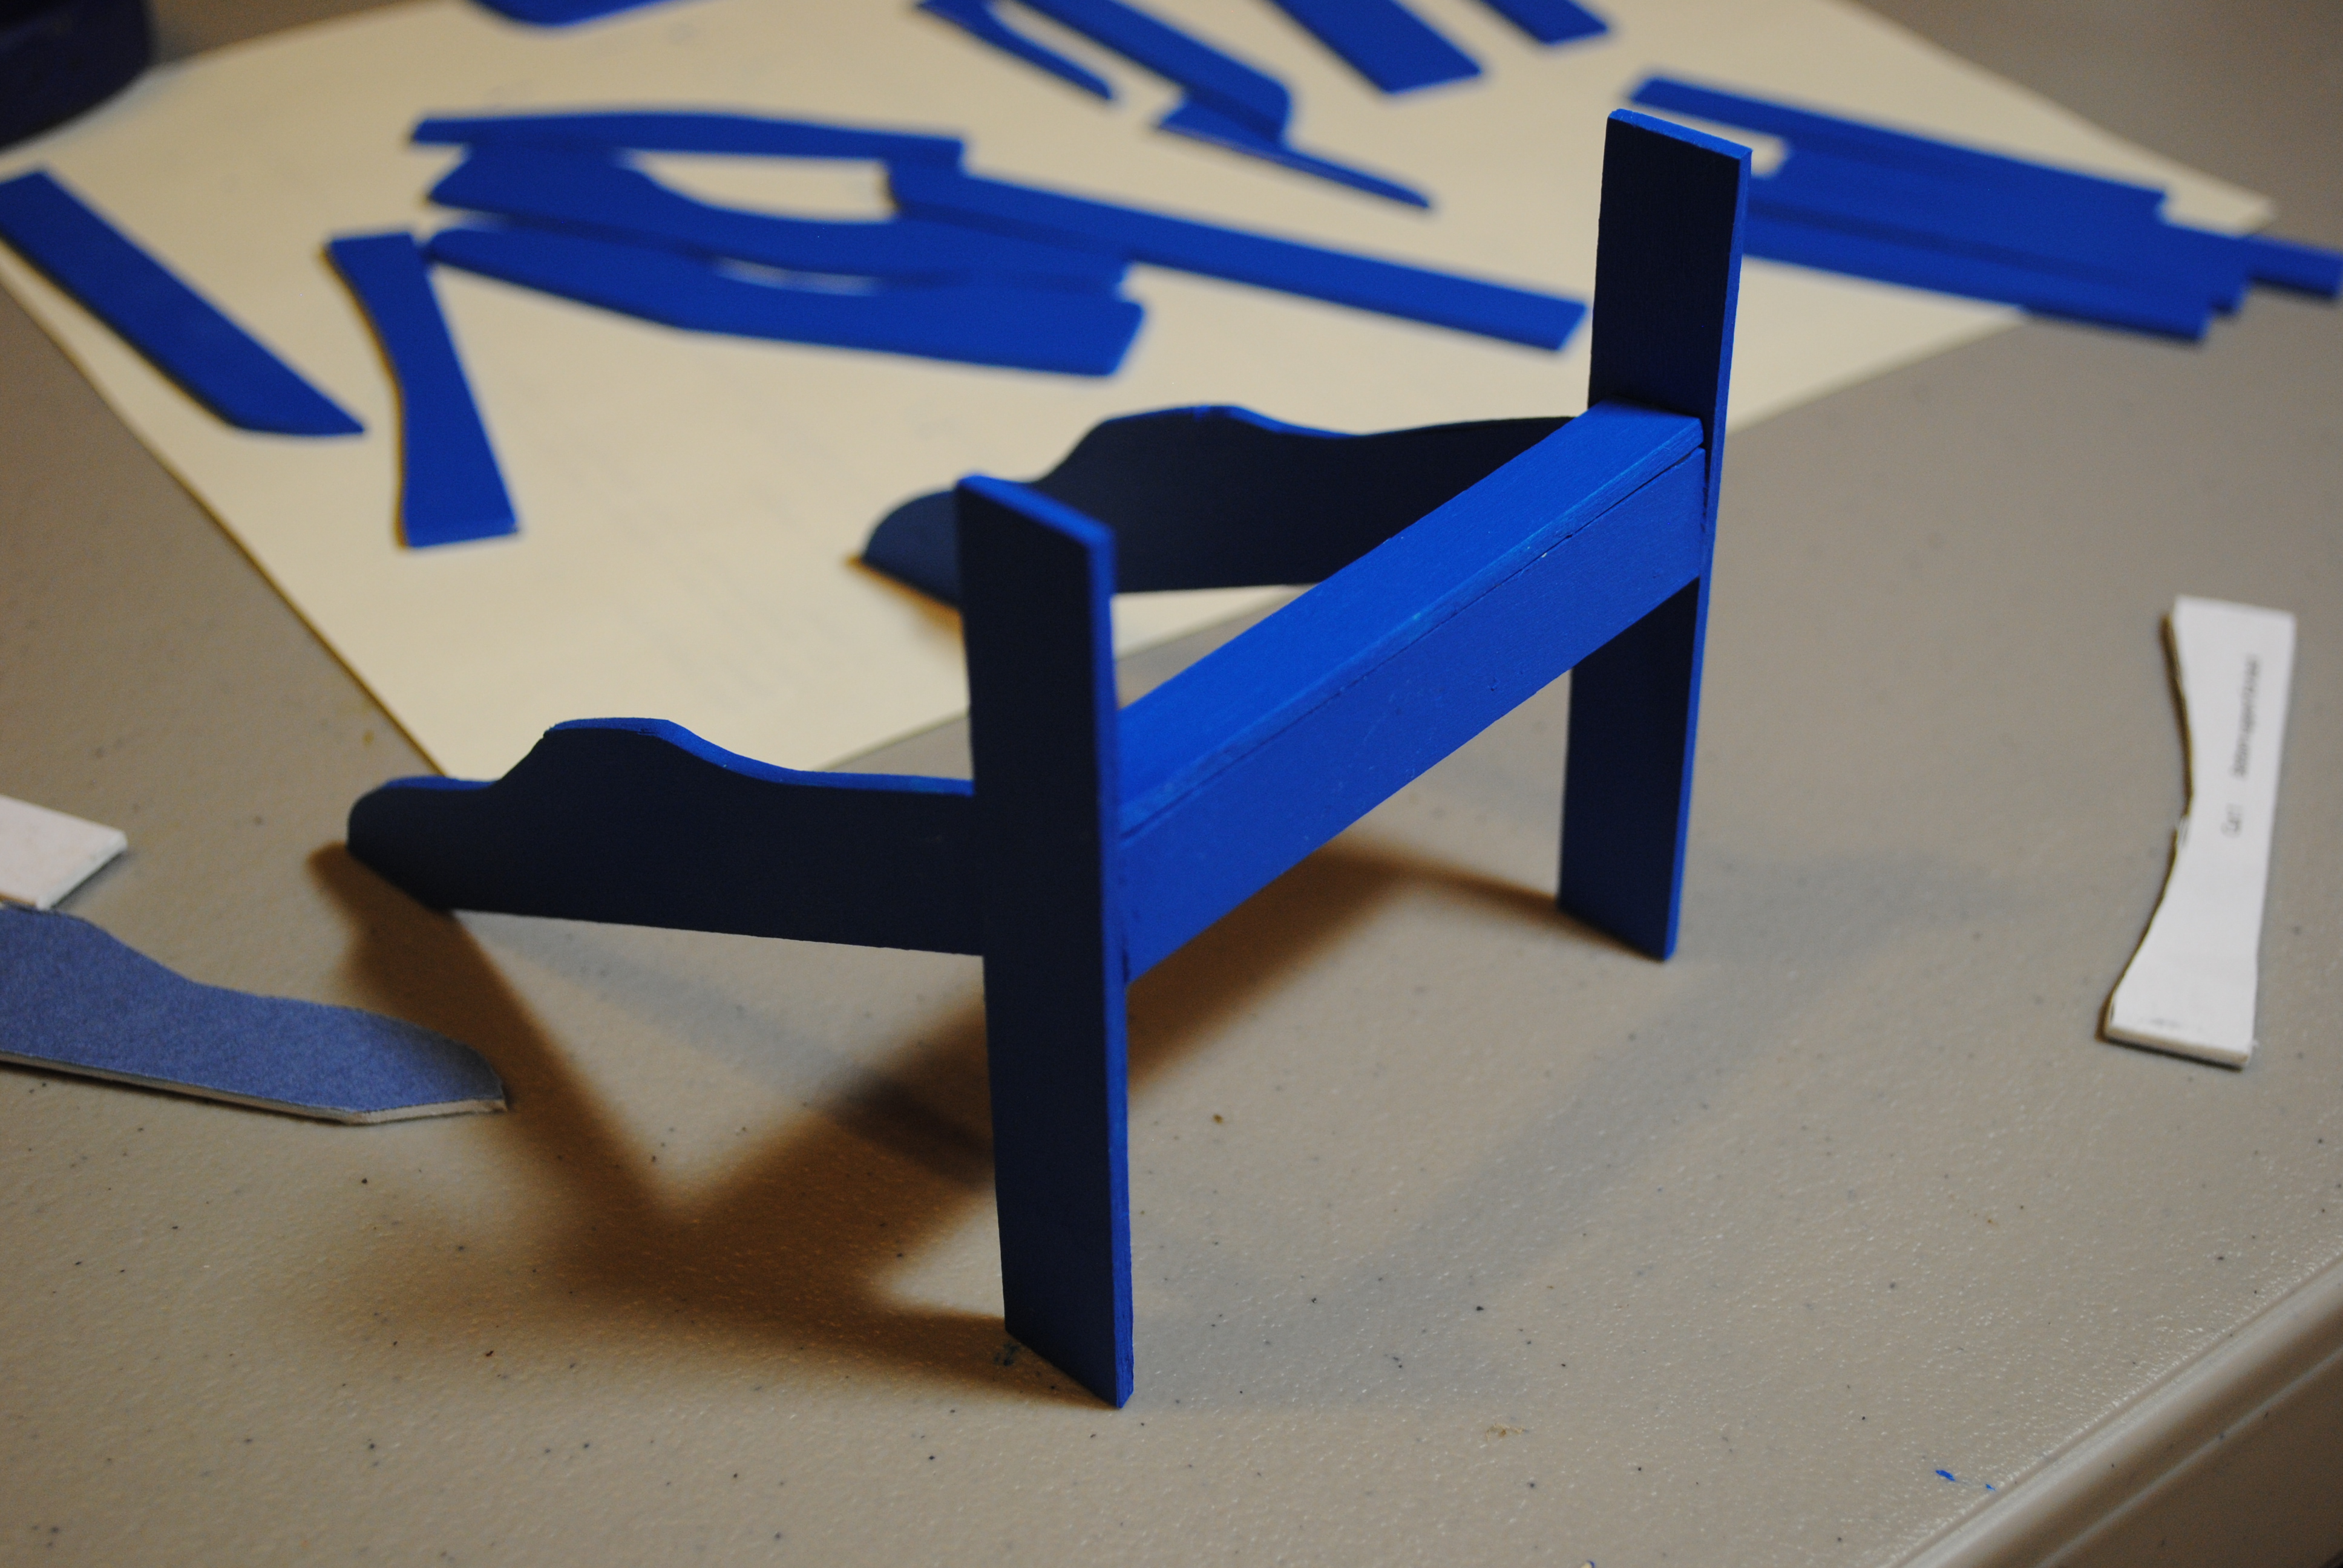
At this point, I slightly deviated from the online instructions because I wanted to give the partially completed frame more structural integrity. Rather than gluing the bottom support to the slight rise on the sloped back legs, I glued the front seat piece to the top of the front crosspiece between the legs. I let it dry using light pressure from the clamp. This approach also allowed me to ensure that I had correct spacing between the five remaining seat pieces and the bottom support piece before gluing it down—thus avoiding the potential of having to carefully remove all of the seat pieces once I realized all five wouldn’t fit between the front and back pieces.
Another step where I deviated from the instructions was where the arms are supposed to be attached to the legs first and then the back brace is attached to the free-floating arms (see the photos in the online instructions for visual detail). While this step would be straightforward and secure in the full scale world with screws and bolts, in the miniature world, I knew it would be difficult to get proper alignment if I was simultaneously trying to glue both arms to the back brace unsupported in space while at the same time trying to glue the arms to the tops of the legs. In the miniature world, I measured the correct distance between the backs of the arms and then drew parallel lines on paper to line up the front of the arms with the back of the arms before gluing the back brace to the two arms.
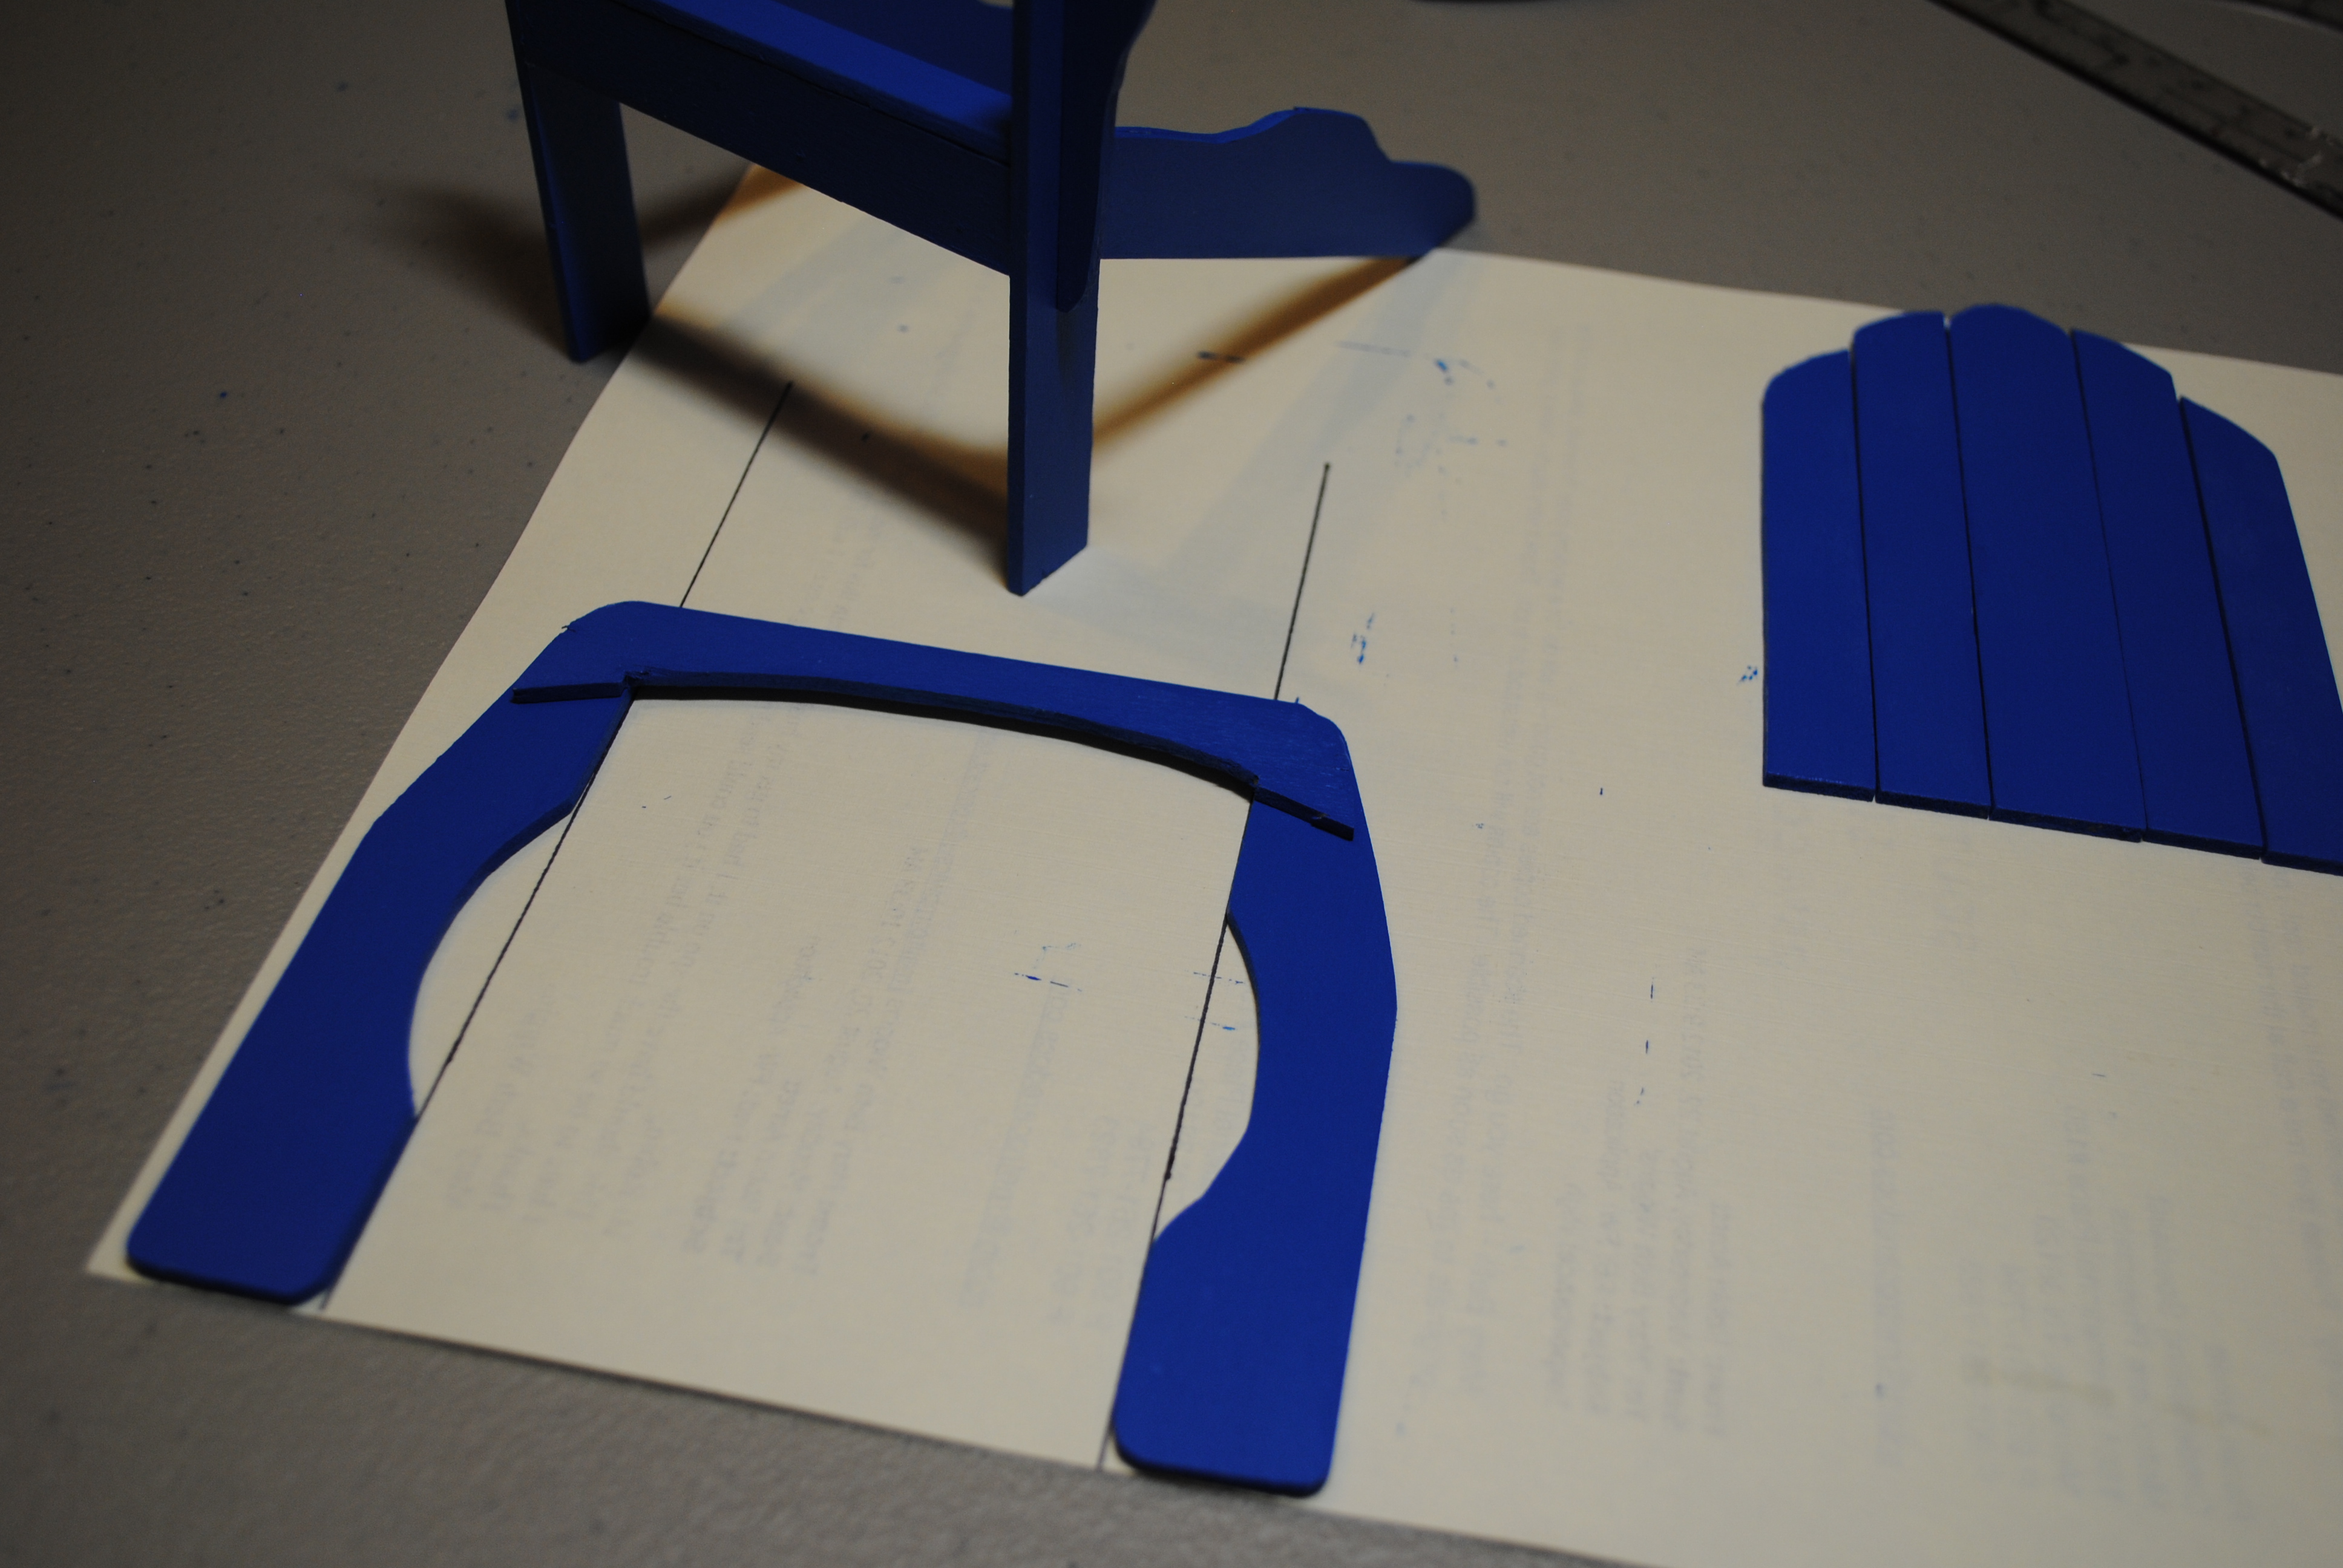
With these procedural modifications and two subassemblies, I was ready to glue the bottom support to the back legs and then once dry, attach the arm subassembly to the tops of the legs of the other subassembly. To ensure equal spacing between the chair back pieces and the arms, I glued the center back piece first which actually proved difficult as each time I measured with a ruler to see if it was the same distance from each side, my ruler hit the back piece and moved it ever so slightly. After many minor adjustments of its placement, I propped it up to dry.
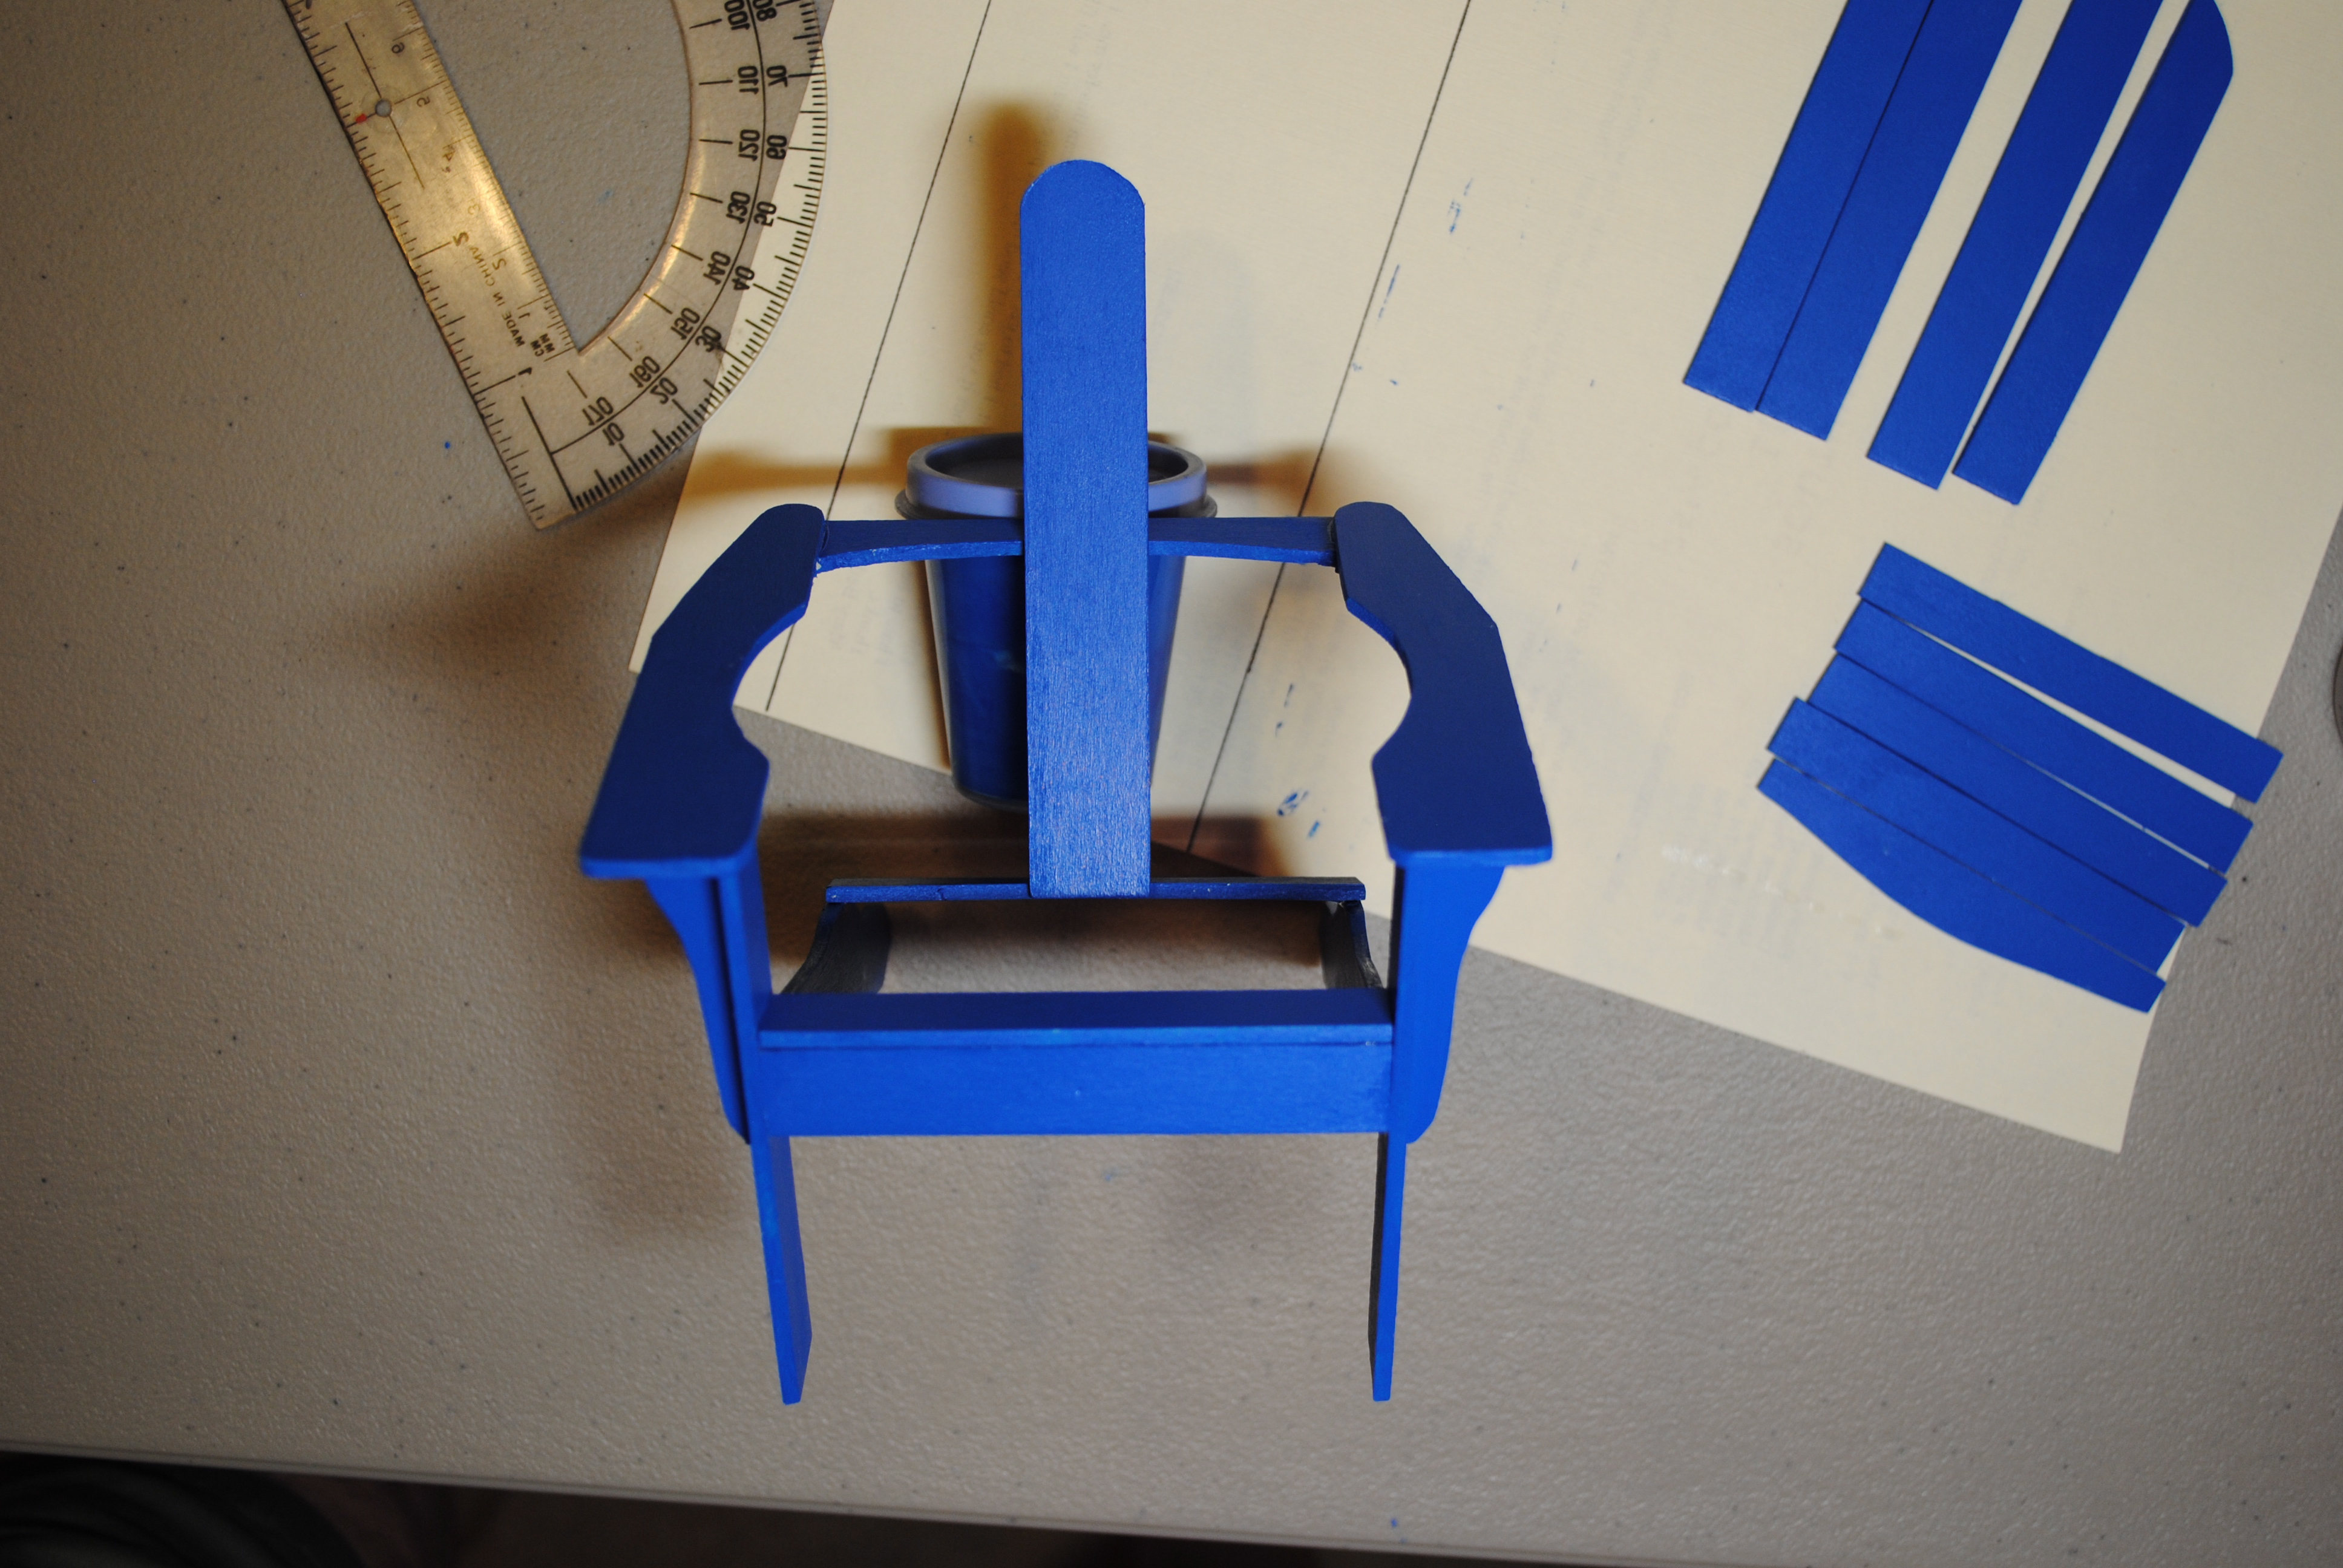
After it dried thoroughly, I glued the back piece closest to each arm and then spaced the remaining back piece evenly between the center back piece and the back piece next to the arm. The final step was then to glue the seat pieces to the chair frame, again equally spacing them between the front and back of the chair.
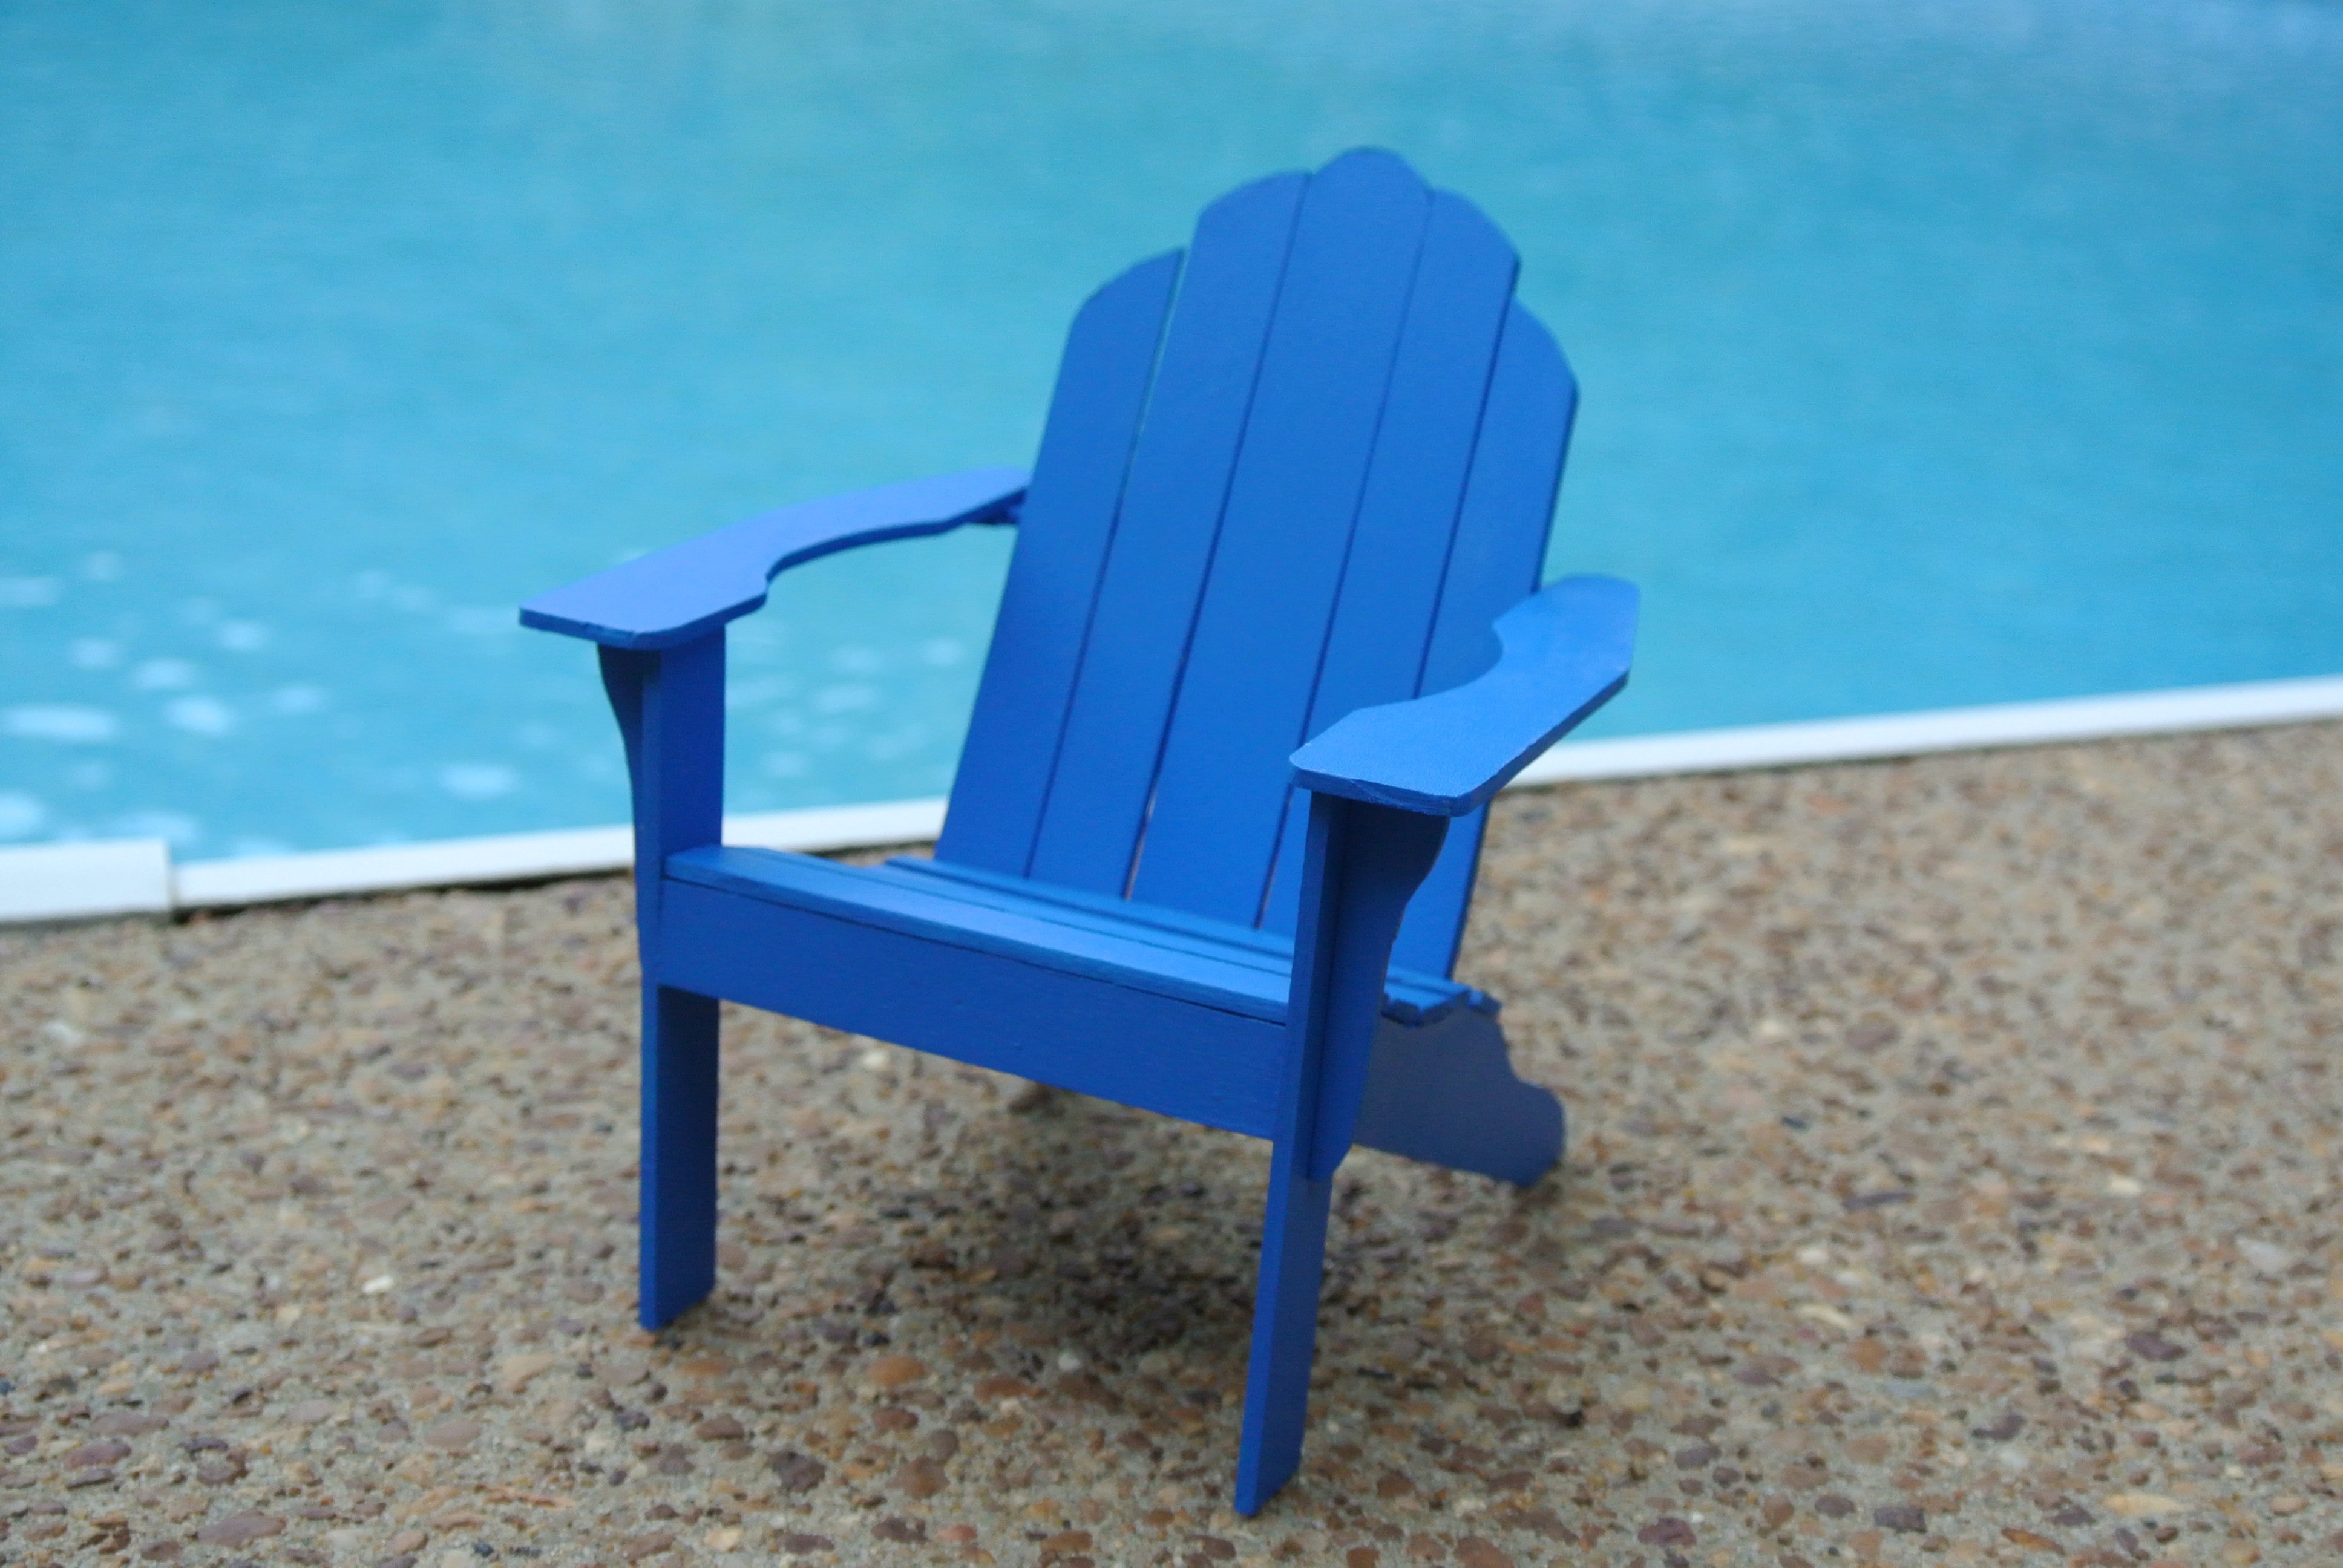
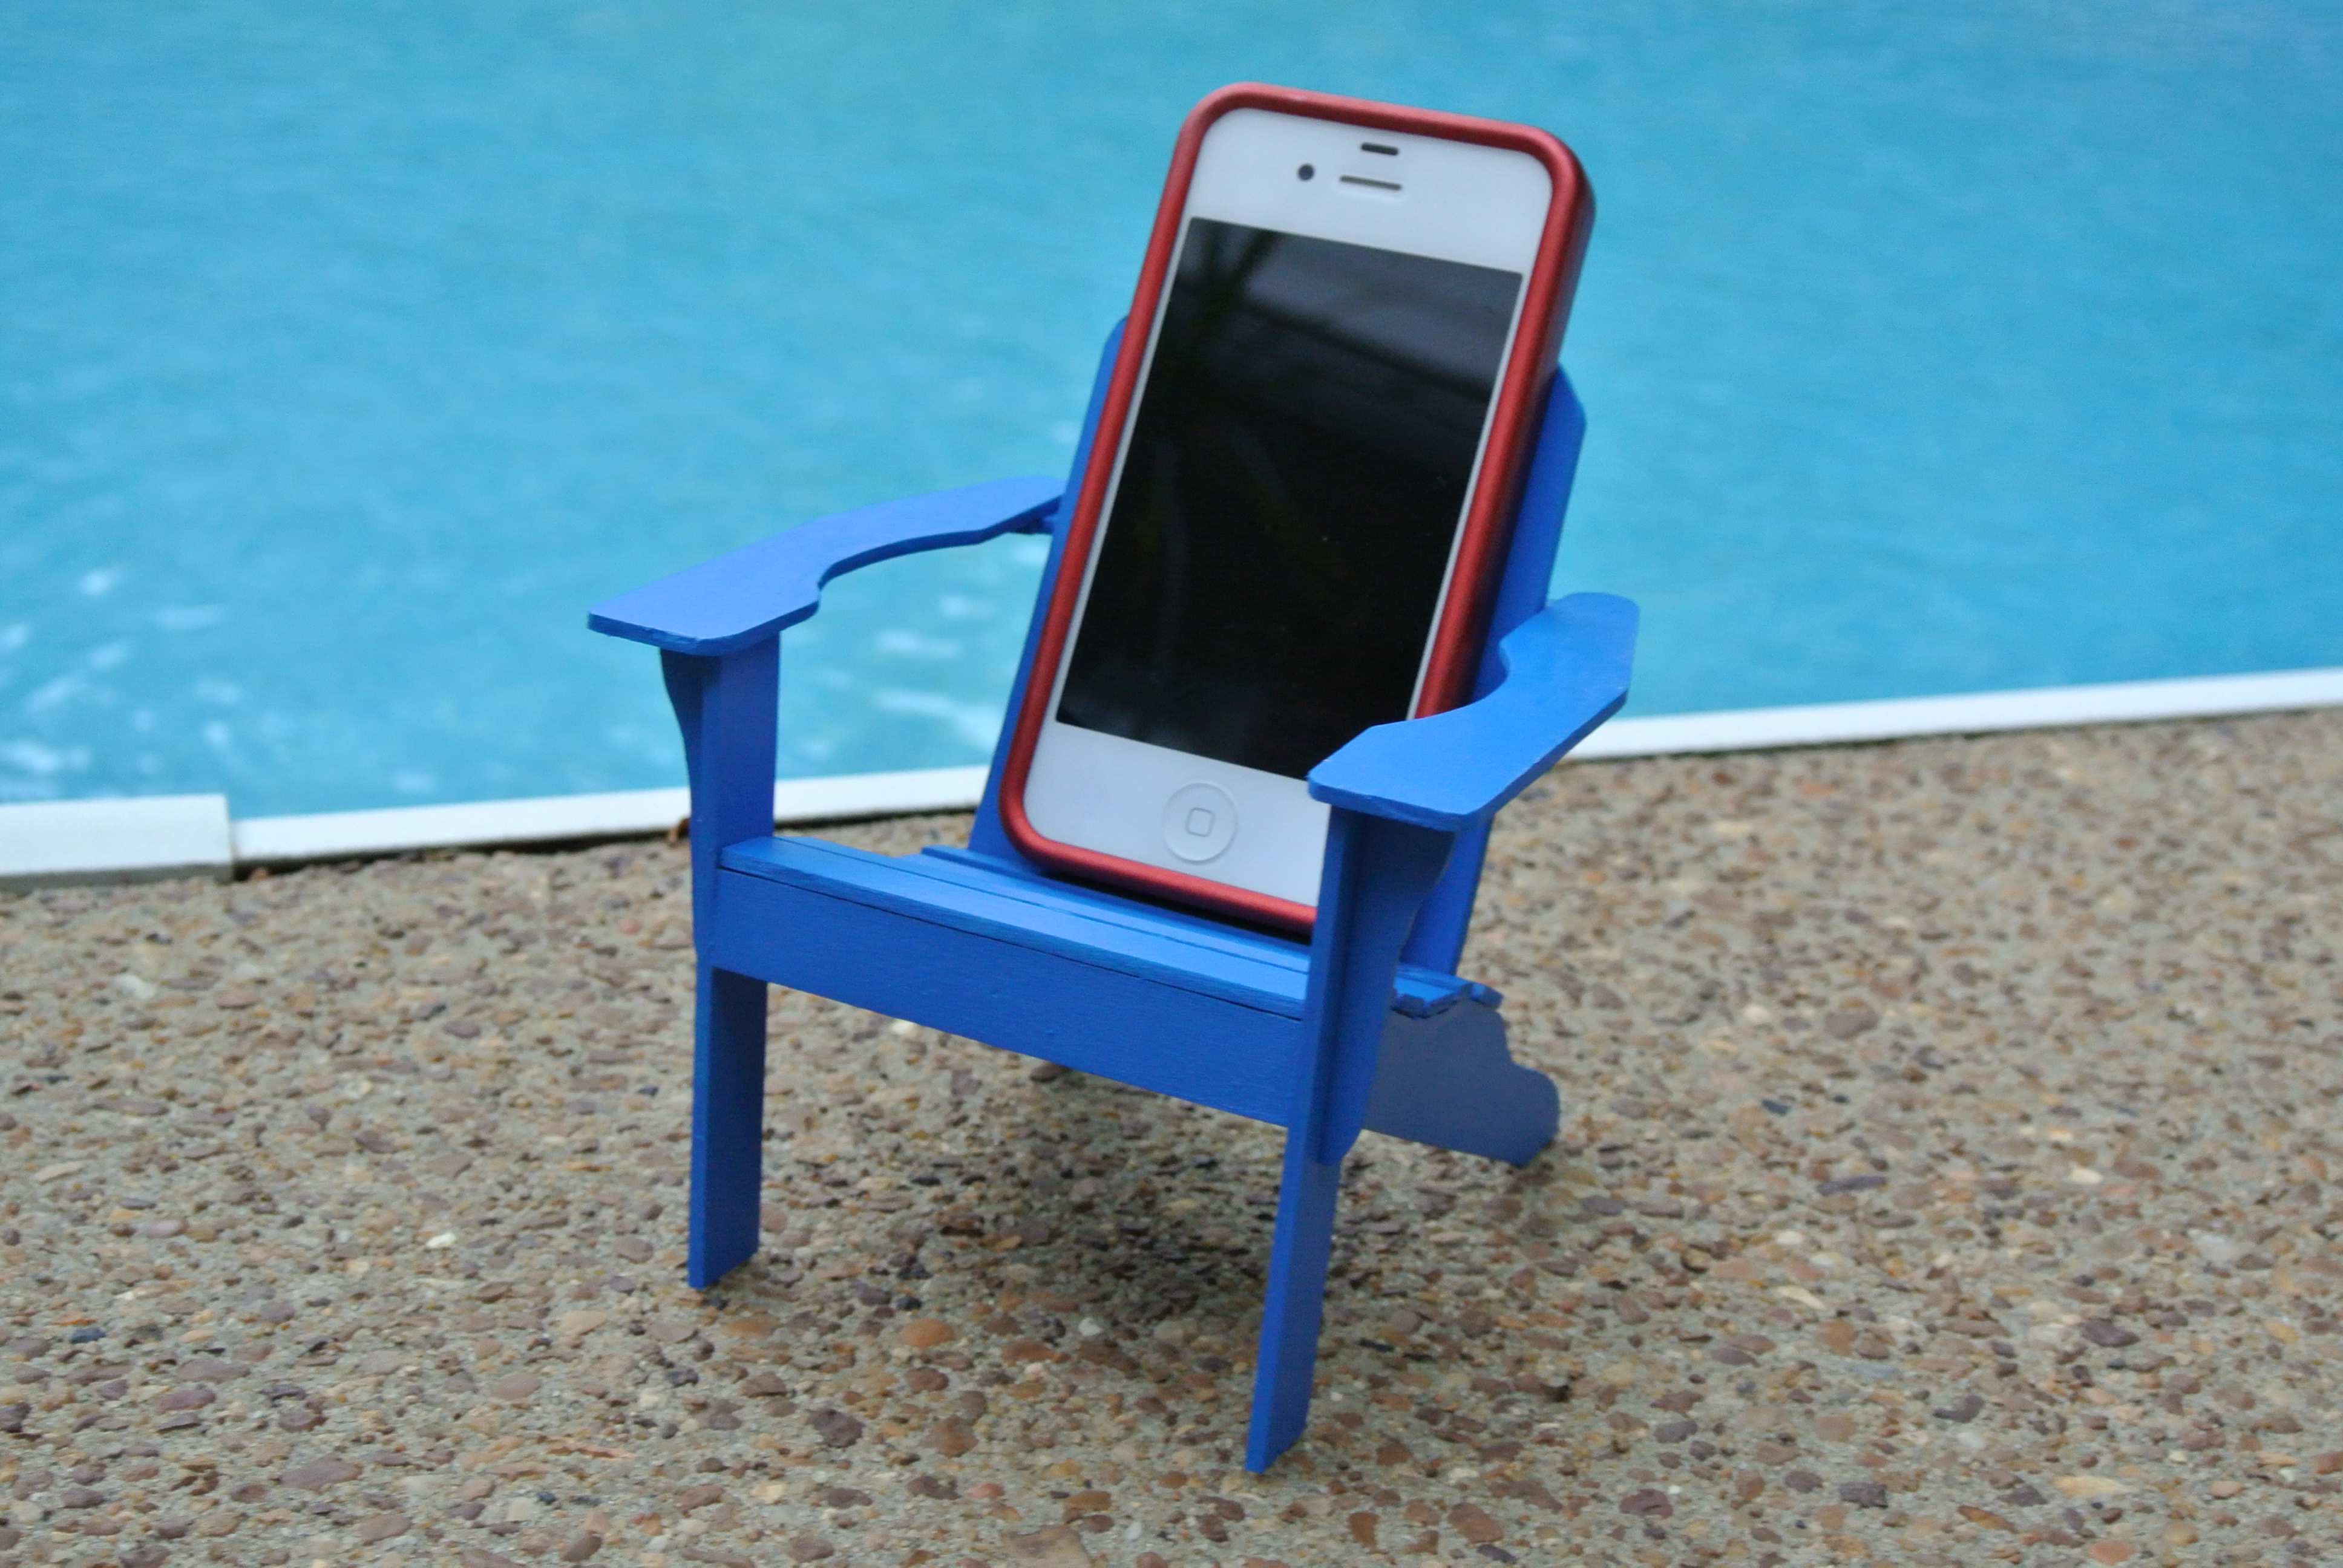
With the chair all assembled, you can now invite your phone to lounge in its new space. Feeling comfy?
I hope you have enjoyed adventuring along with me on this miniature project. For my fellow modelers, I think I have provided you with enough details and photos that along with the online instructions, you can build your very own chair. As for me, the scientist in me wants to build a few more chairs tweaking the process with each subsequent iteration to improve the outcome—just like the scientific method is supposed to work. But also, I am tempted to try my hand at building the full-scale version. That way, both my phone and me will have confortable spots to relax in by the pool.
Categories

Hey! My phone wants a chair like this! So could we be next?
Absolutely! Just what shade of purple would suit a magpie?
Ahhhh, how awesome! I love it! I’m sorry it was so challenging, but I bet the scientist in you loved figuring out how to make the challenging parts work! I love that in that first picture, you can’t tell the scale, so it looks like a full-sized chair. It would be so cool to have some life-size ones too! Good work! 🙂
Your mother loved the pool shot too. I guess the parts I didn’t figure out very well I’ll get to improve when I make your mother one.
That’s really neat. I also like that pool shot; as a miniatures modeler, one of my favorite things are dioramas or photos that take the scale out of the model (making a small chair look life-sized).
One of my more pleasant memories from the Marines Corps is from my time stationed on the Iraqi border in the middle of the desert. My staff sergeant (my boss) requisitioned a certain amount of lumber from the engineering detachment. This was lumber that was supposed to be used for things like tables for maps, desks for radios and officers, etc. Instead he made us, with no plans or measuring, a pair of perfect adirondack chairs to lounge in and enjoy the Iraqi sunsets.
Good job.
I love your story as well; thanks to your mom, I was inspired to build an adirondack chair. I’m glad you liked this post. I see by the frequency of your posts, I have a lot of catching up on your your craft stories.