
Miniature Garage Loft Furnishings – Phase 4
Continued from: Miniature Garage Loft Furnishings – Phase 3
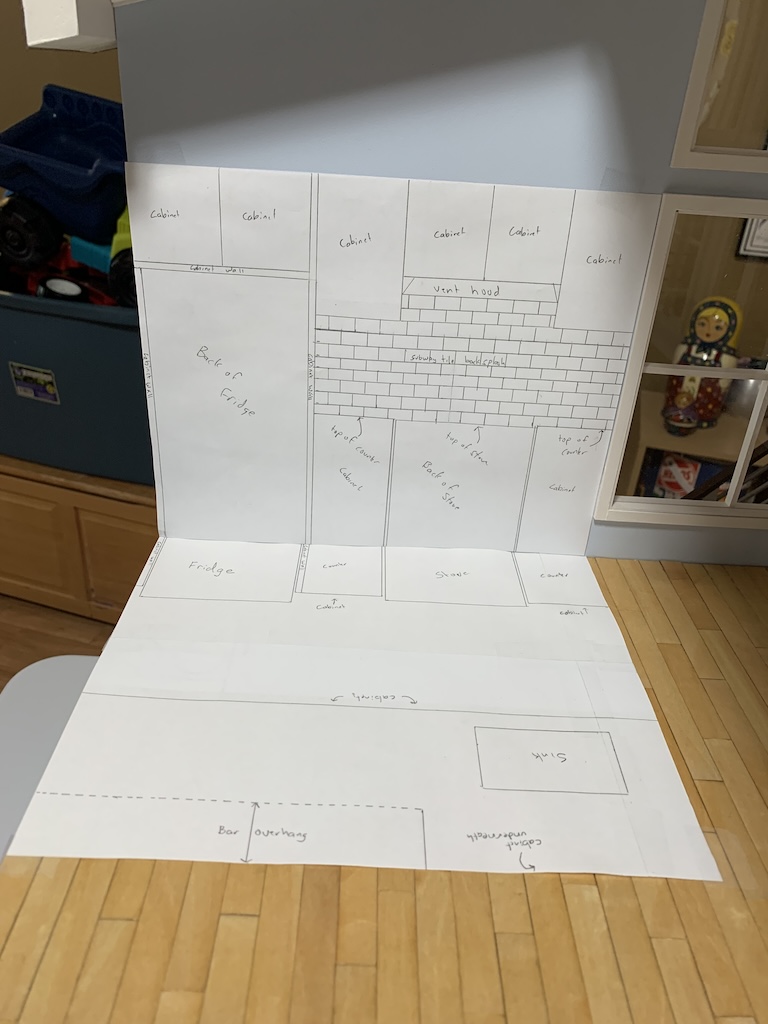 Now I was ready to build the large free-standing cabinet, which I needed to do before building the above countertop cabinets as I needed to give my sister the dimensions for all three countertops so she could cut them out of the acrylic I had bought.
I first cut the two ends of the cabinet, notching them as before and then cut the two pieces for the toe kick. I glued those in place and then cut a 1/4” X 1/4″ piece of basswood on the back side to frame the cabinet. The cabinet end on the right is 1” narrower to accommodate the overhanging bar where the bar stools will be pushed beneath.
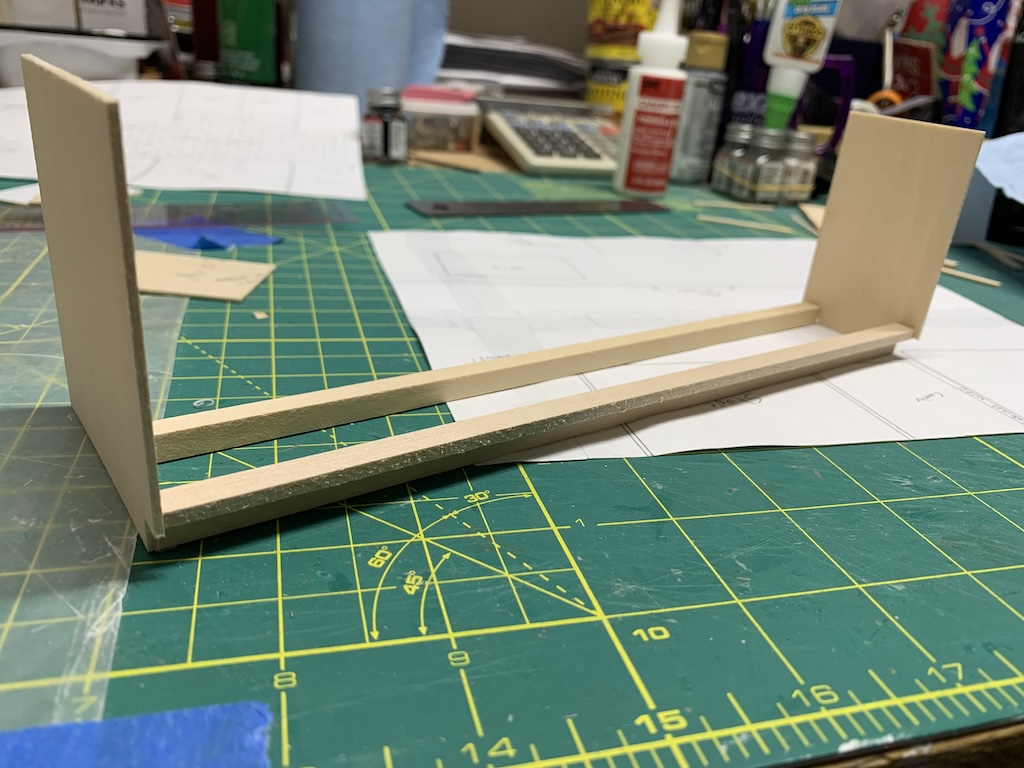 But then I realized I forgot to attach the polystyrene to the ends of the cabinet.
Rather than taking the strips back off, I decided to try an alternate approach. I applied the carpet tape to both ends trimming it to match the cabinets ends. I then used the brayer roller on the back side of the cabinet end to ensure the tape was securely adhered to the basswood. And rather than trying to trim the polystyrene sheet to match the cabinet ends after I had attached the polystyrene, I clamped the polystyrene and cabinet end to my work bench and then trimmed the polystyrene to match the cabinet end before pressing the now correctly sized polystyrene to the cabinet end.
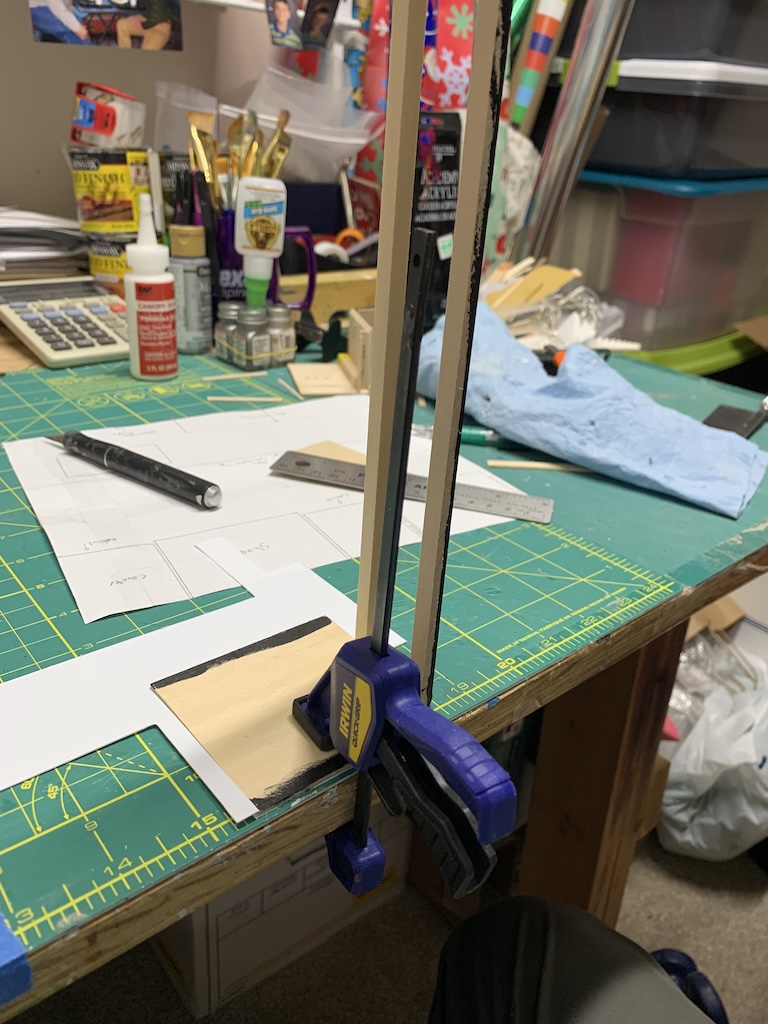
This alternate approach worked okay but I preferred the first technique that I used attaching the polystyrene to the carpet tape previously attached to the basswood and then trimming the polystyrene to match the shape of the cabinet side.
With the polystyrene attached to both cabinet ends, I next glued the thin polystyrene strips to the front and back edges of the cabinet ends. Now I was ready to build the cabinet doors, cabinet drawers, and the cabinet wall inset beneath the bar overhang. But first I needed to add basswood braces to make the cabinet square and provide a surface to which to glue these.
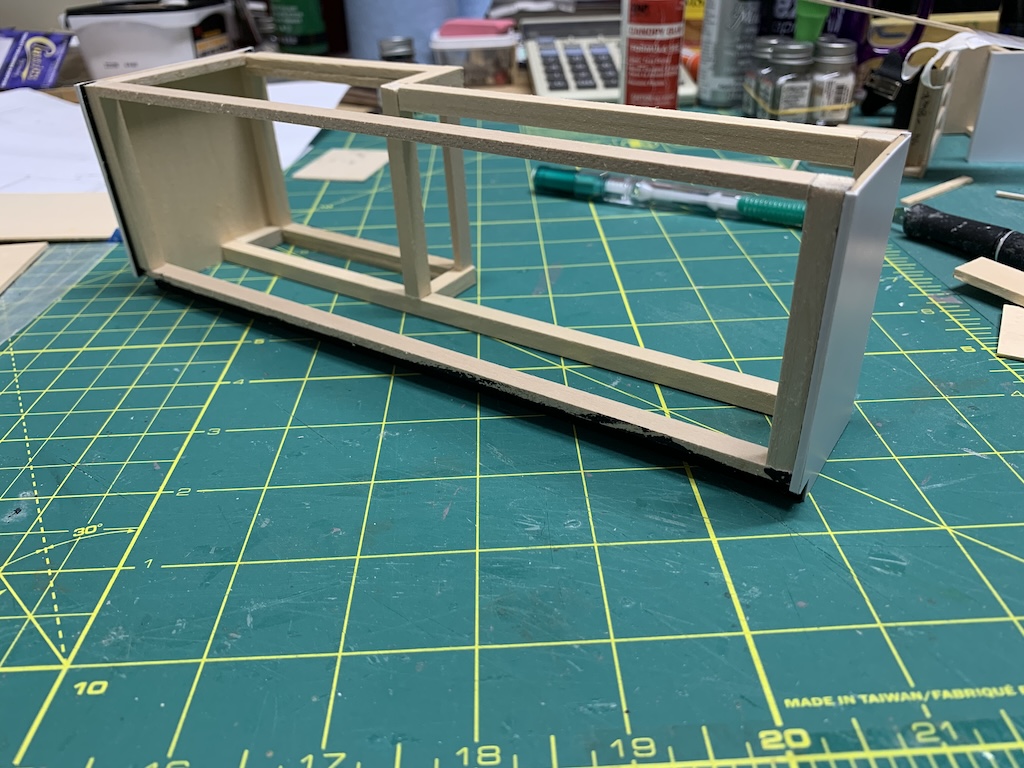
With those added, I now needed to figure out how many cabinet doors and how many drawers to include. Looking at my frame, it seemed that a natural break occurred between the 3” depth of the cabinet and the 2” depth of the cabinet. Since you never see drawers below a sink as you must allow for plumbing beneath a sink, it seemed this 3” depth section should be just doors.
I measured the width of the 3” section and it came out to be 3 and 7/8”. I wanted an equal number of doors with the middle two centered on the middle of the sink. Four doors would be less than an inch wide or in full-scale, less than 12” (quite narrow). So, two doors it would be.
I decided to start on the side of the cabinet that would face out into the room. On this side, I did not include a toe kick since this was the bar side of the cabinet. And since the cabinet door could not go all the way from the bottom side of the countertop down to the floor, I needed to add a horizontal frame piece at the top and bottom so that if the doors actually did open, they would not scrape the underside of the countertop or the floor.
To simplify my build, I cut a single piece of 1/16” basswood and then attached two cut pieces of polystyrene for the doors and two 1/8” polystyrene strips for the horizontal frames.
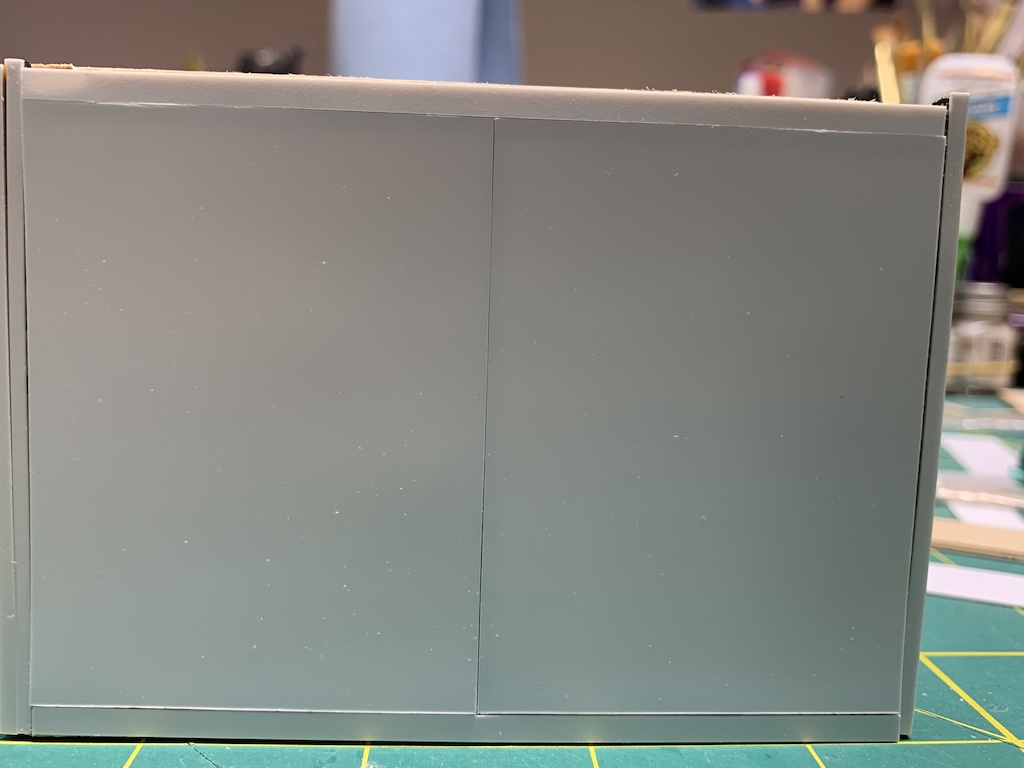
For the area under the bar, since there would be no doors or drawers, I just had to attach single lengths of polystyrene. I recalled on the tall cabinet having trouble accurately aligning the long lengths of polystyrene with the basswood covered with carpet tape. Knowing that the carpet tape had a much greater affinity for the polystyrene than the basswood, I decided to try a third technique.
Once I had the 1/16” basswood cut to the proper size, I laid down the polystyrene onto the basswood and cut it to the size that matched the basswood. I then applied the carpet tape to the polystyrene. With both cut to the correct size, I could lay down the basswood in a right angle (“L”) to keep it from moving and then line up the polystyrene with it prior to pressing it down. This technique worked the best of all three I had tried.
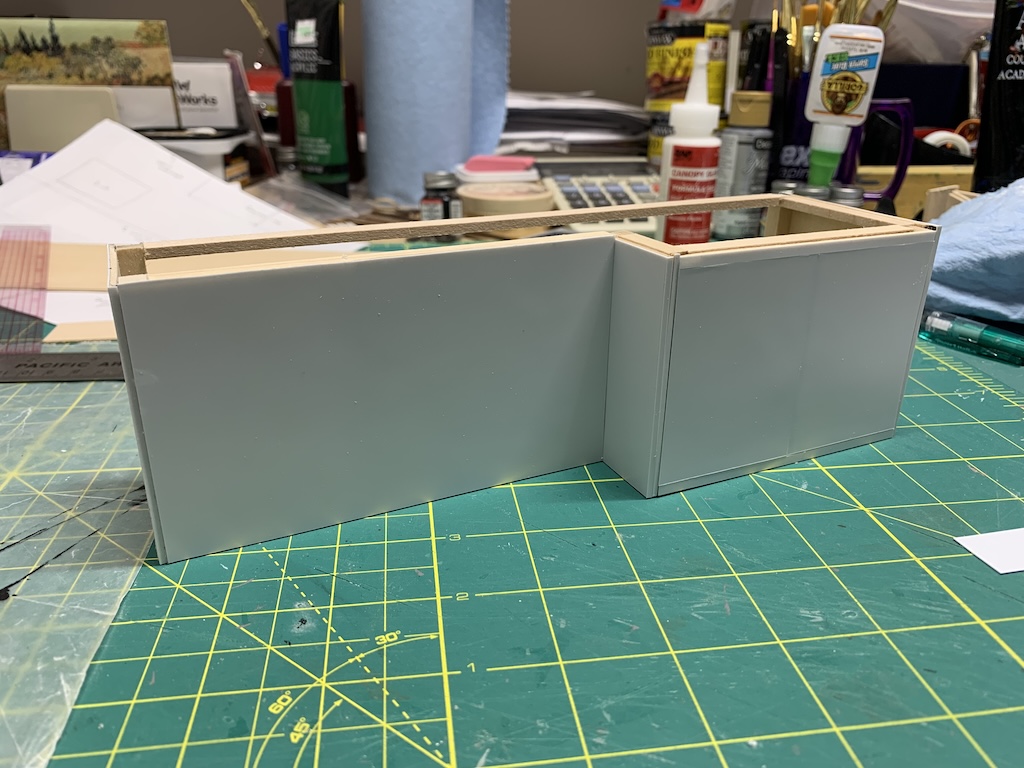
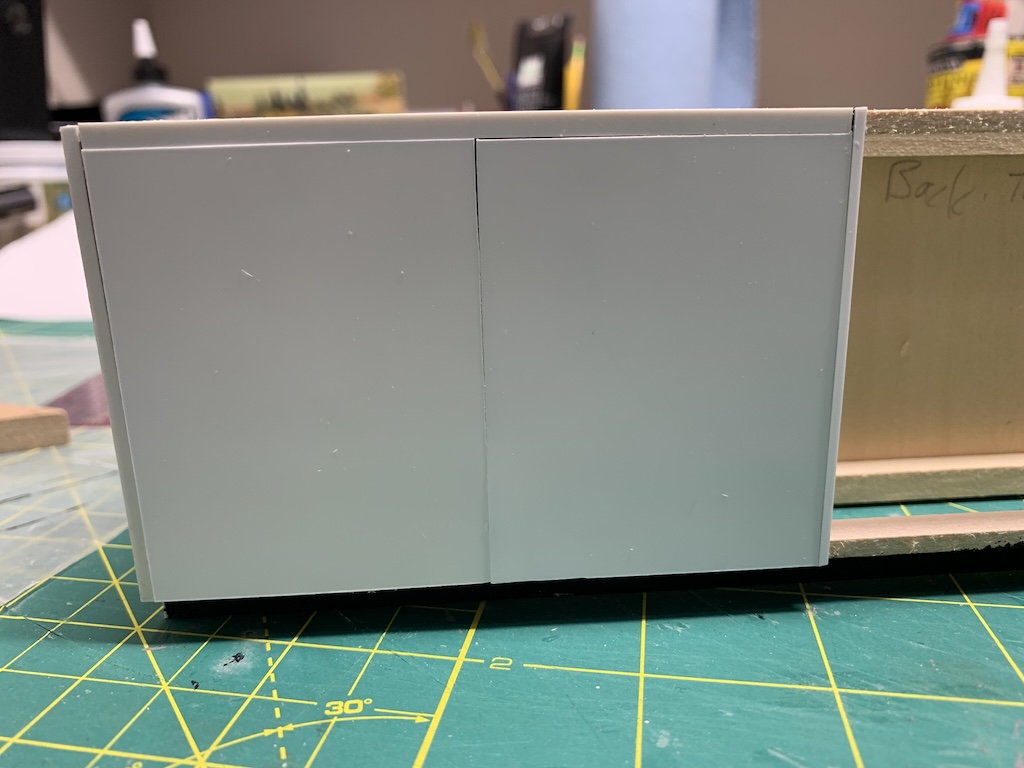
On the toe kick side of the cabinet, I made two matching cabinet doors.
Now was time to build the drawers.

Returning to the full-scale kitchen, you can see that there are three different size drawers and at the top of each one is a small, recessed area for inserting your fingers to pull the drawer open (finger pull). For me, the easiest way to model this would be to cut the polystyrene drawer front slightly taller than the basswood drawer allowing the thickness of the polystyrene to serve as that lip. I would then need to add thin polystyrene strips to the recessed area, one on top of the basswood and one on the backside of the basswood.
I measured the height and width of the opening I had for the drawers, and it came to 2 and 5/8” high and 5 and 1/4″ wide. If I made three drawers, side-by-side, each one would be 1.75” wide (5.25 ÷ 3) which in 1/12-scale models a 21” full-scale drawer. I measured one of the drawers in our kitchen and it was 18.5”. So, a 1.75” wide drawer would closely match a full-scale drawer.
Typically, the top drawer in a stack of drawers is shorter than the ones below it. I measured the top drawers in our kitchen, and they were all 5.5” tall. Rounding that up to 6” would mean my 1/12-scale drawer would be 1/2″ tall. That leaves about an inch each for two drawers below the short one. But I also must allow for the finger recess at the top of each drawer.
I decided to make a trial drawer using scraps to see if I could model the recessed finger pull closely in 1/12-scale. I decided to try using the 1/8″ polystyrene strip for the finger pull recess and 1/16” polystyrene strip for the inside top of the drawer. And I thought I would extend the polystyrene sheet 1/16” above the top edge of the basswood.
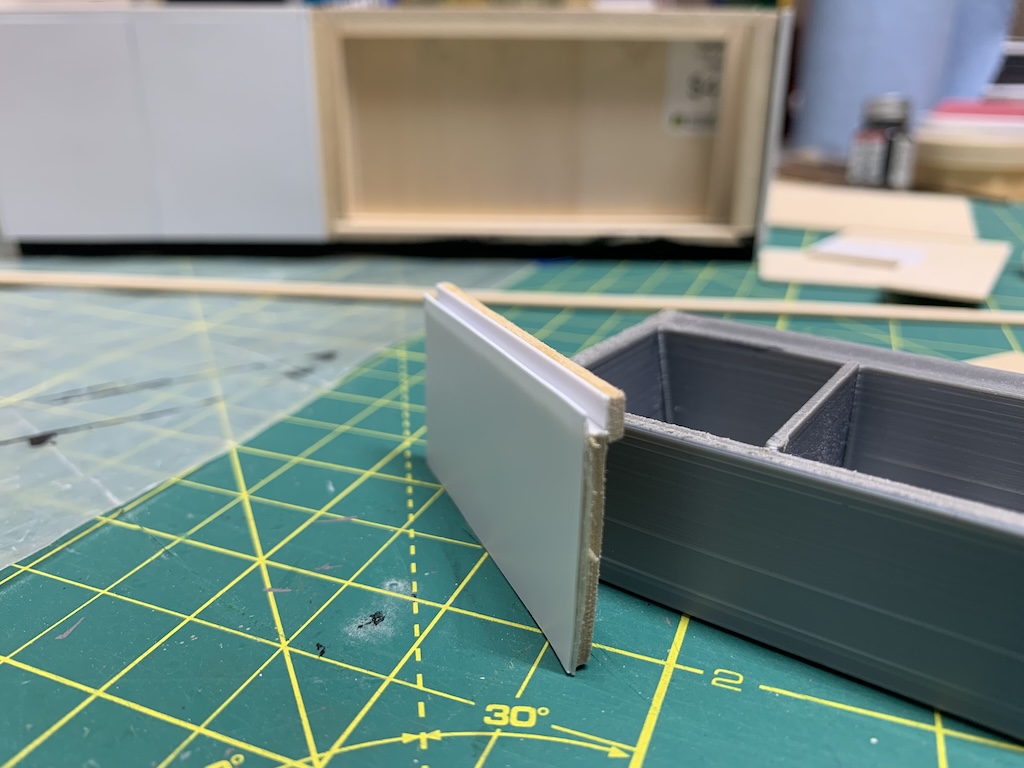
I thought this looked good and closely modeled the full-scale kitchen drawers.
Now came the hard part—figuring out how to make the three drawers fit the 2 and 5/8” height I had in the cabinet.
To be continued…
Categories


David, your precision and attention to detail are most impressive! And what great exercise for the brain, too! I look forward to the next post.
Thanks Betty, you’re most kind! I wrote this months ago and when I read it this morning I even got lost in my details. Hope you have a nice Sunday.