
Doll House for my Sister’s Granddaughter – Final Phase
Continued from: Doll House for my Sister’s Granddaughter – Phase 3

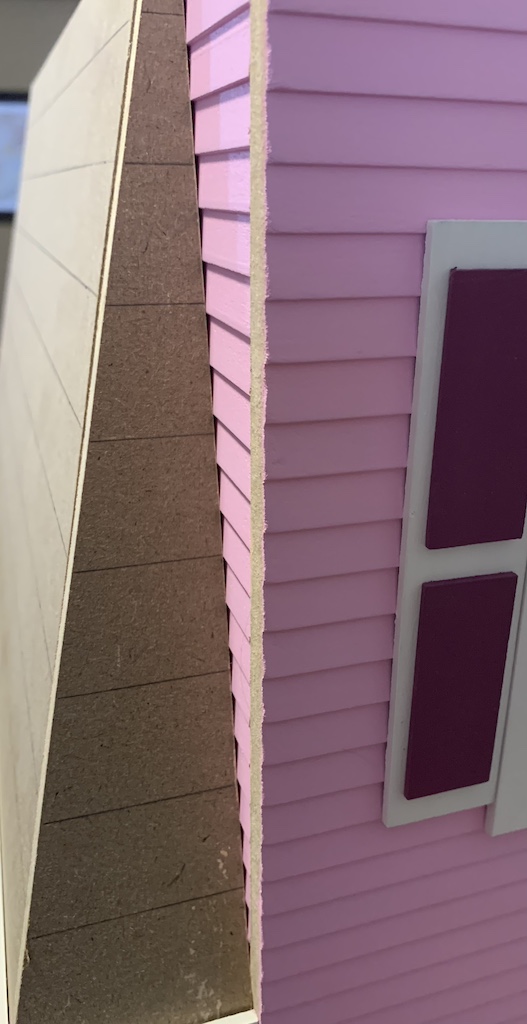
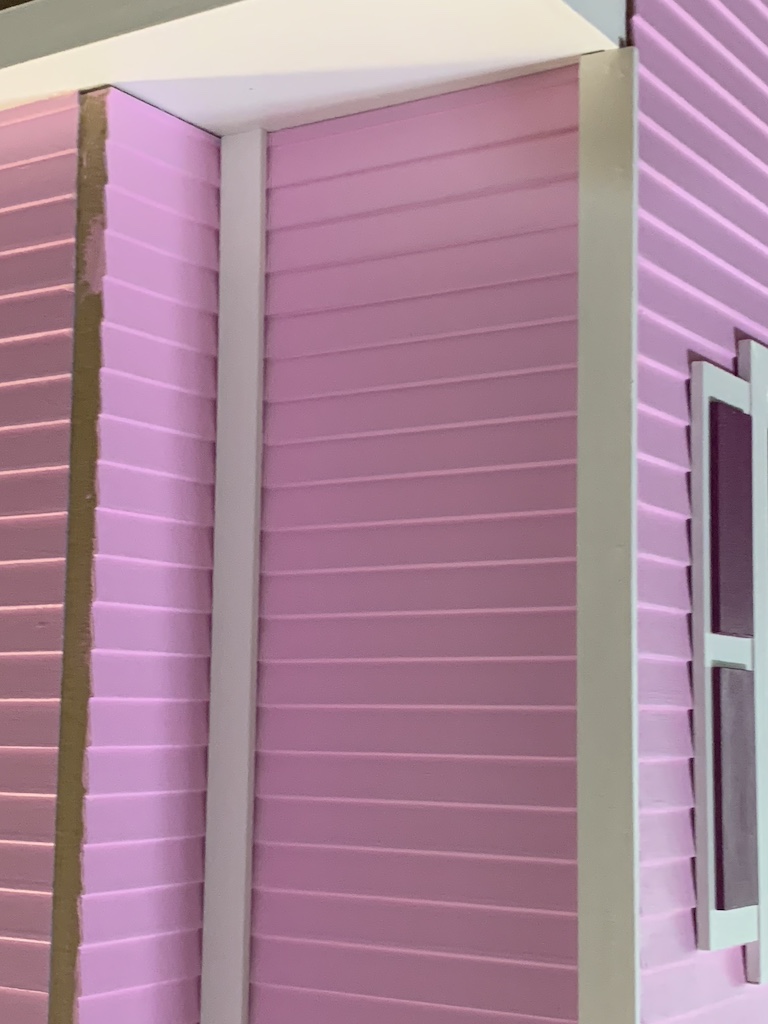
Sorry for the cliffhanger but this is where I left you in the last post, trying to seamlessly fill this gap. My idea almost worked. But it still took a bit of spackling to render the seam, well almost seamless.

As you know, my standard is perfection and while this in not perfect, it is fairly close.
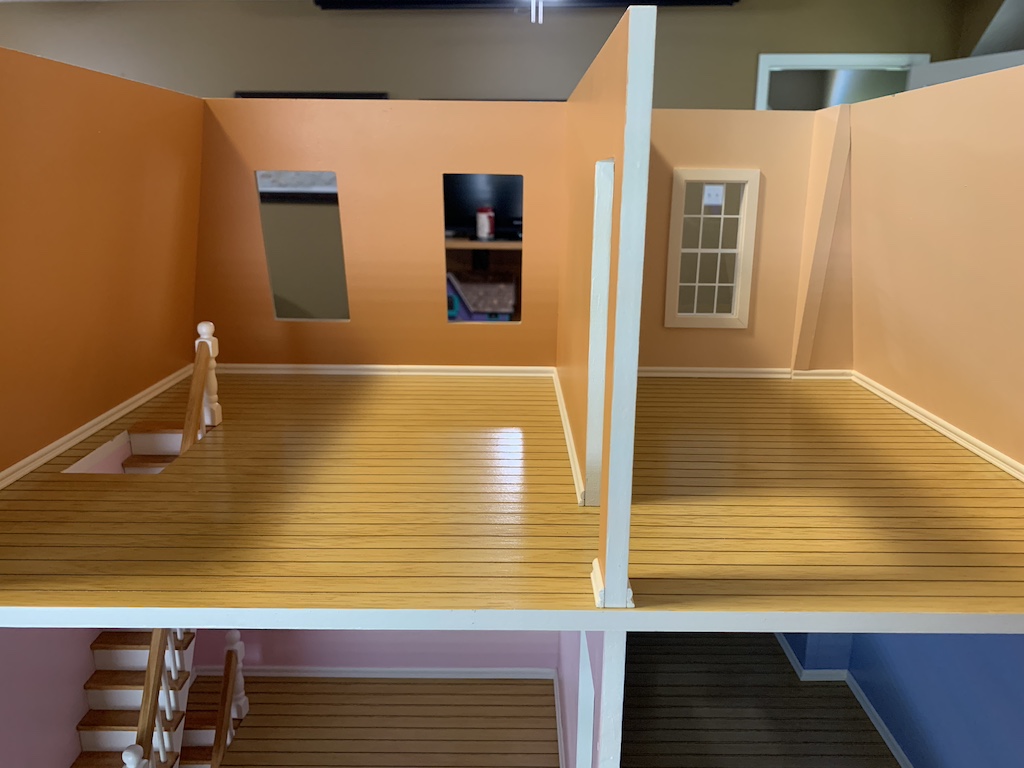
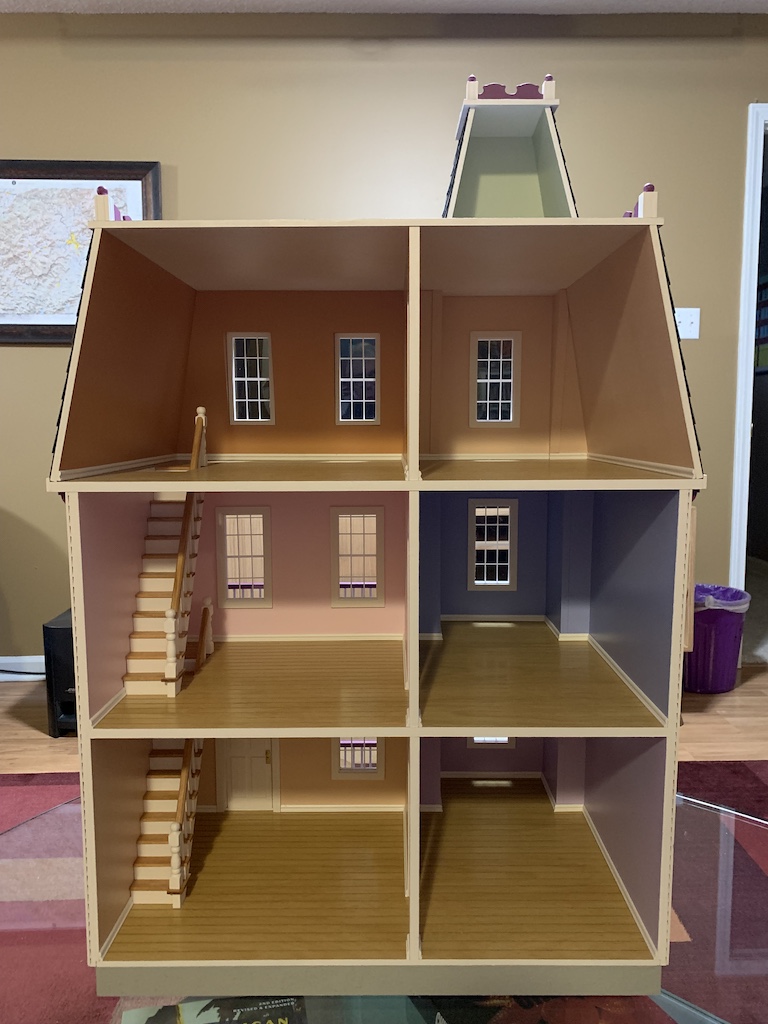
You will also notice in these photos that concurrently I have been adding the baseboards. When I built this same doll house for my in-town granddaughter in 2020, I did not even try to use these baseboards on the third floor due to the inward slant of the walls. Instead, I just used flat strips of basswood.

But I figured with the experience of constructing six doll houses under my belt, I thought I would give it a try. It proved to be harder than I thought. In addition to needing to cut a 45-degree angle for the corners, I also had to cut an angle from top to bottom that matched the inward slant of the wall. While again, not perfect, these baseboards look good enough, especially since they match the other baseboards in the doll house.
Returning to my third-floor wall gap issue, I was not concerned how the gap looked on the exterior of the house since it would be covered with shingles.

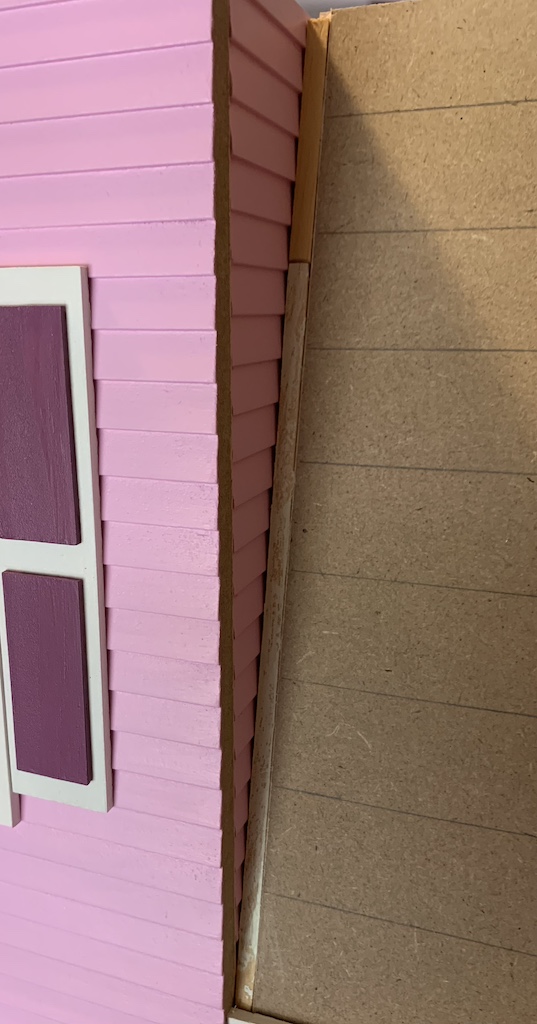
But I did need to close the gap as the shingles needed a surface to which to be glued like they would be on the left side of the tower.
Using some left-over wooden scraps from a previous doll house, I glued in two small strips to close that gap.
Now that I had installed the third-floor baseboards, I could now glue on the roof and then attach the trim pieces to the soffit…
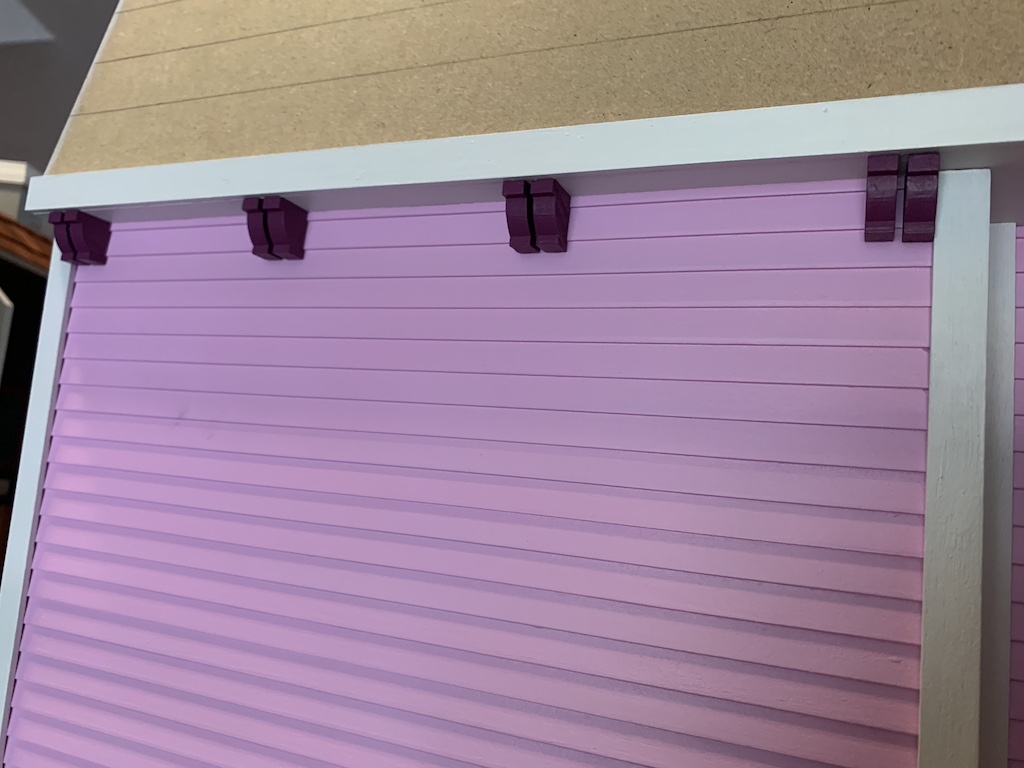
…along with the edge trim that hides the joints between exterior walls.
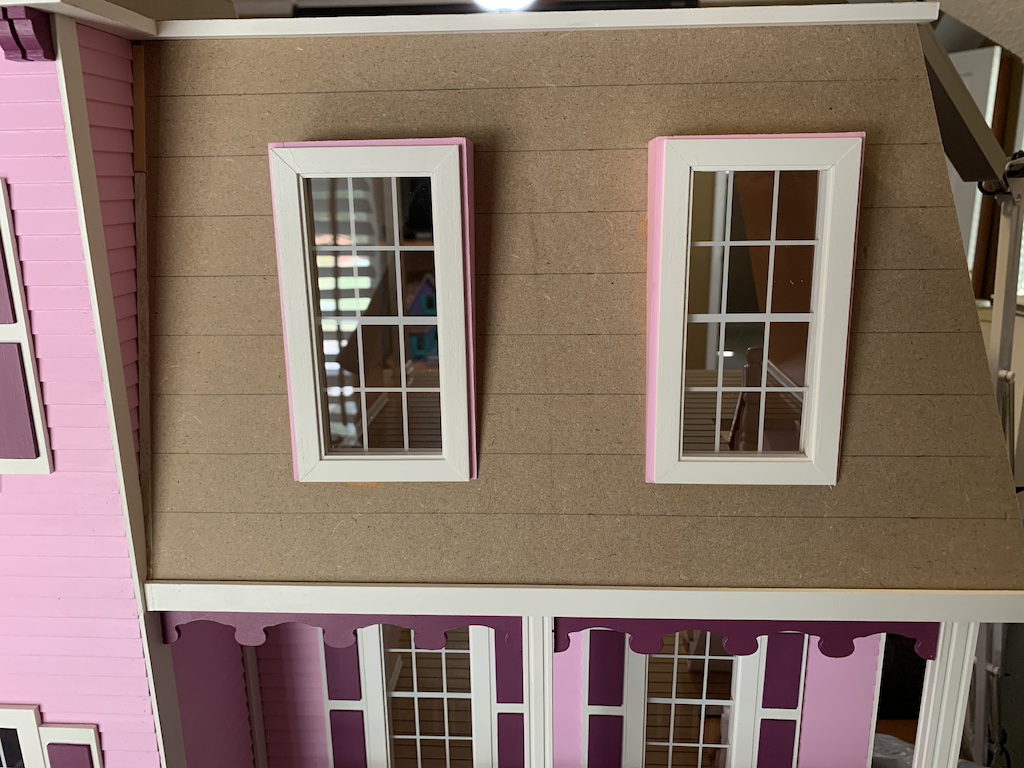
Two steps remained before I could begin shingling the doll house. First, I needed to attach the dormer windows on the front of the house…
…and then second, add the Tower top.

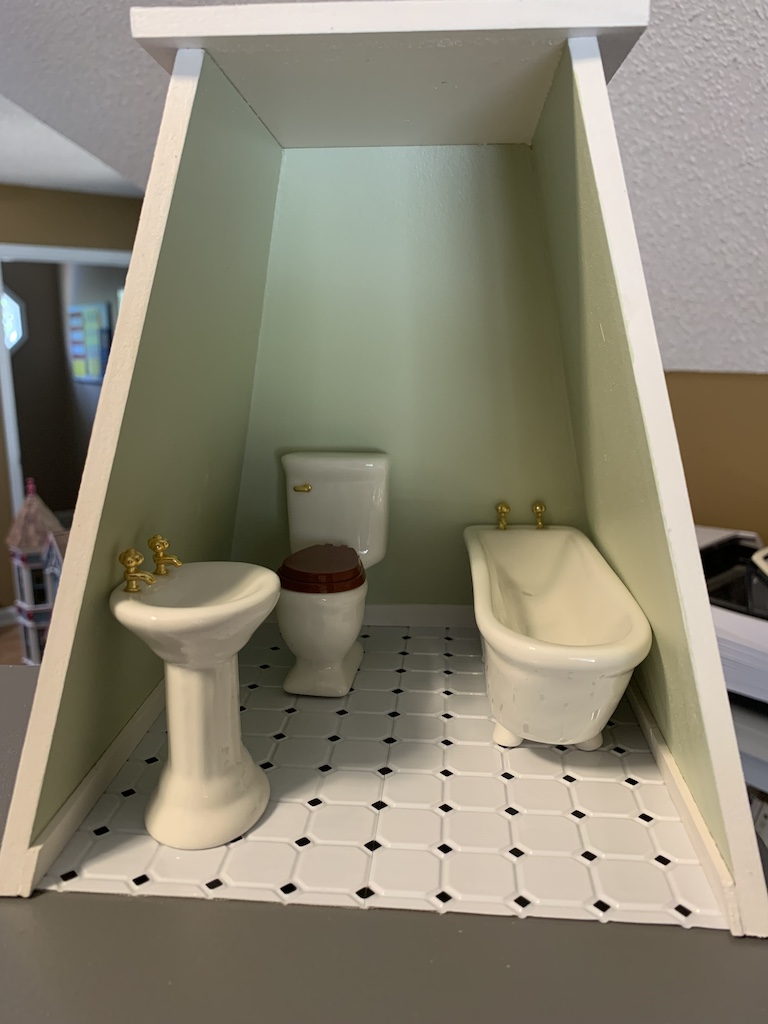
The interior I decided to finish with a bathroom style floor in case my grandniece wanted to use it that way and not dedicate one of the larger rooms for a bathroom.
Now I was ready to shingle.
I have covered this process in detail in previous doll house posts so I will not repeat that here. However, there is one important point to reiterate that I unfortunately learned on the first doll house. The shingles must be attached with a solvent based adhesive. As the instructions state and as I quickly proved, water-based adhesives will cause the shingles to curl up on the edges.
After the doll house was fully shingled, the last step was to add some decorative roof top cresting.
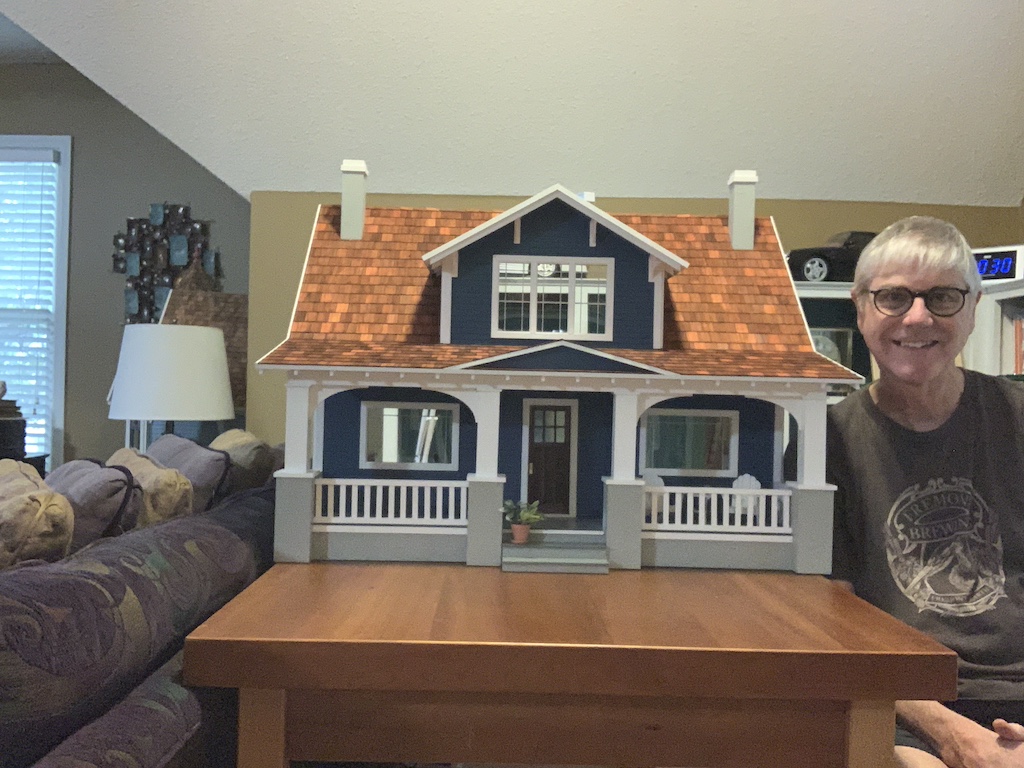
And here is the finished doll house ready for my grandniece to begin her play, just minus the flowerboxes awaiting the addition of flowers made by my sister.

I must say I have thoroughly enjoyed building these seven doll houses over the past five years. I love working with my hands and building things and constructing doll houses has completely satiated that desire. Plus, it has been a most satisfying time working (I mean playing) in this miniature world, although I’m still too big to sit on my cozy little porch.
I have previously not mentioned the manufacturer of these kits so as not to seem commercially motivated or be viewed as a product endorsement. If you look online, there are several companies that manufacture and sell doll house kits. All seven of the ones I have built were produced by Real Good Toys (realgoodtoys.com) and I must say they are very well engineered, and precision manufactured. Whenever I have had an issue, it was always due to my error and not the quality of the kit. They also have an excellent customer support person who kindly replaces any warped parts.
If you are interested in reading about some of the previous doll houses I have built, below I have included a link to the first post of each of the series:
Doll House Surprise for My Granddaughter
Doll House Surprise for My 2nd Granddaughter
Doll House for My Sister’s Grandchildren
Doll House for My Oldest Sister
 I suspect this doll house for my grandniece will probably be the last one I build. That is unless I am still around to build one for my great-grandchildren. One just never knows!
Categories

Beautiful craftsmanship, as always! Enjoyed the story of your work (play)!
Thanks Bro! And if you have grandkids one day, I can build one for them too!
Another truly beautiful, fine work of art! Well done, David! I like the baseboards that came with the kit. They really look nice. You did a fabulous job with the “gap issue.” And I love the craftsman style house you built for yourself. What will you do with all the extra time since you don’t plan to build anymore? 🙂
Thanks Betty for the compliments. After building seven dollhouses over five years, I’m still trying to figure out what’s next.