
Doll House Surprise for My 2nd Granddaughter – Laying the Foundation
I had not even finished my first granddaughter’s doll house before I became antsy to build a second one. Since this first doll house was for my in-town granddaughter, I thought my second granddaughter who lives in California with her parents and little brother might want one as well. I checked with her parents and amazingly they had already planned on giving her a doll house and loved the idea of me building it for her.
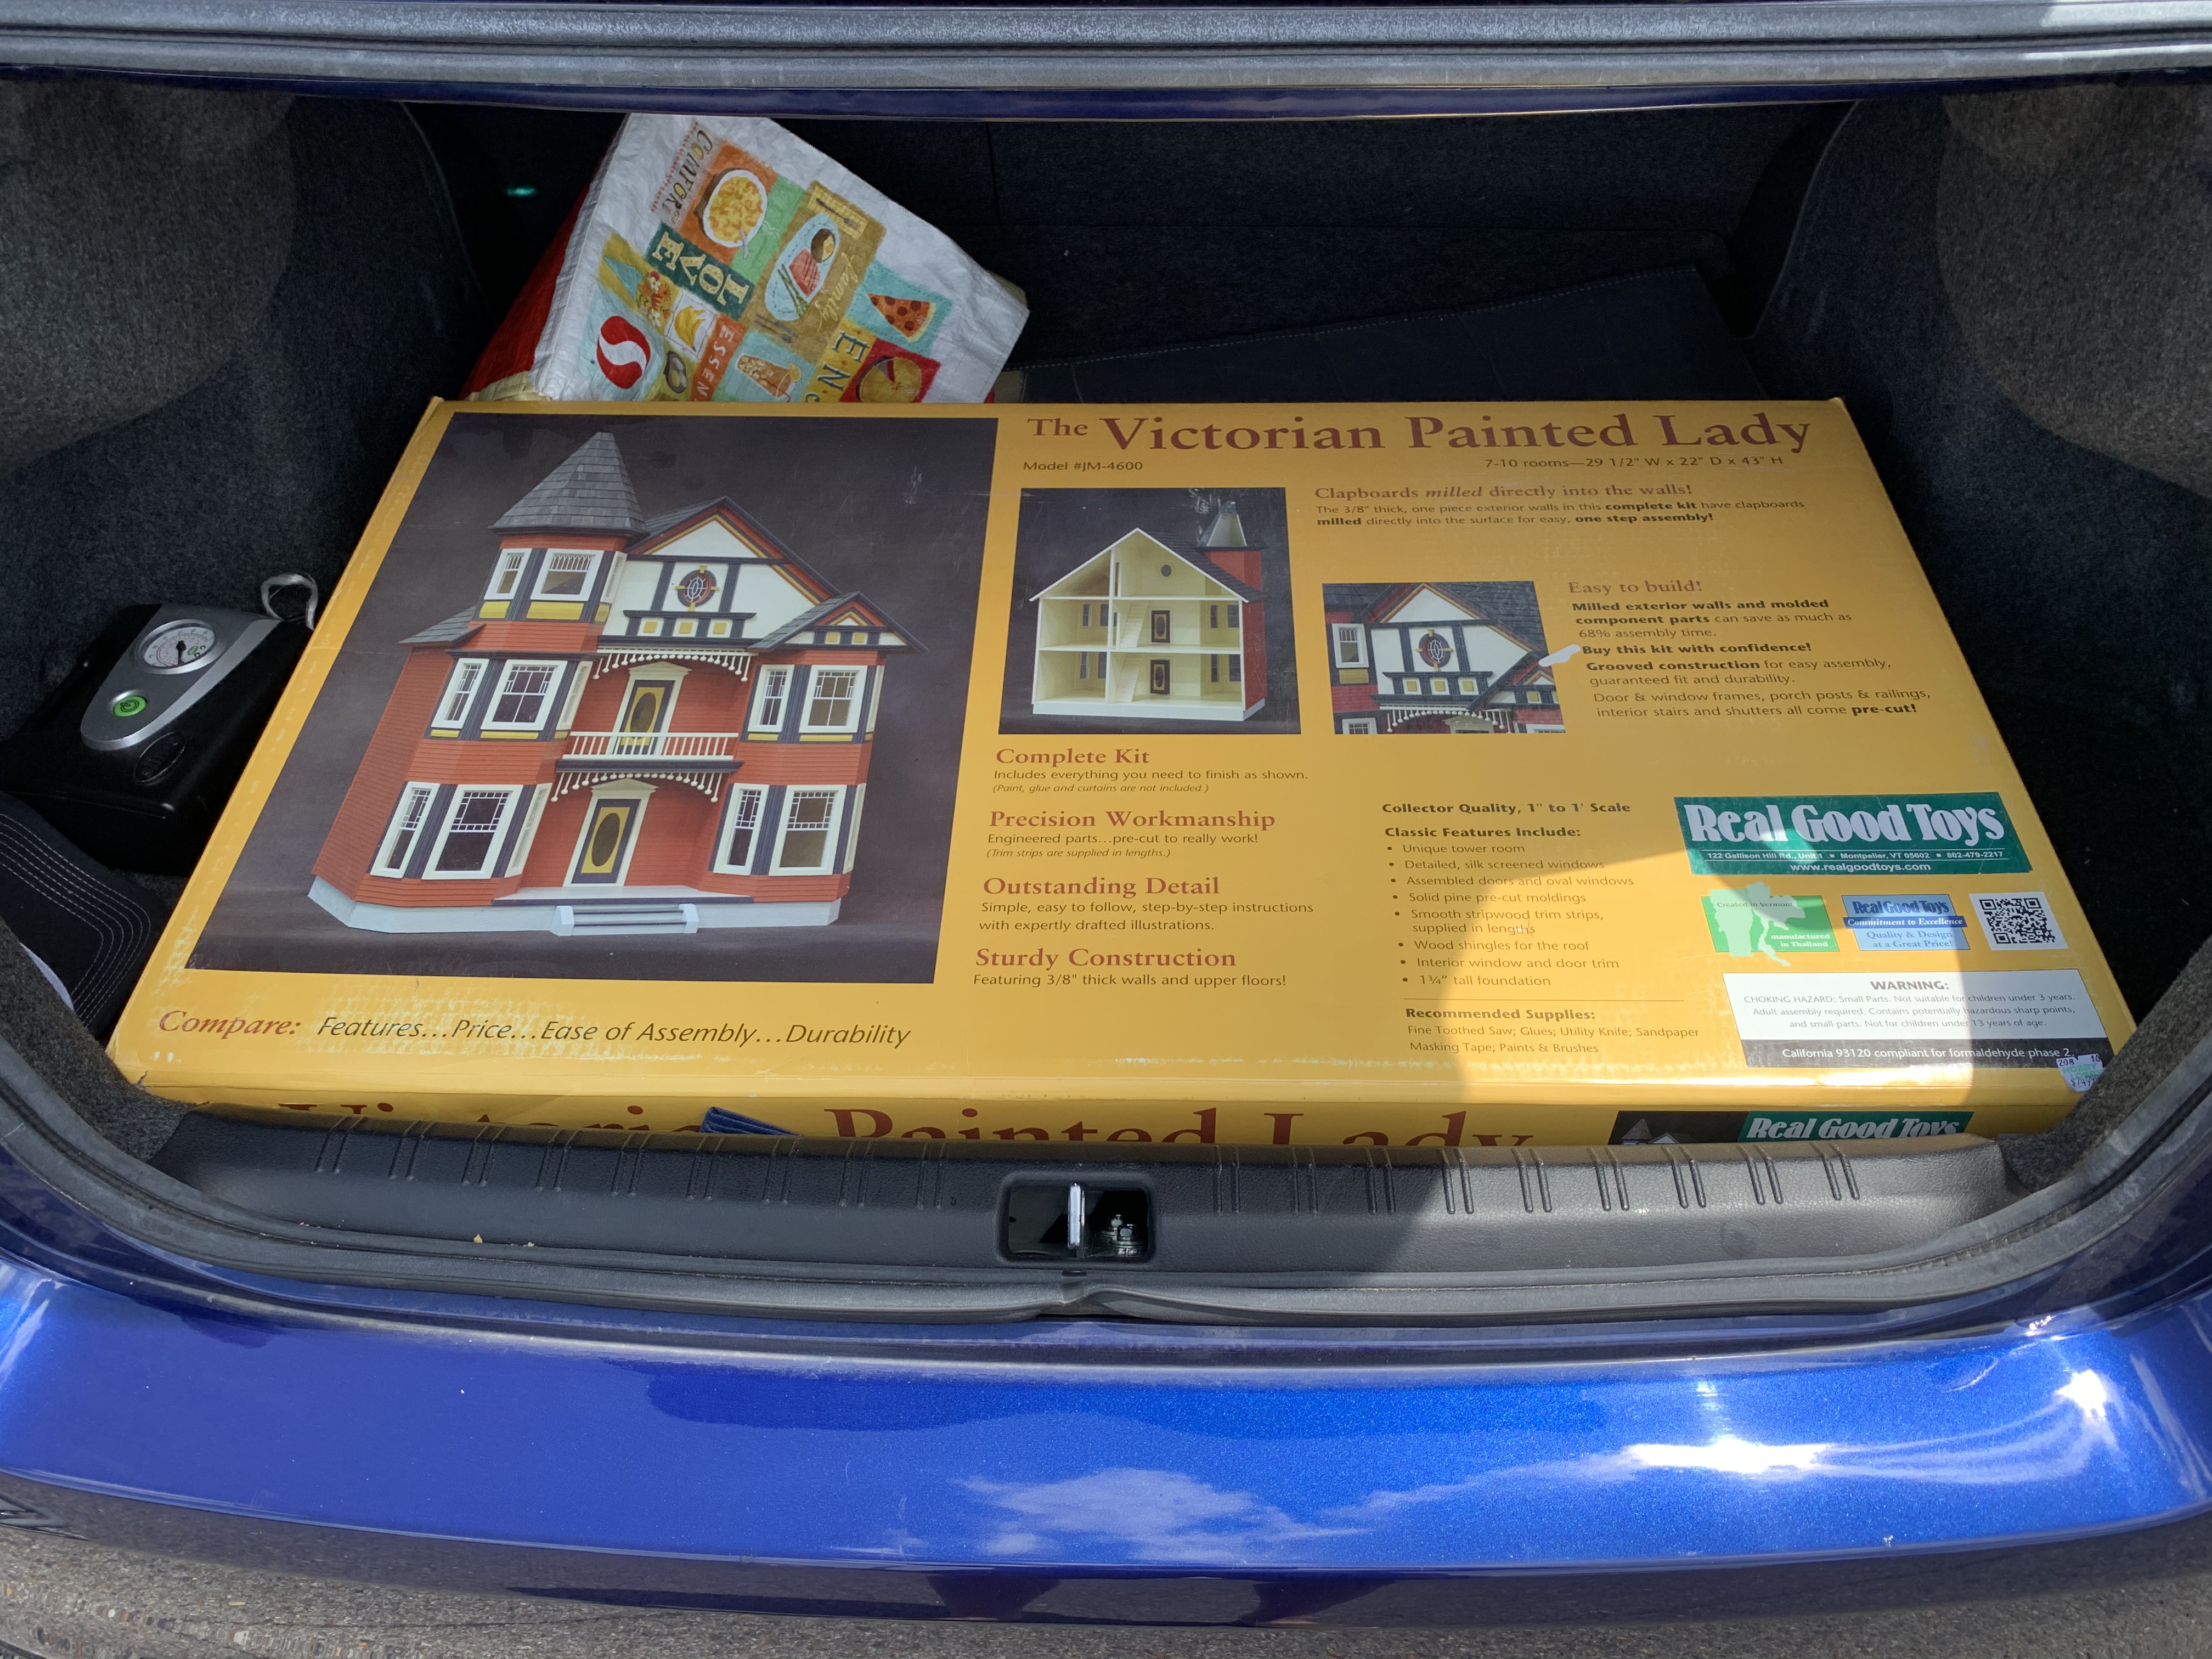
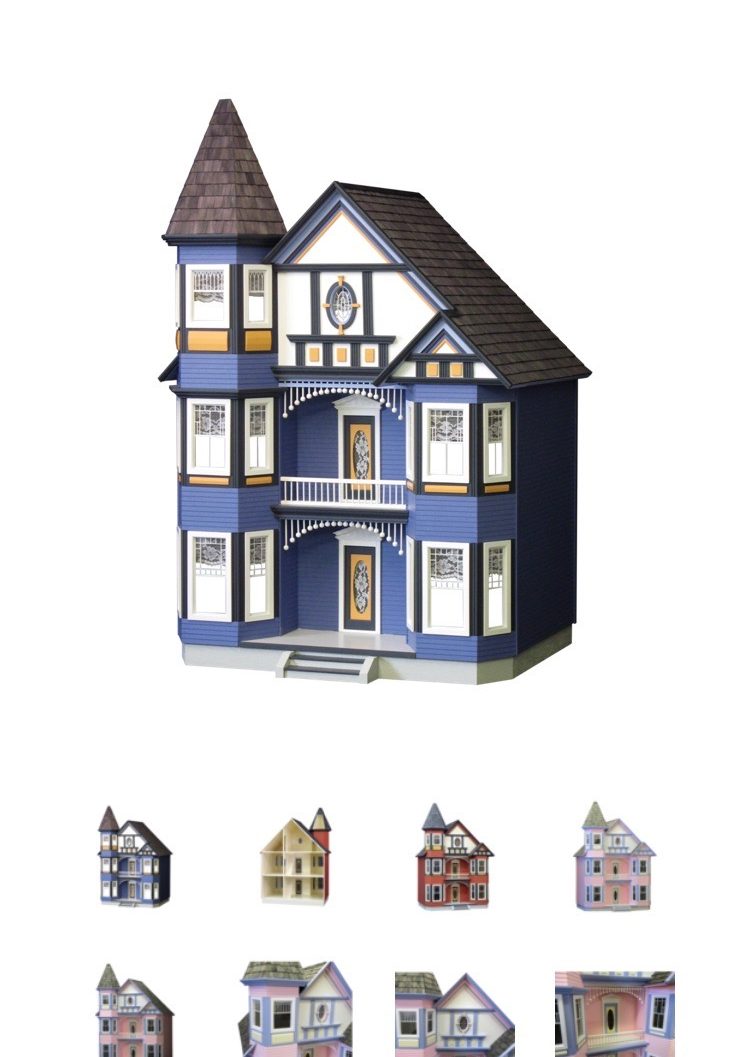
I had already decided that the only safe way to get it there was to take a long road trip with it packed safely in the back of my wife’s car. So, with the green light to build another doll house and an acceptable shipping method selected, the next step was to pick out just the right house. Since they live just south of San Francisco, I took inspiration from these well-known Victorian homes there…
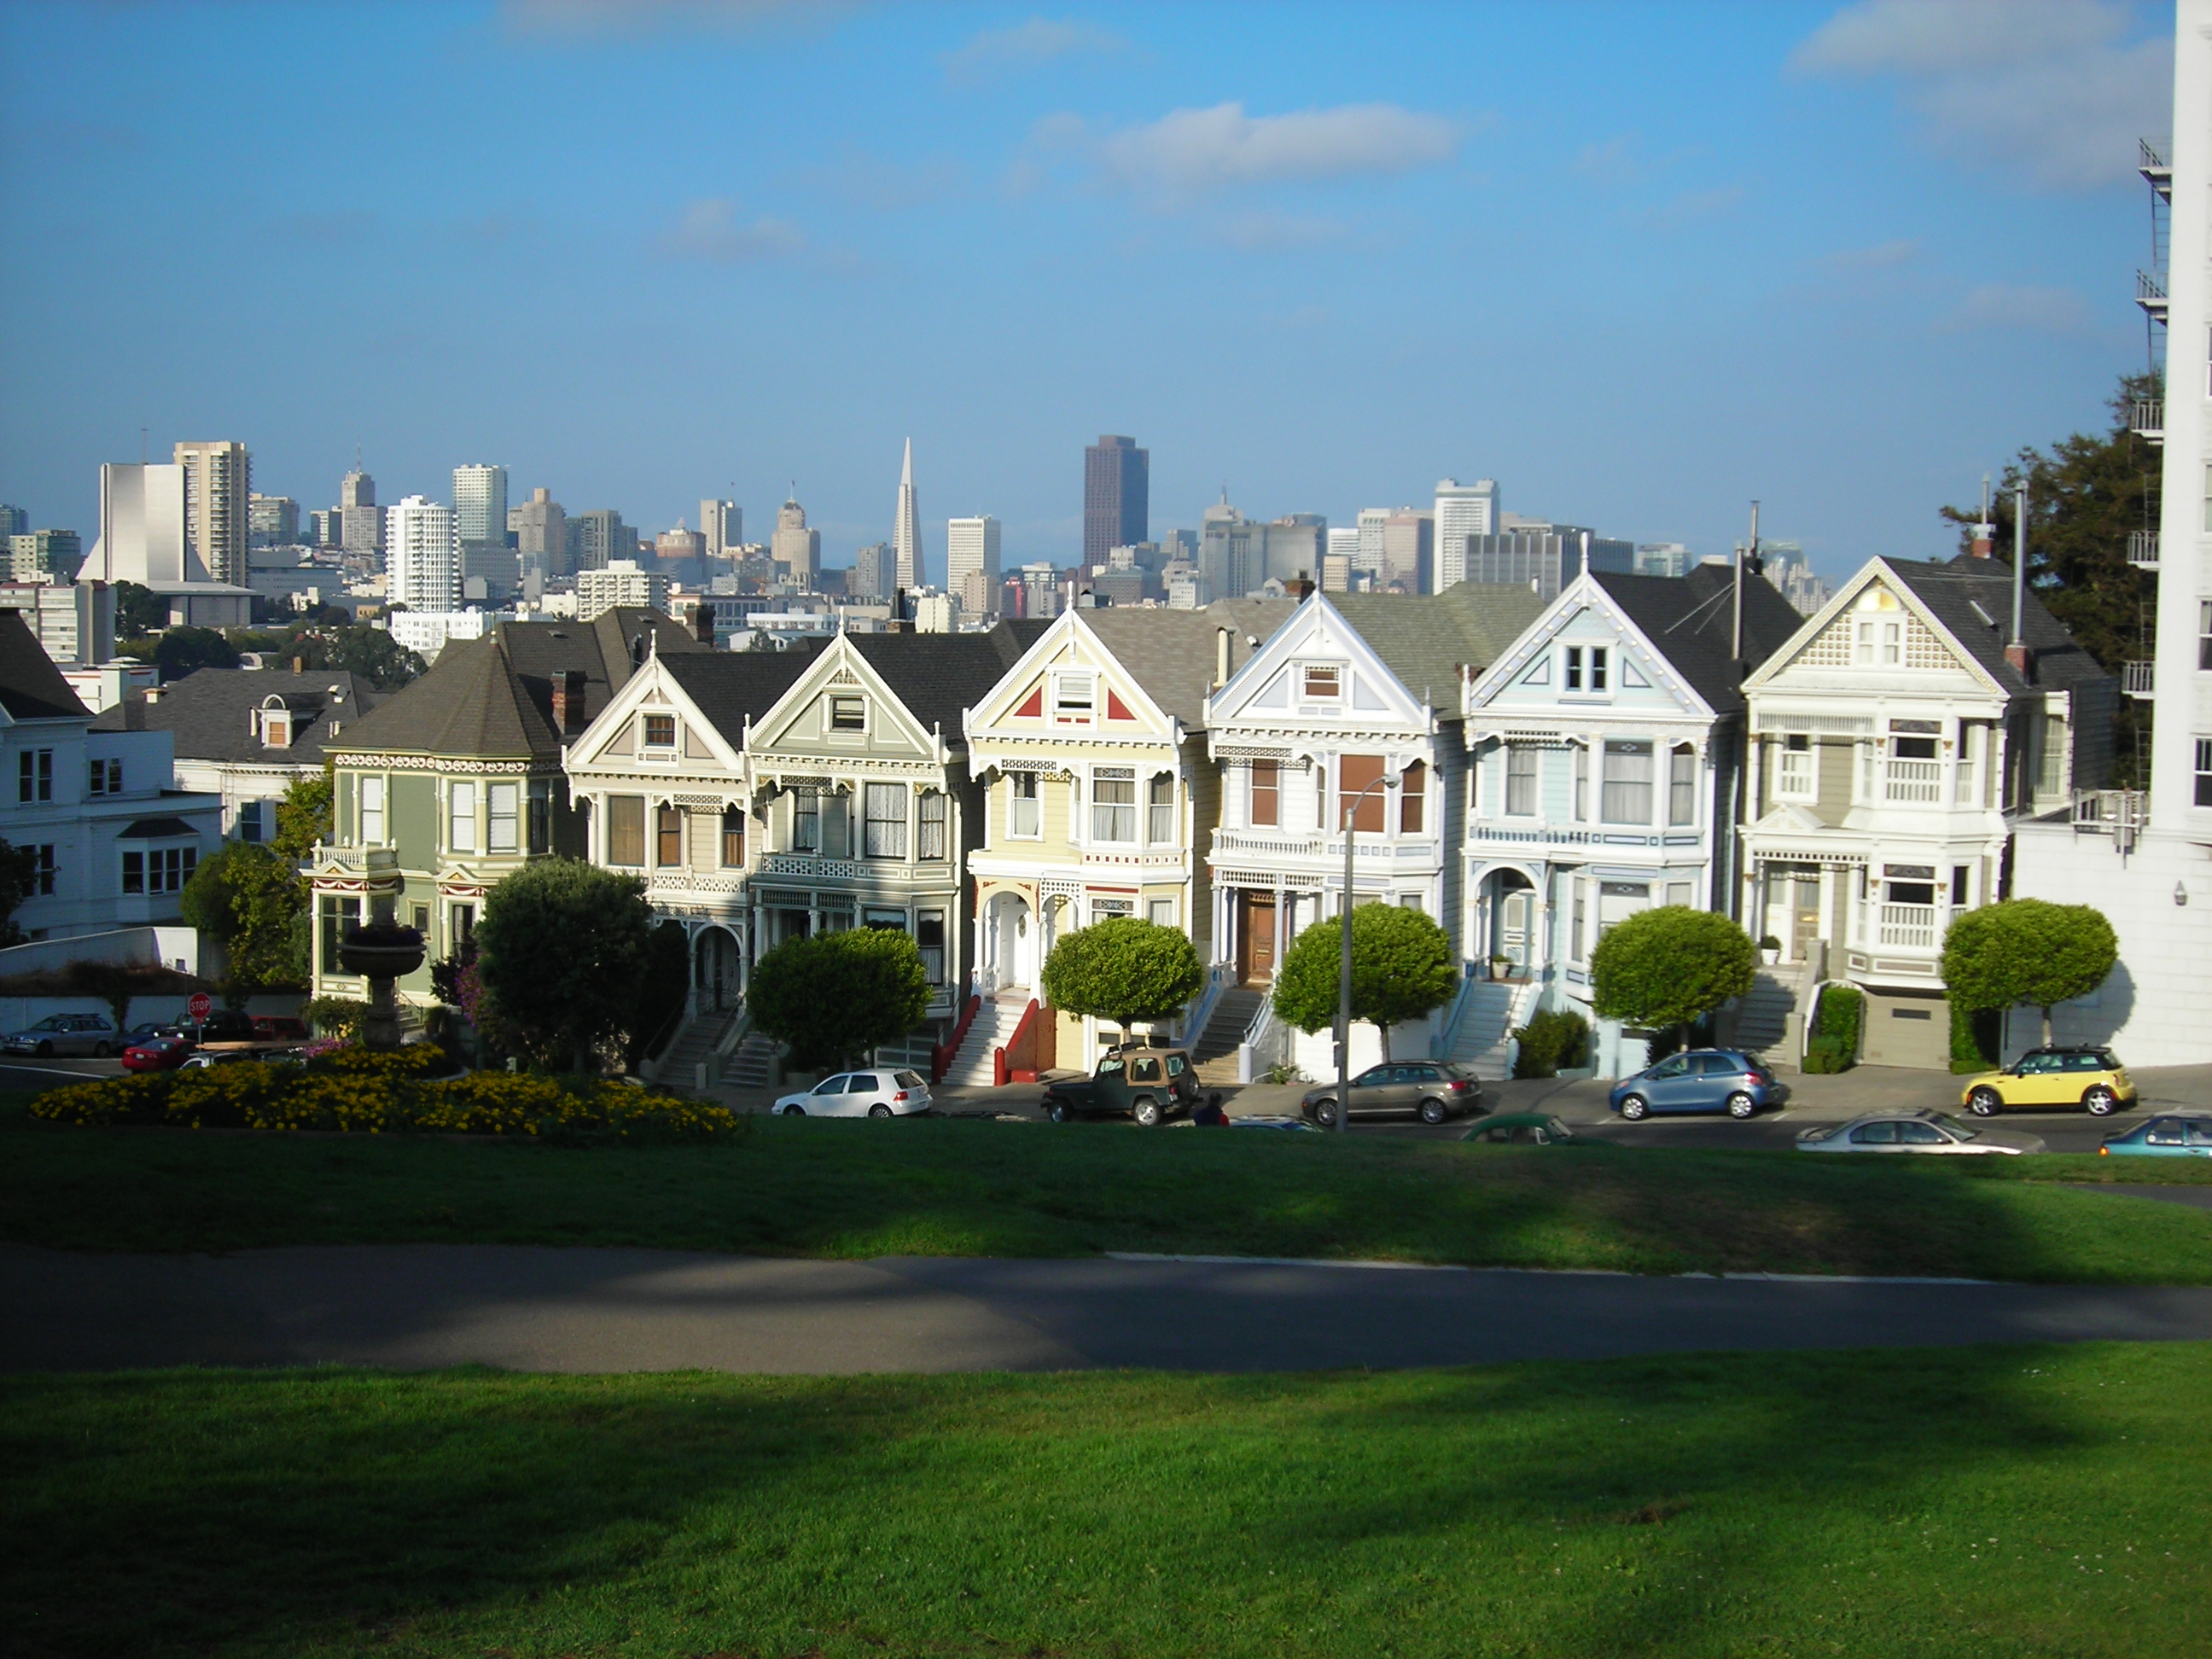
…the famous “Painted Ladies” which sit like a turn-of-the-century time warp with the backdrop of modern skyscrapers. The company, which manufactured the first doll house I built, just happened to have their own version of these iconic homes and so suggested this one to my son and daughter-in-law.
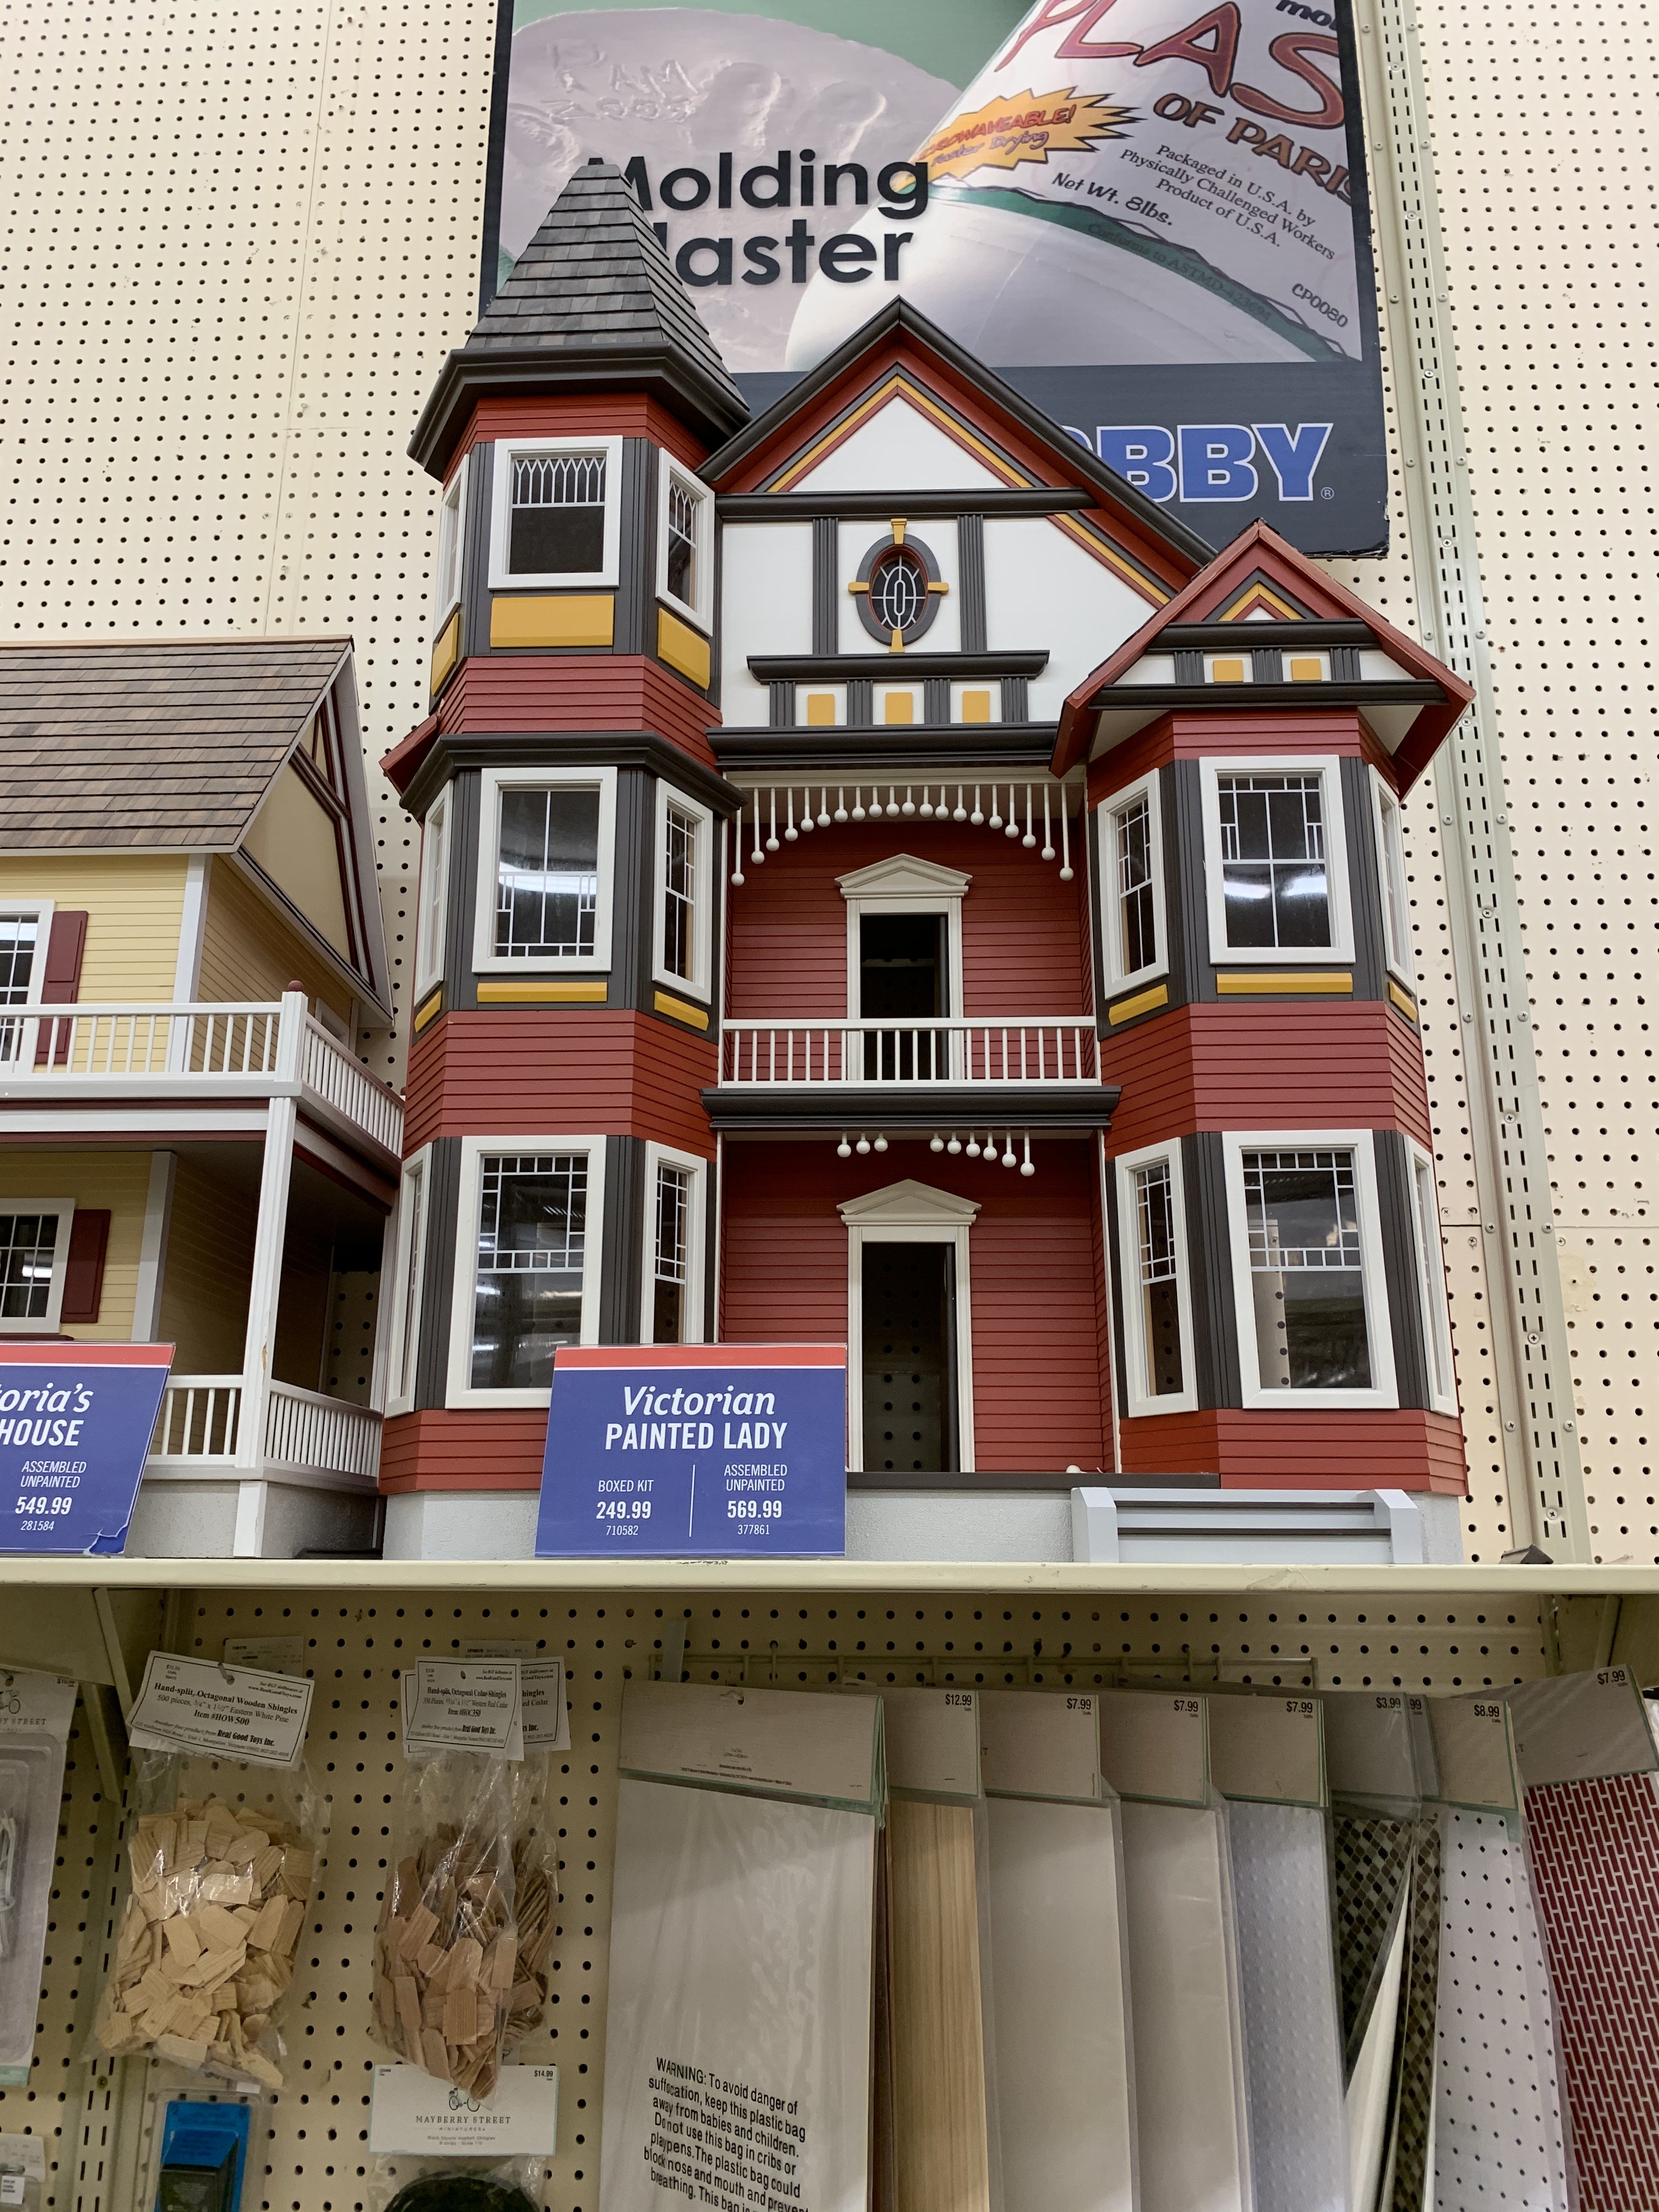
It was a unanimous choice.
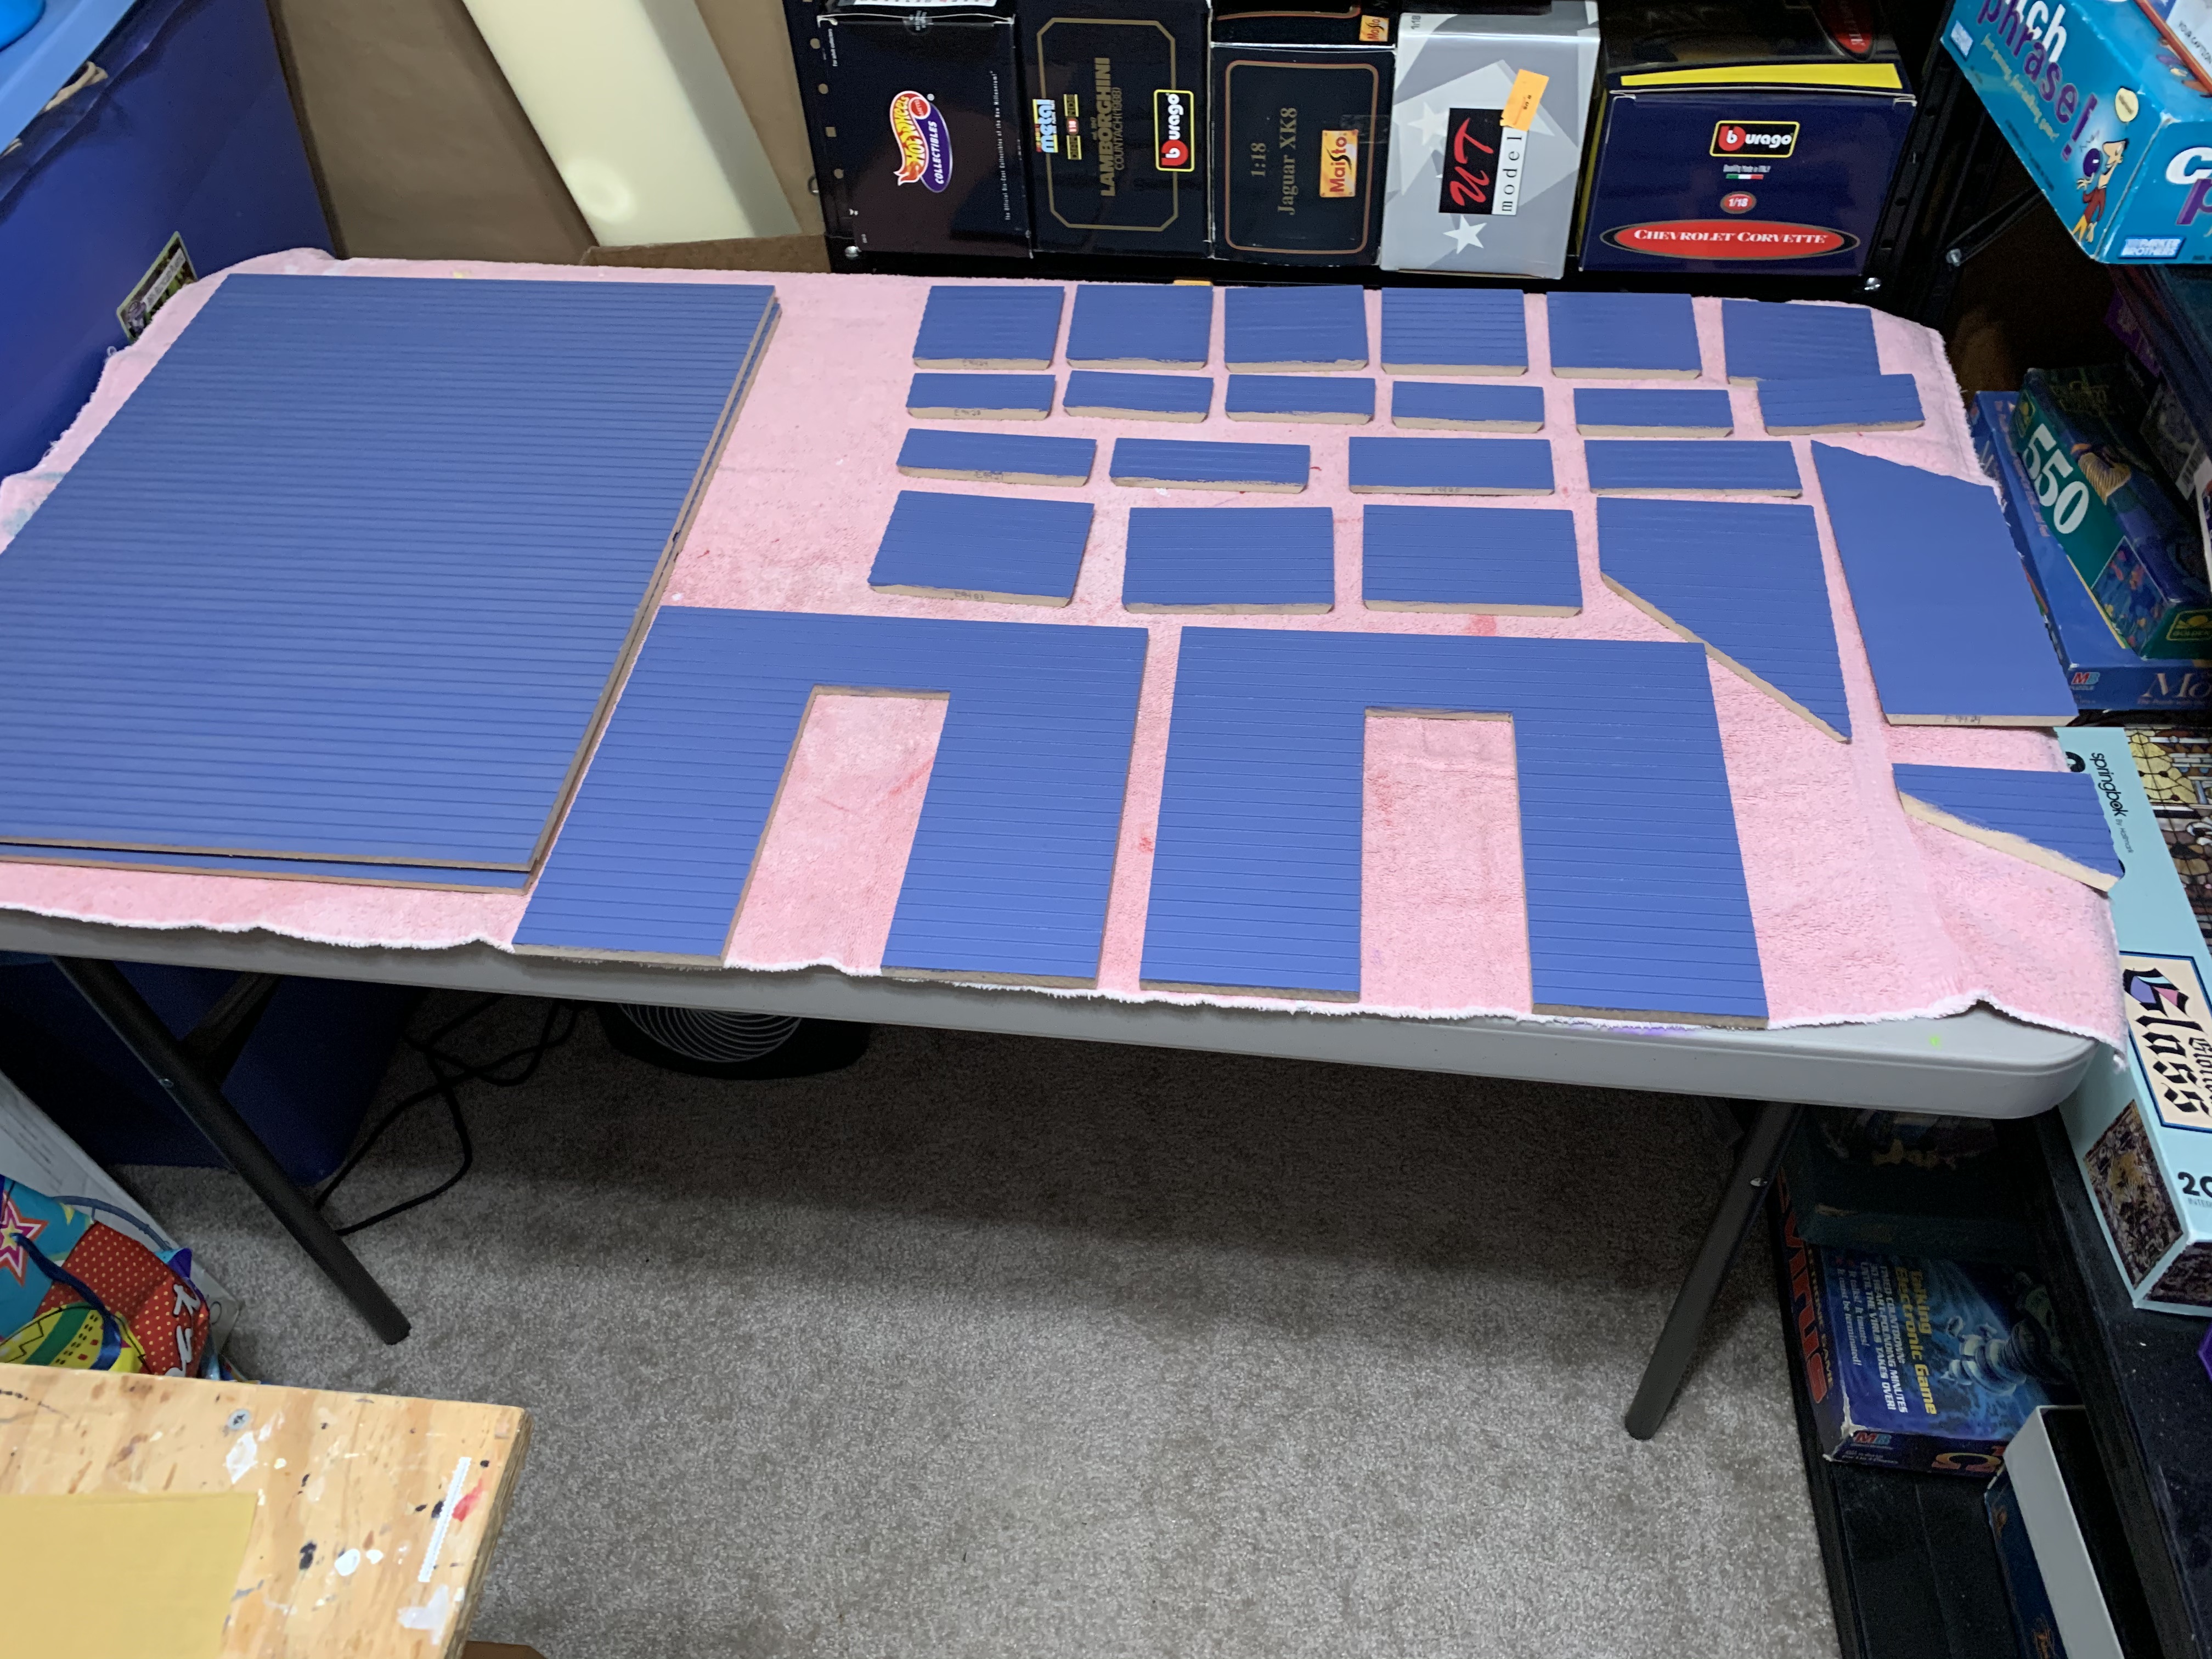
When I got it home and began to remove the pieces from the box, I could tell its assembly was going to be quite different from the first doll house. For starters, the exterior walls were comprised of 35 individual pieces as opposed to the 7 from the first doll house. But the first step, as before was to paint all the exterior and interior walls before assembly.

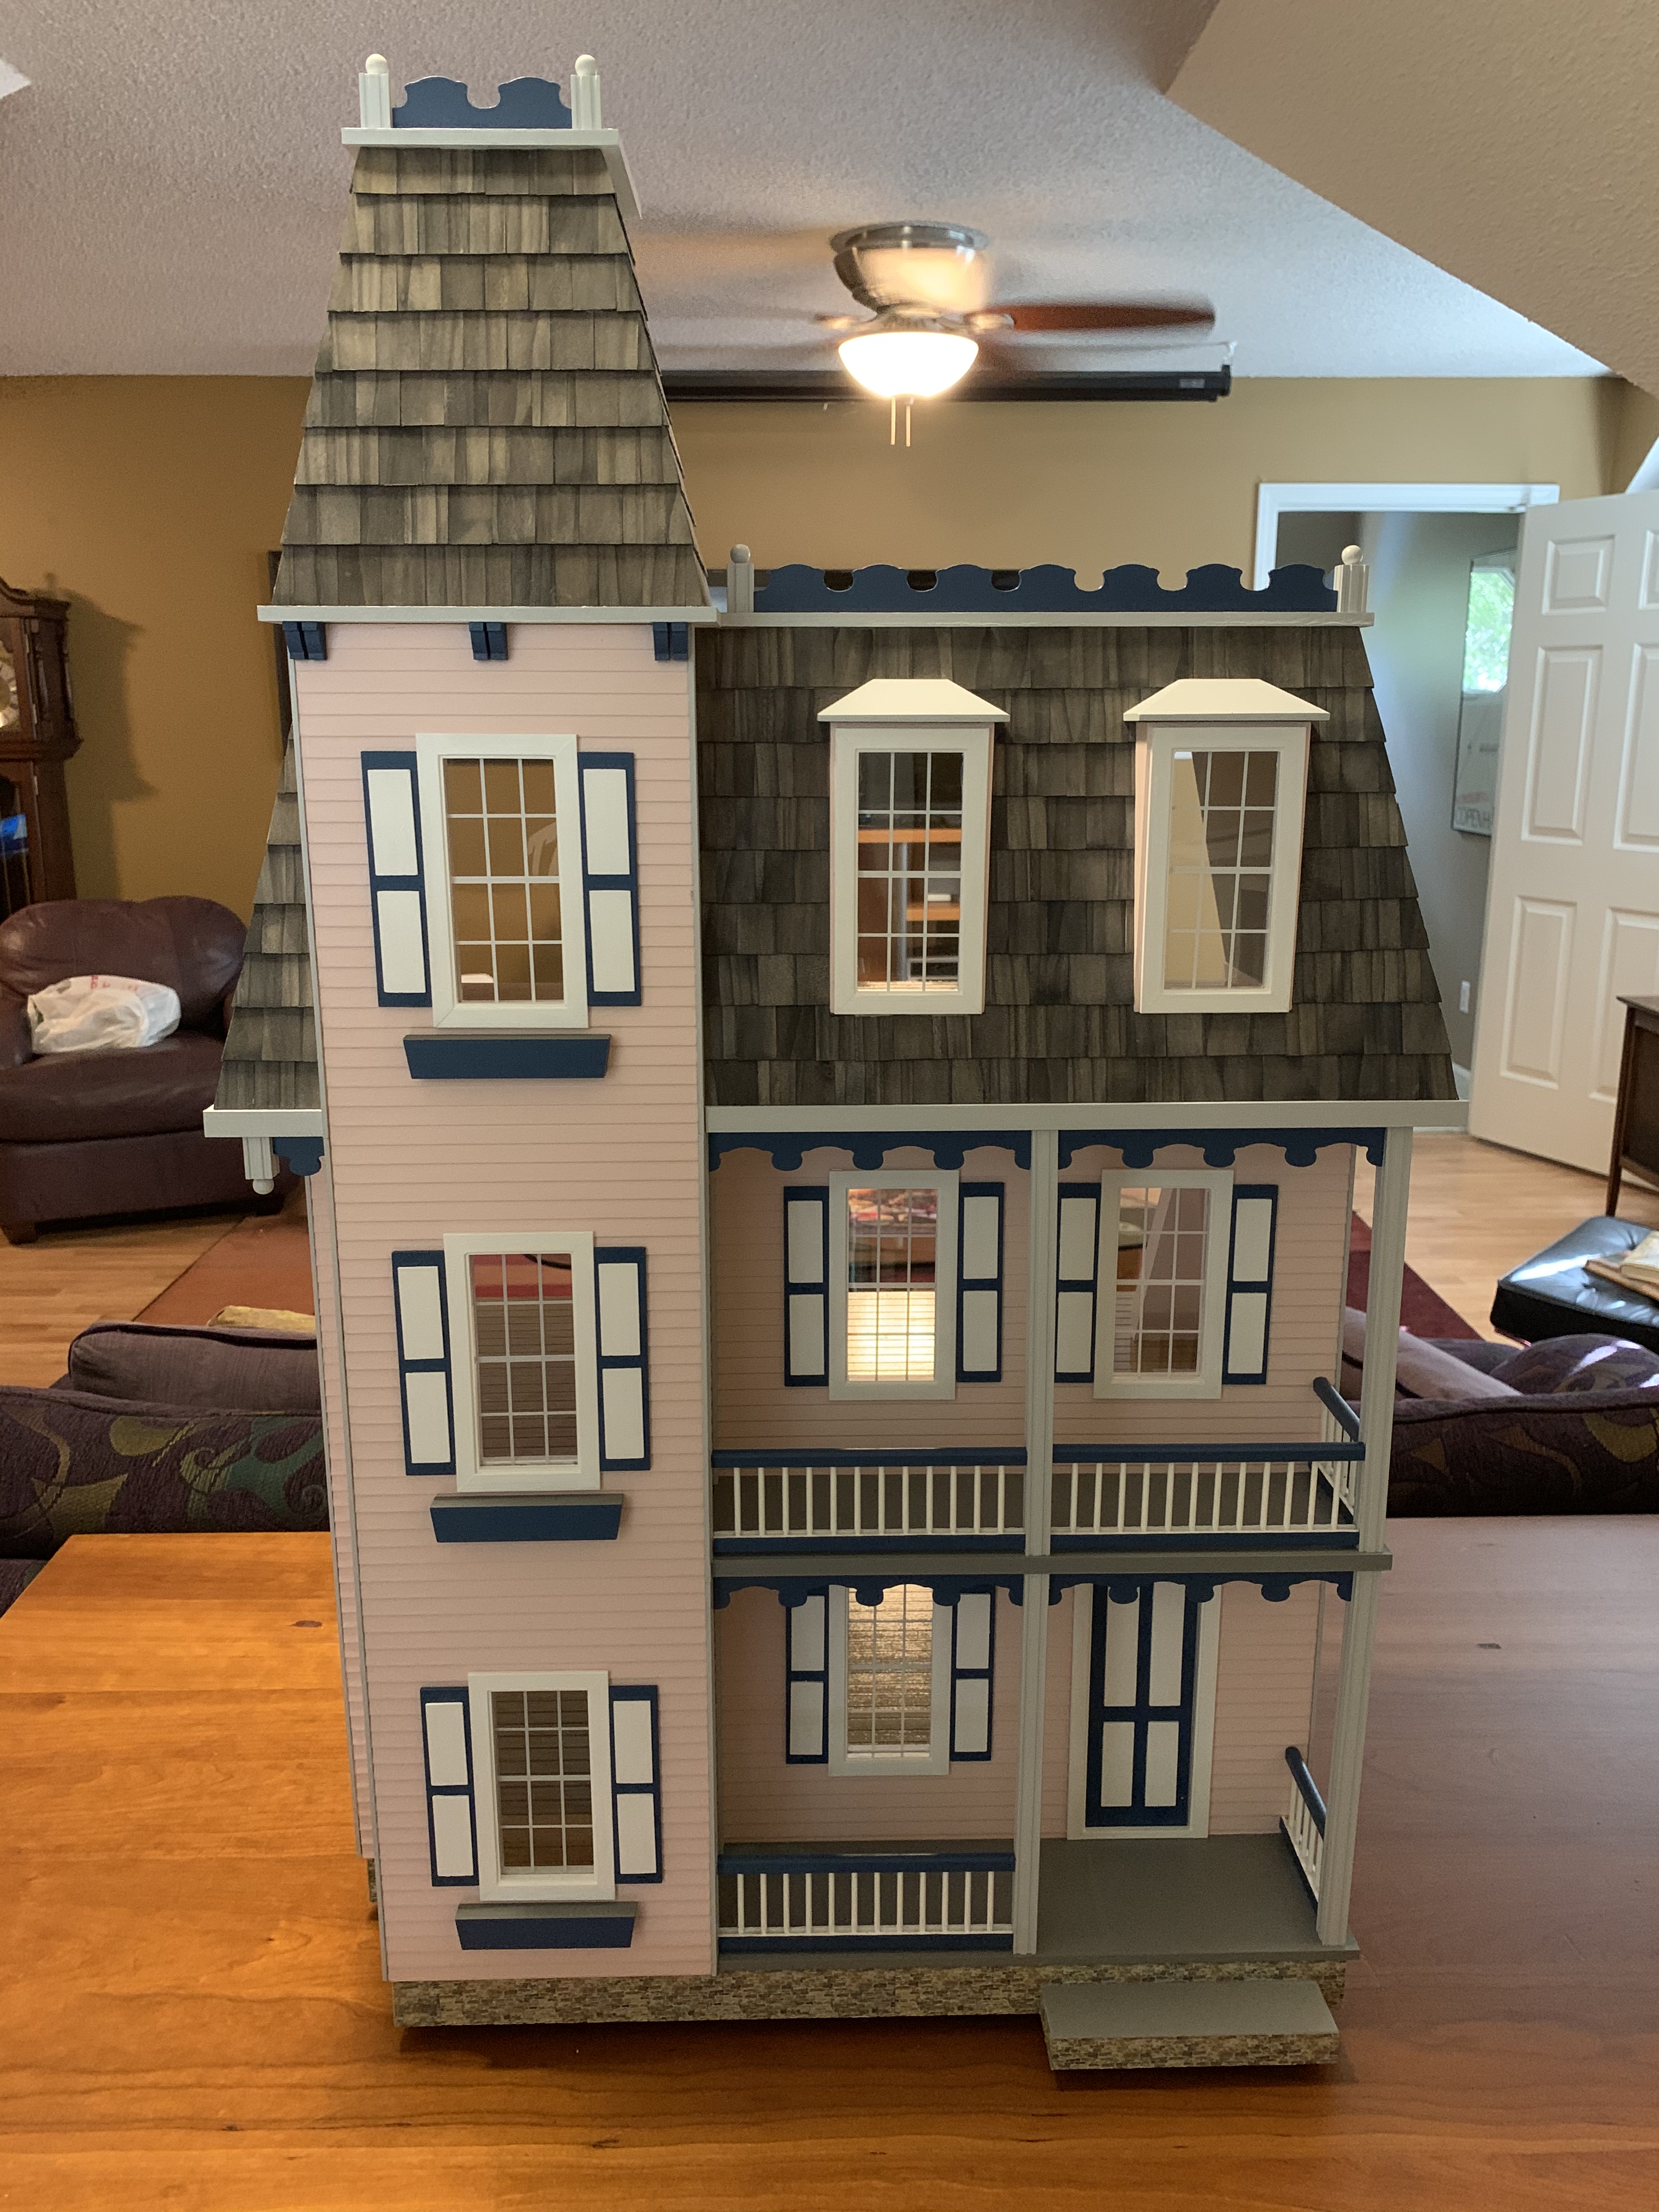
I asked my son how he would like to have the house painted. The manufacturer’s website featured several color schemes (which was how I painted the first doll house) so I suggested he look there. It turned out to be a fairly easy decision picking this blue color scheme.
On the first doll house, I had mostly used paint I already had but for this design, I knew I did not have those colors. I got the idea to e-mail the company to ask about the paint they used and was rewarded with a prompt and extremely helpful reply that included not only the brand, but the paint code number as well. At my local hardware store, I was able to get all the exterior colors I needed.
As before, I started with a first coat…
…followed by a good sanding and a second coat.
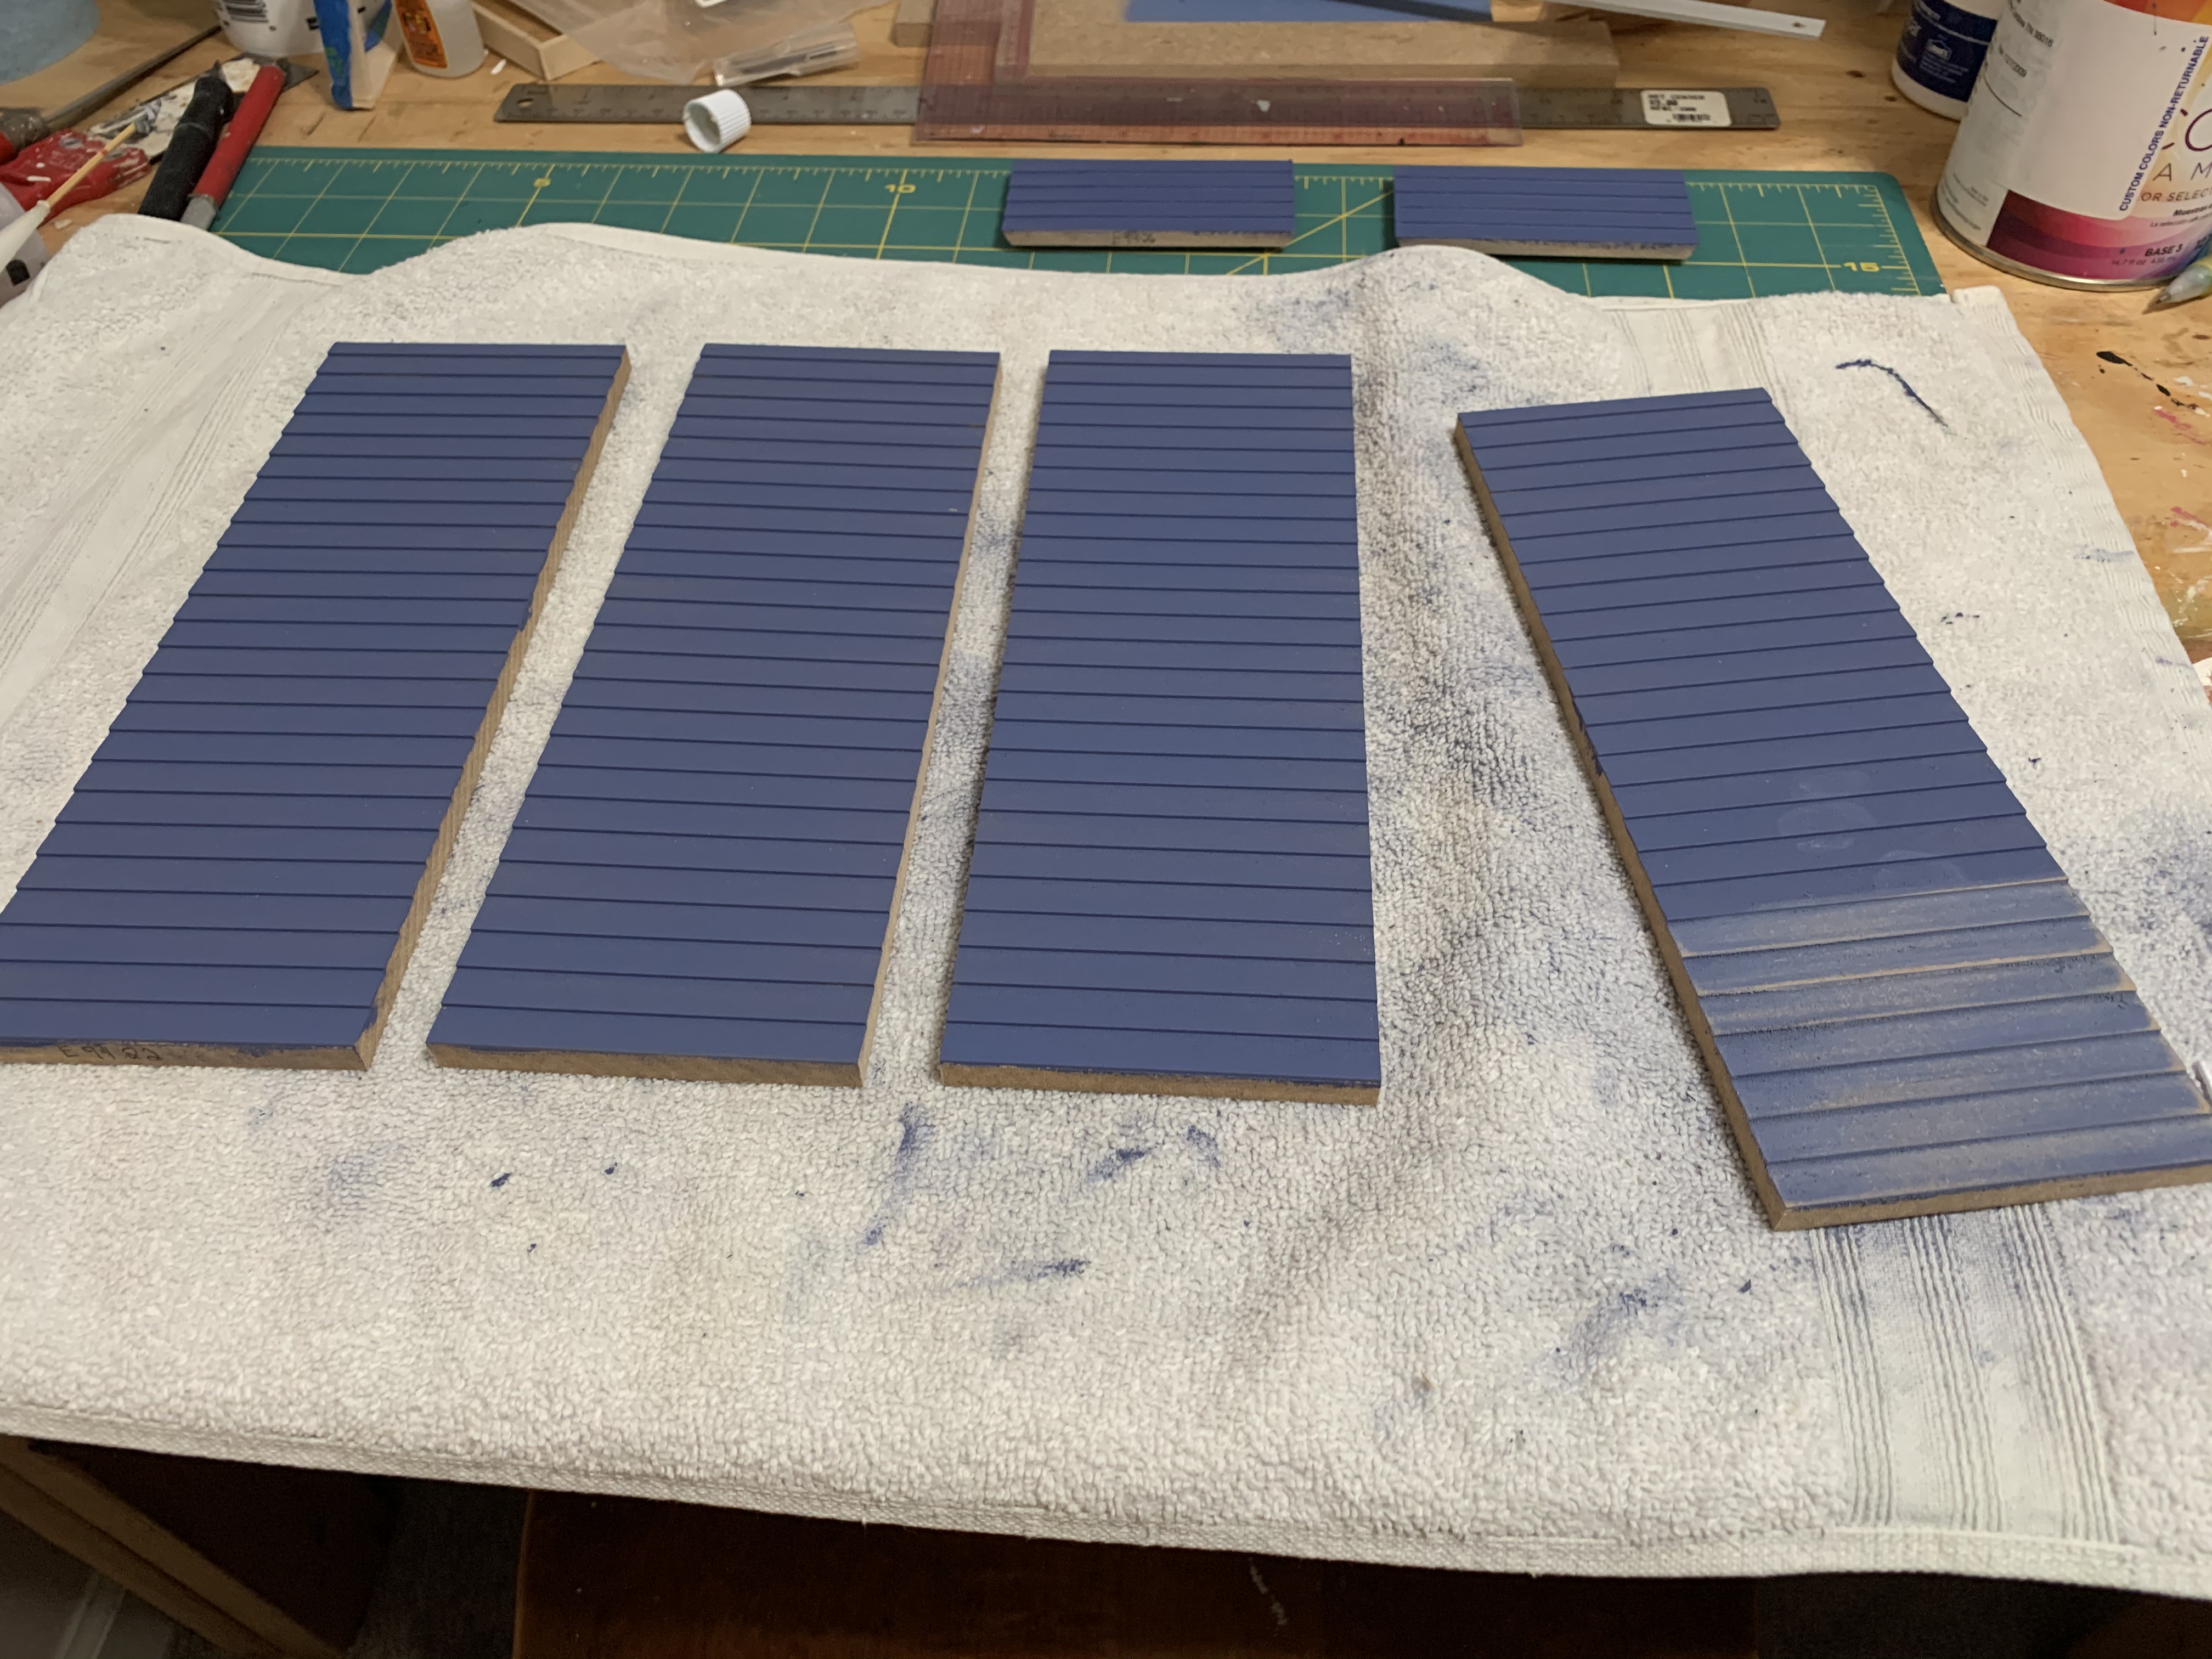
On two small pieces (seen at top of above photo), I experimented with a third paint coat, with and without sanding of the second coat. A third coat definitely gave an improved finish but sanding between the second and third coats resulted in an even better finish. So, it was three coats of blue paint, with sanding in between each coat, for all 35 exterior wall pieces.
As my son and daughter-in-law pondered interior wall paint colors, I began the assembly process. Since for this doll house, the walls would literally be built from the foundation up, the first step was to glue the porch side walls to the porch front wall.

Then came the building of the first-floor foundation.
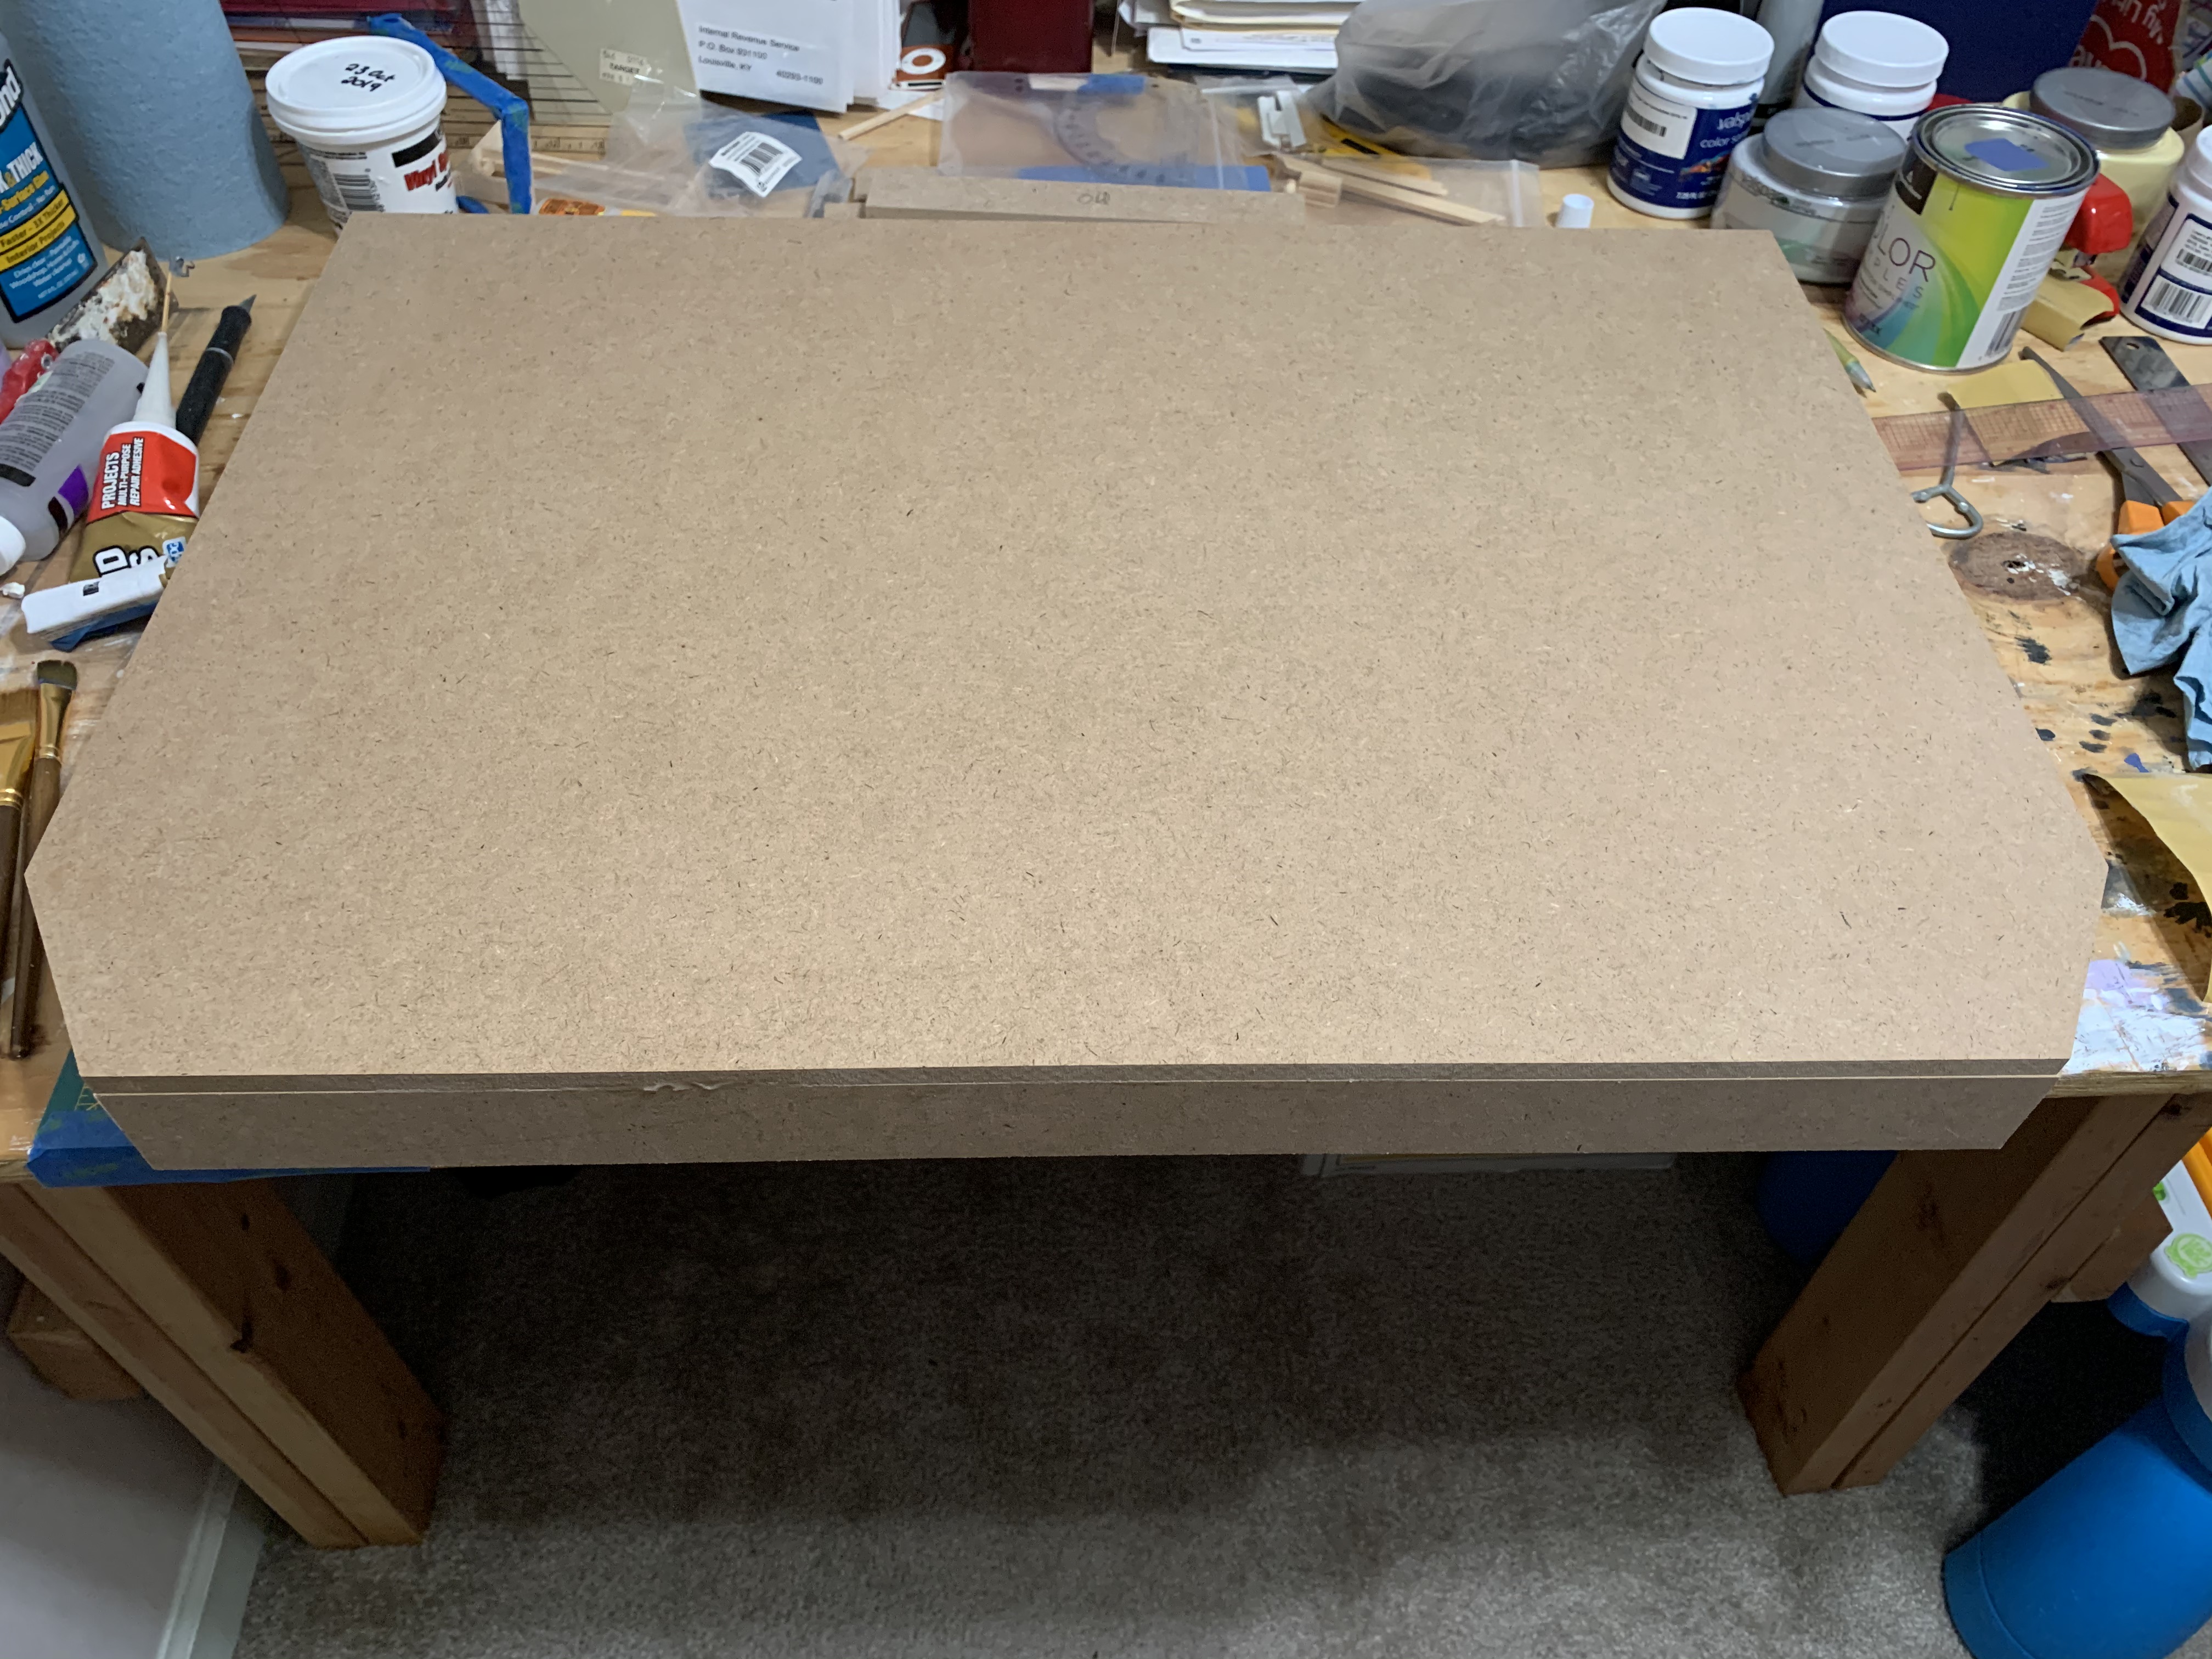
As I was unpacking the doll house after I got it home, I immediately realized that this kit did not come with pre-finished floors like the first dollhouse.

Instead, it was just the unfinished MDF (Medium Density Fiberboard) seen in the foundation photo above. I explored several different options and discovered that you could buy prefinished wood flooring or carpet. But when I priced it online and at a local hobby store, I discovered the small sizes that it came in would require many individual pieces and at the price and the number of individual packages I would need to buy, the flooring cost would have exceeded the cost of the entire doll house kit itself.
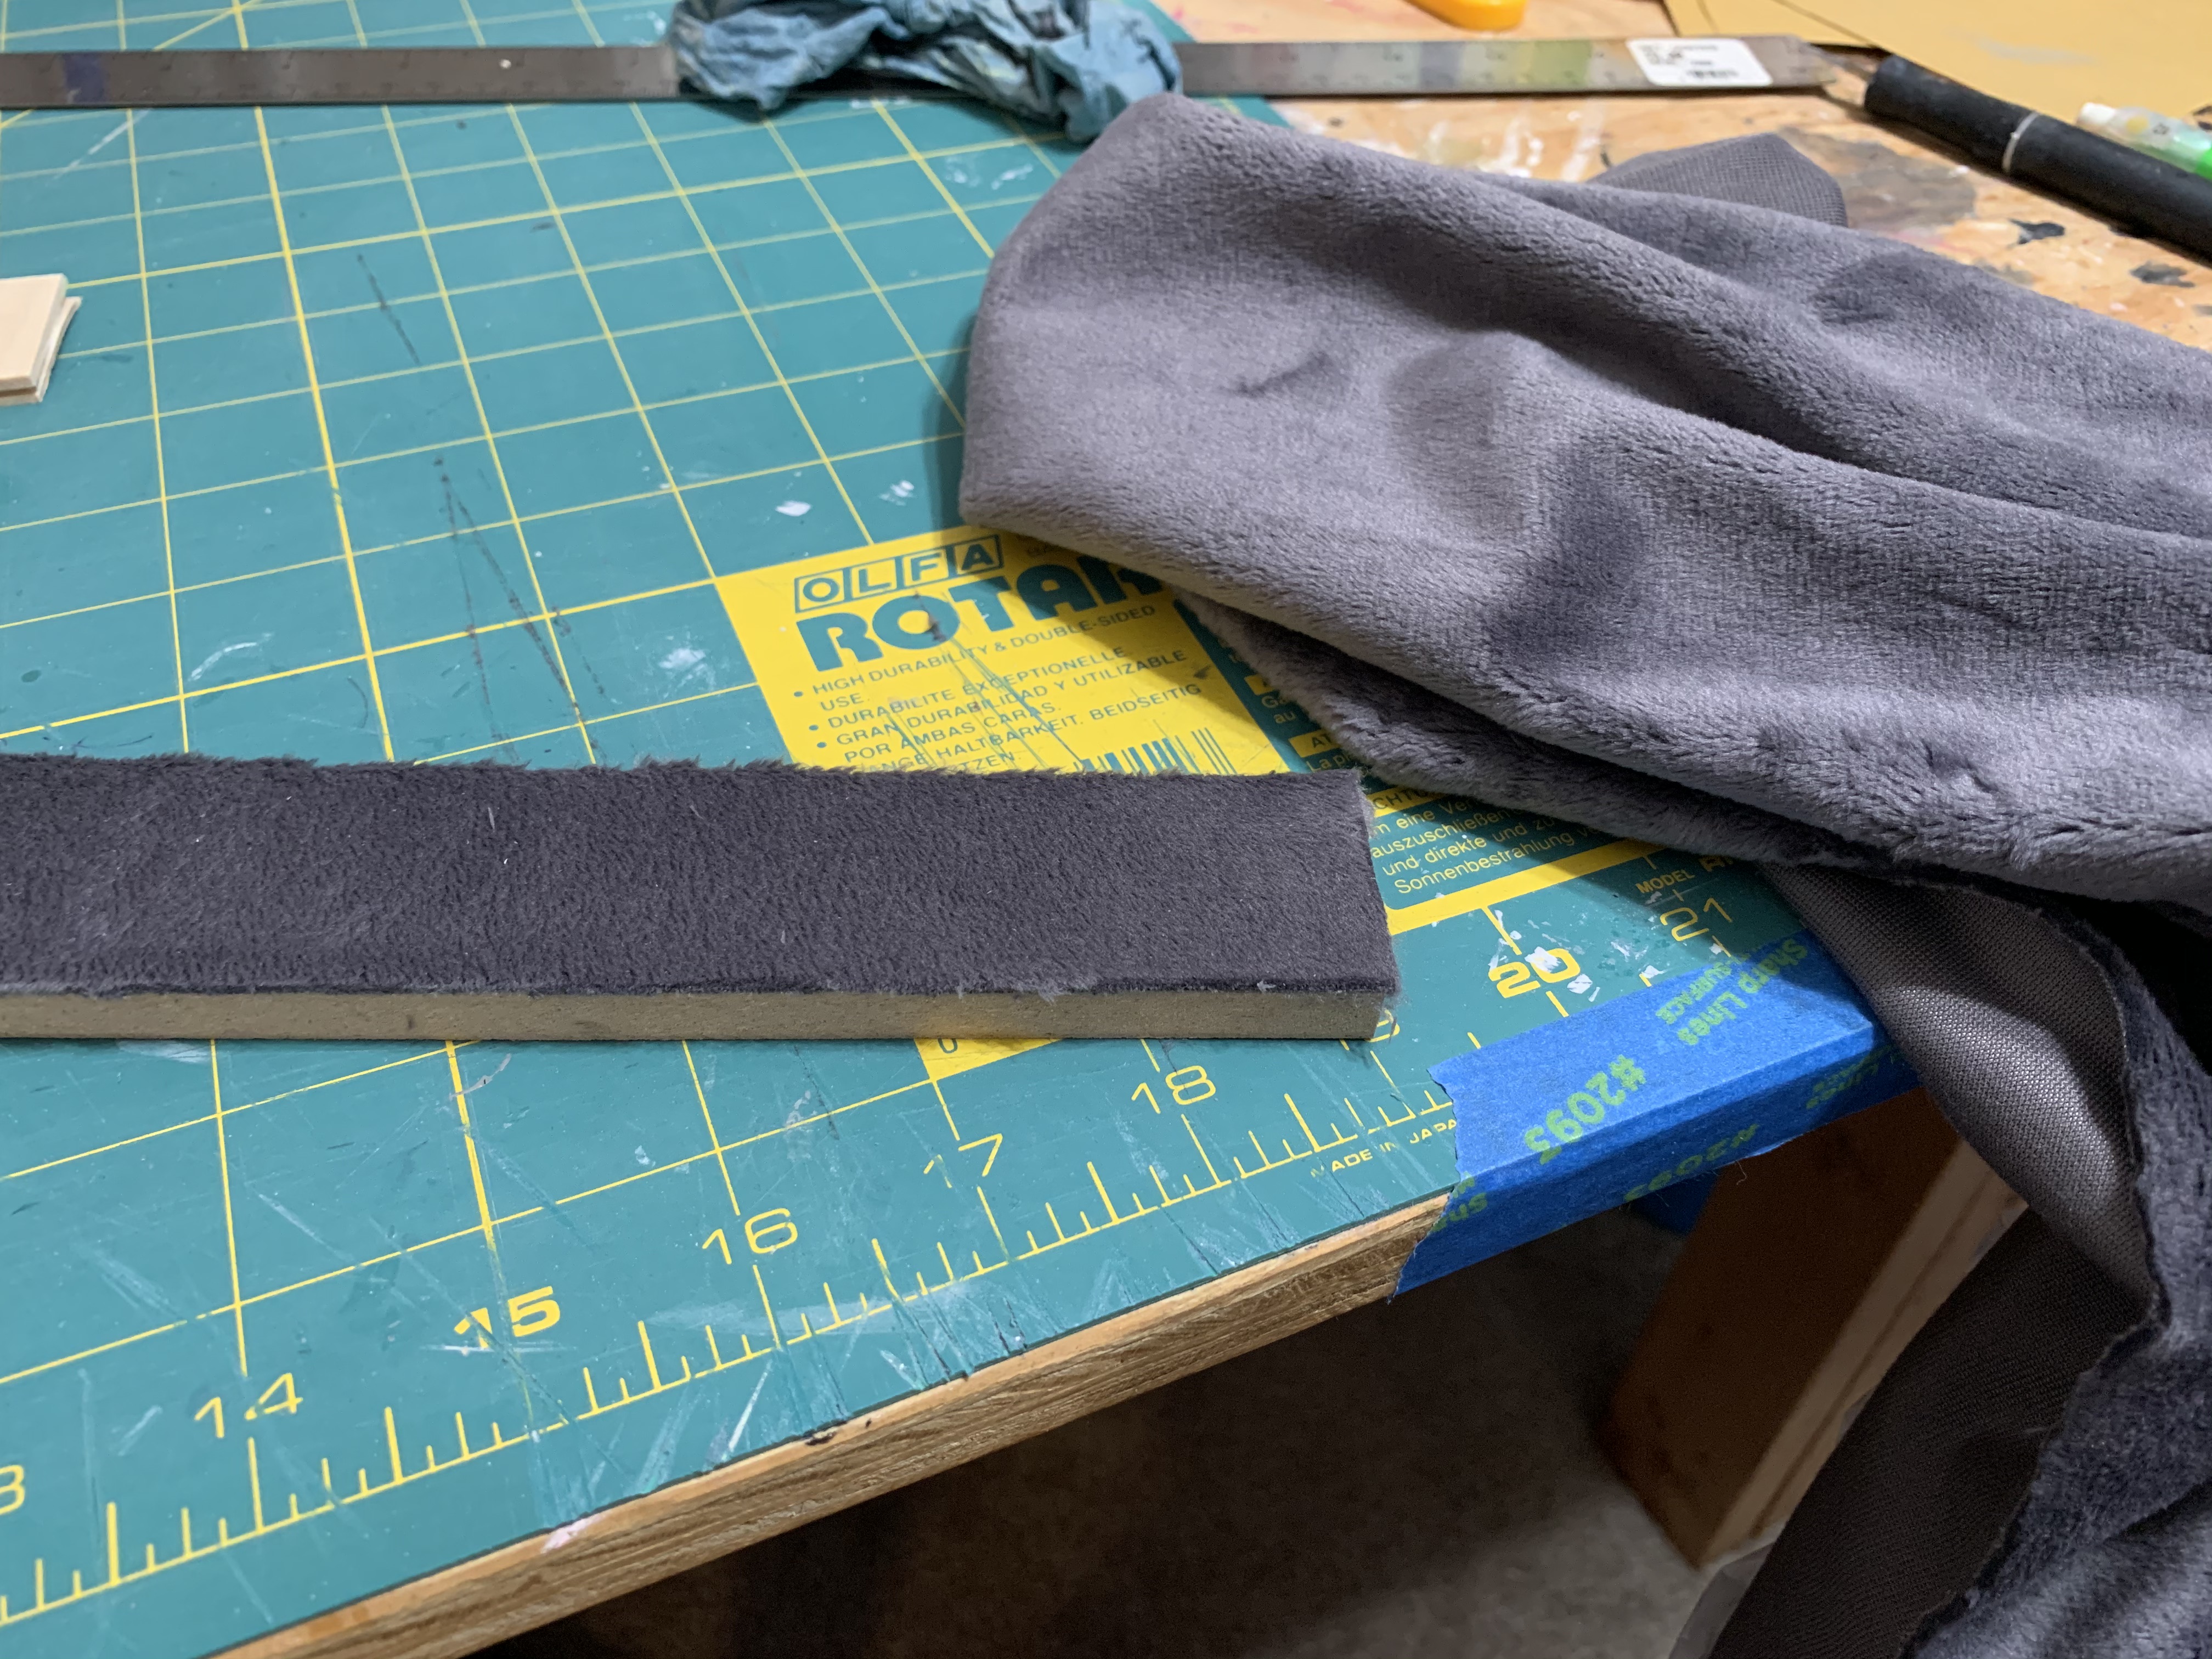
Then I got the idea of finding some sort of fabric that looked like scale carpet.
On my first outing, I found the perfect material, a dark grey velour. Just to be sure, I glued some of it to an extra piece of MDF and then trimmed it with a rotary cutter. I was very pleased with the result and the cost of two yards of fabric, more than enough to do the entire house, was the same as a single package of the wood flooring. Flooring solution found!
Once my son and daughter-in-law picked out the interior paint color, I needed to paint the first-floor front porch wall section as it was to be next glued to the foundation. After three coats of paint, I was surprised to see that I still did not have complete coverage. Admittedly, the MDF was a dark brown color and I was painting with a lighter color.
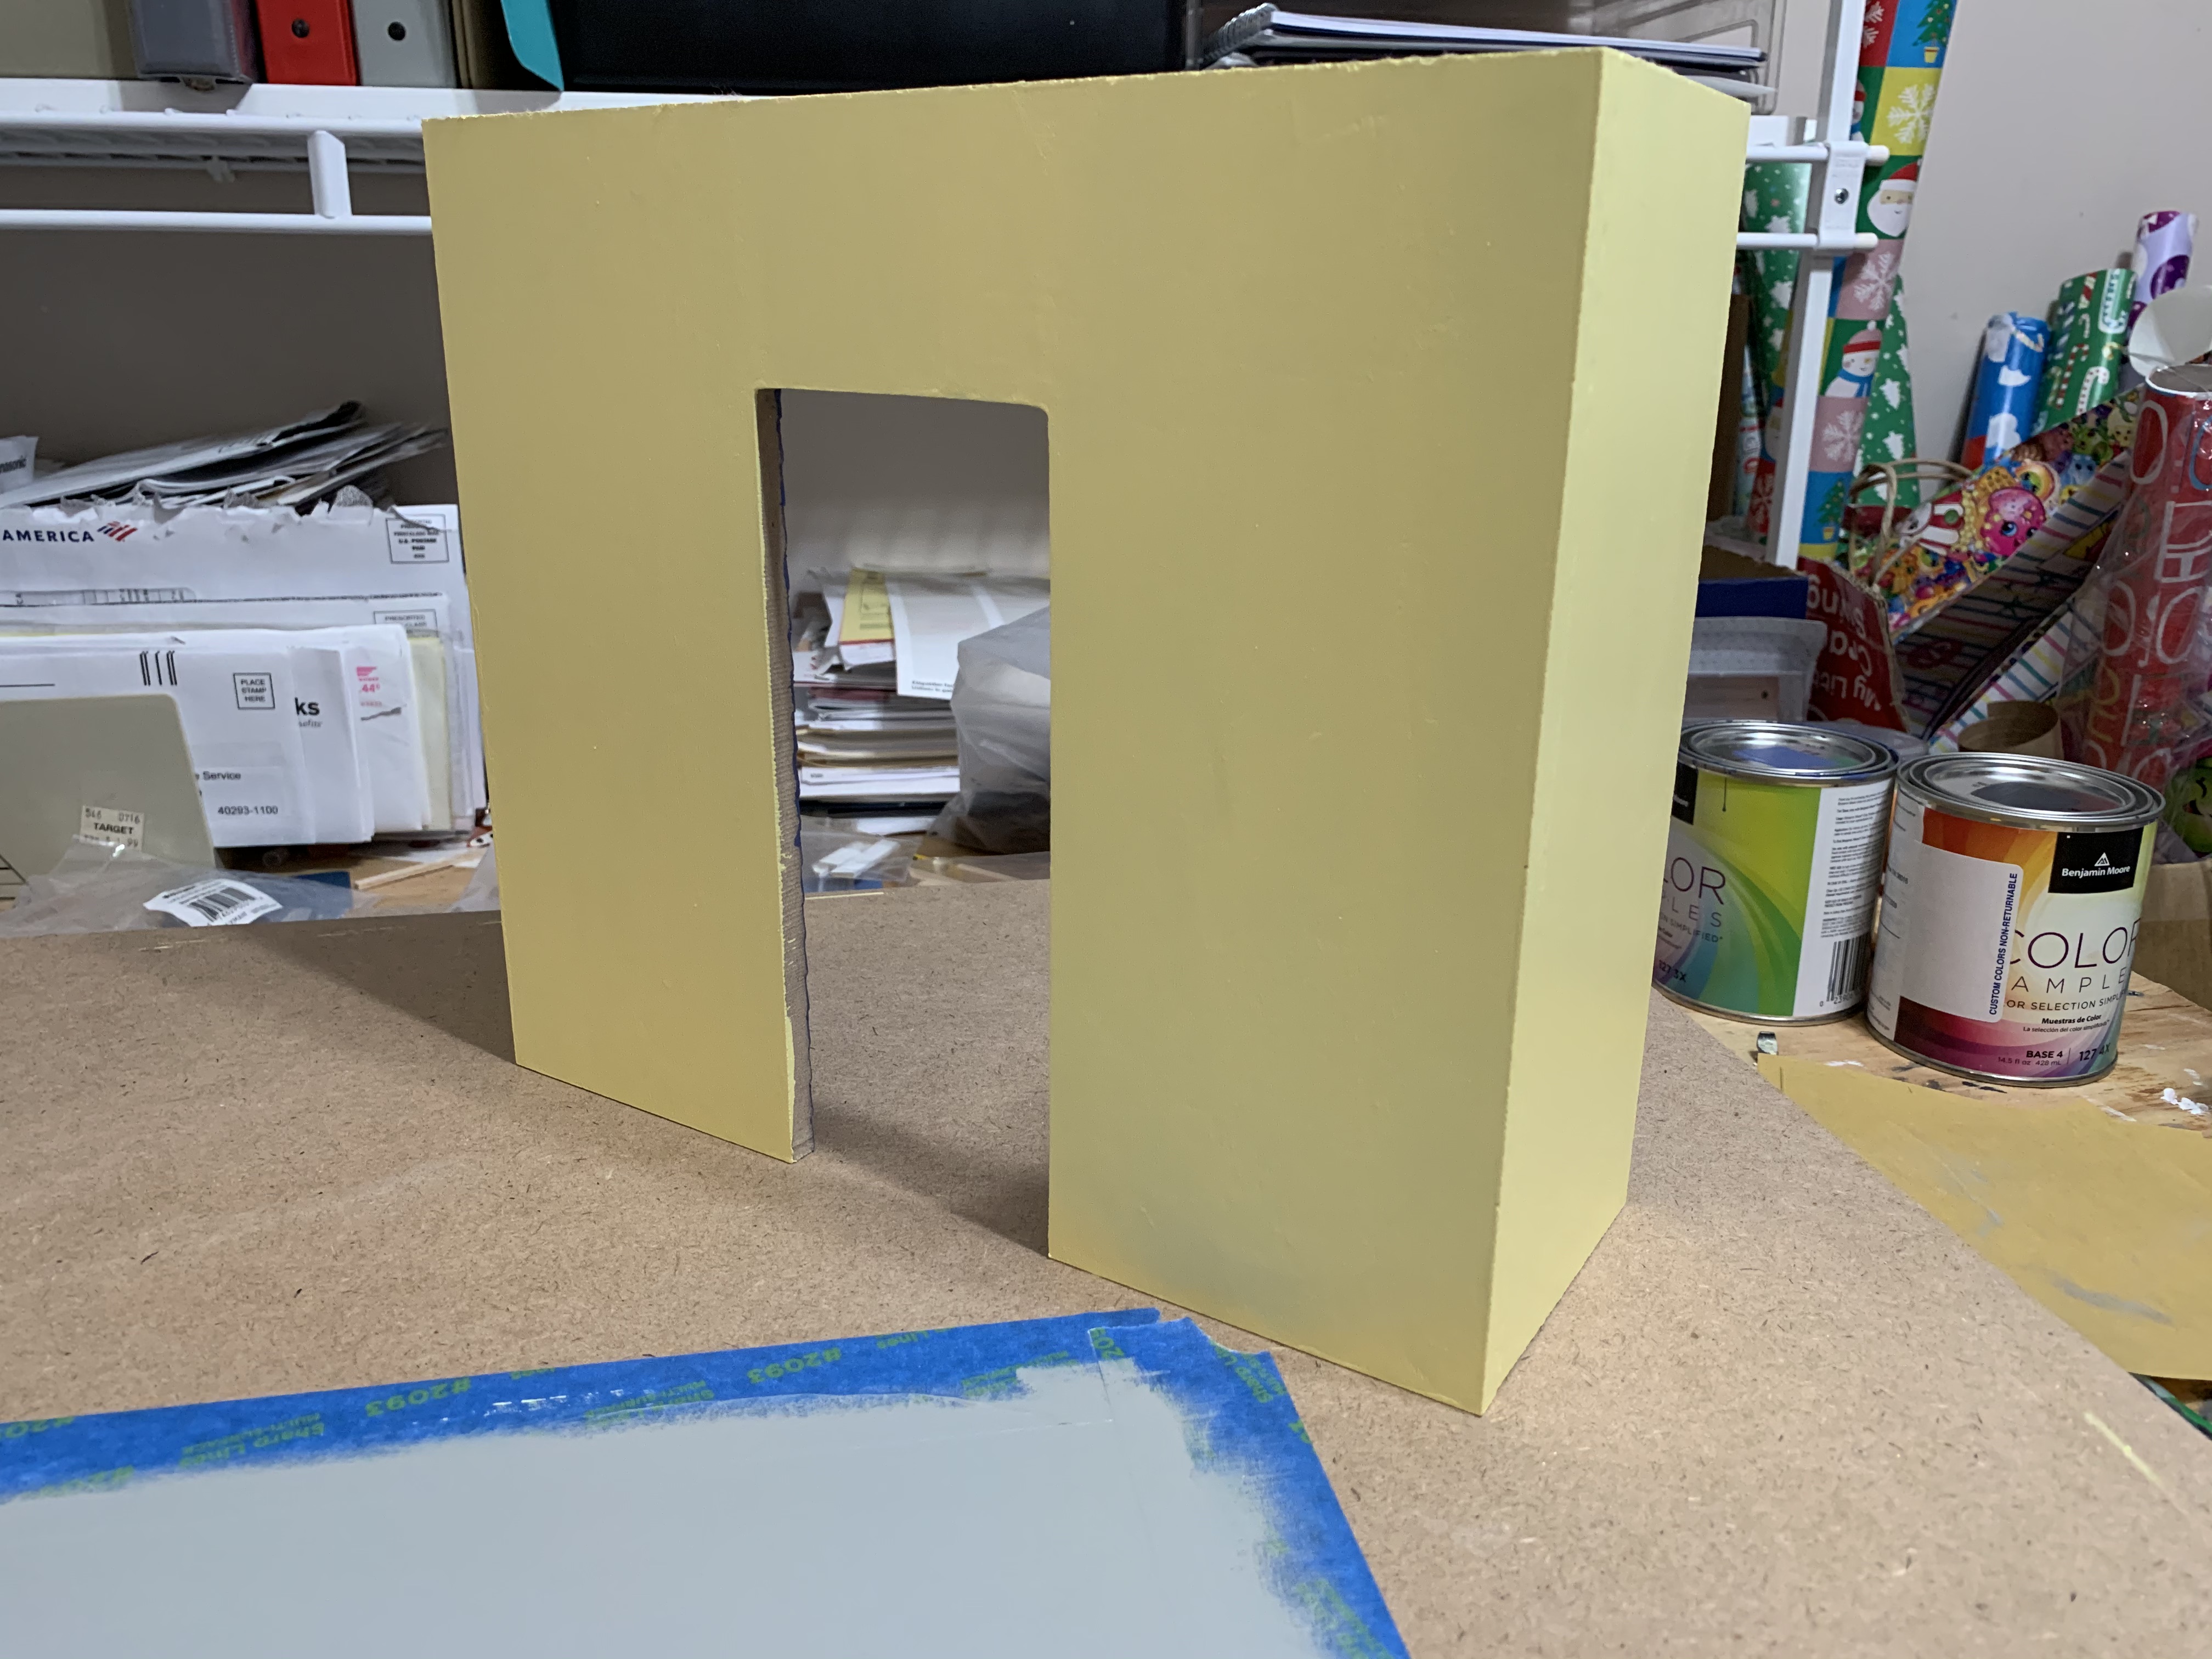
After four coats, I finally achieved this complete coverage but the thought of having to paint four coats on every surface prompted me to purchase some white primer. Even the primer took two coats with a light sanding in between to give a smooth white surface to paint. Then it still took 3 coats of yellow paint to get the final finish, so no real savings in painting there.

Meanwhile, the foundation and front porch needed to be painted following the chosen online color scheme. The foundation and porch were painted concrete grey and the step treads and porch edge black.

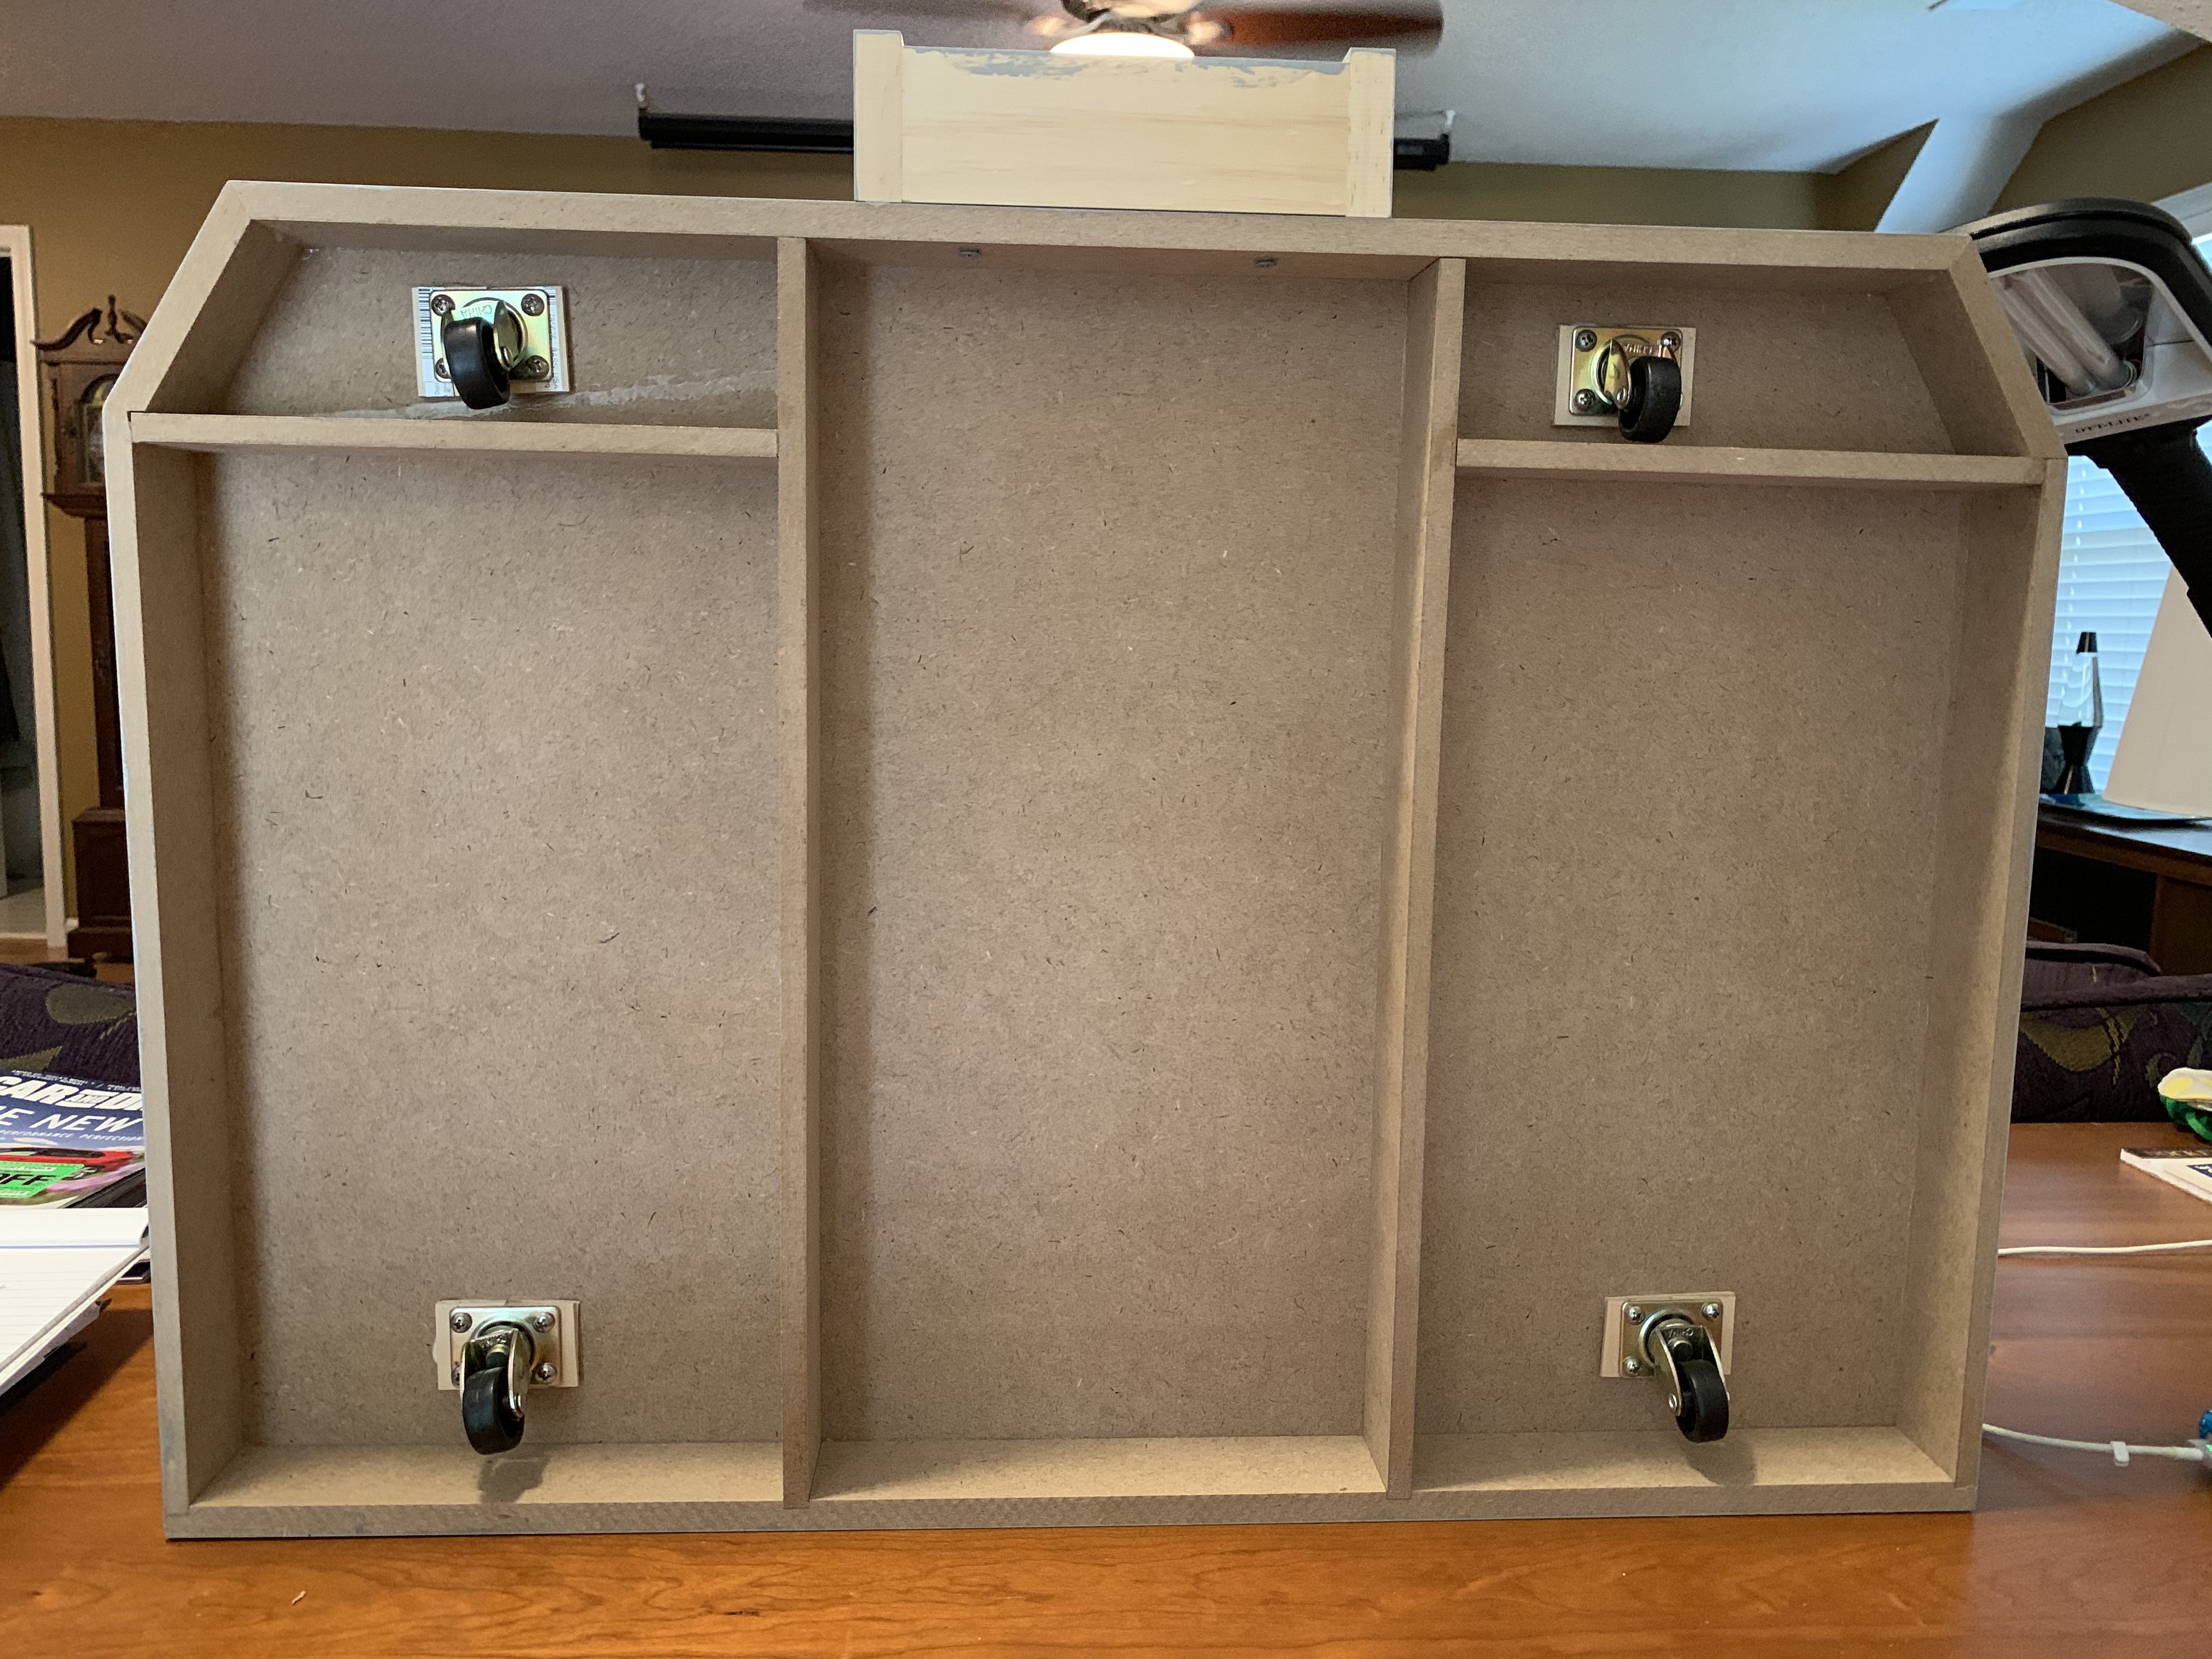
If you read my previous post about the doll house I built for my in-town granddaughter, you know one of the modifications I made was to add small roller casters underneath the foundation so that the house could be turned easily. I realized after finishing that doll house that it was so heavy, my granddaughter could never turn it herself. Thus, the idea of adding the wheels.
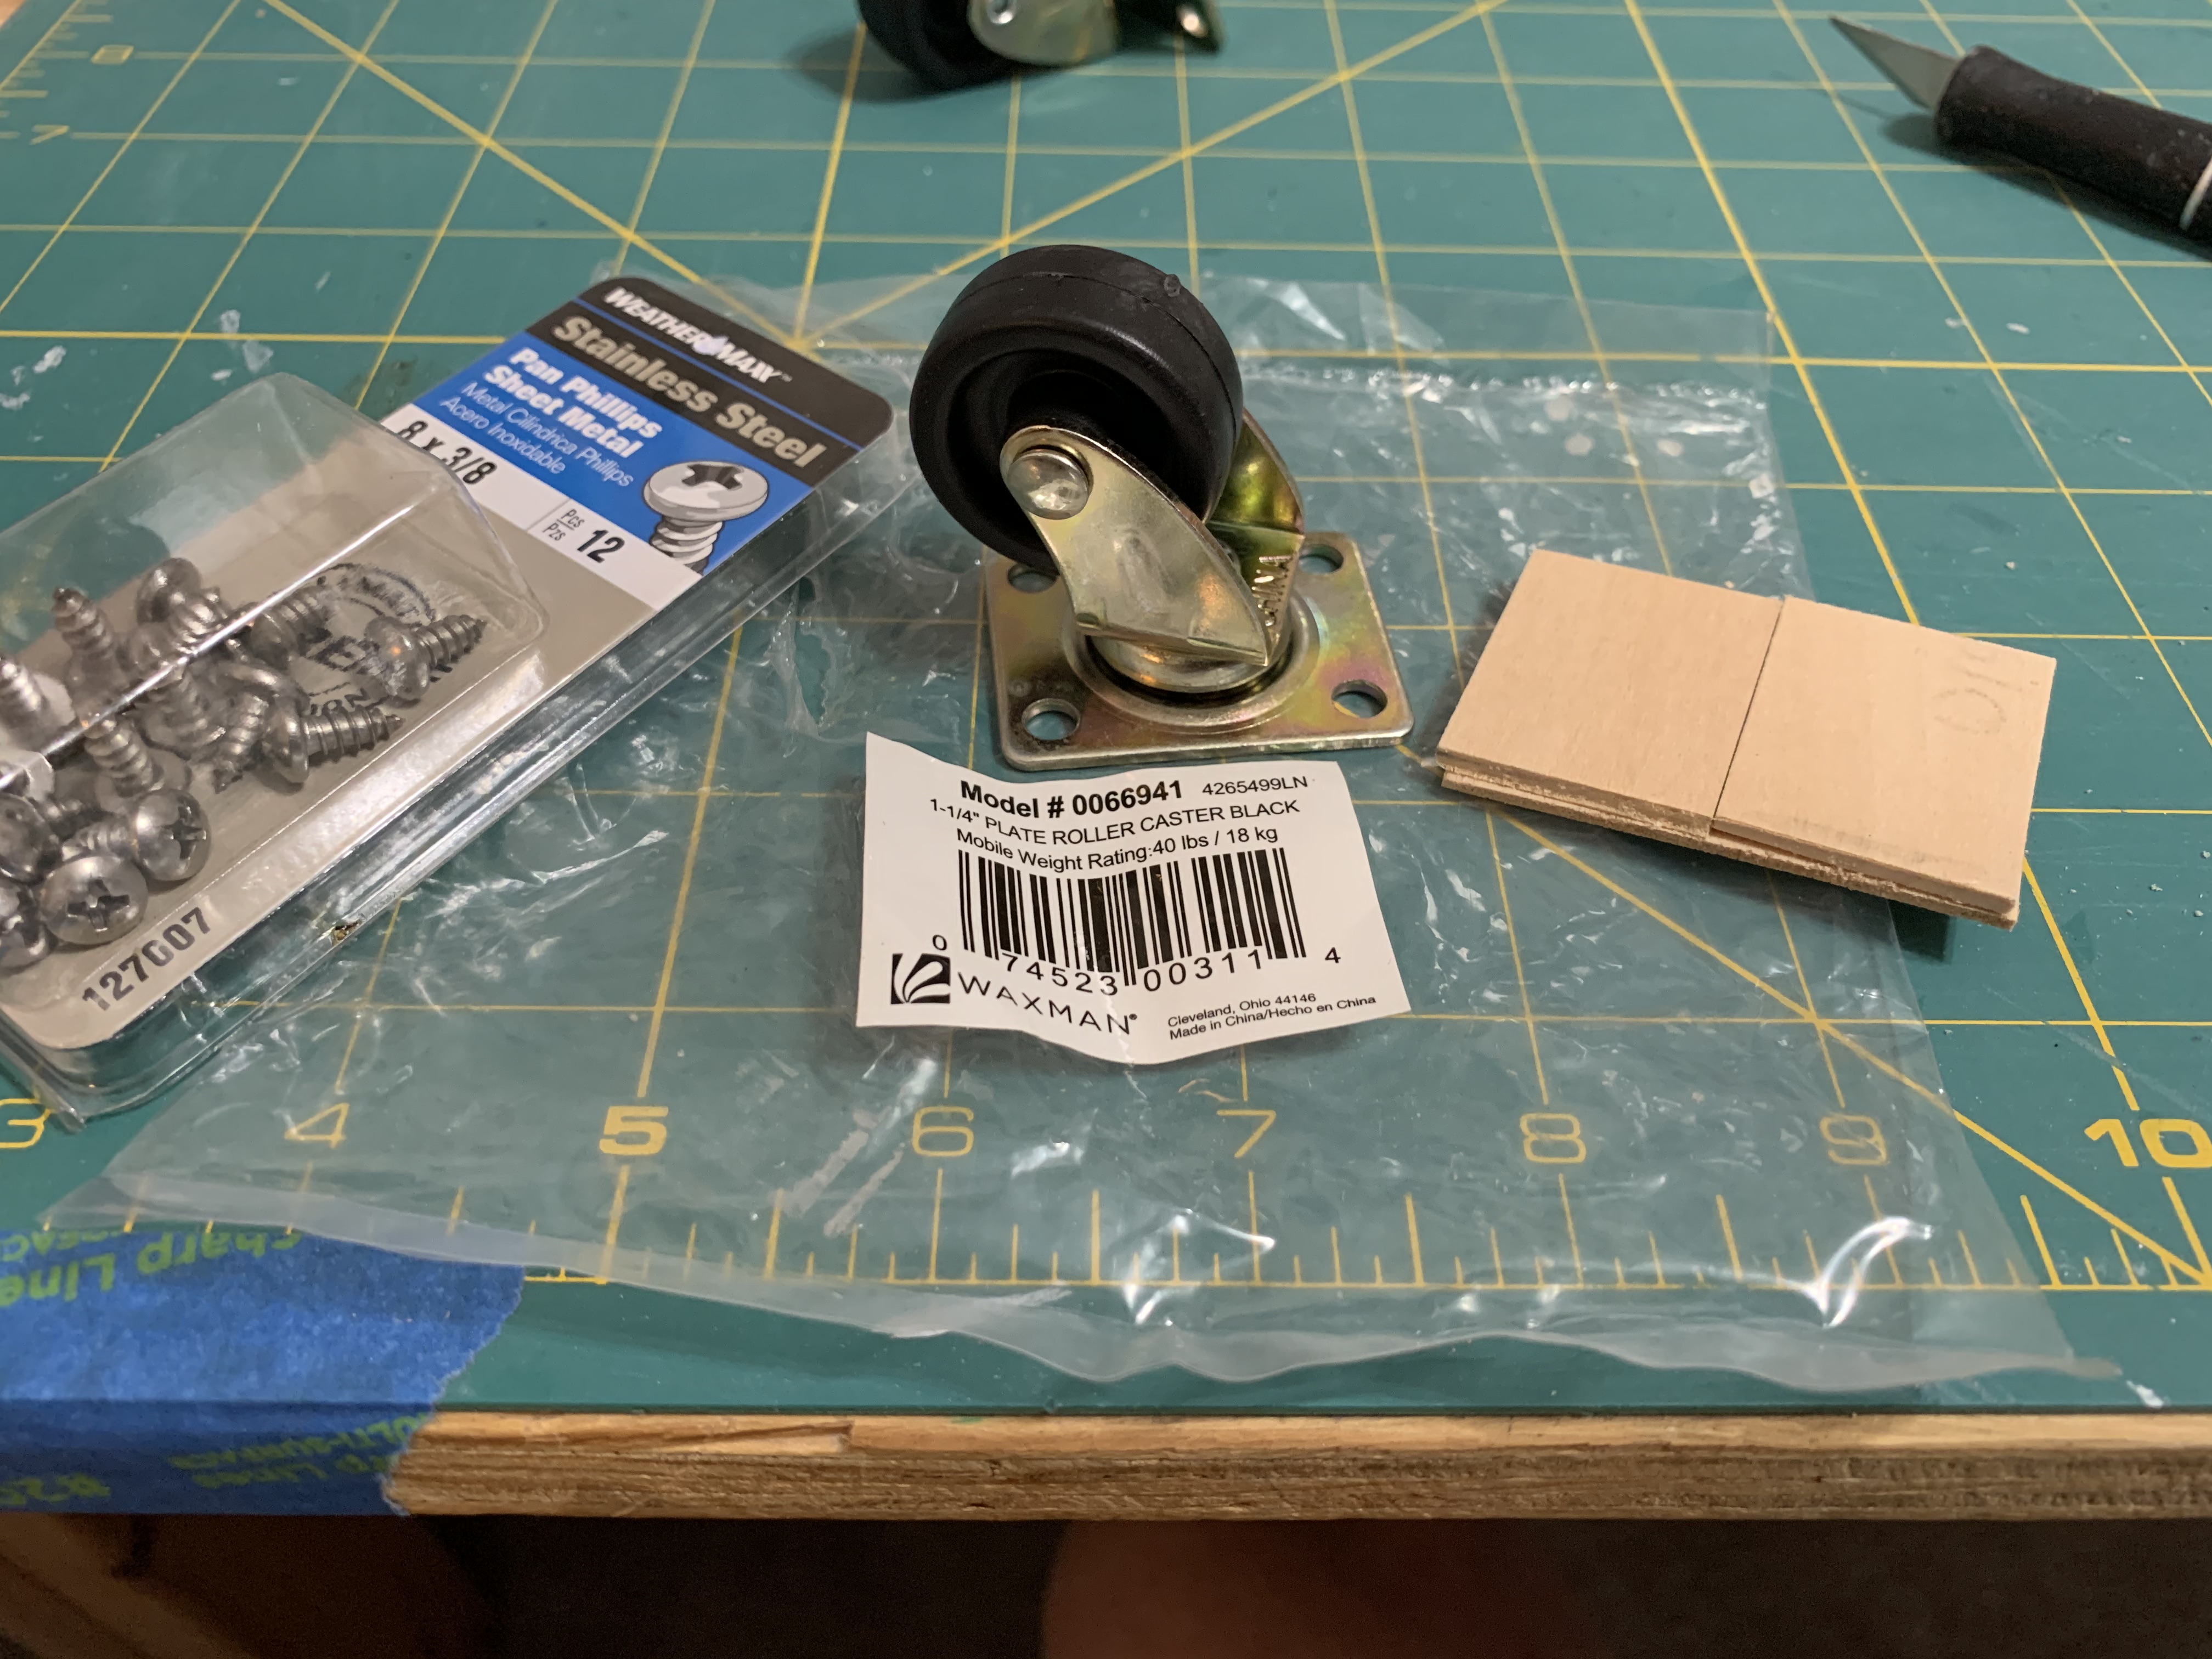
So, I knew on the front end I would want to do the same for this doll house and so installed them before any further construction occurred.
To be continued…
Categories

What a wonderful work of art! This will be a life long keepsake. I look forward to future posts about this dollhouse.
Thanks, I hope it will be. It was a lot of fun to build and I look forward to delivering it and surprising her with it.