
Doll House for My Sister’s Grandchildren – 1st Phase

It has been a while since I first wrote about the doll house my sister and I are building for her grandchildren.
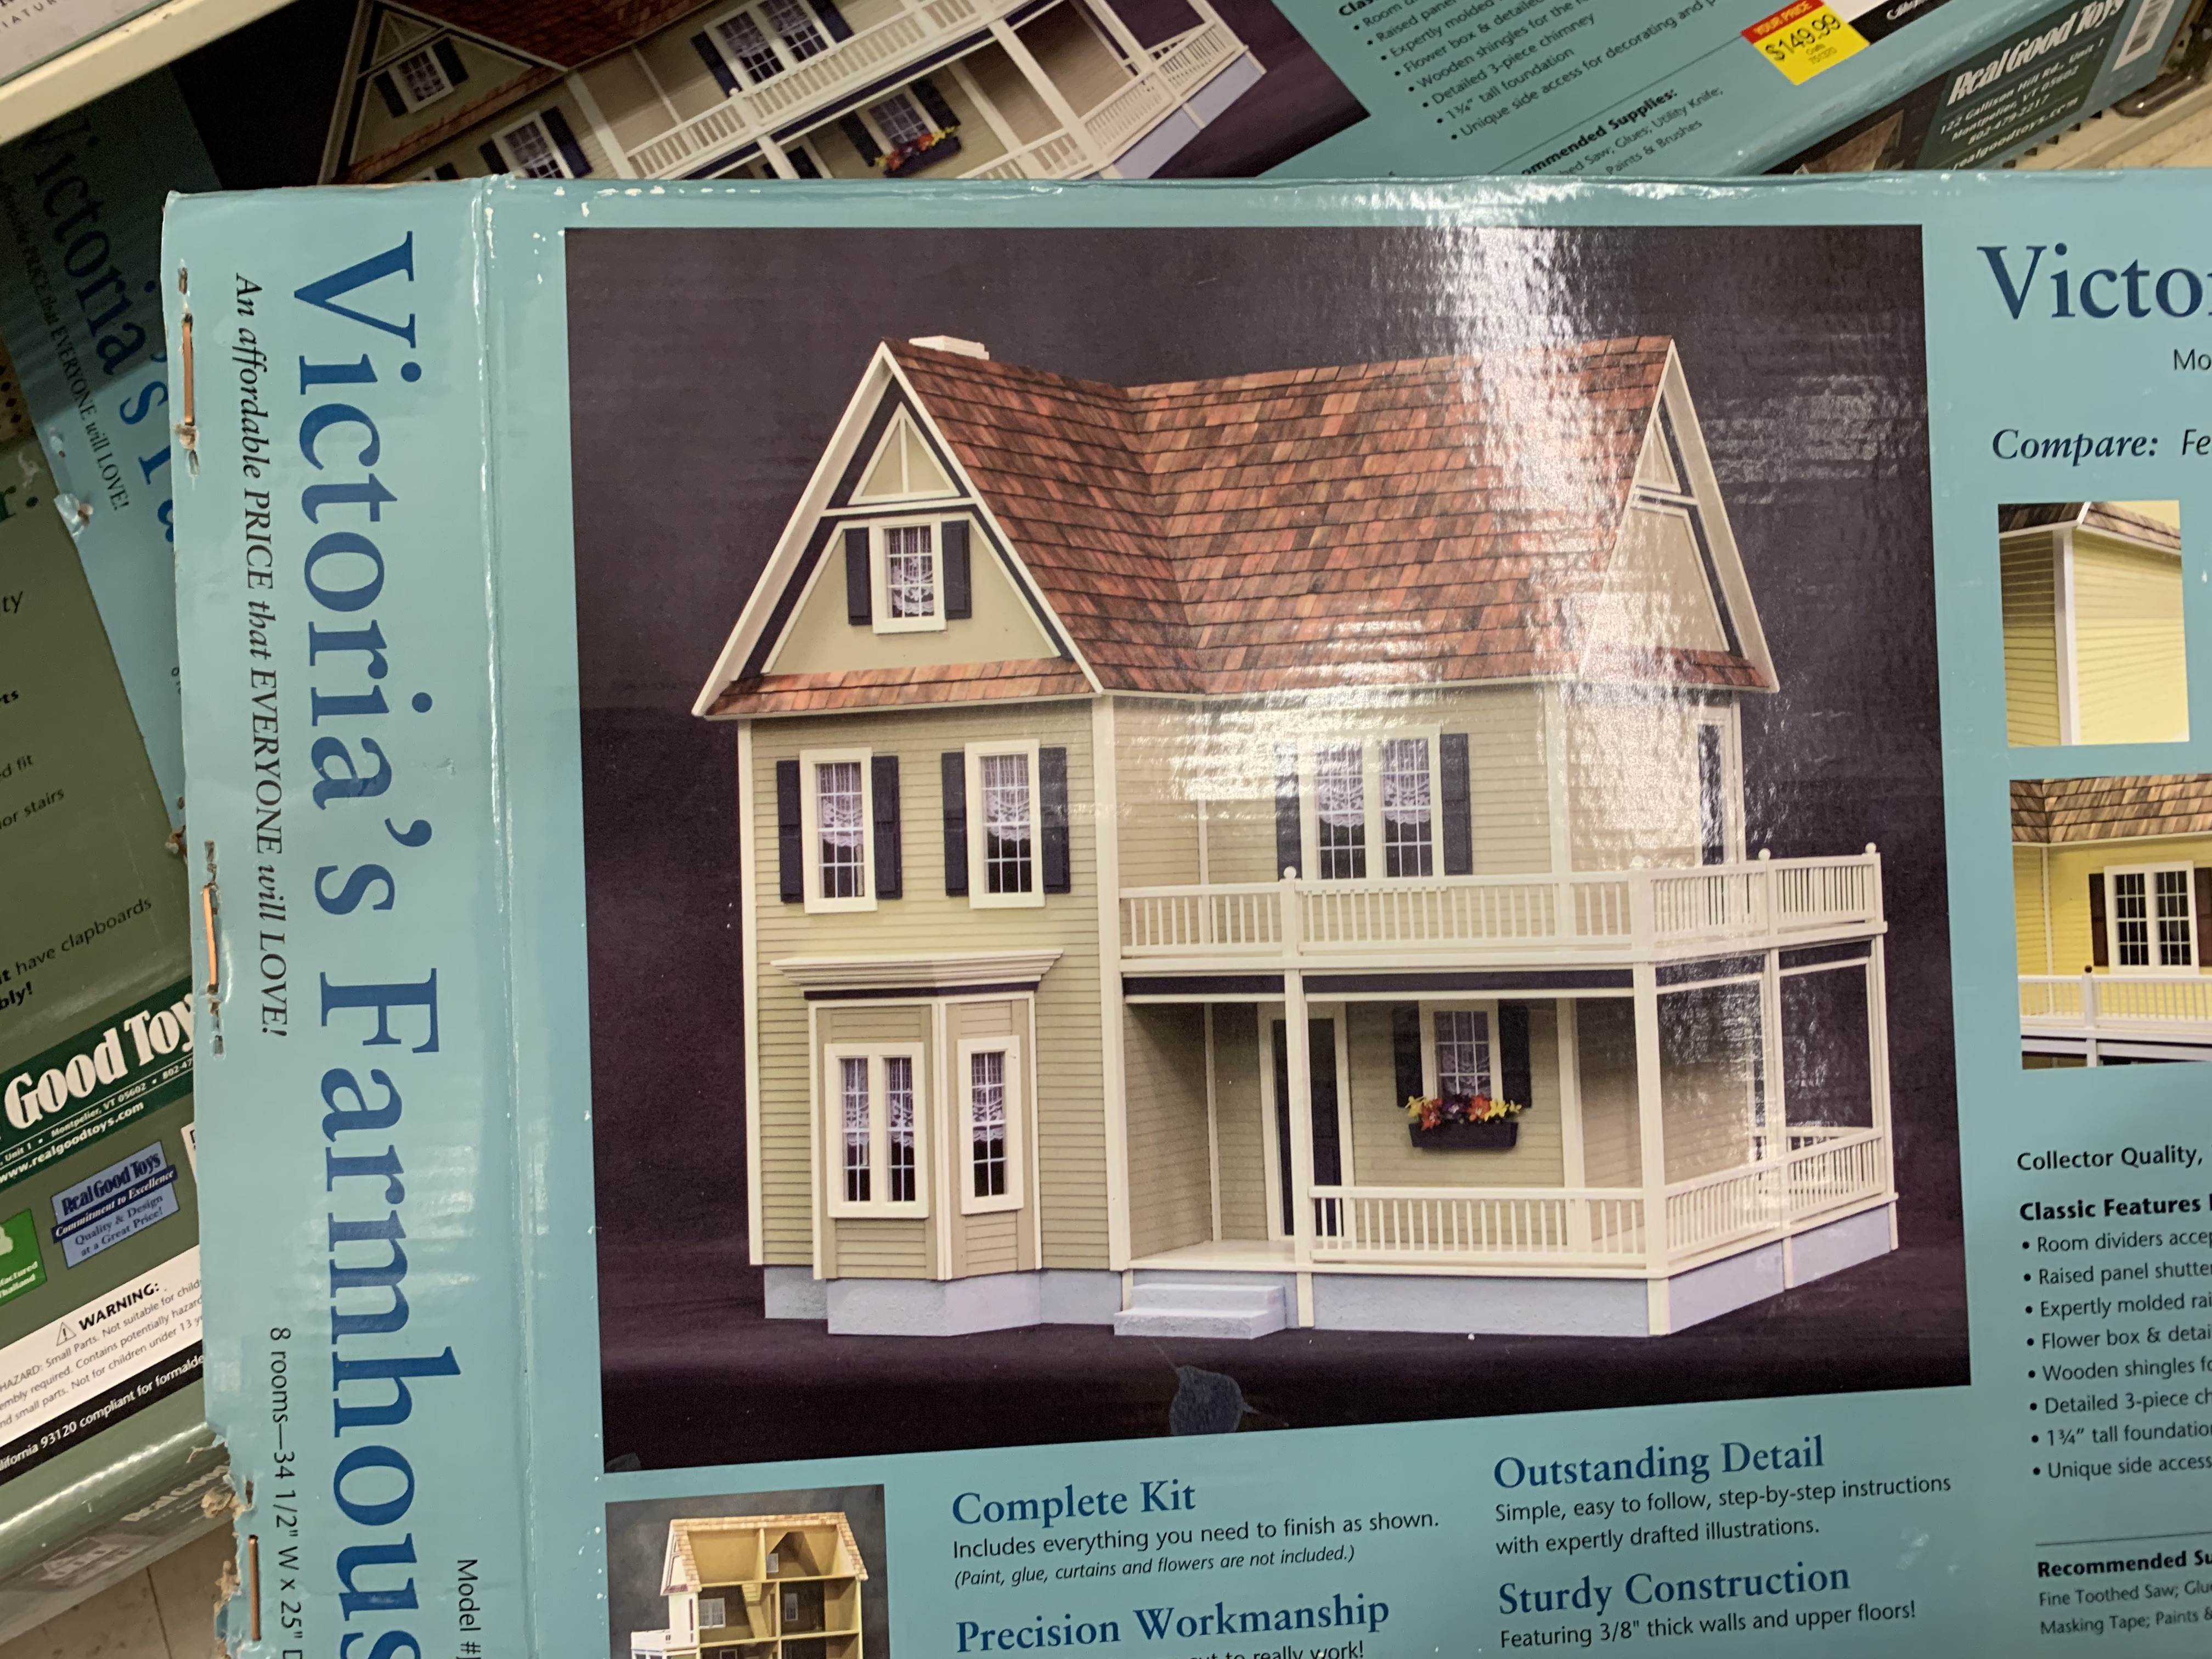
In that time, we have made significant progress both in the house I am mostly assembling and in the furniture my sister is building. In the past, I have probably provided too much detail about the construction process—that is unless you planned to build your own doll house (which I imagine most of you were not). So, for these periodic updates, I plan to just hit the highlights since many of the construction techniques would be similar to the two most recent doll houses, I built. In addition, I will cover some of the alternative approaches I used that were unique.
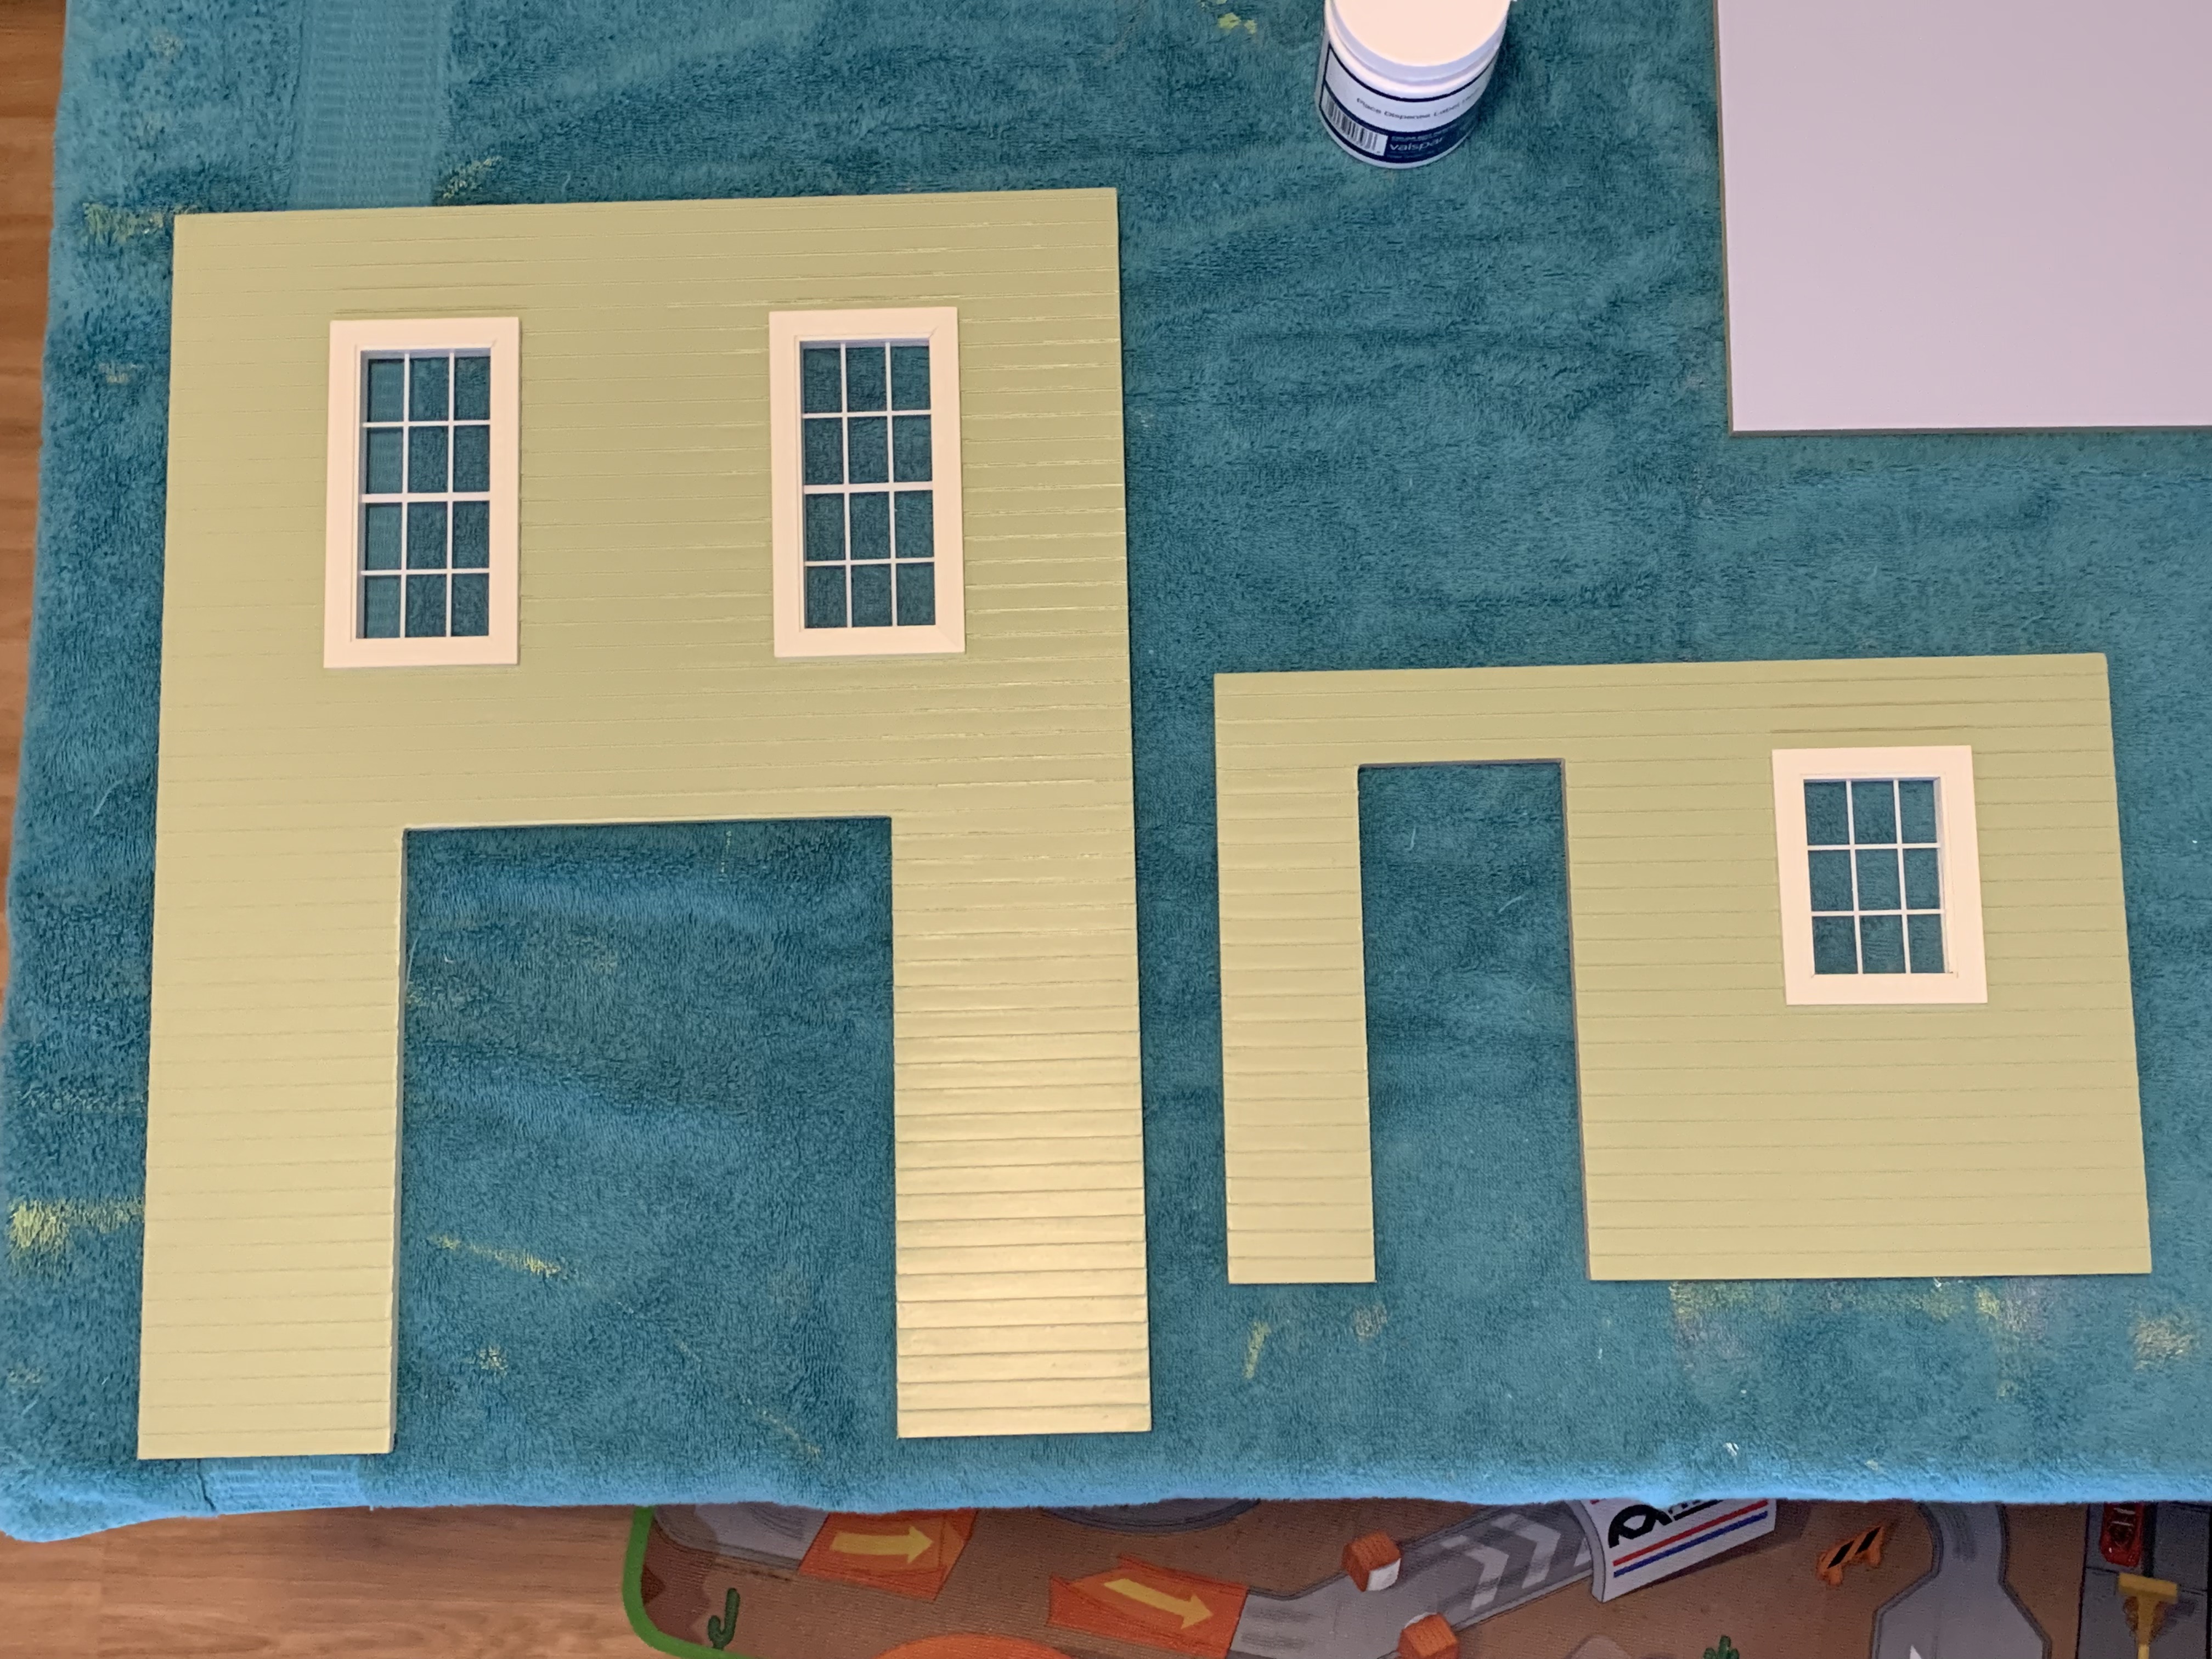
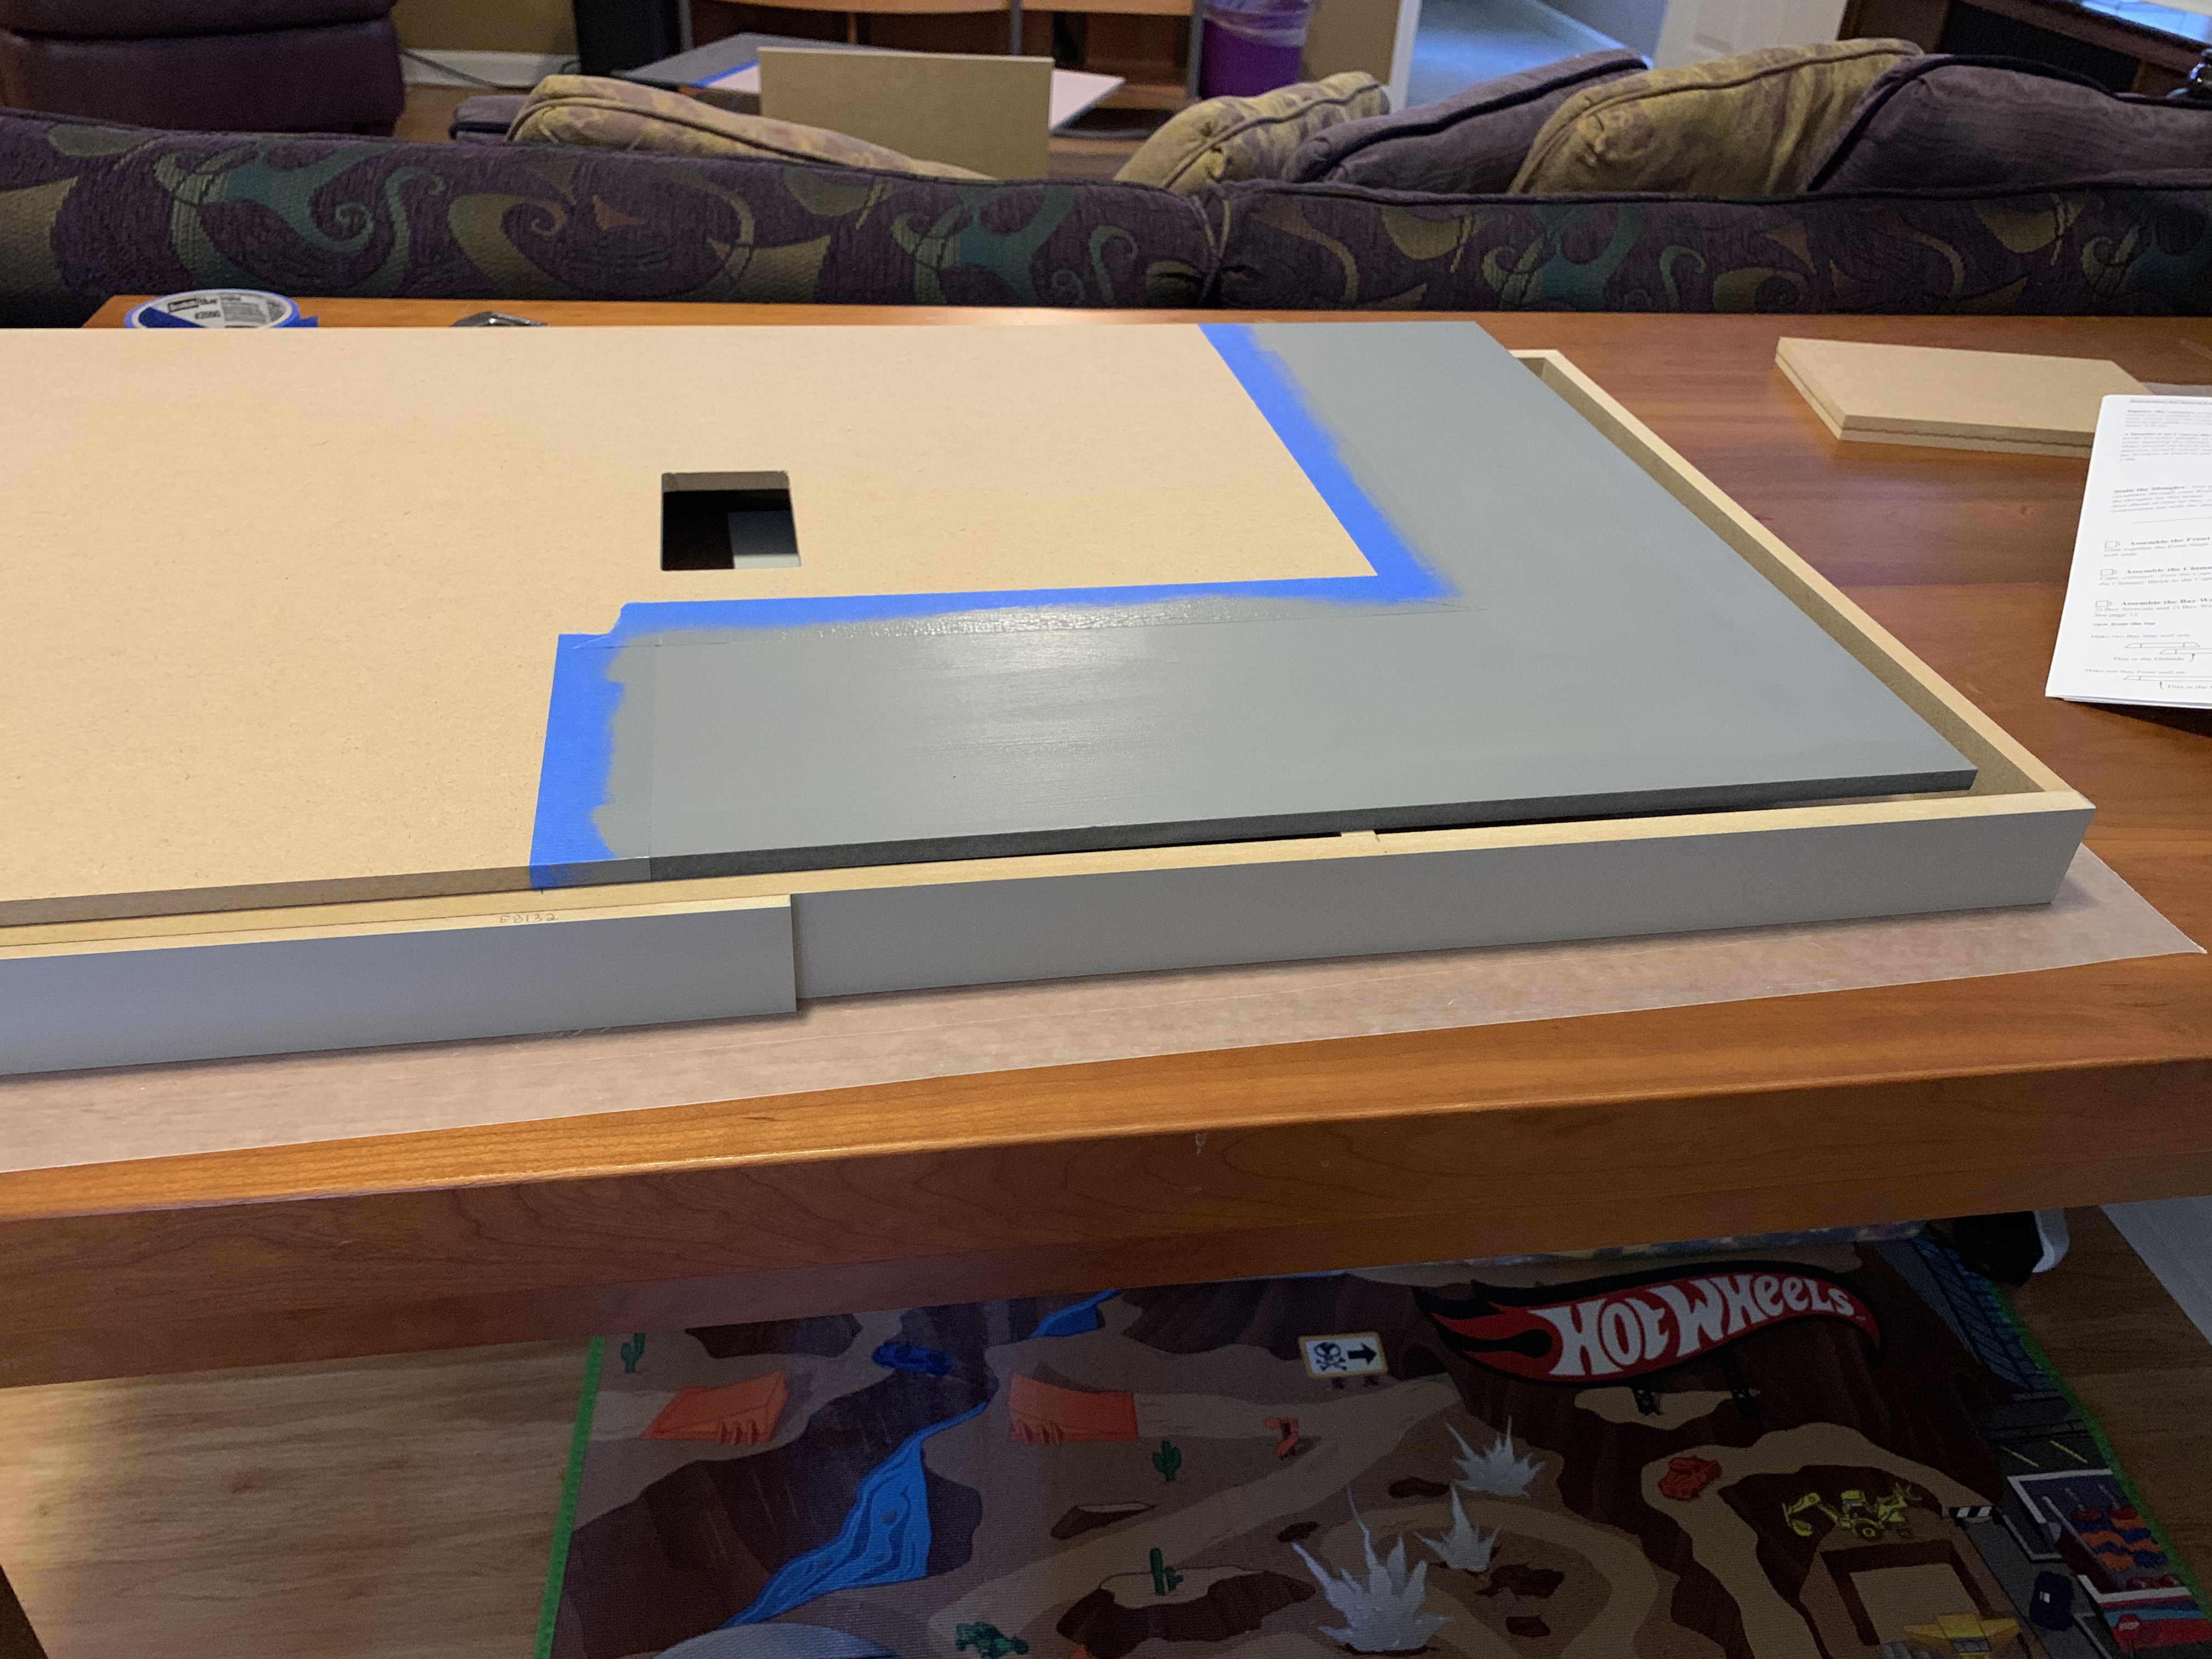
Typically, and consistent with the instructions, the house is painted, both inside and out, and then assembled before the windows are installed.
You may recall from our last update that all the exterior walls had been painted and much of the interior walls. Since I worked ahead (with my sister’s help) on painting the exterior window frames and the interior window trims, this presented an alternative assembly opportunity.
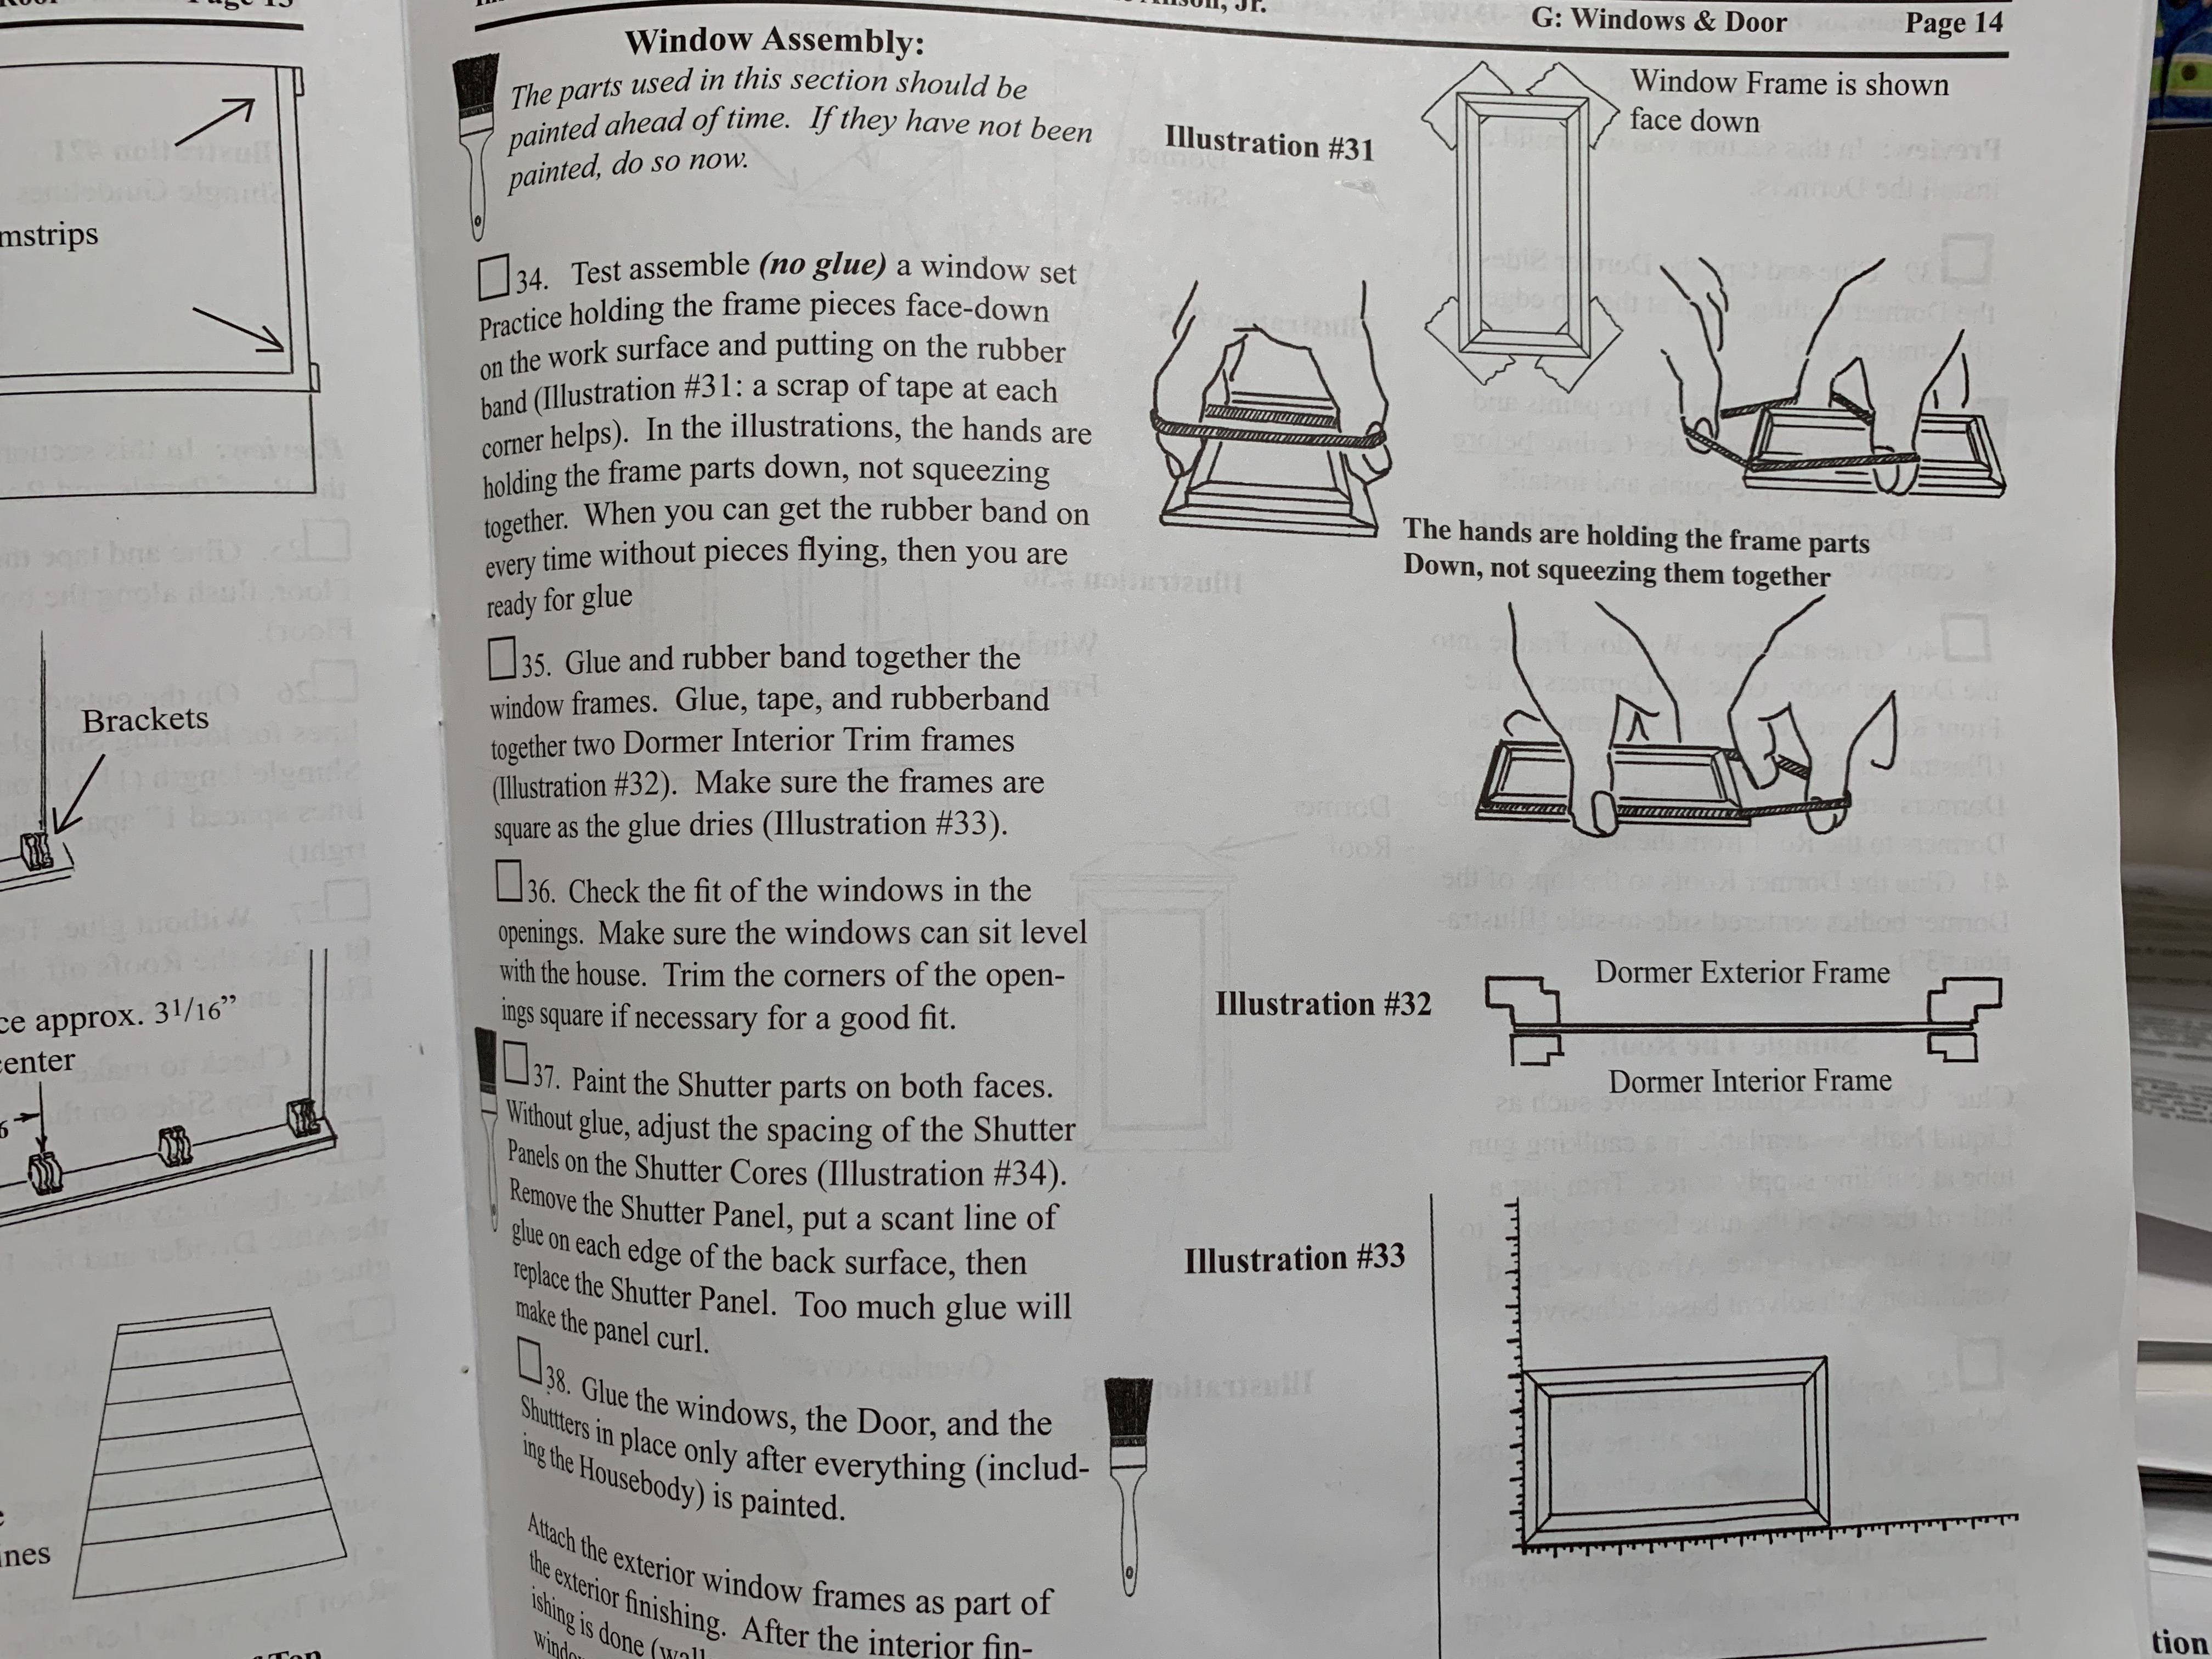
In my previous doll house posts I included this instruction diagram that demonstrates a rather challenging technique whereby the four window frame pieces are taped together, held down by several fingers from one hand while several fingers from the other hand wrap a rubber band around the whole assembly to ensure a tight fit.
The instructions include this statement: “When you can get the rubber band on every time without pieces flying, then you are ready for glue.”
I “practiced” this technique numerous times and concluded that my less nimble senior citizen fingers would never get it to work even once, much less every time.
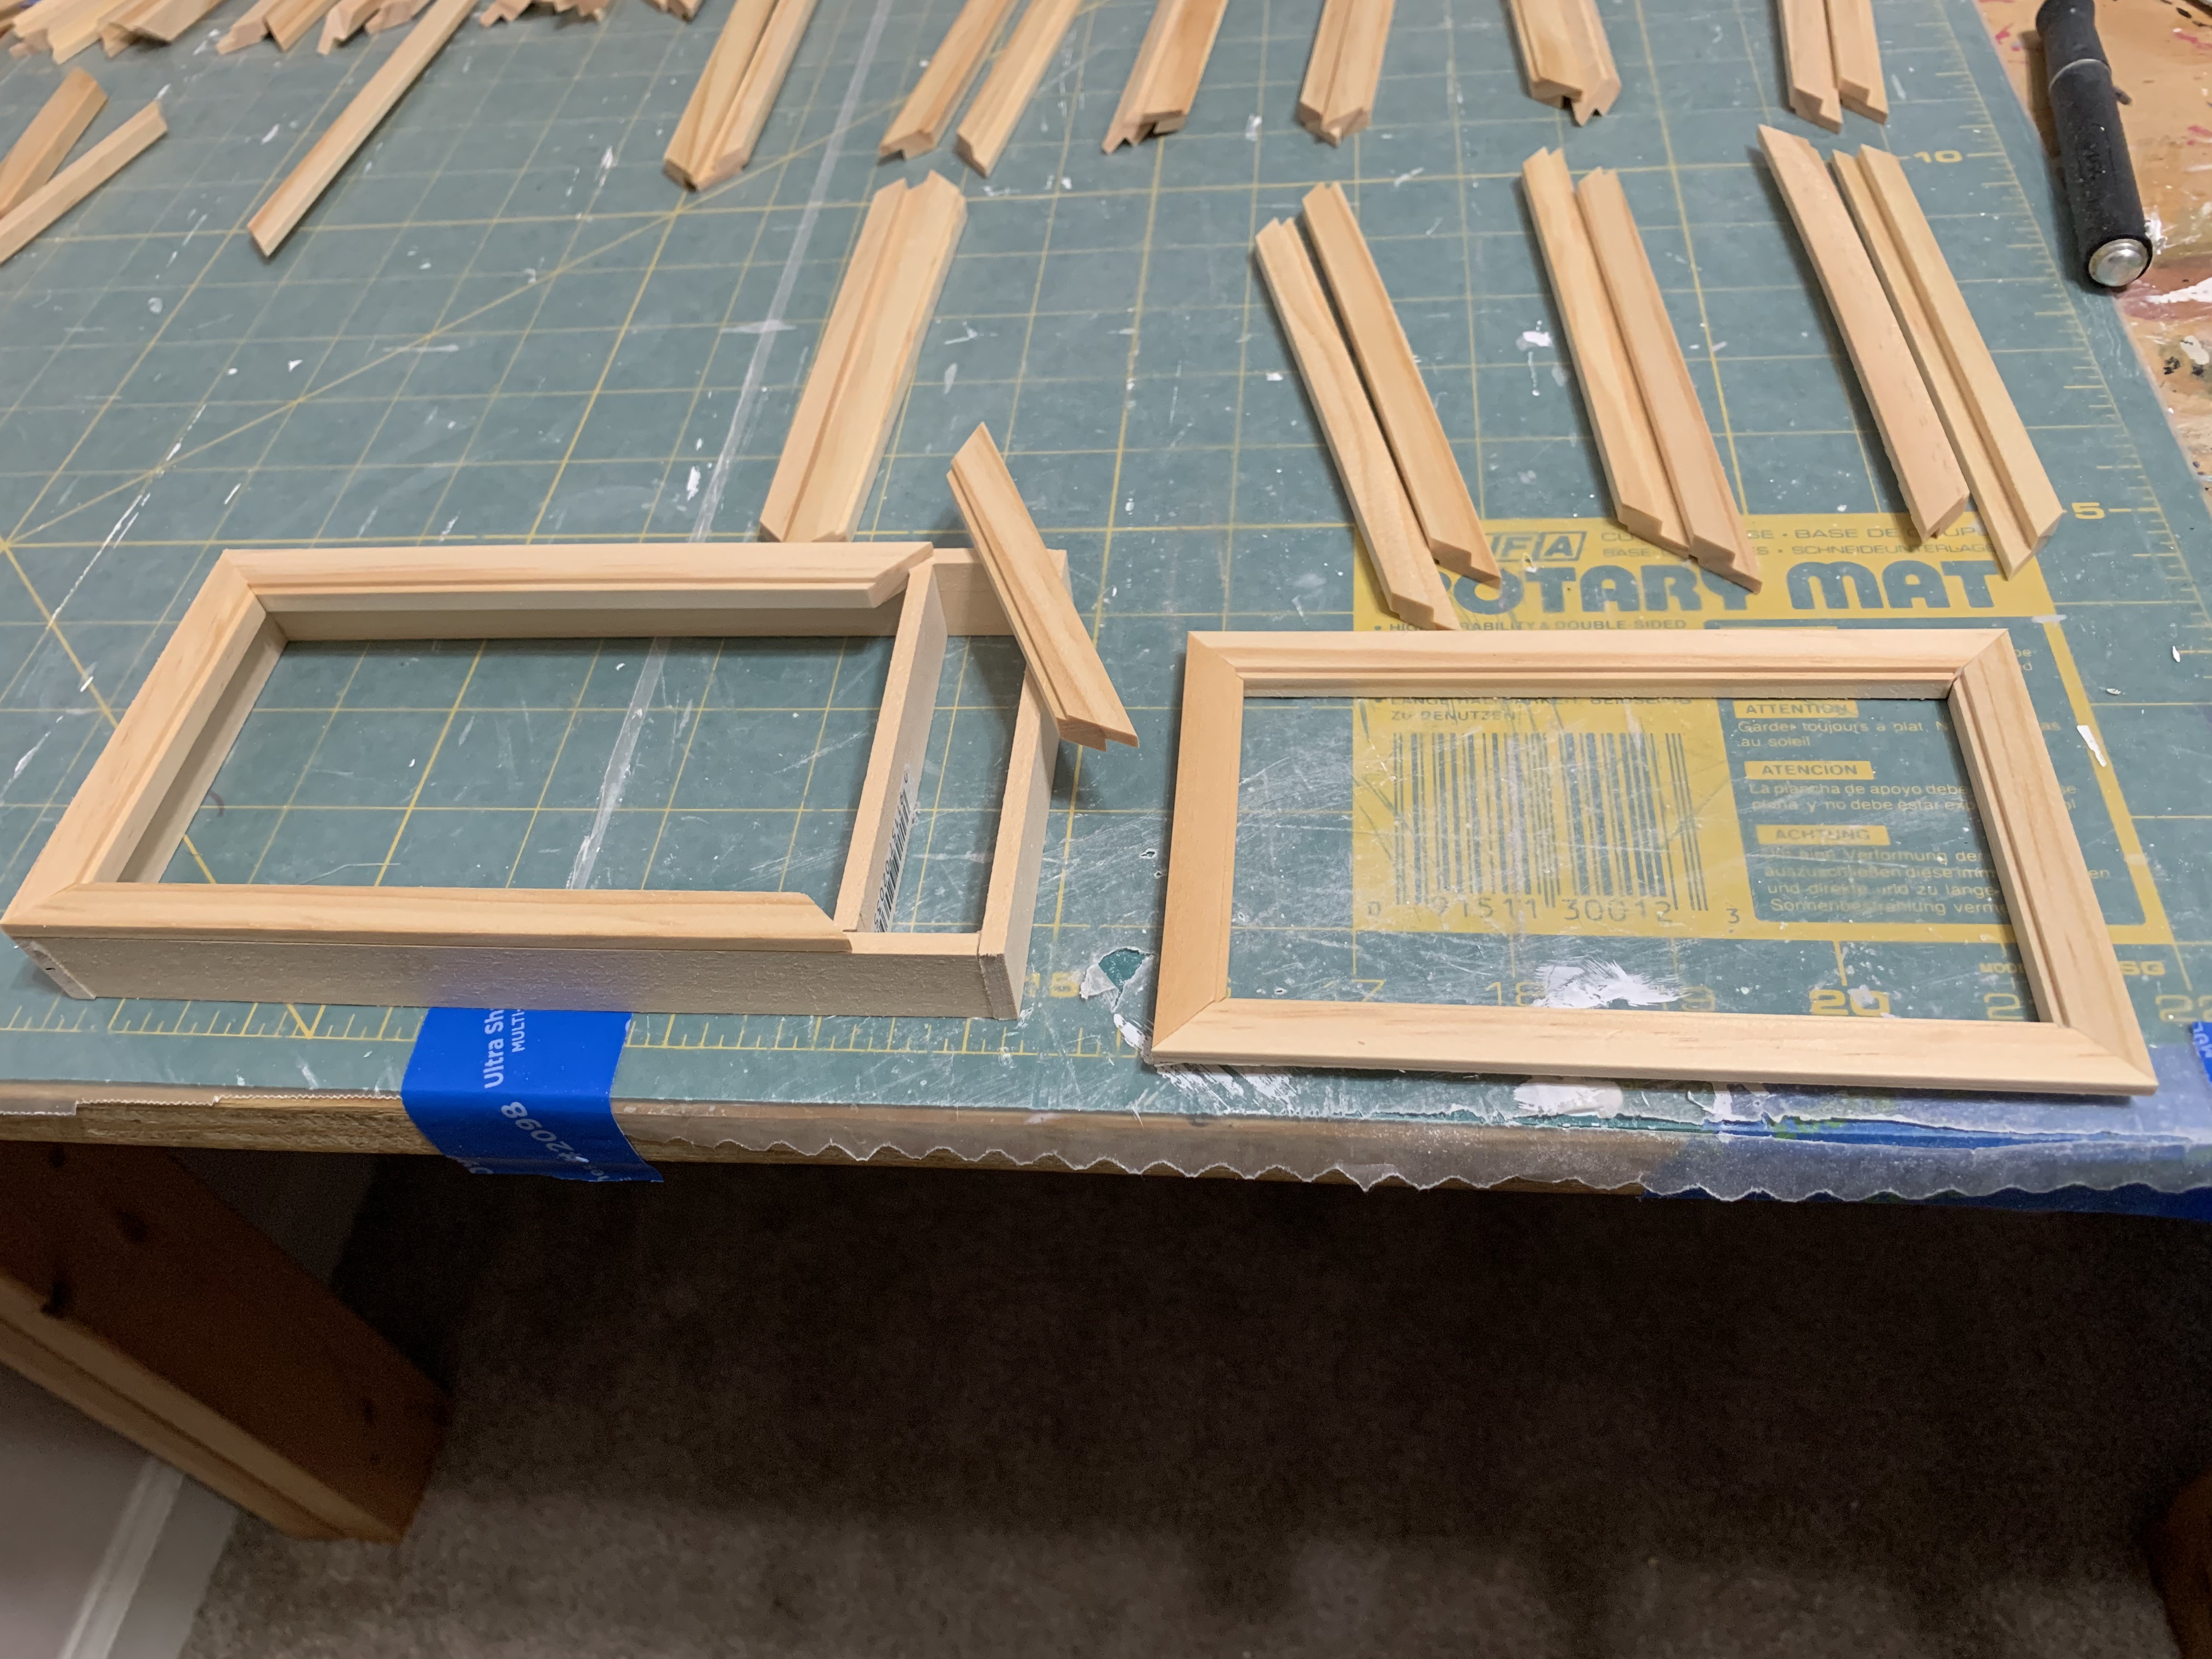
To avoid this difficult step, I built a jig to glue the four window frames together more easily, and then once painted, installed them in the assembled doll house, sandwiching the windowpane between the exterior and interior frames. However, for this doll house, with the window frames already painted, I figured out it would be easier to add the windows before the walls went up since the wall would be lying flat on the work surface (I realize this is not a realistic construction technique but I’m all for simplifying). And unlike the two previous homes, these window frames were different in that the windowpane fit into a groove in the exterior frame rather than between the exterior and interior window frames.
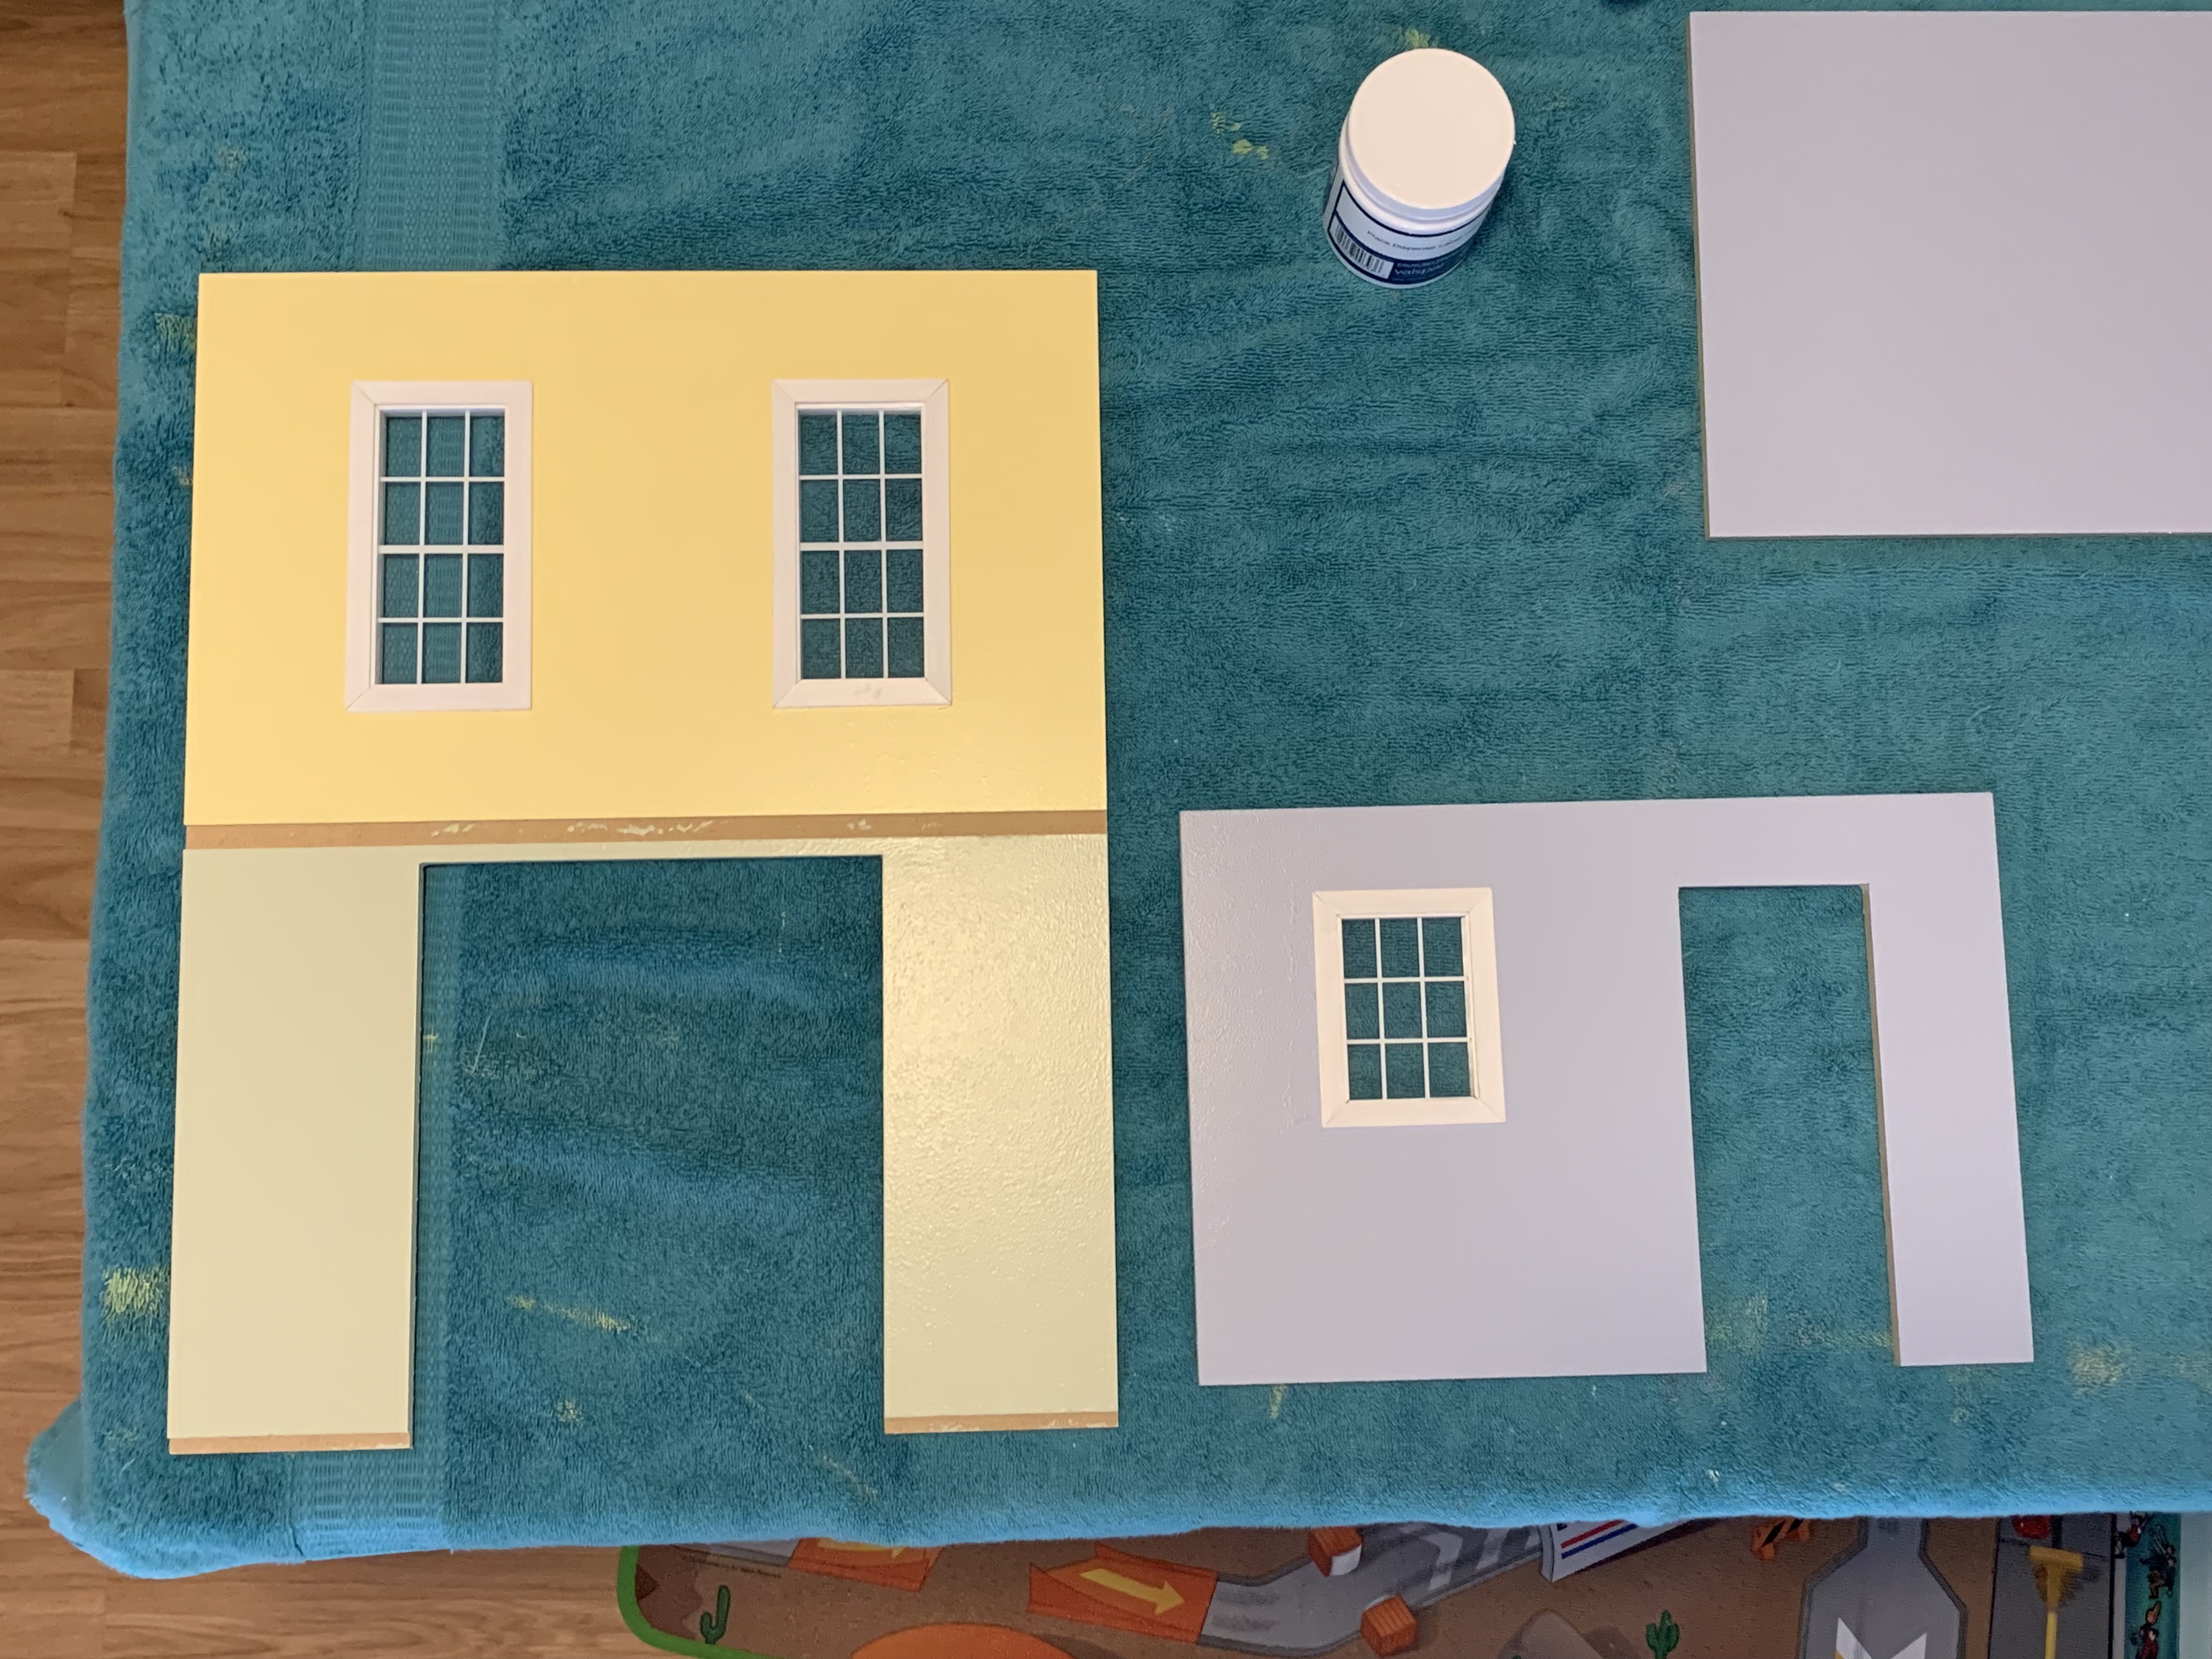
With this new design, I realized the windowpane itself would act as a guide for proper alignment of the four individual frame pieces. Then a really big light bulb dawned on me while I was glaring at the freshly painted walls. I didn’t need a jig. I could use the window opening as a jig. Applying glue to the two vertical side pieces and the bottom piece, I could easily assemble ¾ of the window frame with the pane in place and then allowing about 10 seconds for drying, lift the top of the frame up out of the window opening and glue the top frame piece on. With all four pieces glued together and, in the window opening, it was easy to squeeze all four pieces together for a nice tight fit.
Once dry, I could flip the wall over and glue on the interior frame pieces. What a brilliant solution I thought to myself!
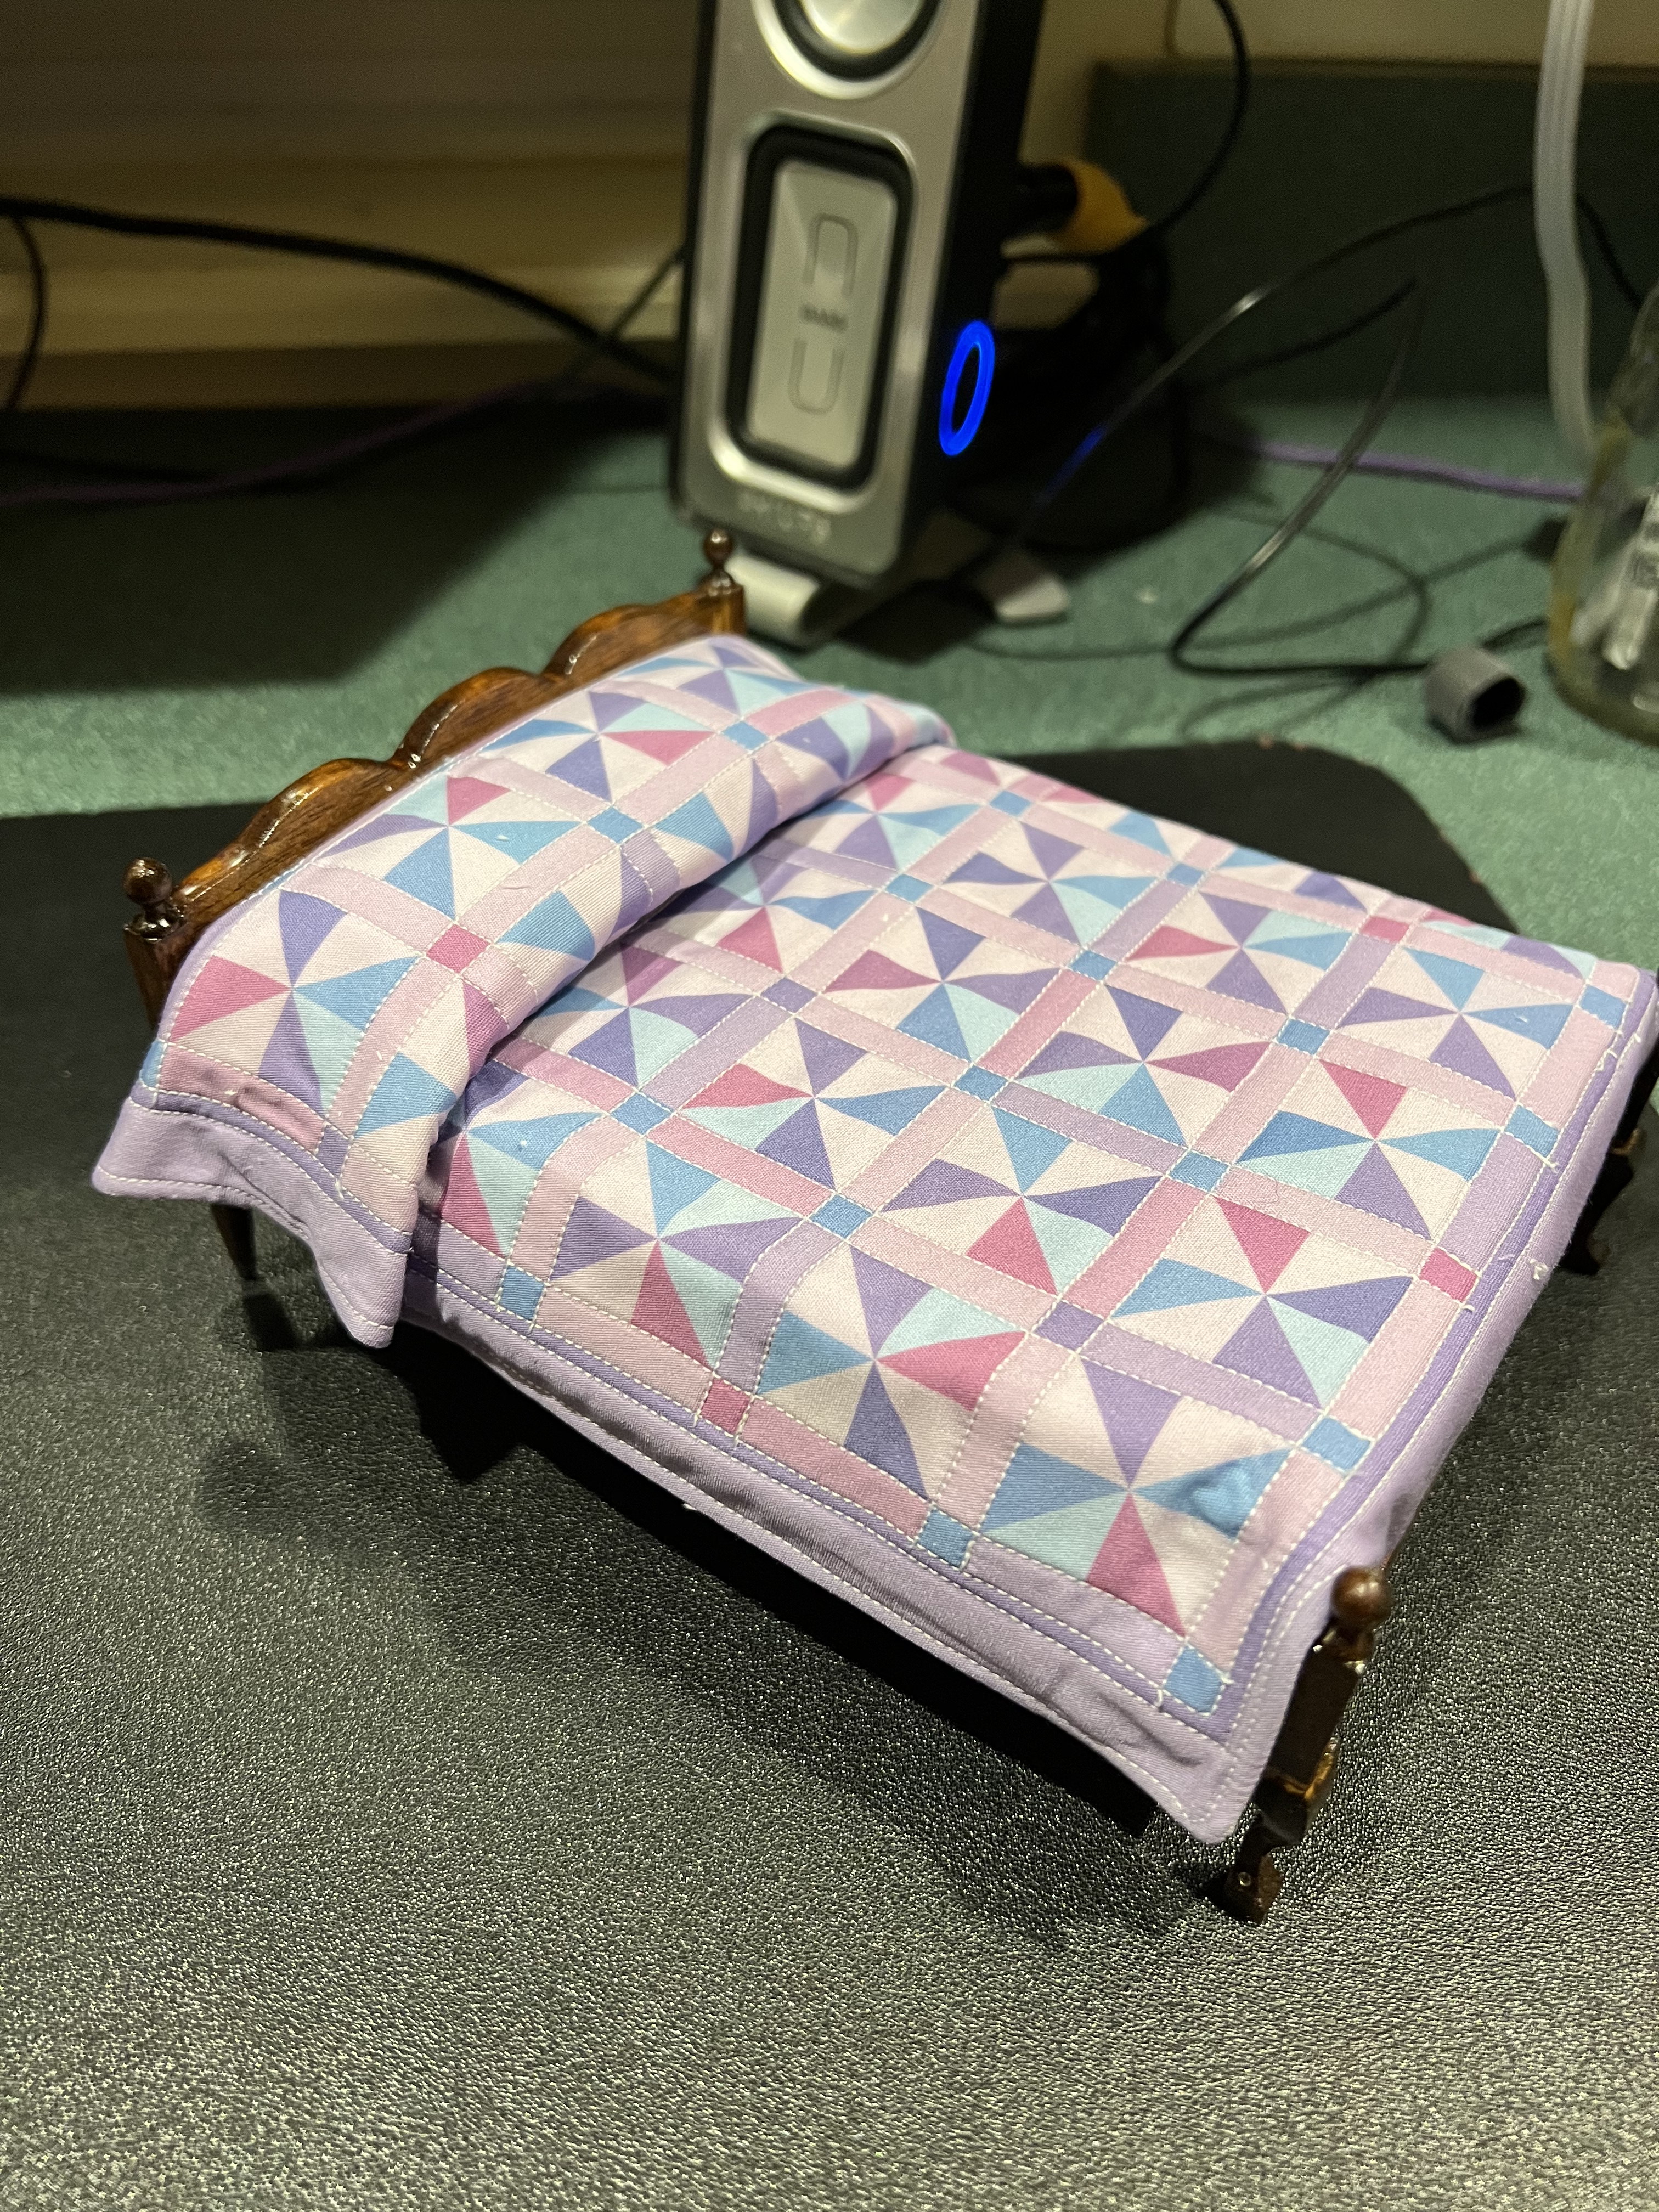
Meanwhile, my sister was busy with her furniture. When she came over to visit in December, she had finished the bed (seen in the far right of the photo below).

As I have mentioned before, my sister is an artist and one of her art mediums is fabric. So, to cover the bed, she quilted a miniature quilt, in colors to match the painted bedroom.
And using her creative artist computer skills, she scaled down Adirondack chair plans from full-scale to 1/12-scale. Then using a thin sheet of bass wood, she “printed” them on a Cricut…

…cut them out, and then assembled one as a practice which looked really cute (if you like me, did not know what a Cricut was, imagine a laser printer but instead of a print head, it has blades for precision cutting).
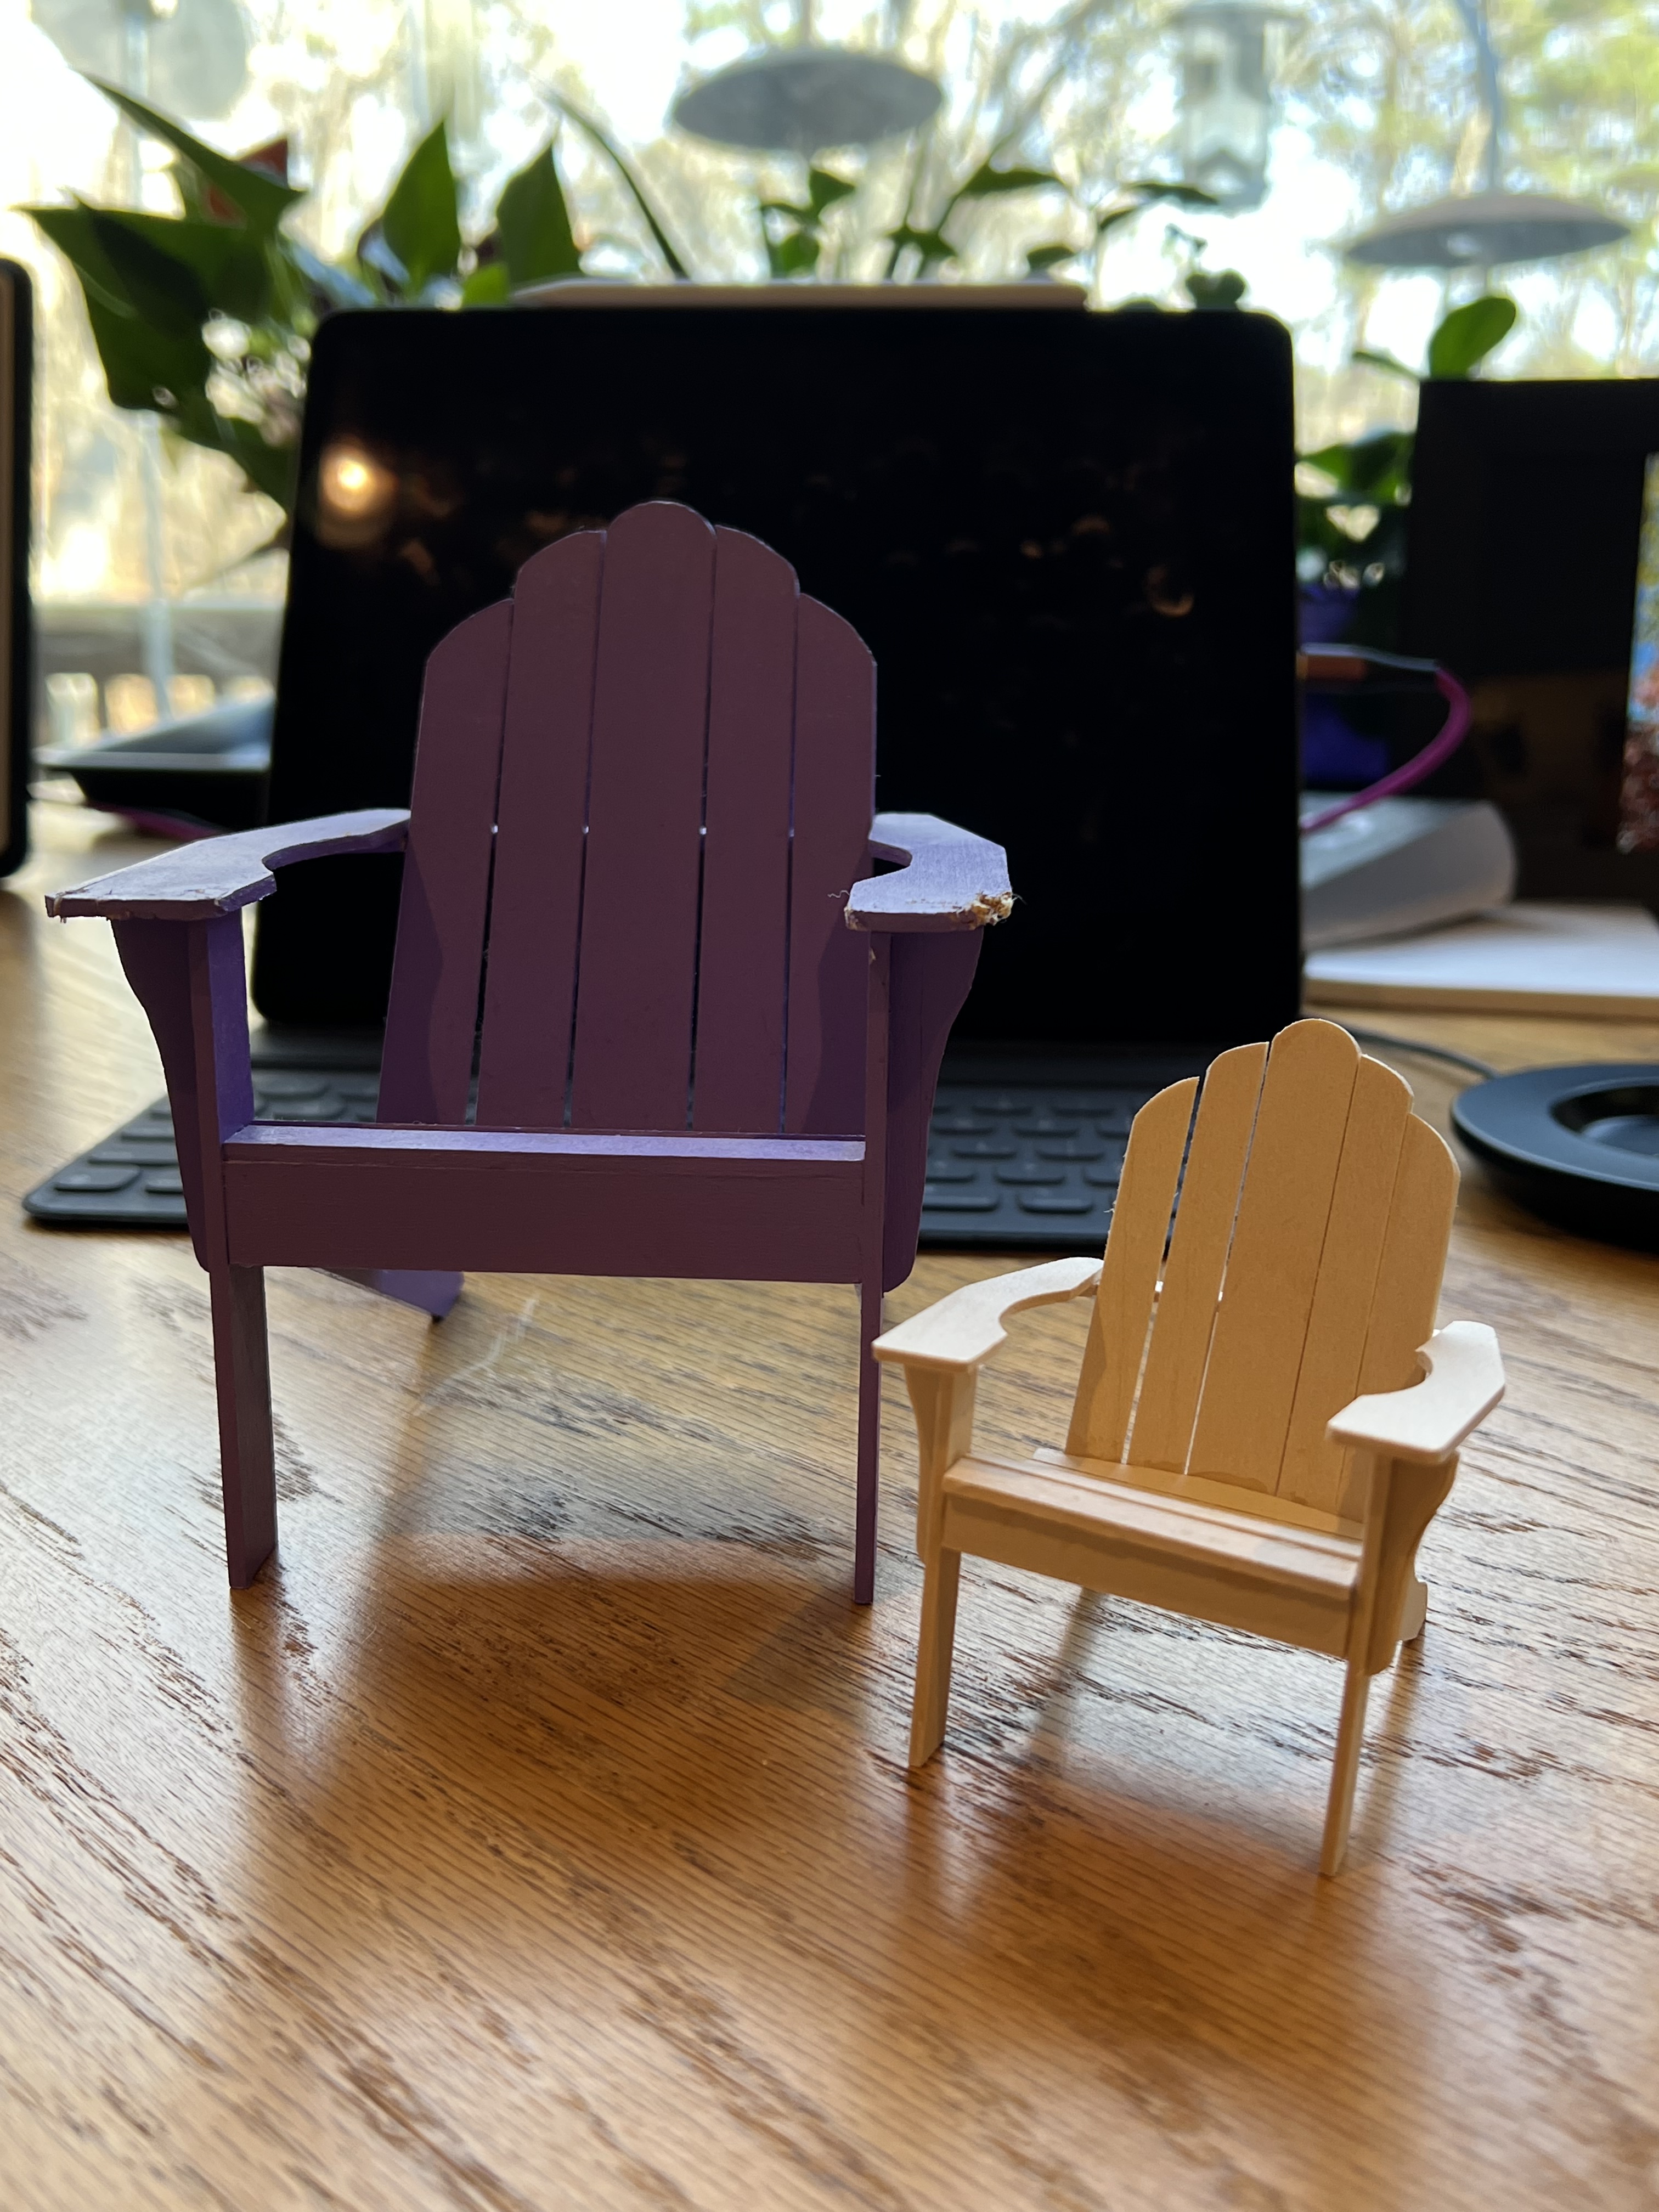
Here you can see how the size was scaled down from the phone chairs I made many years ago from the same full-size plans.
My sister also used her computer skills and Cricut to scale down a porch swing for the side porch.
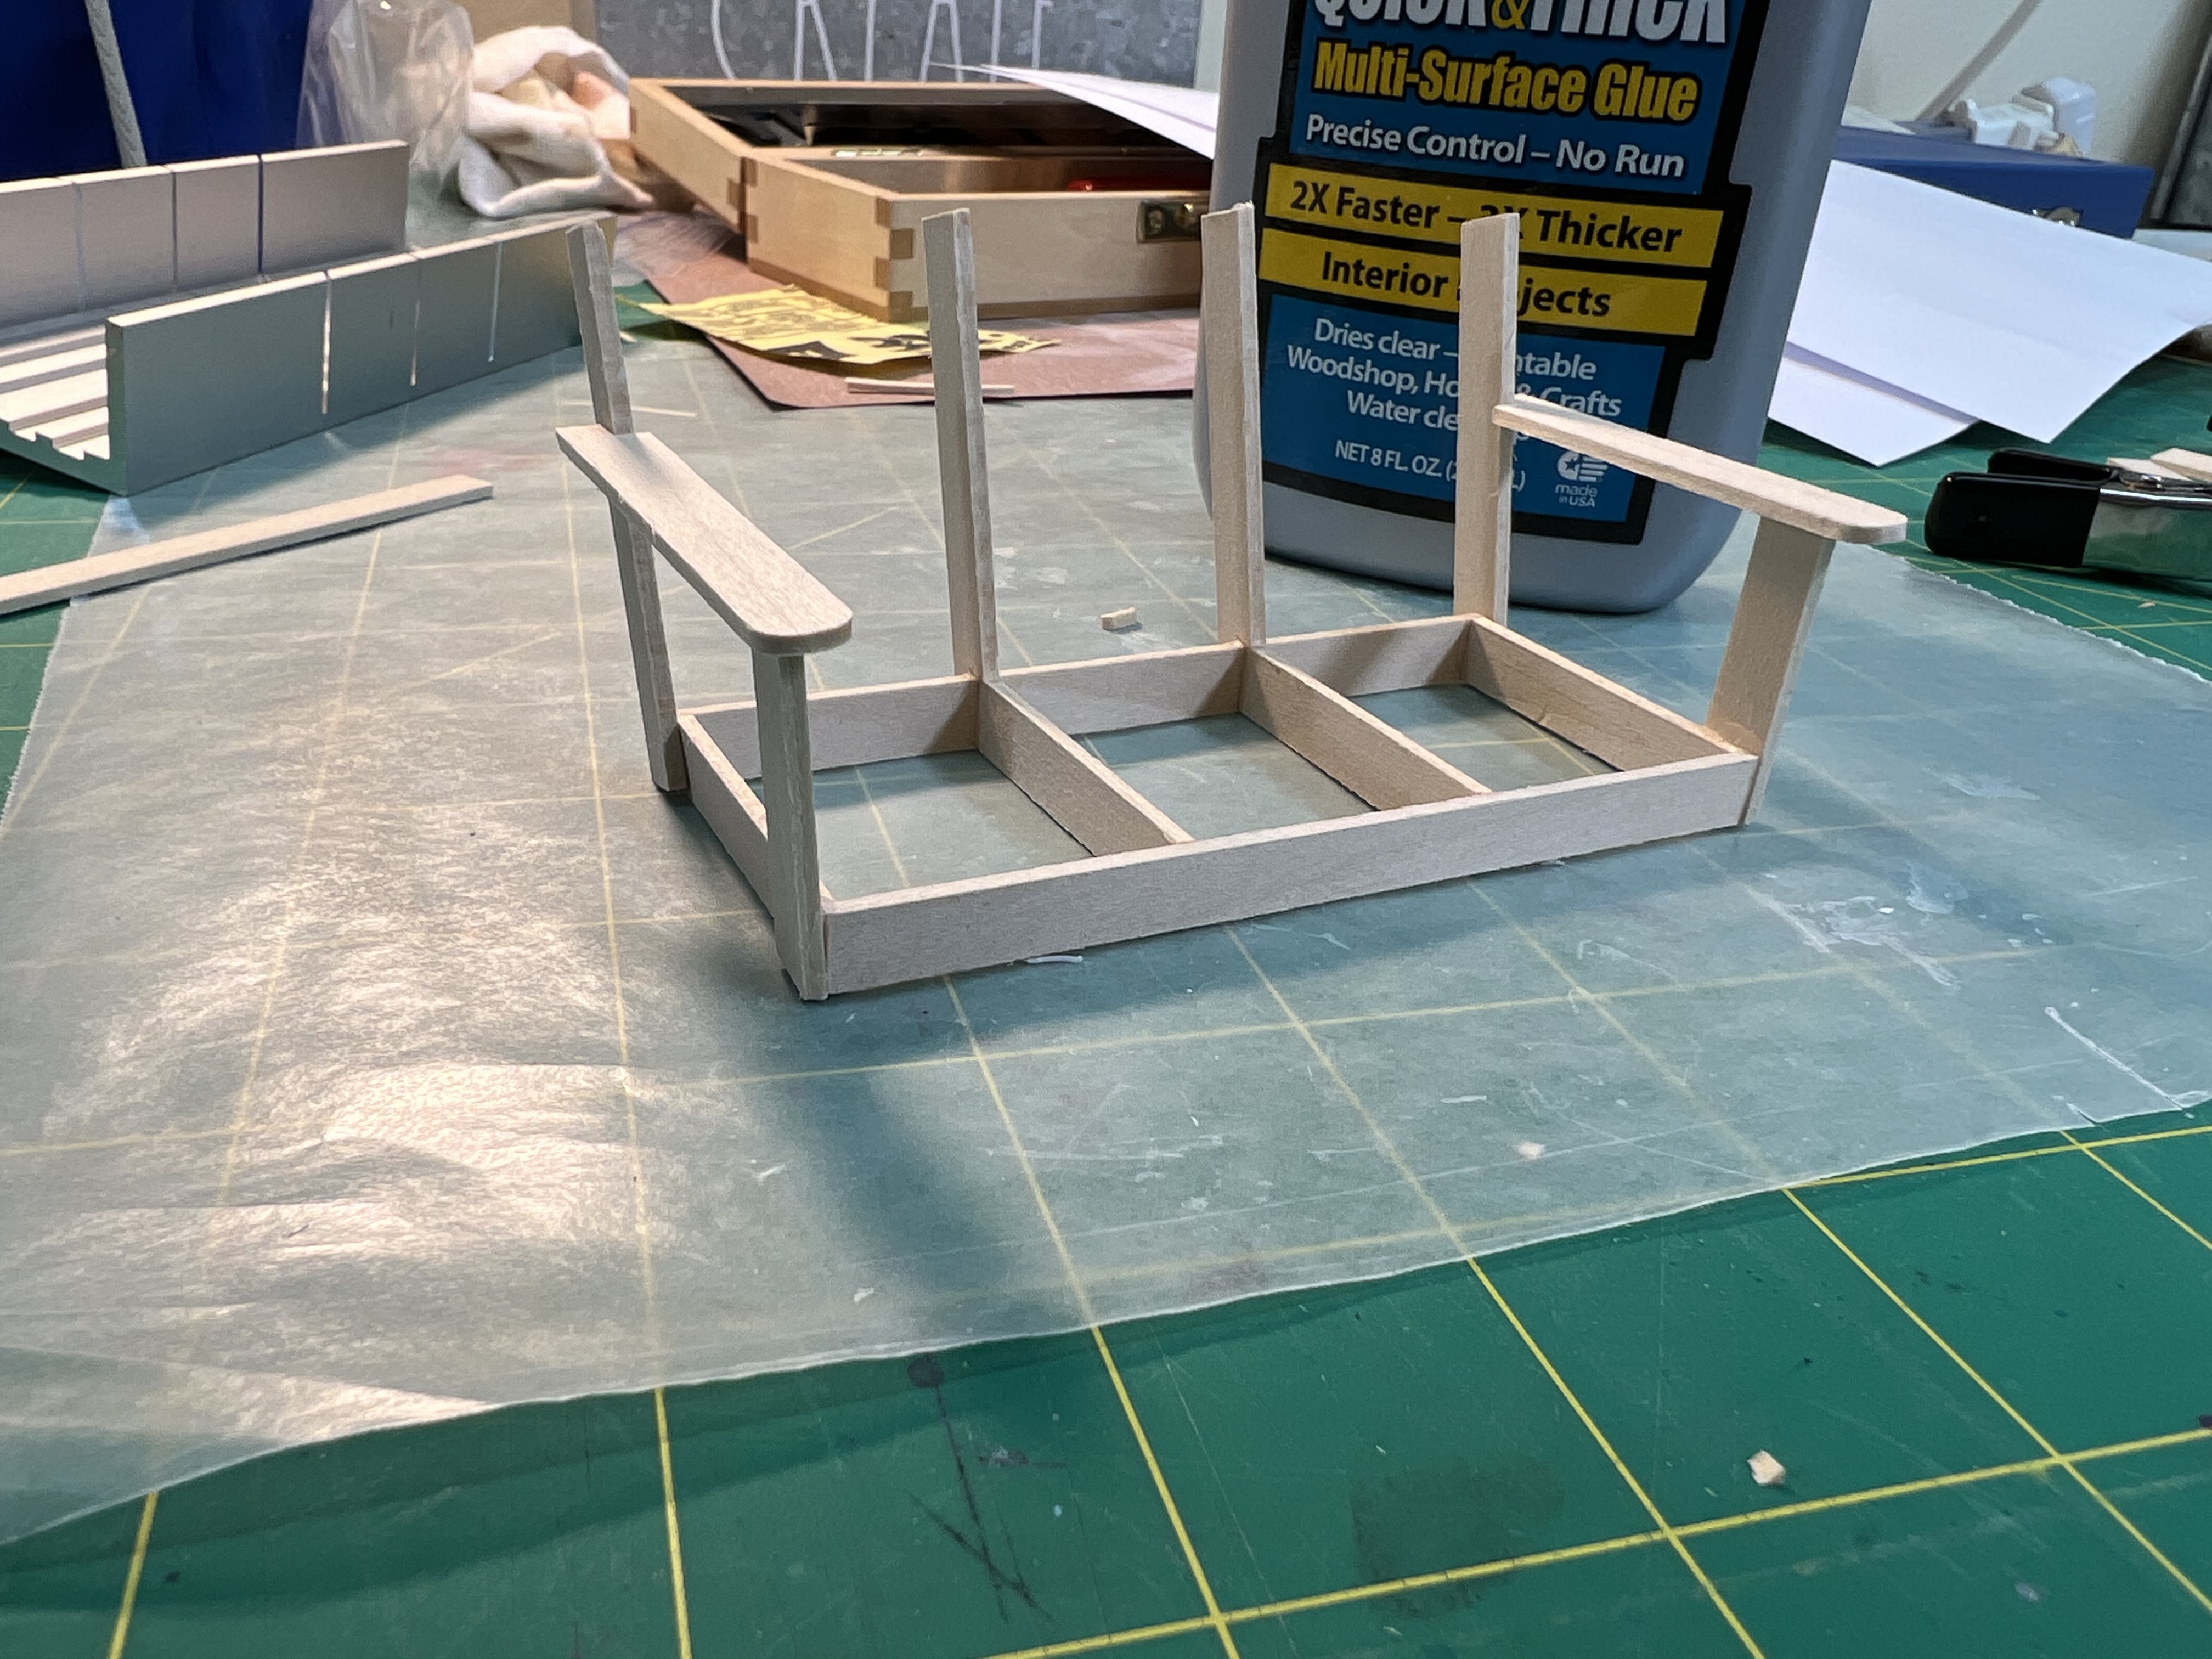
Here it is during assembly and then finished and painted.

She even added 1/12-scale stainless steel chains and eye hooks.
Returning to the doll house foundation, like the most recent doll house that I built, this one also did not come with pre-finished floors. If your read my posts about that one, you know that I explored many different options, some of which would have ended up costing more than the doll house kit itself. For that doll house, I came up with what I thought was a unique and ultimately very inexpensive solution. I got the idea of finding some sort of fabric that looked like scale carpet. On my first outing, I found the perfect material, a dark grey velour that I cut to size with a rotary cutter and glued down.
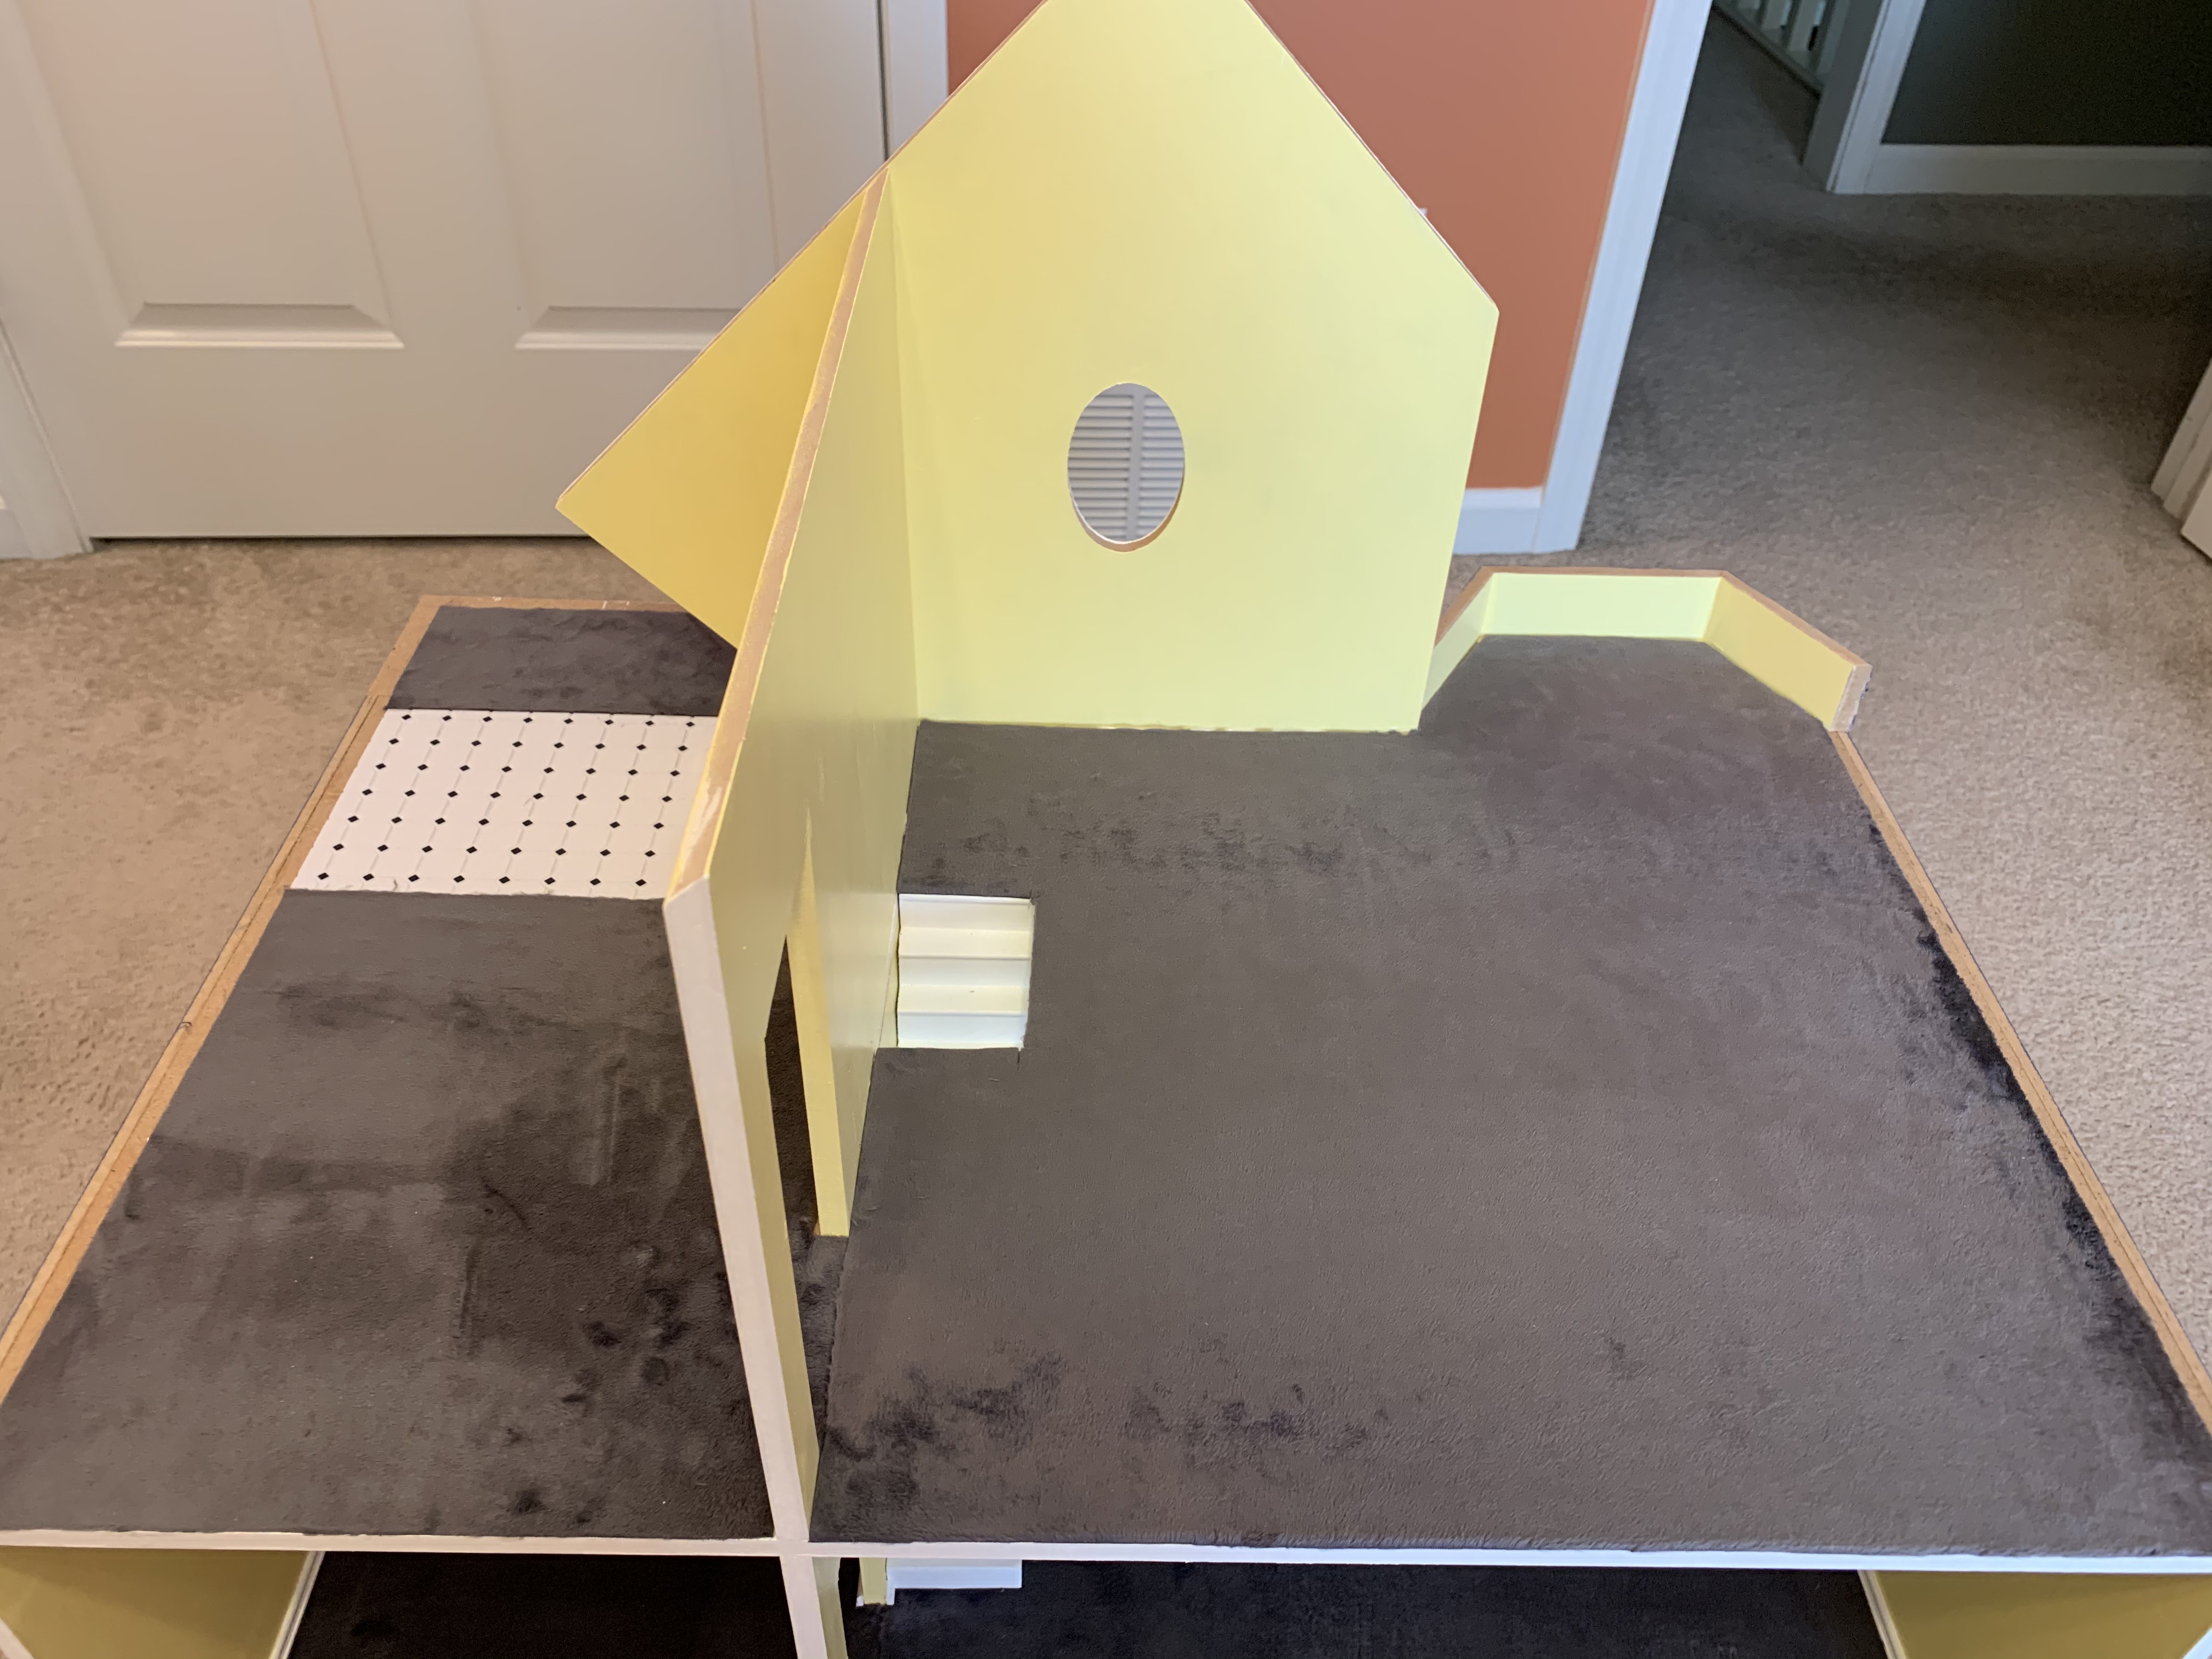
When my sister came over for her visit in December, we discussed and explored several different flooring options. I showed her the bag of fabric I had left over that would have easily been enough for this house as well. However, recall that my sister planned to sew miniature oriental rugs which begged to lay on some sort of hardwood floor. Then another big lightbulb went off in my mind.
To Be Continued…
Categories

This is another work of art by you and your sister. The quilt she made is beautiful. I have friends with a cricut, and it can do so many amazing things. I feel getting one would be a whole new hobby for me, and I am not quite ready for that yet. I look forward to your next post to learn your brilliant idea for the flooring.
Thanks, Betty from both of us. The house is turning out very nicely and there will be several more future posts. Stay tuned…
This is so sweet and so impressive! I love your carpet idea, and that quilt is adorable! How wonderful that you have this project together. I hope maybe someday Dot and Nini and I will build things like this for our grandchildren!
Thanks, little sweetie. I hope you could do that one day as we are having a blast working on this one together.