
A Classic Boat Model – All Planked Out
Continued from: A Classic Boat Model – Finally, Some Planking
The instructions indicated that the planks were to be glued onto the sides of the boat overlapping the stern and the bow. So, once I had glued in that small 7th plank, the next step was to cut off the excess and sand it smooth. The shape of the upper deck also did not match the uncut sixth plank so that had to be trimmed and sanded down to the shape of the deck. With that complete, I was ready to plank the other side of the boat.
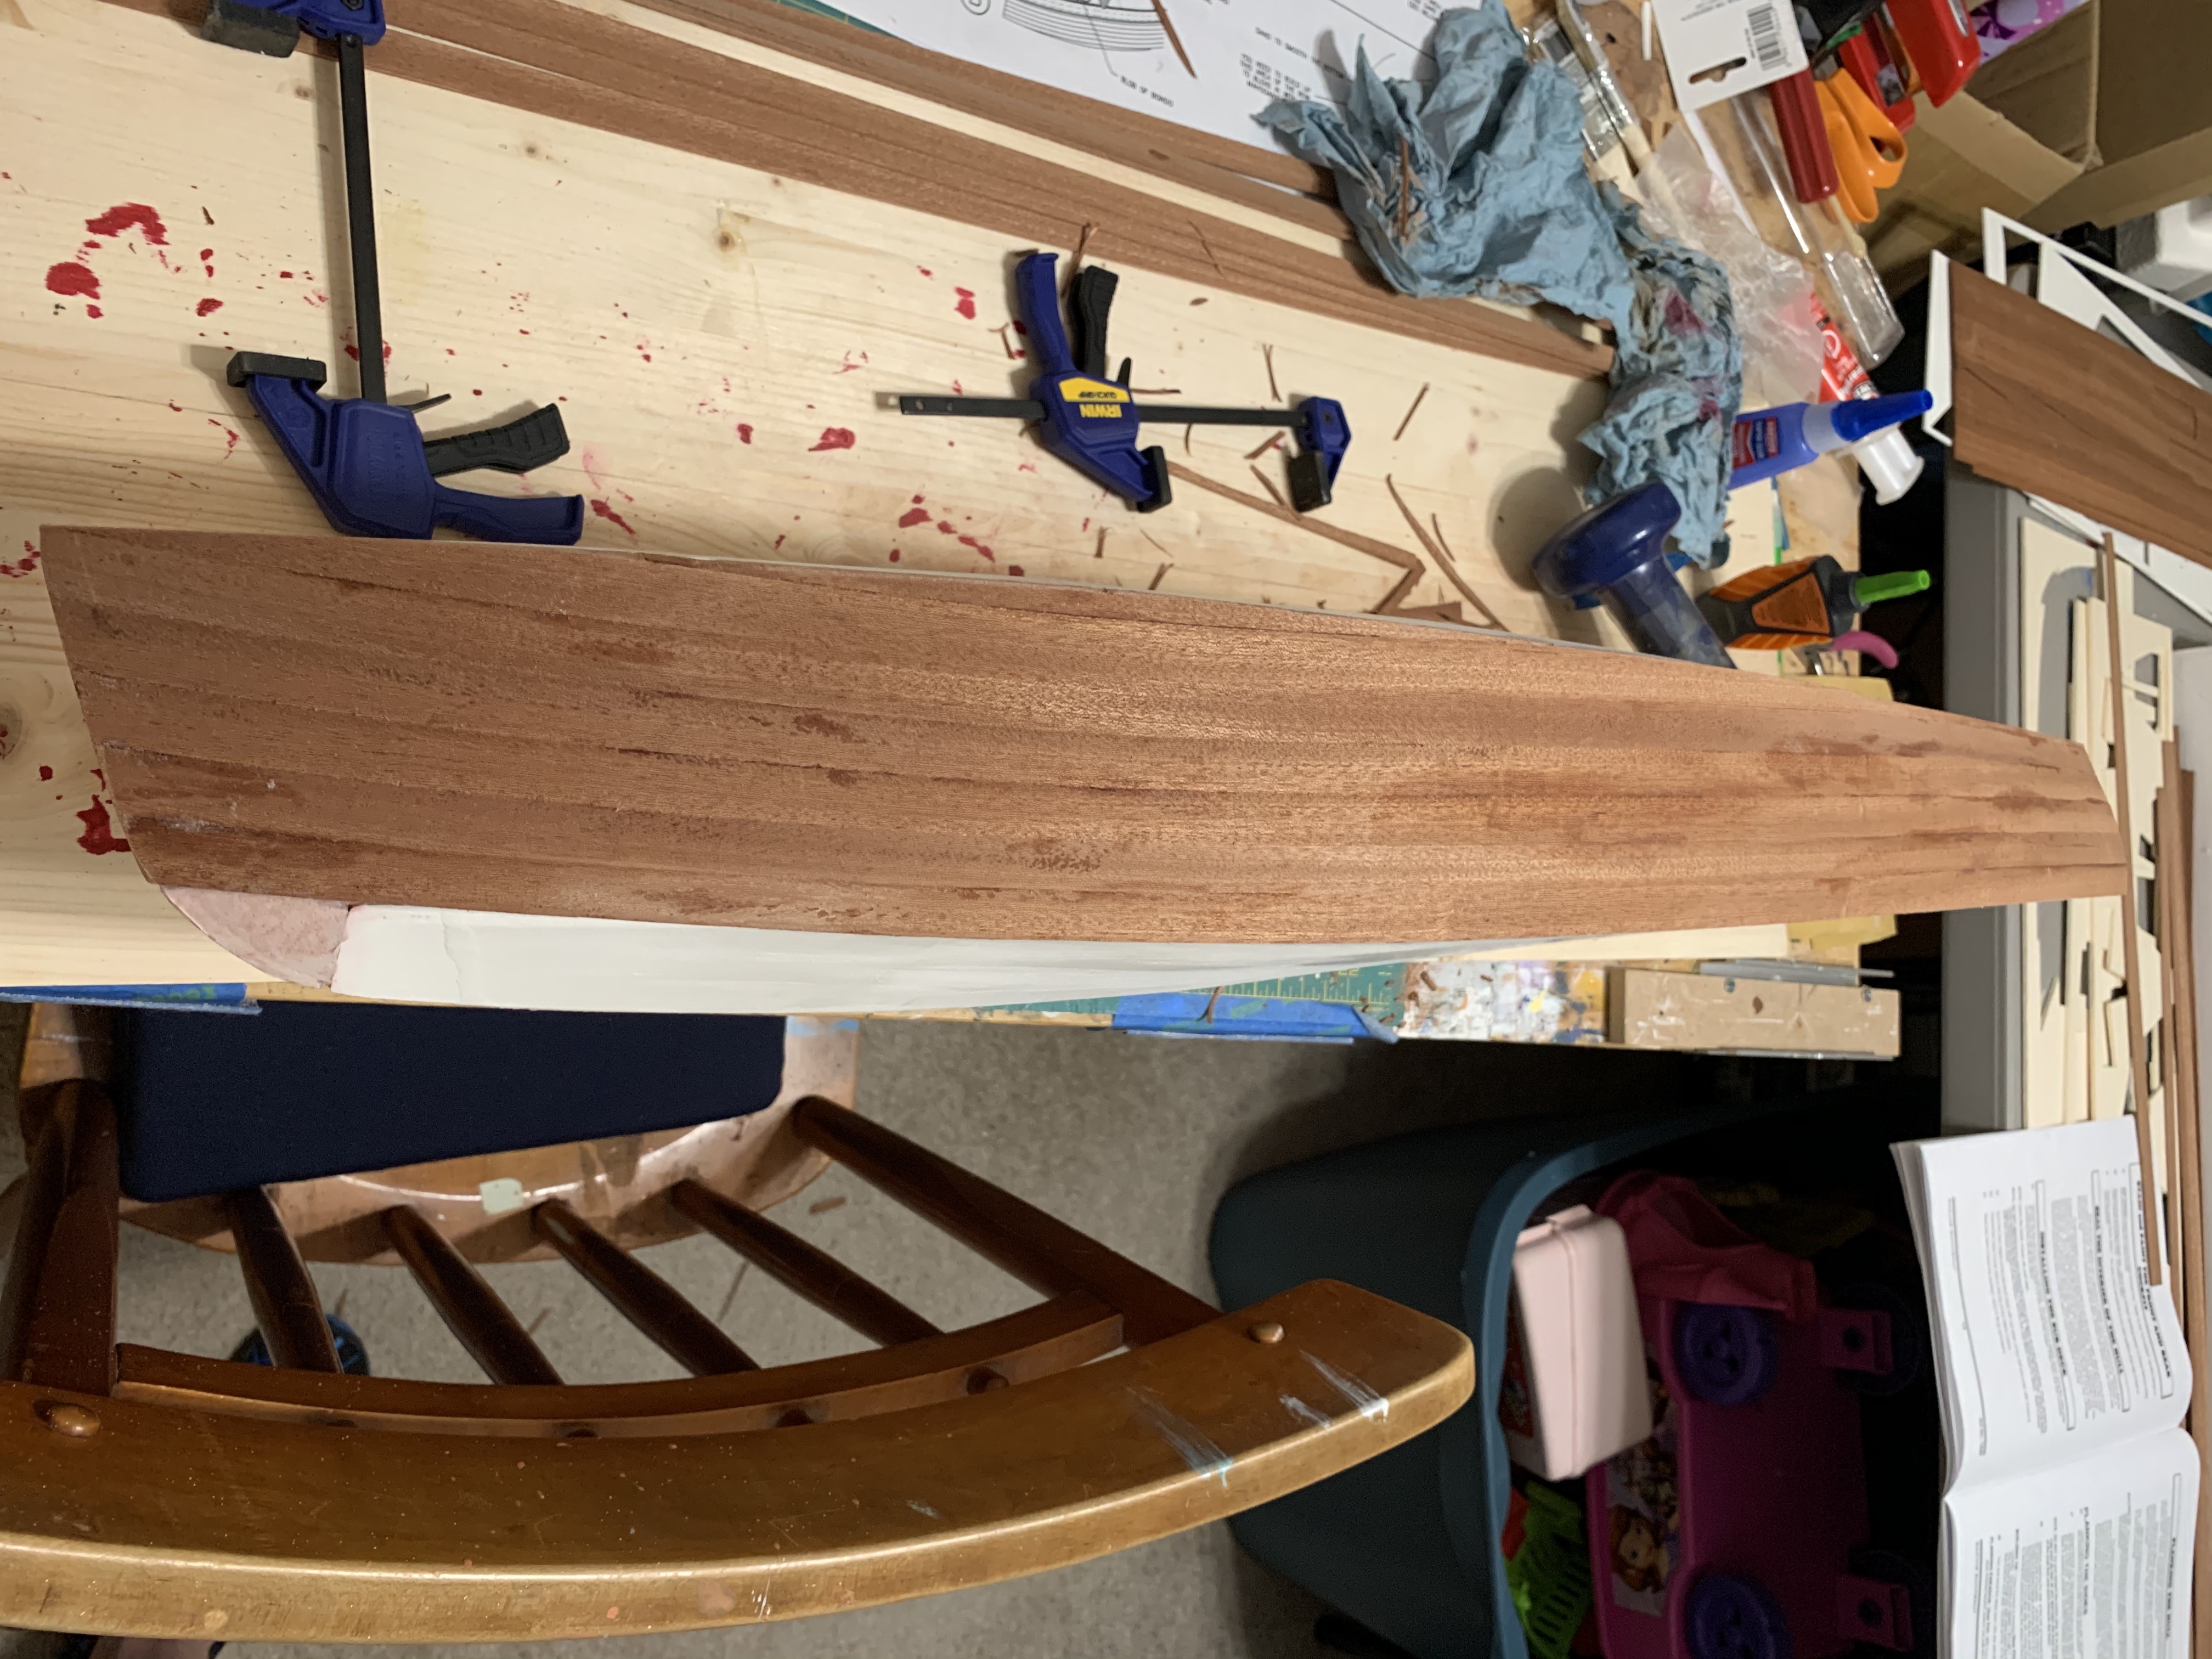
Despite having had the practice of planking the first side, I can’t say planking the second side went any easier. Particularly at the bow, where I could only glue down an inch or so at a time since the plank was often needing to bend in three different directions at the same time. As I would carefully pull my hands away from the just tightened clamps, the plank would come lose and the clamps would fly in the air with me frustratingly mouthing a few choice, but not so nice words. But I slogged on and eventually finished the second side.
Looking over the finished side, it was obvious I had had the same challenge as the first side keeping excessive glue off the exterior surface of the planks. Again, my main hope was that the clear polyurethane I would apply once all the planking was complete would blend the colors evenly.

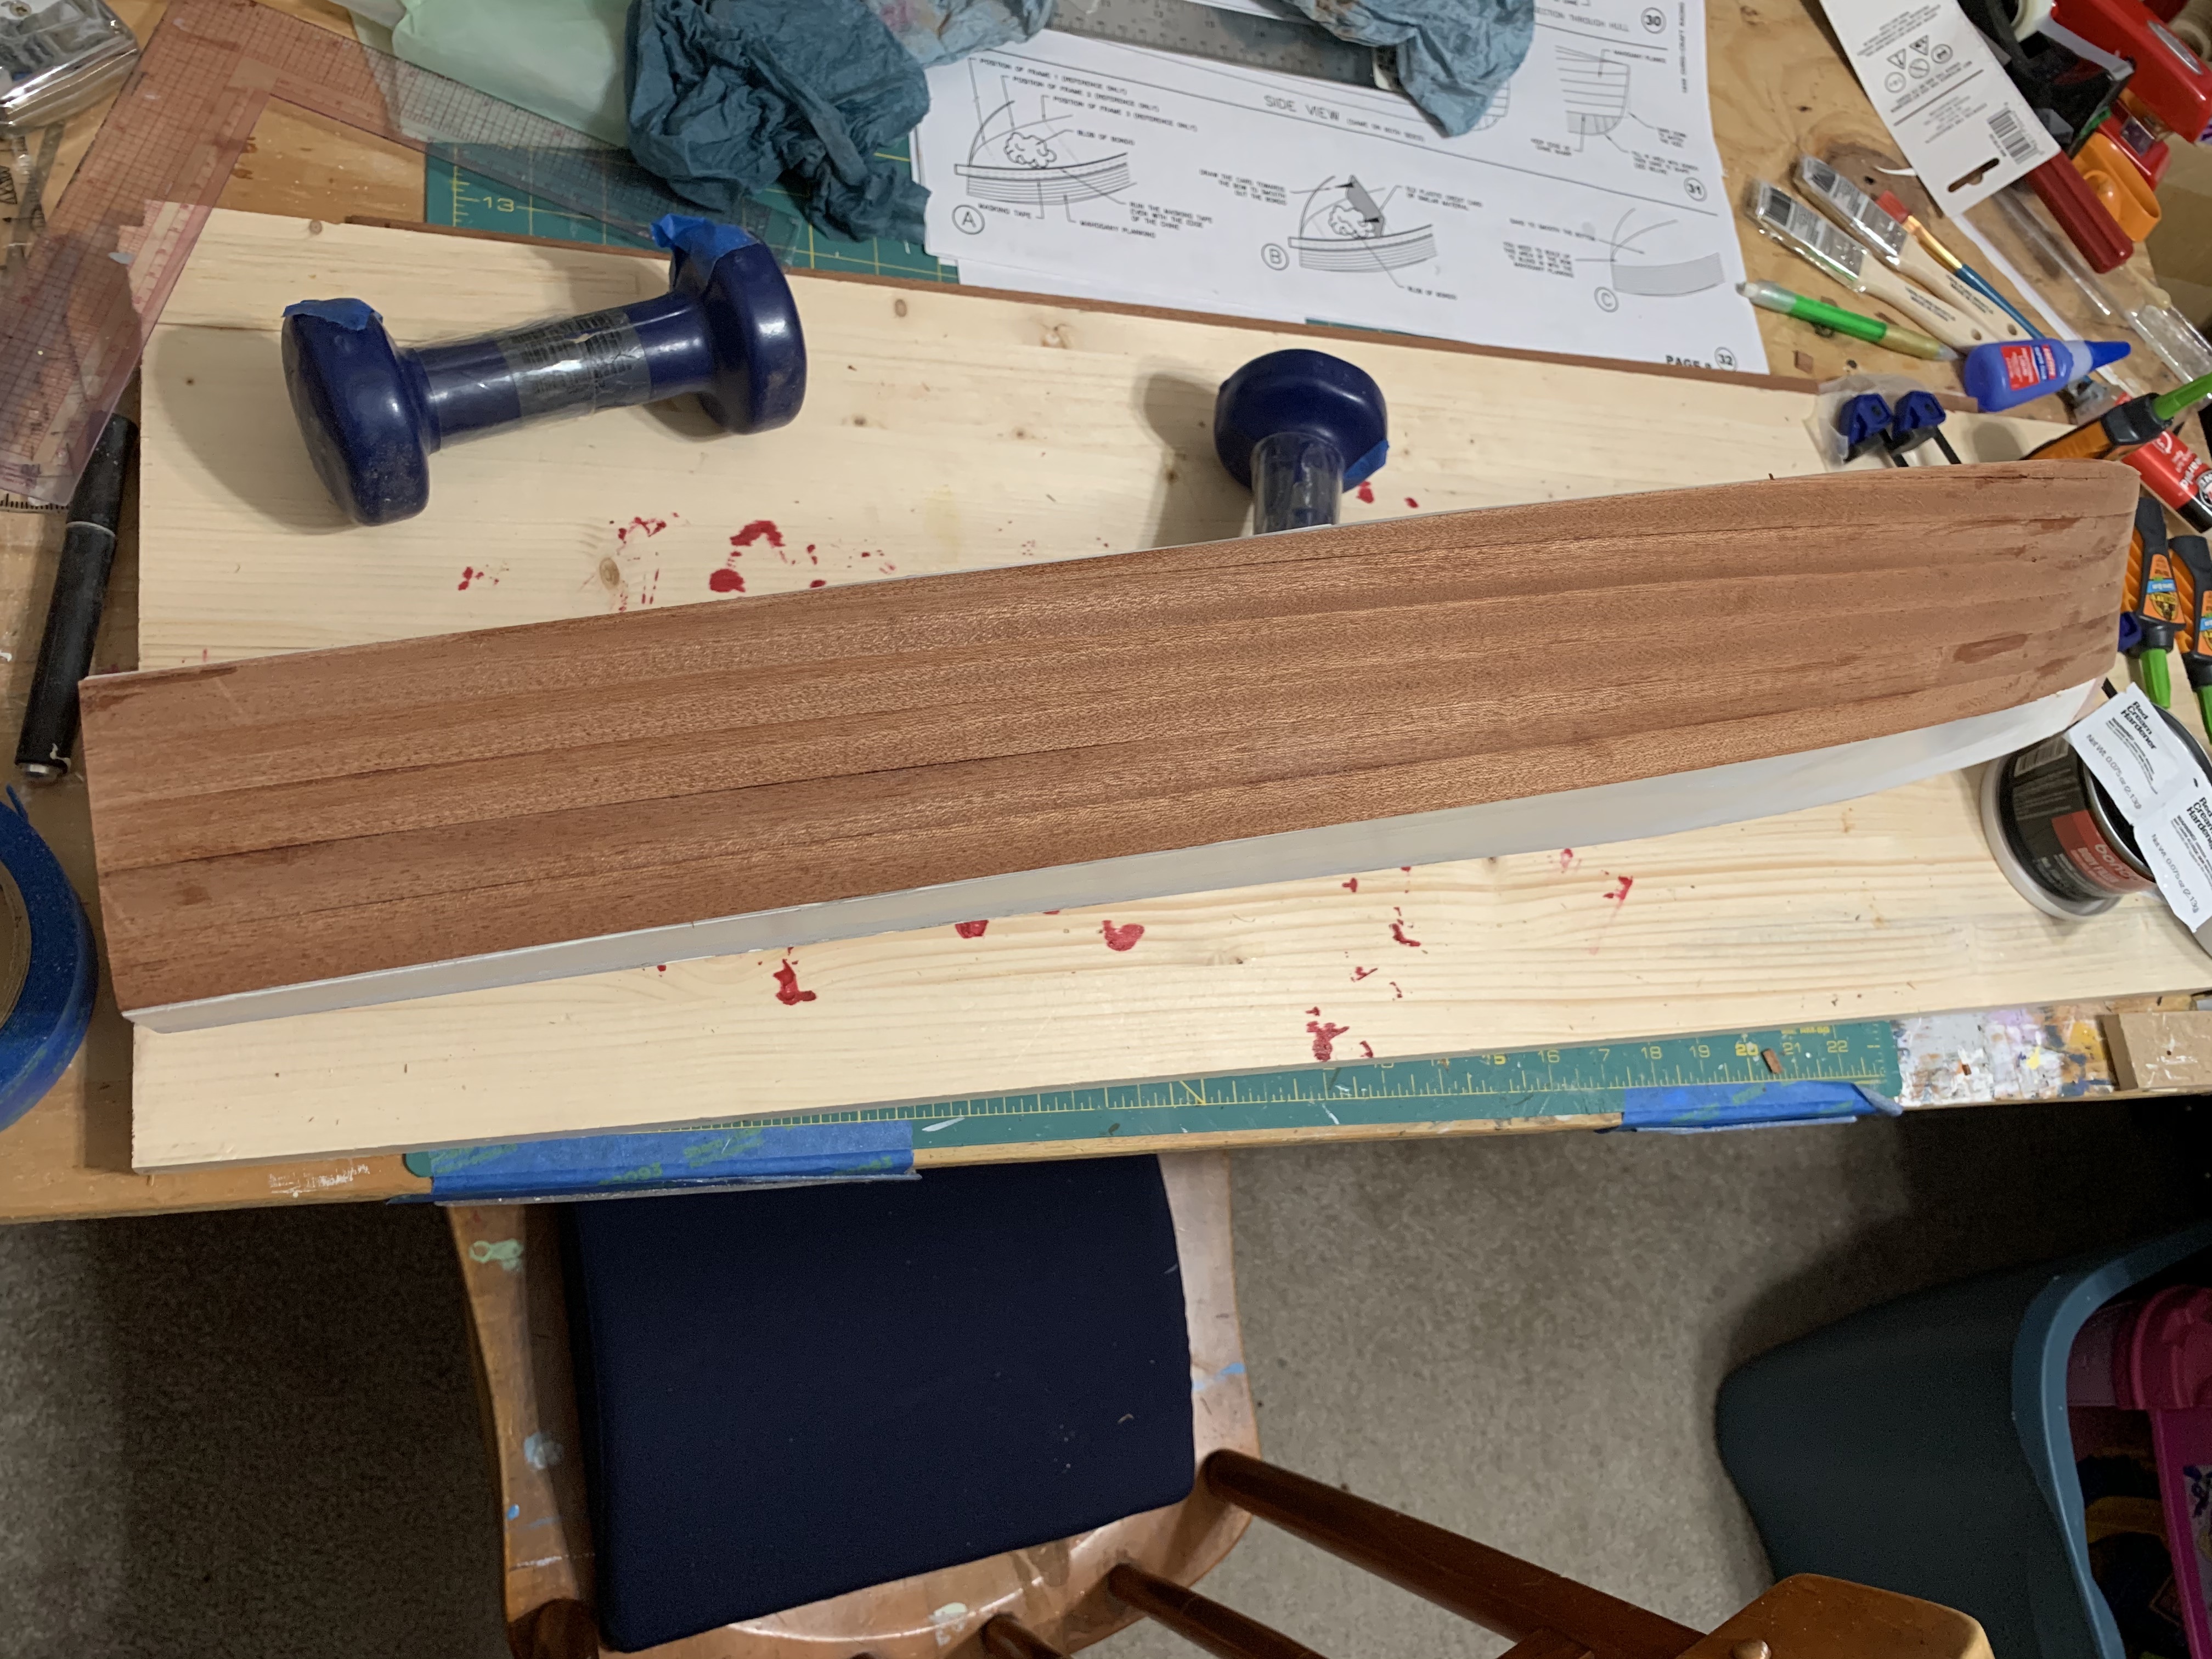
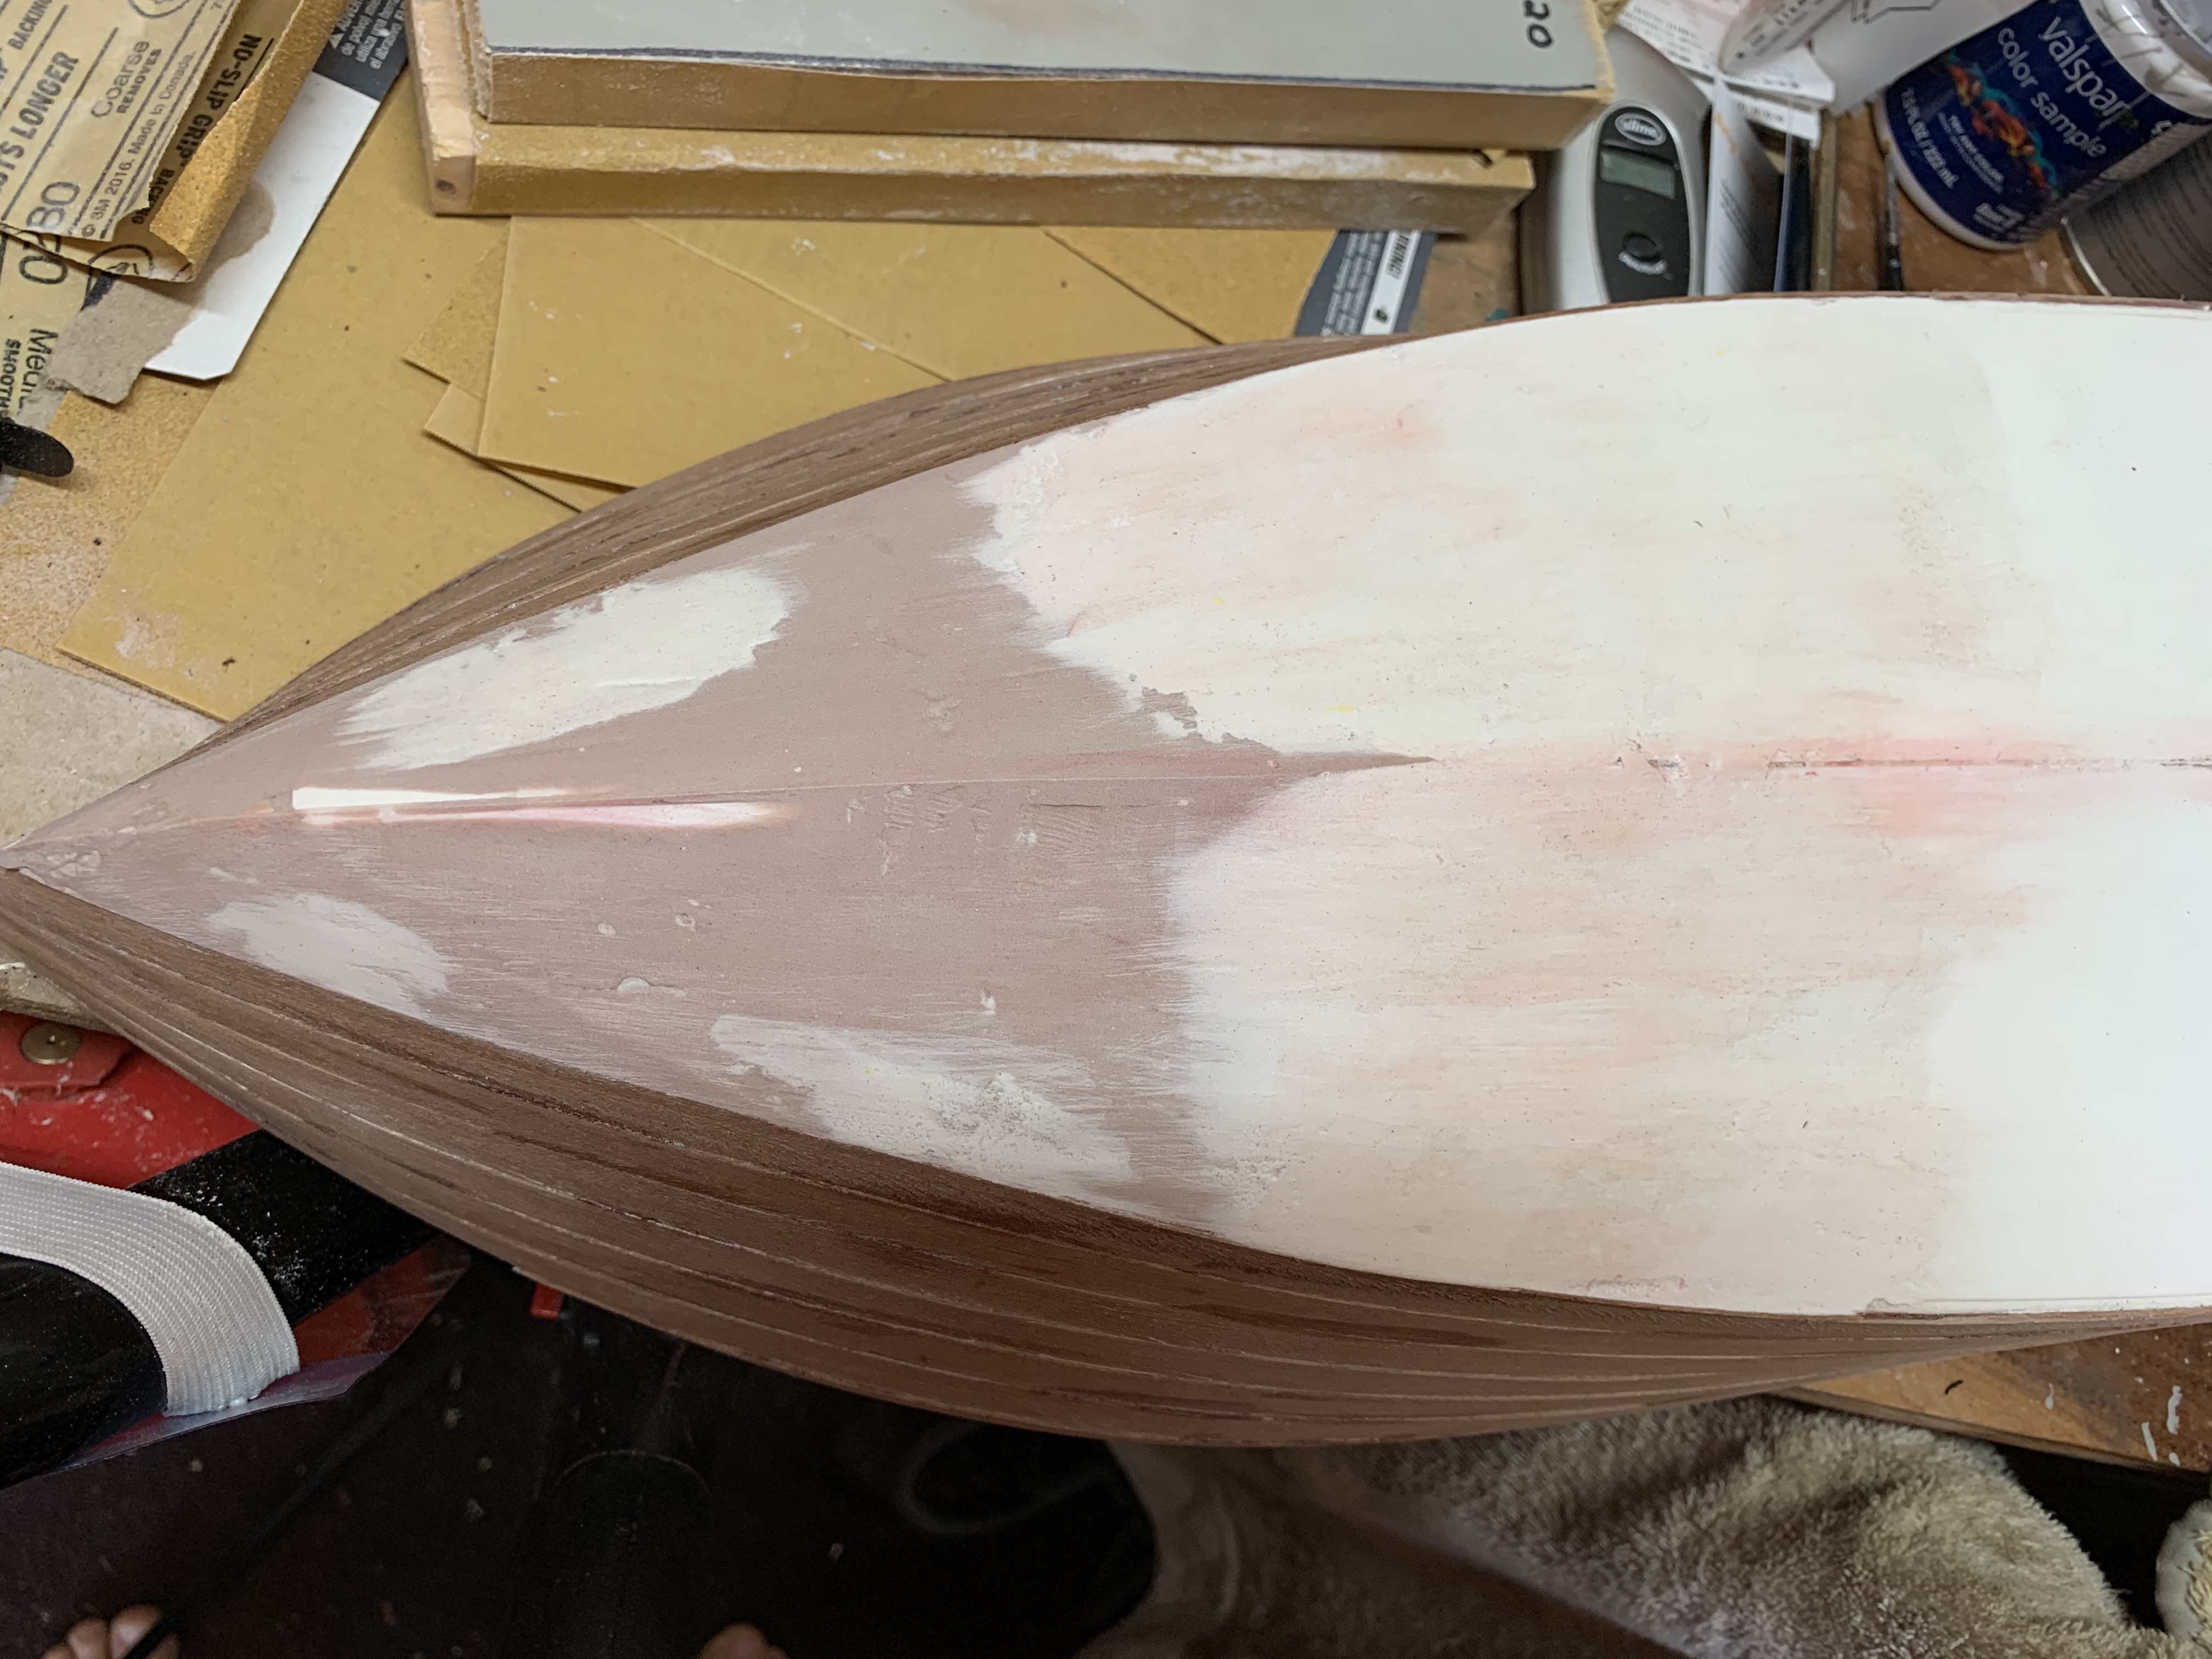
Before proceeding to plank the top deck, I noticed that unlike the back of the boat where the bottom of the mahogany plank fit flush with the PVC sub-planking, towards the bow, the bottom of the same plank stuck out beyond the plastic sub-planking. I thought about sanding this down but then realized that with the change in contour from horizontal to almost vertical at the front edge of the bow, I would have to sand the mahogany plank down to paper thin to match the sub-planking at the front edge of the boat. Rereading the instructions more closely it was apparent that even my minor bow repair was not going to obviate the need for using the Bondo. I had hoped to avoid this step as I have never worked with this material before and was only familiar with it as an automotive body filler for repairing large dents.
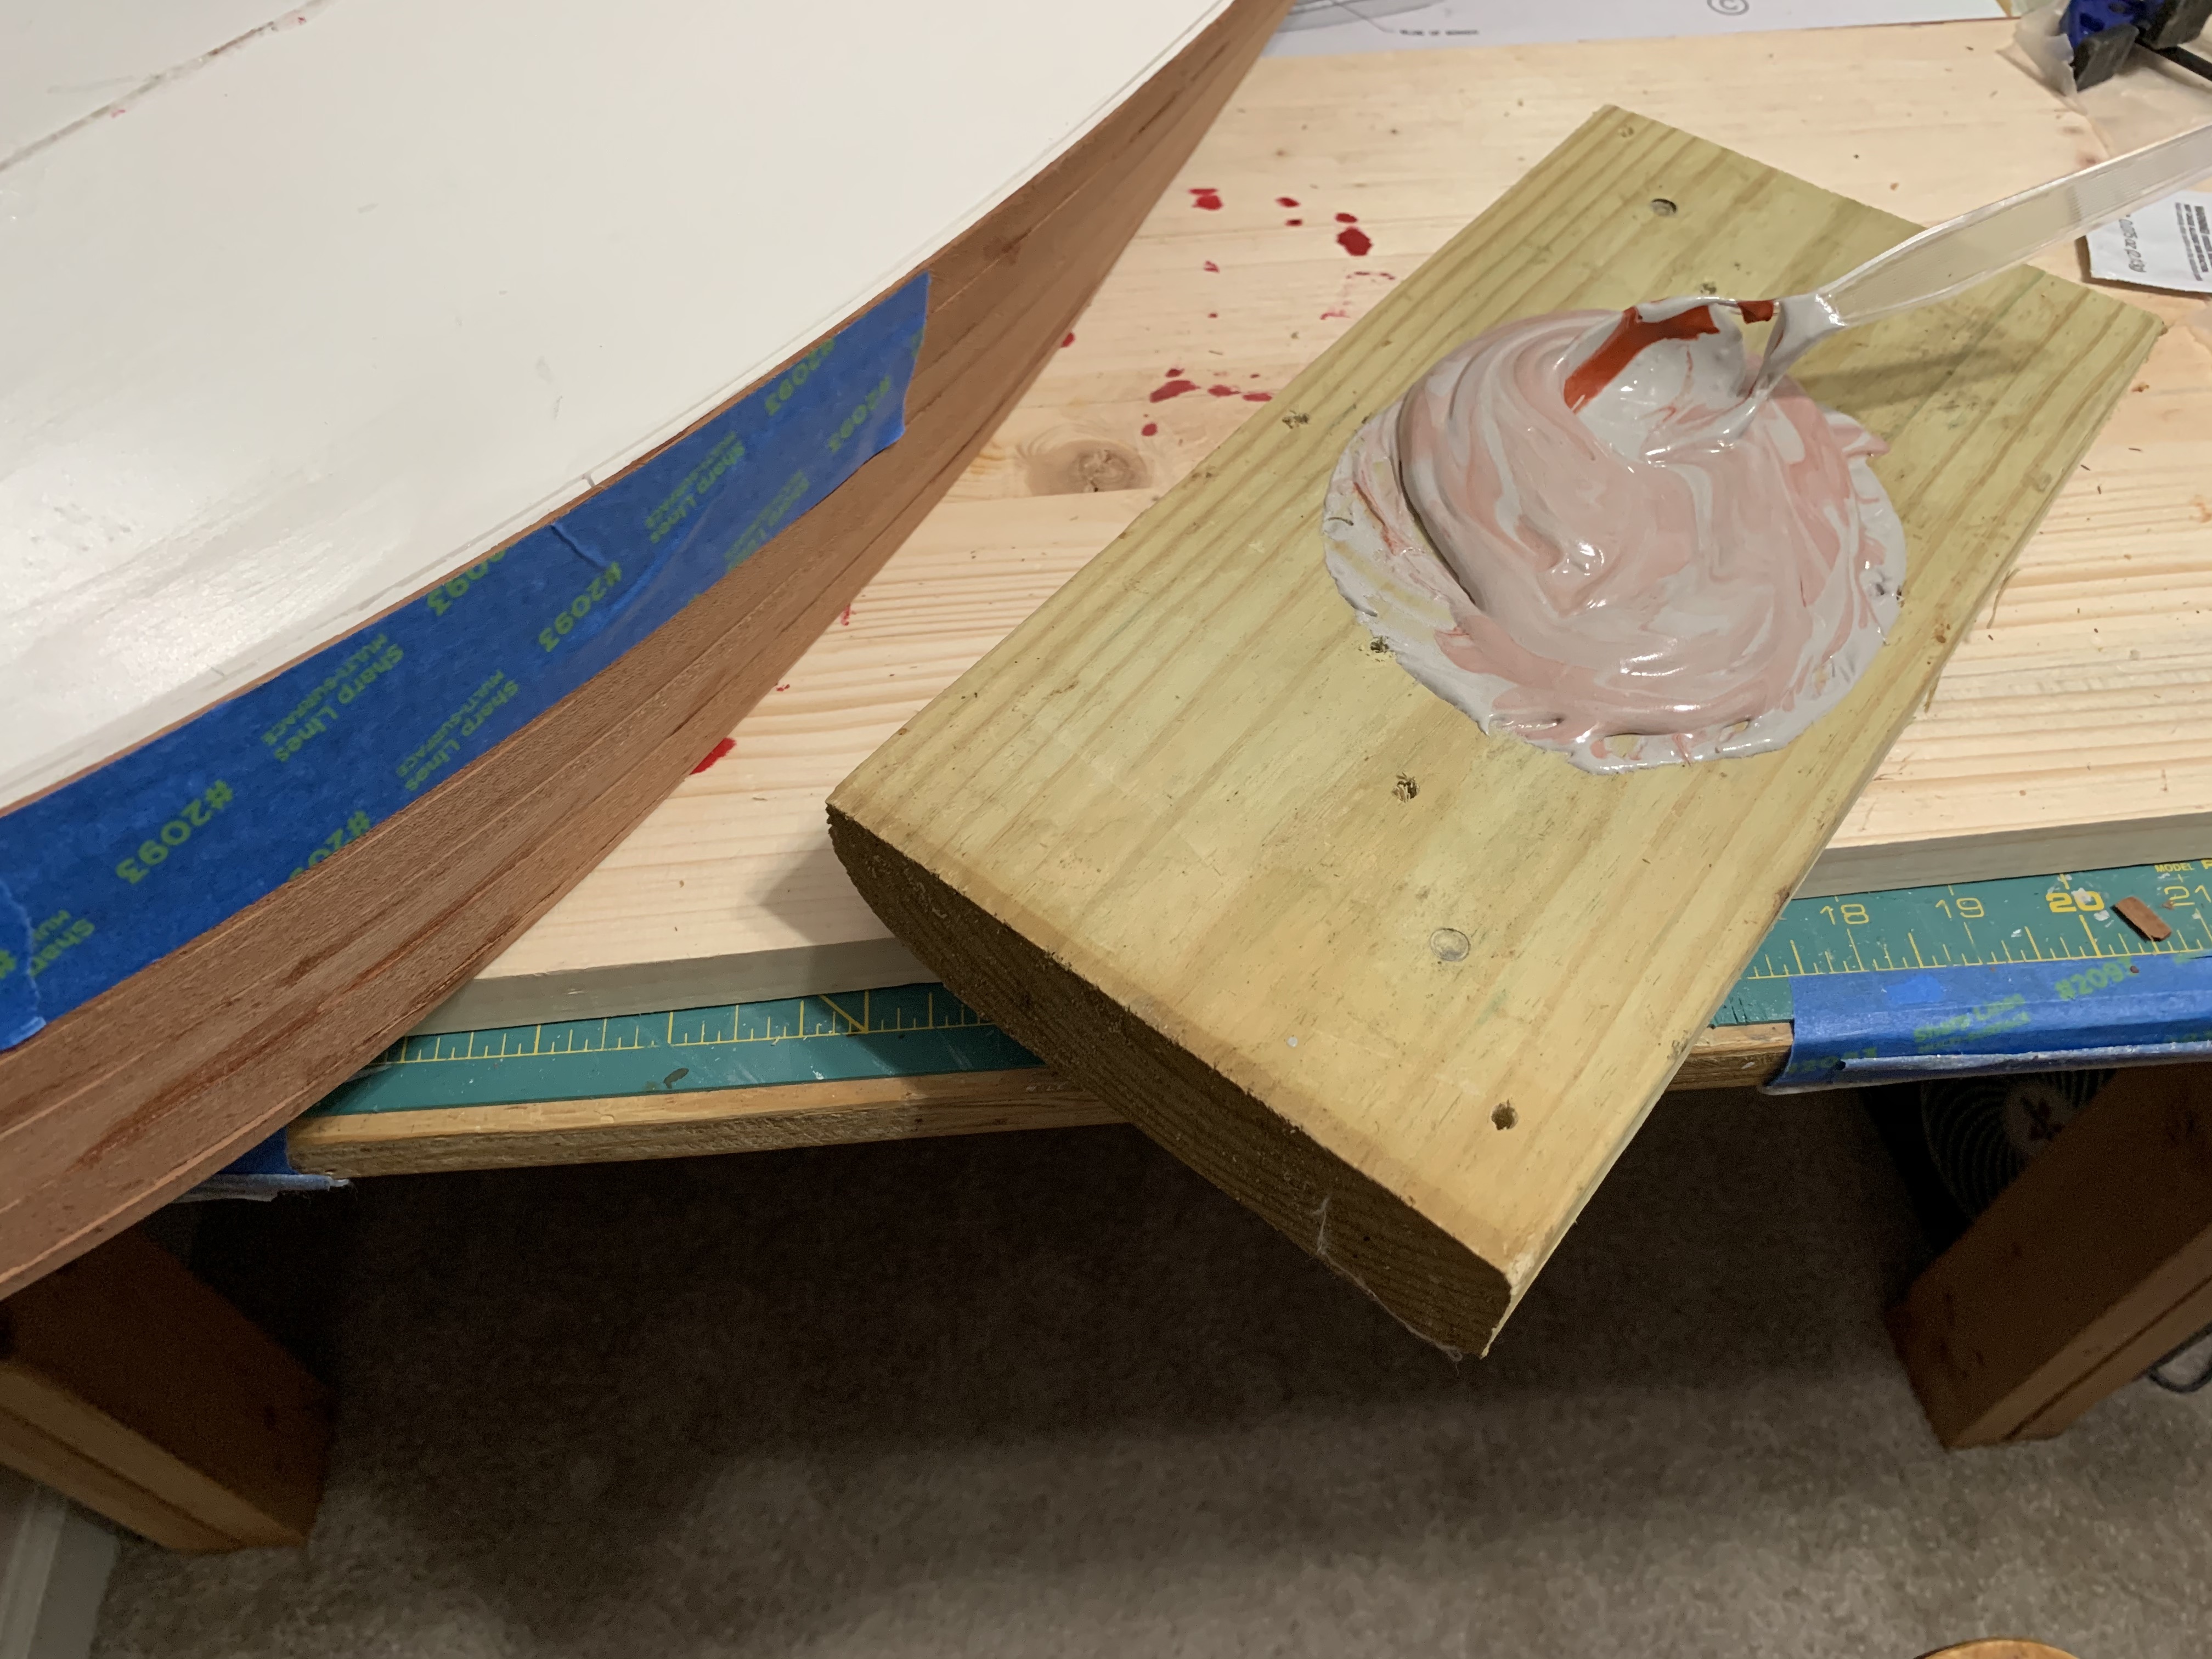
For those unfamiliar with Bondo, it is a grey colored putty-like resin that sets up when hardener is mixed in. The hardener is bright red, so it is easy to see when it is mixed in thoroughly. Knowing I had a small area to cover, I bought the smallest container I could find.
The instructions state not to stir rapidly like paint as it can entrap air bubbles but the only probably is, it begins to set up as soon as the hardener is stirred in.
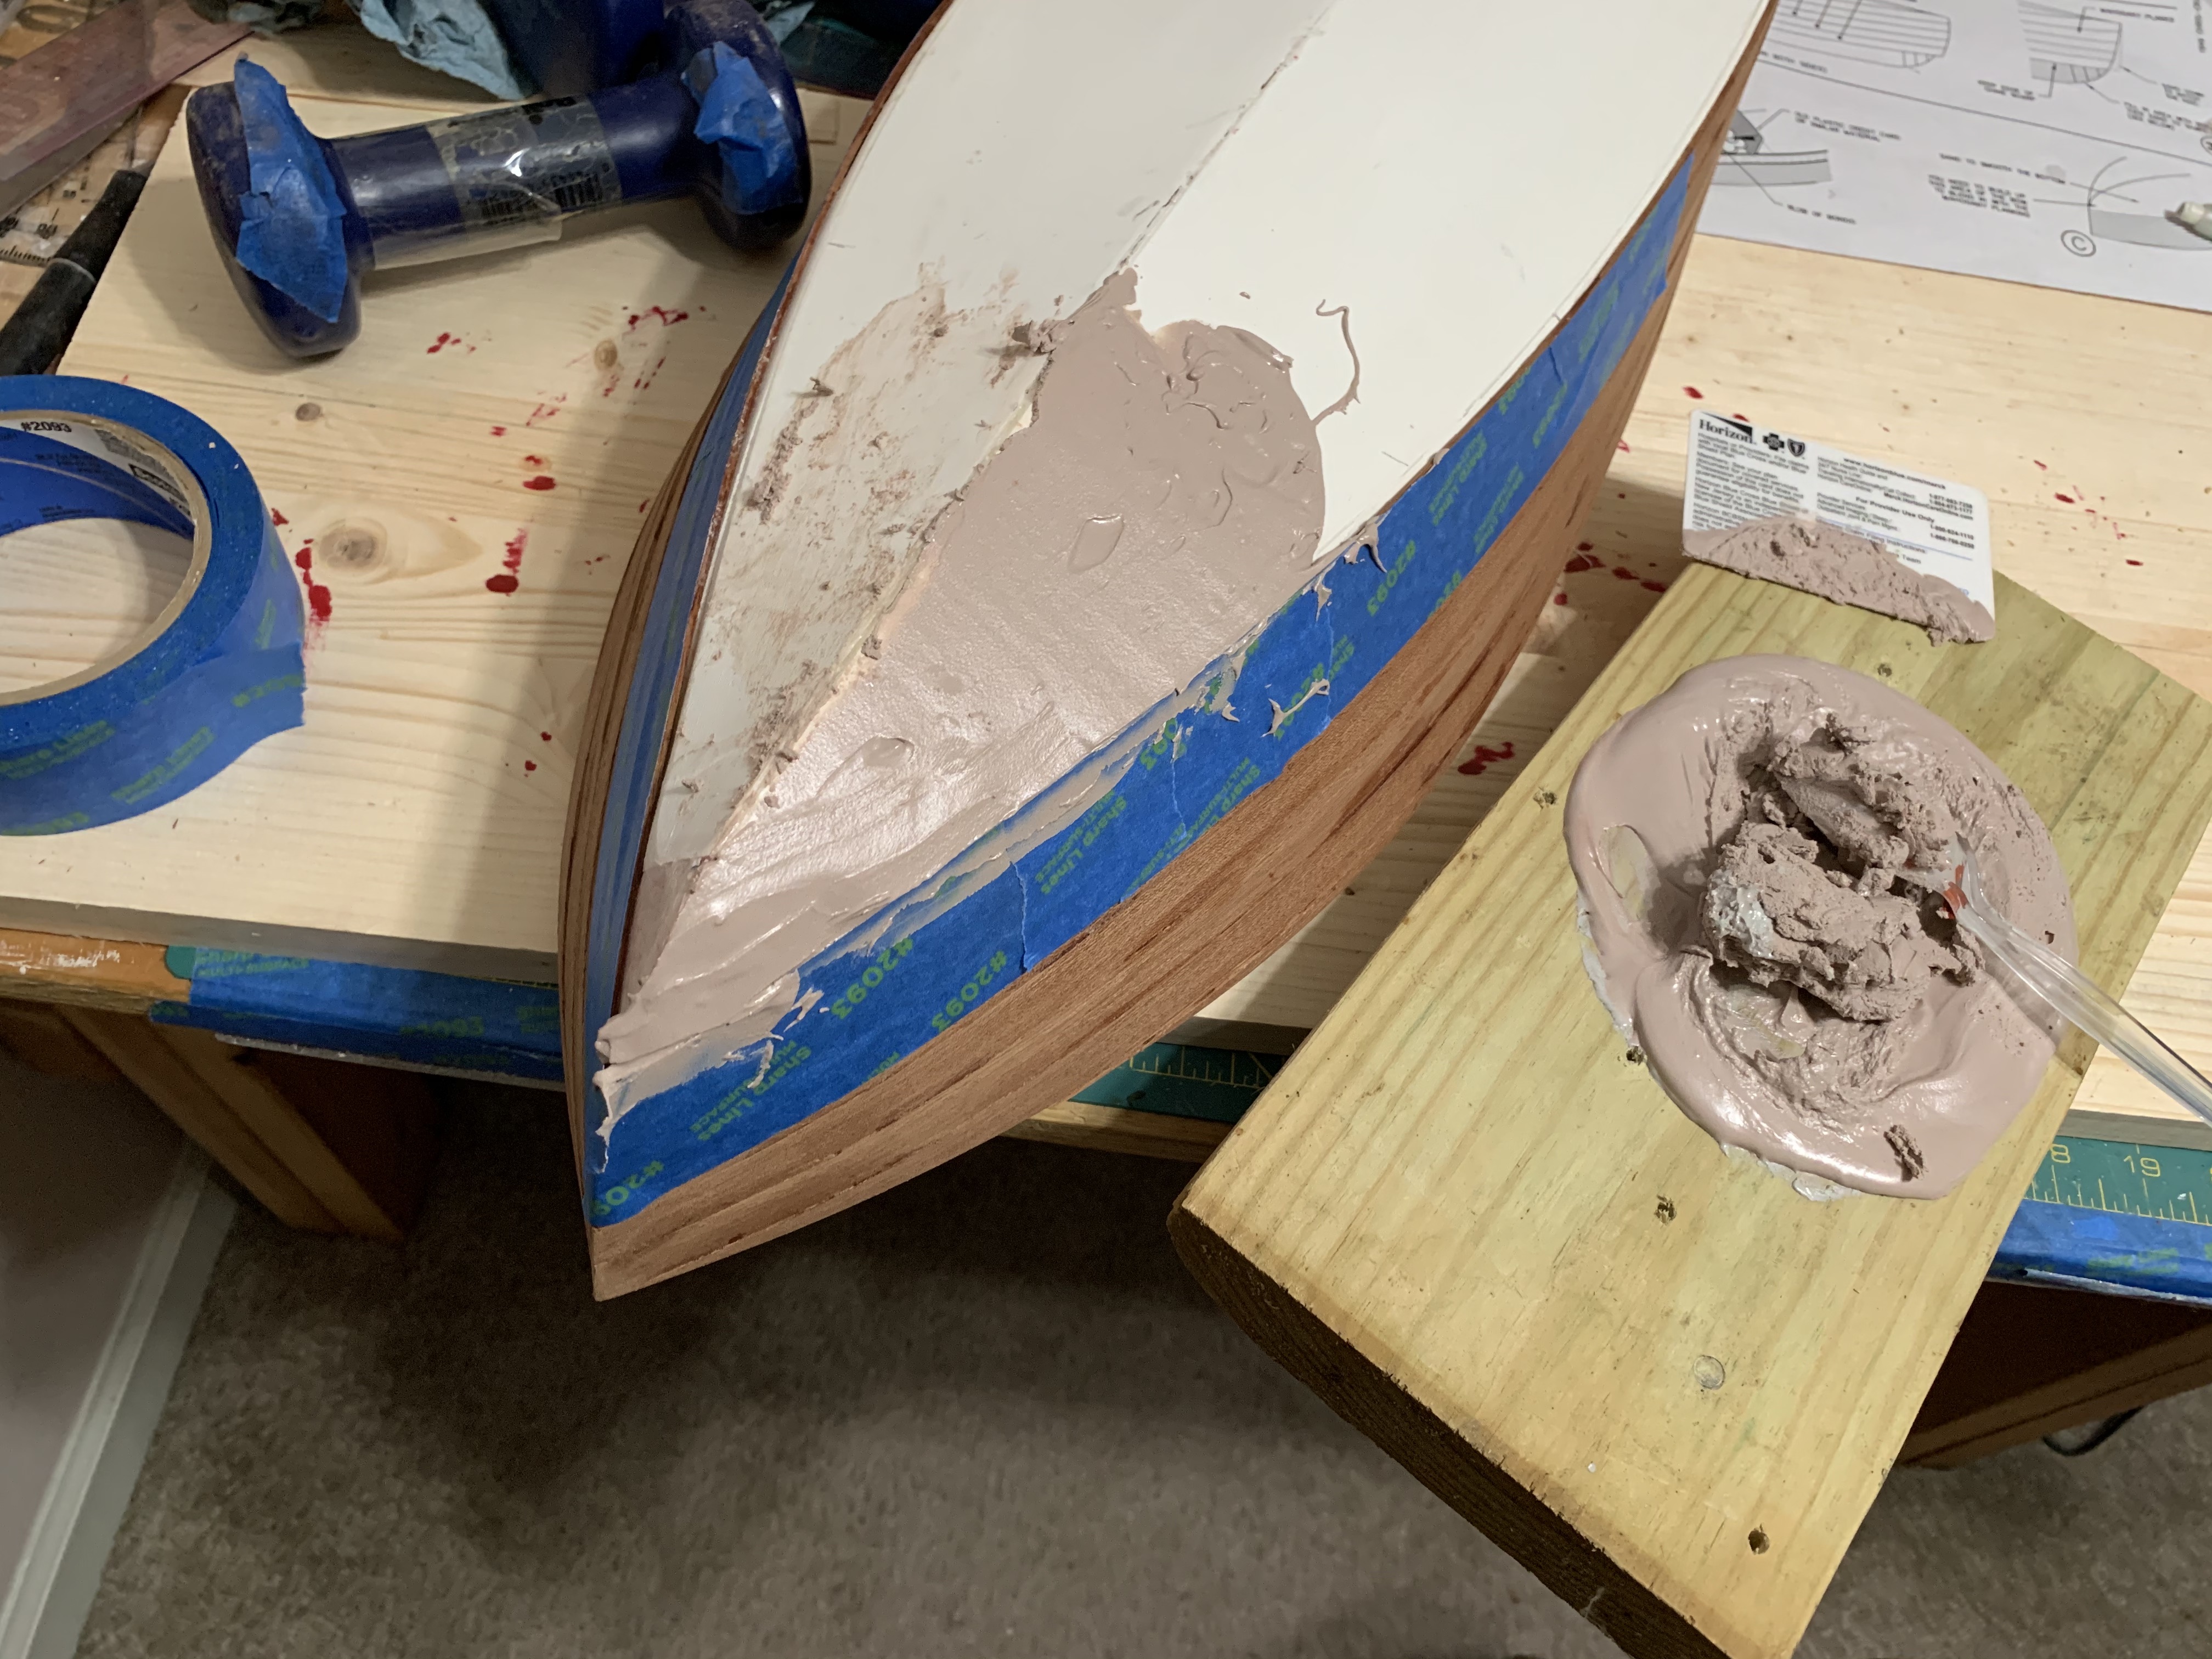
Using an old credit card as instructed, I smoothed out the first side but when I went to spread some Bondo on the second side, it had already clumped up and could not be spread (second clump back on my mixing board).
Thankfully, the kit I bought came with enough to make two separate batches, so I mixed up the second batch and spread it more quickly on the second side.
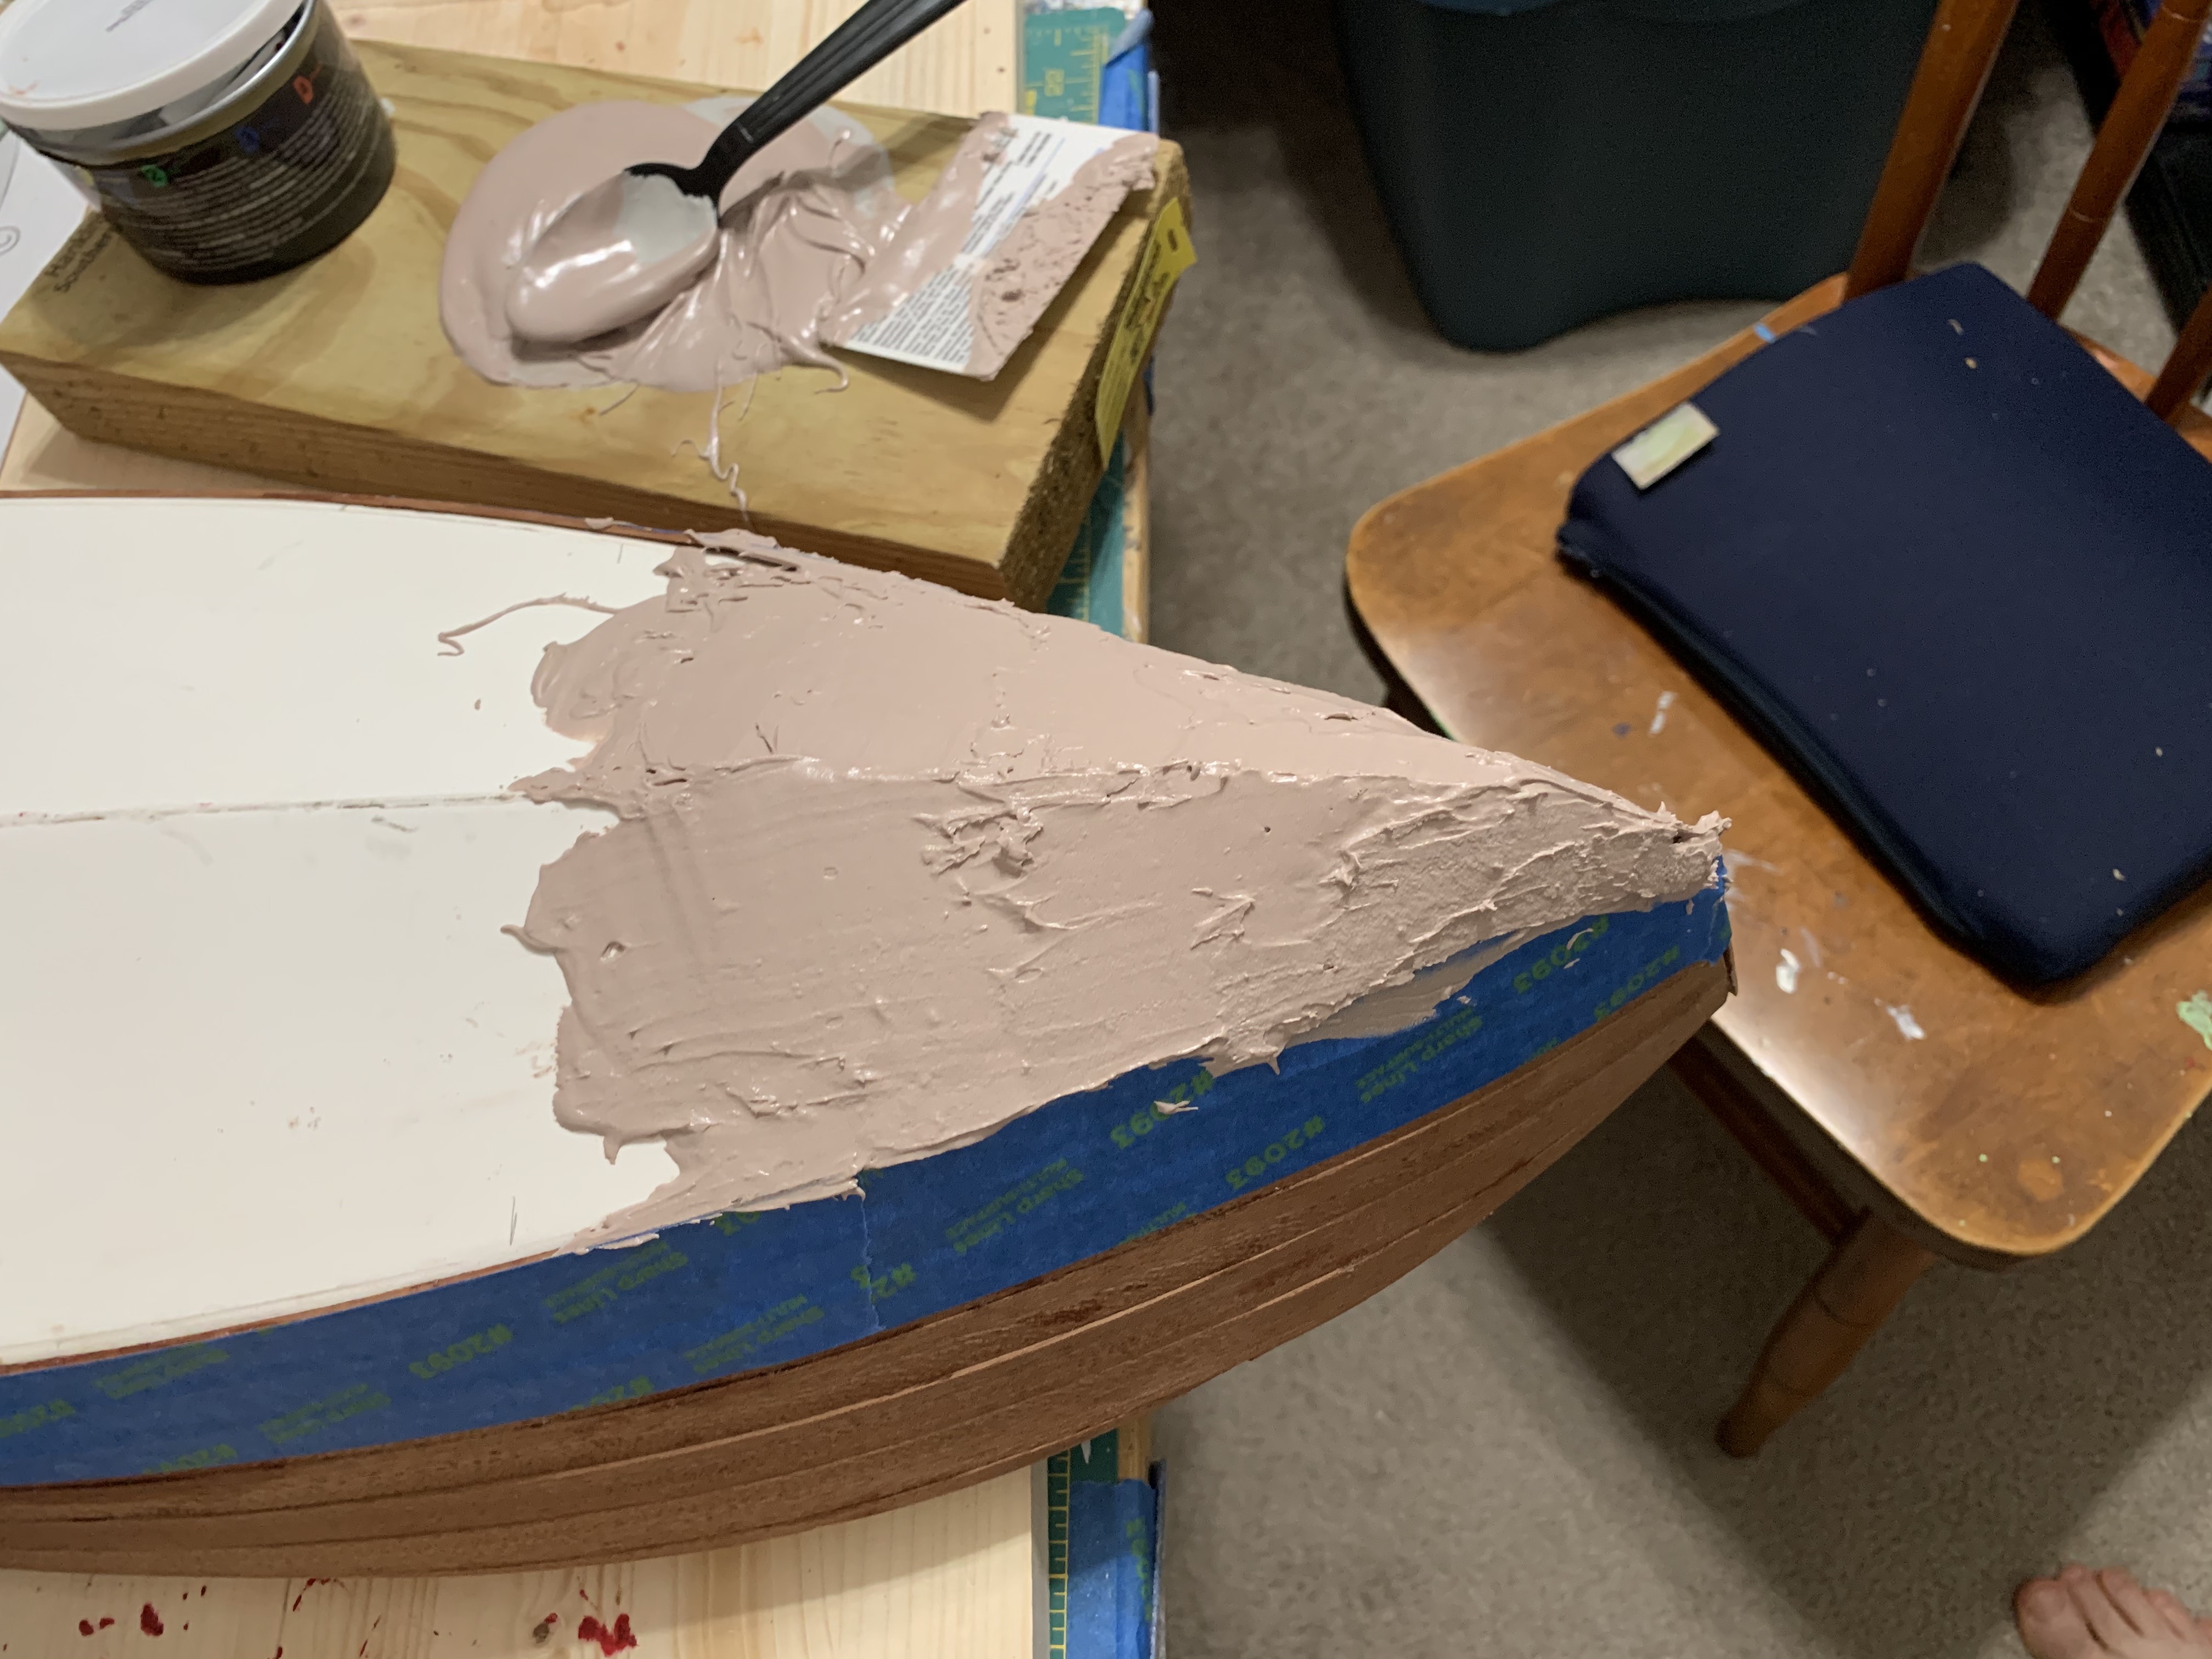
After letting it dry for a few days, I sanded it down but then realized that I had failed to make a smooth transition from the PVC sub-planking to the Bondo as well as to avoid pockets where the Bondo was too thin.
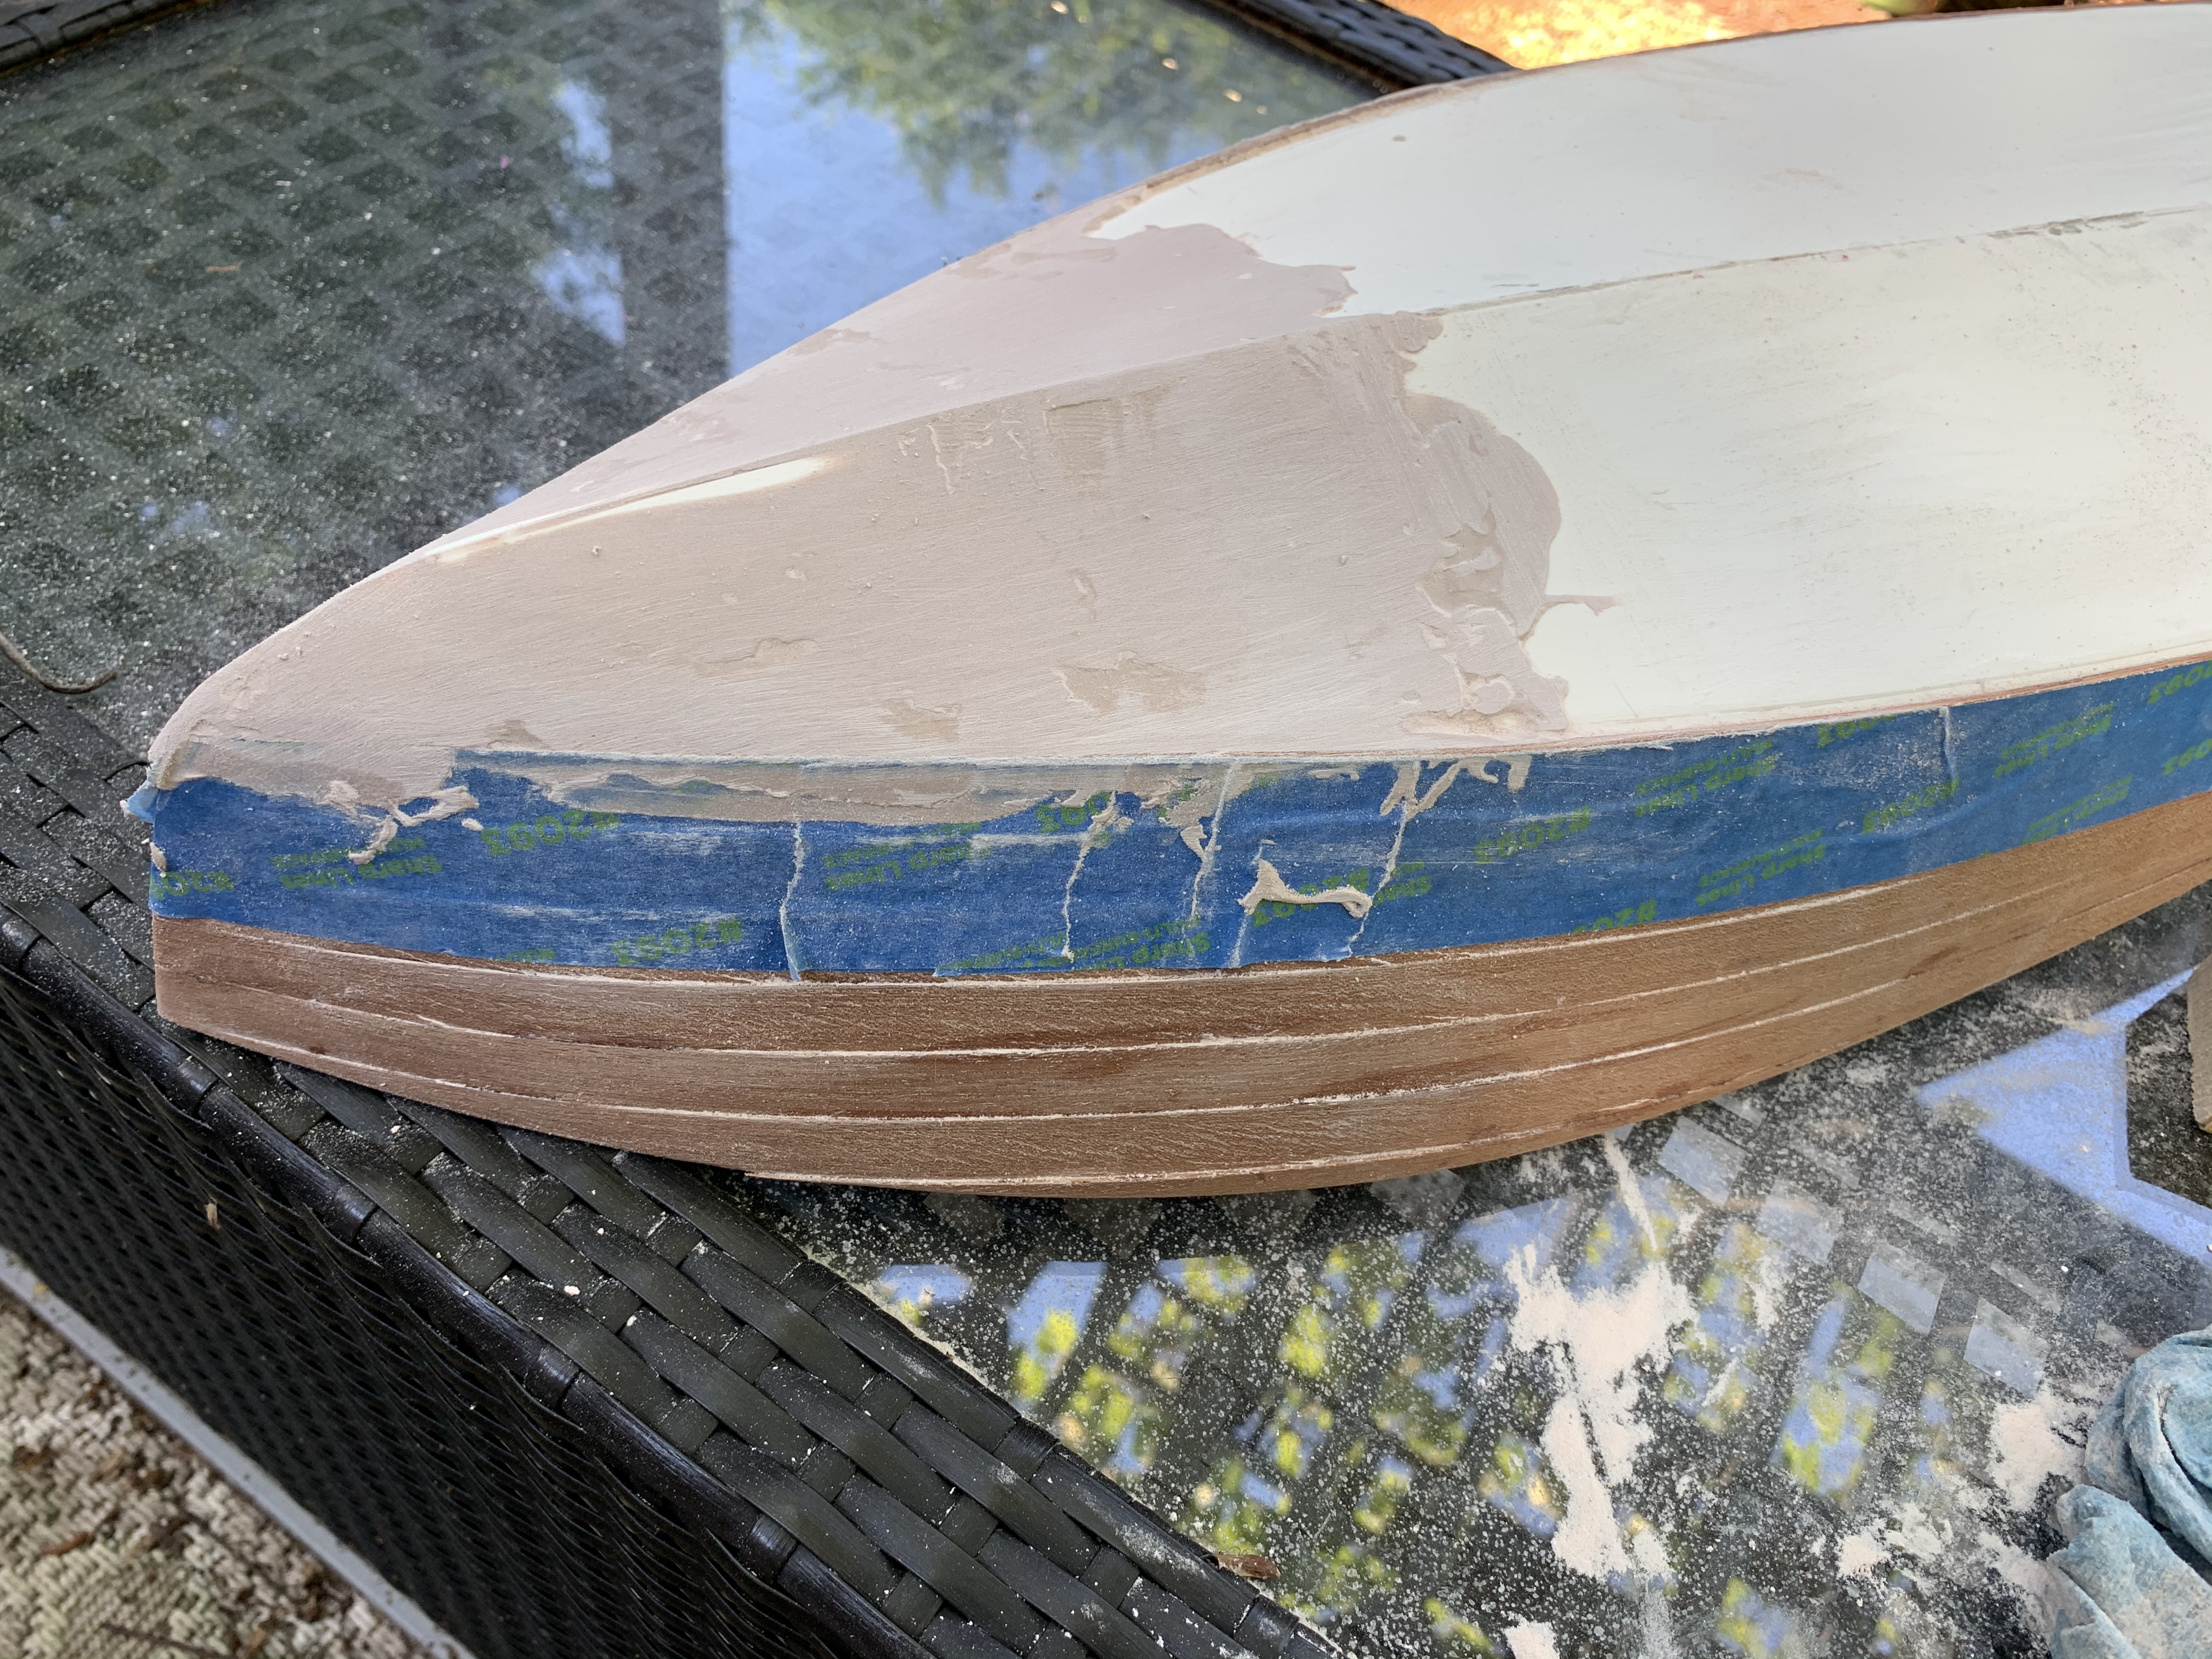
My choices at this point were to buy another Bondo kit or come up with some alternative material that would be easier to use. Not knowing if it would work, I decided to try vinyl spackling instead, a material I was most familiar with from all my room painting projects, and one that I already had.
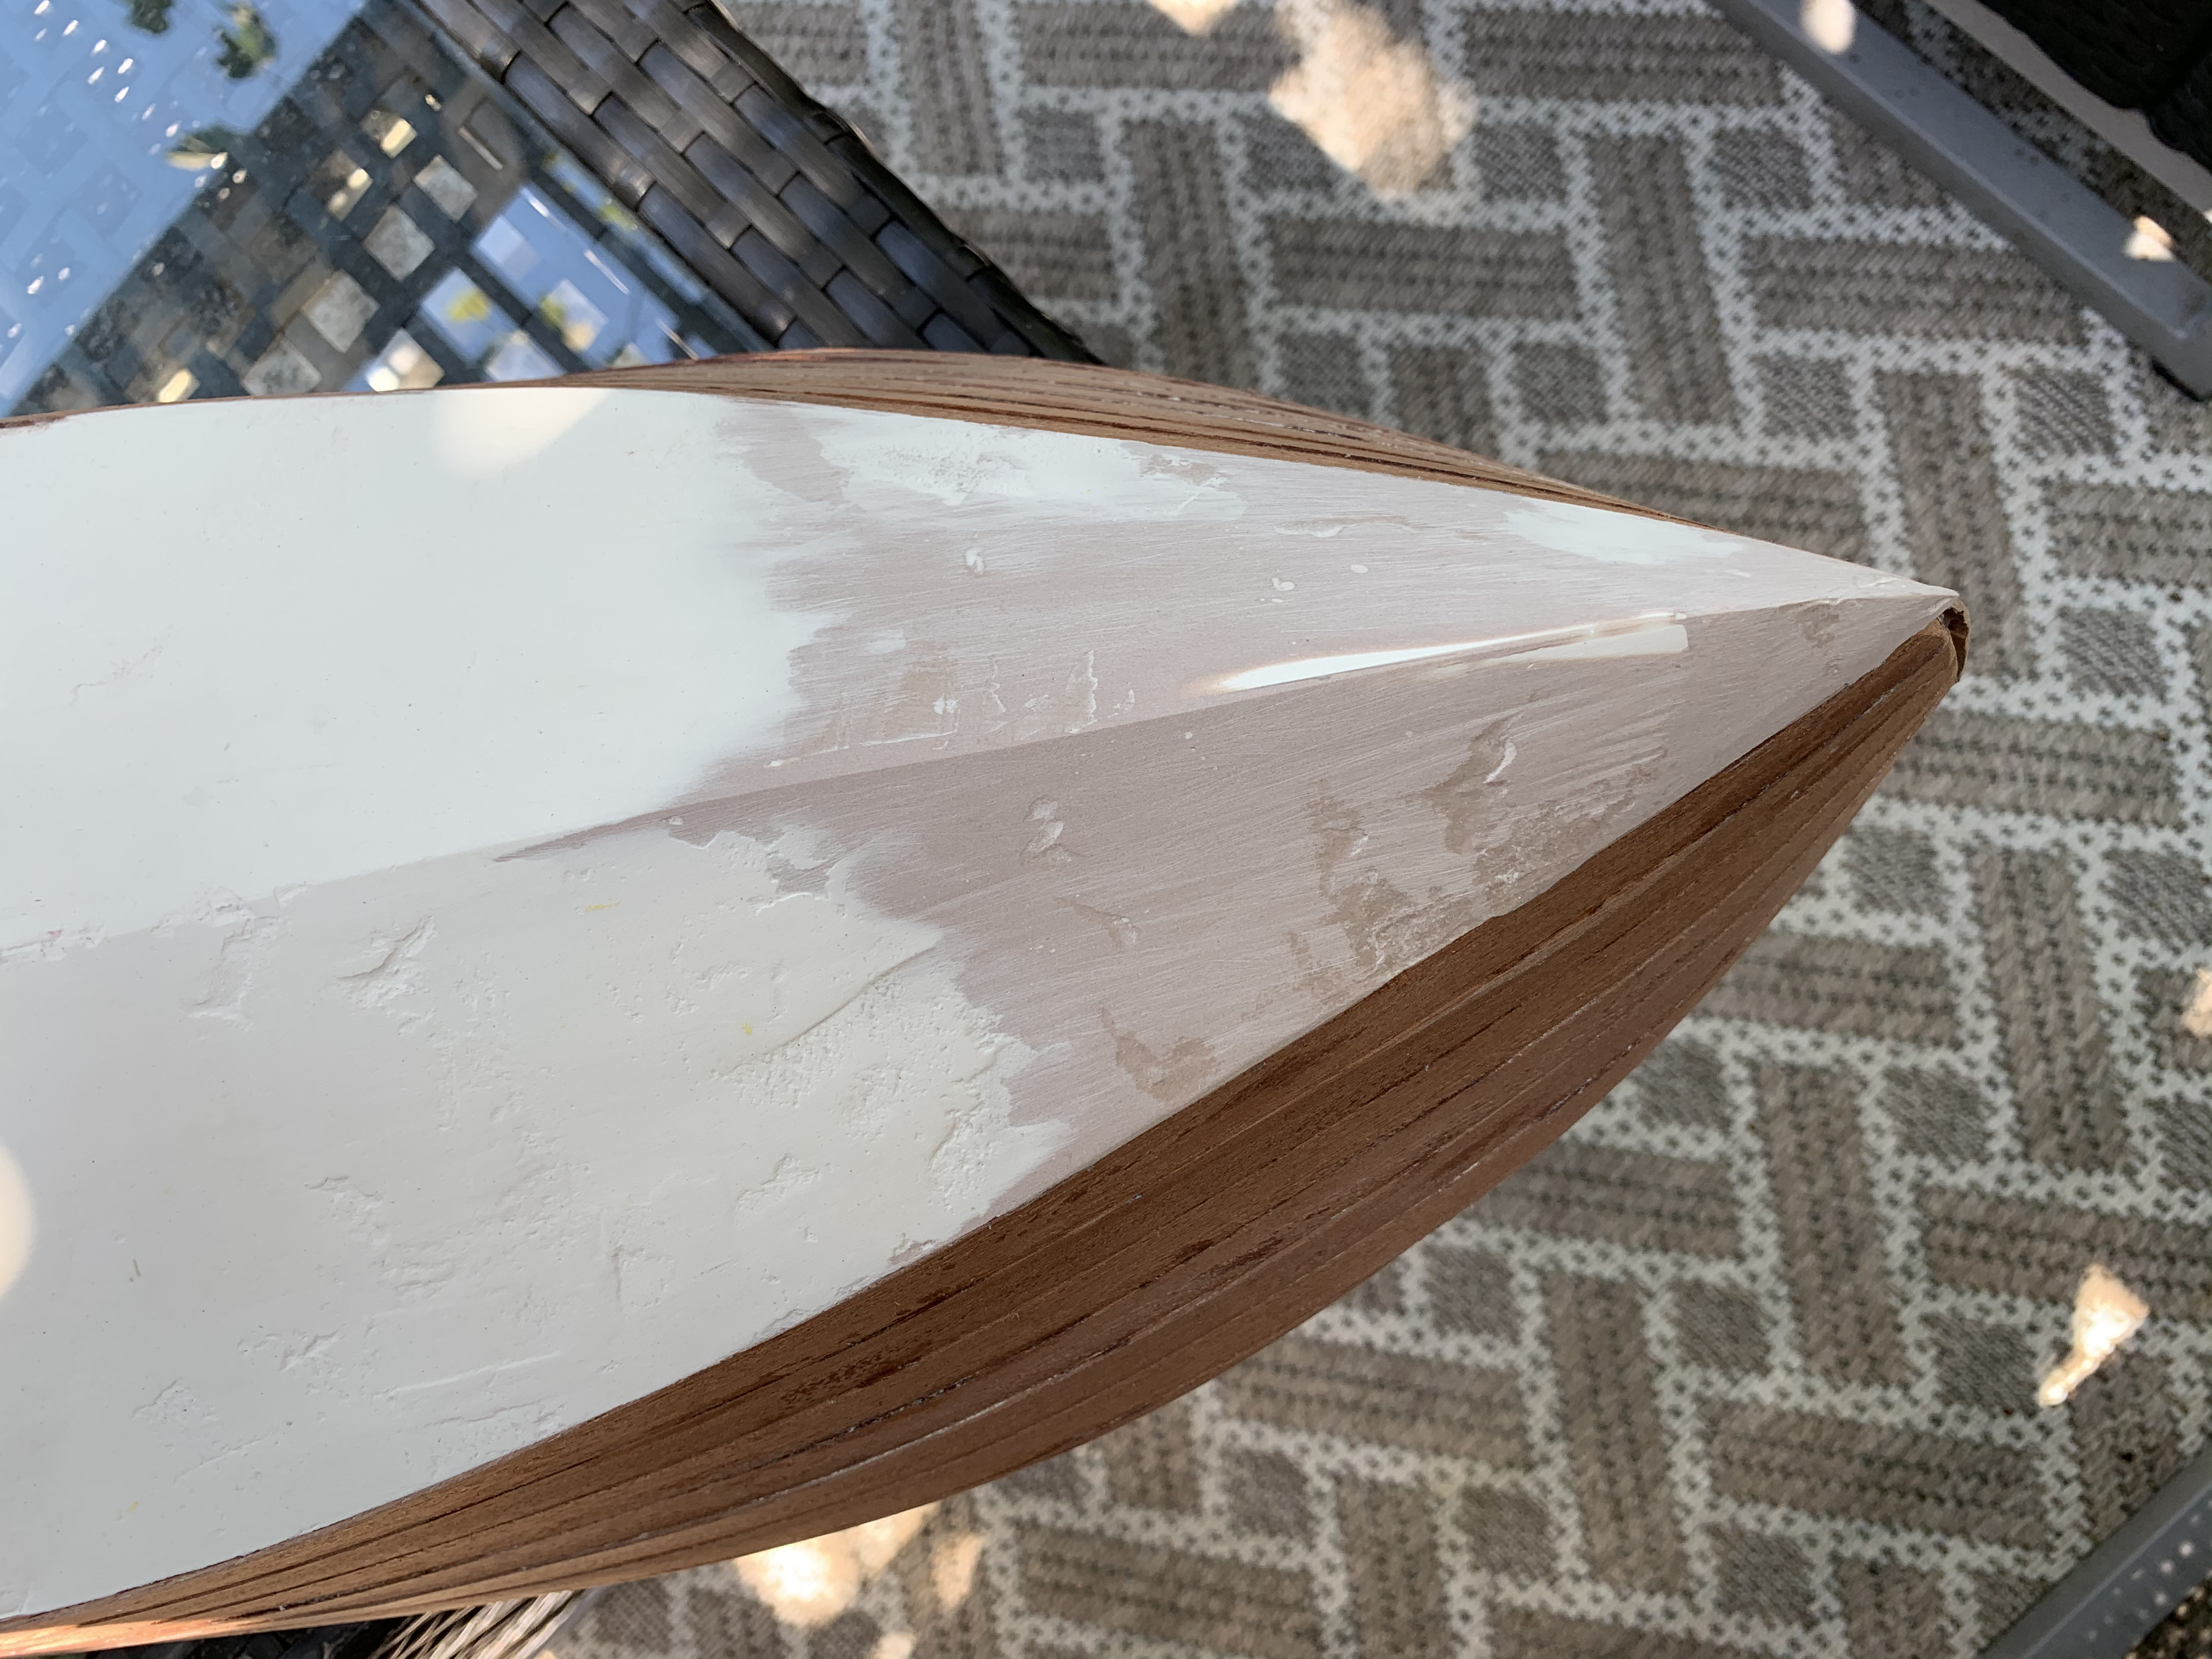
After a couple of coats and sanding, I thought it looked pretty good. But once I got it in the sunlight, I saw that I had still missed a few spots. Spreading and sanding a third coating of spackling gave me a very nice finish (the bottom below the water line will be painted later and hide the three different colors).
To ensure that the spackling did not flake off, I painted a single coat of the clear dope over the Bondo and the spackling to seal both (obviously with the same paint brush that still had some residual red paint from doing the boat seats).
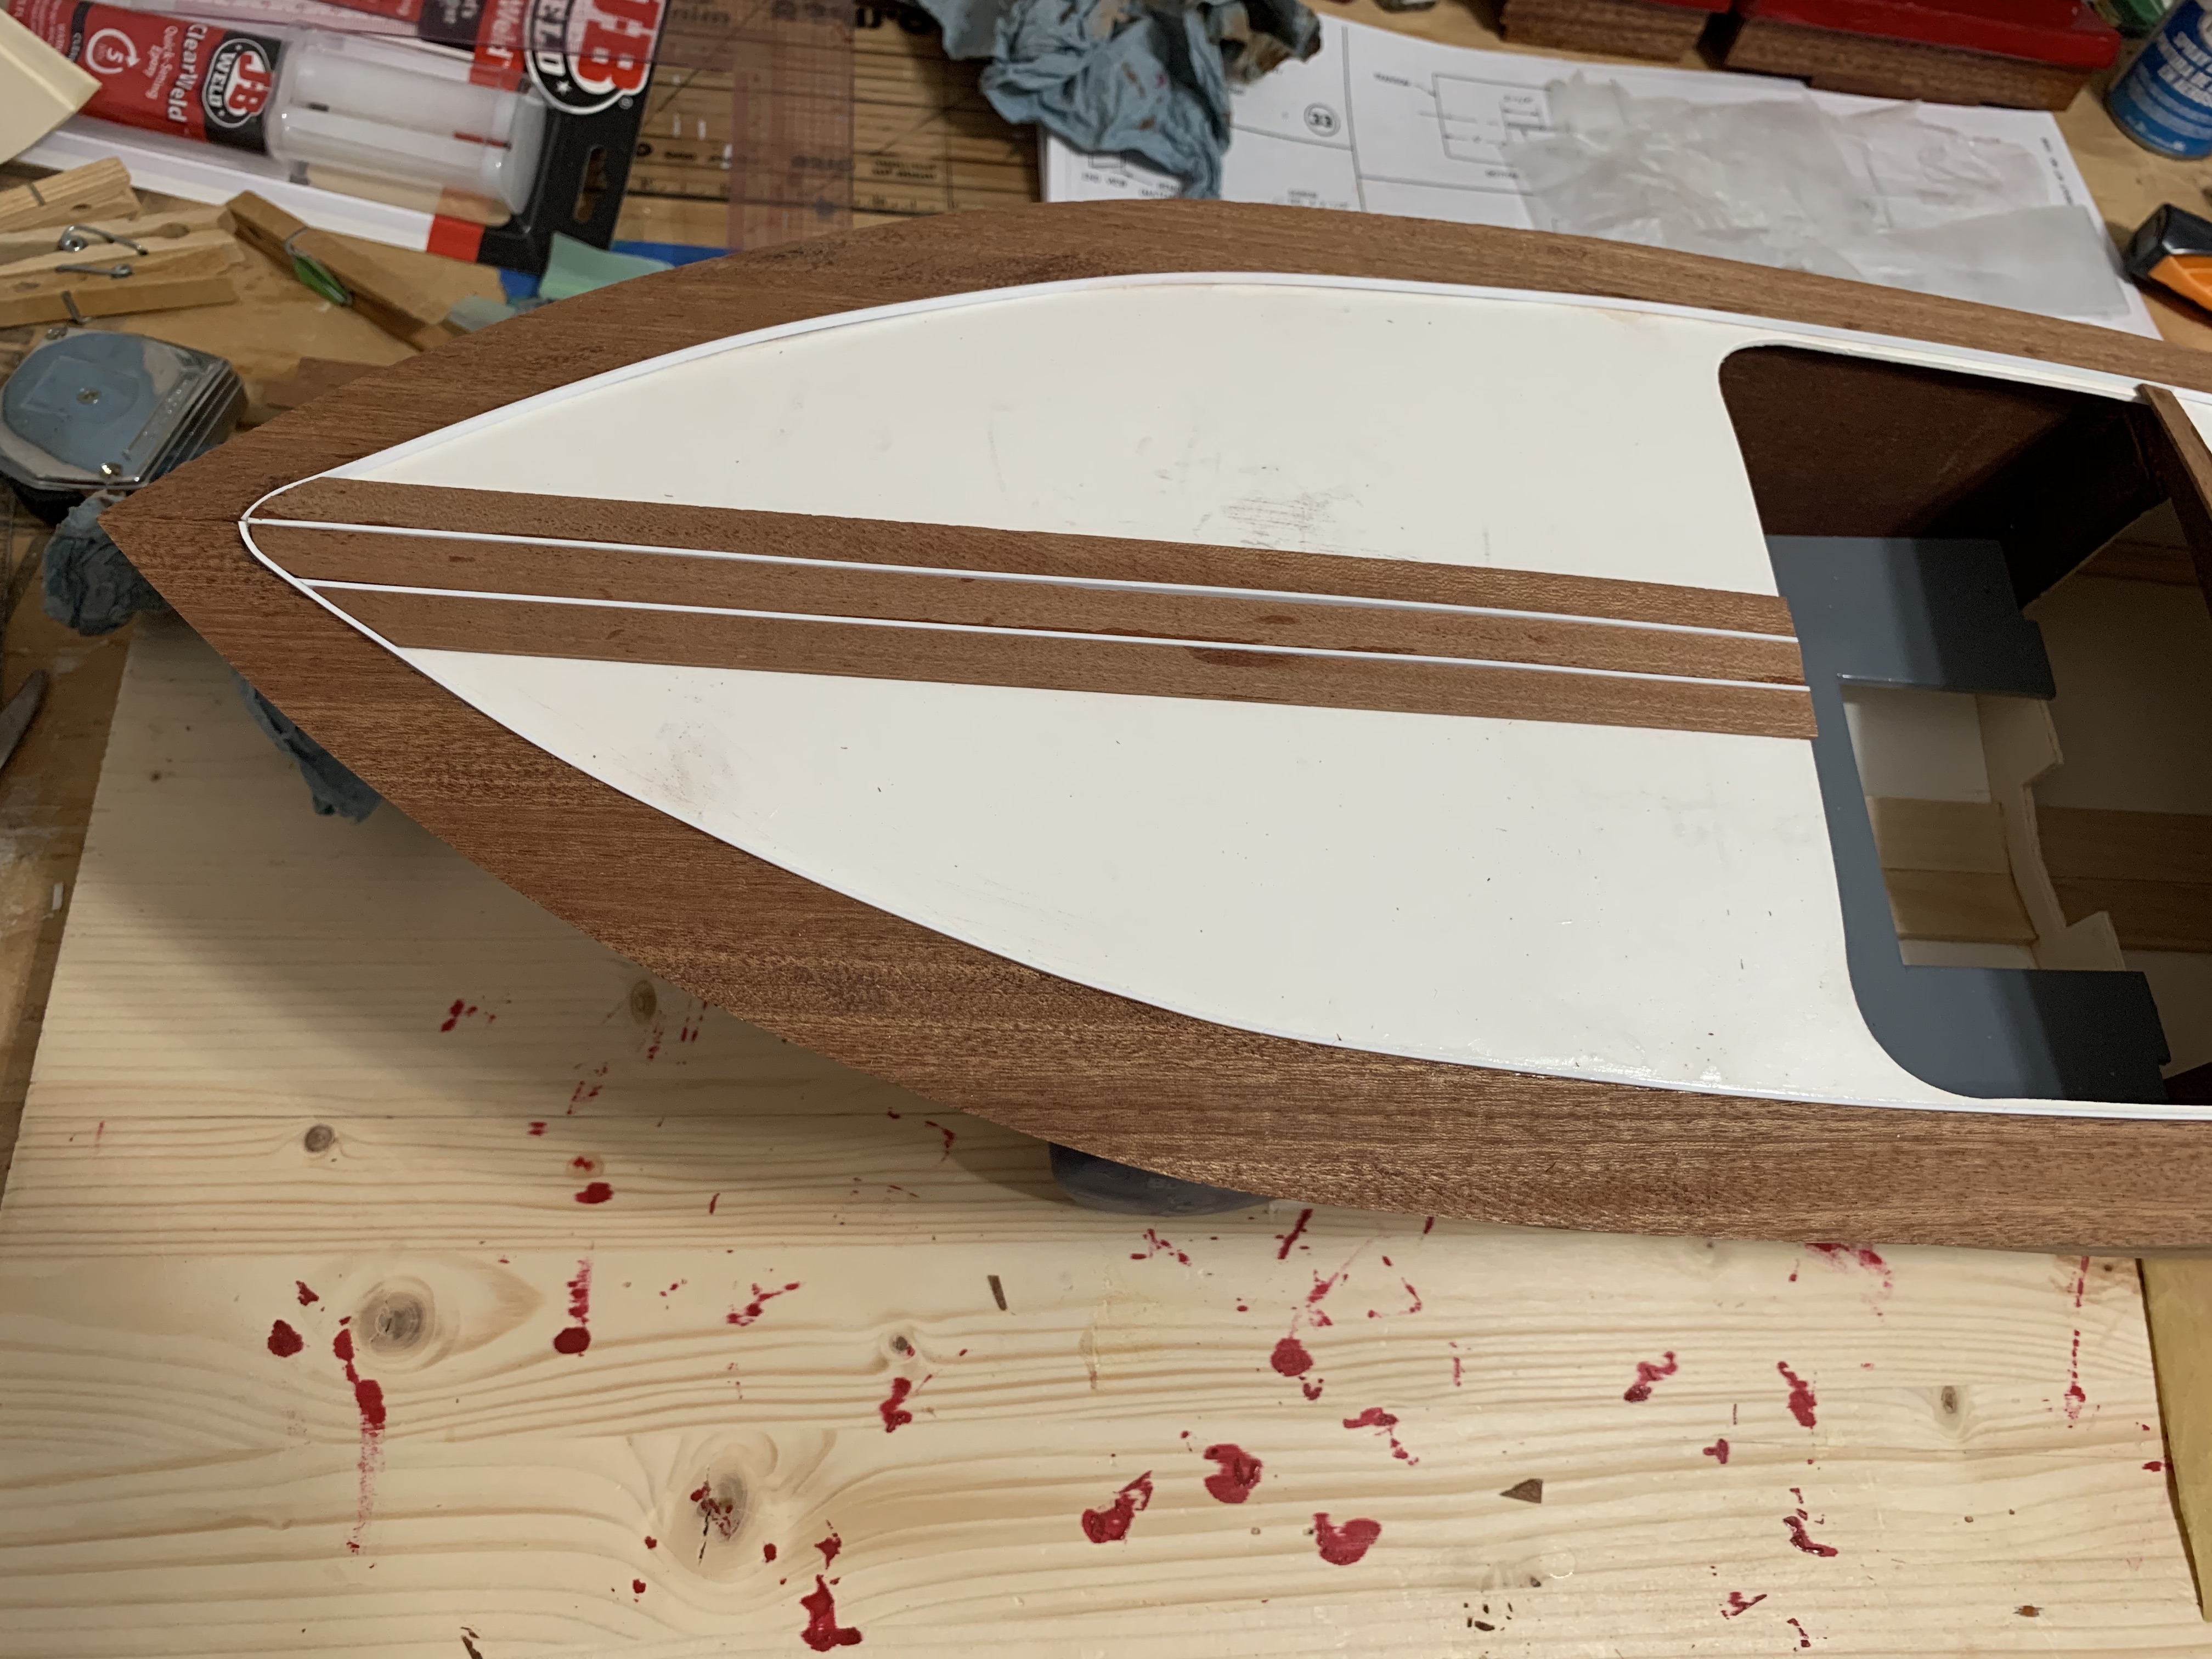
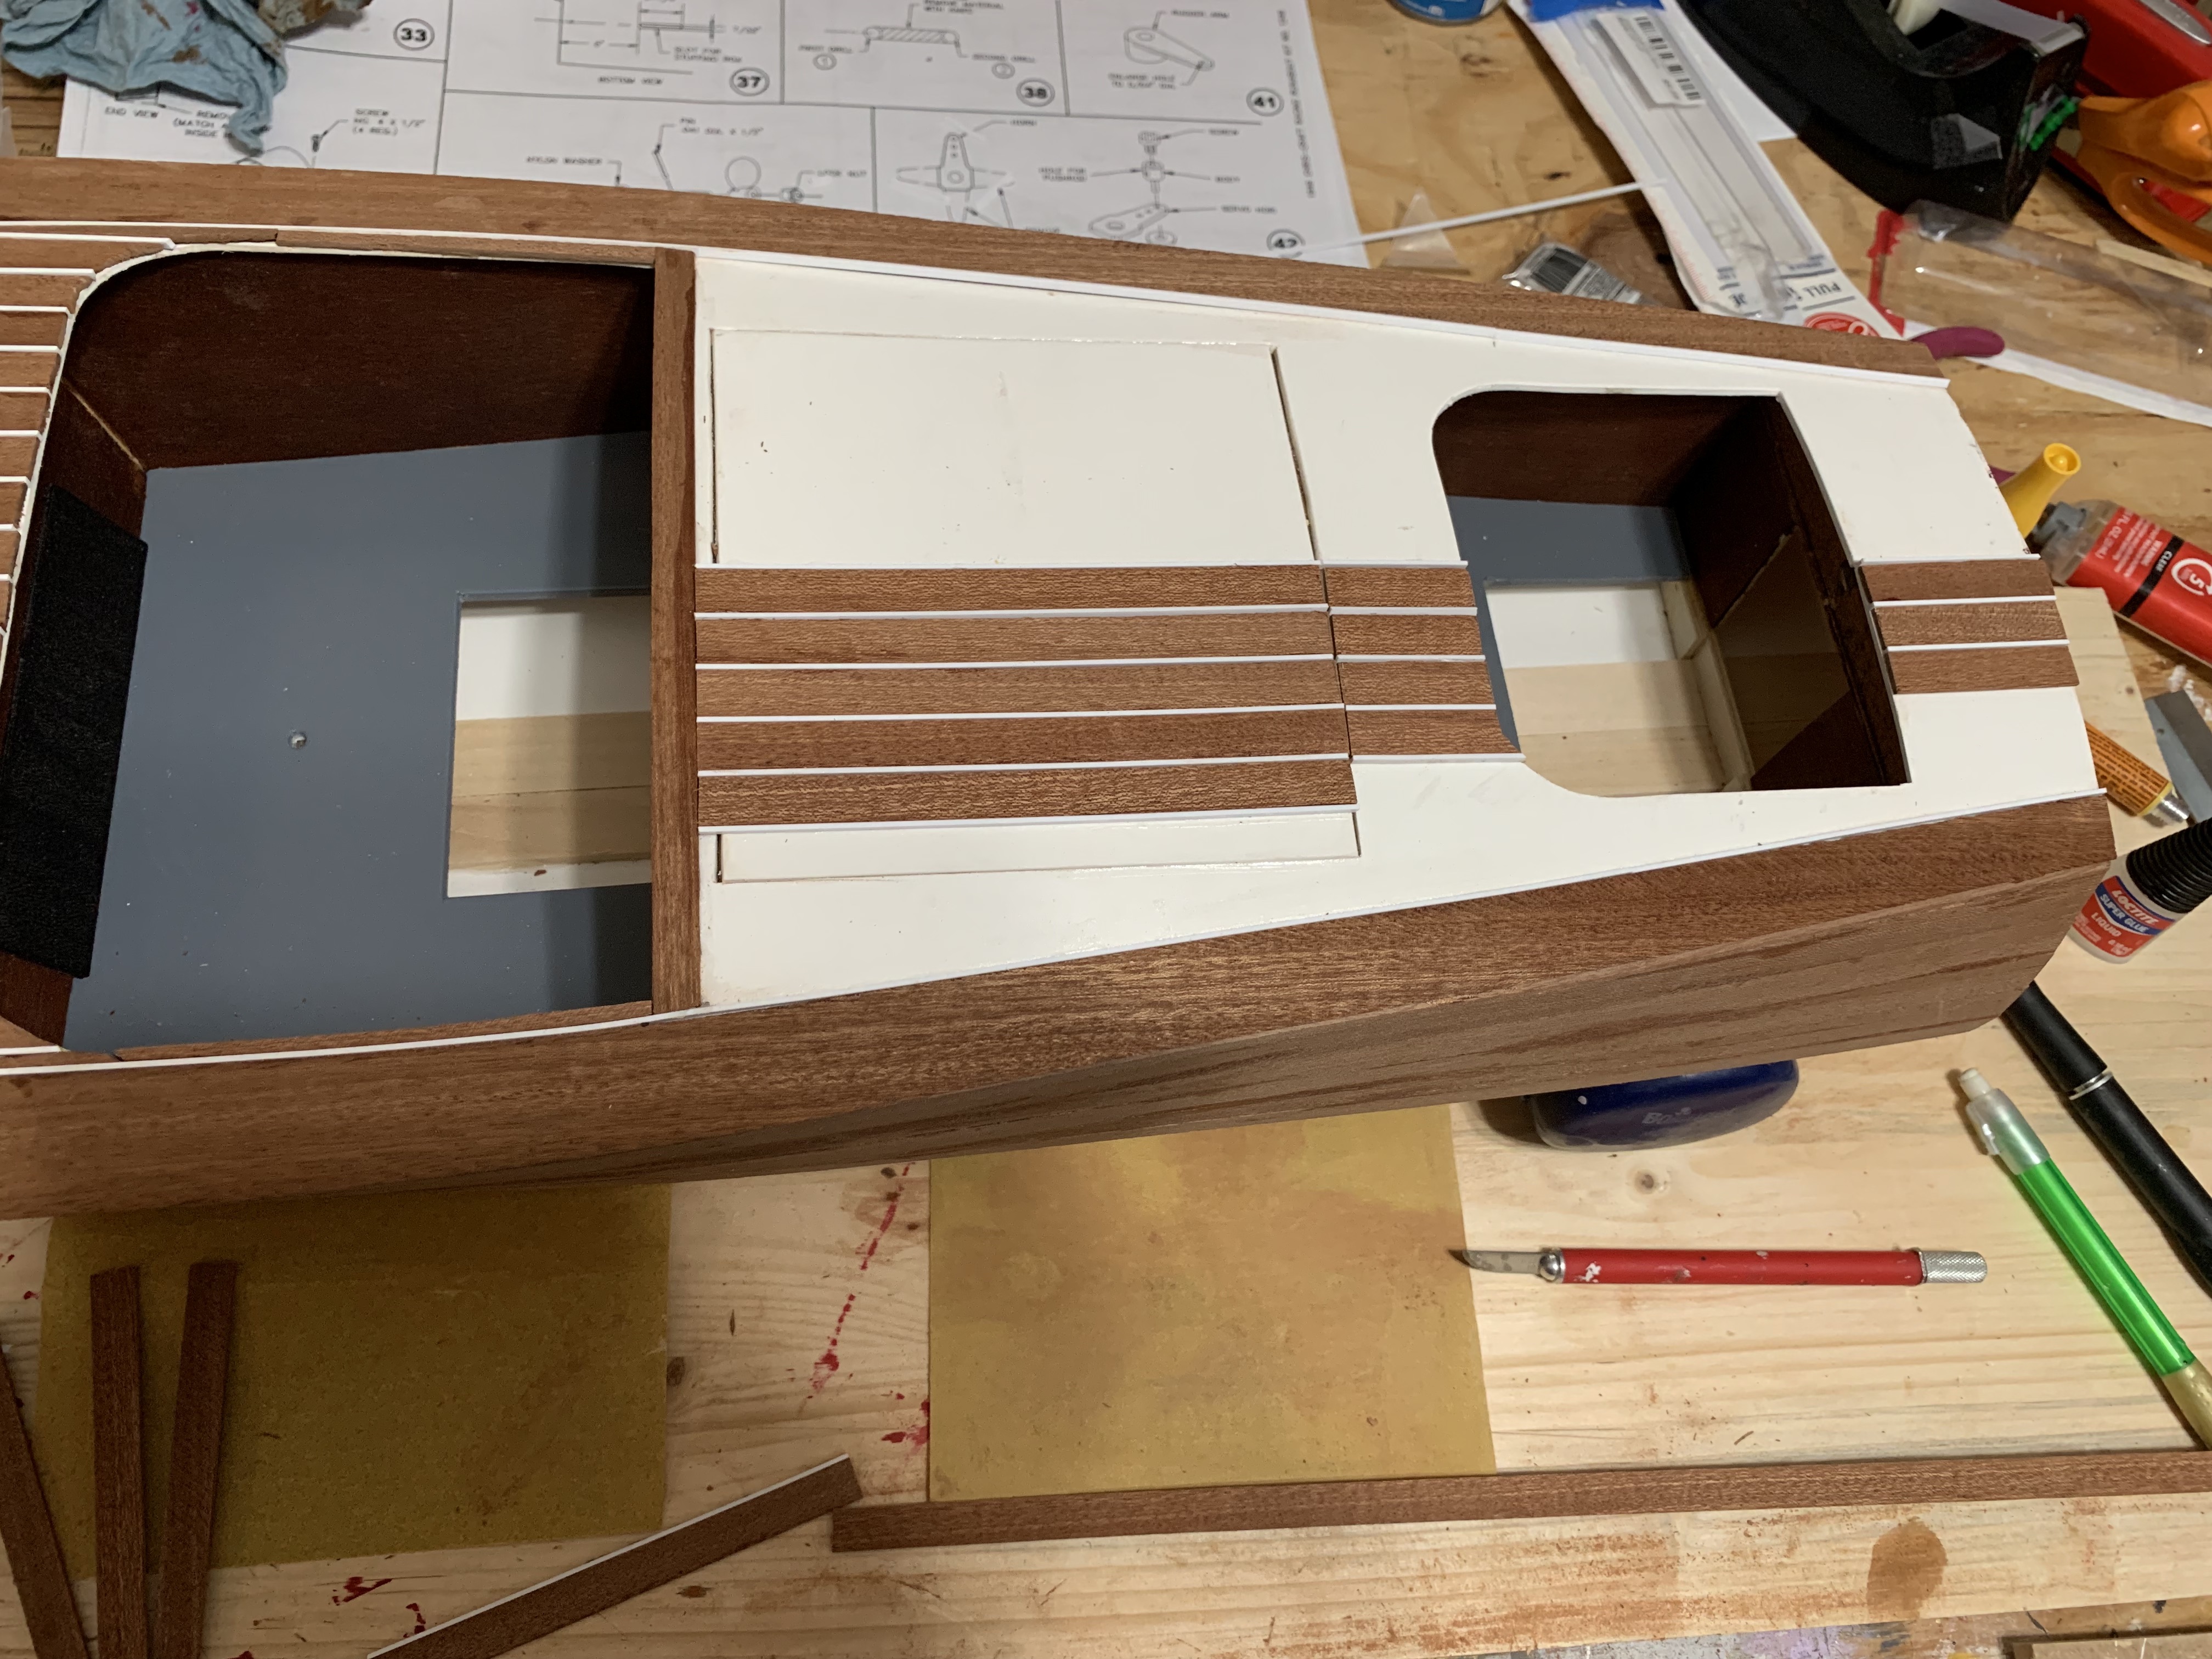
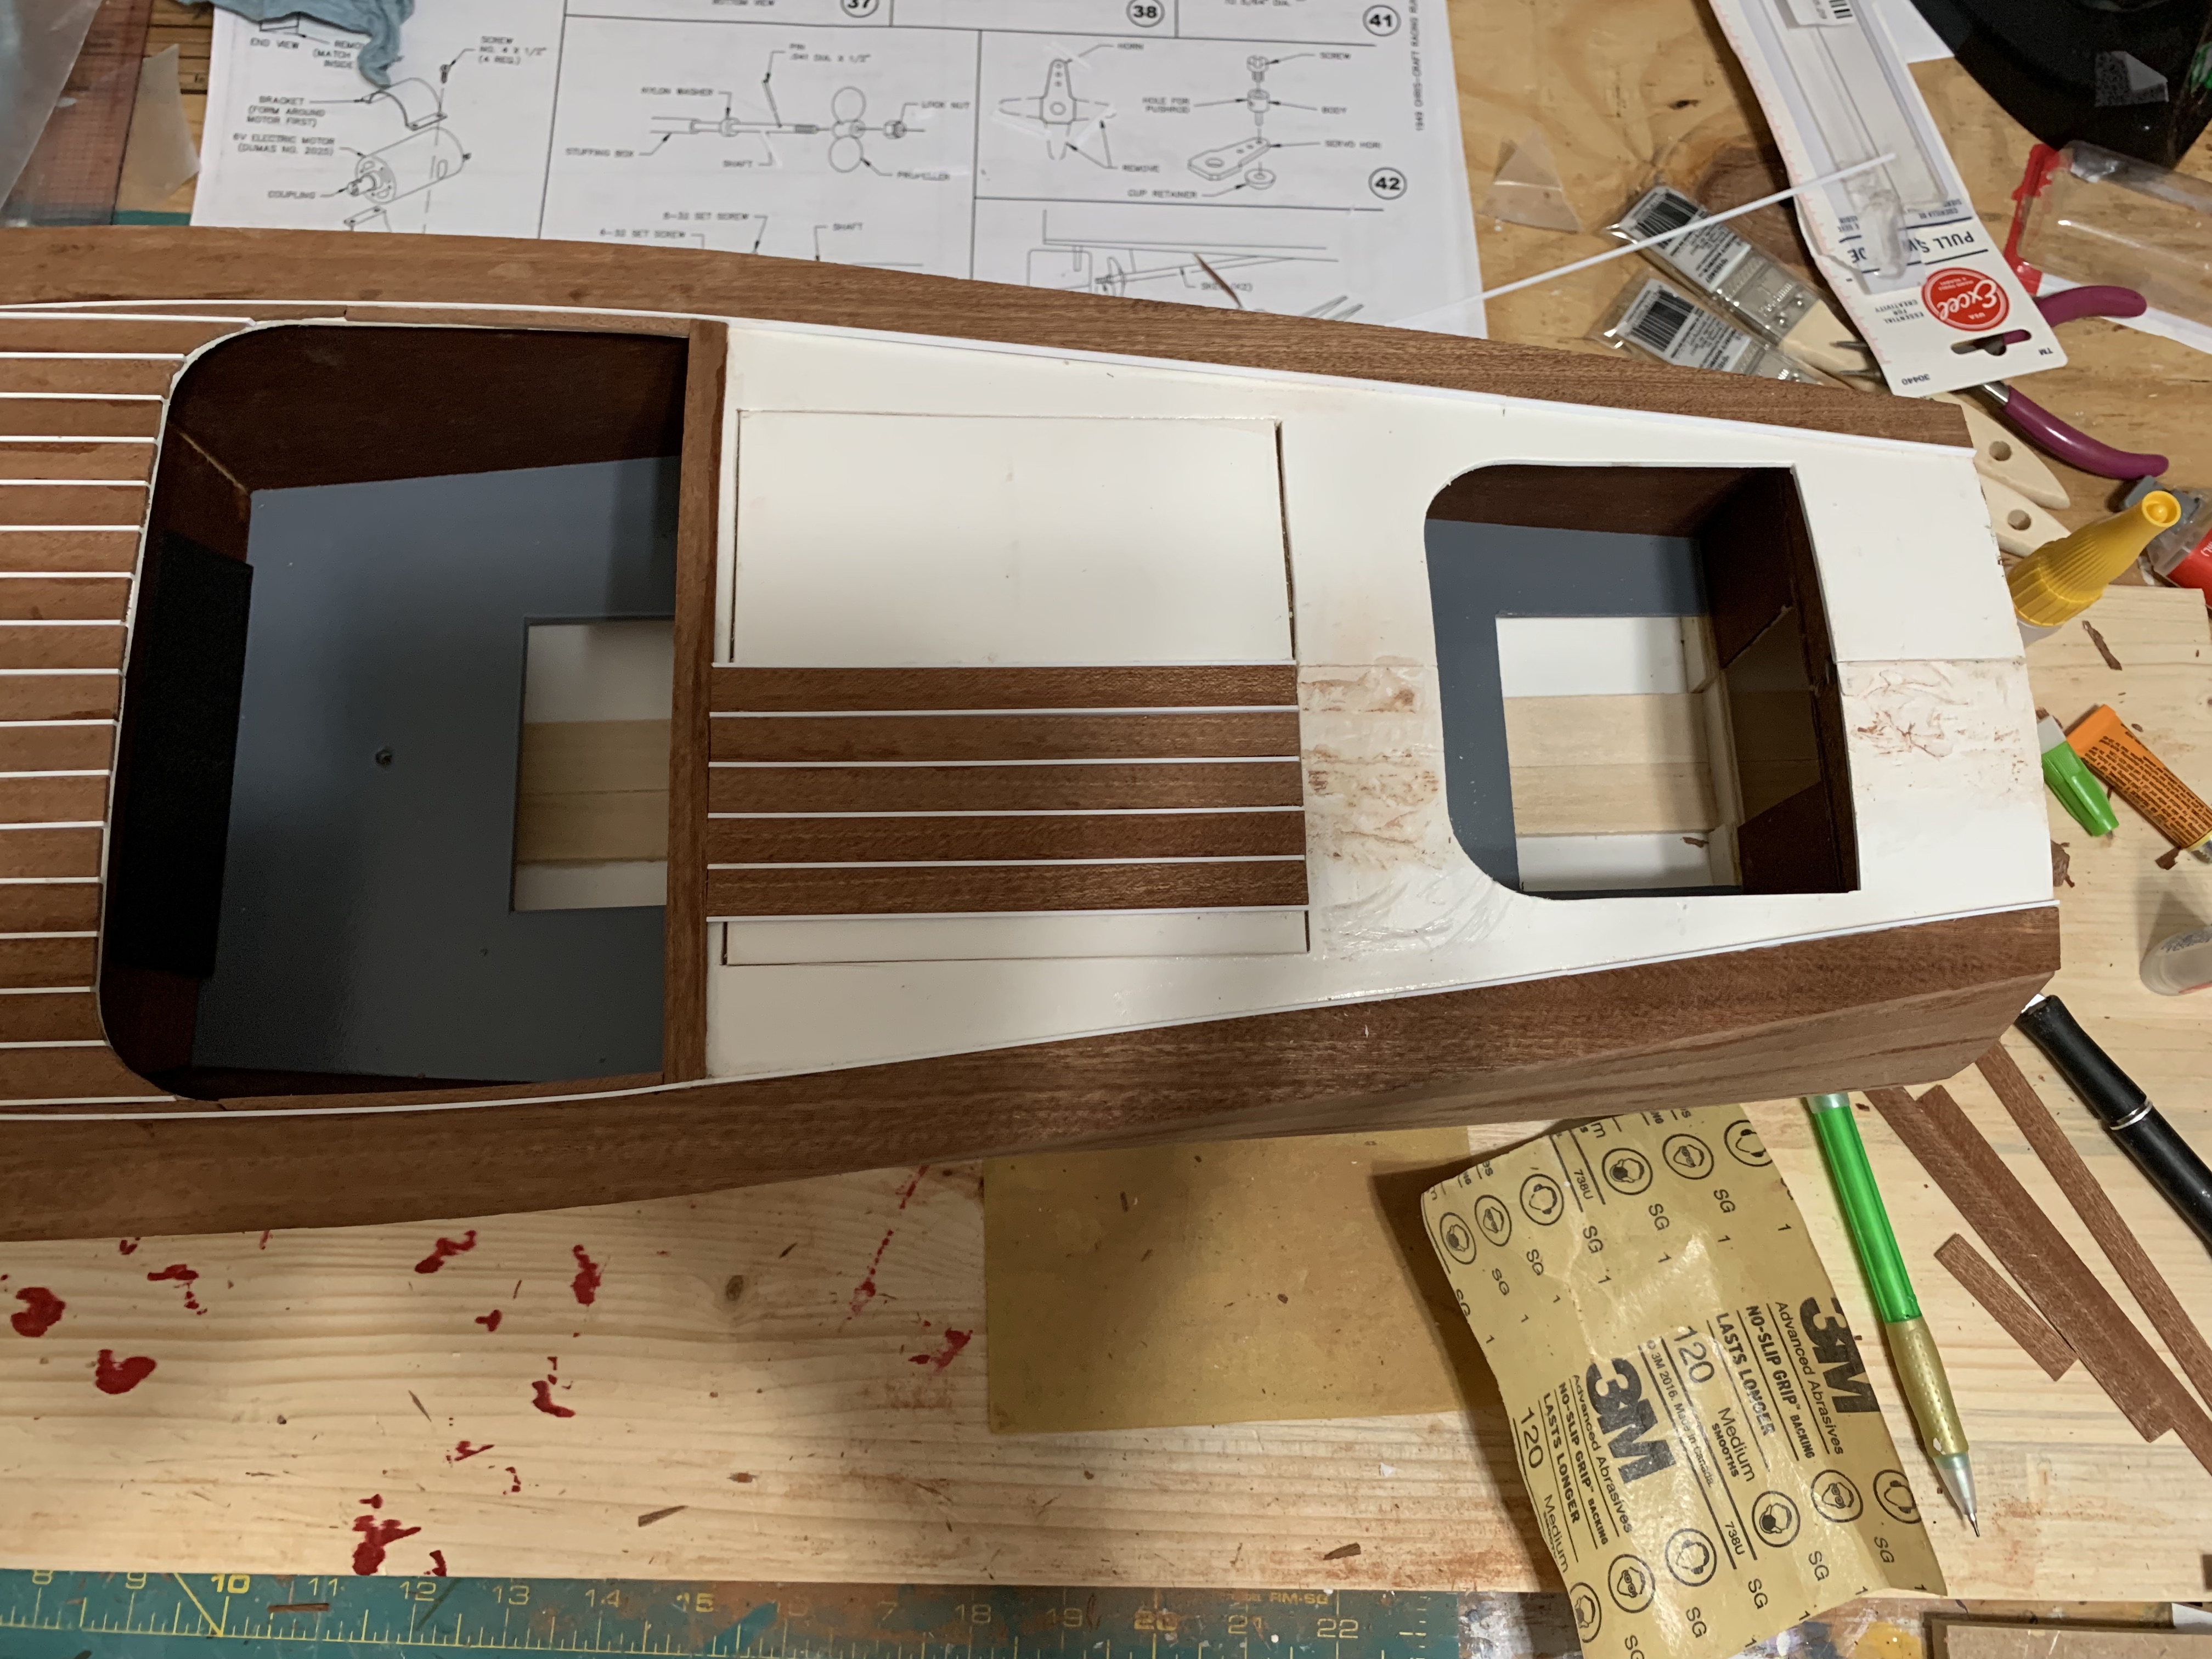
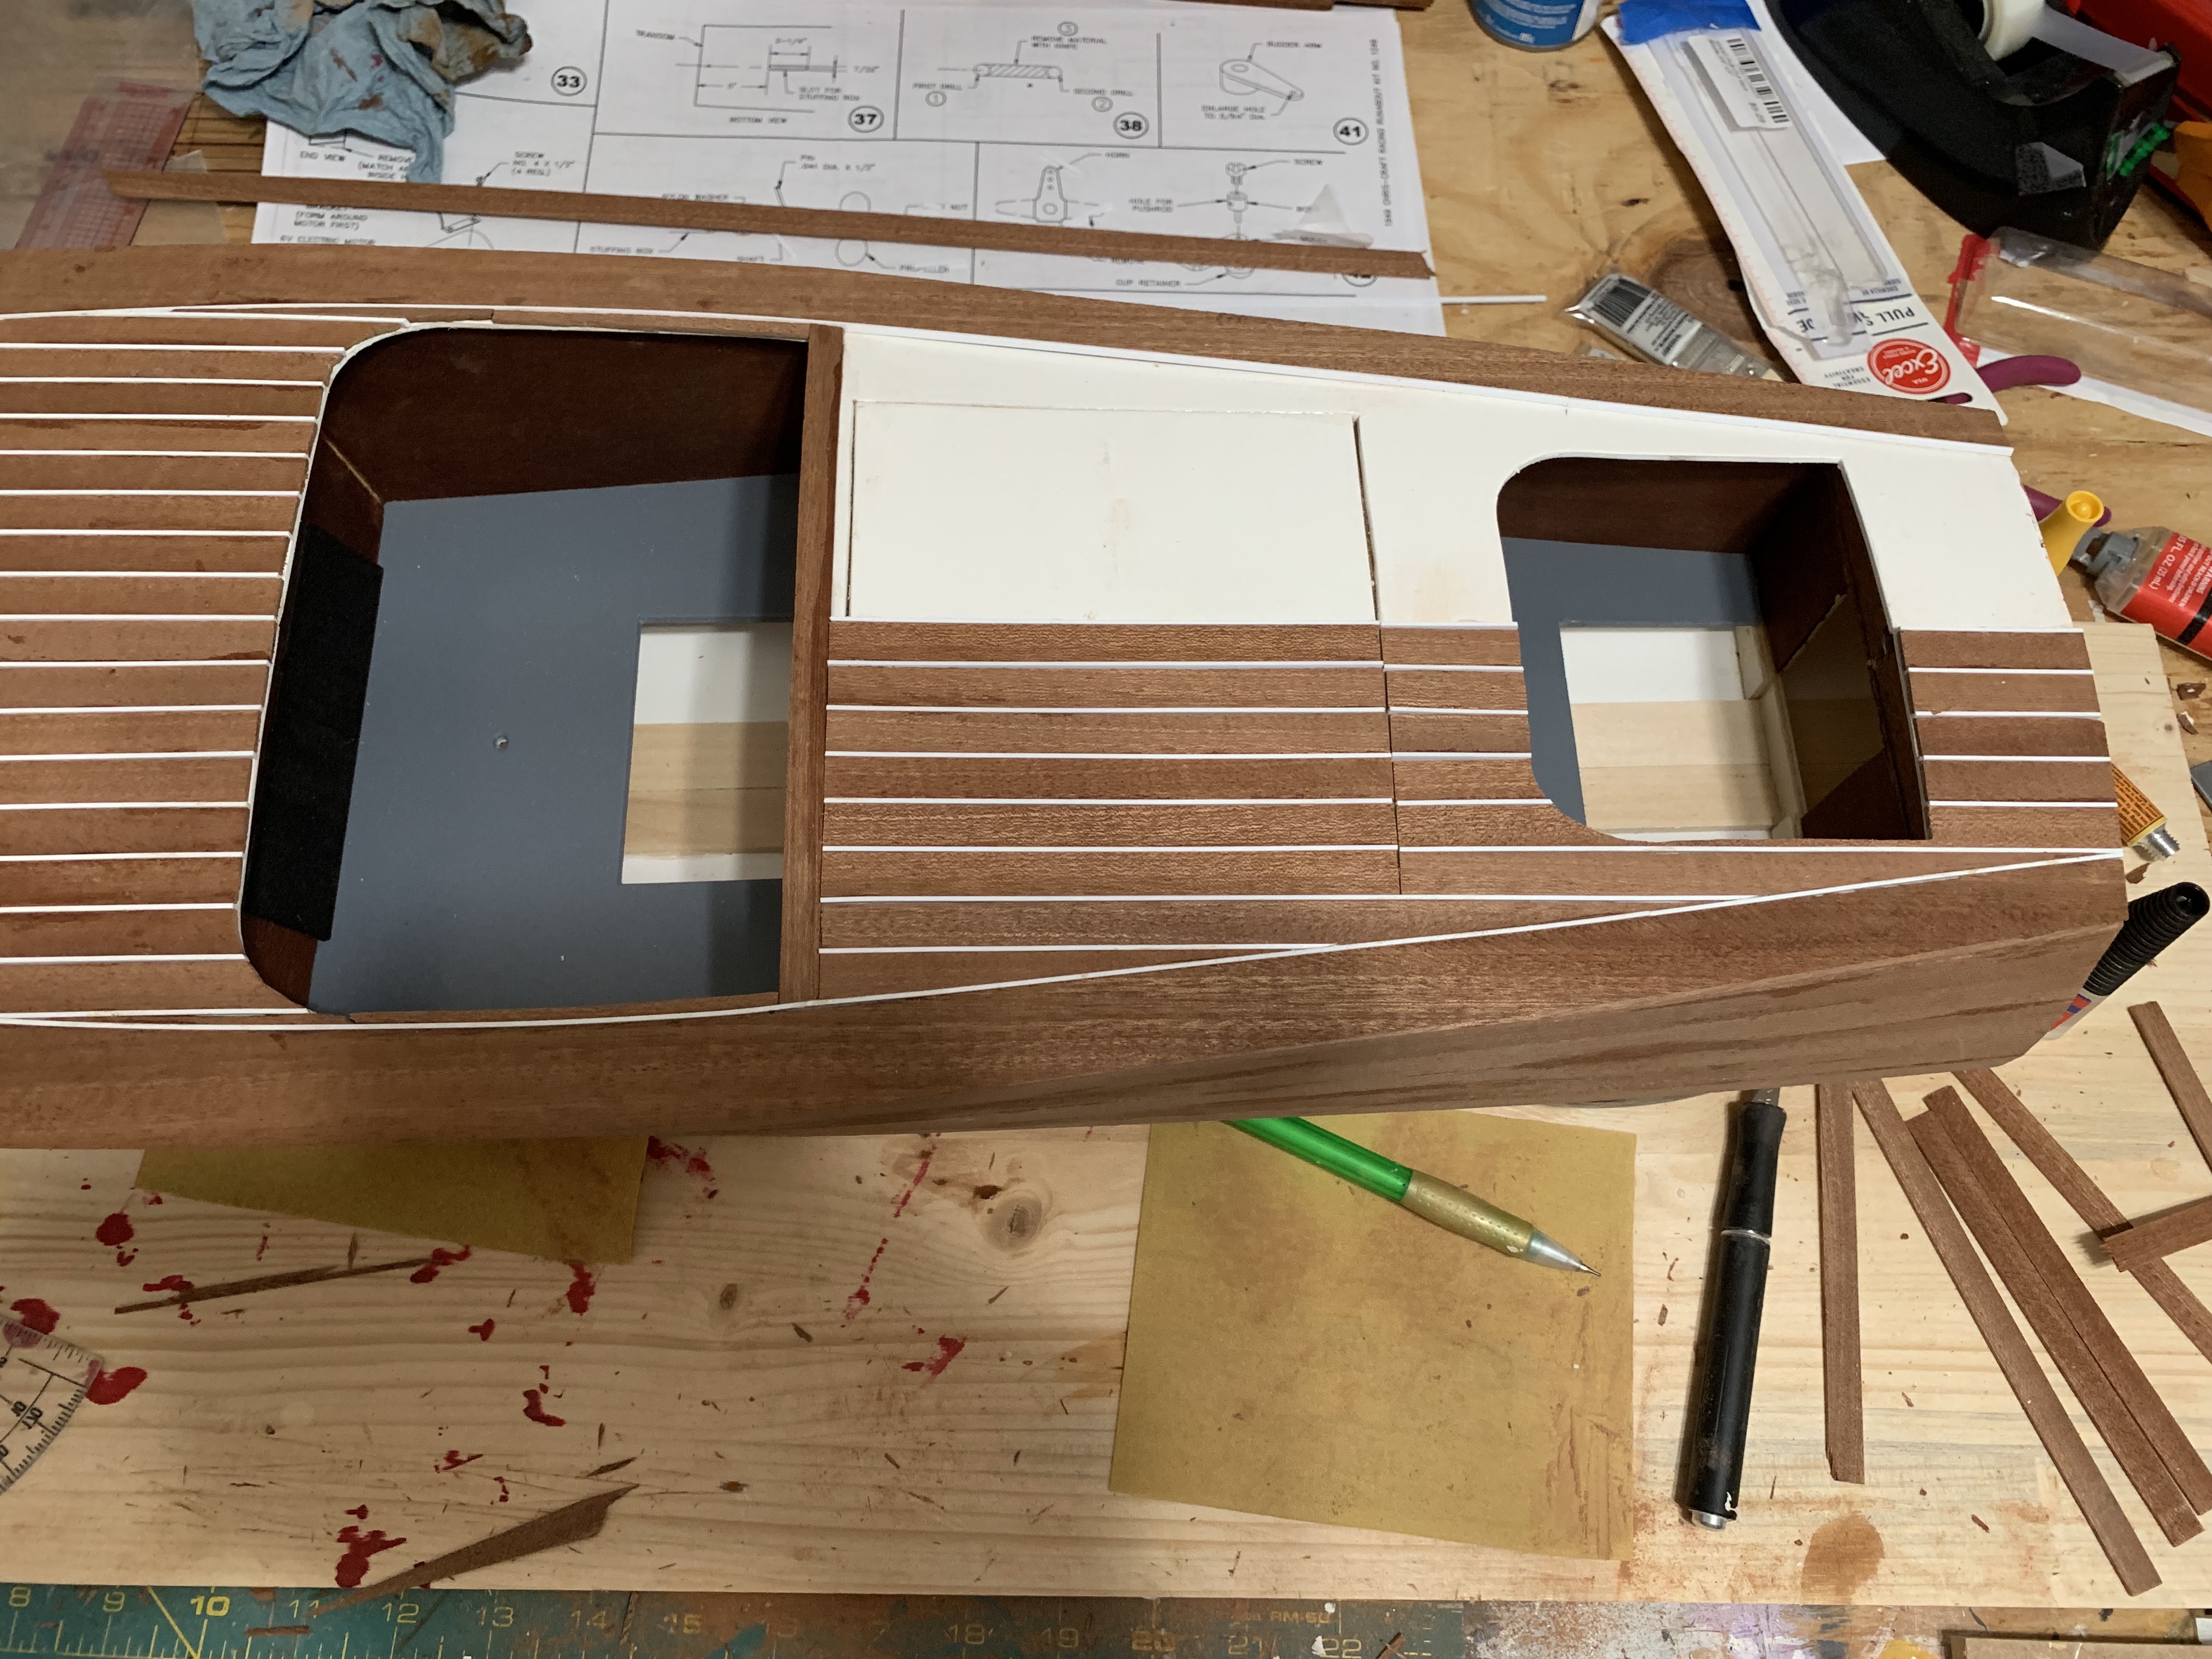
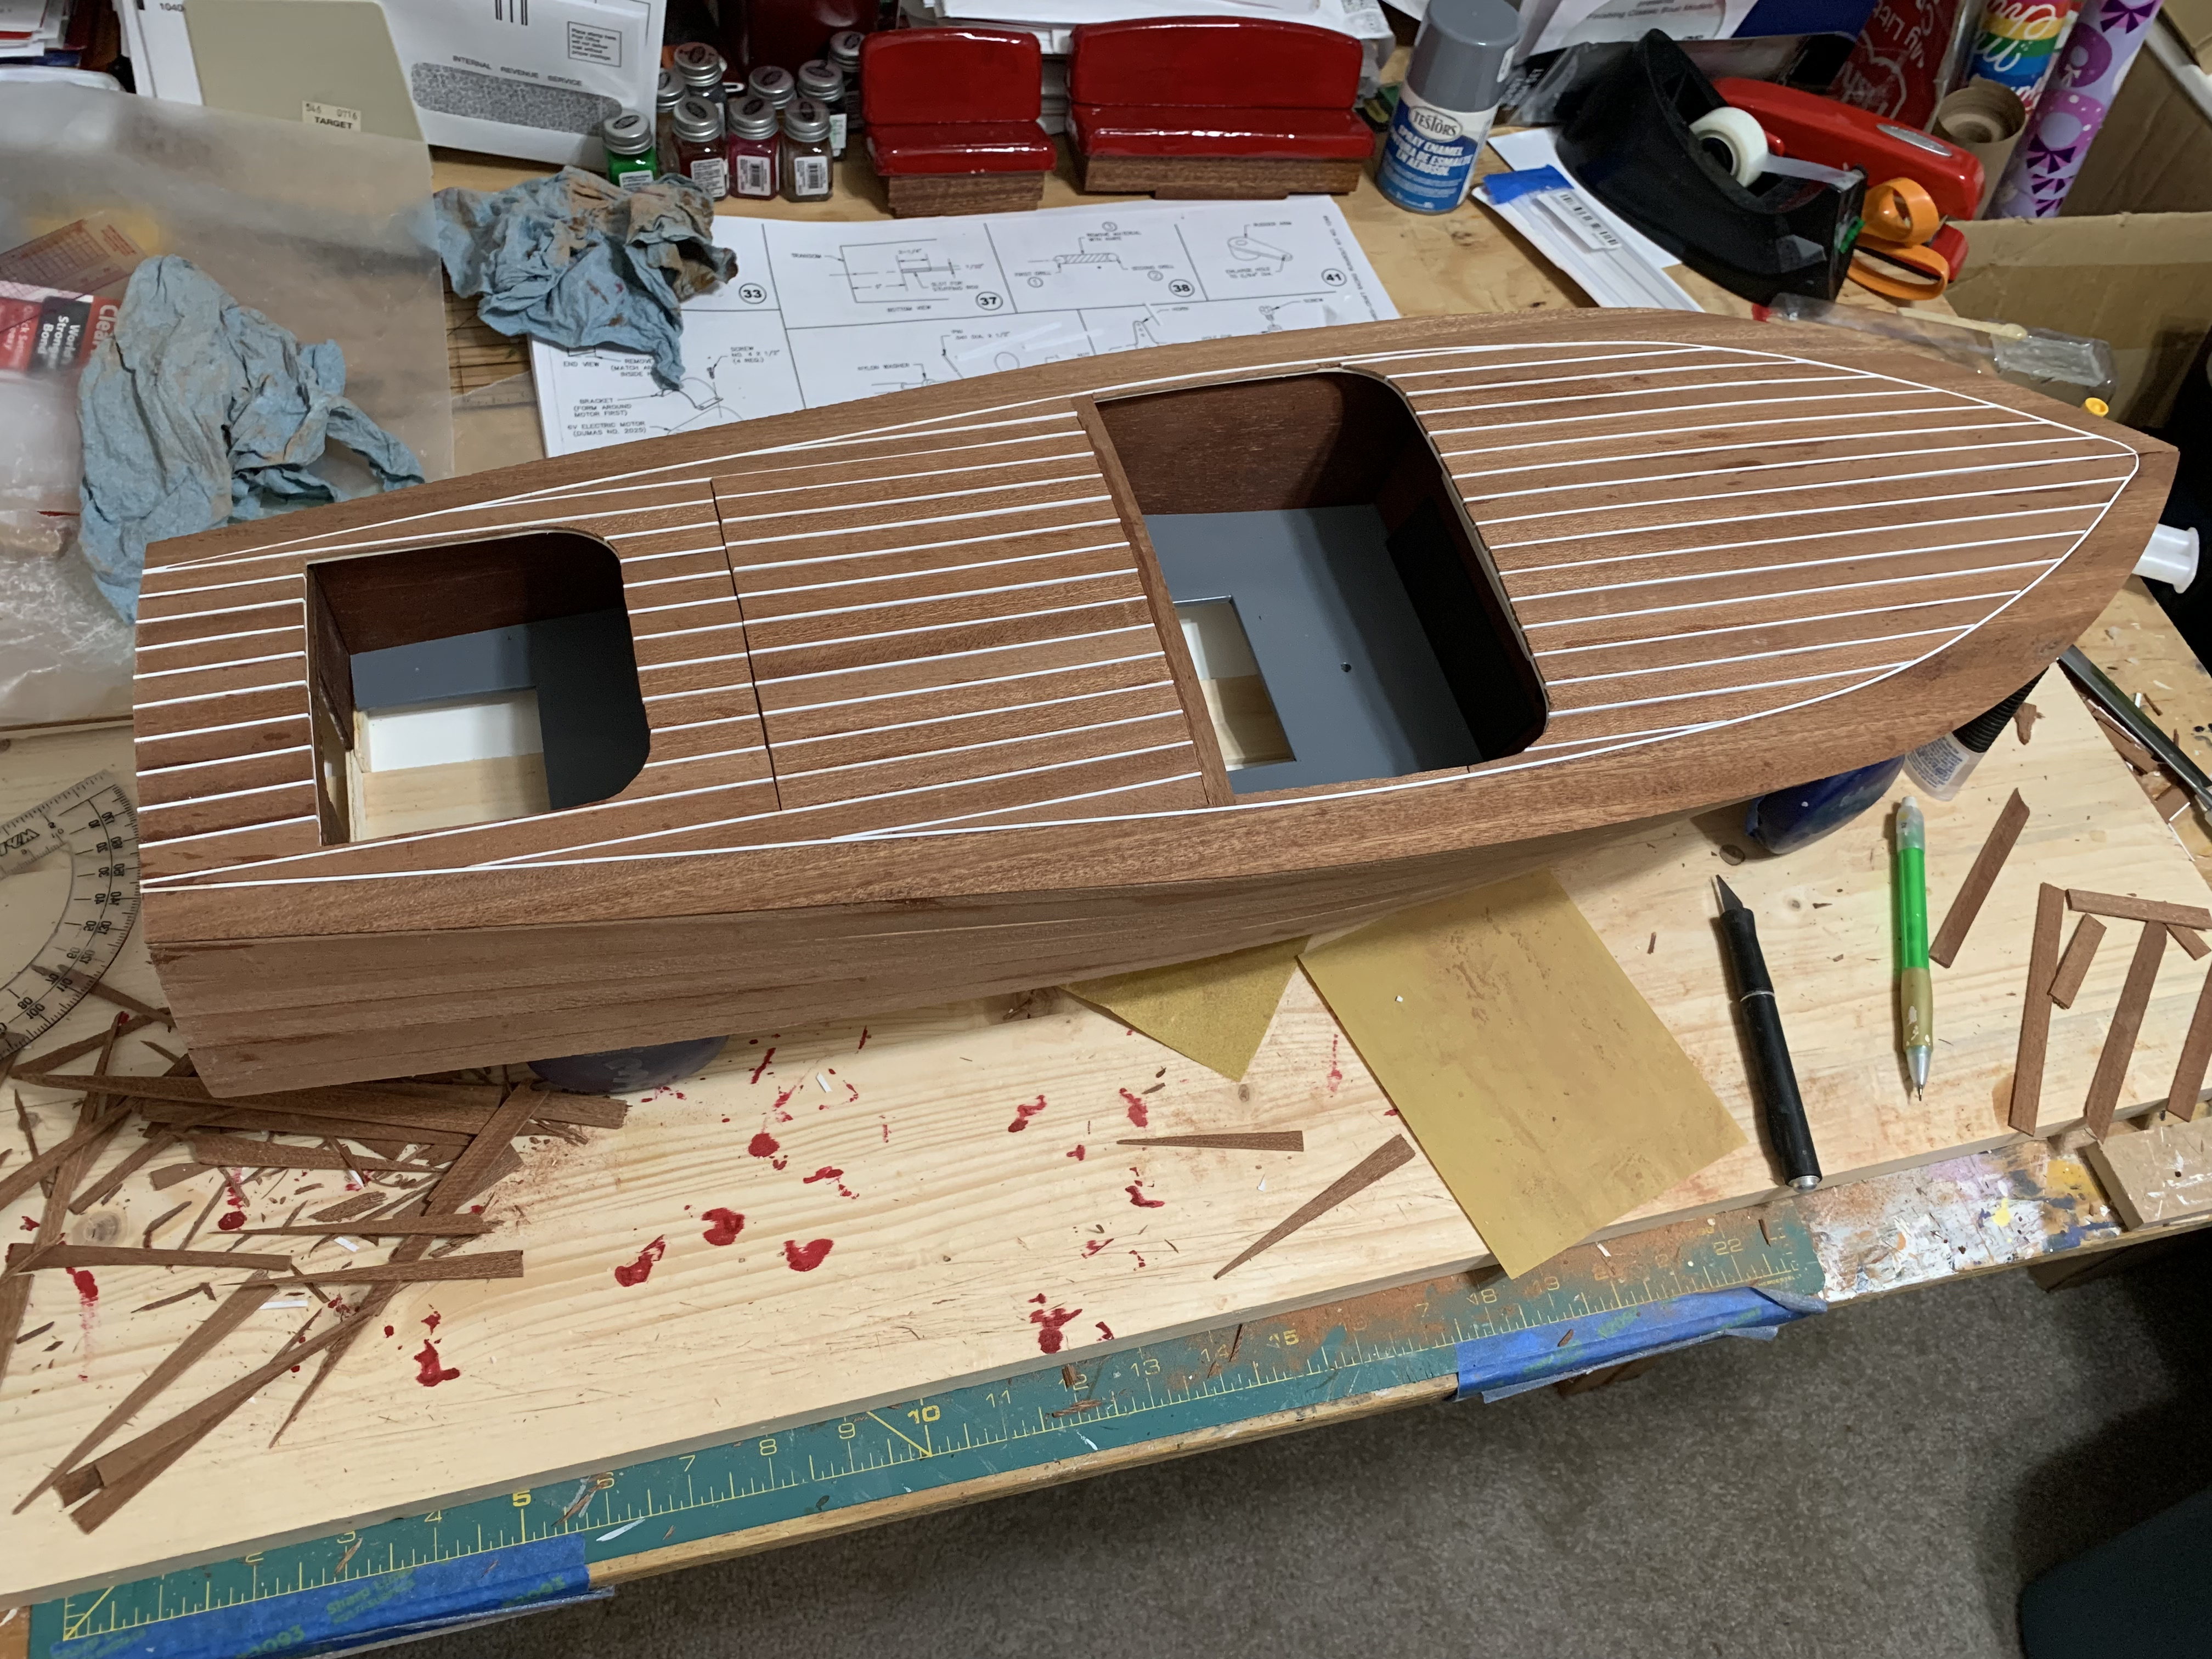
Thankful that this step was finally over, I was now ready to plank the upper deck which would hopefully go easier since the planks would not have to bend in so many different directions. Also, planking the upper deck would be slightly different in that thin styrene strips would be sandwiched between the mahogany planks to mimic the iconic white caulk lines seen on classic wooden Chris Craft boats of the mid 20th century. After attaching the two Side Boards to the sub-planking, I proceeded to plank the forward deck, starting at the center line with a styrene strip and then alternating mahogany and styrene. After just a few strips, it already looked cool!
In no time, I had the port side done (I’m starting to learn these boating terms) …
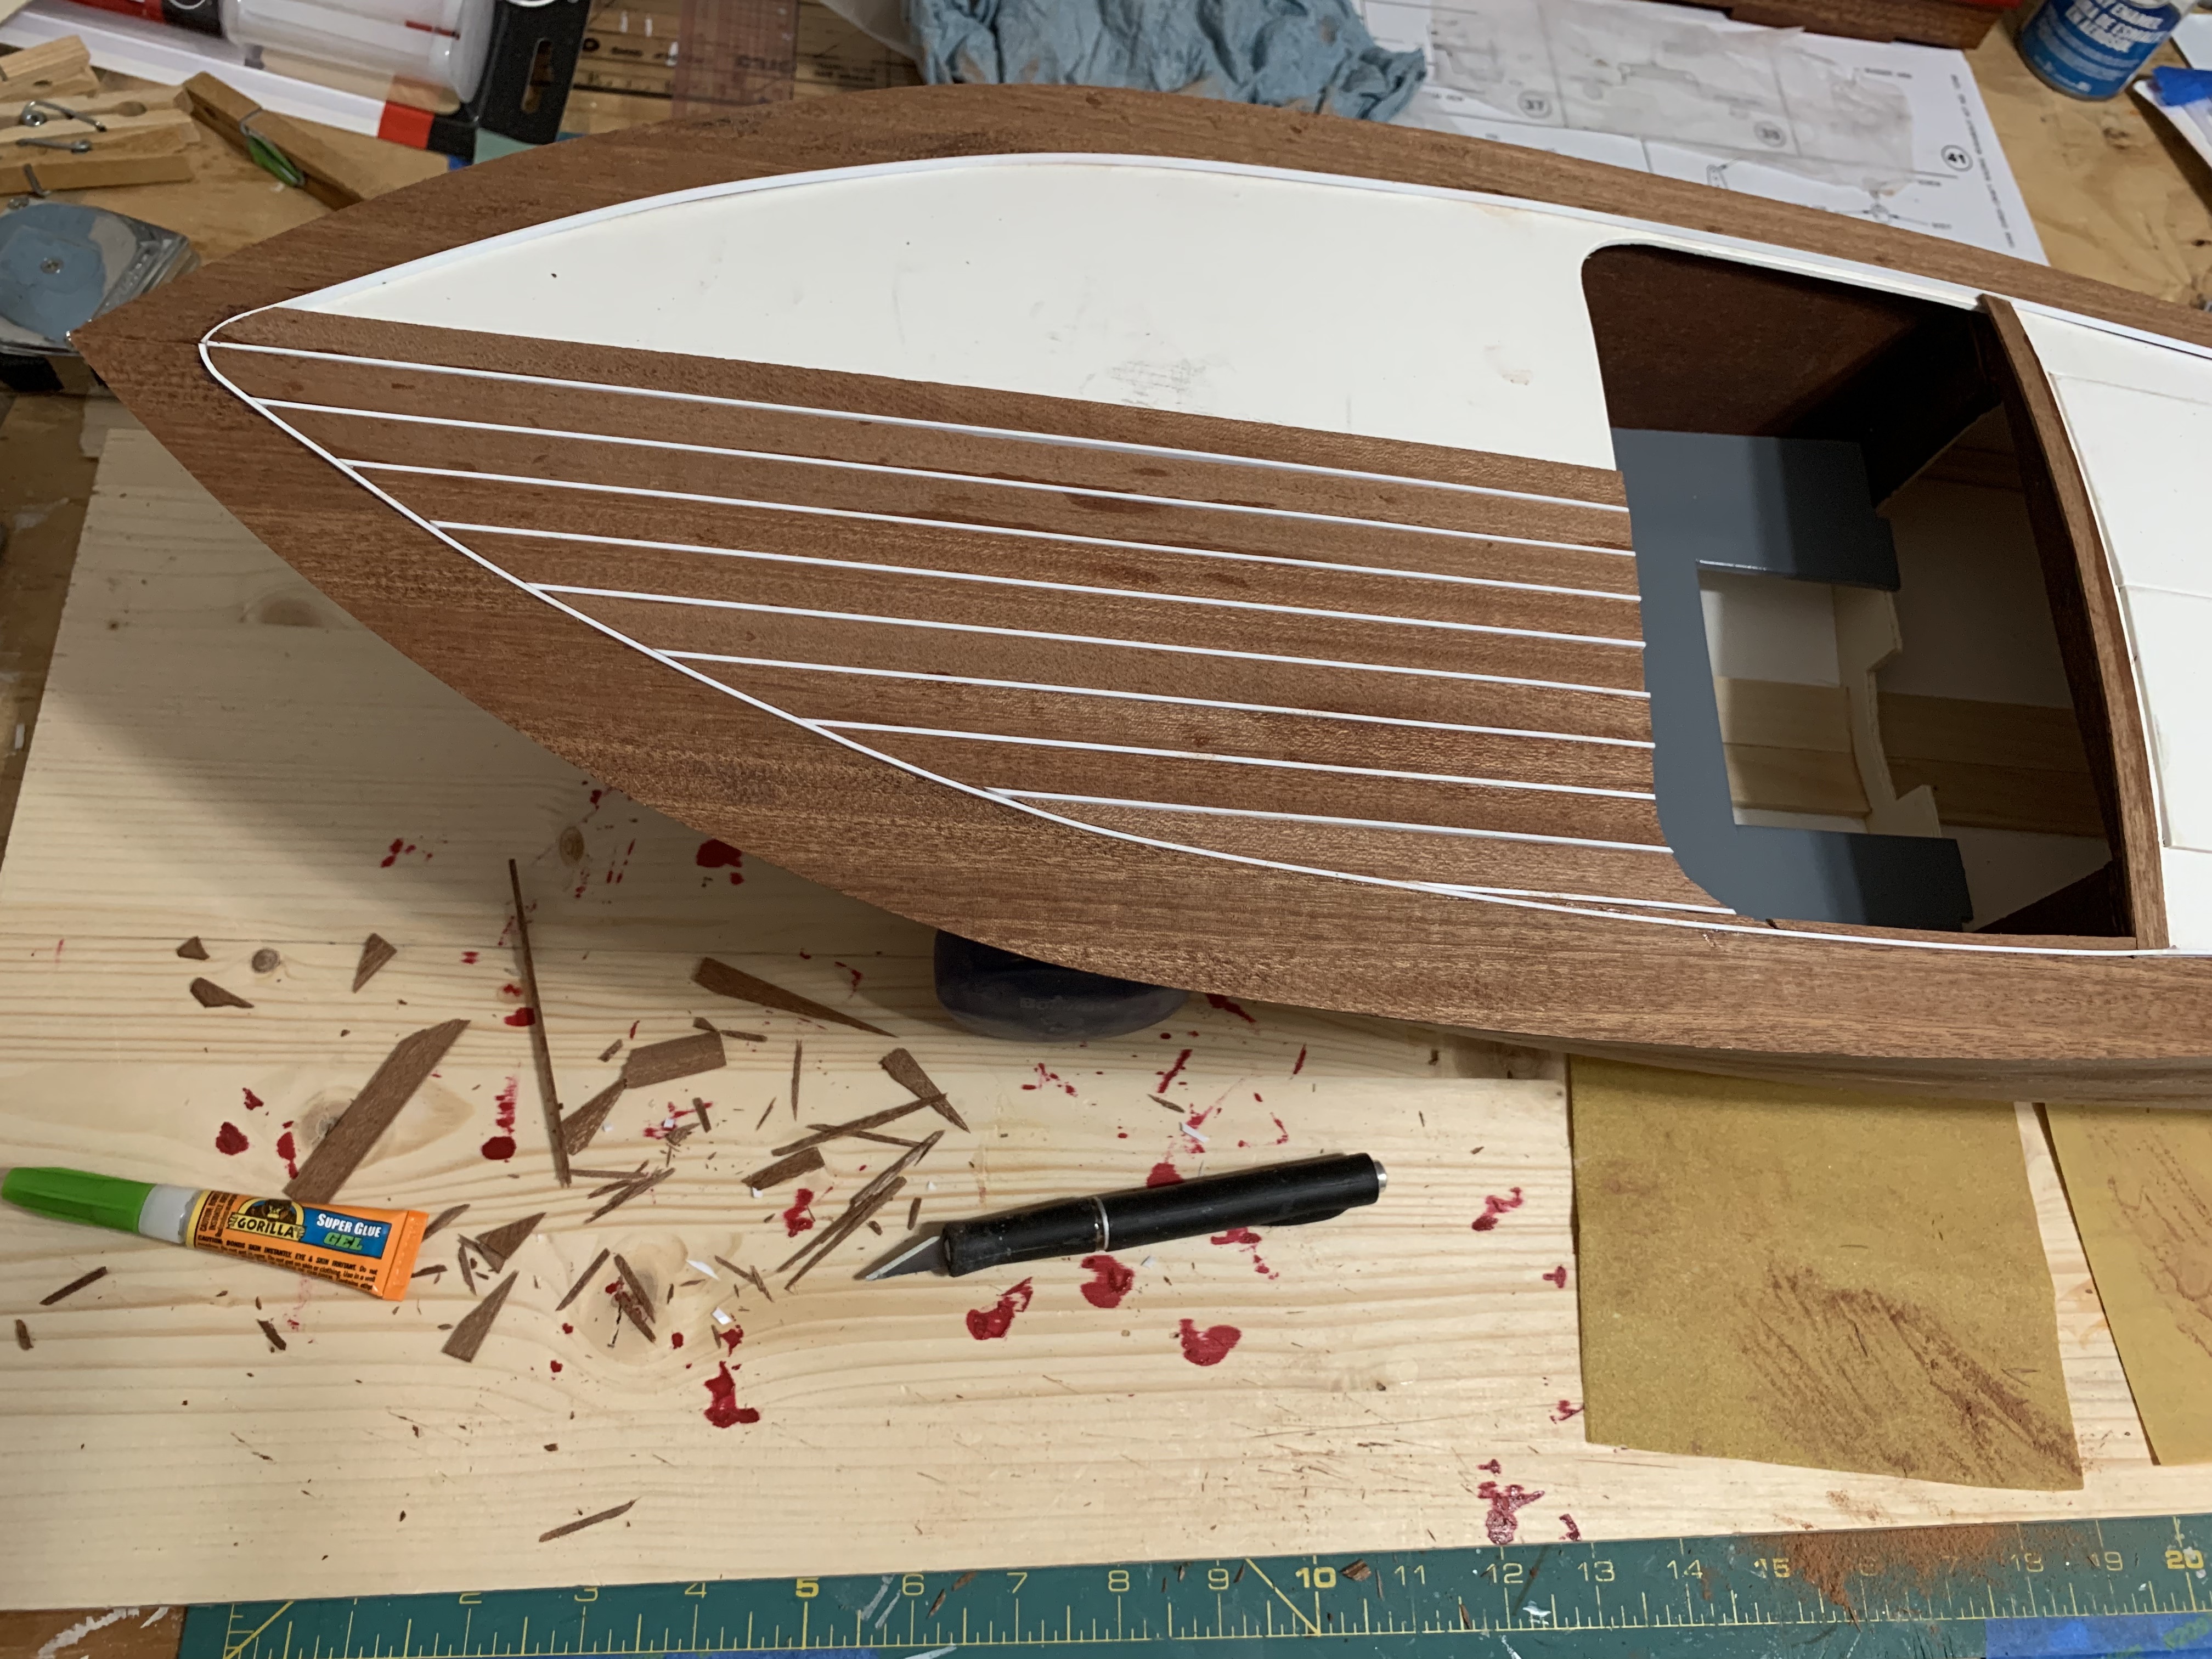
… and soon after the starboard side.
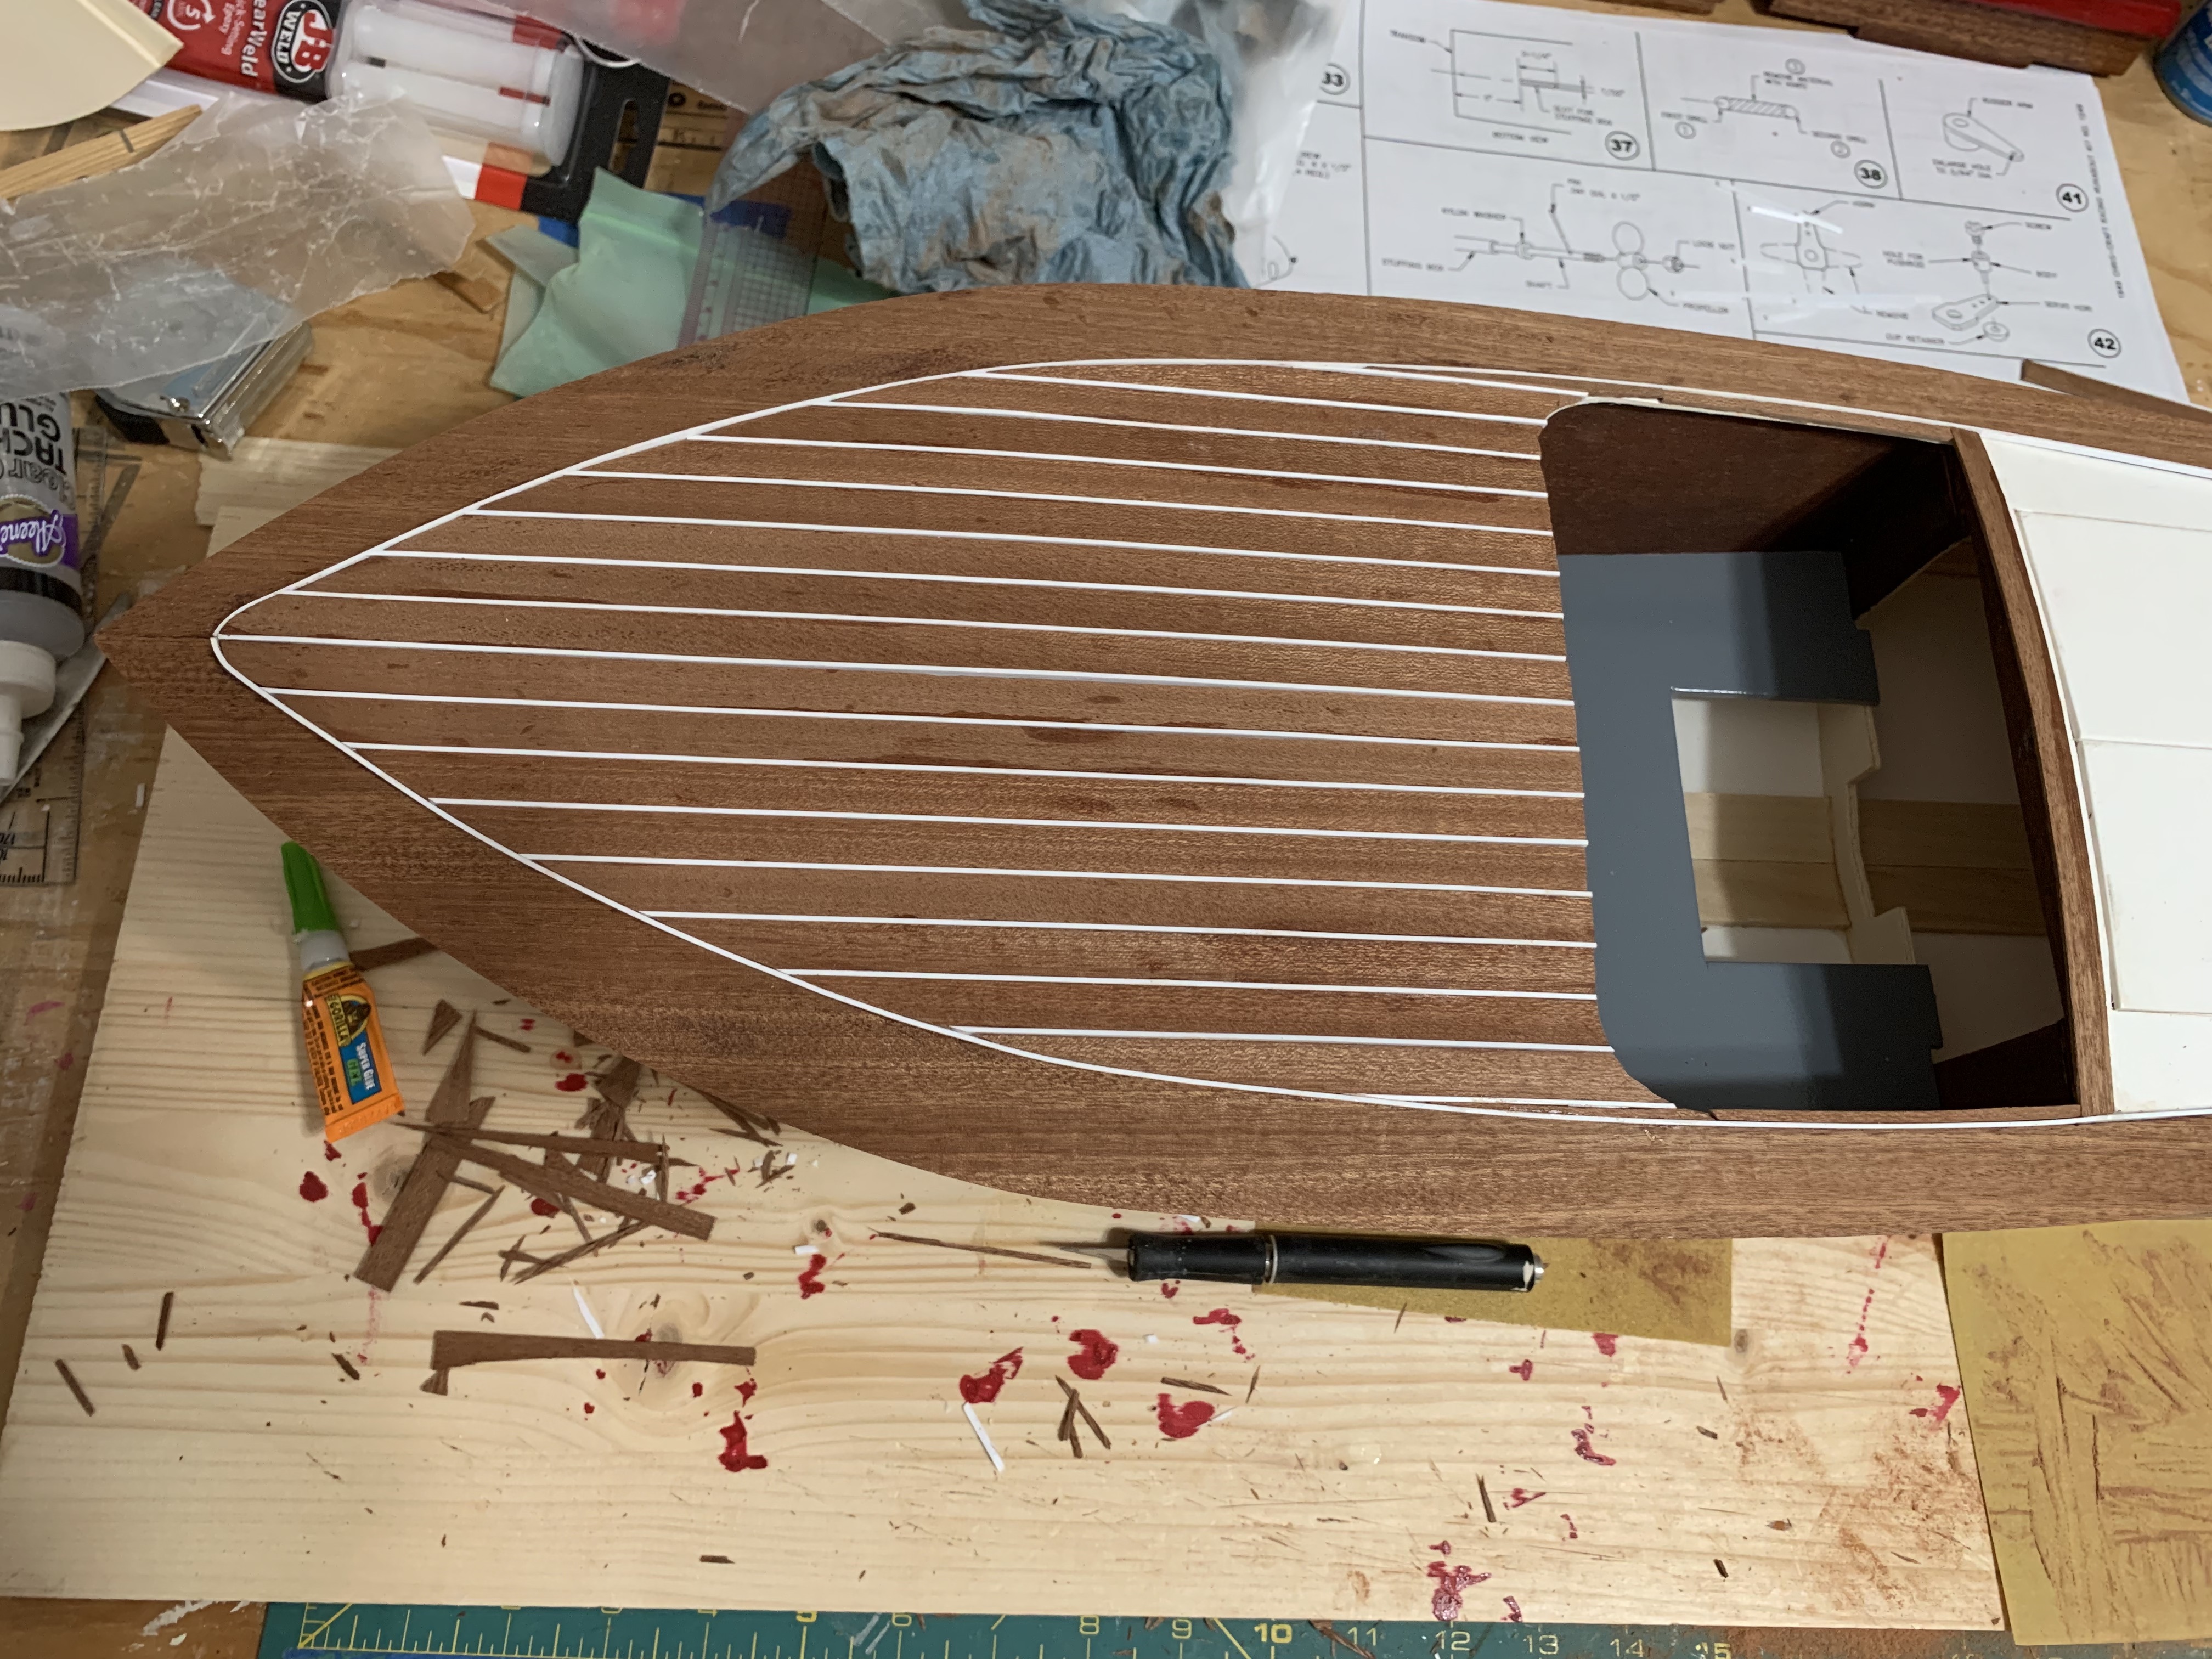
This planking did go much more easily and more quickly, and gluing was a breeze since the surface was mostly flat. The only challenging planks were the tiny strips just to the port and starboard side of the front cockpit. These required me to cut and sand numerous times to get the strips just right.
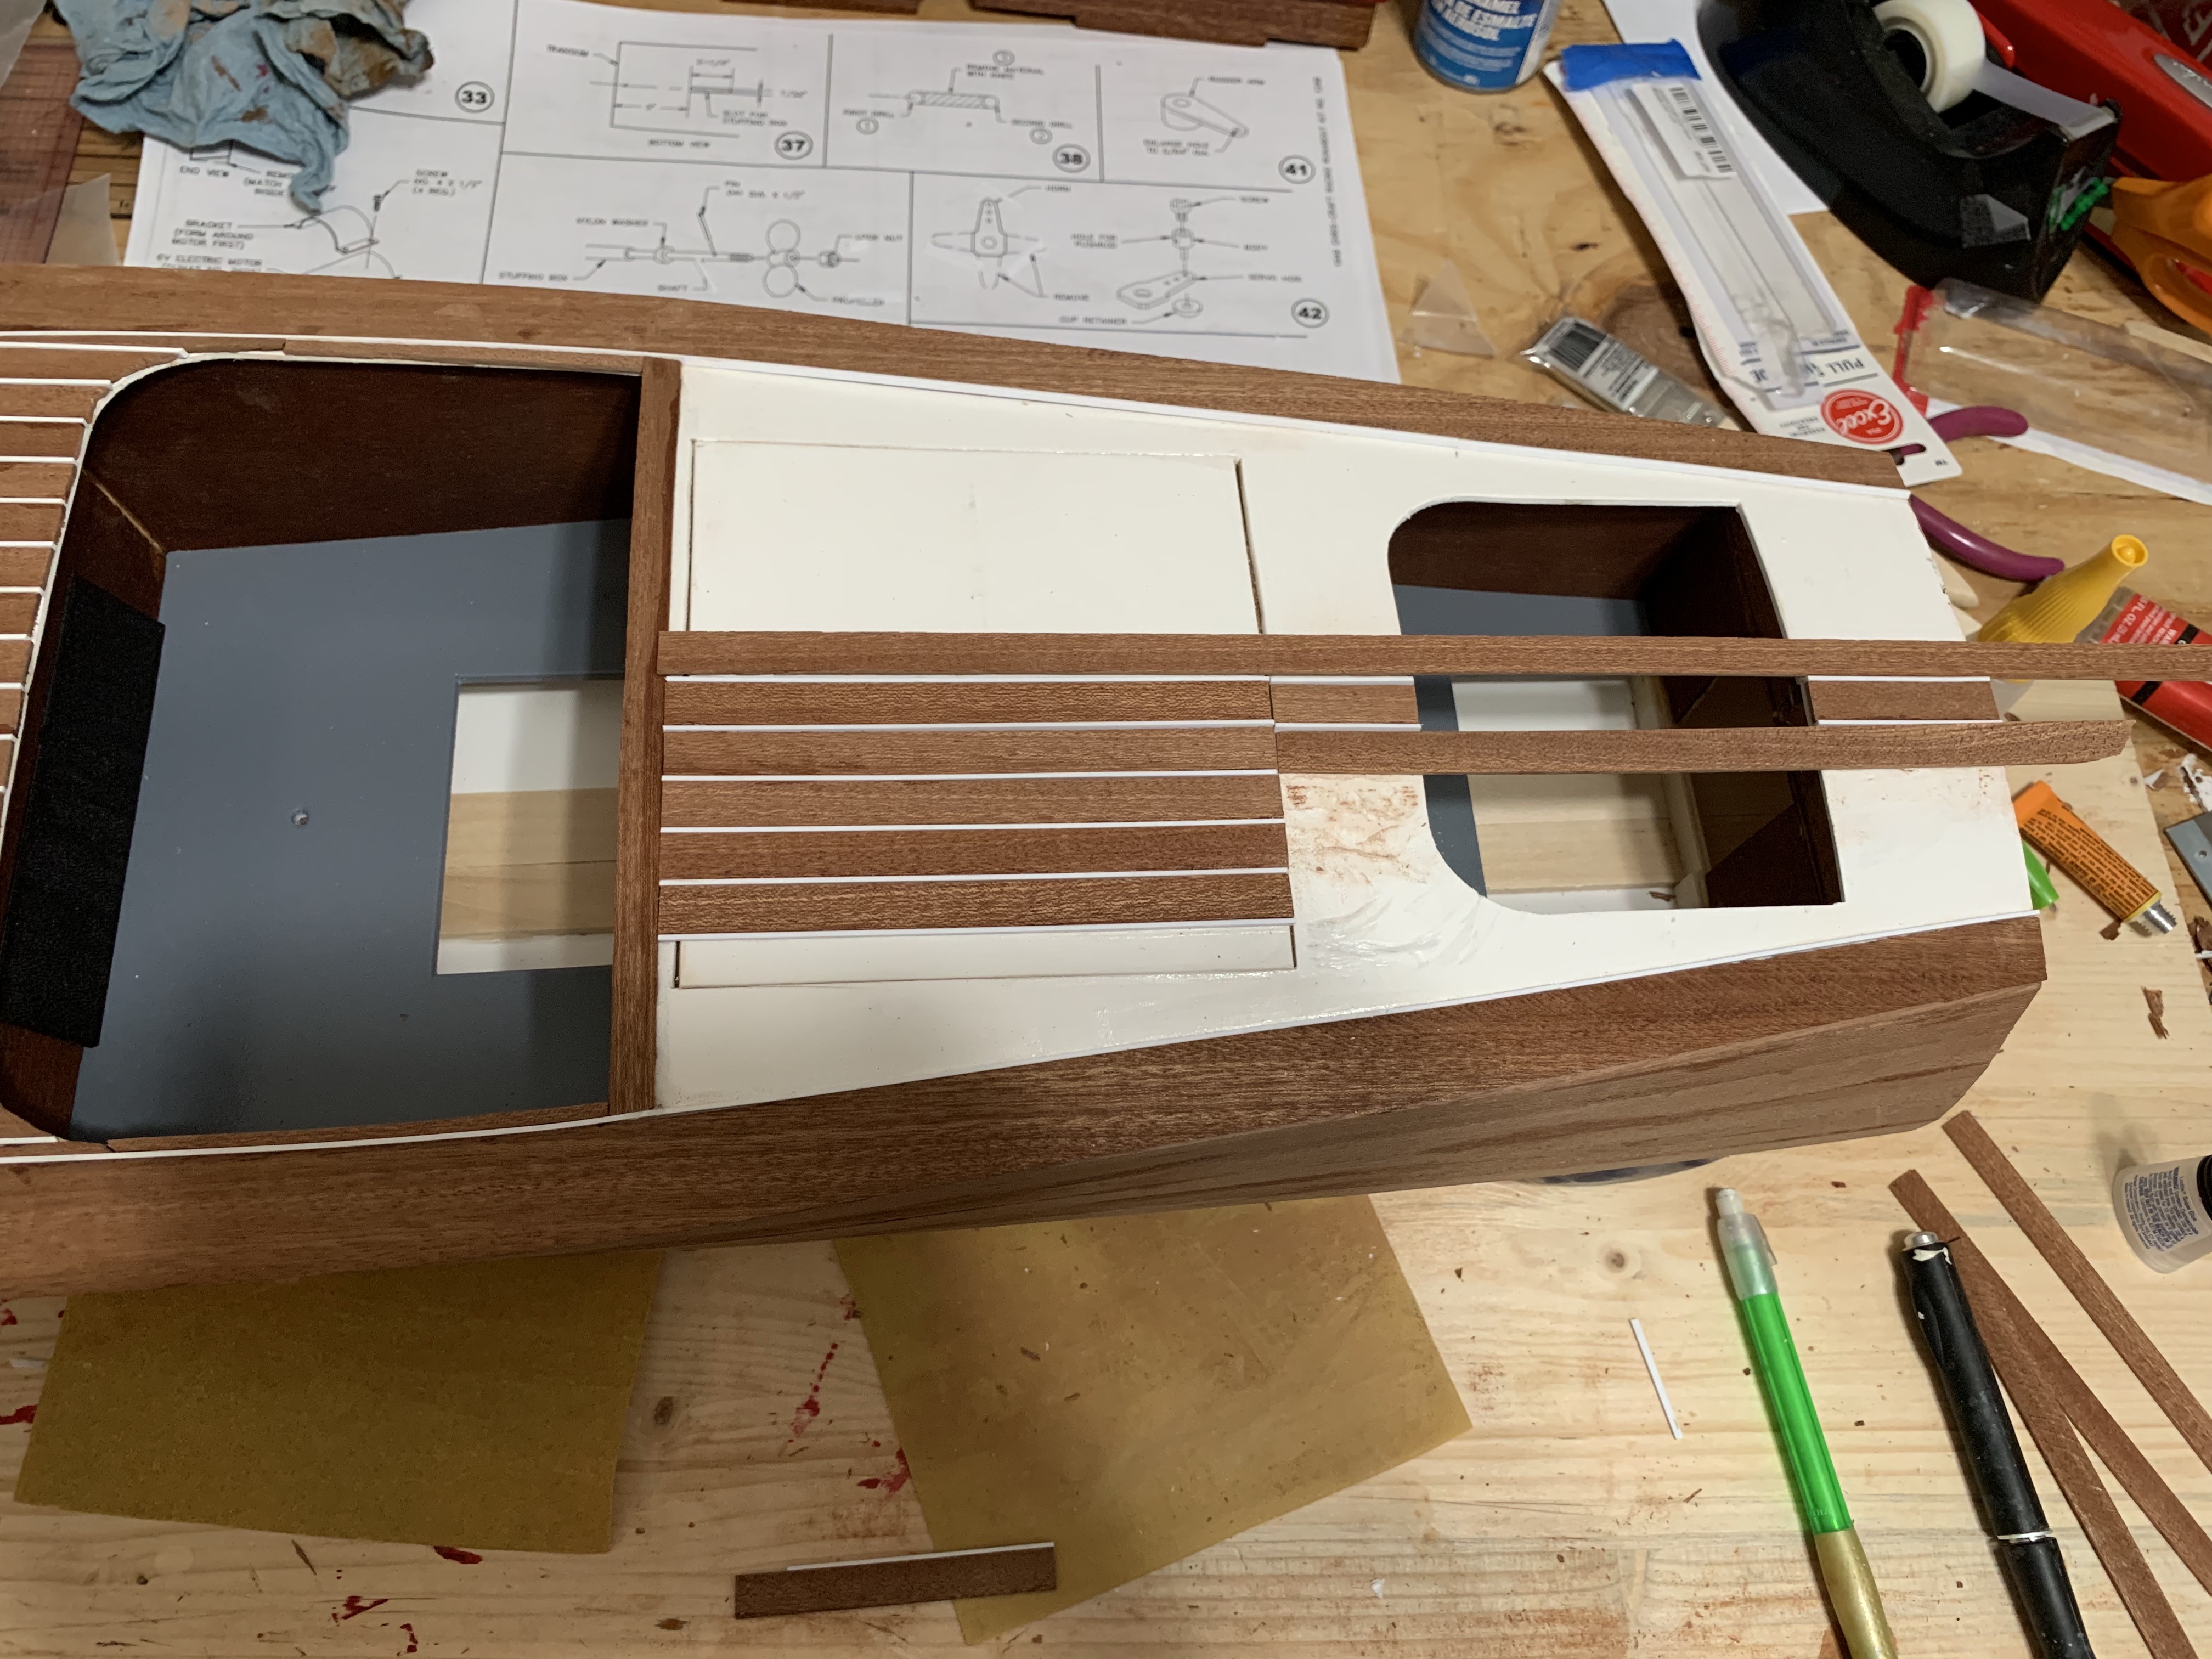
Now ready for the hatch and rear deck, I again started at the center line planking the hatch first and then the two sections of rear deck. Unfortunately, I did not follow the instructions to use a single plank running the length, but rather used small pieces cut to fit. At this point, I realized the planks did not line up in front and back of the cockpit…
… and in ripping them off, I found out just how well the glue was attaching them.
Starting over, I followed the instructions more closely…
… and was rewarded with planks more lined up.
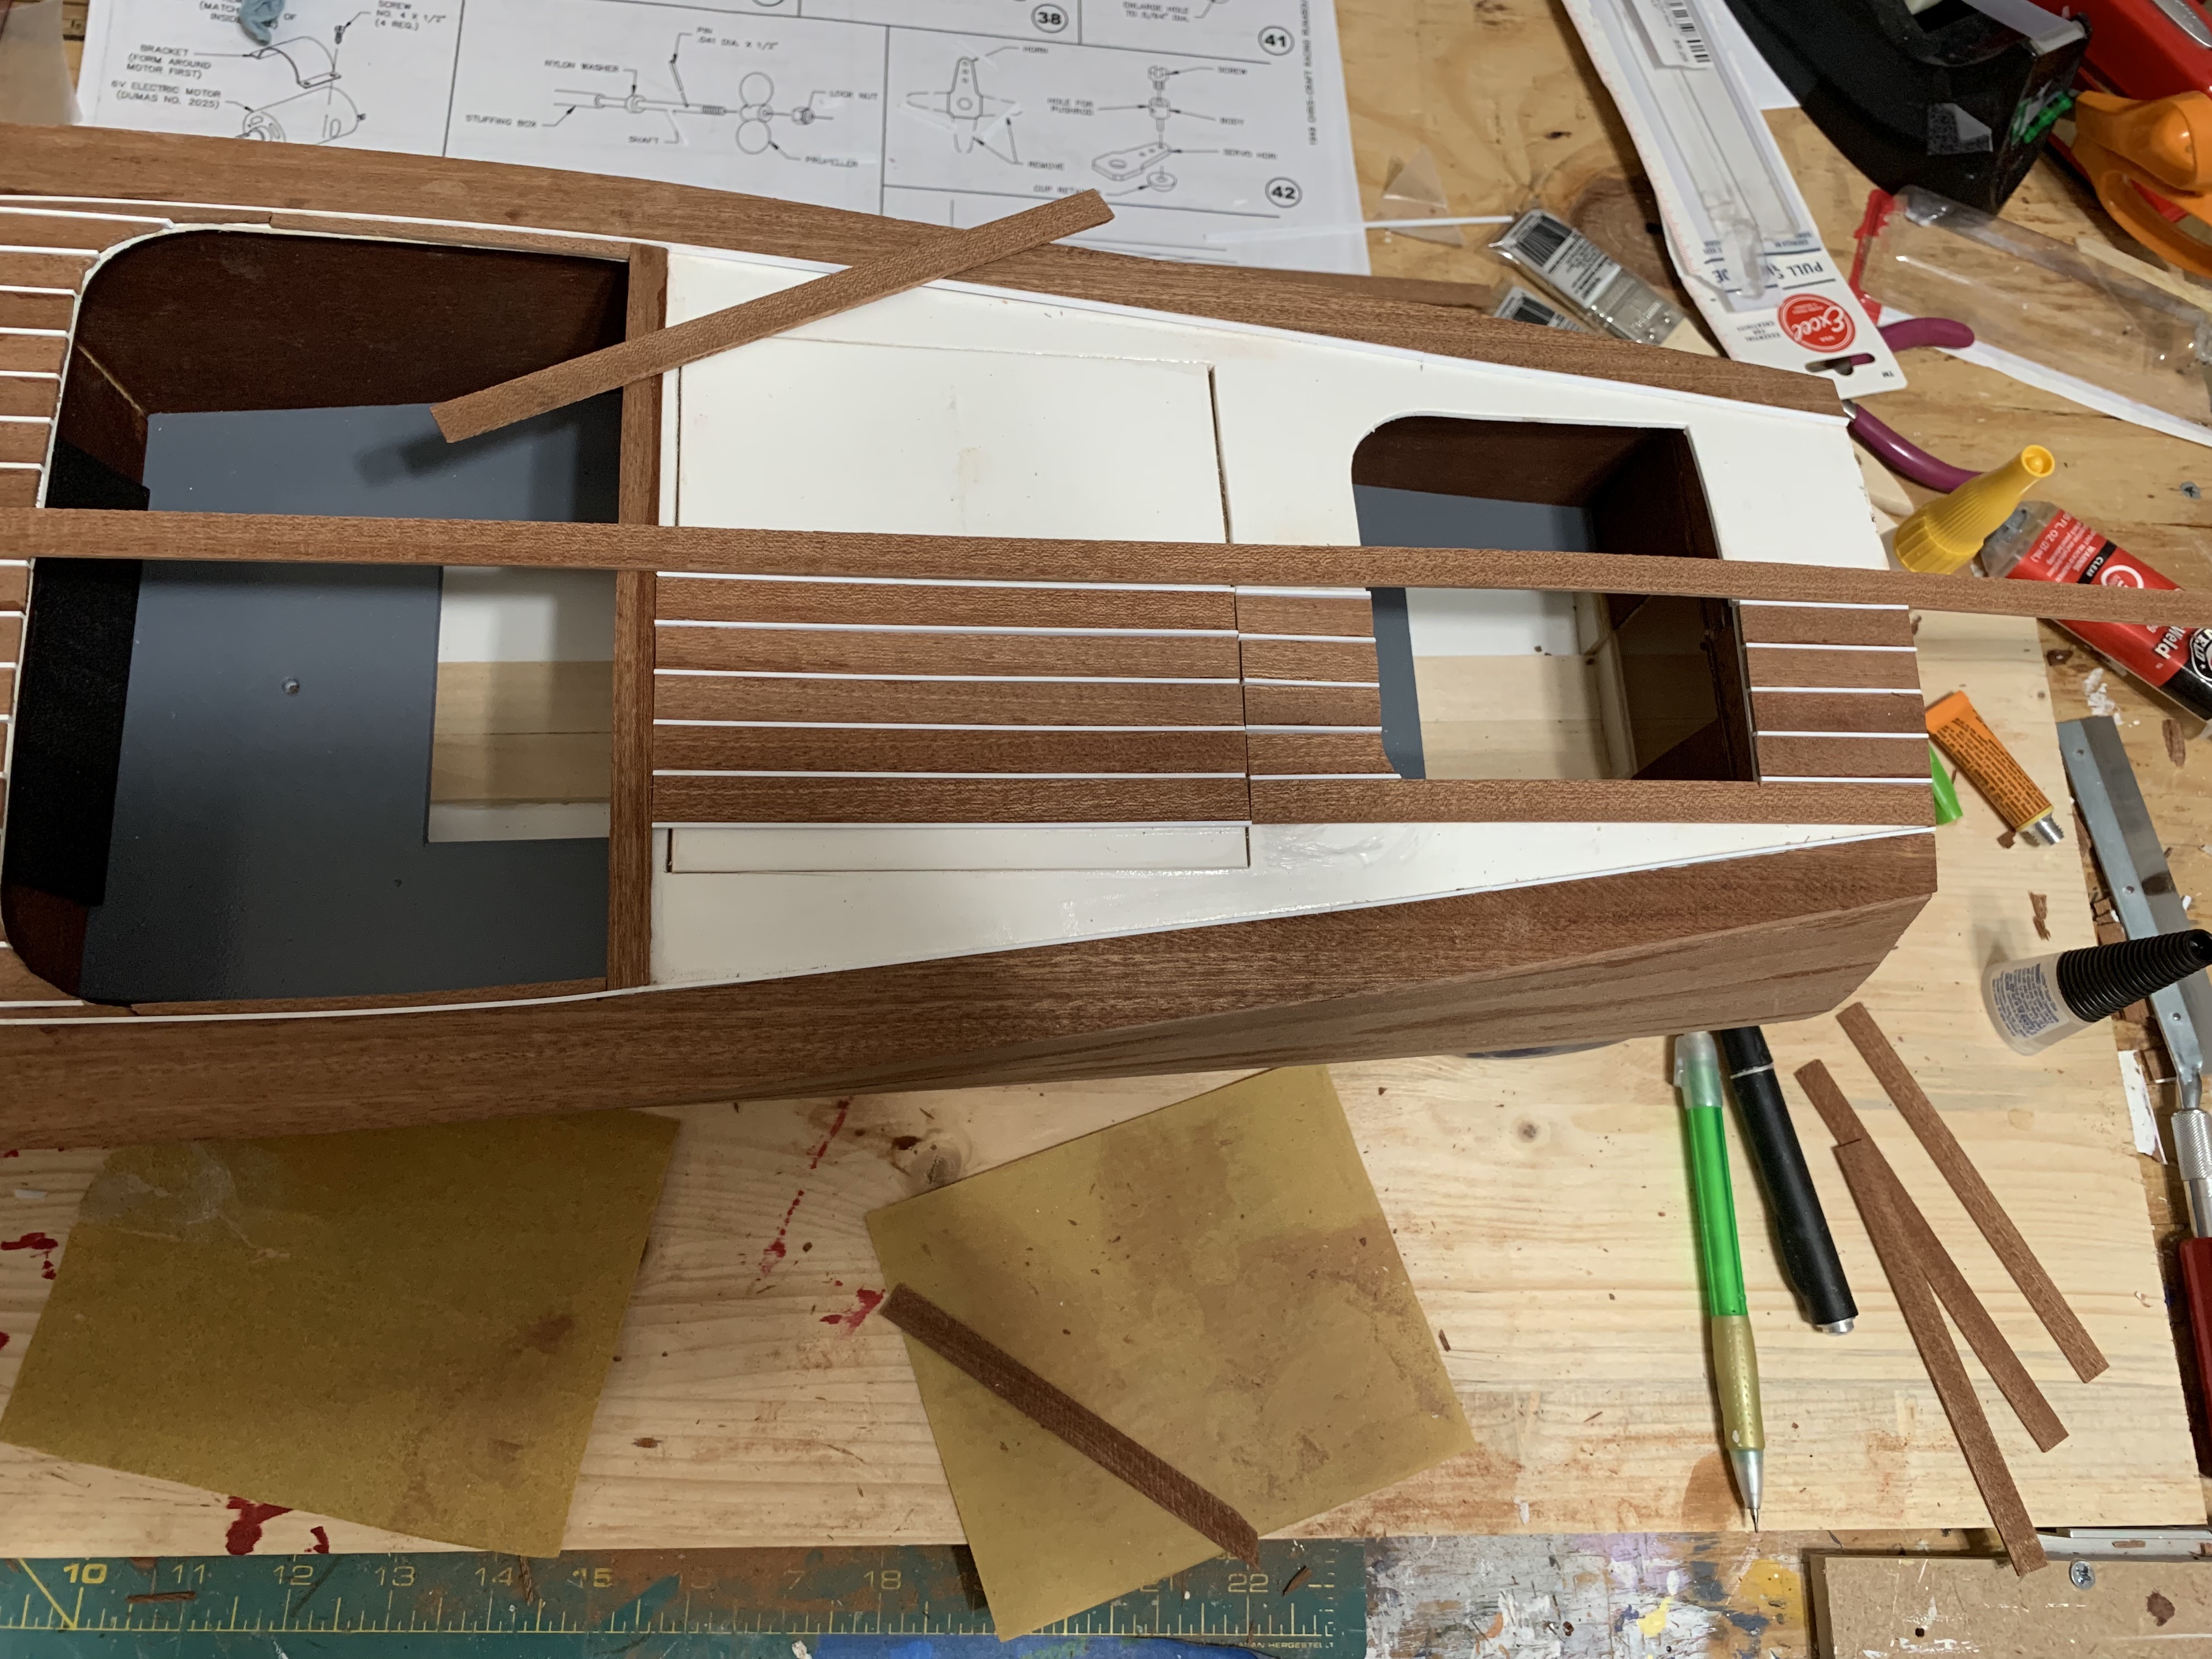
Again, the most challenging planks were the ones that had to be cut to follow the contour of the boat.
By the time I finished the starboard side, I had accumulated quite a pile of scraps.
The last section to plank was the transom…
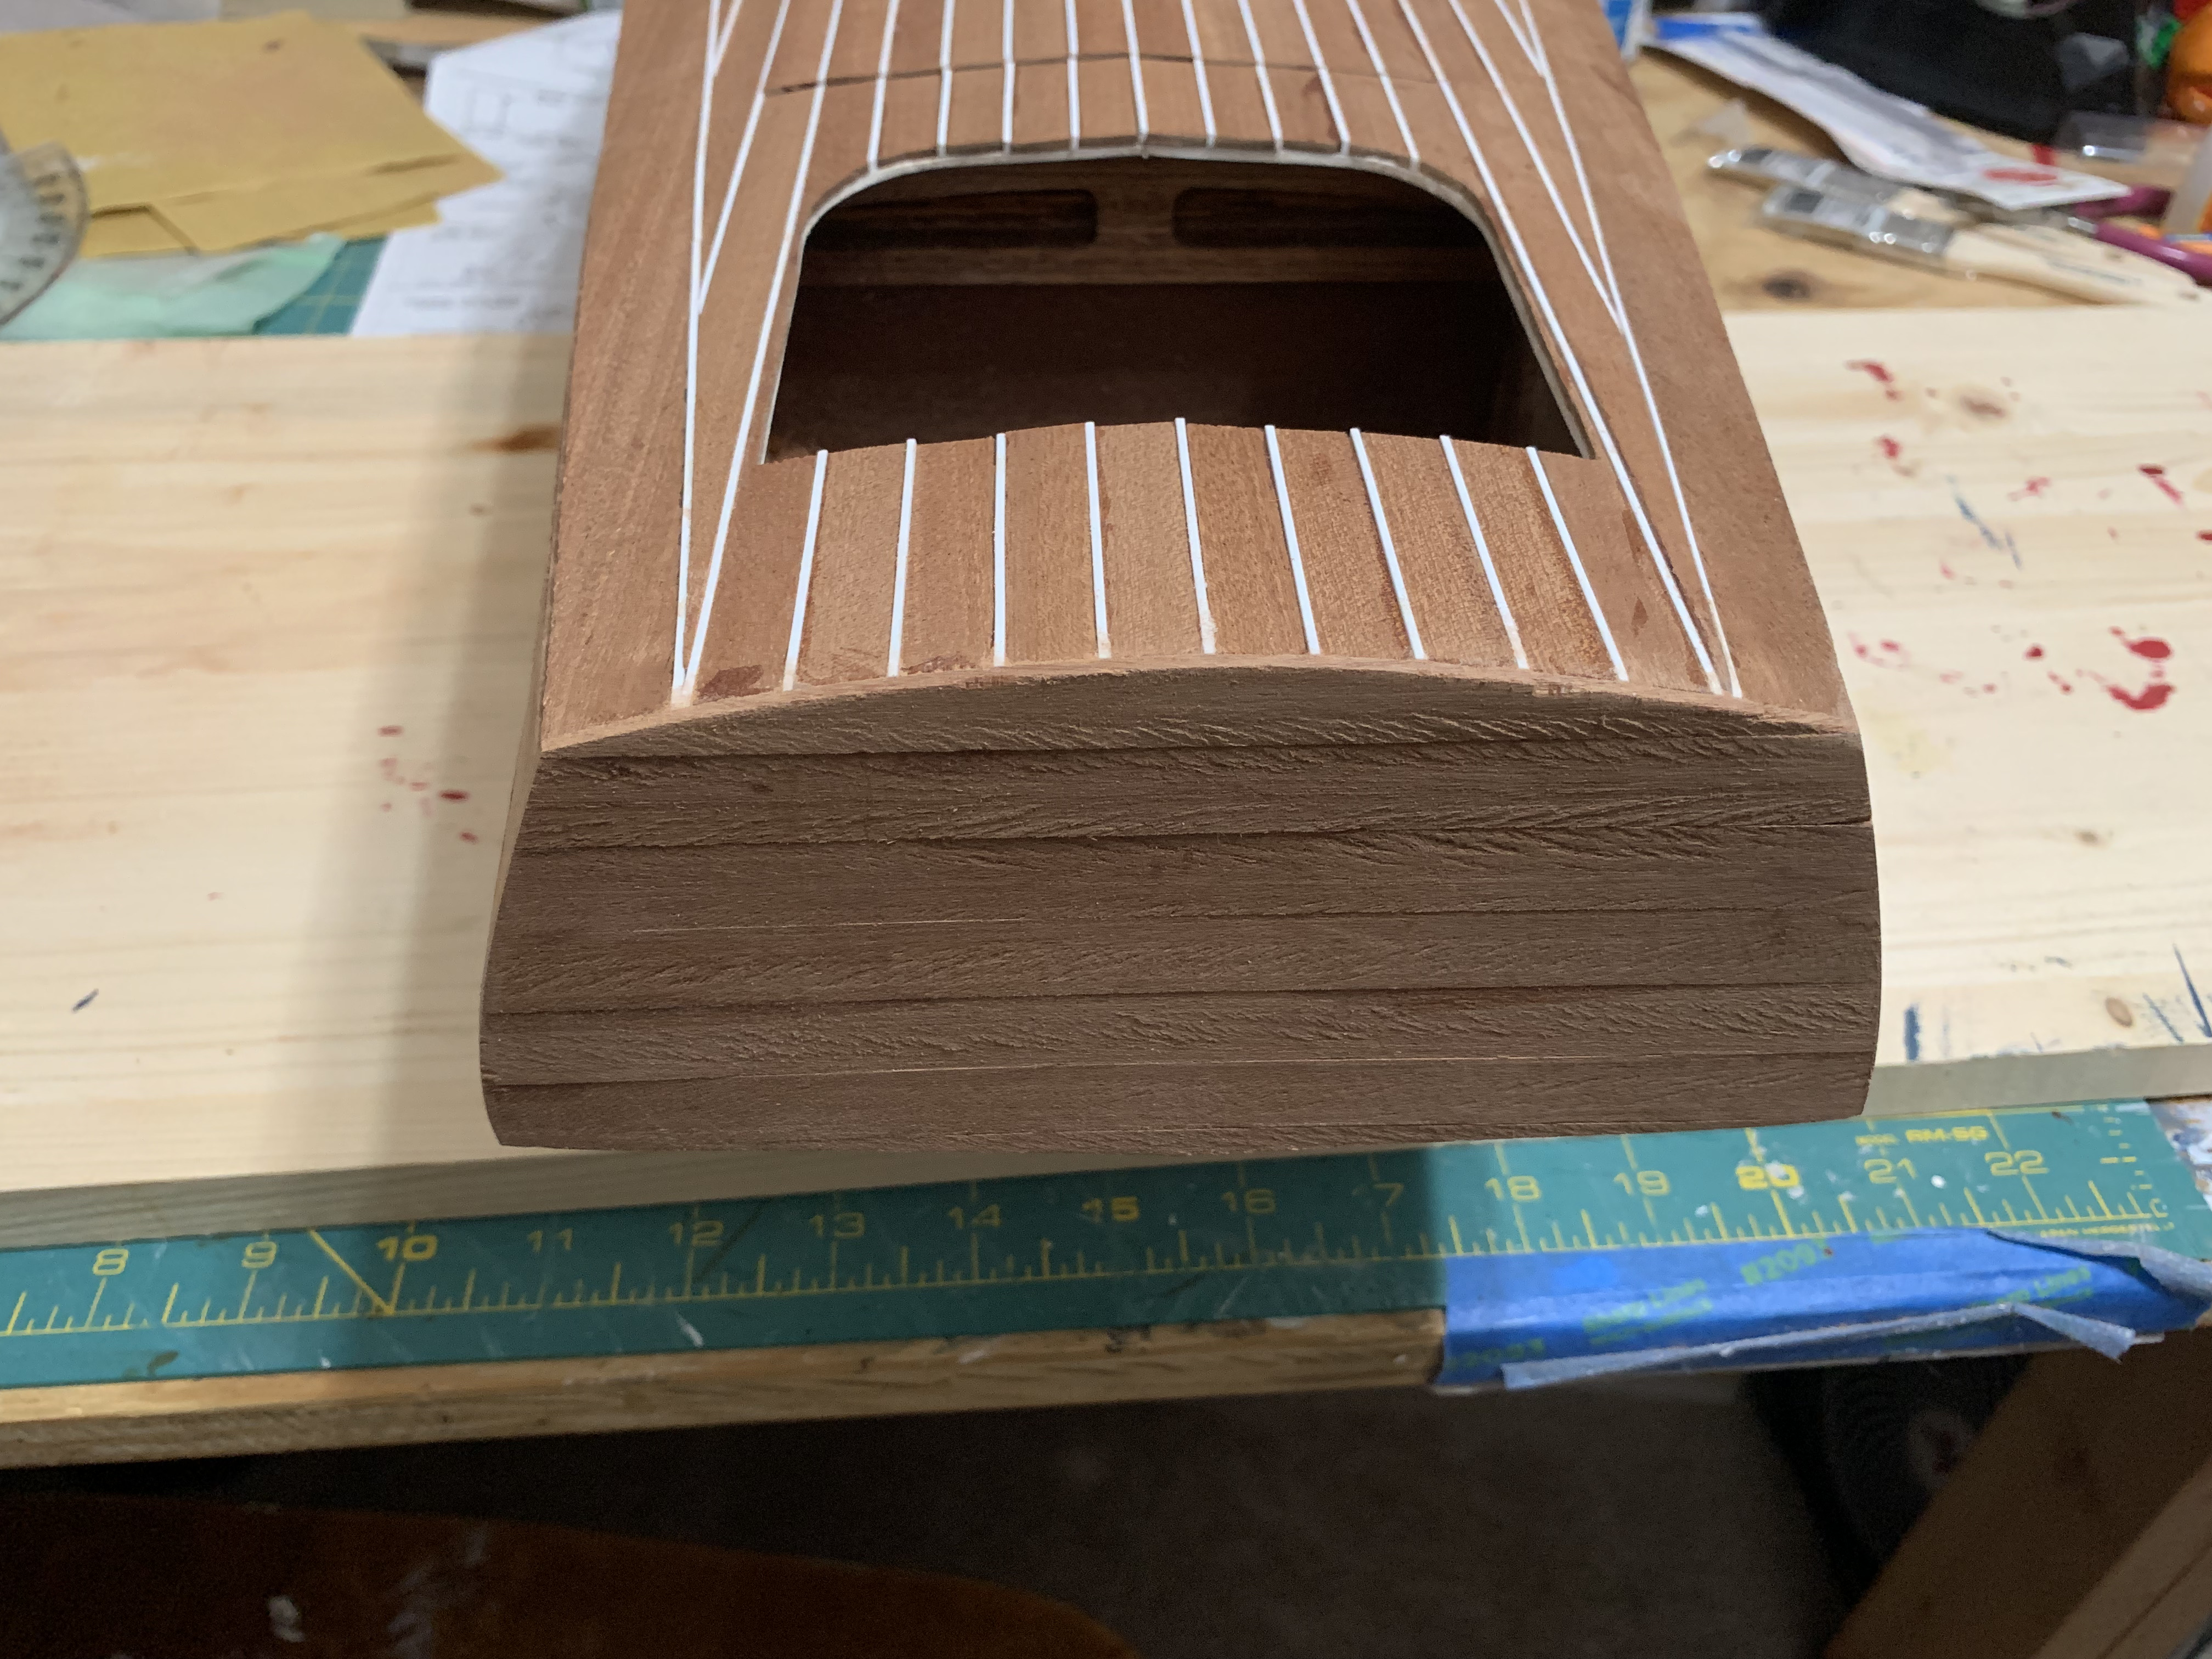
…which proved quite easy as the surface was all flat and it only required a few planks to complete.
With the boat now fully planked, the last step before sealing the wood was to sand the entire boat using several different grades of sand paper.
To be continued…
Categories

One thought on “A Classic Boat Model – All Planked Out” Leave a comment ›