
A Classic Boat Model – Taking Shape
Continued from: A Classic Boat Model – Laying Down the Keel
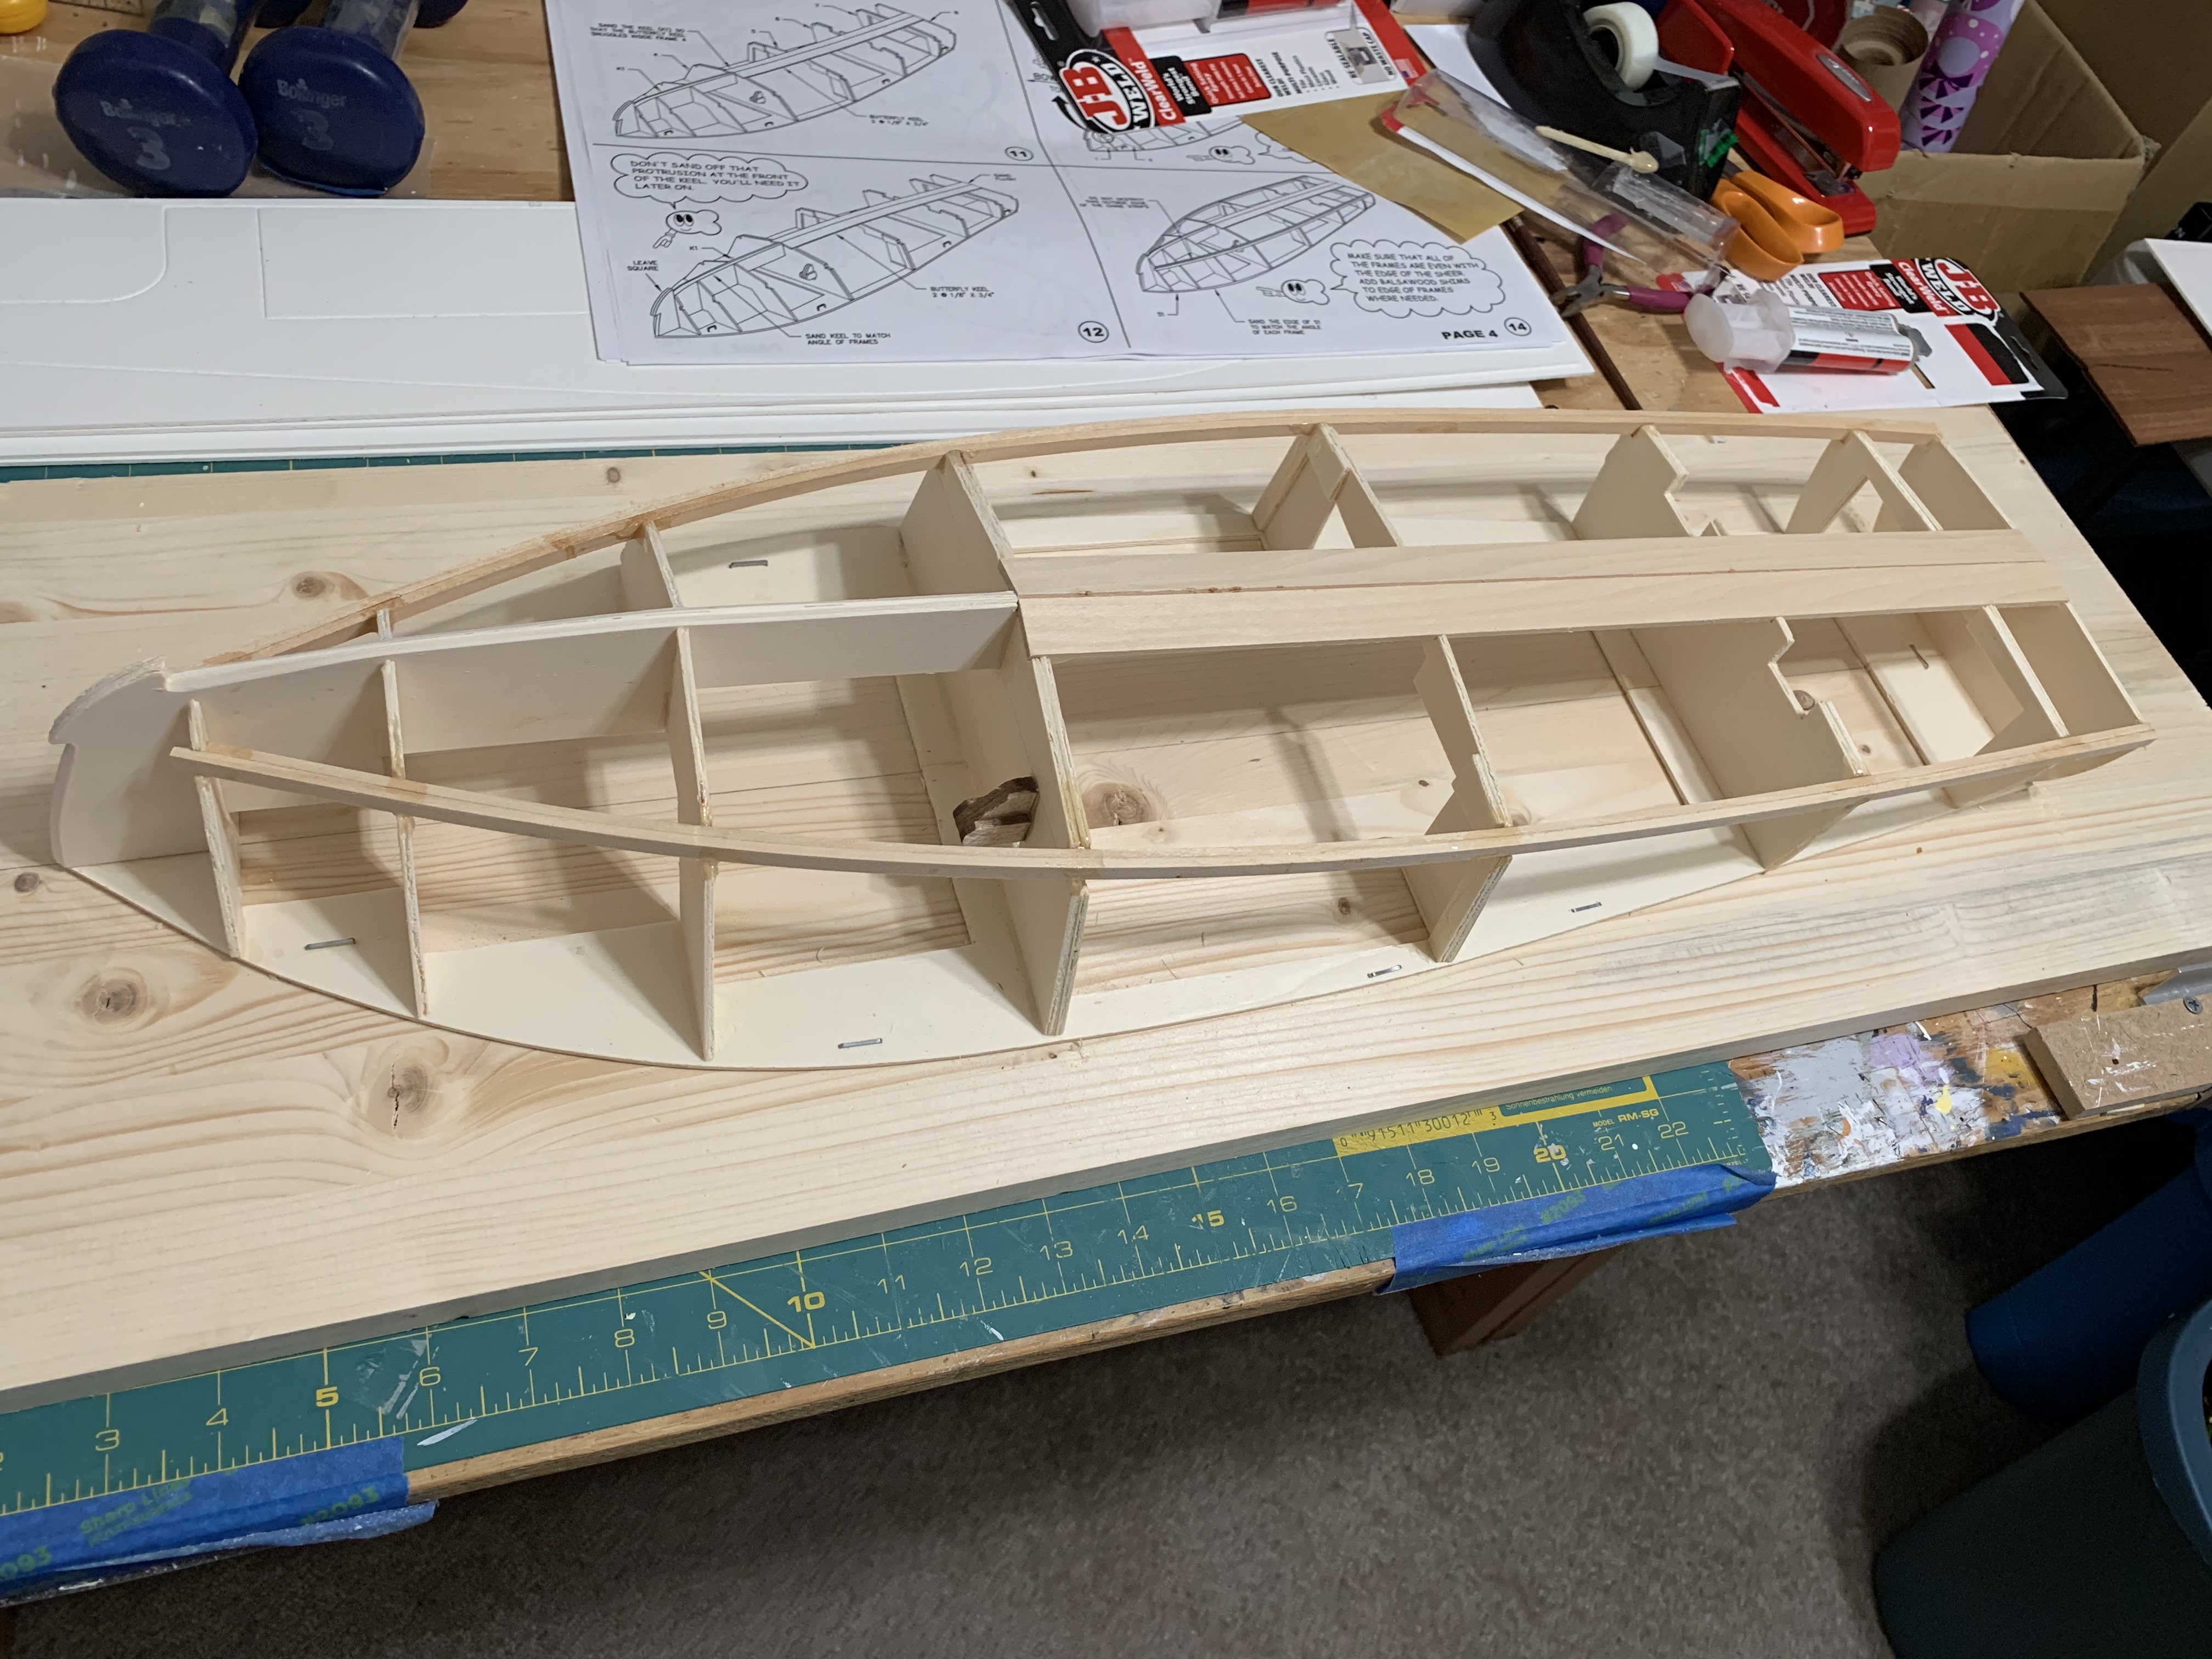
After the clamps had been in place for six days on the other side of the boat, I removed them and found that the chine on this side was secure as well.
The next step was to attach the PVC sub-planking to the bottom of the boat. This is what the strips of mahogany will eventually be glued to providing the exterior hull of the boat. Because the PVC does not stick to the wooden frame with regular glue or even epoxy, Super Glue is required.
The bottom was two separate pieces that ran the entire length of the boat and the first one had to be installed and dried before the second one.
Notice that jog out in the PVC plank on both sides at about the fourth frame from the bow? This was used to align the PVC with that frame but then it had to be sanded off. In fact, the PVC didn’t really line up with the chine anywhere. I puzzled for several days why the model was engineered this way and, in the end, I just accepted the fact and proceeded to sand. It took a lot of hand sanding with three different grades of sandpaper just to finish the first side!
Since the sanding was such a messy job, I took it outdoors by the pool. A few days later, after my arm had recovered, I sanded the other side.

You might also notice some frame damage that was hard to avoid with vigorous sanding.
At this point, the instructions indicated the boat should be removed from the build-board by pulling out the staples. Thankfully, I didn’t have too much excess glue or epoxy drip down and seal the boat to the board, a warning highlighted in the instructions. Using a letter opener, I was able to break the few bonds. Now I had something that really was starting to look like a boat!
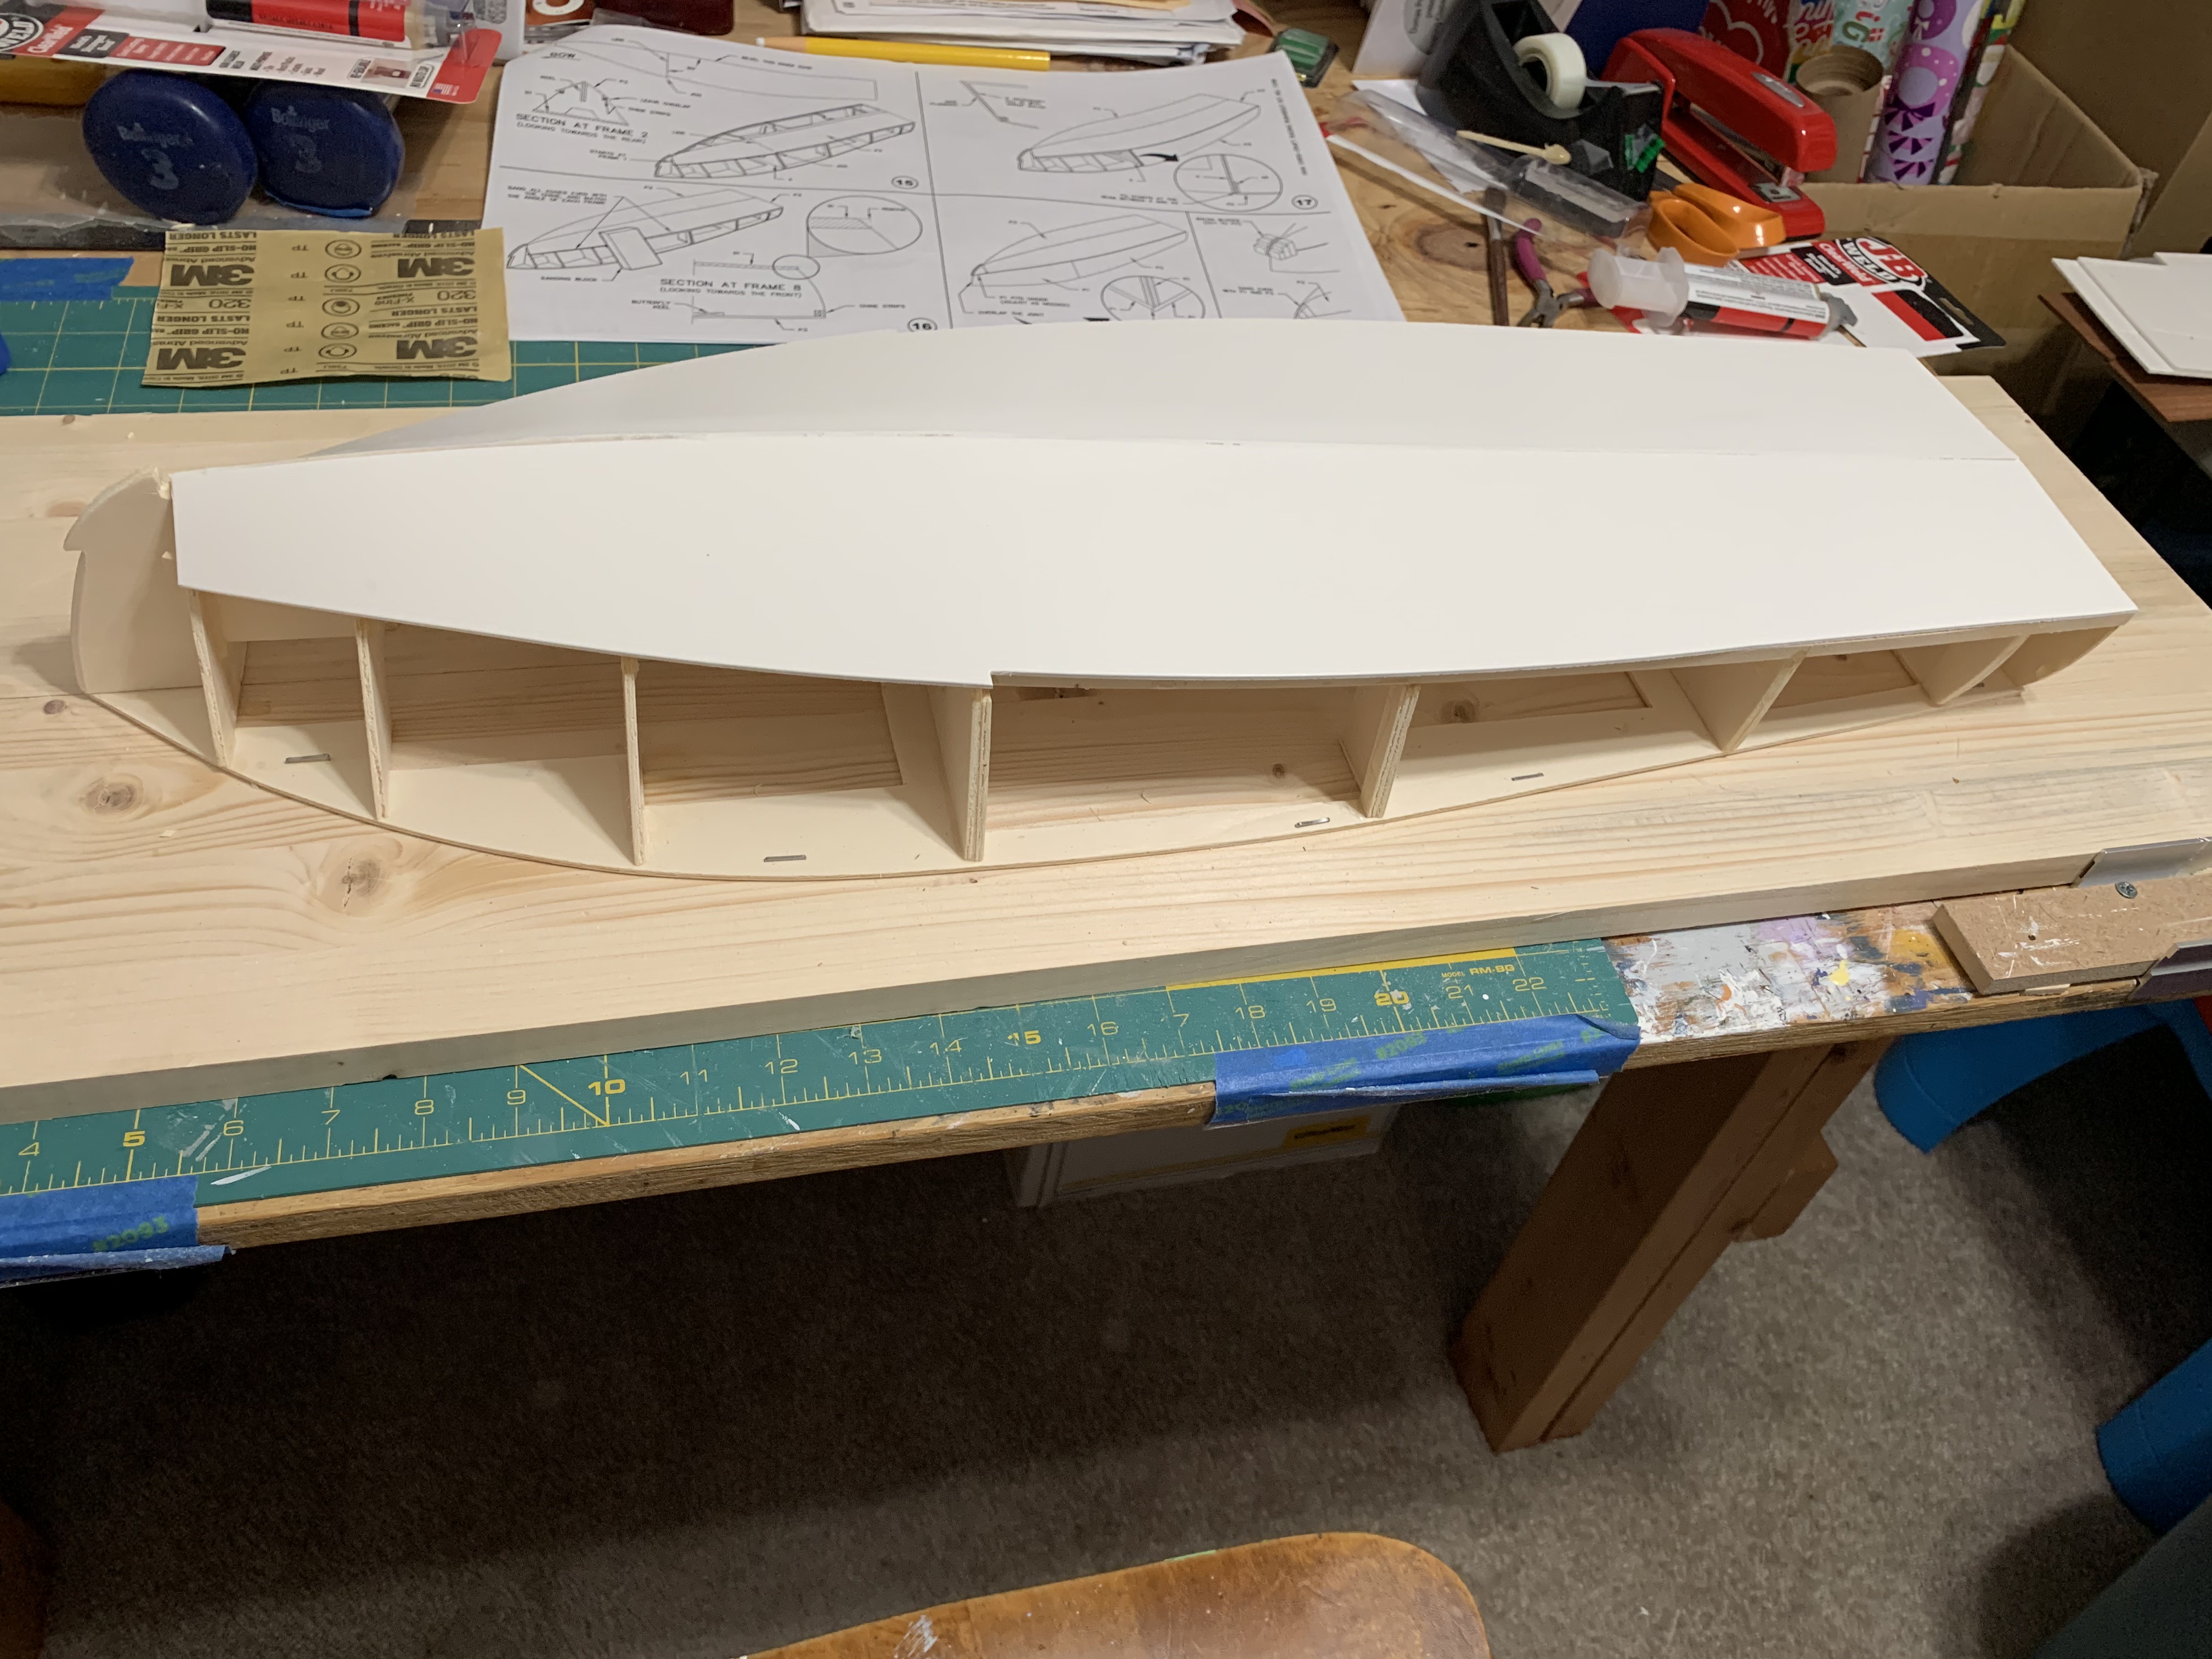
With the boat frame off the build-board, the next step was to attach the side sub-planking, which was made from two separate pieces on each side. The instructions indicated attaching this was easy, but I did not find it so. The PVC had to be twisted in several different directions to contour to the curved shape of the frame when its natural tendency was to lie flat. I had to glue just a small section at a time, heavily relying on clamps to hold it in place.
Even after attaching just the first section, I saw that the PVC side sub-planking did not line up seamlessly at the top or bottom. Reading ahead in the instructions, I found that it would have to be sanded at both the top and the bottom once all four pieces were attached.
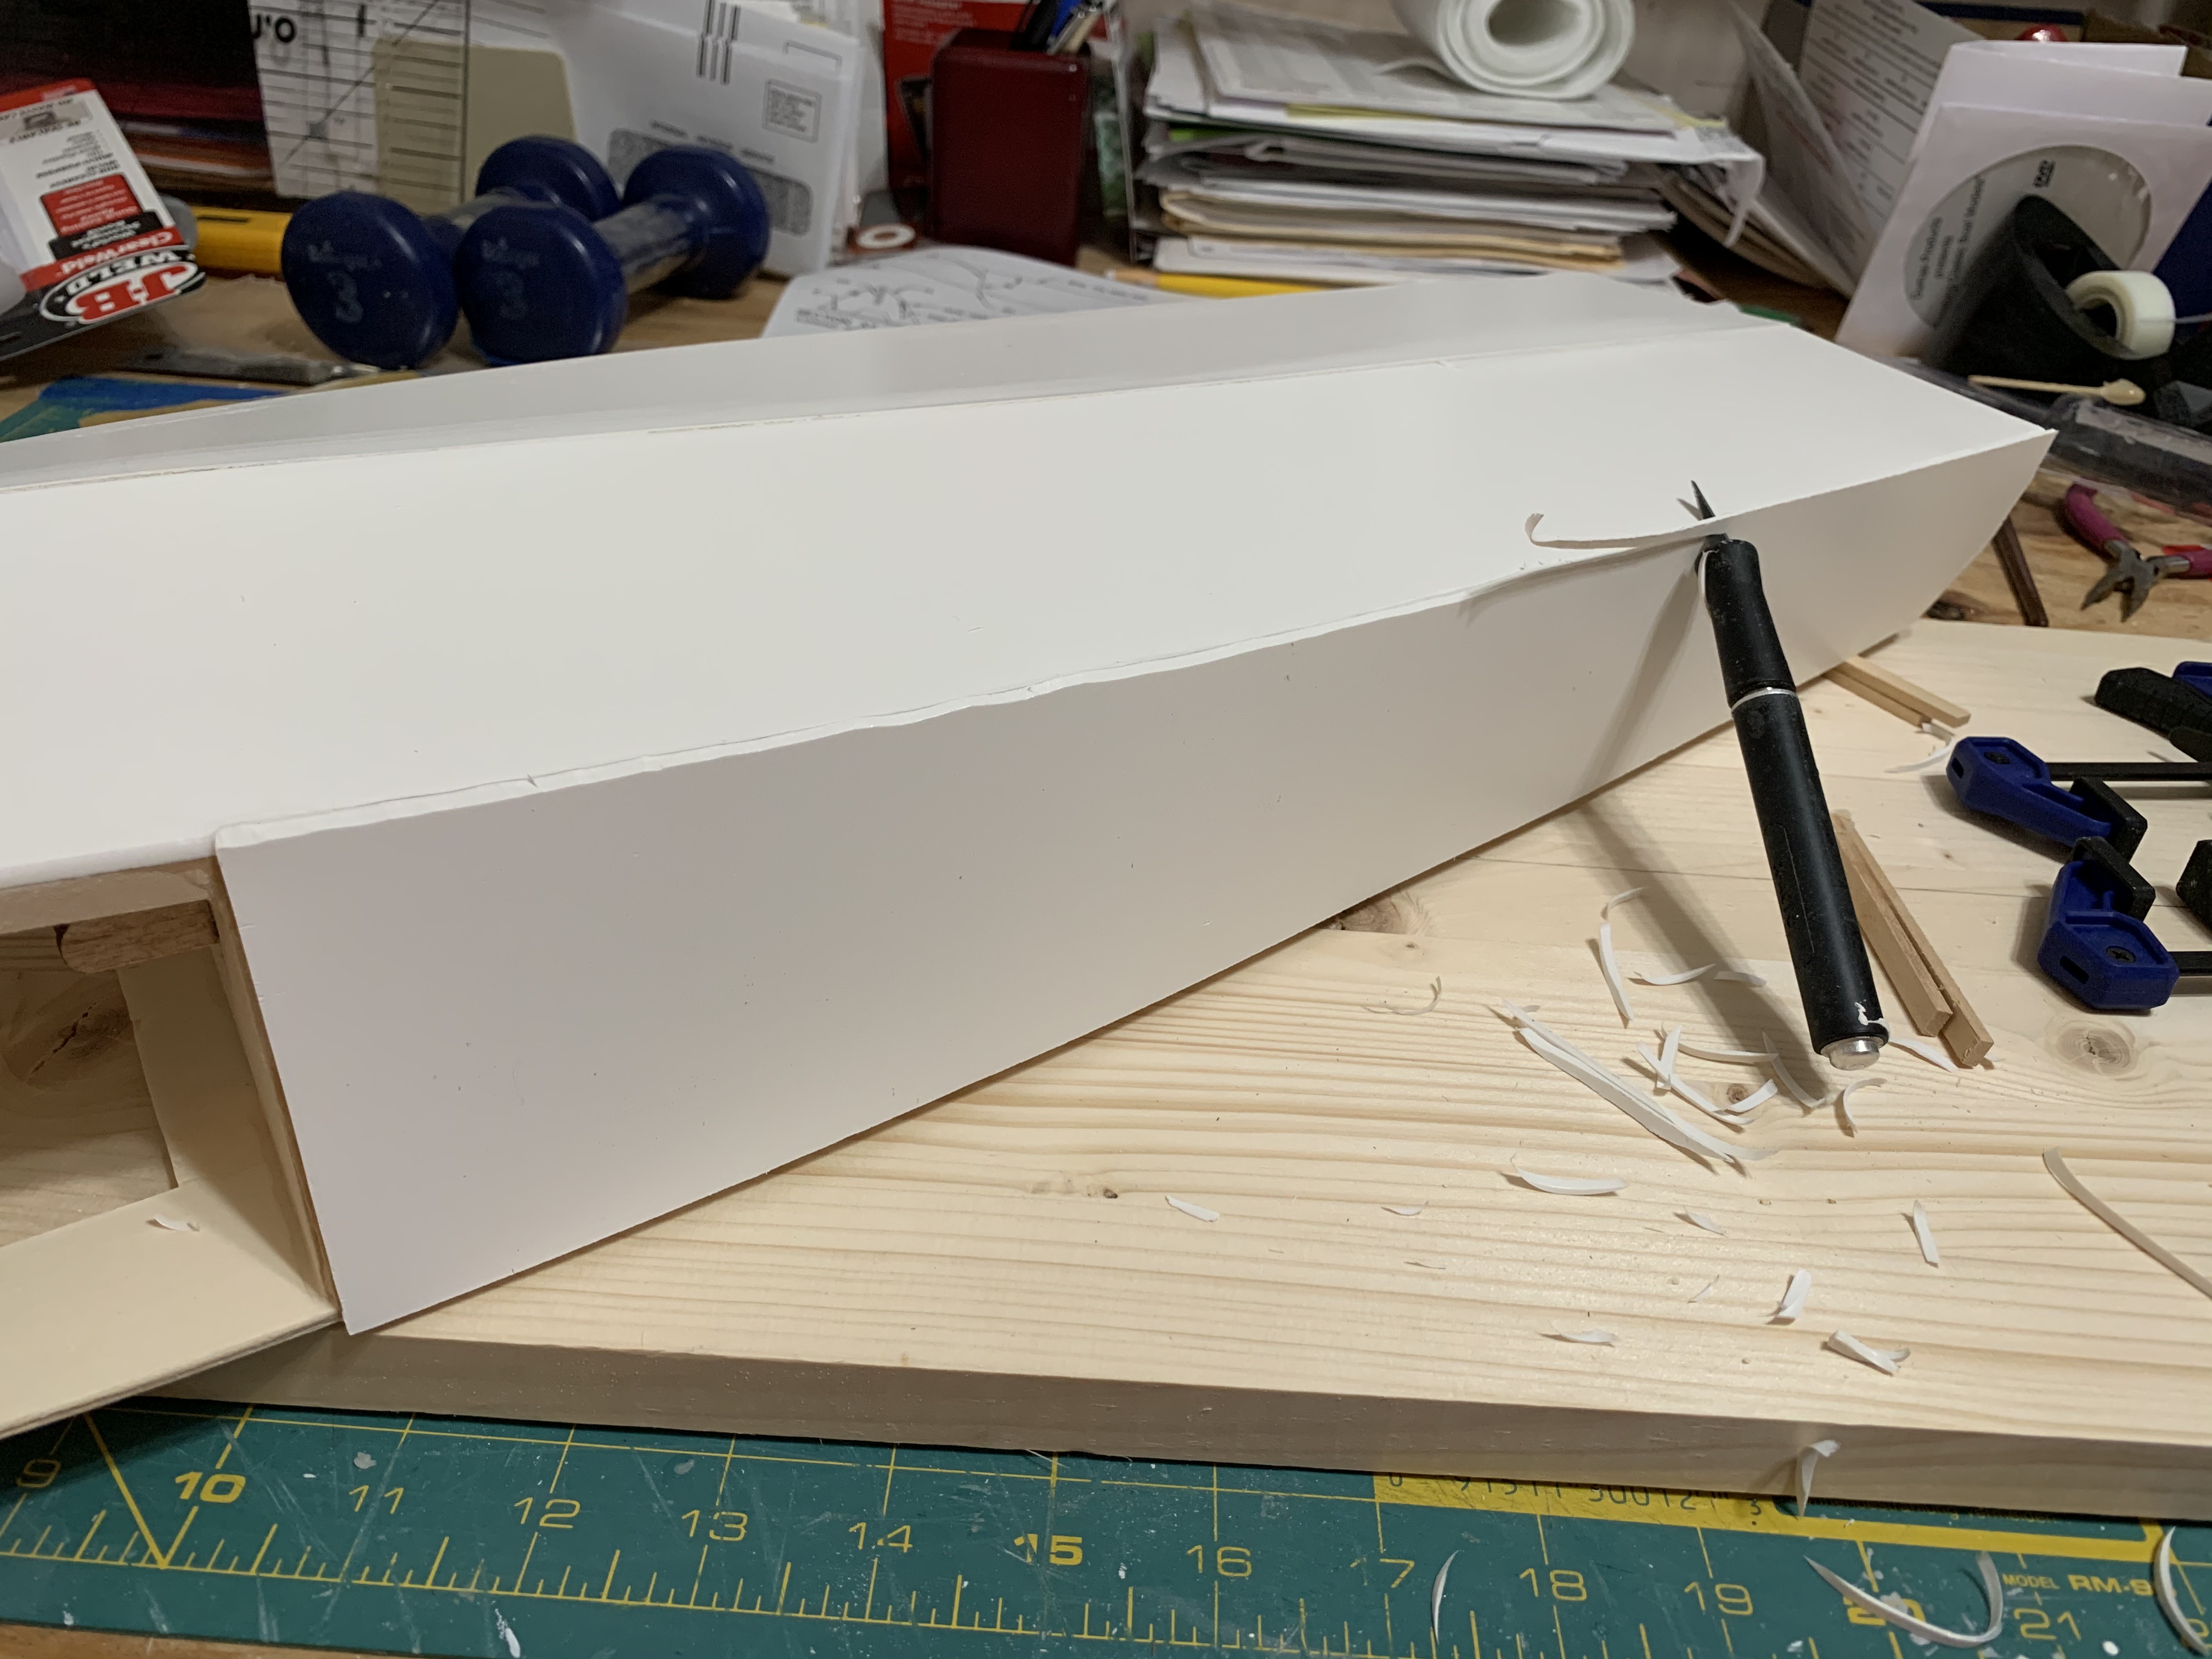
Having had enough of sanding already, I figured out I could carefully cut much of the excess PVC off with a razor-sharp X-Acto knife (notice the small pile of scraps to the right). I proceeded to attach the other three sections of side sub-planking trimming the excess PVC with the knife. When I was done, I had very little sanding to do to get the fully assembled hull sub-planking ready for the next step.
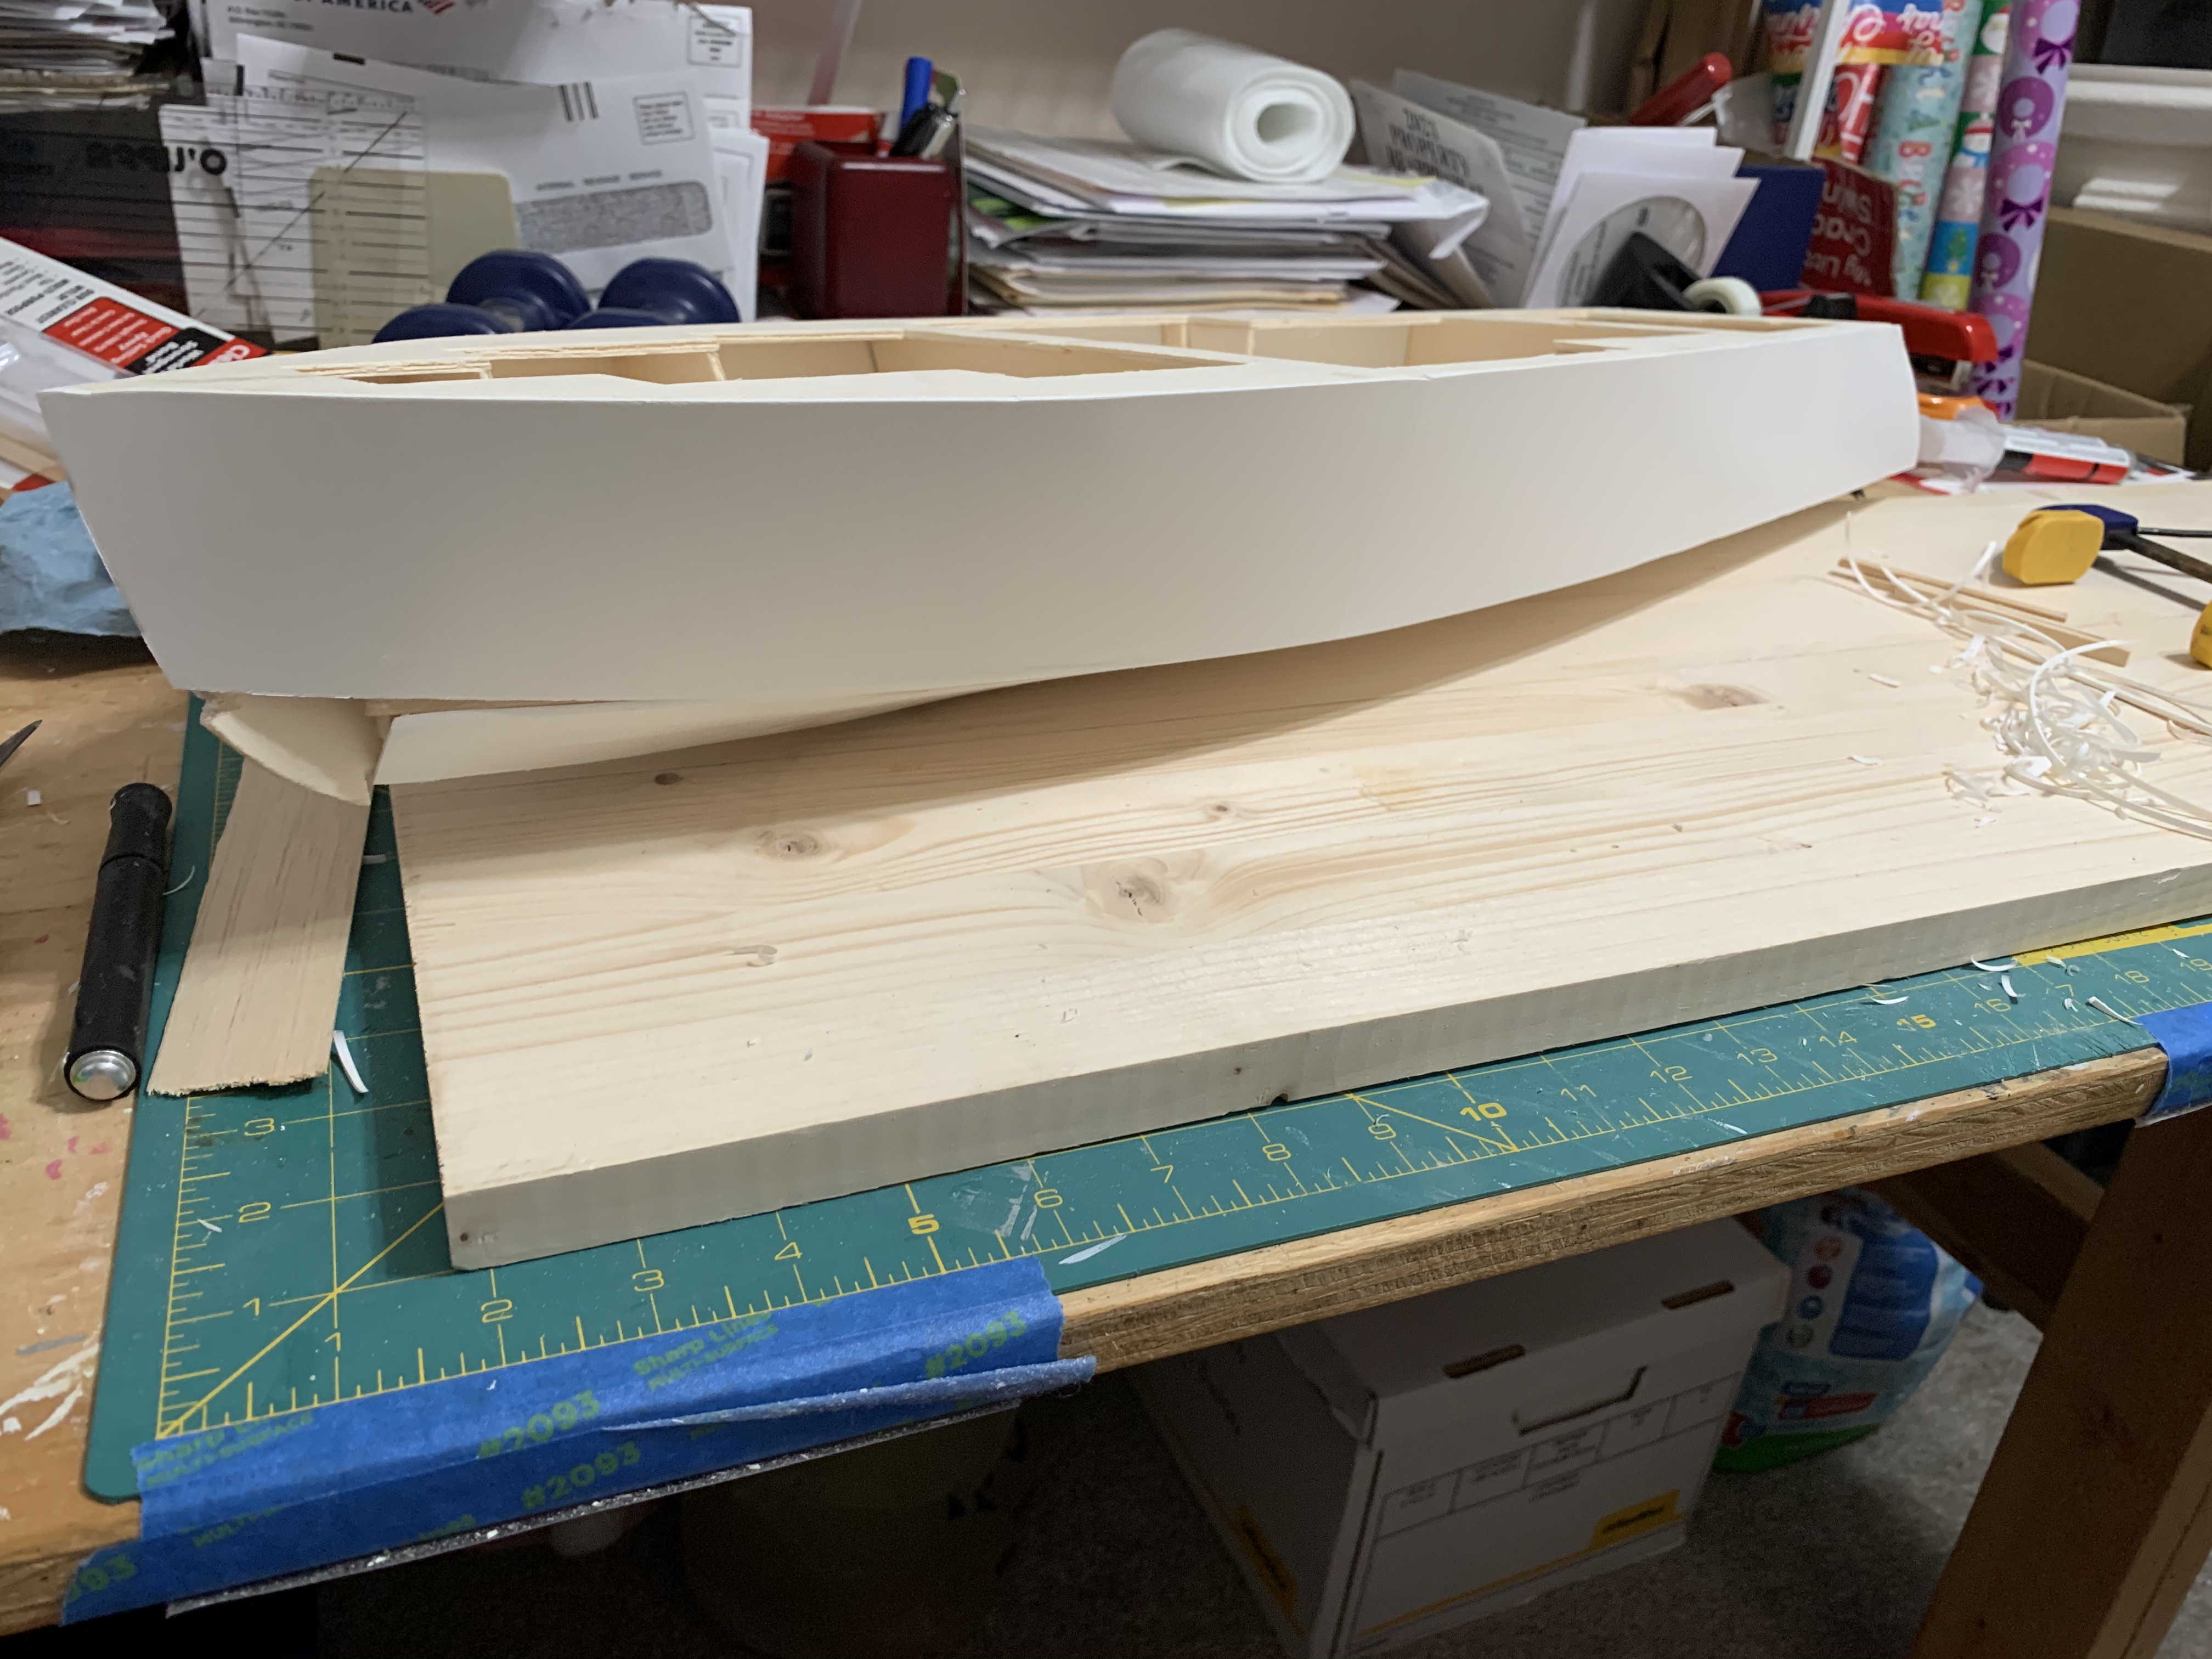
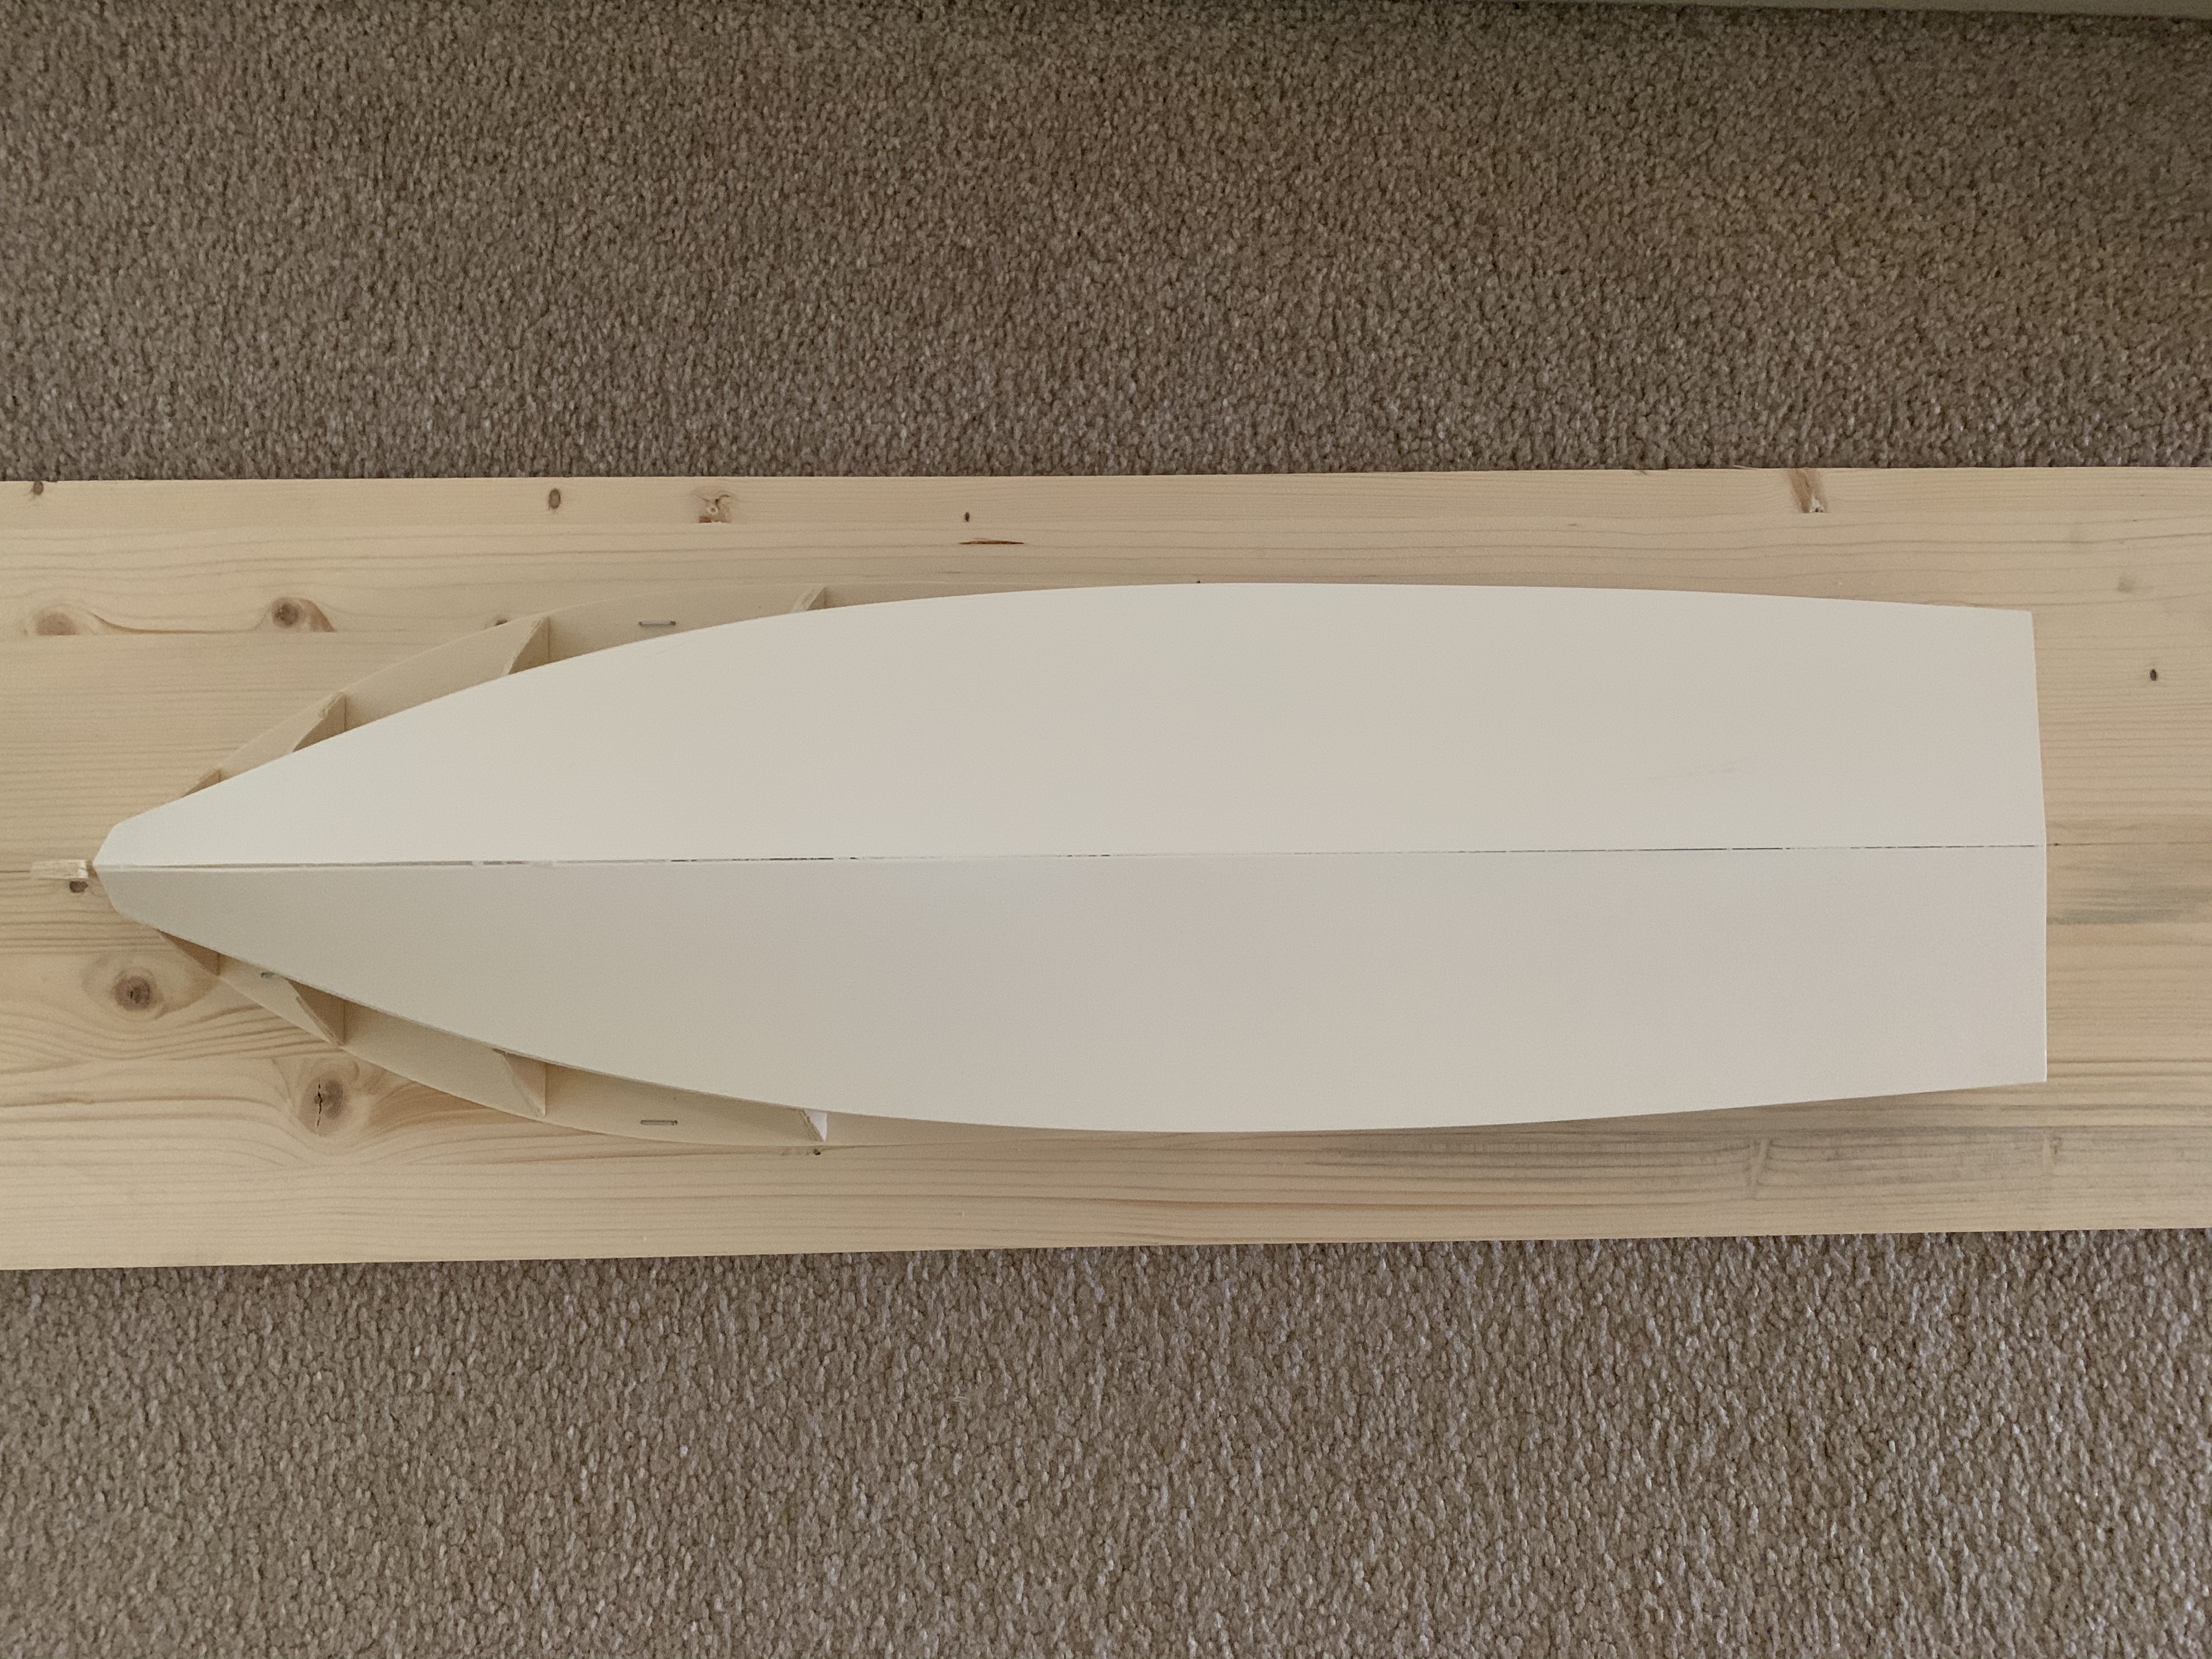
This just left the hull unfinished at that odd “stick-out” at the very front bottom of the bow. I could only surmise that it was not possible to get the PVC sheet to smoothly make the transition from the hull bottom to the hull side to the sharp front edge at the bow. The instructions indicated you were to glue several small blocks of balsa wood to either side of the keel and then sand it all down to match the contour of the sub-planking already in place (argh, more sanding!).
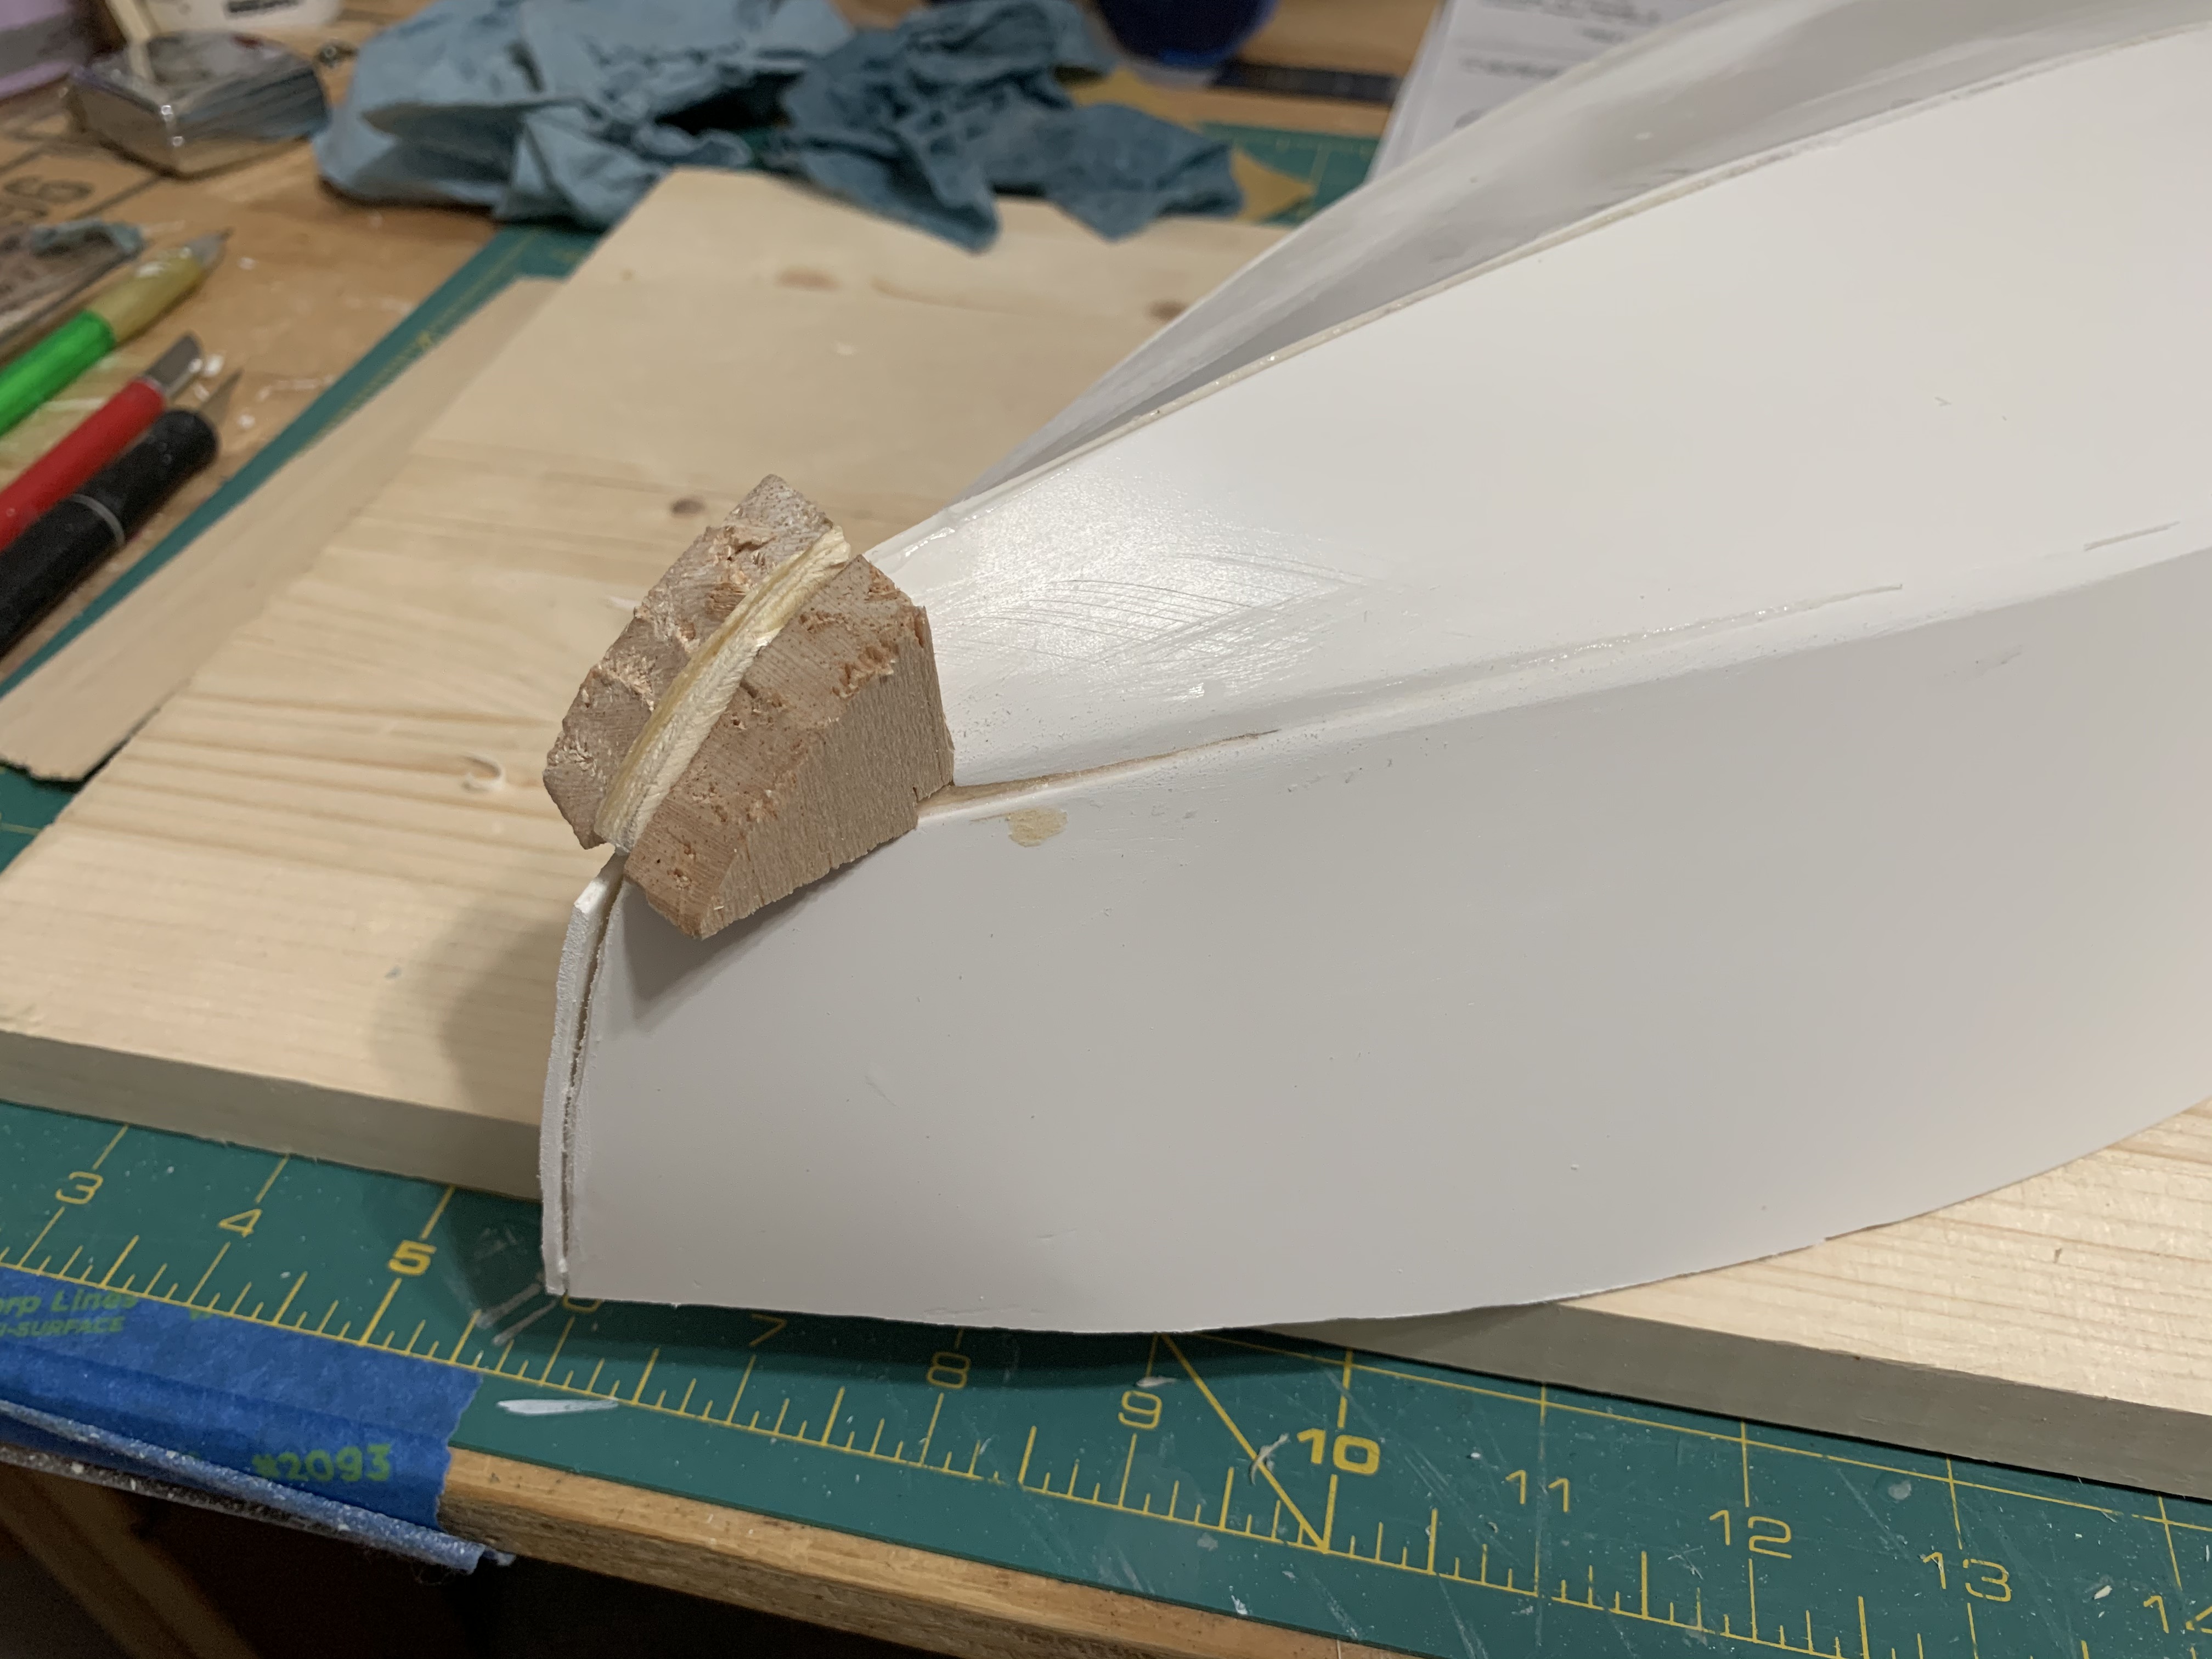
Rather than three small blocks on each side, I just carved two semi round pieces that matched the curve of the “stick out” and glued them in place on either side of the keel.
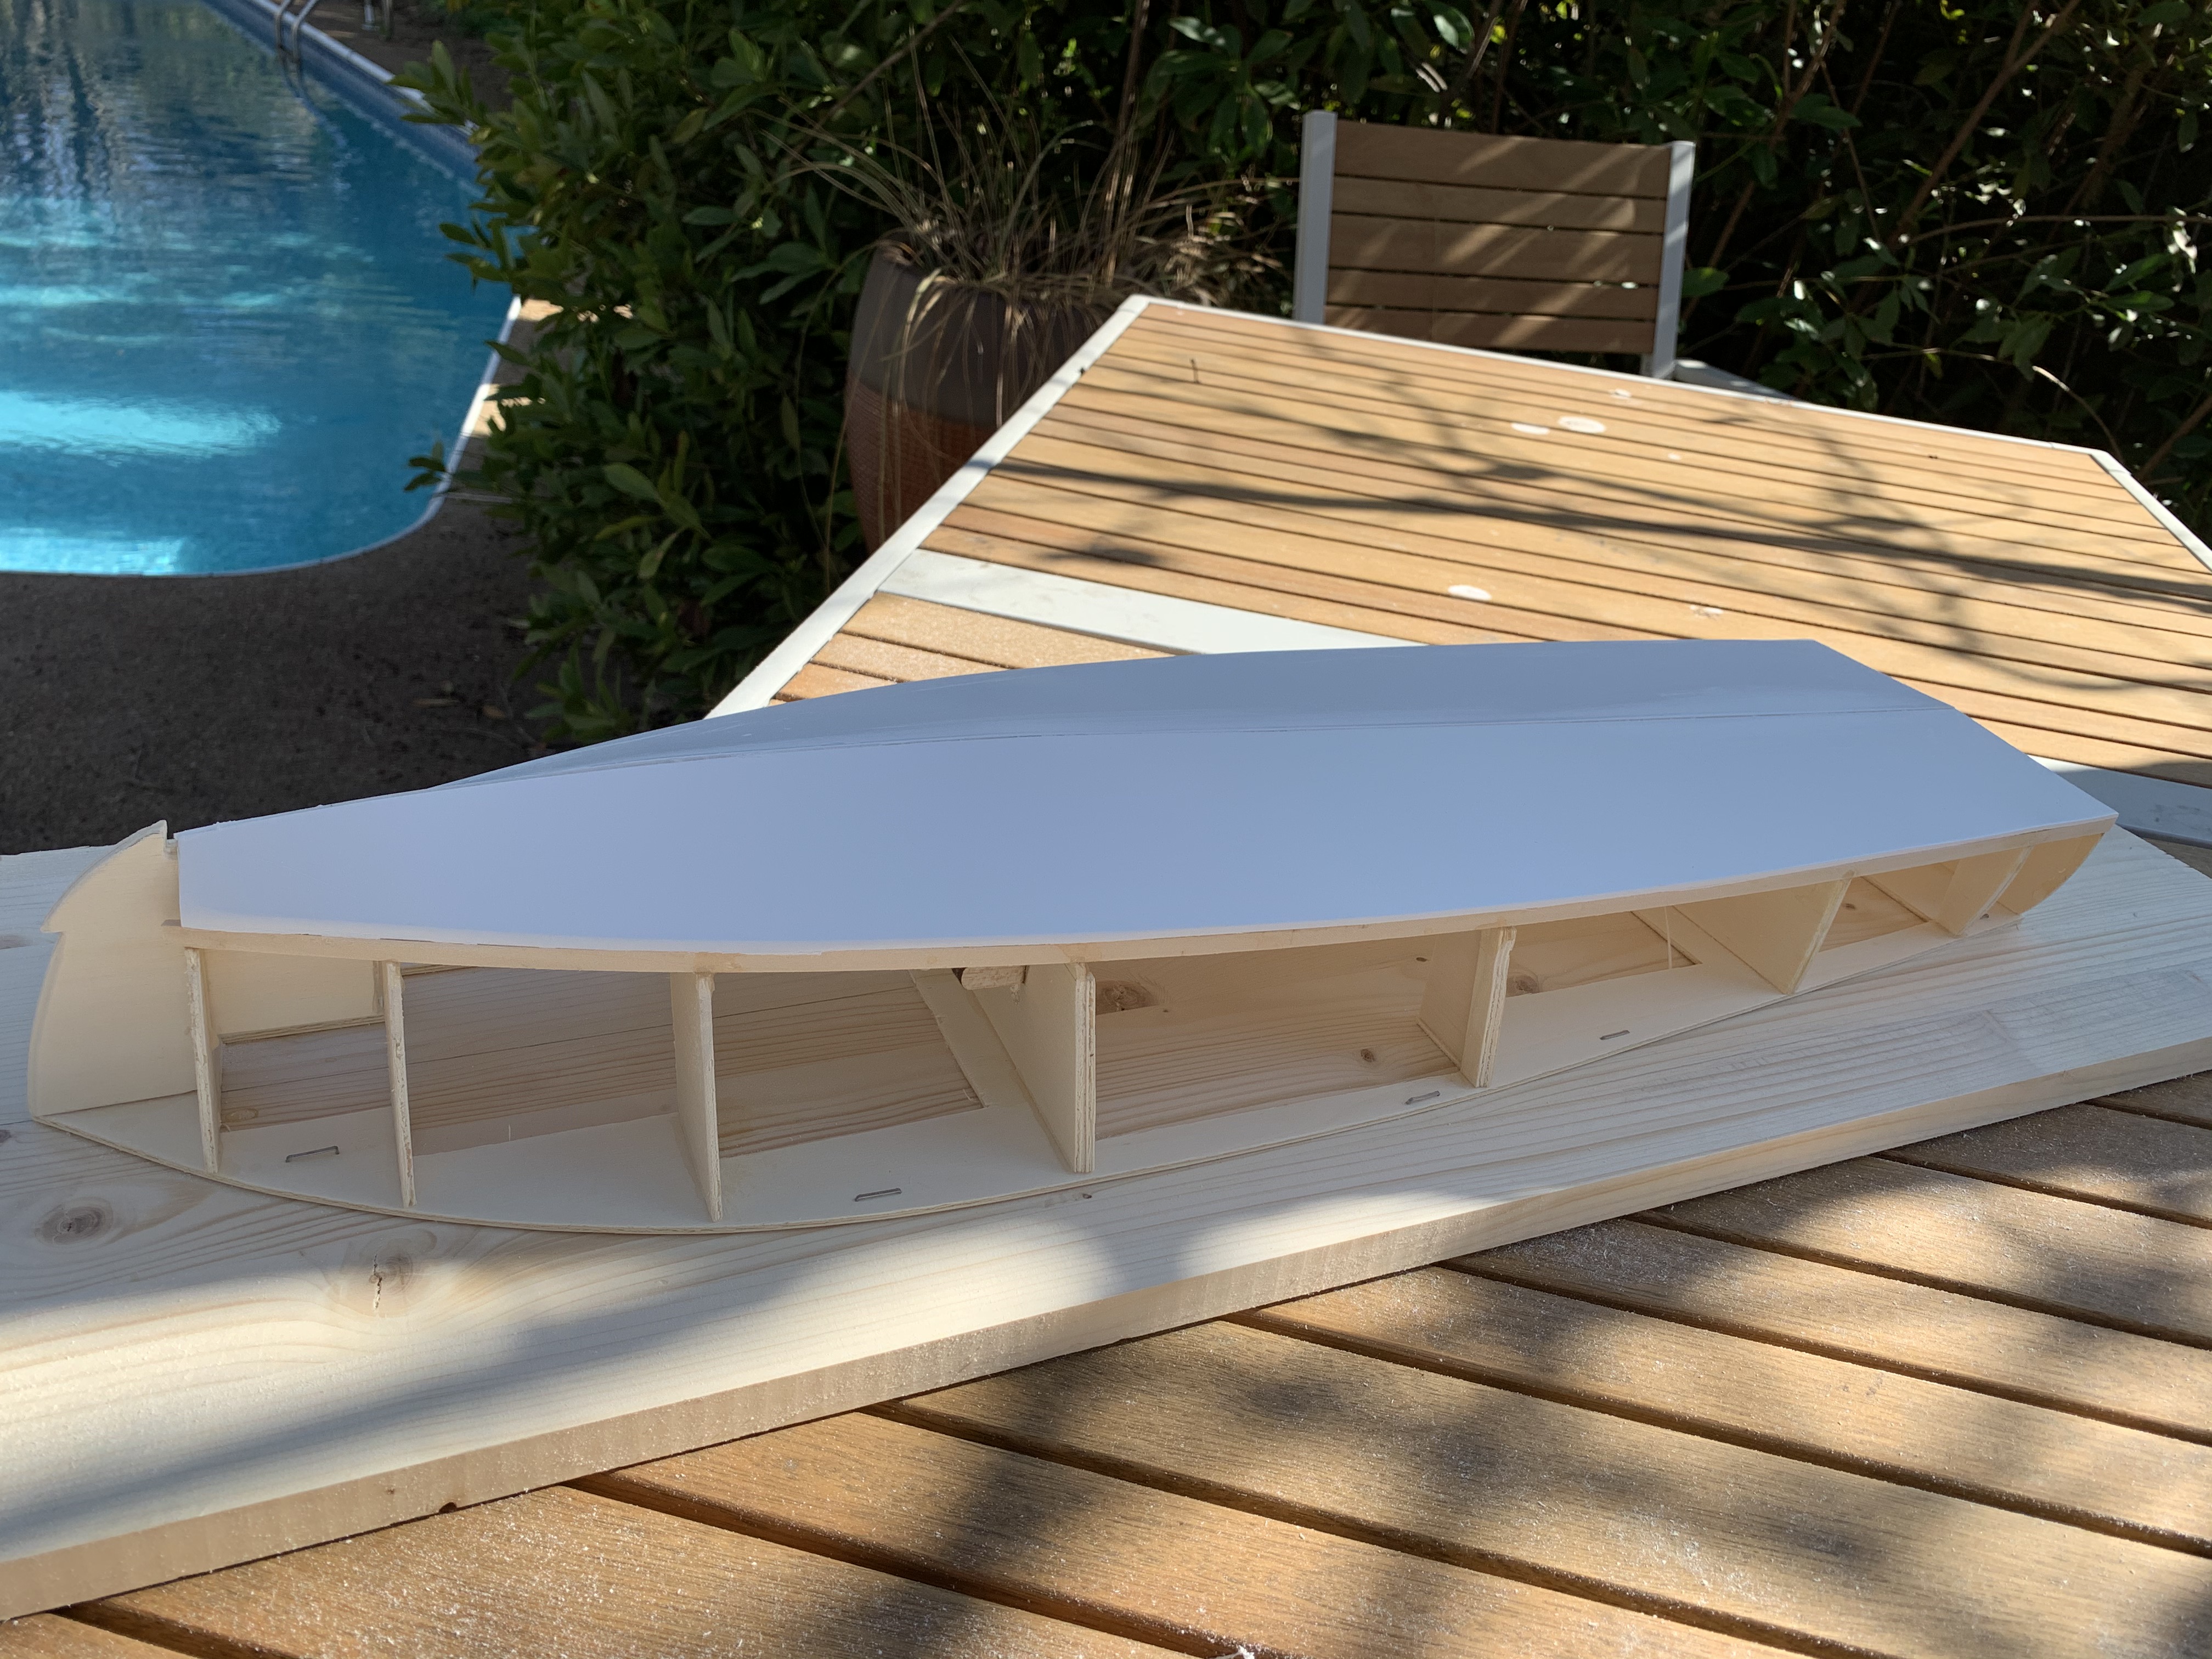
Then when it was warm enough to go back outside for a messy sanding episode, I took the boat frame out. Turns out the sanding was nowhere near as bad as I had anticipated. Other than becoming completely covered in sawdust by the time I was finished, the sanding was fairly easy as most of the wood I was sanding down was balsa, a very, very soft wood.

My finished bow may not have looked picture perfect as the one in the instructions, but I wasn’t too worried as all this was going to be covered up with mahogany planking in later steps.
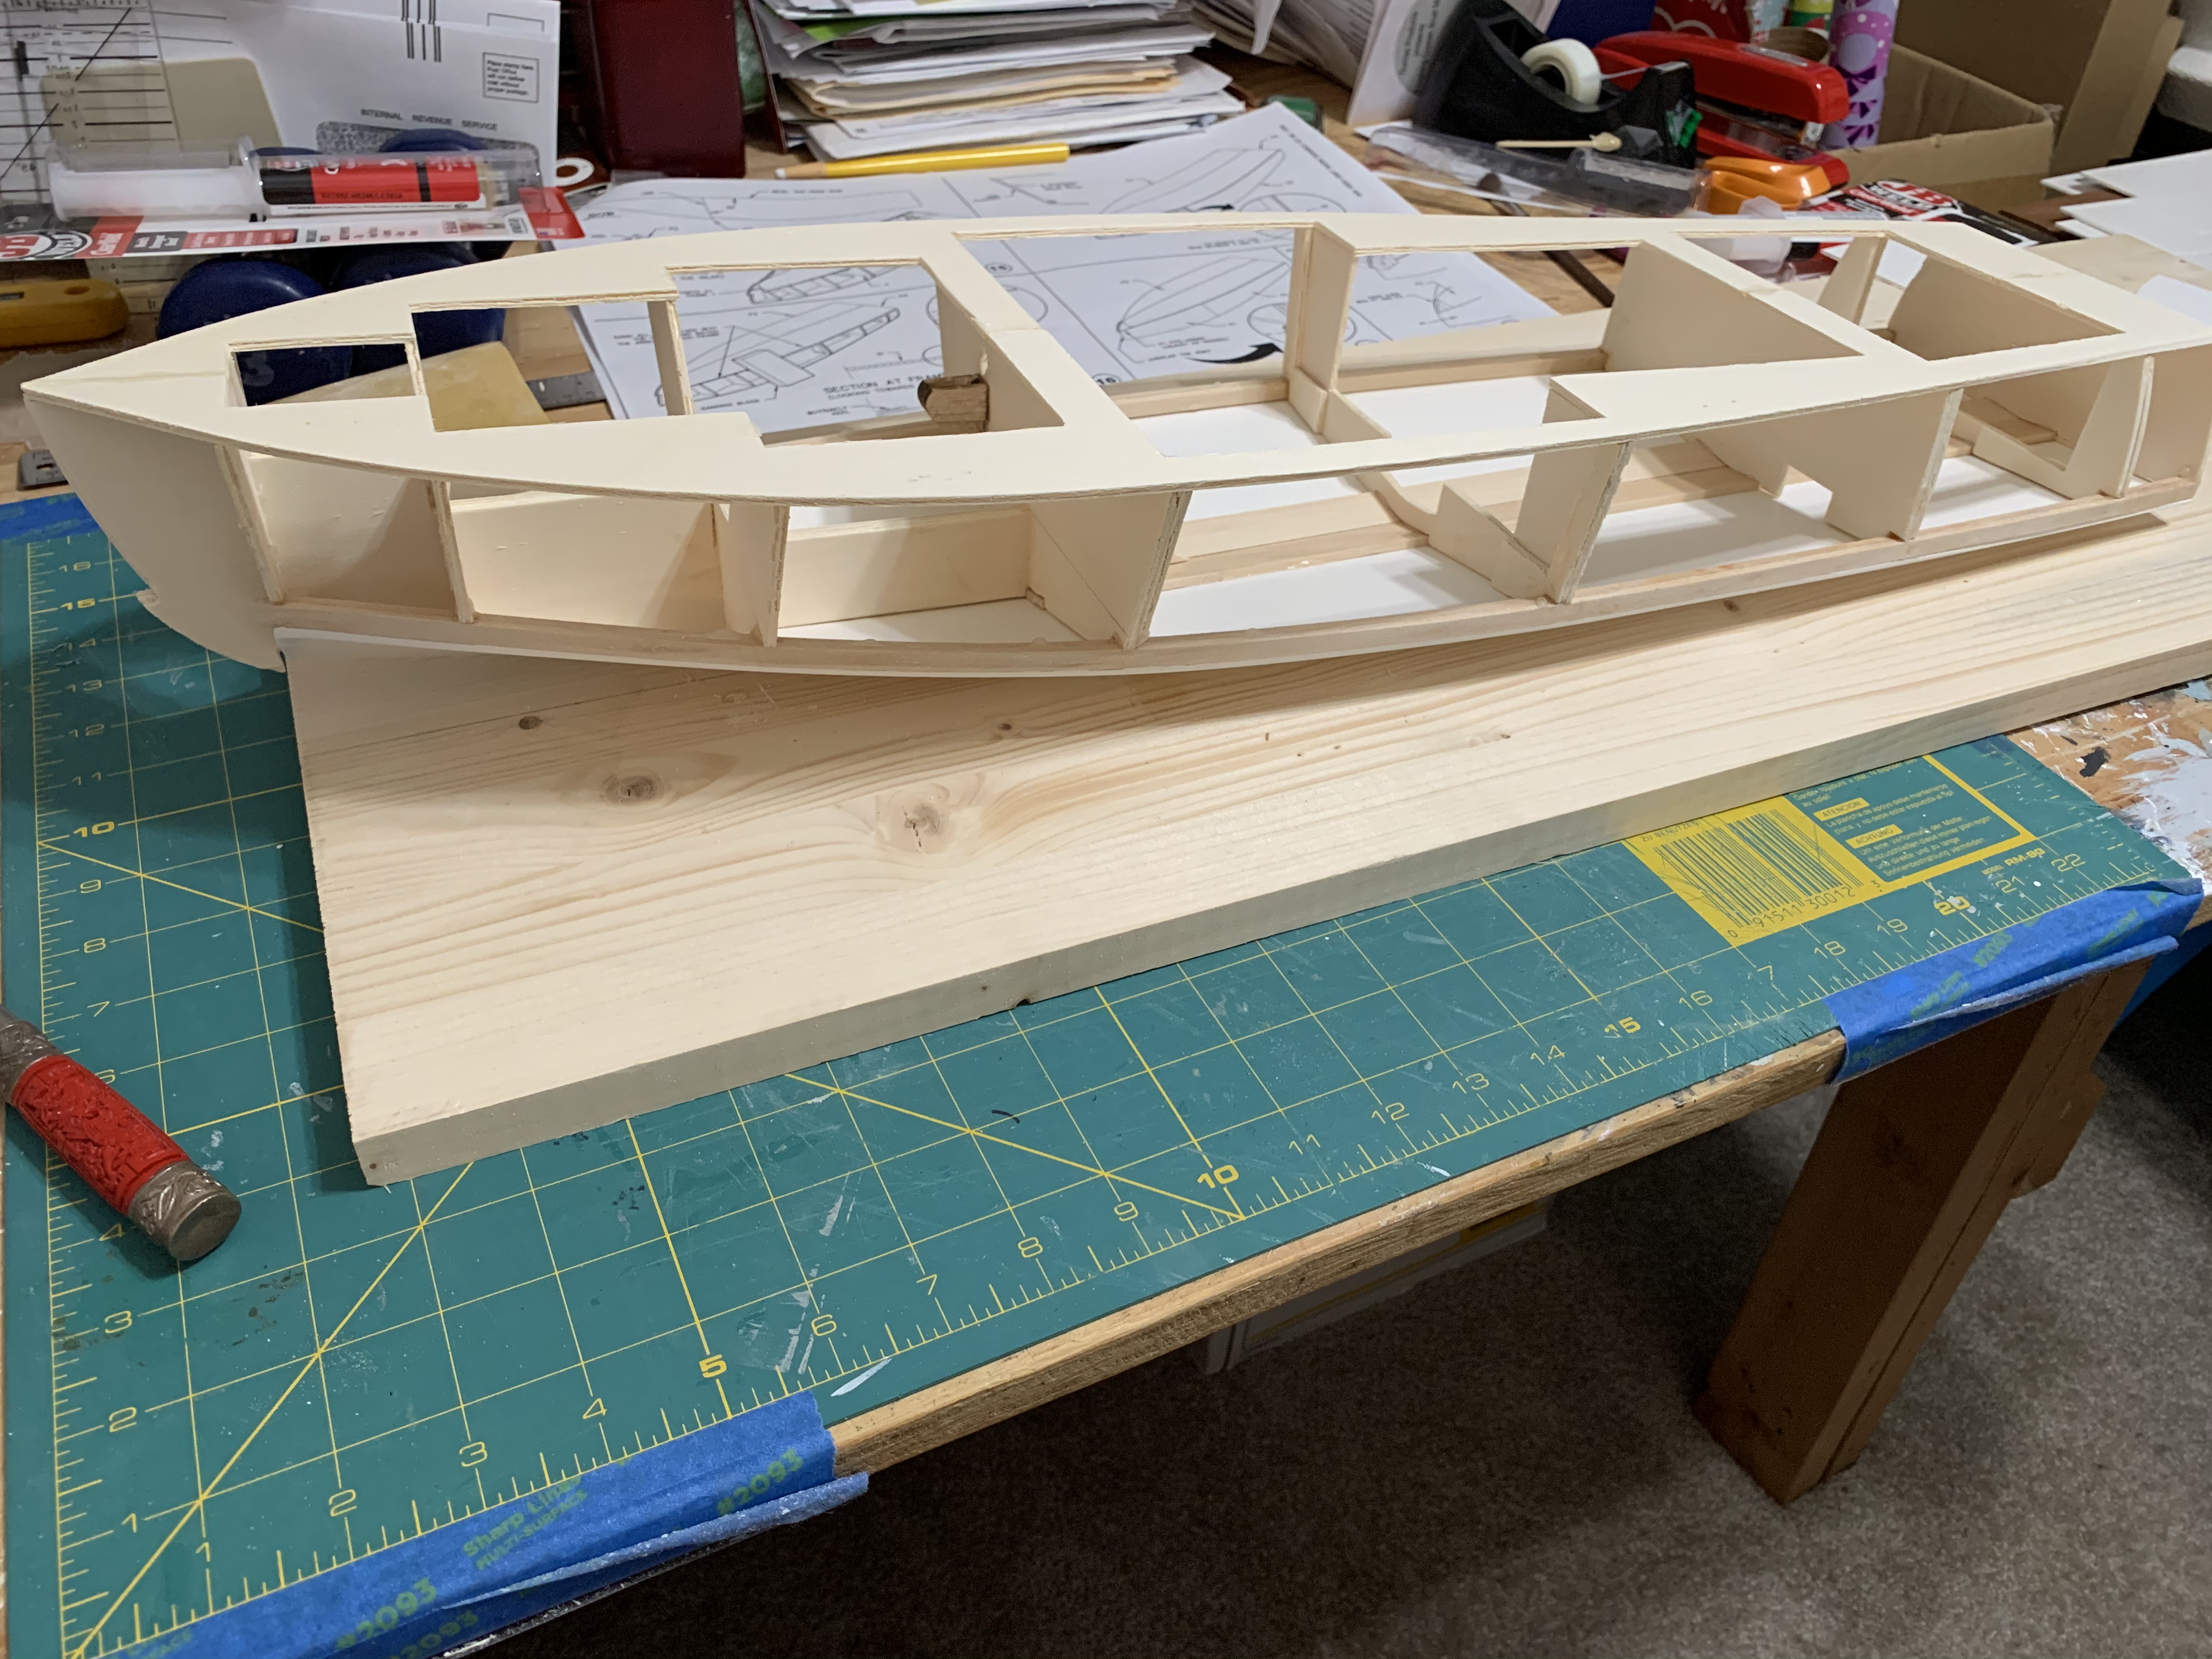
With the bottom of the boat finished, the next steps involved adding the frames for the top of the boat. This part went fairly quickly as none of them required overnight drying steps. The only snag I ran across was another (argh!) sanding step.
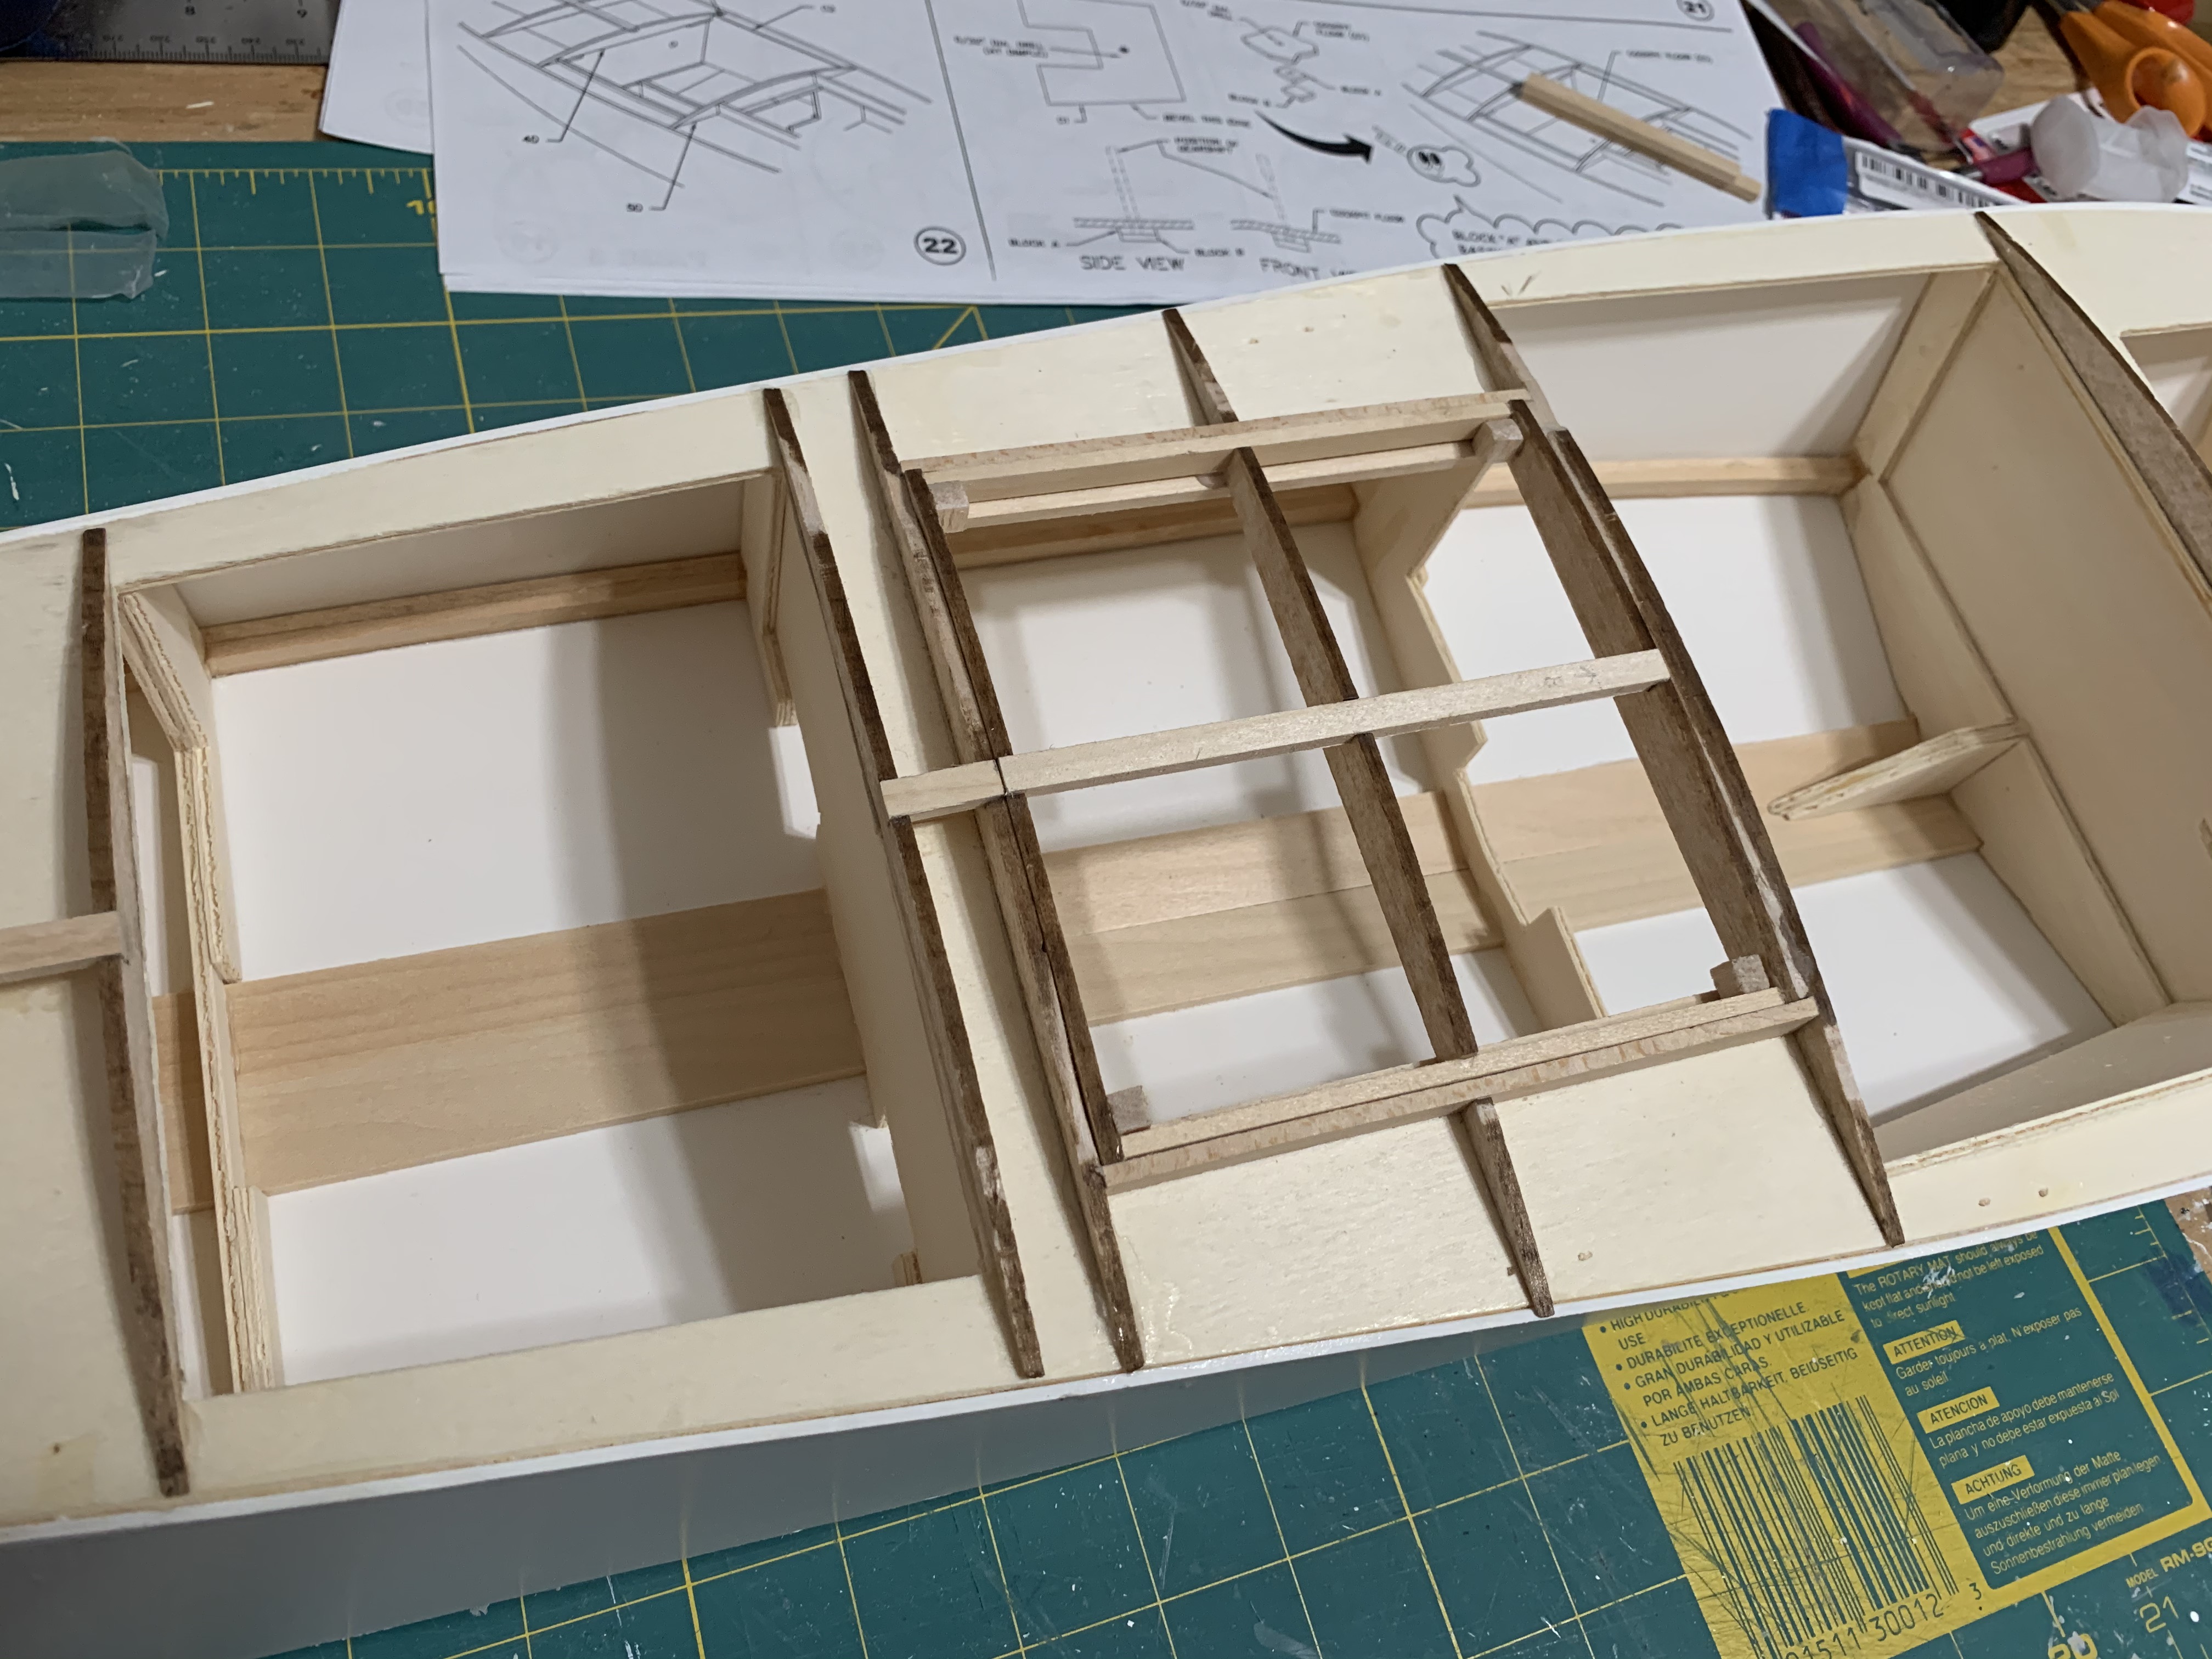
As the deck narrowed back towards the stern, the deck frames got shorter in height. After gluing on the sides of the hatch (middle open section in front of the rear cockpit), they had to be sanded down between two of the frame sections. Being bass wood, this took extra effort. Also, at least for me, it was impossible to prevent the sanding block from occasionally removing some of the wood from the frames themselves (which is visible if you zoom in).
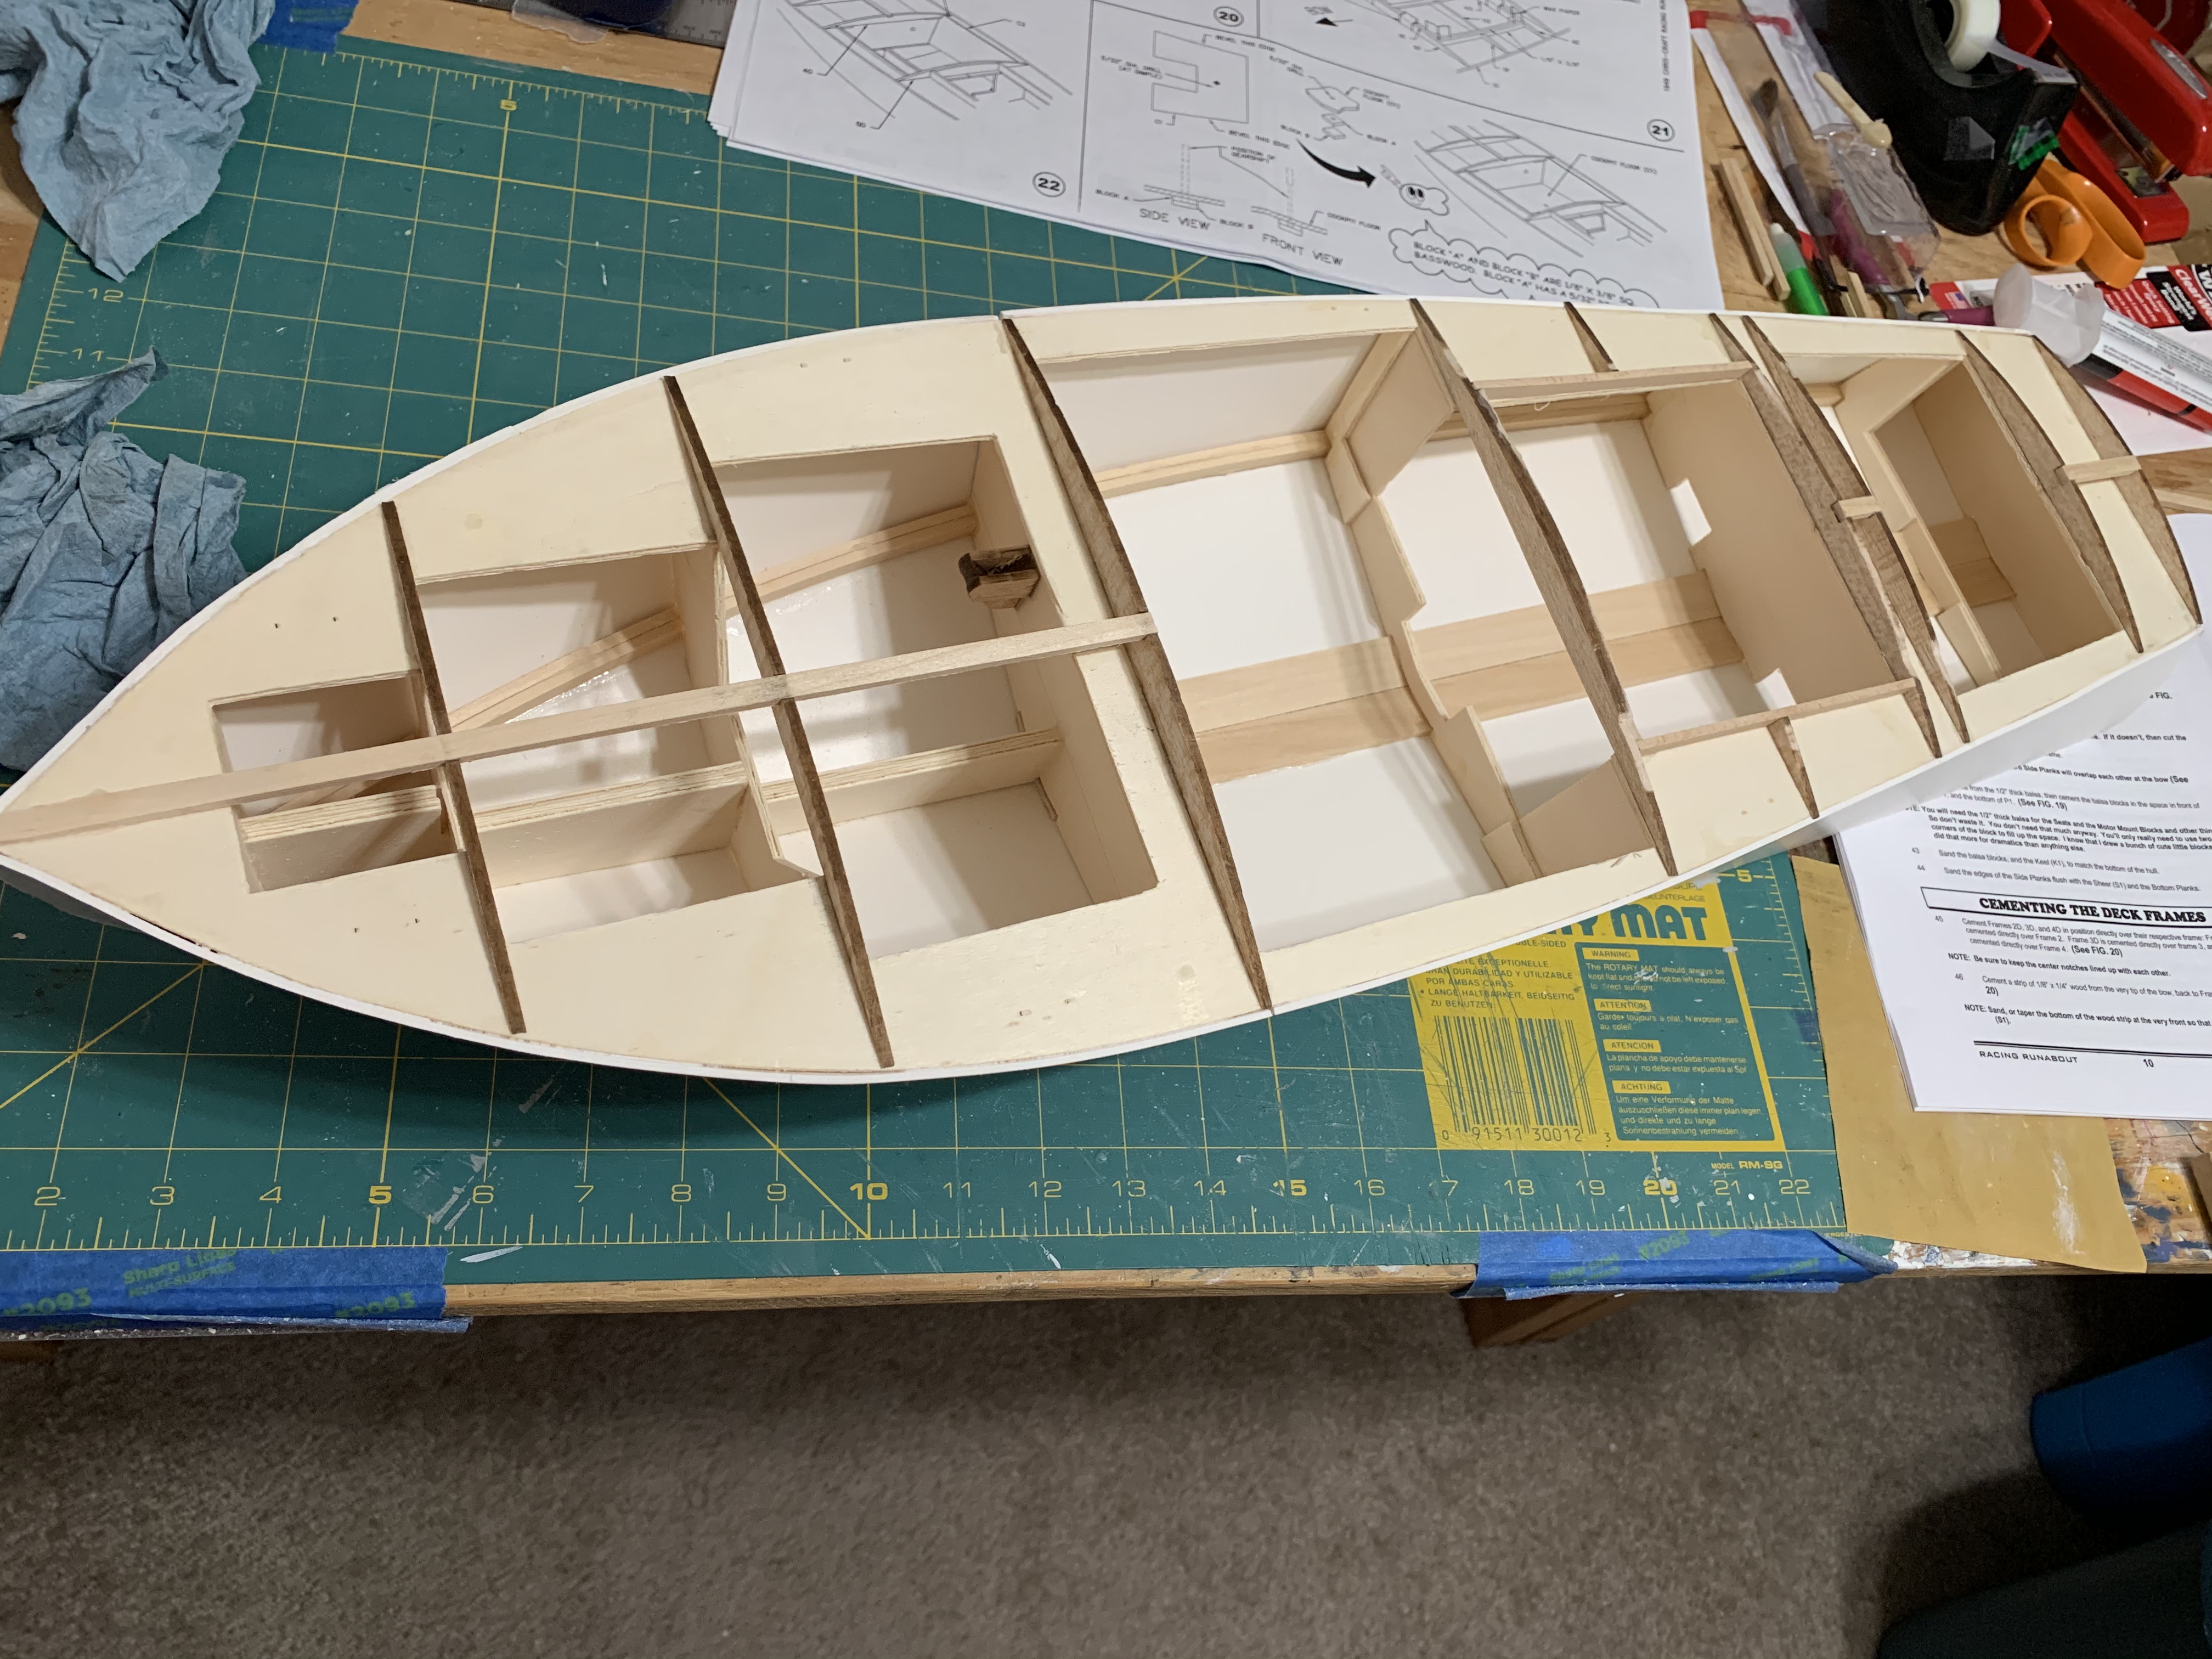
With just a slight discouragement in my precise sanding ability, I forged ahead with the next step of building the hatch cover.
This hatch frame was actually built in-place to ensure a proper fit using several pre-cut frame pieces and strips of bass wood. Wax paper was used beneath the hatch frame to prevent it from being accidentally glued in place (which the instructions indicated would “ruin your day”). Thankfully my day was not ruined when I easily removed the hatch frame ready to move onto the next assembly steps.
As I began to cut out the wood and PVC pieces that would be used to assemble the front and rear cockpits, I realized that these would be the first steps that once completed, would leave visible finished parts of the boat. Up to this point, everything I had assembled provided either support or shape for the finished model but none of it would be visible as other pieces would be attached on top of them. I recalled from reading the instructions before starting the model, that very helpful paint and staining tips had been included but so far, no instruction had indicated parts should be painted or stained. Therefore, before proceeding any further with gluing everything in place, I decided to read ahead in the instructions. I’m glad I did!
To be continued…
Categories

Good luck with this project! I am wondering how large it is, given you are covered with dust when done sanding. Perhaps it just feels that way? Your project reminds me of my brother who built a couple model ships when he was young. My brother has since passed on, but it’s nice to be reminded of one of his passions. What do you plan to do with this when it is completed?
Thanks for the encouragement, Betty! I actually finished it a couple of weeks ago and I had been waiting to complete it before posting any of the story. It is really big, one of the biggest models I ever built. It is almost 2 and a half feet long. It is now on display in our play room along with many of the other models I have built in my recent years.