
Pergola Vision

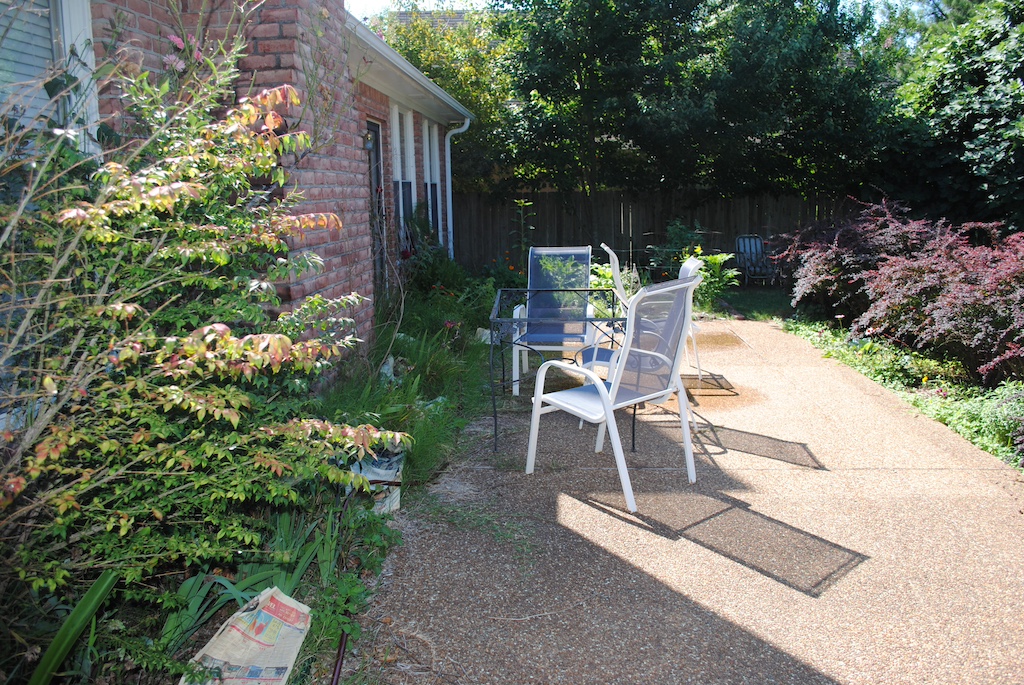
I have written before that our oldest son is a professional landscape architect and in 2007, while working in San Francisco, he designed a wooden deck for us (click HERE for that post). Based on his well-drawn-up plans, my wife and I built it, with some help from our brother-in-law. His architectural vision transformed this forlorn looking part of our yard…

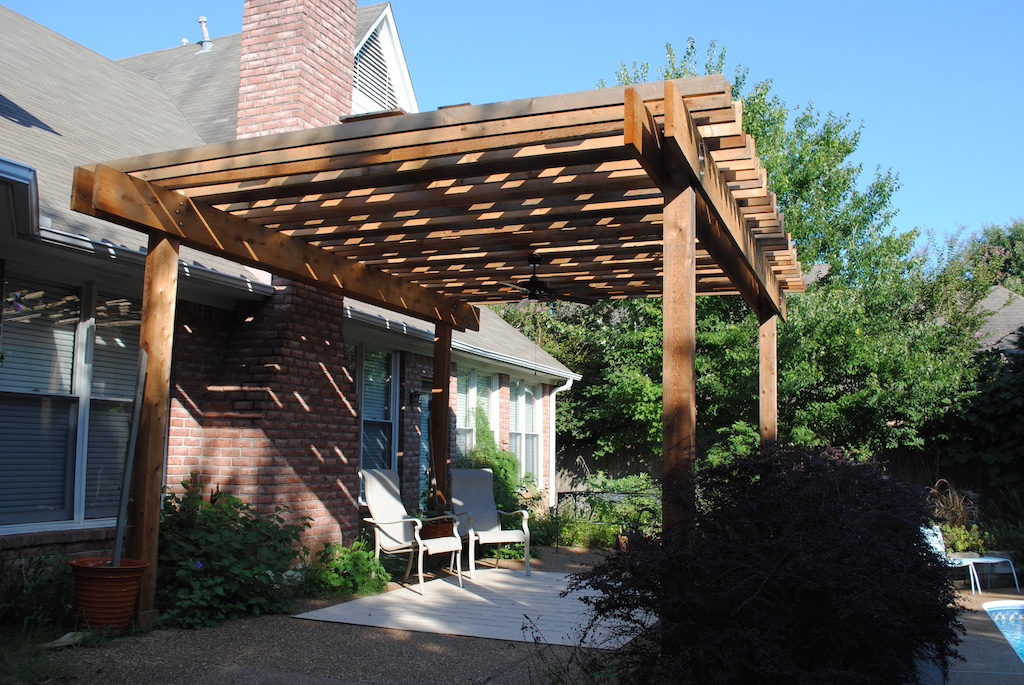
… into a much-improved restful haven.

Four years after designing our deck, our son married and moved to New York City where his new bride would attend graduate school.
Ever since creating our deck, he and my wife had been talking about designing a pergola that would make this patio more useable and even provide shade for our house, the back of which, faces the hot western sun. While working on a major landscape project in New York city, he again put his creative mind to work and designed a pergola for our backyard. As before, he again sent me excellent plans.
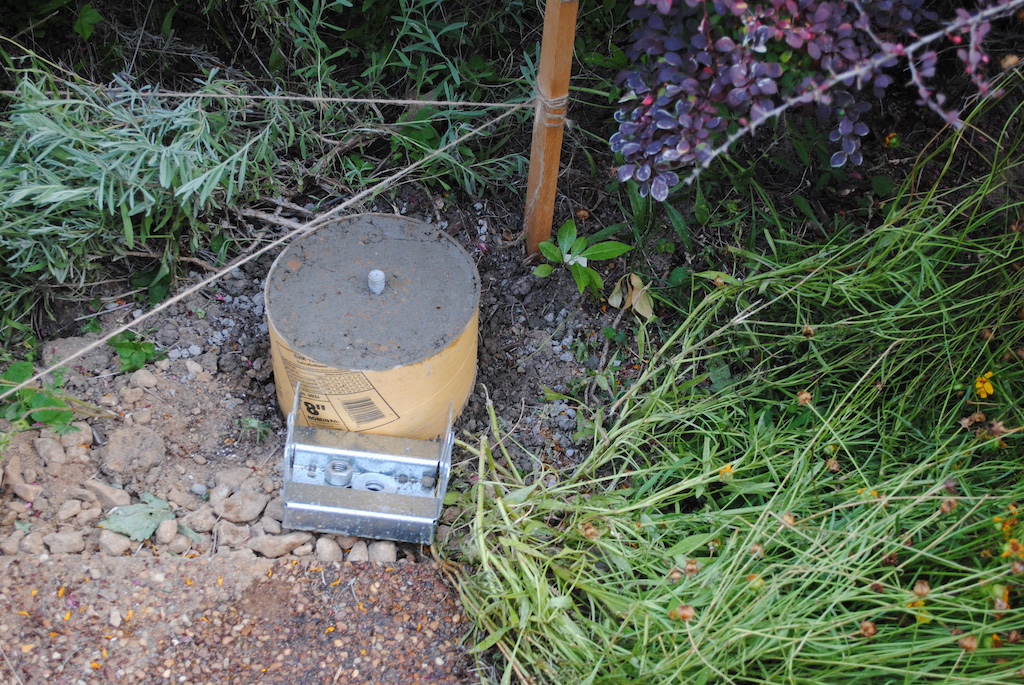
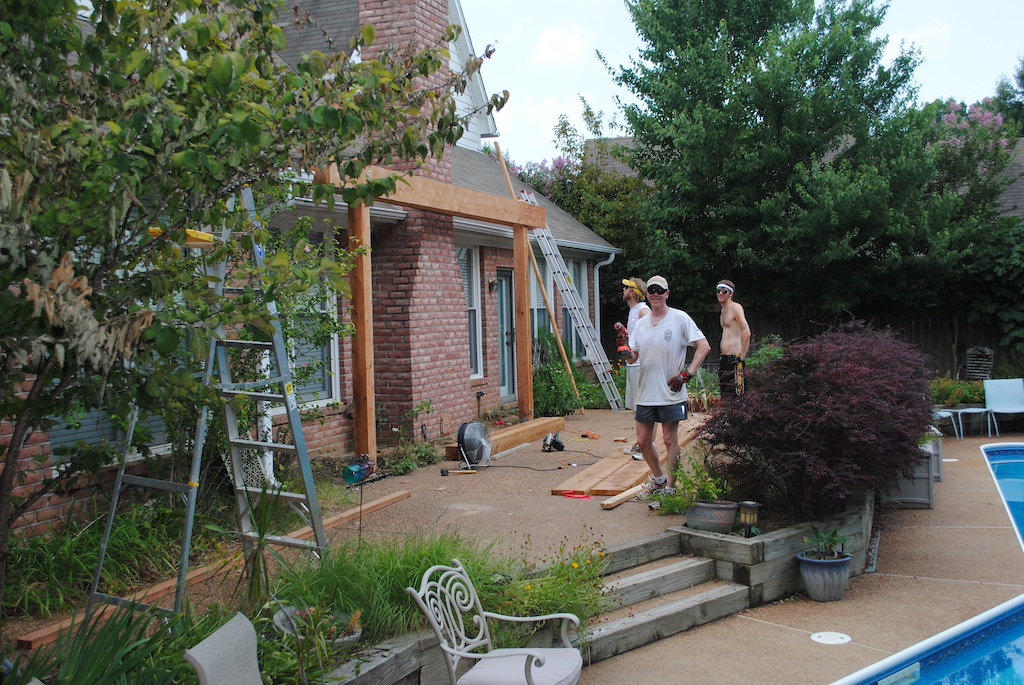
The first step was for me to pour the footings for the four posts that would frame the pergola. He also selected the building materials, Western Red Cedar, and specified the dimensions of each board needed. With all the materials procured, we flew he and his wife to Memphis for the weekend to help build it.
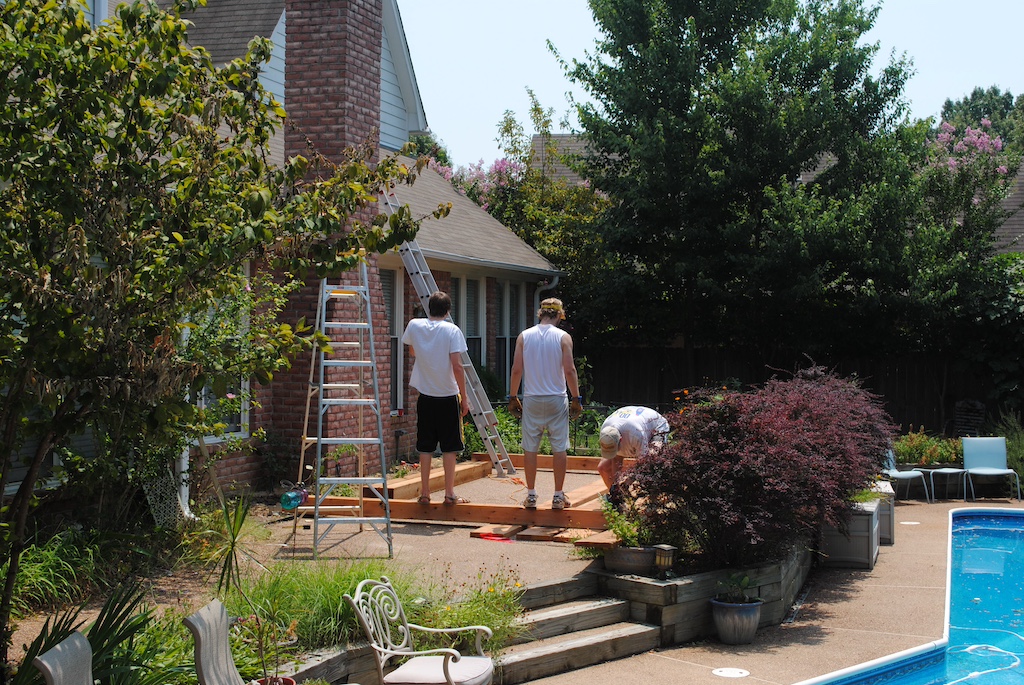
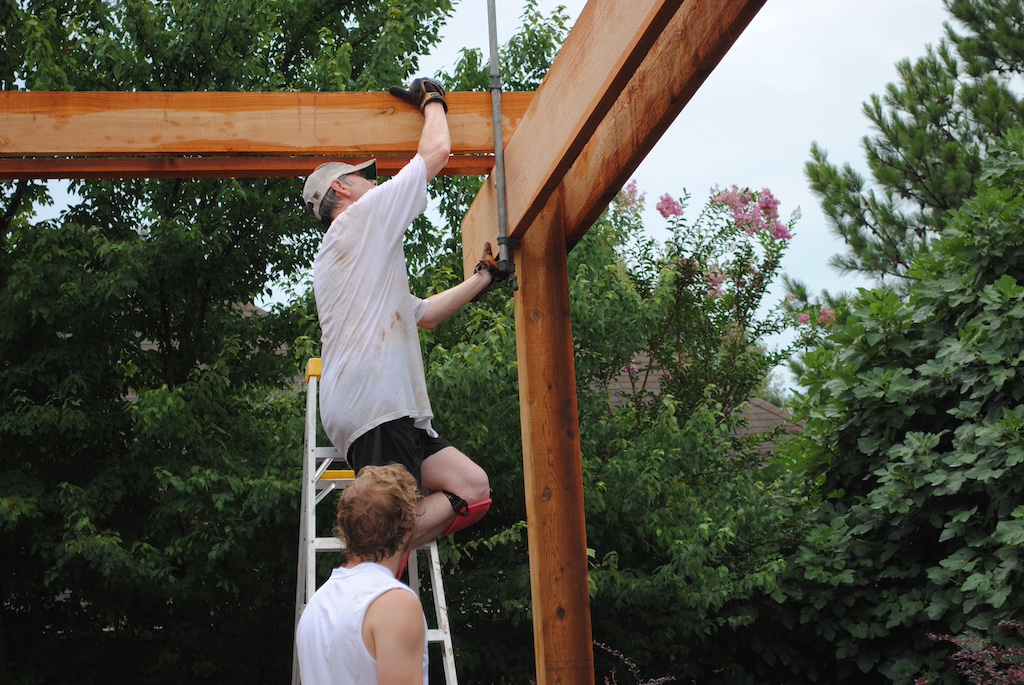
Our youngest son also pitched in as we started with the next step, attaching to the vertical posts, the two-sided large cross beams that would support all the joists.

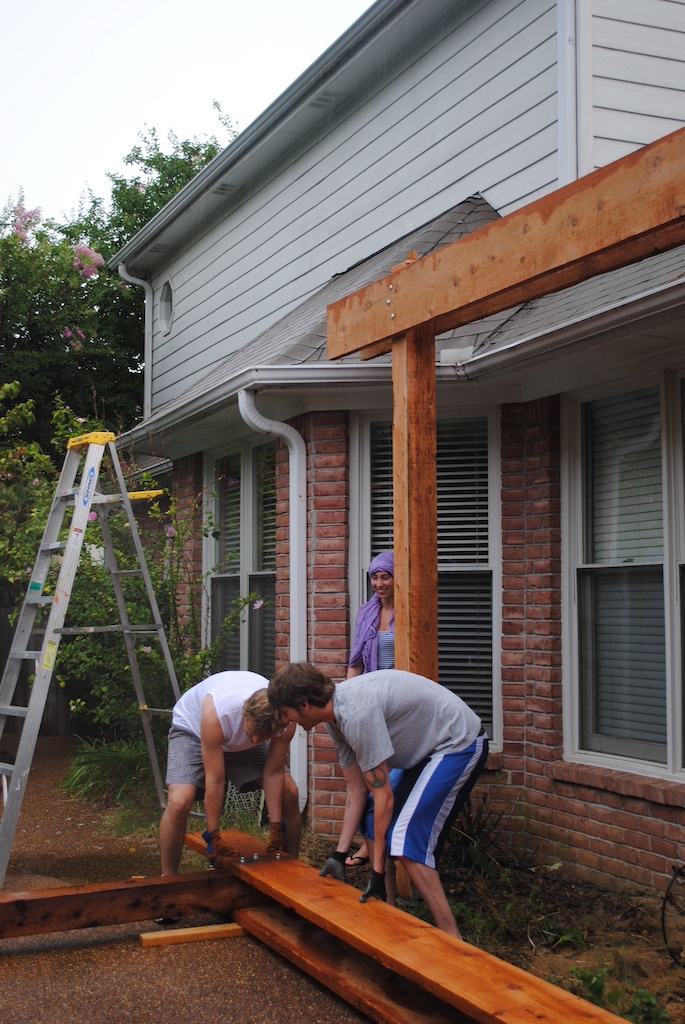
Once we had secured the two cross beams to the first pair of posts, we discovered that they were so heavy, that we needed four adults to lift them in place.
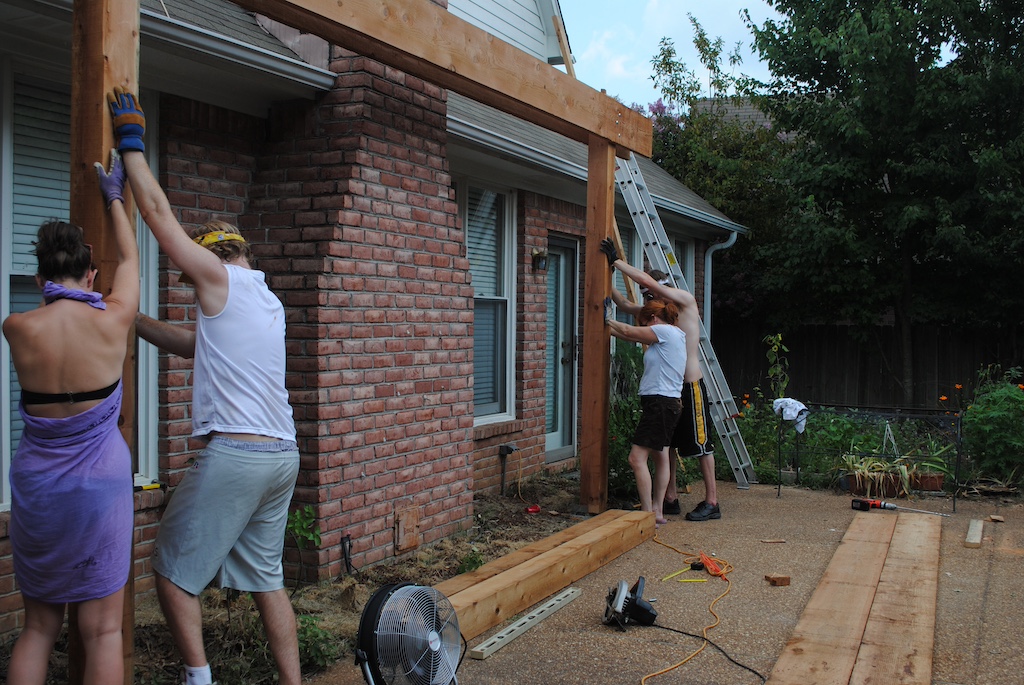
While my team of four helpers held the posts in place, I screwed them to the brackets that had been previously secured to the foundation.

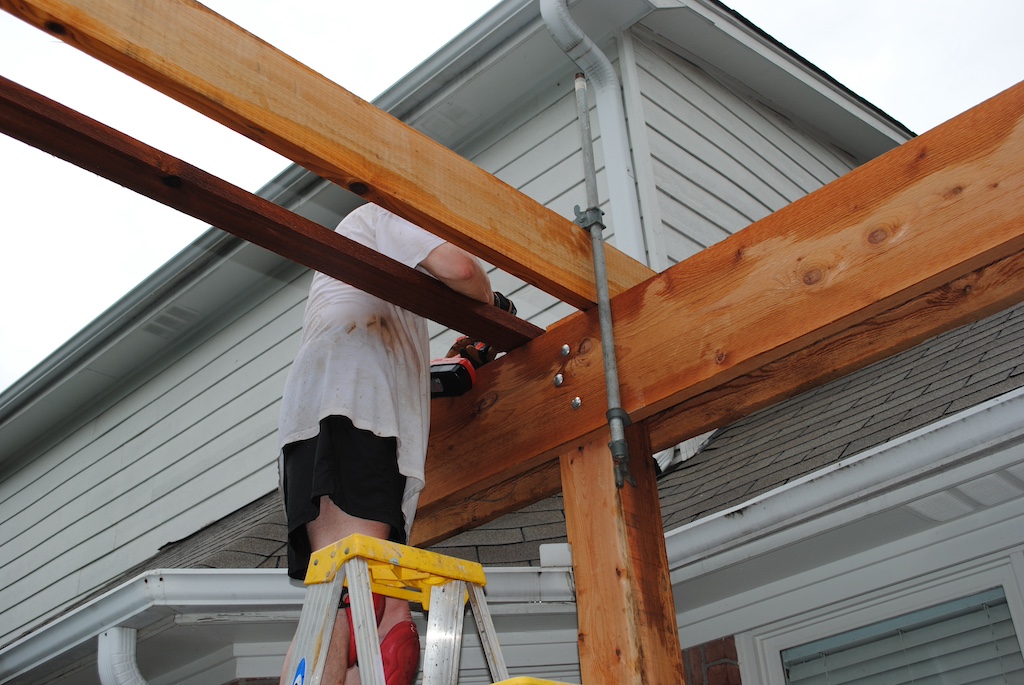
With one side up, …
…we proceeded to attach the two cross beams to the other two posts which took us up until quitting time for that Saturday.
On Sunday morning, after a rain delayed start, we were ready to lift up the other side of the pergola.
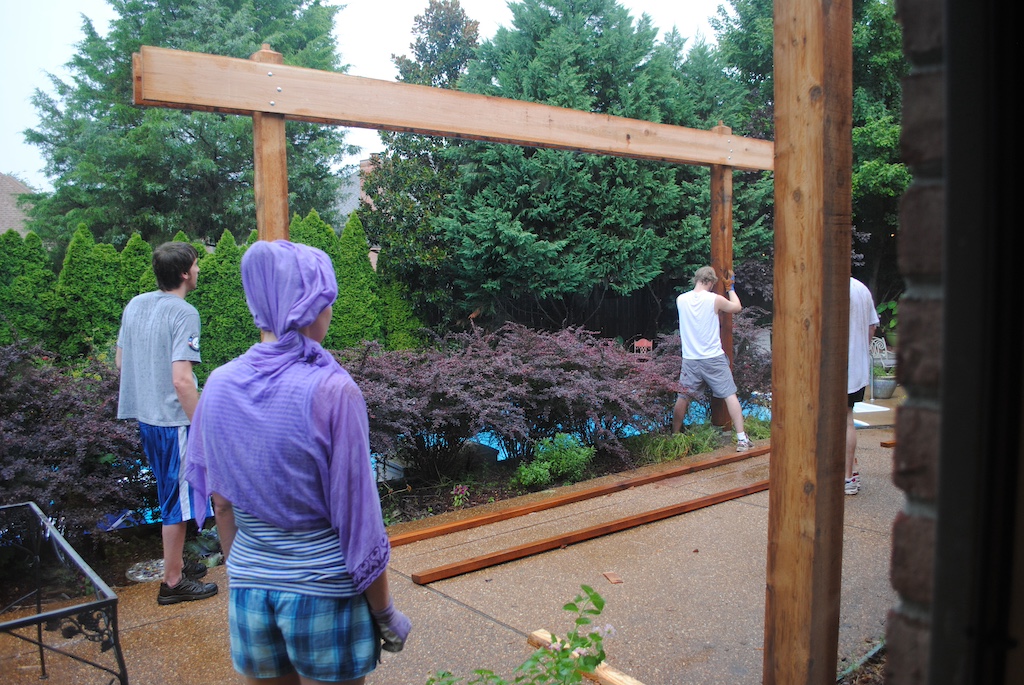
Once we had it in place and secured, the rain returned with a vengeance. Knowing that our oldest son and his wife had to fly back to New York later that day, we continued to work in the rain. The first step was to secure a temporary stringer to keep the two sides perfectly parallel.

Then we attached the first joist at one end…
…and then at the other end to make the pergola nice and square.
After a lunch break and a welcome reprieve from the rain, we proceeded to add the other joists…

…and by midafternoon, we had almost all of them in place.
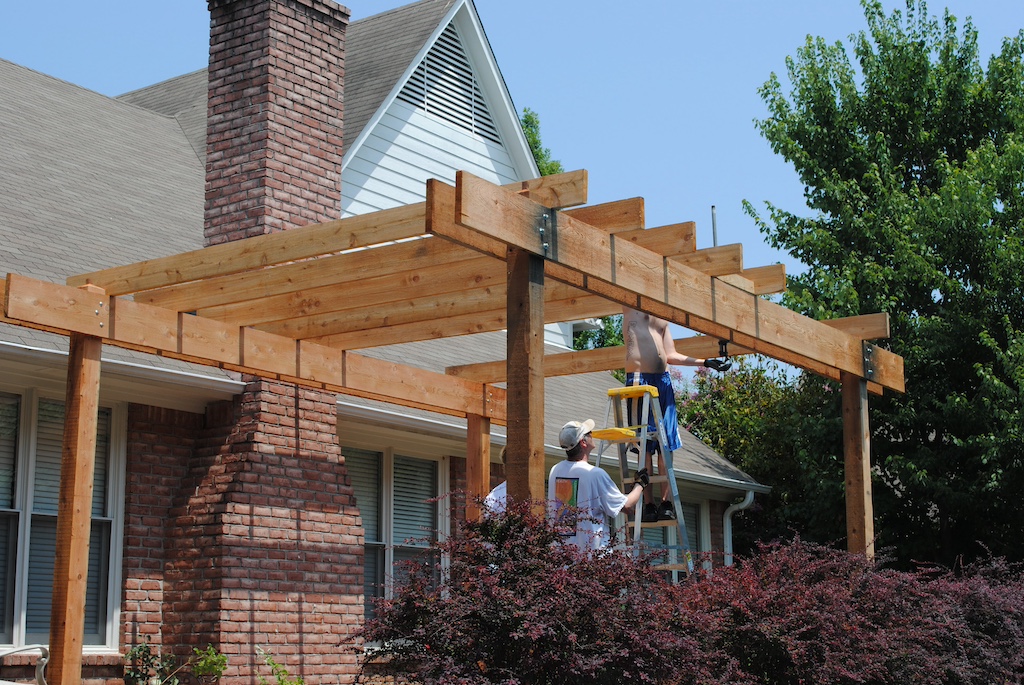
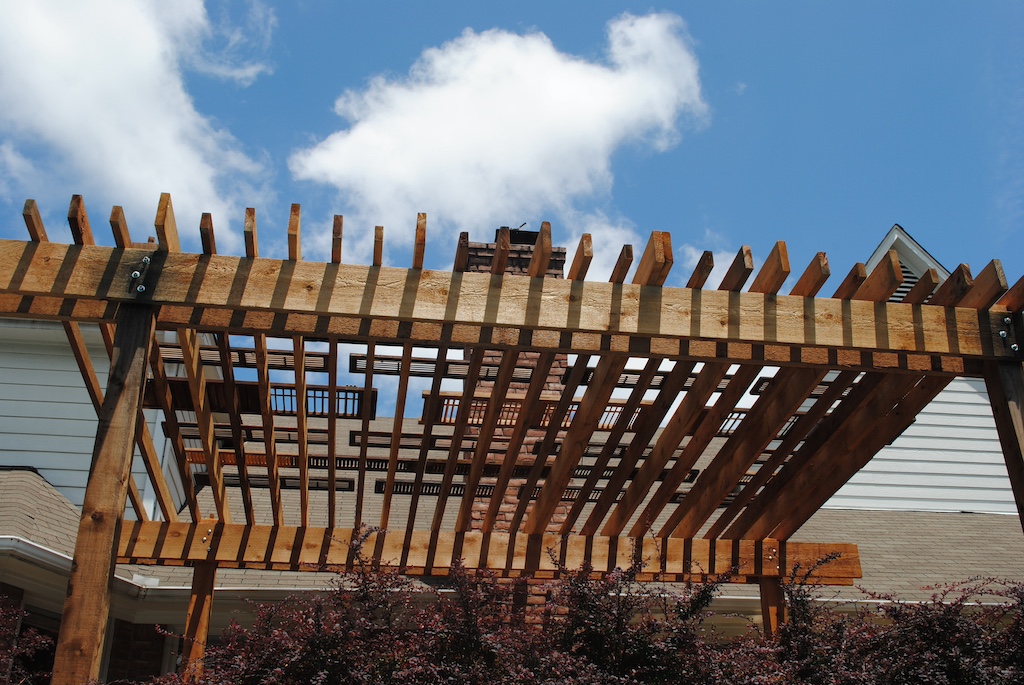
In a little more than an hour, we had all the main joists up and were ready to add the unique feature our son had designed in—a roof made of old salvaged shudders.
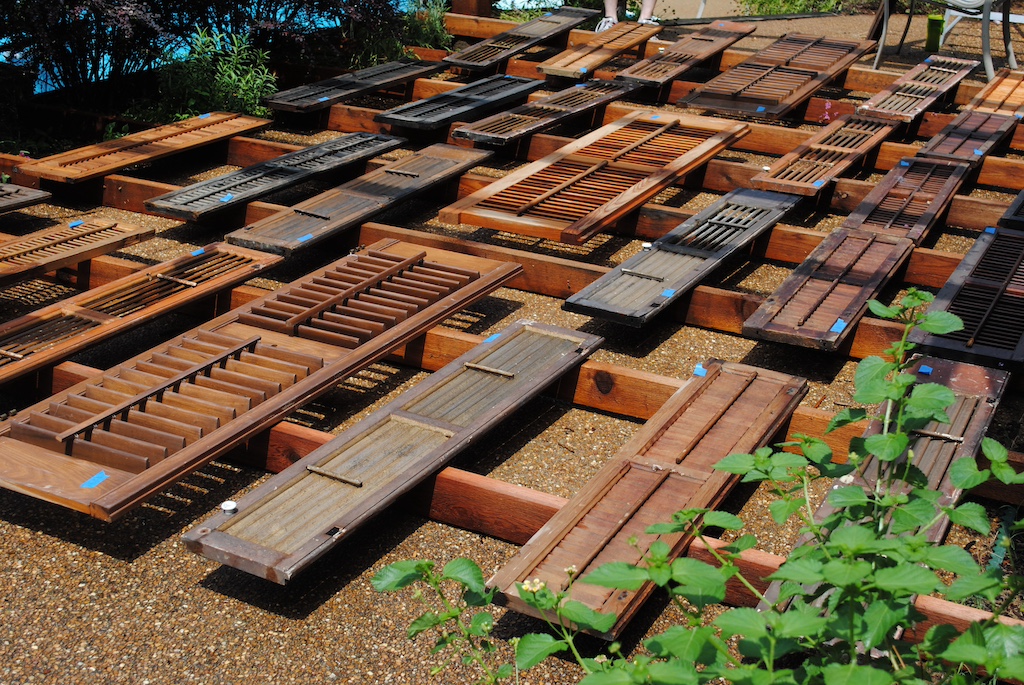
But we only had enough time to put up a few shudders before our son had to stop to shower and get ready to head to the airport.
The next weekend, our youngest son came back over, and we continued to add shudders getting them all installed on Sunday morning.

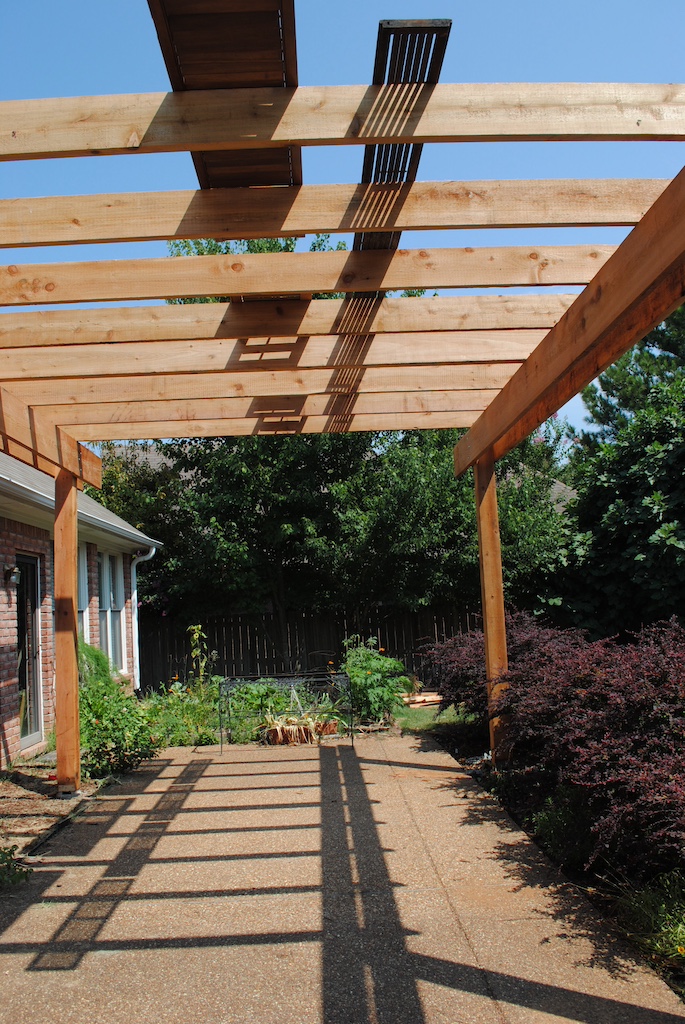
We had securely screwed the shudders into the main joists that we had originally attached to the cross beams. Next, we worked from one end to the other adding two intermediate joists between the main joists of two different narrower widths. Our son’s intent was to give the illusion that the shudders were floating in air above the pergola since the shudders were only attached to every third joist (the tallest main ones).
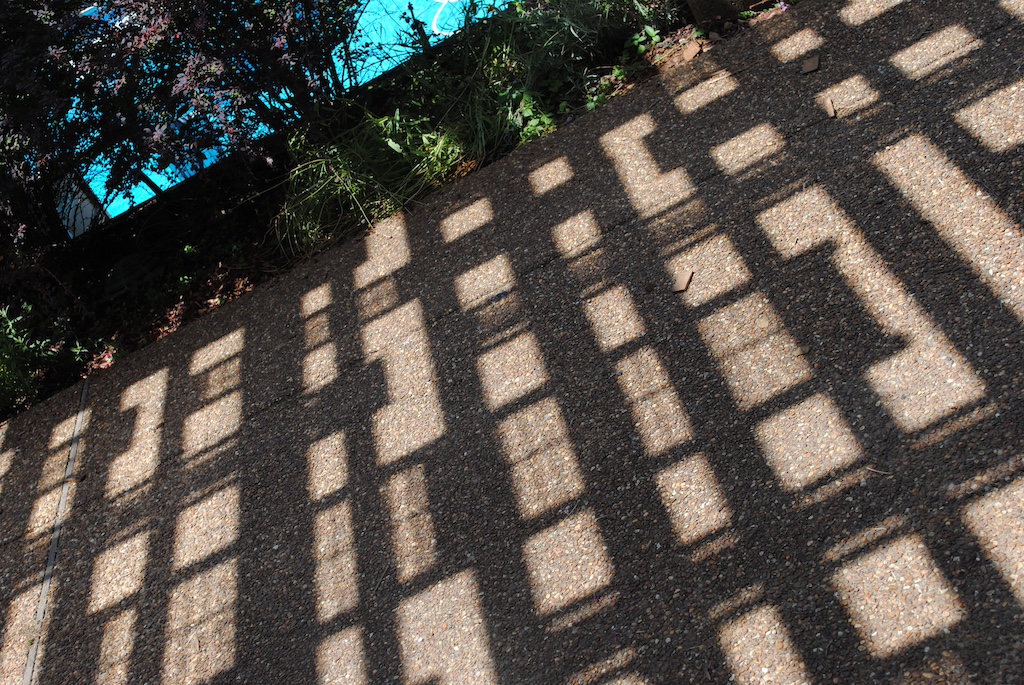
This also made for an interesting shadow on the concrete below.
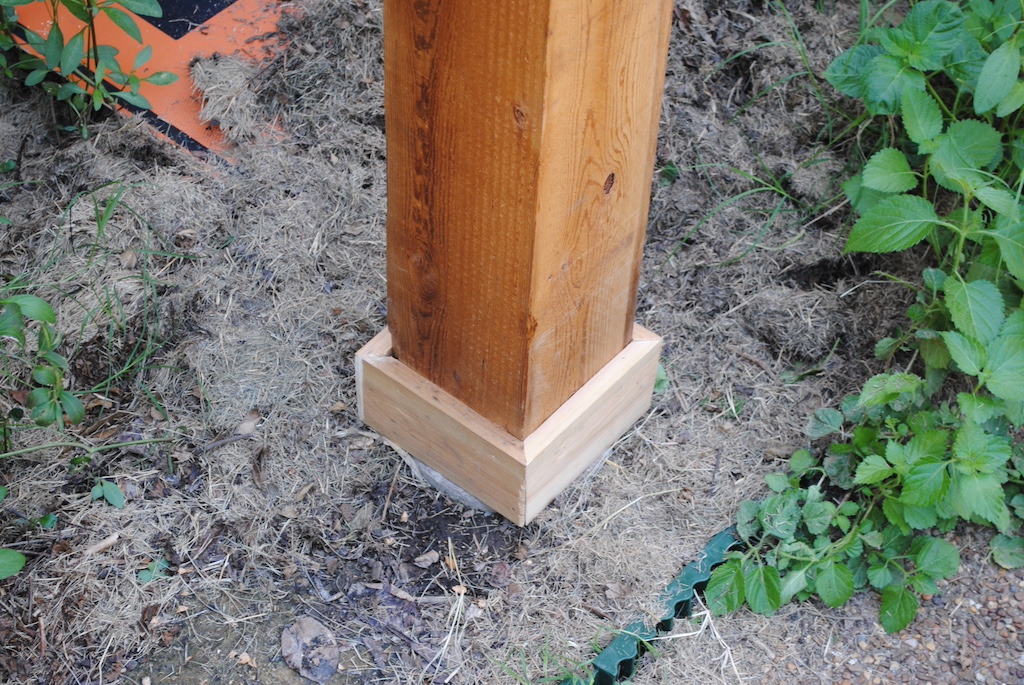
Several weeks later, I was able to hide the unsightly brackets that secured the posts with a pseudo baseboard.
In the photo above of the joists, you might have noticed a double joist at the center of the fireplace chimney. This was to support a feature my wife specifically requested. To combat brutally hot August Memphis afternoons, she wanted to cool off under the comforting breeze of a ceiling fan.
On a previous visit, our brother-in-law who had formerly been an electrician helped me run some underground wiring from an outdoor electrical receptacle to the pergola. I then needed to add the junction box…
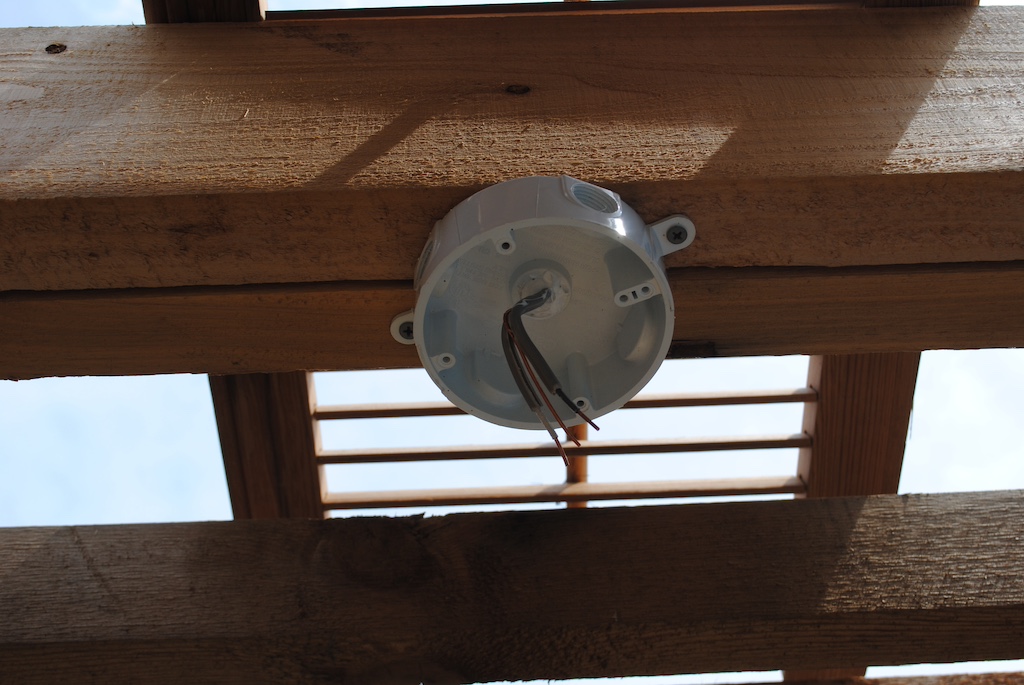
…and the ceiling fan support…
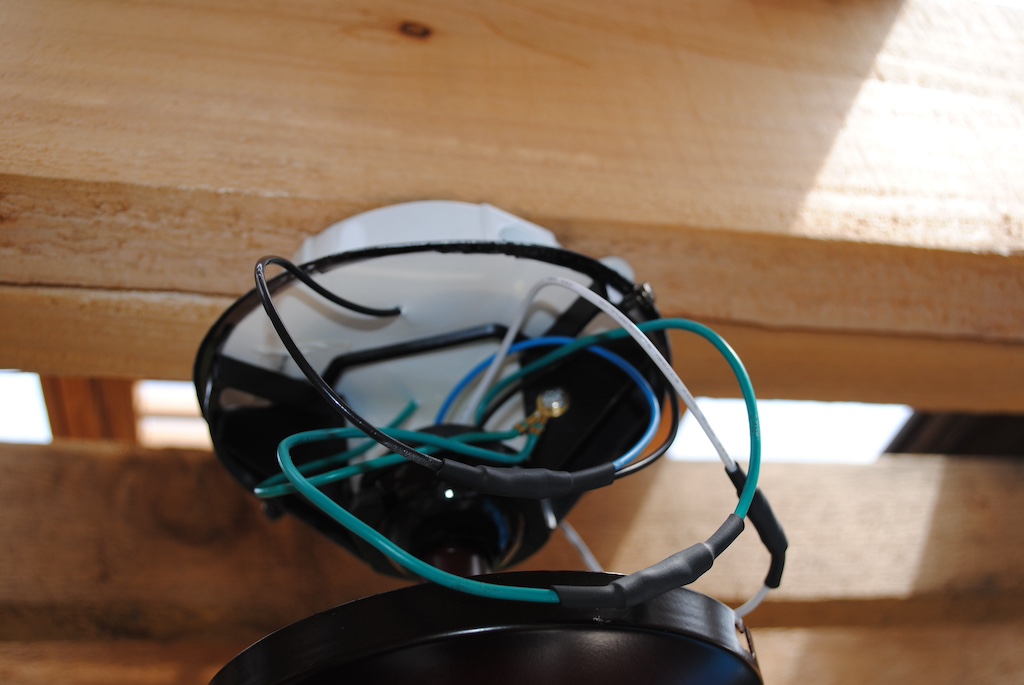
…before hanging the outdoor rated ceiling fan…
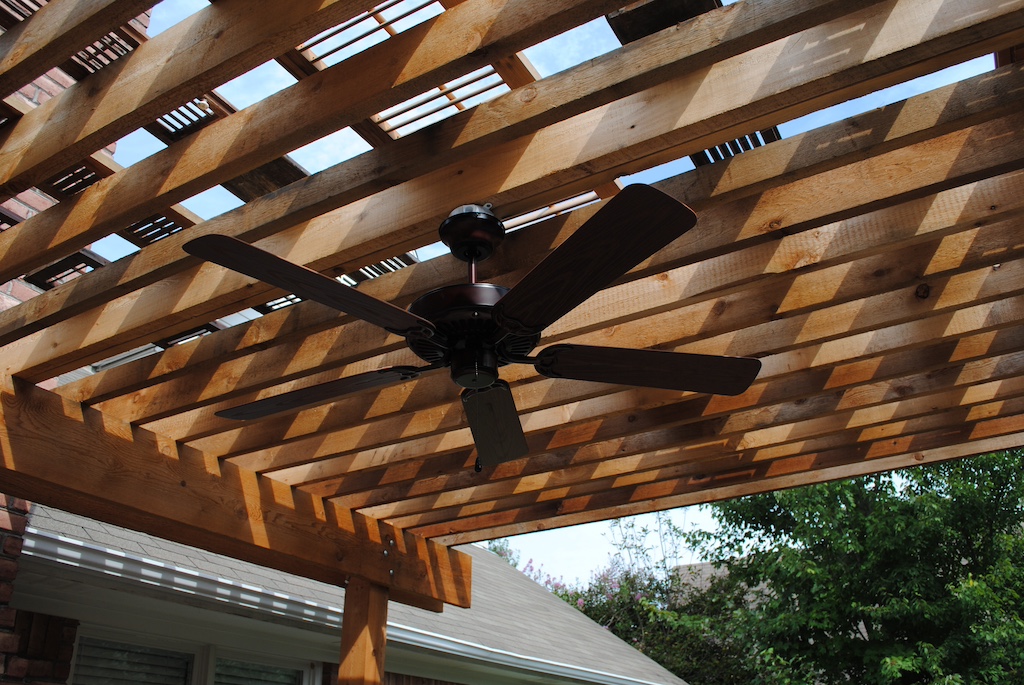
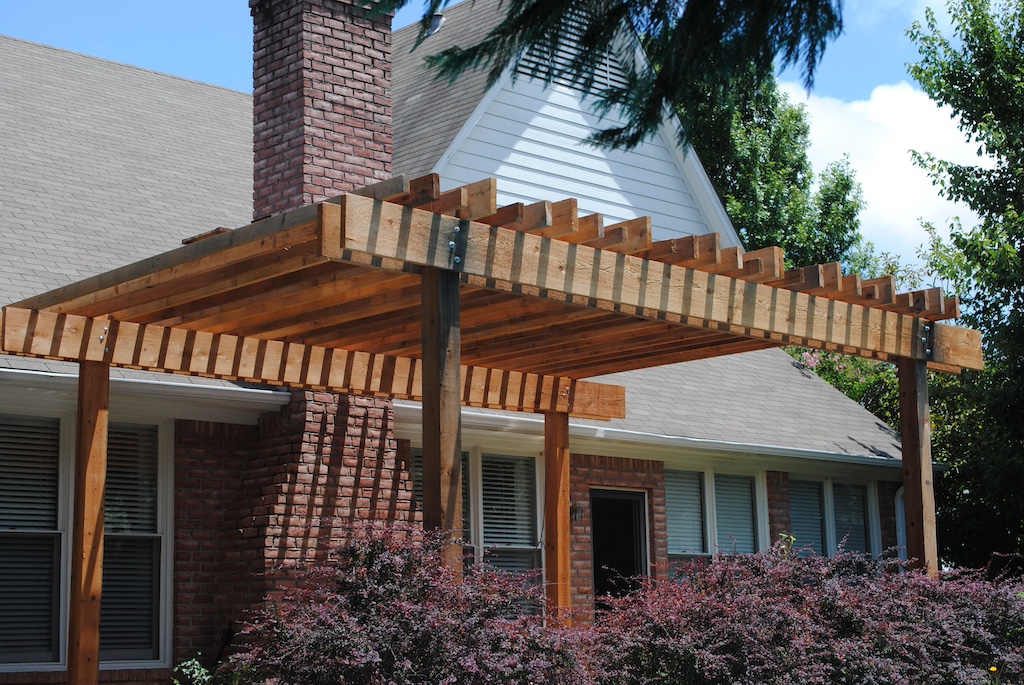
…to complete the pergola.
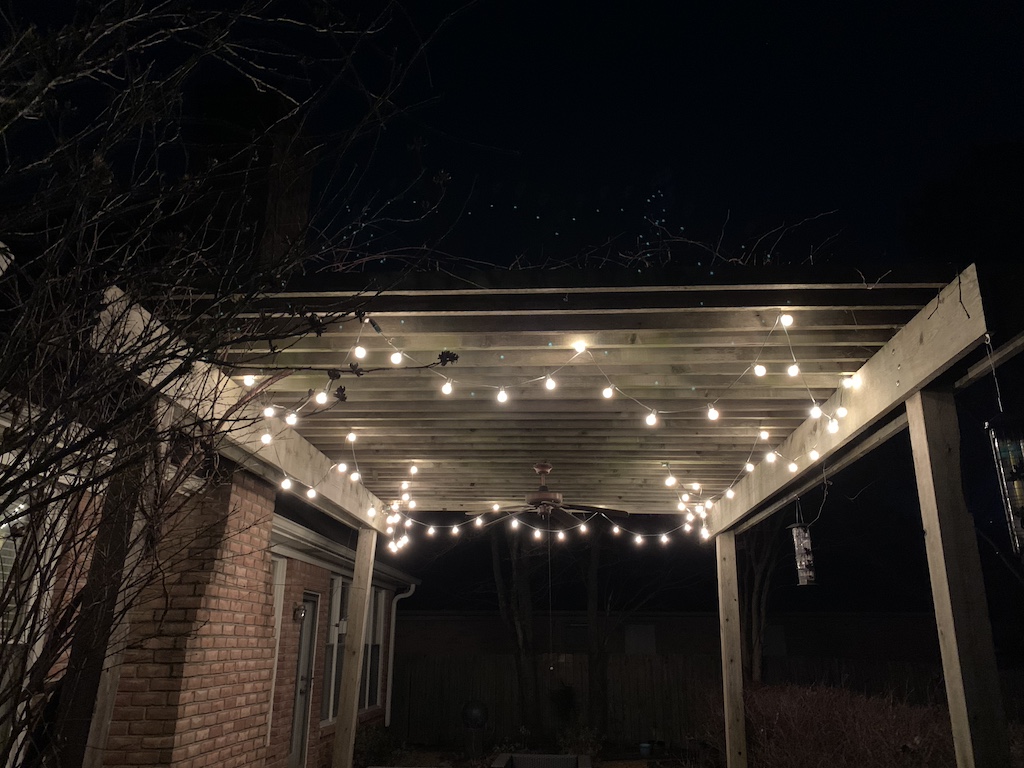
With an electrical outlet box also mounted on the backside of one of the posts, sometime later I strung some fairly lights hanging from the joists to add accent lighting for enchanting evenings sitting under the pergola.
All went well for several years until our first problem arose.
To be continued…
Categories

It warmed my heart to see all your boys working together.
It was nice to be working together!
How awful to have to work in the rain! But so cool to hear about the genesis of the pergola. Good job Dave!
Thanks, yea the rain could have stayed away but we only had the two days so work in the rain we did.
David, this is a very nice feature to your home that you all built. And your wife’s addition of the ceiling fan is great. I love the idea of using the salvaged shudders. But the cliffhanger! And first problem? Sounds like there was more than one. Such is the way with homes – and travel trailers. 🙂 Looking forward to reading about the resolution. Hope you have a great week ahead!
Thanks Betty and you too!