
Virtual DIY Bathroom – Restoration (Setting Tiles)
Continued from Virtual DIY Bathroom – Restoration (Finding Tiles)
At the end of our last installment, my brother had probably reached the fourth stage of grief—depression, as he realized the only way to finish this bathroom DIY project and permanently address the water seepage issue was to use tile for the side and backsplash. As he progressed through the various grieving stages, he busied himself with what I would kindly refer to as delay tactics, avoiding the fifth and final stage—acceptance. But he finally made it to that stage and so we are ready to continue the drama in his own words.
– – – – – – – – – – – – – – – – – – – – – – – – – – –
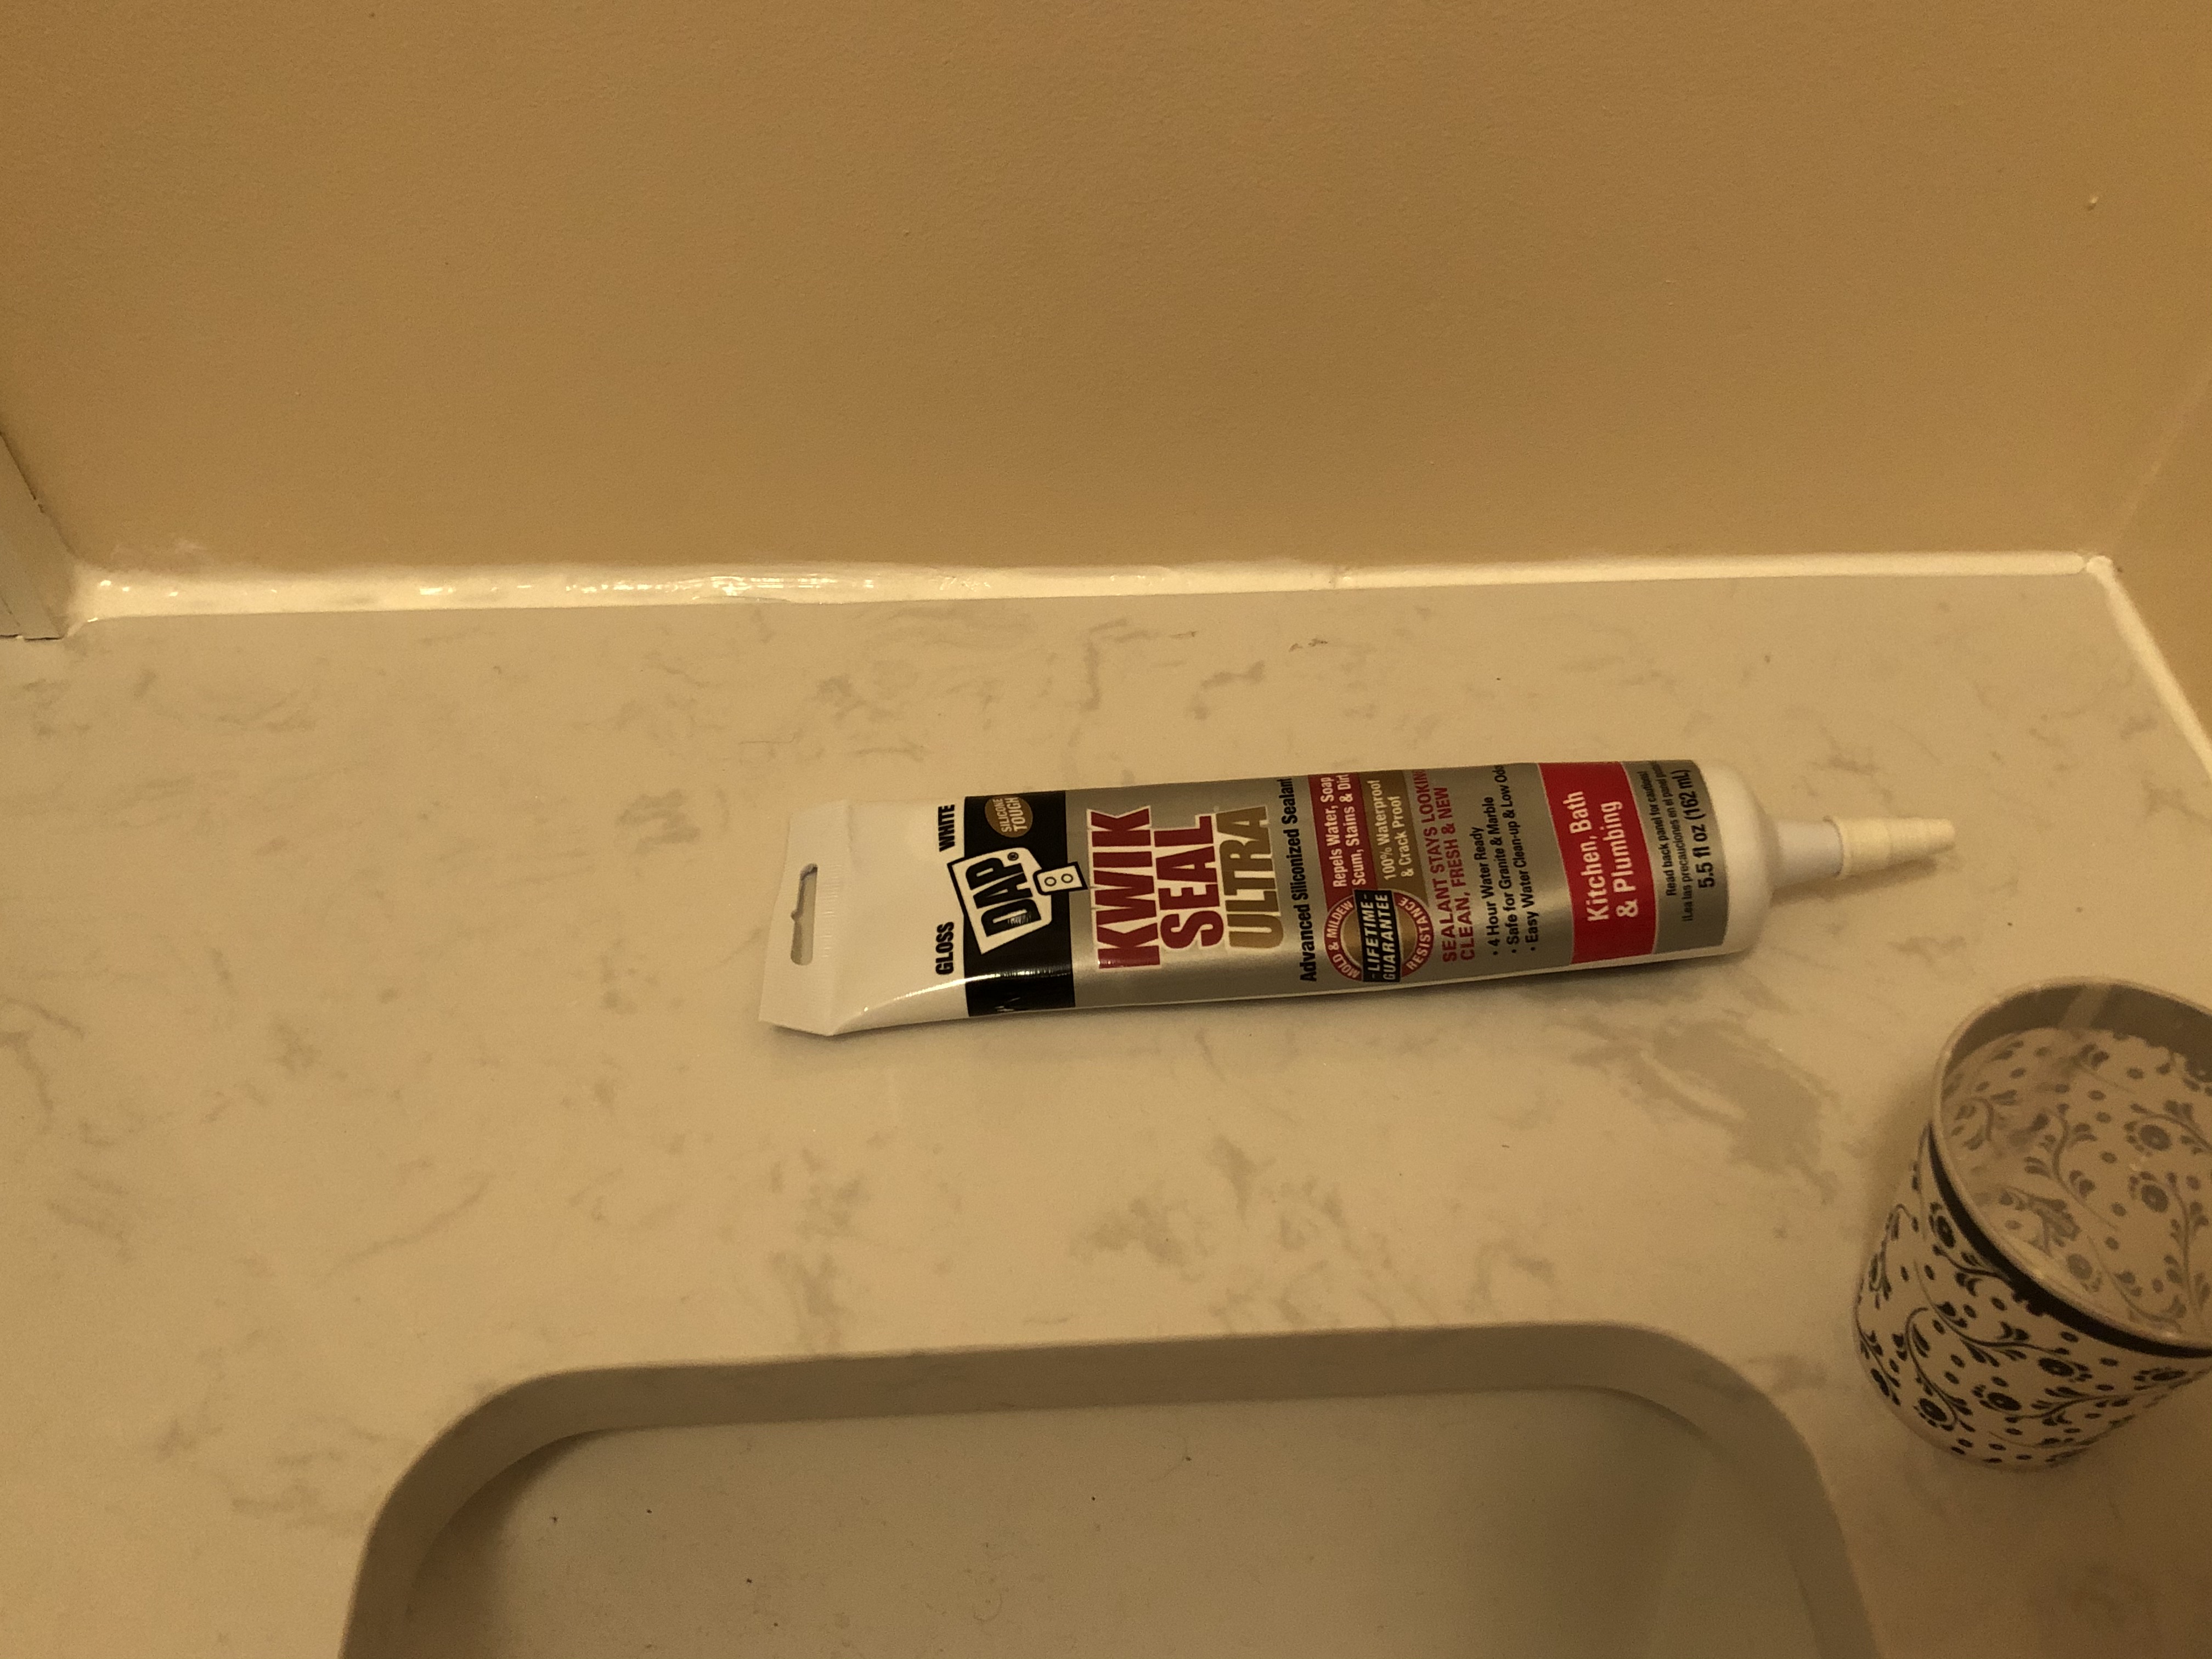
Our bathroom was still in need of both a side splash and a backsplash. After six weeks of procrastinating and running out of “little jobs” to complete, I was finally forced to focus on the tiling project, despite my continued feeling of apprehension about the work. In need of information, I sent a series of basic questions to my brother, so I could draw on his experience. “How wide is the gap when using spacers between the tiles?” (Depends on the size of the tiles.) “What brand of wet saw do you have? Cost? Where bought?” (No reply as he was busy at the moment.) Later, when I sent a photo of the tile saw I was planning to buy, he replied:
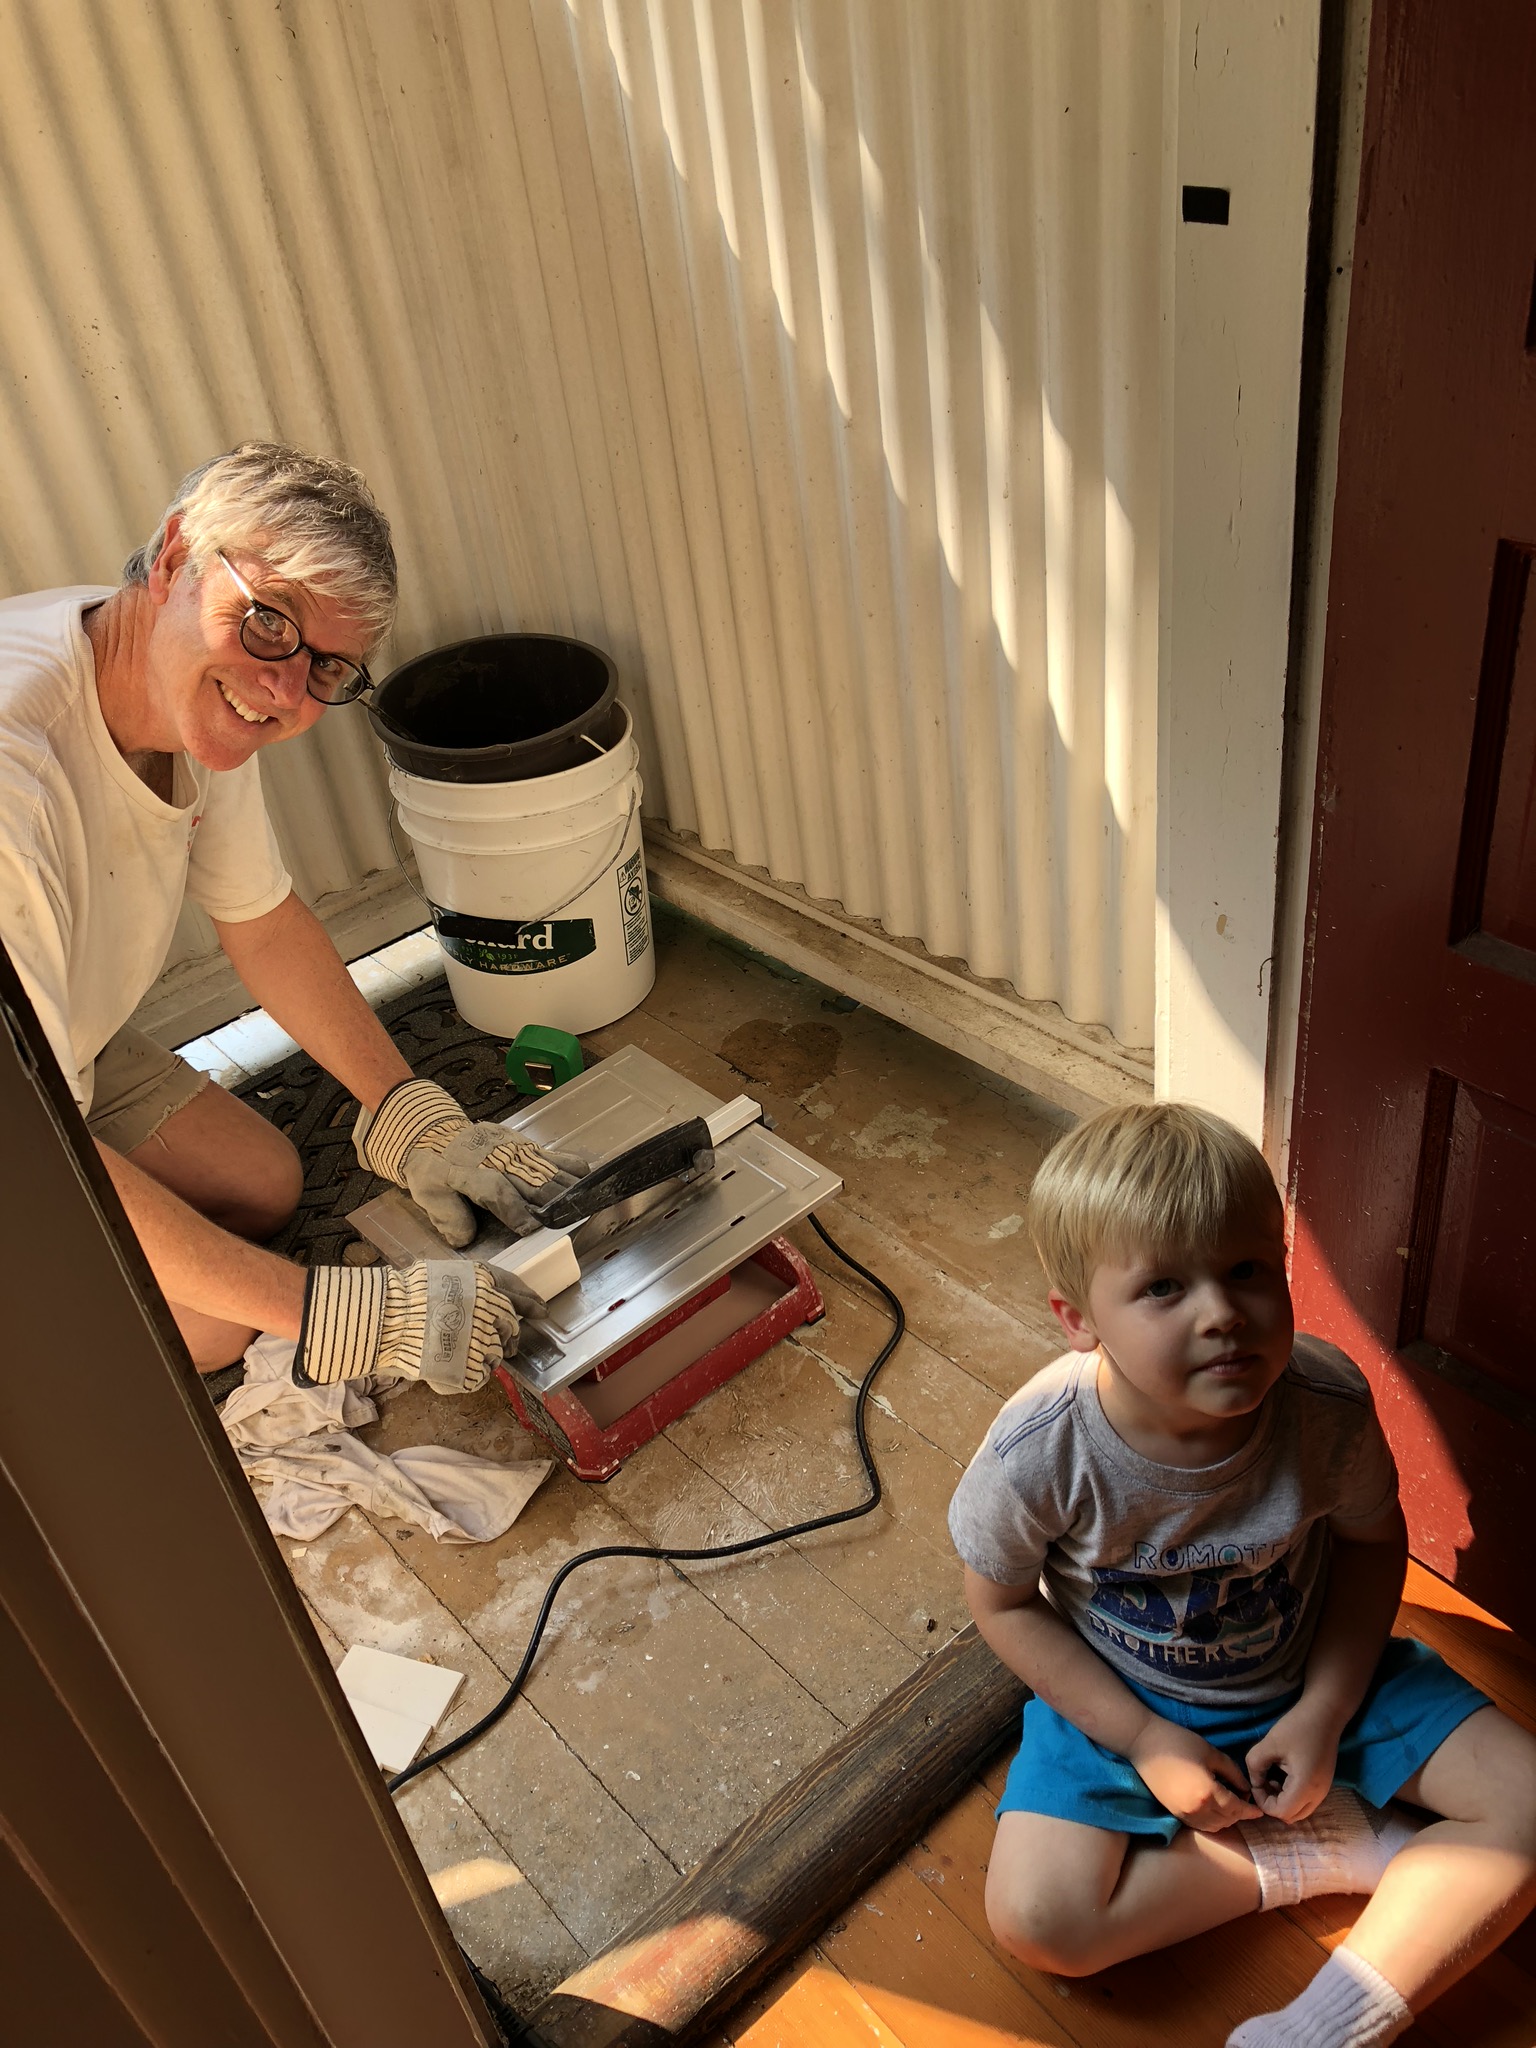
| That looks like the one my son-in-law bought when I did that tiling for them. | ||
| That’s funny. I saw that picture earlier today. I was looking back through your blog to remember the steps in tiling. Still need a chance to talk with you about the process. | ||
(Click here if you are interested in reading my brother’s original post).
So, I bought the tile saw. But when I got it home, I left it unopened in the box for several weeks, because I was afraid of the new tool. I mistakenly thought the blade was sharp but learned – after a bit of research – that it was not. Unlike a circular saw for wood, which has a blade with sharp, jagged teeth to cut a board into two pieces, a tile saw has a blade that appears more like a solid disc with a gritty sandpaper edge that grinds a division between two parts of the tile, resulting in the “right-sized” piece intended for the job and a “waste” piece. (My subsequent experience with the tile saw also taught me there may be undesired chipping as the blade grinds through the tile.)
I finally grasped that the tile saw was not really a thing to fear. But still, there would be new skills I would have to learn. In addition to straight cuts to make the tiles fit the bathroom space, the project also required bevel cuts for the inner corner and miter cuts for the outer corner and edges. Contemplating these challenges resulted in further feet-dragging to start the tilework.
Still hesitant to begin, for the next several weeks I continued to ply my brother with novice questions. “Do you use pre-mixed thinset for adhering the tiles to the wall?” “What type of trowel do you use to apply it?” A few weeks later, I felt bold enough to try a couple of mock-ups for the tile design.
| What do you think? One row or two? We’re leaning toward just one row, because it is a very small bathroom space. Looking for your experienced opinion. | ||
| I agree one. Going to look nice and professionally done. | ||
| Hmmm. We’ll see about that! But thanks for the vote of confidence. | ||
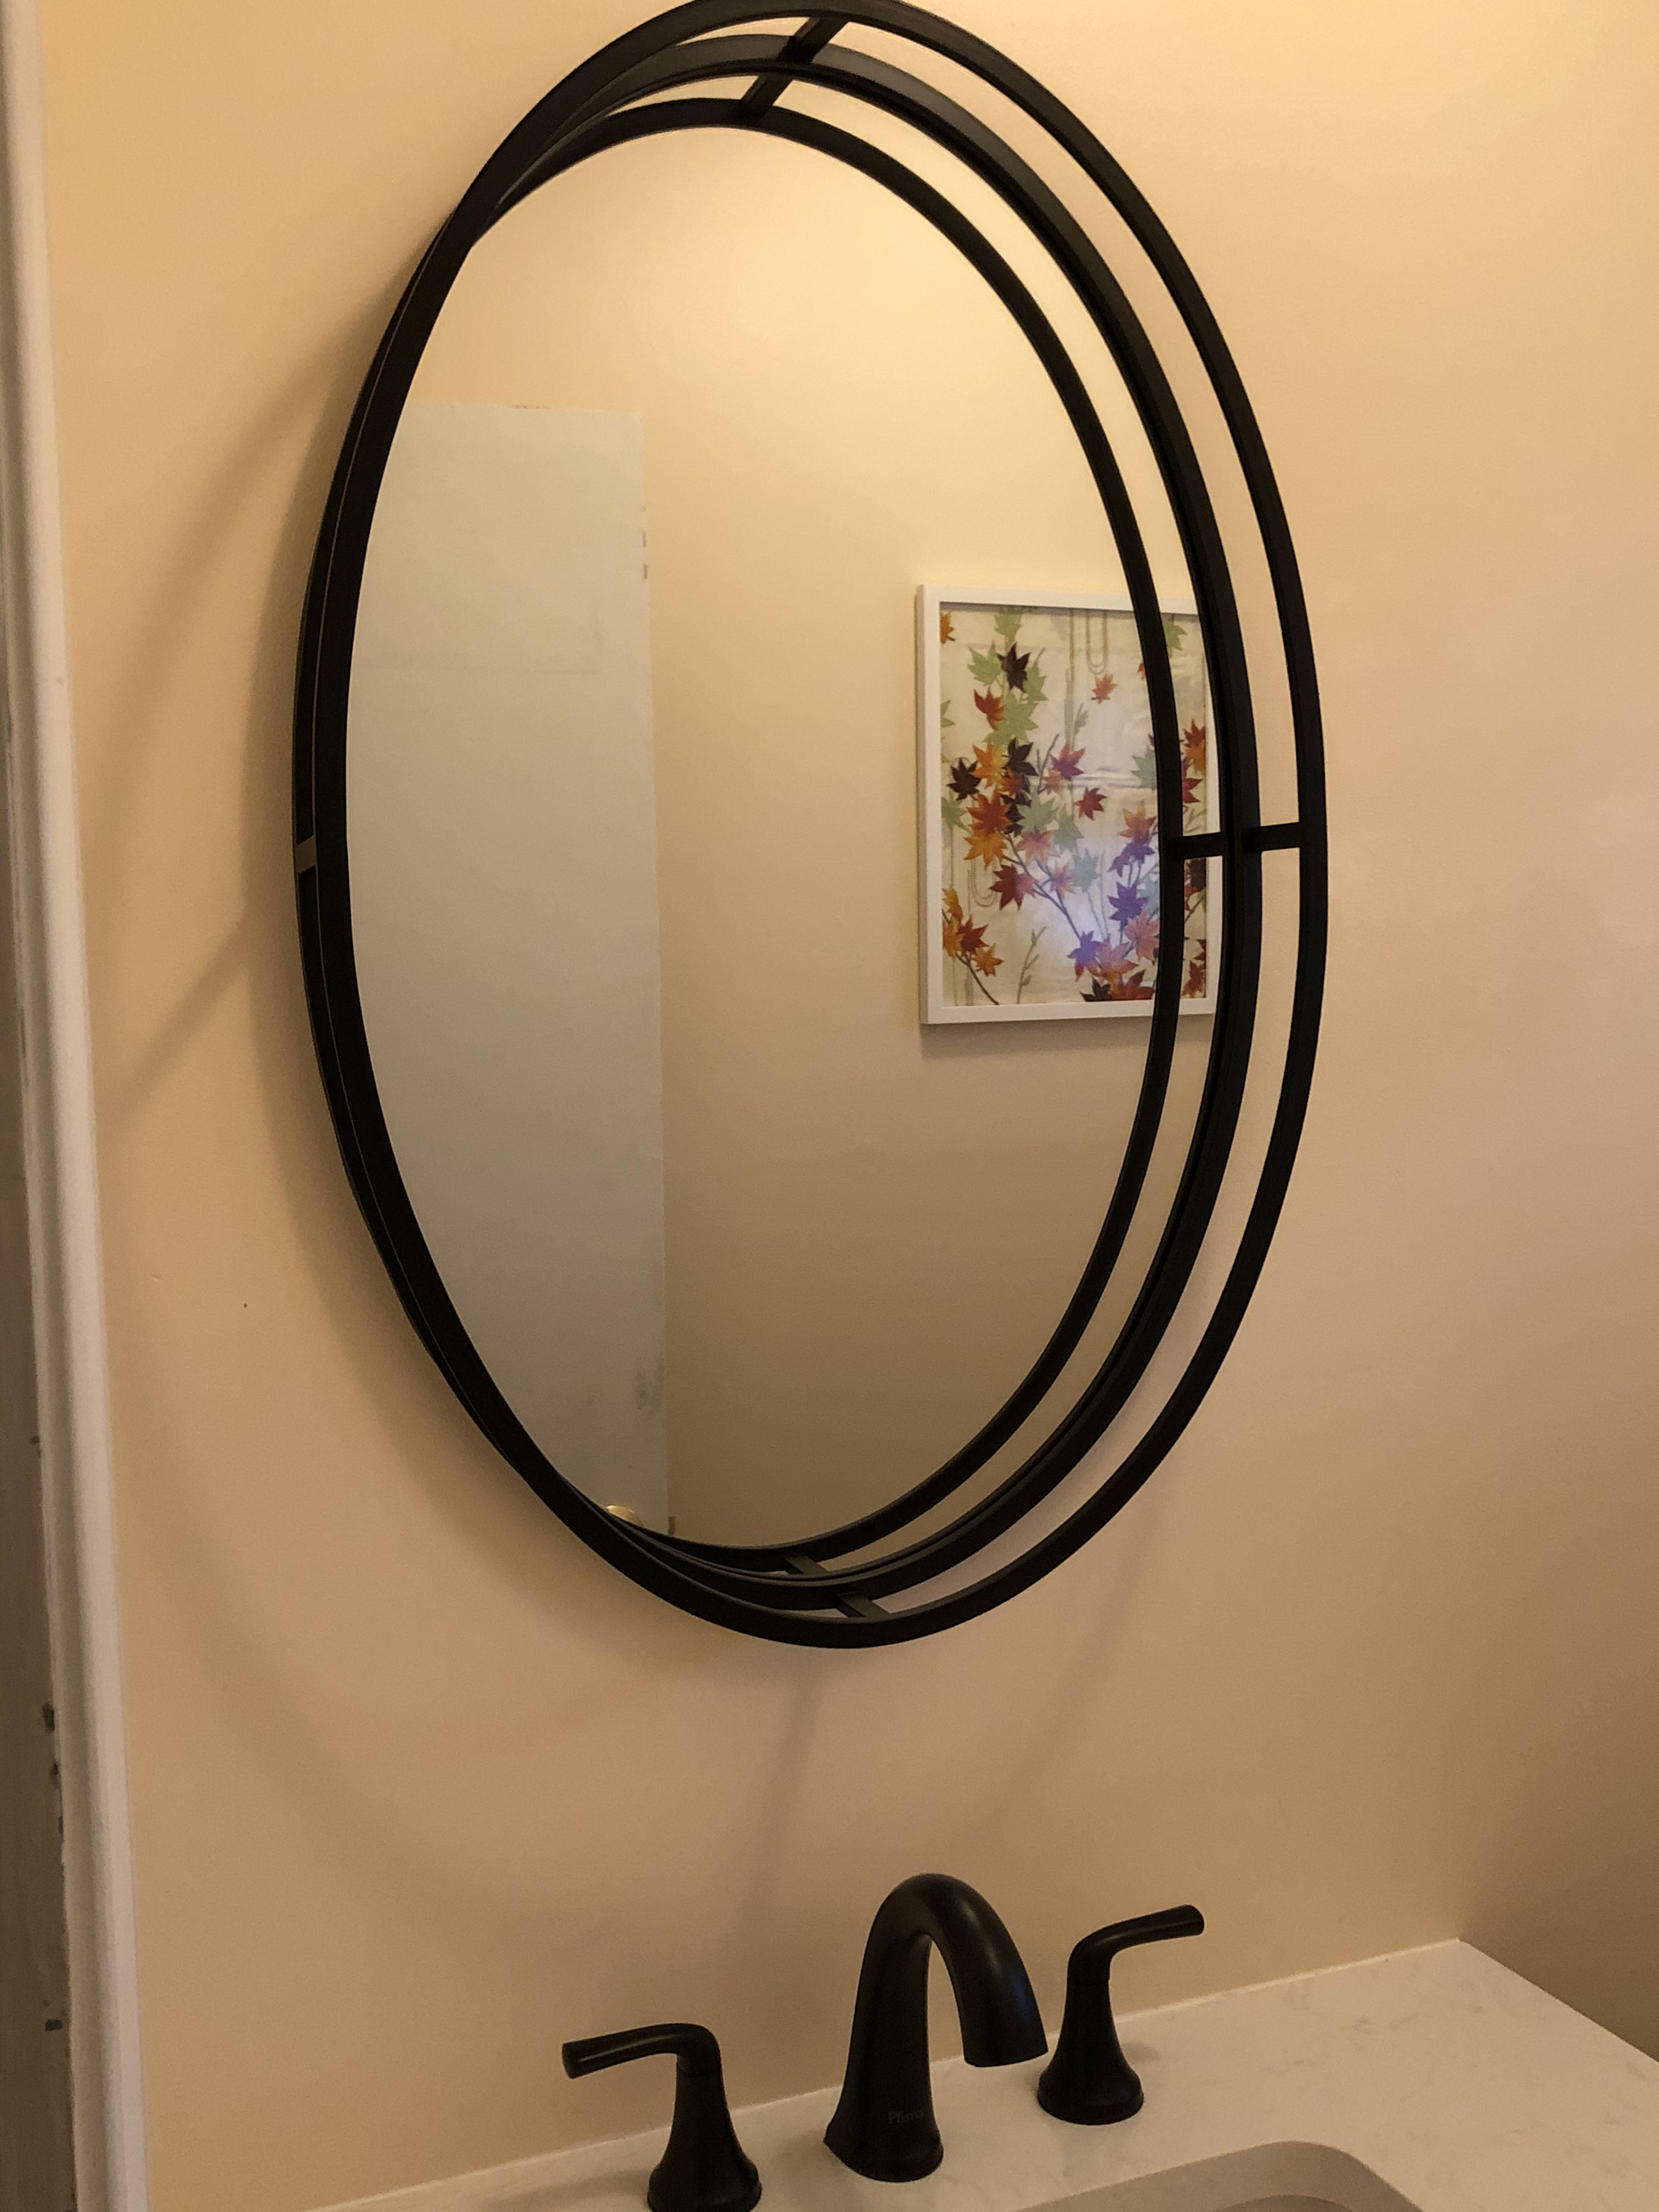
After another month of dragging my feet, my wife hung a pretty Japanese print on the powder room wall. This motivated me to make a little progress doing something I had prior experience with:
| Got tired of waiting to start the tile. Decided to hang the mirror. I think it looks nice! | ||
| Pretty mirror! | ||
Then, I let another month go by before returning to the work at hand.
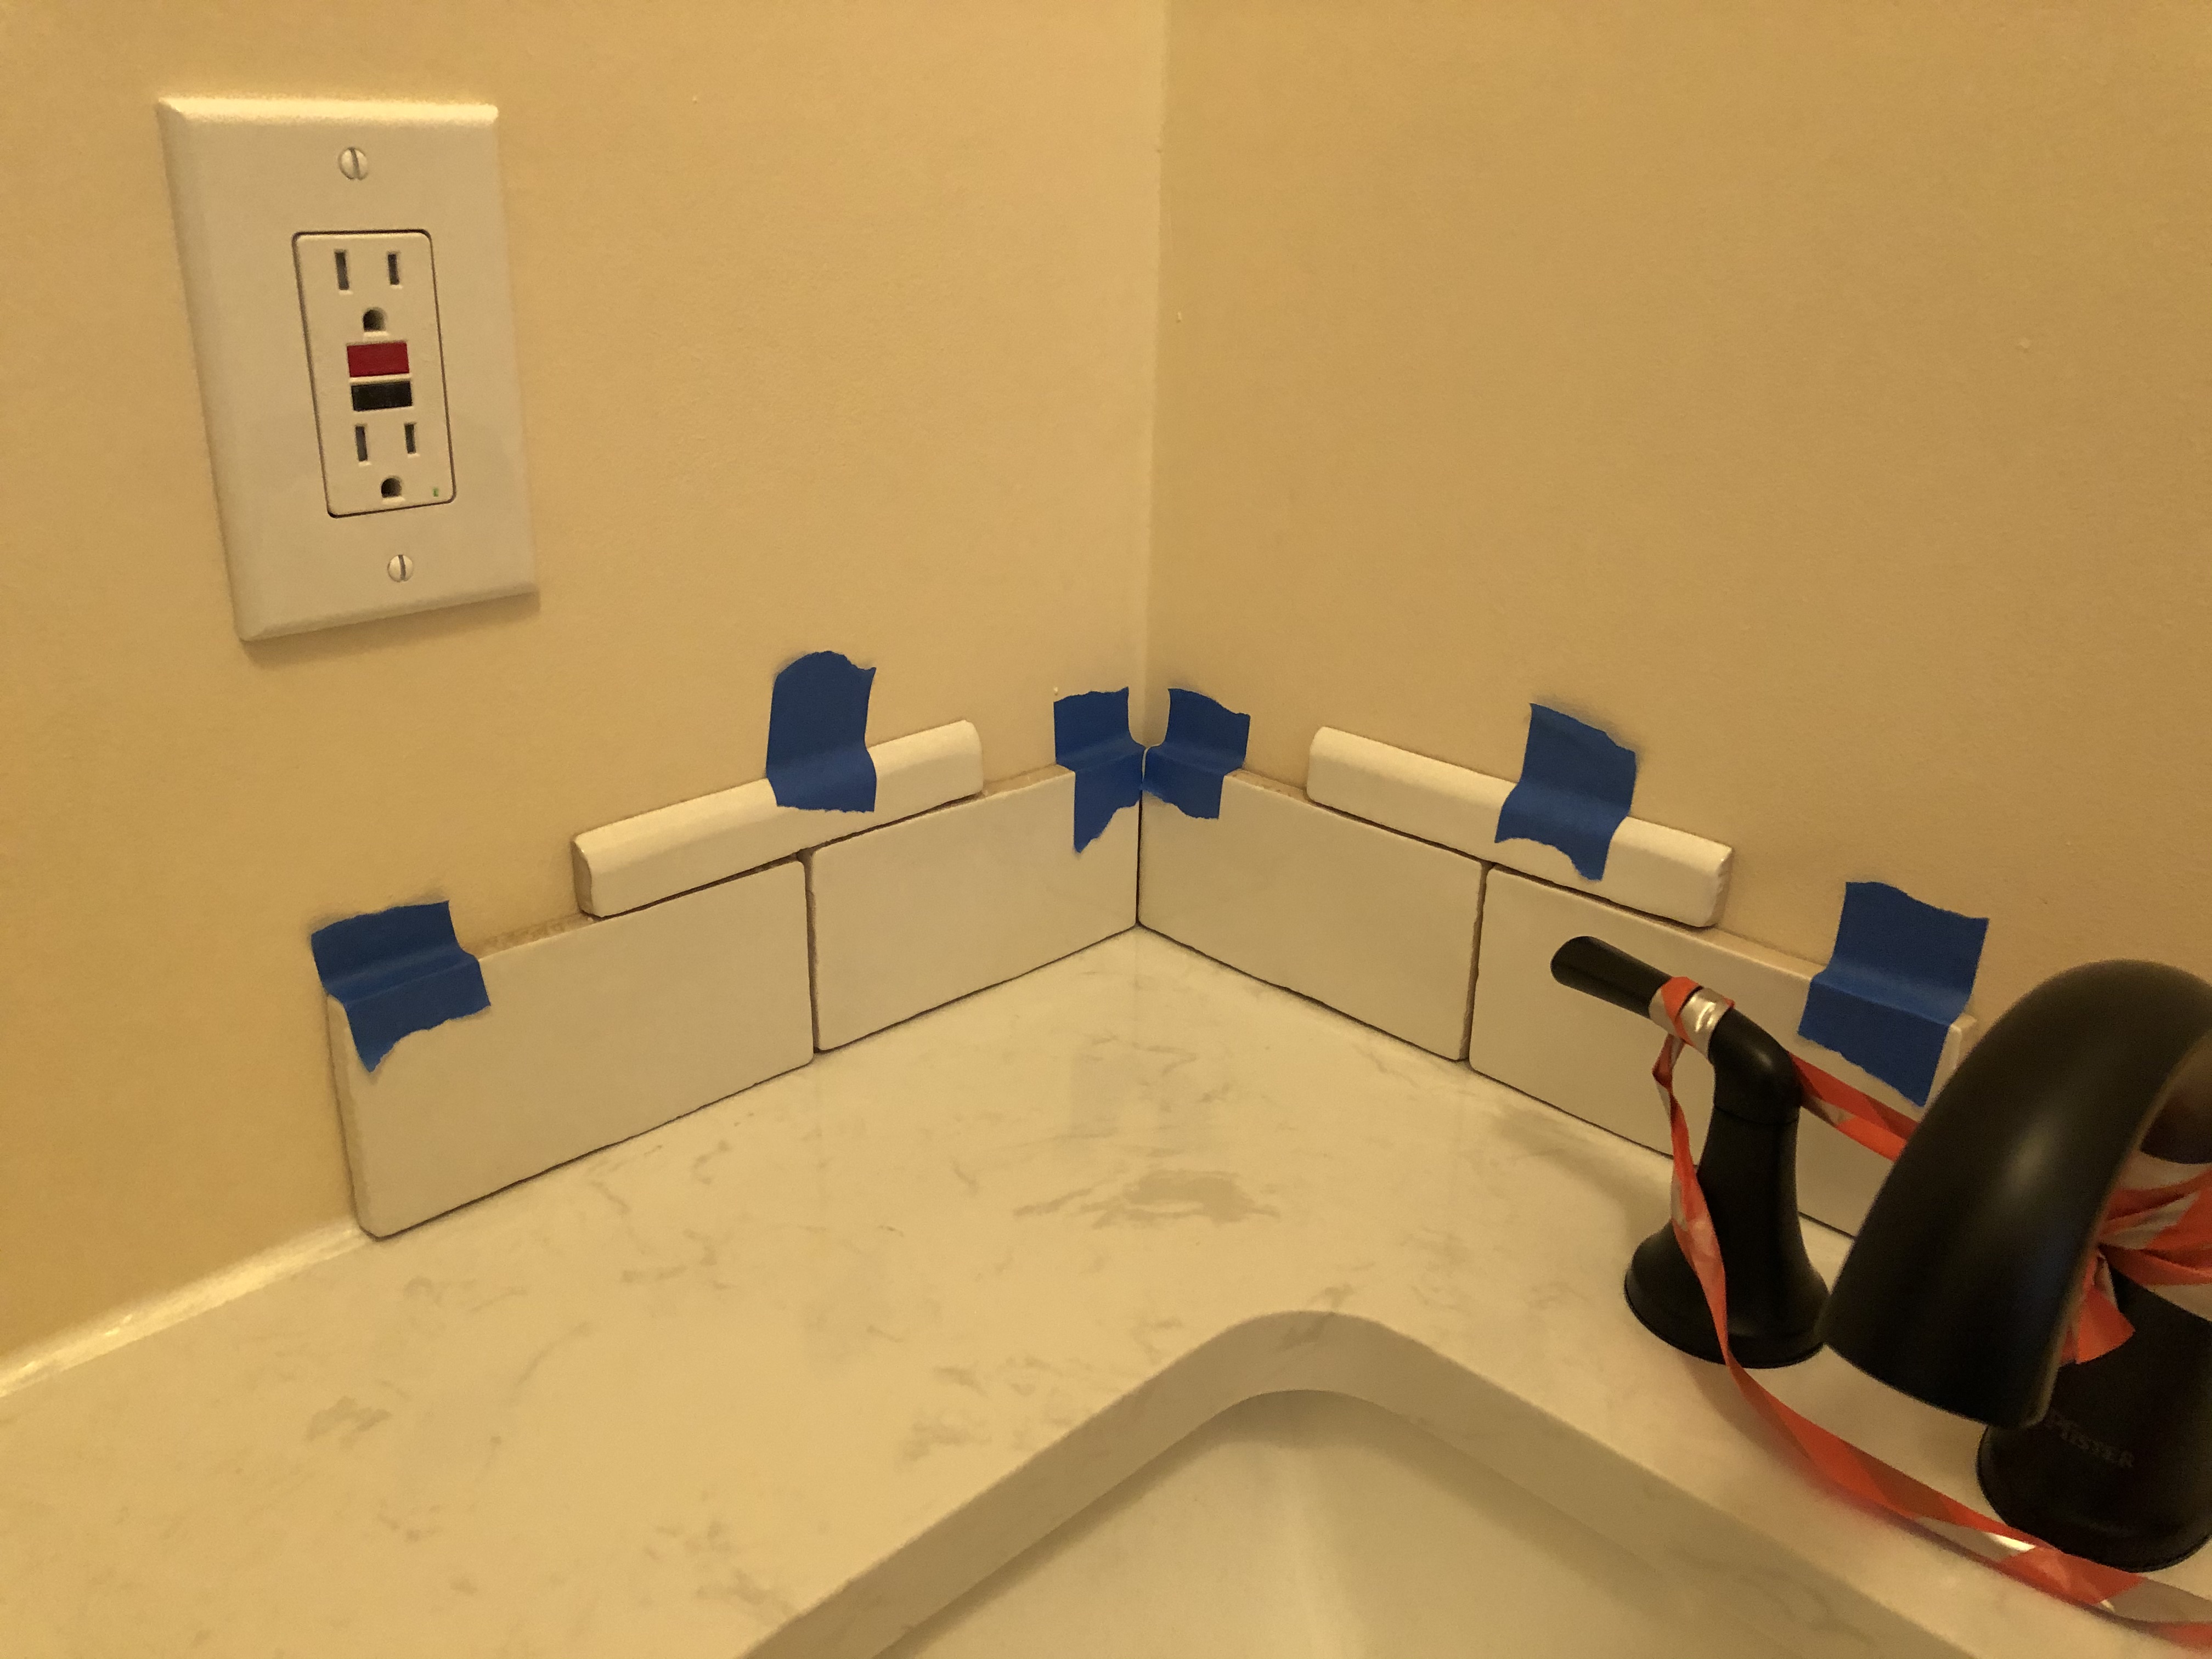
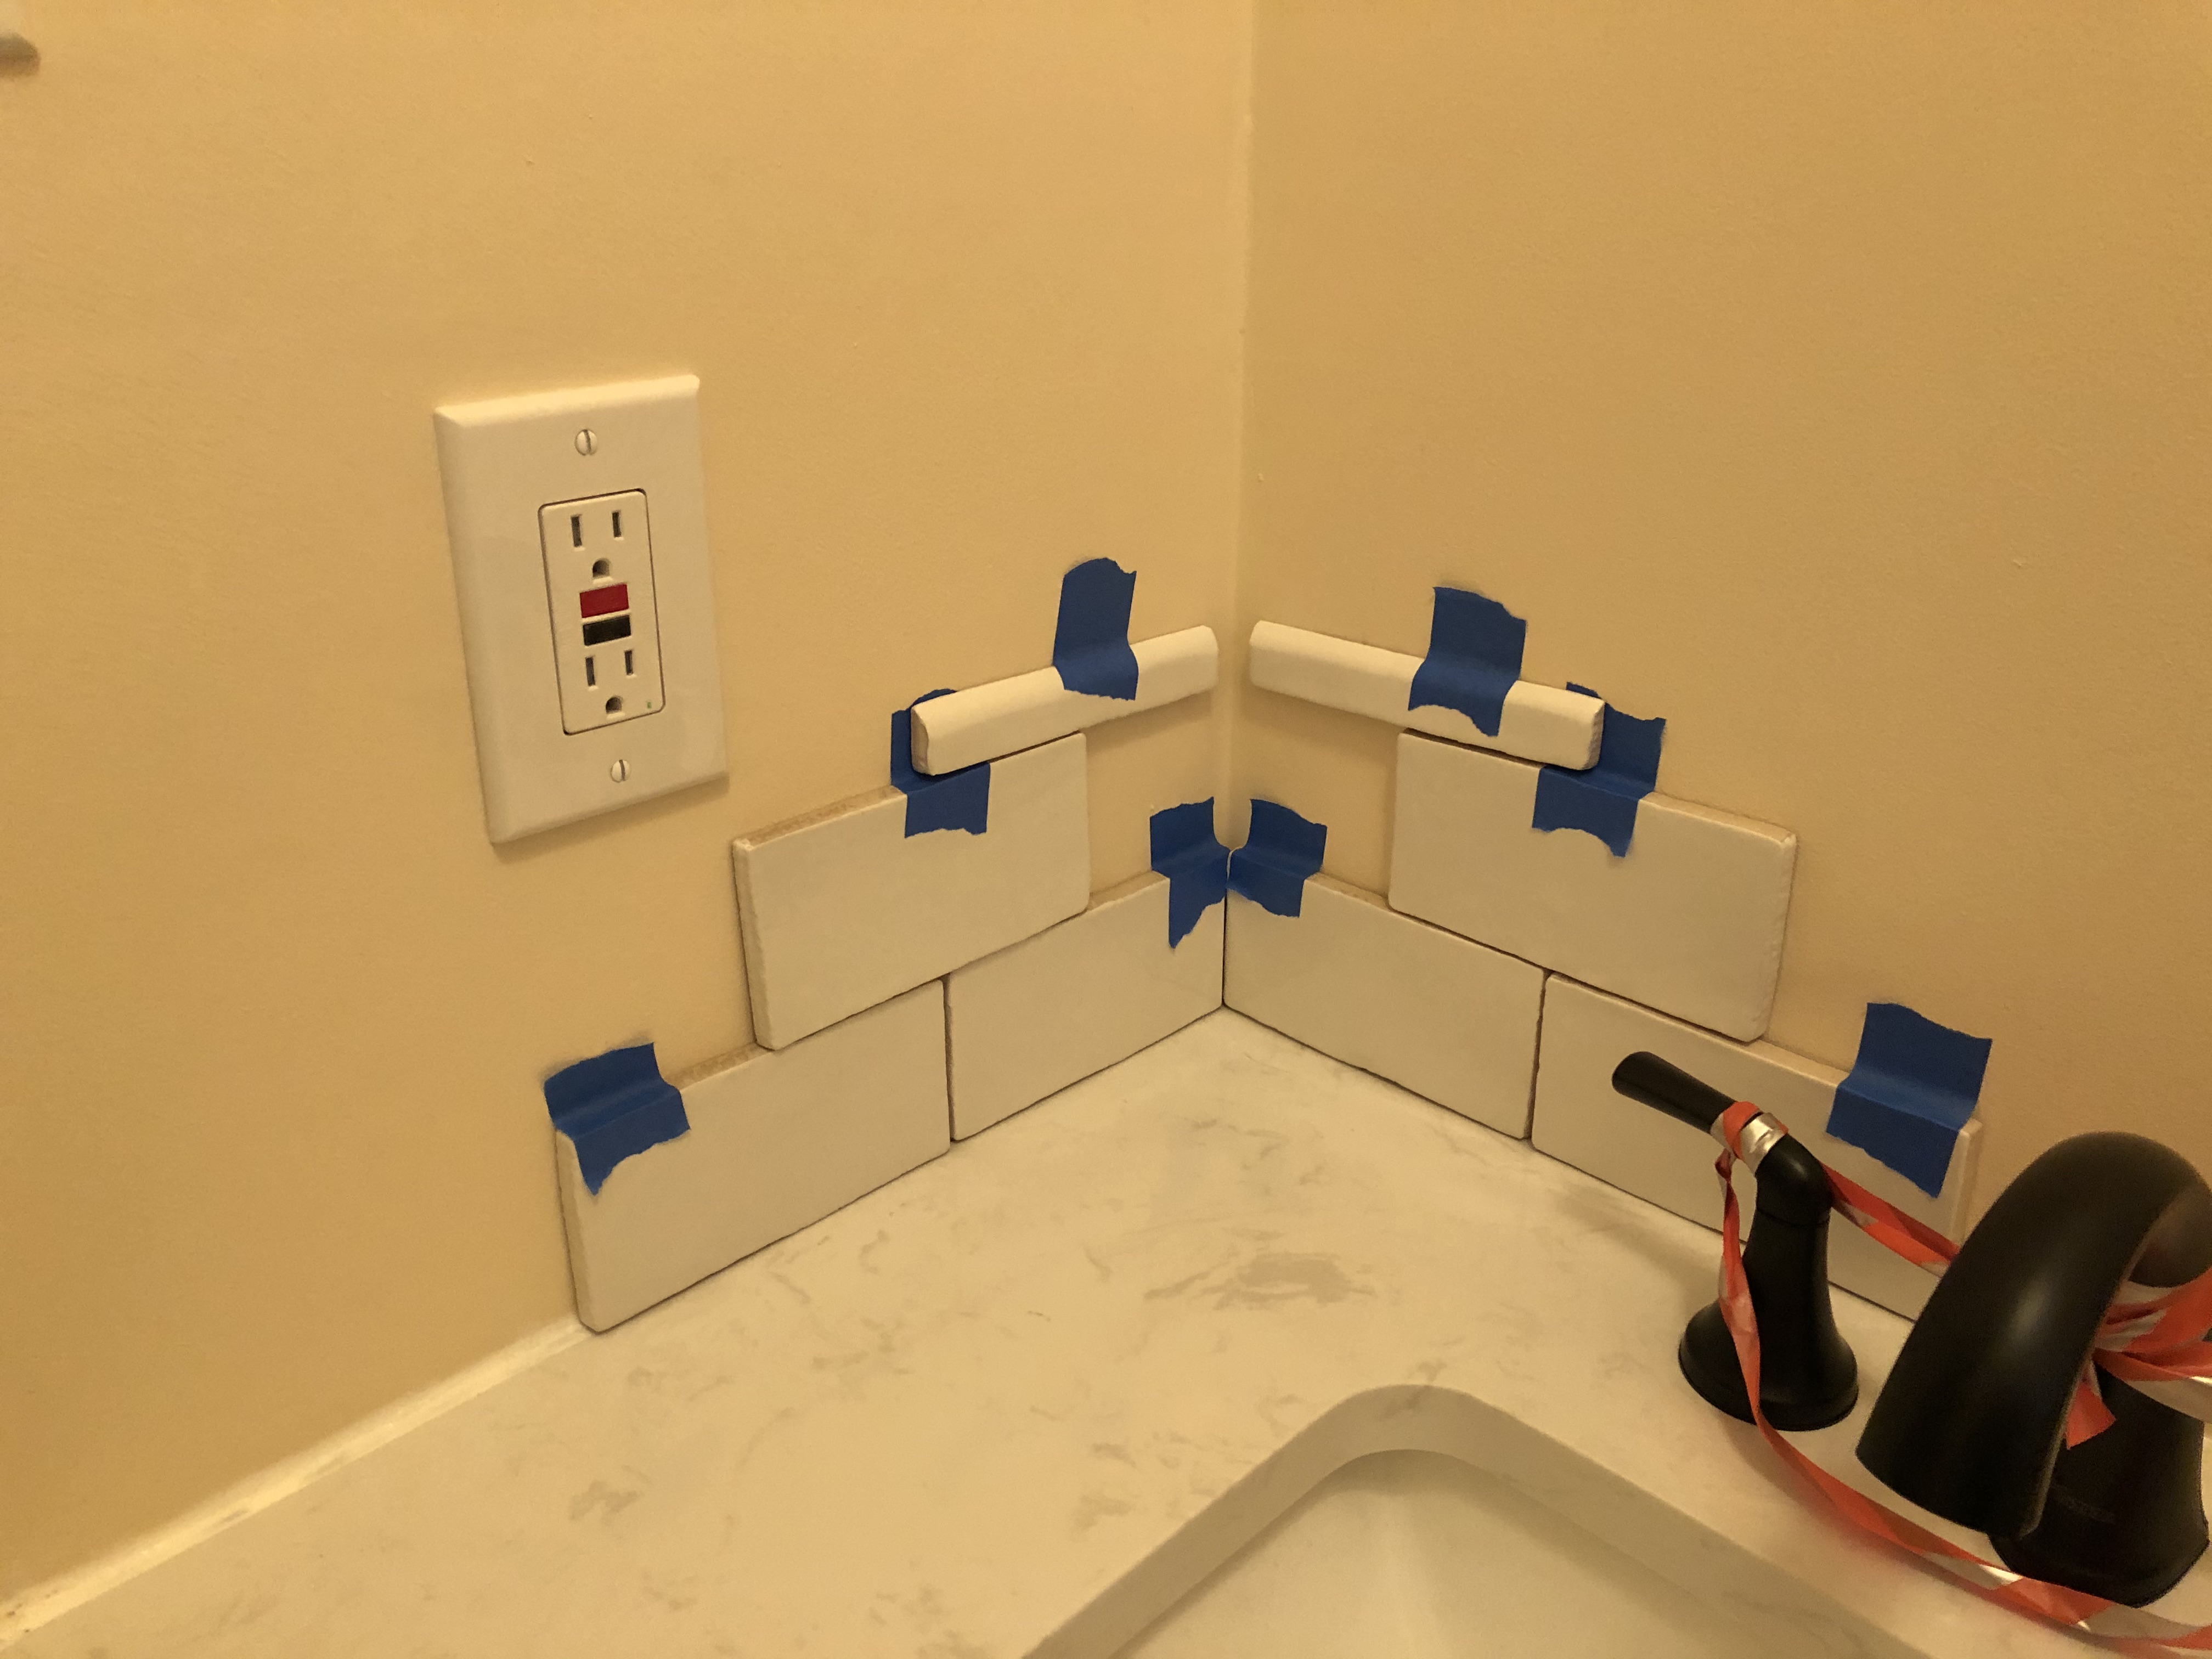
| Not to get your hopes up…but I decided to do a full-scale mock-up to make sure the main tiles and bullnose pieces would all be a reasonable length. This is how I think I’ll put it together. What do you think? Any suggested improvements before I take the next steps, which are…??? |
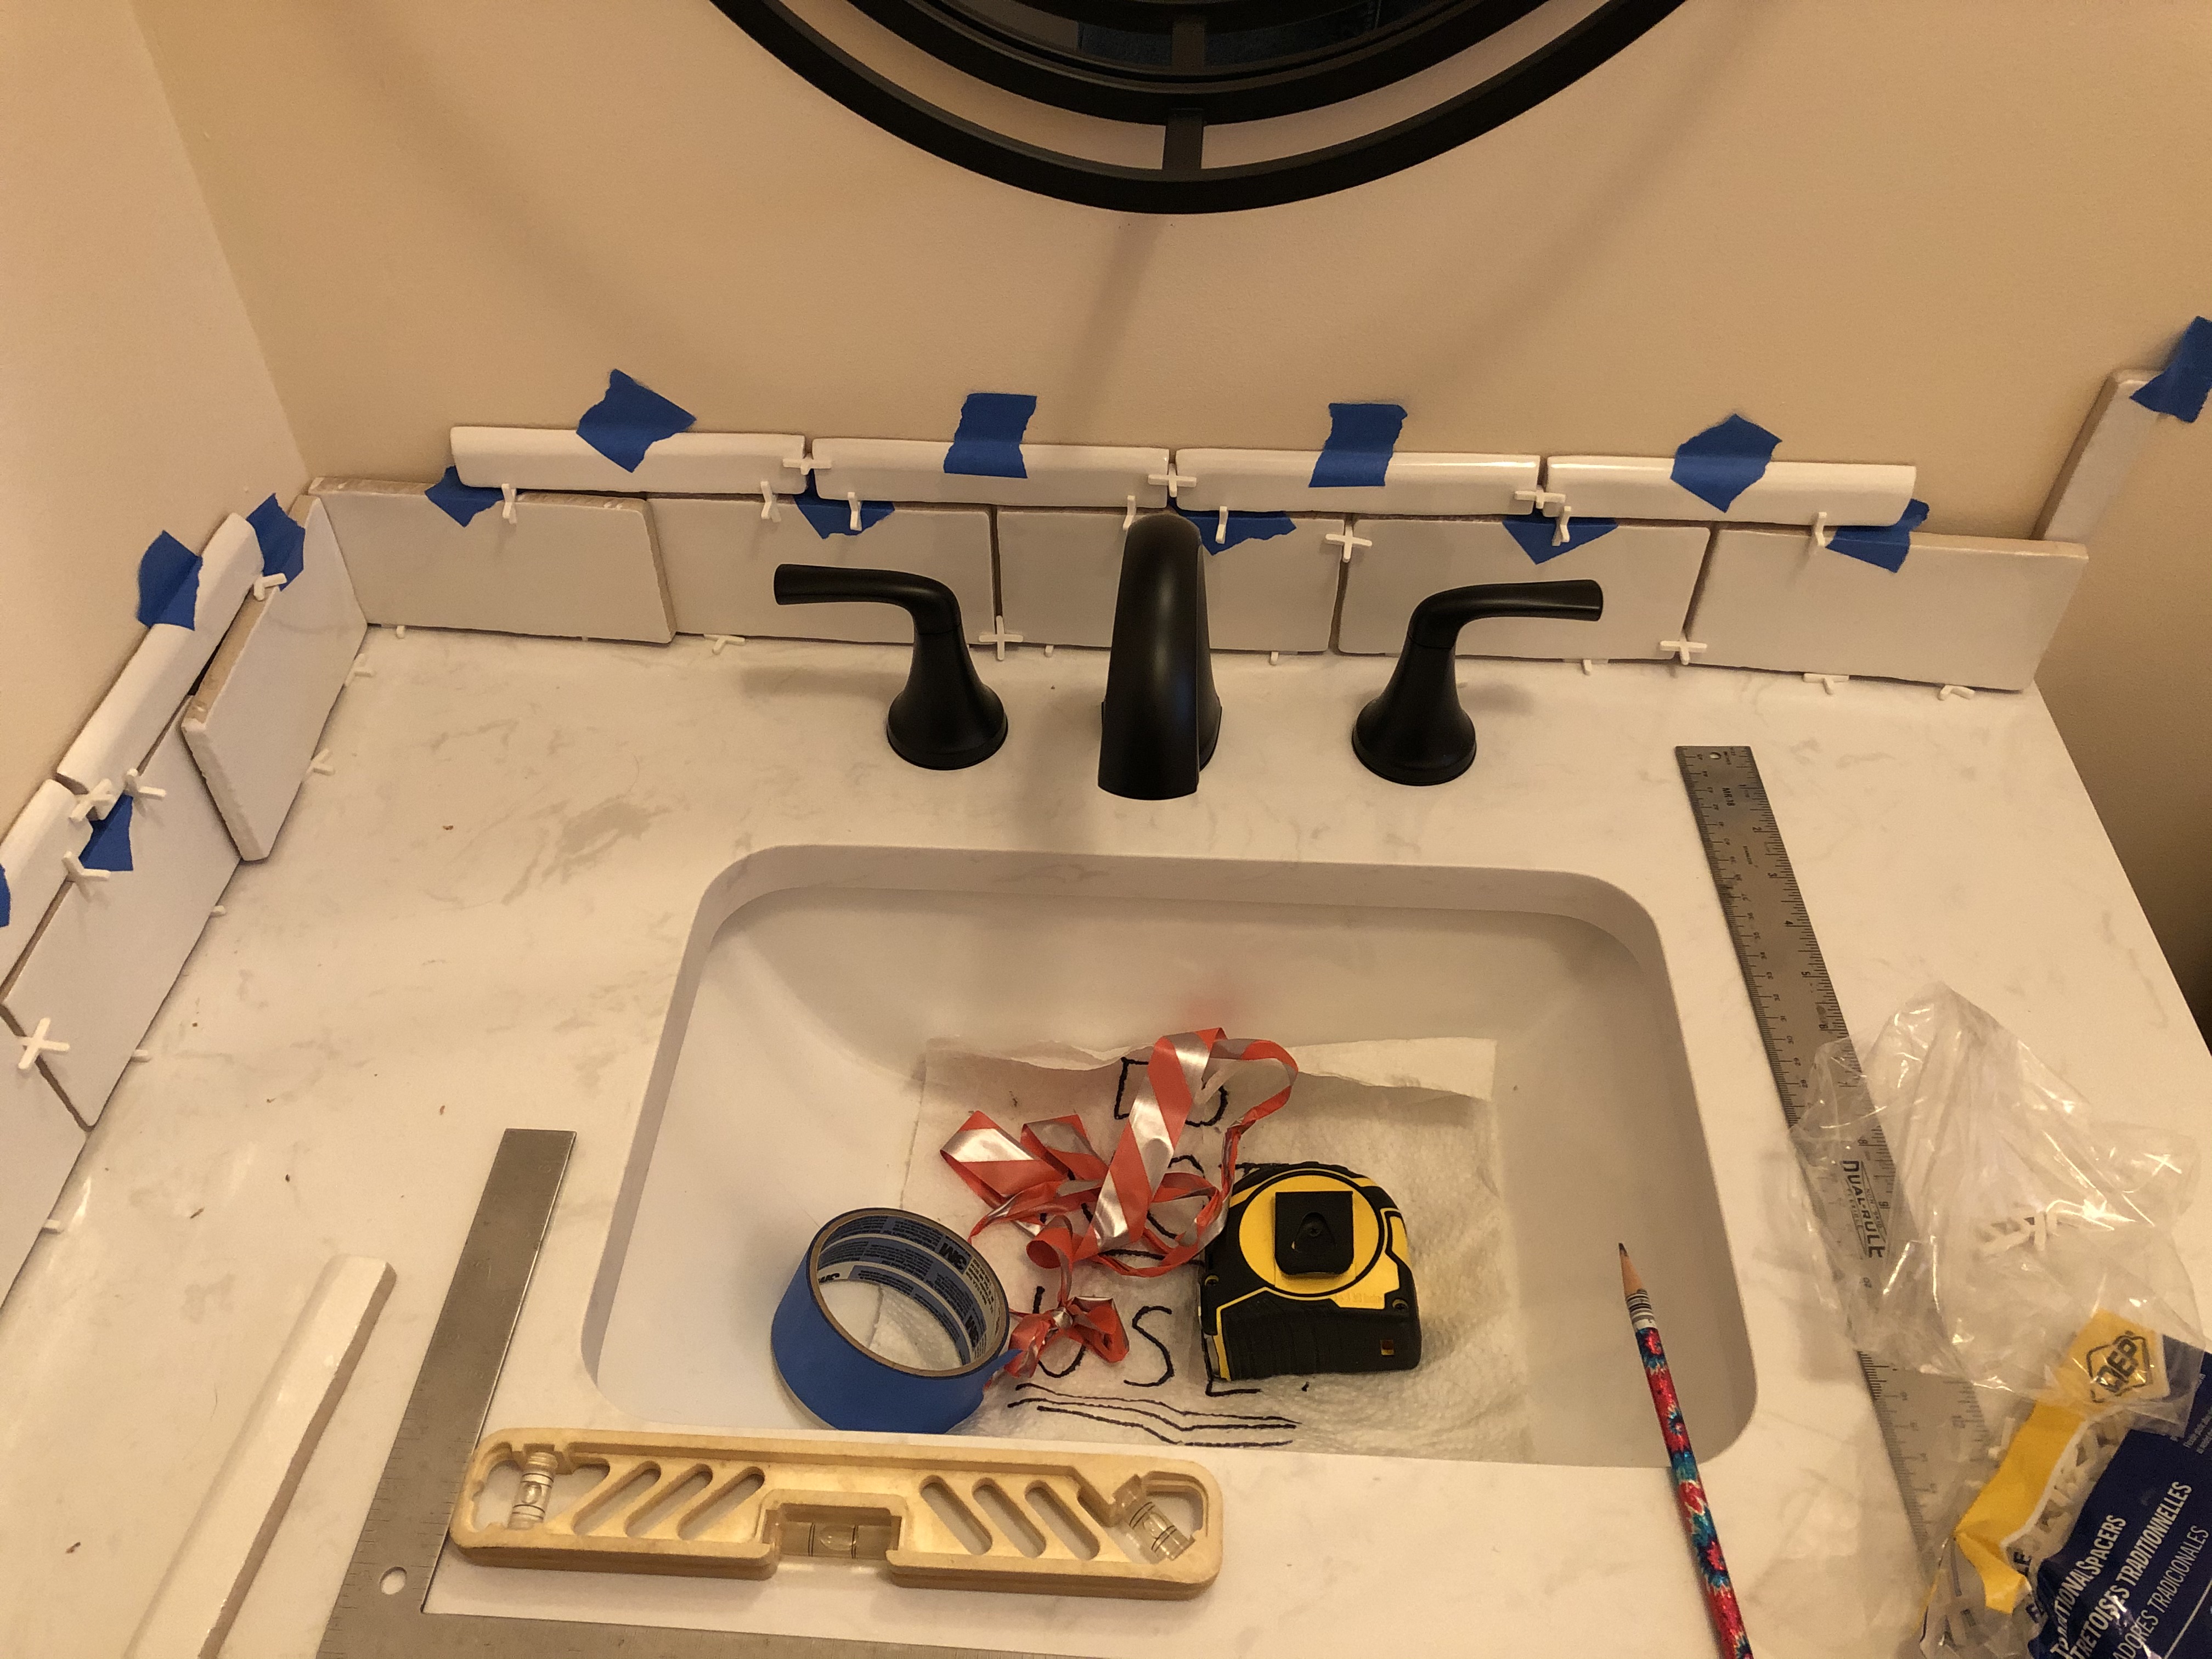
| Looks good! I think I would start with the two cut tiles in the left corner. Then you’re working from there in both directions rather than trying to cut any piece in between previously set whole tiles. | ||
| Interesting! I was actually looking at it differently, starting with the main tile centered over the faucet. But your suggestion, I think, does make more sense. As long as I cut the corner piece so that the tile is still pretty much centered over the faucet. | ||
| Right, but a millimeter off center won’t be noticeable. | ||
| Cool. Progress on planning. Also more fodder for the yet to be finished blog post! | ||
| Indeed. | ||
Progress on planning. Ideas for the blog post. But nothing so far on the actual tilework. That was still to come.
My wife often says to me (usually in a good-natured way), “Stop talking about it and just do it!” So finally, in March 2021 – a full year after we first met with the carpenter – I felt I was up to the challenge of the tilework. I attached the blade and assembled all the other pieces for the wet tile saw, then watched some instructional videos on how to use it.
At this point, owing to my inexperience with tilework, my brother and I were texting back and forth so frequently that no additional narrative is required to tell the story.

| Let the cutting begin! Next up: actually placing the tiles. |
| Congratulations! Looks great! Be sure and put a spacer between the bevel-cut edges of your corner tiles. | ||
| Yep. Planning on that spacer at the corner. | ||
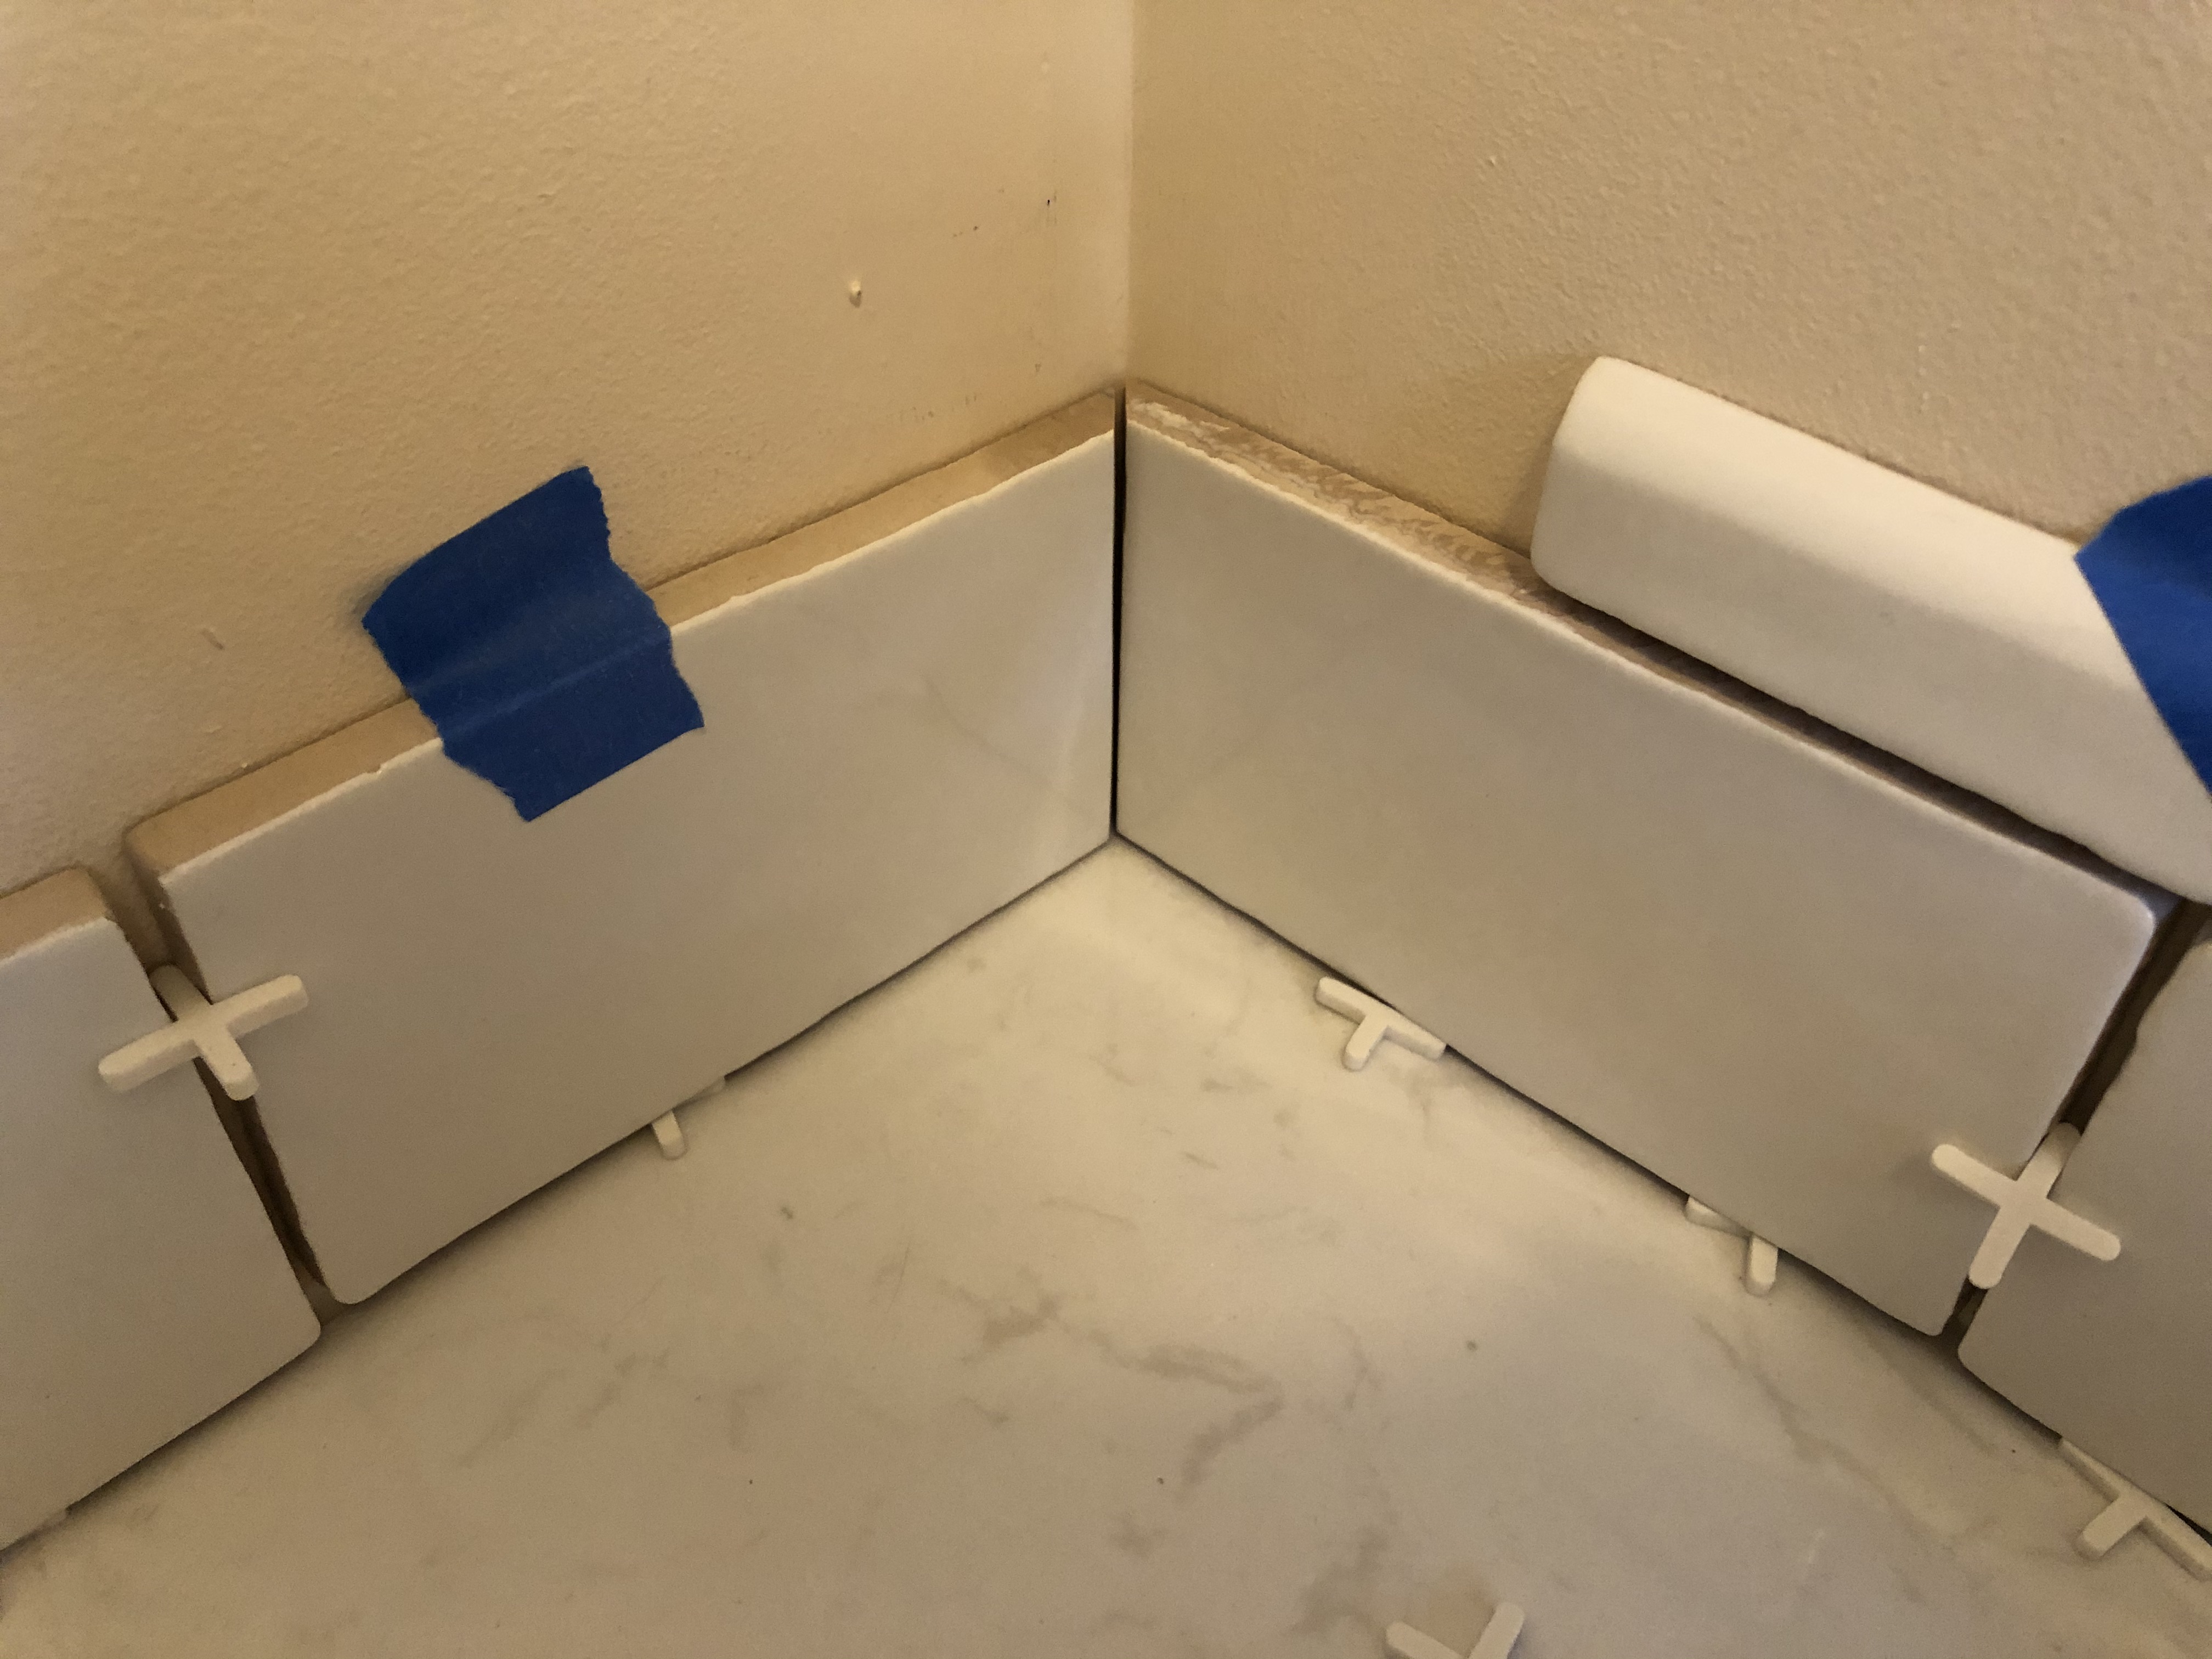
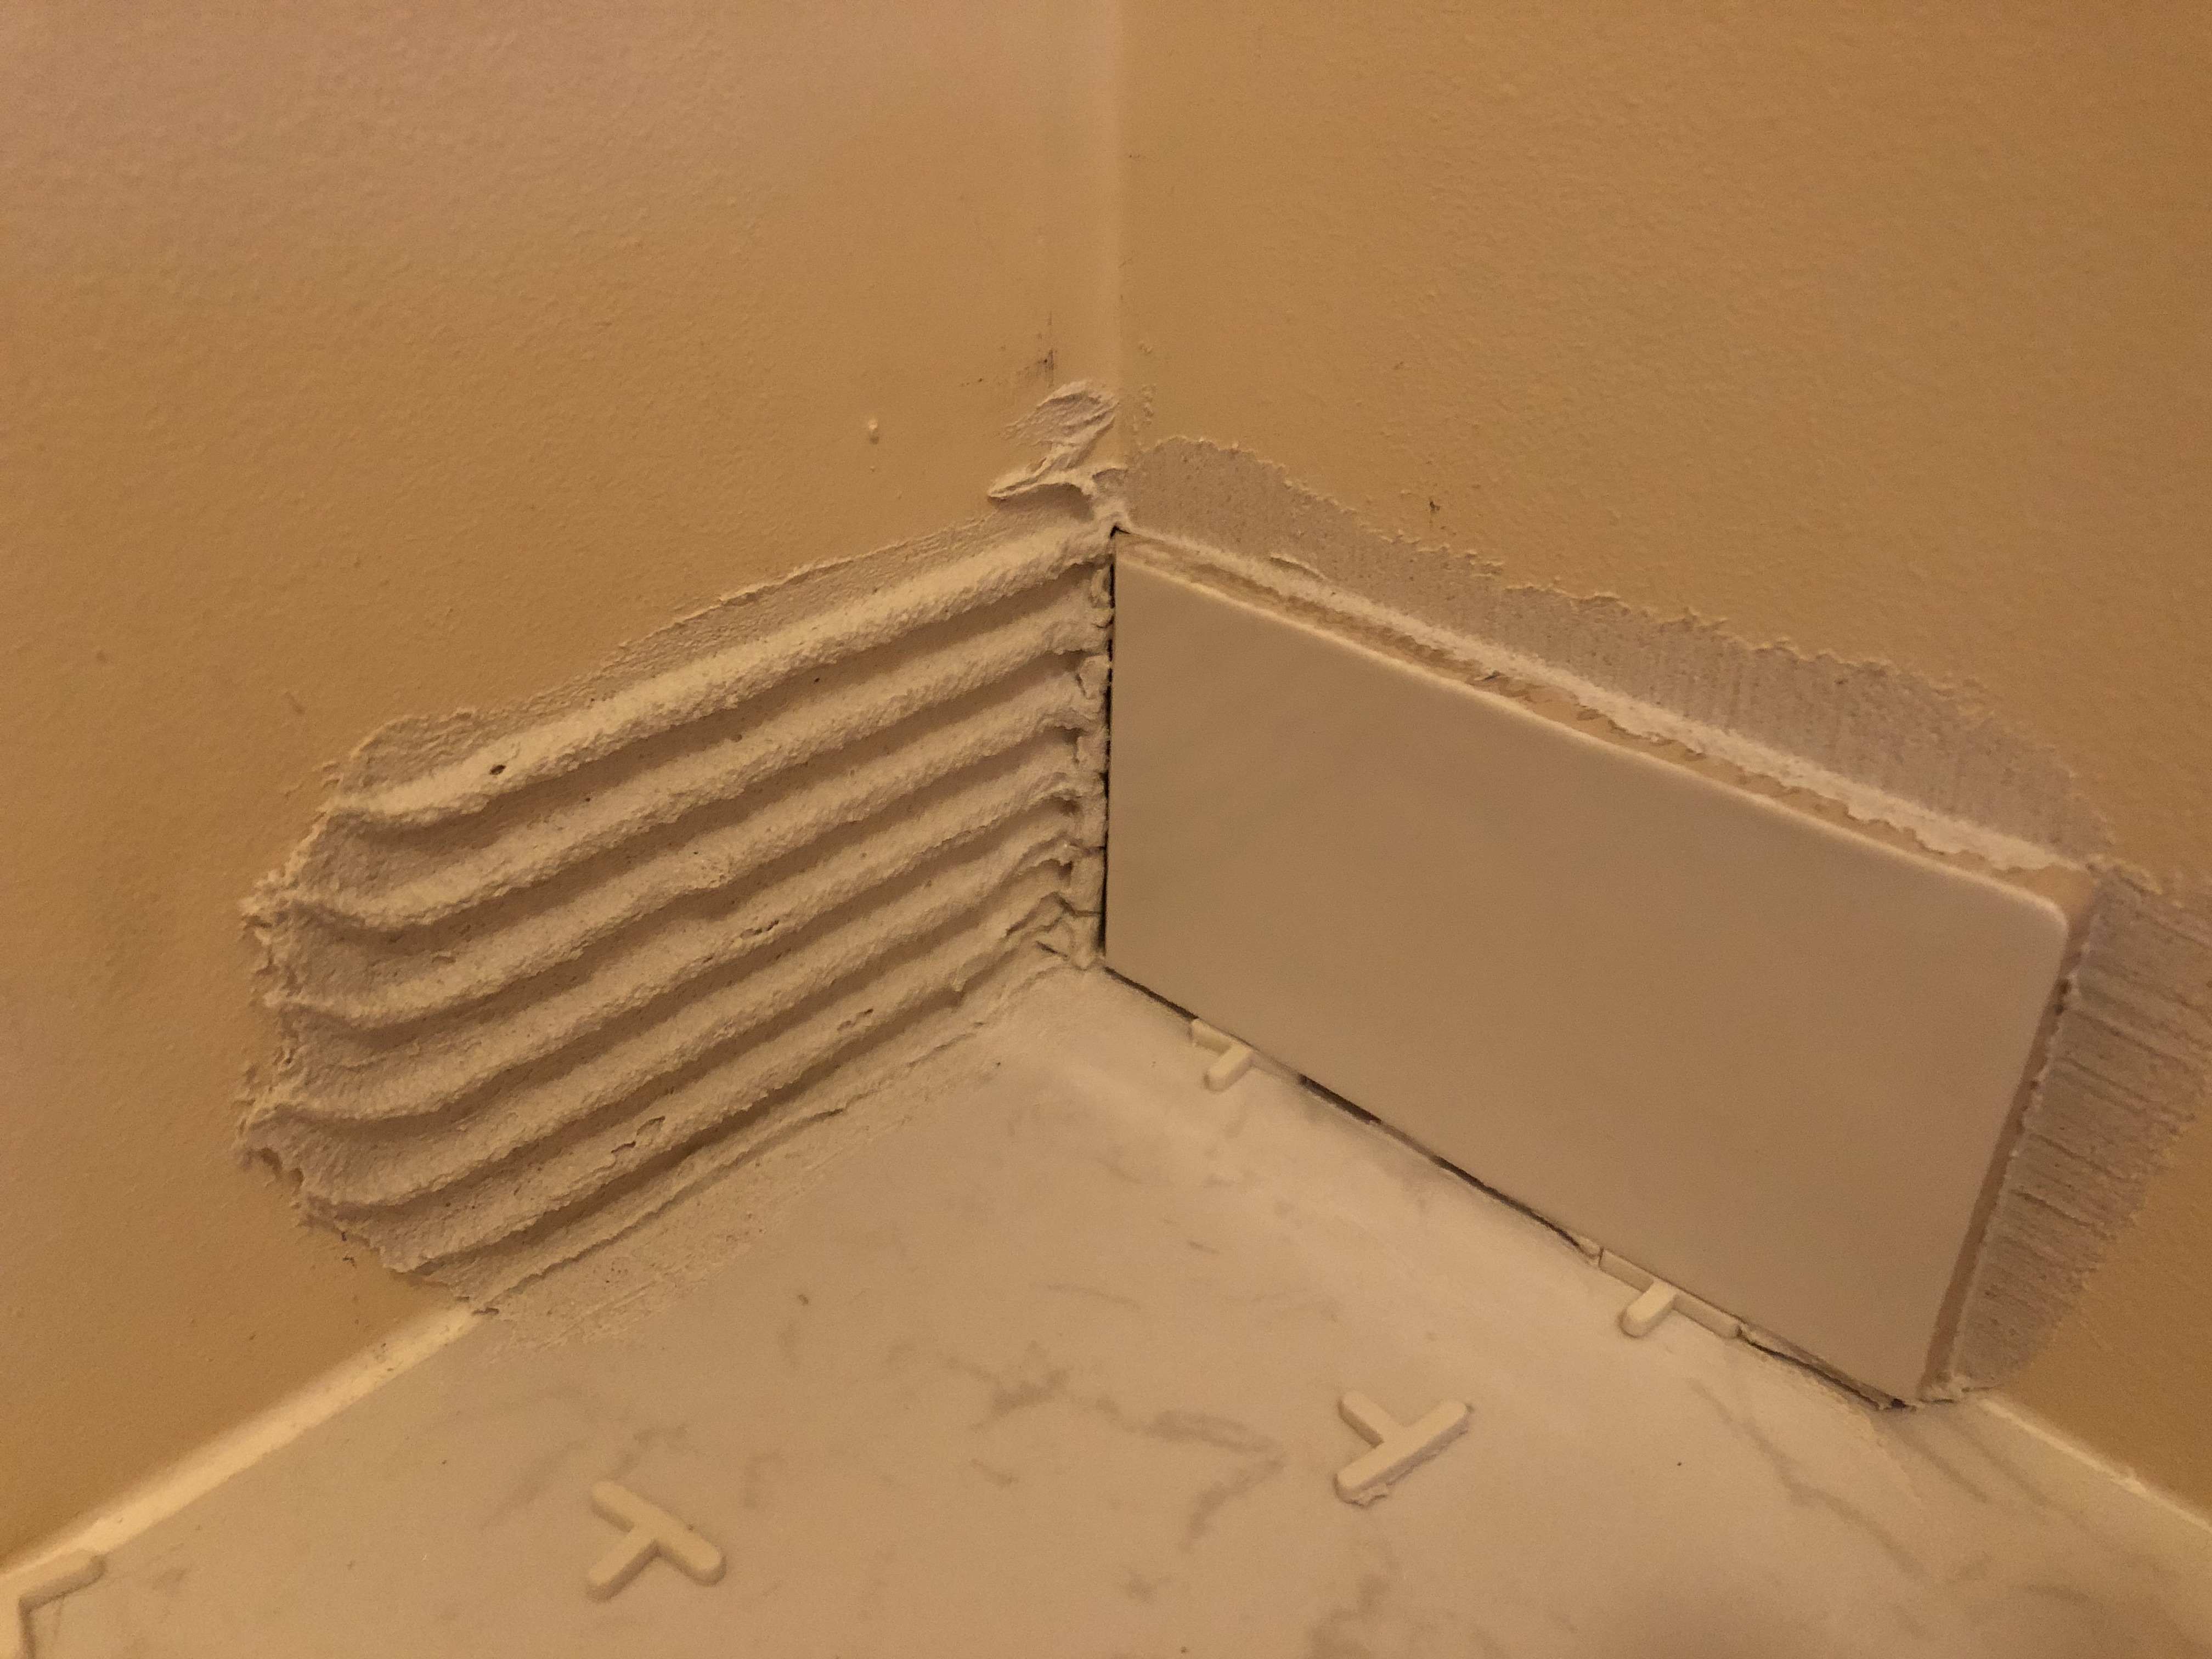
| Nothing is attached to the wall yet, but I decided to make all the bevel cuts for the corner. I think it turned out pretty well. Will start with the thinset tomorrow… | |||
| Very nice! Were all those your first cuts? | |||
| Not all first cuts, but not too many mistakes. I had to re-cut one of the corner tiles. Also, the first bullnose that I cut chipped very badly. But after that I got the next two right. | |||

| S**t happens. That’s why I thought you should practice with a few cuts. I’ve done three tile jobs and I still have recuts to do. So you’re doing very well! | ||||
| Thanks for the encouragement! I thought about doing practice cuts but worried – what if the practice is perfect and I mess up the real cut? So I just thought I would plow ahead, knowing I might waste a few tiles here and there. | ||||
| I knew you could do it once you got started. Like I said, once you’re done with this one, you’ll be looking for another tiling job. | ||||
| Not sure I share your optimism about looking for another tiling job. However, next time I won’t be afraid like I was this time. | ||||
Then, the next day:
| Just set the two corner tiles. Not too hard but not quite easy. Could not get the bevel as evenly gapped as when I had just taped them up. |

| Can you put a spacer near the bottom of the bevel cut for those two tiles, to even up the gap? | ||
| Too late for that spacer. Thinset is already pretty dry. Think the problem was pushing the right tile a bit too far into the corner. Oh well…Maybe the grout will make it all look ok. | ||
| That corner of the wall is probably not as square at the bottom as it is higher up. Without the spacer, the gap at top and bottom may not look that different. | ||
| Hmmmm. Just now checked the corner square. Yeah, it’s really not a 90° angle. I probably should’ve checked that before I cut the beveled edges. Oops! | ||
| …To finish the first row of tiles, I taped up all of the uncut tiles I need with spacers between. Then, measured the two that I needed to cut: one by the door, the other at the open end to the right. I think the cuts turned out pretty well. Next up is thinset for the first row of tiles. Probably later this afternoon… | ||
And a couple of days later:
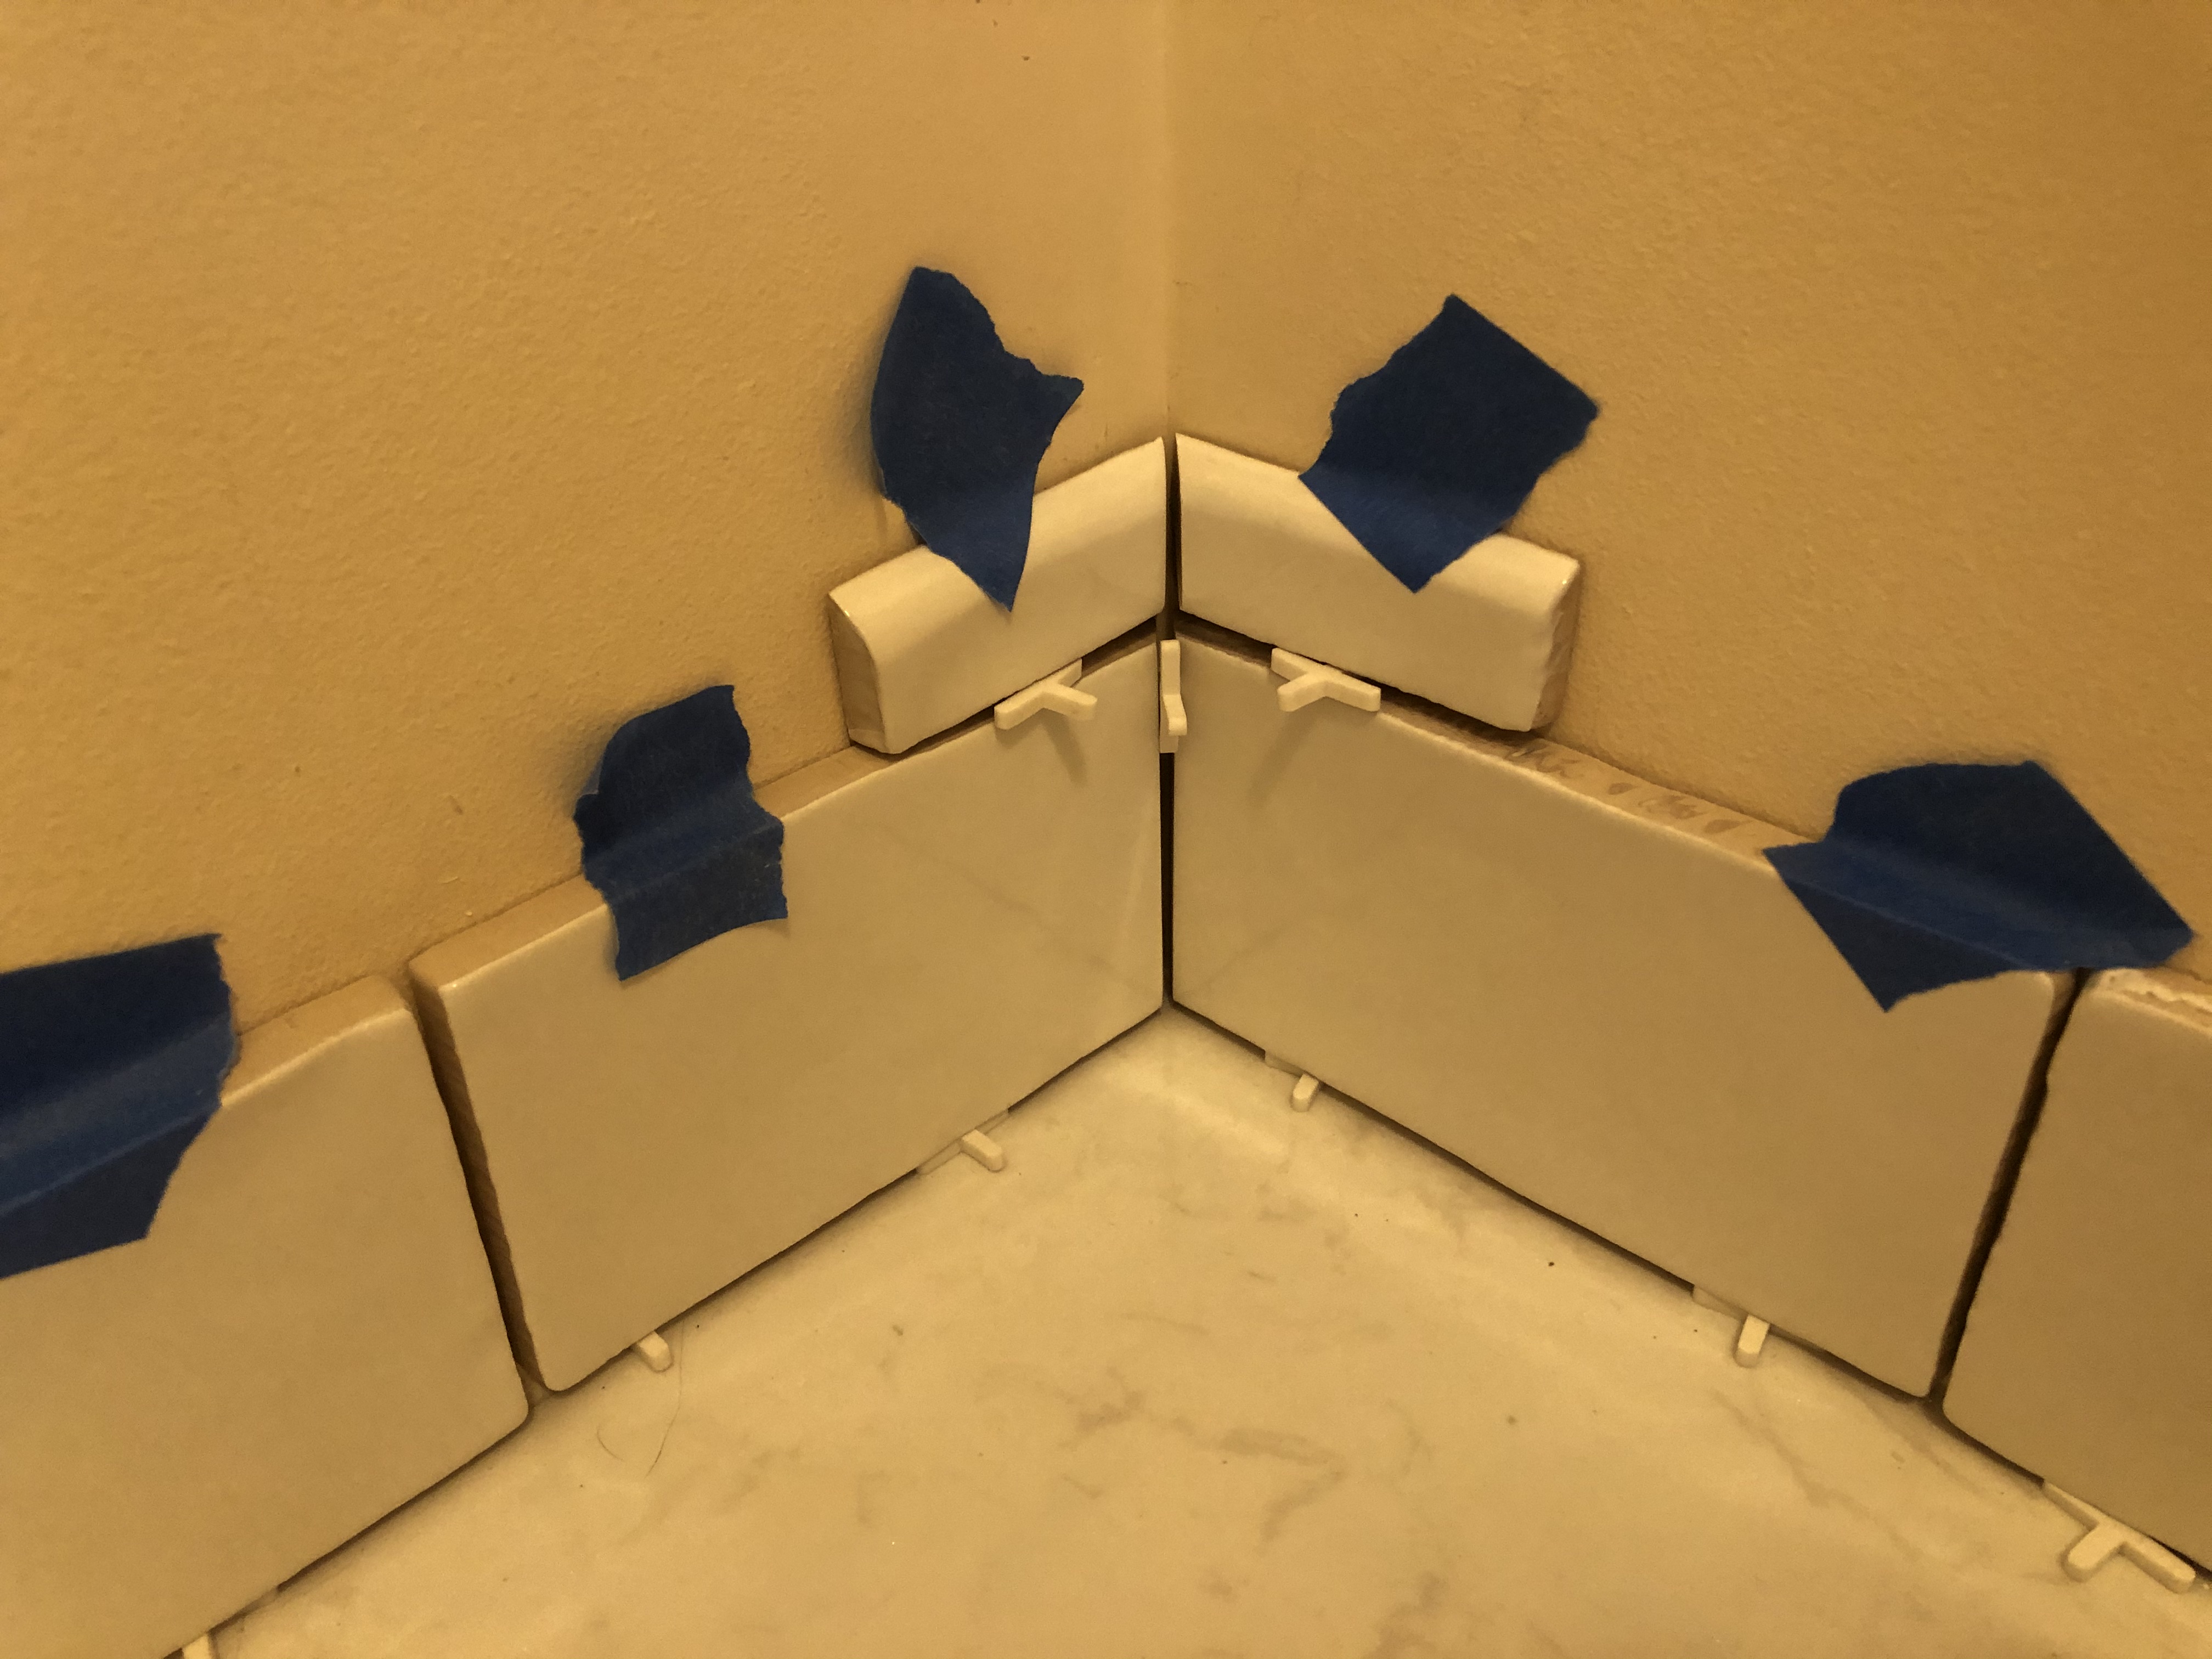
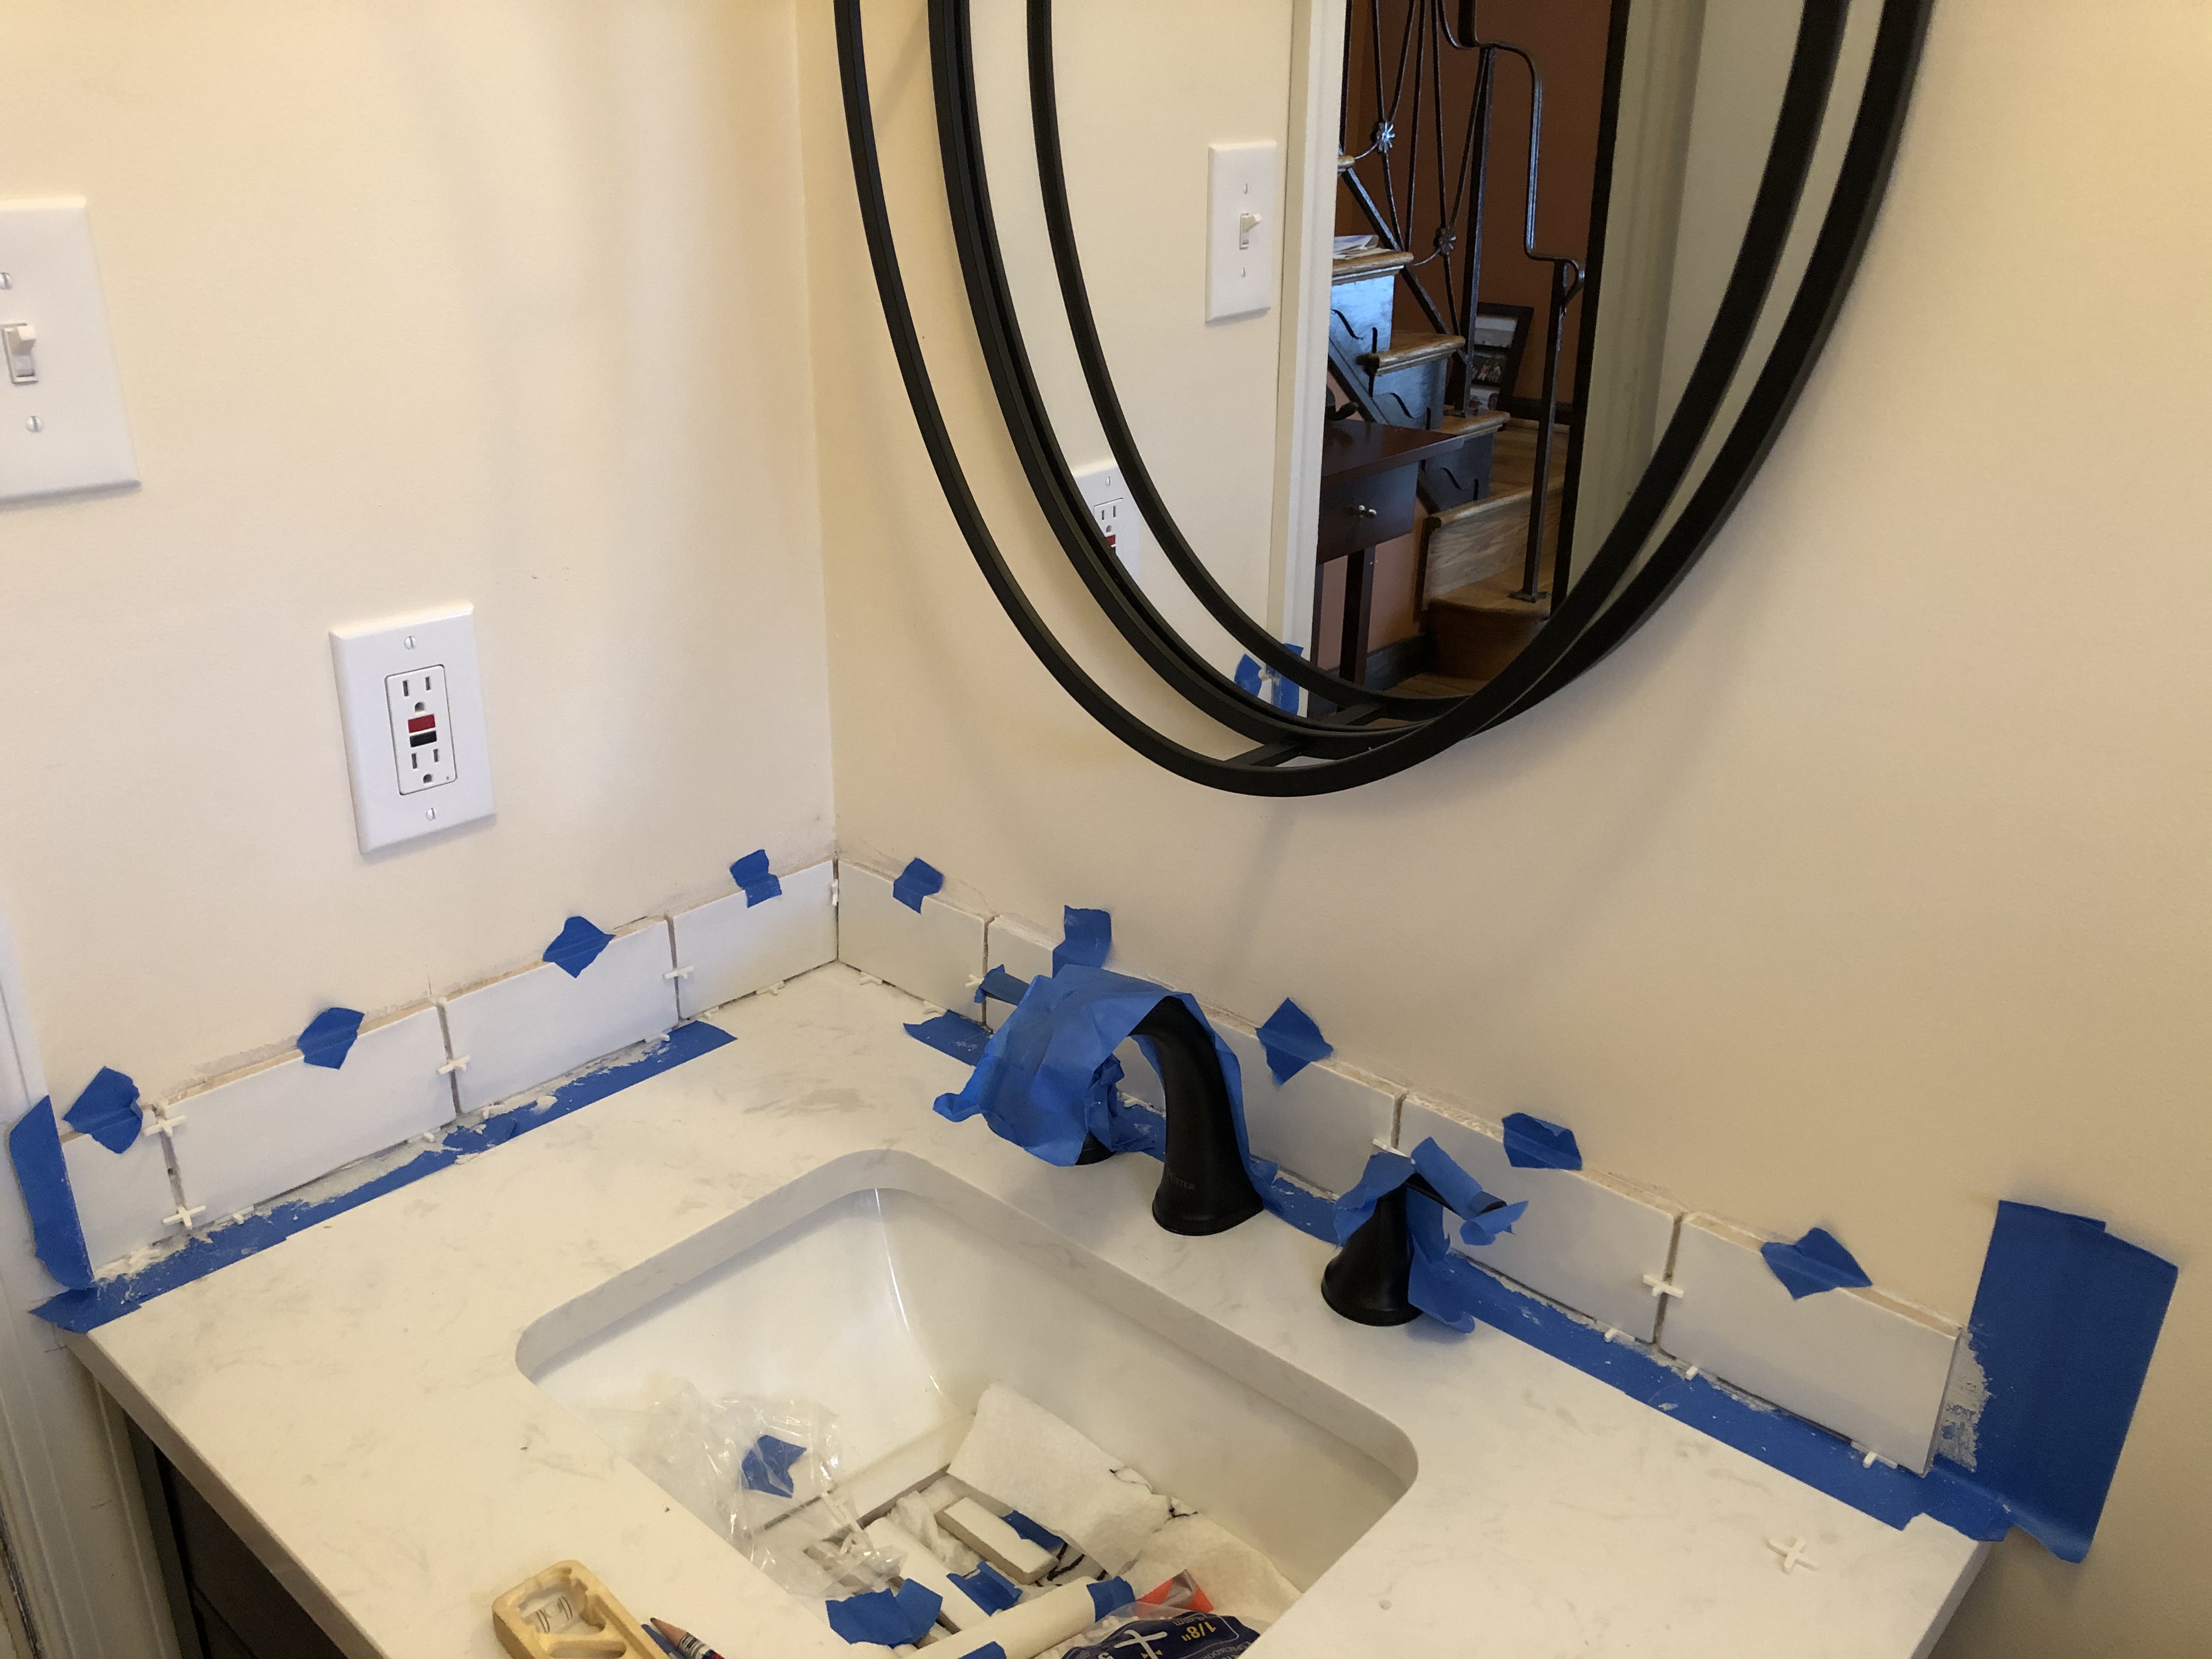
| Corner bullnose done. Lots of tape! Pretty messy. This is not a precise science! Here’s hoping it turns out ok in the end… |

| Looks good to me. At this stage it always looks messy so I’m sure it will turn out ok. | ||
| And after a few chips in the miter cuts…(which I discarded)… | ||

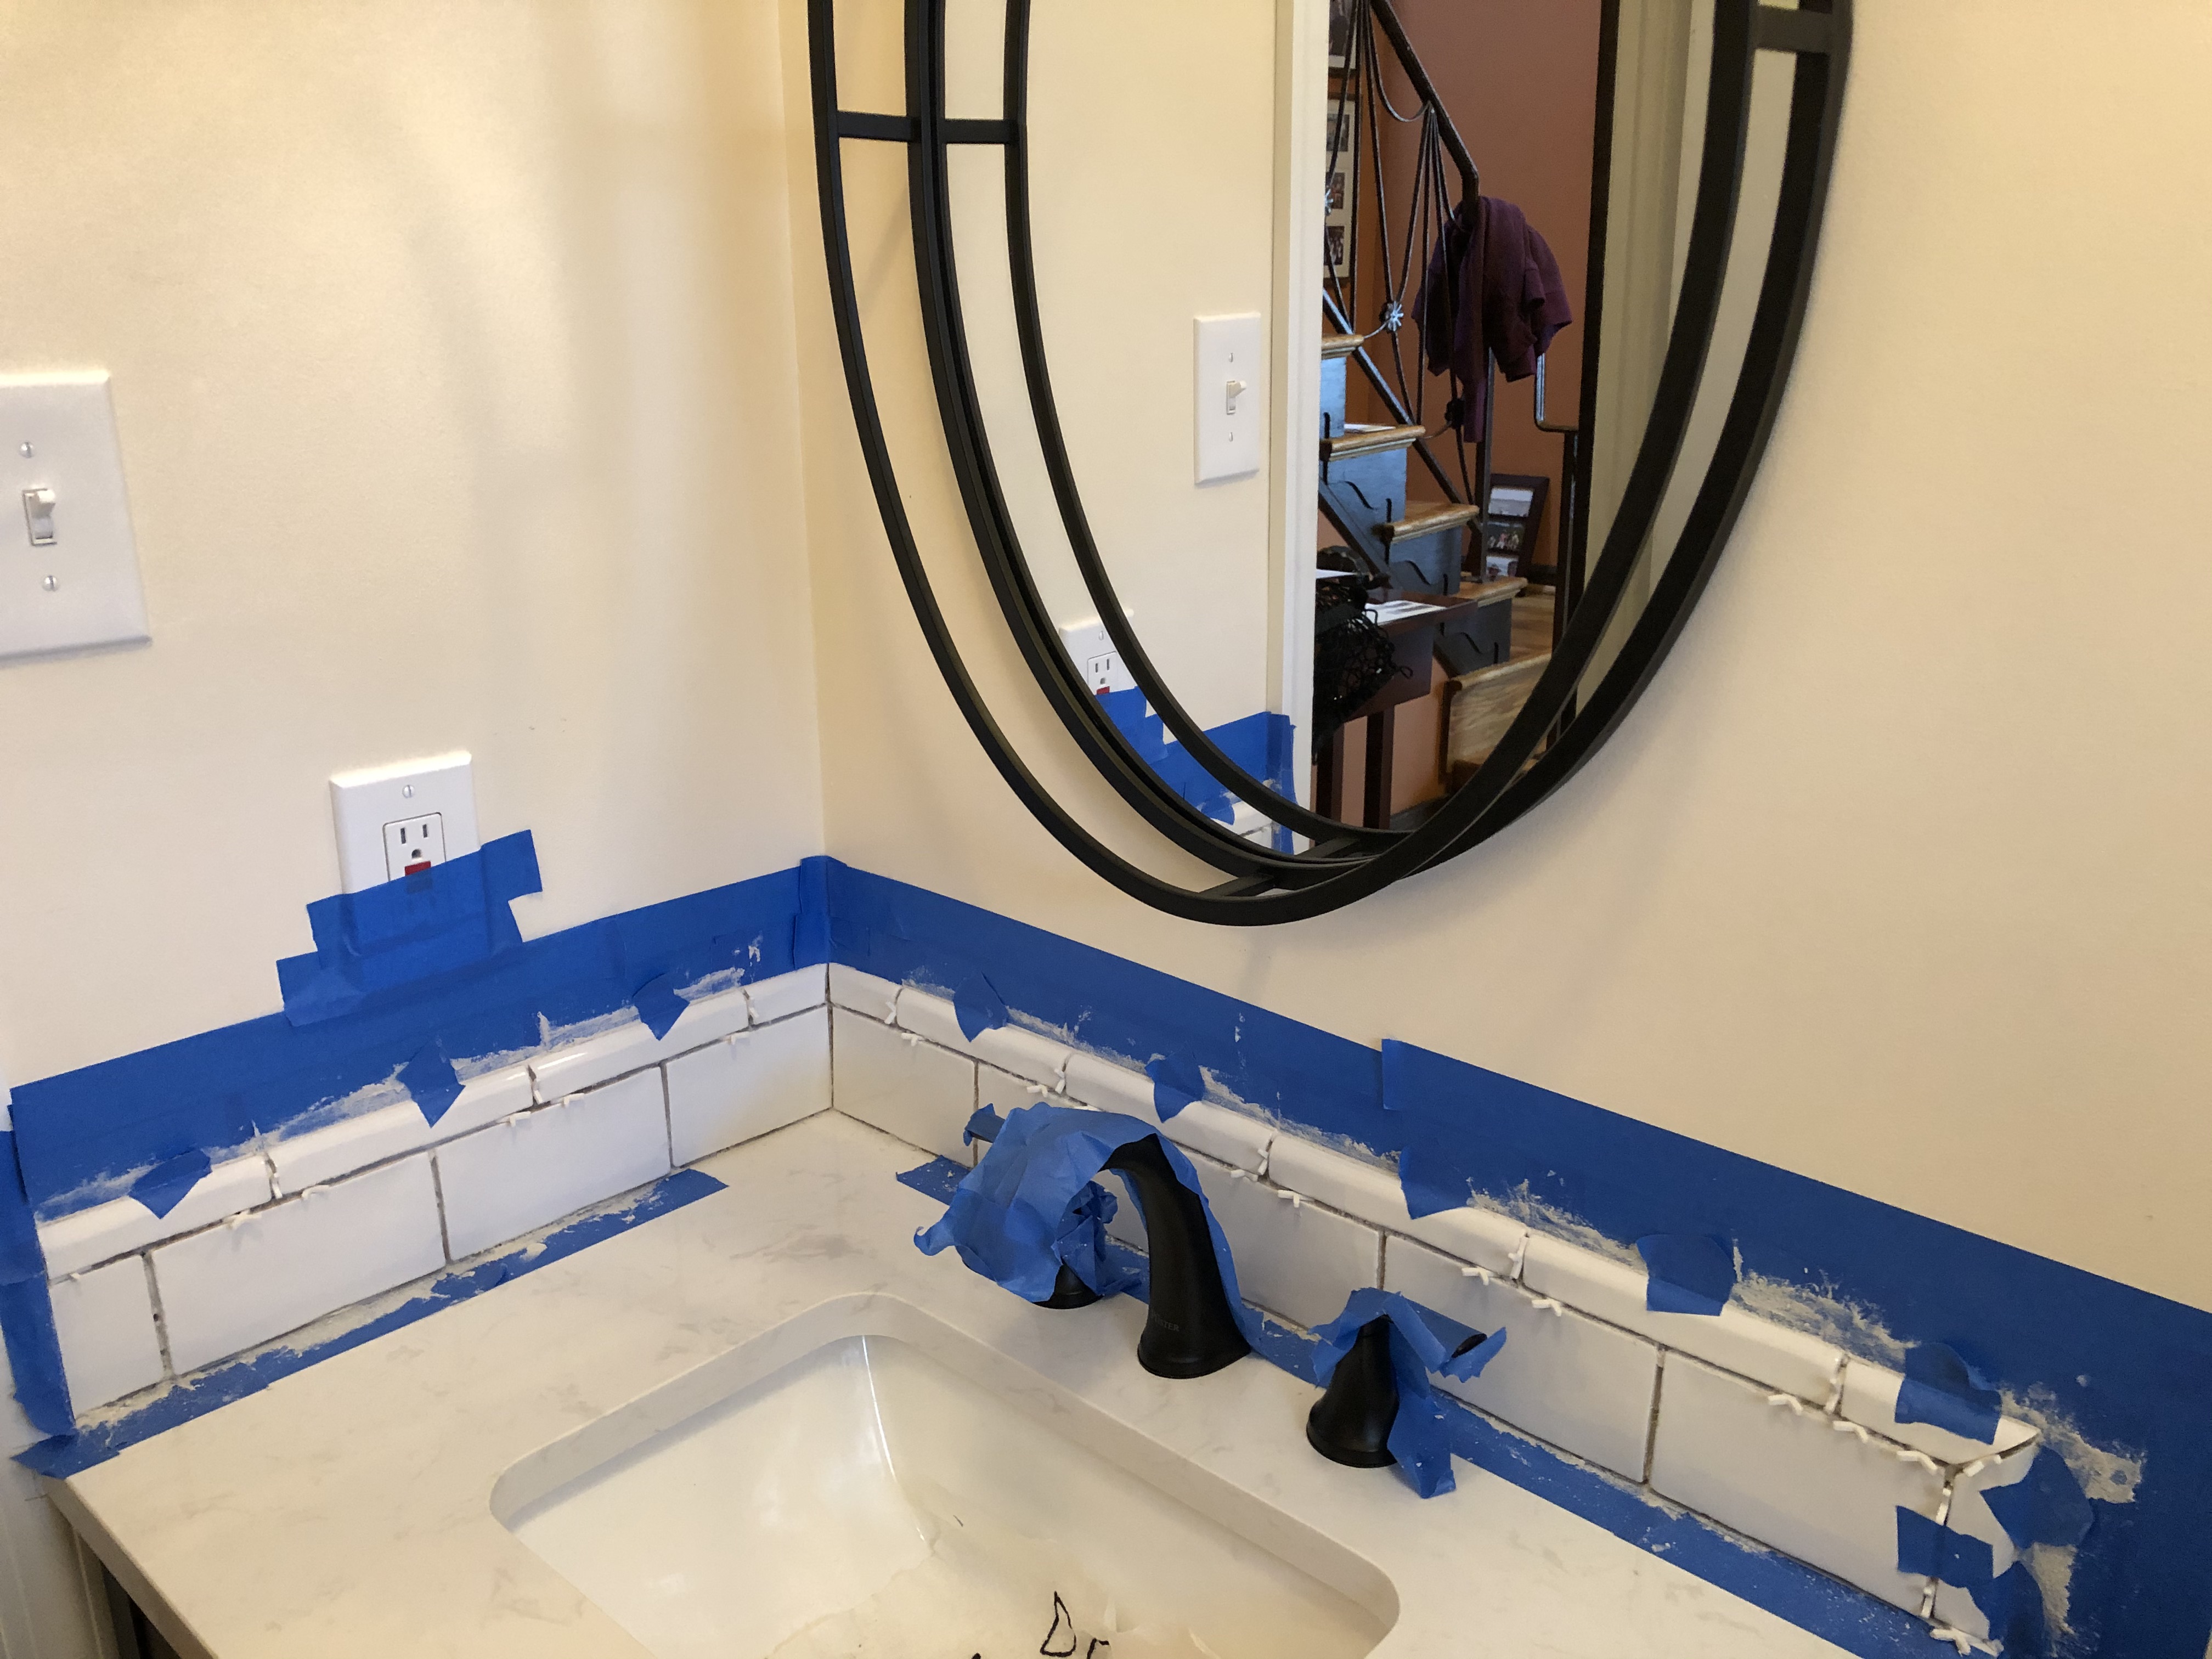
| …I finally got the last bullnose pieces cut. All taped up and ready for thinset…tomorrow. Looks pretty good overall. |

The next day:
| Final bullnose row in thinset. Lots of tape to keep the walls clean. Sort of feels like after an eye operation. Won’t know how it turns out until I take off all the tape and get my first look! | ||
| Looks great! You’re almost there. | ||
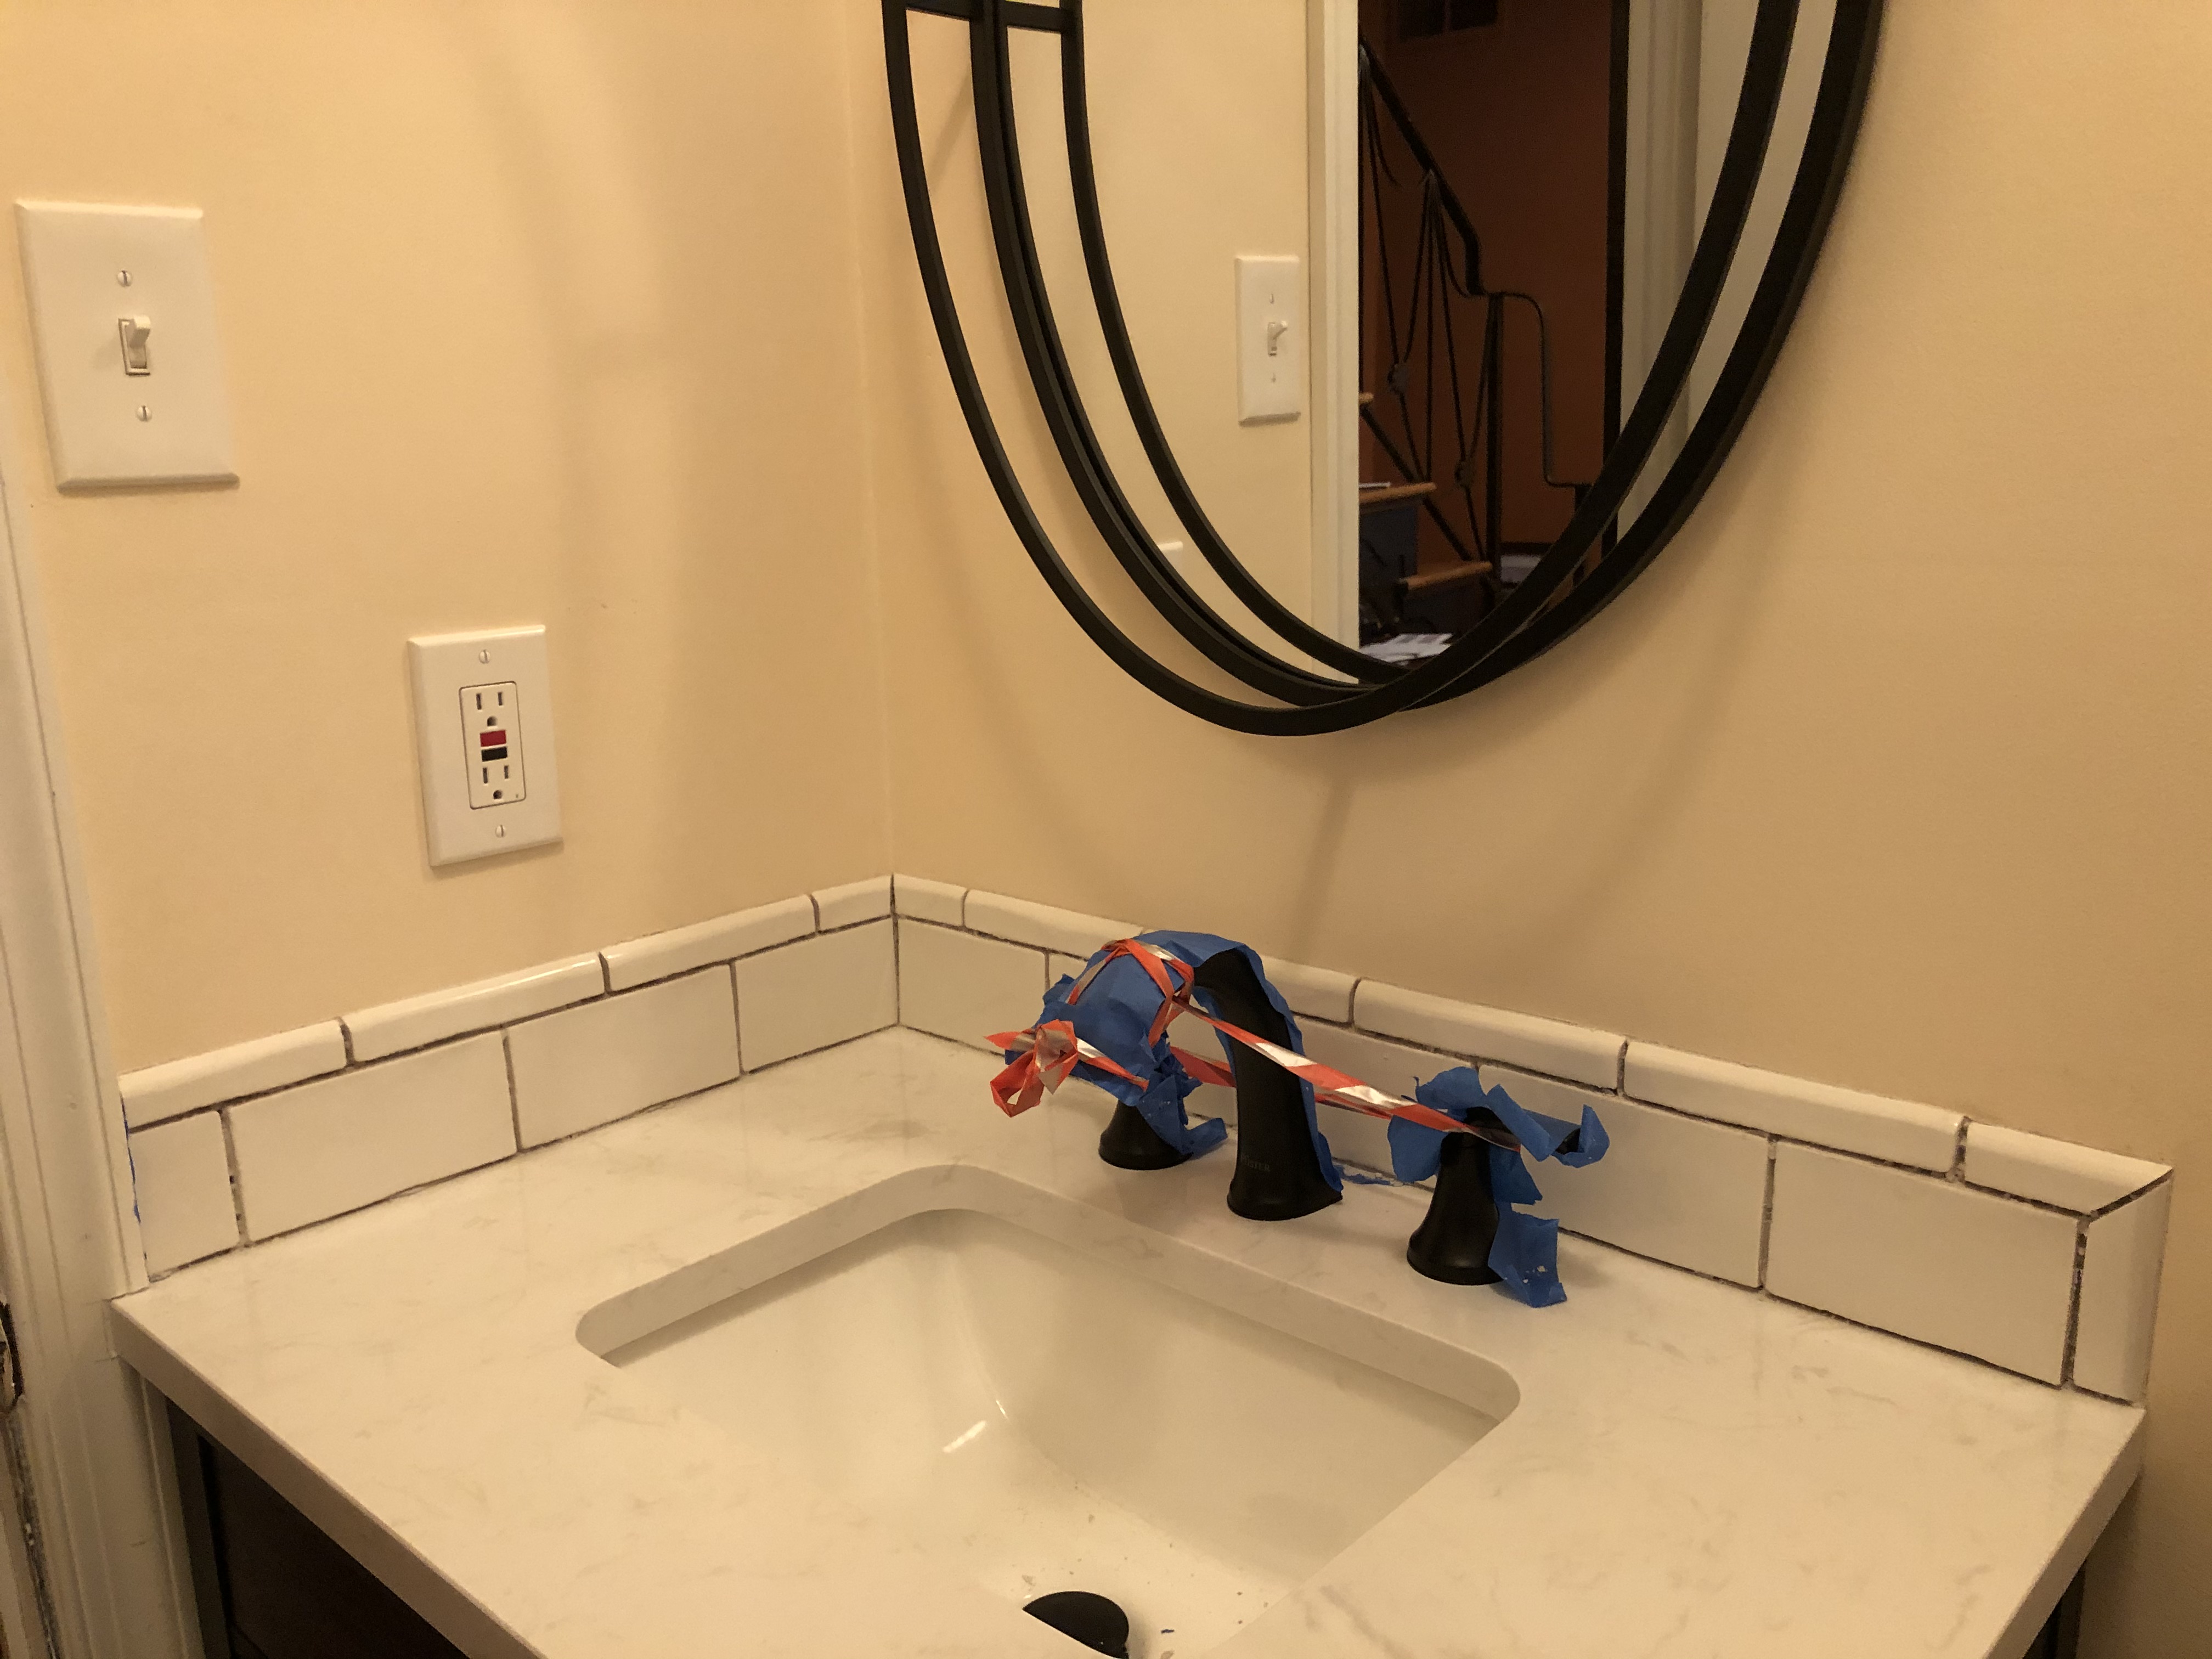
| …and now the supporting tape has come down. Starting to take shape! |
And now, after the long delay in our renovation project, during which I struggled to overcome my inexplicable fear of tilework, I had finally made significant progress toward getting the bathroom back to being fully functional again. But there were still steps necessary to complete the tiling job, as well as a few other finishing touches to do.
To be continued…
Categories

It looks great! I’d be quaking in my boots if I had to do this on my own, too! There is a rather long list of stuff that needs to be attended to in our house, and whenever the kids point out some such thing, I just say, “Granddaddy will fix it when he comes.” Ha!
Granddaddy will come to the rescue sometime.