
Mini Model – I
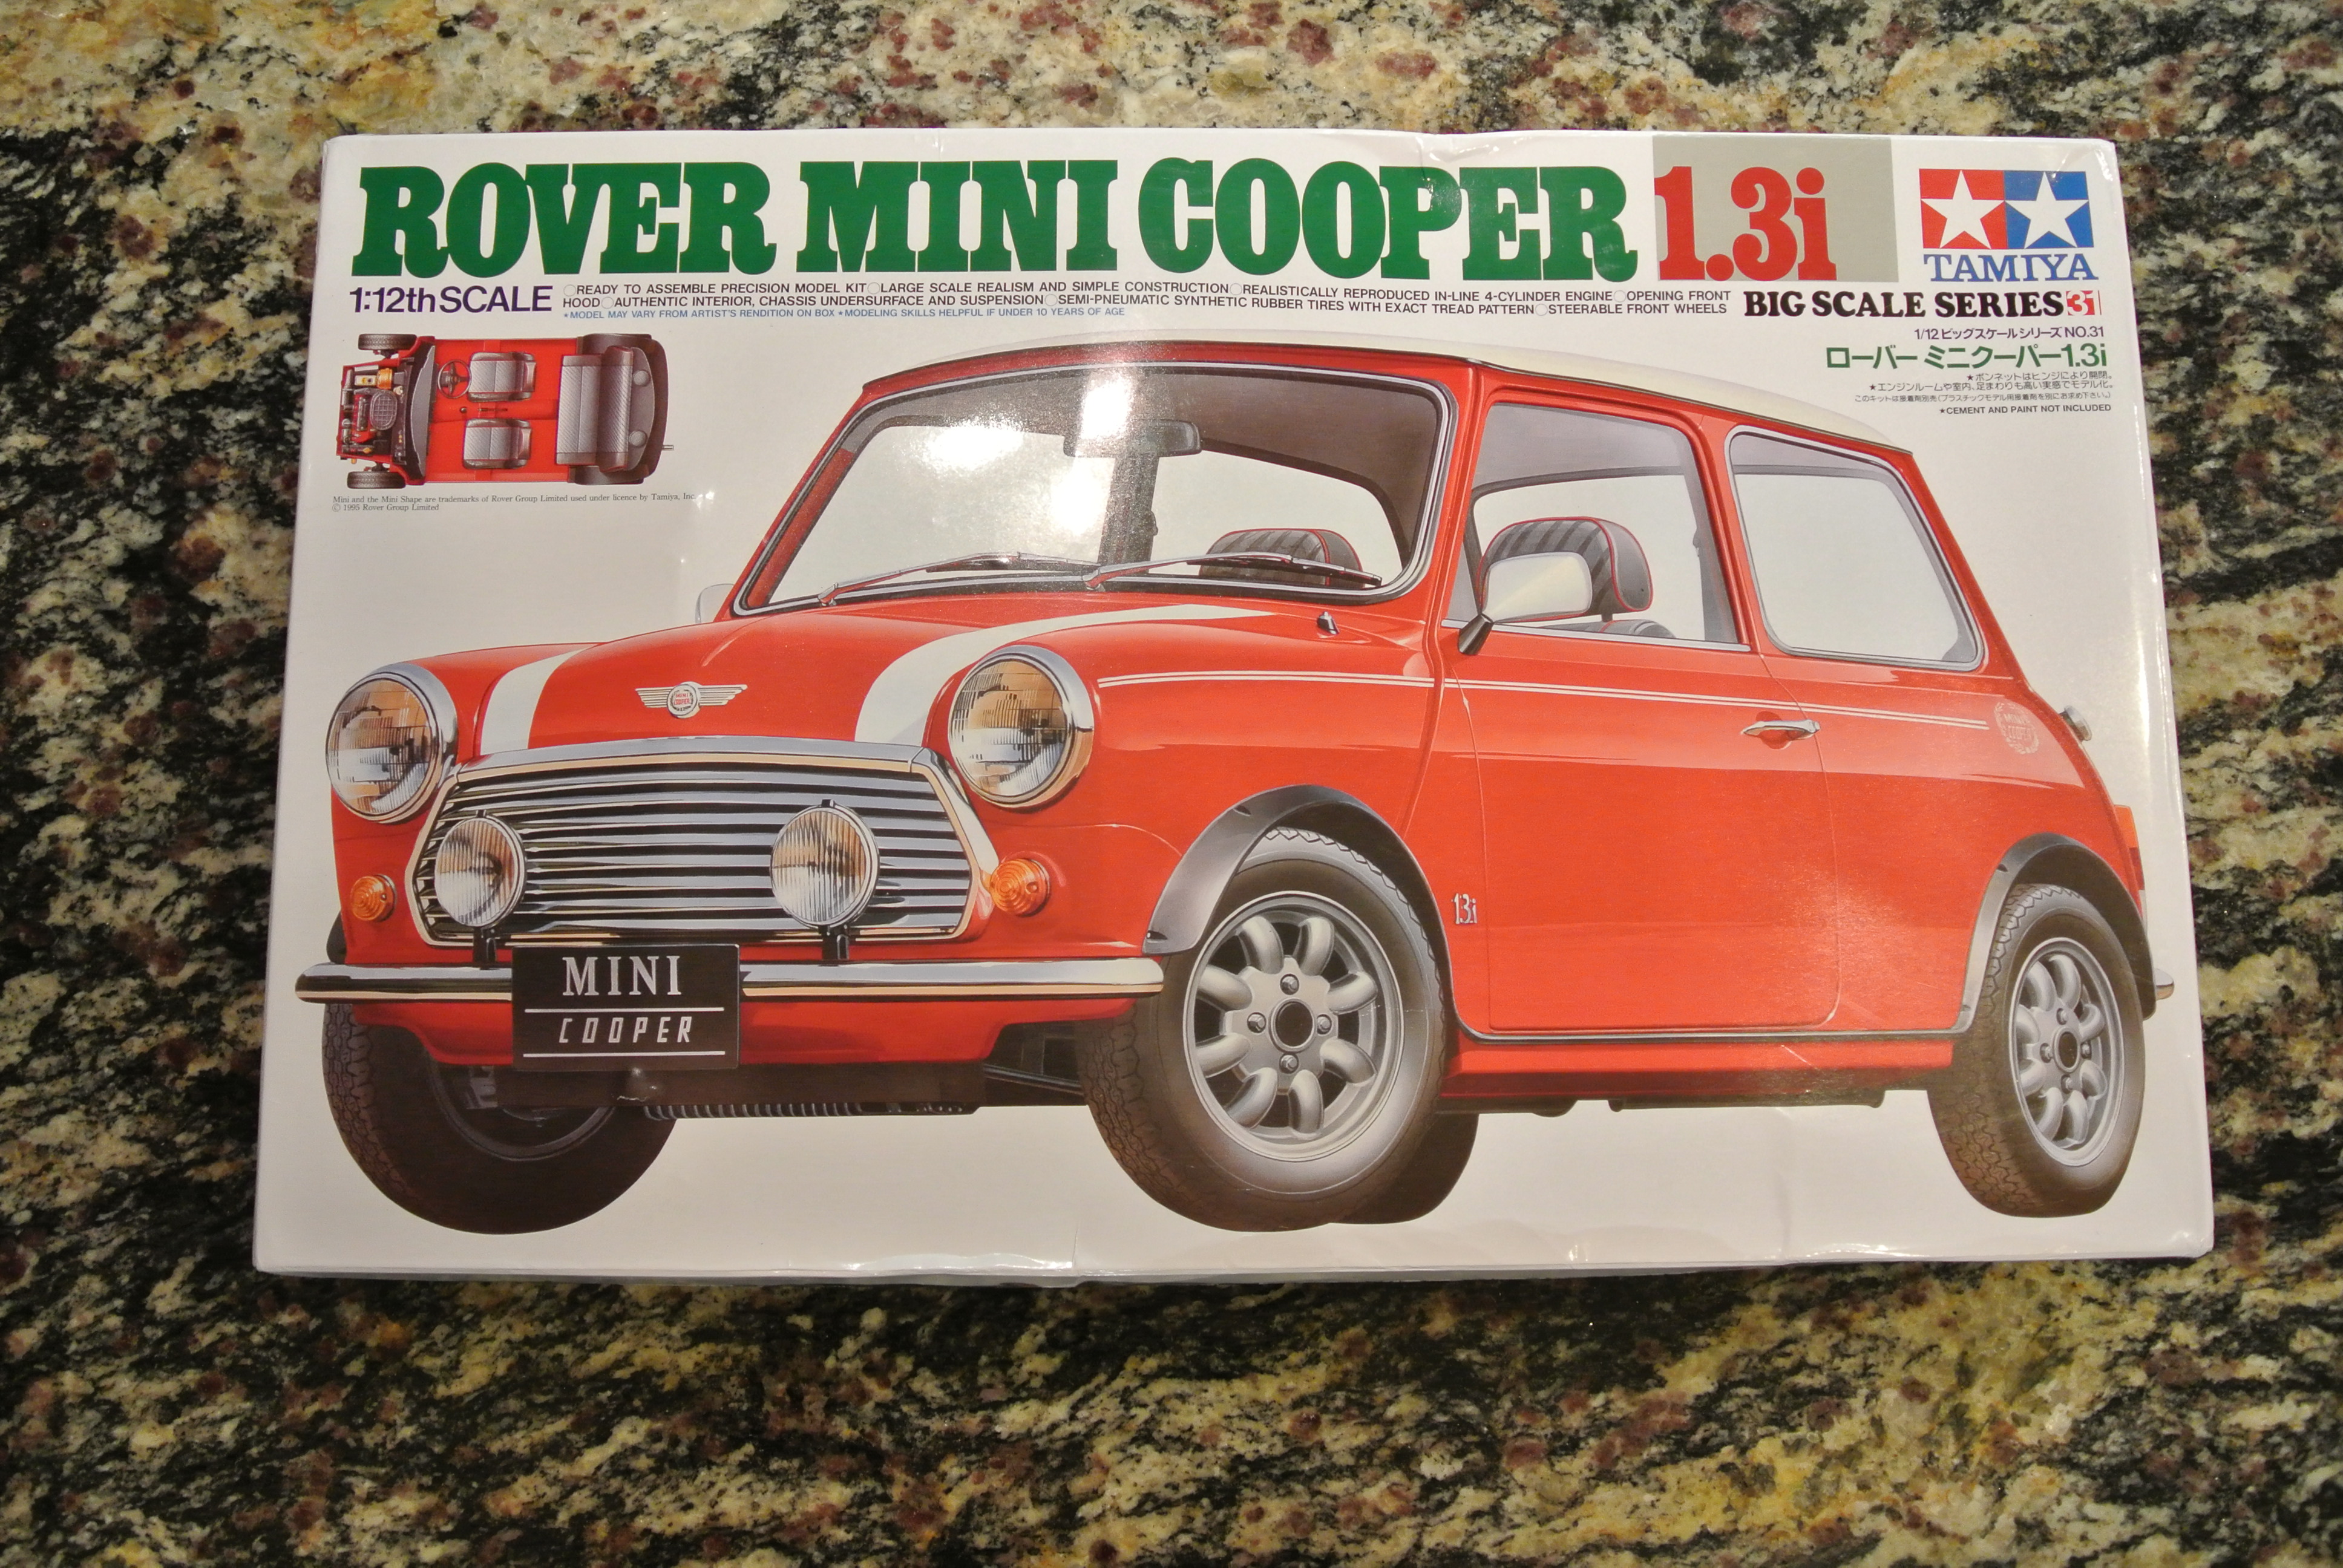
The last time I wrote about building models (Miniature Models – Part 3), I was still searching for that elusive model that would rekindle the desire in me to build again. Last fall, I was sitting in a particularly boring teleconference and decided to do a little multi-tasking on line. I began searching for a large-scale car model that I might like to build. This thought had come to me because one of the daily auto new stories I receive had an article that day about an interesting scale model that they had found. I began searching for my own and soon ran across a 1/12 scale Mini Cooper; the original car built by Rover (British Motor Company) before BMW bought the brand and reintroduced it in the new millennium.
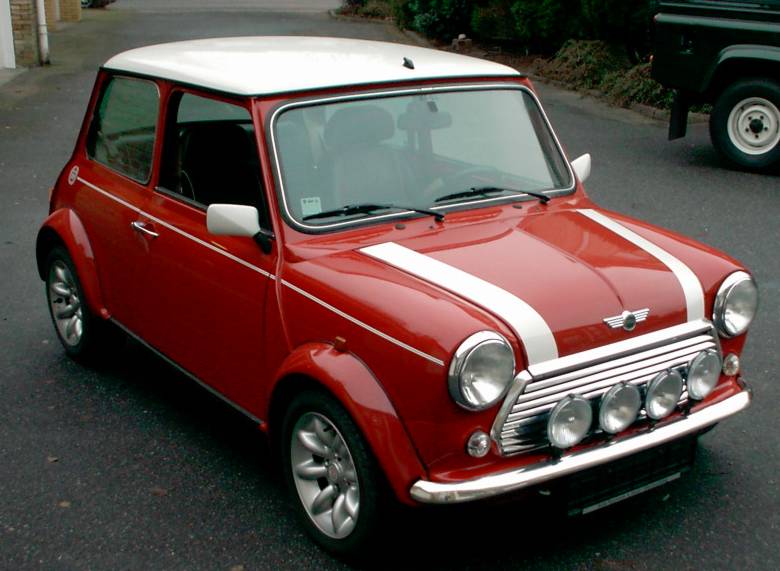
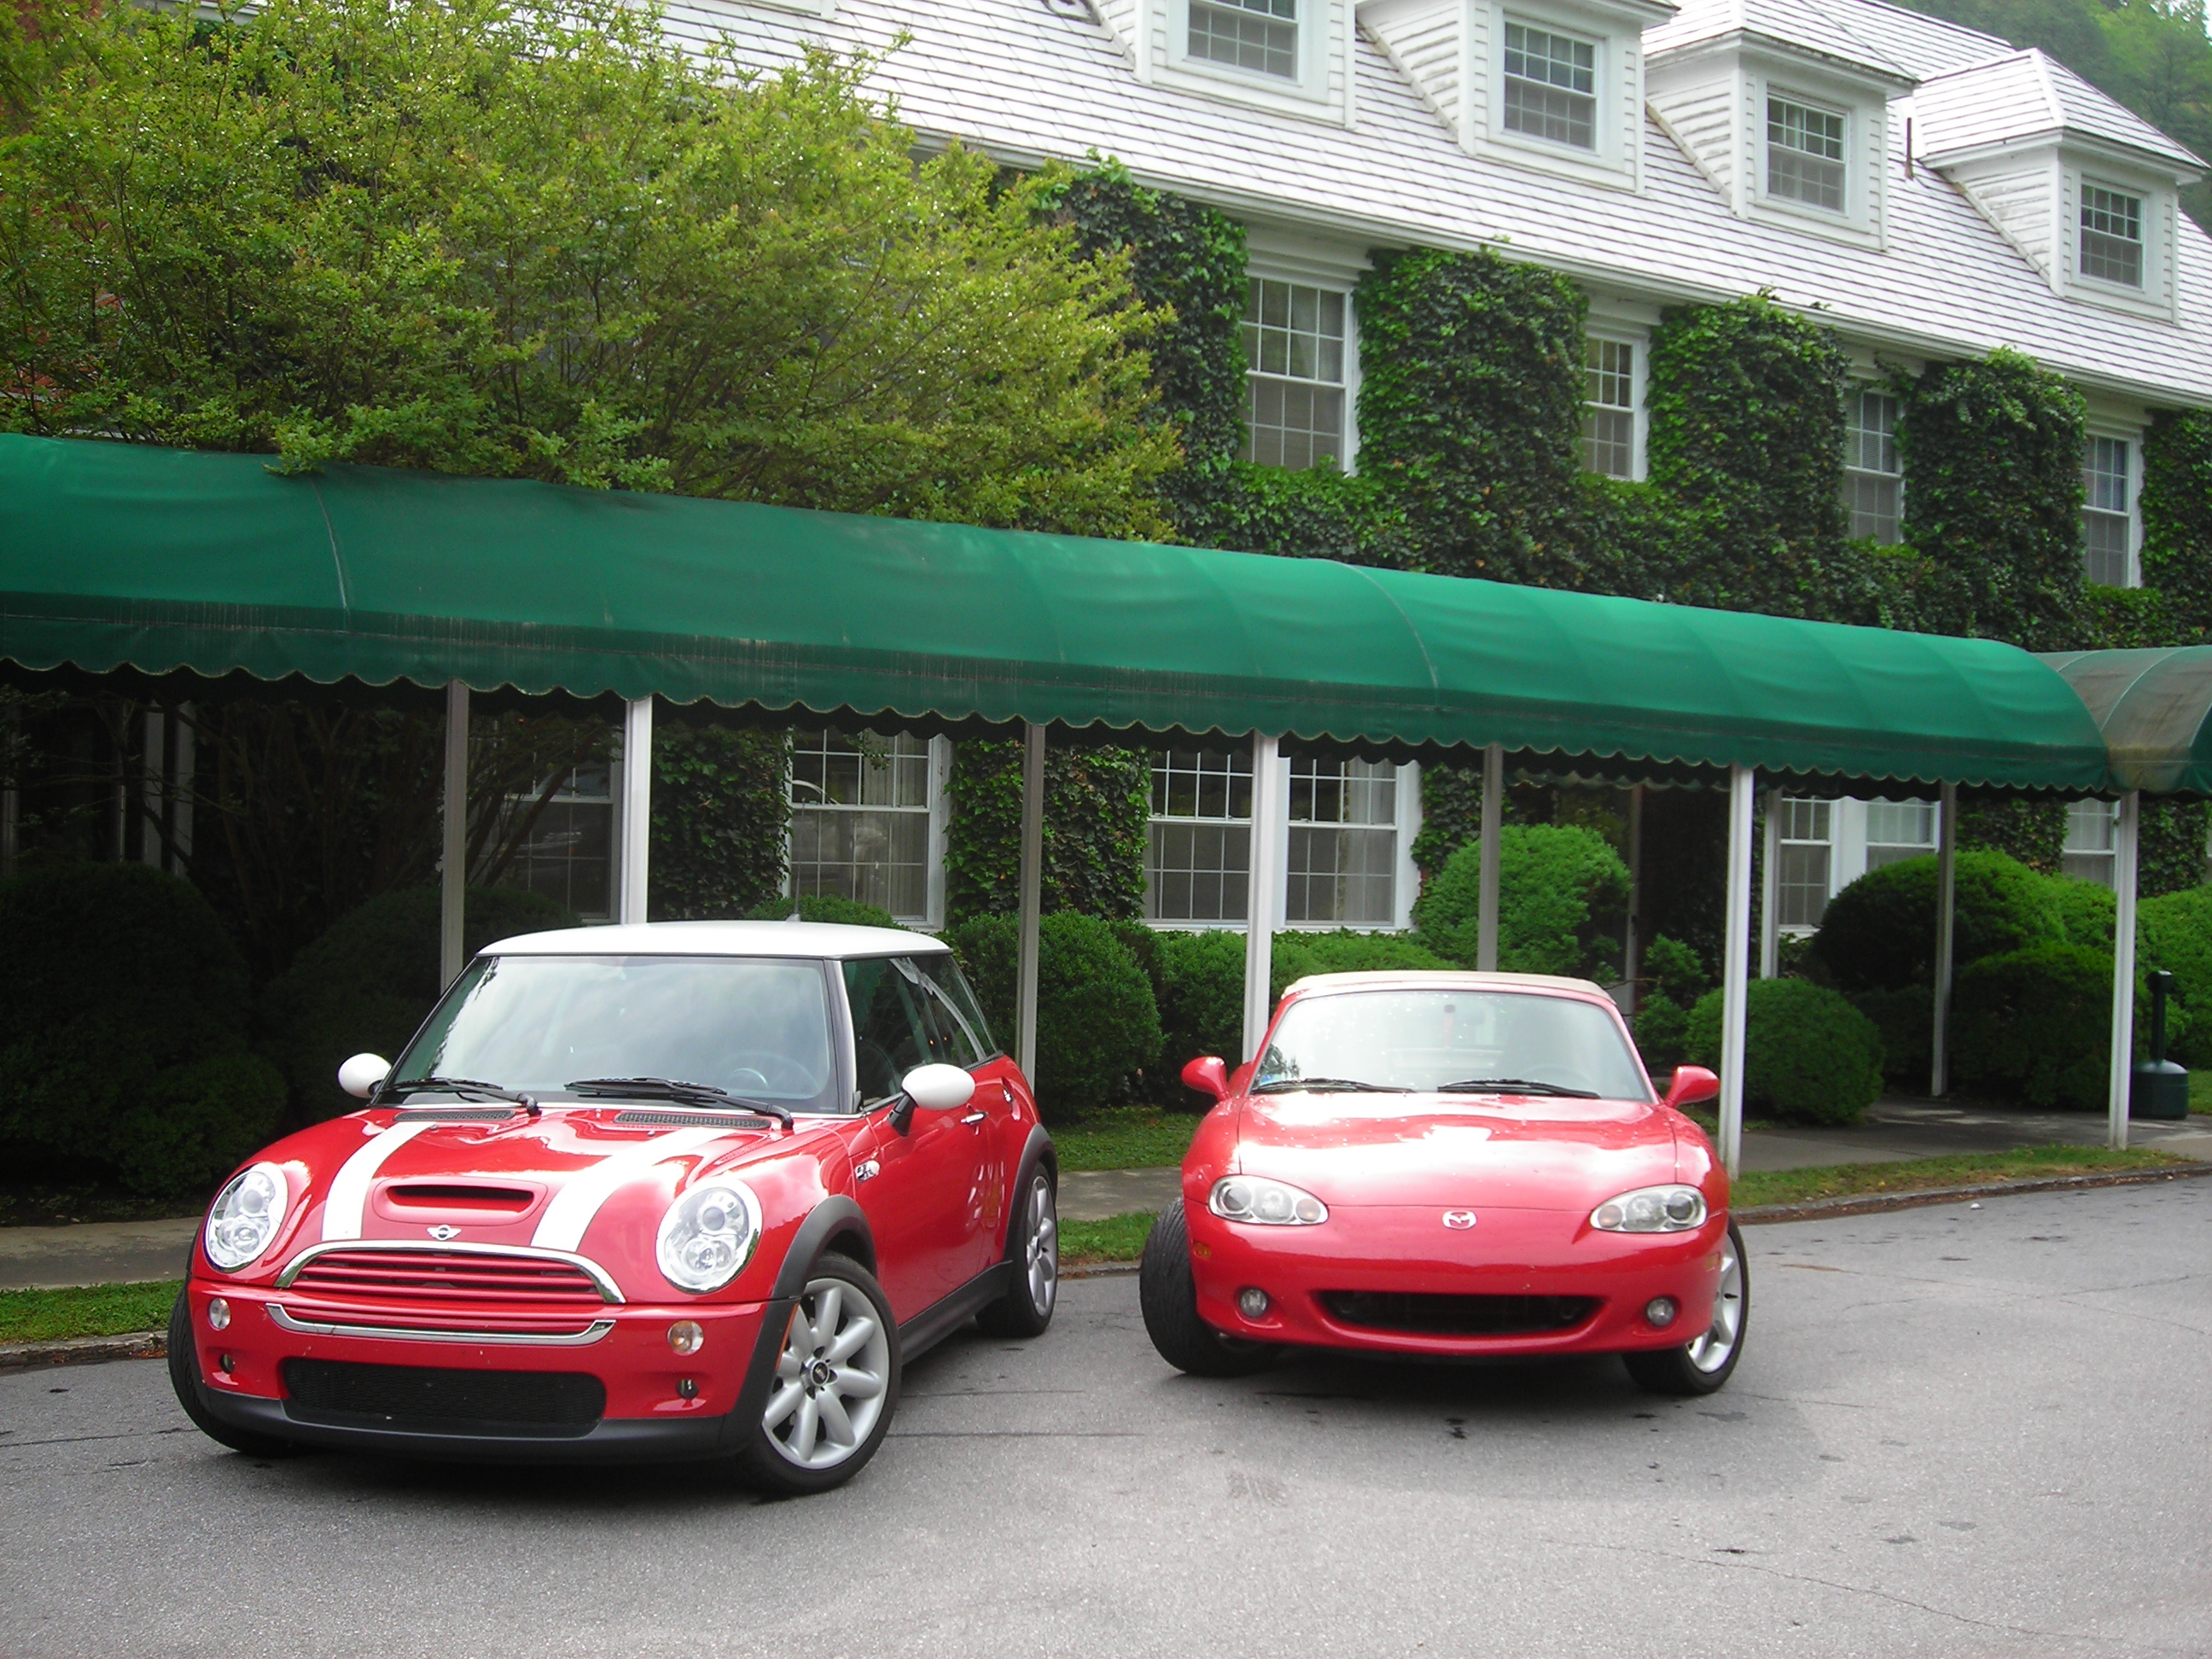
What even better luck was that it was available through an Amazon reseller? However, when I read the small print it said: “[IMPORTANT NOTICE] A Japanese retail item. Packaging, manuals, and instructions are in Japanese only.” I thought what a bummer, this would have been a lot of fun to build particularly since I had a 2006 Mini Cooper S, and it was a model that held significance for me.
Over the next several days I pondered whether or not I was willing to gamble the $75 price tag of the model and chance it. I wondered if the kit might actually include those “Ikea-like” instructions that only provide numbers and pictures, which are often difficult to assemble. I don’t recall what eventually tipped the scale for me to buy it but I did and then anxiously awaited its arrival from Japan.
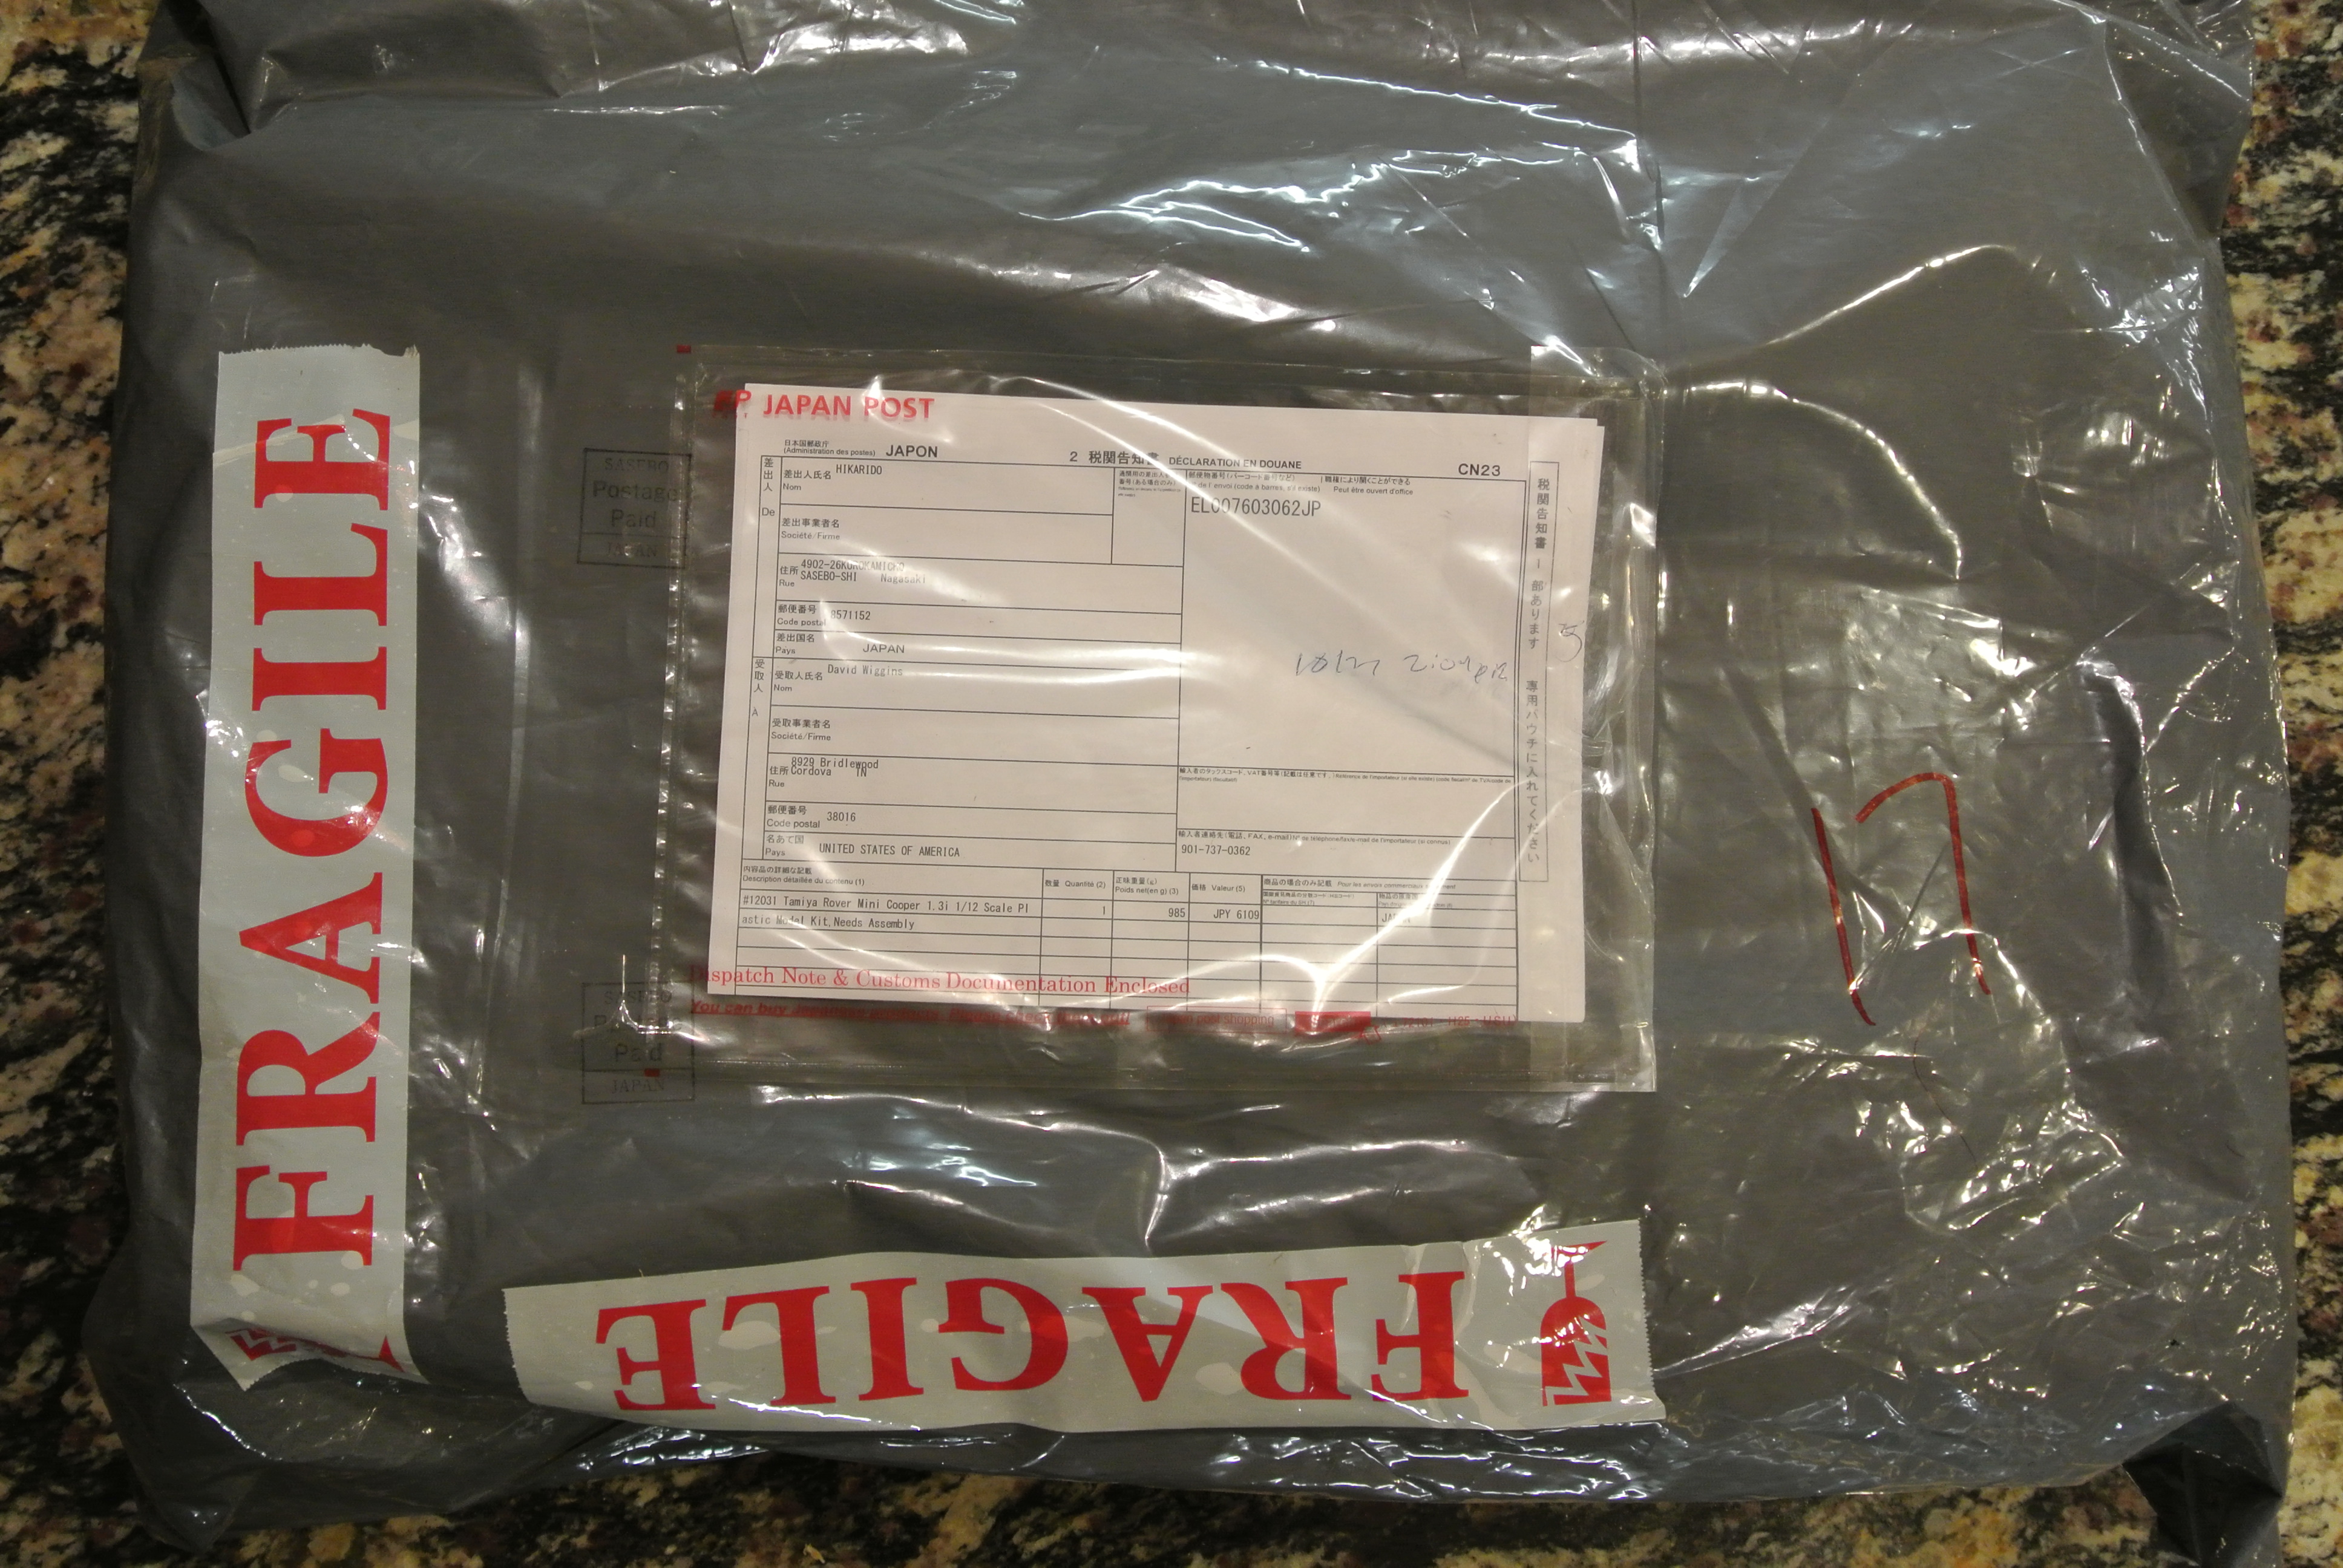
In about two weeks the package arrived indeed from Japan.
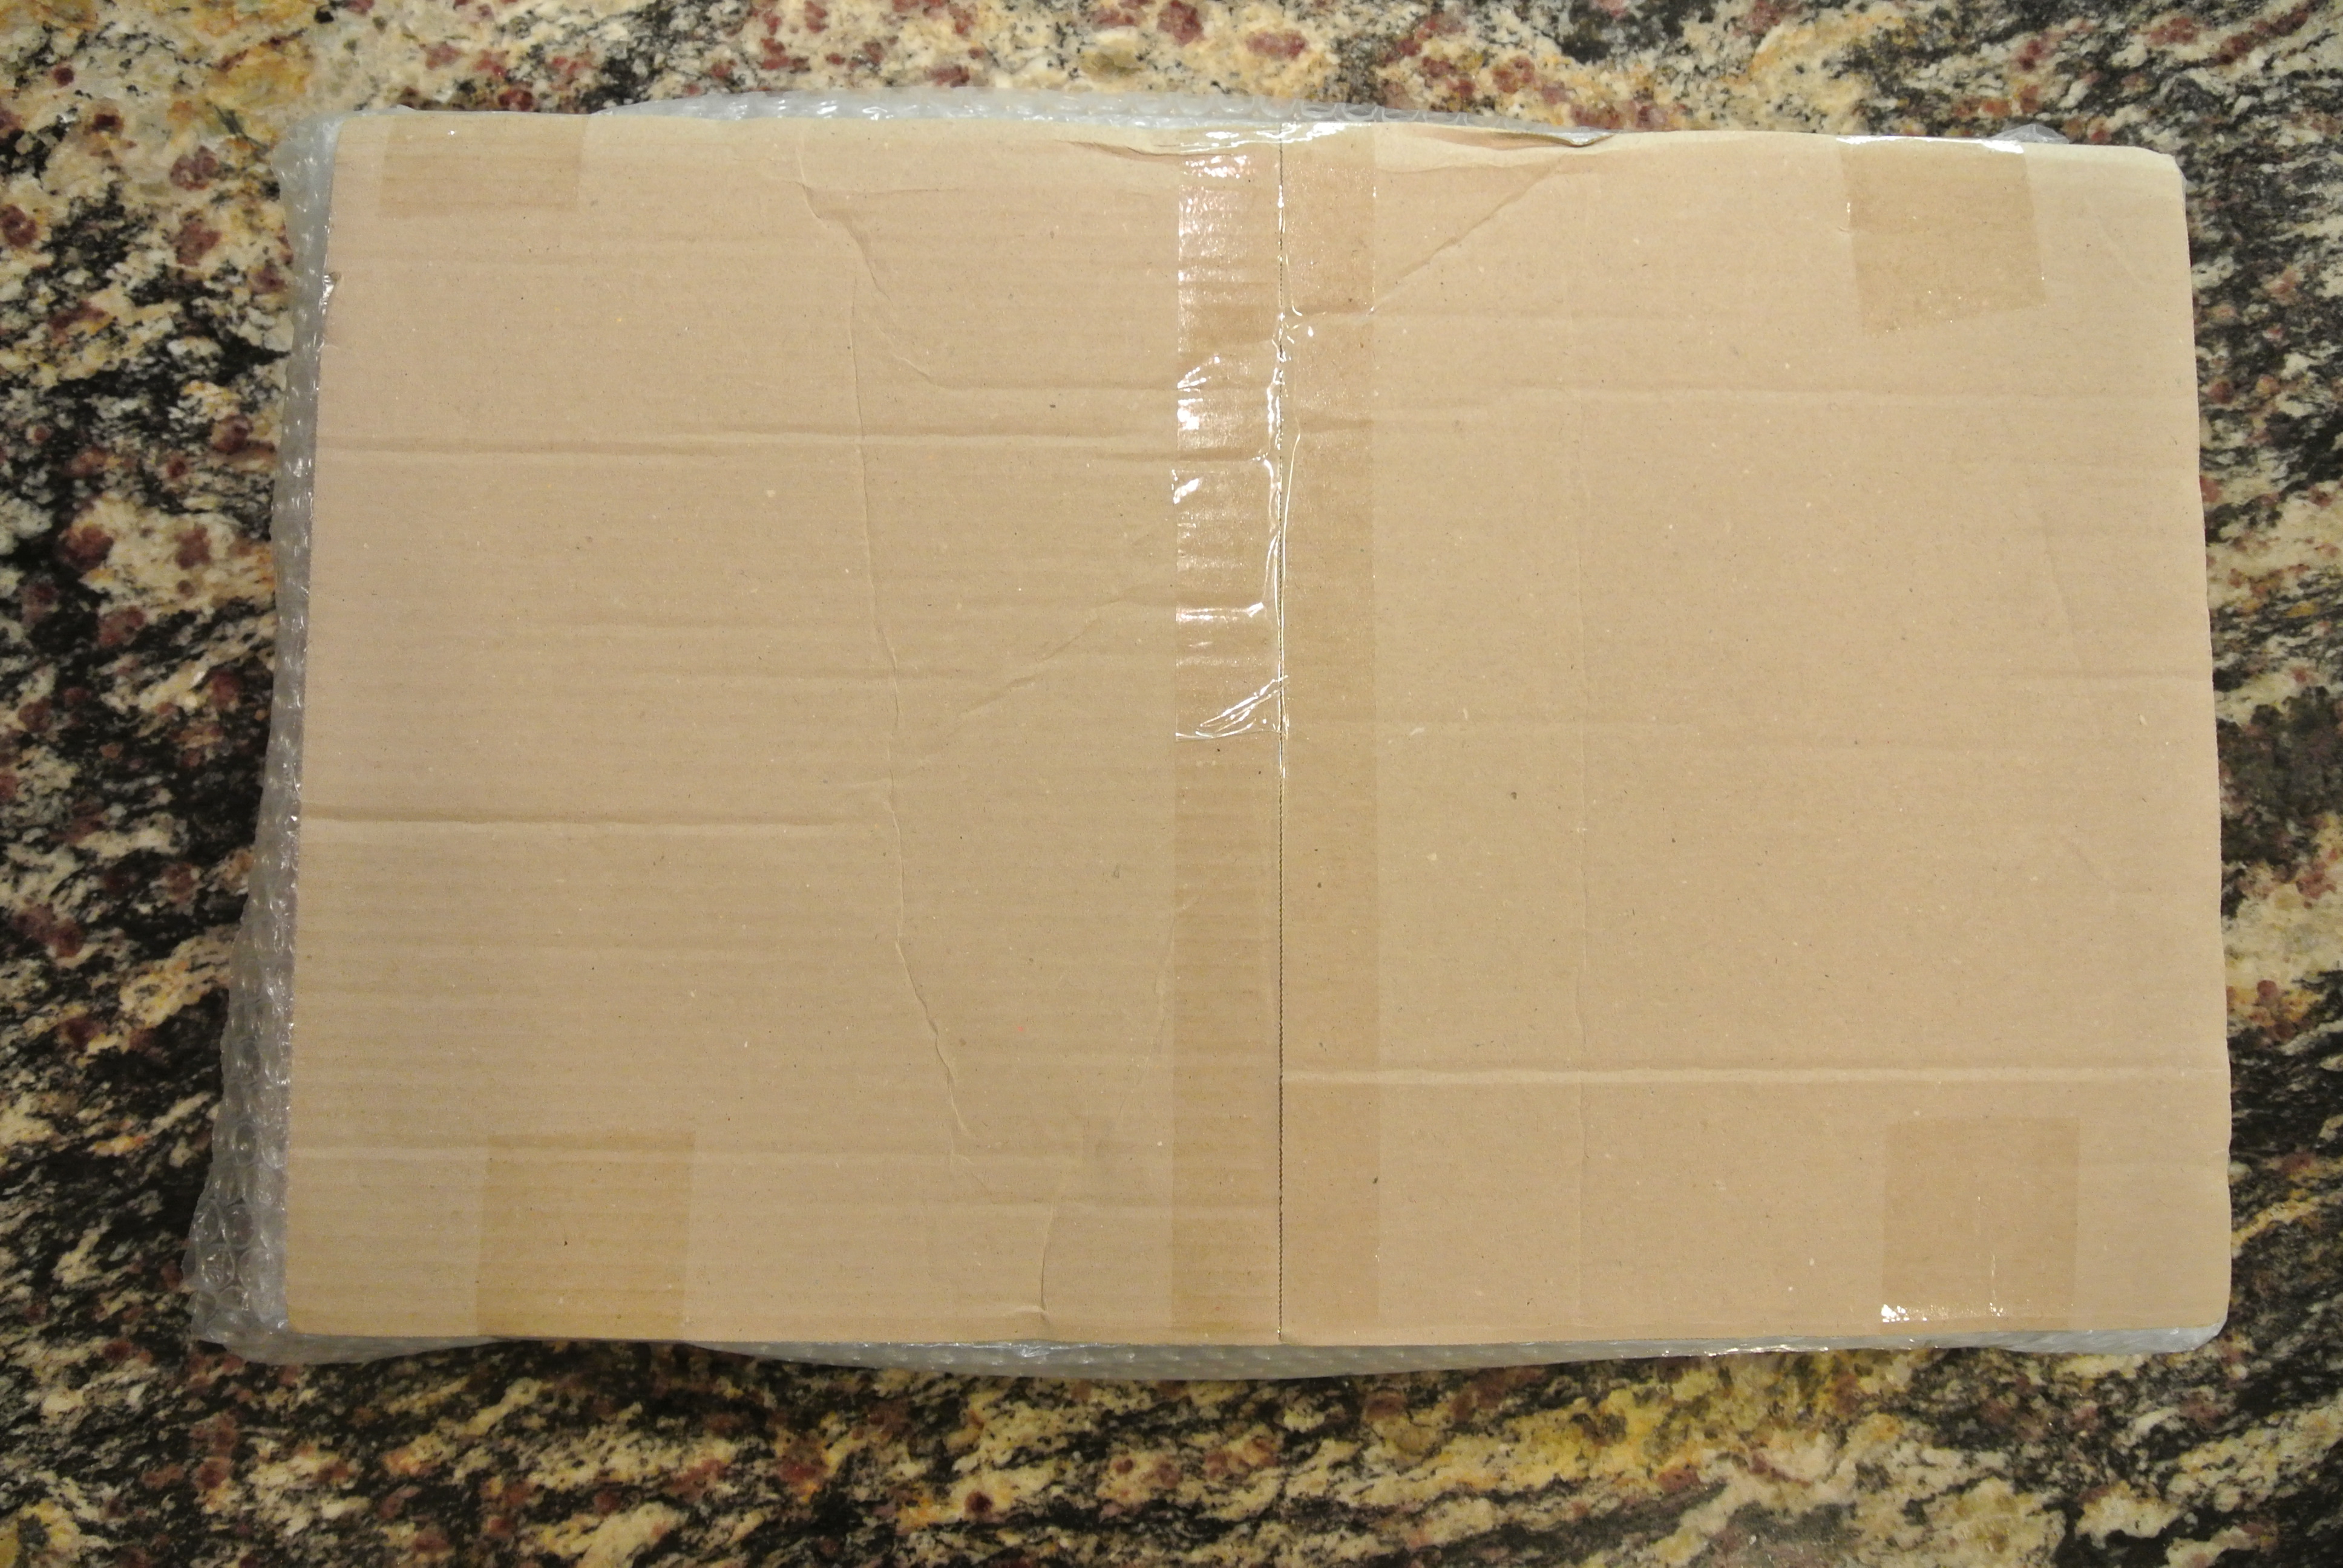
When I removed the mail wrapping, I was greeted with…more packaging. The shipper had simply wrapped it with a small amount of bubble wrap and then added some flimsy cardboard for stiffening. When I removed the secondary packaging, I was pleased to see that the box was only slightly bent but certainly not crushed.
However, the most encouraging sign was that in addition to the Japanese words printed on the package, there was English as well. However, the real test would be the instructions.

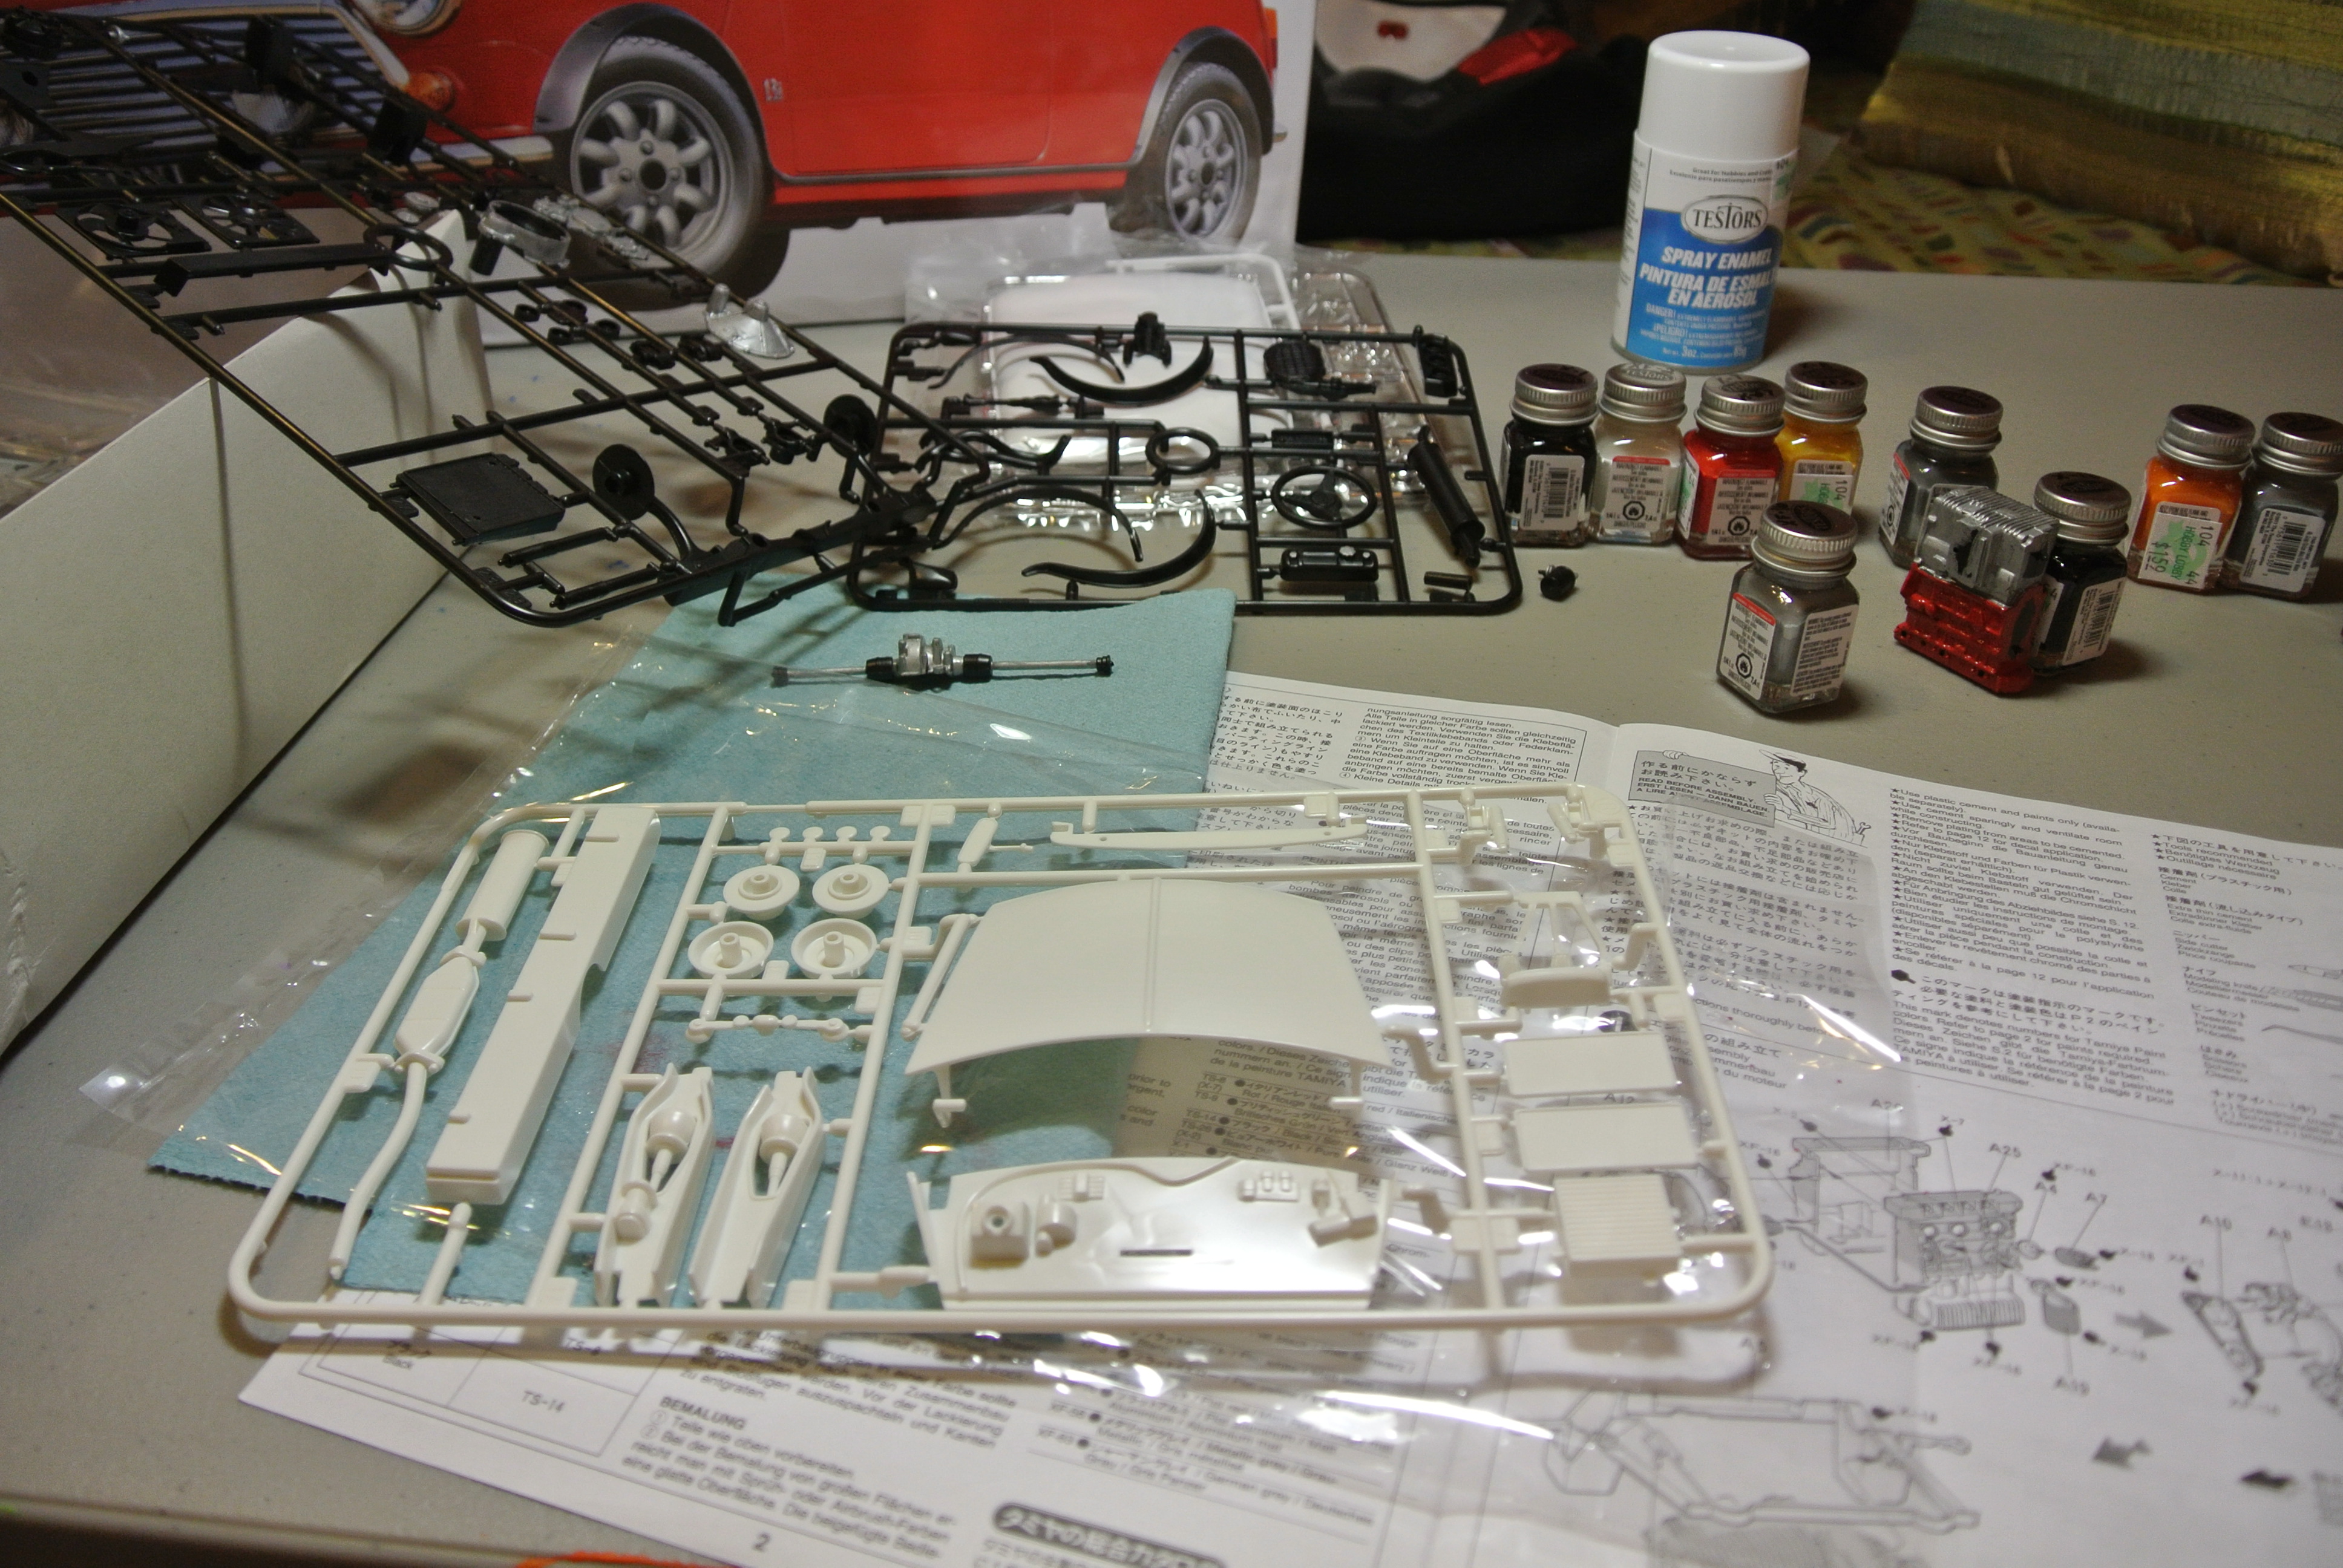
I opened the package and discovered my first disappointment—the model was not molded in colored plastic. The large-scale models I had built in the past were molded in all the needed colors so that no painting was required. I could quickly see that this model was going to require a lot of painting.
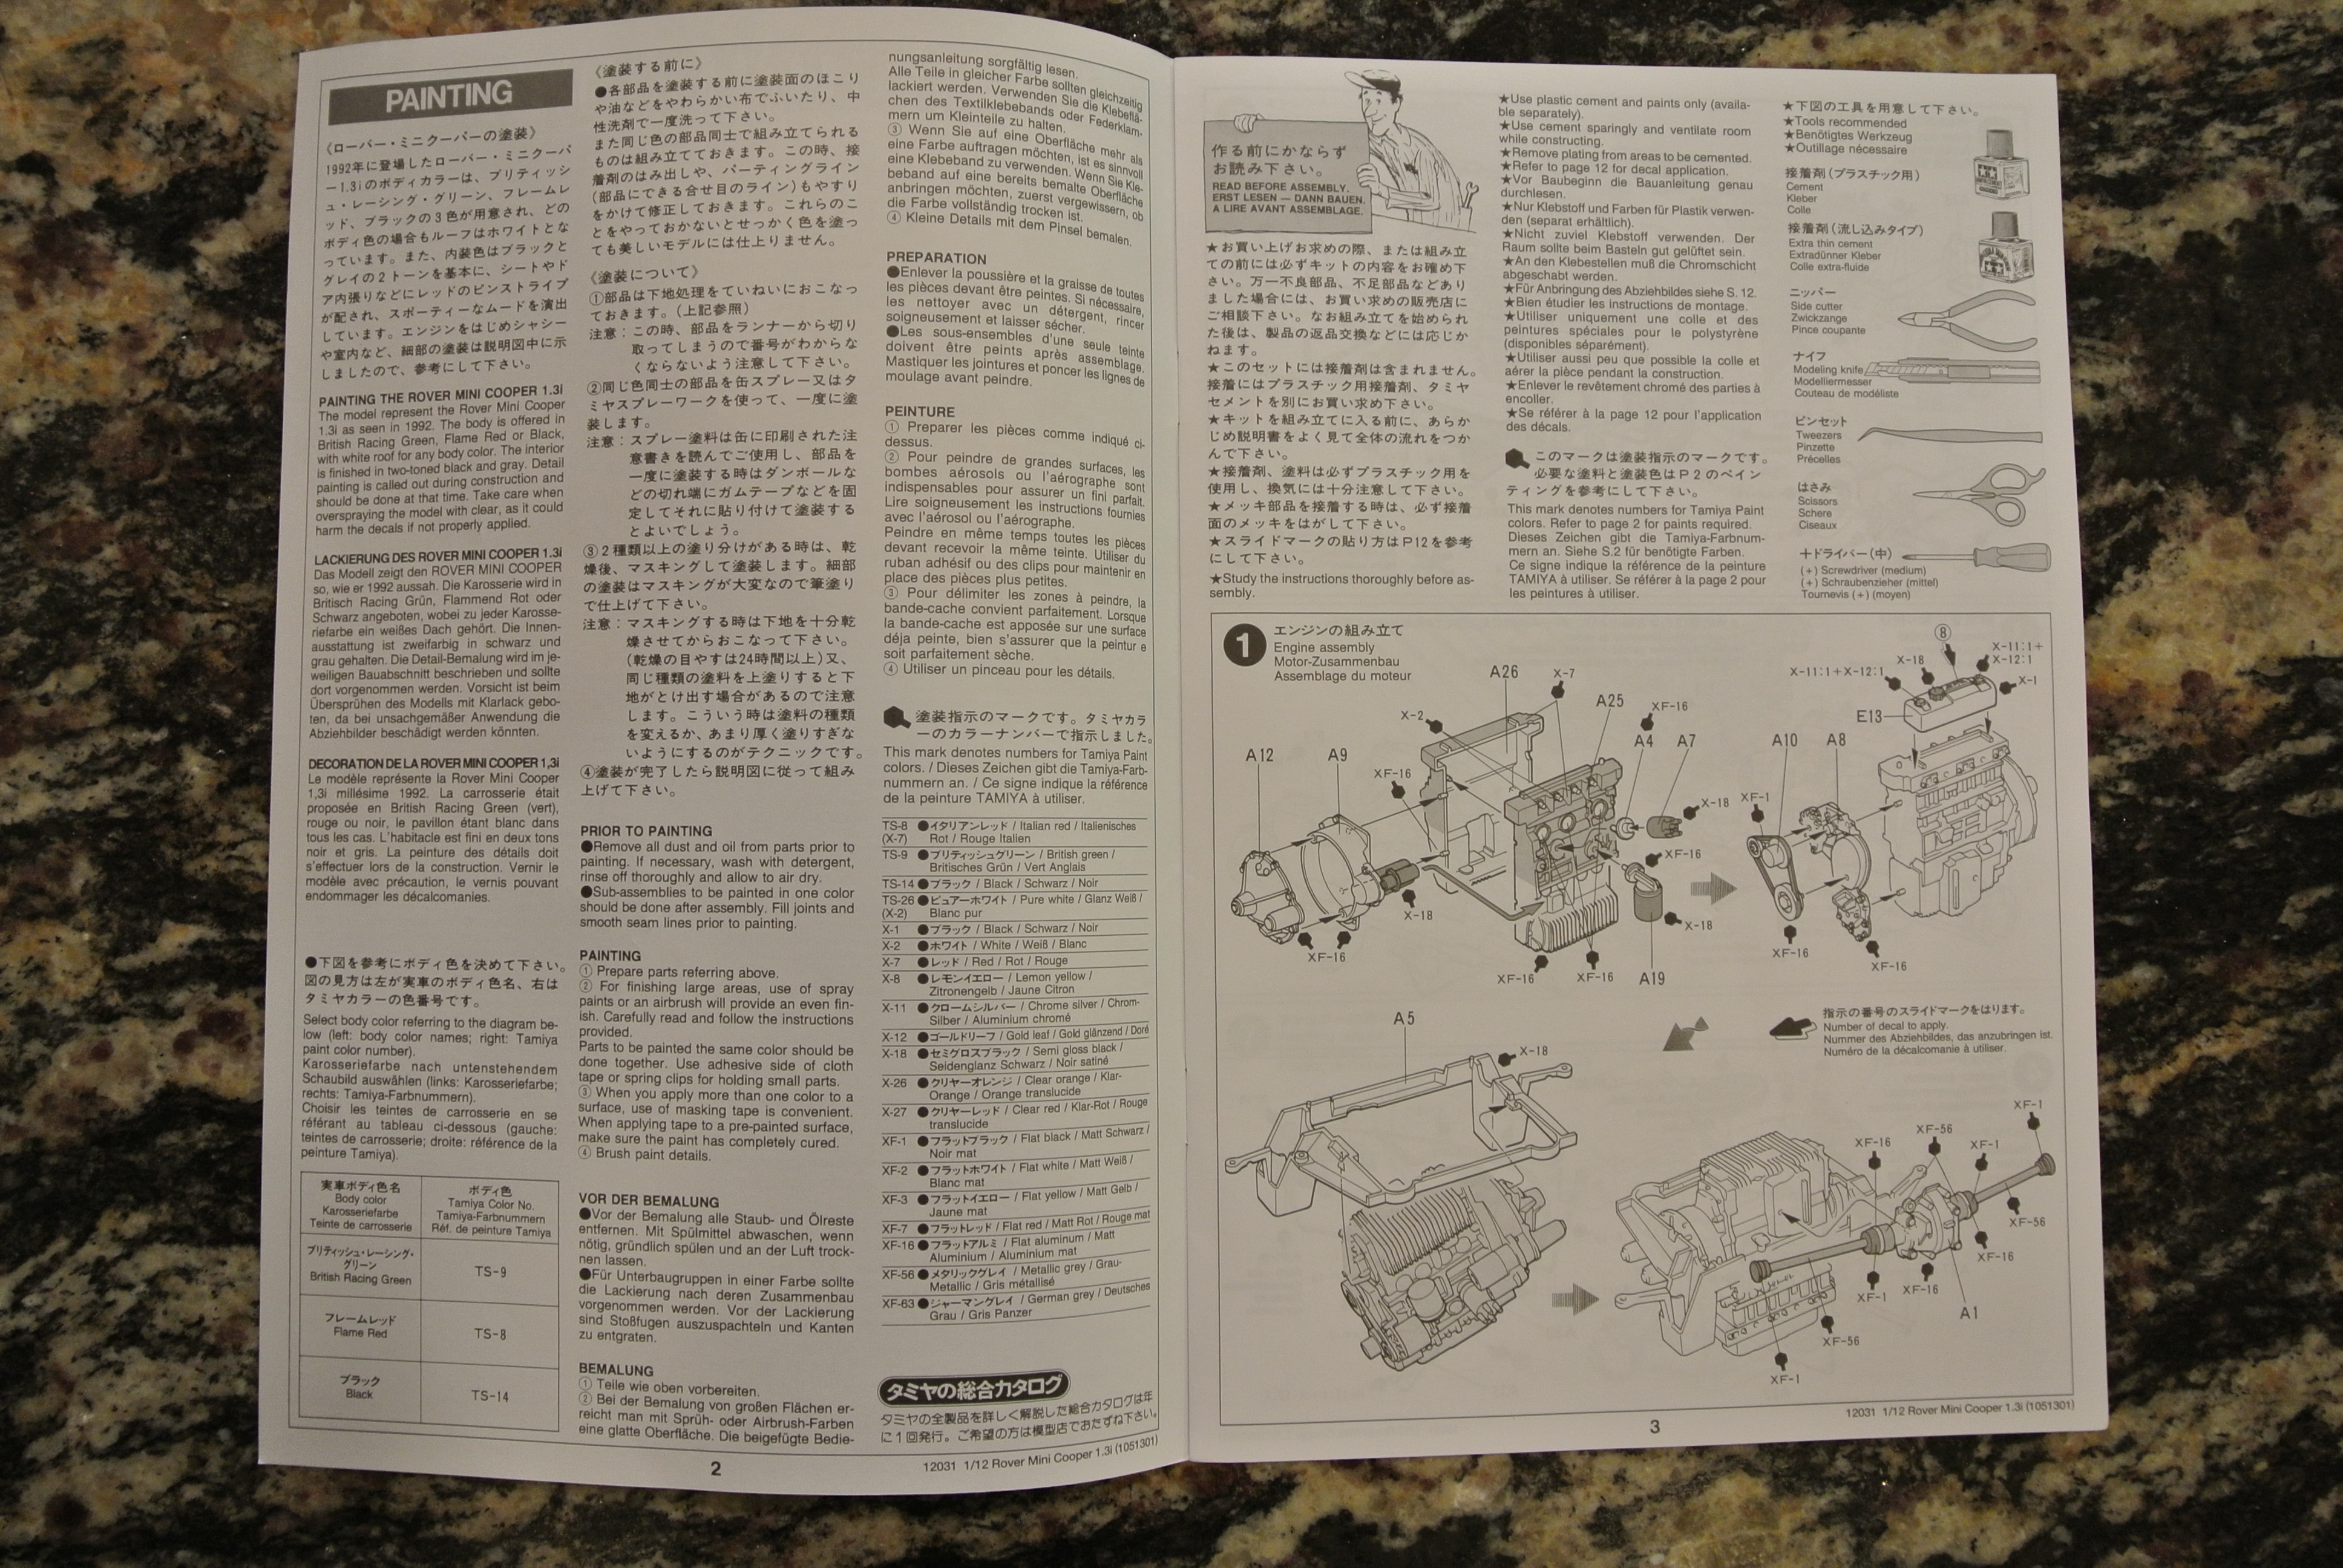
I was relieved to see that the instructions were actually written in four different languages, fortunately one of which was English. But since I knew this was not going to be a quick build, I decided to set it aside and let it be a summer project in 2014.
This year, after I got most of my outdoor spring time jobs done, I pulled the model back out thinking I could work on it on steamy summer days when it was too hot to go outside.
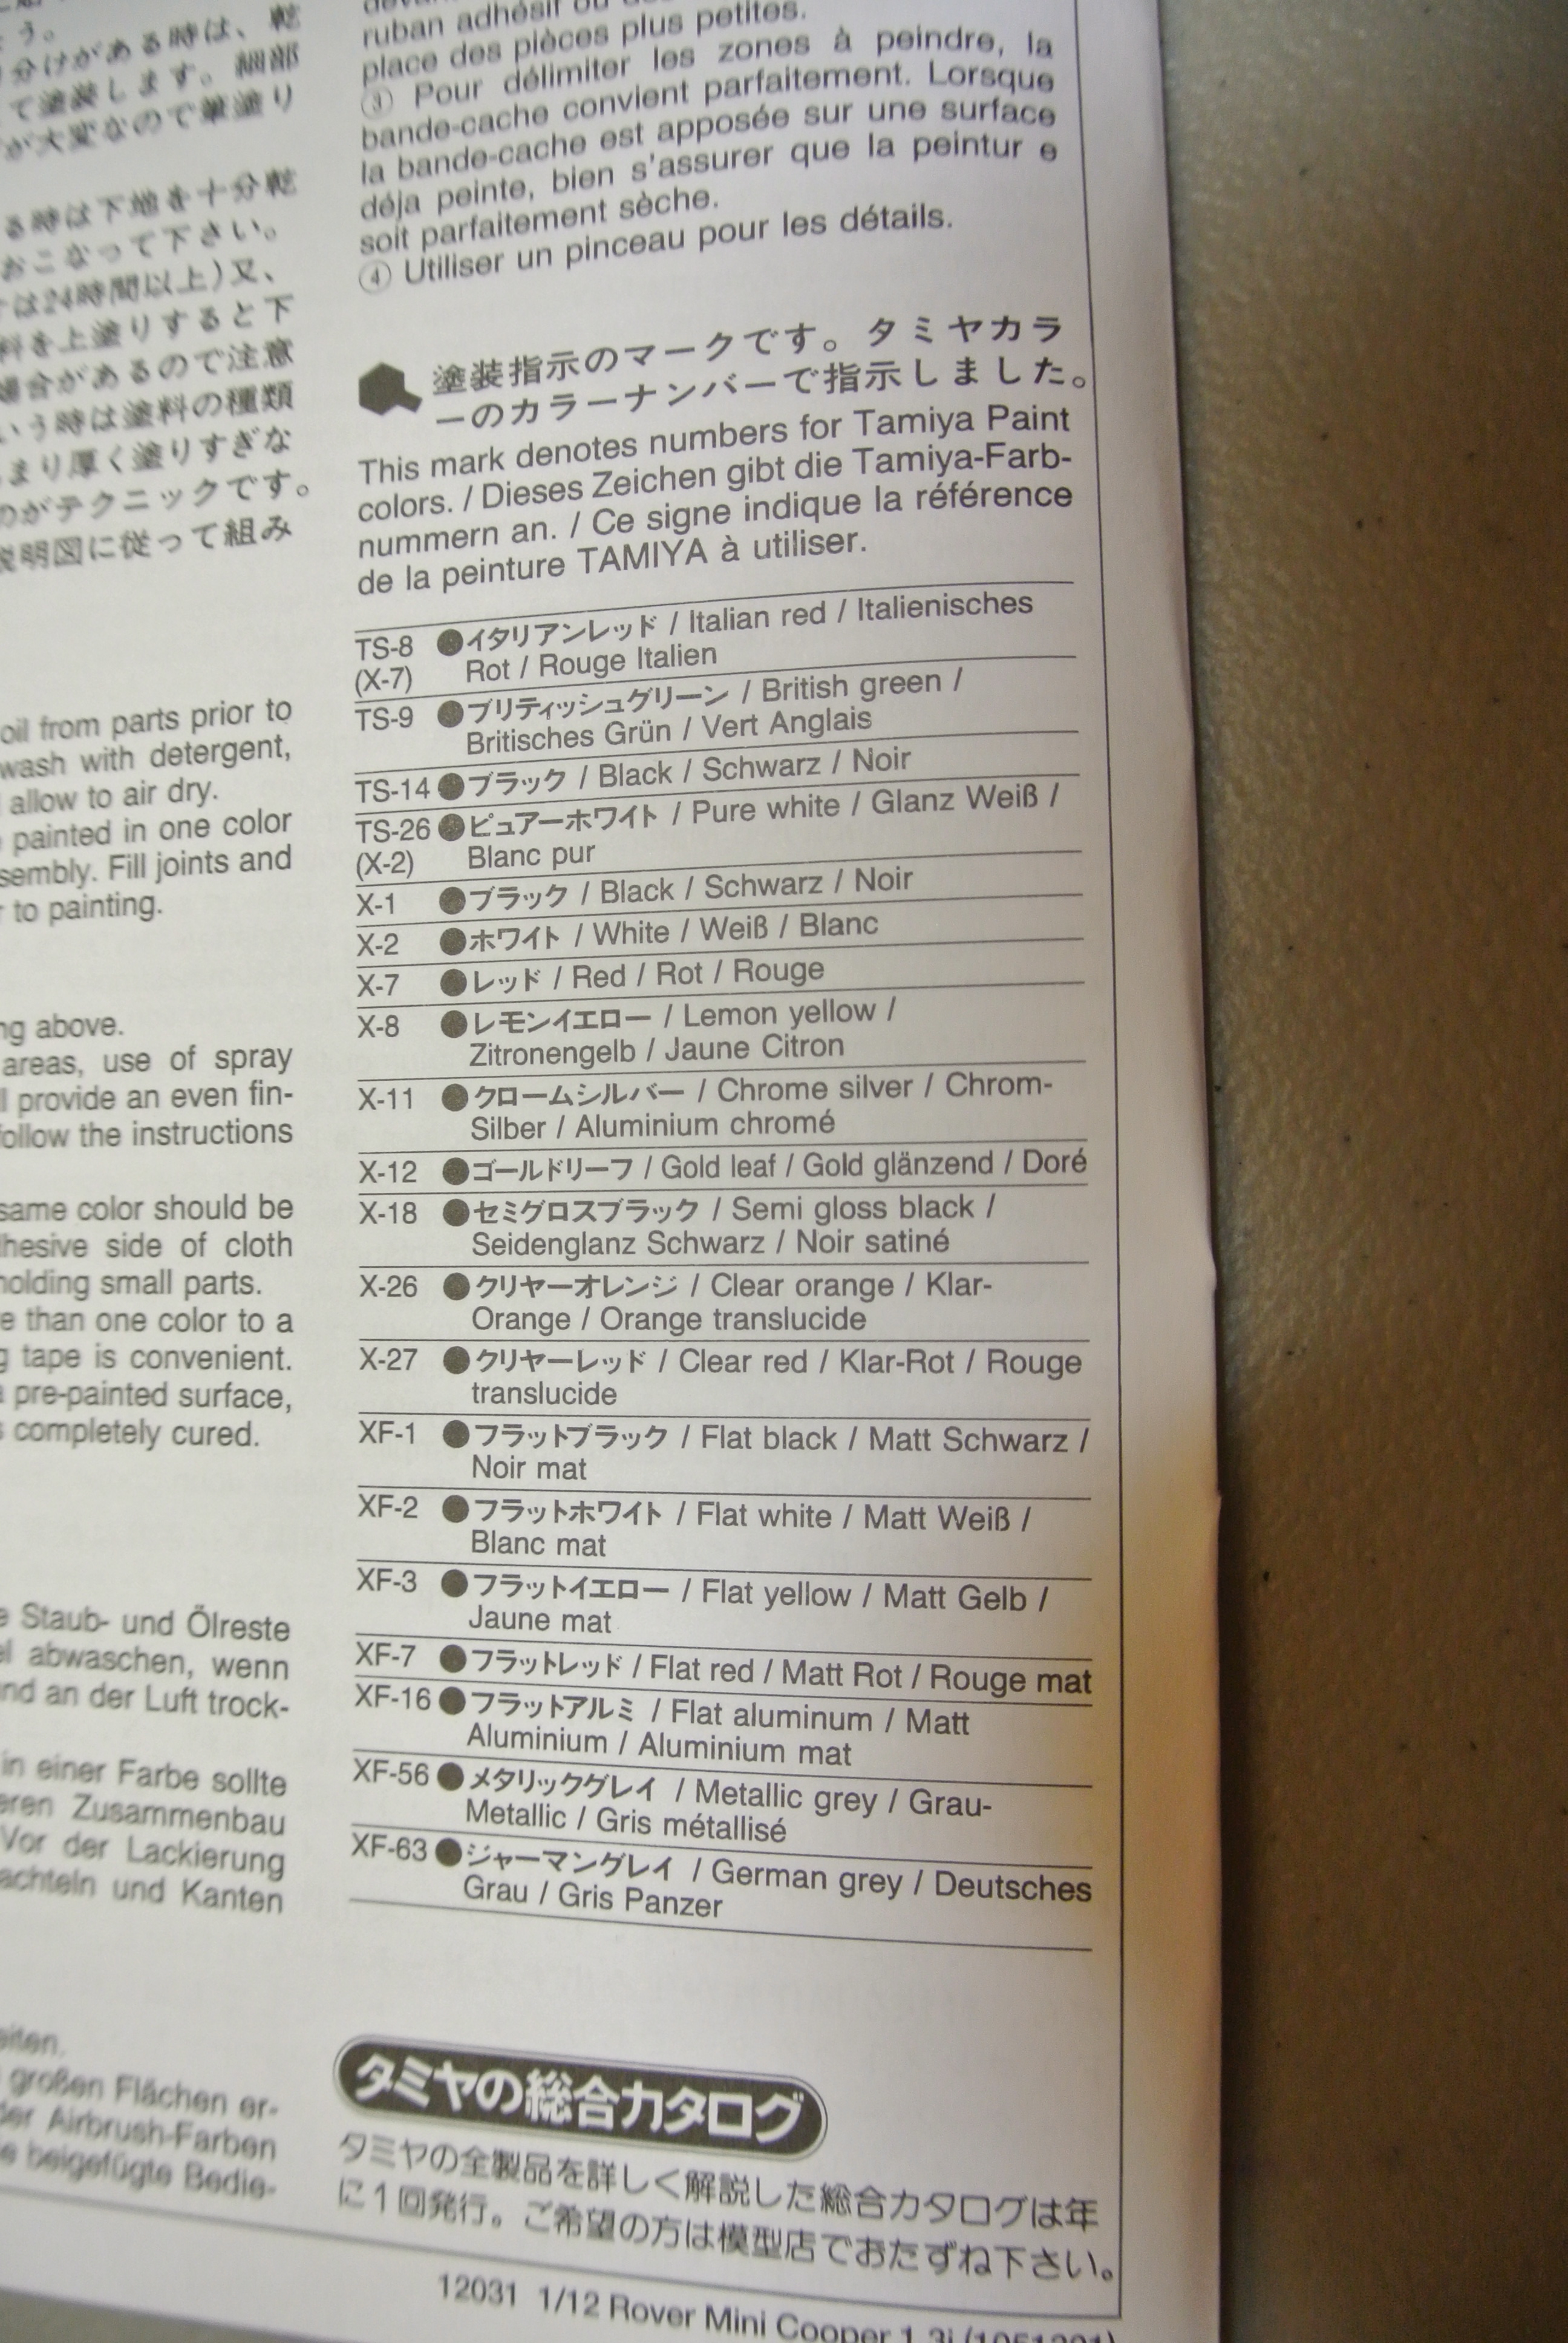
When I read through some of the details of the instructions, it was this table that was the most surprising as it called for 19 different color paints. As I read through the list, I thought did I really need gloss black, semi-gloss black, and flat black? Especially when you consider that some of the parts were already molded in black plastic. Armed with the instructions, I headed off to one of my favorite hobby stores for paint and glue.
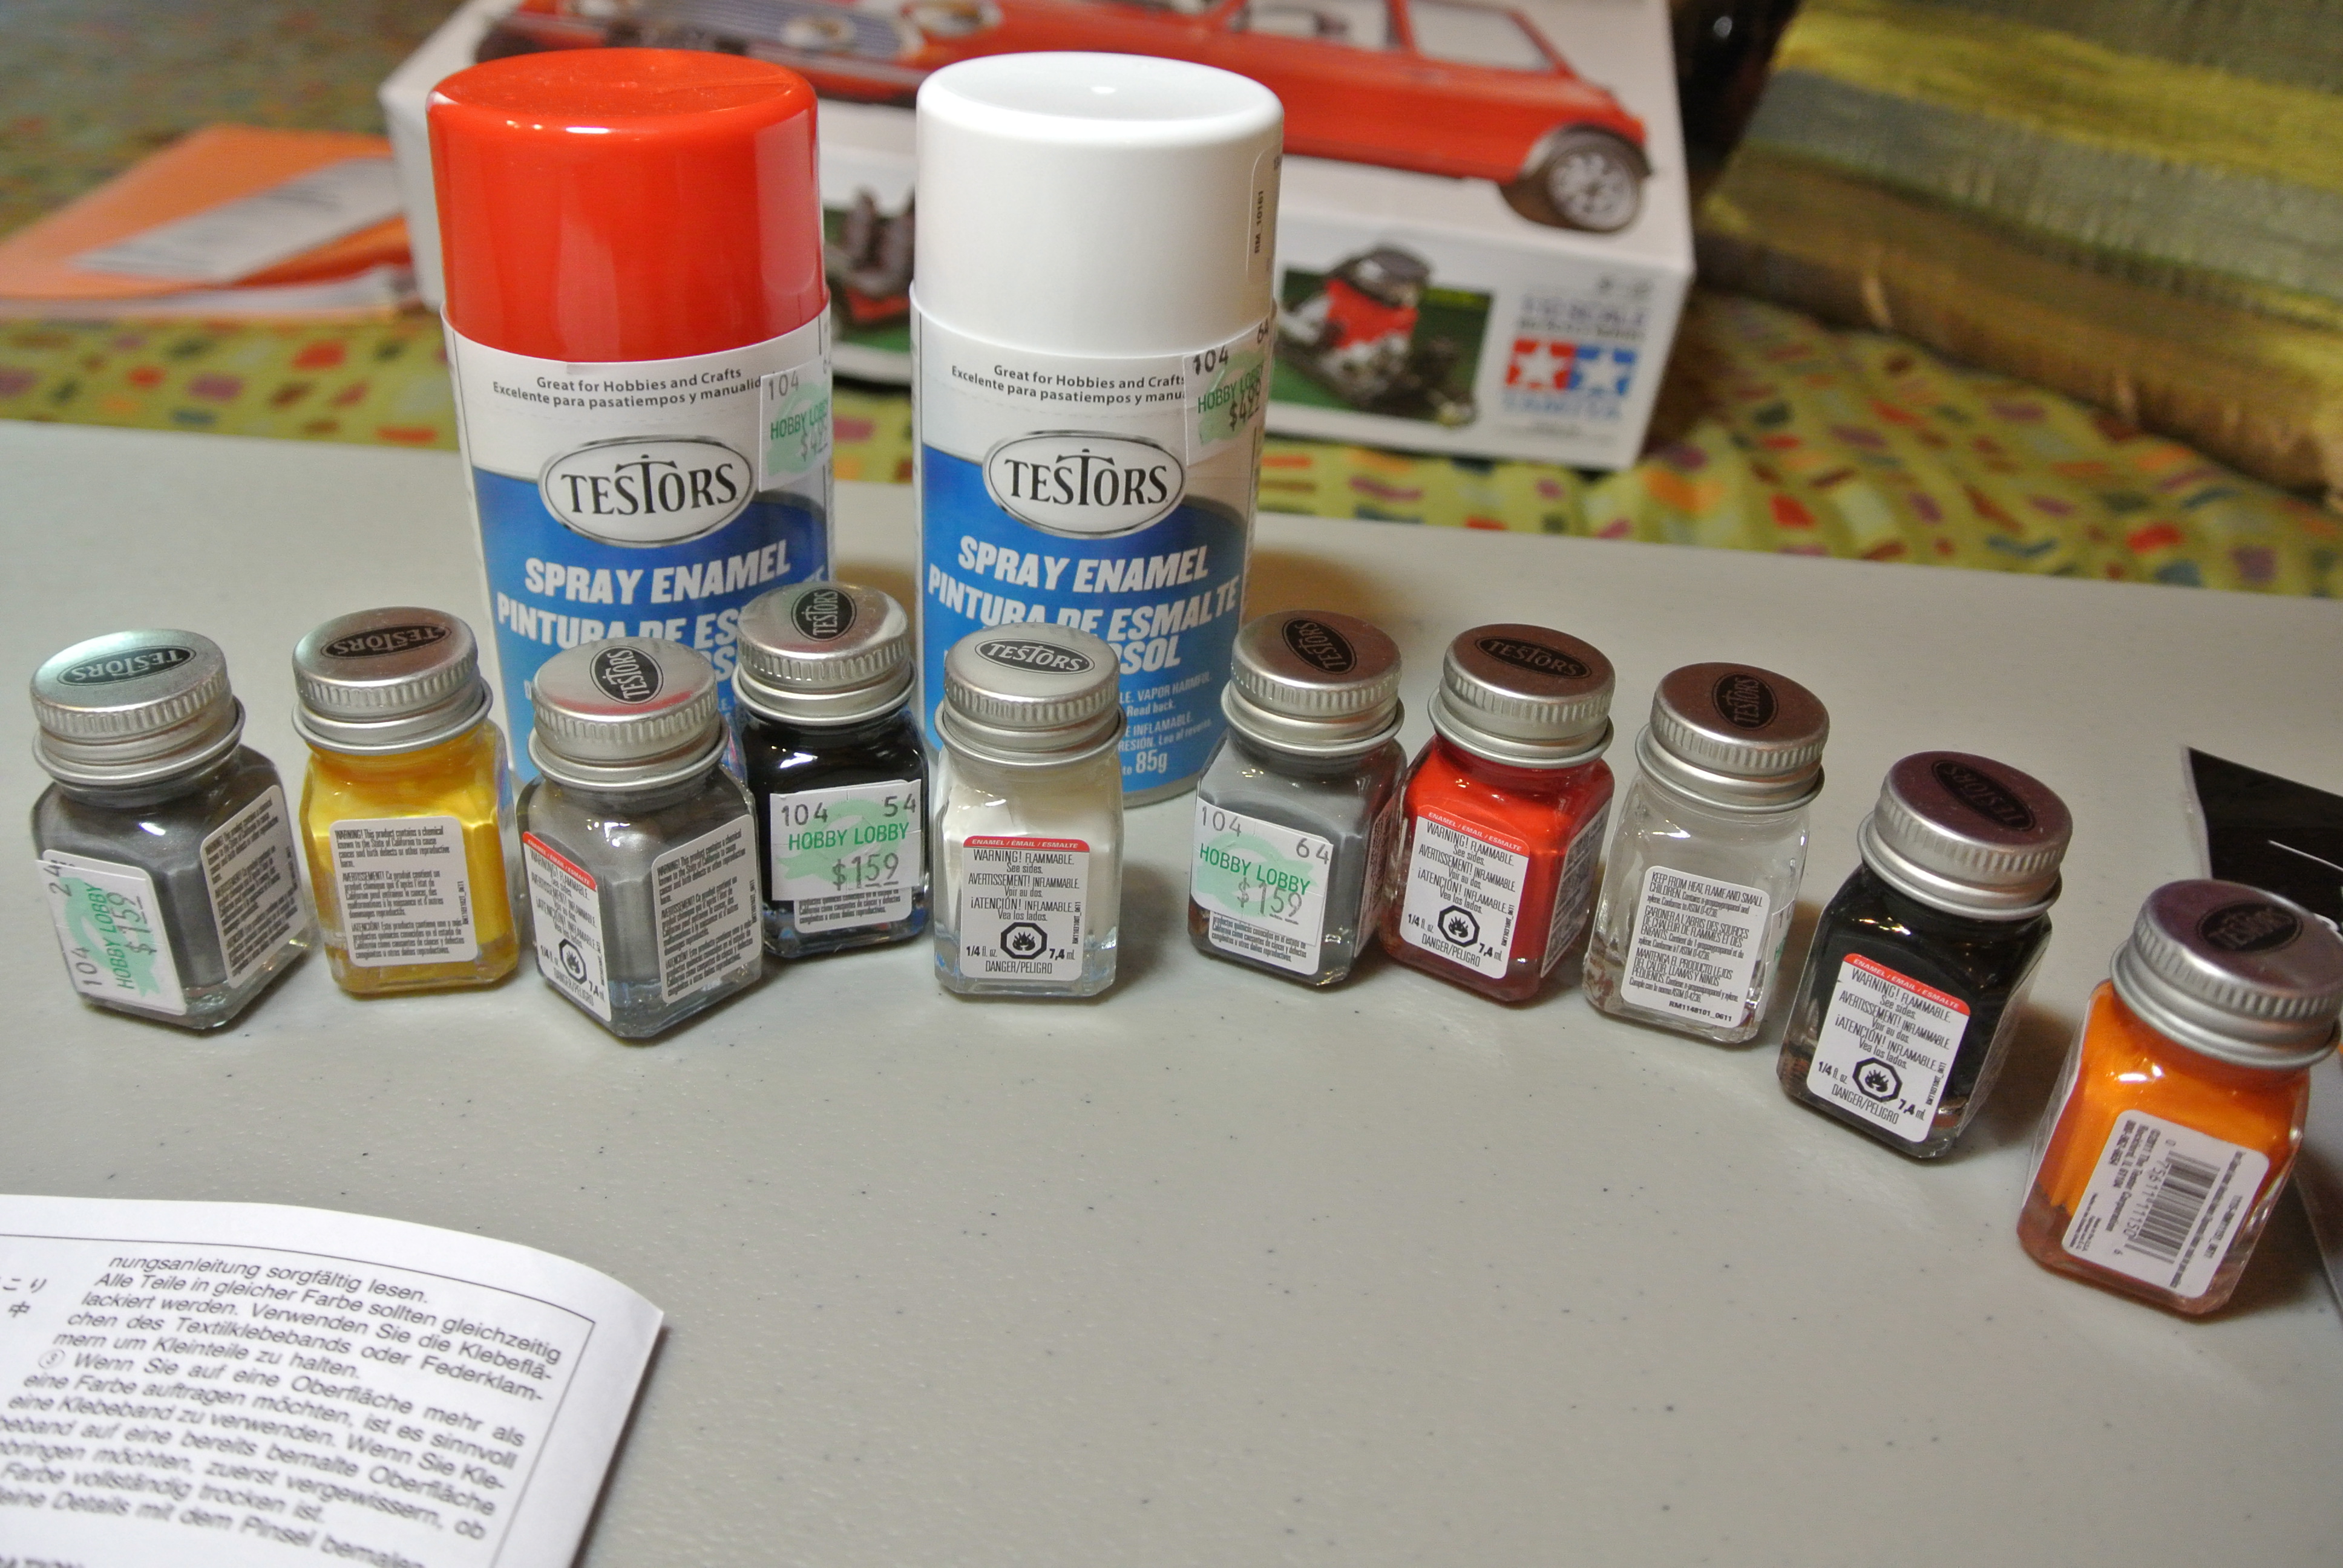
I narrowed my list of must have colors down to just 11 but still with brushes and glue spent about $35. When I was a kid building models, these little bottles of paint cost 15 cents each. Of course that was over 45 years ago. But with paint and glue, I was now ready to begin the model.
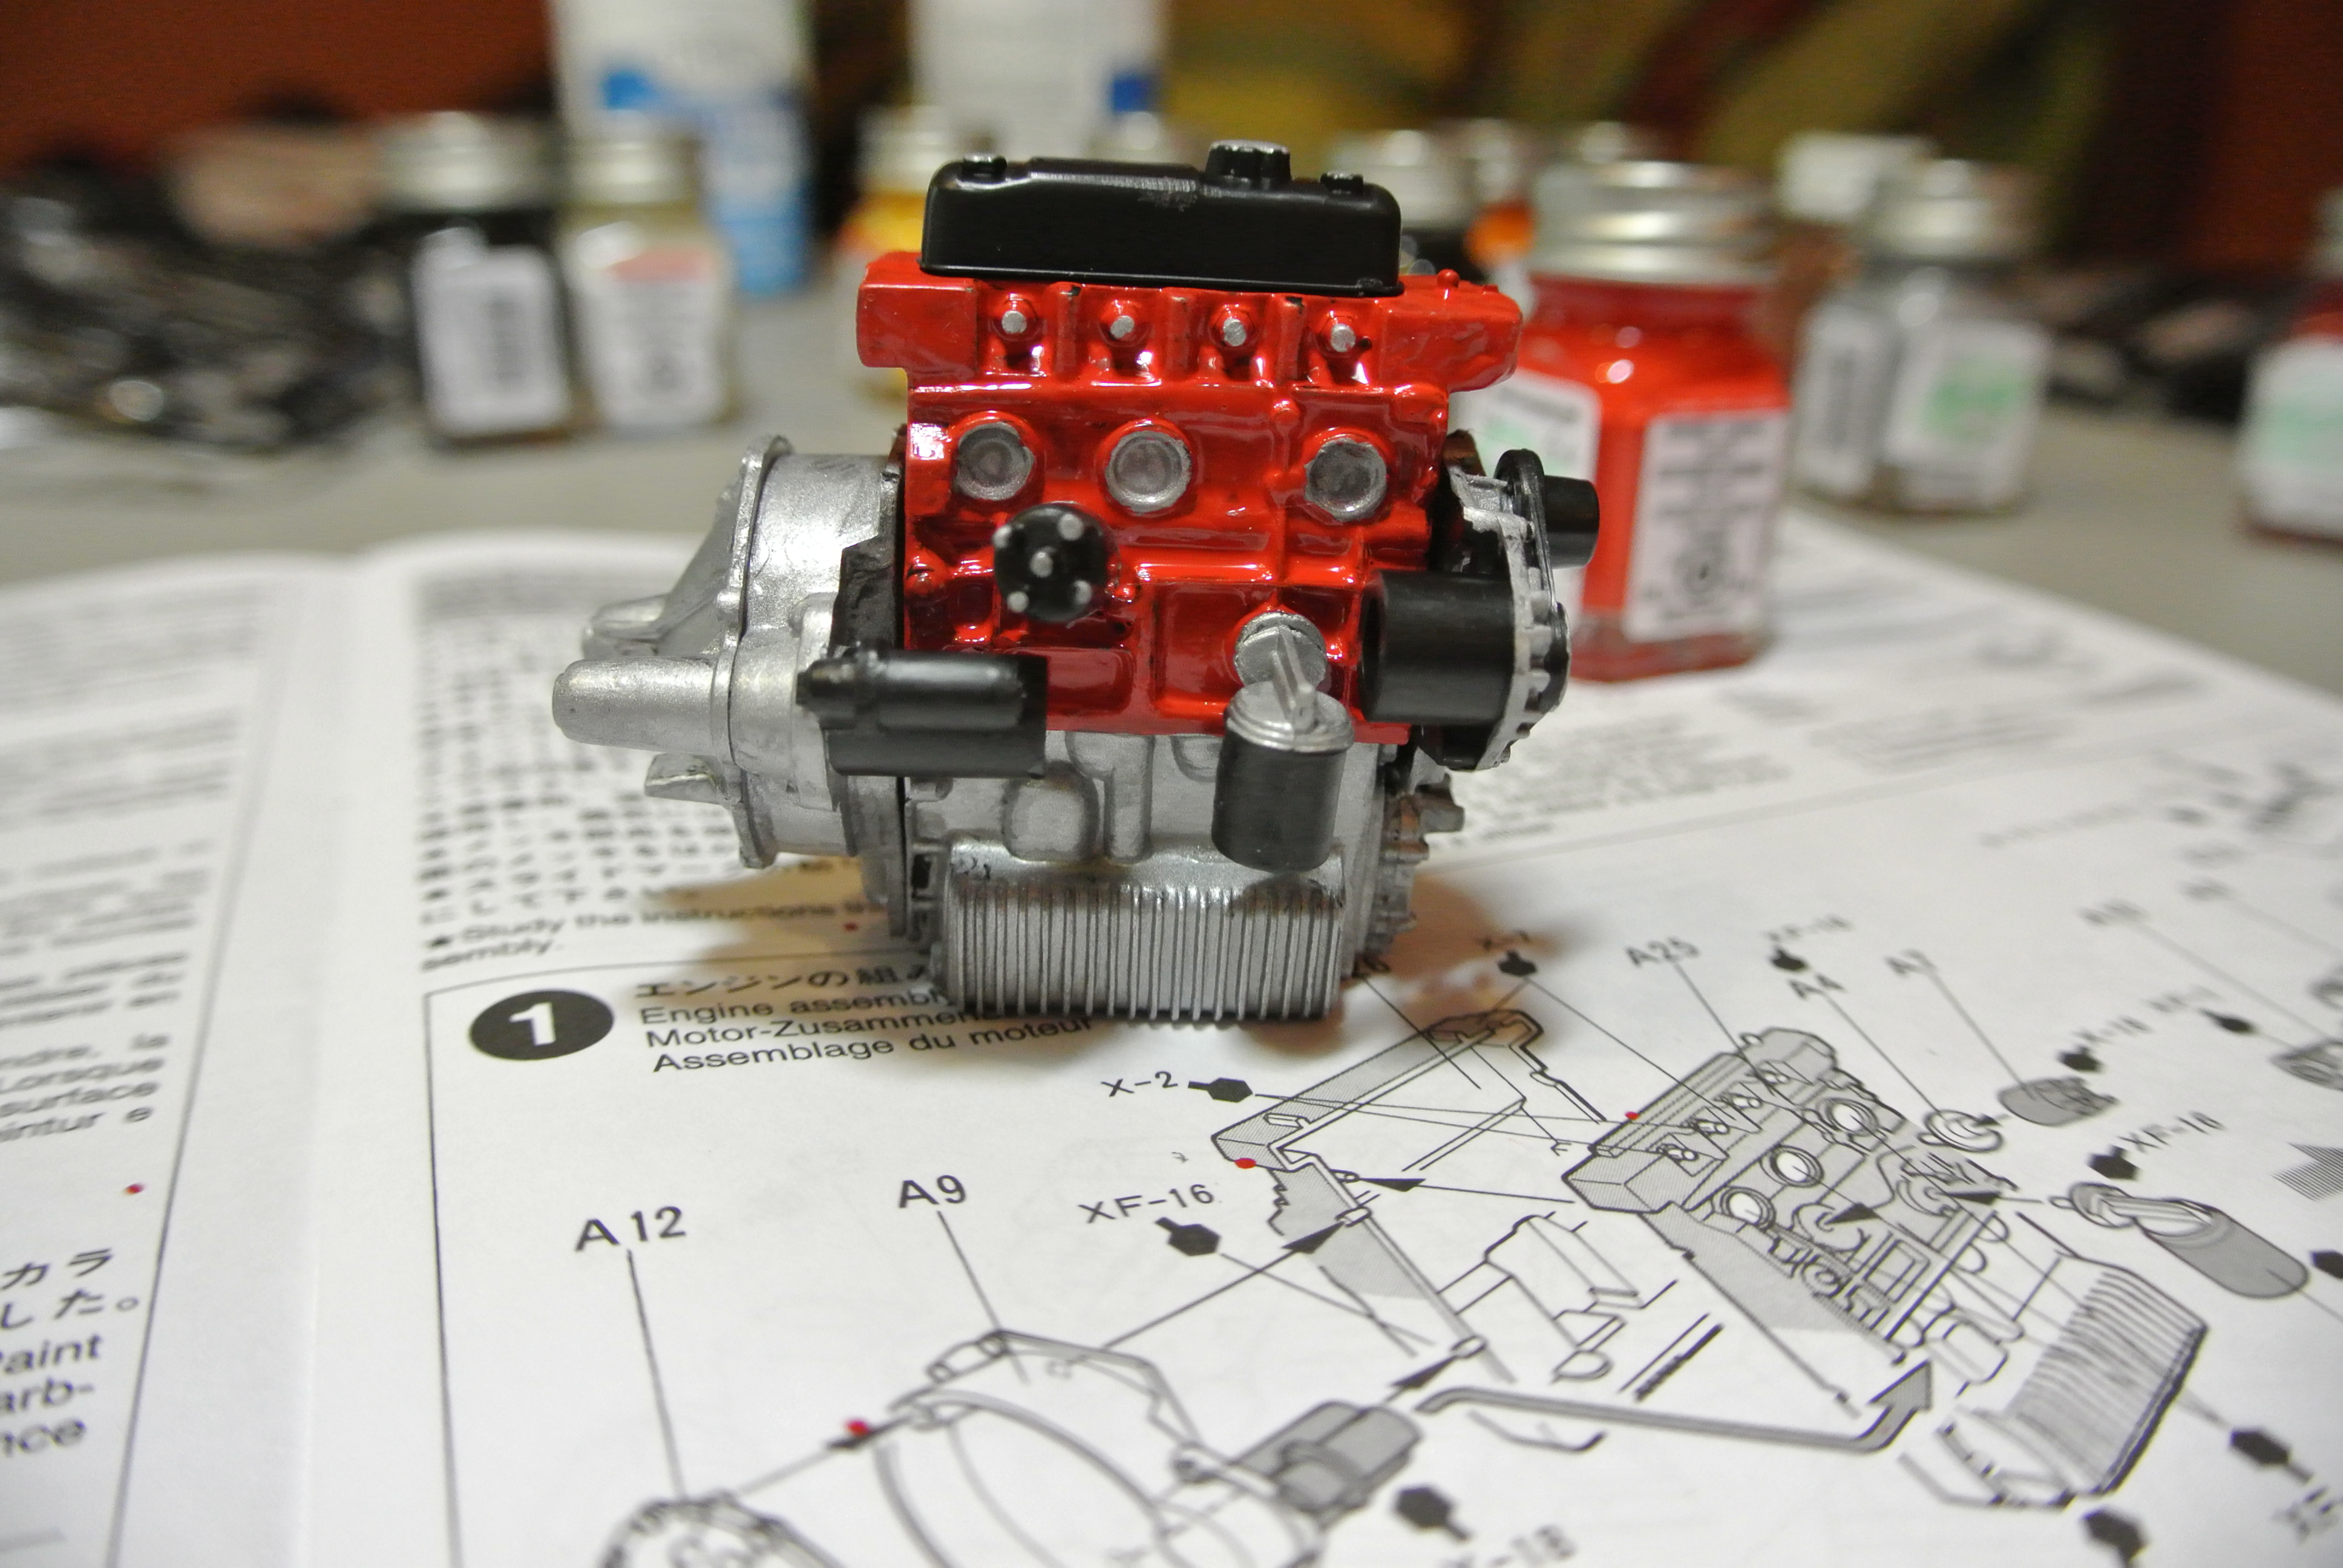
Consistent with all of the other car models I had assembled before, the engine build was the first step. And in this case, it required a good bit of painting.
With an assembled engine, the next step was to attach it to the front suspension system.
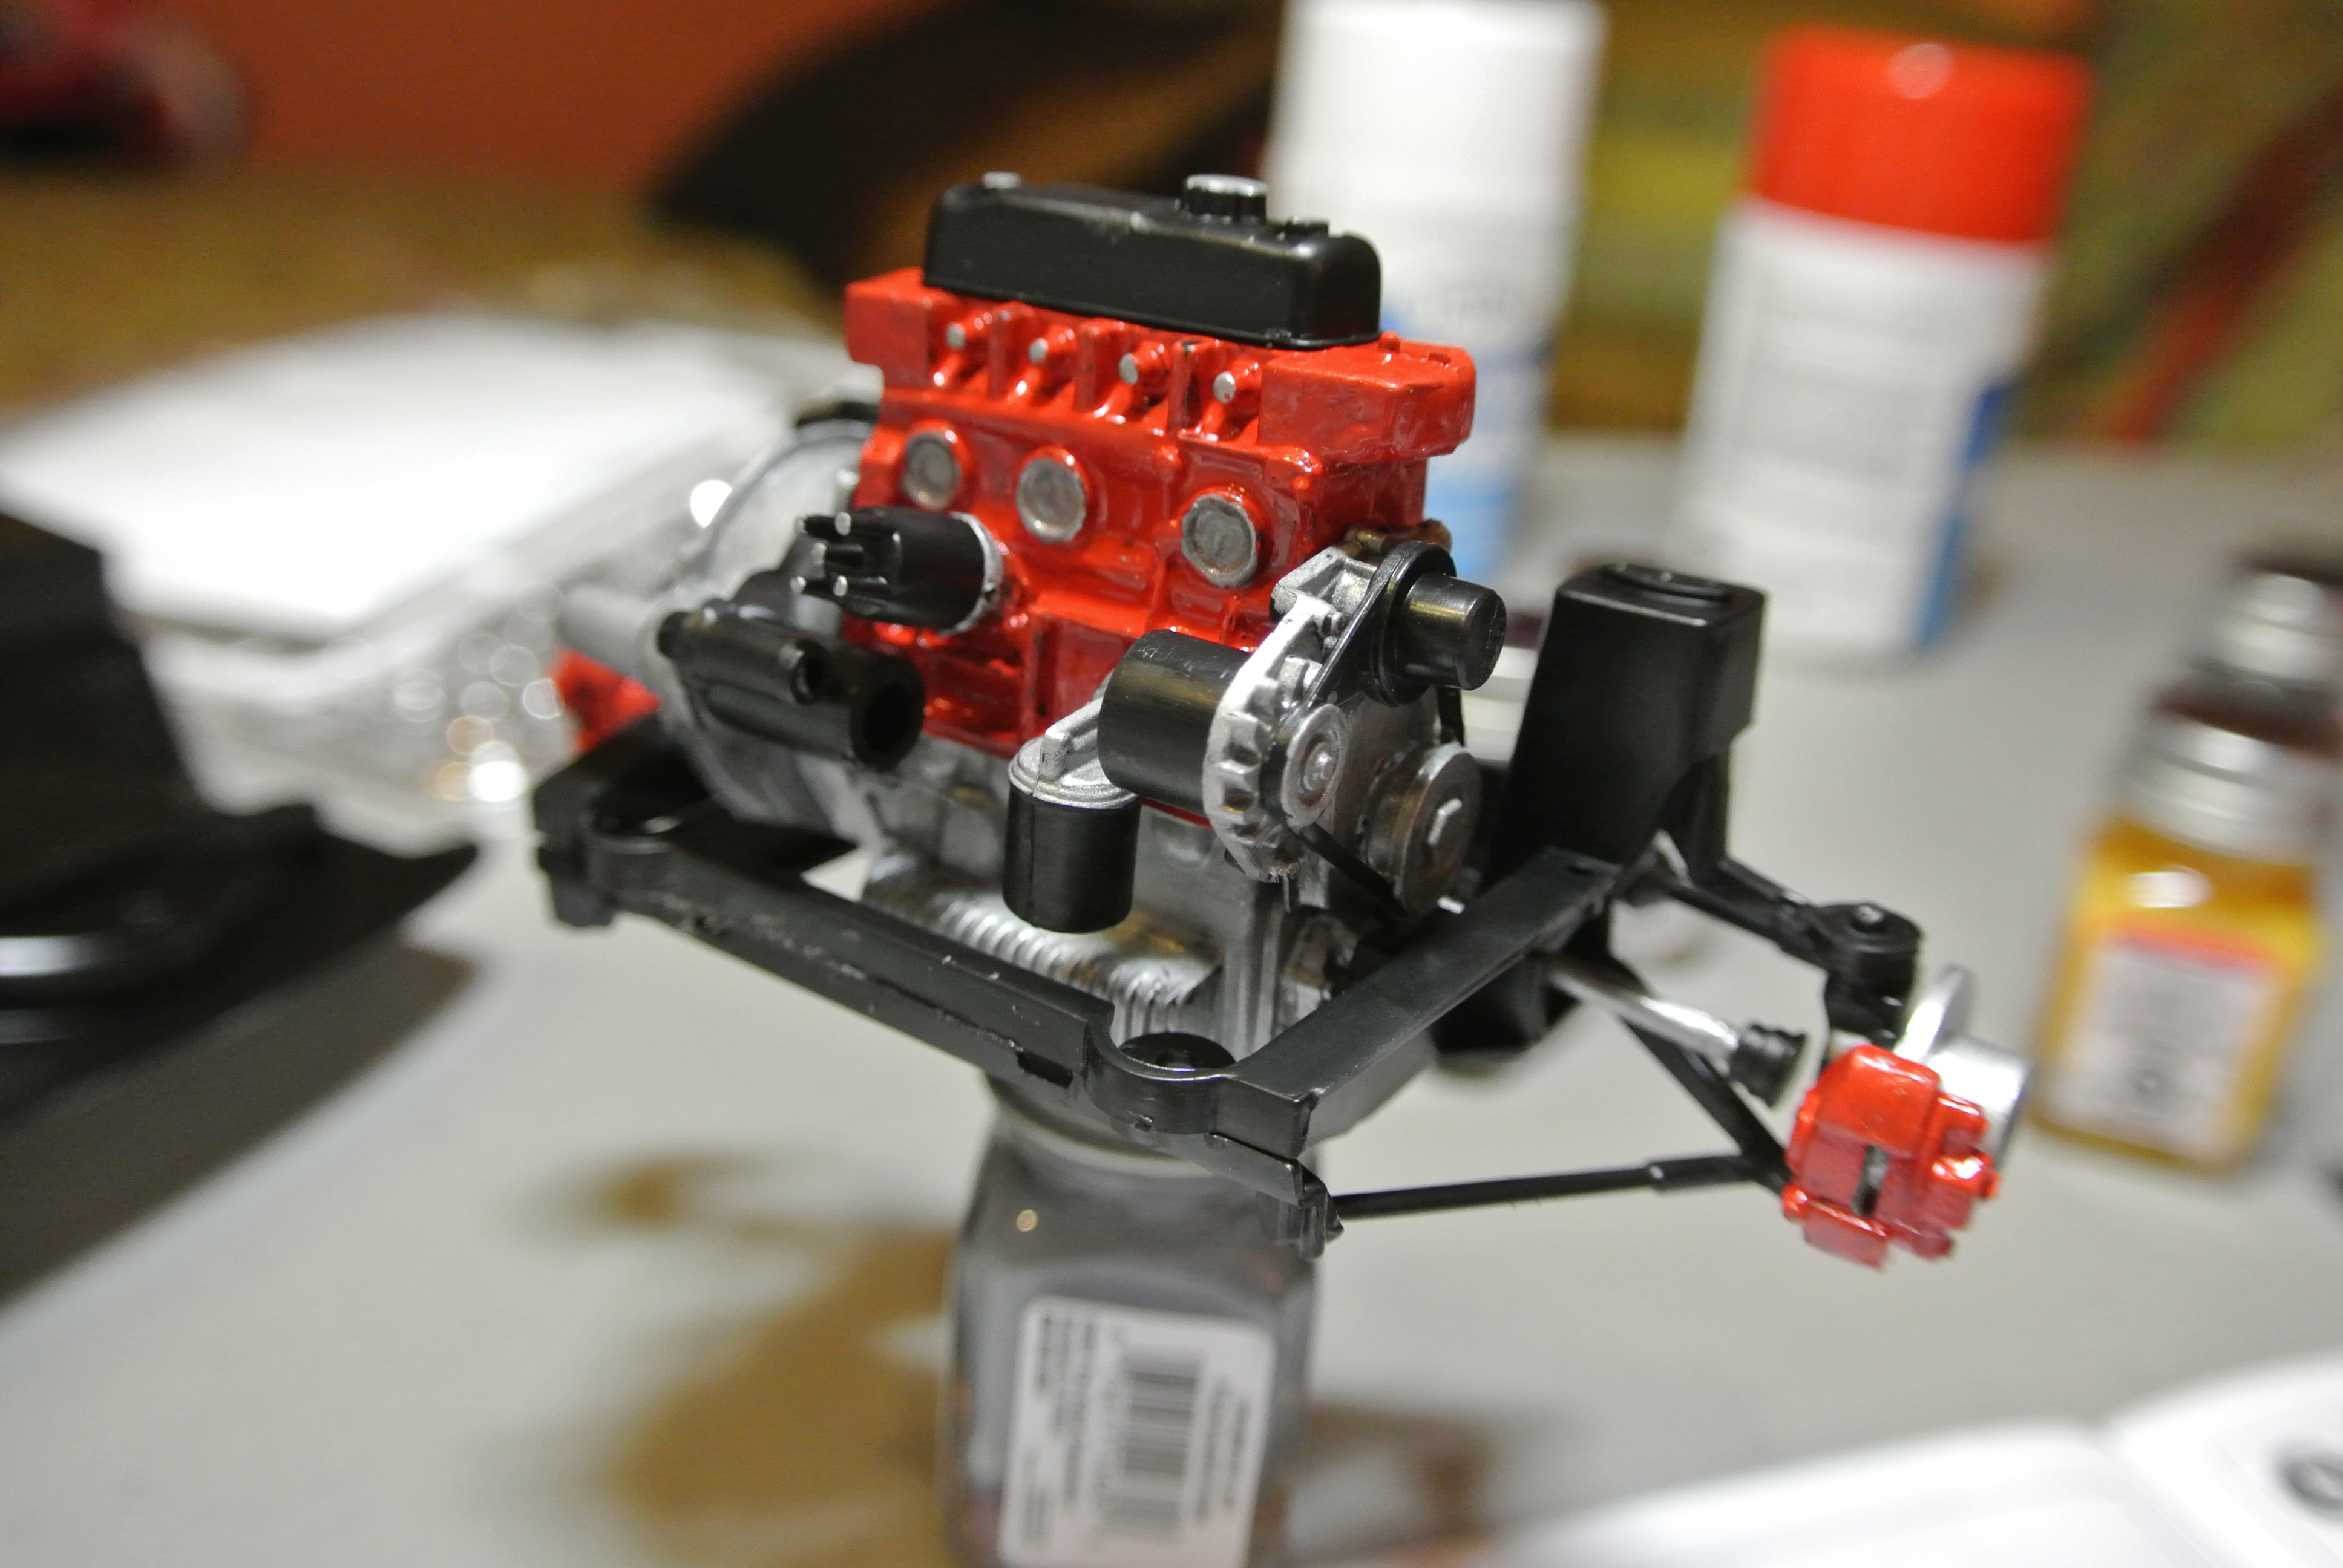
Here is where I used a little “artist’s license.” The brake calipers were supposed to be painted gold color but since that was not one of the colors I deemed essential, I painted them red. I actually thought that would look better anyway.
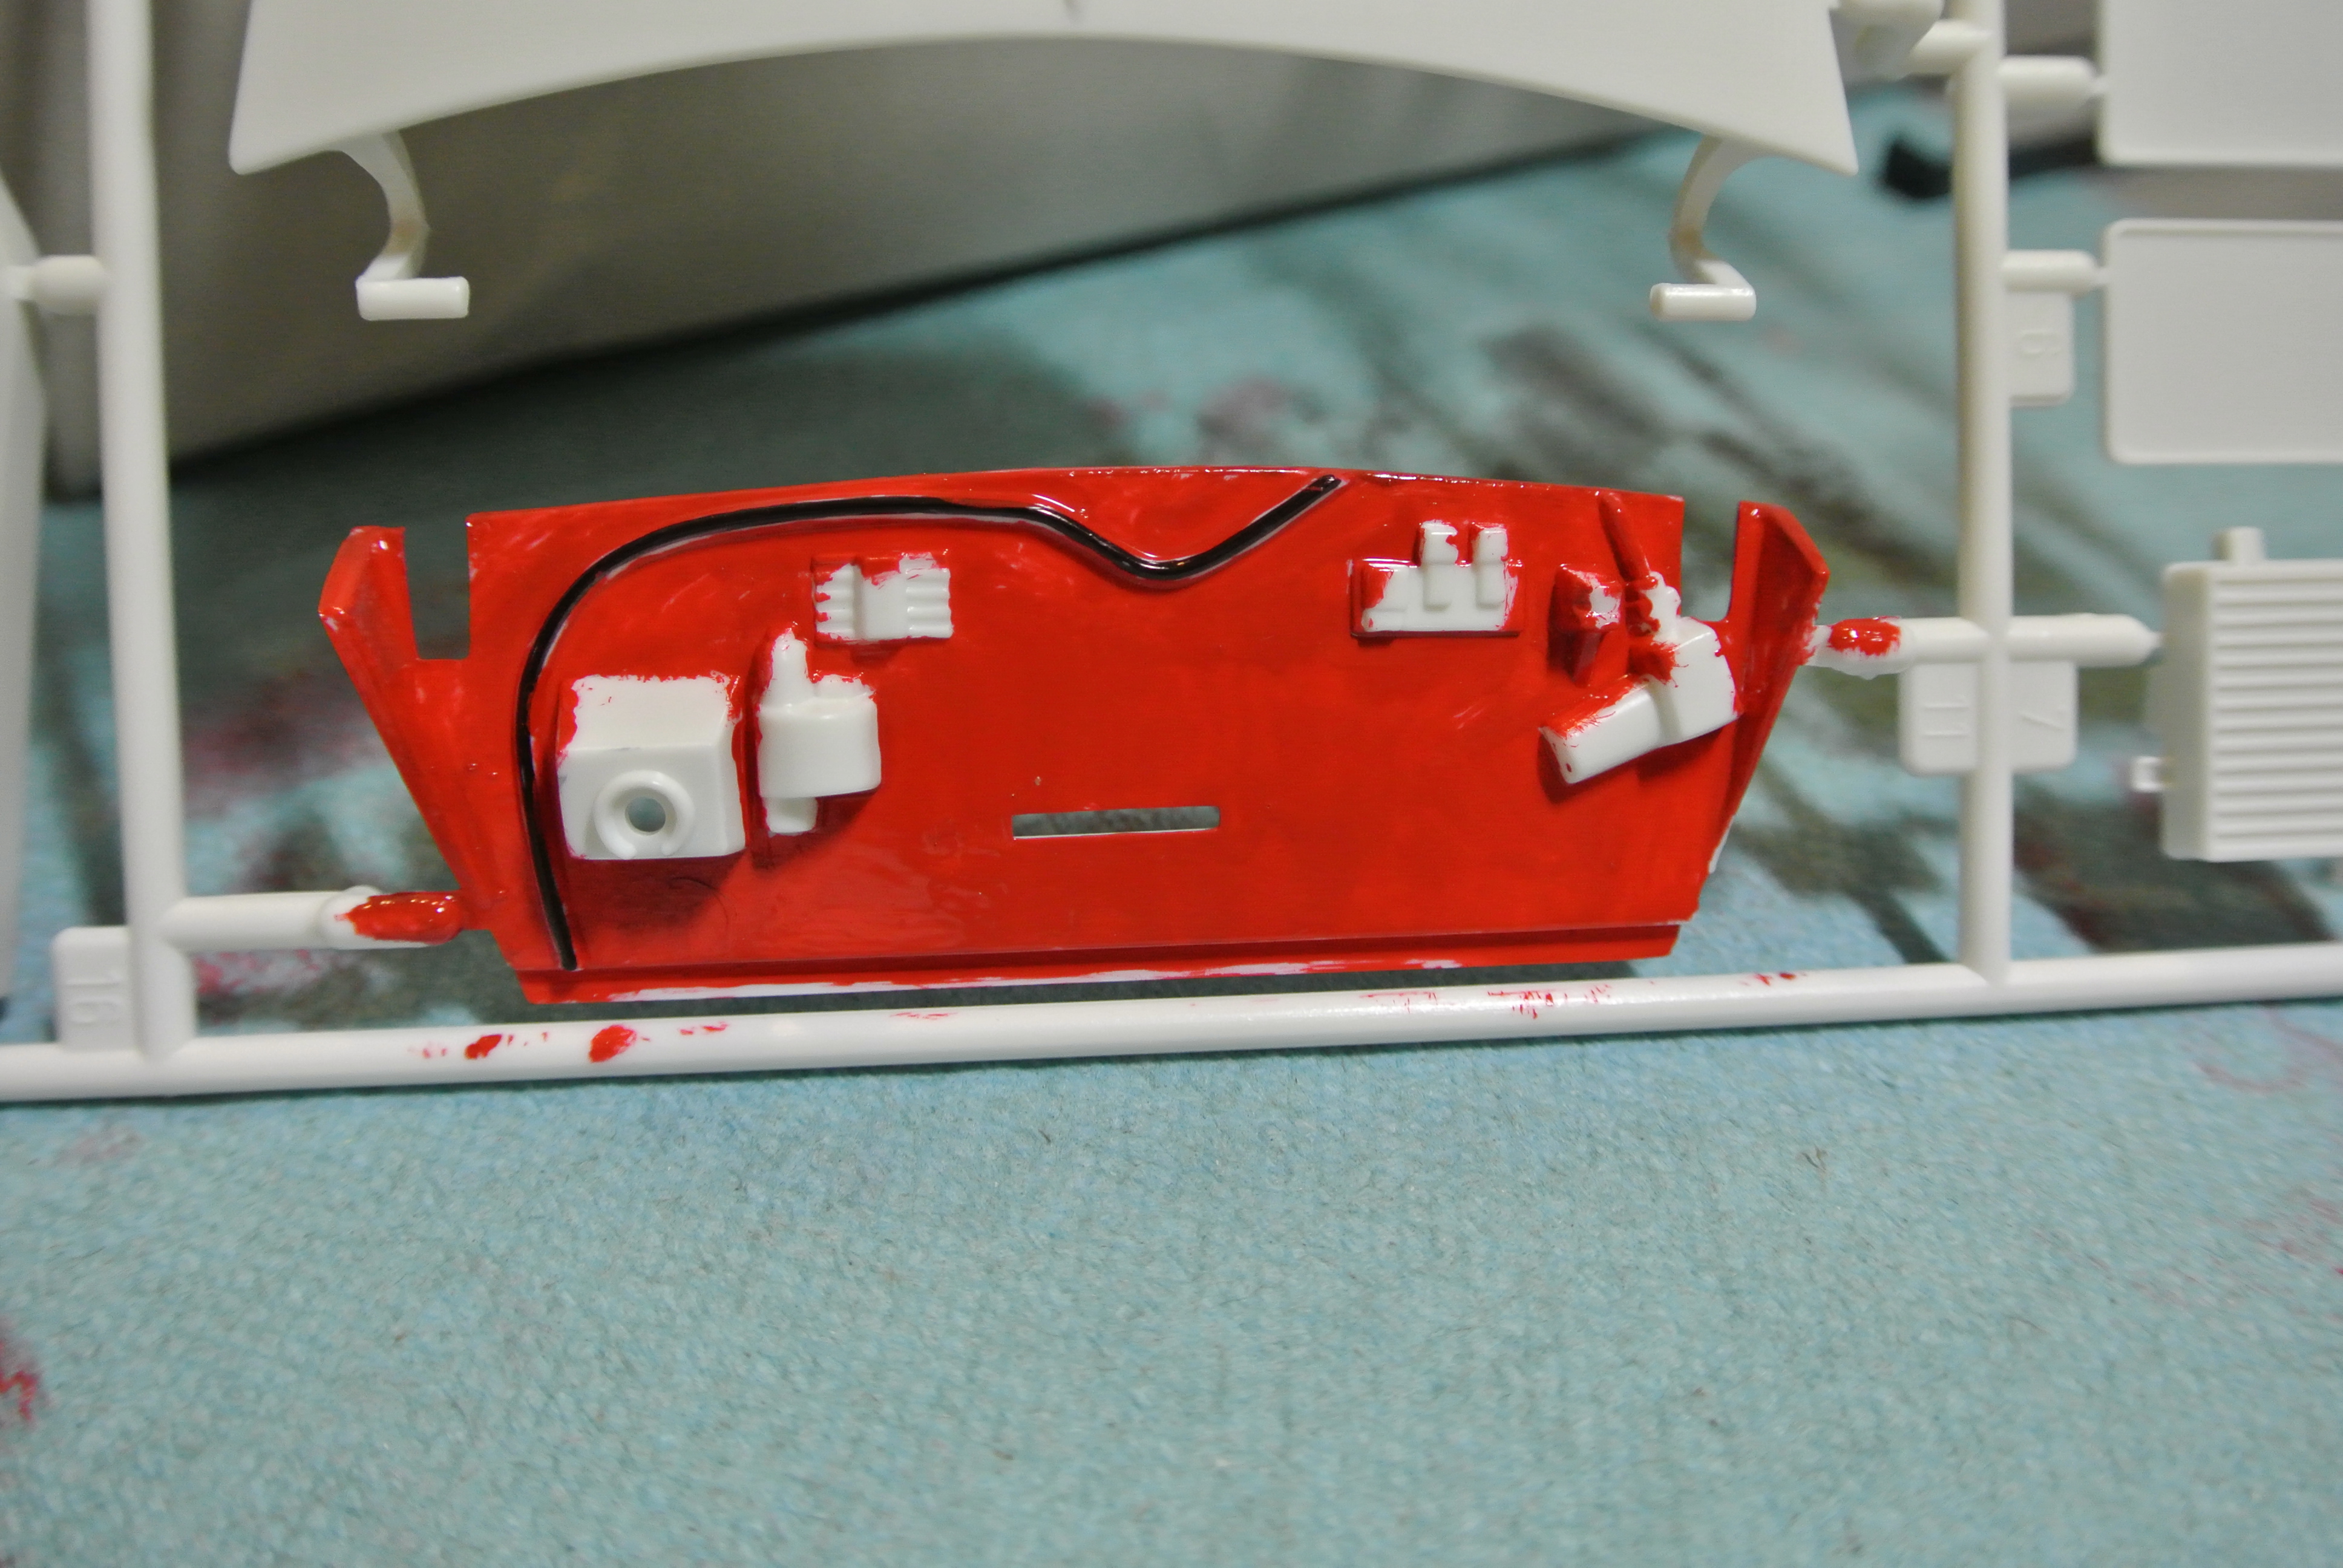
With a finished engine, I was ready to tackle the firewall. It was all one piece but required painting of seven individual components all different colors. I could see that my skills for painting small parts had deteriorated over the years. I headed downstairs for a few toothpicks to help in this step.

All the while, I thought I should get started painting the body. This step was typically the nemesis of my modeling in years past as I rarely achieved a high quality paint job even with spray paint.
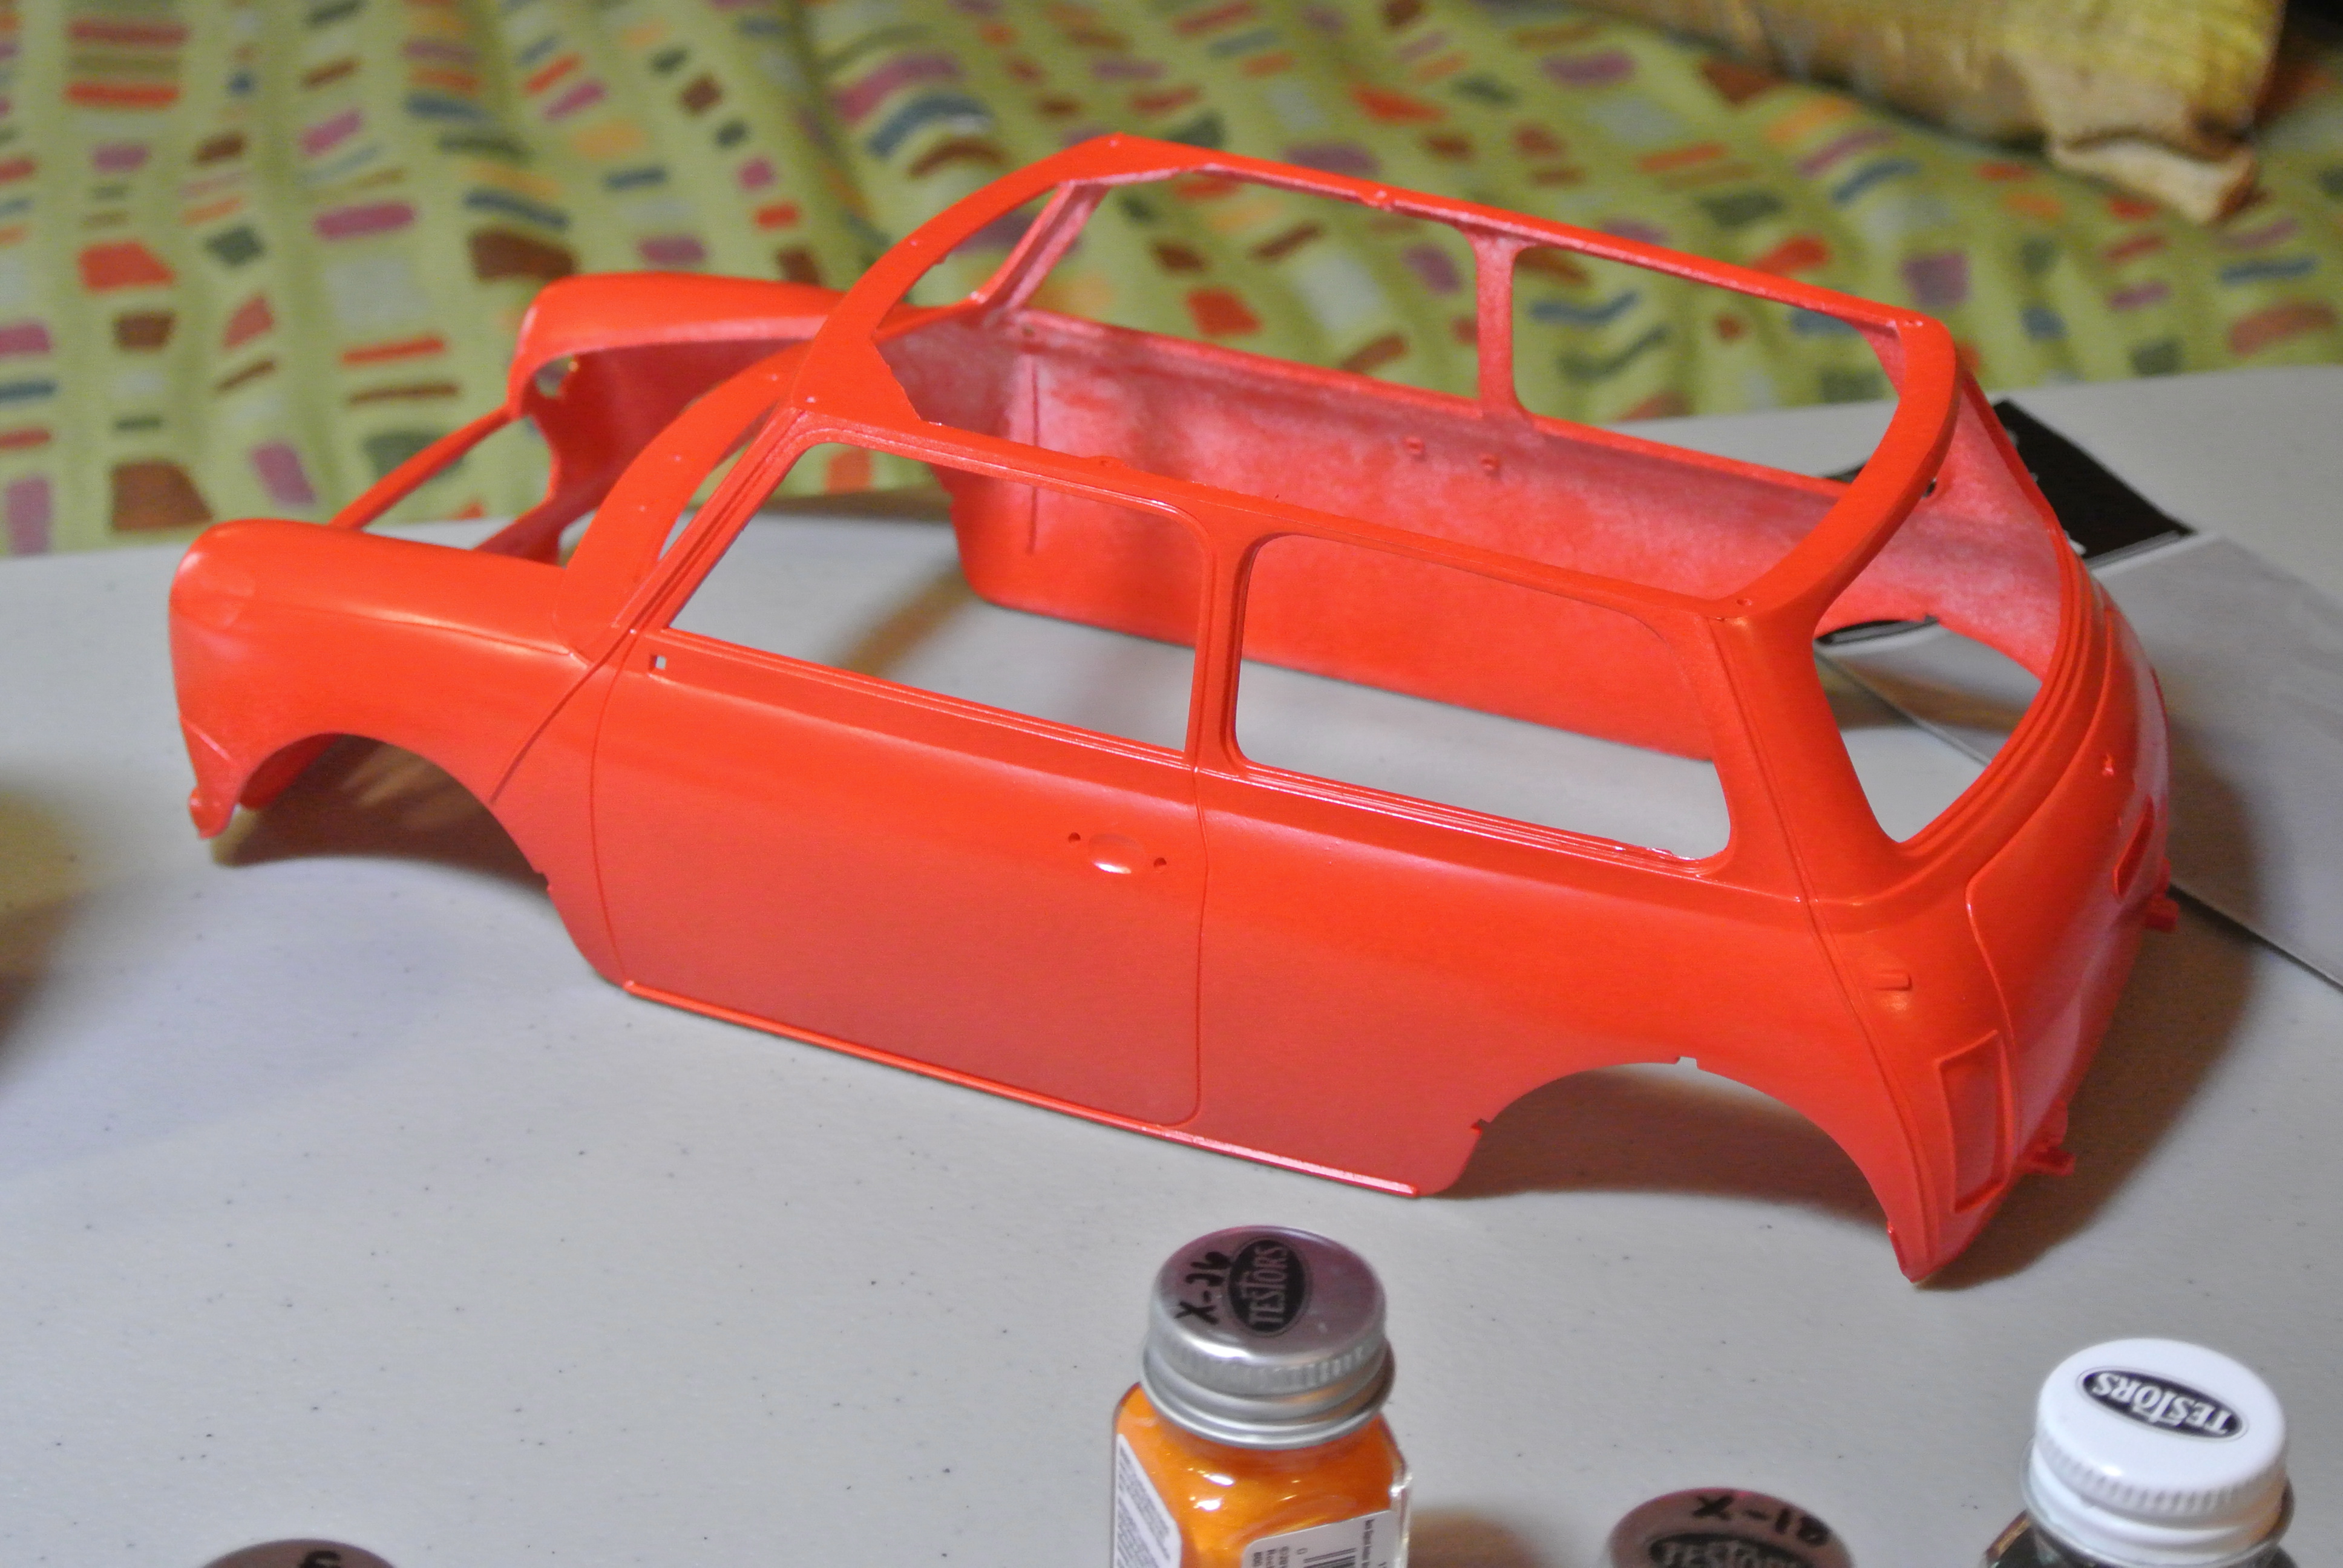
I gave it a quick coat to see how many coats it would require and then went on to other assembly steps. To be continued…
Categories

This is so cool! I am glad you ordered it–what an adventure to see if you could put it together with just pictures. And it is really cute:) And thank goodness there is some English:)
Thanks, I was pleased with the final result but there were times when it was tedious to paint.