
Miniature Backyard Fun

Last fall on one of the days when my in-town granddaughter was off from school, I was at their house watching her while her mom and dad worked. When she asked what we should play, I suggested we play with her doll house. She readily agreed.
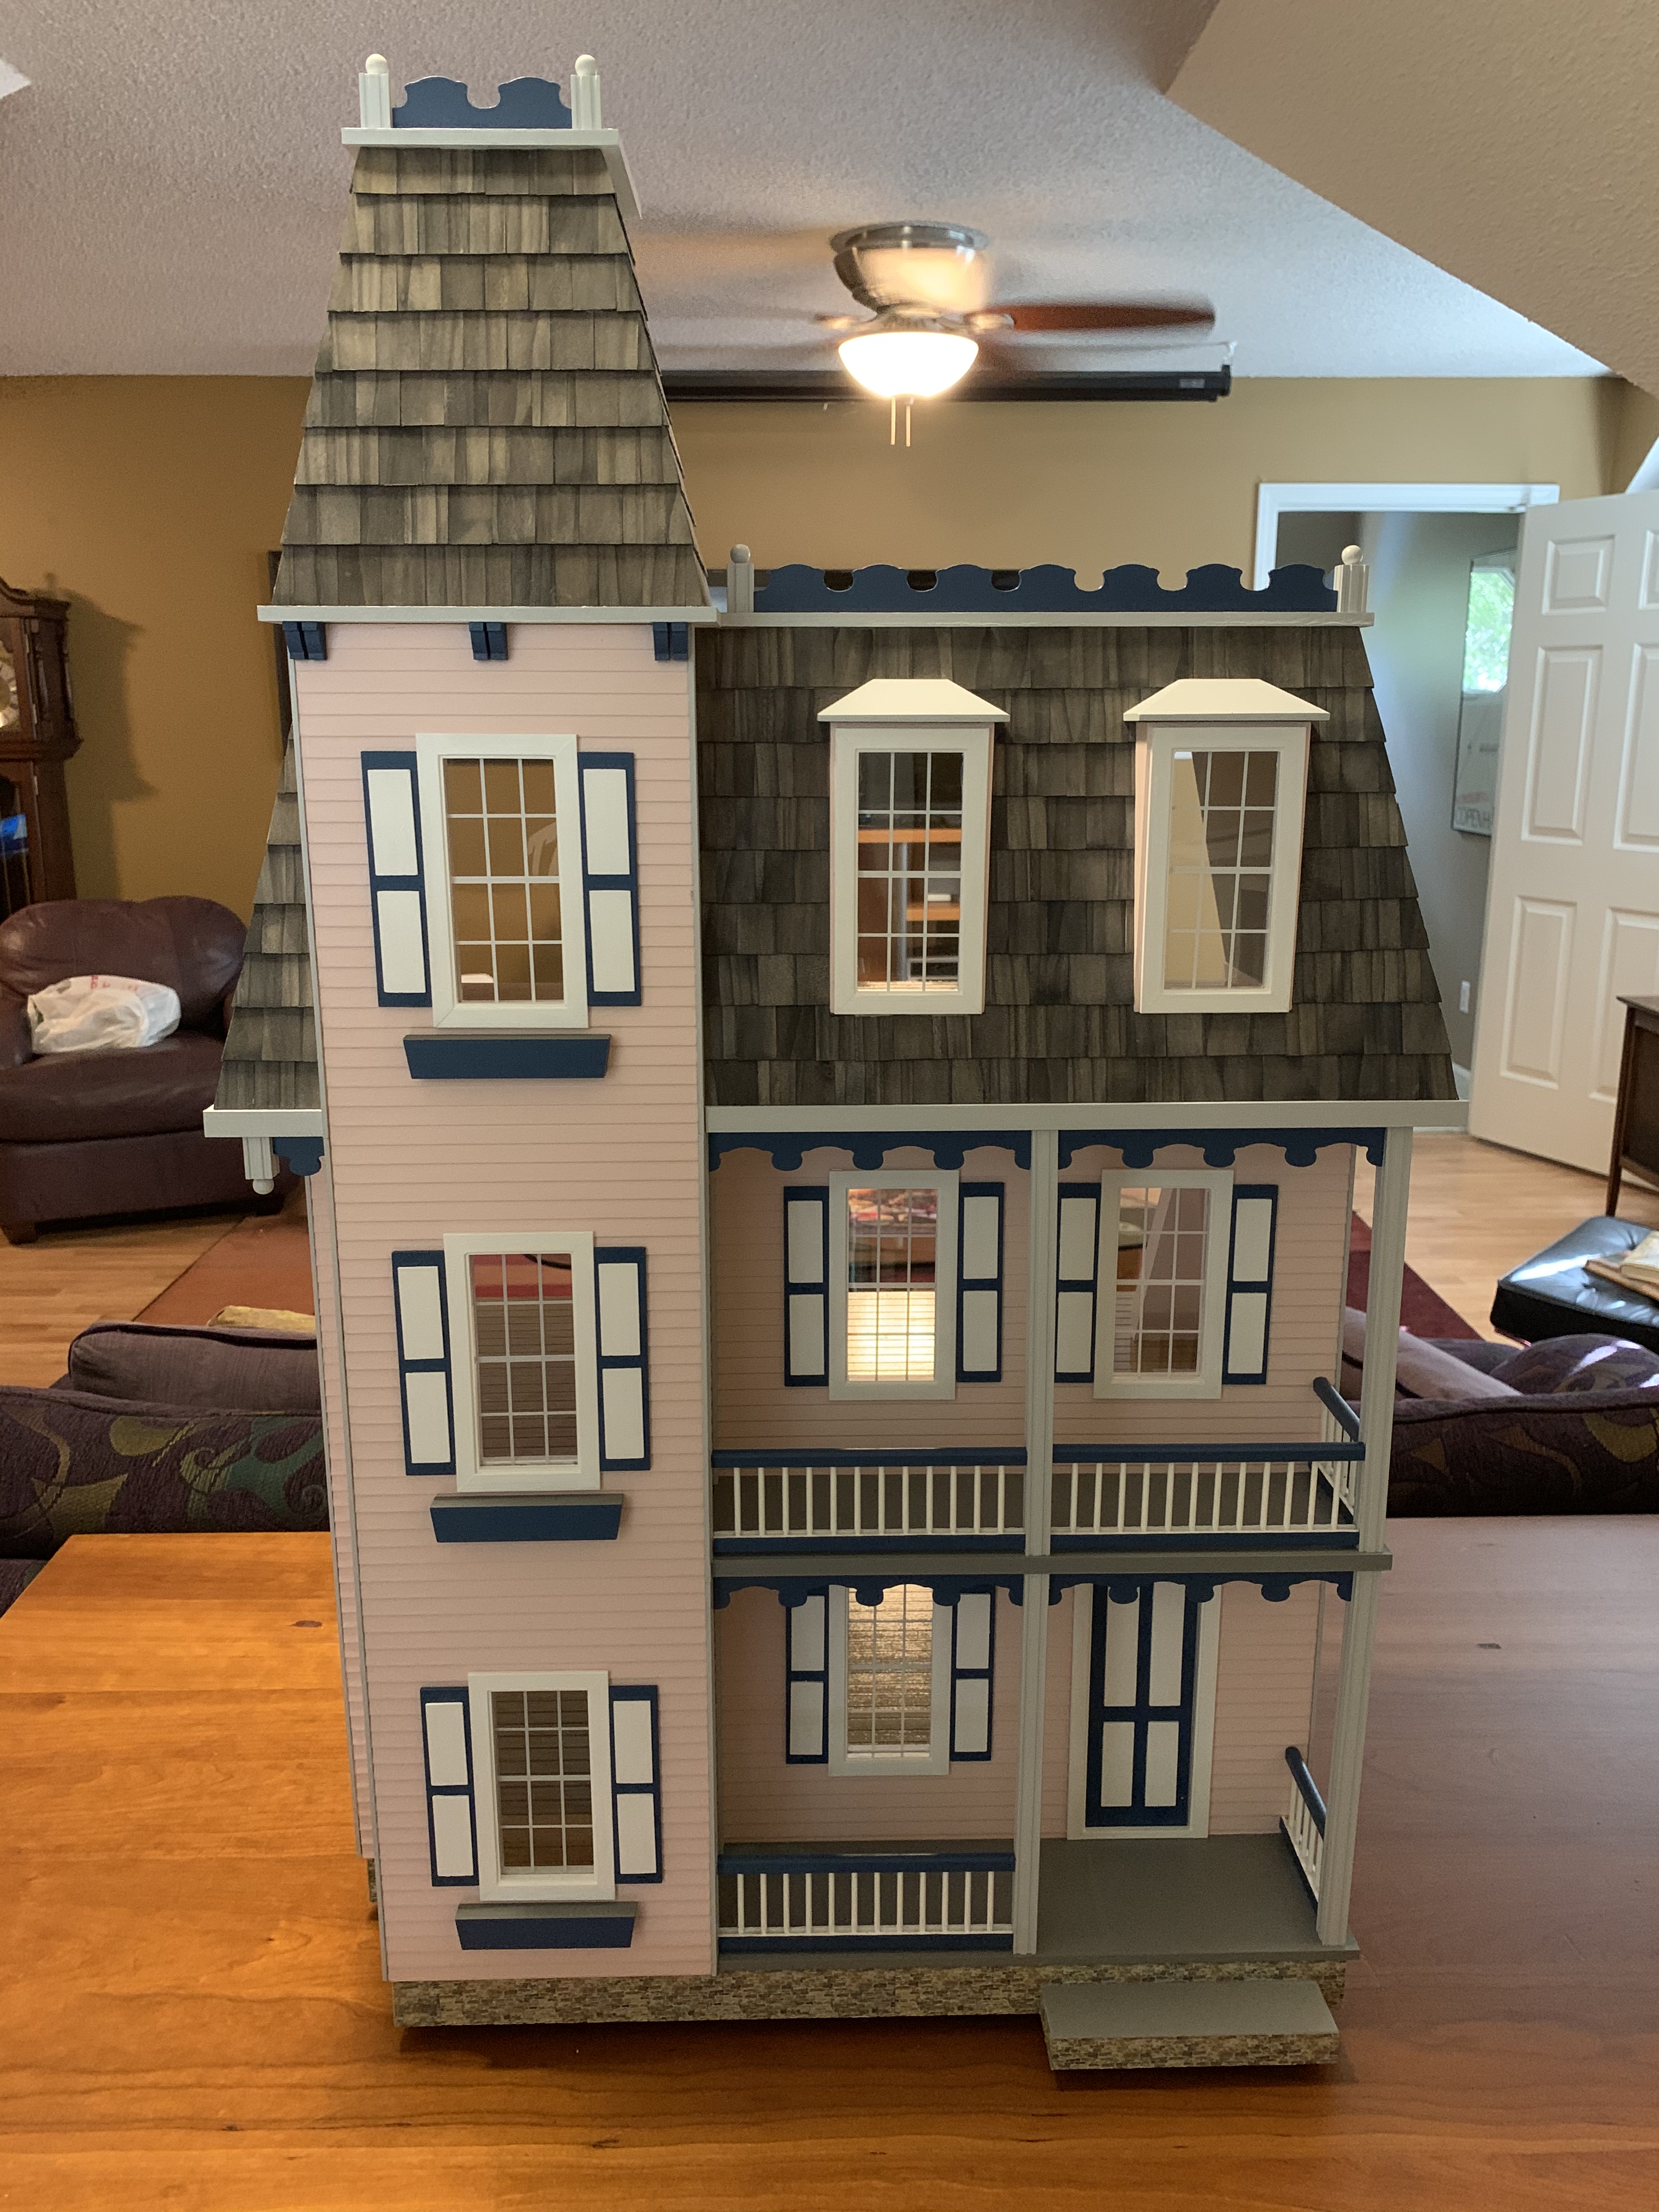
You may recall that several years ago, I built this doll house for our granddaughter (actually the first of several I have built since), and we gave it to her for Christmas that year.

Santa, with his all-knowing-wisdom, fully furnished the house for her making it move-in ready for the small family of four.

In January, I decided to build a play table for the doll house so it would not have to rest on the floor, making play a bit easier for us senior citizens. I designed it to fit down on top of an existing table and covered it with artificial grass to provide a big yard, front and back. Since the house was on casters, the size of the yard, front or back, could be enlarged depending on where the play occurred.

As we played on that day last fall, I realized for the first time that the luscious, verdant backyard was completely empty. We had a good time playing, occasionally bringing some of the furniture “outdoors.” But I knew I needed to remedy that.
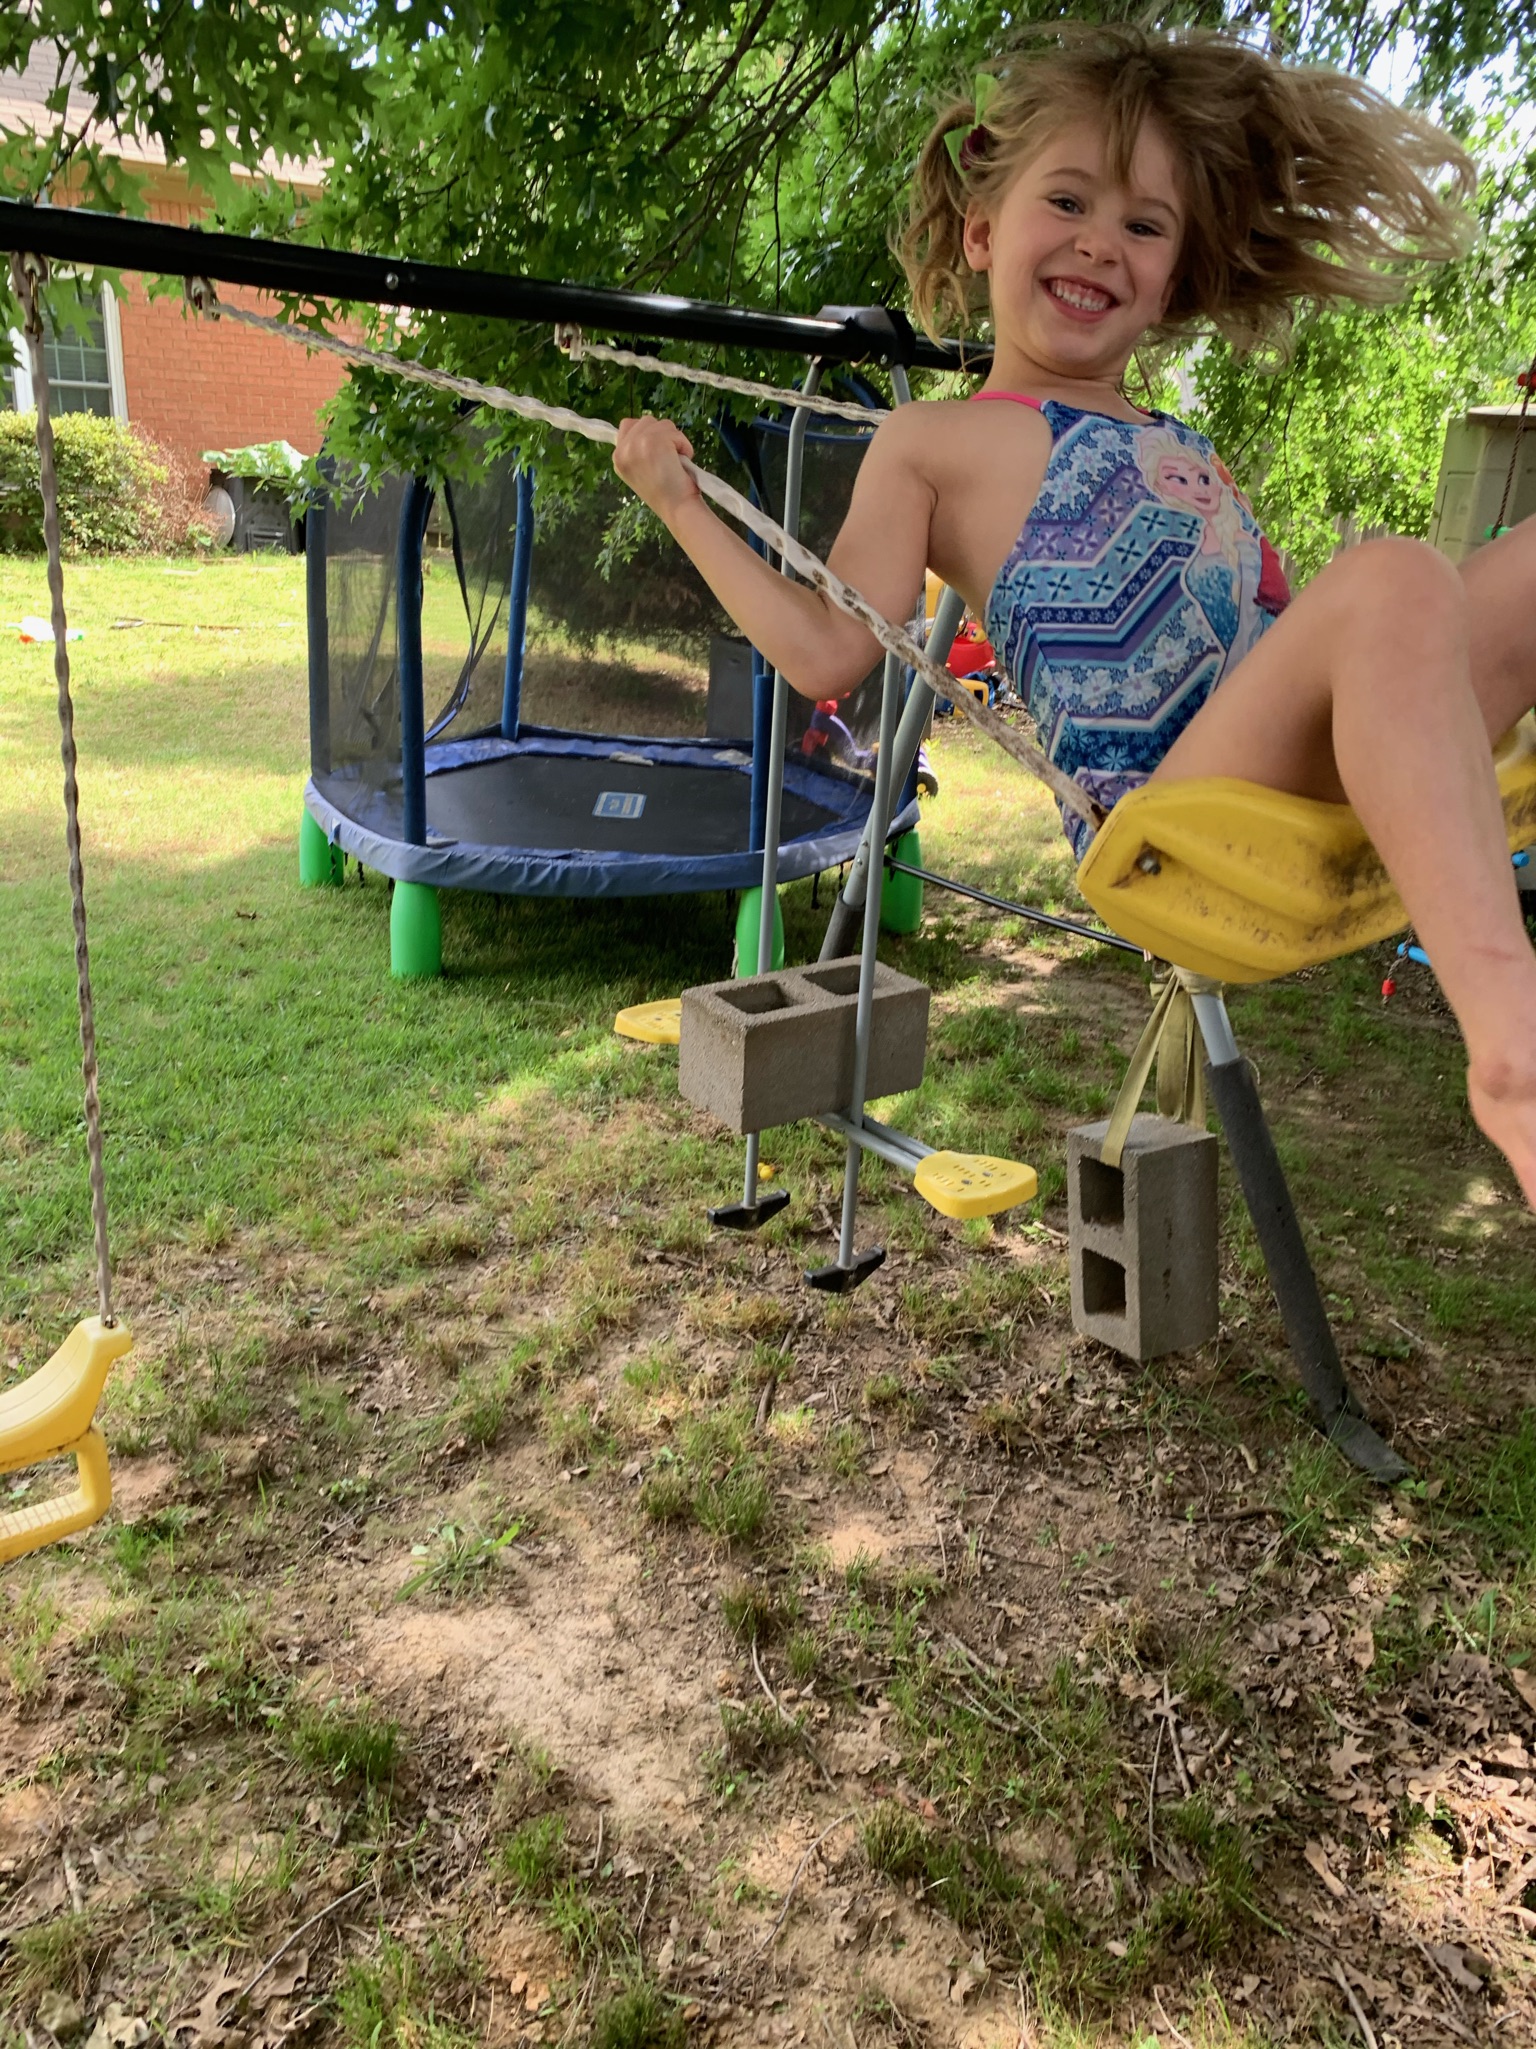
I have written before about my granddaughter’s two main loves for outdoor backyard play: swinging and jumping on her trampoline. As all of her existing furniture had been purchased, I assumed I could easily find some things online. I was sadly wrong.
The only trampoline I could find for sale was one handmade by someone—in my mind totally inadequate.
I had no better luck looking for a swing set, the only one I found being a porch swing. My sister who builds doll houses with me was over at the time and she encouraged me to build one myself. It seemed like the best option.
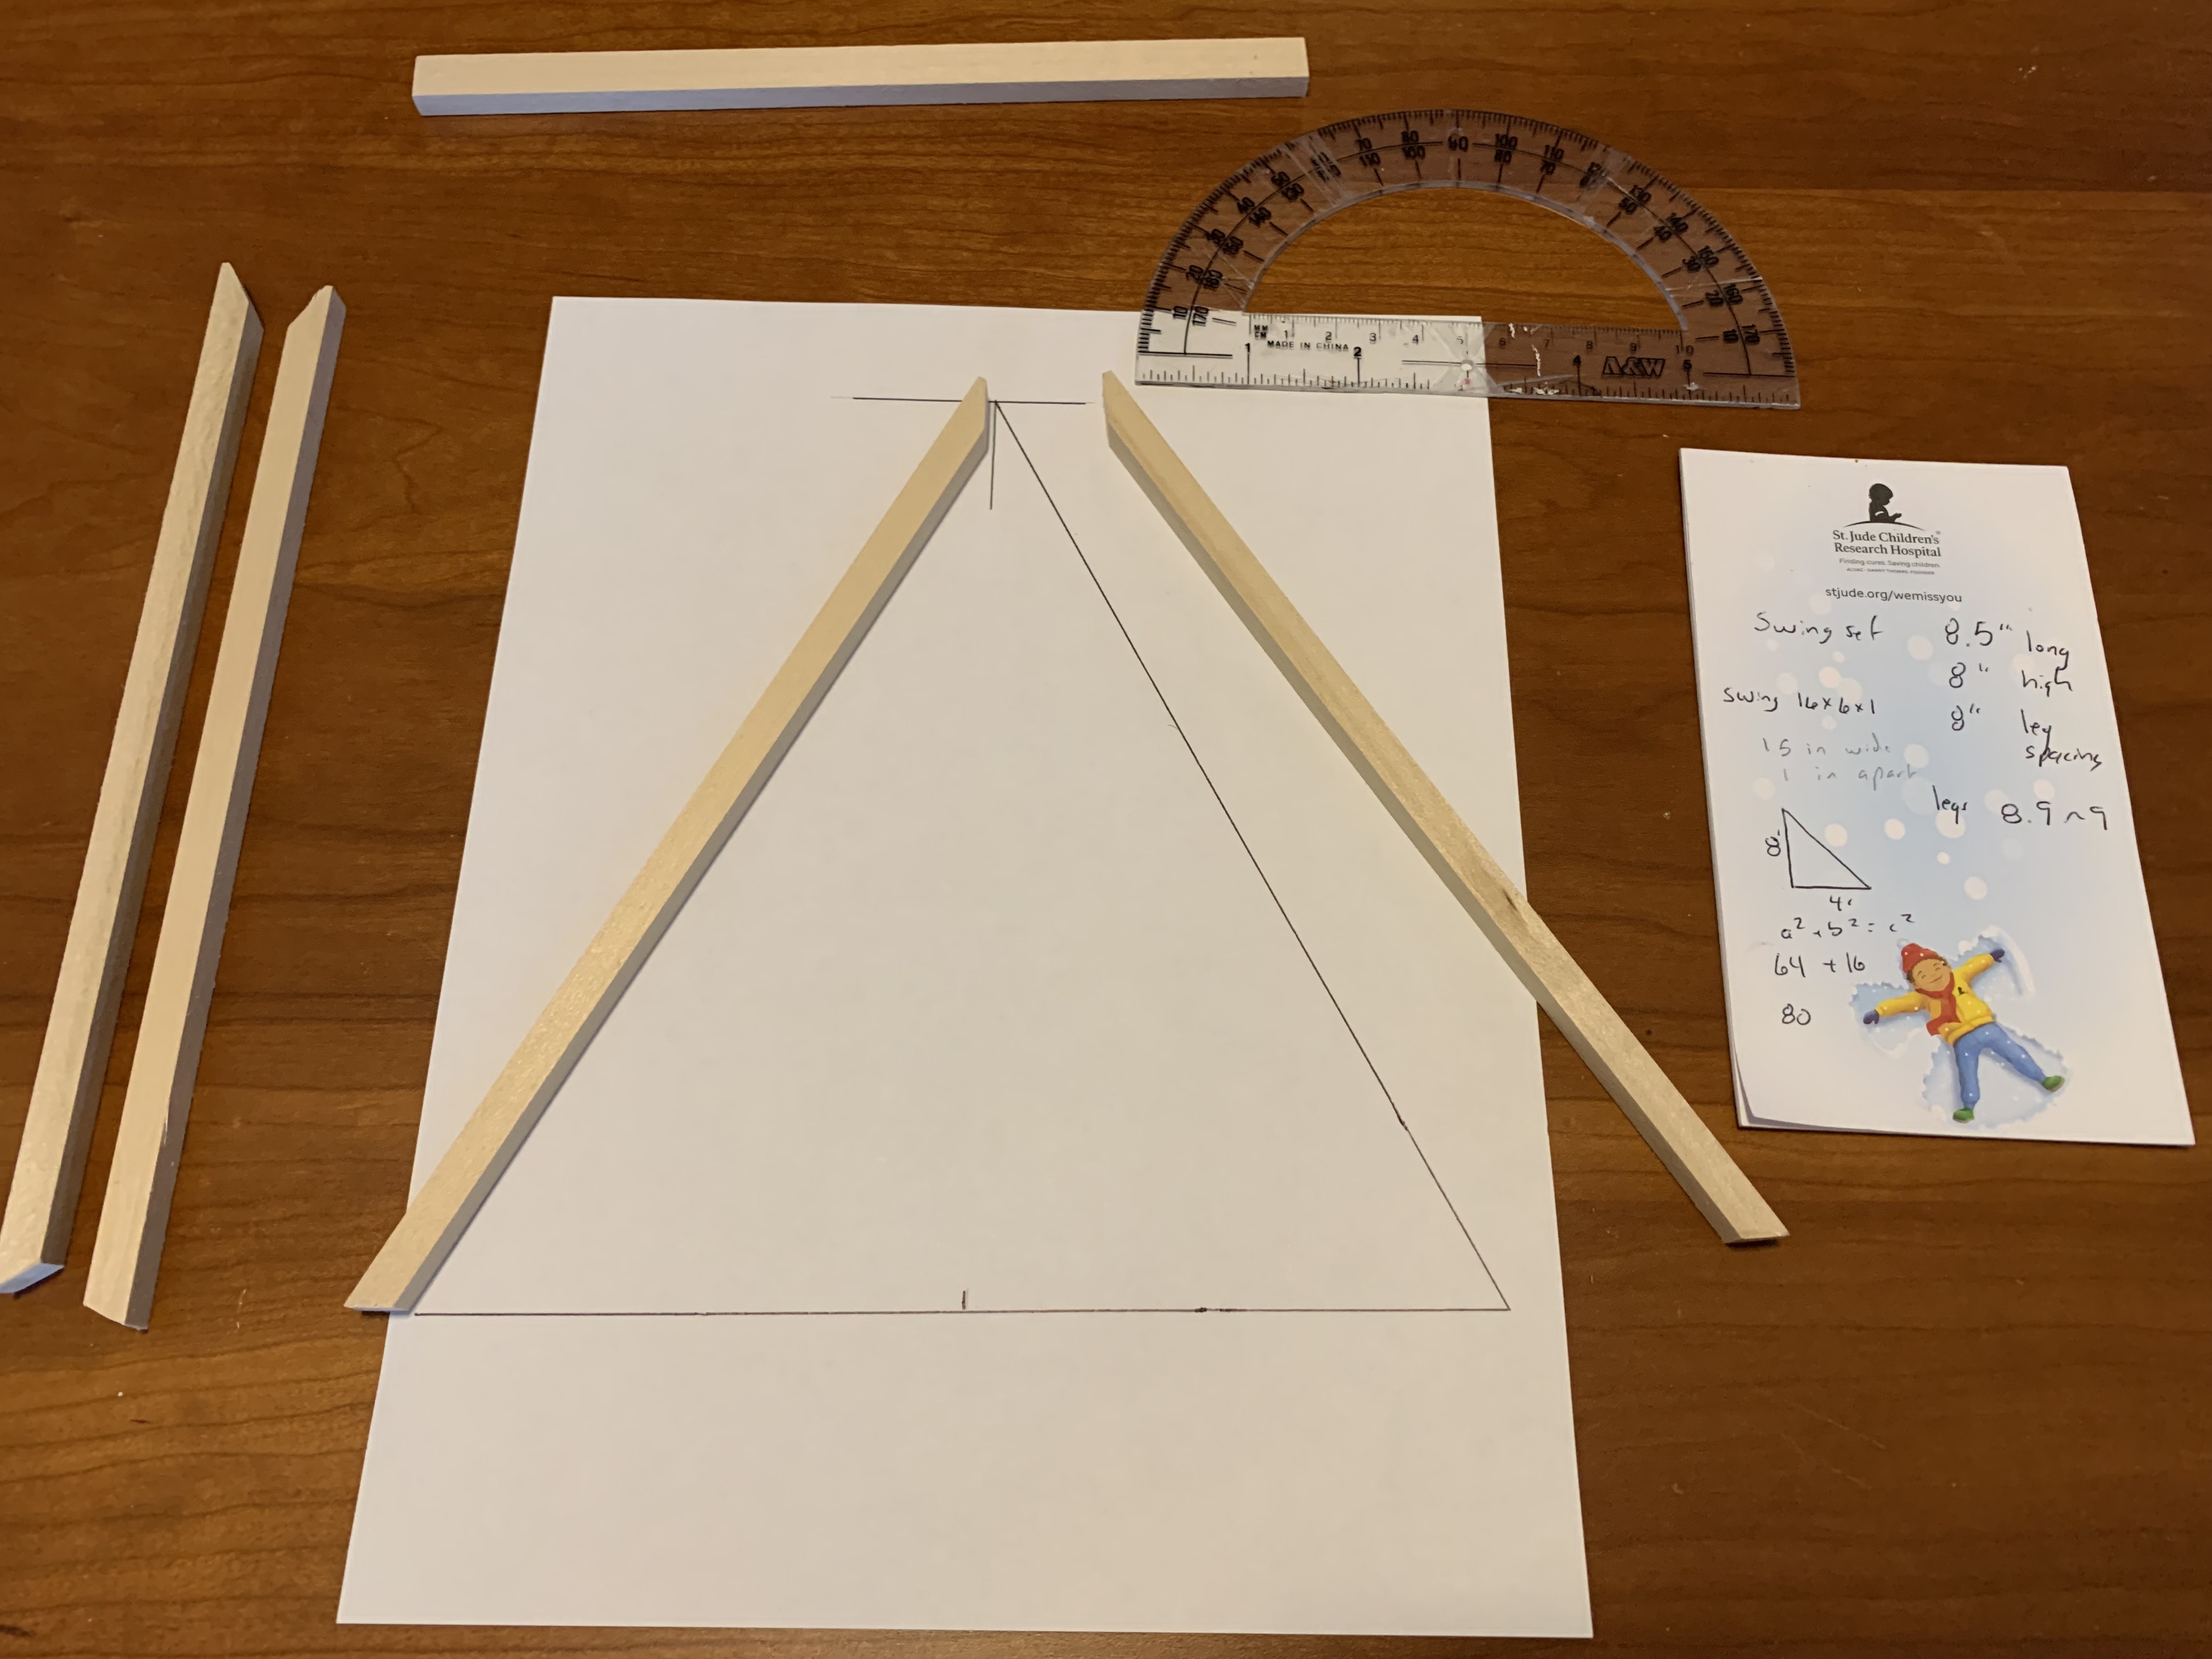
The nice thing about building in 1/12-scale is that all measurements easily convert from feet to inches (1 for 1). I found a reasonable full-scale DIY 2-swing design online that used 4 X 4-inch posts for legs and a 4 X 6-inch cross beam. It was eight feet tall, eight and a half feet long, and the A-frame legs were eight feet apart at the base. The only dimension not given was the length of the legs. However, recalling my junior high school geometry, using the Pythagorean theorem (a2 + b2 = c2) for a right triangle, I could easily solve for the hypotenuse (a = 8, b = 4, c = 8.9 feet).
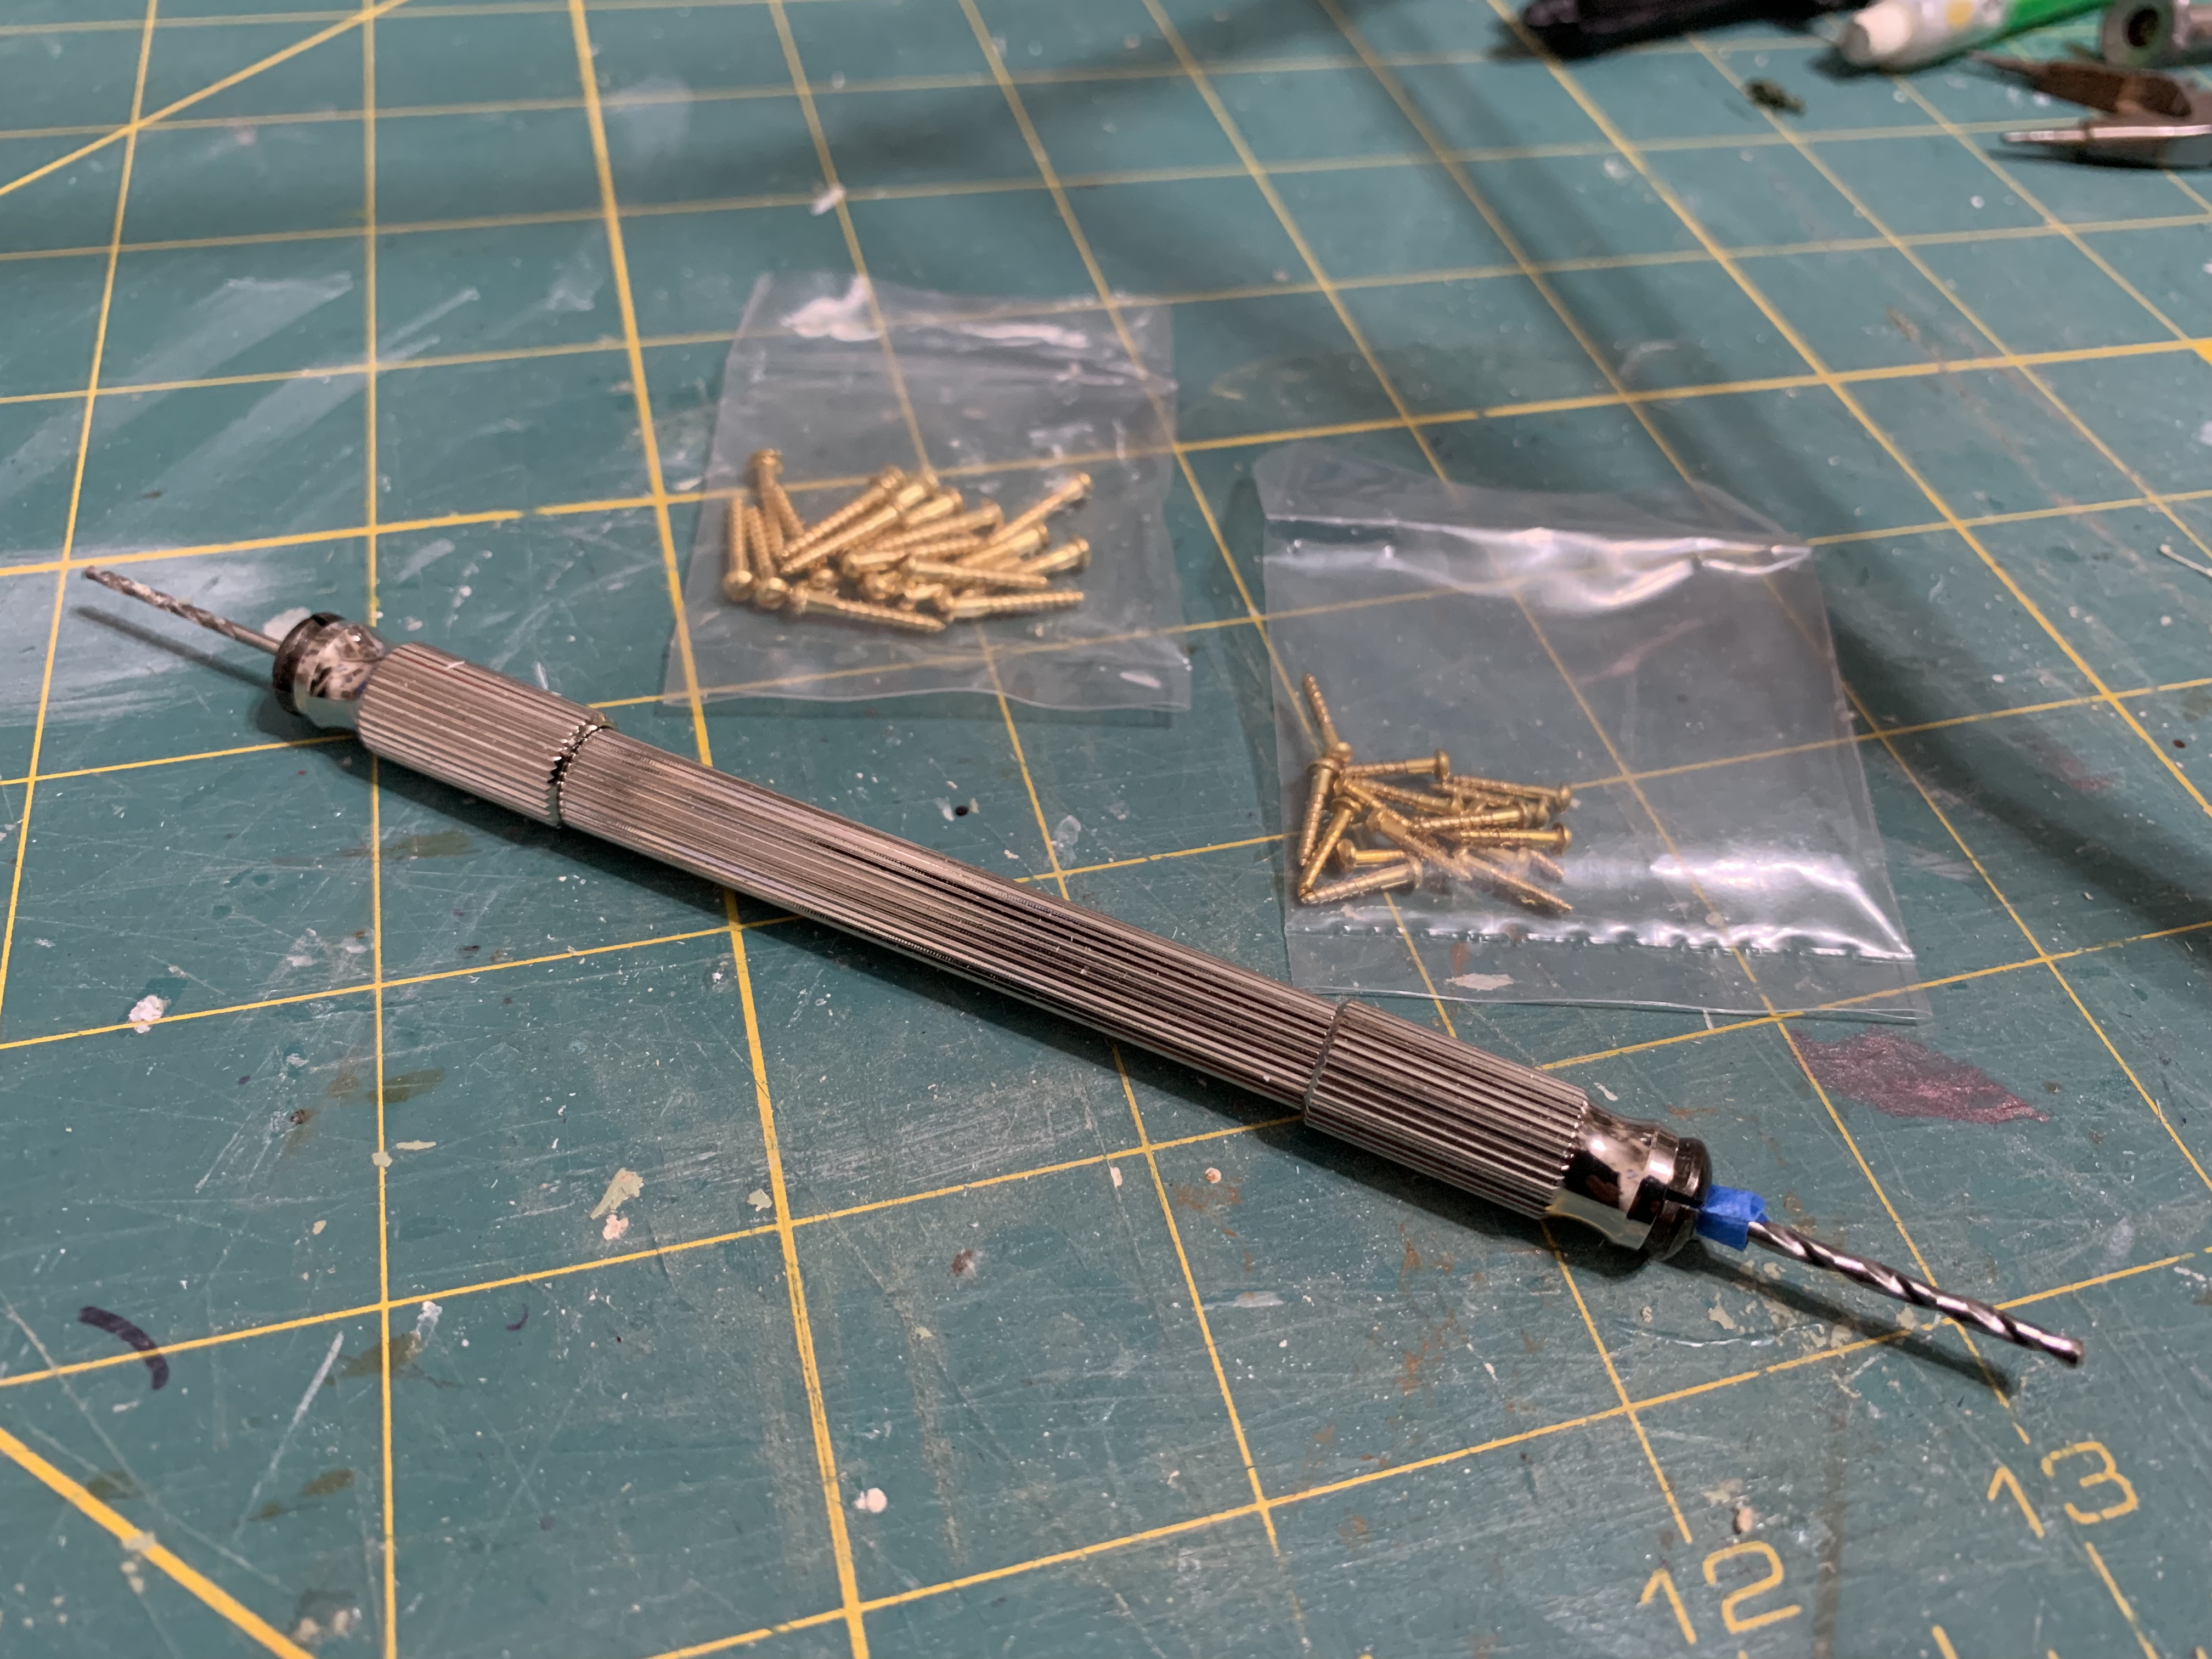
With my material needs identified, my sister and I headed off to the local hobby store. On the way, I began to contemplate how I would assemble it. I figured if I just glued it together, it might not withstand the vigorous play of small hands. But naturally, my hobby store had the solution when I discovered some very small screws and even smaller drill bits that would provide added rigidity to the set.
Once home, I needed to determine the angle of cutting the legs to be flush to the crossbeam and the ground. But this was also accomplished with another geometric tool, a protractor. Who ever said you never remember what you learned in junior high?
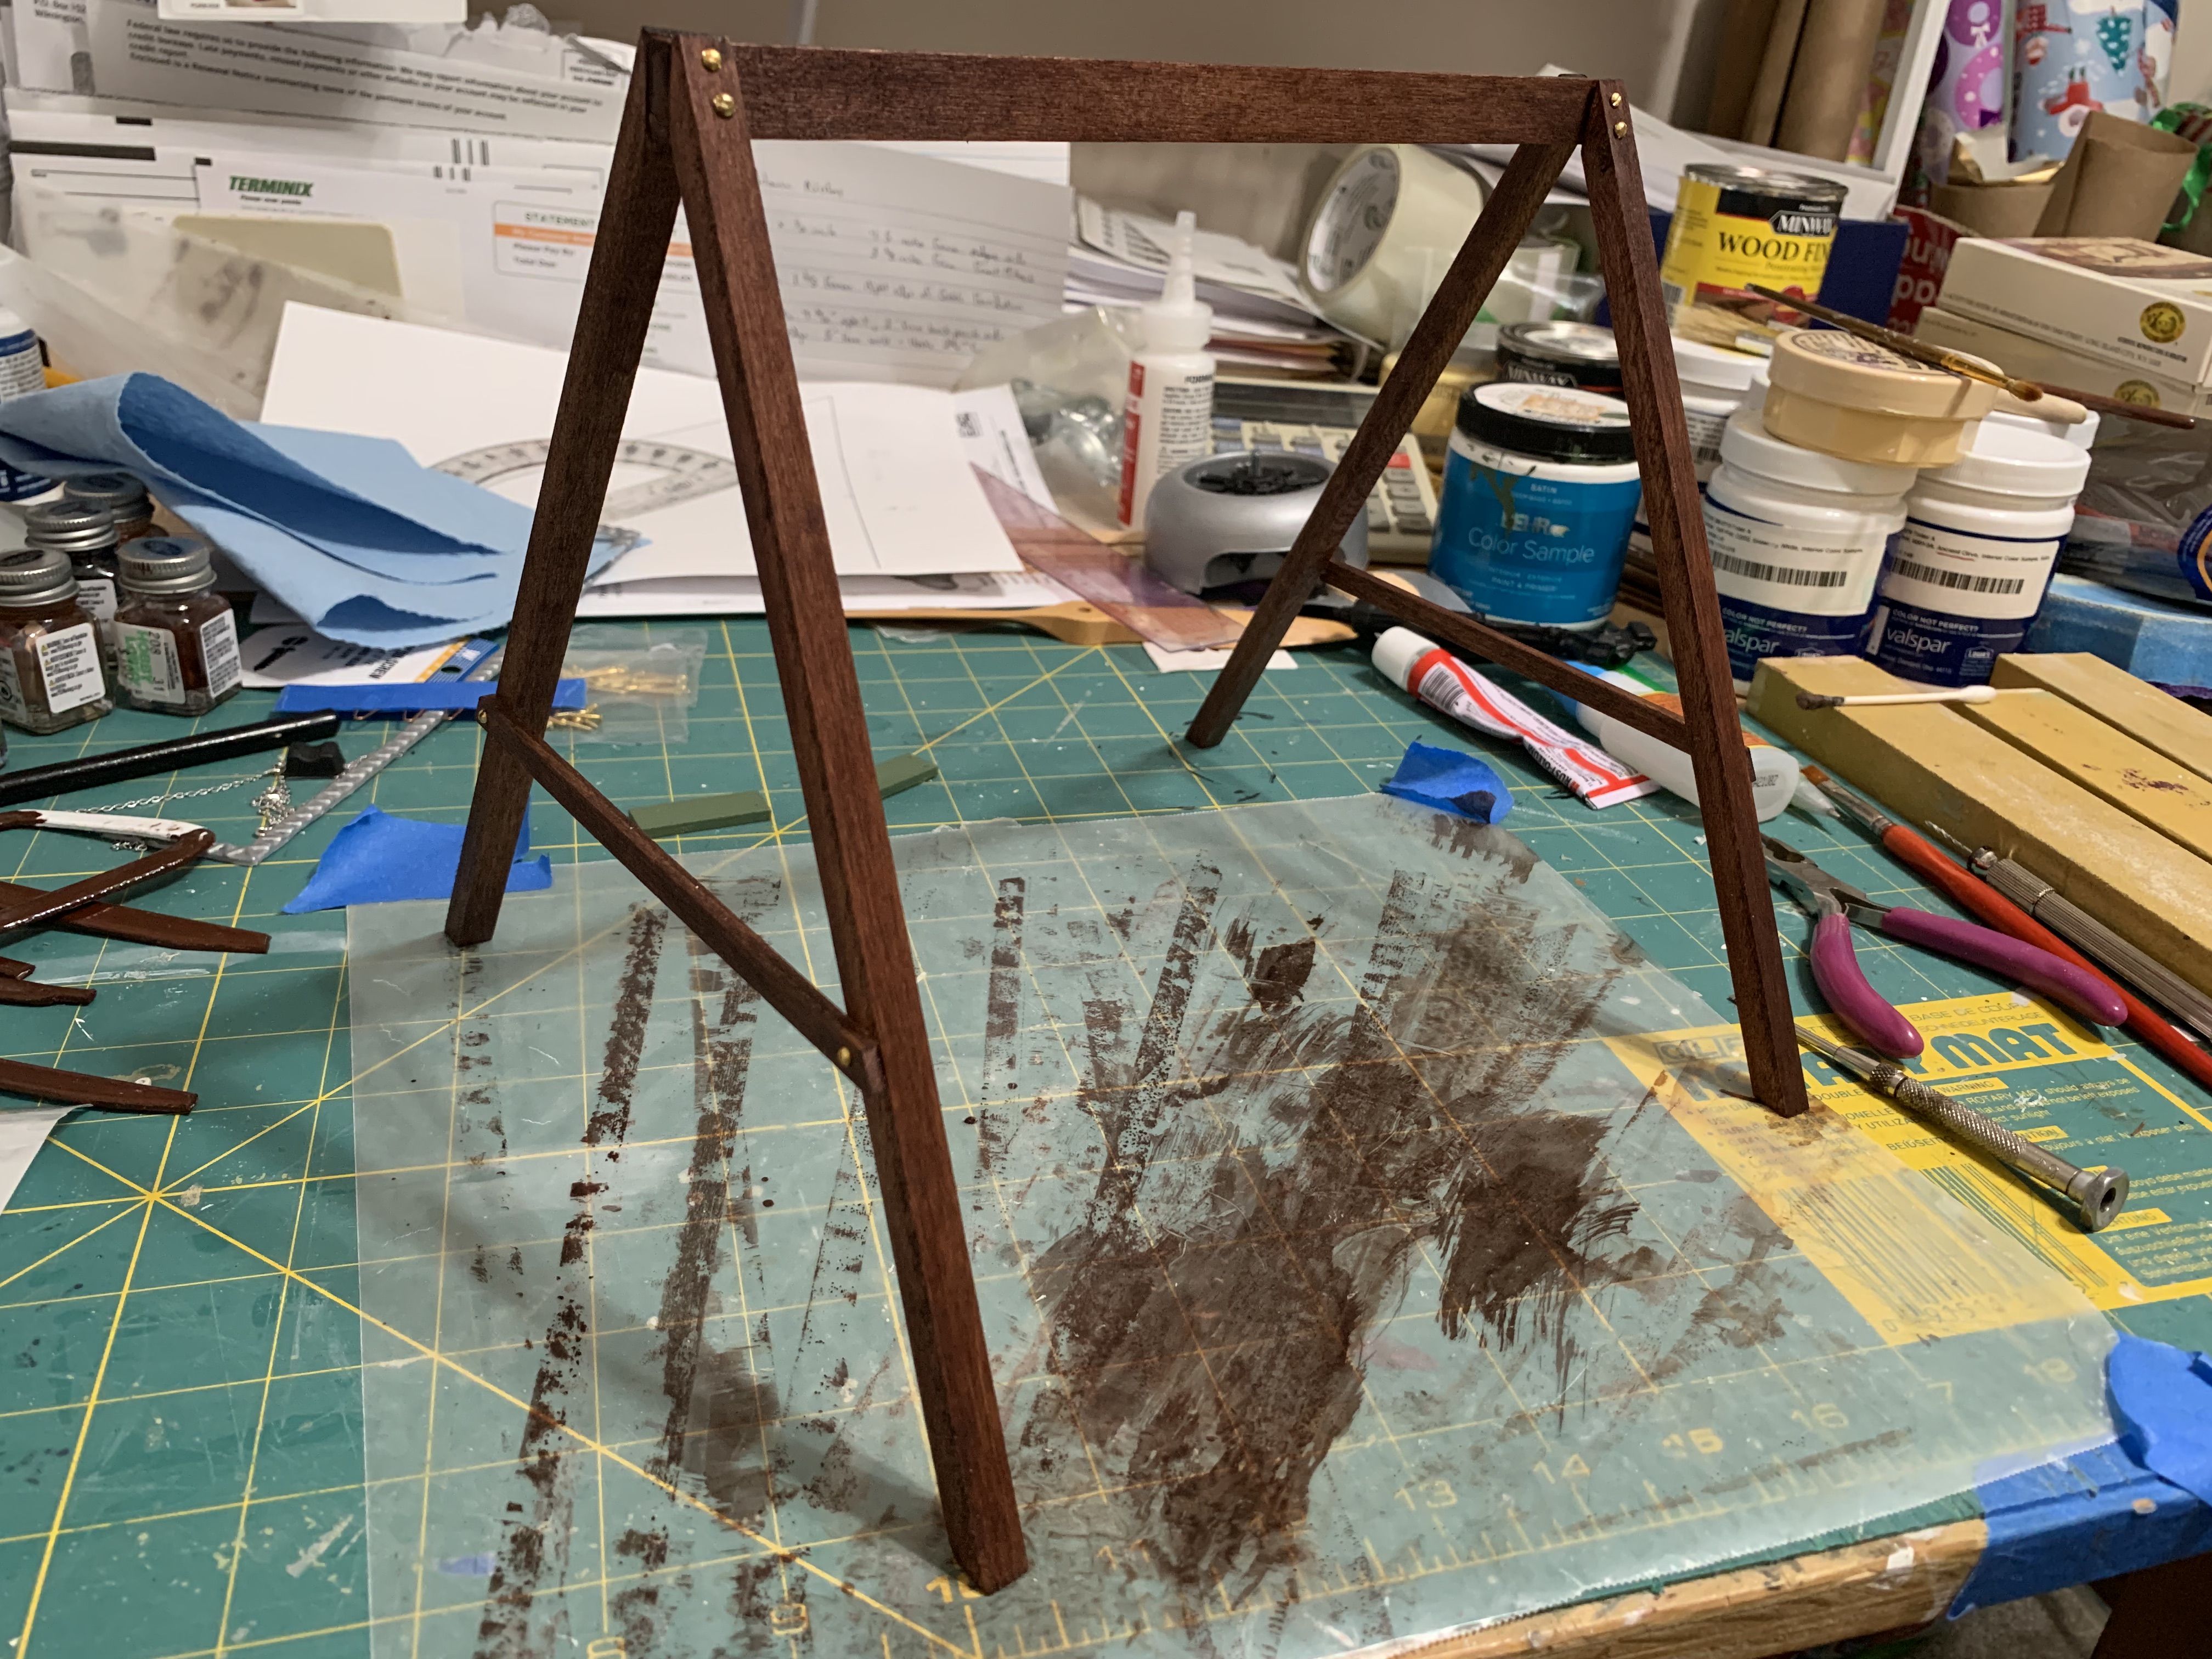
With everything I needed, I began to first assemble the A-frame for my miniature set.
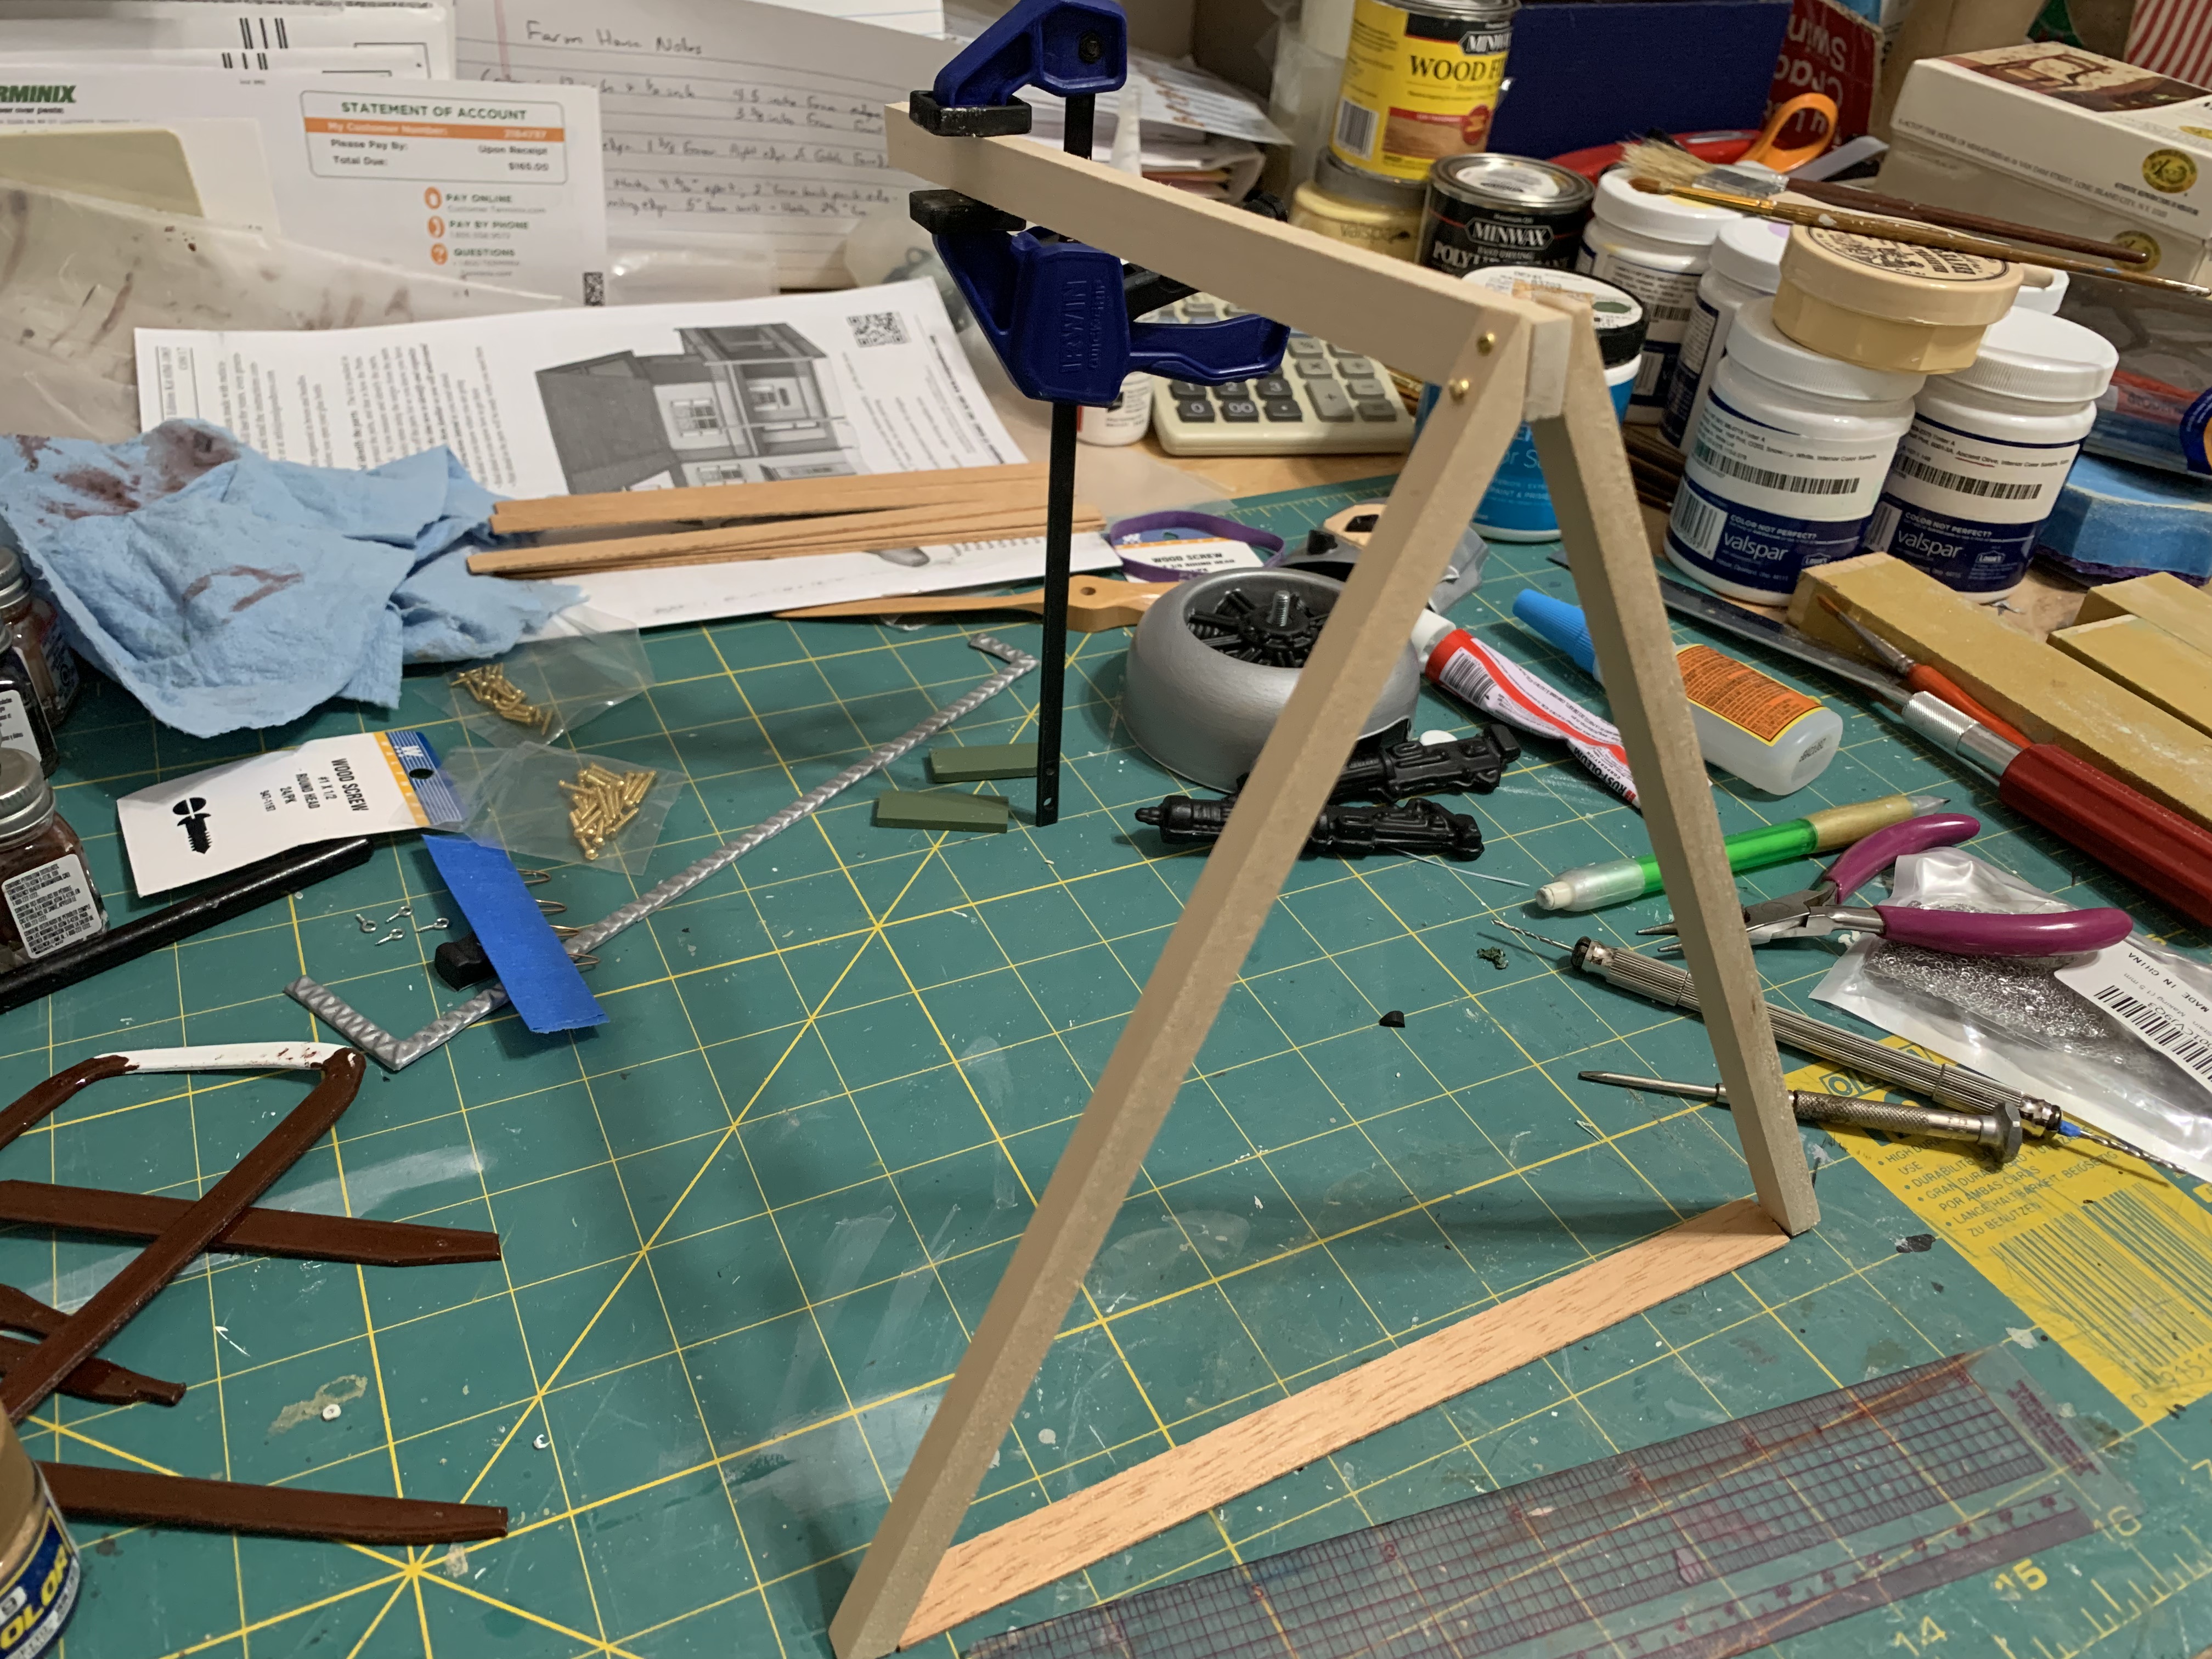
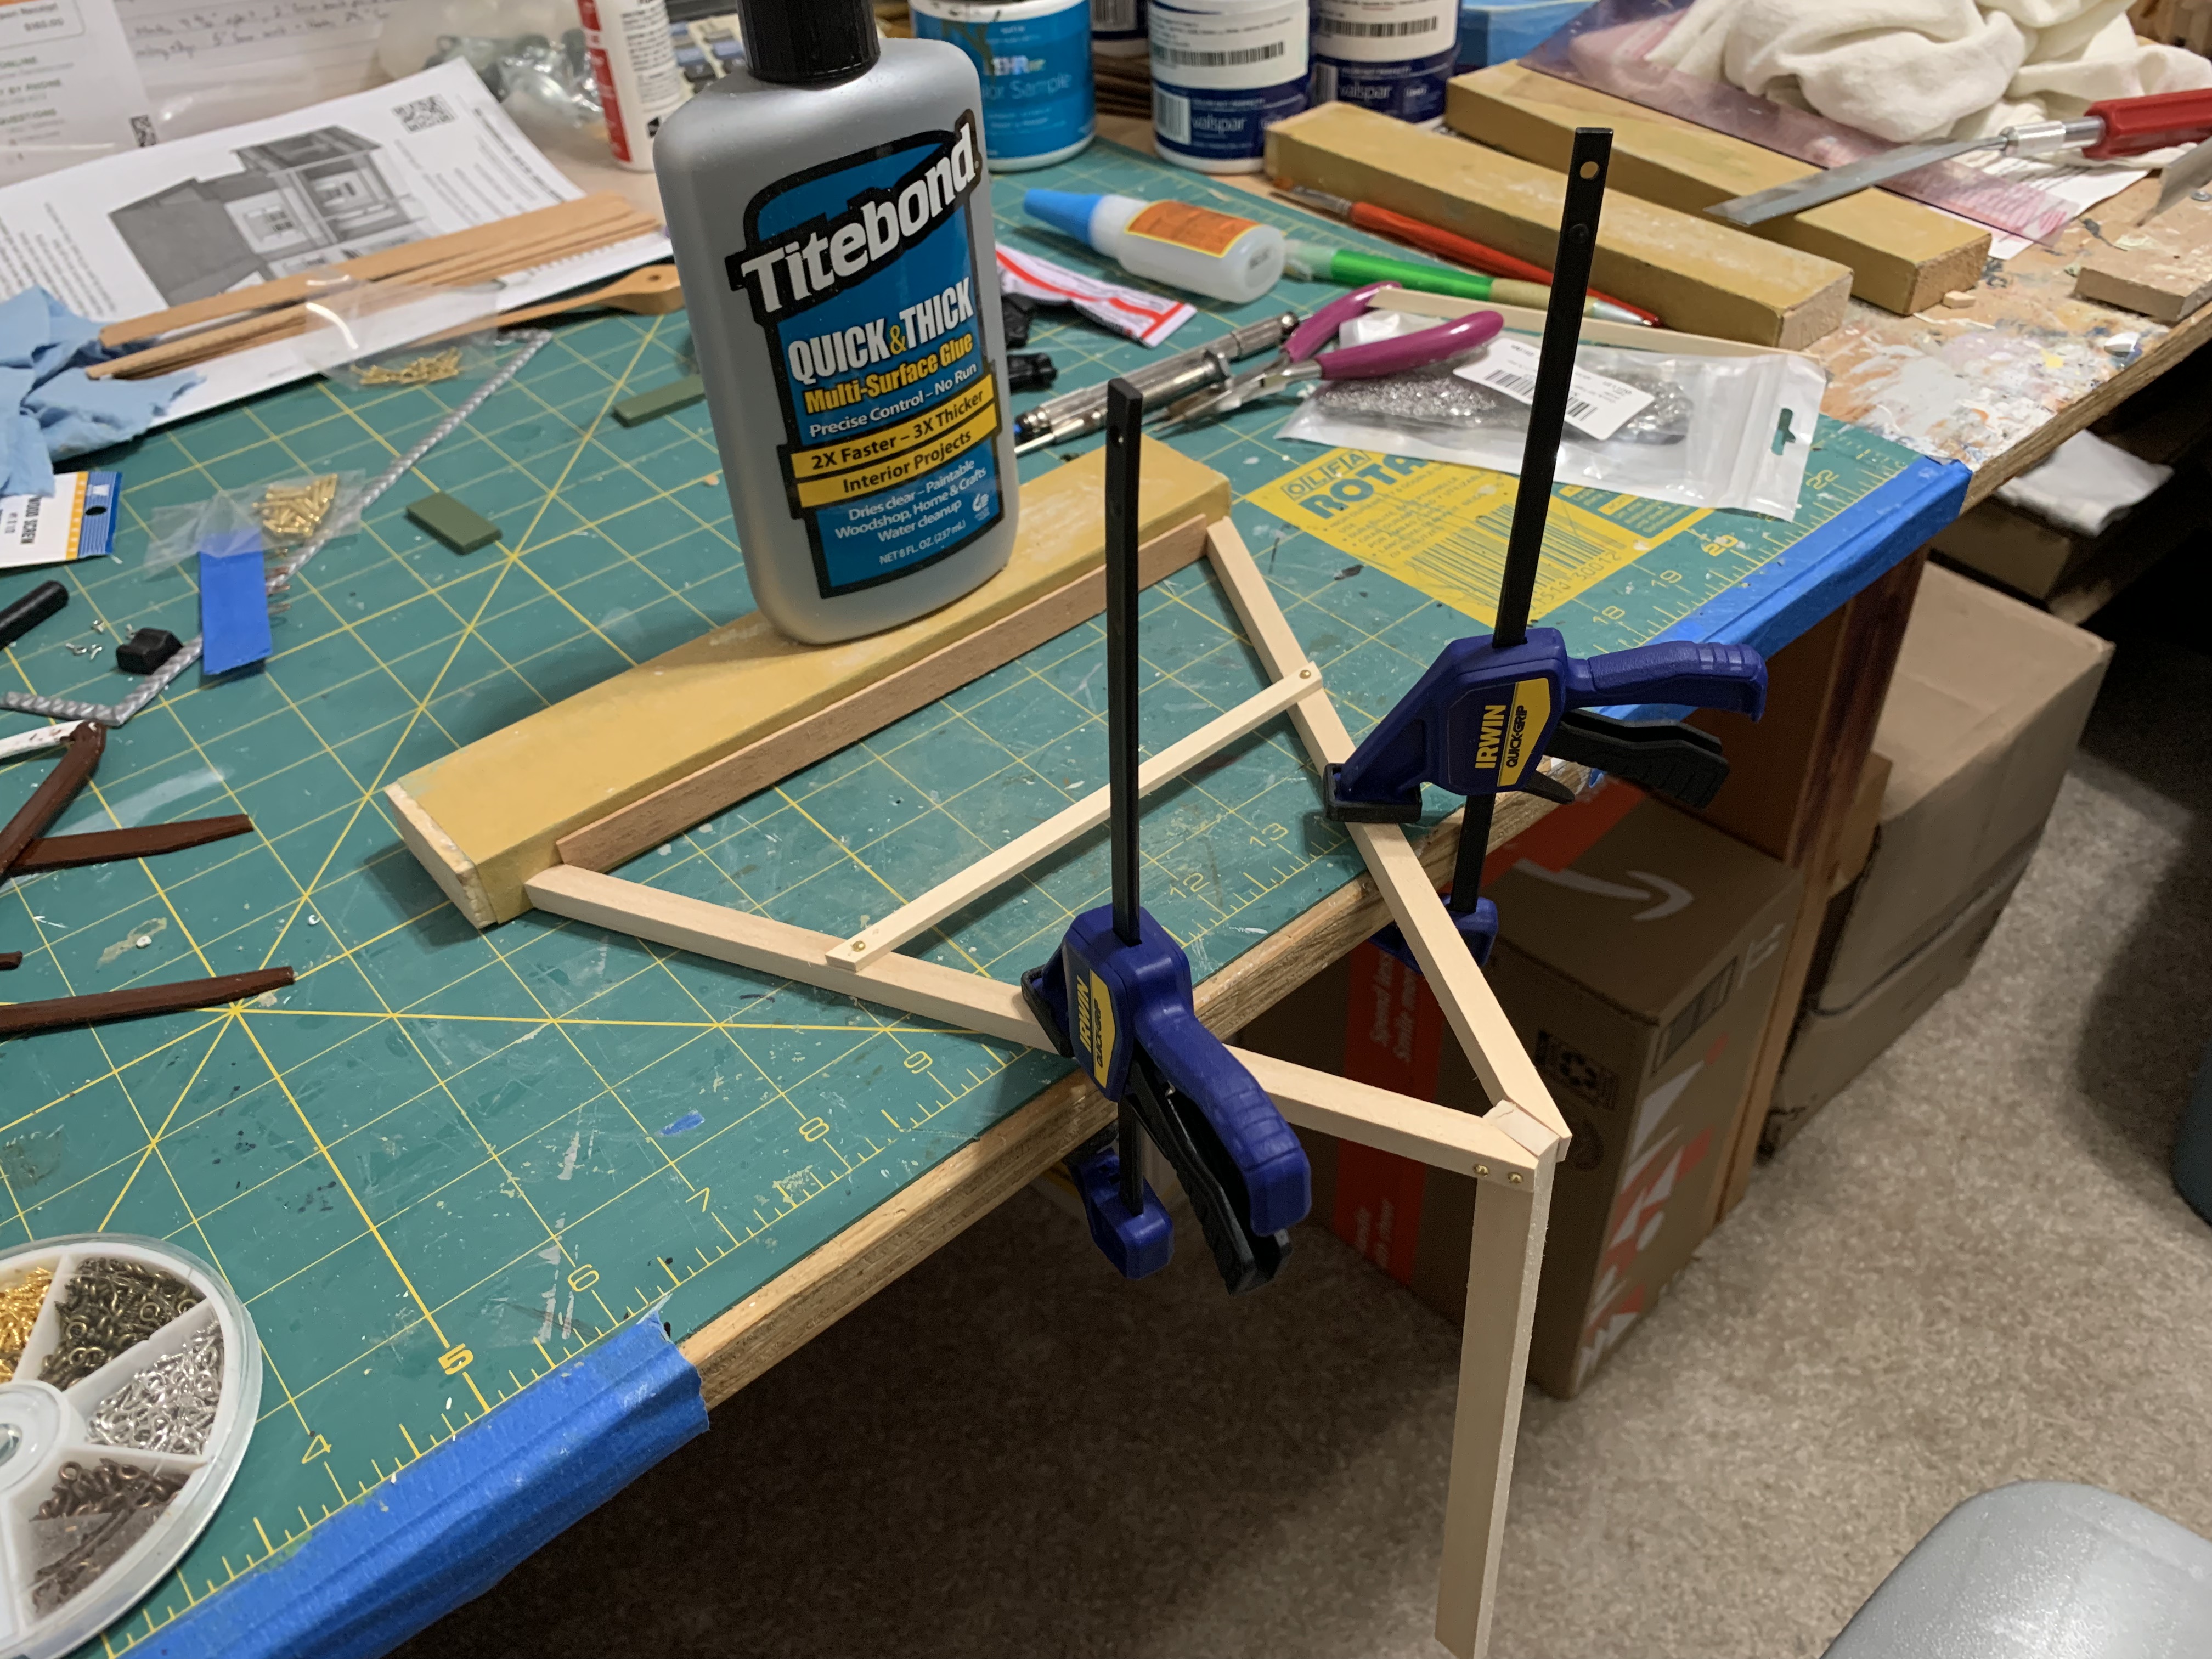
I had to rig up a bit of an unusual jig to cut the horizontal brace the right length and attach it (I could have determined the length with geometry but decided to just determine it empirically).
After I similarly finished the other side, I unfortunately discovered the four legs did not all make even contact with the ground (note front right leg in air).
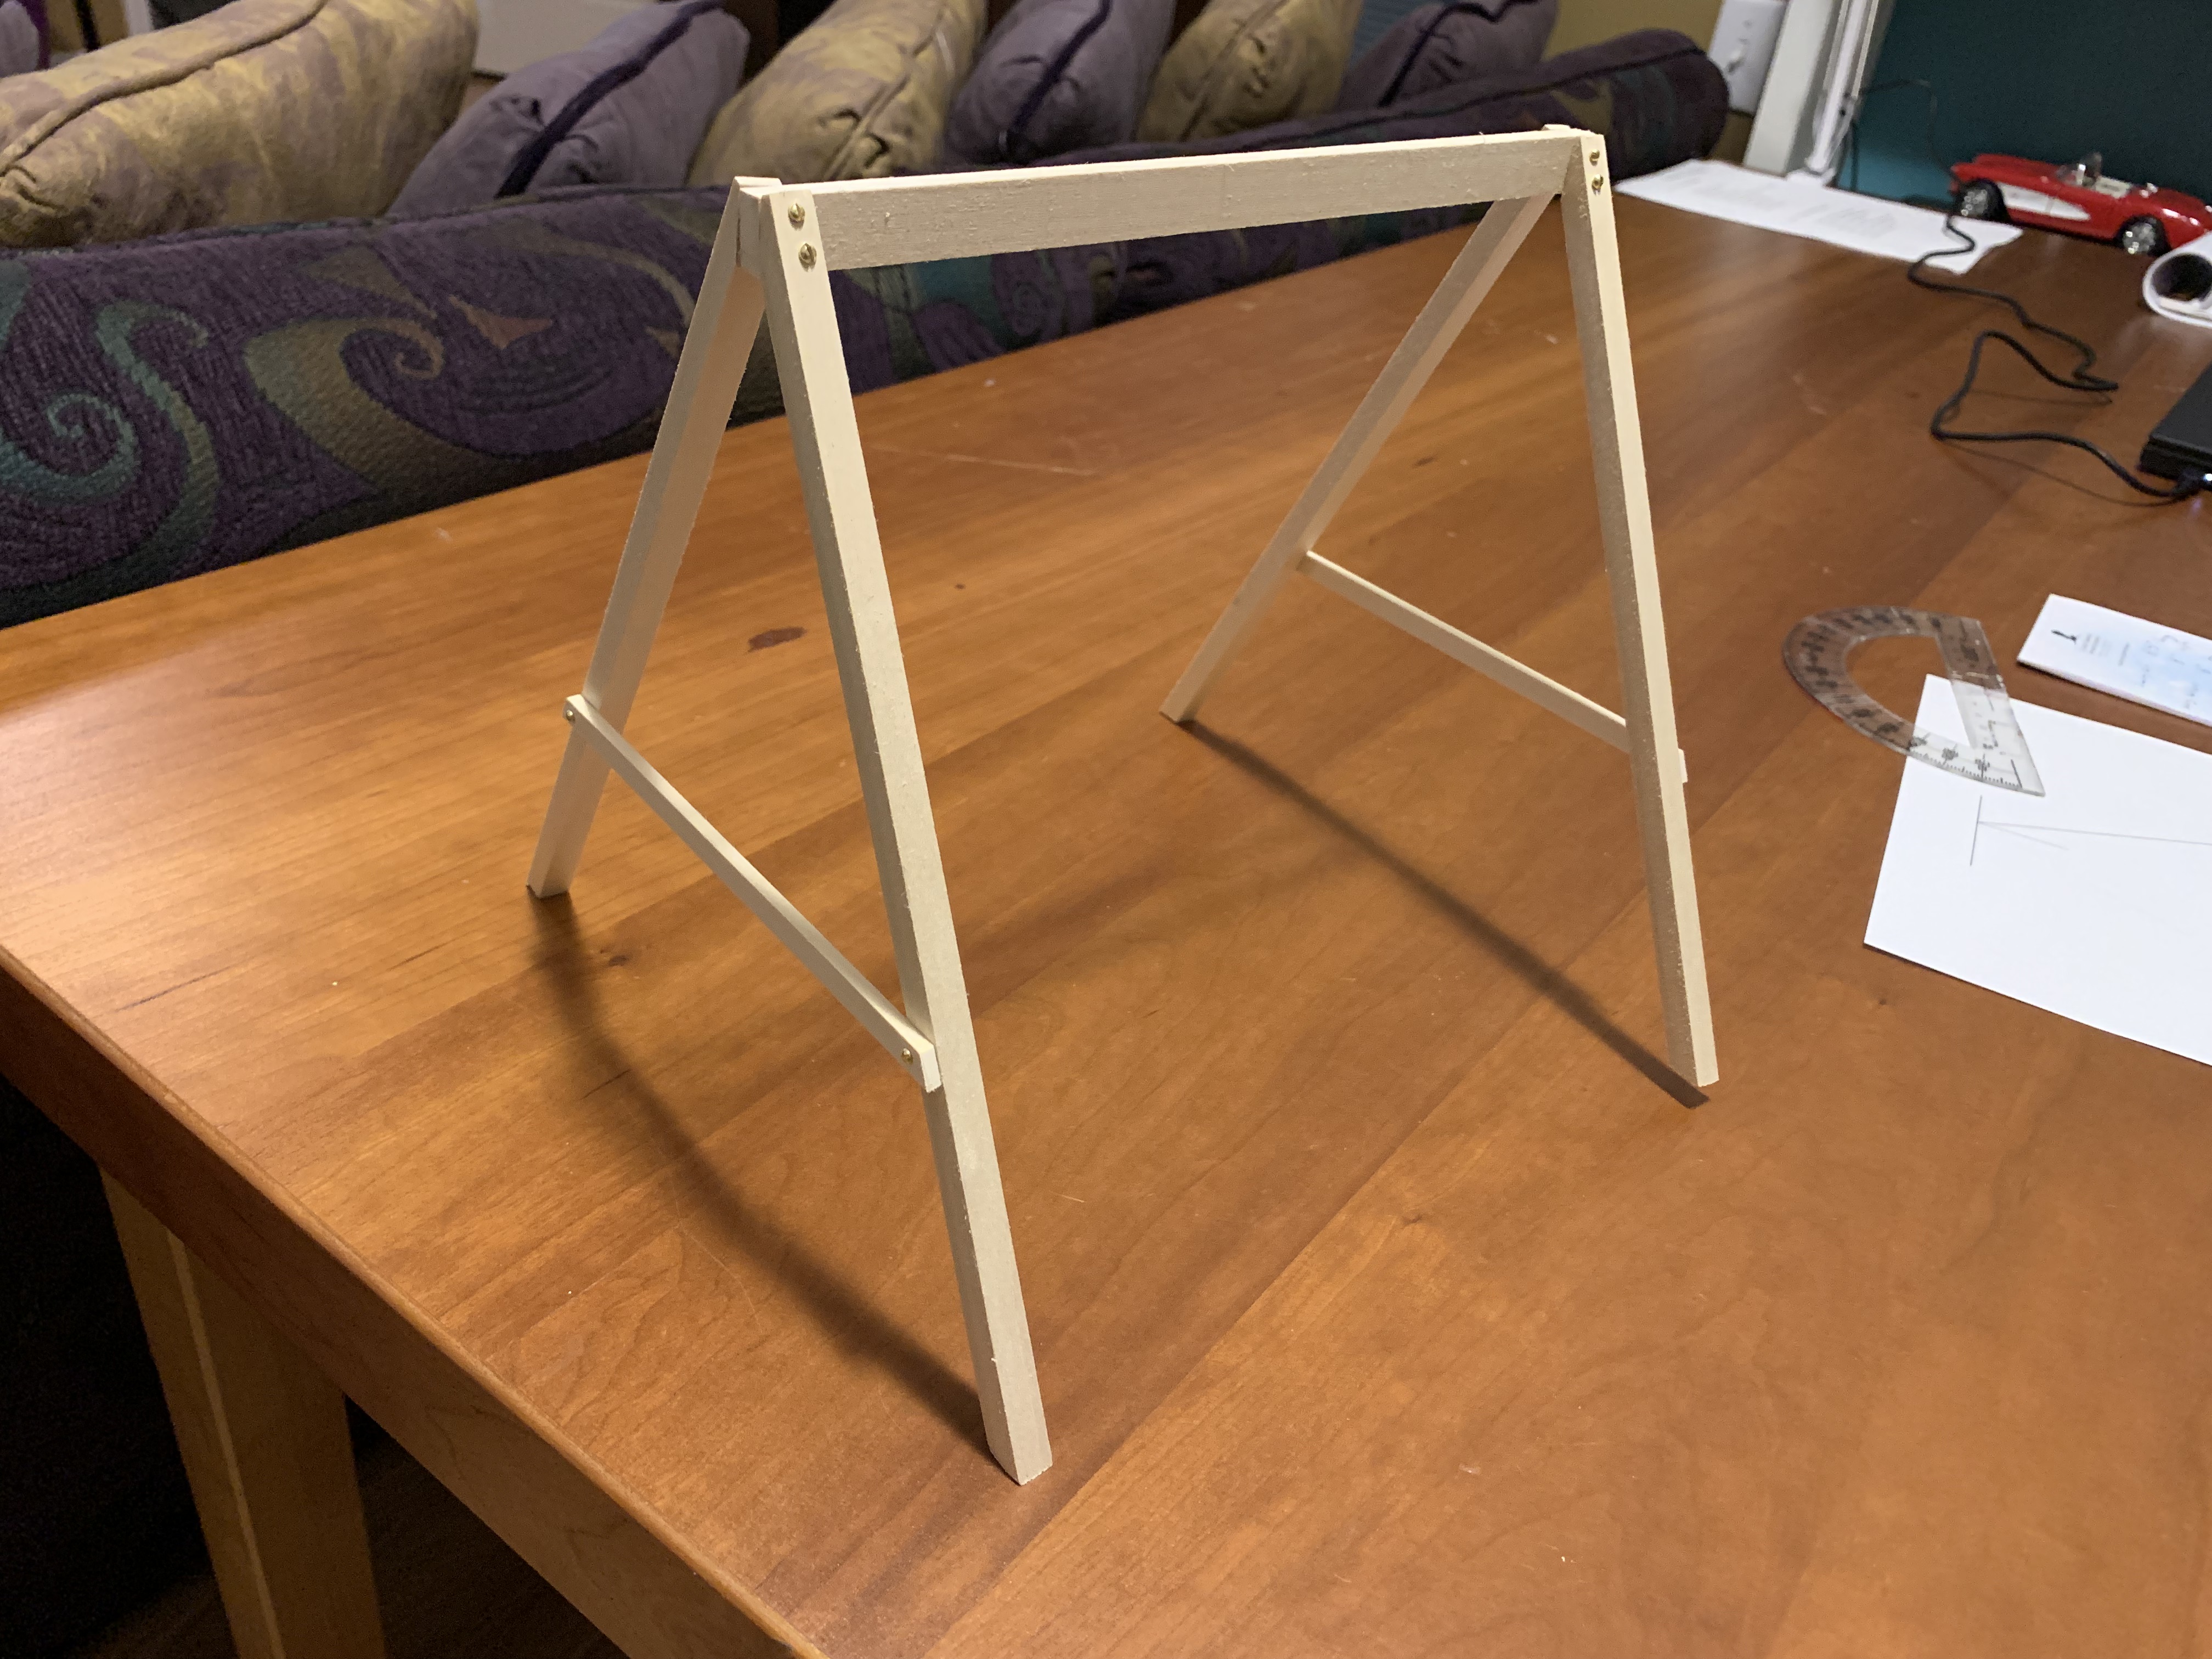
Fortunately, by simply redrilling the crossbeam holes on that side brought all four legs down correctly.

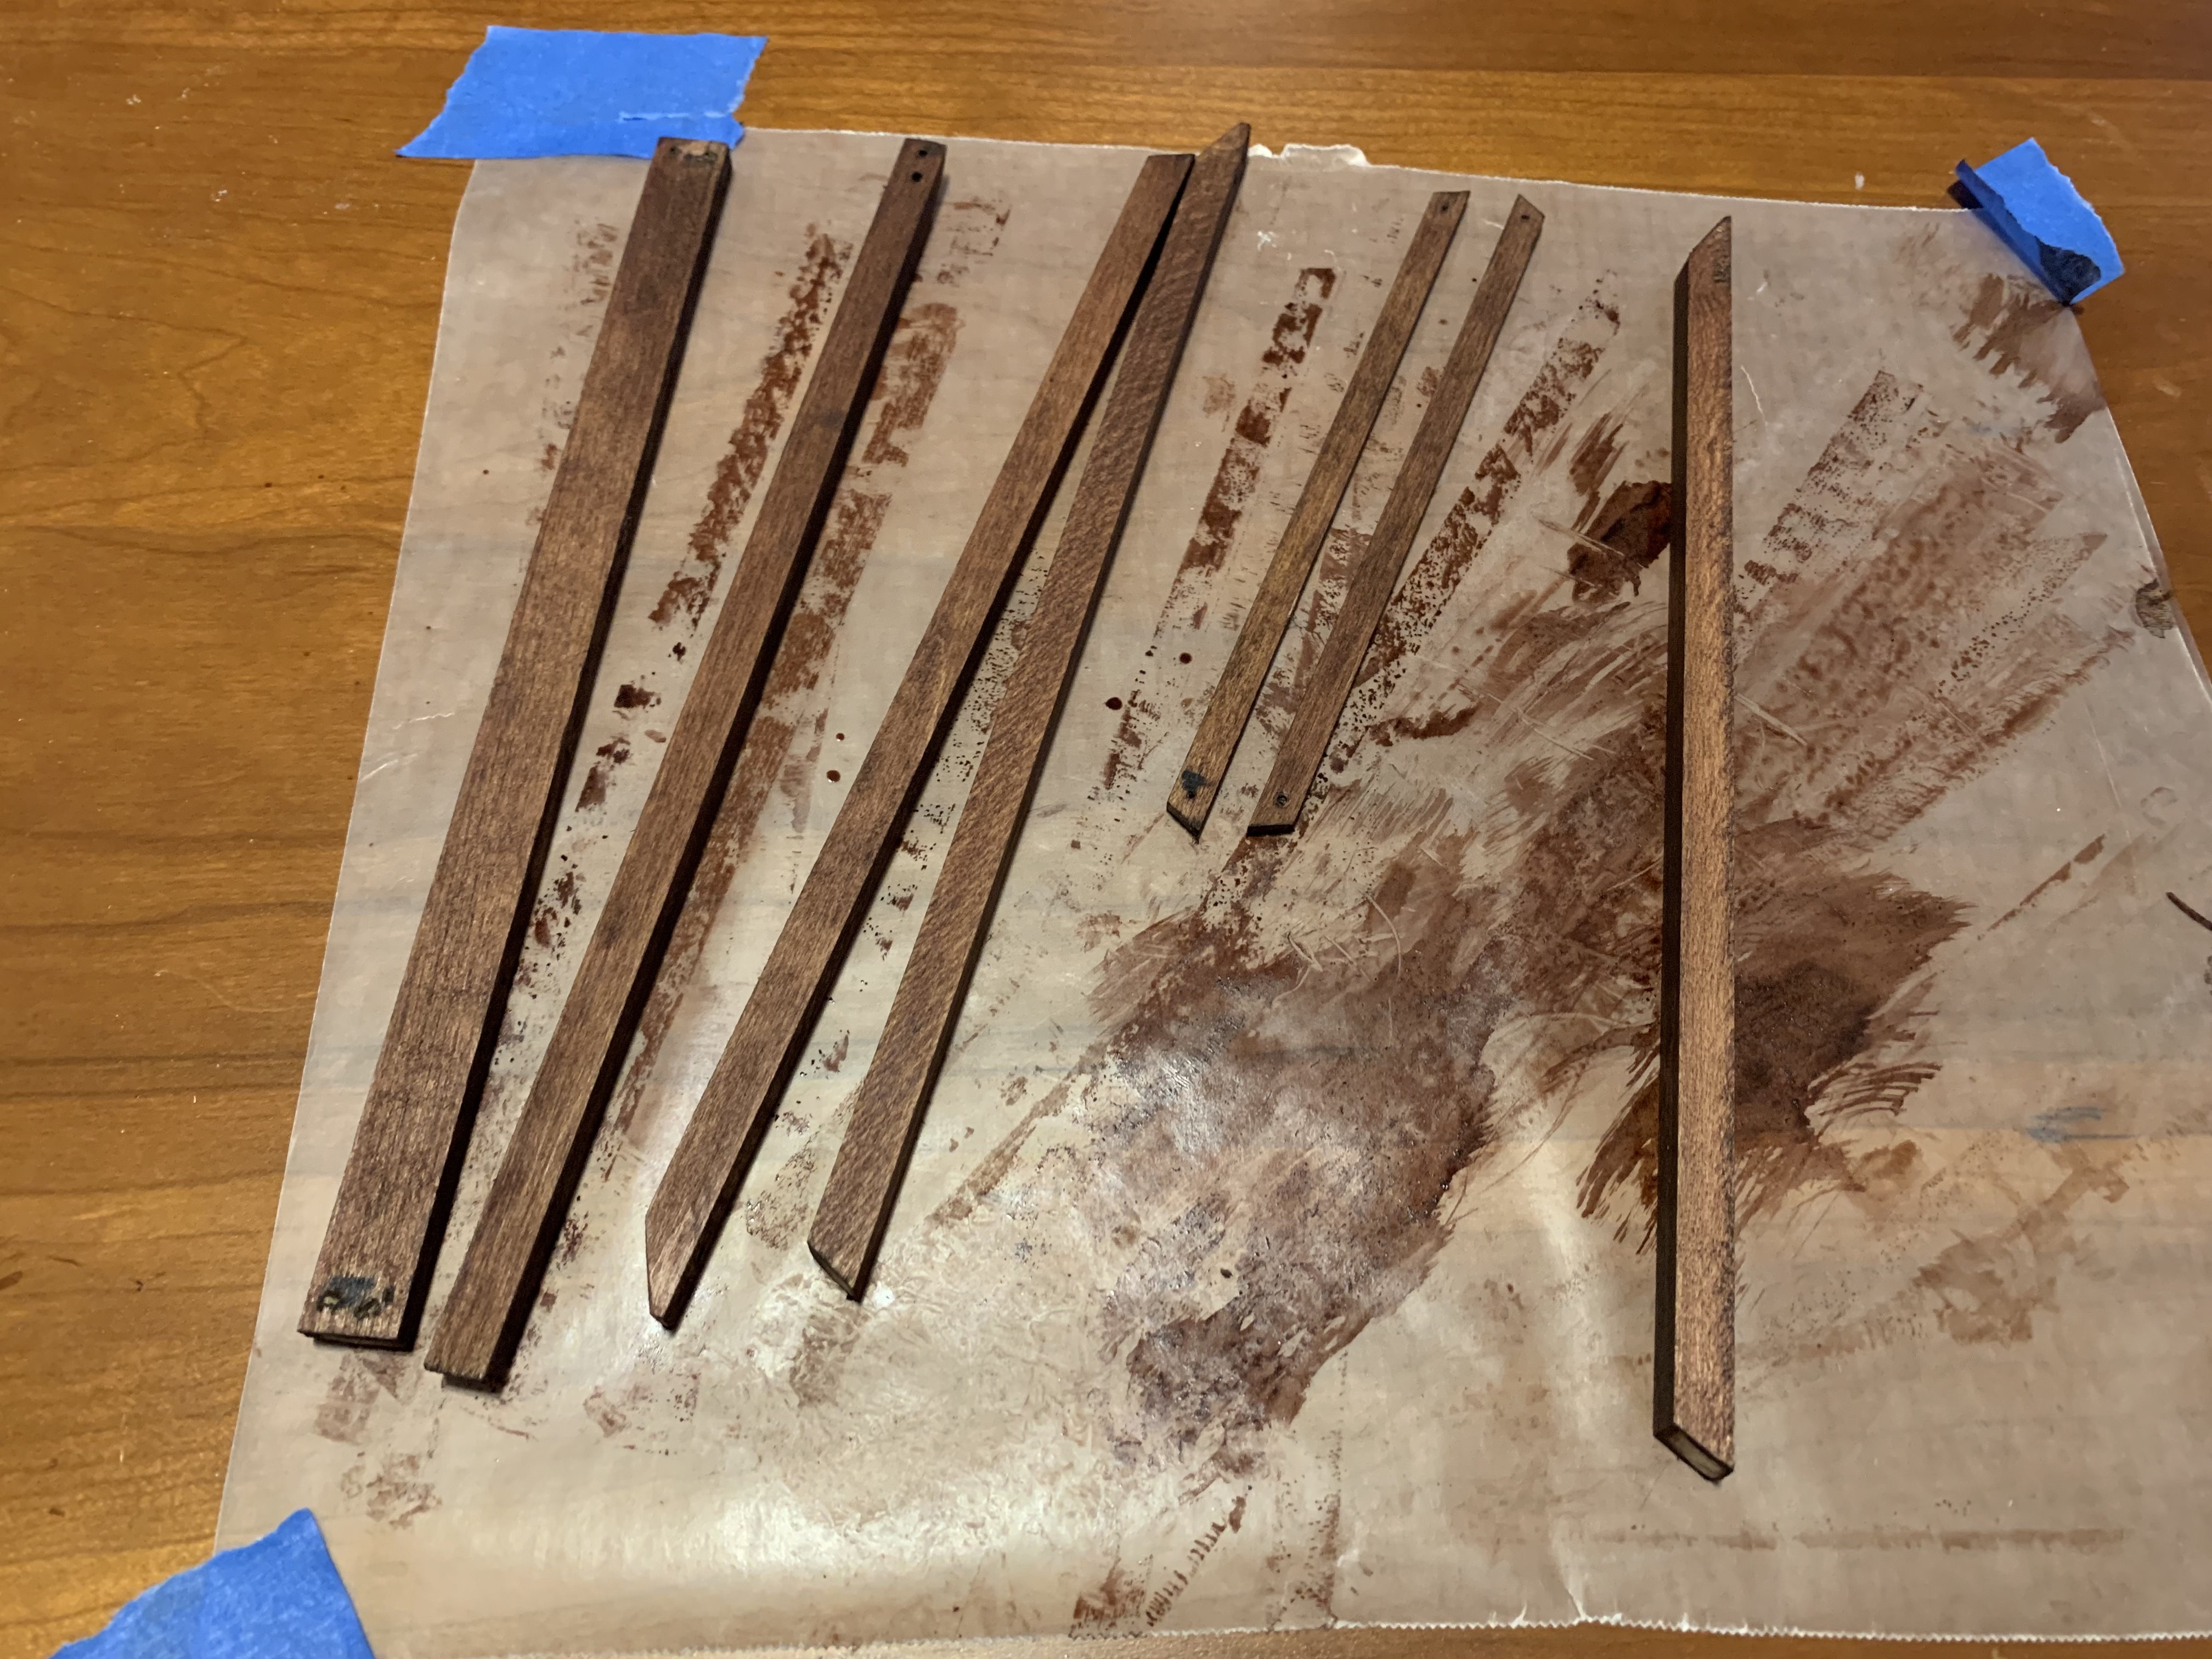
Satisfied with my work, I took it all apart to stain the wood since sanding between coats would be much easier disassembled.
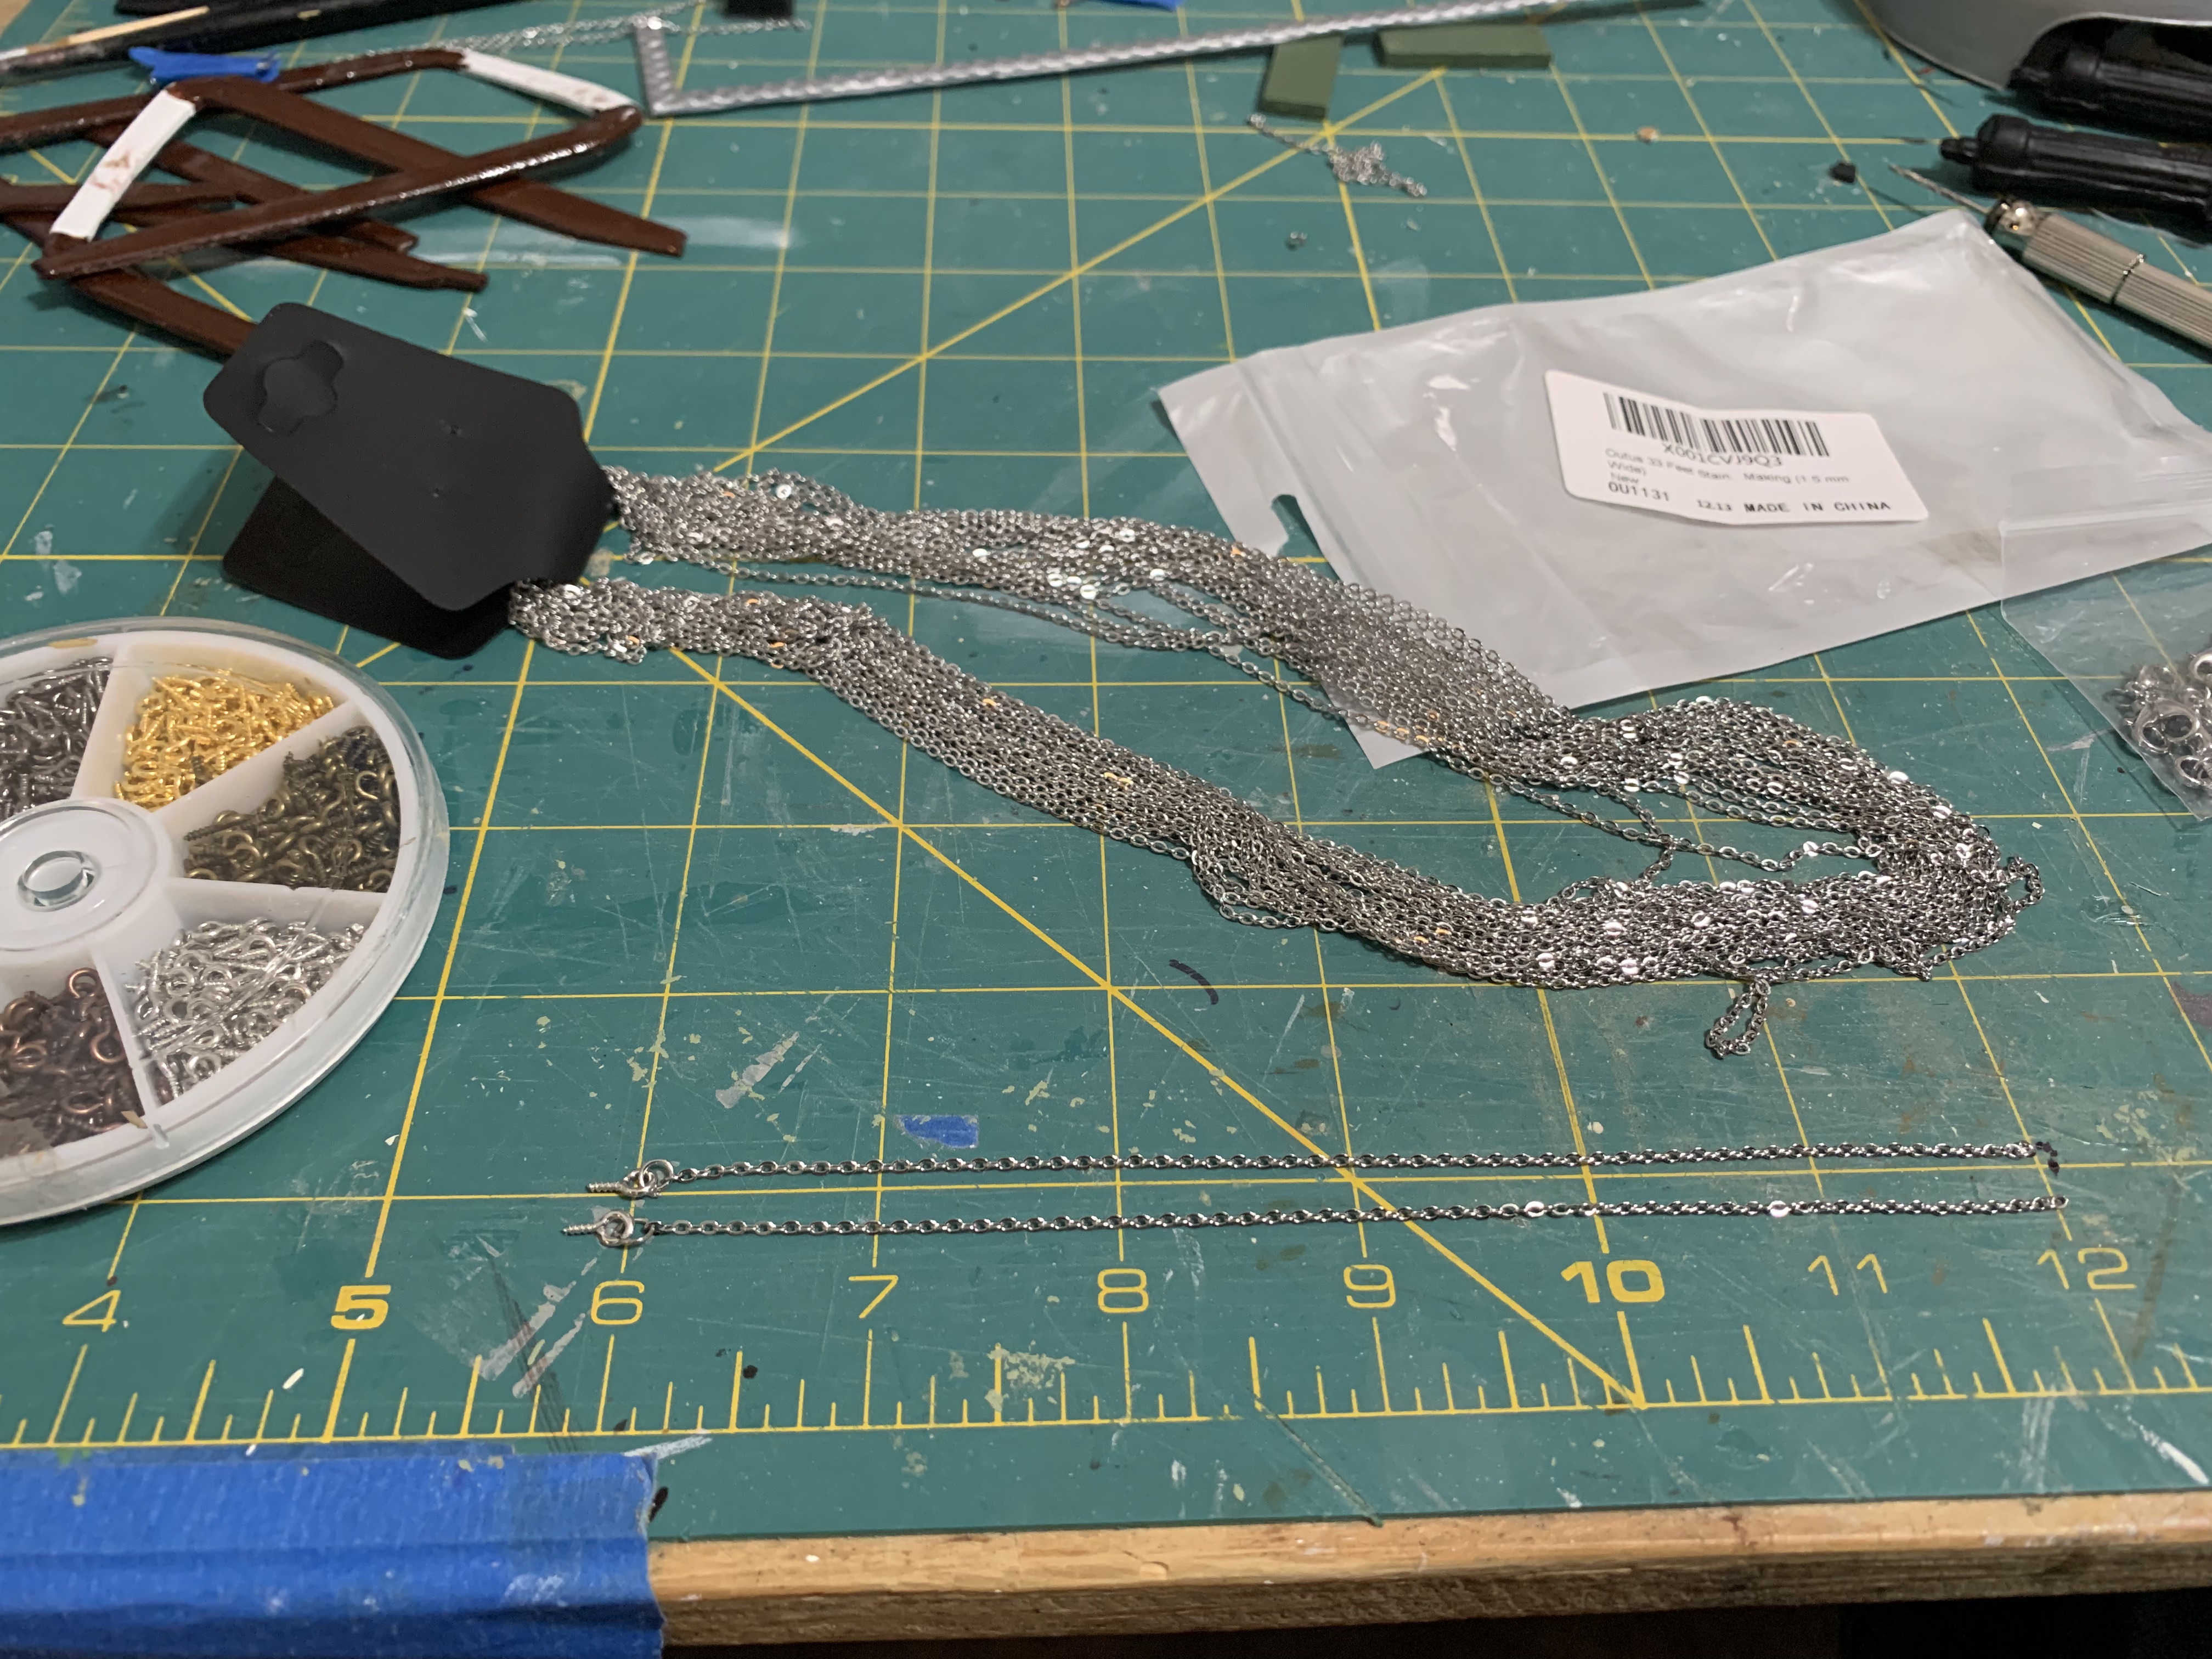
Meanwhile, I had previously determined the appropriate dimensions for the wooden swings and how far apart they should be, based on the full-scale design. I decided to paint these green. My sister had previously purchased miniature chain (actually jewelry chain) and eye hooks for her porch swing, and she graciously mailed these items to me. Cutting the four 6-inch chain lengths and attaching them to the eye hooks proved fairly easy.
Once the frame pieces were stained with two coats of mahogany stain, I reassembled the swing set, this time additionally adding a drop of glue between boards to secure the structure even more.
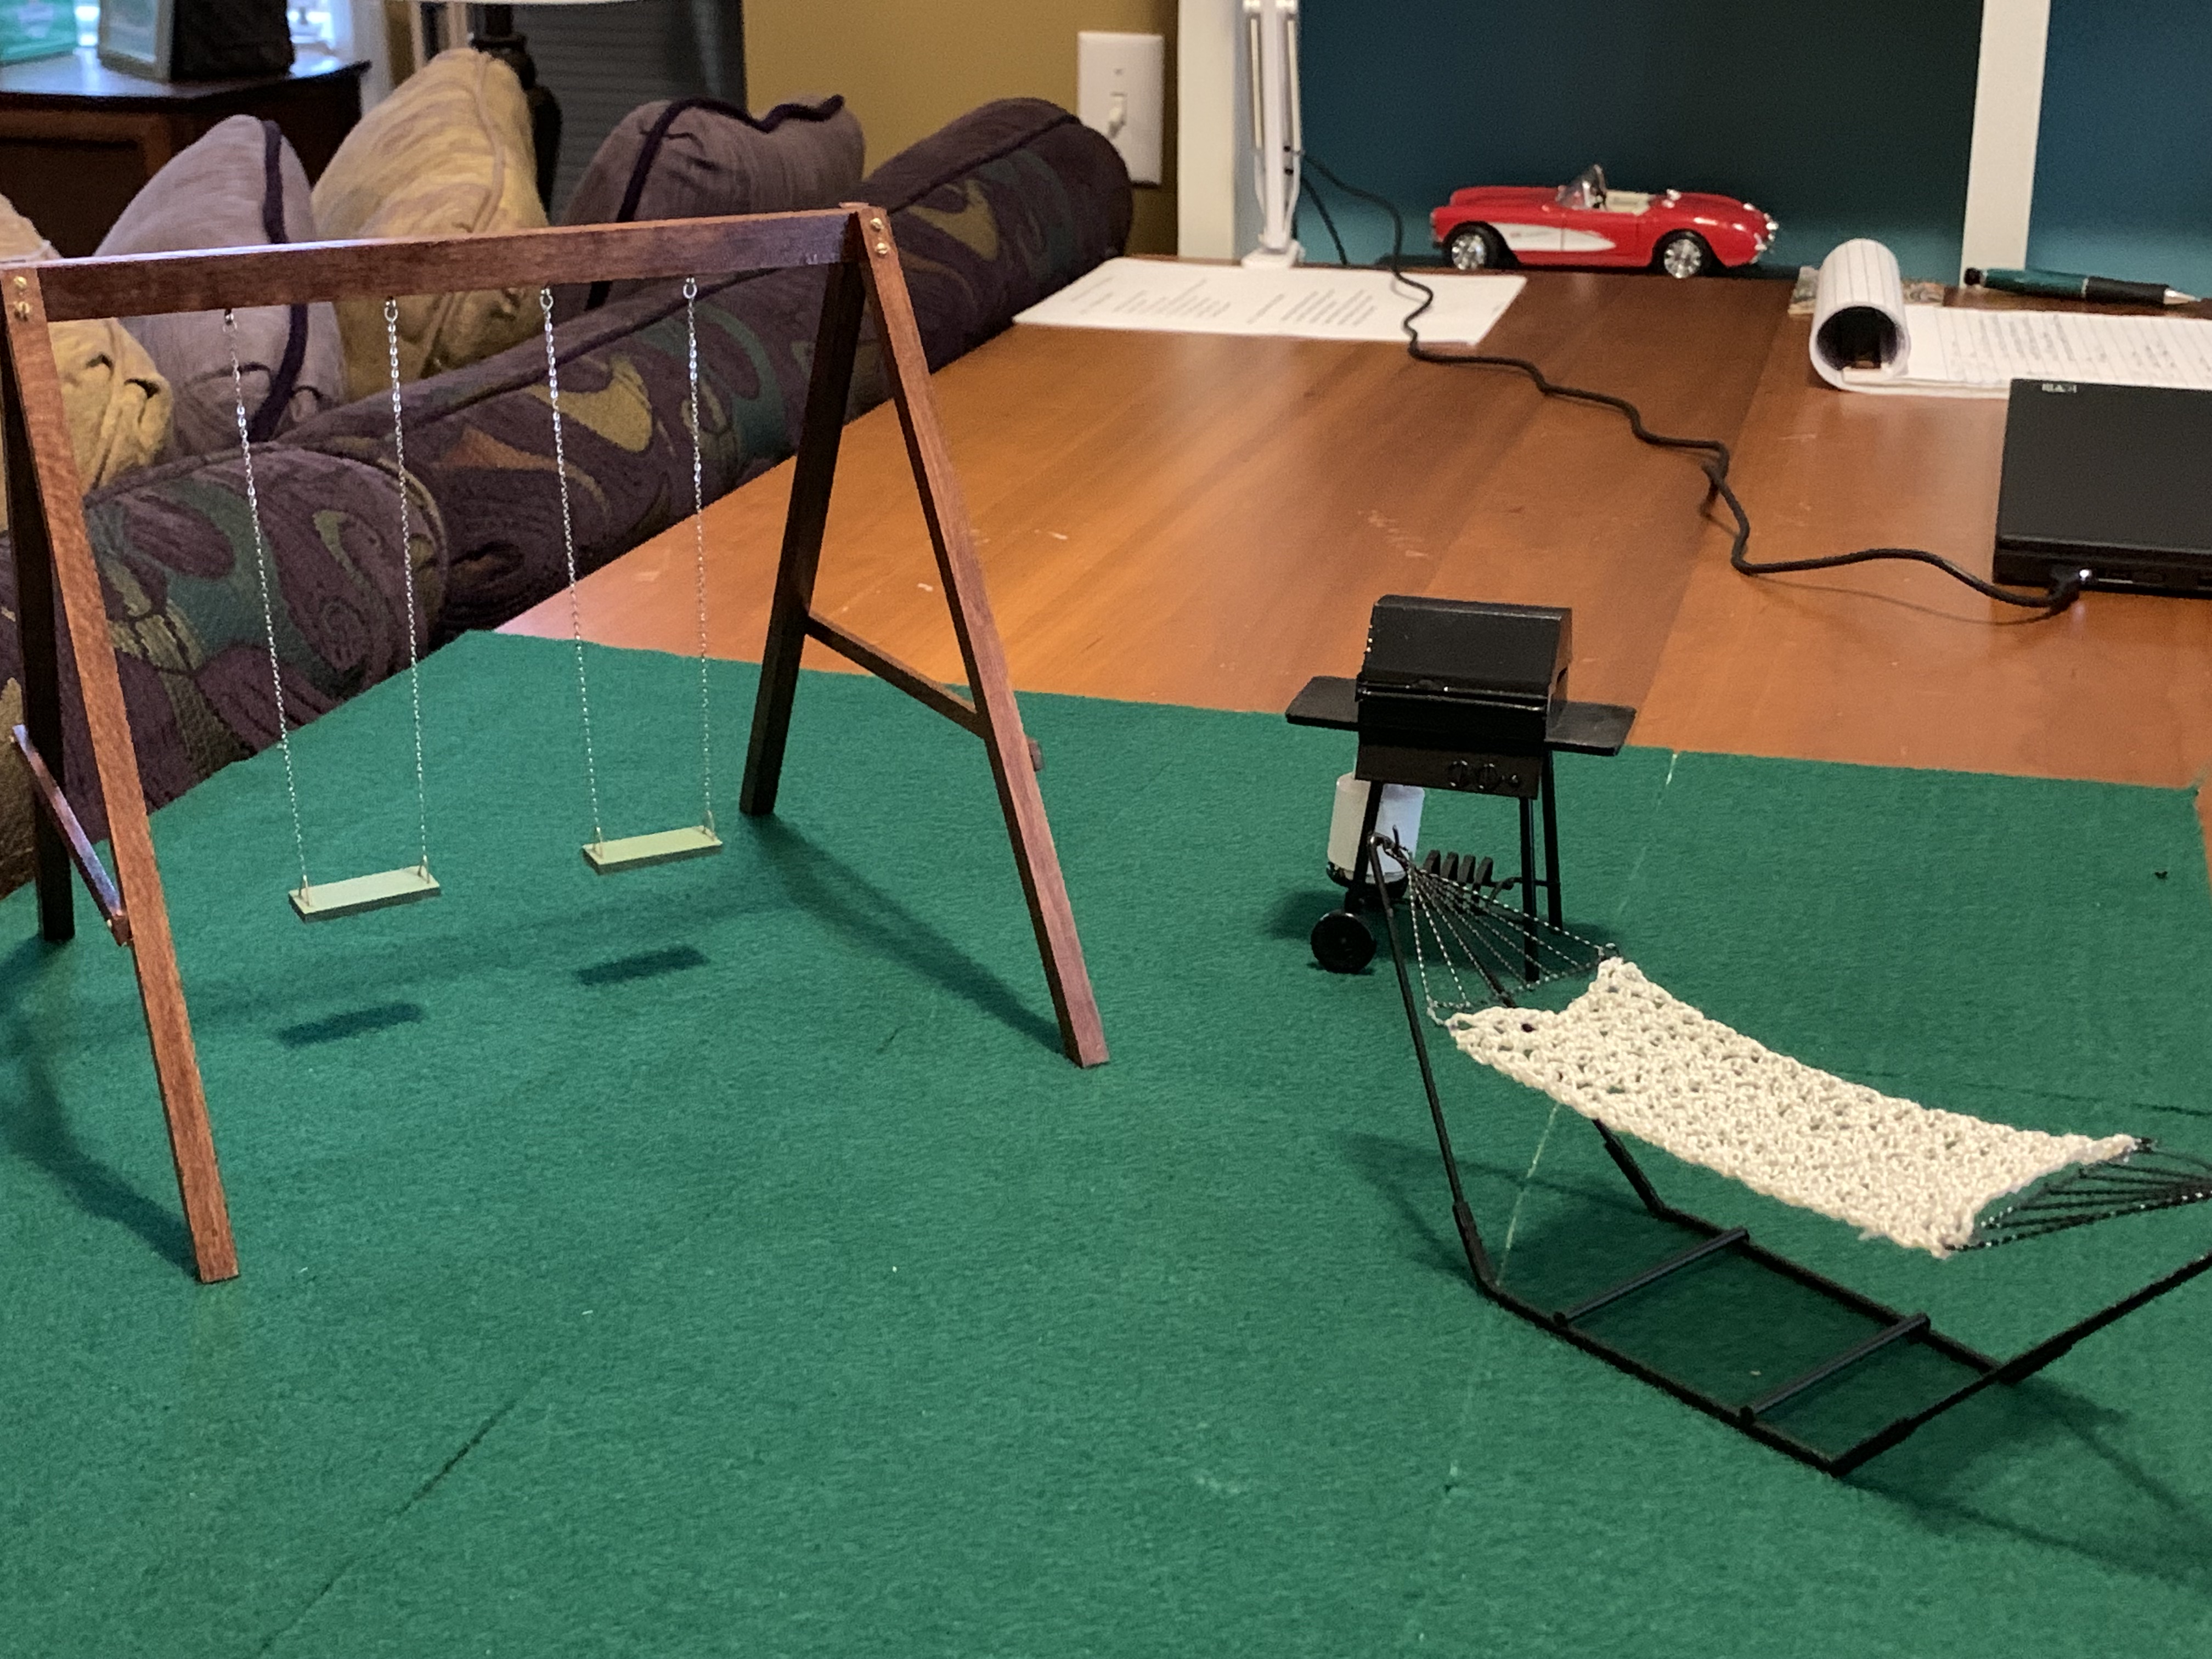
After I had applied two coats of polyurethane, I was ready to attach the chains and swings to complete the miniature DIY swing set.

While I could not find play structures for sale, I did find a couple of other appropriate backyard items. For what backyard would be complete without a gas grill for summertime grilling out and a hammock to relax in? I also made an extension to her backyard to place everything.
All of these I gave to our granddaughter for Christmas along with her new next-door neighbors who were already enjoying the additions.
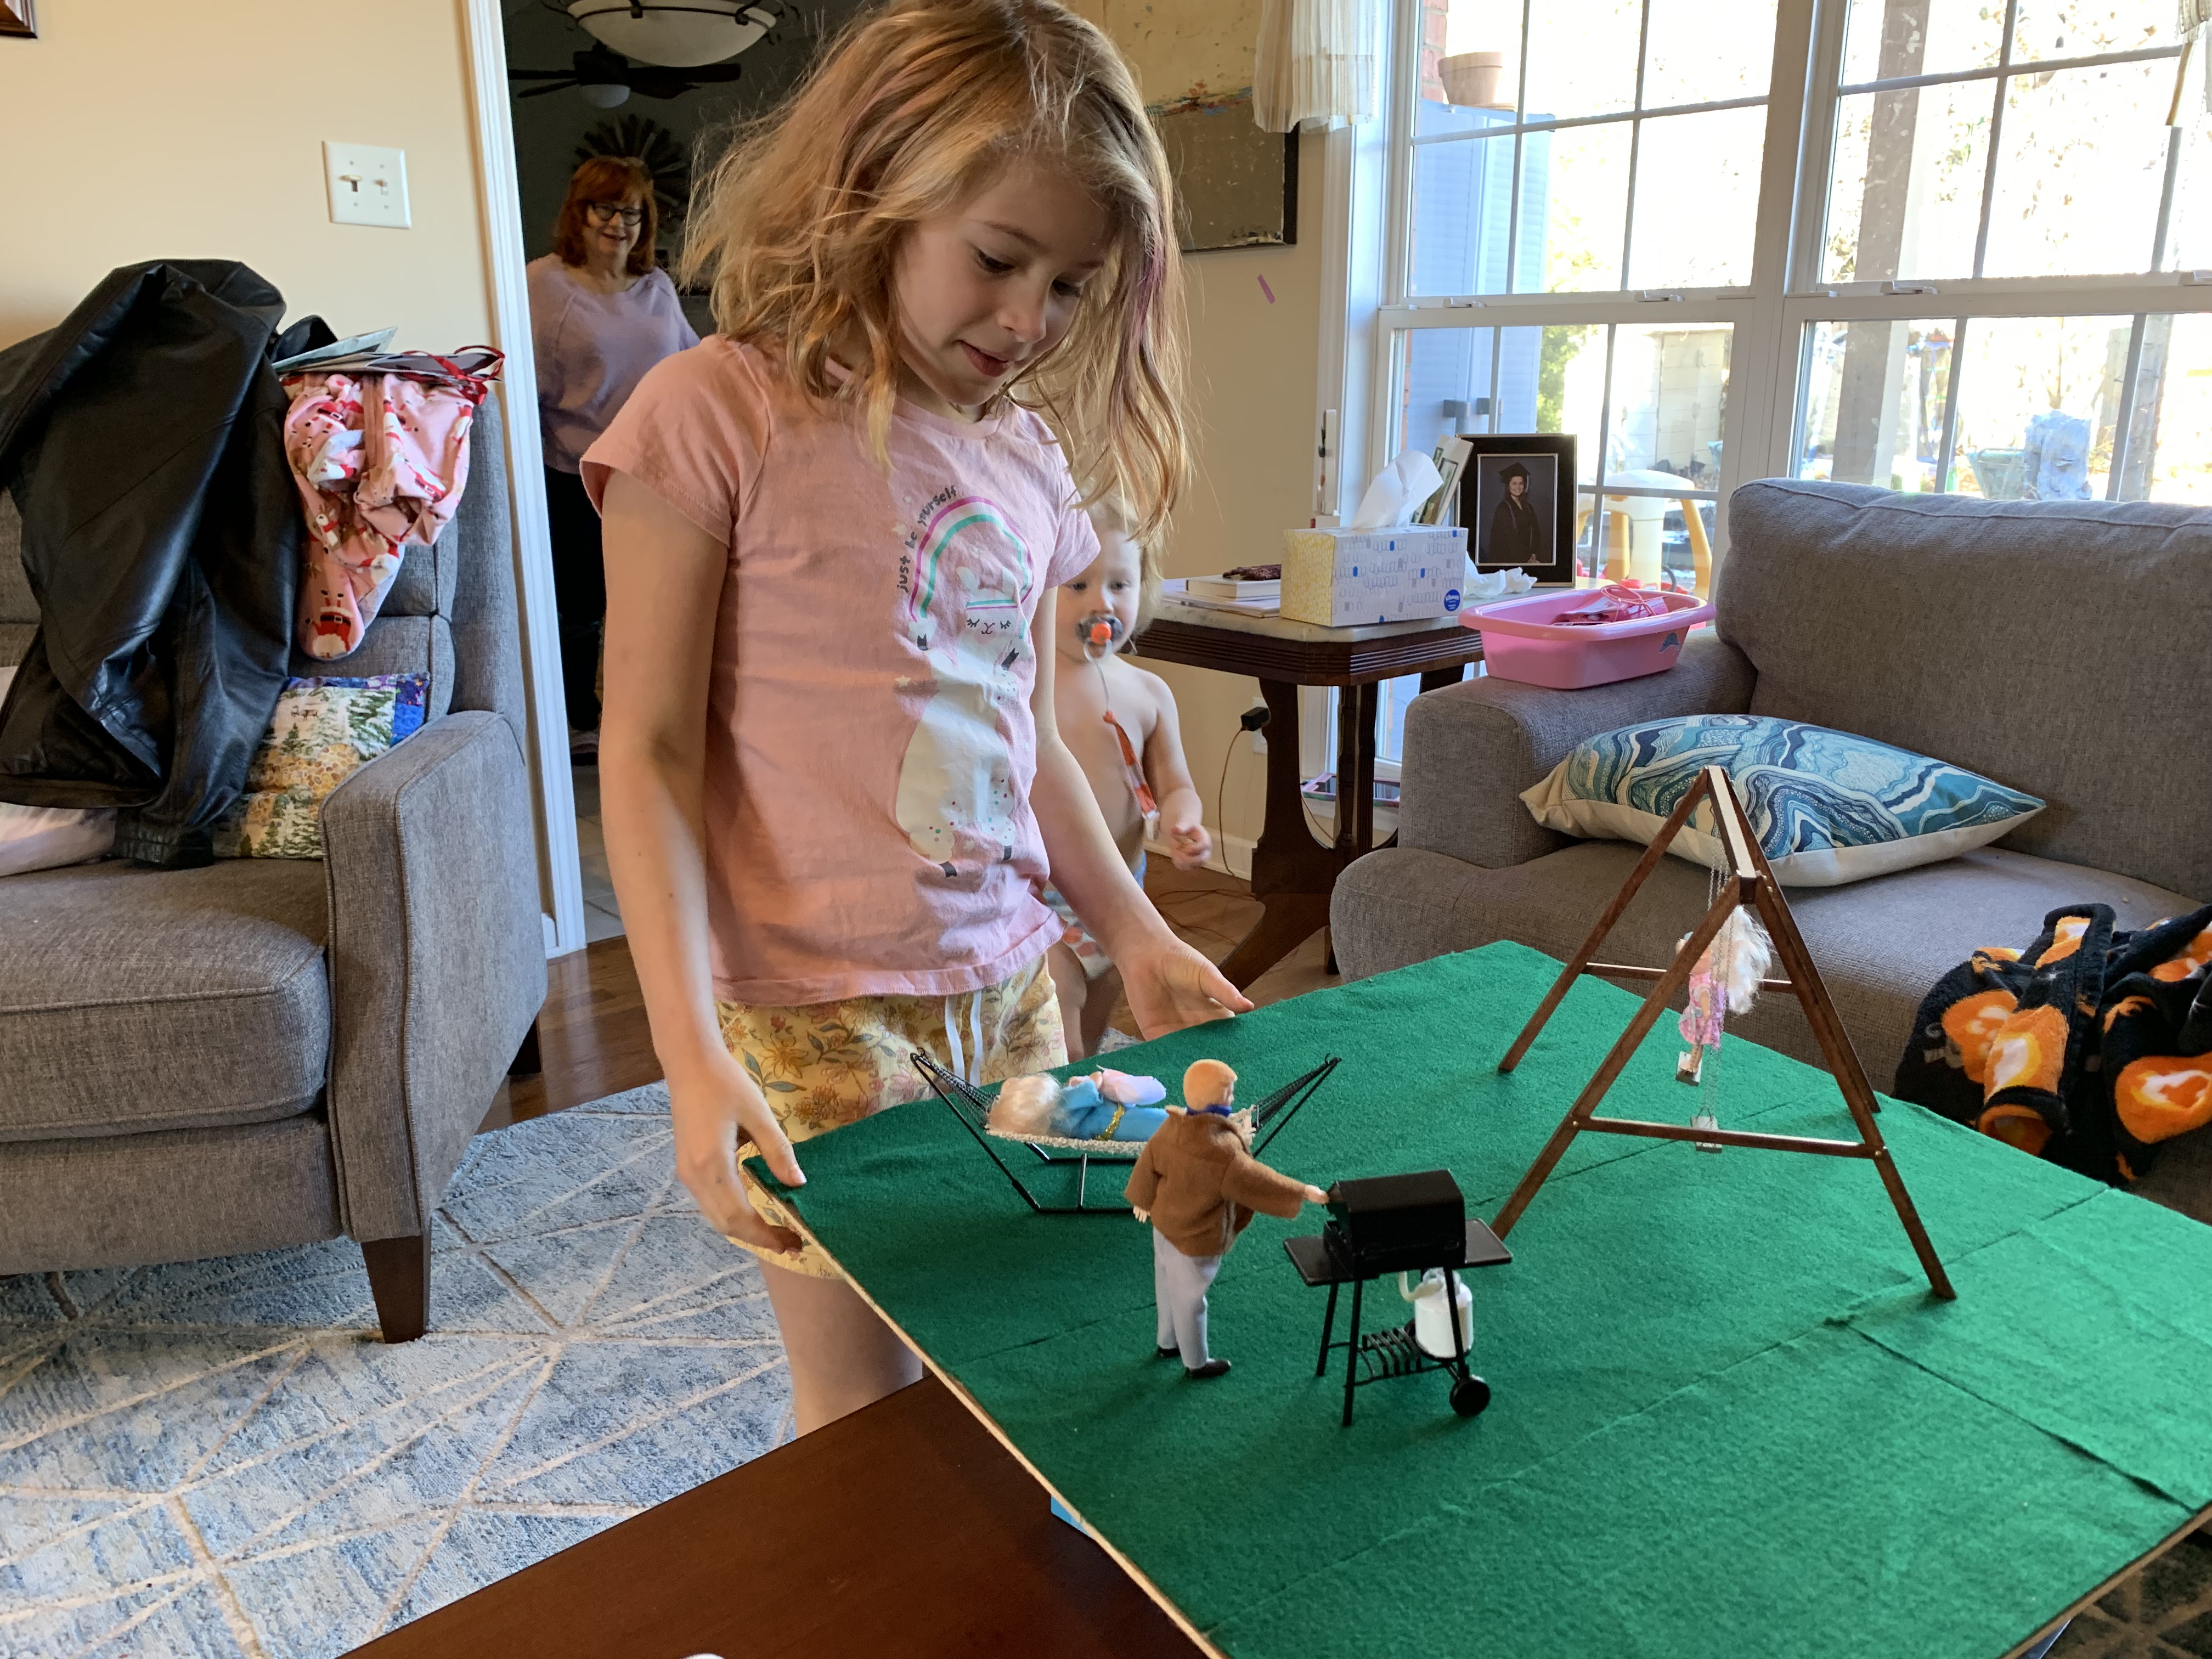
Reading her letter to Santa on Christmas day, I discovered that she must have had the same thought that day last fall when we were playing as a swing set for her dollhouse was the first item on her Christmas wish list.
So, now the next time we play, we could play outdoors in the nice big backyard. Dad could grill out burgers for the family, Mom could relax in the hammock rocking the baby, while their daughter enjoyed swinging on the swing set. And if I played the part of the dad, I knew the first words out of Dad’s mouth would be: “Honey, how do you like your burger cooked?”
Categories

Another excellent job, David! Your granddaughter is a very lucky girl! Next time we visit the Miniature Museum of St. Louis, I shall have to pay closer attention to the “outside furnishings.” I know there was some there, but I don’t recall the extent of it. The dollhouse is absolutely beautiful!
Thanks, Betty! I’m sorry I missed that museum on our visit to St. Louis last year but now that I’ve seen there will be a Chihuly exhibit at the Botanic Gardens, I plan to go back and not miss it this time.
David, I was just mentioning that Chihuly exhibit while commenting on another blogger’s post. It sounds great, and I bet it will be very popular! I’ve thought about joining the Garden just because of this exhibit.
This is so sweet and so adorable!! I loved seeing your process. So much satisfying bath! I know Lily will love it.
Thanks she really did love it.