
Bike Upgrade
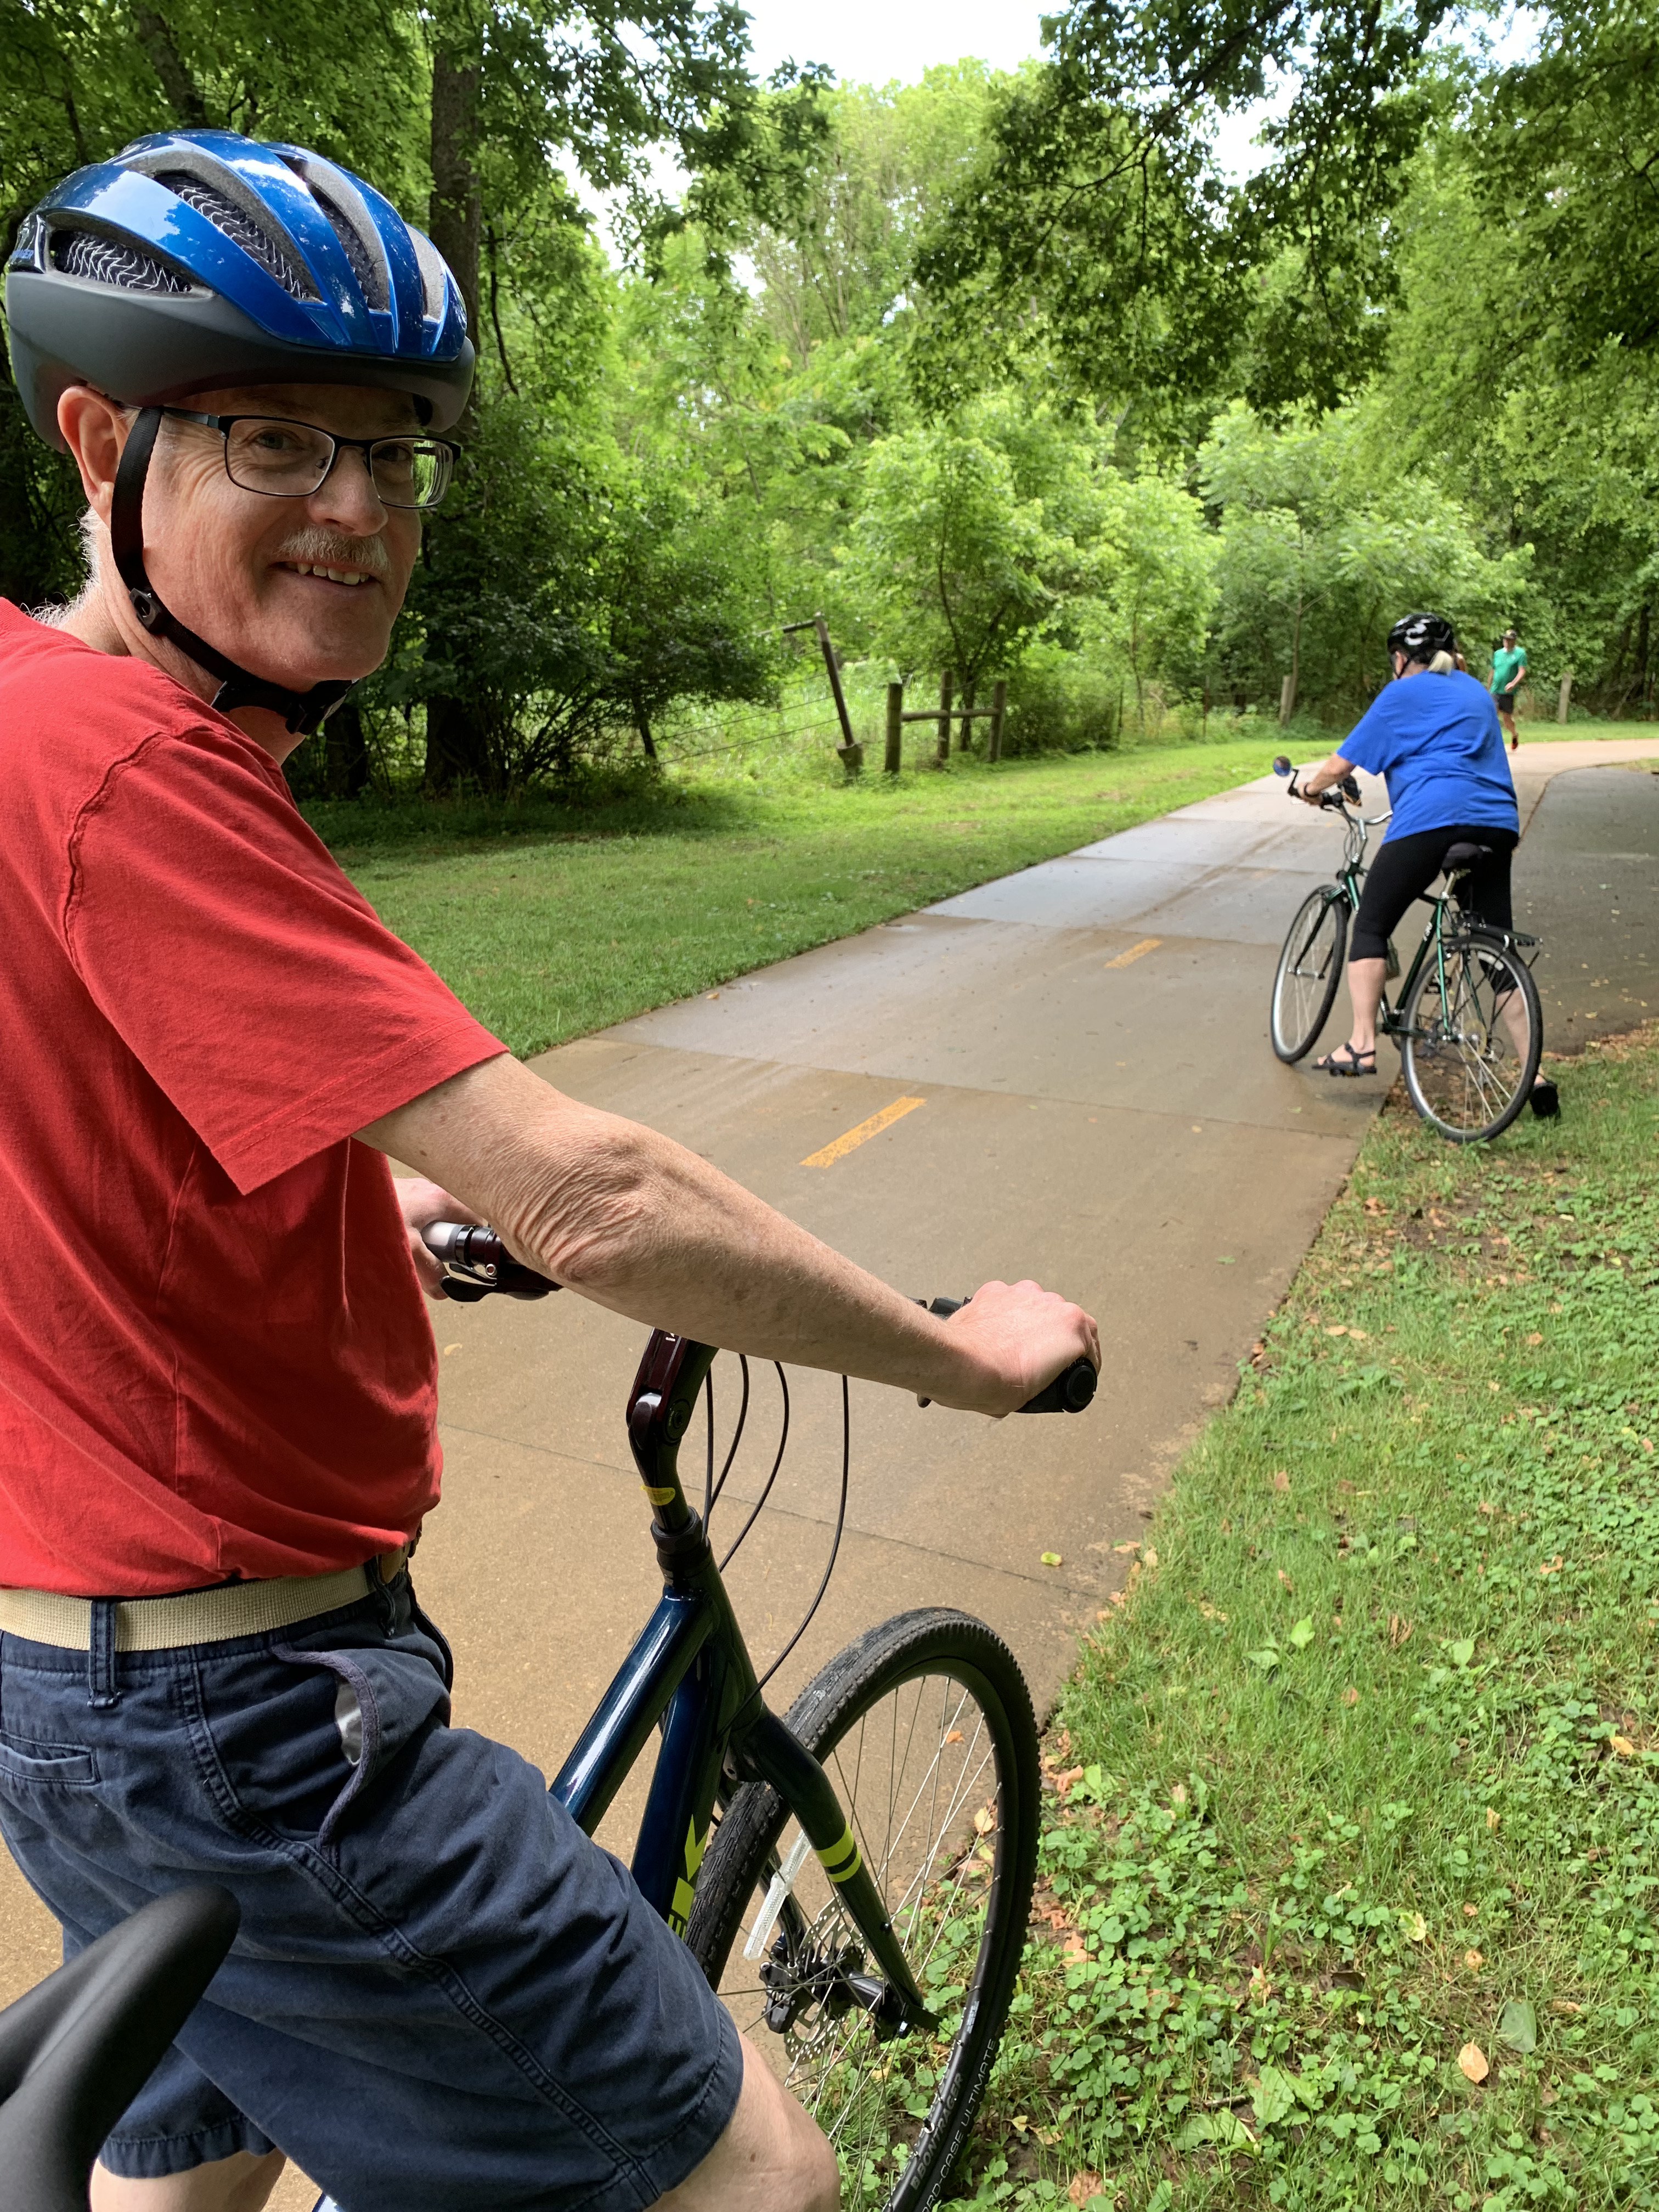
I recently wrote about my trip to Northwest Arkansas to ride bikes with my brother and sister—for the first time in at least 50 years. If you read that post, you already know a big part of the inspiration for this trip was my brother getting a new bike this year. He drove down from Pennsylvania with his new bike, and I drove over from Memphis with mine.
At one point on our outing, I got a chance to ride my brother’s new bike while he rode my 15-year-old one. I was amazed at how much more comfortable his bike was than mine. His bike came with a pair of ergonomic contour handle grips that I had never seen before as well as smooth road tires. My mountain bike had just circular hand grips and big knobby tires. After his short ride on my bike, he suggested I make a few changes to my bike to improve its ride; raise the handlebars, raise the seat, replace the hand grips, and ditch the knobby tires.
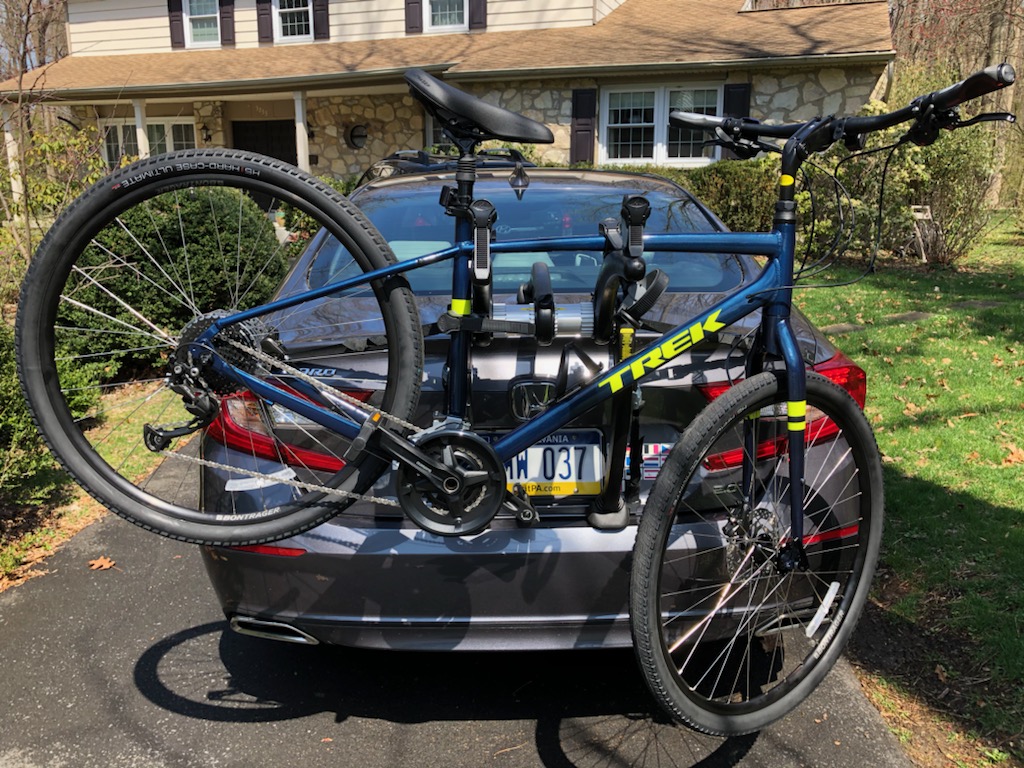
This Trek bike was one of the gift options for celebrating my 25th anniversary with my company. At the time, I did not know it was a mountain bike, but I knew a Trek bike was going to be much nicer than any bike I had ever owned and so selected it. But for most of my use of this bike, I have mainly traveled on paved roads, even more so now that we have two different restricted access paved trails being built in the Memphis area just for biking, walking, or running.
My sister was also impressed with my brother’s new bike and while there, decided to visit a bike shop to explore replacing her even older Trek bike. As she looked over the selections, I looked at the accessories that would potentially make my bike more comfortable. Of course, being in a bike shop filled with brand new bikes, I was tempted to just buy myself a new bike but then the practical side of me took over as I rationalized there was mechanically nothing wrong with my existing bike; it was just not as comfortable to ride as my brother’s.
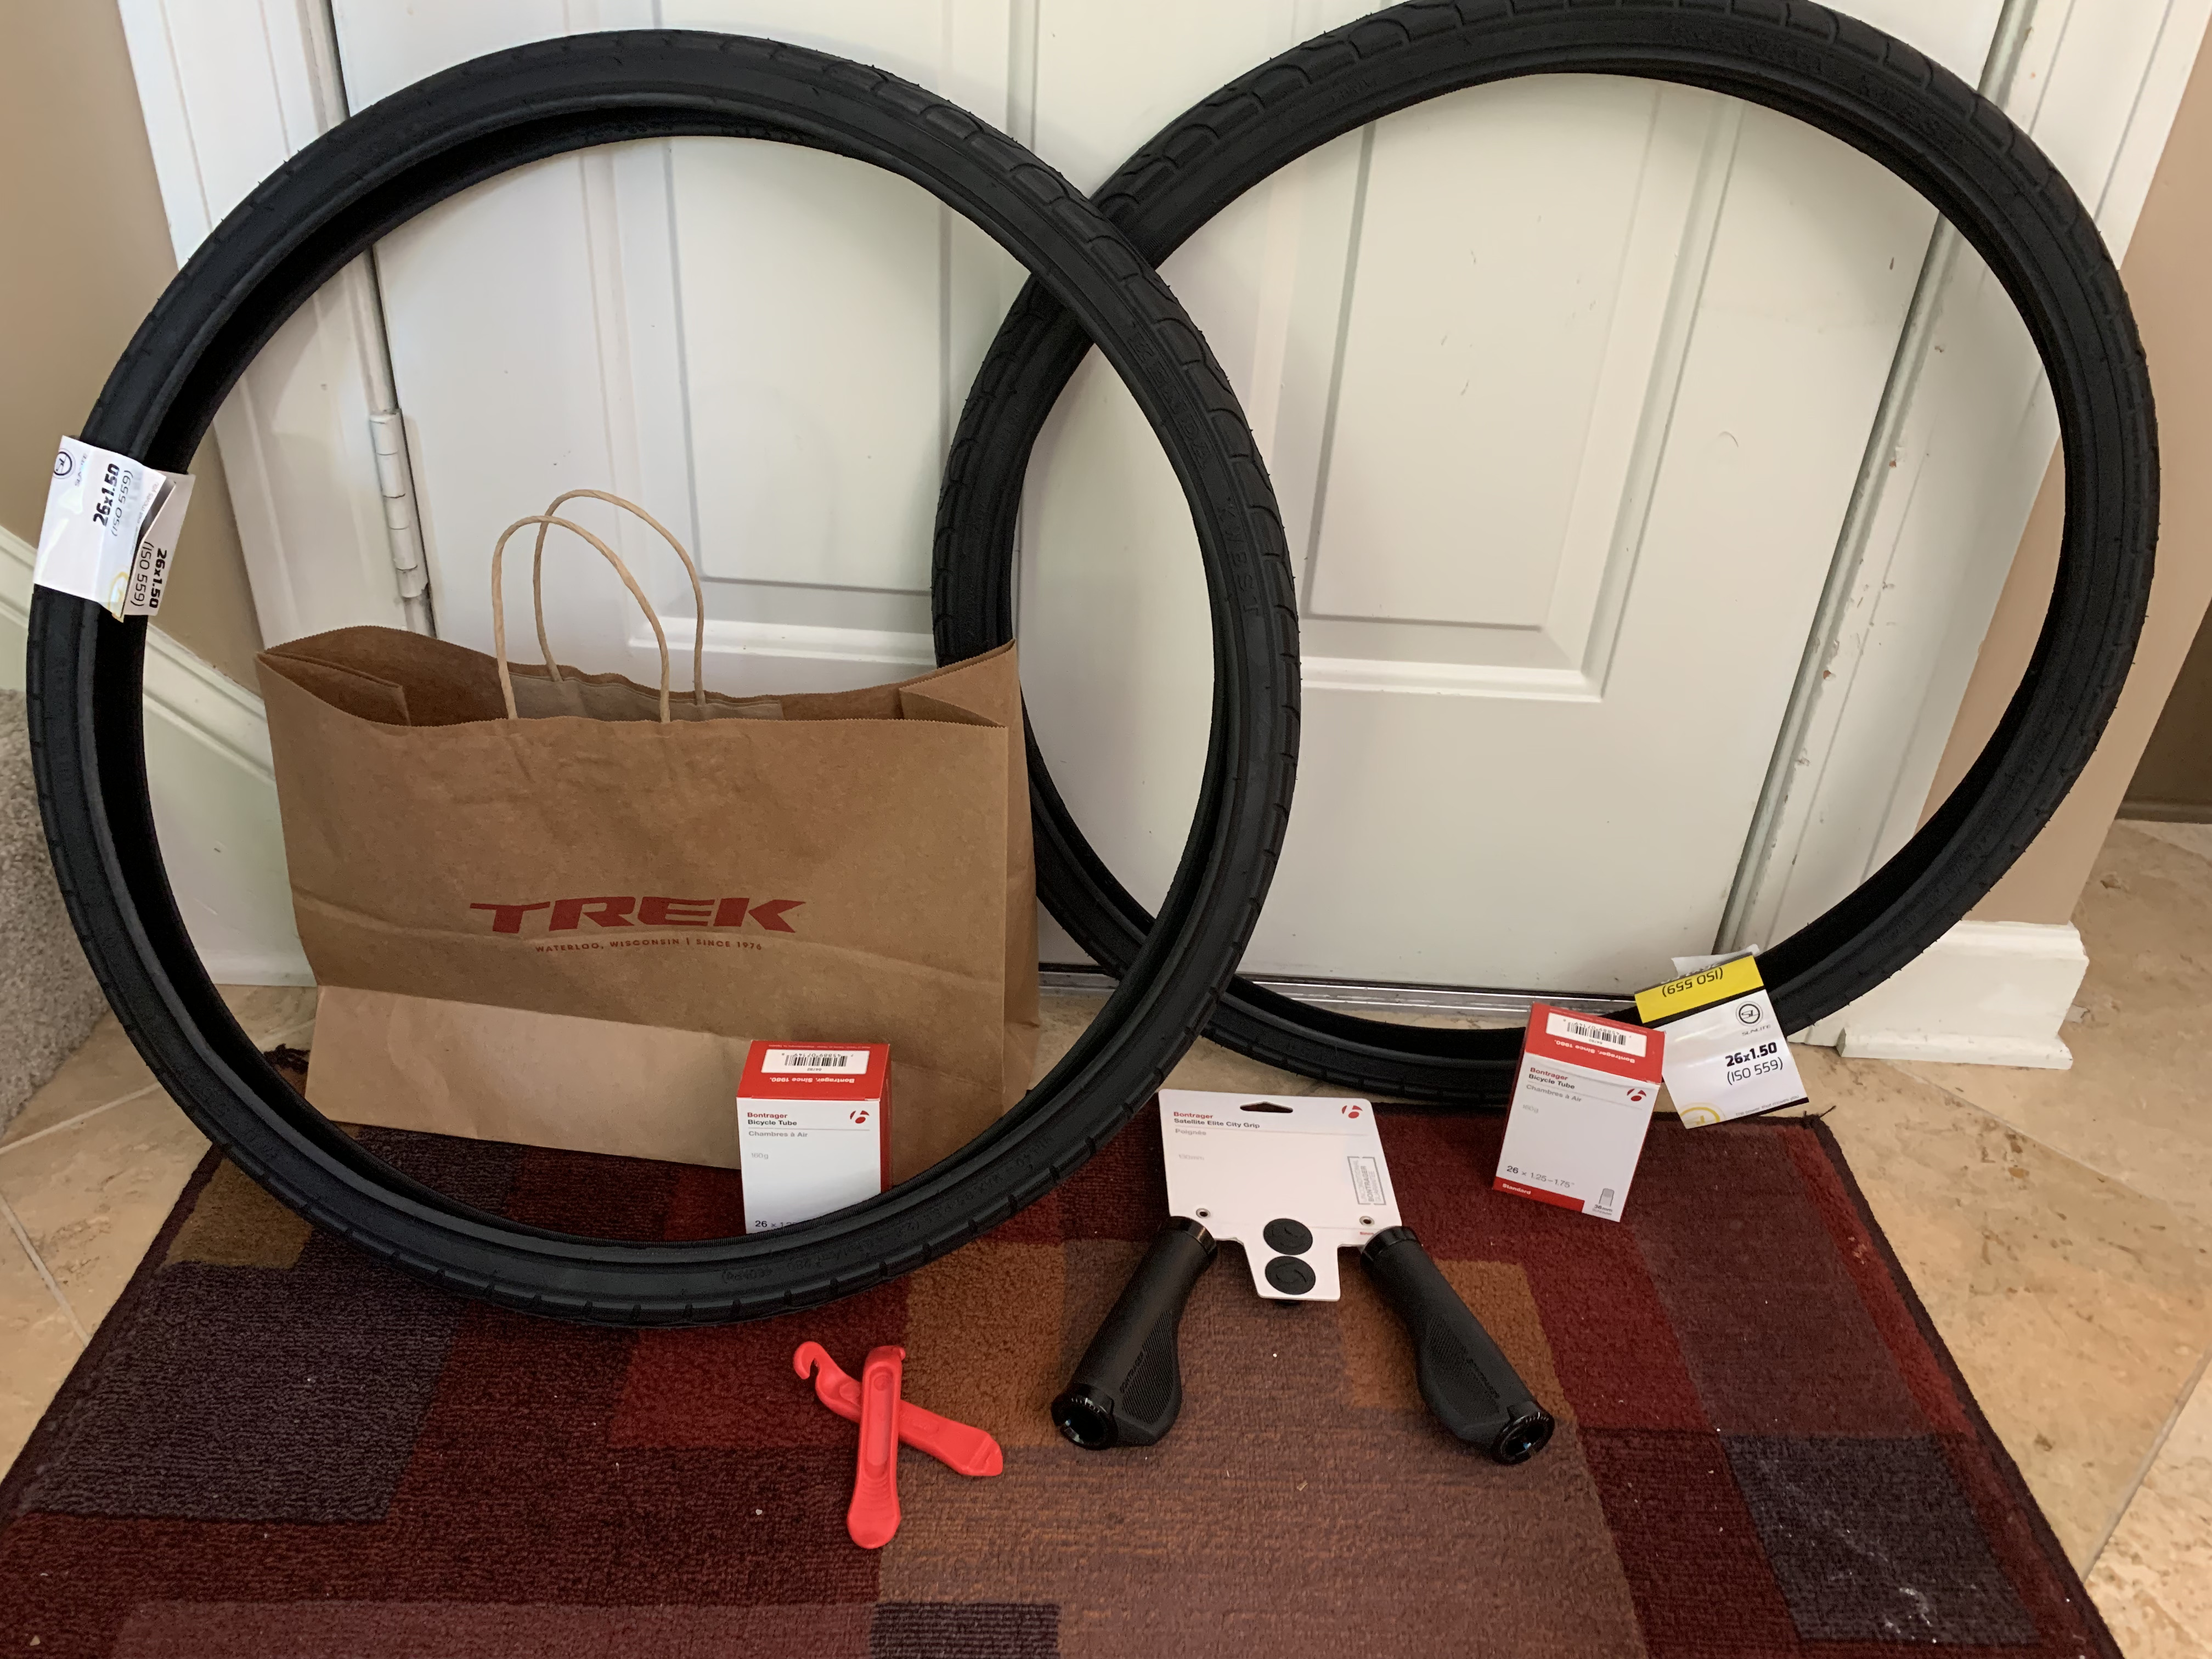
Once back in Memphis, I did as my brother suggested and raised my handlebars and my seat. Then I searched online for new grips and tires. I found what I needed but then when I went to add them to my cart, discovered they were out of stock. Actually, I was not surprised given the astronomical rise in bike interest and purchases during this pandemic. The Trek website then indicated it could search inventory at nearby stores by inputting my zip code. I did and was most surprised to learn that not only were the items in stock at a local Trek store, but the store was less than 6 miles from my house. I had no idea we even had a Trek bike shop in the Memphis area (turns out we actually had three).
I told my wife what I was going to do and if it turned out to really improve my bike’s ride, I would do the same thing to hers (she too has a Trek Mountain bike I gave her for Christmas the year I got my Trek). While she suggested I just drop my bike off at the shop and let them do all the work, I figured having them outfit two bikes would be expensive and these updates seemed easy enough for me to do them myself. So off to the store I went where the very helpful staff found me everything I needed.
The day I had the time to begin my installation process was fairly warm and so I decided to do my work in the kitchen rather than in the hot garage. I stood my bike up next to our kitchen table and decided to focus on the easier of the two jobs first: the handle grips.
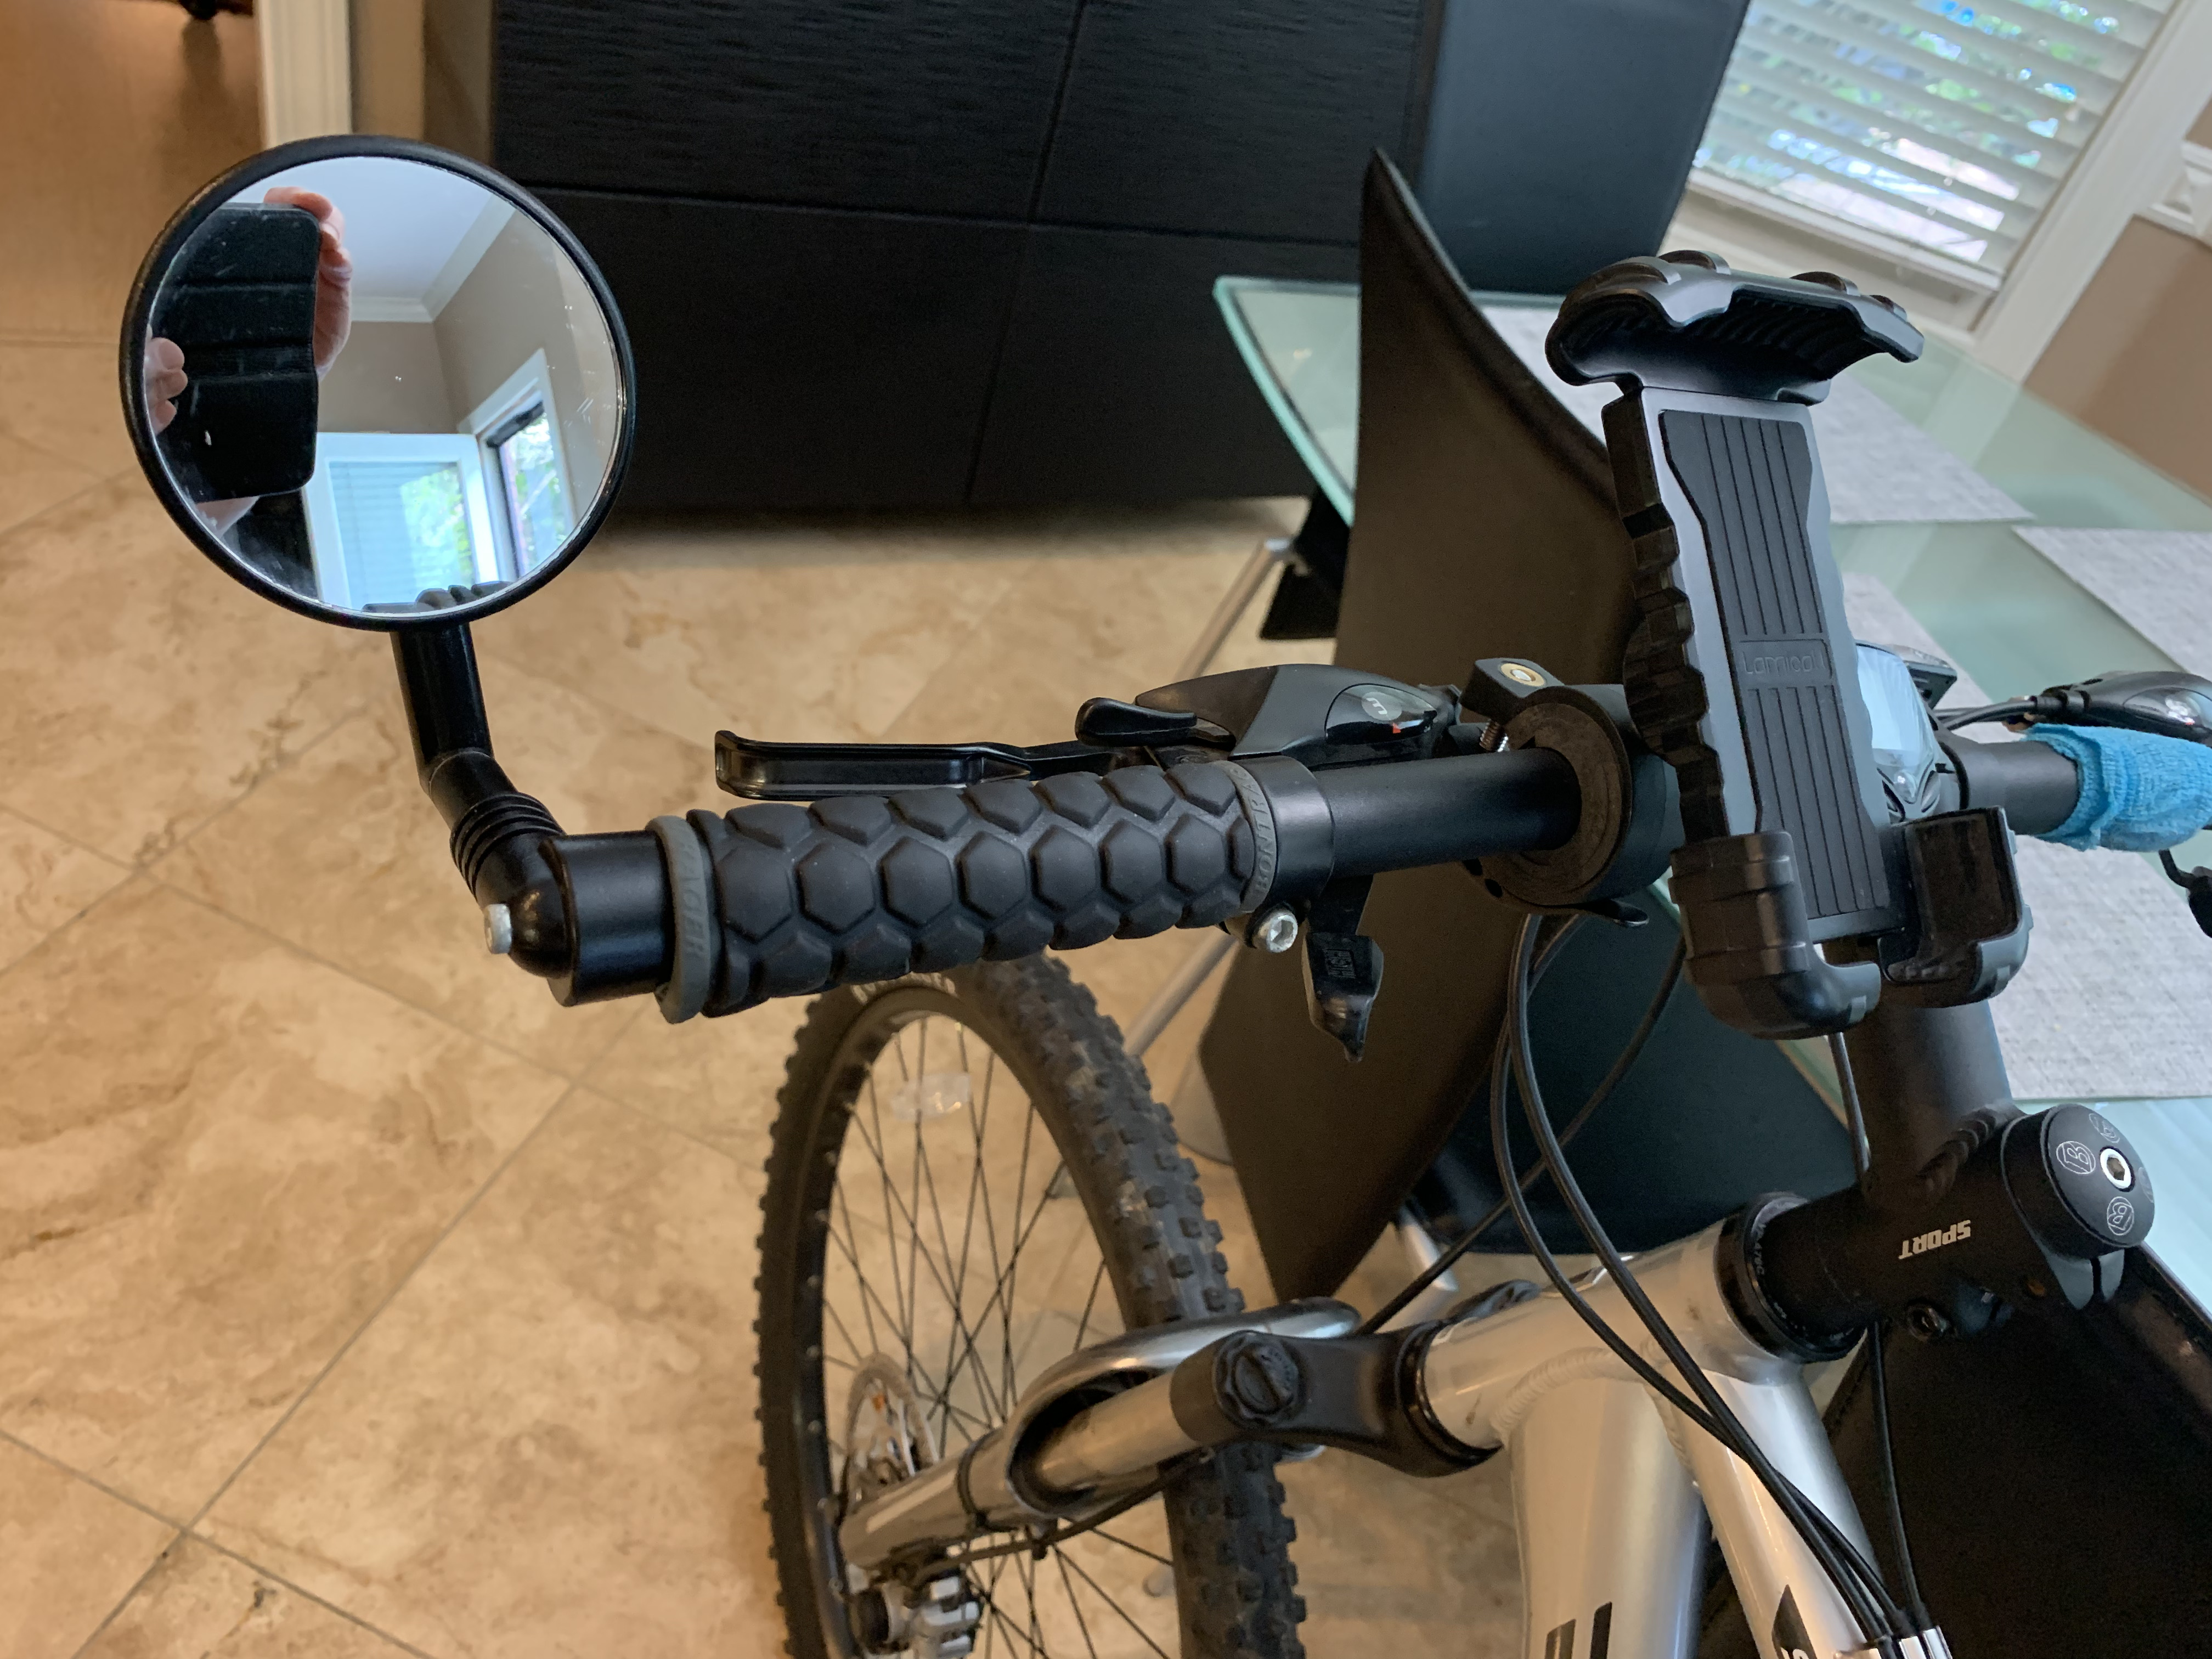
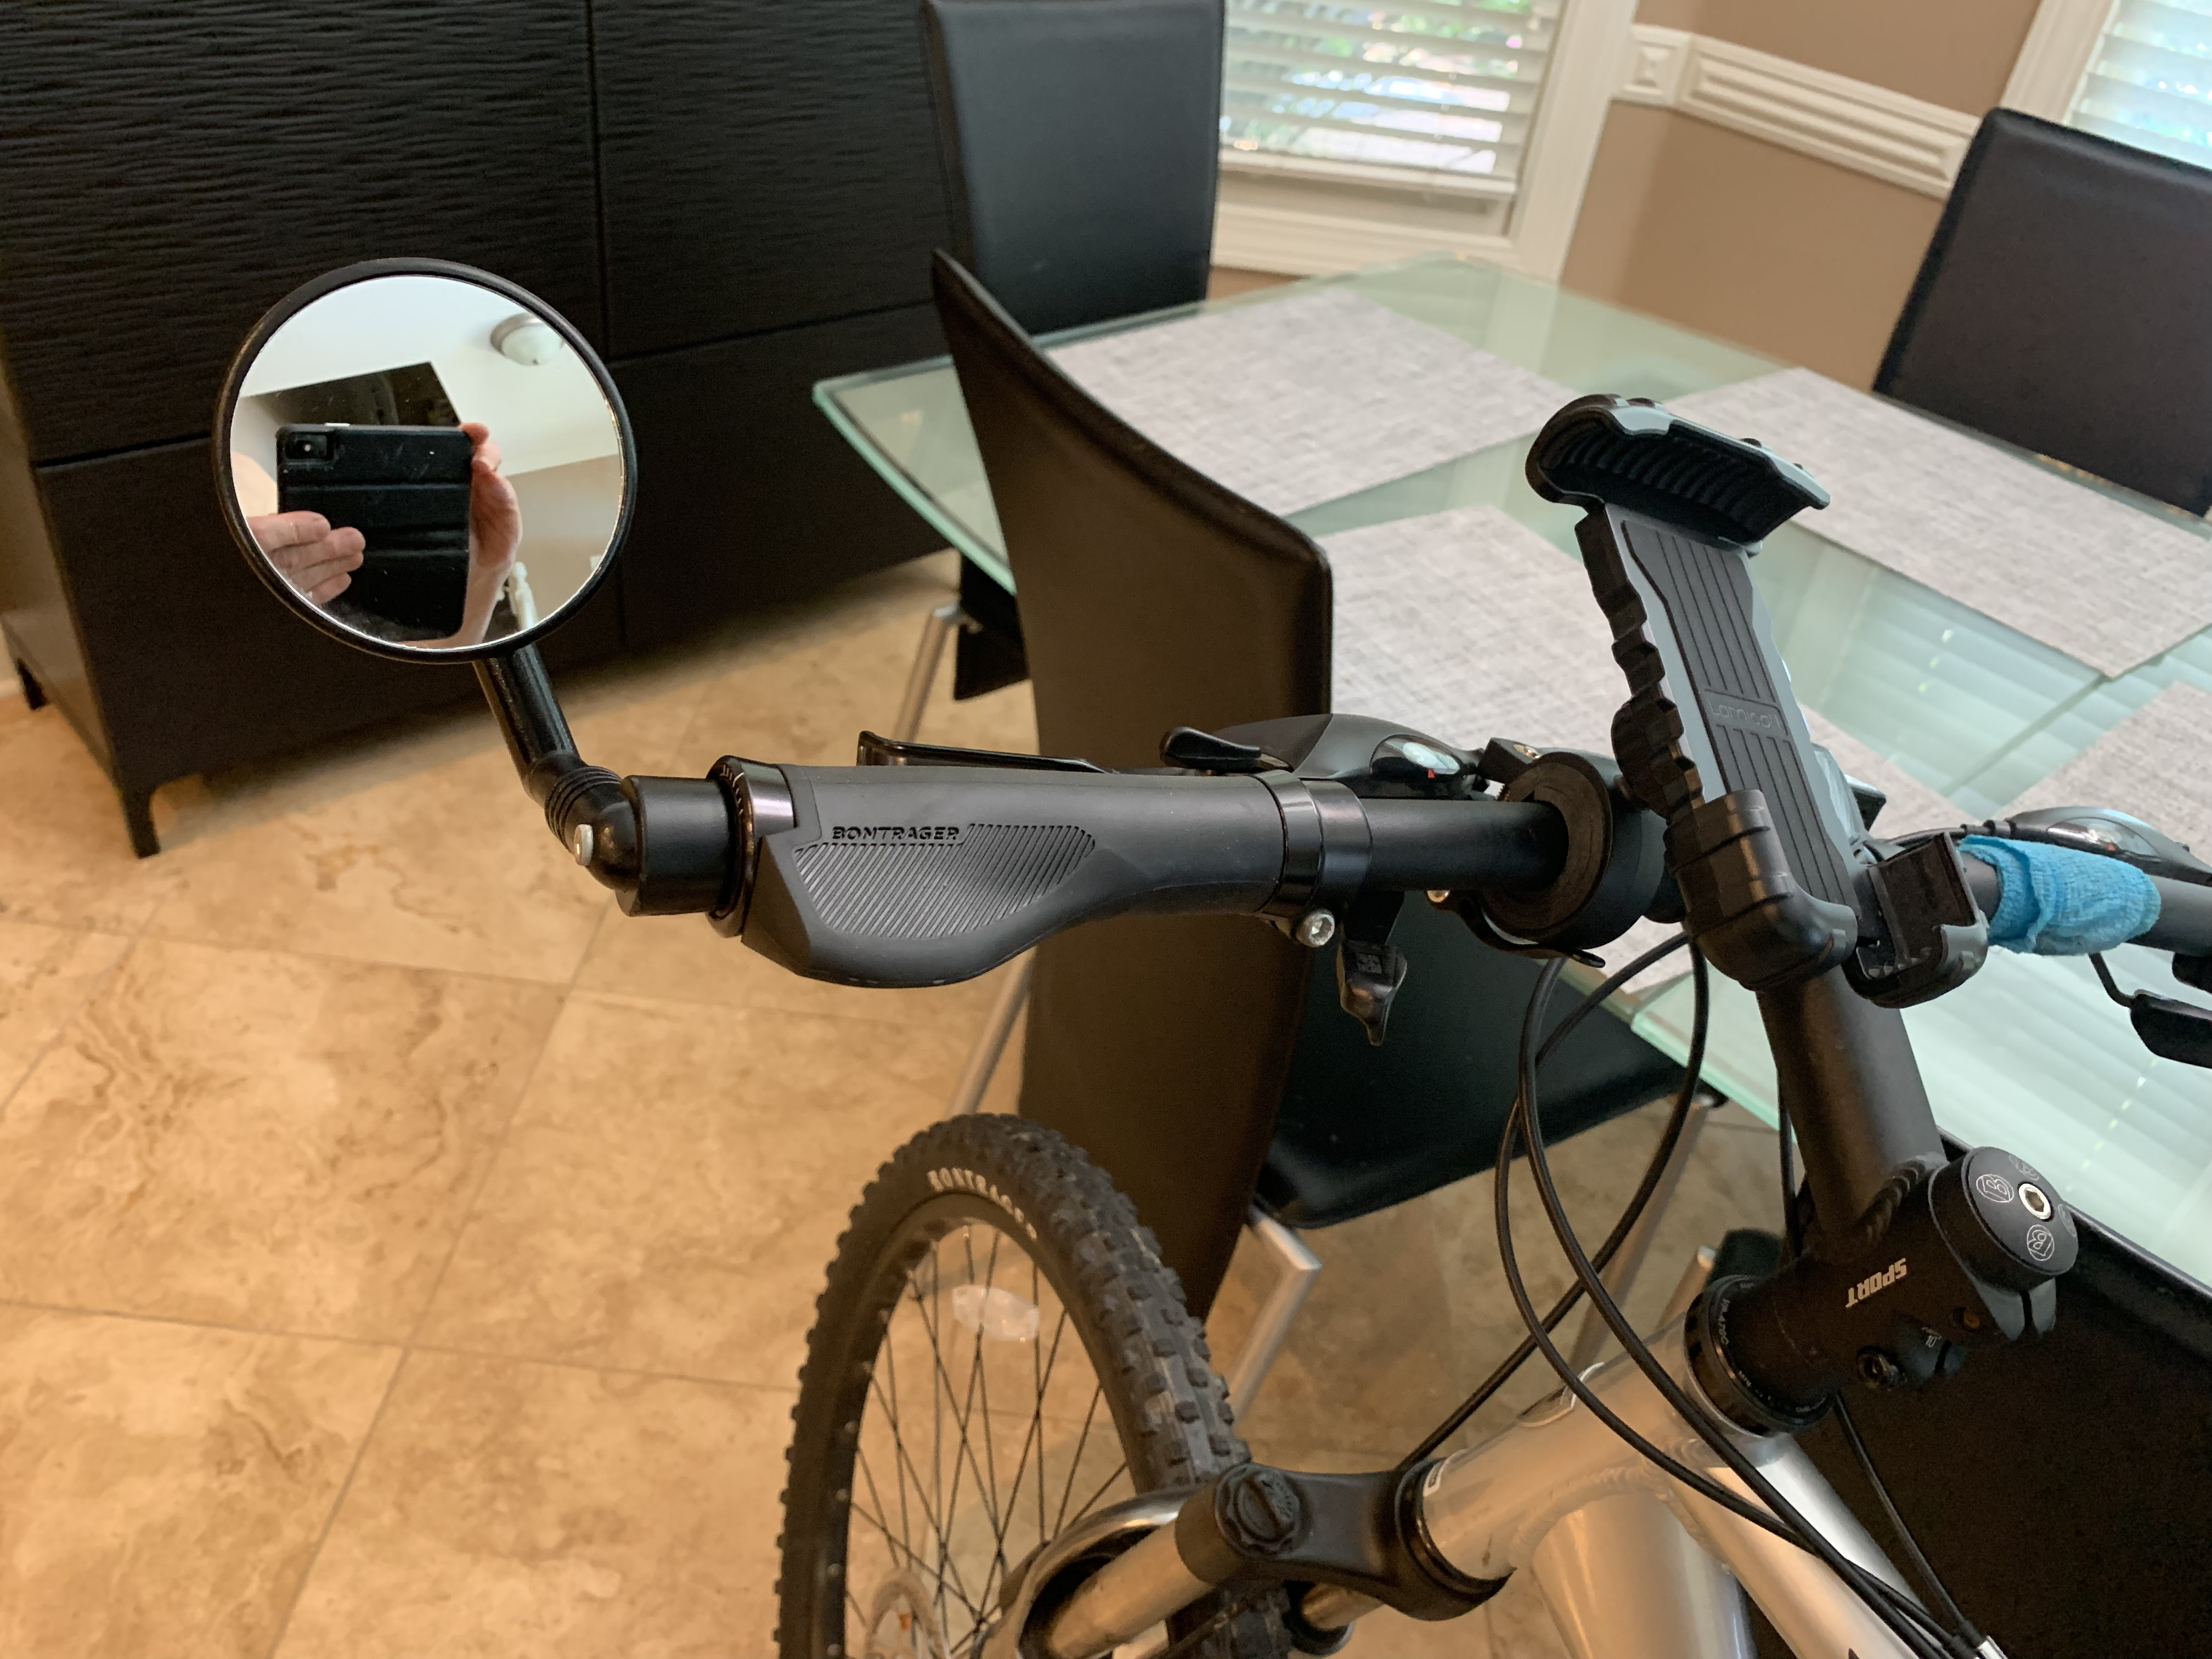
Getting the old grips off proved easier than I imagined, and the new ones slid on easily as well. When I tried to figure out what angle the contour grip should be tightened down to, I decided to watch a video. The video included a couple of steps that would have simplified my installation process but did not show at what angle the grips should be; rather they should be adjusted so that they were comfortable. There was a small white line at the end of the grip, and I assumed that was supposed to point straight up, so I adjusted both that way.
Before I started replacing the tires, I decided to also watch a video as the last time I had replaced a bicycle tire, I was probably a teenager. The video was extremely helpful in what techniques to use and what pitfalls to watch out for and even showed me how to use the two little tools the staff had recommended I also purchase (when asked if I needed any tools, I said no, I already had a screwdriver—ha you should have seen his face!).
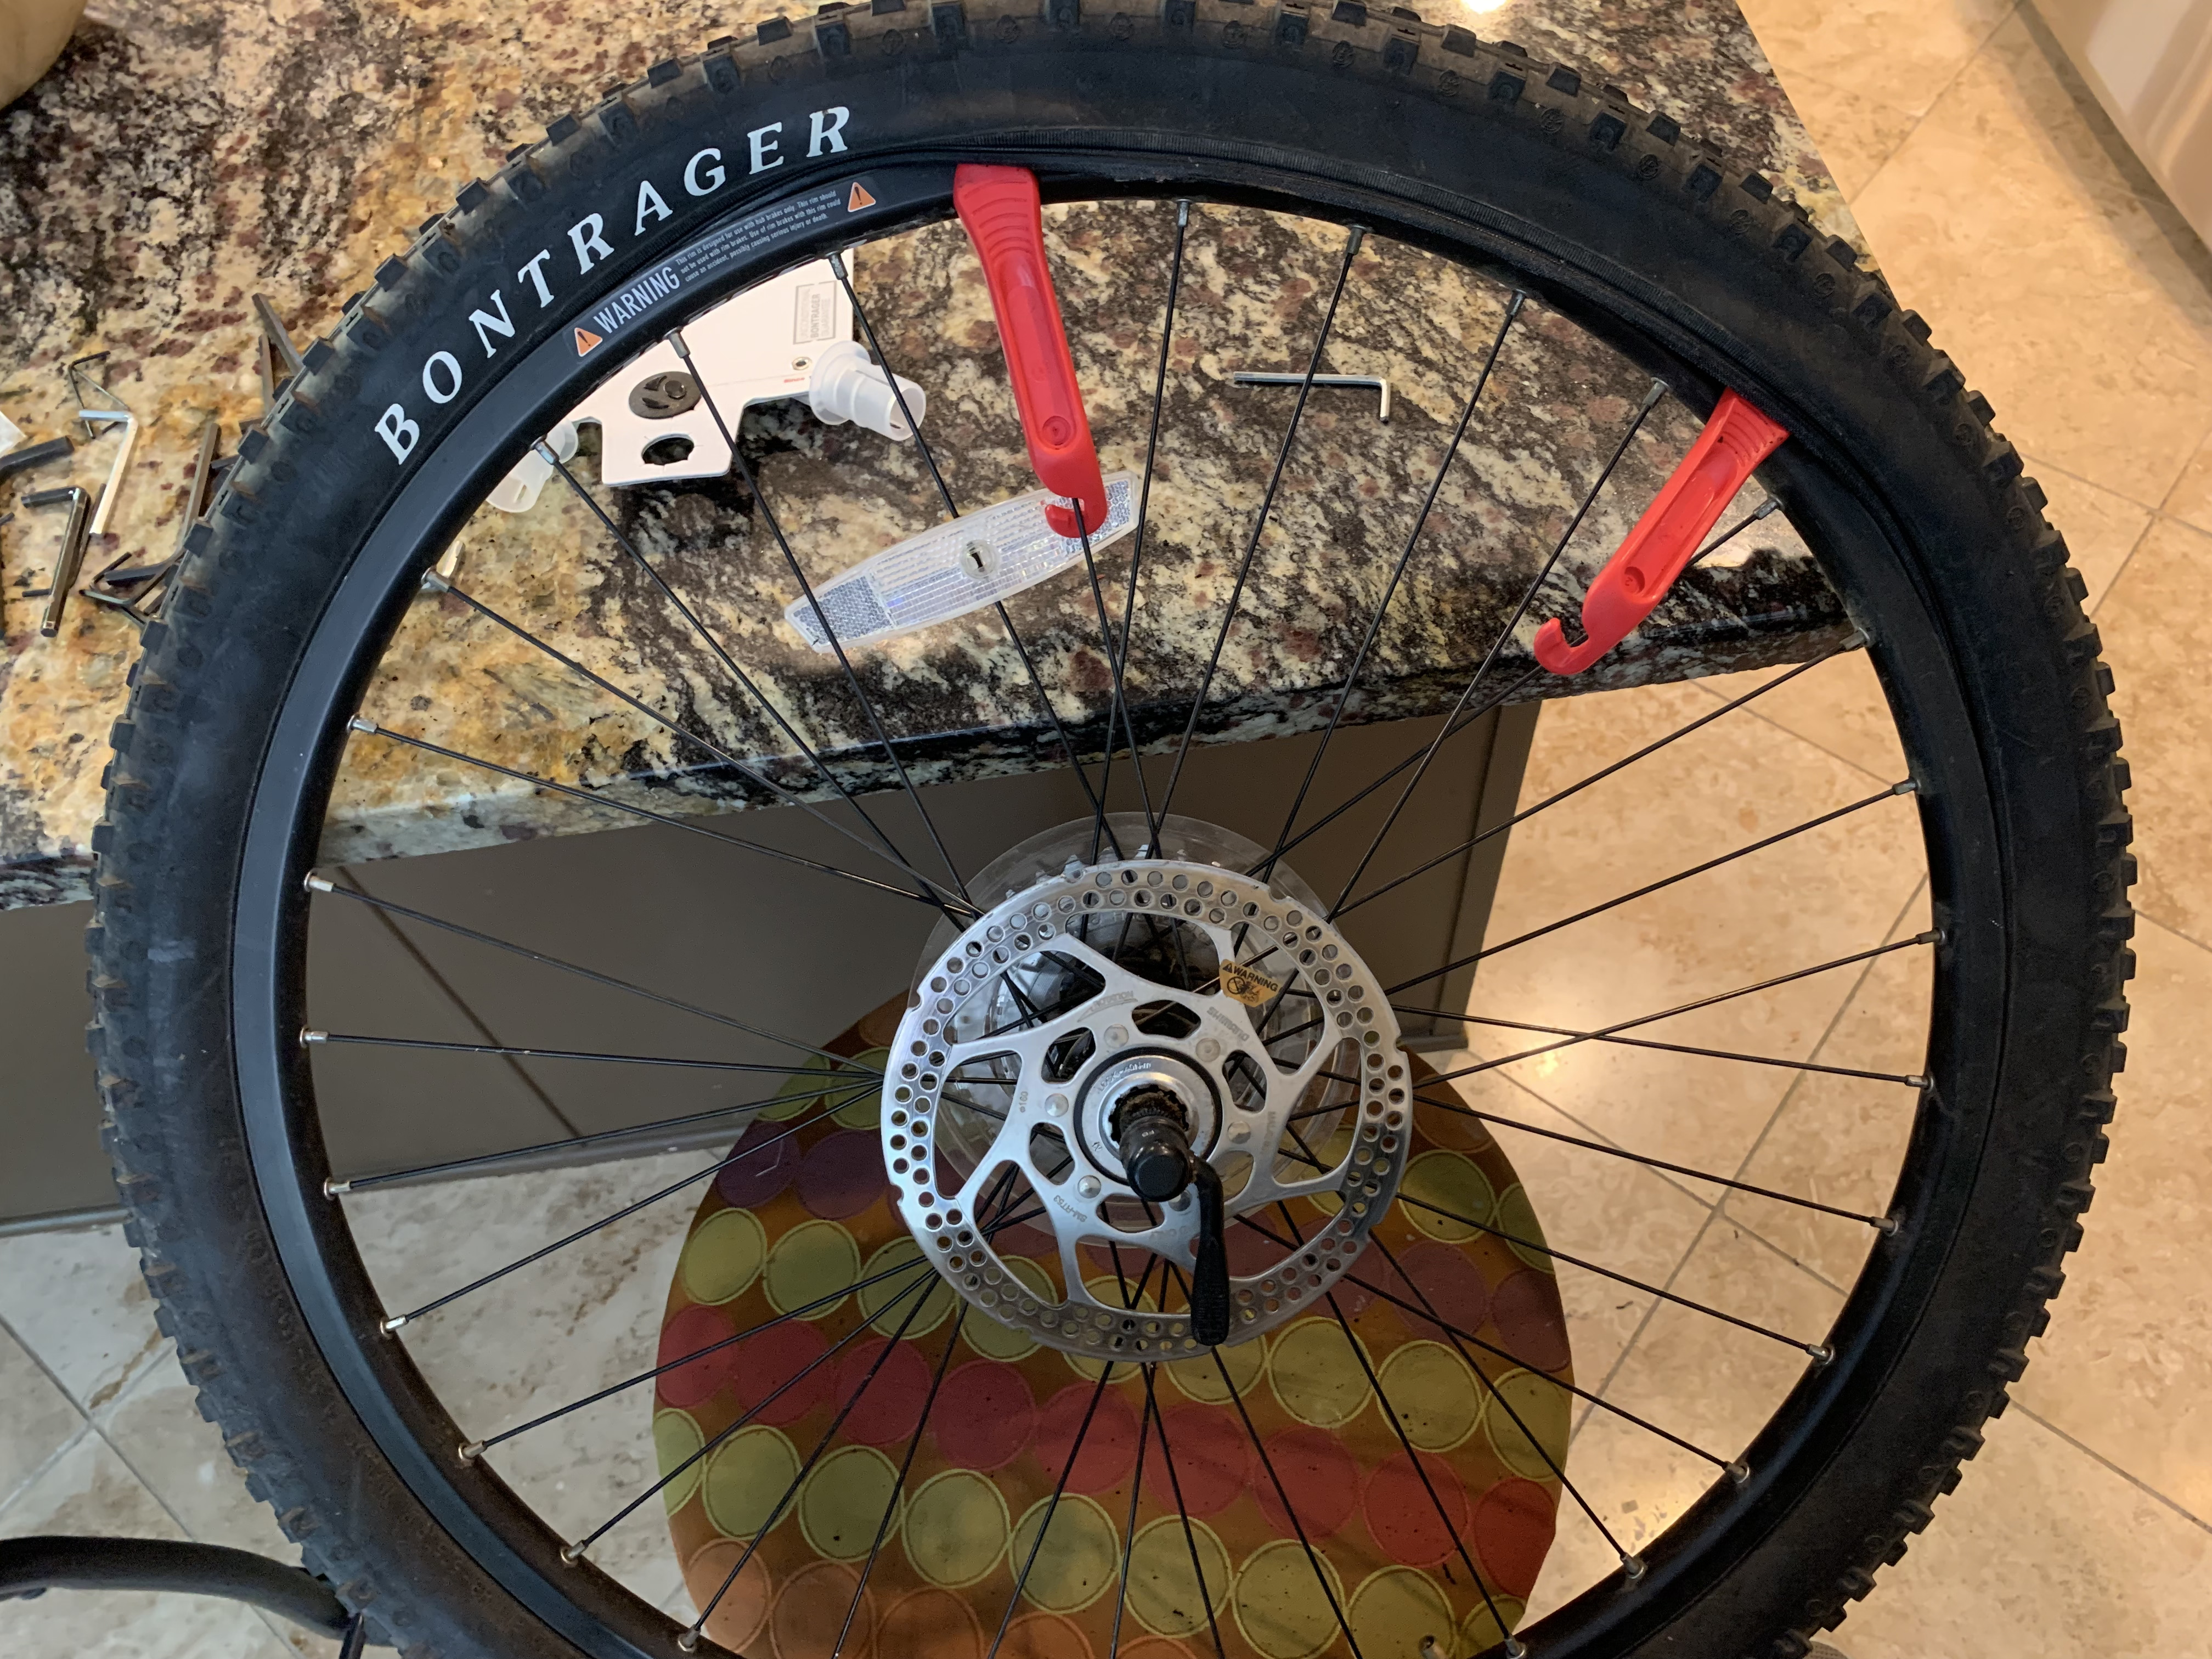
After letting most of the air out, the tools first came in handy getting the old tire off. They also helped getting the first side of the tire bead on the rim before threading the new, slightly aired inner tube inside the new tire.

Finally, these tools helped getting the second side of the tire bead on the rim.
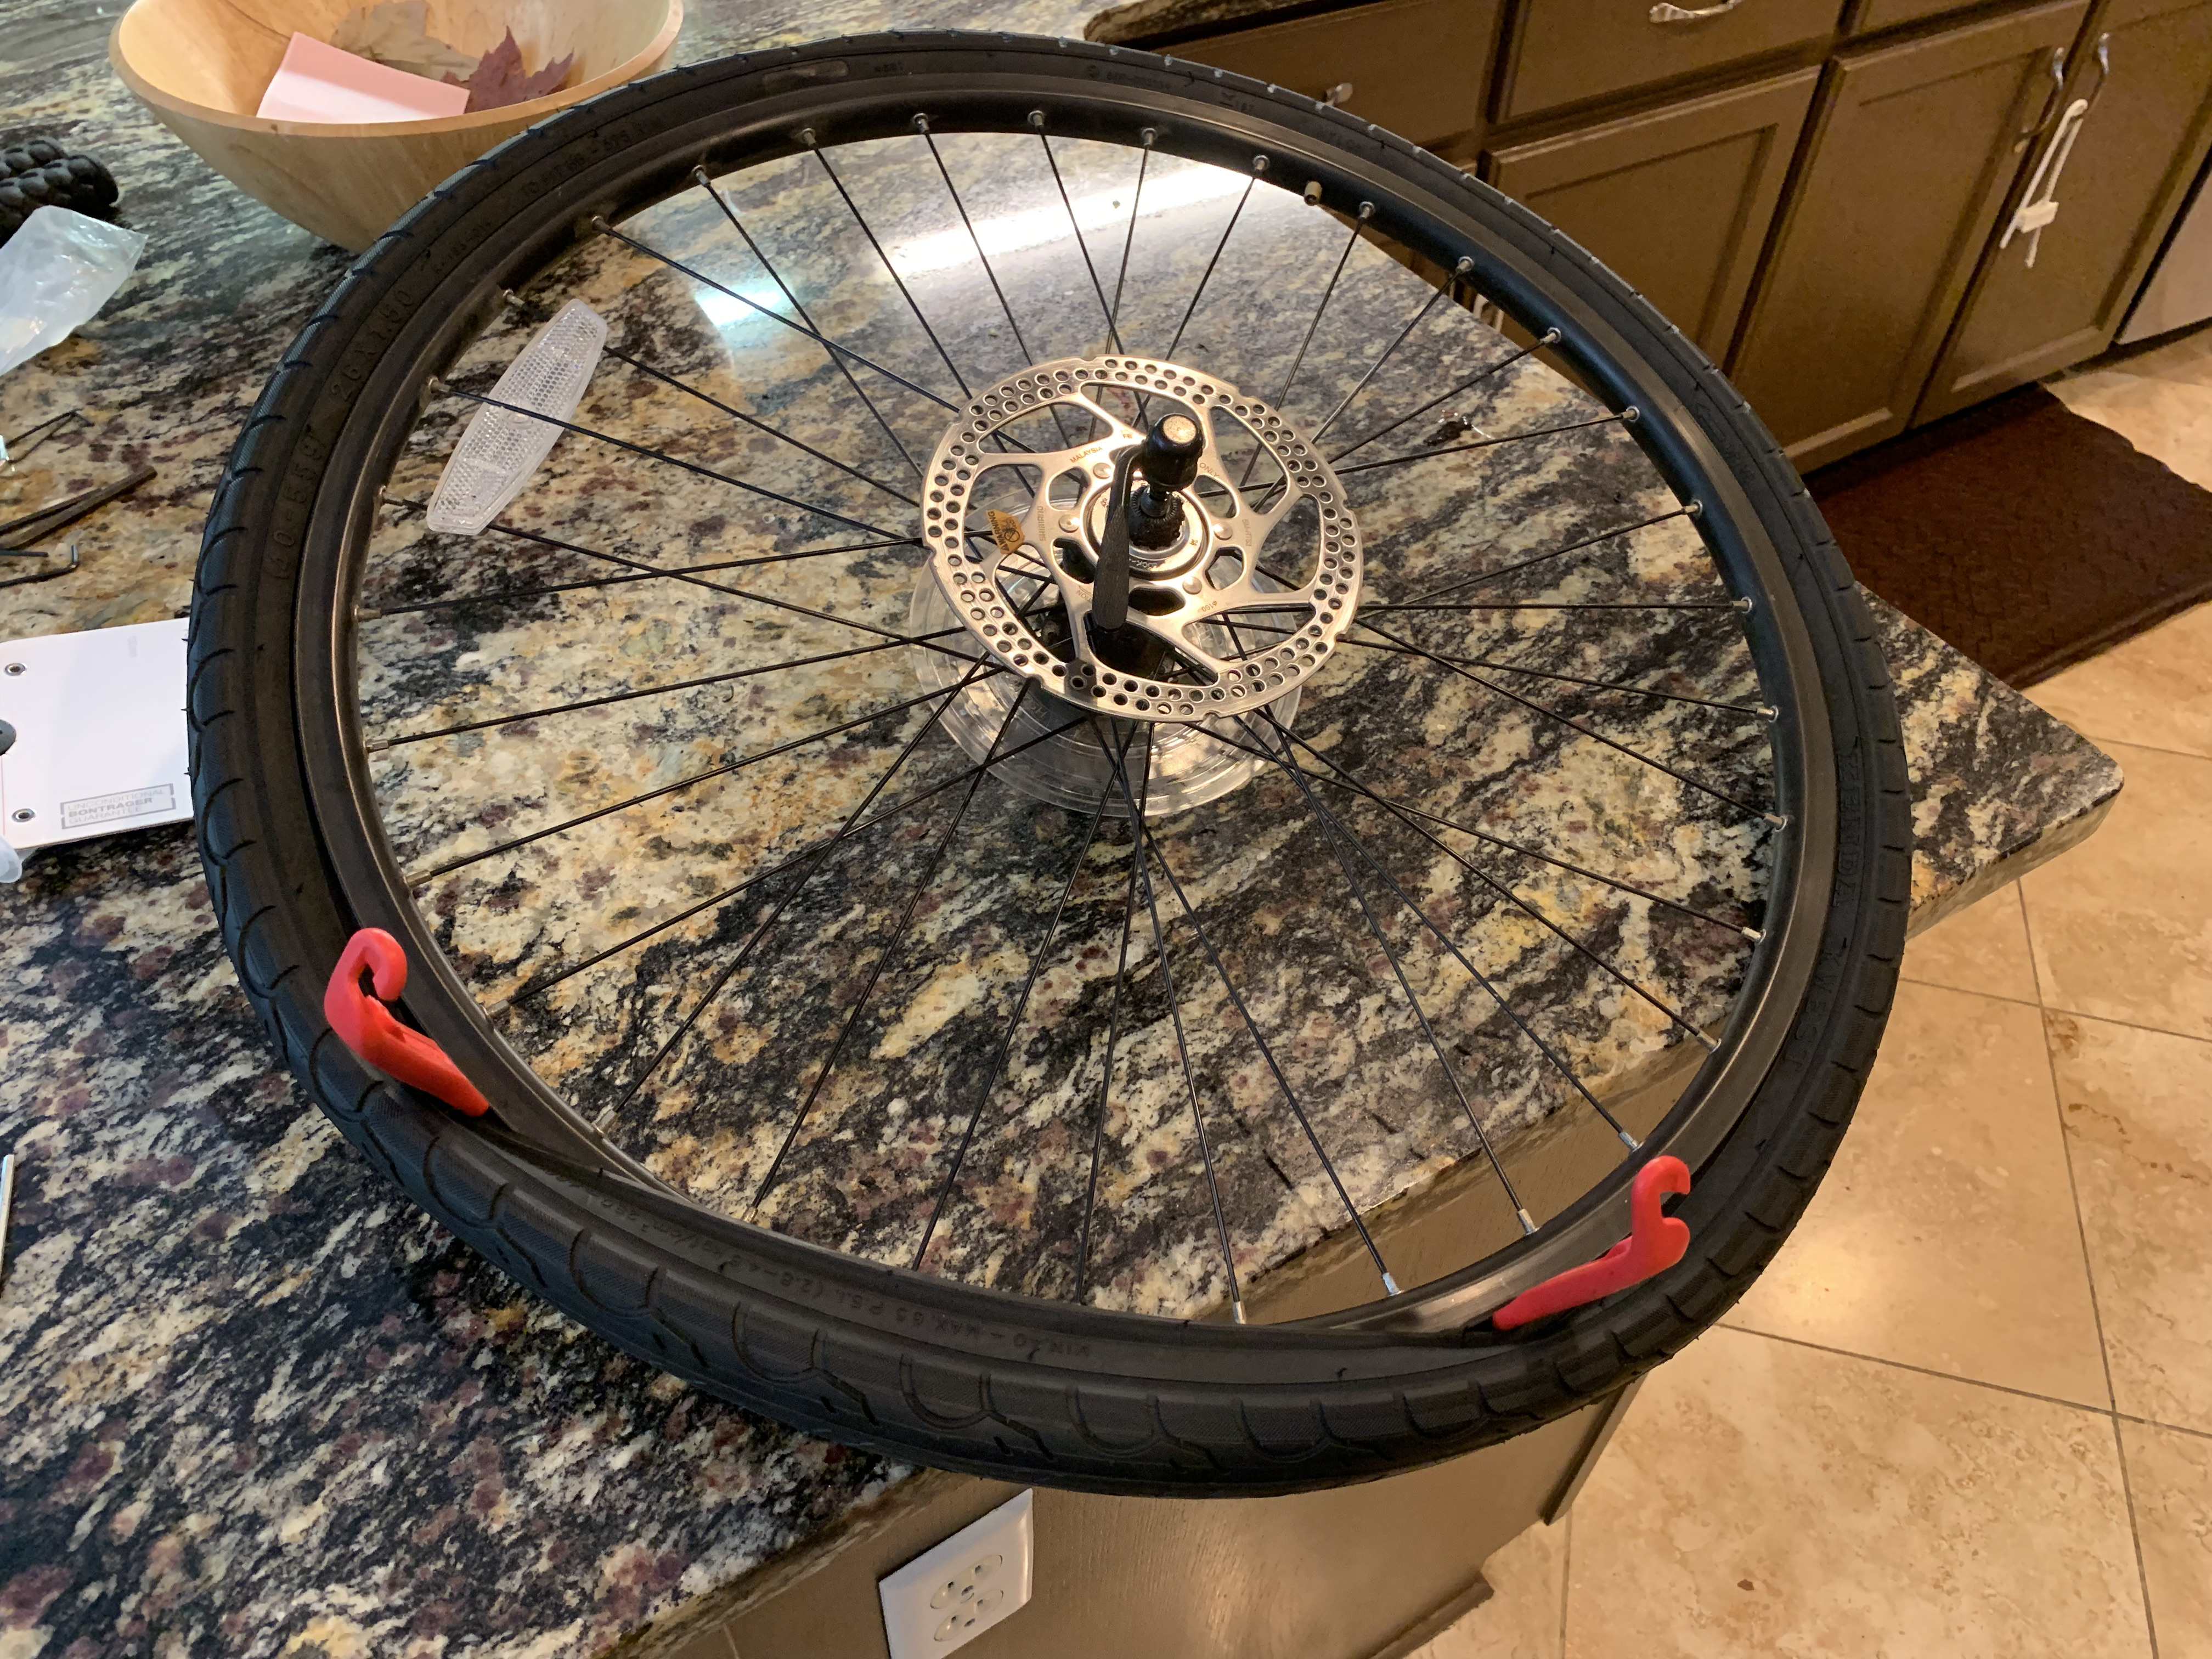
Since I did not have a bike repair stand in my makeshift “bike repair shop”, I used the old-fashioned and time-honored technique of just turning the bike upside down.
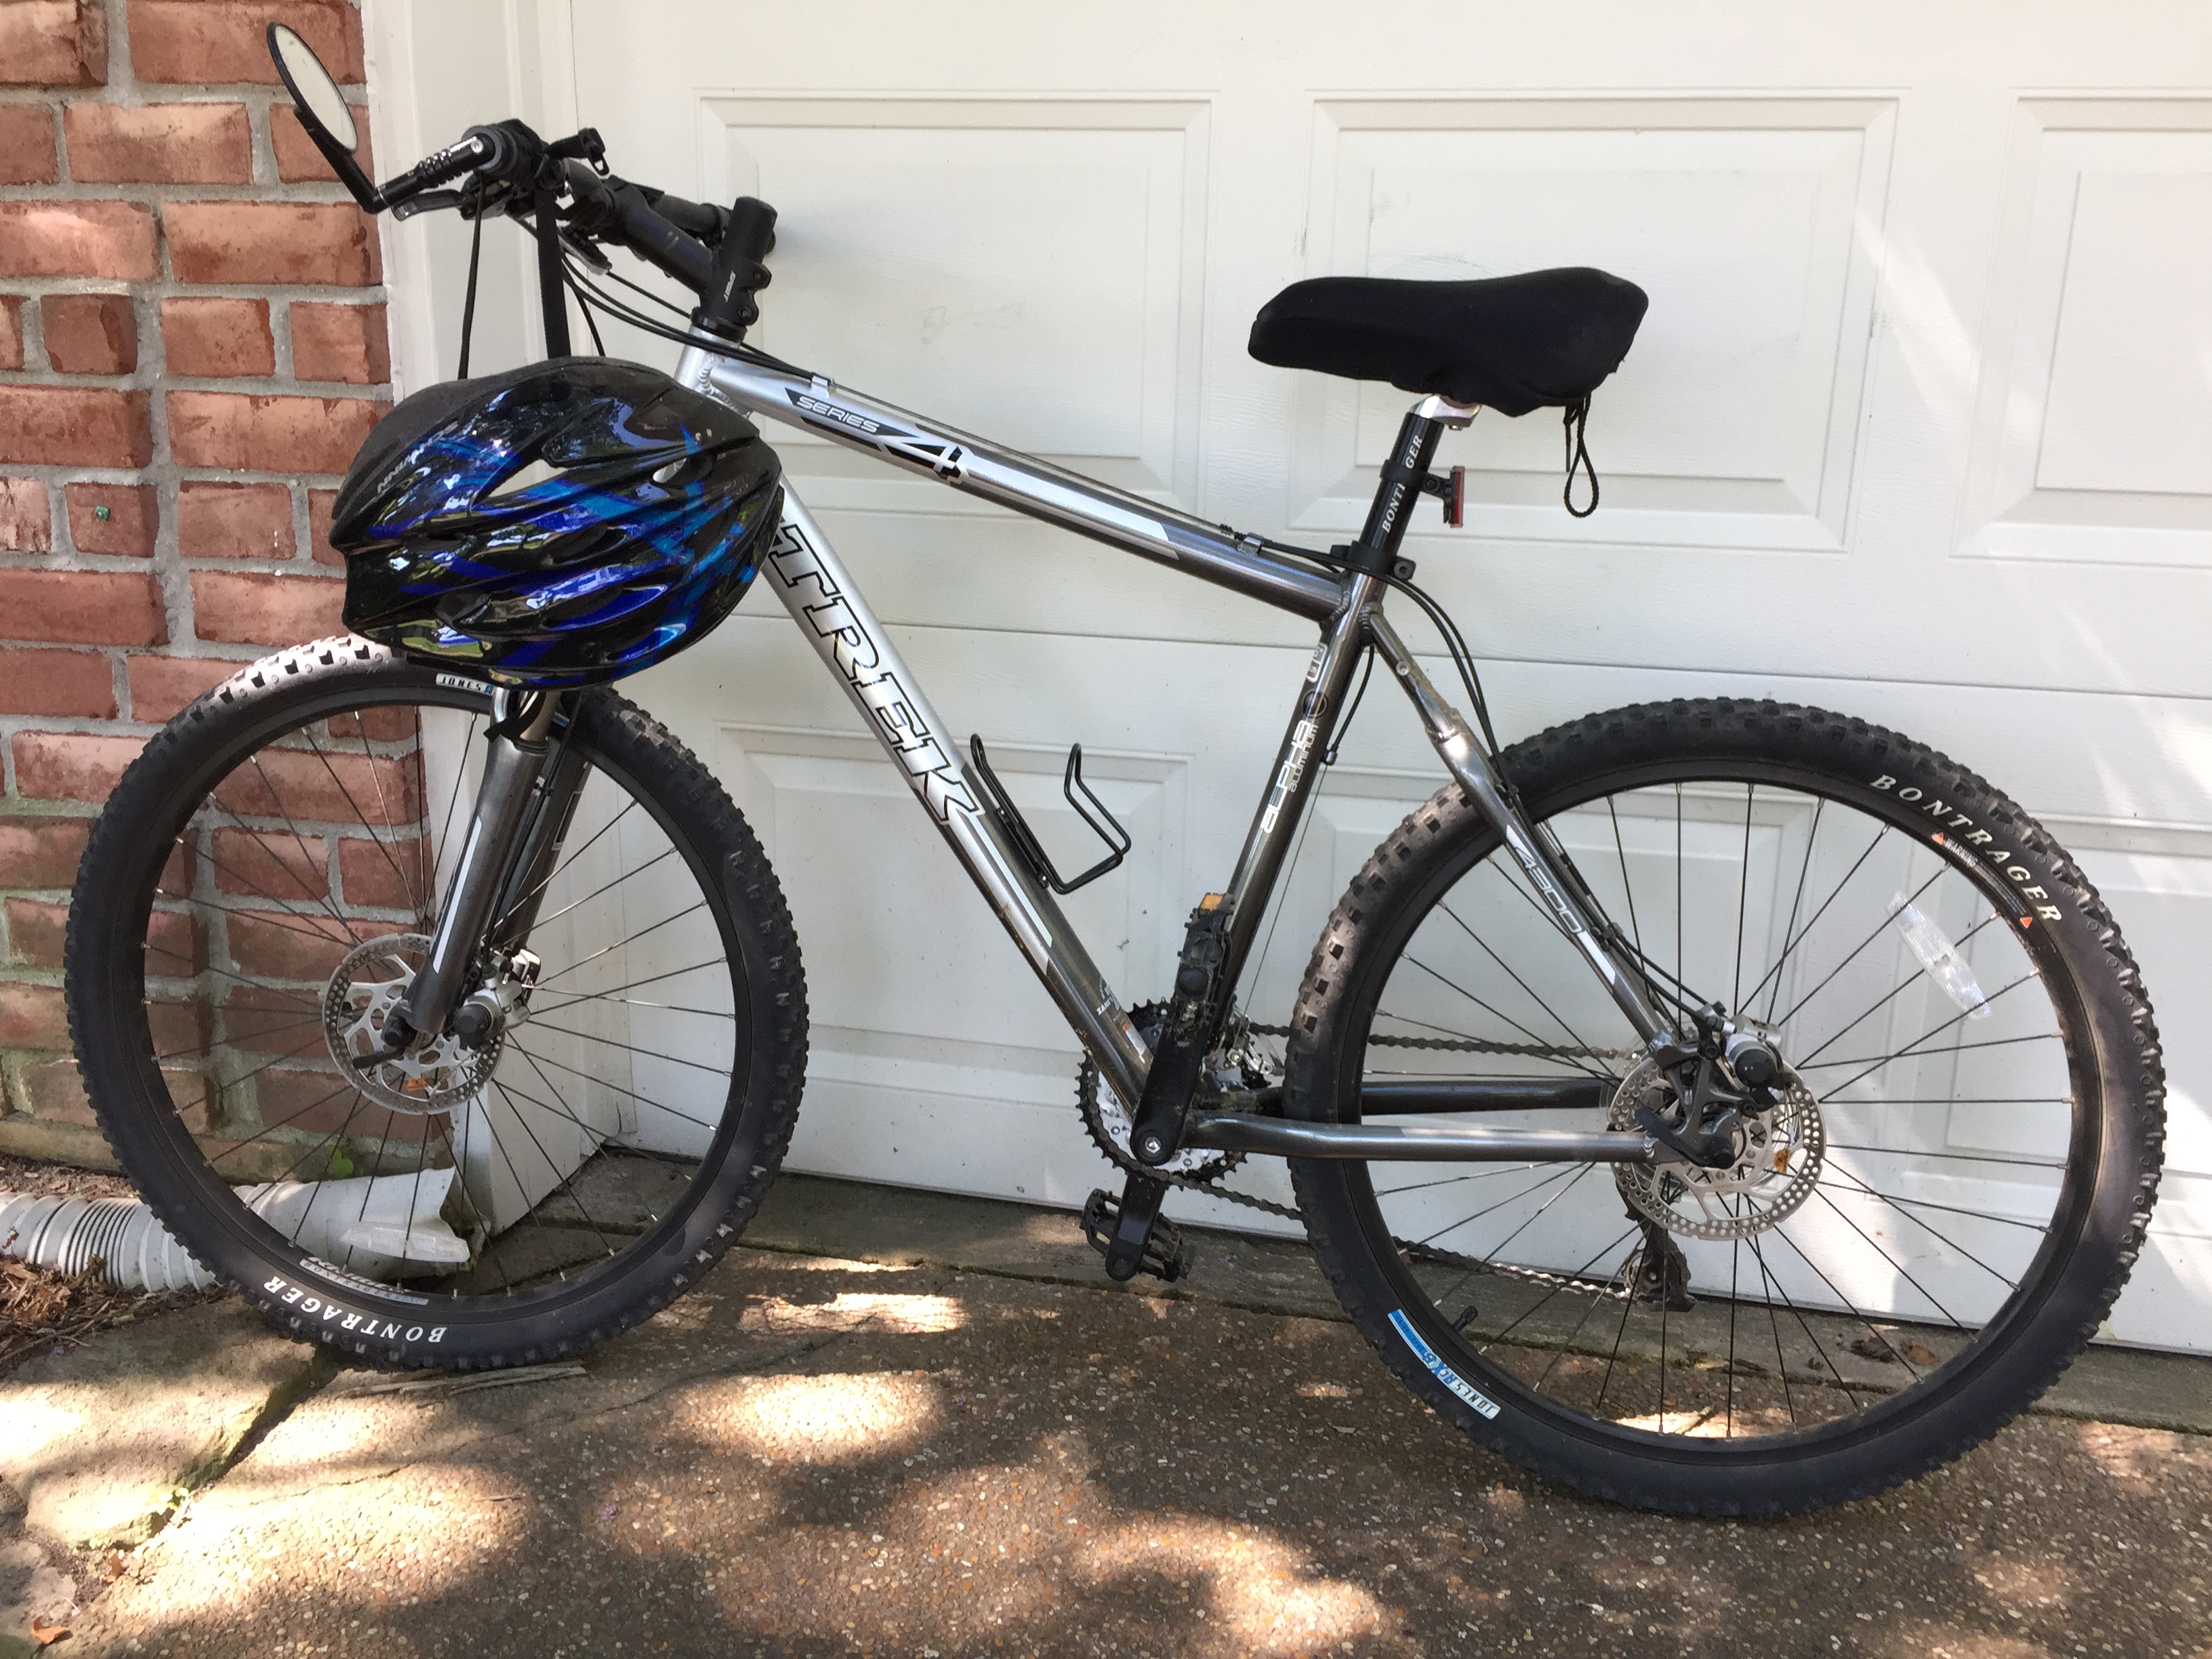
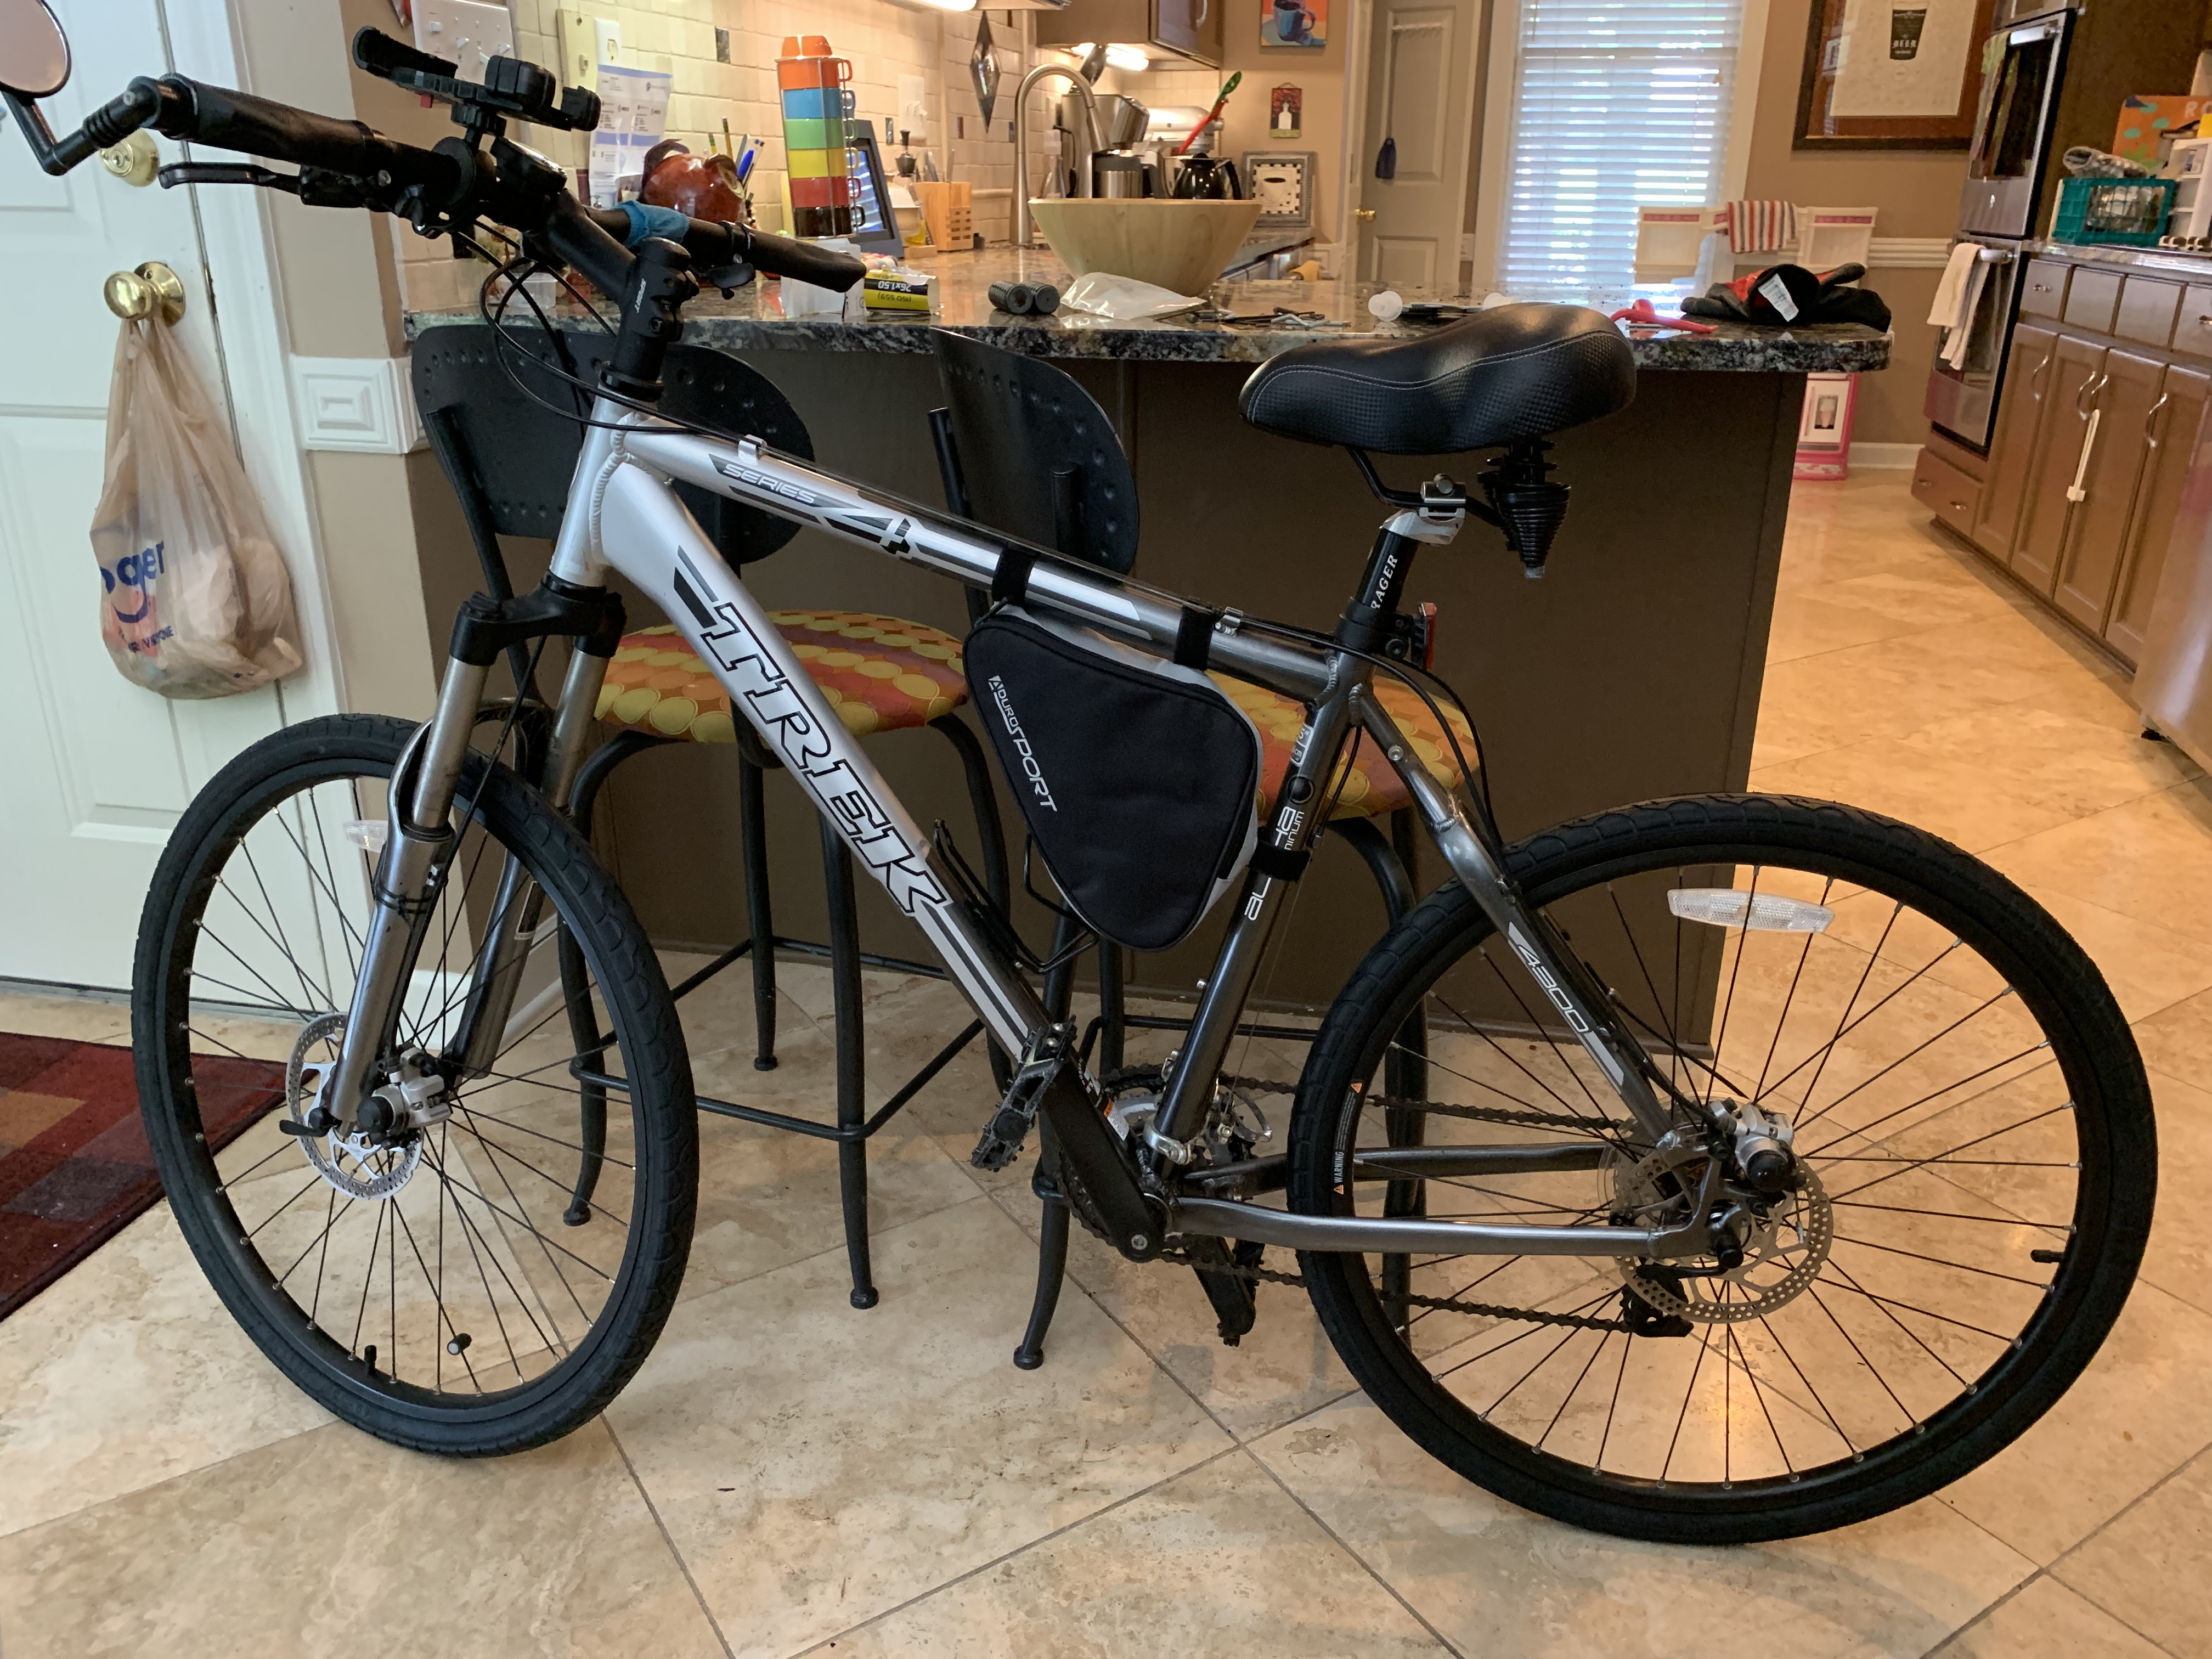
About an hour and a half after starting, I had my bike upgrade all complete.
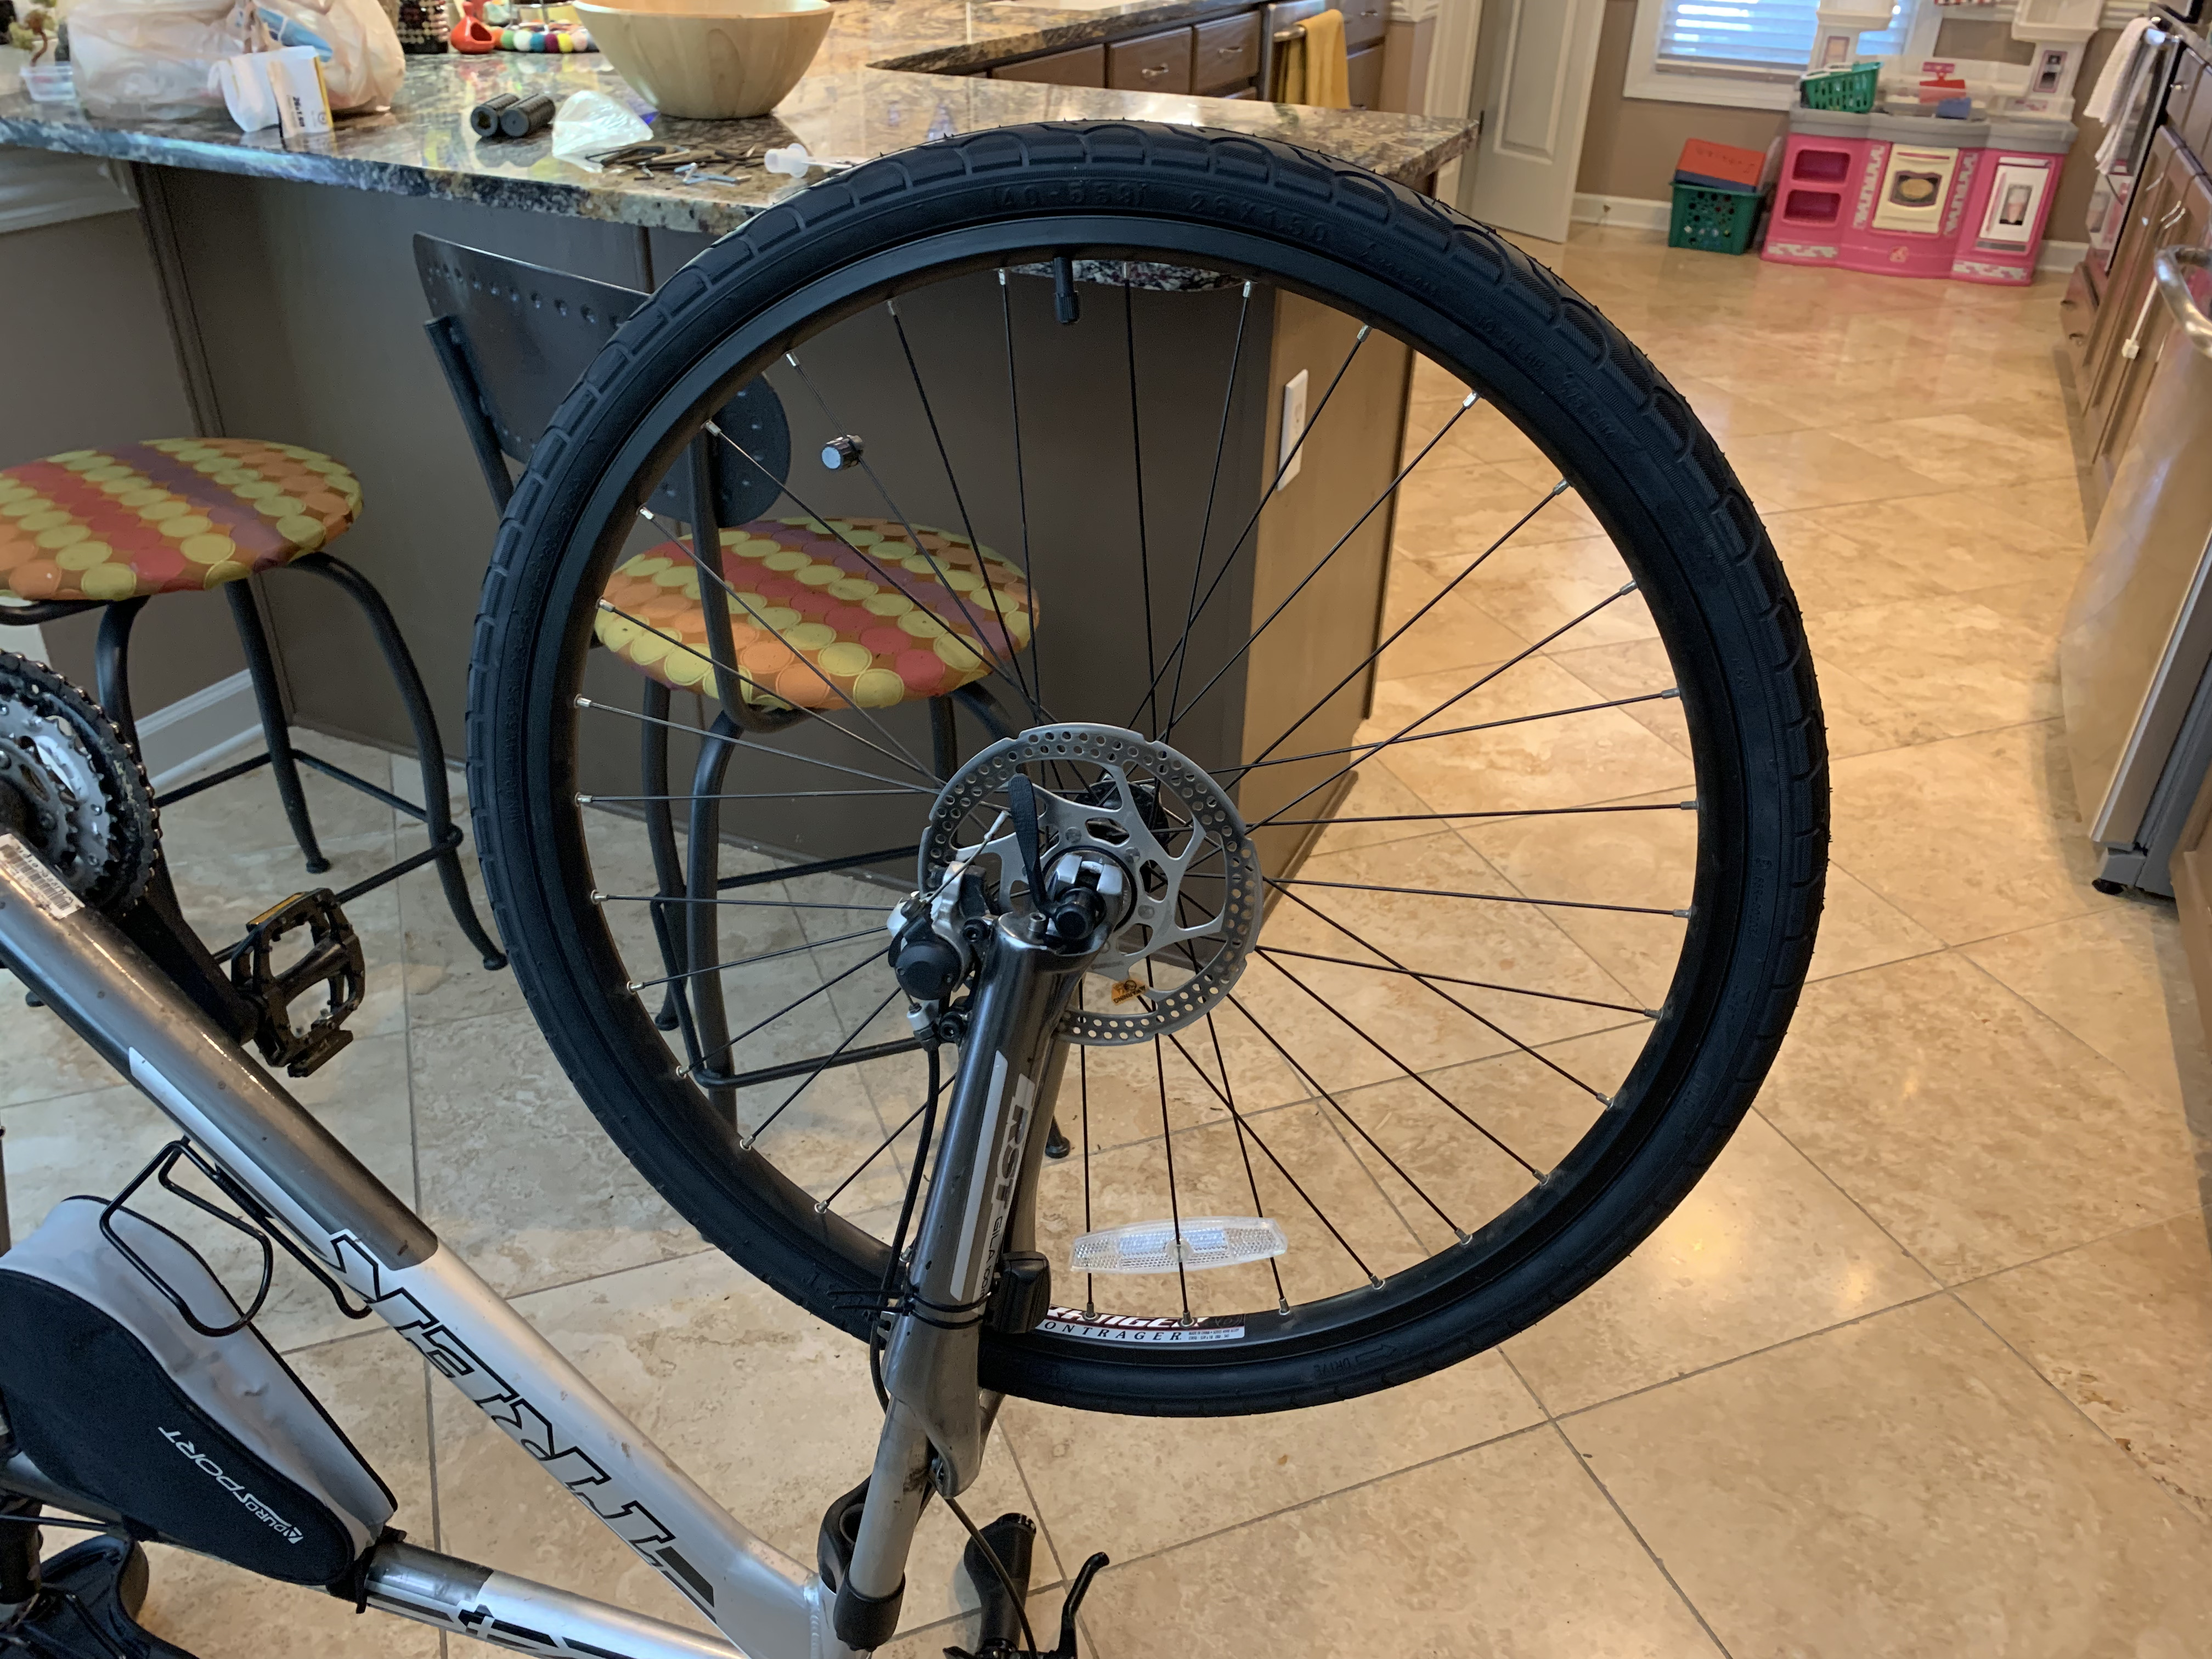
When I looked at the narrower tires, it seemed almost like I had put too small a tire on the bike since the forks were sized to accommodate the over 2-inch width of the knobby tires. Even though the new tires were just over a half inch narrower than the old knobby tires, they looked even slimmer. But then I reckoned I was not going for looks, but for comfort.
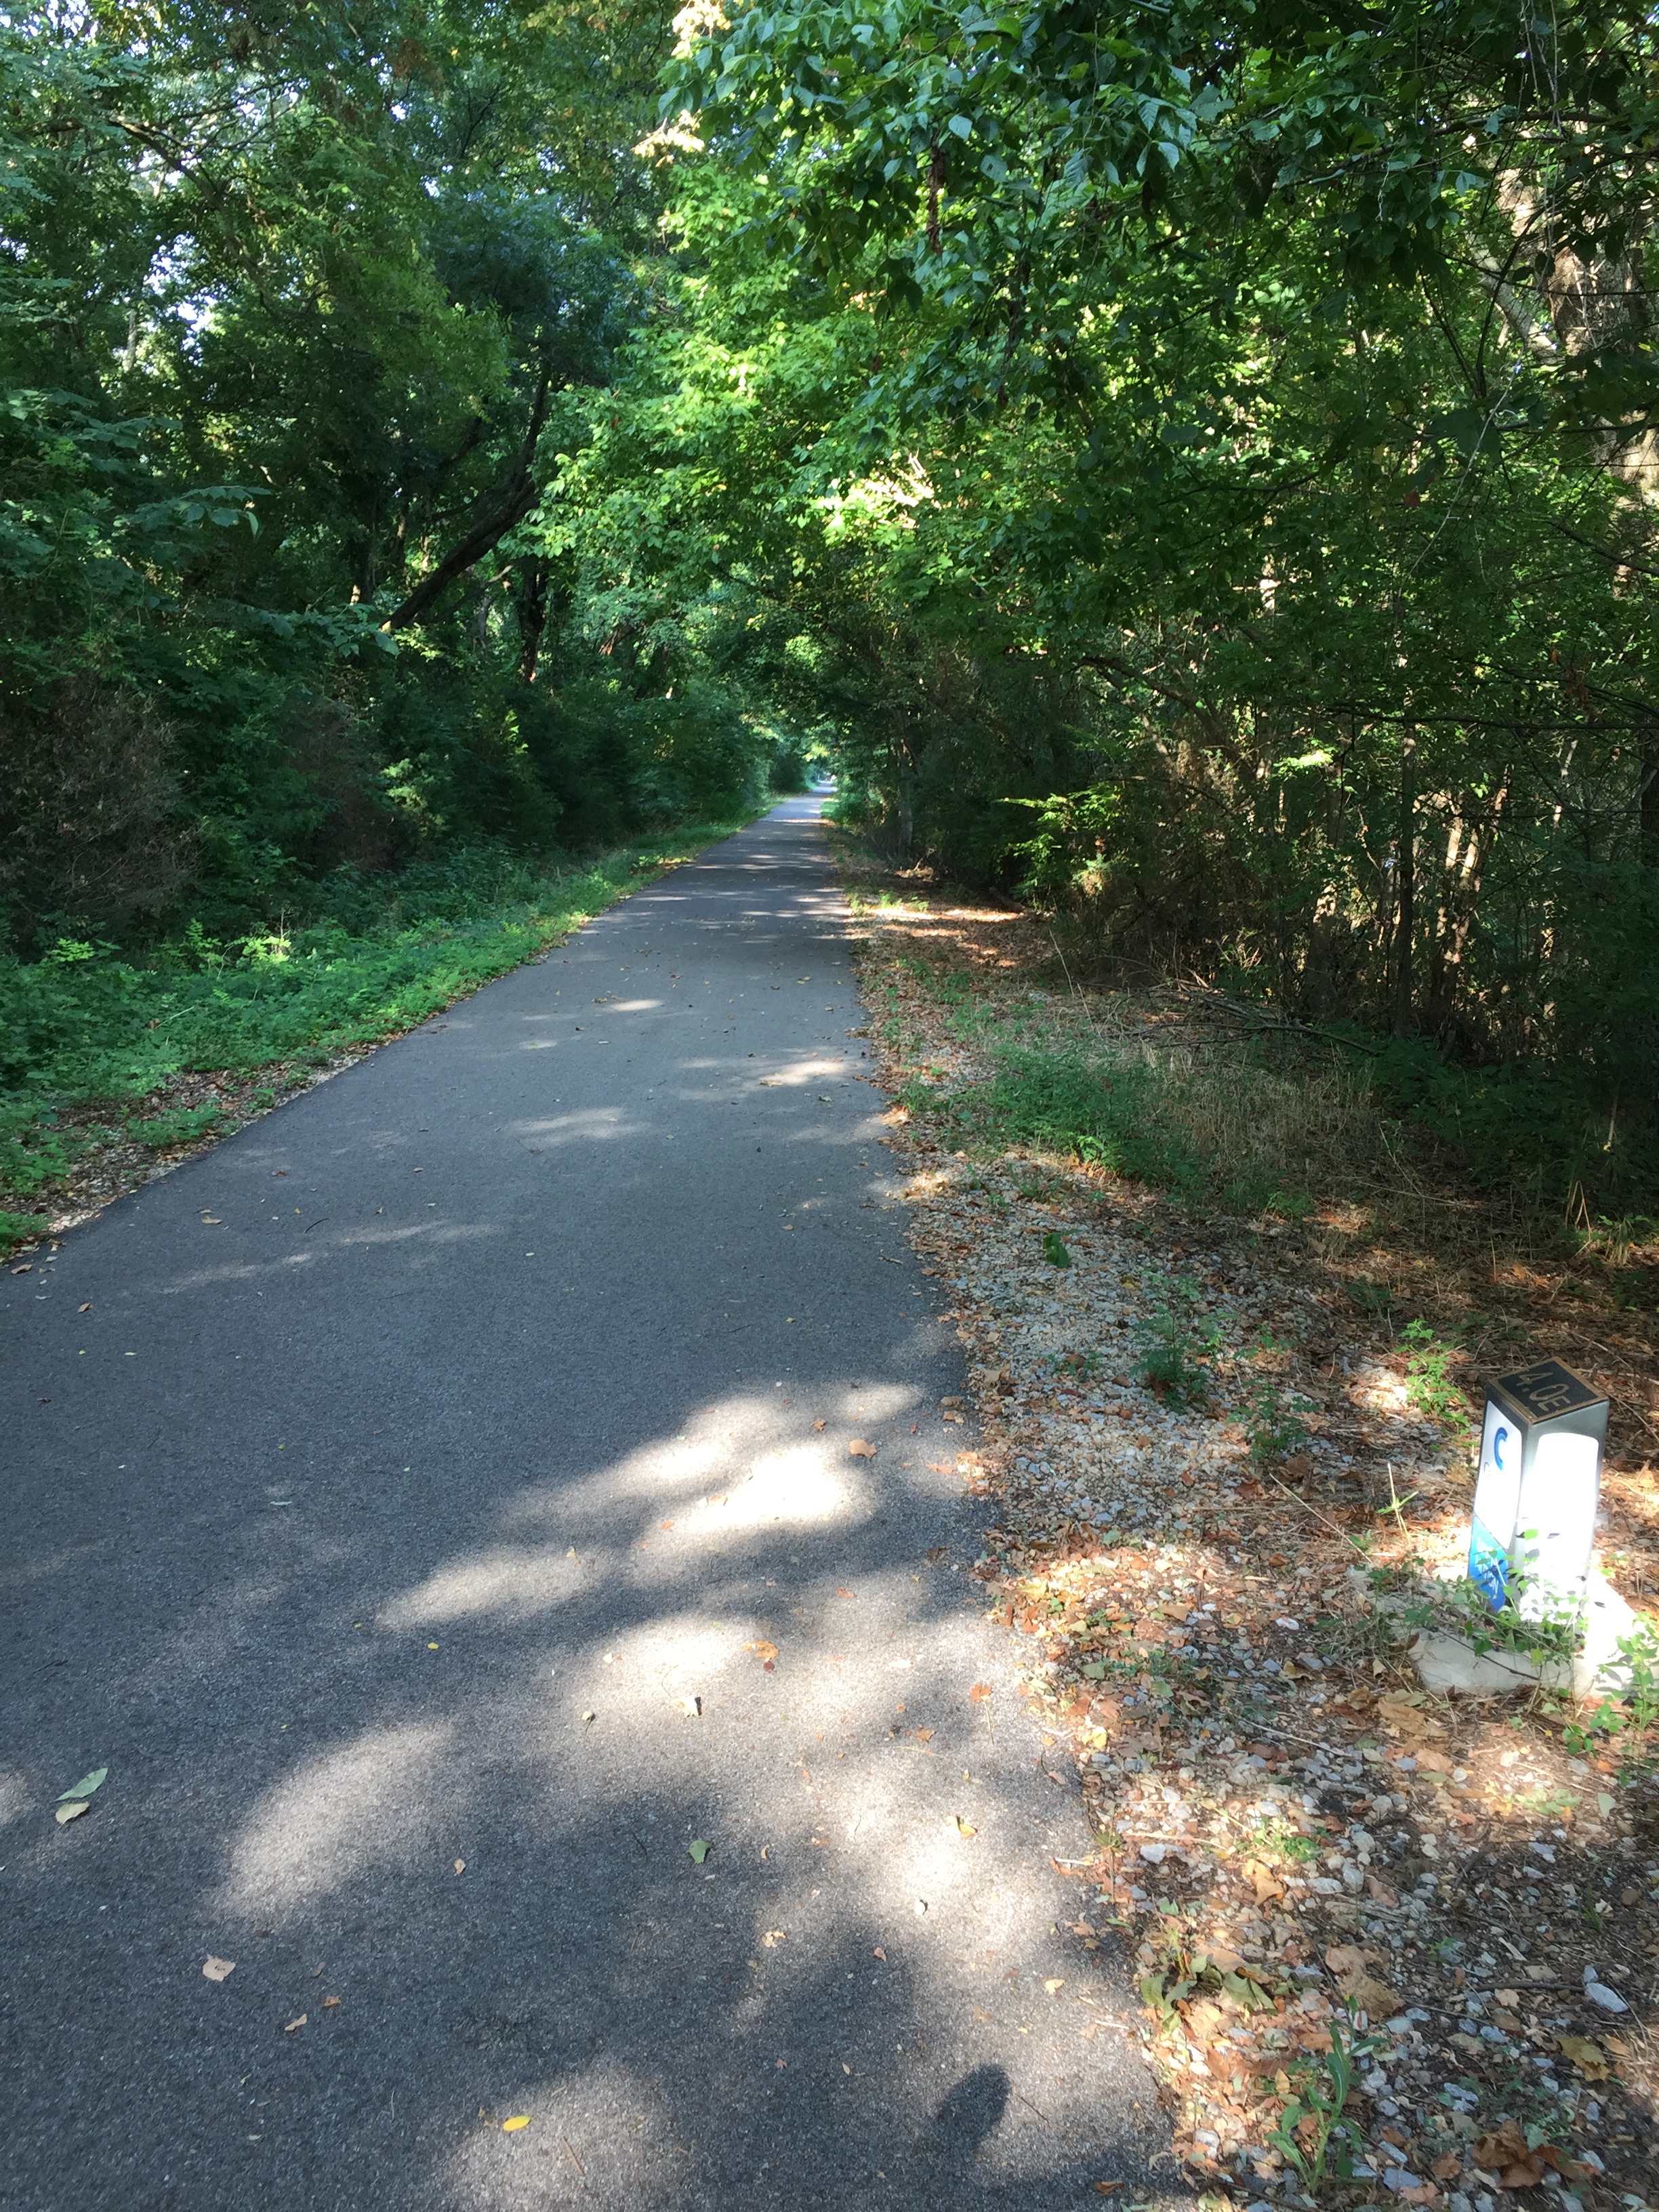
I took the bike outside for a quick test run just to make sure I had put everything back together properly. While it seemed very comfortable, the real test would be taking it out on about an hour-long bike ride, my typical ride.
It was a couple of days before I got that chance, but I sensed the improved ride almost immediately. The bike seemed to have less rolling resistance with the new tires which translated to decreased pedal effort. The new hand grips were also much more comfortable with my palms resting on the little “shelves,” and I was well into my hour-long ride before I even sensed a tingling in my fingers, the first sign my hands were going to sleep.
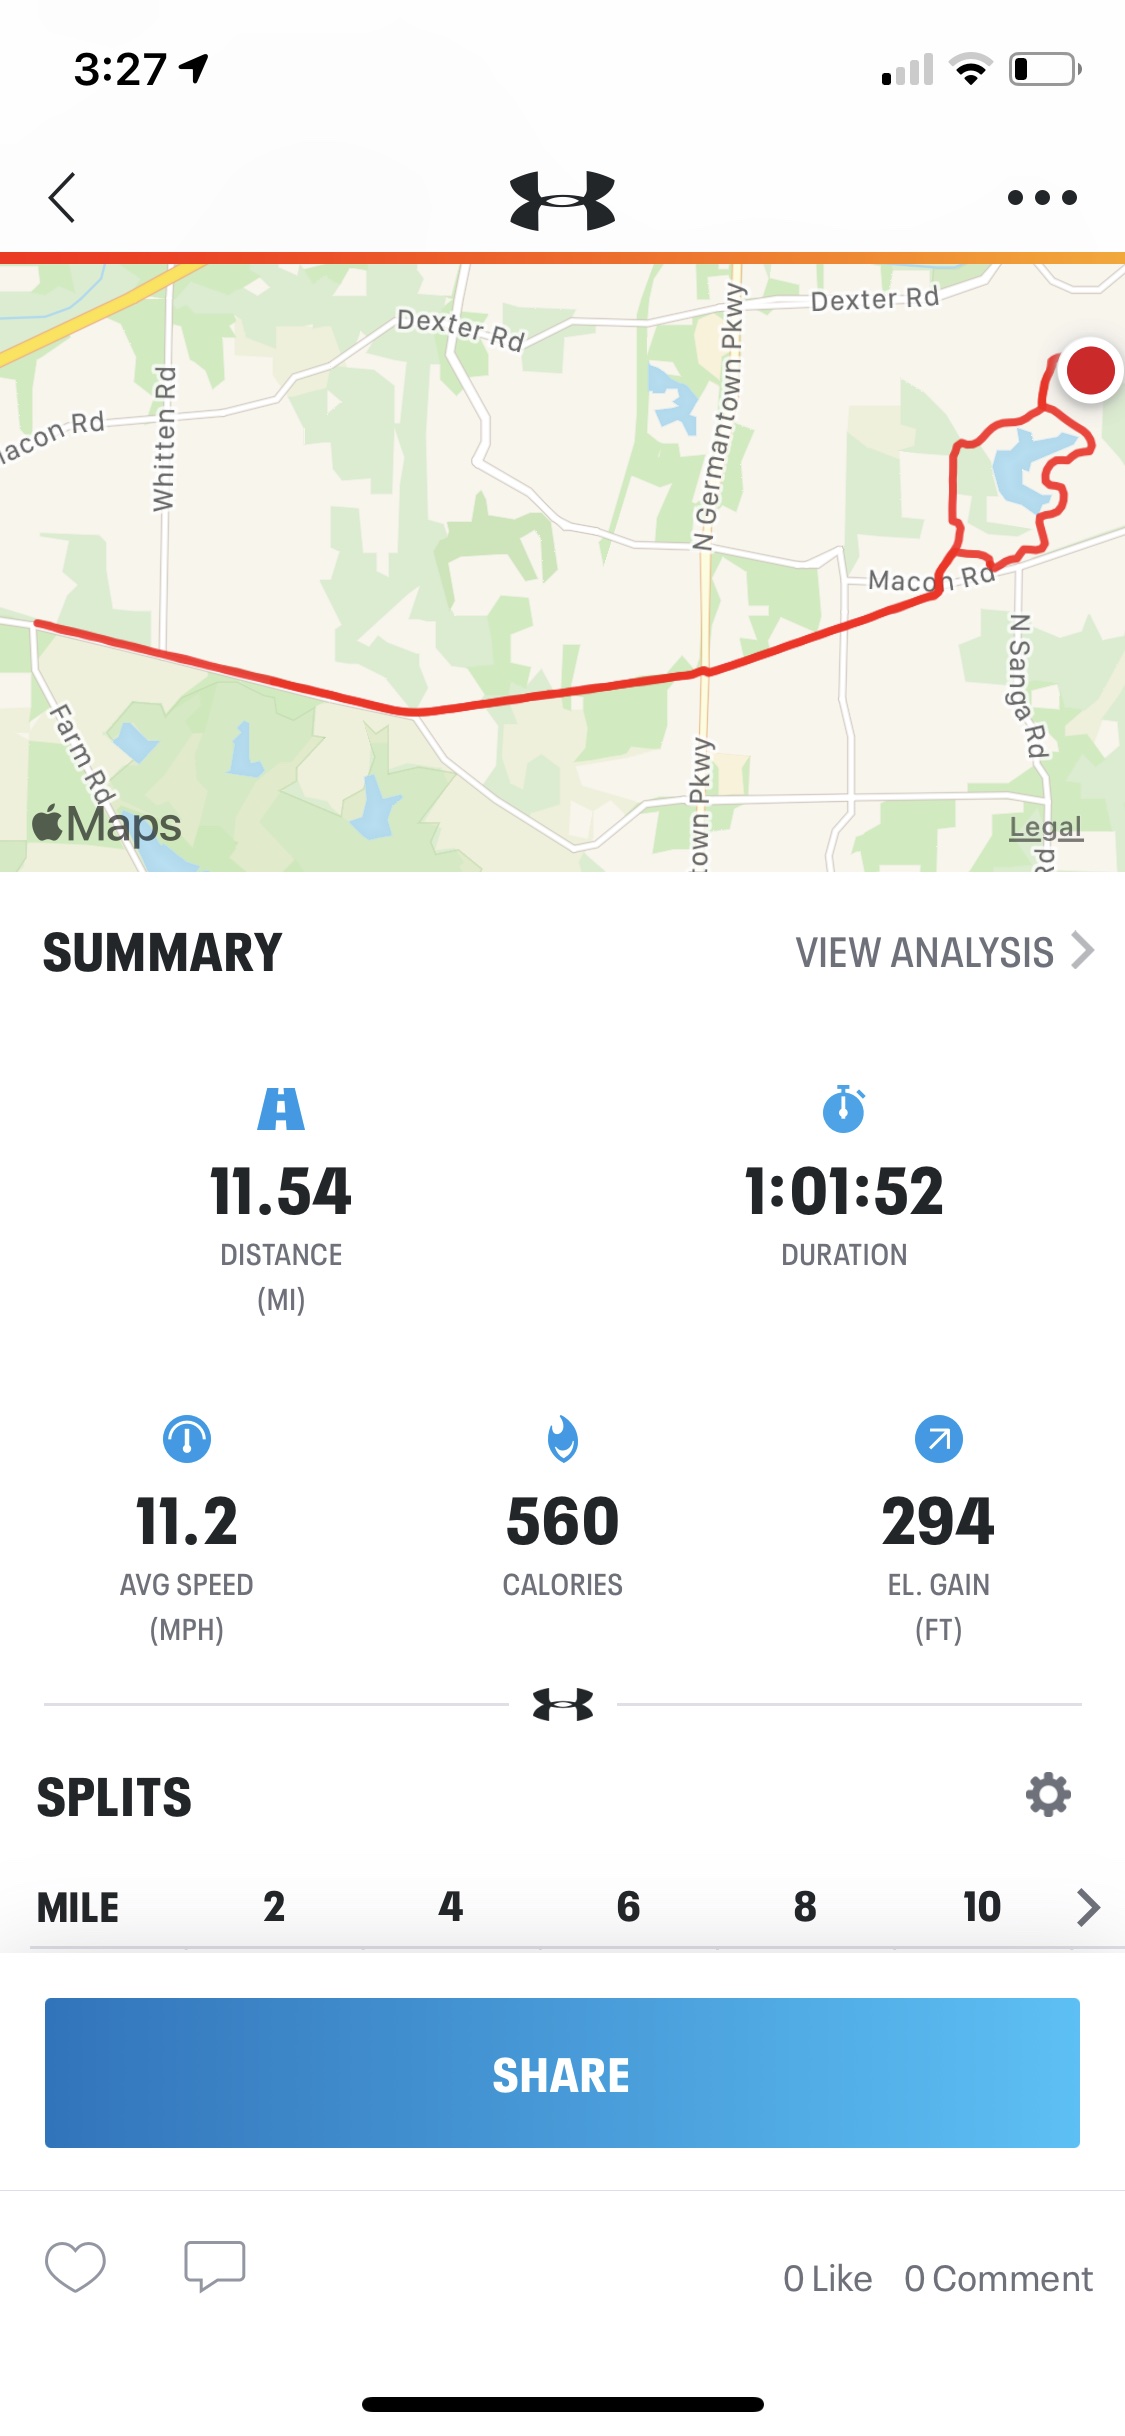
When I got home and checked my cycling app, I got confirmation that my upgrades had in fact increased my average speed by 0.4 miles per hour since my last ride while cutting my overall time by two minutes. This is of course, just an N of 1 so more rides will be necessary to better quantify the benefits but after just the one ride, I knew my bike was more comfortable to ride. After my sister gets her new bike, I may yet be tempted to spring for a new ride but for the time being, my improved bike will suit me just fine.
Categories

It would be interesting to know the cost of your upgrades versus the cost of the new ride. Plus, it would be double the savings if you upgrade your wife’s bike. That’s my inner frugal talking. 🙂 I had a 20 year old mountain trek bike, and after about 8 years, I changed the fat tires out. I was very happy with that change! My next post will be about my bike, but it has a different twist. Nice job on your bike! Enjoy the rides!
Thanks, Betty. Yea, I thought about that too, and based on what my brother paid for his new bike, my upgrade came in at just 15% of a new bike. Well worth it. I look forward to hearing your bike story as well!
Glad you got the bike upgrades! I know you will enjoy the extra comfort. Once our sister gets her new bike, we will need to plan another biking get together! Happy riding!
Thanks, yes I would definitely want to do it again!