
Granddaughter’s Doll House – Final Detail
As I was finishing each of the two doll houses last year that I built for my two granddaughters, one aspect I did not think too much about was on what surface the doll houses would reside.
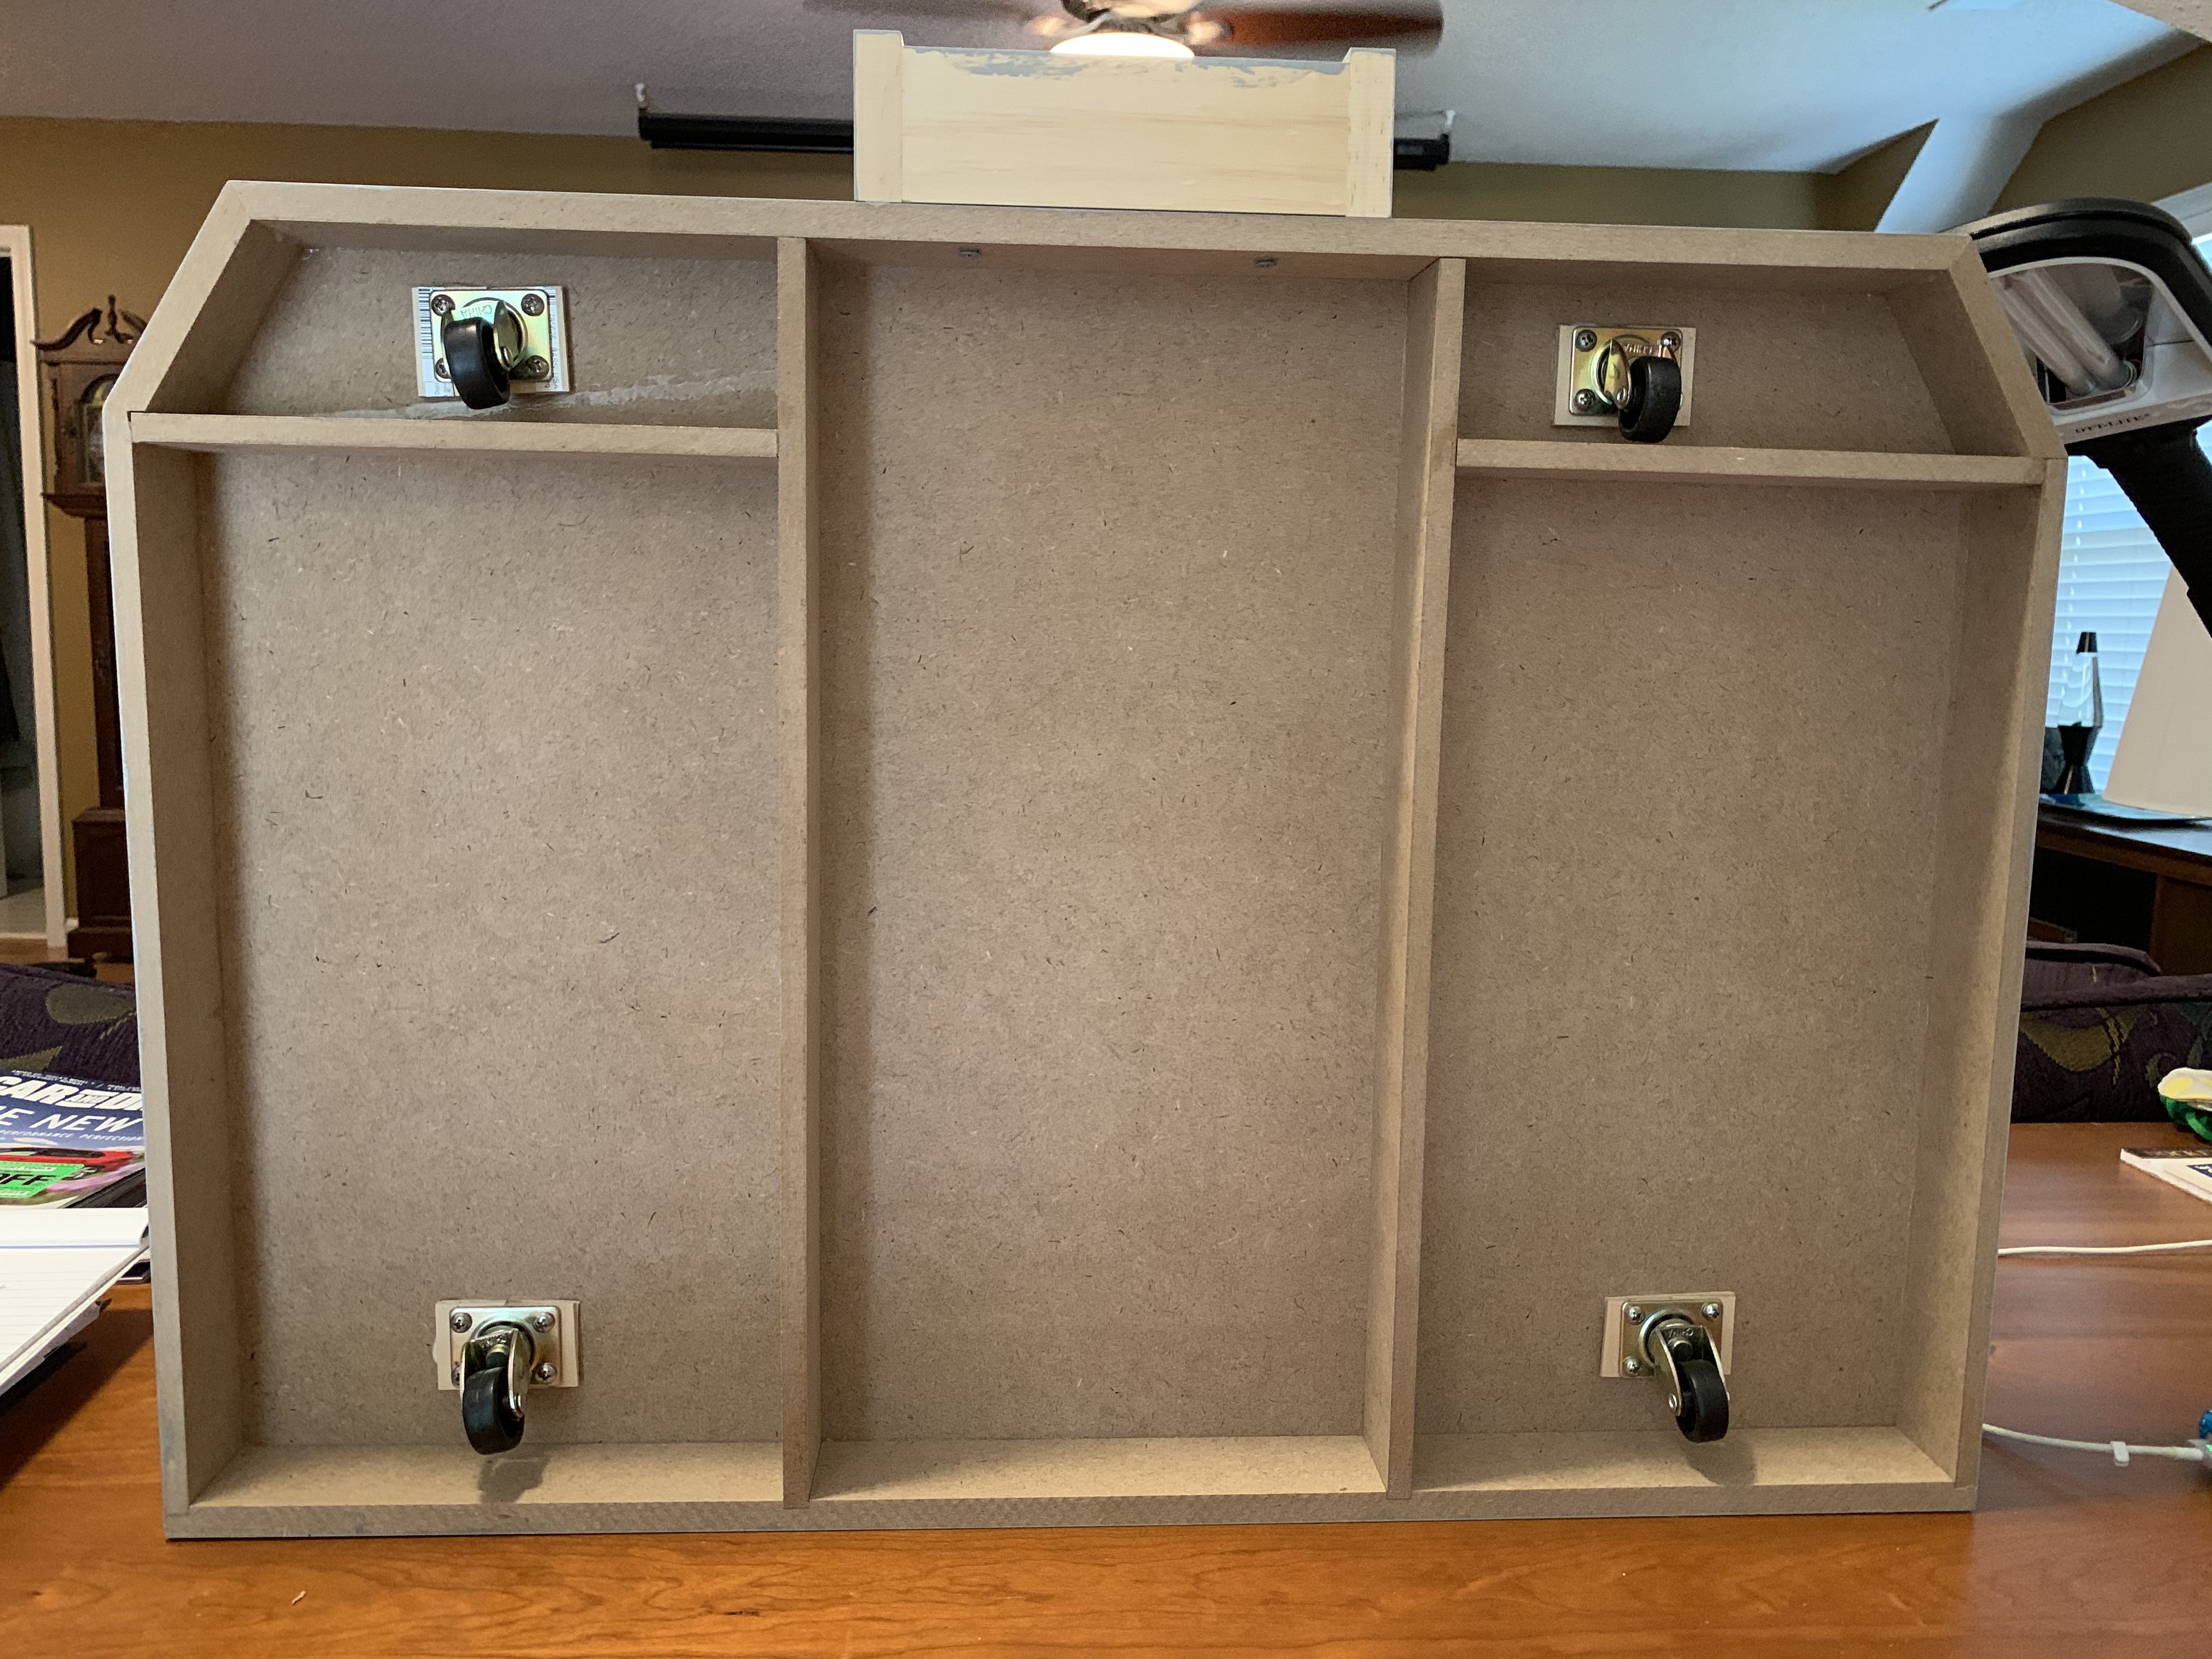
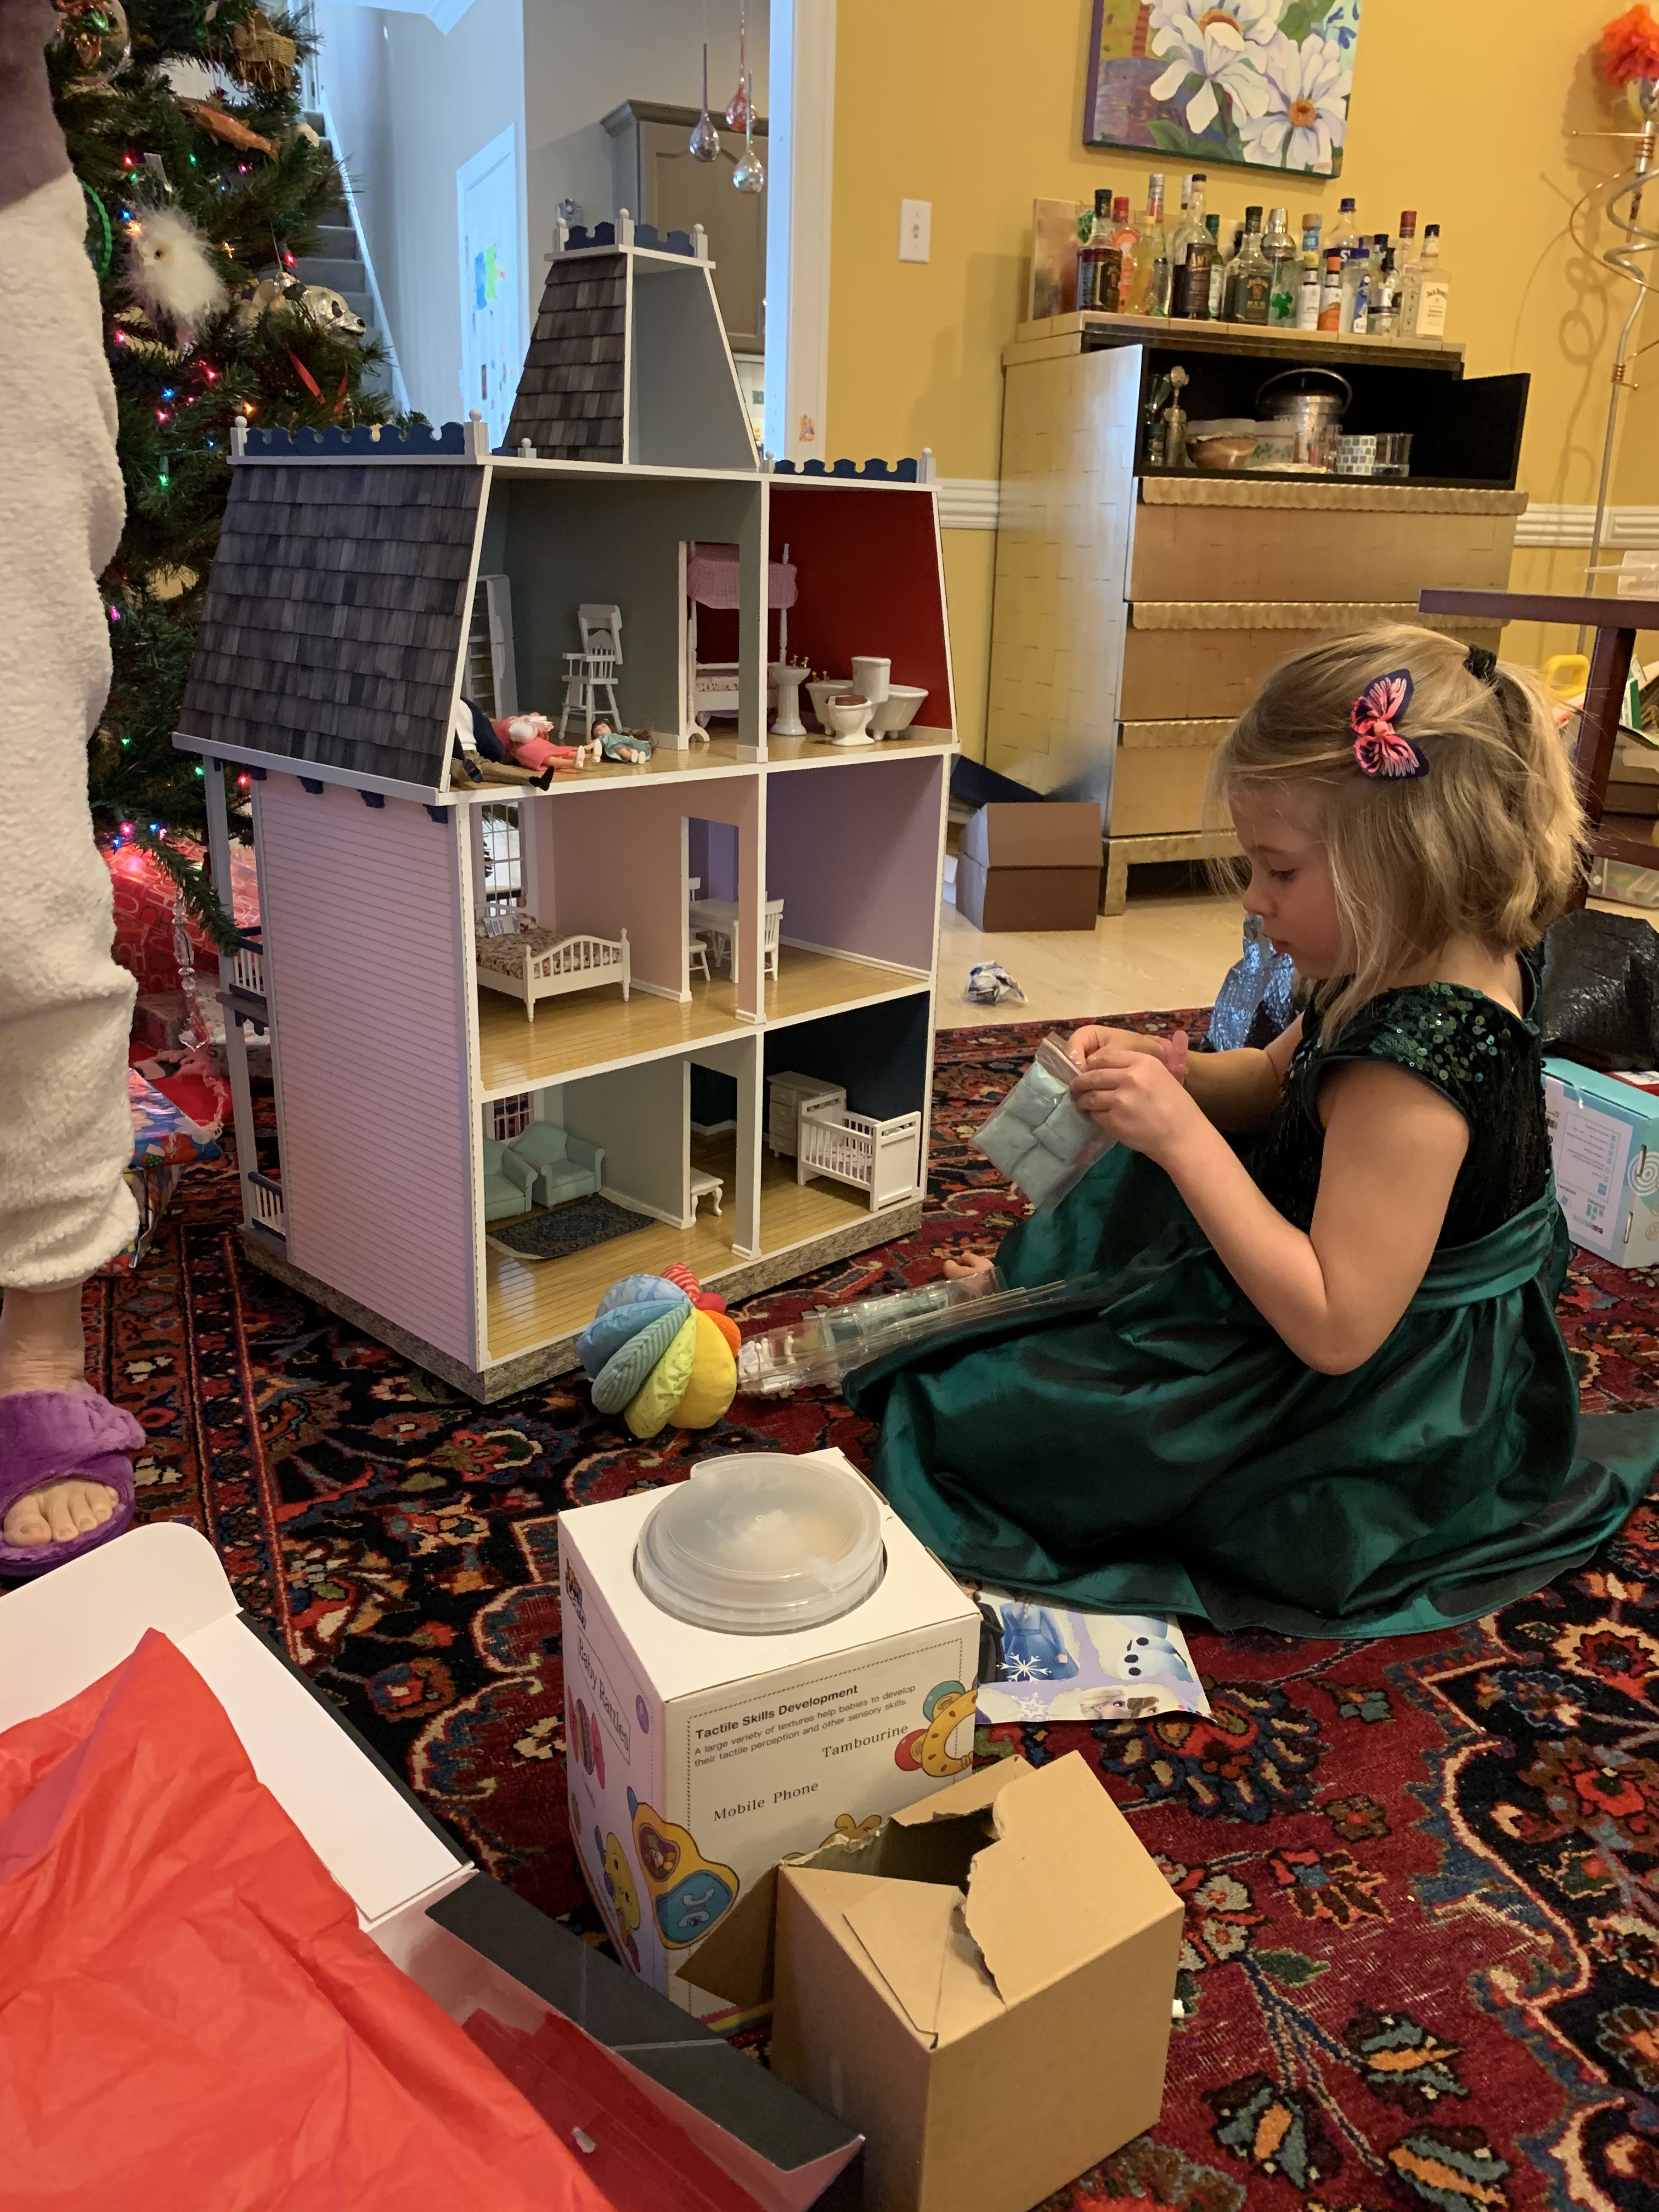
On both houses, I added small caster wheels hidden beneath the foundation so that the doll house could be easily turned from front to back as both doll houses were quite heavy. All along, I just assumed the doll house would sit on the floor. My wife, based on professional experience in her practice with children, thought it would be best to have the doll house on a table where our granddaughter could sit in a chair and play. We both explored possible table options to purchase but it was actually seeing my granddaughter standing up on a step stool to reach the top floor when her house was sitting on a small end-table only 17 inches high convinced me something lower than the standard 29-inch height table would be better.

Although this 24-inch square table was barely wide enough to hold the doll house and certainly not wide enough to allow the house to be turned without the wheels going off the edge, it seemed about the right height and gave me the idea of building a surface that would fit on top of this table. Exploring several different materials and thicknesses, I ended up deciding on plywood that I would reinforce with 1” X 2” strips of wood to prevent any warping of the surface. I just needed to figure out the right dimensions.
For this doll house, a 30-inch square shape seemed acceptable but for the other slightly larger doll hose, 30 inches was just too small. To simplify my construction process, I wanted to make both table tops the same size. I measured out to see what 36 inches would look like and it was way too big for this house, so I sort of split the difference and decided on 32-inch squares.
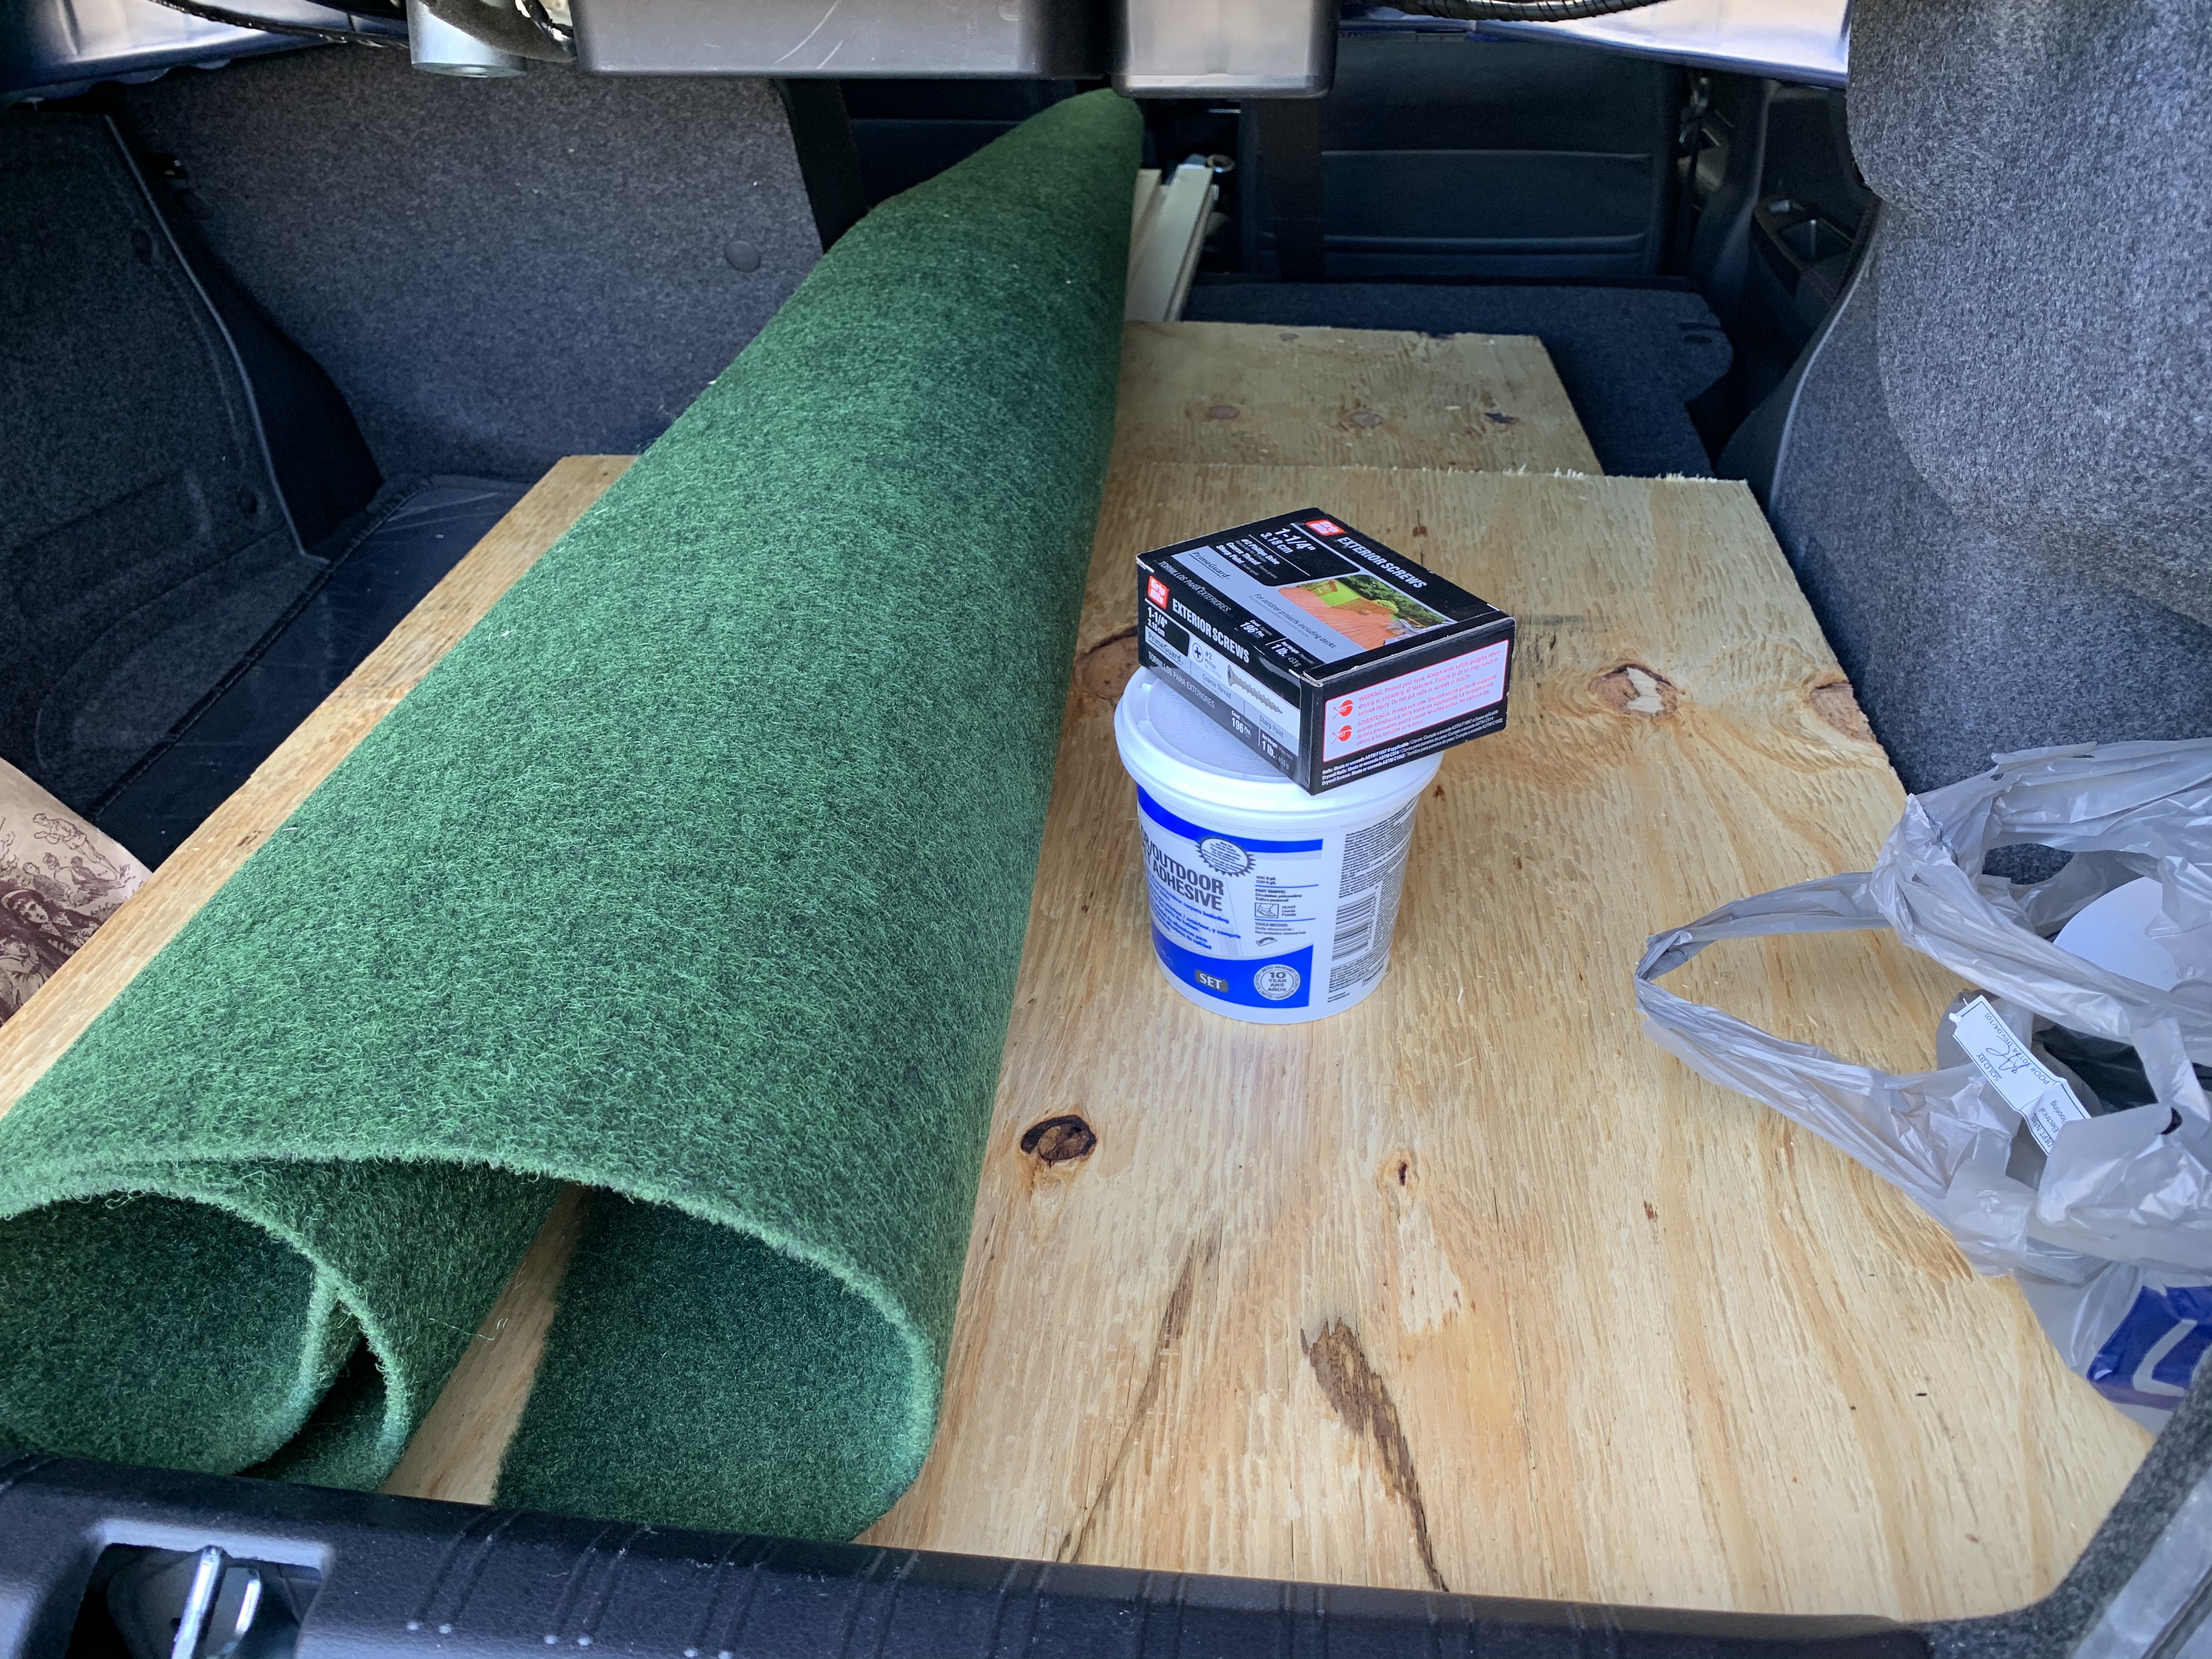
The next decision was what to put on the surface. On a smooth hard surface, the houses turned a bit too easily and I was afraid that the house might still fall off with too vigorous turning by small hands. Then I came up what I thought made the most sense: carpet that looked like grass. And I found just what I needed at my local favorite toy store.

Here I could also get them to custom cut my two 32-inch squares from a 4’ X 8’ sheet of plywood.
Once home with my supplies, the first step was to sand the edges of the plywood square and the outside surface of the side frames to leave a smooth finish that would not allow any splinters to come off in little hands. I then painted these surfaces with two coats of paint in a wet concrete color to mimic a curb.
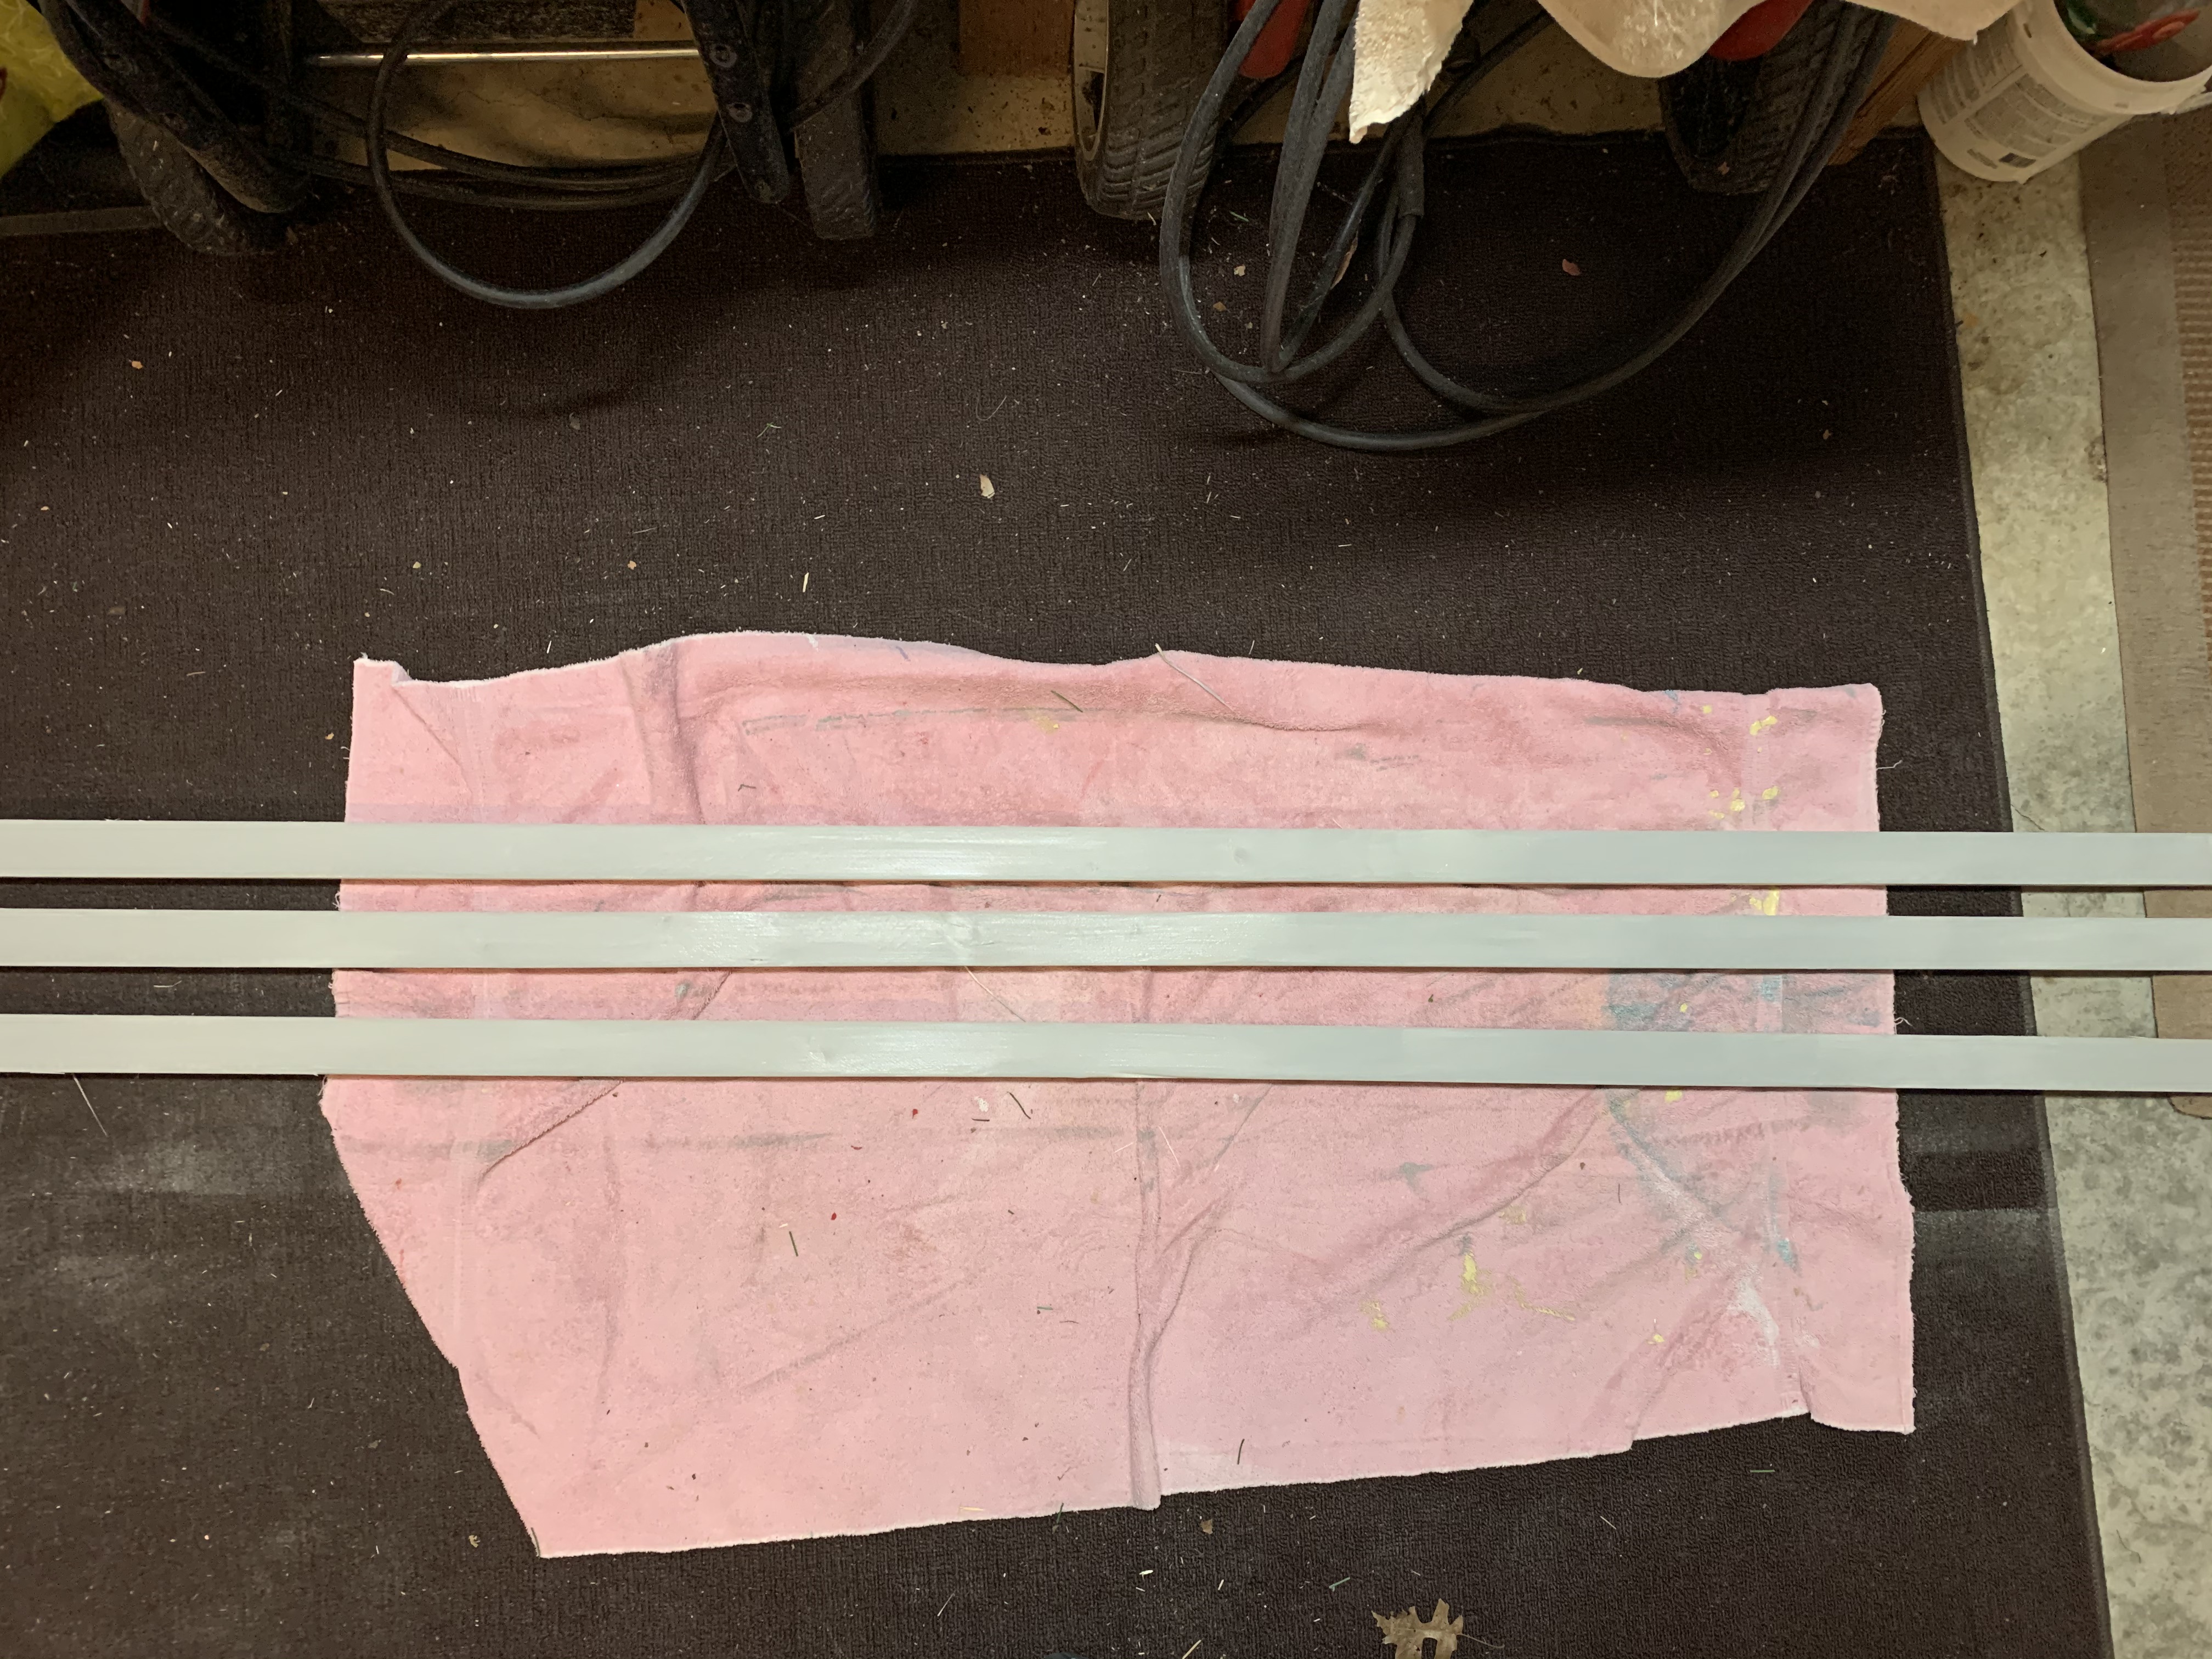

Next, I got out my miter saw to cut the bracing wood strips to the correct length (I always love a reason to get out a power tool).
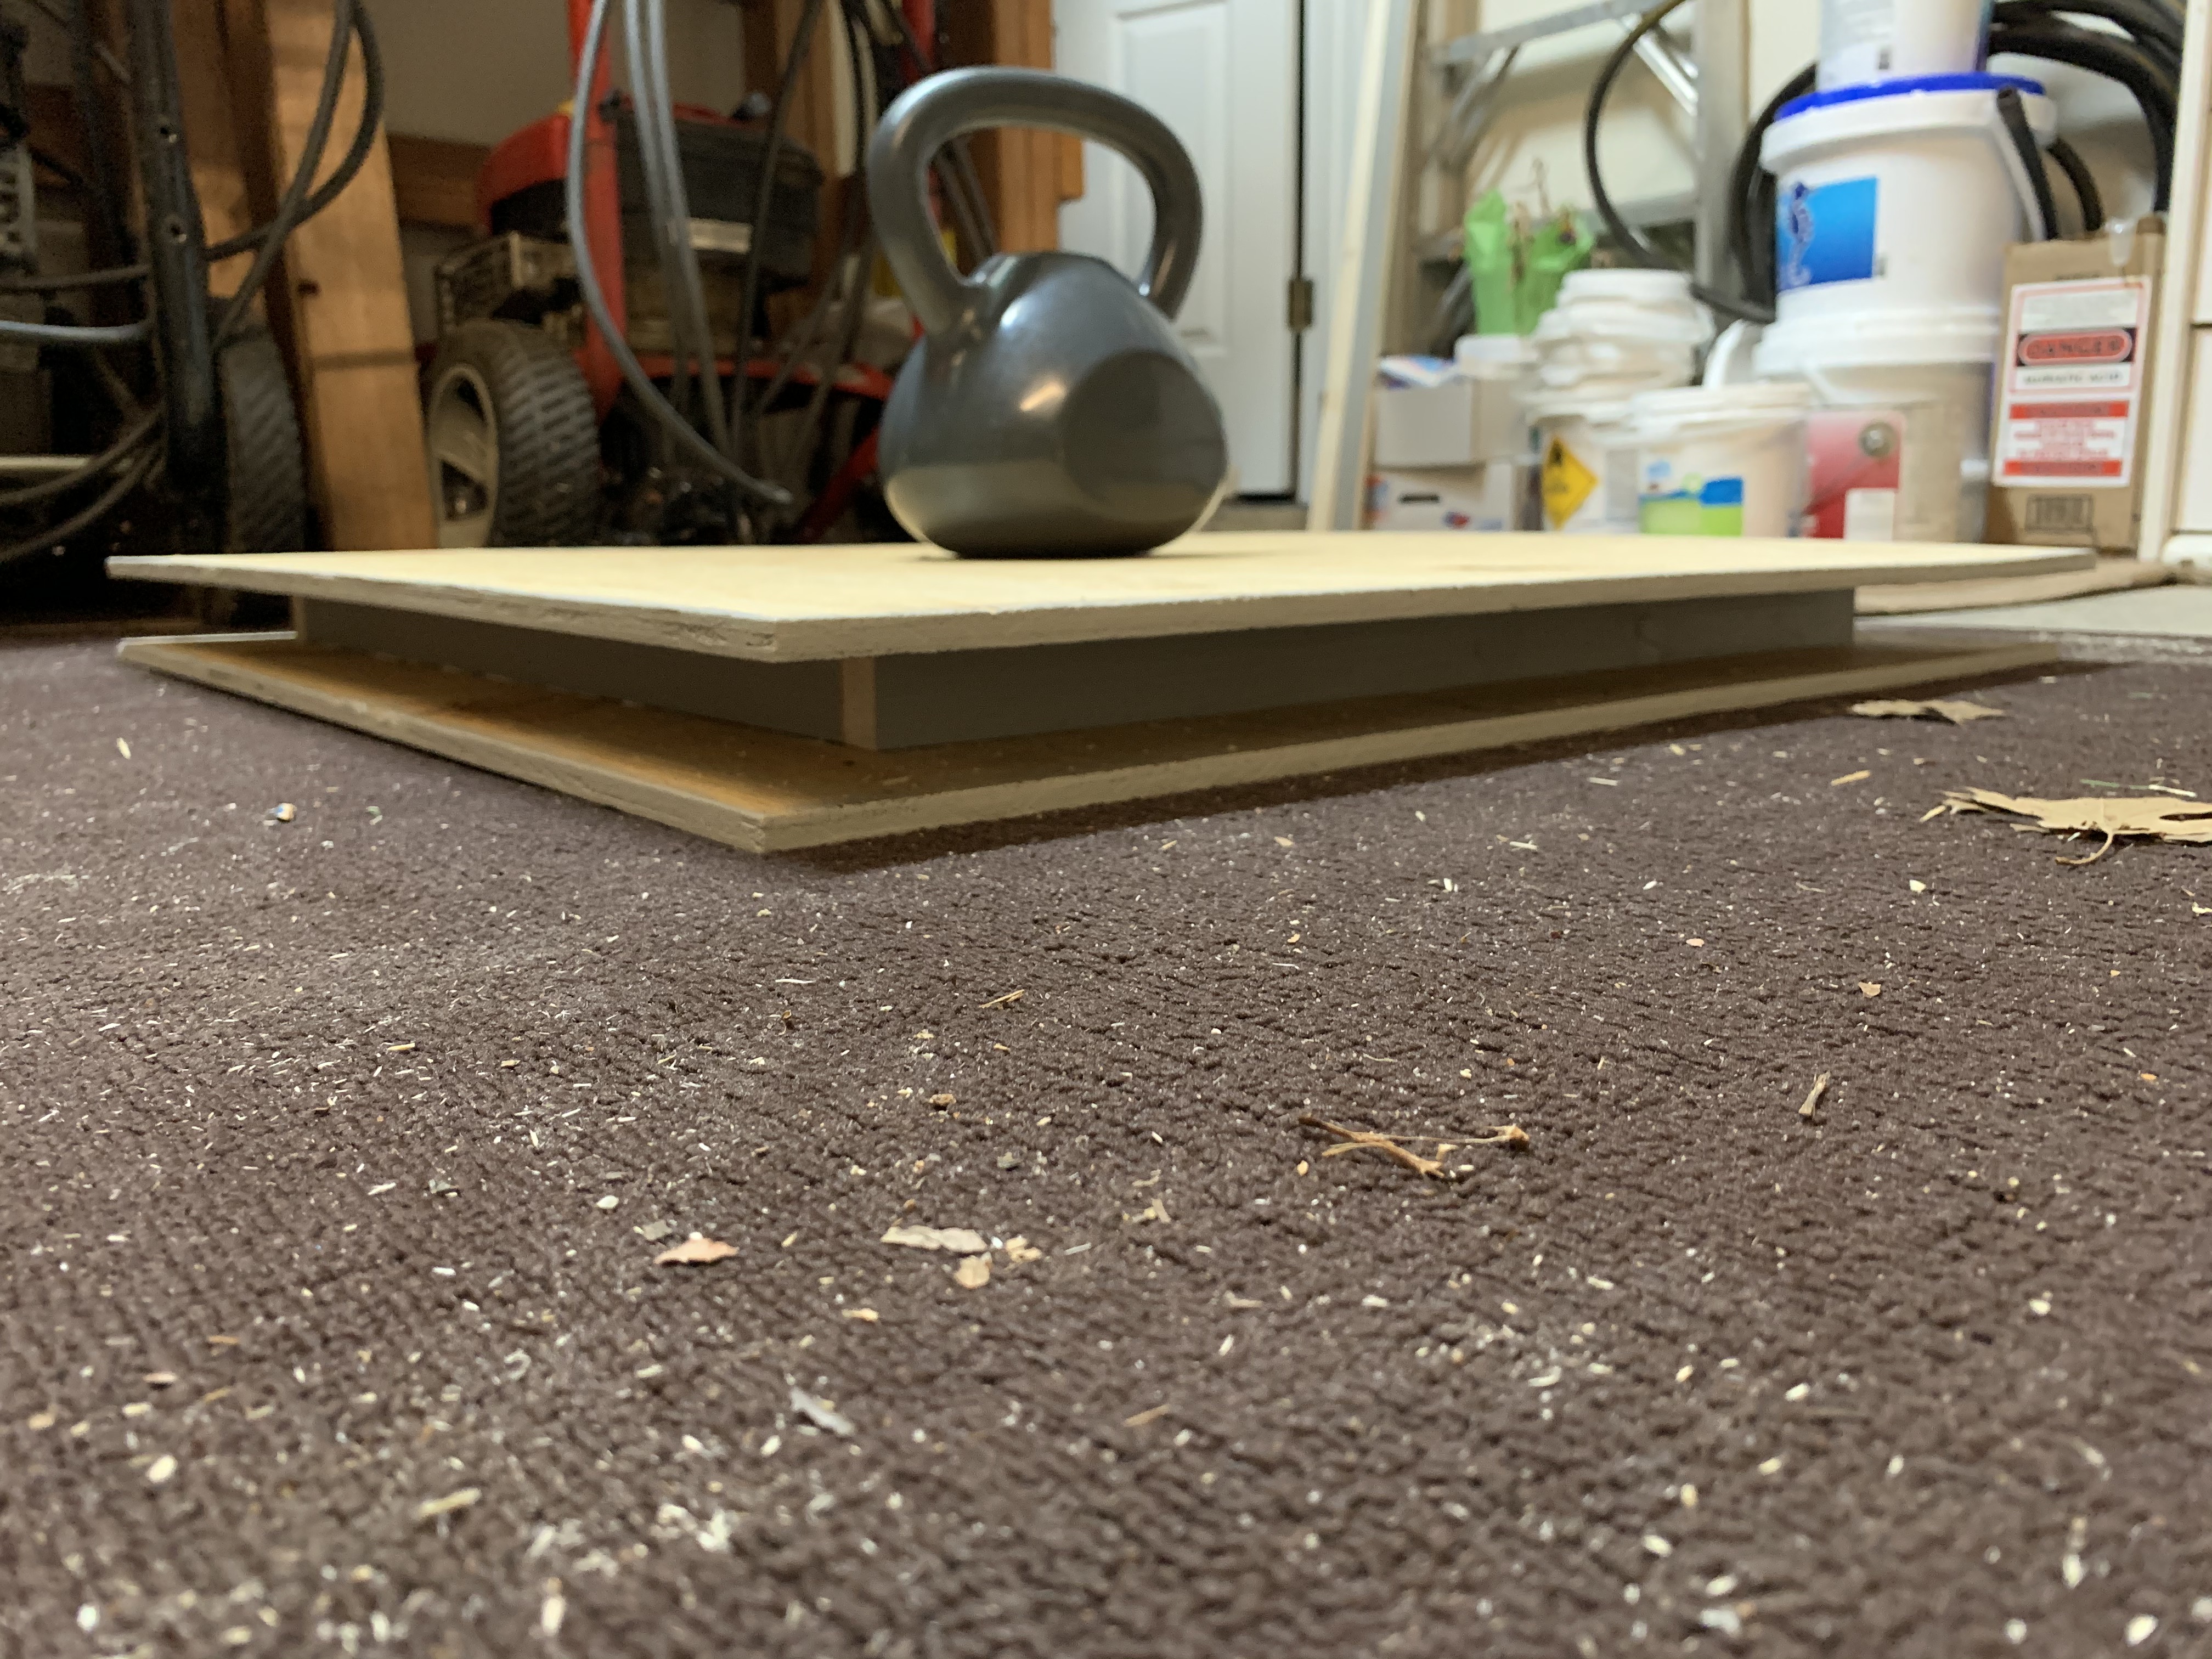
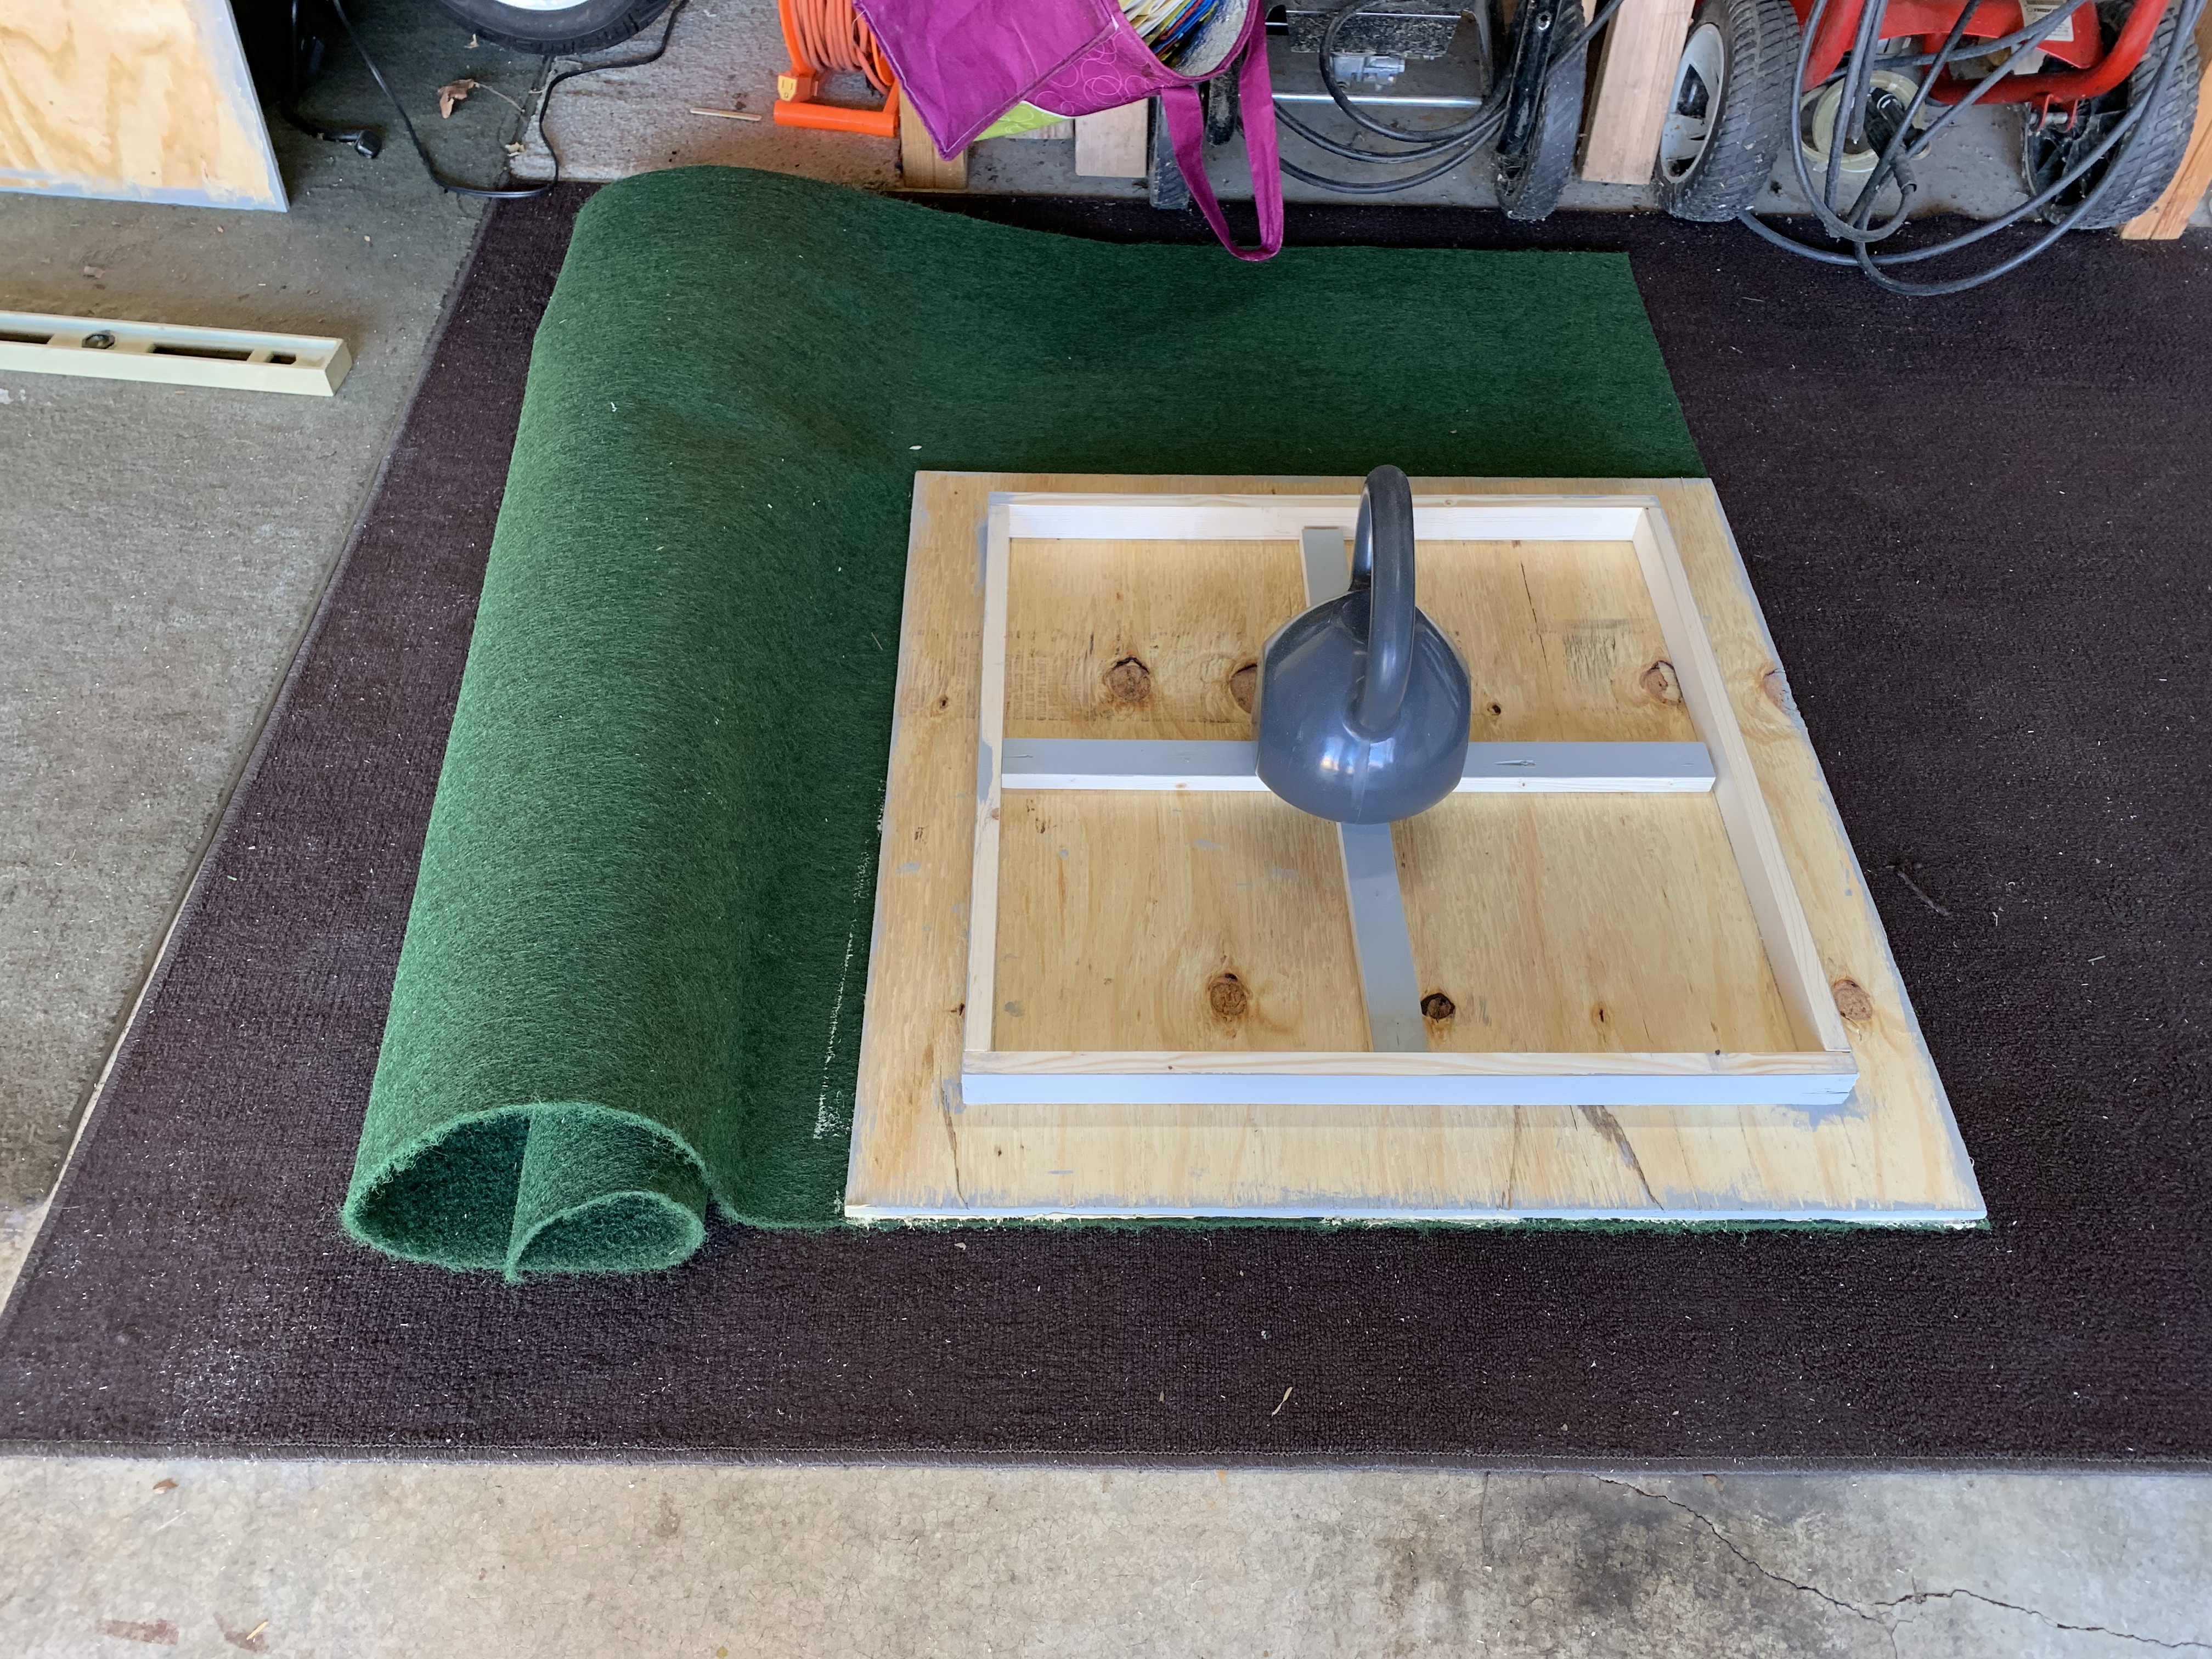
I marked out a 24-inch square on the bottom of the plywood and then glued the side frames in place prior to screwing them down. I took this approach because I wanted the screw heads to be on the top eventually hidden by the grass carpet and I didn’t think I could screw in four pieces of wood below the plywood without one or more of them moving during the process. Since the plywood was a little warped just from sitting in the garage, I had to add a heavy weight to make good contact between the plywood and the strip wood pieces.
After allowing it to dry, I then drew a slightly larger square on the top of the plywood (to allow the screw to go through the center of the boards). I also added a center line as a screw guide for the strips of wood below that would provide the center bracing.
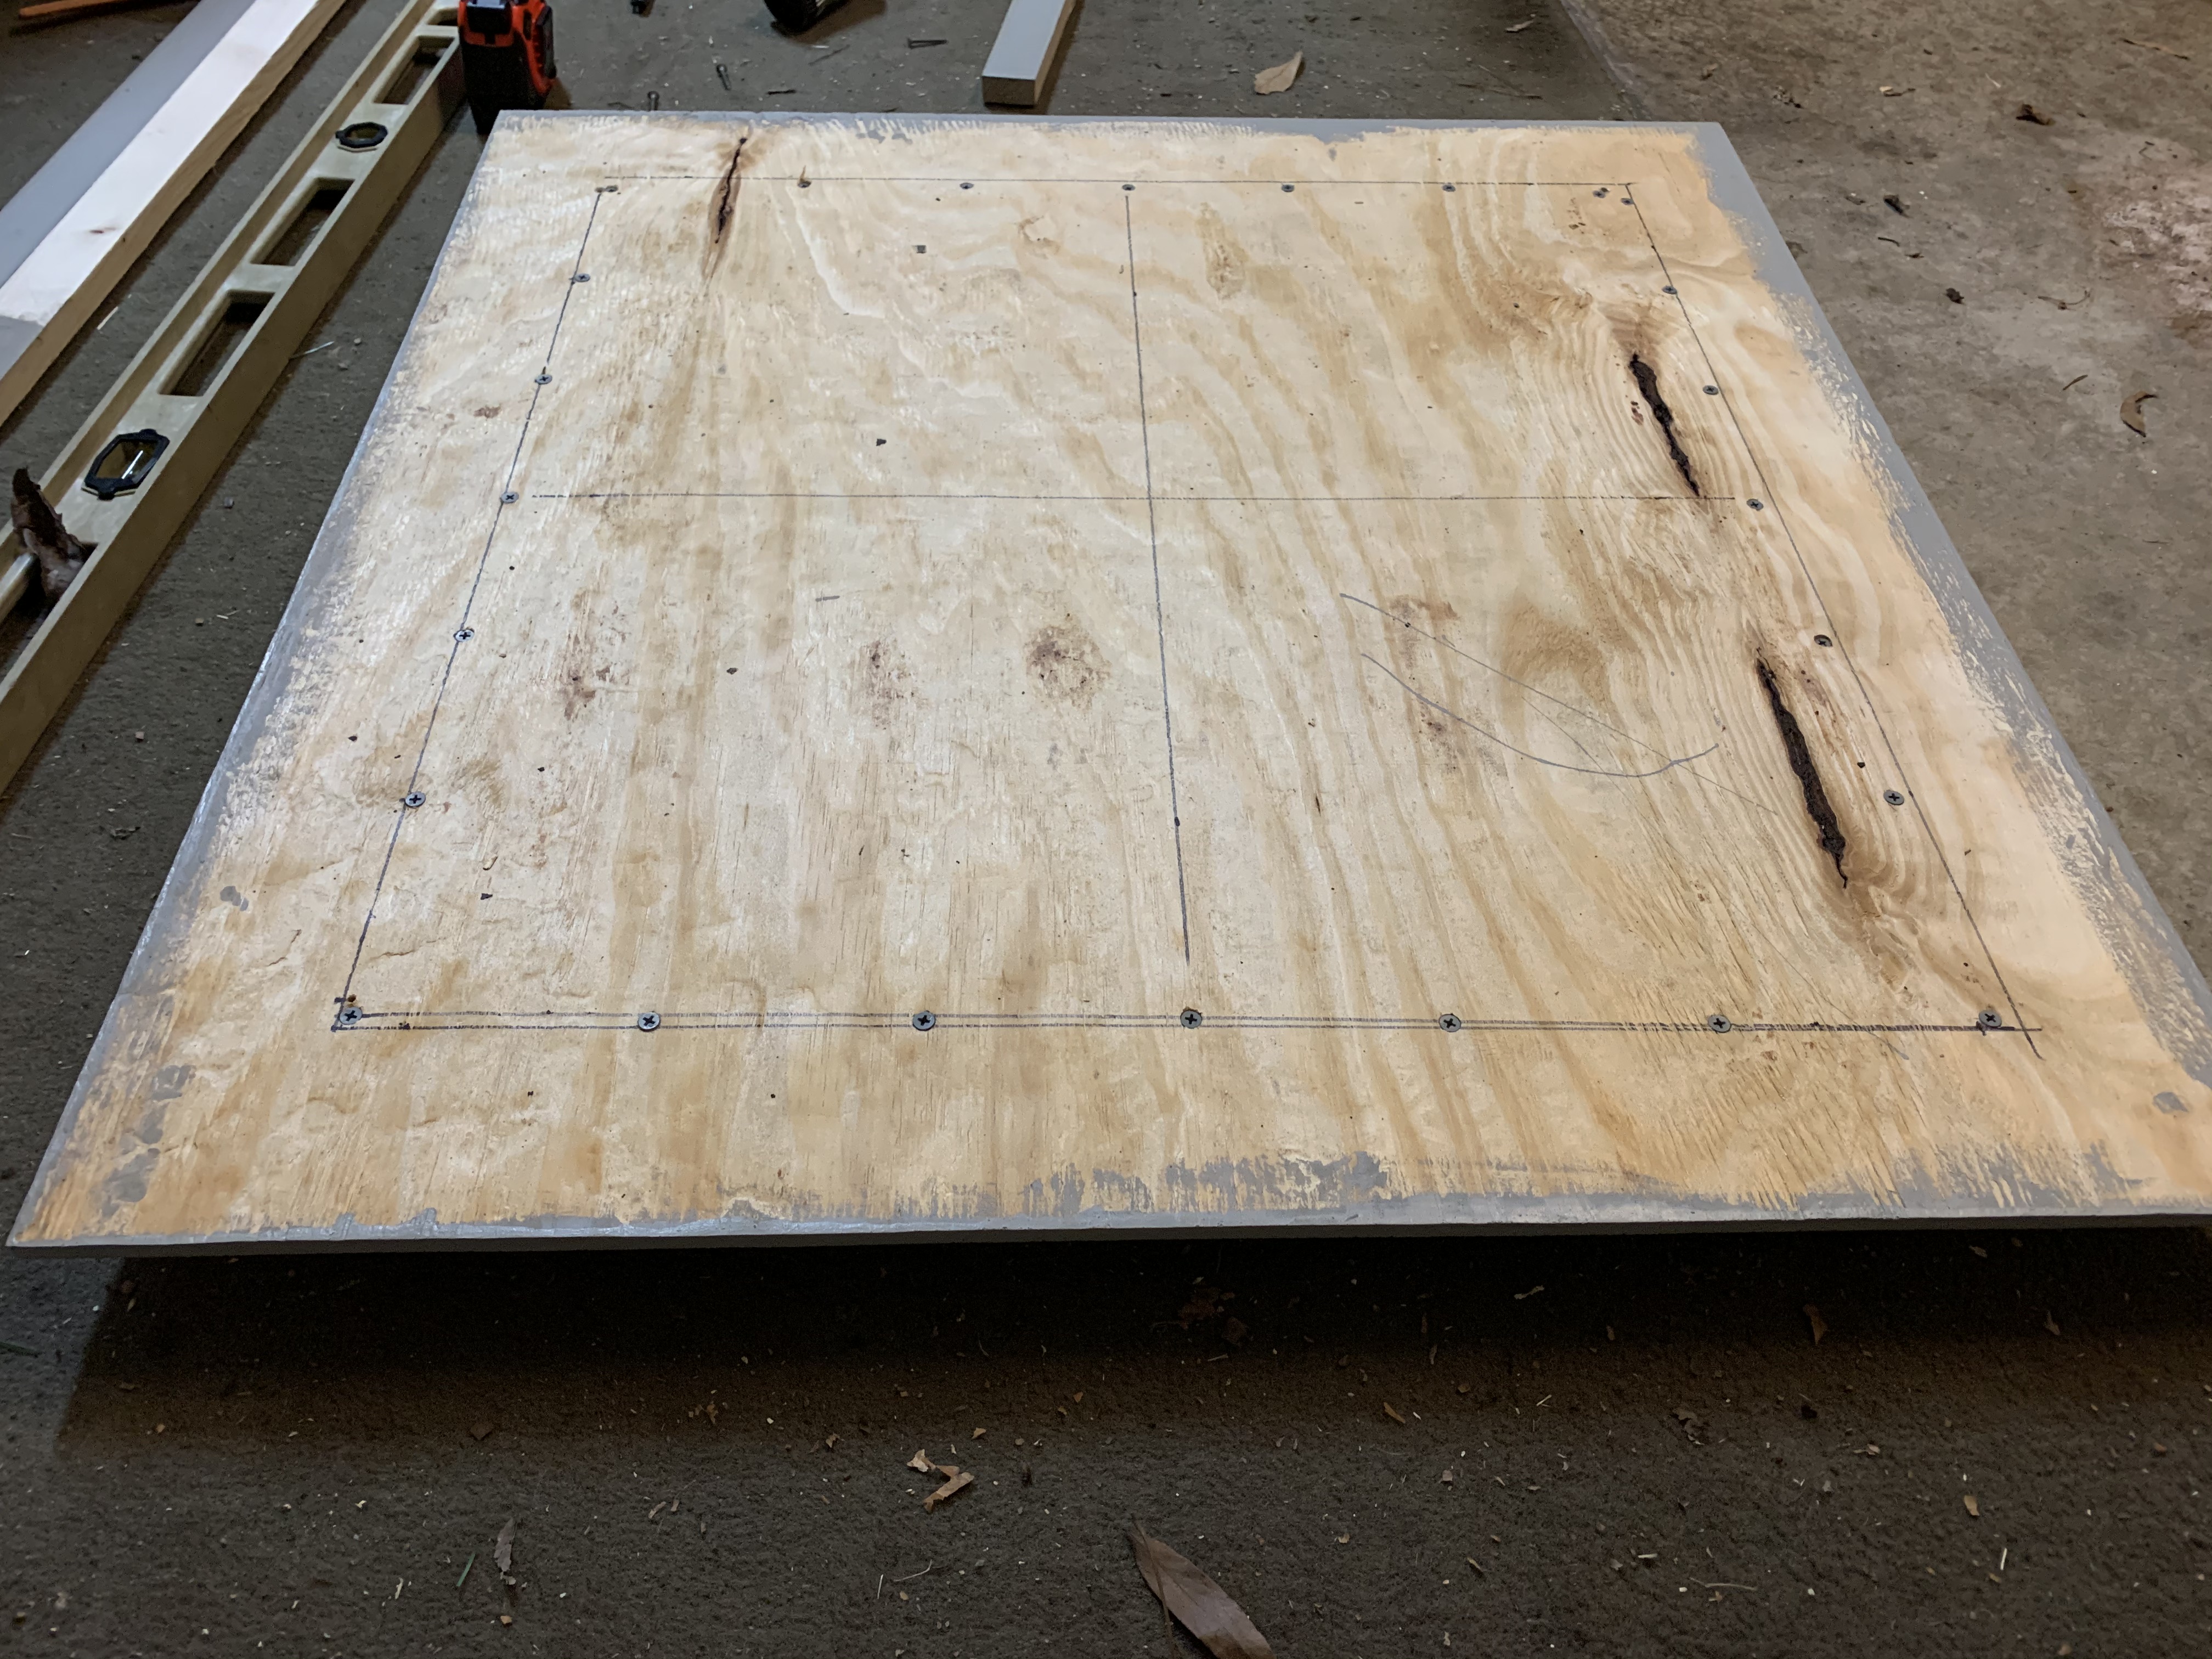
Because I wanted this tabletop to rest on the existing 17-inch side table with the side pieces overlapping and preventing it from sliding off the table, I screwed the center braces on their faces rather than on their edges.

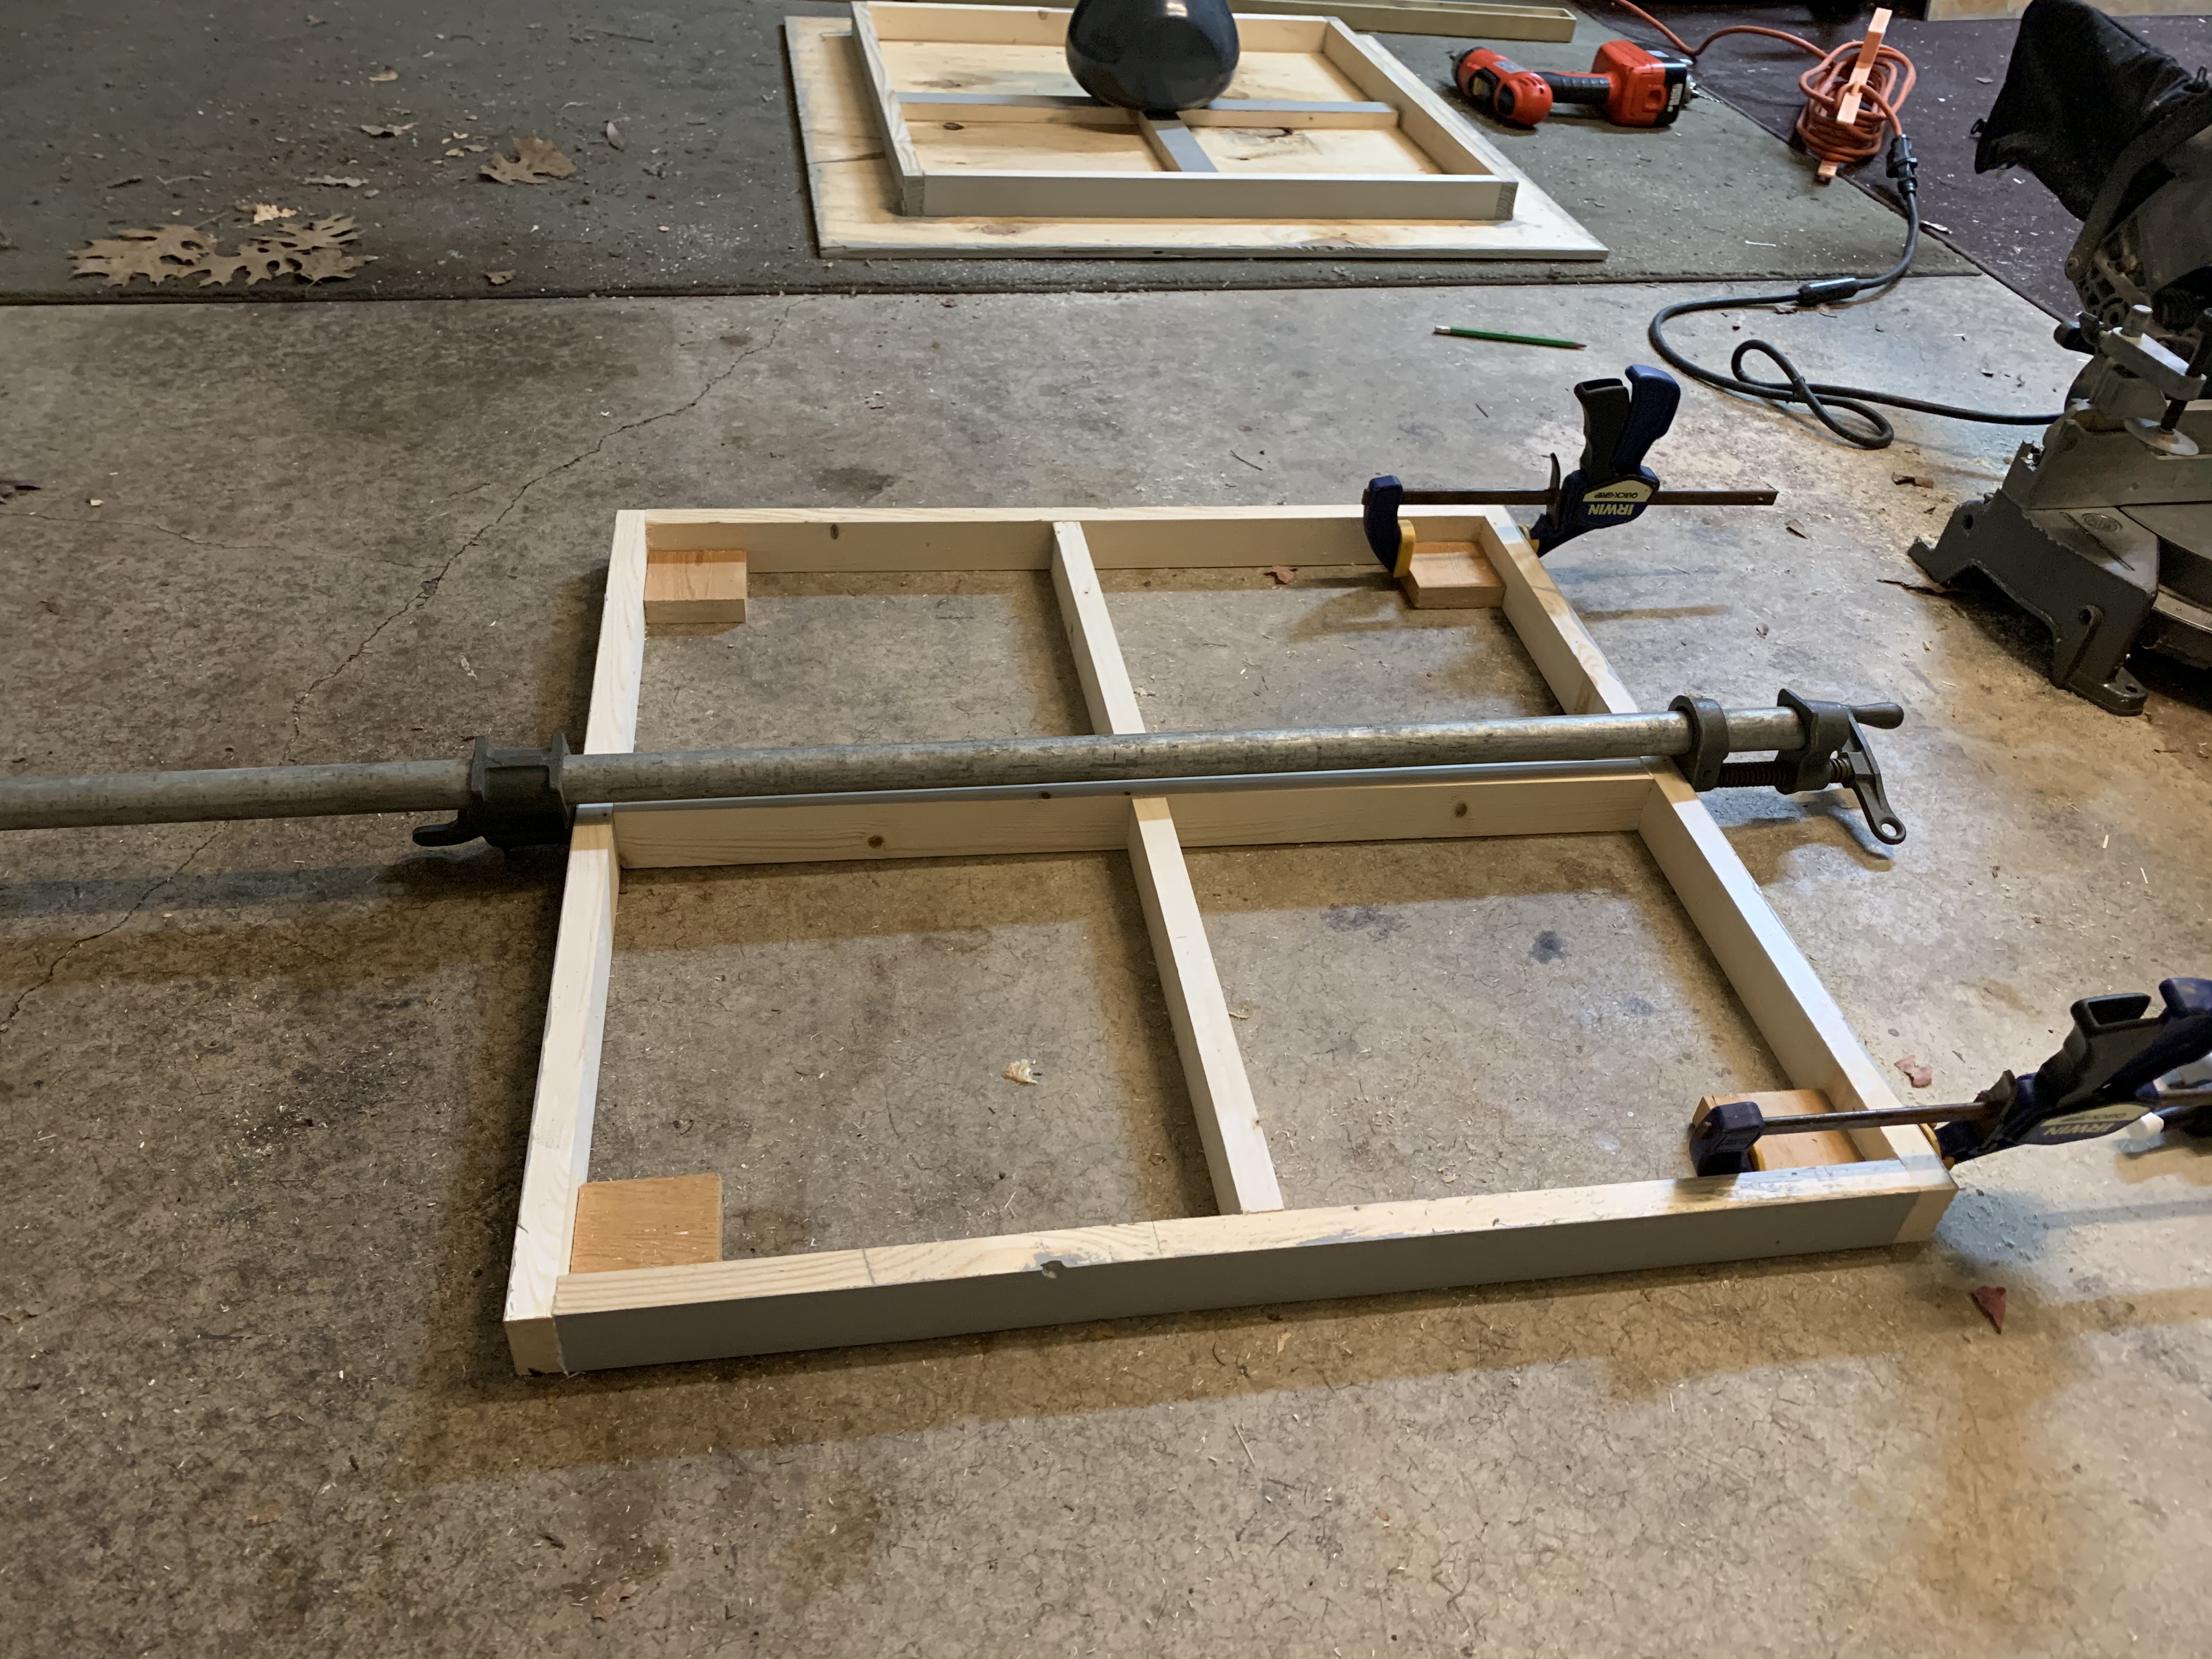
Knowing my other granddaughter did not have a similar table, I built hers slightly differently with the center braces on their edge and small solid wood blocks at the corners to allow for the addition of legs.
With the tabletop finished, the last step involved gluing the carpet to the top of the plywood. I purchased indoor/outdoor carpet glue and spread it with a trowel. I tried to lay down the carpet so I would only have two edges to trim but once the carpet hit the glue, it was almost impossible to move it slightly to achieve a perfect alignment.

After drying overnight, I just had to trim the excess carpet. This step proved more challenging than I thought. I first tried my rotary cutter but since it is really designed for cutting fabric, was not able to cut through the thick carpet. Next, I tried a box cutter, but my blade was so dull, it too would not cut. Rather than making a return trip to the hardware store to purchase a carpet cutter, I eventually found that a pair of industrial strength scissors we had in the house were able to cut the carpet.
Cutting the carpet down to size revealed several places where excess glue was on the edge of the plywood. It took a sharp razor paint remover to get this off which scarred the edge in certain places, so I added a final third coat of paint to the edge.

When I took the finished tabletop over to my son’s house, he was most impressed with the professional look of it. He helped me move the doll house and then I placed the tabletop on the side table. It just fit.
Placing the doll house onto its new “yard”, my granddaughter immediately demonstrated how easily it turned.
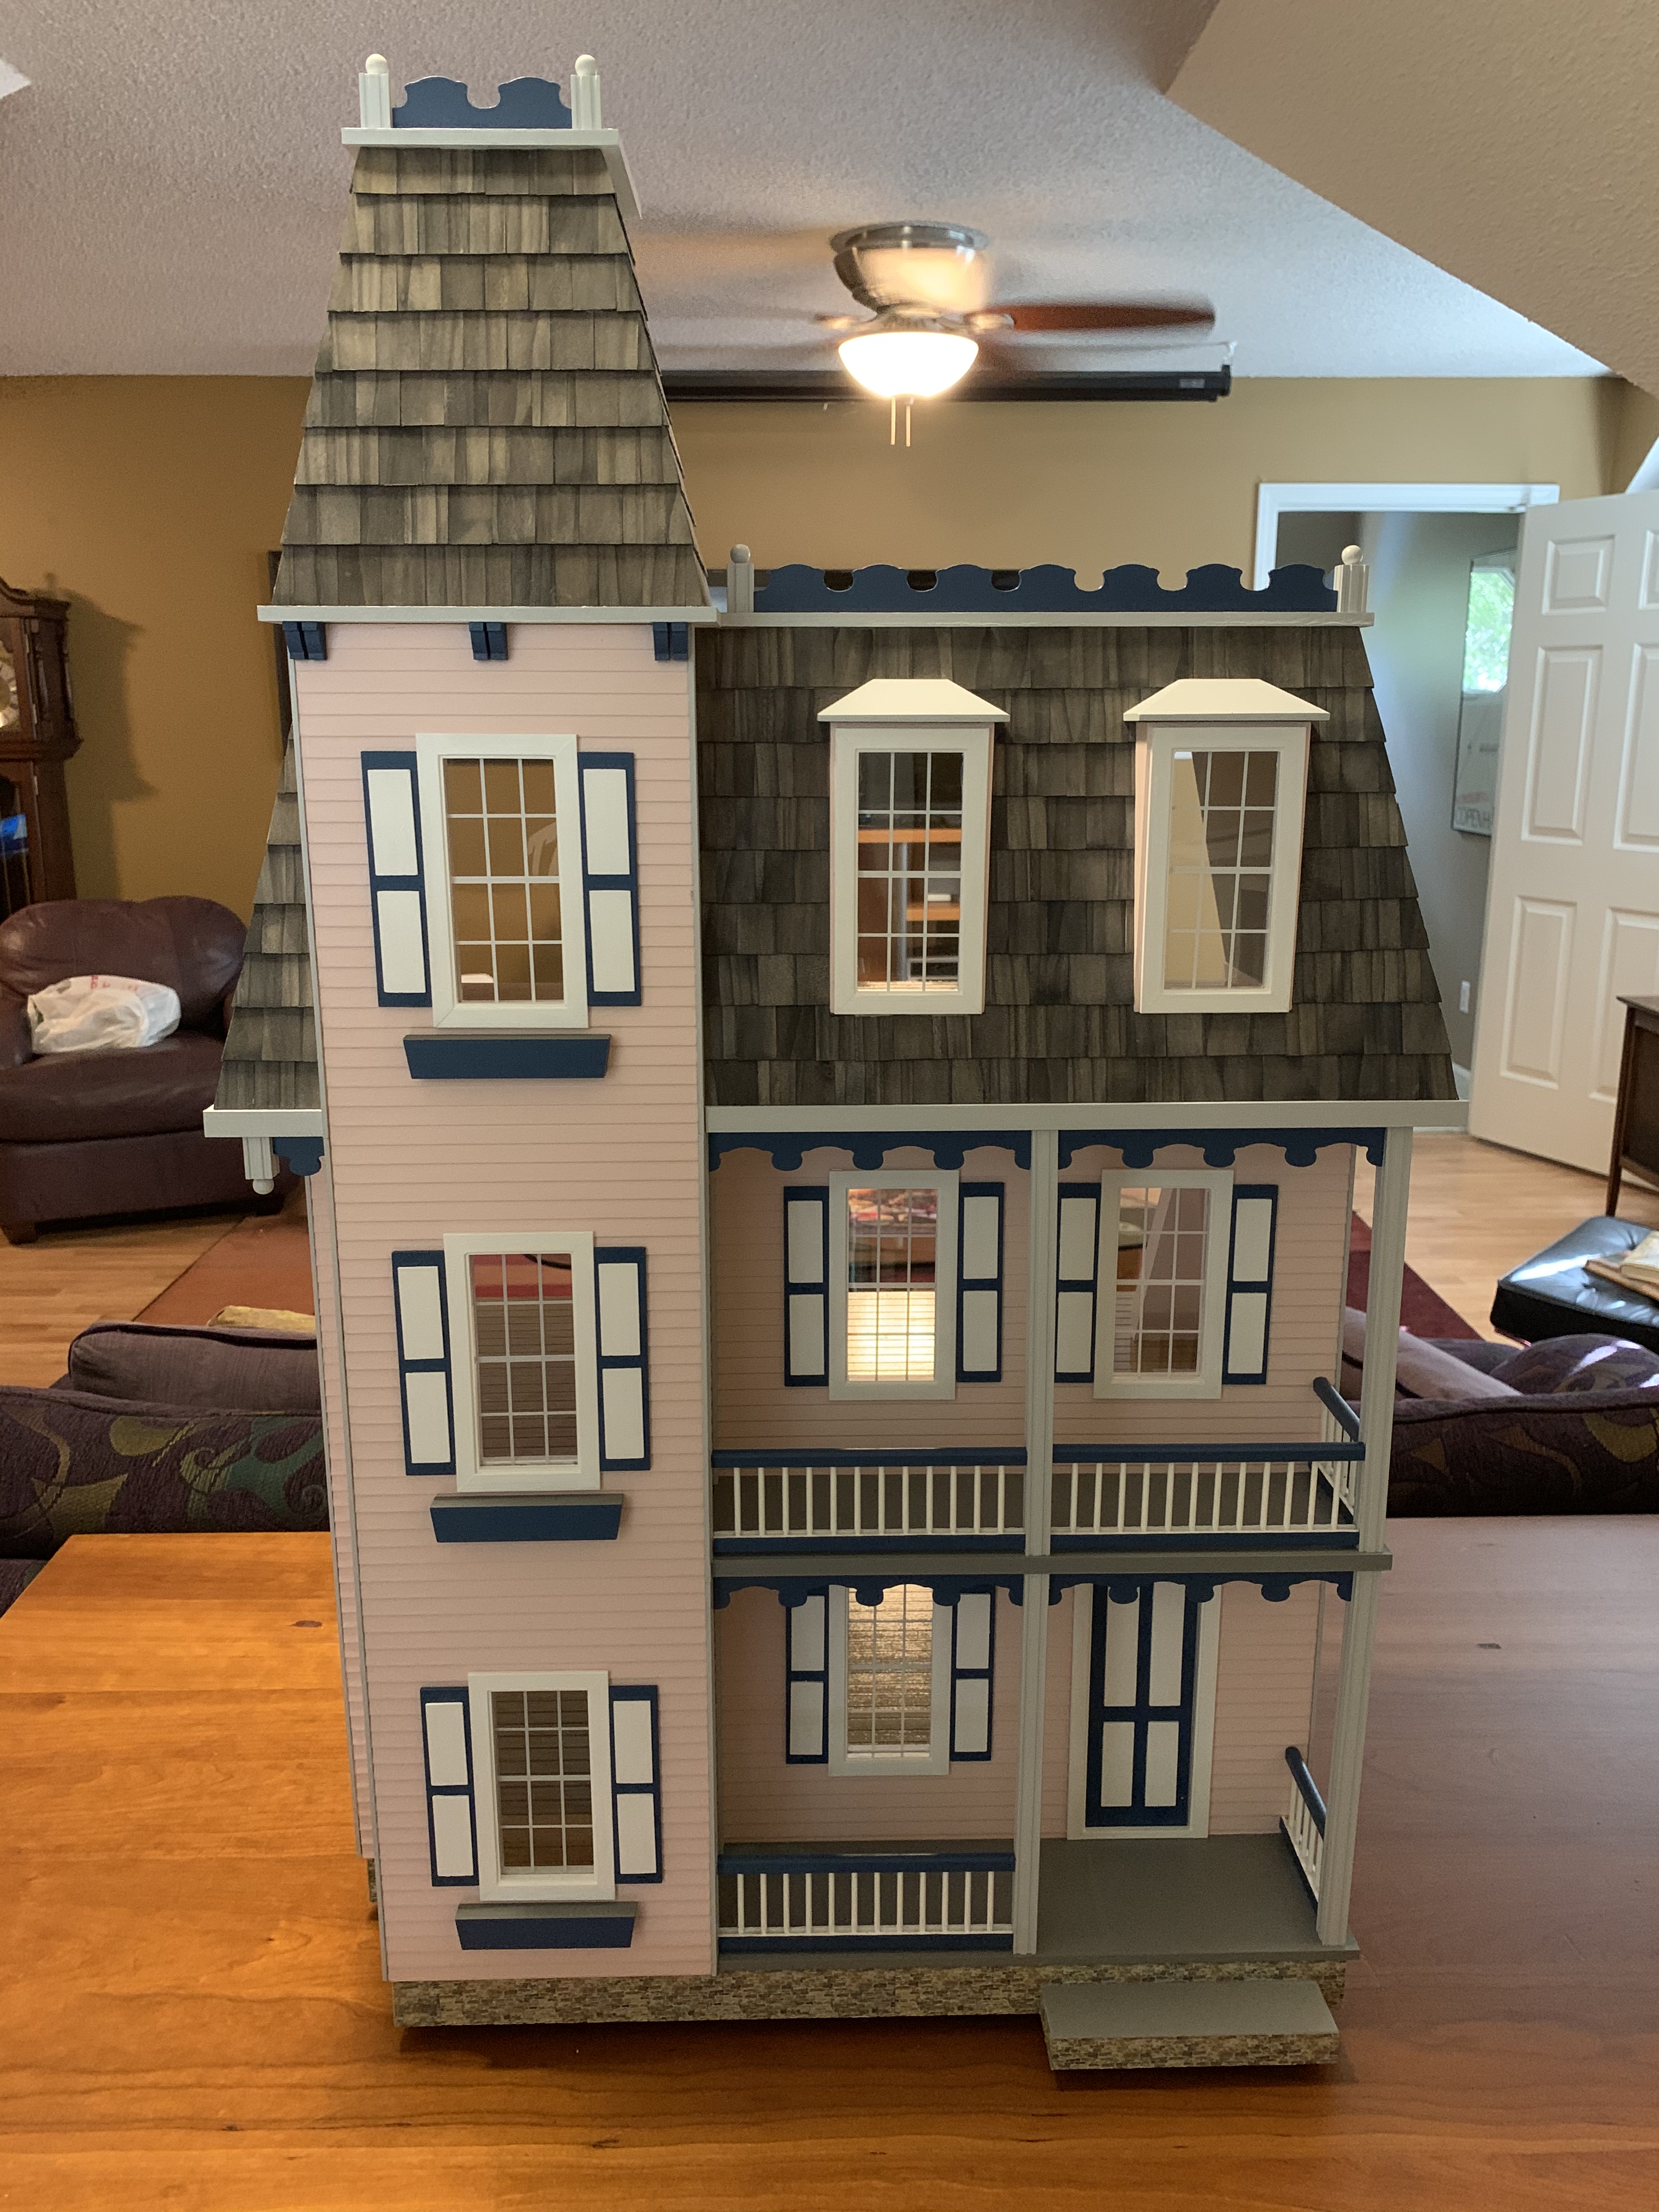
Now my granddaughter not only had a fully furnished doll house with a nice big backyard, …

…but a doll house with a well-manicured front lawn and curb appeal!

Categories

The carpet that looks like grass was an excellent choice for the surface! I may possibly use something similar in the future. Thanks for a great idea!
You are most welcome! Glad I could help. I also found that green felt worked also, just with a shorter nap.
What a cool idea! I love it!
Thanks, it really adds a nice touch.
Looks lovely!
Thanks, and your little one’s multi-part story will be coming soon.