
Seattle – A Different Kind of Trip (Part B)
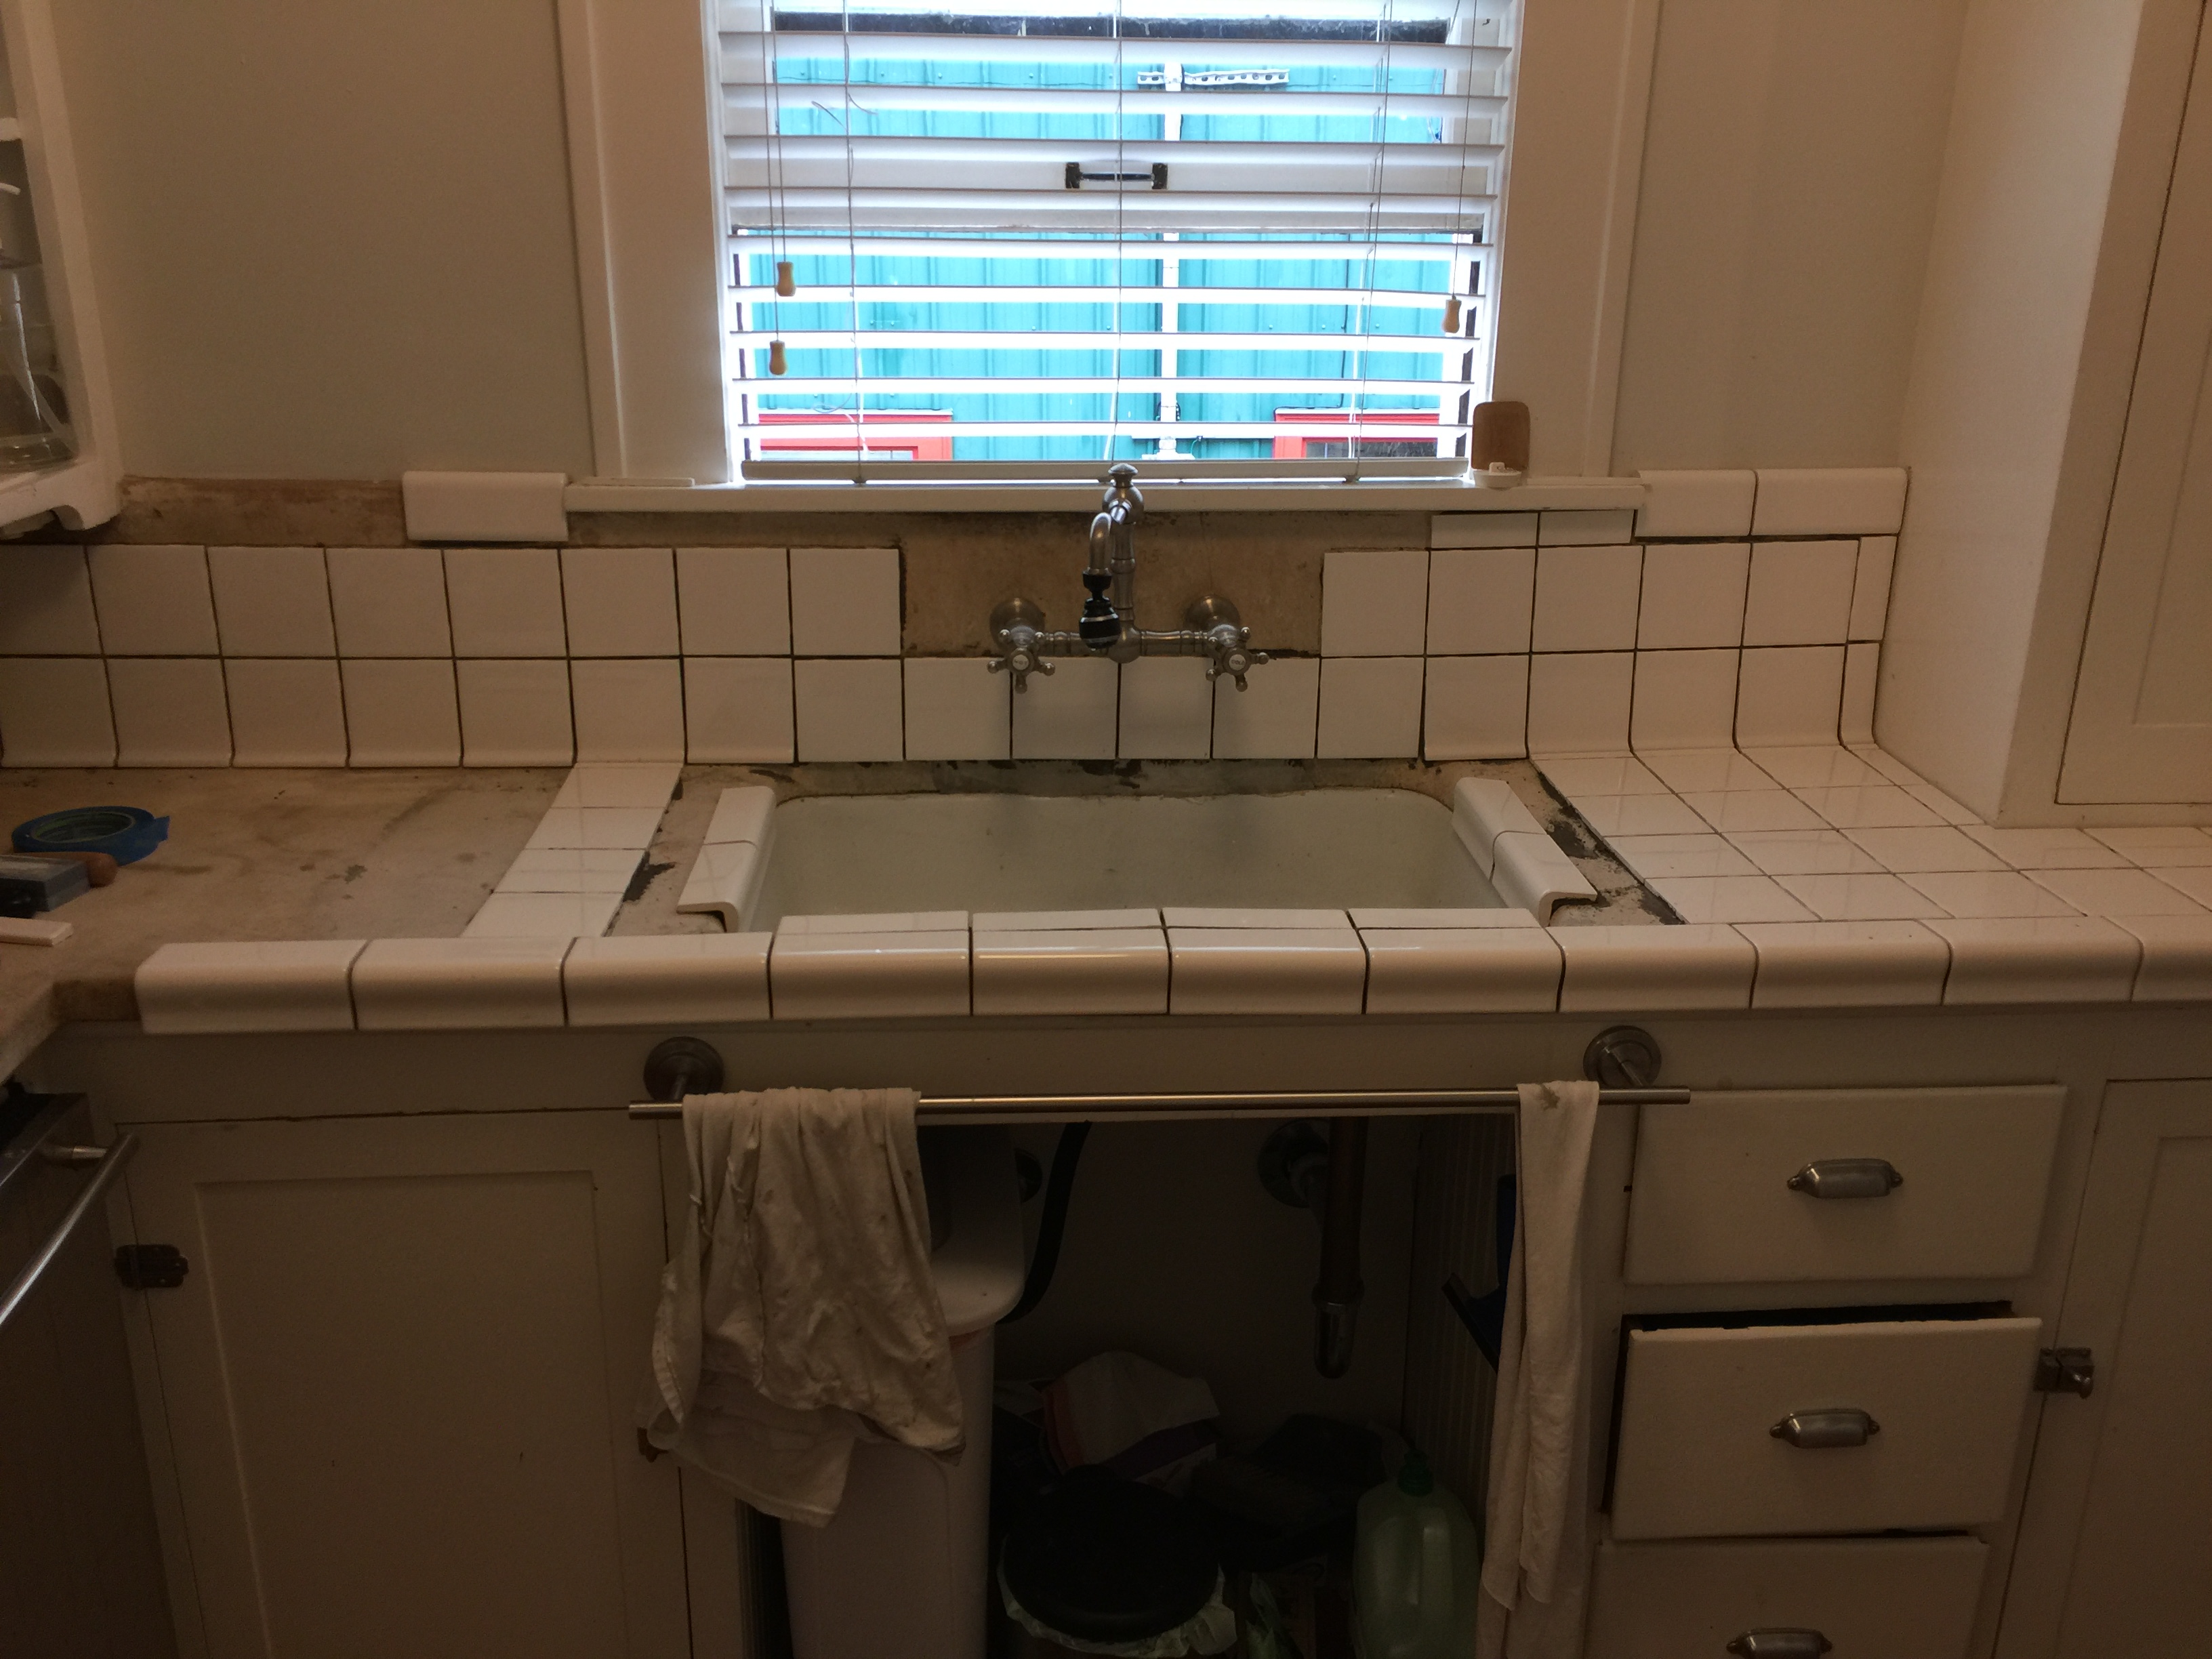
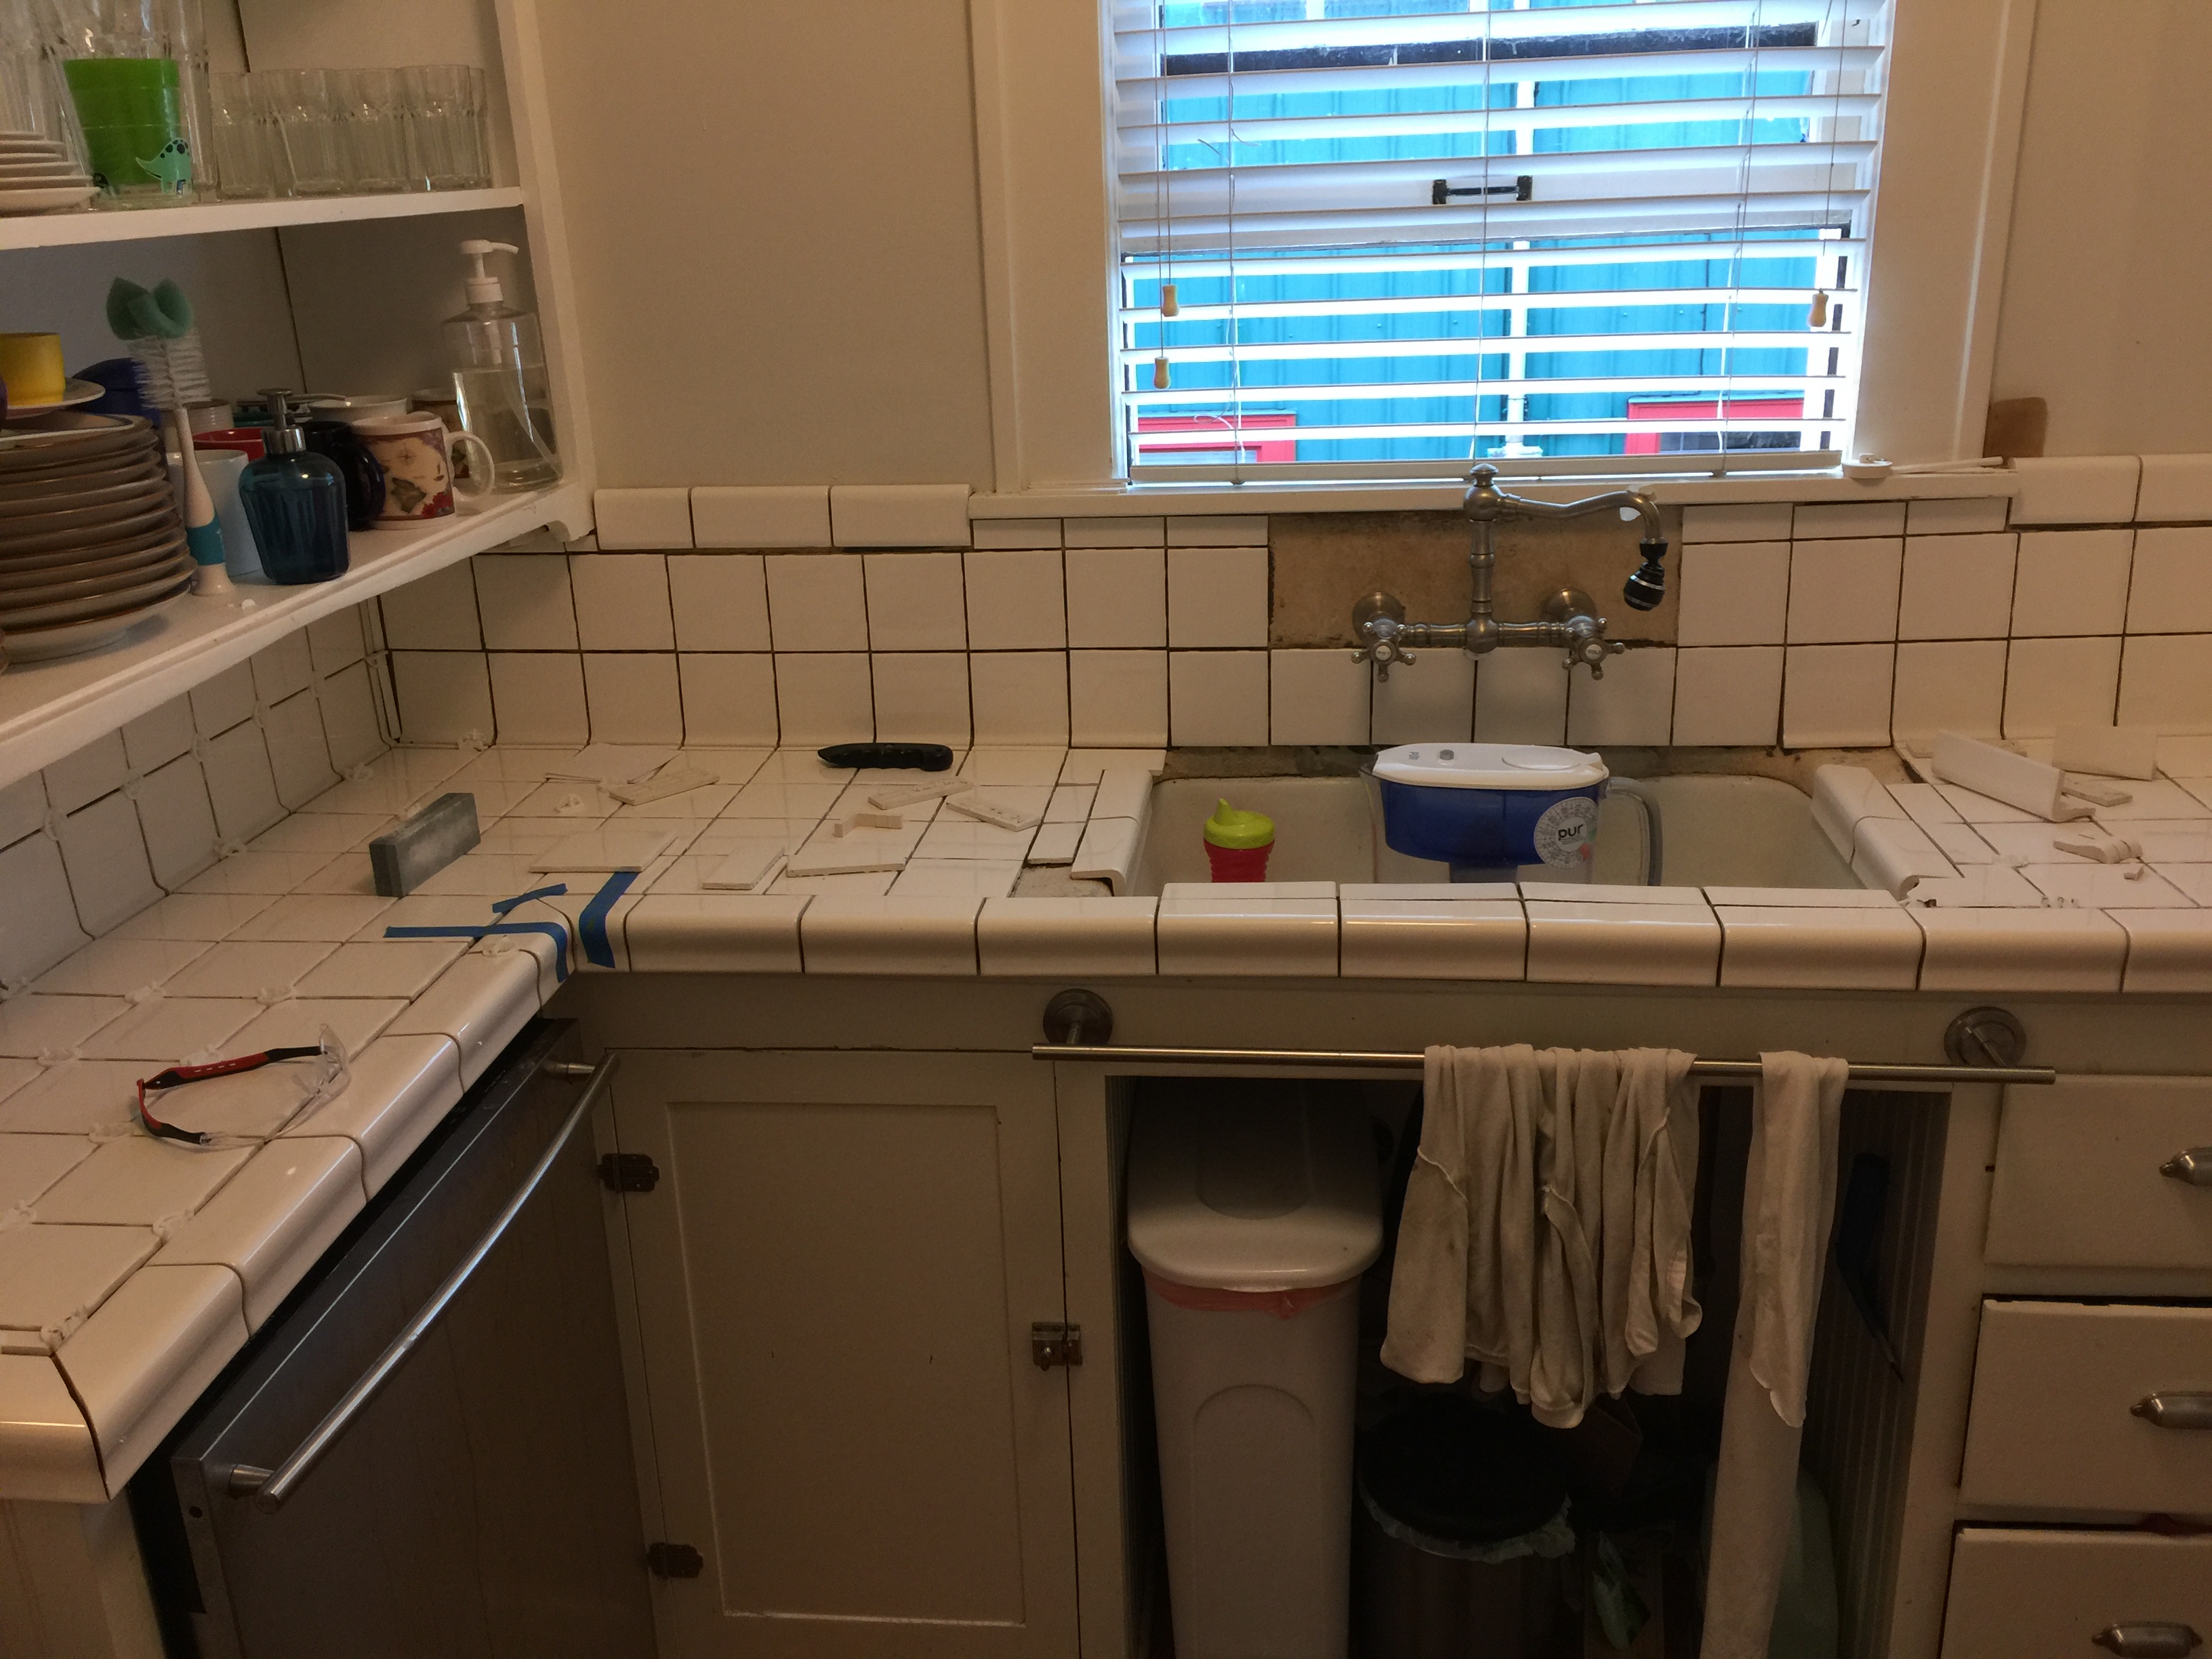
On the start of my fourth day tiling, this was what the countertop looked like. I had finally reached the point where I would be installing a number of uncut tiles. For placing many tiles, I was able to spread larger rows of thinset that would make a farmer proud.

By lunchtime, I had progressed to the point of being ready to make the turn into the last section of the countertop.

I can only attribute this significant progress to either the fact that I was finally working with a number of uncut tiles or I had on-site supervision for the first time that really cracked the whip on me.
I’ll let you decide.
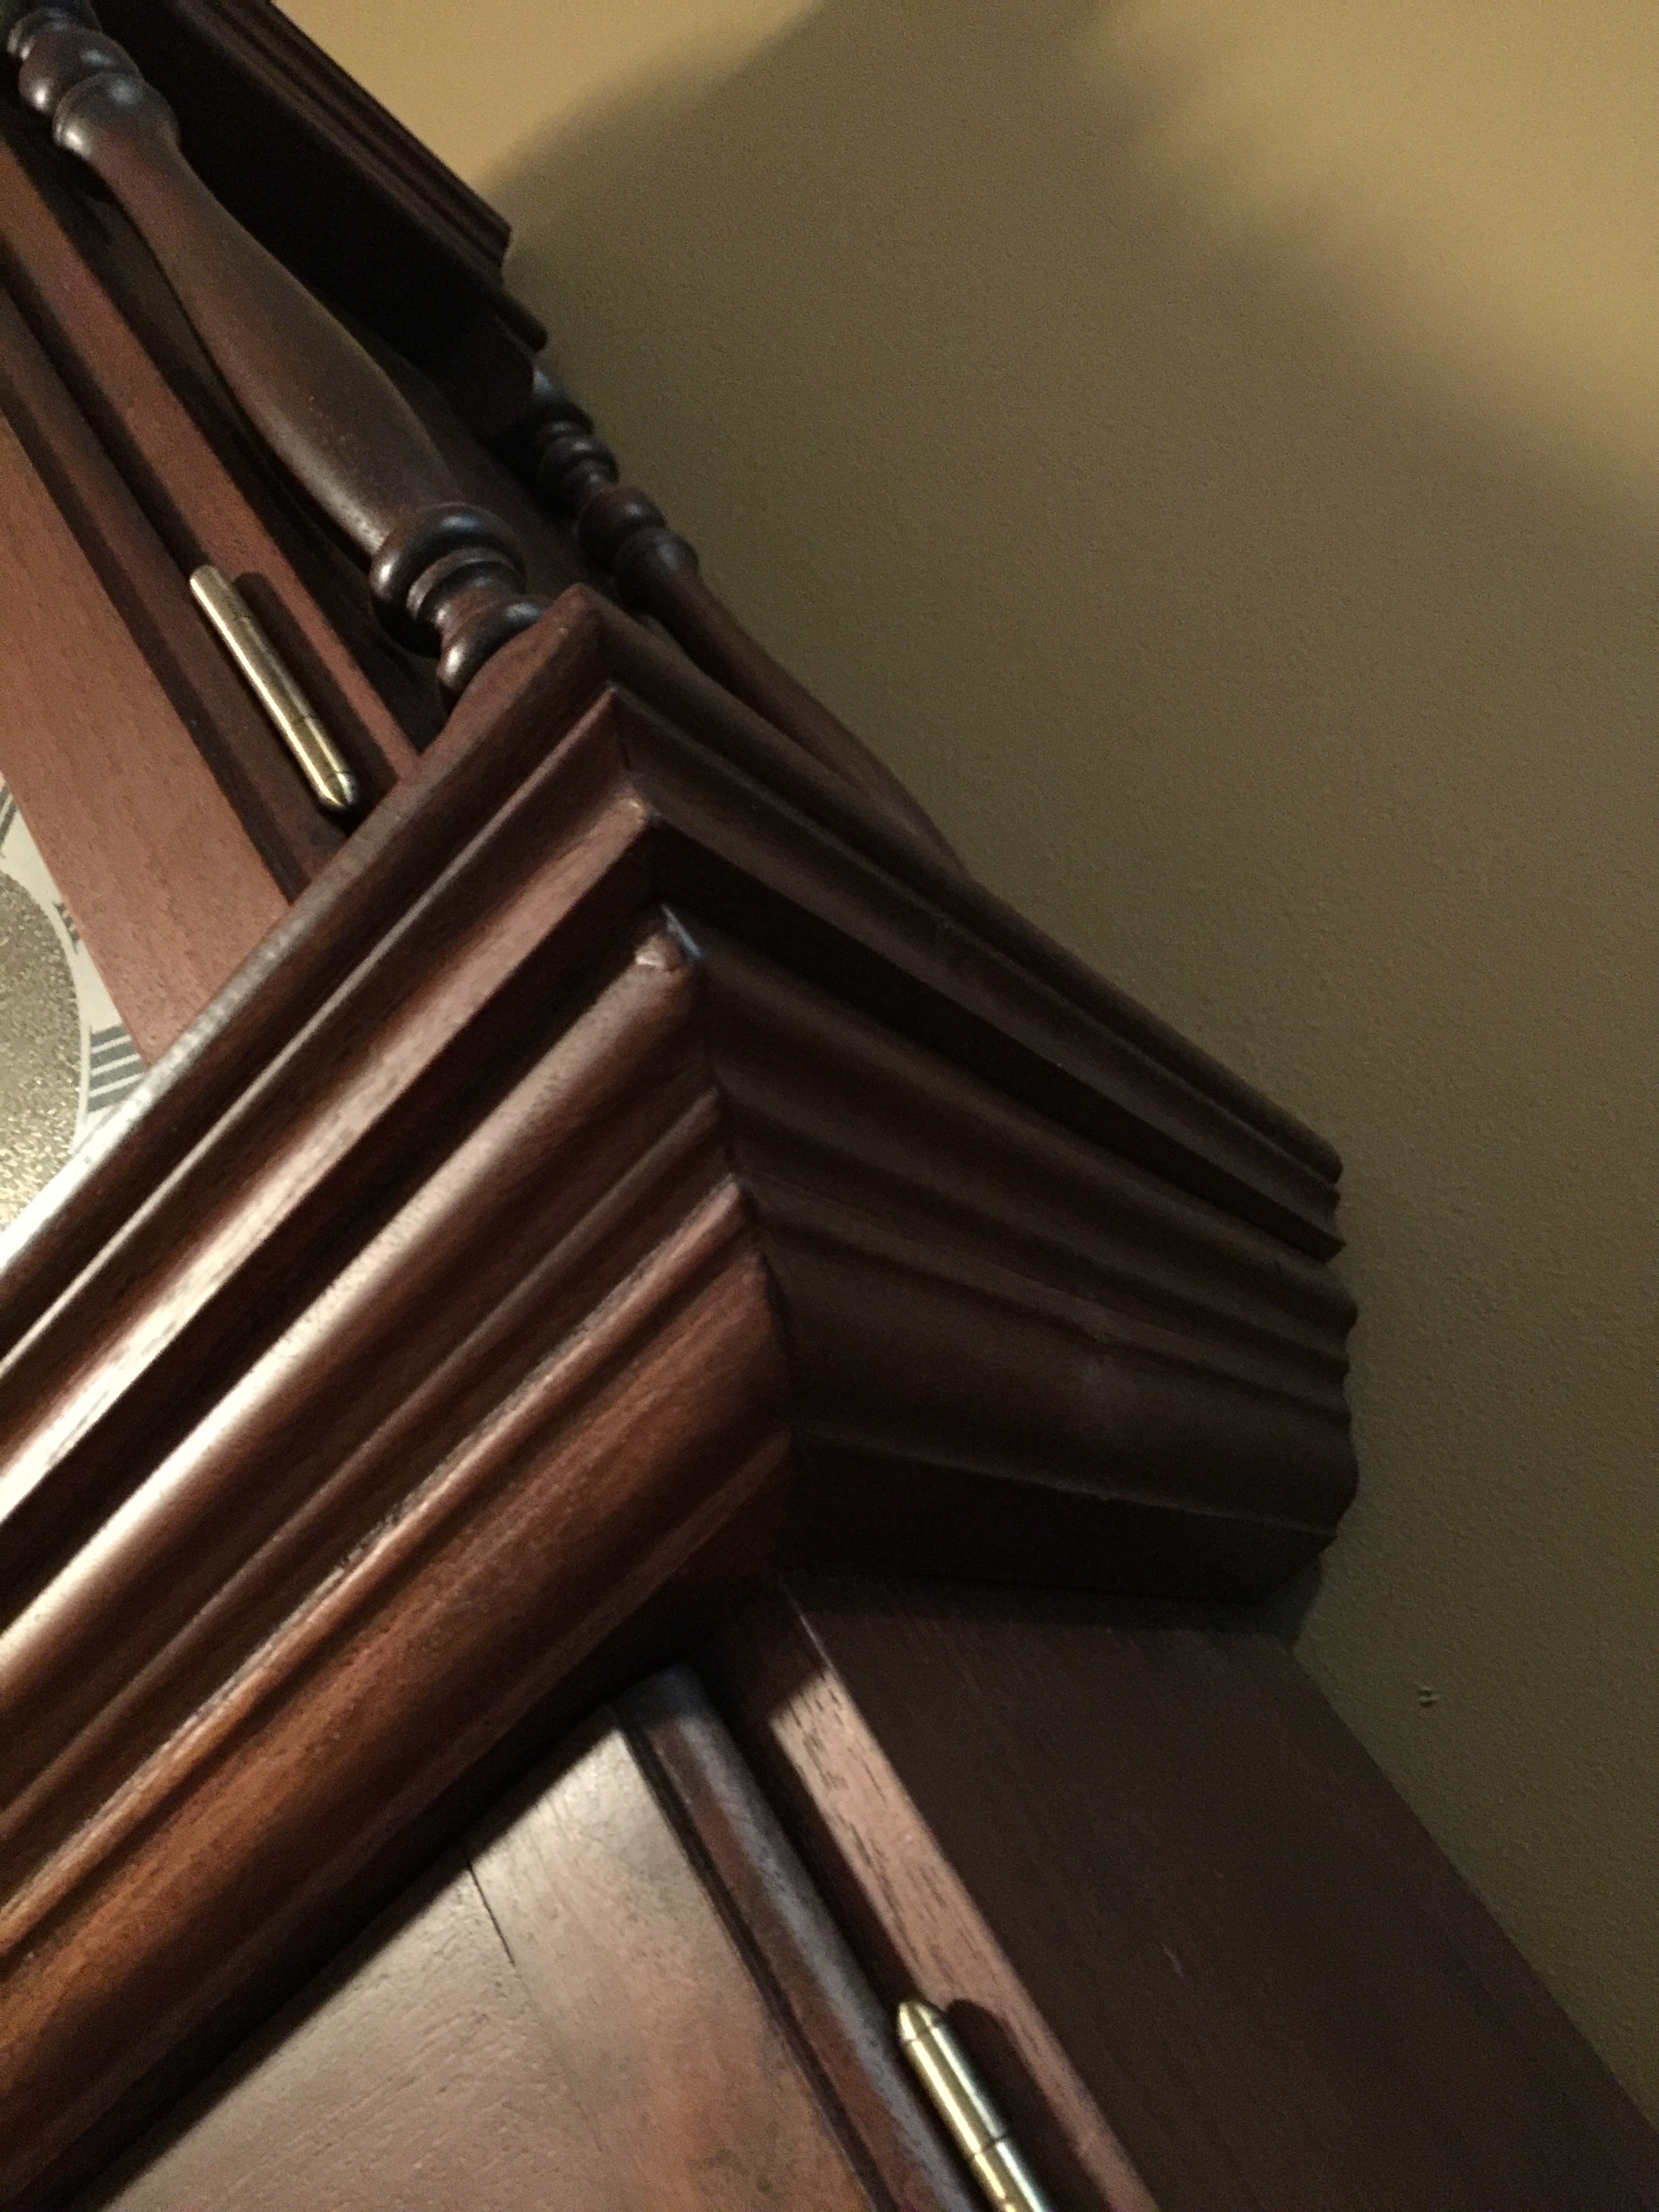
But still looming for me was one of the significant challenges—the two 45 degree front edge transitions. In all my years of wood working and DIY projects, going all the way back to when I built a grandfather clock when I was in high school, I have mightily struggled with making a quality 45 degree miter cut.
And all those challenges were just working with wood! I had never before tried to miter cut ceramic tile. Adding a bit more challenge was the fact that I had only the exact number of counter edge pieces I needed so any “mess ups” in my cutting would require a lengthy trip back to Lowes.
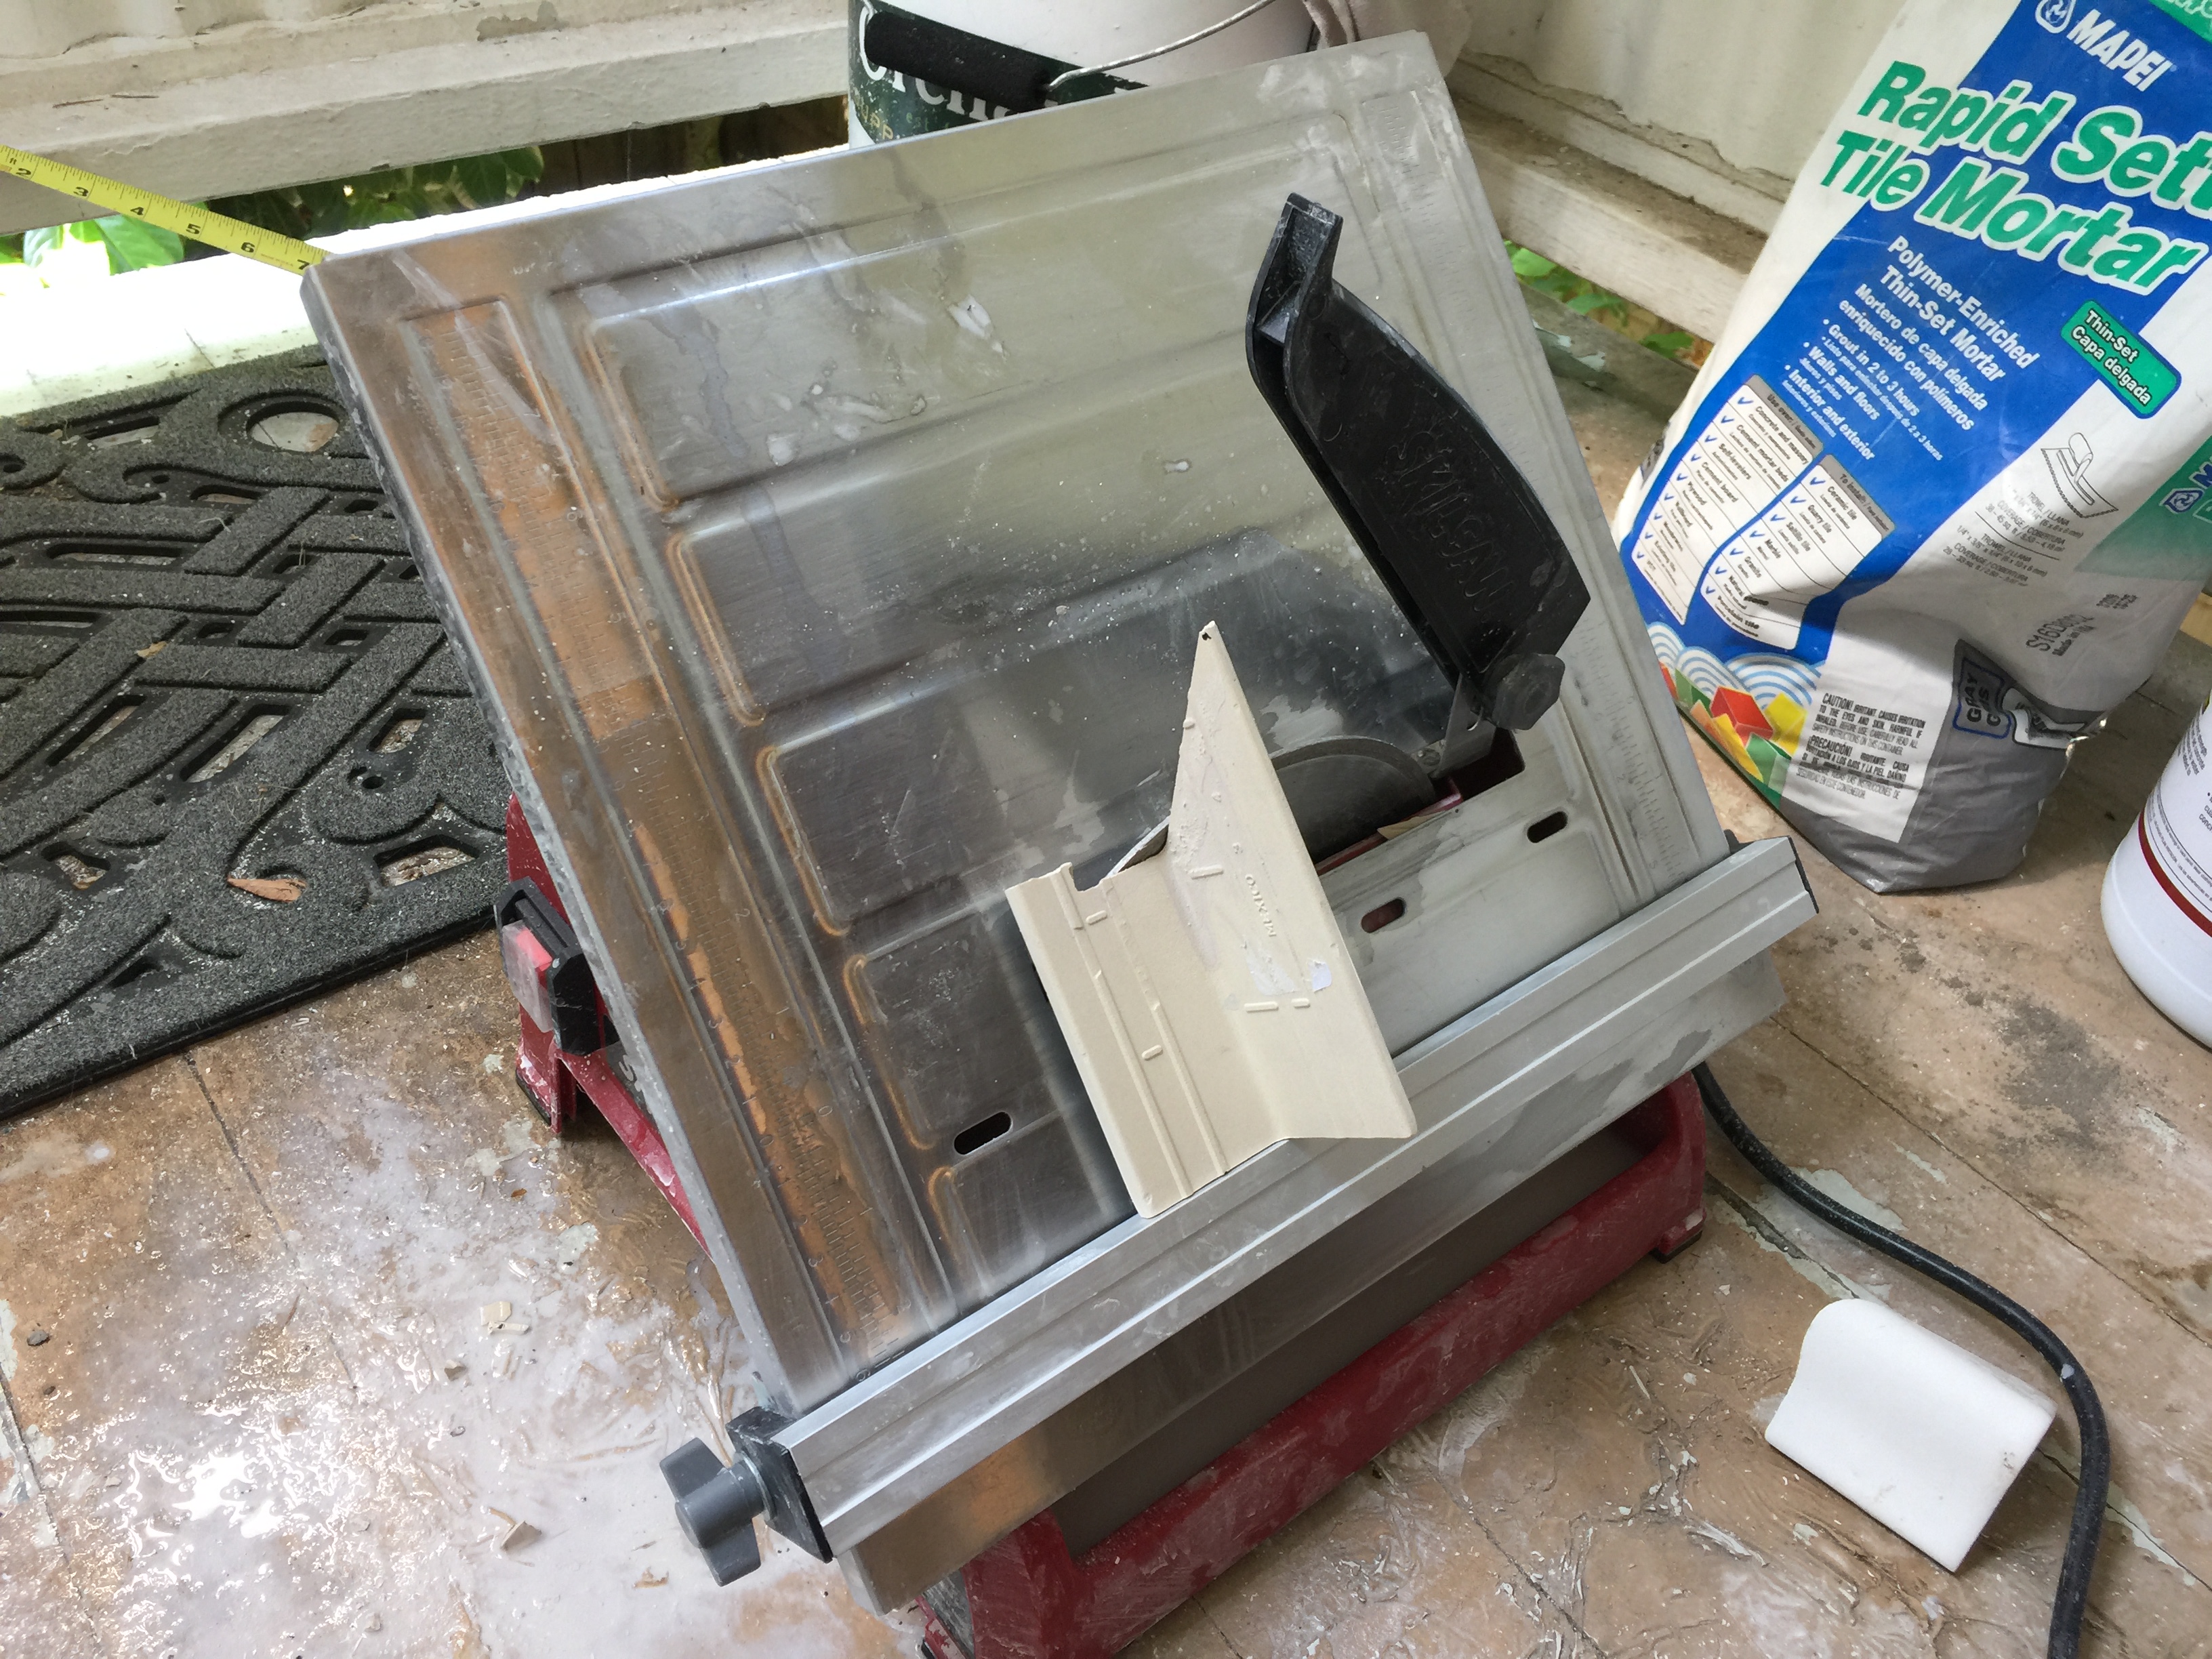
I chose what I considered the lesser of these two evils by starting at the far left where I could “practice” making the first 45 degree cut and then cutting the piece to correct length since it was too long for where it would butt up against the base of the cabinet. Increasing the challenge was the fact that the counter edge piece was wider in both directions than the blade of my wet saw so I knew I would have to make one cut with the miter tool, and then make a second cut to finish it. It took me a while to figure out how to do this but finally I discovered that I could use the miter wedge to make the first cut…
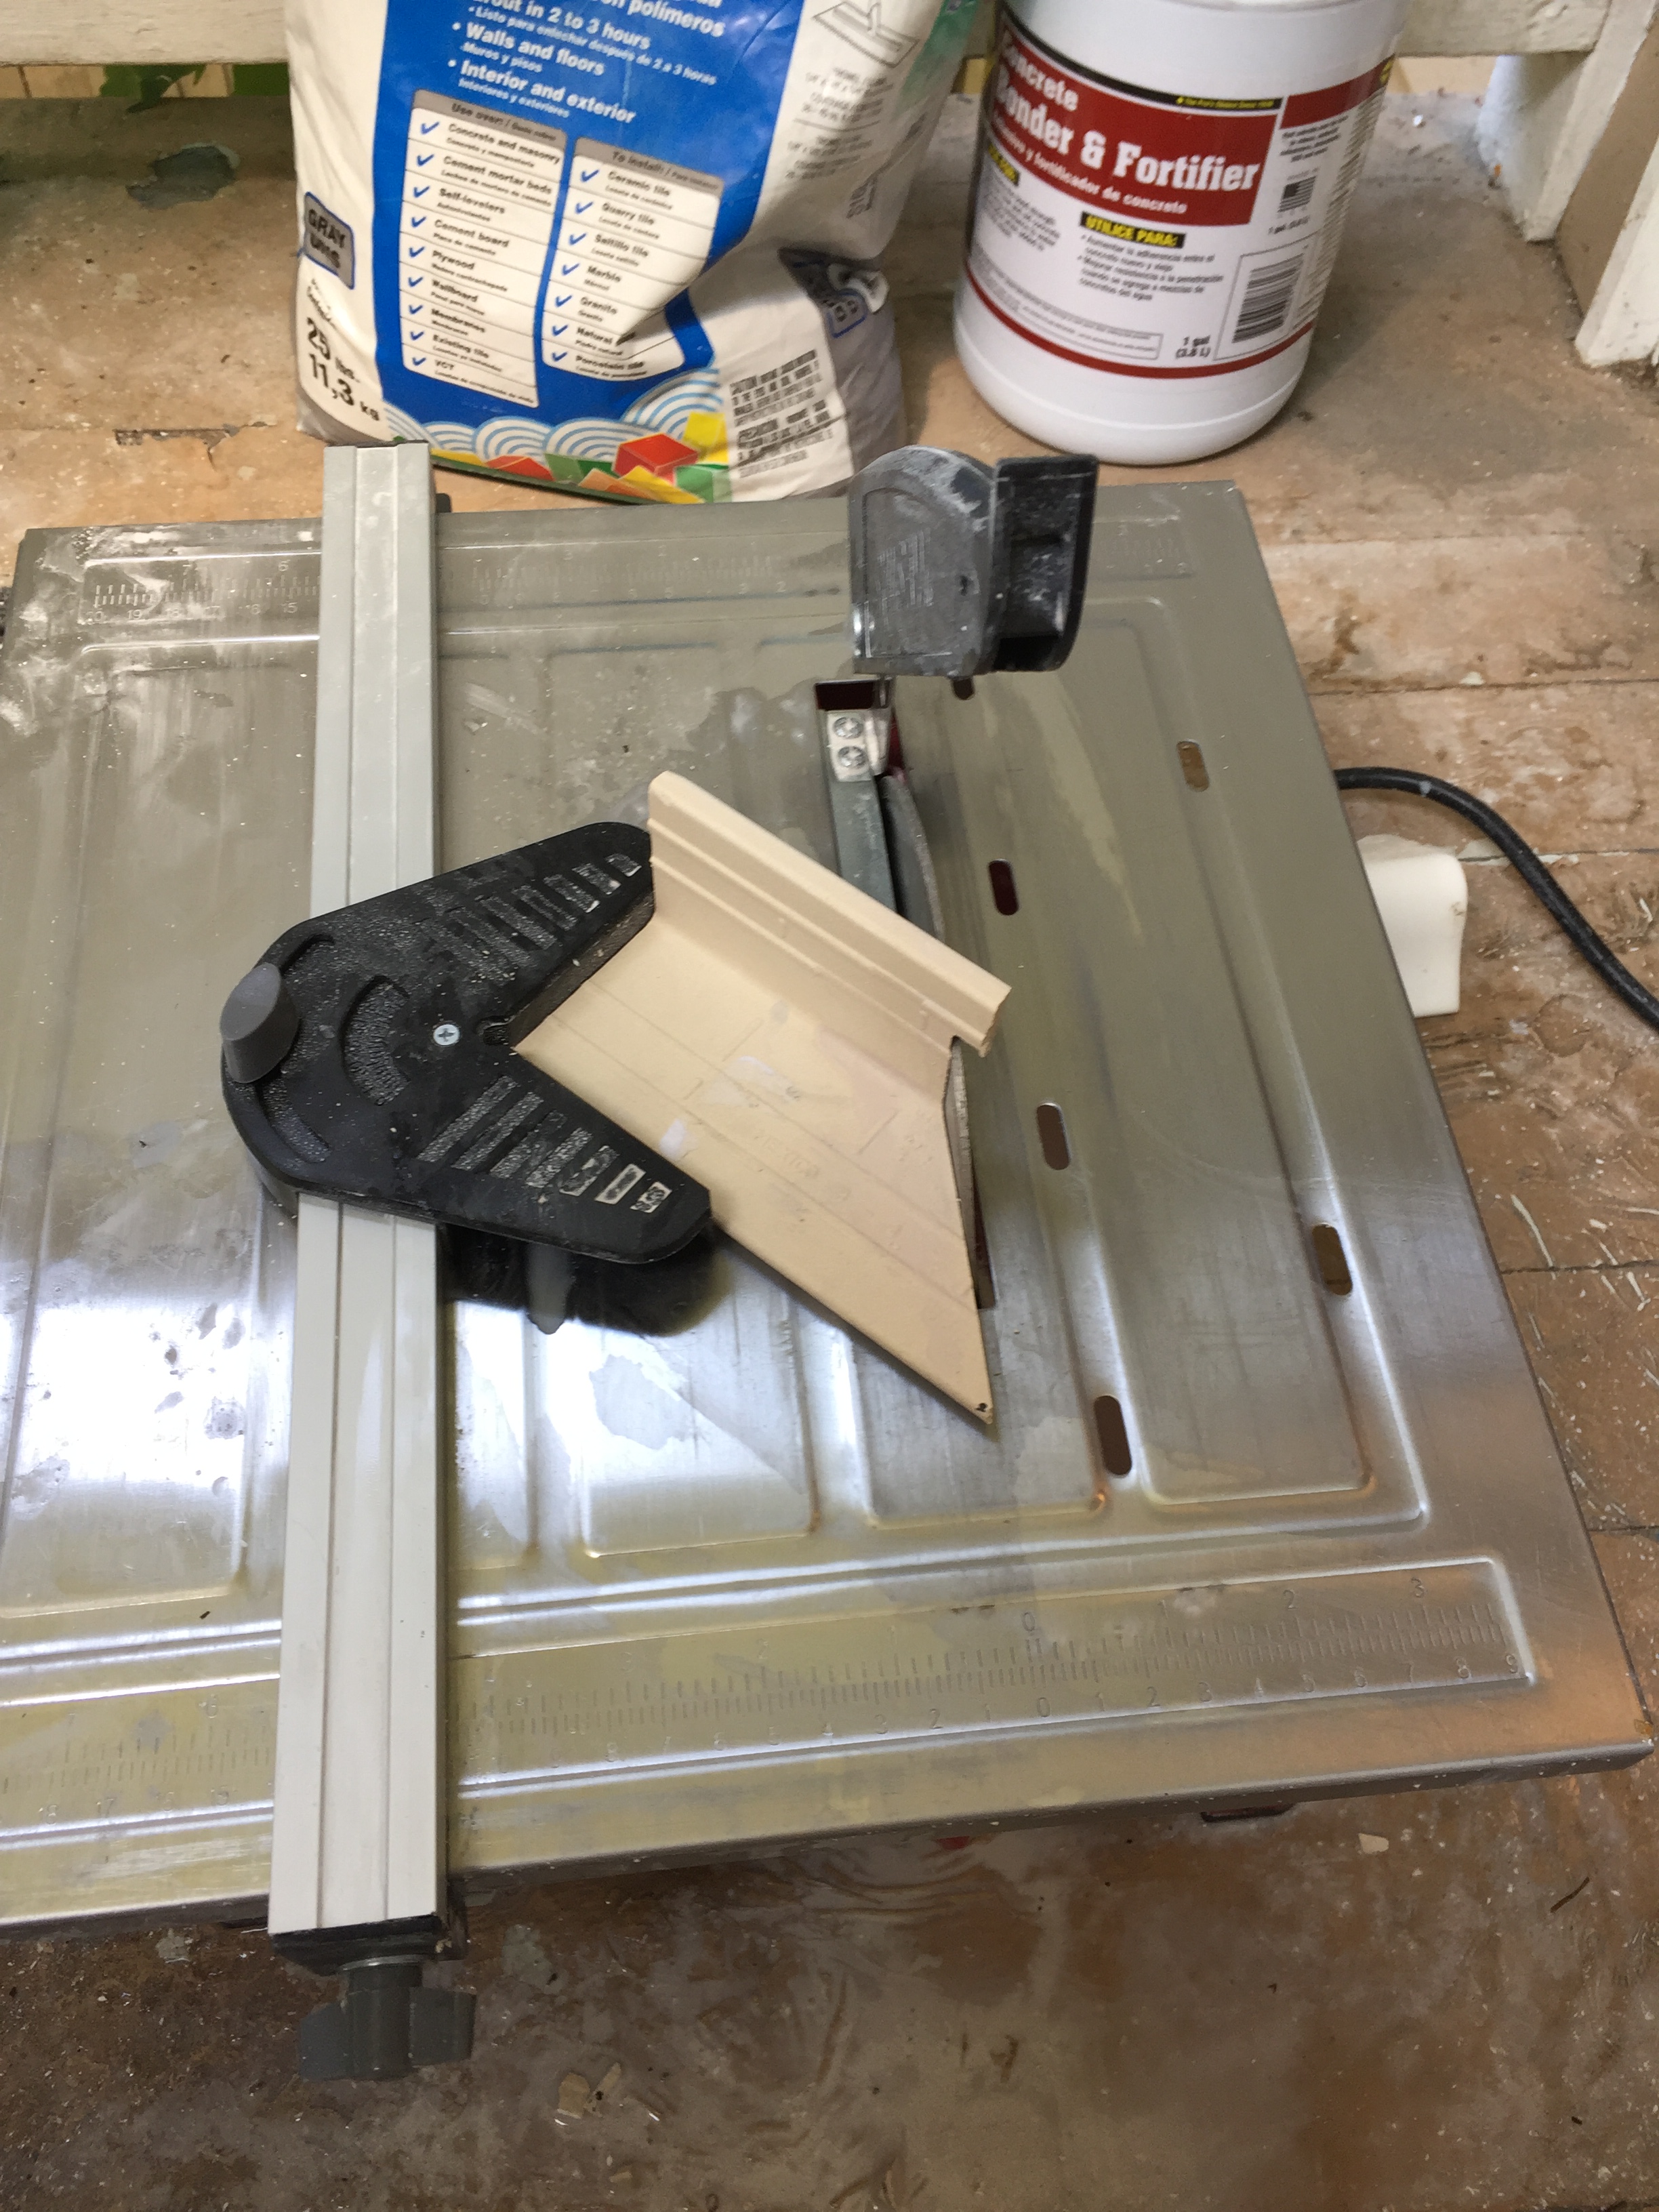
…and then tilt the wet saw table up at a 45 degree angle to make the second cut.
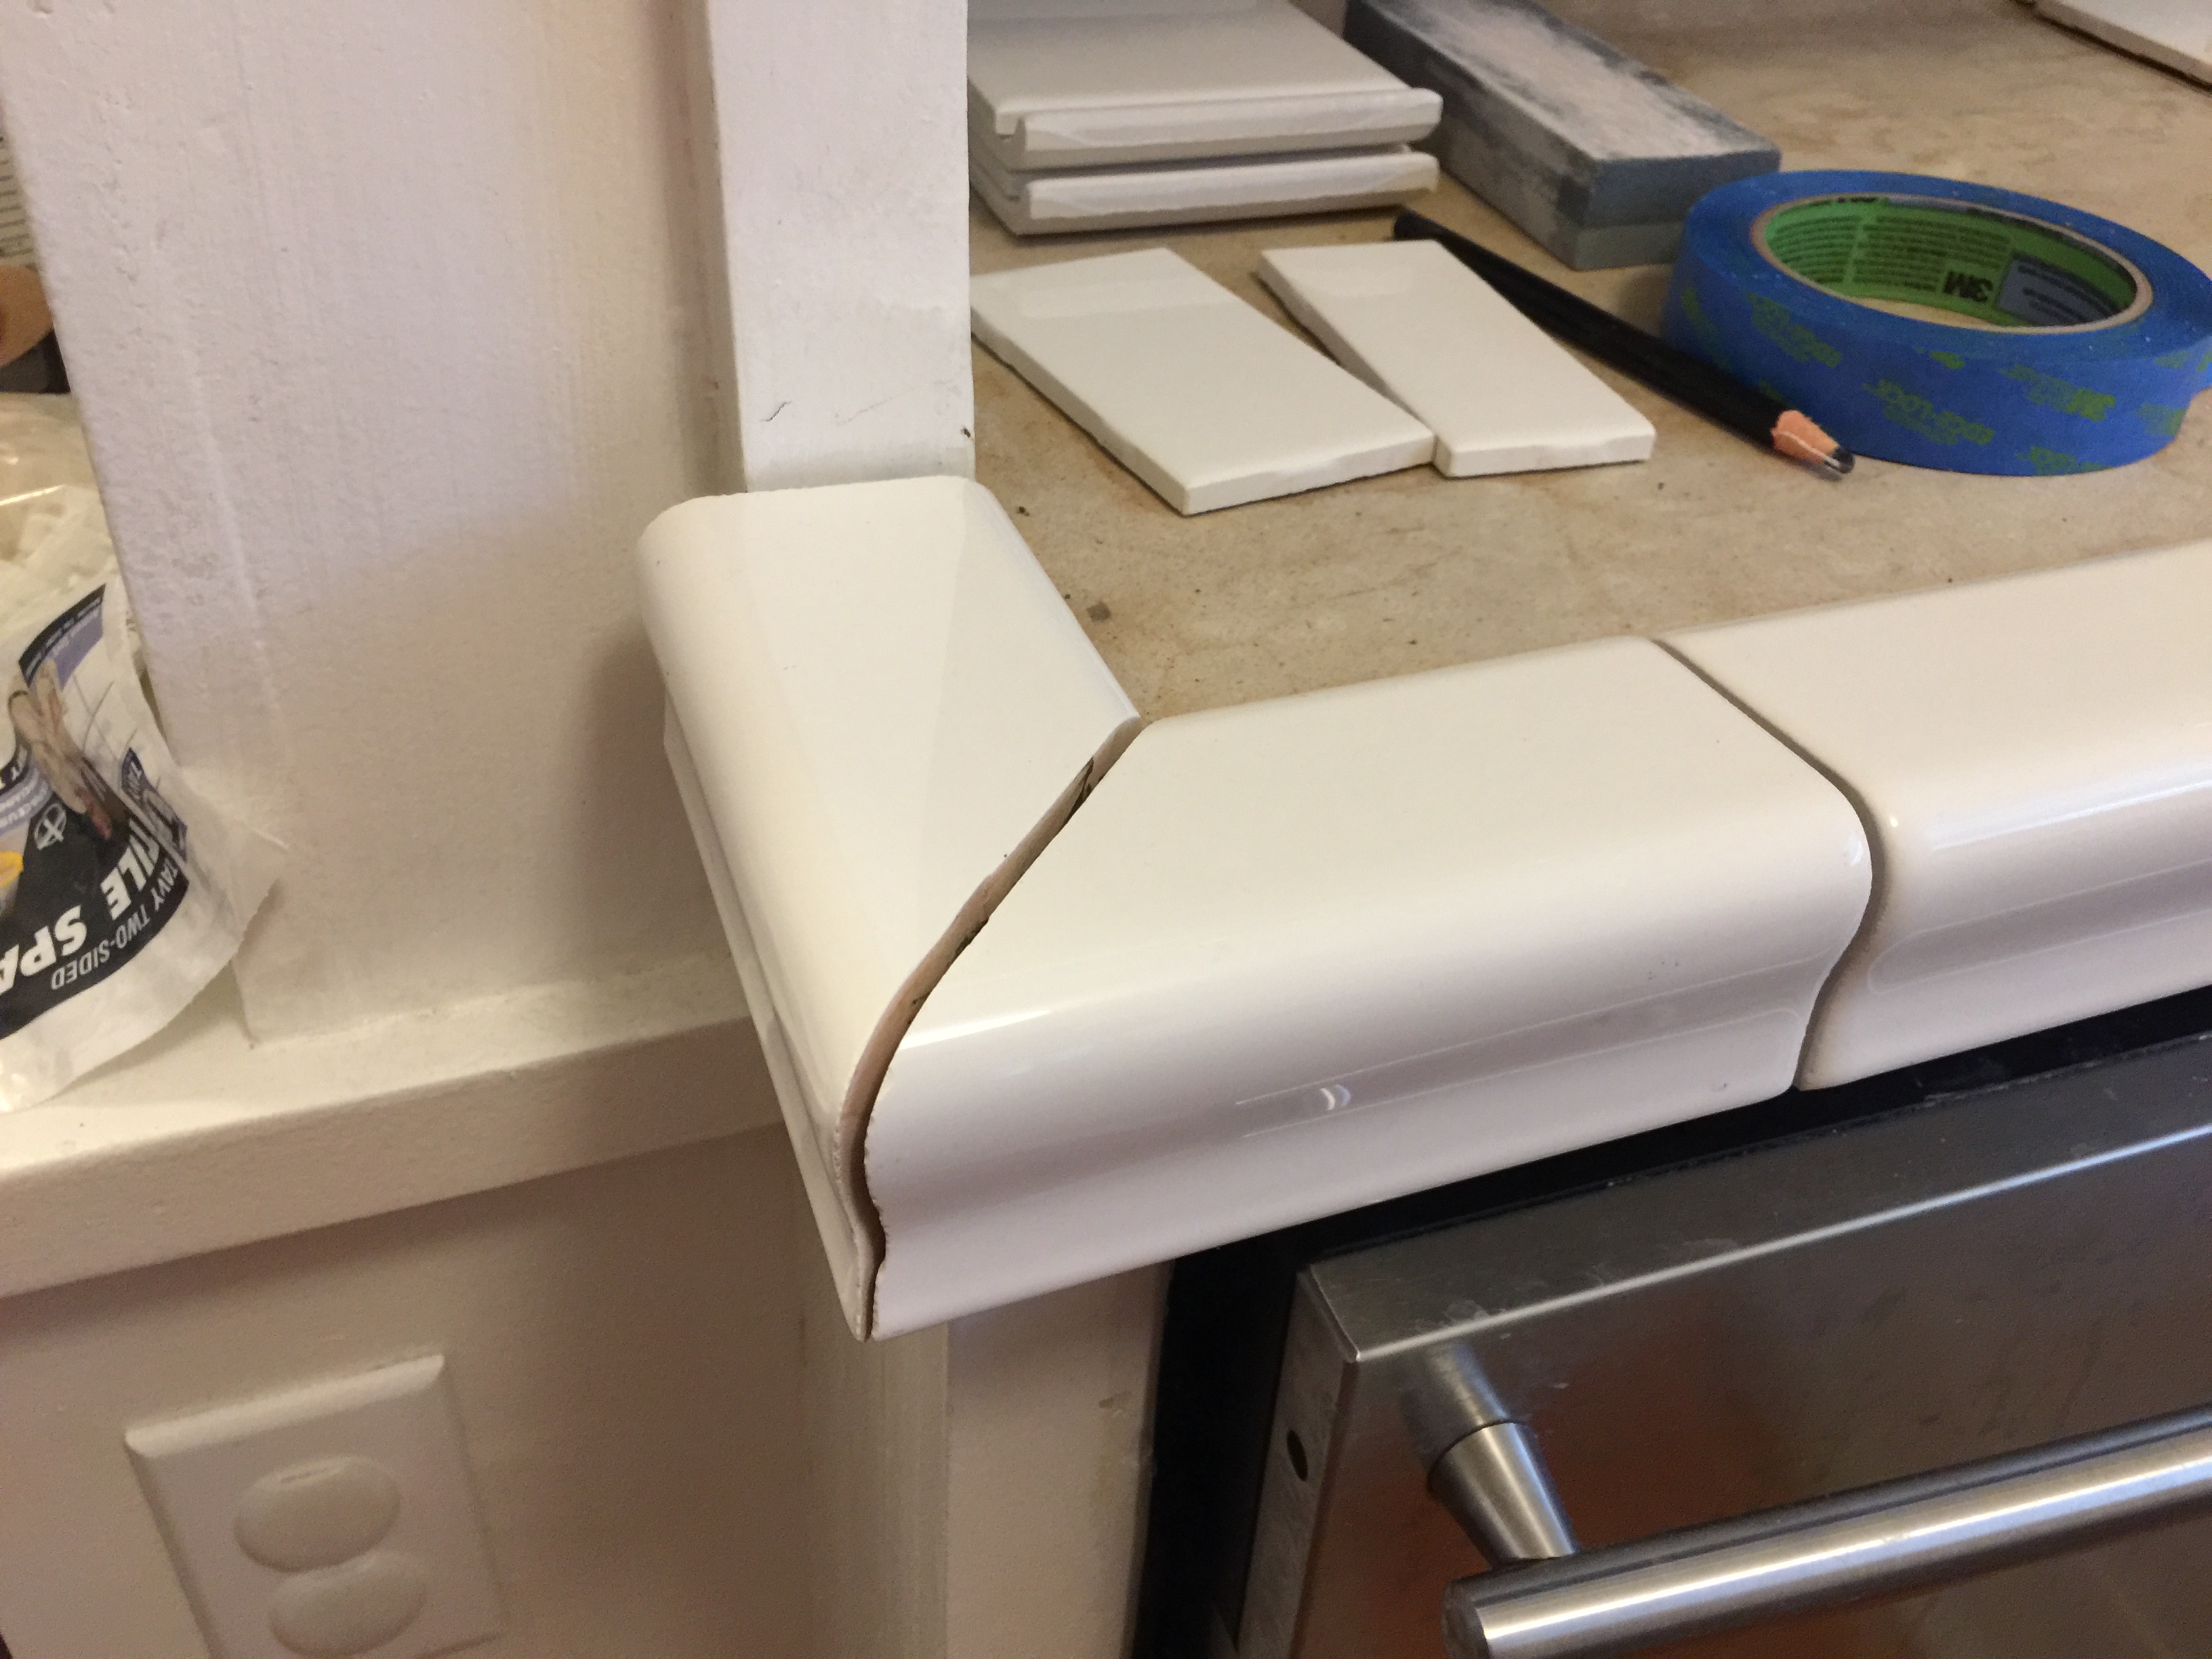
But I had to be sure and align the second cut with the first so I didn’t also cut into the first cut. Turns out I got it right the very first time! With a quick win under my belt, I repeated the process on the second edge piece and in no time, I had what for me was a perfect fit, even better than any 45 degree miter I had ever cut using wood.
By the end of the fourth day, I really felt like I was getting into the home stretch, which was good because I only had one more day to work before flying home.
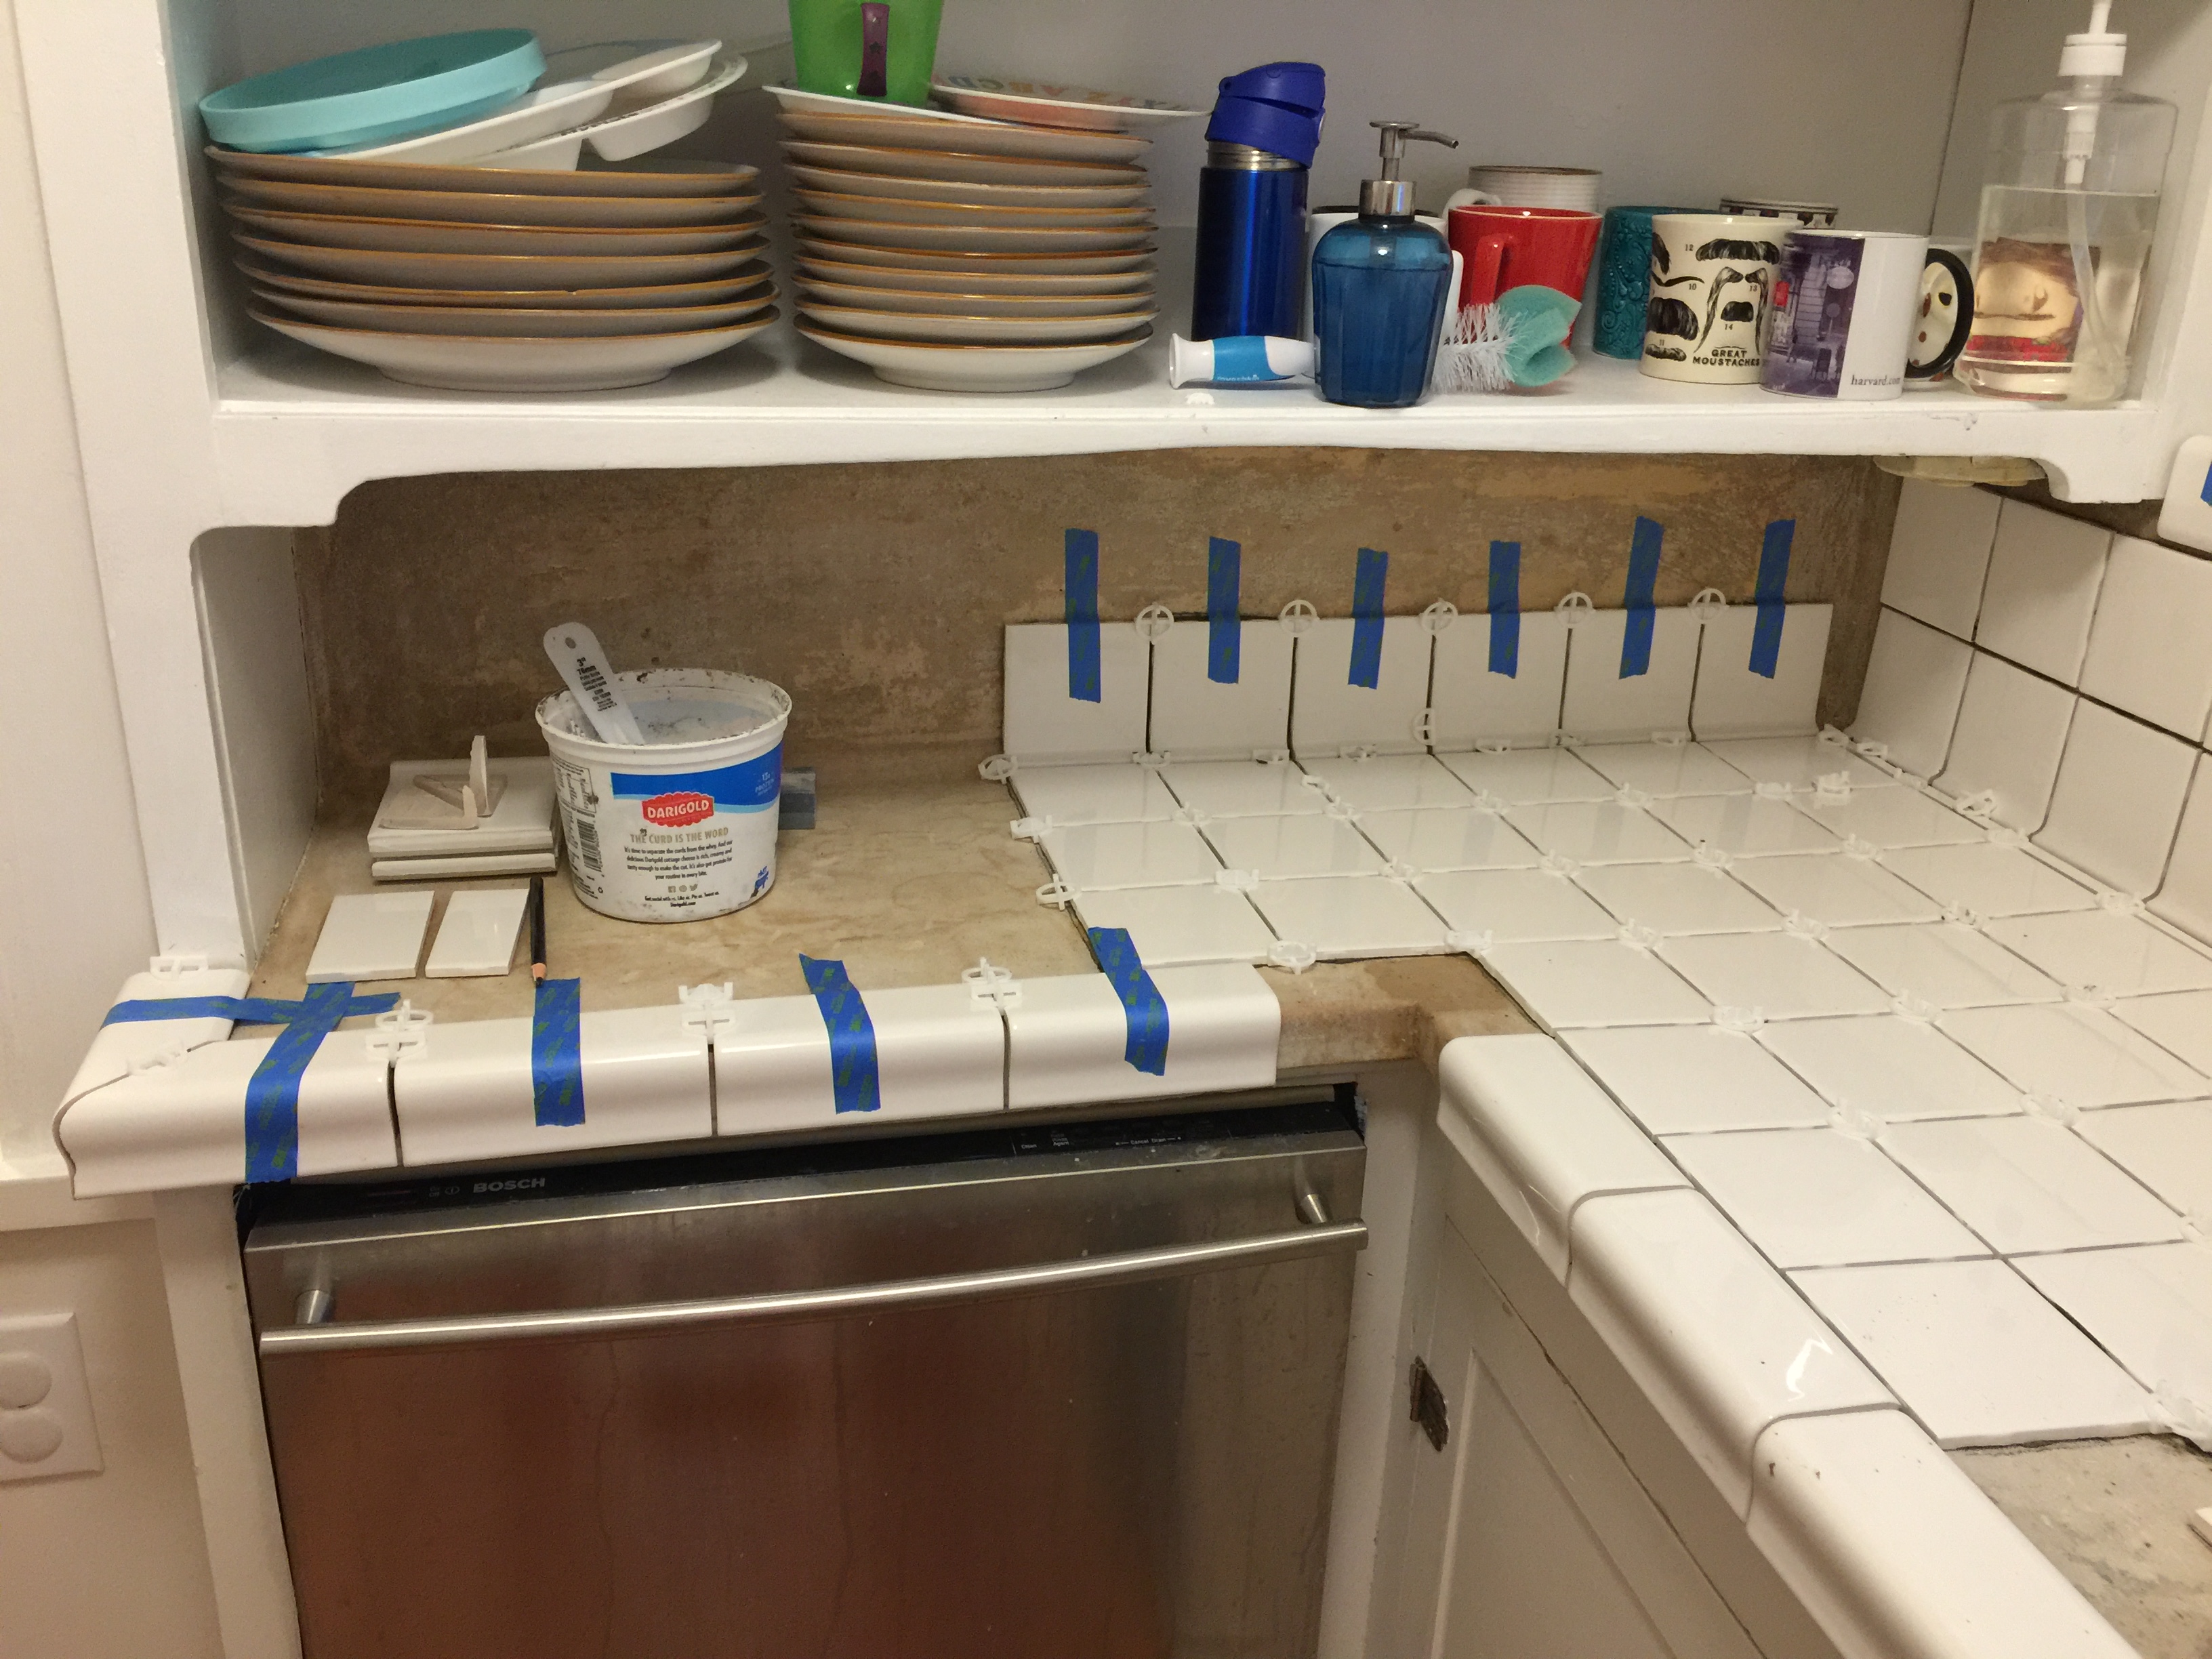
By mid-morning on Friday after adding some additional uncut pieces…

…I was ready for the second miter corner. I intentionally left this one for last because my 45 degree cut on both pieces not only had to be straight, but the whole piece had to be the correct length to just fit between the existing pieces allowing the standard 1/8 inch grout gap. Knowing these were also the last two pieces of counter edge tile I had, I decided to measure three times and then cut long. If I cut too short, it would be off to Lowe’s for about a 2-hour round trip in lost time. Since these pieces had their angle in the opposite direction of the first one (sort of an “inny” versus an “outy”), that first corner cut gave me no practice for this one. The short version of the story is that I ended up cutting the 45-degree angle on this first tile four times, the last time falling exactly on my original measurement mark. Guess I should have trusted my first measurement. With renewed confidence in myself, I managed to get the second 45-degree piece in just two cuts and getting both glued down by mid-afternoon.
I was almost out of time and still had two challenges remaining.
The first was cutting the tiles to go around the hot and cold water lines coming through the concrete backsplash. When my son-in-law and I talked about how we wanted to address this issue, we agreed that trying to remove a nearly 100 year-old fixture was just opening us up for potential disaster. I had never seen a faucet where the supply lines went sideways through the backsplash and if we broke it trying to take it off, knew it might be impossible to replace. In planning the tile layout, I had intentionally placed the supply lines on the joint between two tiles so we could cut basically half moon circles in each tile so they could be fitted around the supply lines. I cut paper to the exact dimension of a tile so that I would have a pattern to use to scribe the circle that would have to be cut. While not technically challenging, it would be time consuming cutting the tiles to correct shape.
But before I spent my remaining time on that step, I decided to tackle the other challenge.
One of the most vexing aspects of this project was how to handle the curved corners of the sink since no custom piece was available for purchase. On Sunday while my son-in-law and I were discussing the project, we explored the possibility of cutting a flat tile for the top surface and then cutting small pieces that could be fitted underneath into a curve along the side of the sink. While it wouldn’t match the edge pieces that we had used on the straight sides of the sink, it should still work. Obviously this challenge weighed heavy on my mind because one morning at 3:00 AM, I woke up wide awake from having a dream where I had cut small ½ inch pieces of the edge tile and pieced them together (with grout in between) in a 45-degree circle to match the curvature of the sink.
I decided to spend my remaining time working on this idea and the original option so that when my son-in-law got home Friday afternoon, he could look at the two options and decide which one to use.
I don’t have a picture of my son-in-law’s face when he got home and saw what progress I had made over the week but suffice it to say he was quite pleased. When we discussed the two options for the rounded corners of the sink, he actually came up with a third and even better option, a combination of both: using the flat tile cut to the correct curvature of the top of the sink and then cutting the top off the ½ inch edge pieces and butting them against the flat tile (with the standard grout line in between).
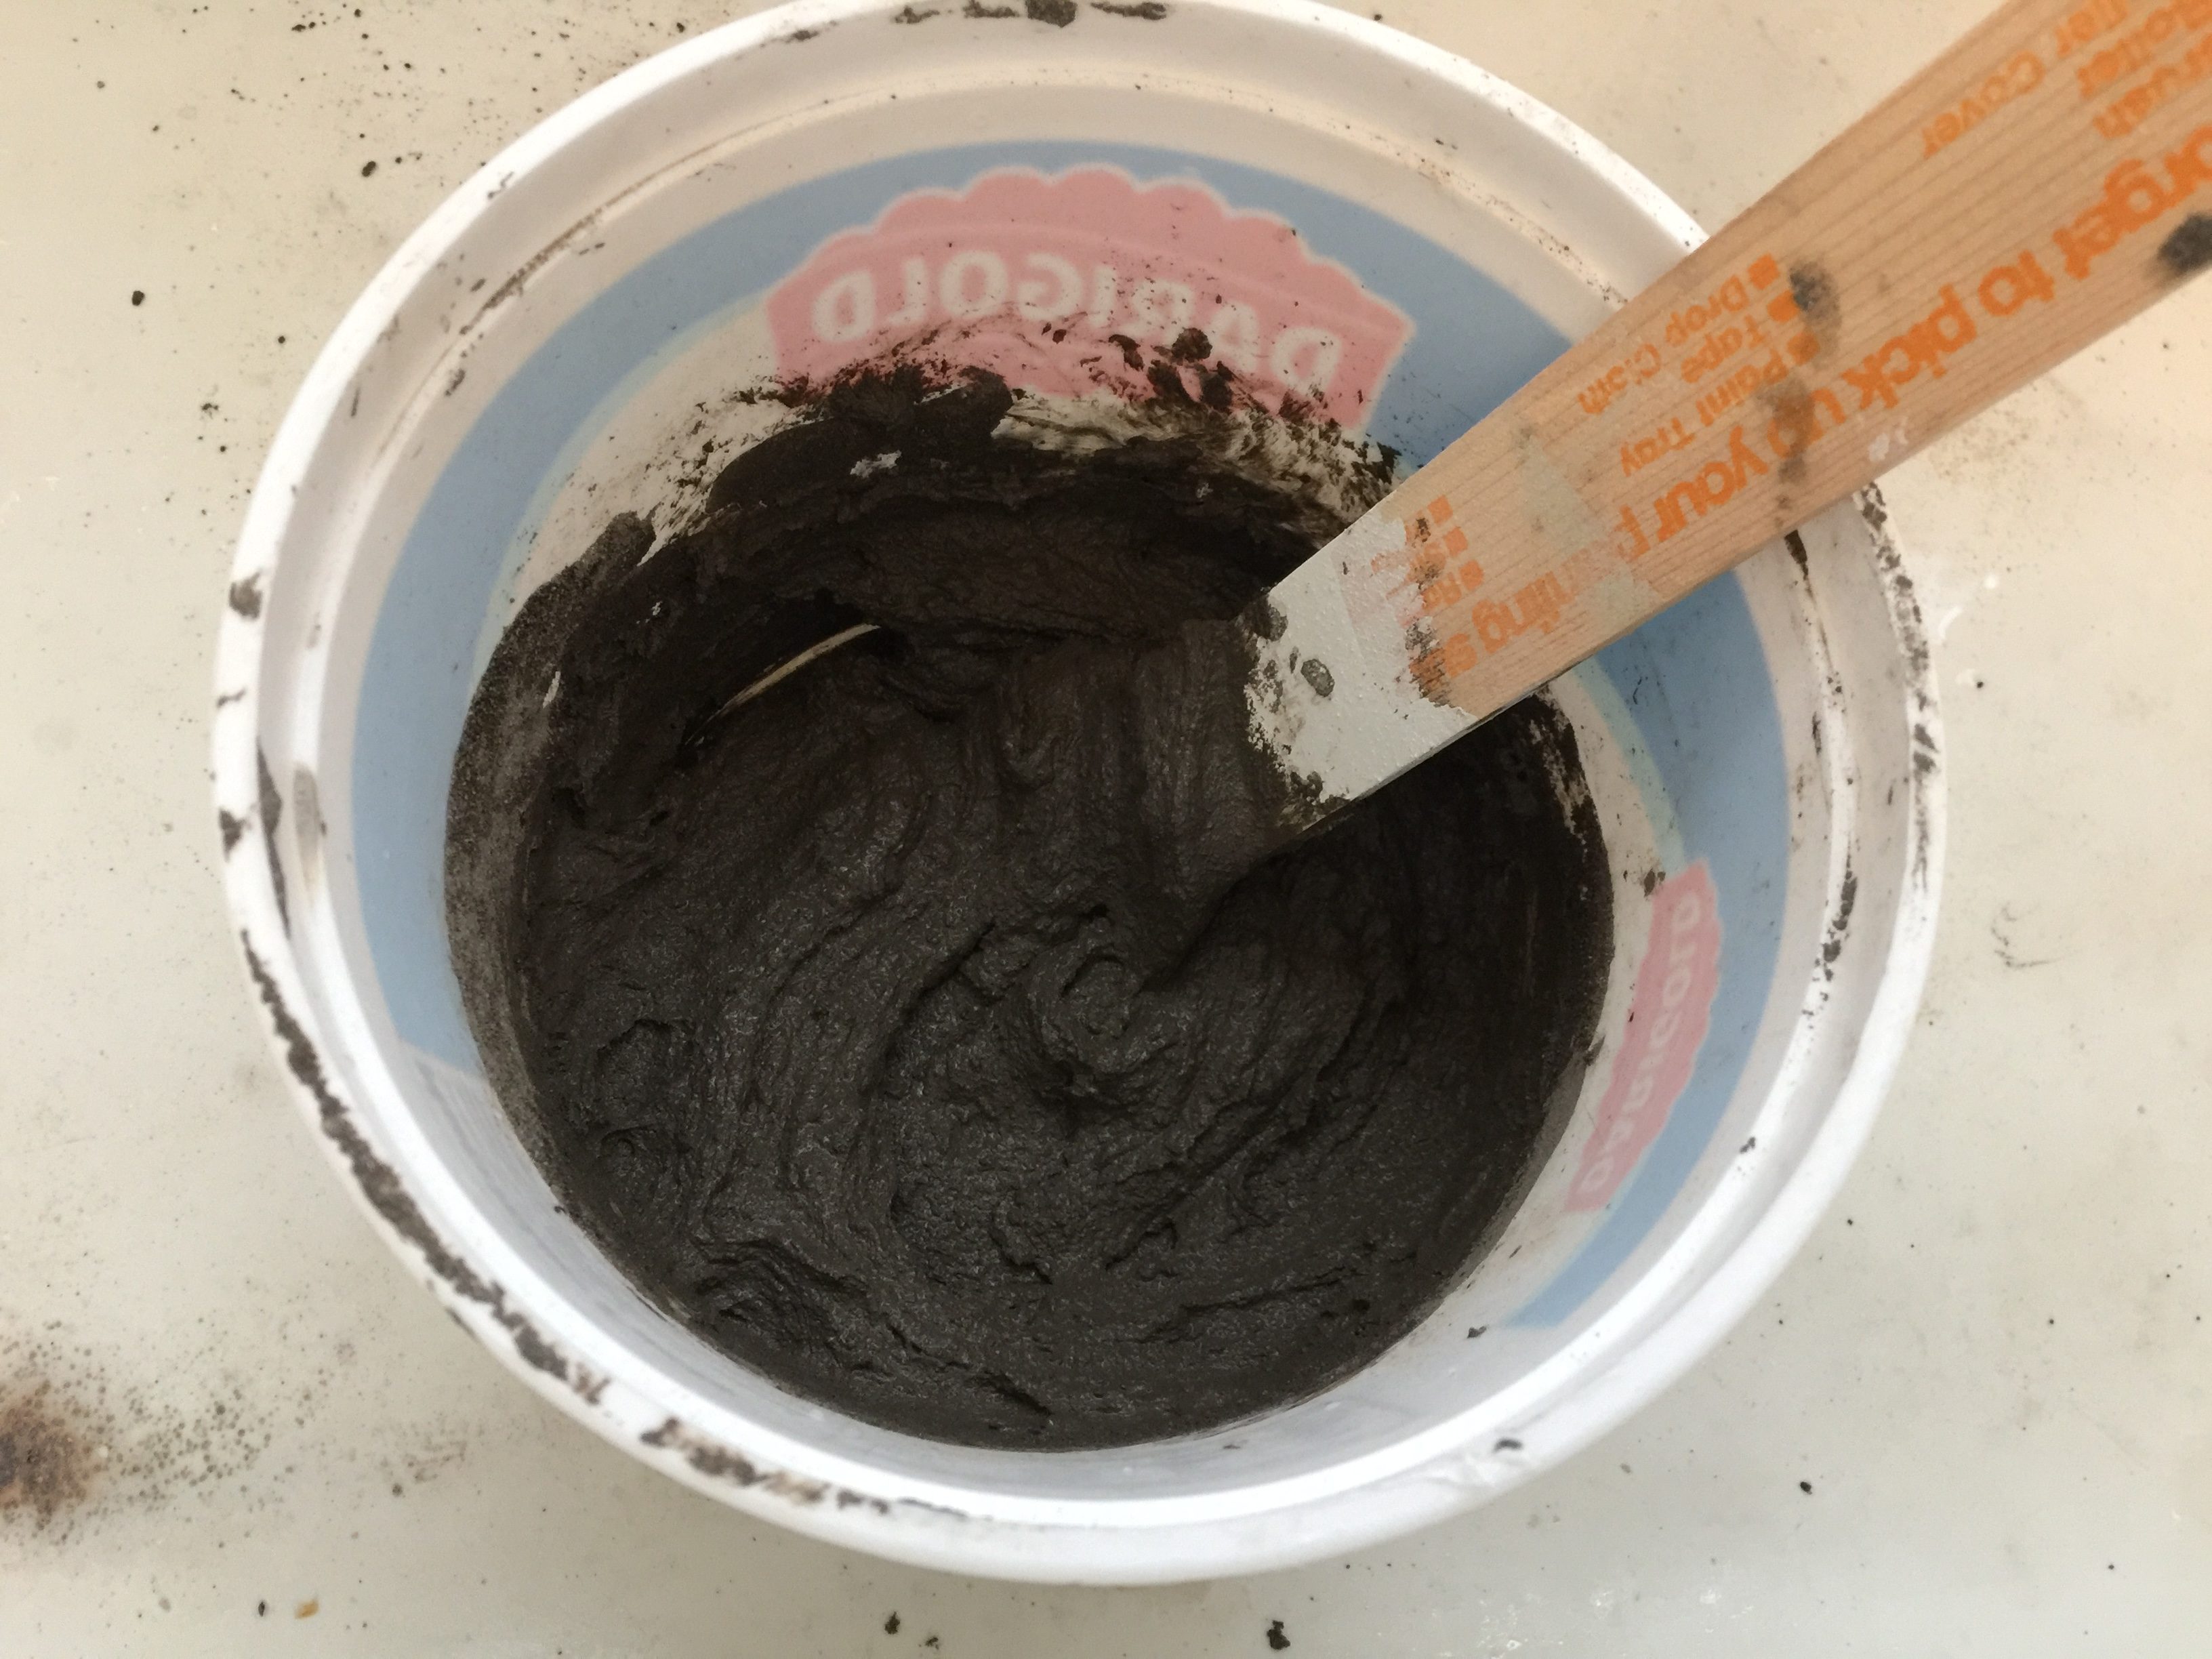
With the few hours I had remaining, I gave my son-in-law a quick tutorial since he had never laid ceramic tile before. I showed him how to cut tiles, how to mix the thinset to the right consistency…
…and how to apply thinset to the tile and press the tile into the surface for permanent placement. Then we worked on the front right corner getting all the pieces cut just right.
And then my time was up. I felt very badly not being able to finish the project (I hate leaving things unfinished) and even more badly that the pieces my son-in-law would have to do himself were some of the hardest to cut since the curves would all have to be cut free hand.
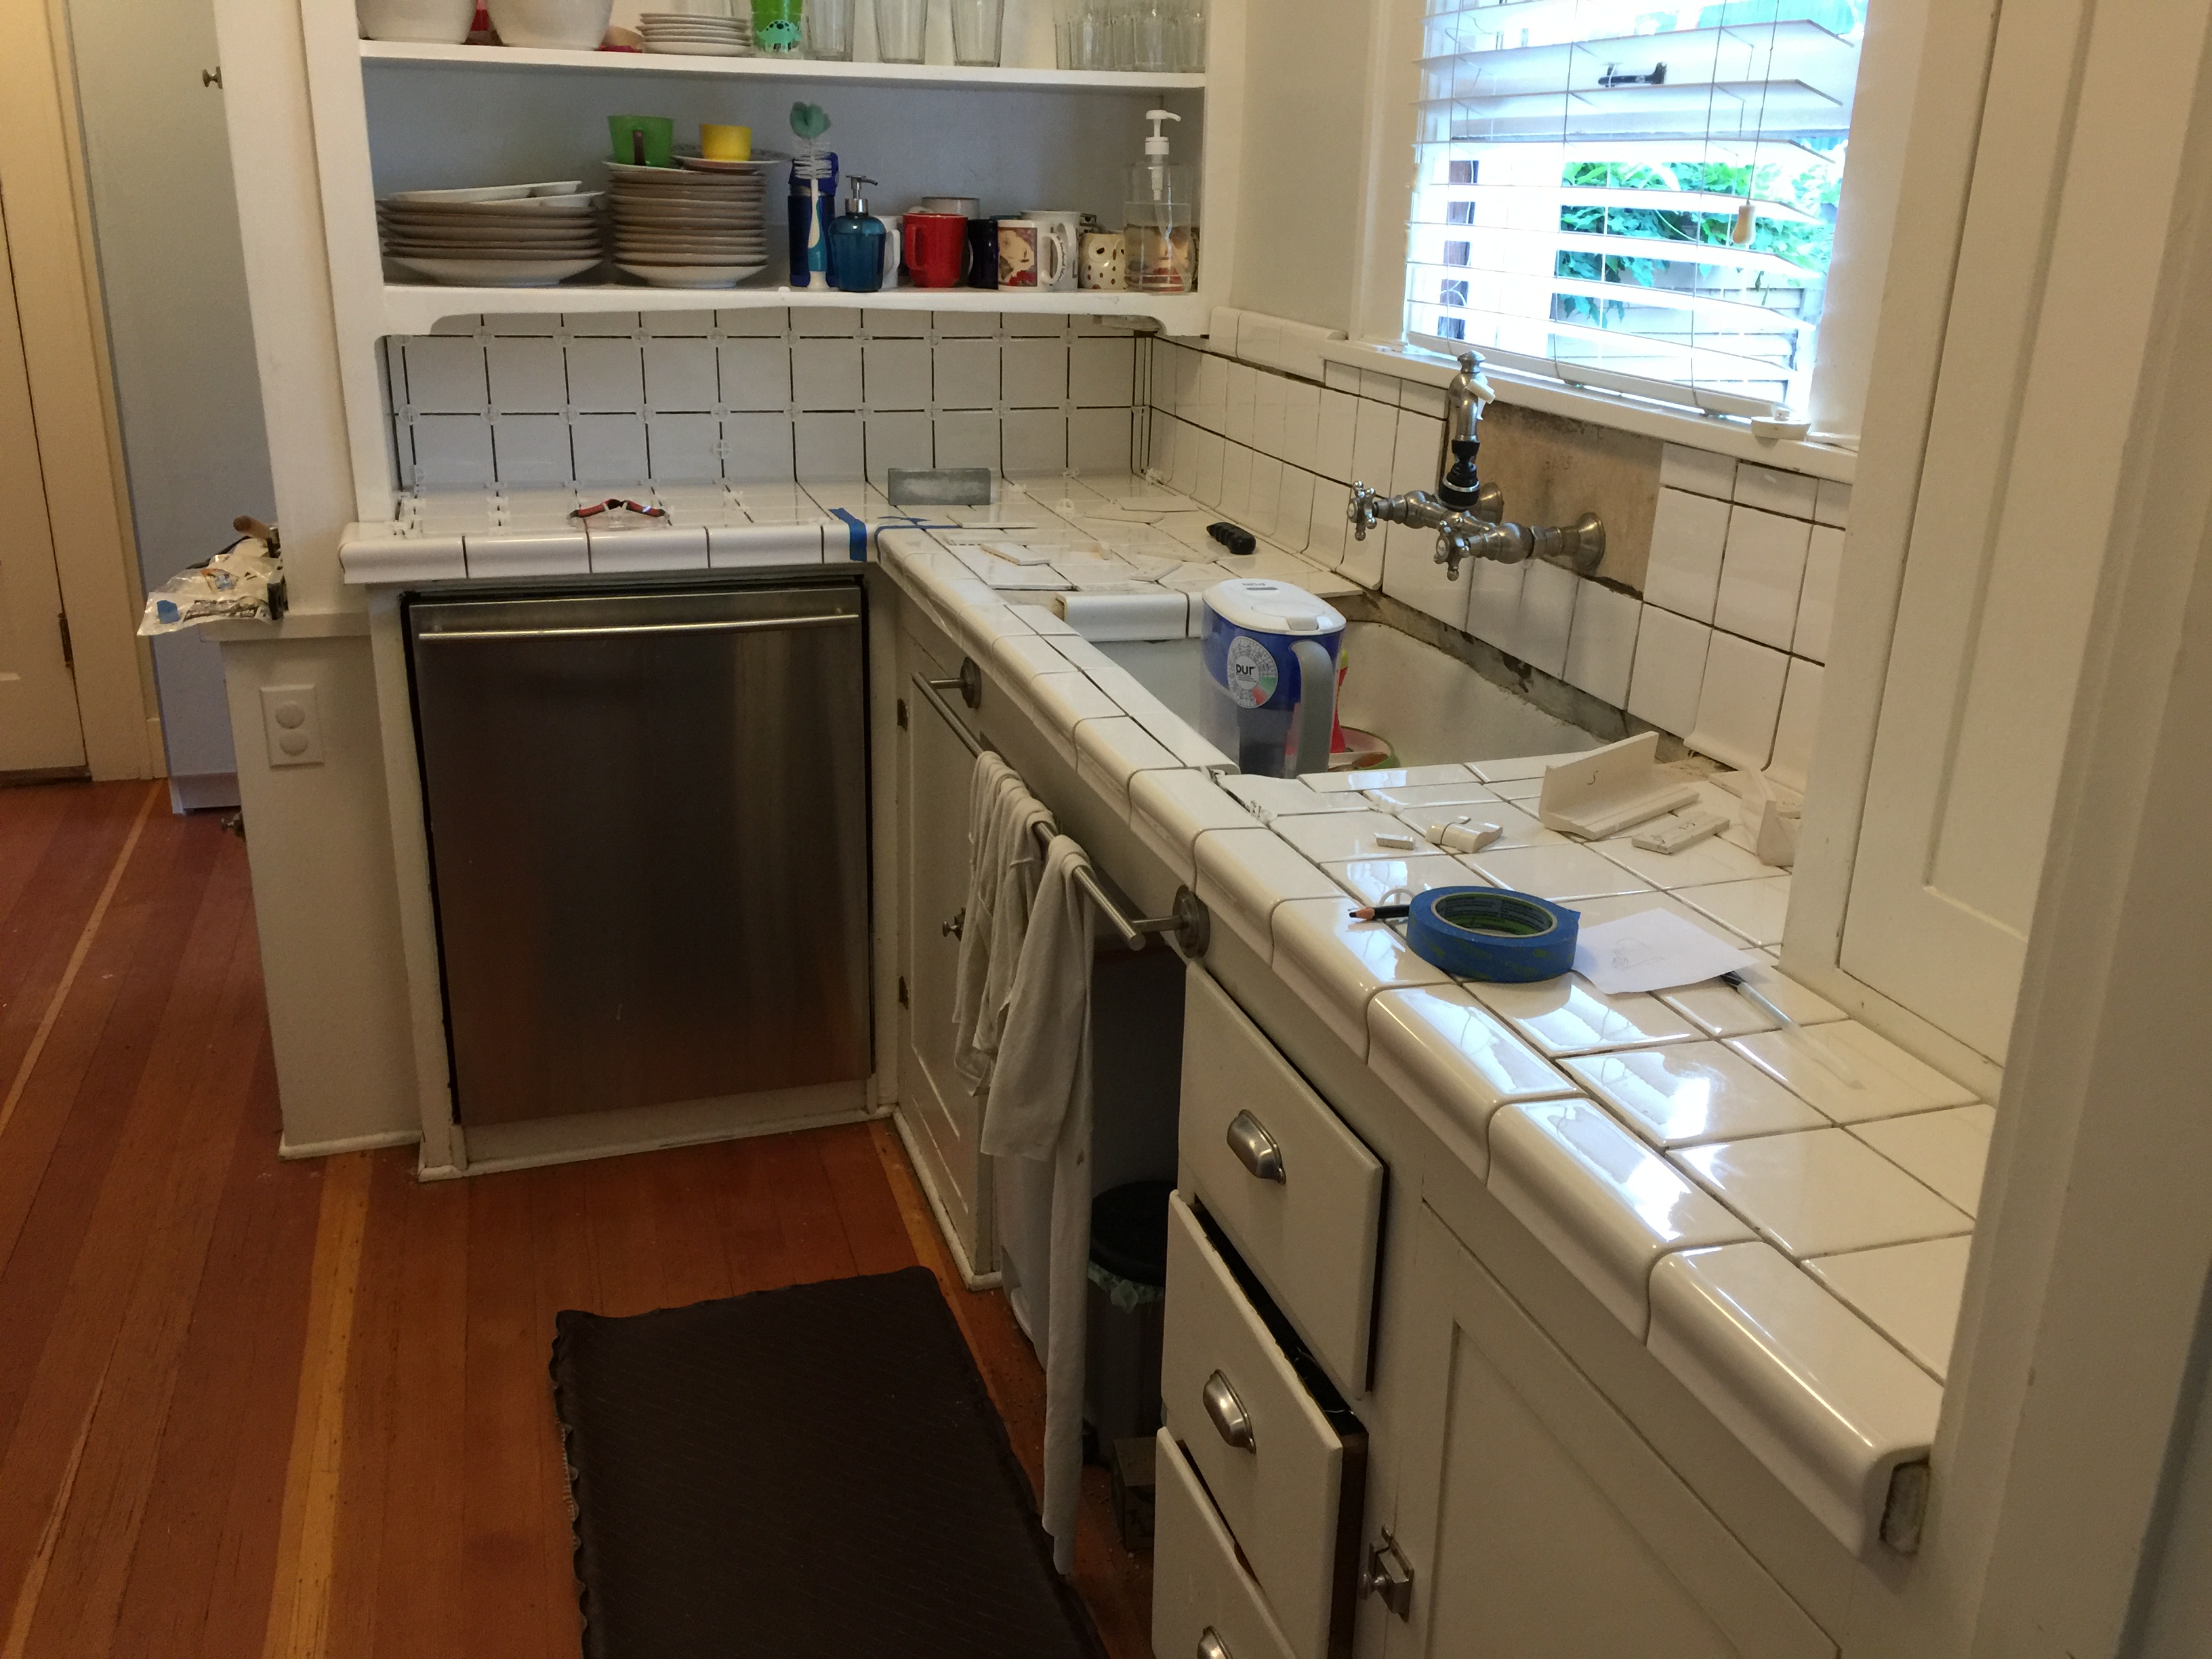
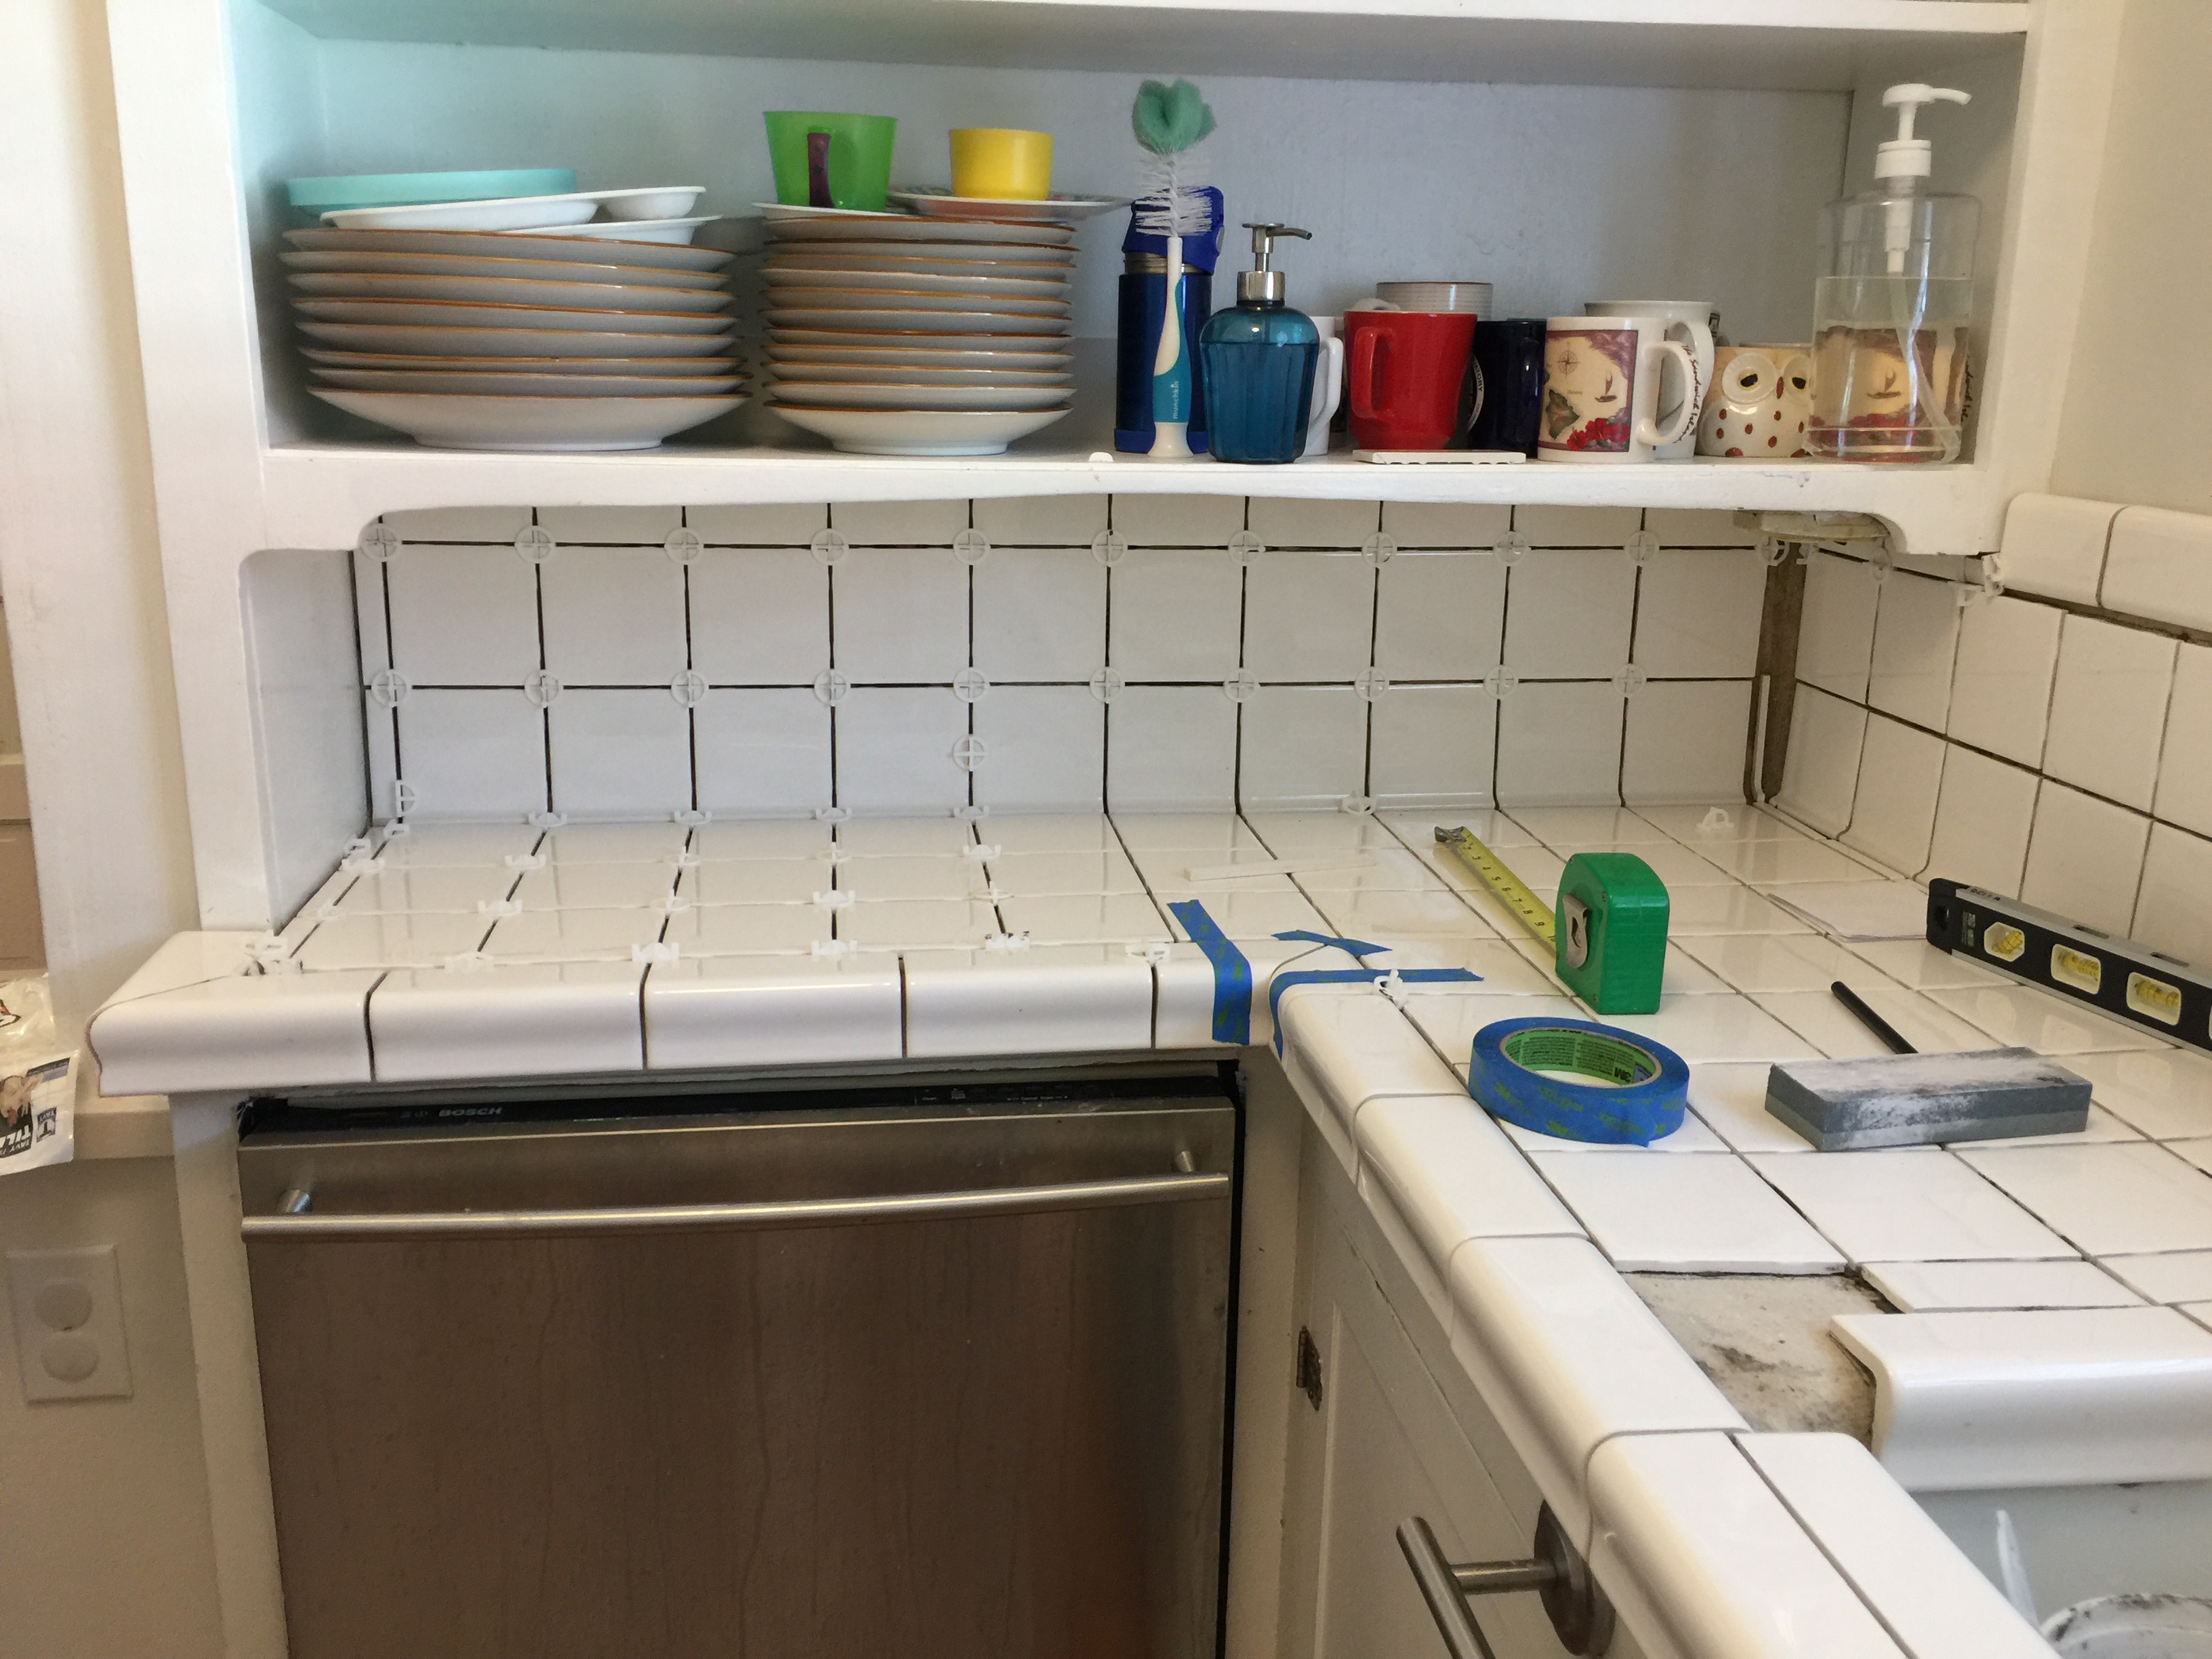
This is how I left the project that Friday night and on the way to the airport, I angst over not being able to stay and help my son-in-law finish the project. But I knew he was smart and I had confidence he could finish the job.
I never did count how many tiles I had to cut but a rough guess is well over 75, probably about half the total number required. My previous tile jobs had both been bathroom floors where even with placing the tiles on the point, I still did not have to cut that many.
About a week after returning home, my daughter texted me a picture of the finished kitchen.
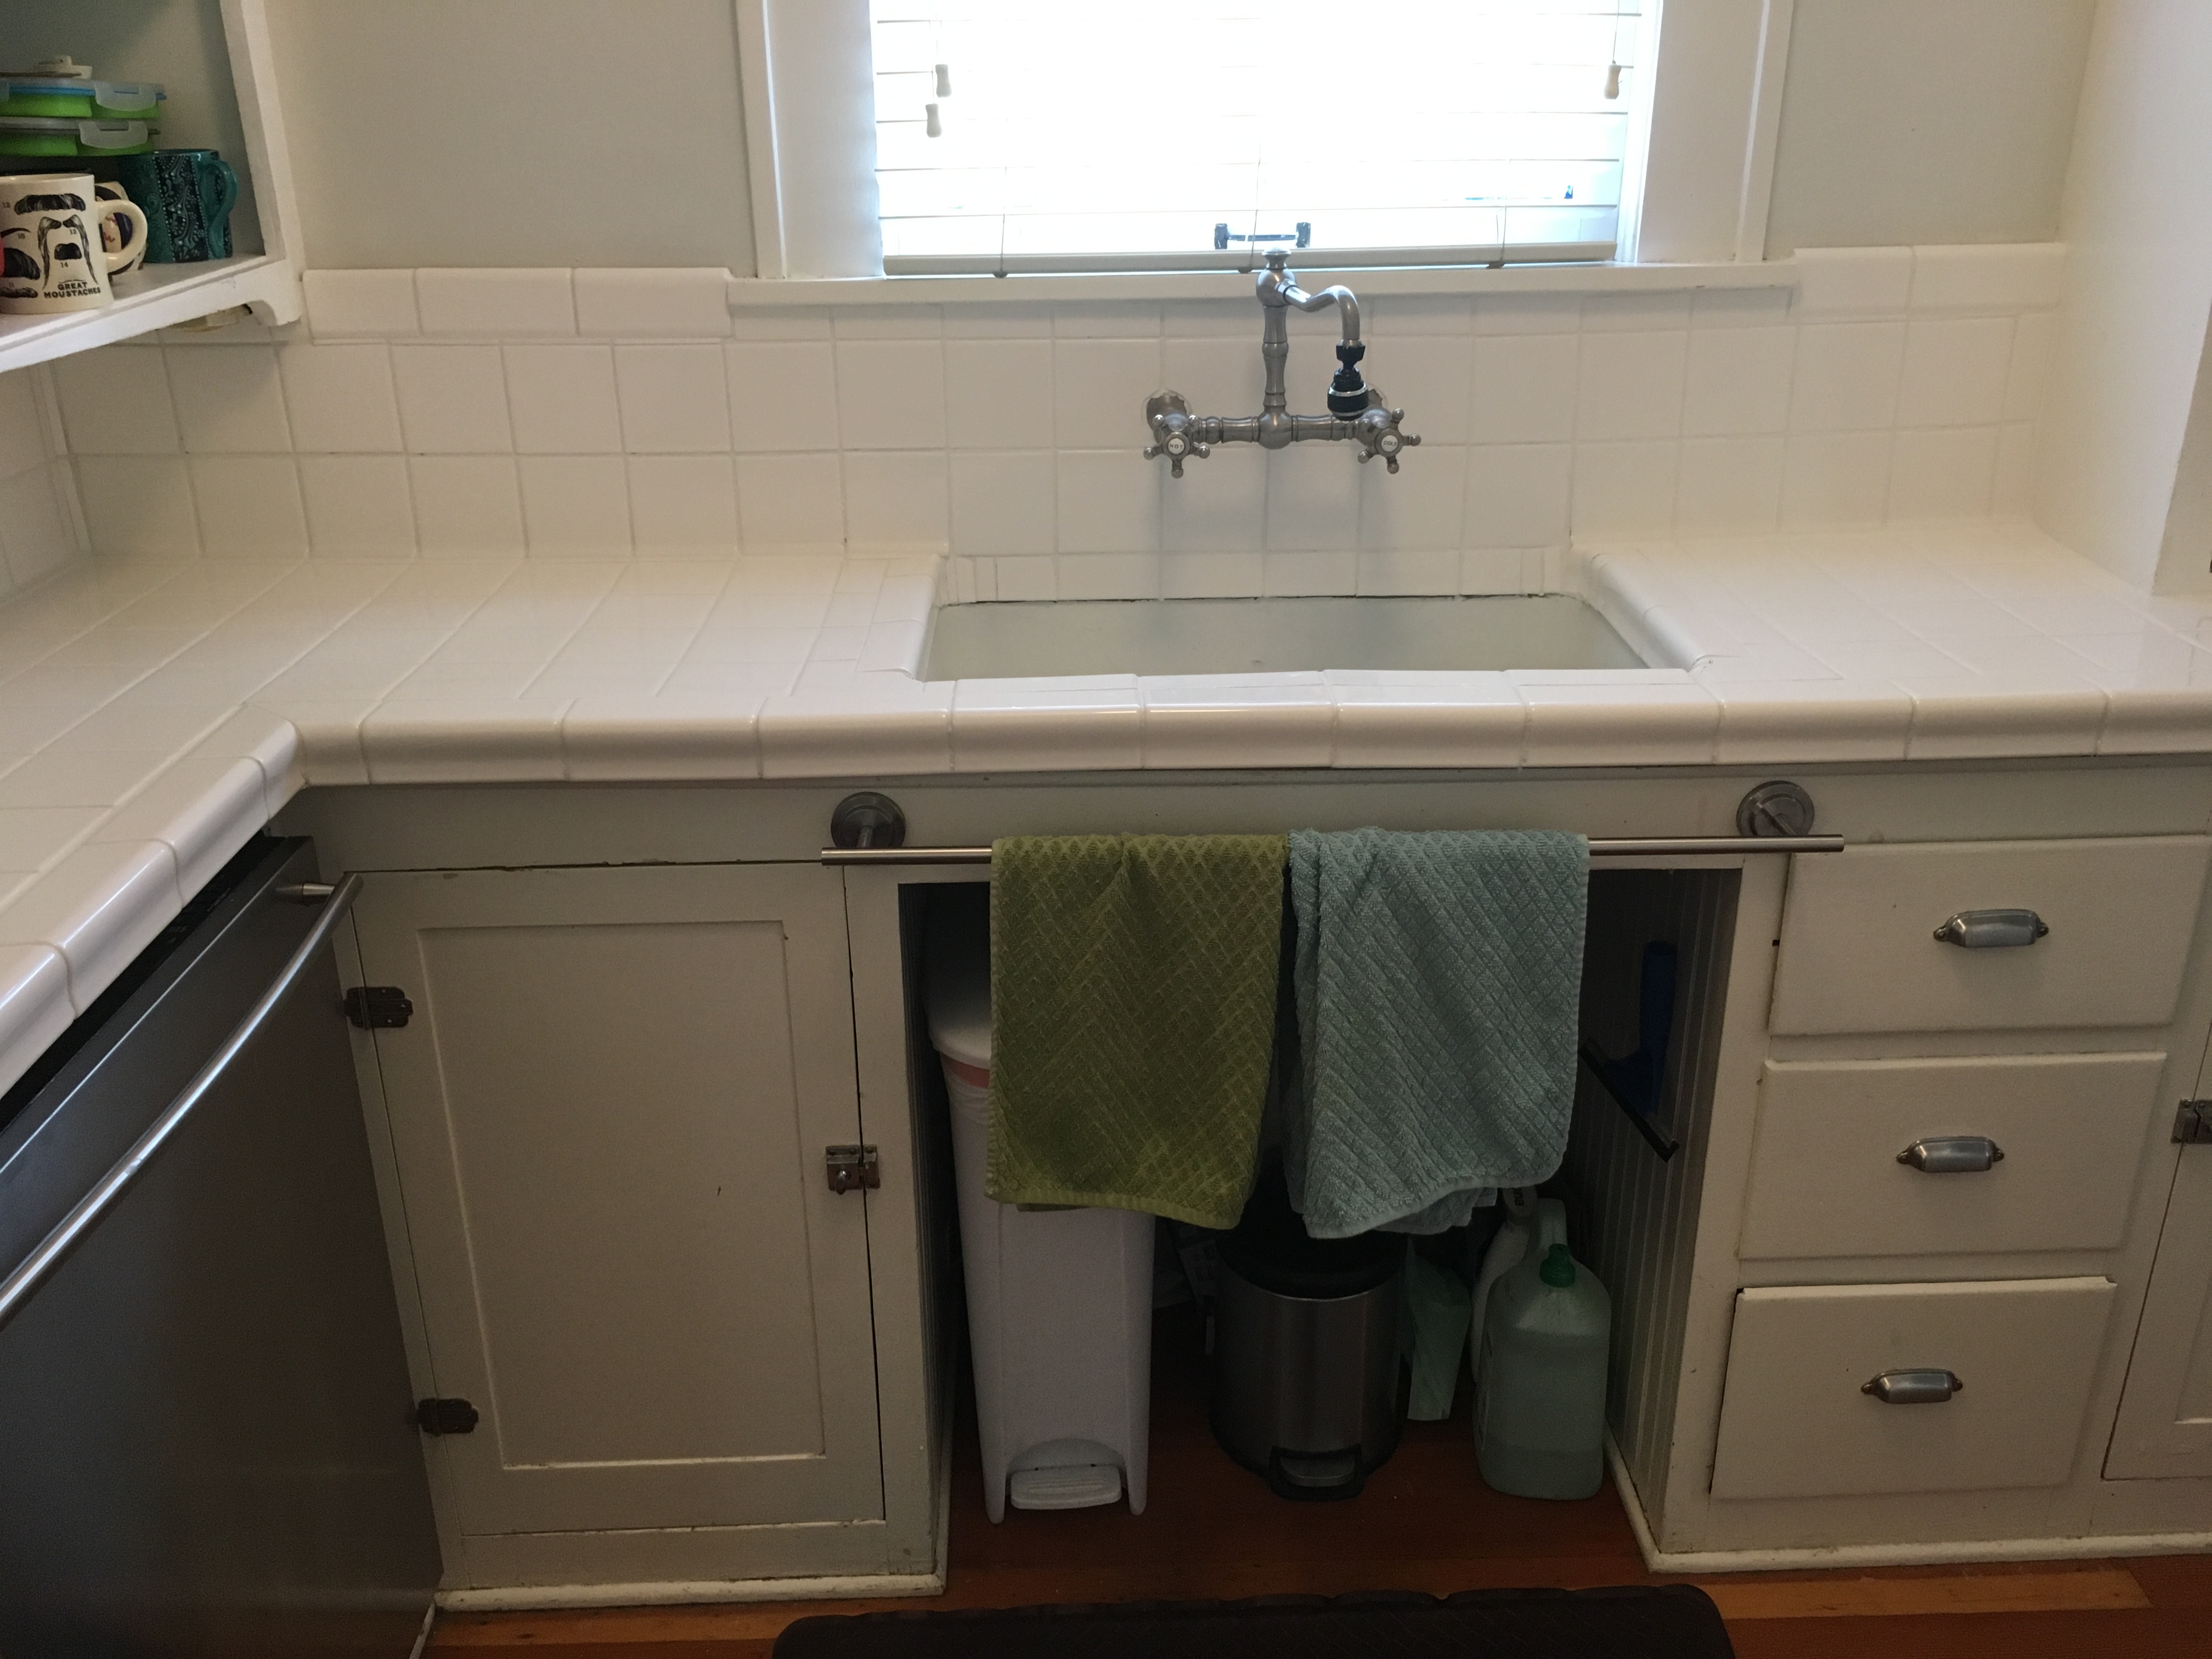
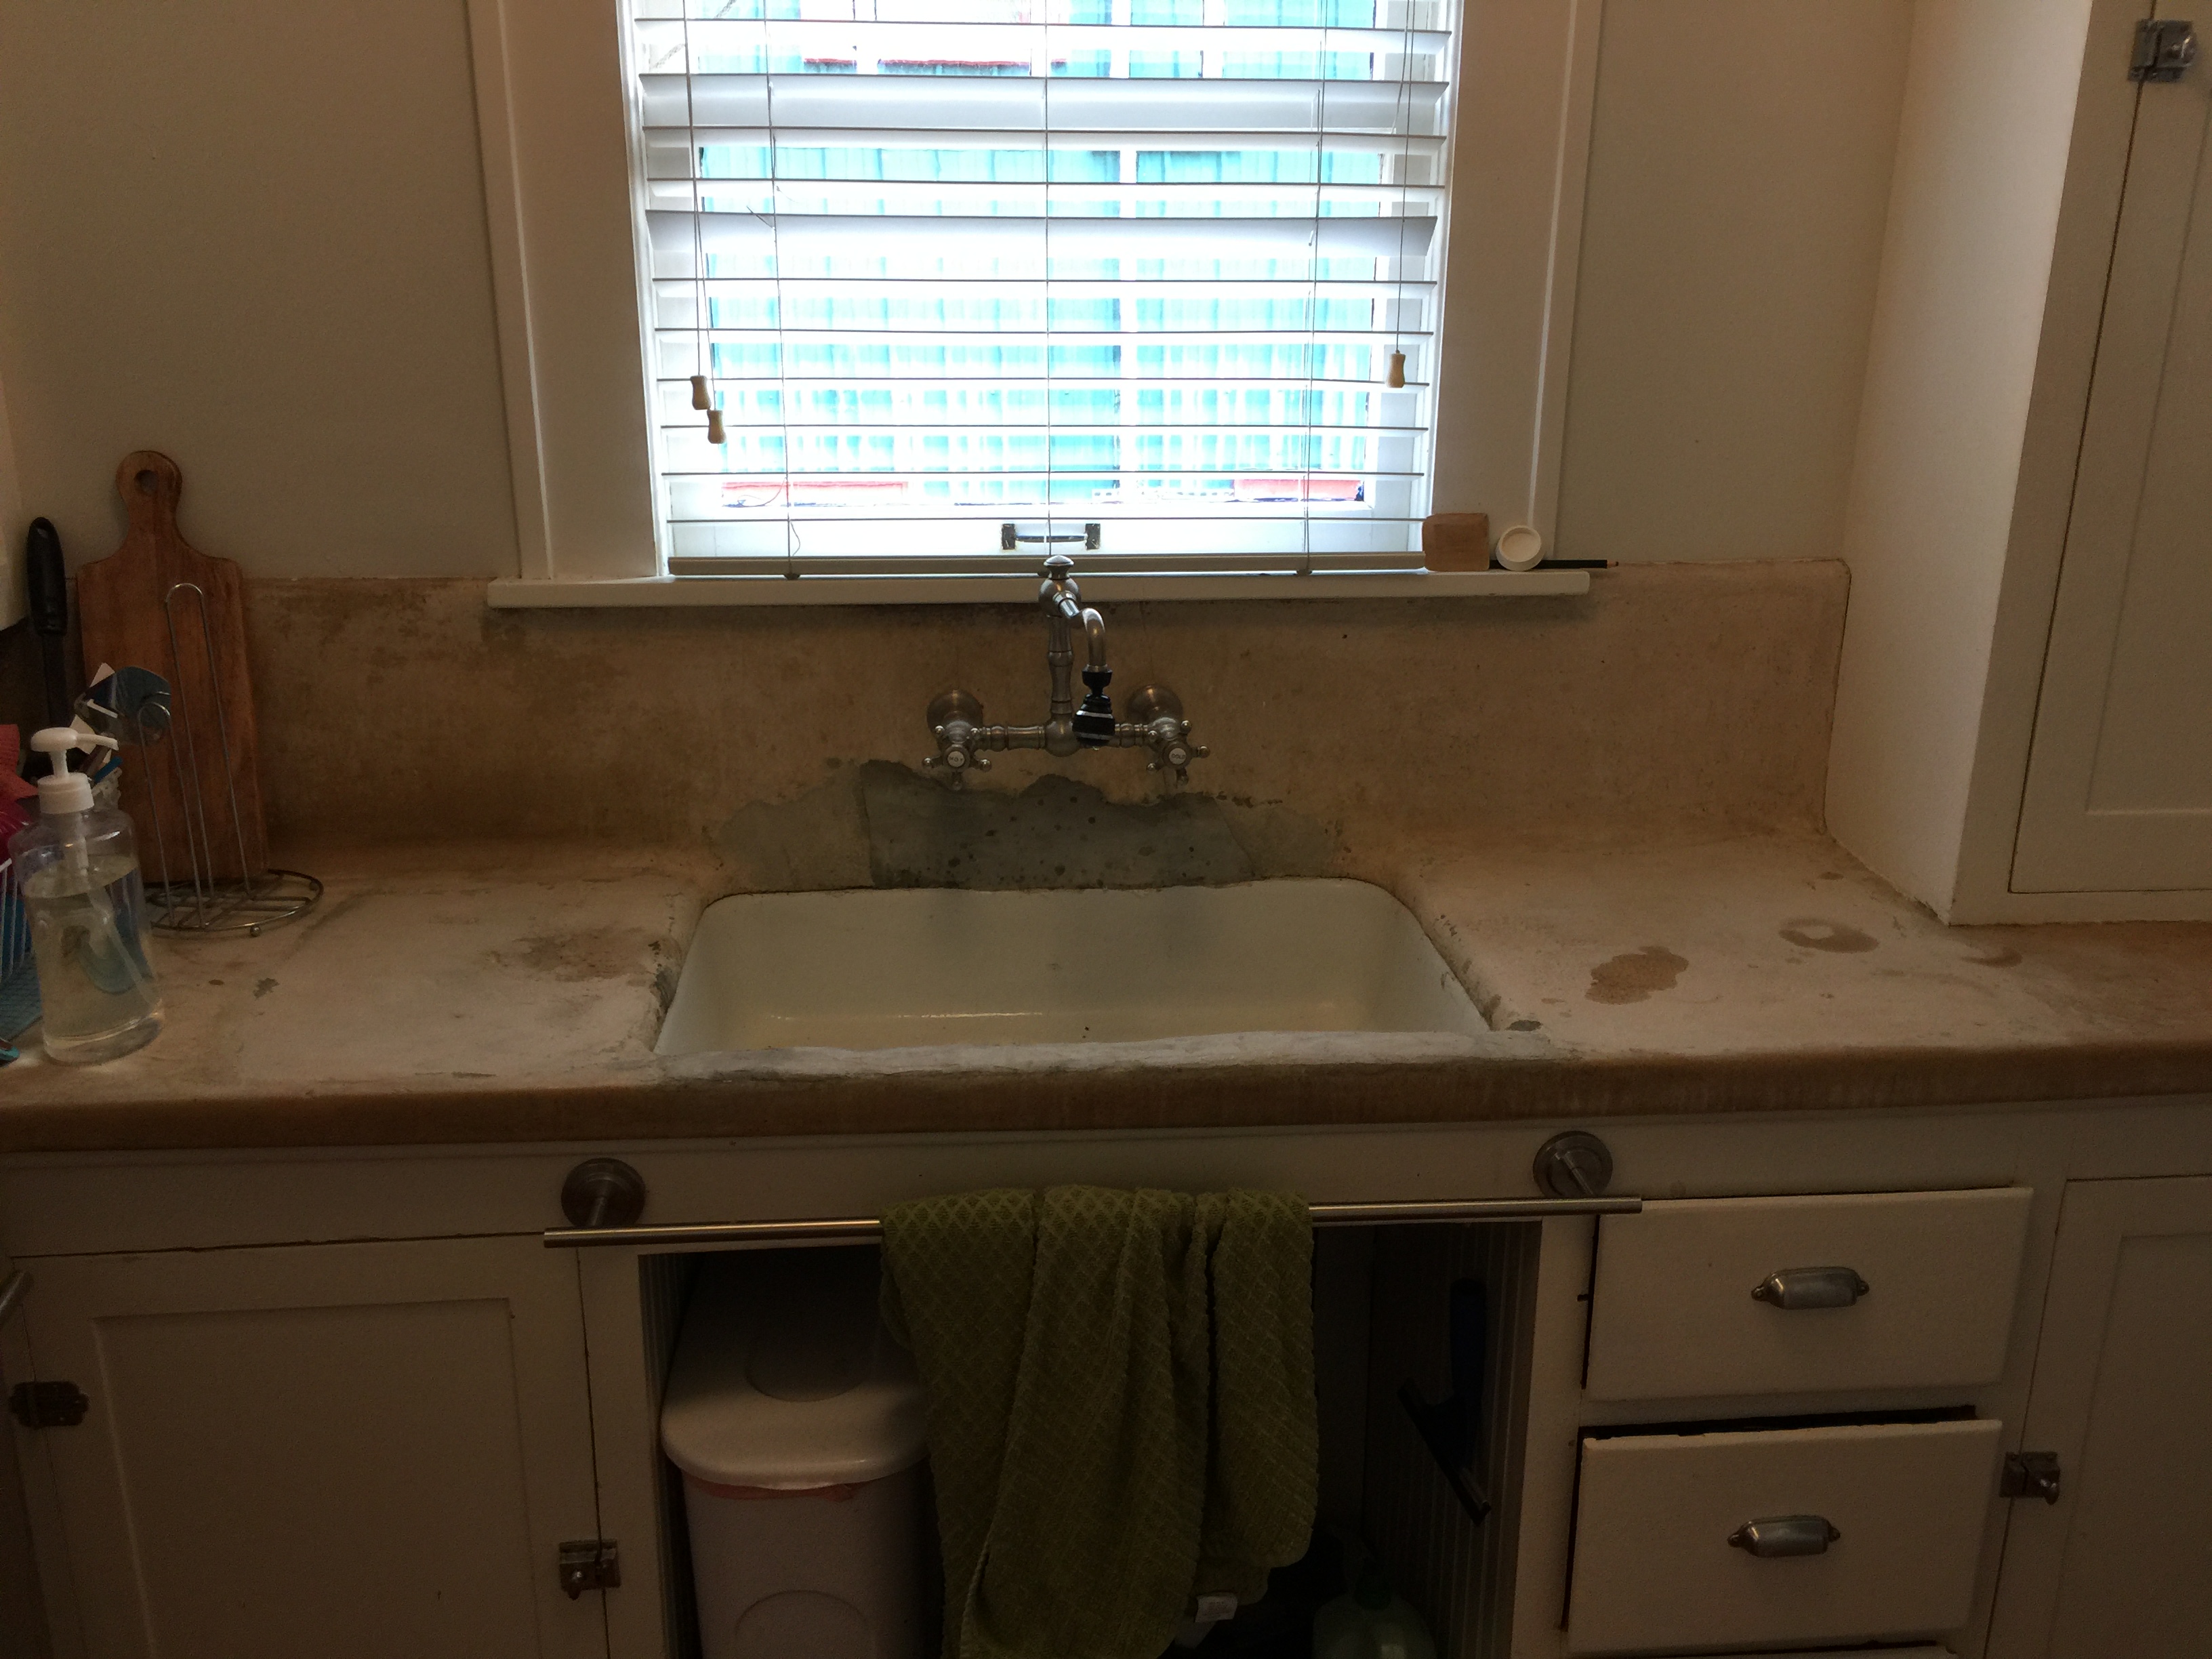
It looked great and by comparison to the photo below, was a dramatic improvement over the original stained and eroded concrete counter top.
It gave me a delighted sense of completion to see the finished product and a happy sense of accomplishment in the part that I had played in bringing this DIY project to a satisfying and successful conclusion.
Categories

It’s just incredible! I tested up reading this and thinking about how much great love and care you put into this project for us. And you are a tile-cutting master! I love that every time I run my fingers over those edges, I can remember this great gift you gave to us. If we had known how complicated it was going to be, we might never have attempted it! We really needed your help and are so grateful for it!
That is so special to know that each day you go into your kitchen, you can simply run your hands over the tiles and think of me. I don’t think any of us knew how complicated it would be but once I was into to it, I was determined to finish it and I am glad we did. I was able to overcame my own challenges of the 45 degree angles and the sloping countertop and your equally talented husband overcame the sink challenge. We made a good team and I would do it all again (or another project of your choosing)!
What a big accomplishment! It looks professionally done and how great that you get to enjoy it every day, sister! I liked reading through the progress, nervously wondering if there was enough tile…surprisingly riveting!
If you ever need a tiling a job, I’m your man as I will be happy to do another one.