
A Miniature Garage Loft – Phase 3
Continued from: A Miniature Garage Loft – Phase 2
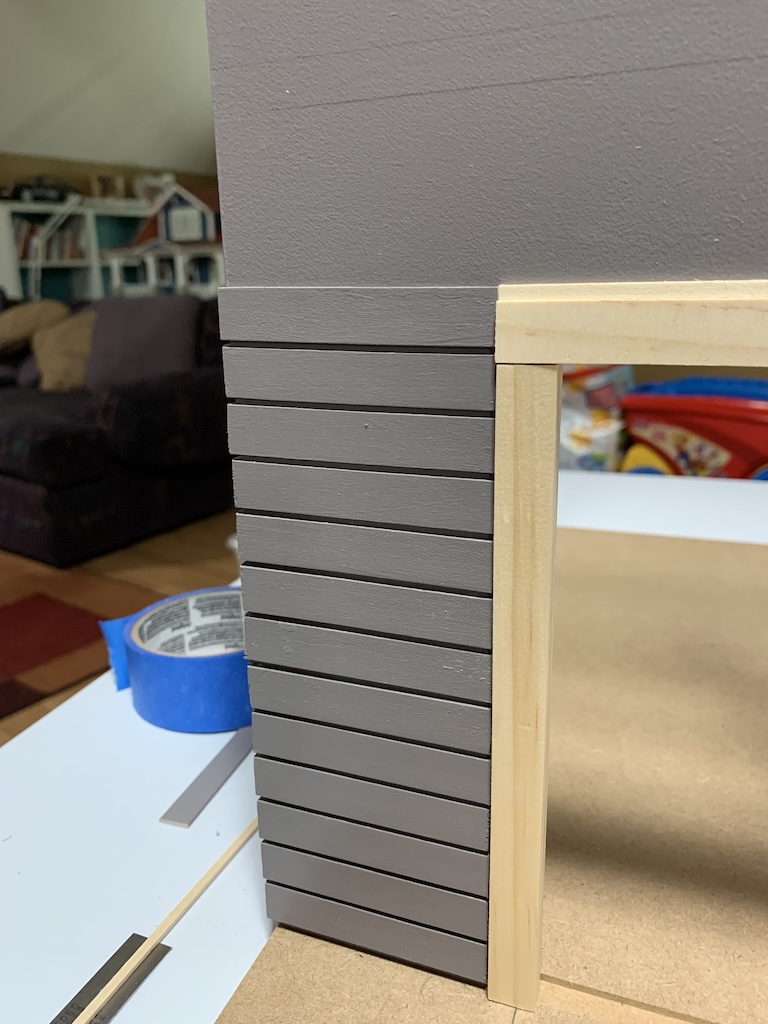
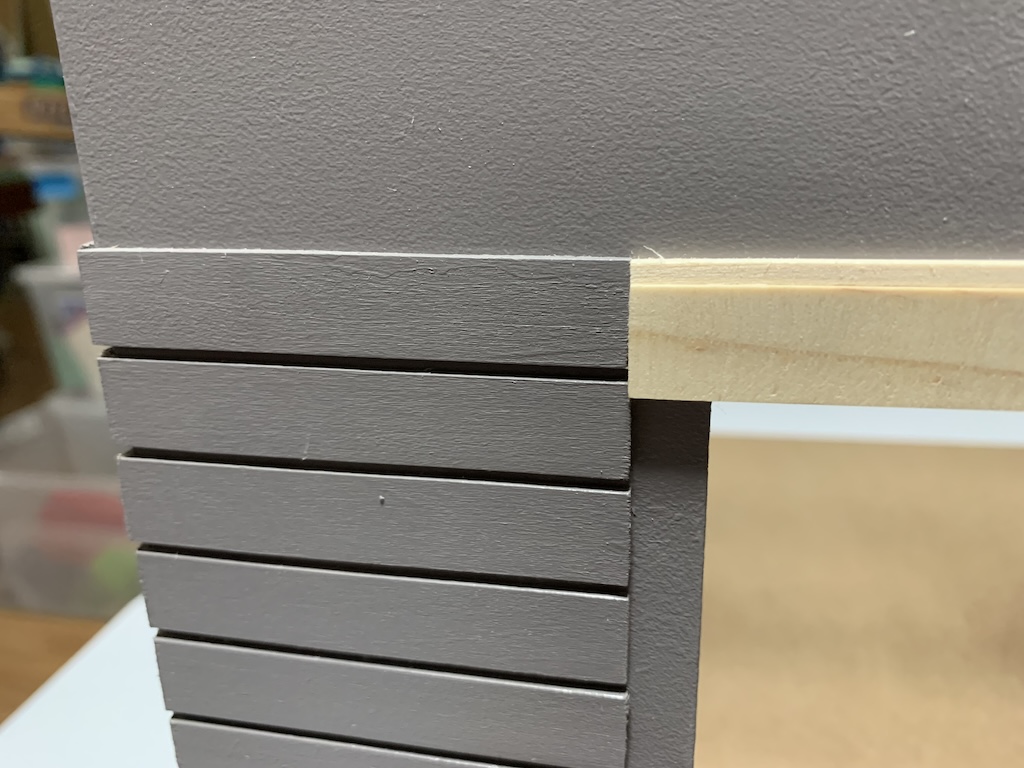
You may recall where we left off, I mentioned I had found a simpler solution that would eliminate the need for me to carefully sand down the top of a 1/8” strip evenly across to get it to the same height as the two short 1/2” slats (which I had determined their top edges extended somewhere between 1/8” and 1/16” above the top of the door jamb). On one of my visits to the hobby store I frequent, I found milled basswood in 3/32” square strips. I decided to give it a shot and purchased a package of them. When I got home and tried it above the top garage door jamb, I discovered it was exactly the right height (which is exactly halfway between 1/8” (4/32”) and 1/16” (2/32”)). With just a slight sanding of the front of the strip, I got what looked to me like a perfect fit.
With the addition of exterior slats on hold as I previously mentioned, I knew the next step would be to get all the garage door pieces painted and ready for installation.
In all the previous doll houses I had built, I had never built one with a functioning garage door, so this would be a new experience for me. In this kit, the garage door included a foldable garage door, the track on which it would slide, and the door jambs I had previously used temporarily to add the slats to the exterior of the garage loft. The first step was to sand all these pieces using the now standard, 400-, 800-, and 1200-grit sandpaper I had been using to get a very smooth surface.
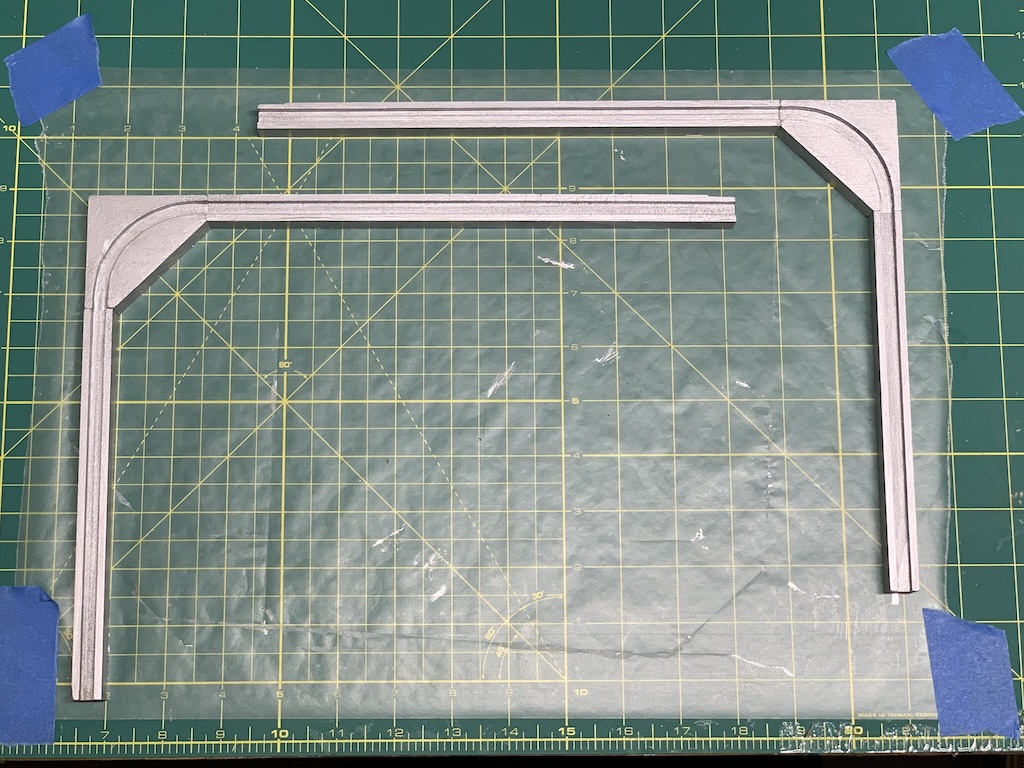
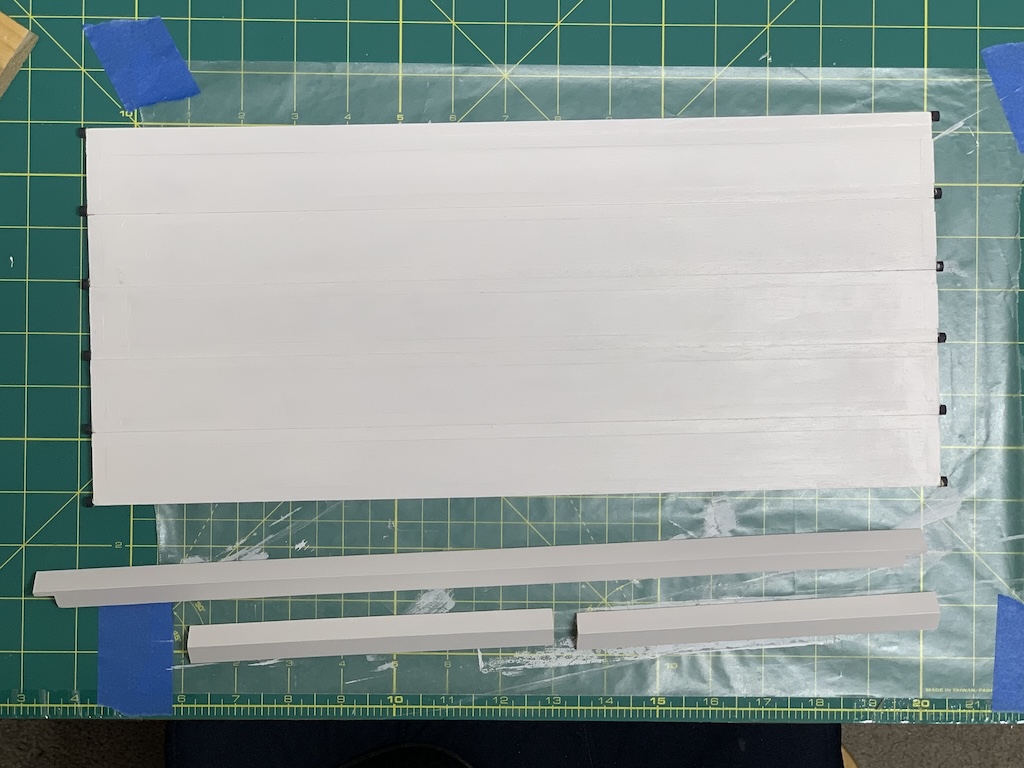
The next step was to glue and clamp tightly the three sections of the left and right track prior to painting.

Typically, the tracks on which a garage door travels are made of metal. In this kit, the tracks were made of wood. But to give them that realistic look, I decided to paint the tracks with metallic silver paint.
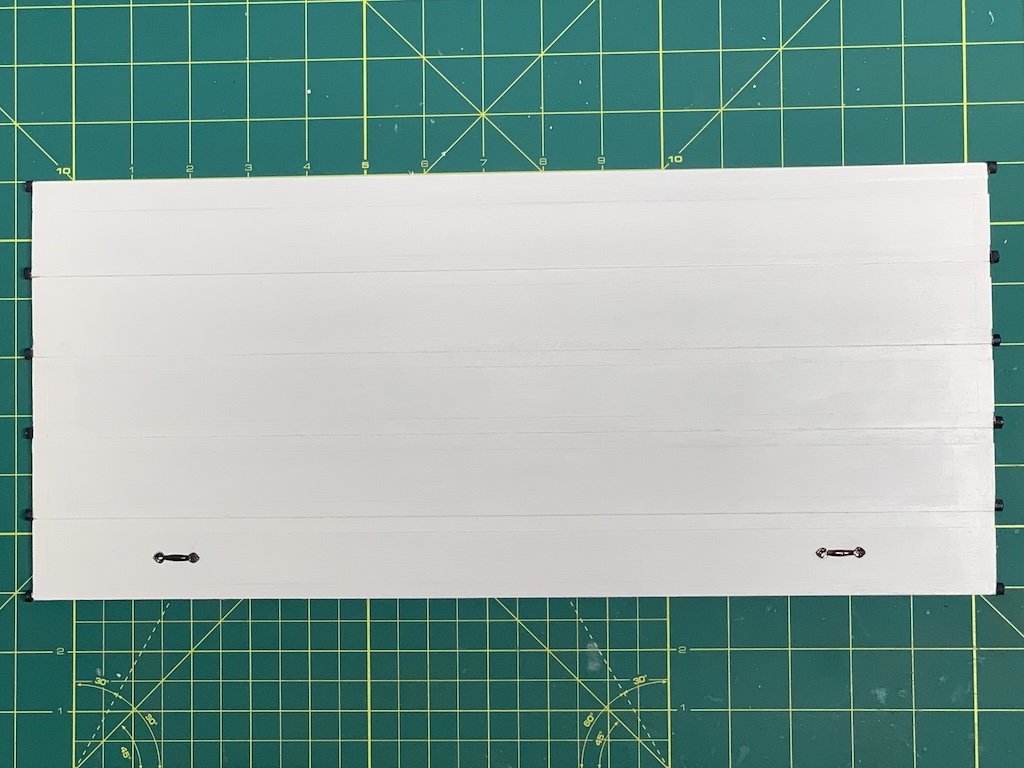
Once painted, I worked on the garage door and the door jambs. I had decided to paint all the trim on the exterior the same white I had used on most of the doll houses I had built. And consistent with this color scheme, I decided to paint the garage door the same white.
After I had painted the door wheels black to simulate the rubber wheels on many garage doors, I painted the door itself.
Once I added door handles (purchased online), it was ready for installation at the appropriate step.
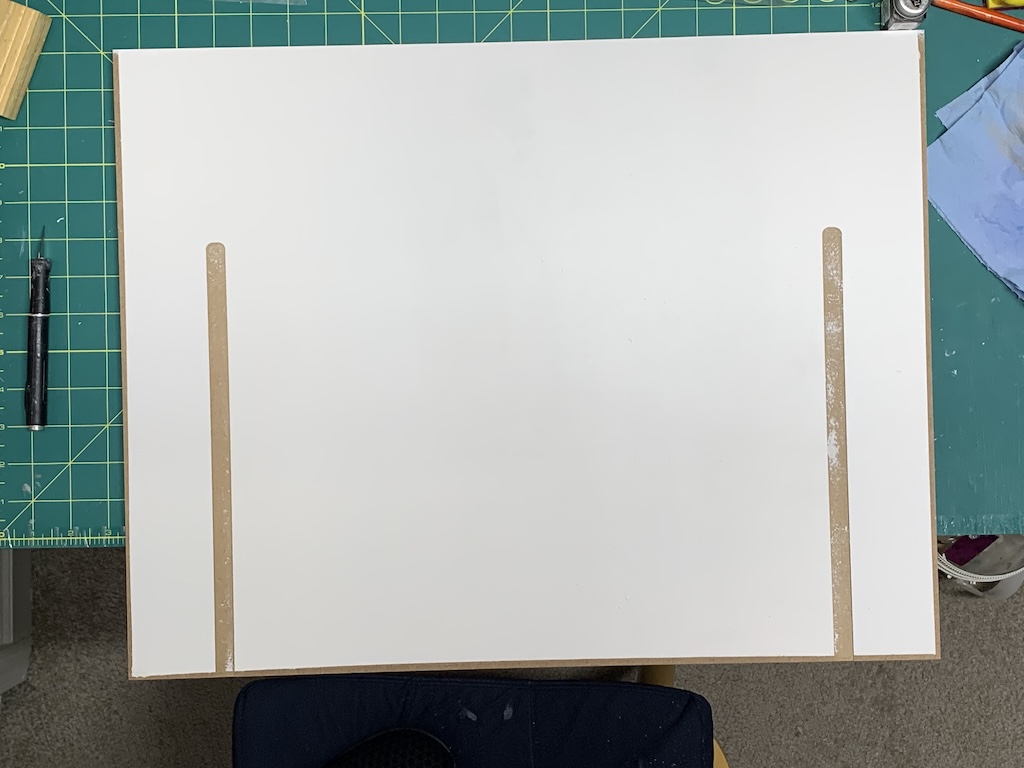
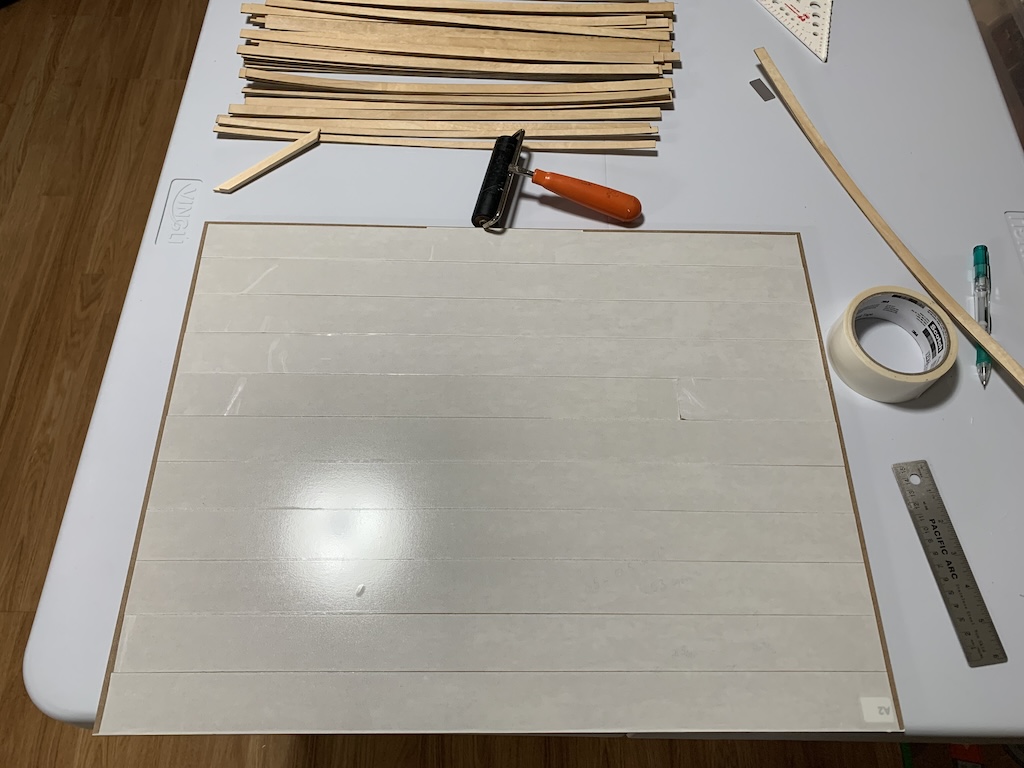
The next step that had to be completed before the now painted garage door could be installed was to figure out the flooring for the loft (since the underside of the floor in the loft was also the ceiling for the garage). My sister and I talked this over and in keeping with a very modern look, decided a light wood would be best. Together, we found some nice 1/16” thick light-colored birch veneer online. Once ordered, I then just had to wait until the wood arrived and my sister had the time to cut the veneer sheets into ½” strips. While I waited, I went ahead, and roll painted the garage ceiling the same white (the unpainted strips are where the garage door tracks will be glued to the garage ceiling).
Once the birch veneer arrived at my sister’s house and she went to cut the 1/2” strips, she discovered that her Cricut cutter would not cut the wood—the tiny blade could not cut through the wood. The previous mahogany flooring she had cut for me on her Cricut cutter was all 1/48” thick, about 1/3 the thickness of these 1/16” thick birch veneer sheets. I then asked her if she could cut them with her laser cutter and she said she would give it a try. Success!
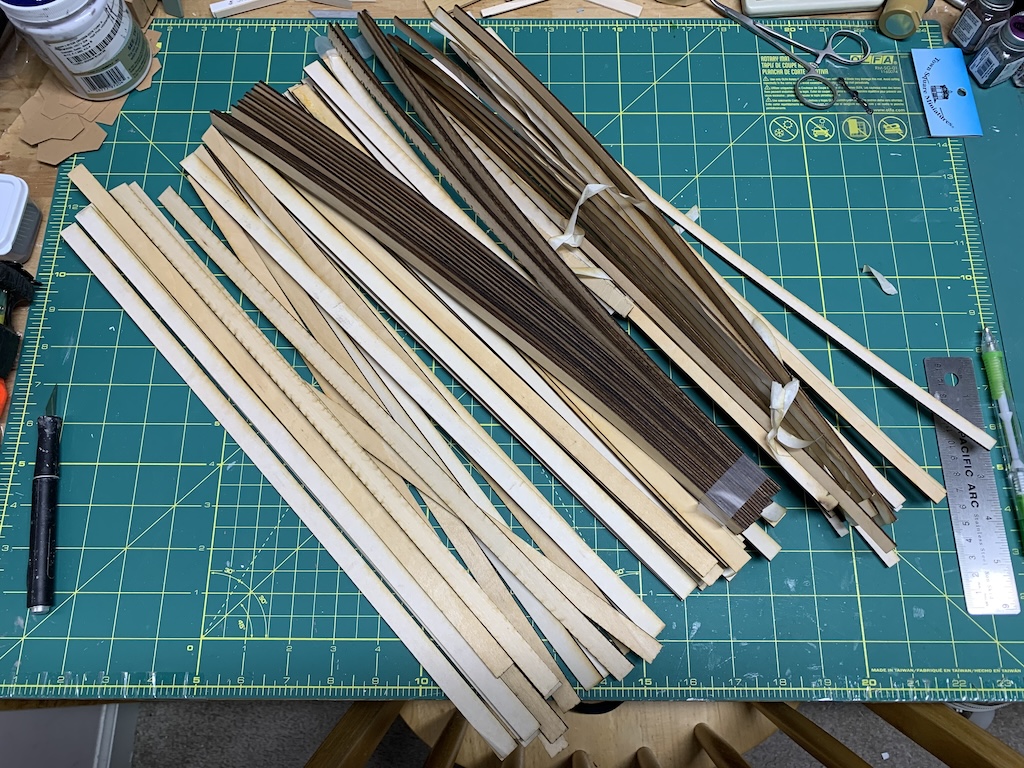
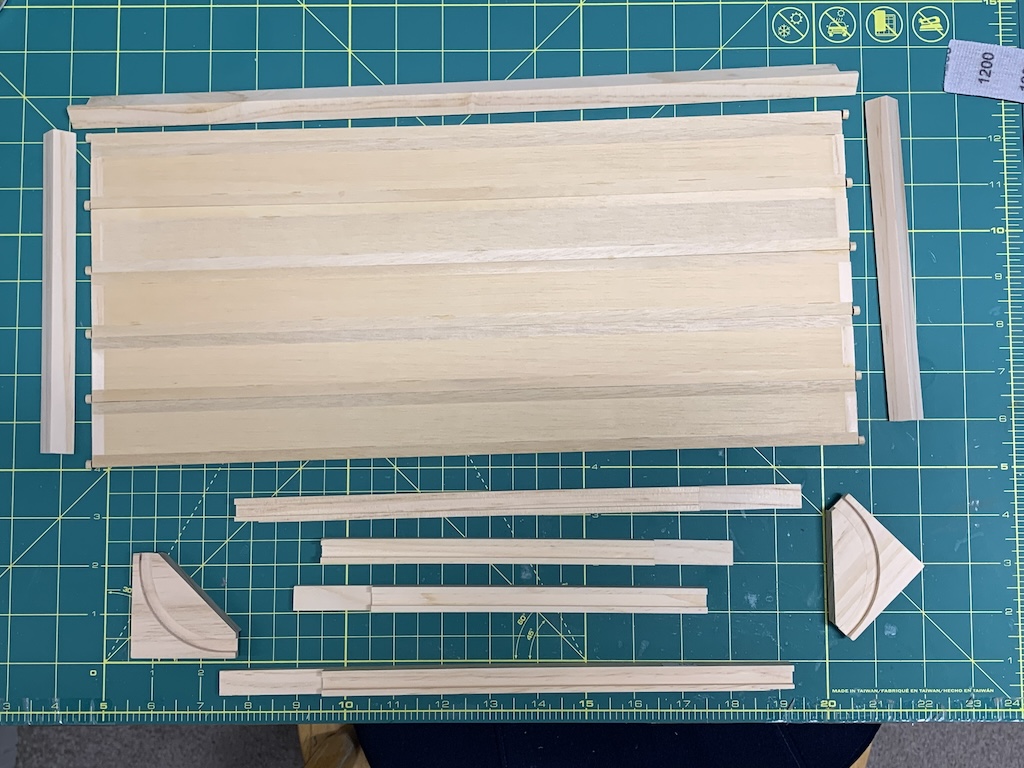
Then to make sure I had enough 17” long strips to cover the entire floor, I laid them out on the MDF floor and found I did have enough with even some spares (extras to right).
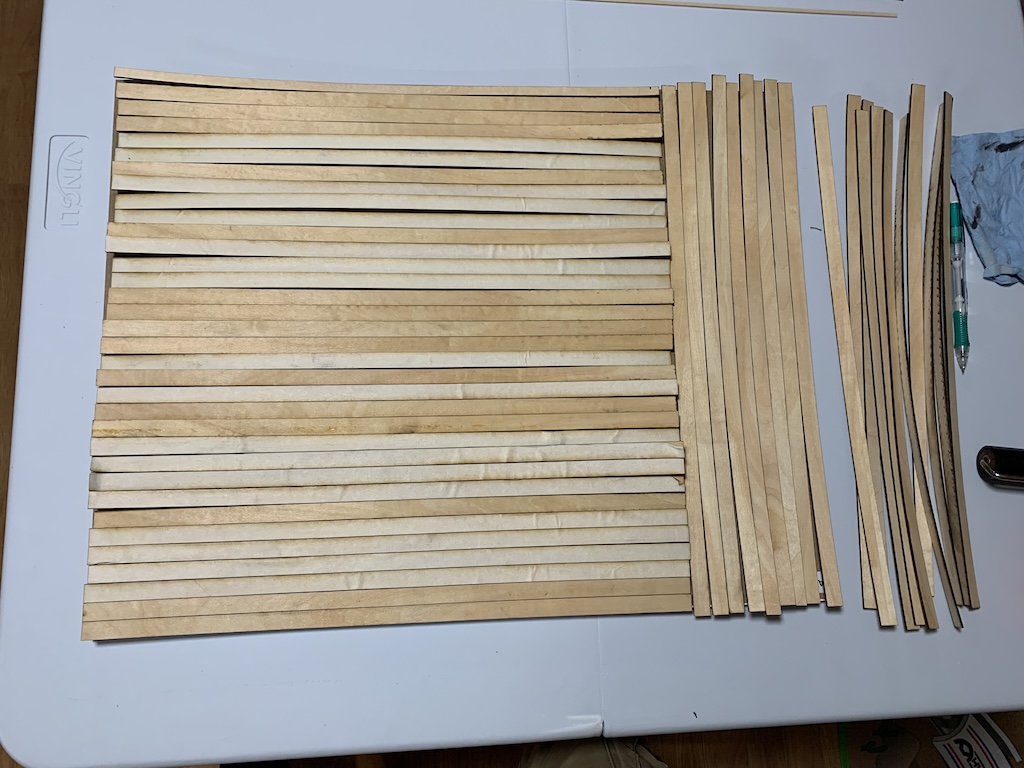
The only downside of using the laser cutter is that the cuts would have that wood char on the cut edge (some of the pieces in the photo above still have the paper attached that prevents charring of the top surface of the veneer). I lightly sanded one edge on two strips to remove most of the char and then laid them side-by-side to see if I could see a dark line between the two pieces. When the unsanded edges were laid side-by-side, there was a definite dark line between the strips. When the sanded edges were laid side-by-side, the dark line was still noticeable but less prominent. Being a perfectionist, I decided to lightly sand both edges on all 43 strips. I tried sanding five strips together but I could not get an even removal of the char so I had to sand each strip individually.
But before sanding all 43, I decided to make a test floor to make sure the birch wood strips would look good finished. Some of the extra strips my sister cut were about 5/16” wide rather than 1/2” and so I sanded a couple of those and then cut them into 2” or 3” planks. I applied a strip of carpet tape to a scrap piece of MDF and then laid them down four rows of planks. I then sanded the test floor and applied three coats of polyurethane, lightly sanding between the first and second coats.
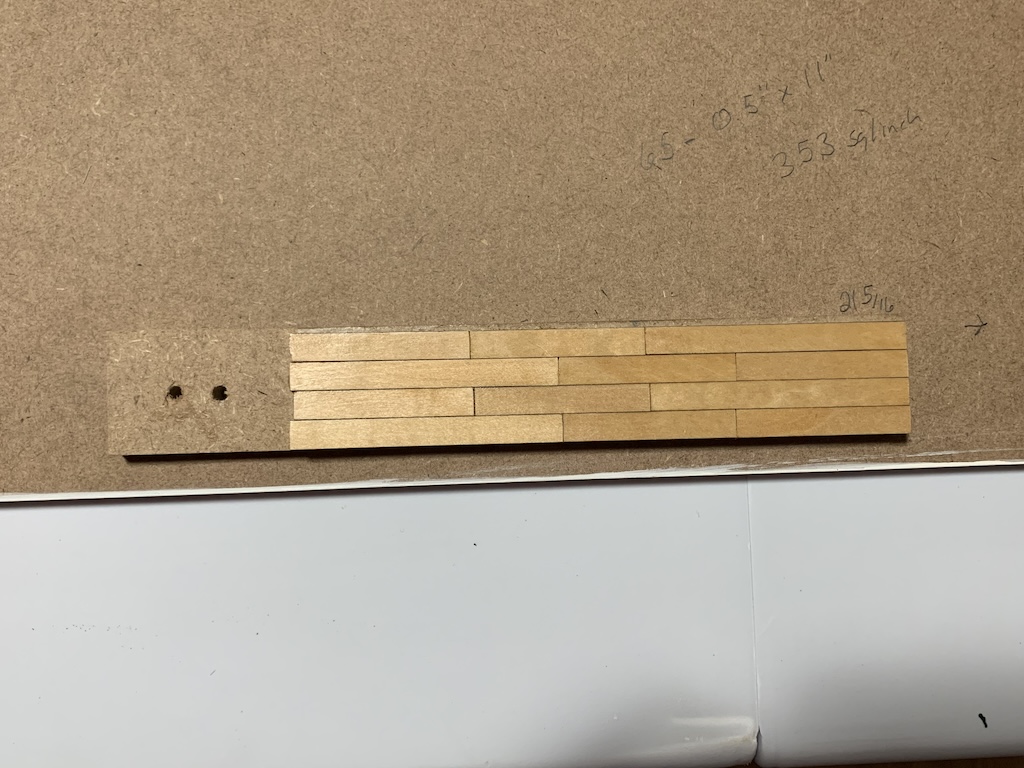
I thought the floor looked really good! However, I did notice that a couple of the ends of the planks pulled up slightly from the MDF. This was due to the slight upward curvature of some of the strips. To prevent this from happening on the loft floor, I knew I would need to place a drop of Super Glue on each end before placing the plank down on the loft floor.
With the test floor successful, I proceeded to sand the rest of the birch strips. I then laid down carpet tape on the loft floor to get it ready for adding planks. I now just needed to cut the strips into varying lengths of planks.
To be continued after a short break…
Categories

David, you are a perfectionist! But I must say this is going to look fabulous! And how nice it is to be able to collaborate with your sister who is also an expert. It would be interesting to compare your finished product with how it would look finished with just the kit. I just know you’re not putting anything but a red Miata in the garage!
Thanks Betty, I really have enjoyed working with my sister on these miniatures. Sorry there is still a wait on the car reveal.