
A Miniature Garage Loft – Phase 2
Continued from: Another Doll House? – Phase 1
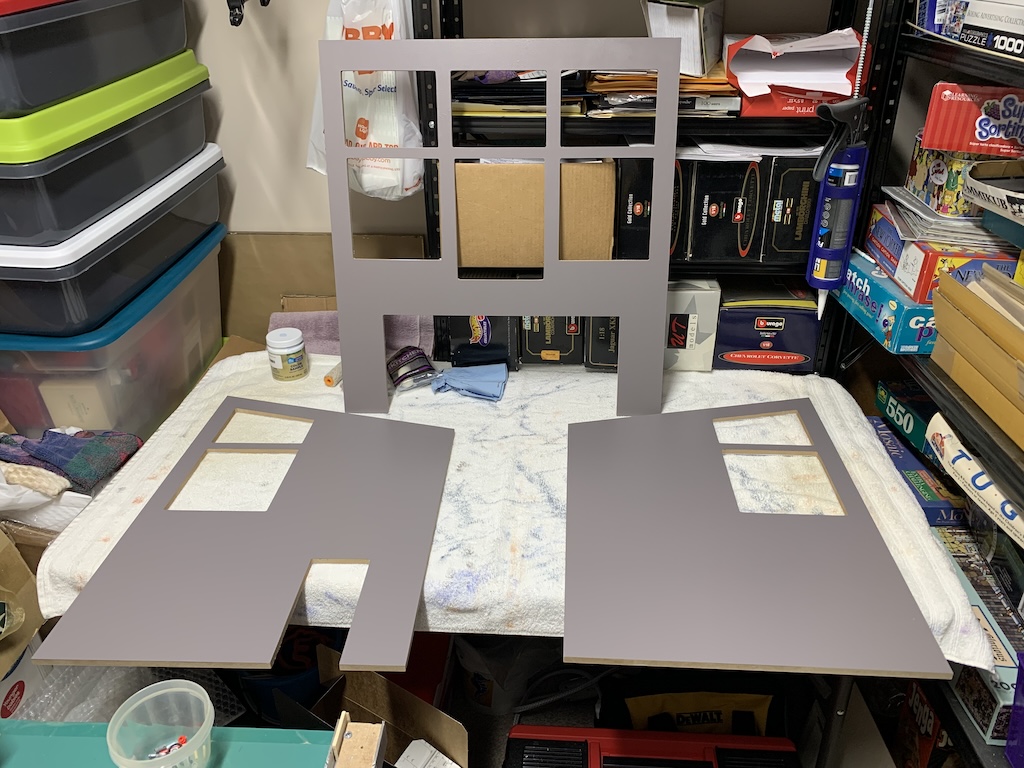
Now I was ready to paint the exterior walls which would require two separate steps: first painting the walls and then painting the strips of basswood.
Theoretically, only the gap between the painted basswood strips would be visible but rather than painting small horizontal stripes equally spaced ½” apart, it just seemed easier to paint the entire exterior walls using a roller. As with the interior walls, I rolled two coats of the gray paint we had selected with a light sanding in between coats. This left a nice smooth surface on which to glue the strips.
Rather than painting all thirty-four strips at the same time, I decided to do them in two batches. I first sanded the seventeen basswood strips with 400-, 800-, and 1200-grit sandpaper to yield a smooth surface. I then painted two coats of the same gray paint using a brush.

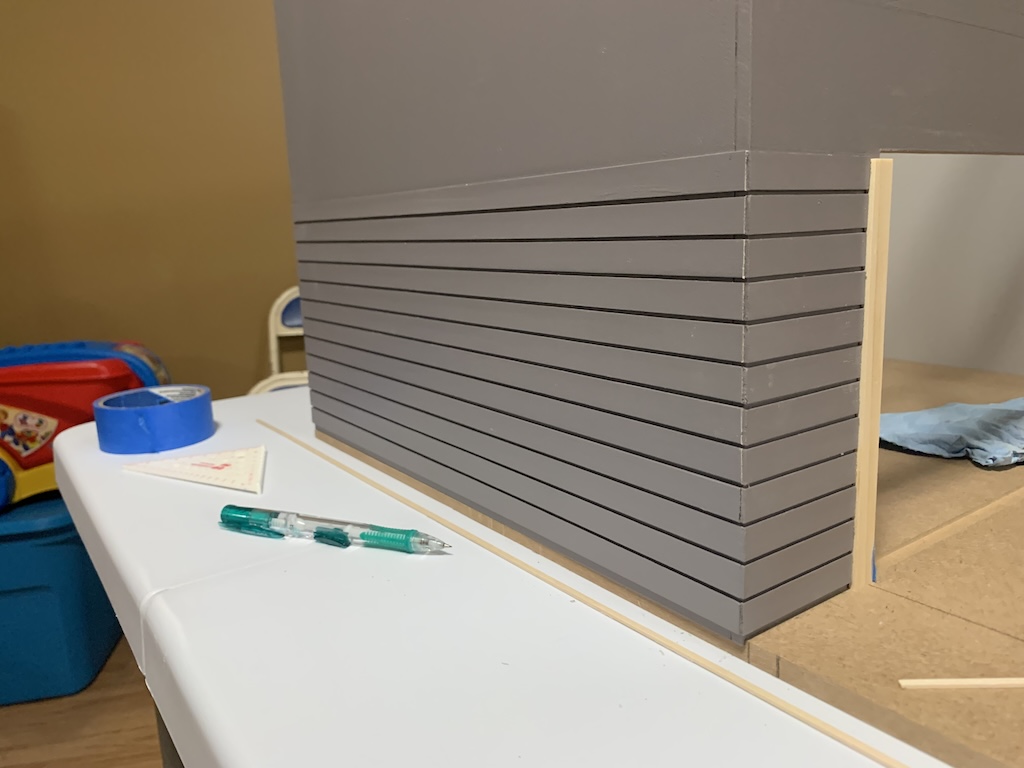
Before painting the second batch of basswood strips, I decided to start to attach these strips to the left-side exterior wall; what I would now refer to as architectural wood slats. This would give me a sense of progress and provide me with a needed break from the tedium of sanding and painting seventeen more slats. This would also help me to determine if I had correctly estimated the number of basswood strips needed to cover the exterior.
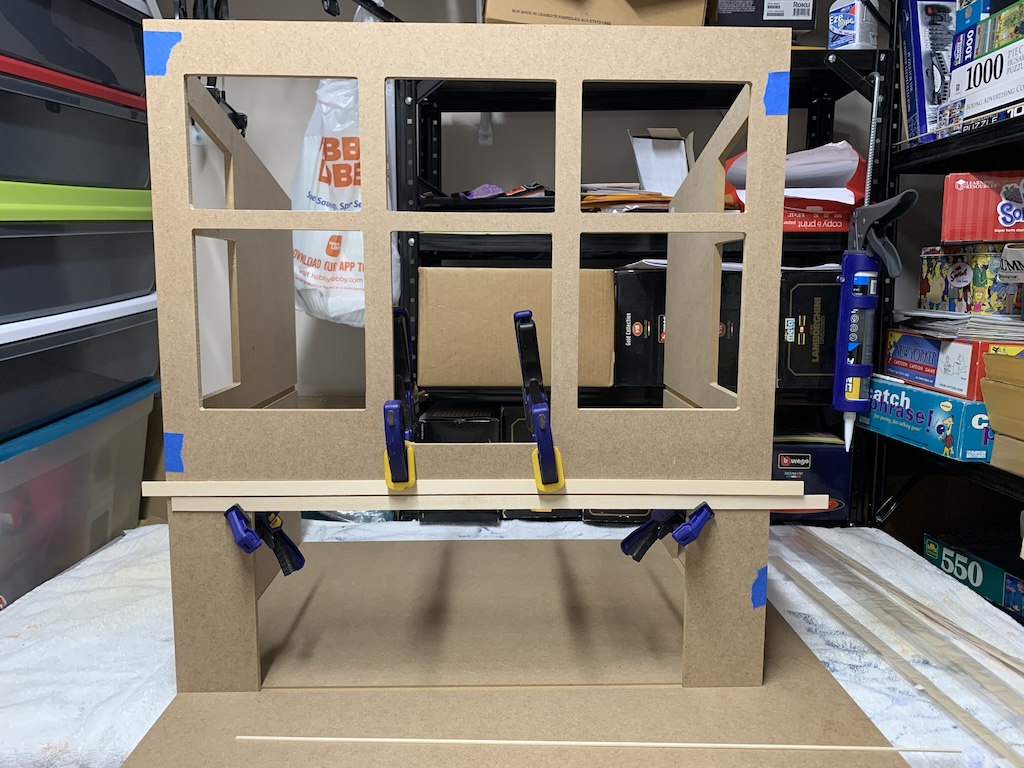
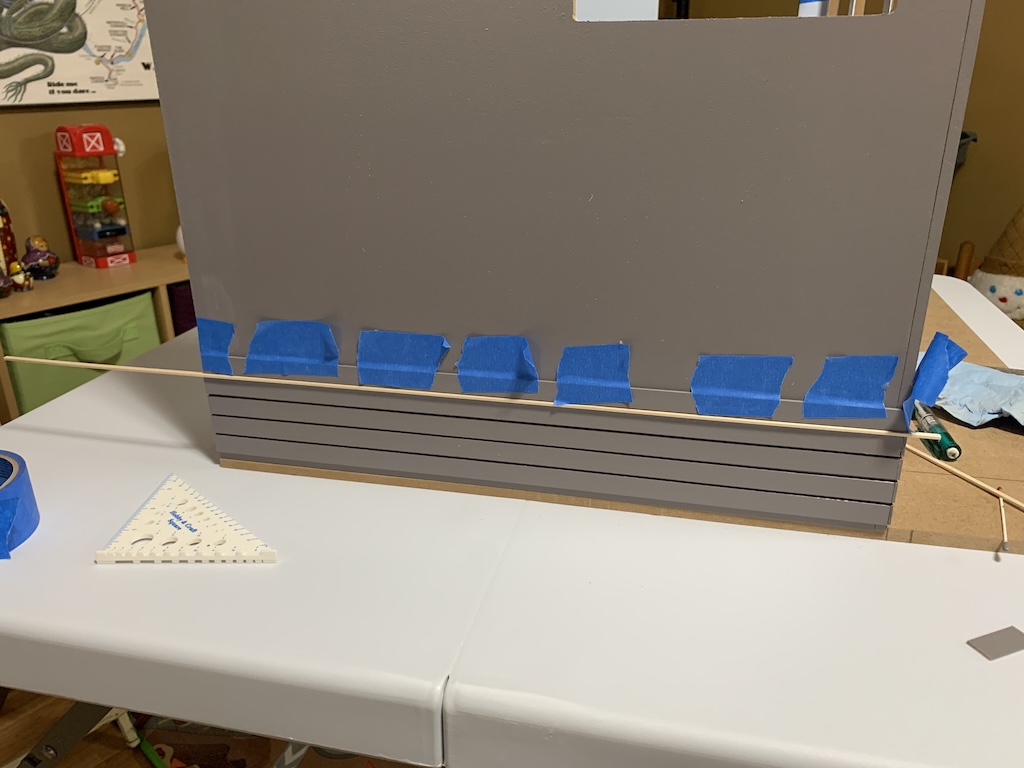
Since my addition of these slats to the exterior walls was not covered in the instructions, I needed to figure out how I would attach them. My initial thought was that once I figured out the placement of the first slat at the bottom of each wall, I could then lay each wall flat on my work surface and progressively attach each additional slat using a 1/16” basswood strip as the spacer between slats. But to figure out where the bottom row of slats should go, I needed to tape the three walls back together again.
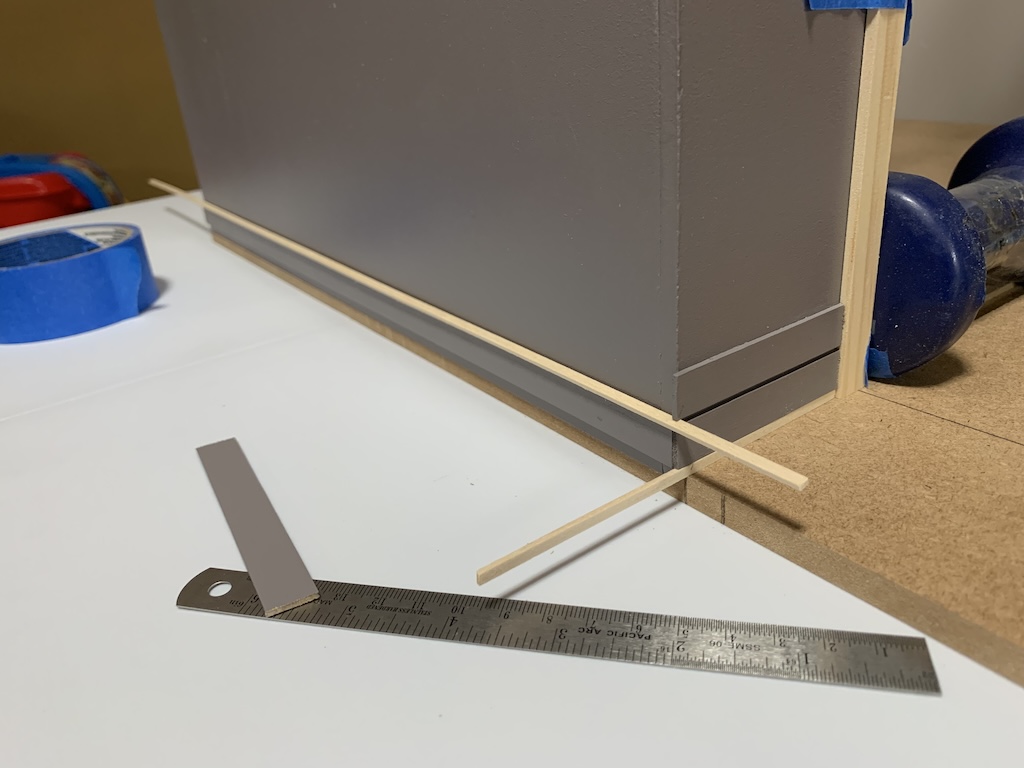
I chose to have a slighter larger gap between the bottom slat and the base and so used a 1/8” strip to place the first slat next to the garage door opening. Also, for aesthetic reasons, I decided to have the slats on the garage front overlap the slats on the sides so the joint between the two slats could not be visible from the front. This then gave me the correct placement for the bottom slat on the left-side exterior wall. But as I aligned the left-side slat with the one on the front of the garage, I had two realizations.
First, if I glued all the slats onto each wall independent of the wall that would adjoin it as I had originally planned, when I did join the walls together, the slat joints on the two walls might not align exactly. Second, since the slat on each wall extended beyond the wall, I would be guessing as to their correct length. Thus, the only way to ensure that each slat was exactly the right length and that the two slats joined together perfectly at a 90° angle with neither slat being slightly higher or lower than the other slat, I would have to glue each row of slats using the approach I first used to figure out the correct placement of the bottom slats, that is, with all three walls taped together.
In other words, I would first cut the slat for the garage front holding a small piece of slat to the left side wall to determine its proper length. Then once glued in place, I would abut the left side slat up against the overlap of the already glued-on front slat to determine its correct length and then once cut, glue it in place ensuring the two joined slats fit perfectly together.
I followed this approach and before long I had five rows of slats in place.
Once I had twelve rows in place, I had reached the top of the left side door jamb.
The next row up would be the first long slat that would go across the entire garage front above the top door jamb. At this point, I decided to add the short right-side garage slats to make sure my spacing was the same on both the left- and right-sides of the garage door opening. However, as I did on the left side, I could not attach the long right-side slats until the stairs were in place as the slats would have to be cut to match the angle of the stairs on both the front and back sides of the stairs (per the instructions, the stairs had to attach directly to the right side wall for the stairs to properly align with the deck.)
I proceeded to do this and reached the same twelve rows on the right side.
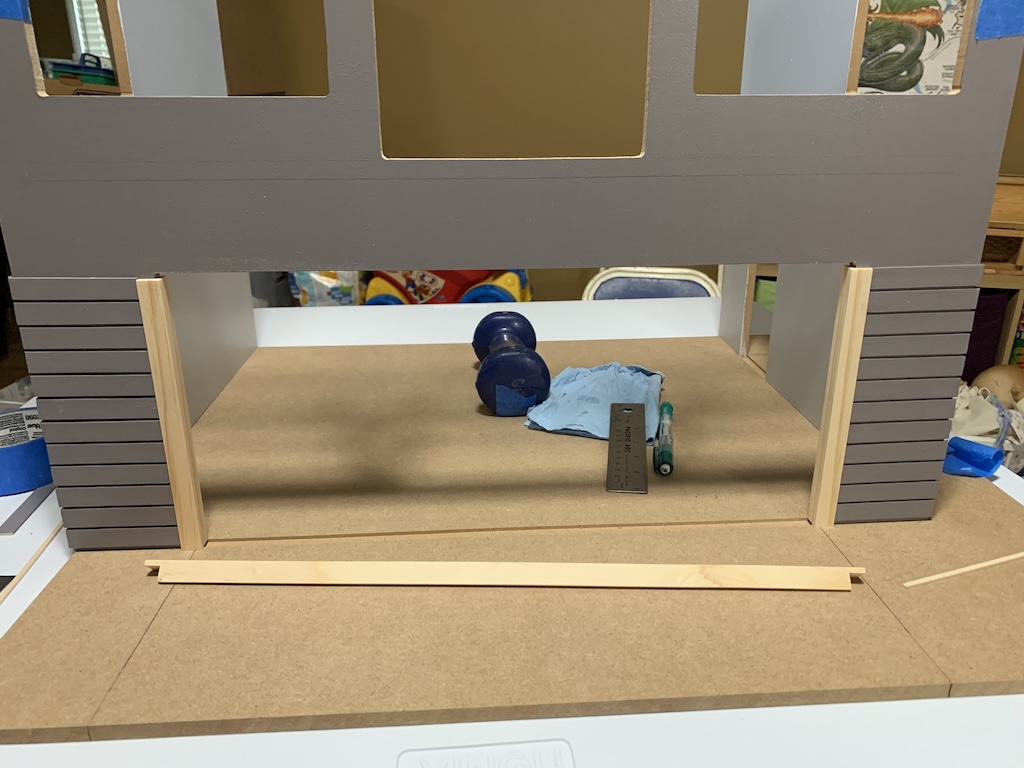
In order to add the 13th short slat on either side of the garage door opening, I needed to temporarily put the top garage door jamb in place. When I held up a short piece of slat to the left side, I could see that the portion of a slat going across the top of the door jamb would be somewhere between 1/8” tall …
… and 1/16” tall.

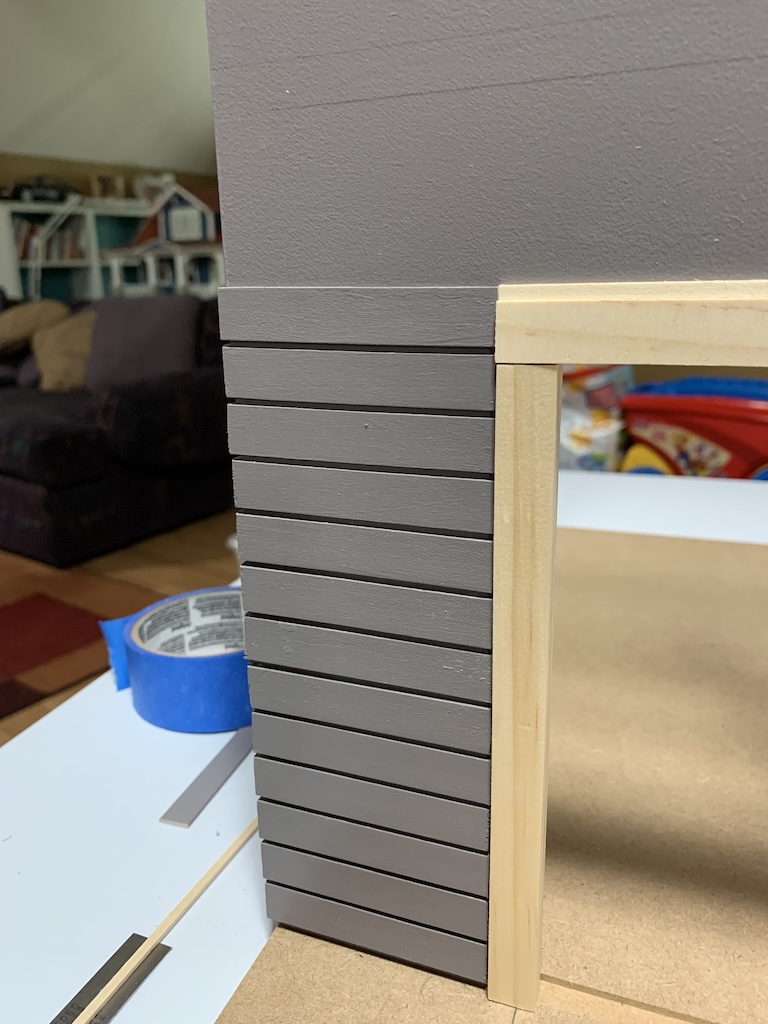
Checking the right side using the same approach, it looked similar. This was not going to be easy as I would have to sand down the entire length of a 1/8” strip to get it to align properly with the short piece of slat on both sides of the top door jamb. But adding this small strip would have to wait until the door jambs were painted and installed later in the instructions.
In hindsight, which we all know is always 20/20, I could have started with a full ½” width slat butted up against the very top door jamb so there would be no need for a trimmed down slat running across the top of the door jamb. If I had done this, I would have progressively glued slats down towards the base rather than up from the base. But given the width of the small strip I needed, and the 1/8” height of the bottom slat above the base, the bottom slat would be just about right against the base which would look odd.
Admittedly, adding the ½” basswood strips to the exterior of my garage loft to create this slat design has complicated the build but, in the end, I think it will make it more interesting looking than just having smooth painted exterior walls. So, for now, I would have to hold off gluing on any more slats until I reached the step in the instructions where the garage door, garage door tracks, and garage door jambs were all glued in place. But even before I got to that point, I found a simpler solution.
To be continued…
Categories

This is fascinating, Dave! Can’t wait to read more and see the completion!!
Thanks Ann! I definitely made it more complicated adding the slats but once I had them all in place, as you will see soon, I loved the look.
David, you are so precise! The exterior will look really great with these wood slats in place. I look forward to reading about your simpler solution. Happy Easter!
Thanks, Betty, I think you will like the finished slats. And happy Easter to you as well!
Holy mackerel! What a complicated miniature project! You have the patience of a saint! I would’ve stopped the project long before you reached the challenge of the slat alignments. Still, looks like it will be a job well done!
Thanks I definitely made it a more complicated build with the addition of the slats. And as you will learn in future posts, I made what could have been a very simple miniature construction job even more complex.