
Doll House Furnishings – Phase 18
Continued from: Doll House Furnishings – Phase 17
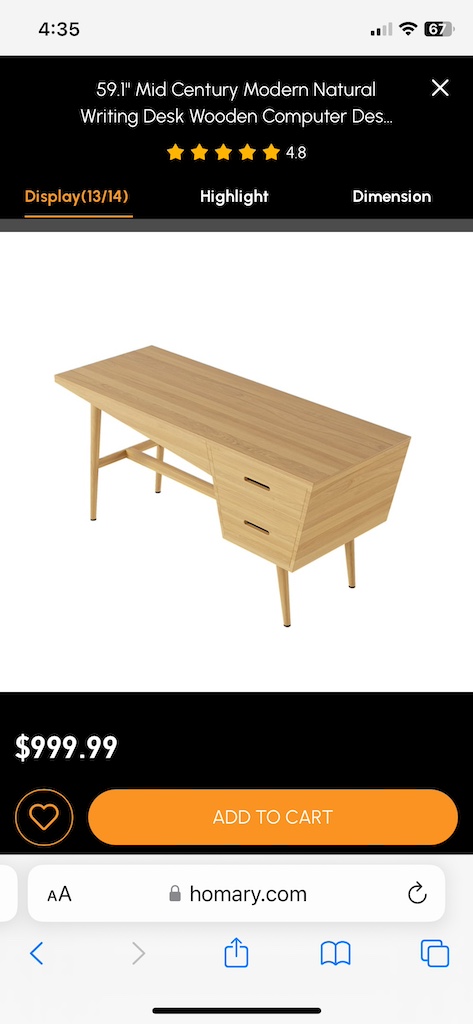
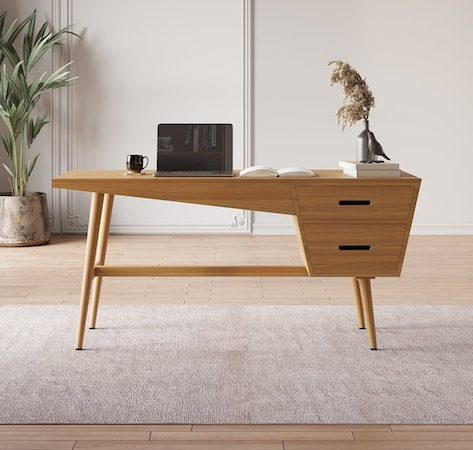
But what of the unique Mid-Century Modern (MCM) desk my sister had been working on?
When I drove over to my sister’s house Memorial Day weekend, one of the things I was most excited about was getting to see the desk she had miniaturized.
Over the months she had been working on it, she had built several prototypes learning more with each iteration. One of the things she learned early on was that she could not use the 1/8” cherry we had been using for other pieces of furniture as it was too thick. The version she built with this wood did not model the real desk very accurately. But when she used 1/16” cherry, it did work nicely.
And so, while I was there, she “printed out” all of the parts I would need using 1/16” cherry.

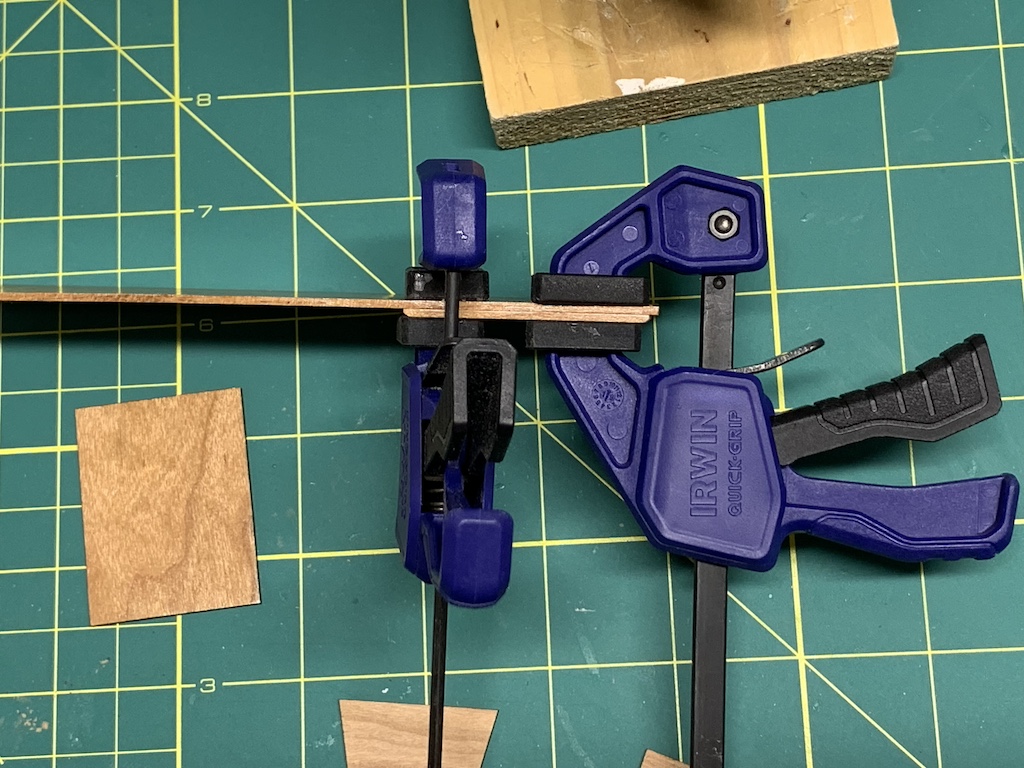
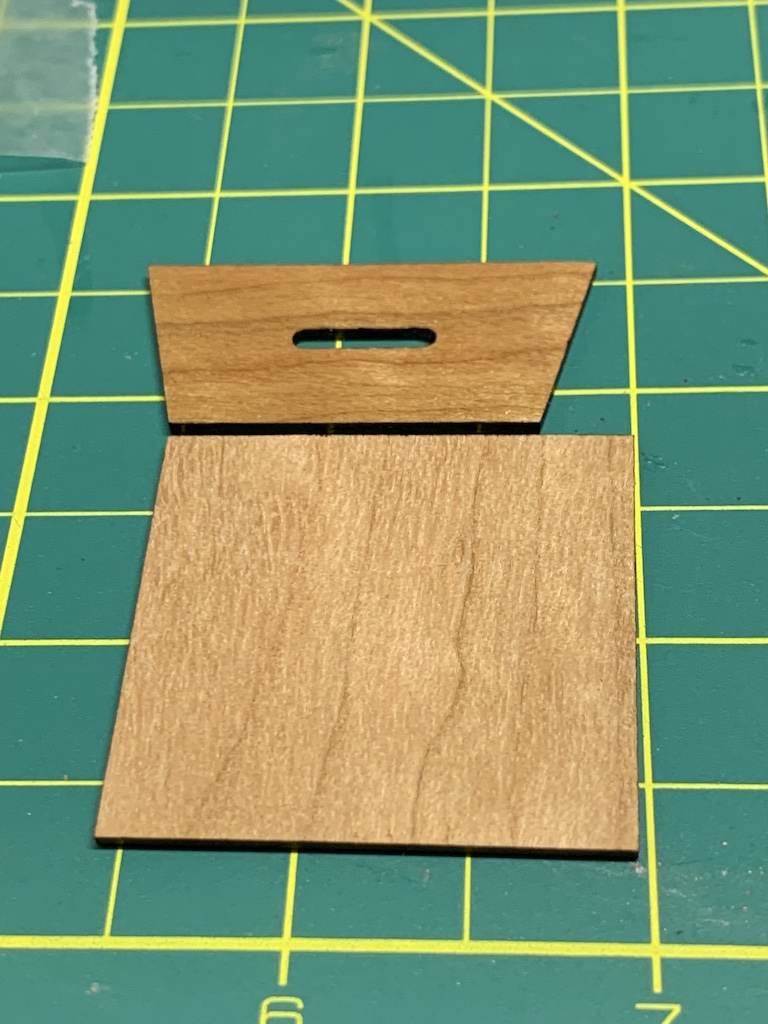
She also printed out the cut pattern template for me so I could easily identify the pieces. Once I was ready to get started, I laid them all out to make sure I had them all and then I began to remove the paper and sand off the char on the cut edges. For the tapered legs, I additionally had to sand the edges to round them off to more closely match the actual desk.

In the photo above I left the paper on those pieces that would comprise the drawer interiors (bottom, sides, back) as they would not need any coats of polyurethane. That way I would not accidentally apply polyurethane to them. And many of the pieces I only had to apply polyurethane to the one side and the one edge that would show in the finished desk simplifying my task and ensuring I had a virgin wood surface to be glued.

Once I had applied multiple coats of polyurethane to the pieces. I was ready to begin assembly. At first, I did not know where to begin as it was not obvious like the bed and chest of drawers I had just finished. And at the time, my sister was traveling out of the country and unavailable for conversations.
After pondering it for a while and looking at a close-up photo of the desk online, I figured I should first glue the piece of wood that sits above the top drawer that was attached to the underside of the desktop. But first I needed to sand the edges to accommodate the tapered sides of the desk. Not having a way to sand a certain angle, which I did not know anyway, I just eye-balled it prior to gluing the pieces together.
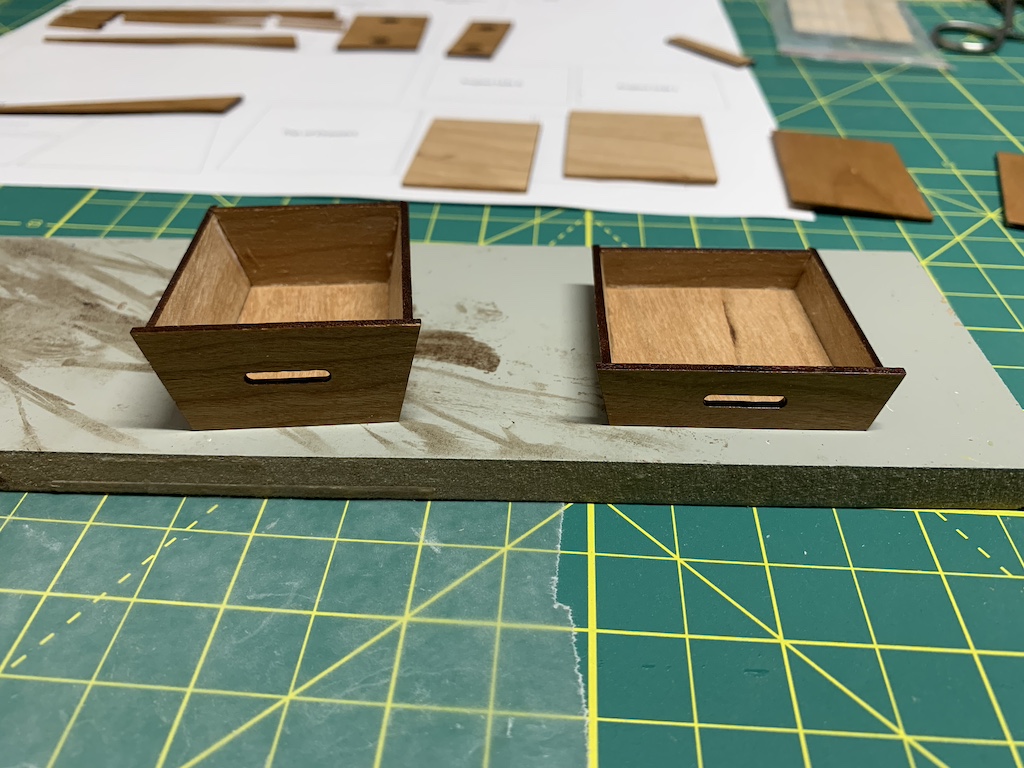
While that was drying, I decided to build the drawers. I first started working on the top drawer…

… before starting on the bottom drawer. But I knew I had a problem as the drawer bottom for the bottom drawer was bigger than the drawer front.
When I had looked at the template print out my sister had given me, I had wondered why the two drawer bottoms were the same size given that the two drawers were not the same size. I knew my sister had gone through numerous iterations coming to the final desk dimensions. Maybe I just did not get the latest version. But fixing it was easy as I simply had to cut off the excess from the drawer bottom.
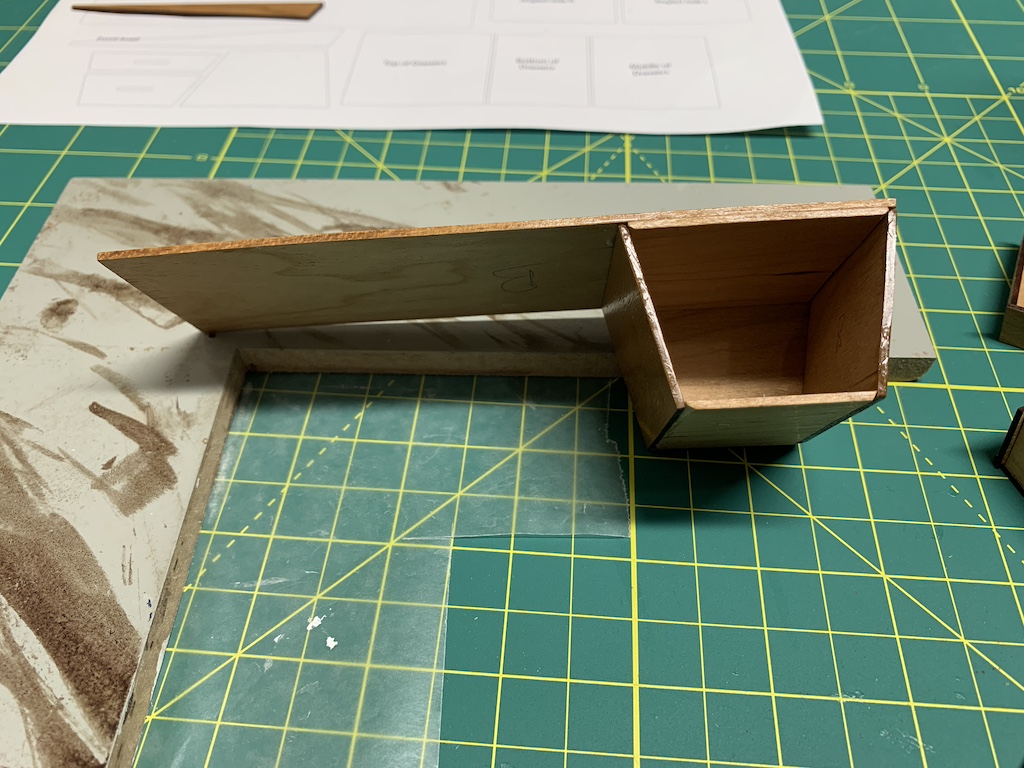
With the drawers complete, I next moved on to building the main body of the desk where the drawers would go. Since the desk sides fit at an angle, I free-handed sanding them first. I then glued on the right desk side and the desk back…

… before enclosing the box with the left desk side and the bottom.
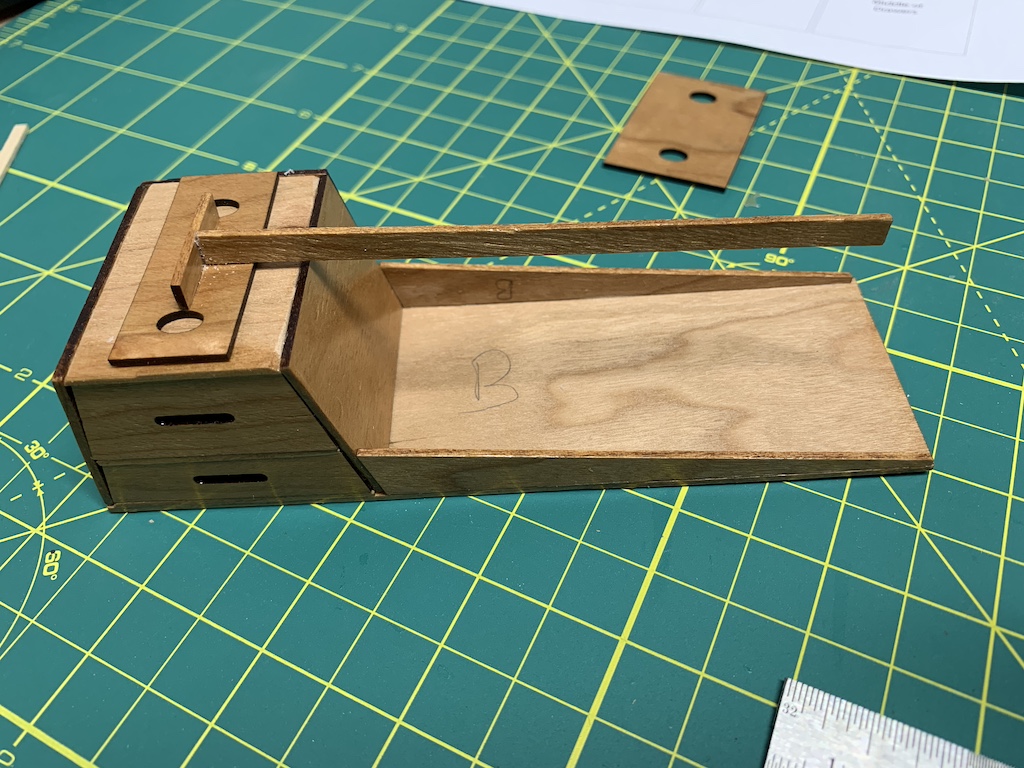
Once it was dry, I inserted the drawers and the middle shelf that the top drawer would slide in and out on, but found the drawers went in too far.

I measured and found they inserted about 1/4” too far in so I simply glued a piece of basswood that same thickness to the backs of the drawers making another easy fix.

This ensured the drawers inserted to the correct depth.

Much better!
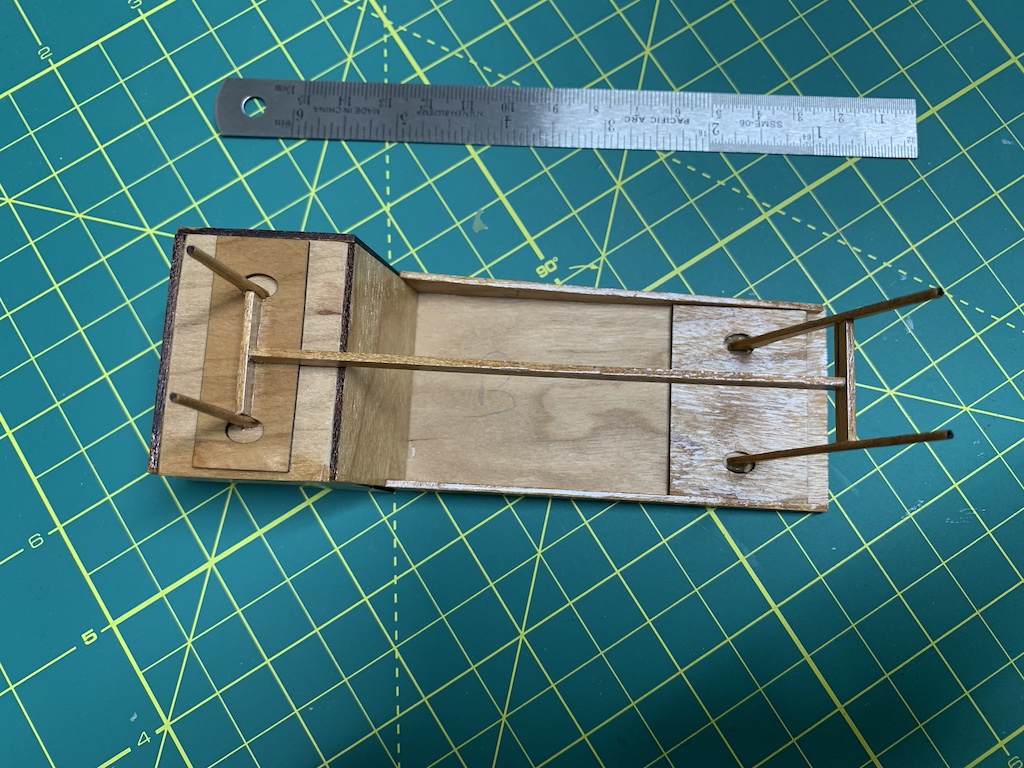
Once I glued on the front and back desk top aprons, I was ready to glue the legs on. This involved first gluing a leg guide on the bottom side of the drawers followed by gluing down the leg brace that fit between the two short legs. I could then glue on the long brace that ran between the short and long legs.
Once that assembly was dry, I glued on the two short legs and then repeated the whole process for the long legs.
Now the Mid-Century Modern desk was complete.

I previously bought a miniature laptop computer to go on the desk in my office which I could now add also.

Obviously, what is missing is a desk chair.

When I was at my sister’s house over Memorial Day weekend, she thought it would be cool to also make the chair pictured with the desk. However, we would first need to figure out how to apply curvature to the wooden chair back. In the meantime, I decided to search online to see if I could find a suitable desk chair.
And of course, I needed a picture for above my desk.
To be continued…
Categories

David, this desk is beautiful! And, of course, your cliffhanger has me looking forward to the next post about your chair and picture. I do wonder, though, were you able to discuss with your sister why some of the pieces had to be modified? Hope you have a great week ahead!
Thanks Betty! No my sister was in Europe at the time so I couldn’t ask her. Hope you have a great week too.
I just wondered if you discussed it with her when she got back.
Sorry no actually I did not but I will be seeing her next week so we can then.
What a cool project! All those weird angles look really challenging to me. And I get the “many prototypes” thing. Many of my creations go through several iterations until I get something I can live with.
Thanks! It was a bit of a challenge. And thanks for stopping by to read.