
Doll House Furnishings – Phase 15
Continued from: Doll House Furnishings – Phase 14
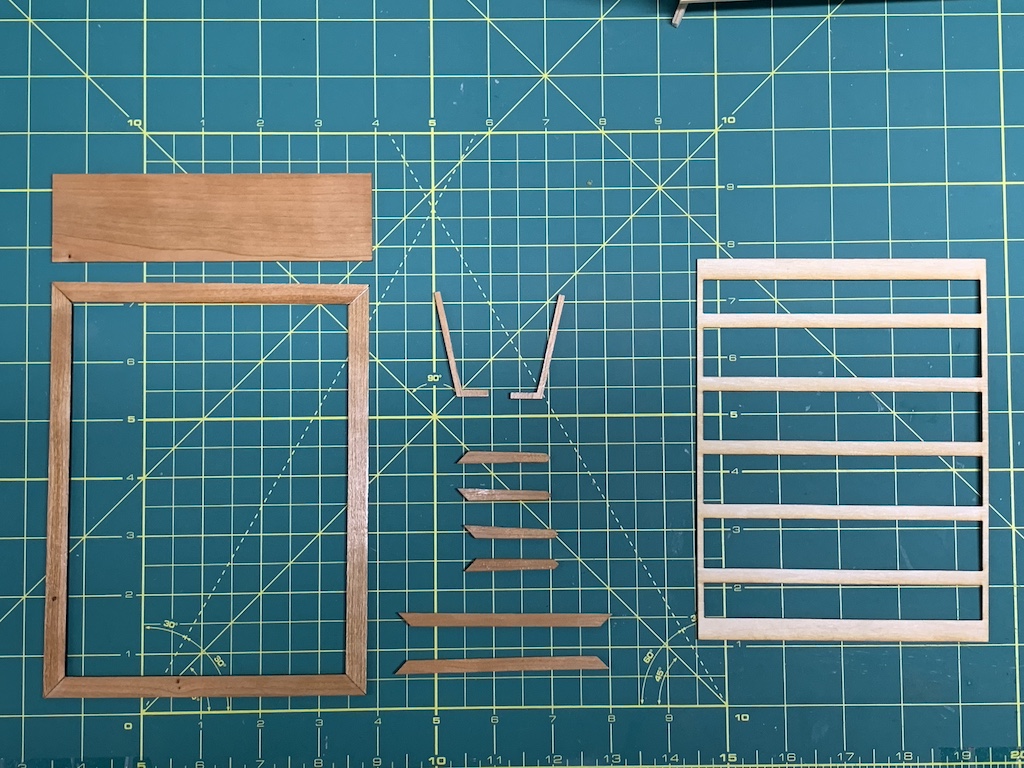
With three coats of semi-gloss polyurethane applied, I was ready for assembly.
Once I had glued on the slat frame, I drew a center line on the bottom of it and on the backside of the leg brace and then lining up the two pencil marks, glued the leg brace onto the slat frame flush with the back of the first slat. Using my right-angle jig and a piece of basswood, I could then glue the first leg in place. The piece of basswood allowed me to splay the leg forward, so its bottom was just beneath the corner of the bedframe. The piece of basswood also held the leg in place while the glue dried.
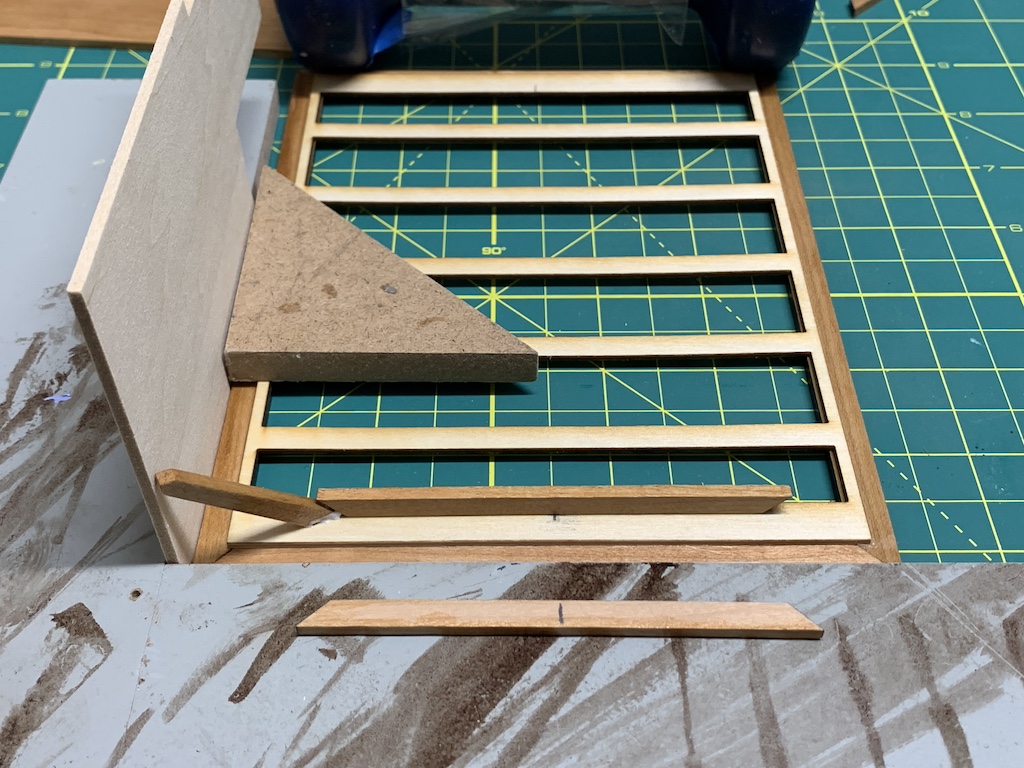
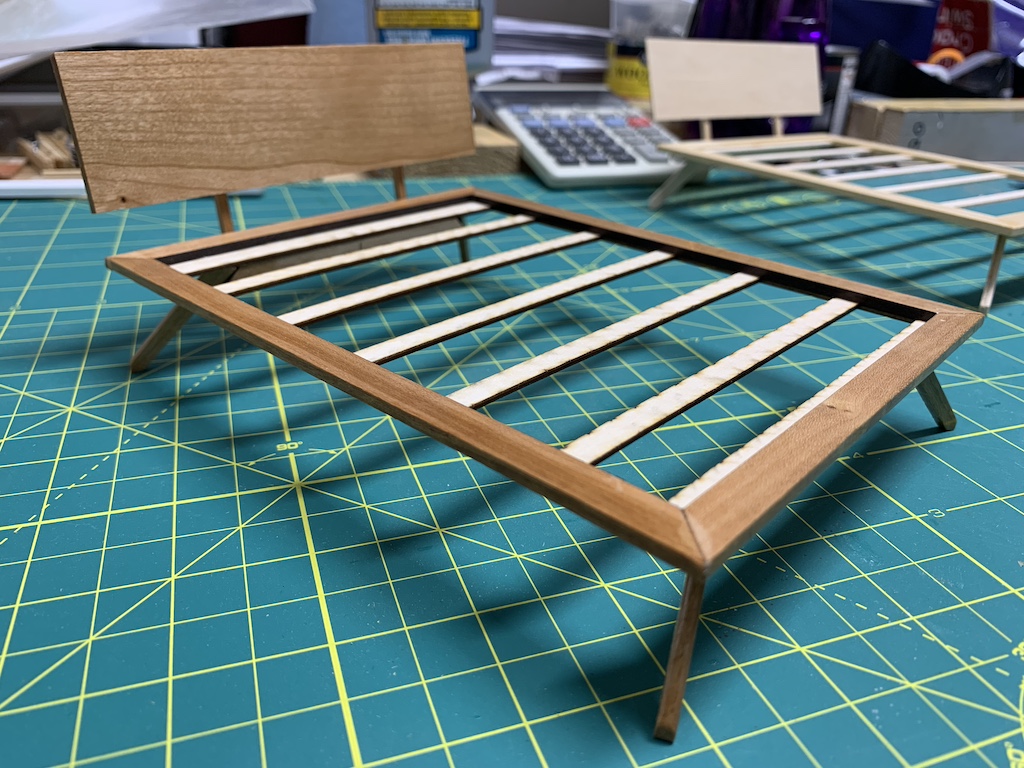
Once I had glued all four legs in place, I had the finished bedframe.

The last step to complete the bed was to glue on the headboard braces and the headboard.
While I was at my sister’s house over the Memorial Day weekend, I suggested we also make a mattress for the bed. First, she cut out the mattress from some foam material…
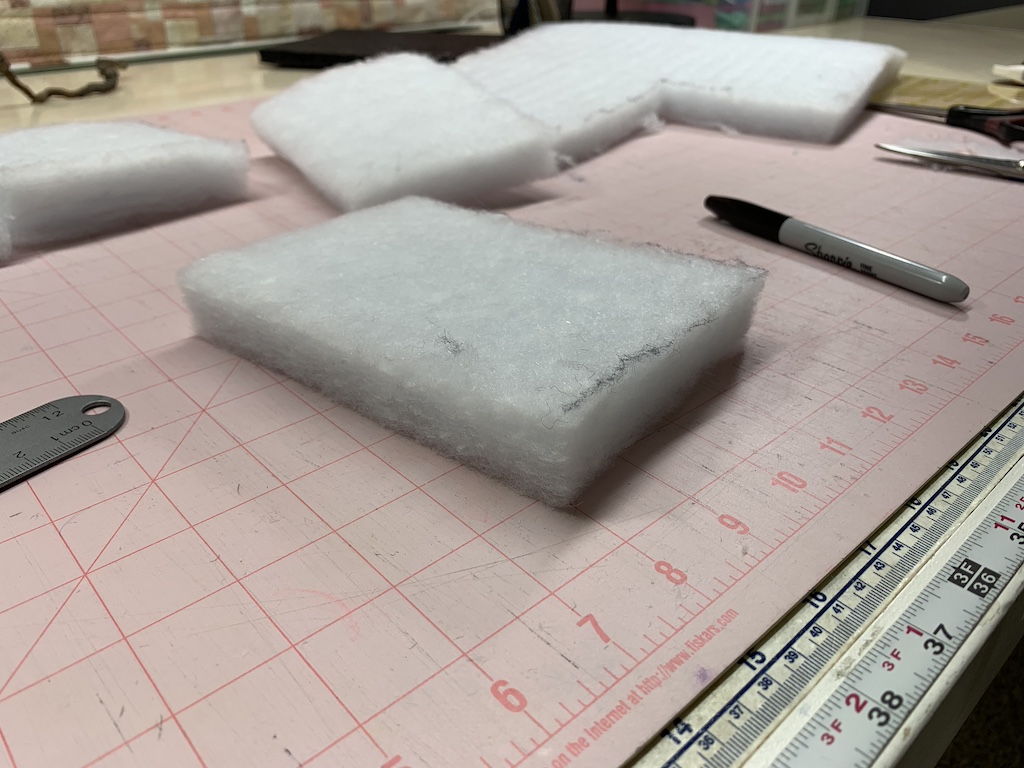
… and then I picked some fabric from her large collection of fabrics which she then expertly sewed into a duvet cover for the mattress.
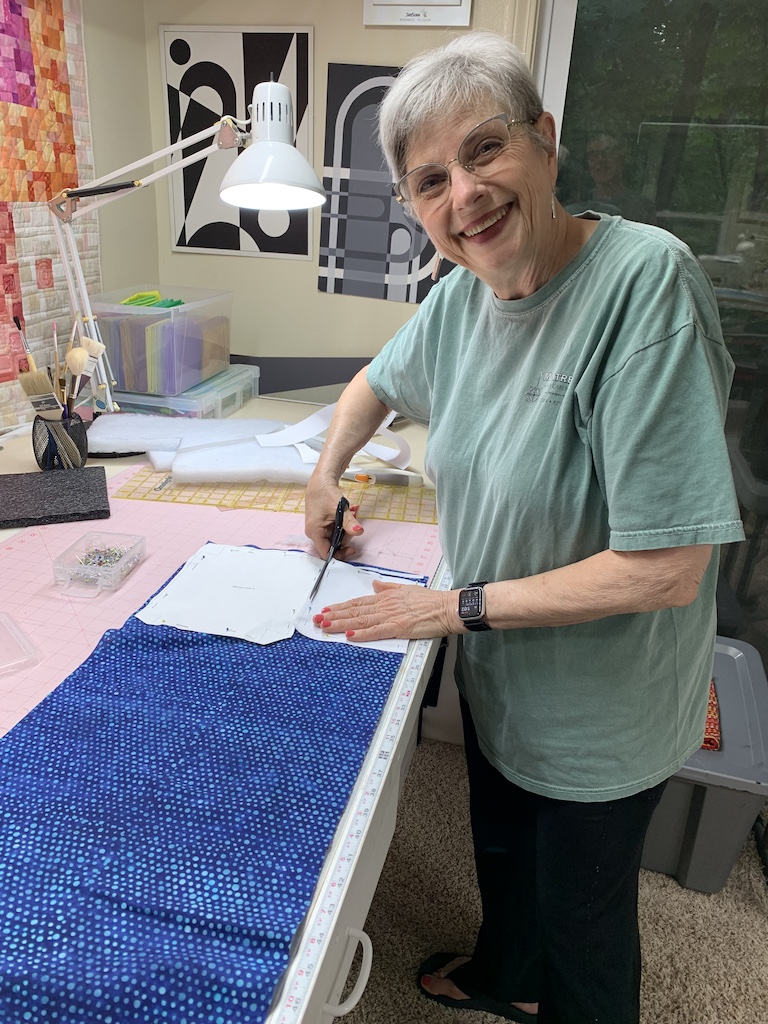
She also sewed up two matching pillows for the bed as well.

Now I finally had a bed for my dollhouse.

With the prototype bed built and the finished bed now complete, I could now focus on the upright chest of drawers.

This time, I won’t bore you with the details of how I determined dimensions but rather just focus on its creation in 1/12 scale. When I went back to the furniture website, I found that there was also a helpful front-on photo. But as soon as I saw it, I knew we had two problems.

First, the sides, top and bottom of the chest were all mitered at a 45° angle to give a seamless look to the exterior of the chest. I knew that my sister’s laser cutter could not cut an angle in the side of the wood. It only does a top-down cut.
Second, the thin wood used for the tops, sides, and bottom of the chest meant that the 1/8” cherry wood that we had used for the bed would be too thick for the chest. I had a FaceTime call with my sister to discuss these issues. Ever the creative artist, she came up with solutions for both.
As to cutting the angle, she said she could make a hand tool that would give us the needed 45° angle after the pieces were cut out. To the wood thickness, she suggested we use 1/16” cherry which she also had. I was concerned it might be too flimsy, but she showed me another piece of furniture that she had made using 1/16” wood and it appeared rather rugged.
So, with these two solutions, I was ready to determine the 1/12 scale dimensions and begin to build my basswood prototype.
Once I cut out the sides, top and bottom, I tried to eyeball sanding a 45° angle on the four pieces and then using my homemade right angle, I glued together two “L” shapes.
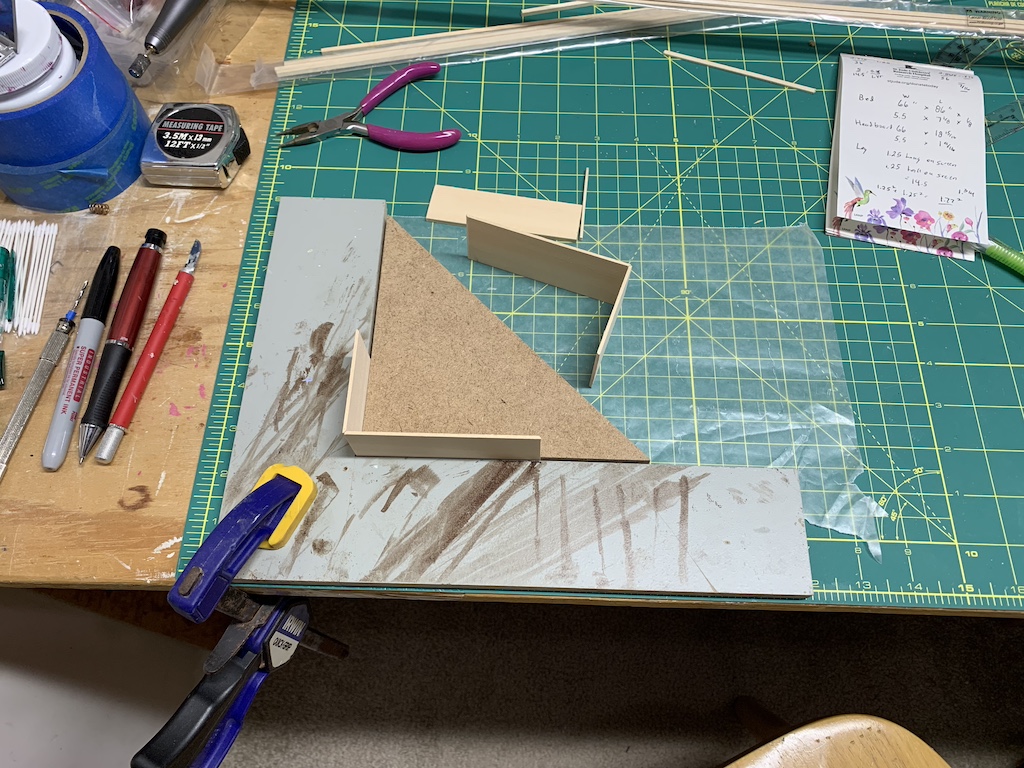
Once they were both dry, I glued them together to create the chest.
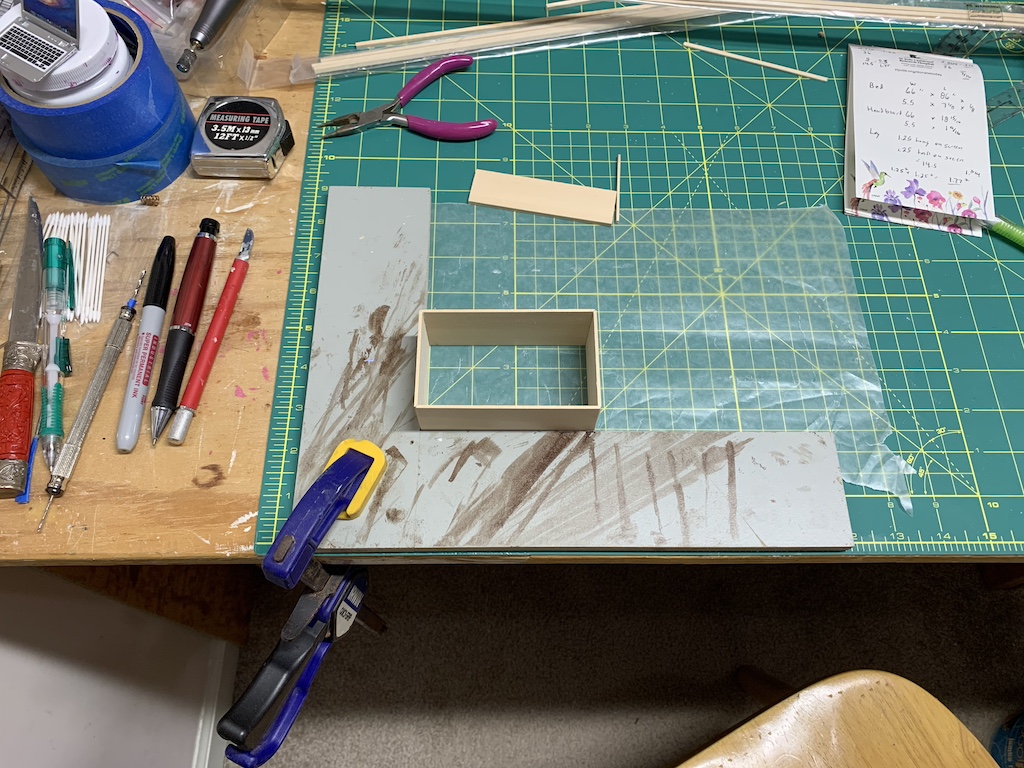
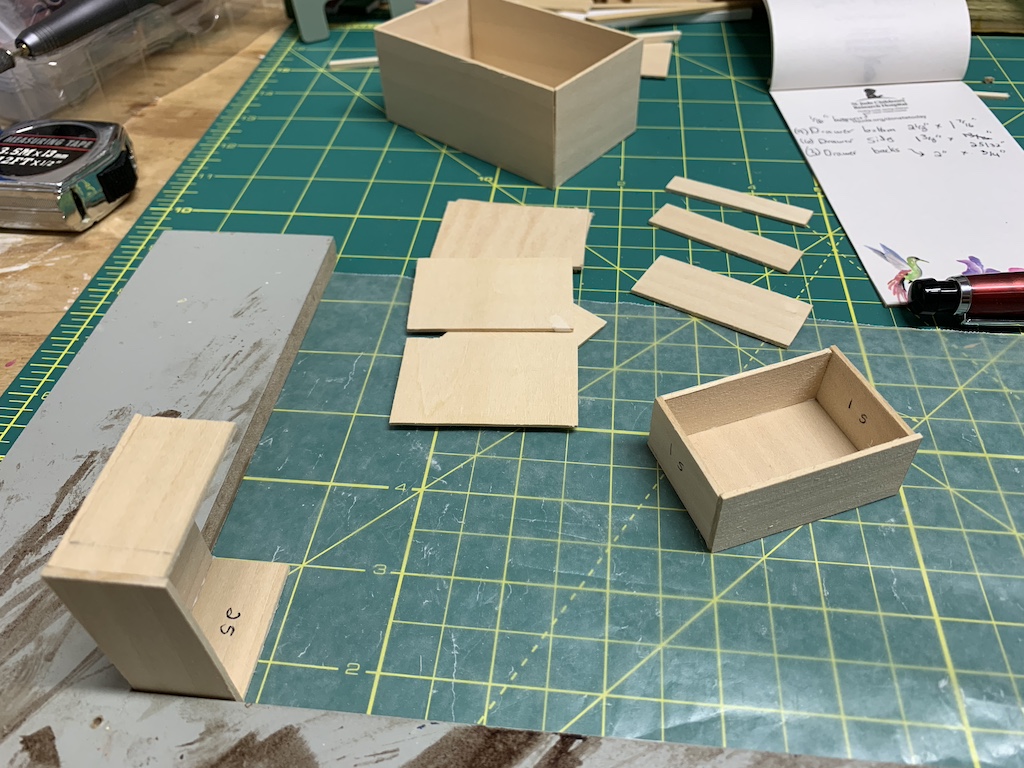
Once I glued in the chest back, which I made using 1/8” basswood to give the chest a rigid feel, I was ready to cut the drawer fronts. The bottom three drawers were all the same size, and the top two were each narrower. The front on drawing was most helpful as I was not trying to measure width and height dimensions on my computer’s screen of a photo that was depicting a three-dimensional piece of furniture. The only problem I had was not following that age old adage: measure twice and cut once.”
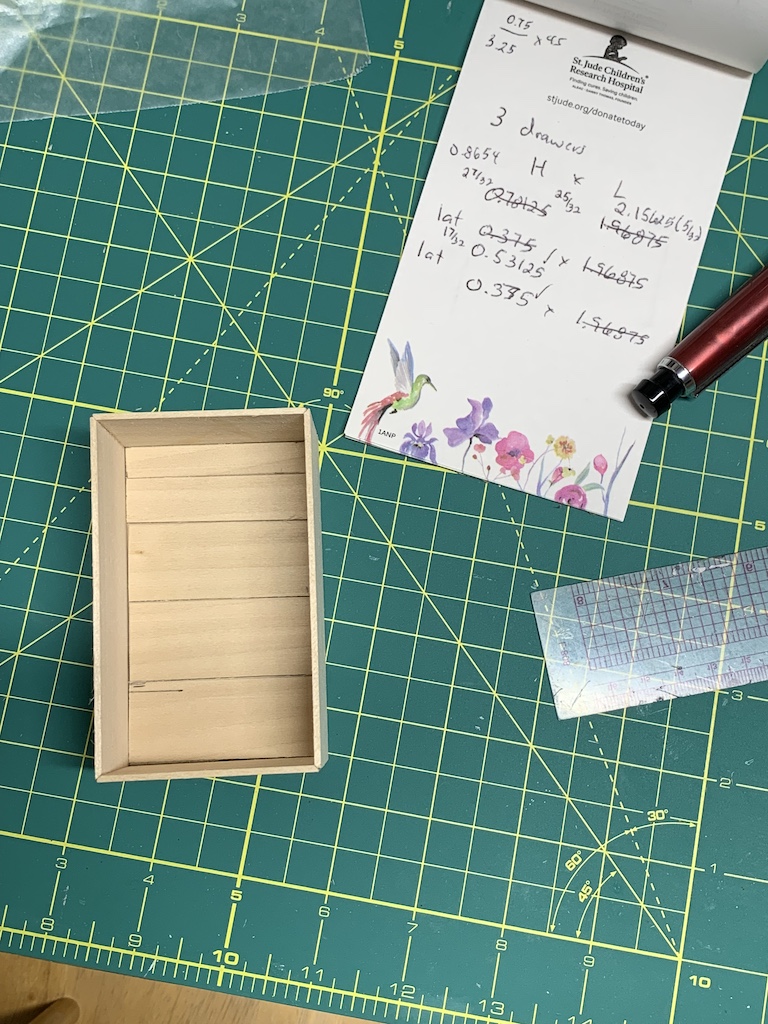
After cutting the bottom three drawers and the slightly narrower one right above it, when I set these in the chest, I saw that the gap left for the top drawer was taller than what I was about to cut. I went back and checked my calculations and naturally, I made the mistake on the height of the largest bottom drawer, the one I had cut three times. The only thing I could figure is I must have misread my ruler.
Recutting those, I now had all five drawer fronts of the right size as confirmed by setting them inside the chest (and the scratch pad reveals my mistake).
With the drawer fronts cut out, I could now build the drawers.
During the FaceTime call with my sister, she asked how I was planning to build the drawers.

I mentioned I thought I would do them like we did the credenza with a shallow channel cut into the drawer sides to accommodate the small drawer slides. She recommended a much simpler approach of adding a hidden shelf for each drawer to slide in and out on. Essentially, the same size piece of wood as the drawer bottom would fit on top of the drawer but be glued to the inside of the chest. It was a great suggestion!
I proceeded with determining the correct dimensions for the drawer bottoms, sides and back all the while recording these on my scratch pad to later relate to my sister for entering into her program that would precision cut them. One important detail I should mention before cutting the sides and backs. I shortened the height by 1/16” to accommodate the 1/16” hidden shelf.
To be continued…
Categories

I can’t tell you how much fun it is to relive all these miniature adventures we have had together! I look forward to many more collaborations in the future!
Thanks! I have absolutely had a blast doing this with you!
Now, I have to give your sister an award, too! Such knowledge and skill! You two make a formidable team. The precision with which you both work is amazing. The finished bed is so well done and stylish. I wish I could shrink and have it in my bedroom. 🙂 I look forward to reading about and seeing the chest of drawers.
Thanks Betty! We both agree we do make a great team and we are both having a blast building this furniture together.