
Doll House Furnishings – Phase 14
Continued from: Doll House Furnishings – Phase 13

While my sister was figuring out how to miniaturize the Mid-Century Modern desk, I decided to turn my attention to the bedroom where currently the only furniture in there was the Eames’ Chair and Ottoman. Keeping with the Mid-Century Modern style, I searched online and quickly came across what I thought was a great looking bed. Which also just happened to be shown in the same natural cherry wood finish I wanted to use that matched the furnishings in the office.
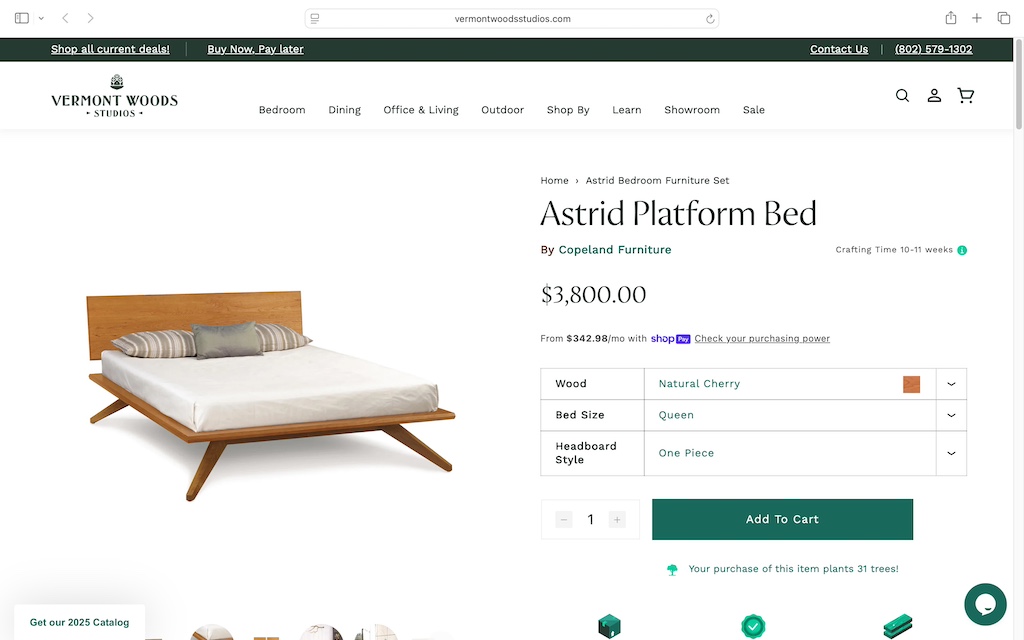
And the site even had a matching upright chest of drawers.

I sent my sister a link to the website, and she thought they looked great too. She suggested I drive over to work on them sometime. Not able to drive over at the time, I decided to do some preliminary work that I could do on my own—building a prototype to get the 1/12-scale dimensions figured out as well as the method of construction.
The website included some of the dimensions for a queen size bed. The bedframe width was listed as 66” and the length as 86” so that was easy to convert to 1/12-scale (5.5” and 7.25”, respectively). The site also listed the height of the bedframe off the floor as 14.5” and the height of the top of the headboard as 36” off the floor. Figuring out other critical dimensions was to prove much more difficult.
The easiest way to do this would have been to measure the actual bed. But obviously I could not do that. The next best thing was to take measurements on my computer screen and then based on the actual dimensions of the bed listed on the website, convert that to 1/12-scale.
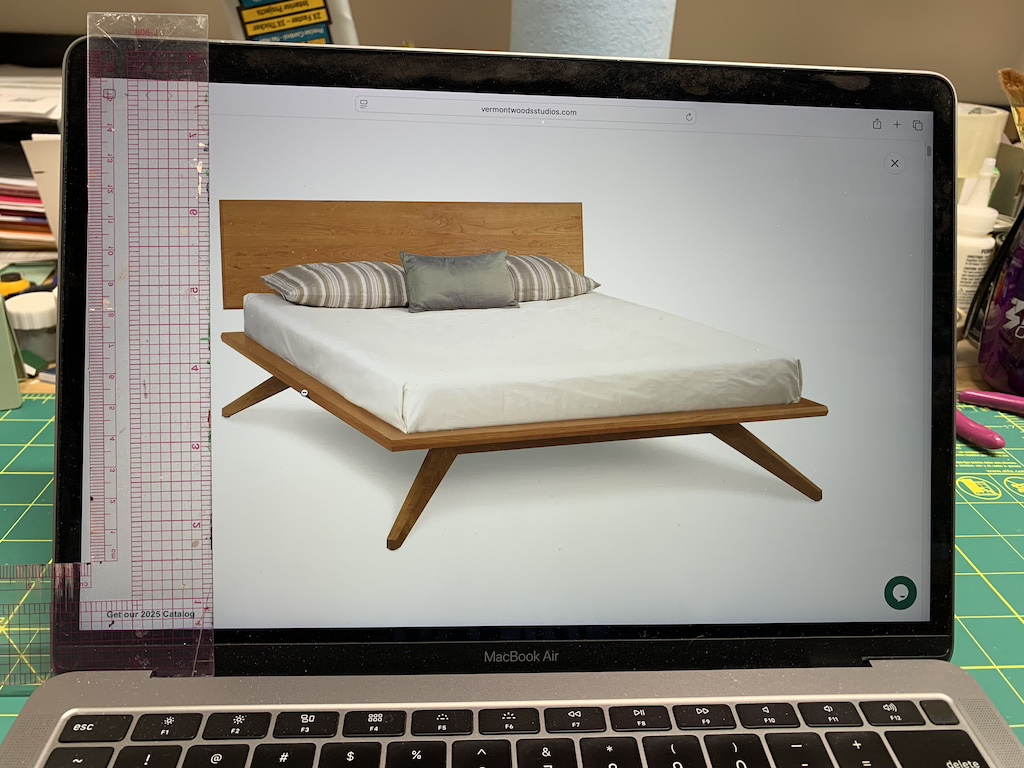
I enlarged the bed on my computer and then used a ruler to measure several dimensions of the bed on screen. I won’t get heavy into the math but using proportions and the known heights of 14.5” and 36″, I was able to figure out the dimensions of the headboard. Similarly, I figured out how thick the bed frame was (1/8” in scale).
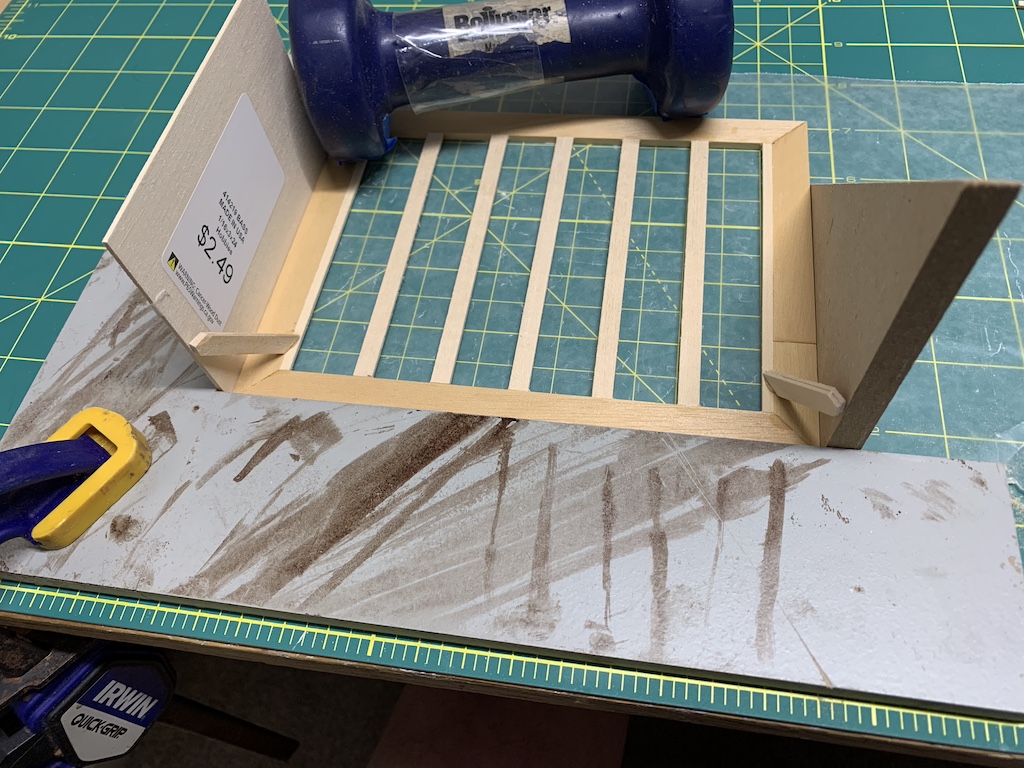
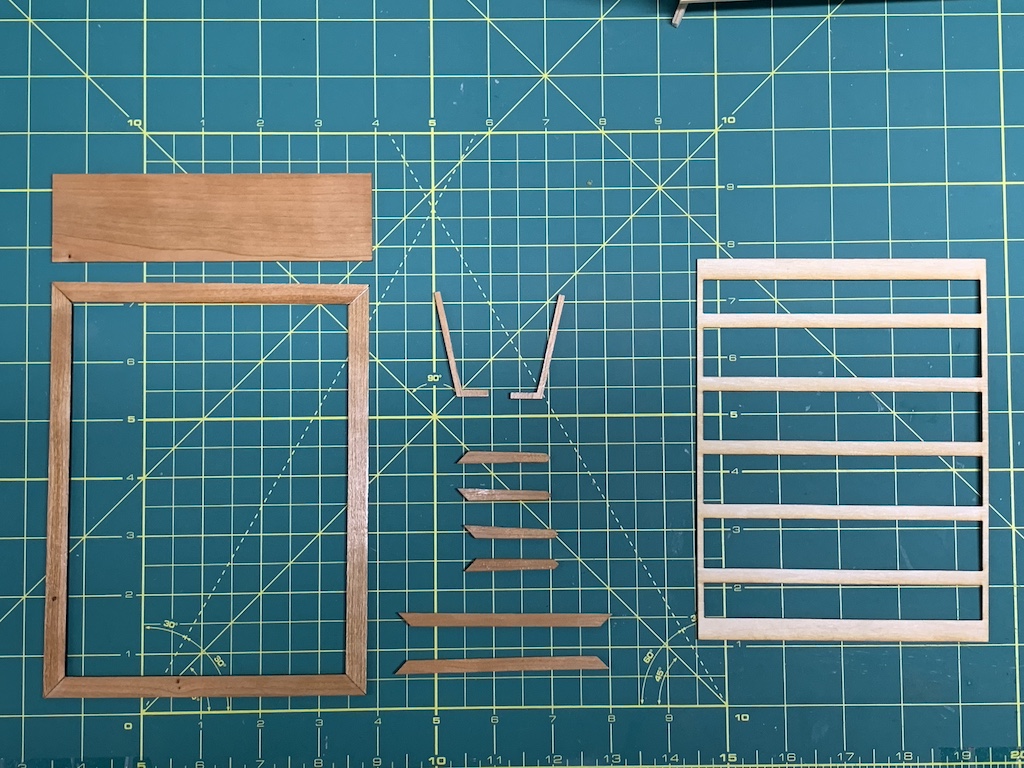
Using some leftover scraps of basswood I had, I first built the bed frame and then added slats to support the mattress (which kept falling out). Based on the bed image on the computer, the bed frame rail width in scale should have been 3/8” but I only had 1/2″. That would need to be revised in the final model.
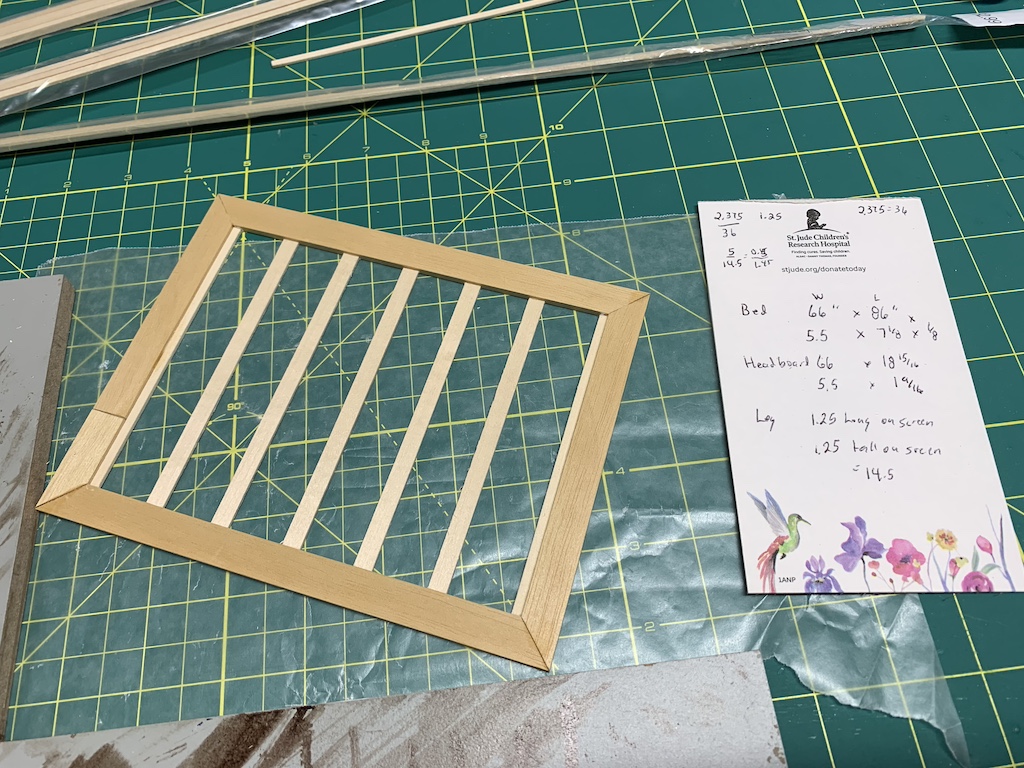
In the photo above, you can see a scratch pad next to the bed frame. On it are some of the preliminary math calculations I did. I eventually filled up the whole page with proportions and square roots.
Figuring out the length of the legs was the most challenging as the legs were angled out. But then I realized I could use the Pythagorean theorem (a2 +b2 = c2) as the height from the floor was 14.5” (1.25” in scale) and it appeared the point where the leg attached to the bed was also 14.5” from the edge of the bed. From this I was able to determine that the hypotenuse was 1.77” which corresponded to the length of the leg.
I did not have a good way to figure the proper angle to cut at the top of the leg so this I just did by trial and error, and it took me three attempts before I had the right angles for the legs.
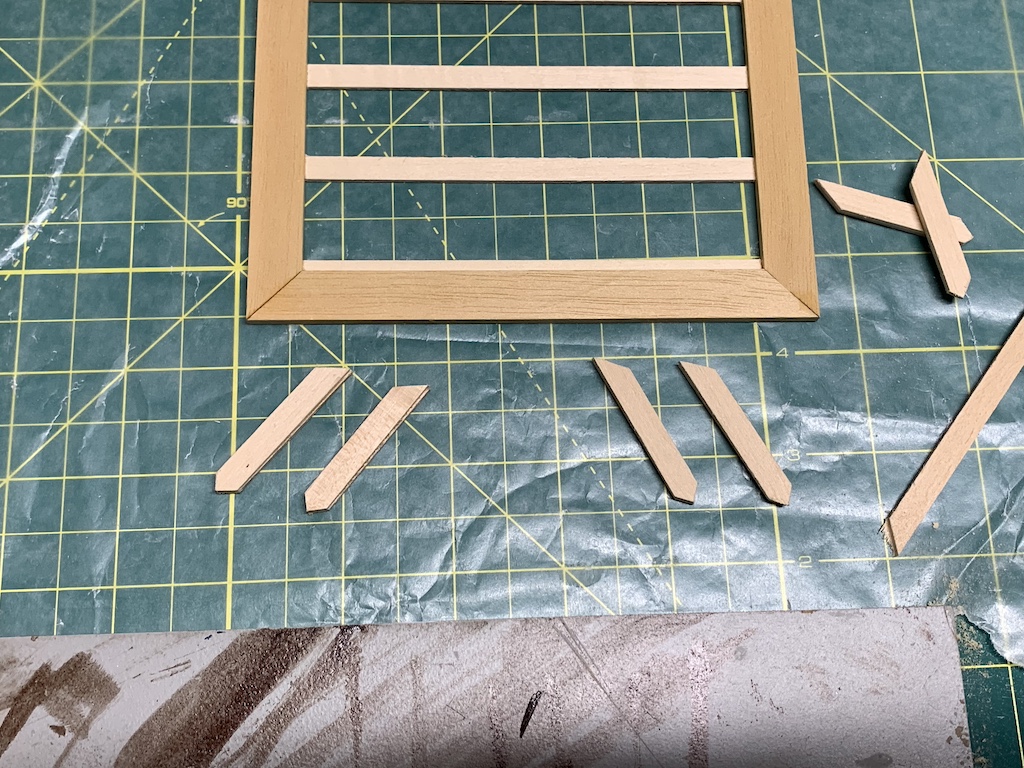
Since this was just a prototype, I did not bother with tapering the legs or sanding them to match the shape of the full-size bed.
The website included a zoomed in photo of the leg and from this I was able to determine that the bottom tip of the leg was directly beneath the bed frame (thus forming that 90° right angle necessary for figuring out the leg length).
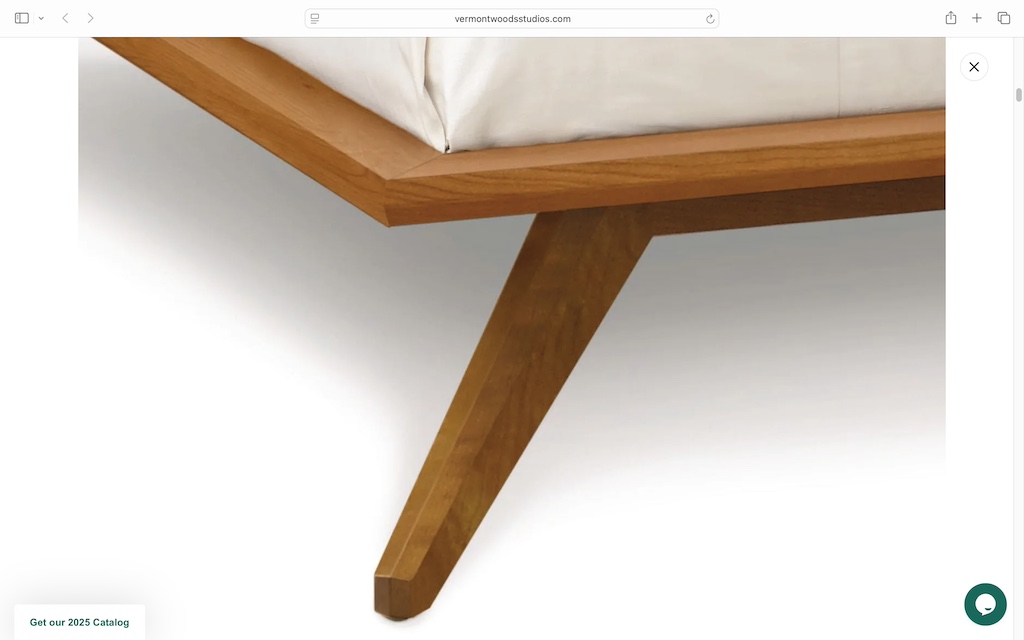
This fact proved helpful in knowing what angle the leg was splayed towards the front of the bed frame.
This also helped me to come up with an ingenious way to glue the legs to the frame.
With all four legs attached, the last step was to add the headboard which for this prototype, I used 1/16” basswood (to be replaced with 1/8” solid cherry in the final model).
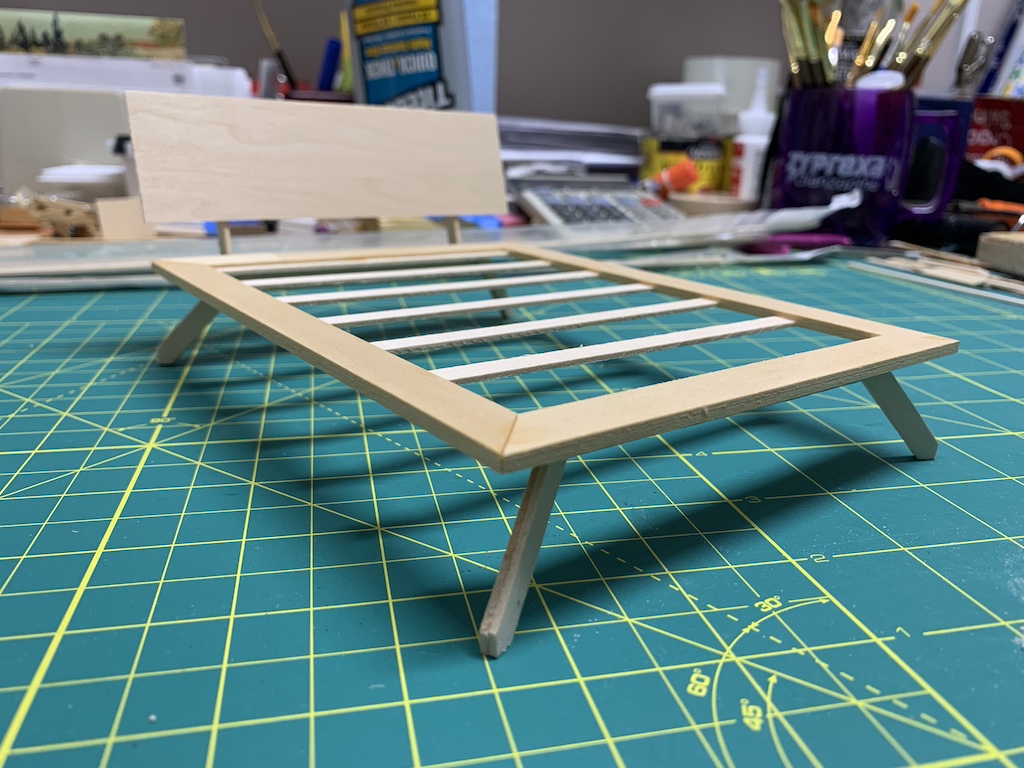
I thought the finished prototype looked pretty good and it even fit well in its future room.

When I sent the picture of the finished bed to my sister, she thought it looked amazing. She was anxious to get started and so encouraged me again to drive over so we could work on it. That I did over the Memorial Day weekend and we had a great time “playing” in our miniature world (more to come on what all we did). When I returned home on that Monday, I had all the bed pieces she had cut from 1/8” solid cherry and an improved array of slats she had cut from a single piece of 1/16” basswood to avoid individual slats falling out.
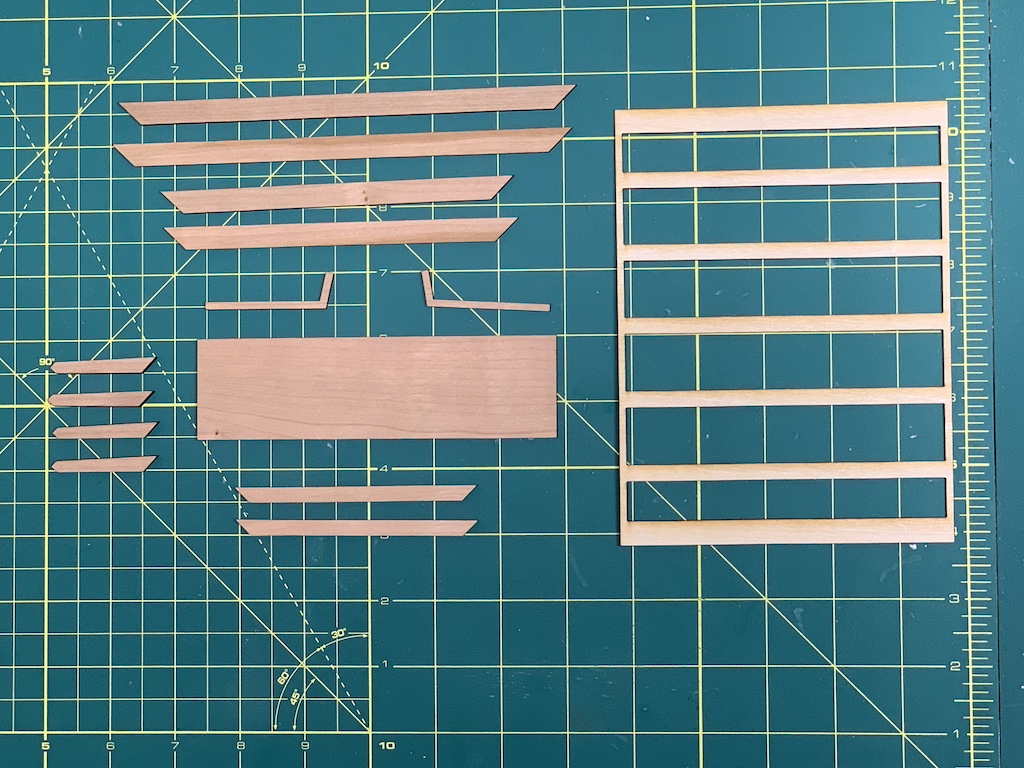
As always, I had to sand away the char on the edges where the laser cut the wood and before applying polyurethane, I decided to glue the bed frame together.

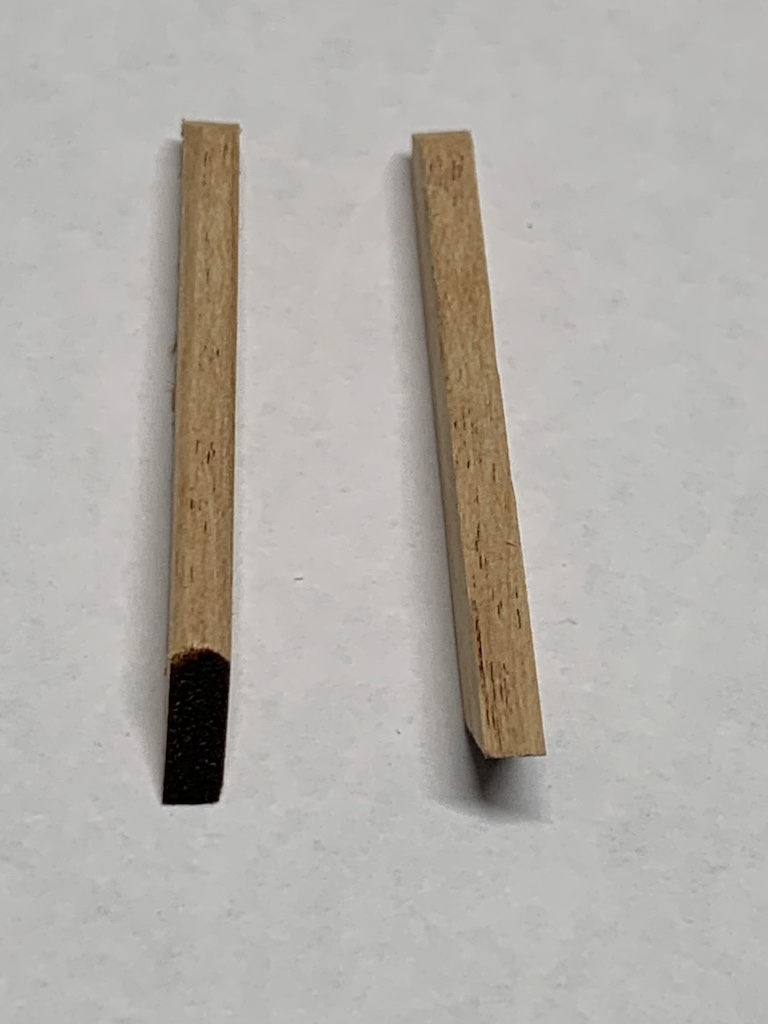
When I went to sand the contour on the top of the legs, rather than a sharp angle, I ended up with more of a rounded top to the leg but which still looked better than the unsanded edge seen on the leg to the right.
After I applied three coats of semi-gloss polyurethane, I was ready for assembly.
To be continued…
Categories

the bed looks amazing so far!I need to pay attention to you guys and your miniature work!
Thanks, it did turn out nicely.
Admire the fusion of your mathematical and artistic prowess! The bed does look great! But I found myself wondering why you didn’t just make a solid wood platform to support the mattress? Still, looking forward to seeing the next phase, as always! Now go grab that tiny beer in the bedroom and enjoy your Sunday. Cheers!
Thanks Bro! I wanted to use slats to model the real bed but our artistic sister came up with a better solution. Cheers to you as well.
Amazing, David! I do wonder what you do with the prototype version. Because it looks so good! My guess is one of your grandchildren benefits. I’m impressed, but not surprised, by the mathematical calculations you did to figure out the scaled version. It’s nice that your hobby gives your brain a workout, and it provides a common interest for you and your sister to do things together. Beautiful all the way around. I look forward to the next post!
Thanks Betty for your praise! Yes when our other granddaughter was in town back in May, I gave her three to take home and add to her doll house.